

 February 9th, 2016
  Dallas Pruett
 Team Serpent!
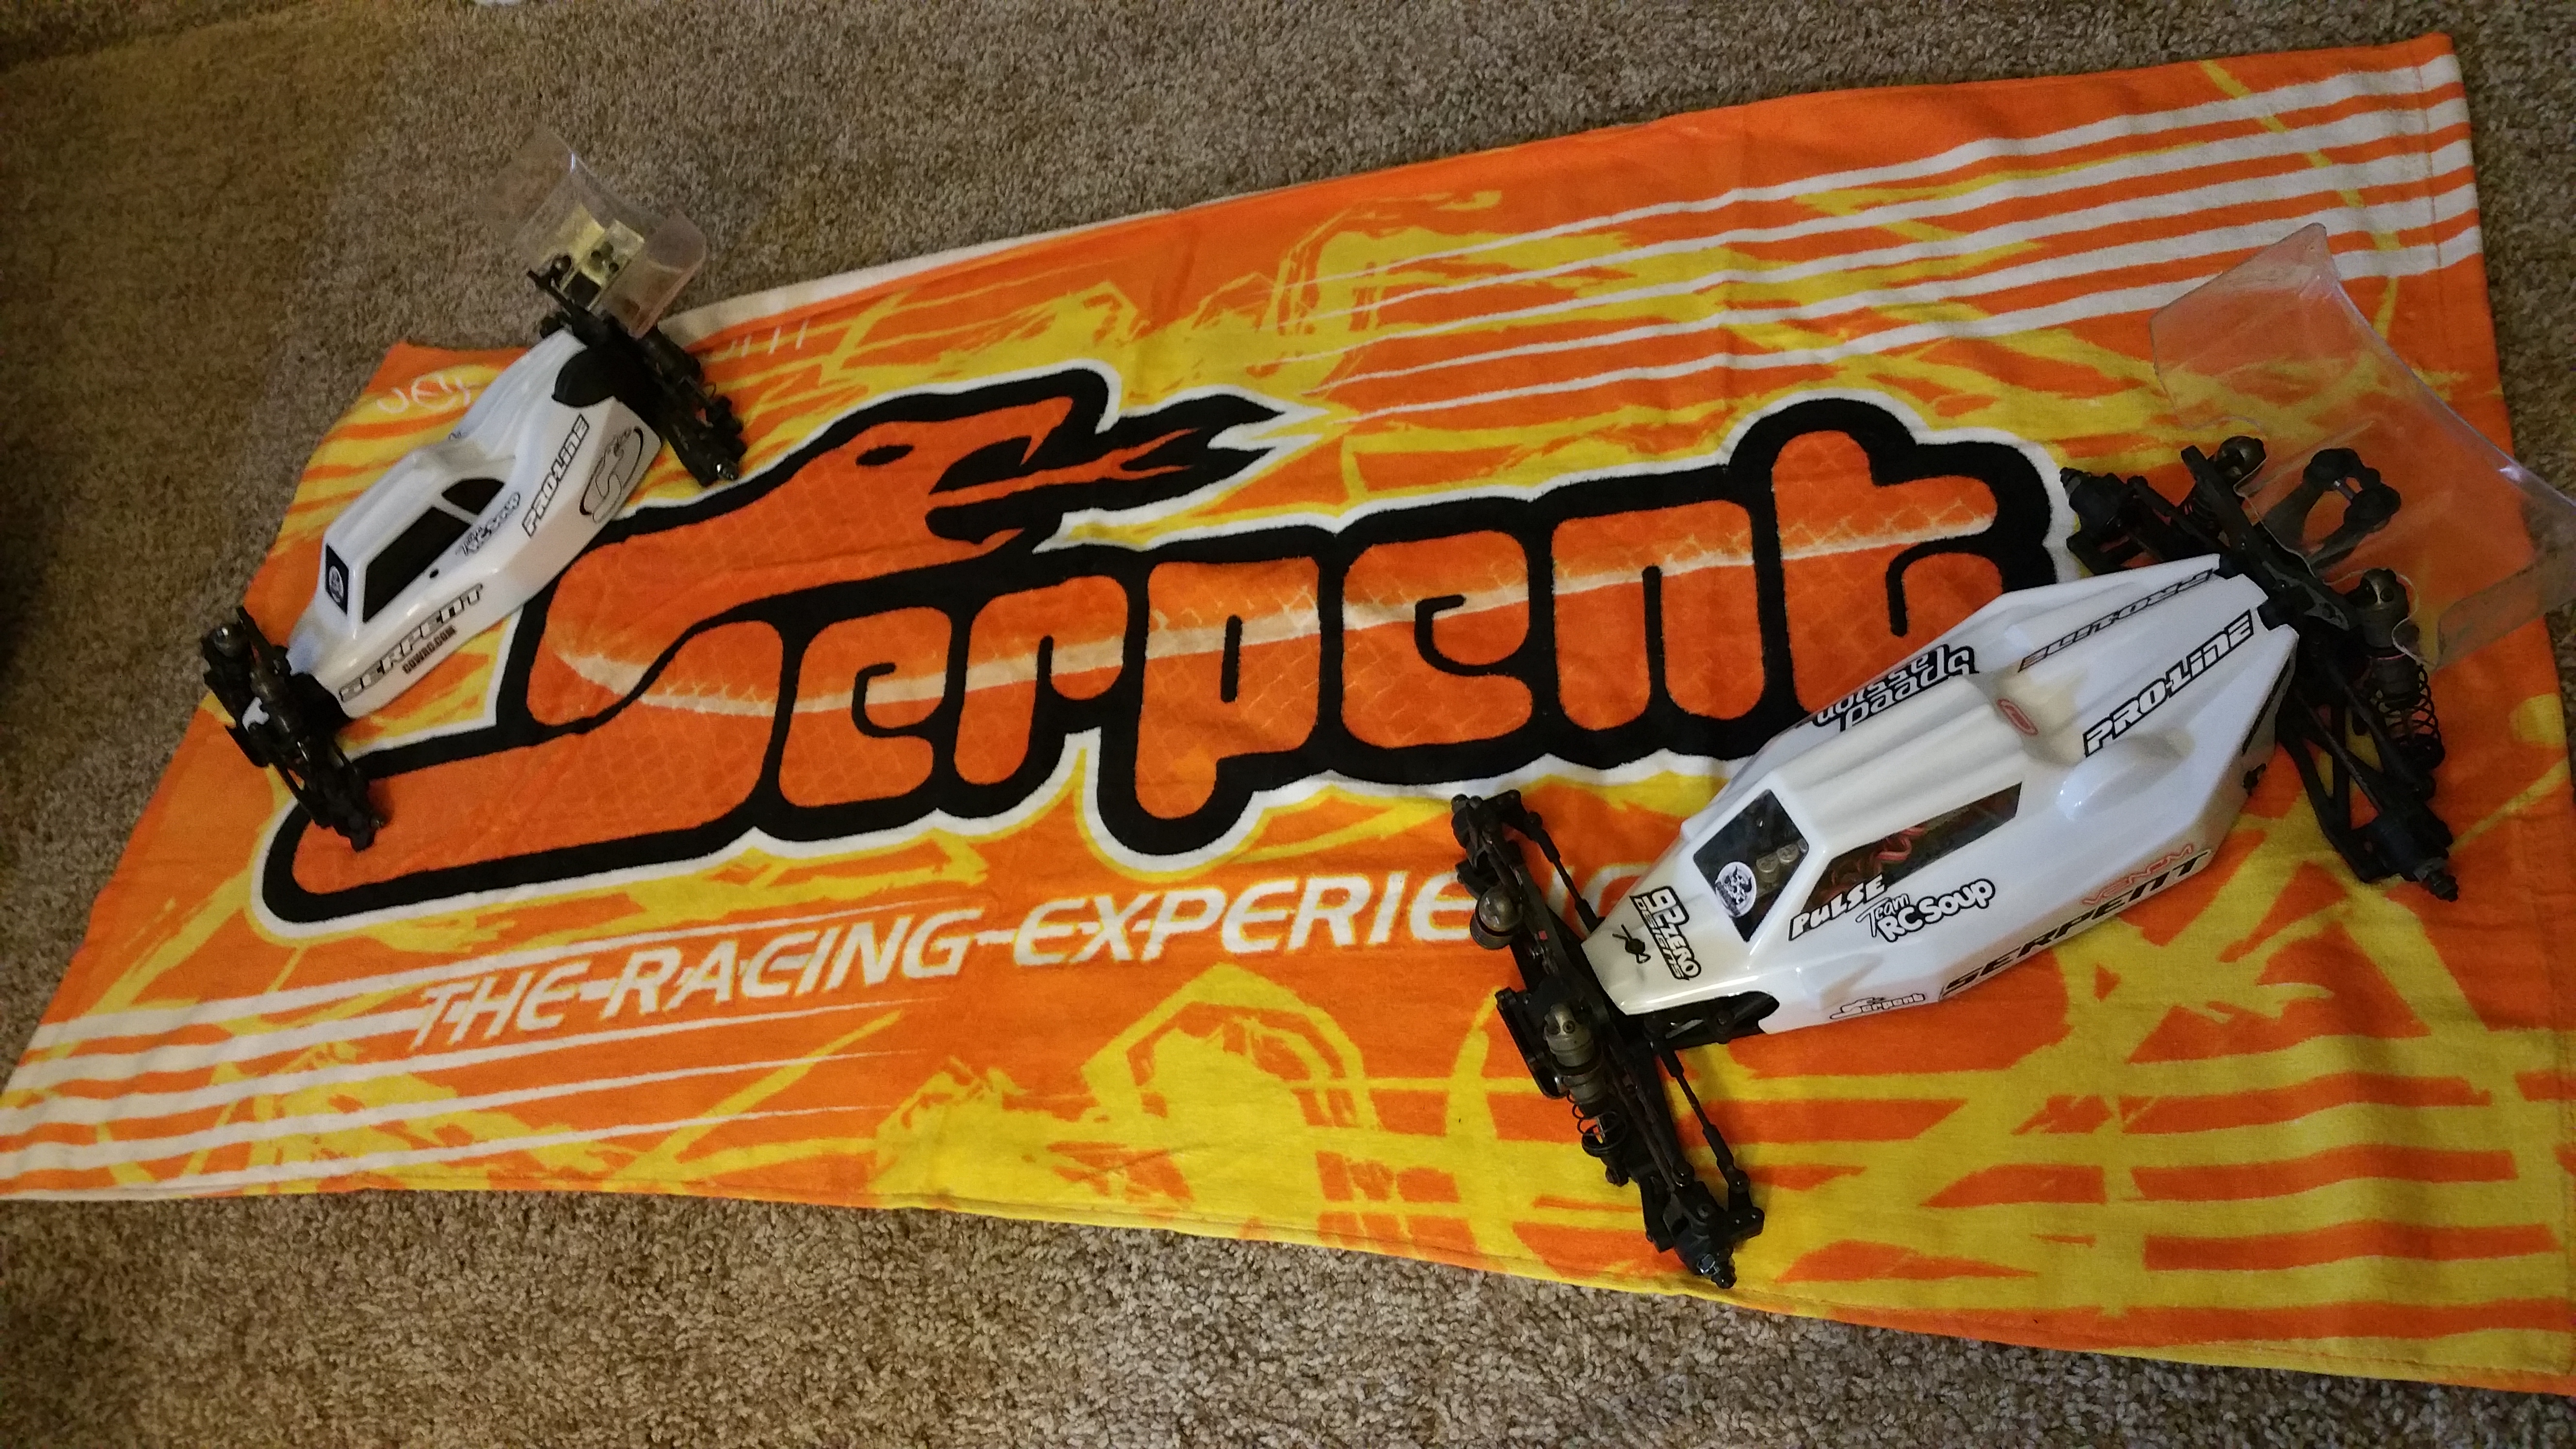
The SRX4, One of the most anticipated cars since Serpent has entered the 1/10 game!
While Serpent is still new in the 1/10 Scale game, they have shown that they mean Business, With Billy Easton Developing both the SRX2, and SRX4, they have impressive and unique features to both that most other brands dont offer!
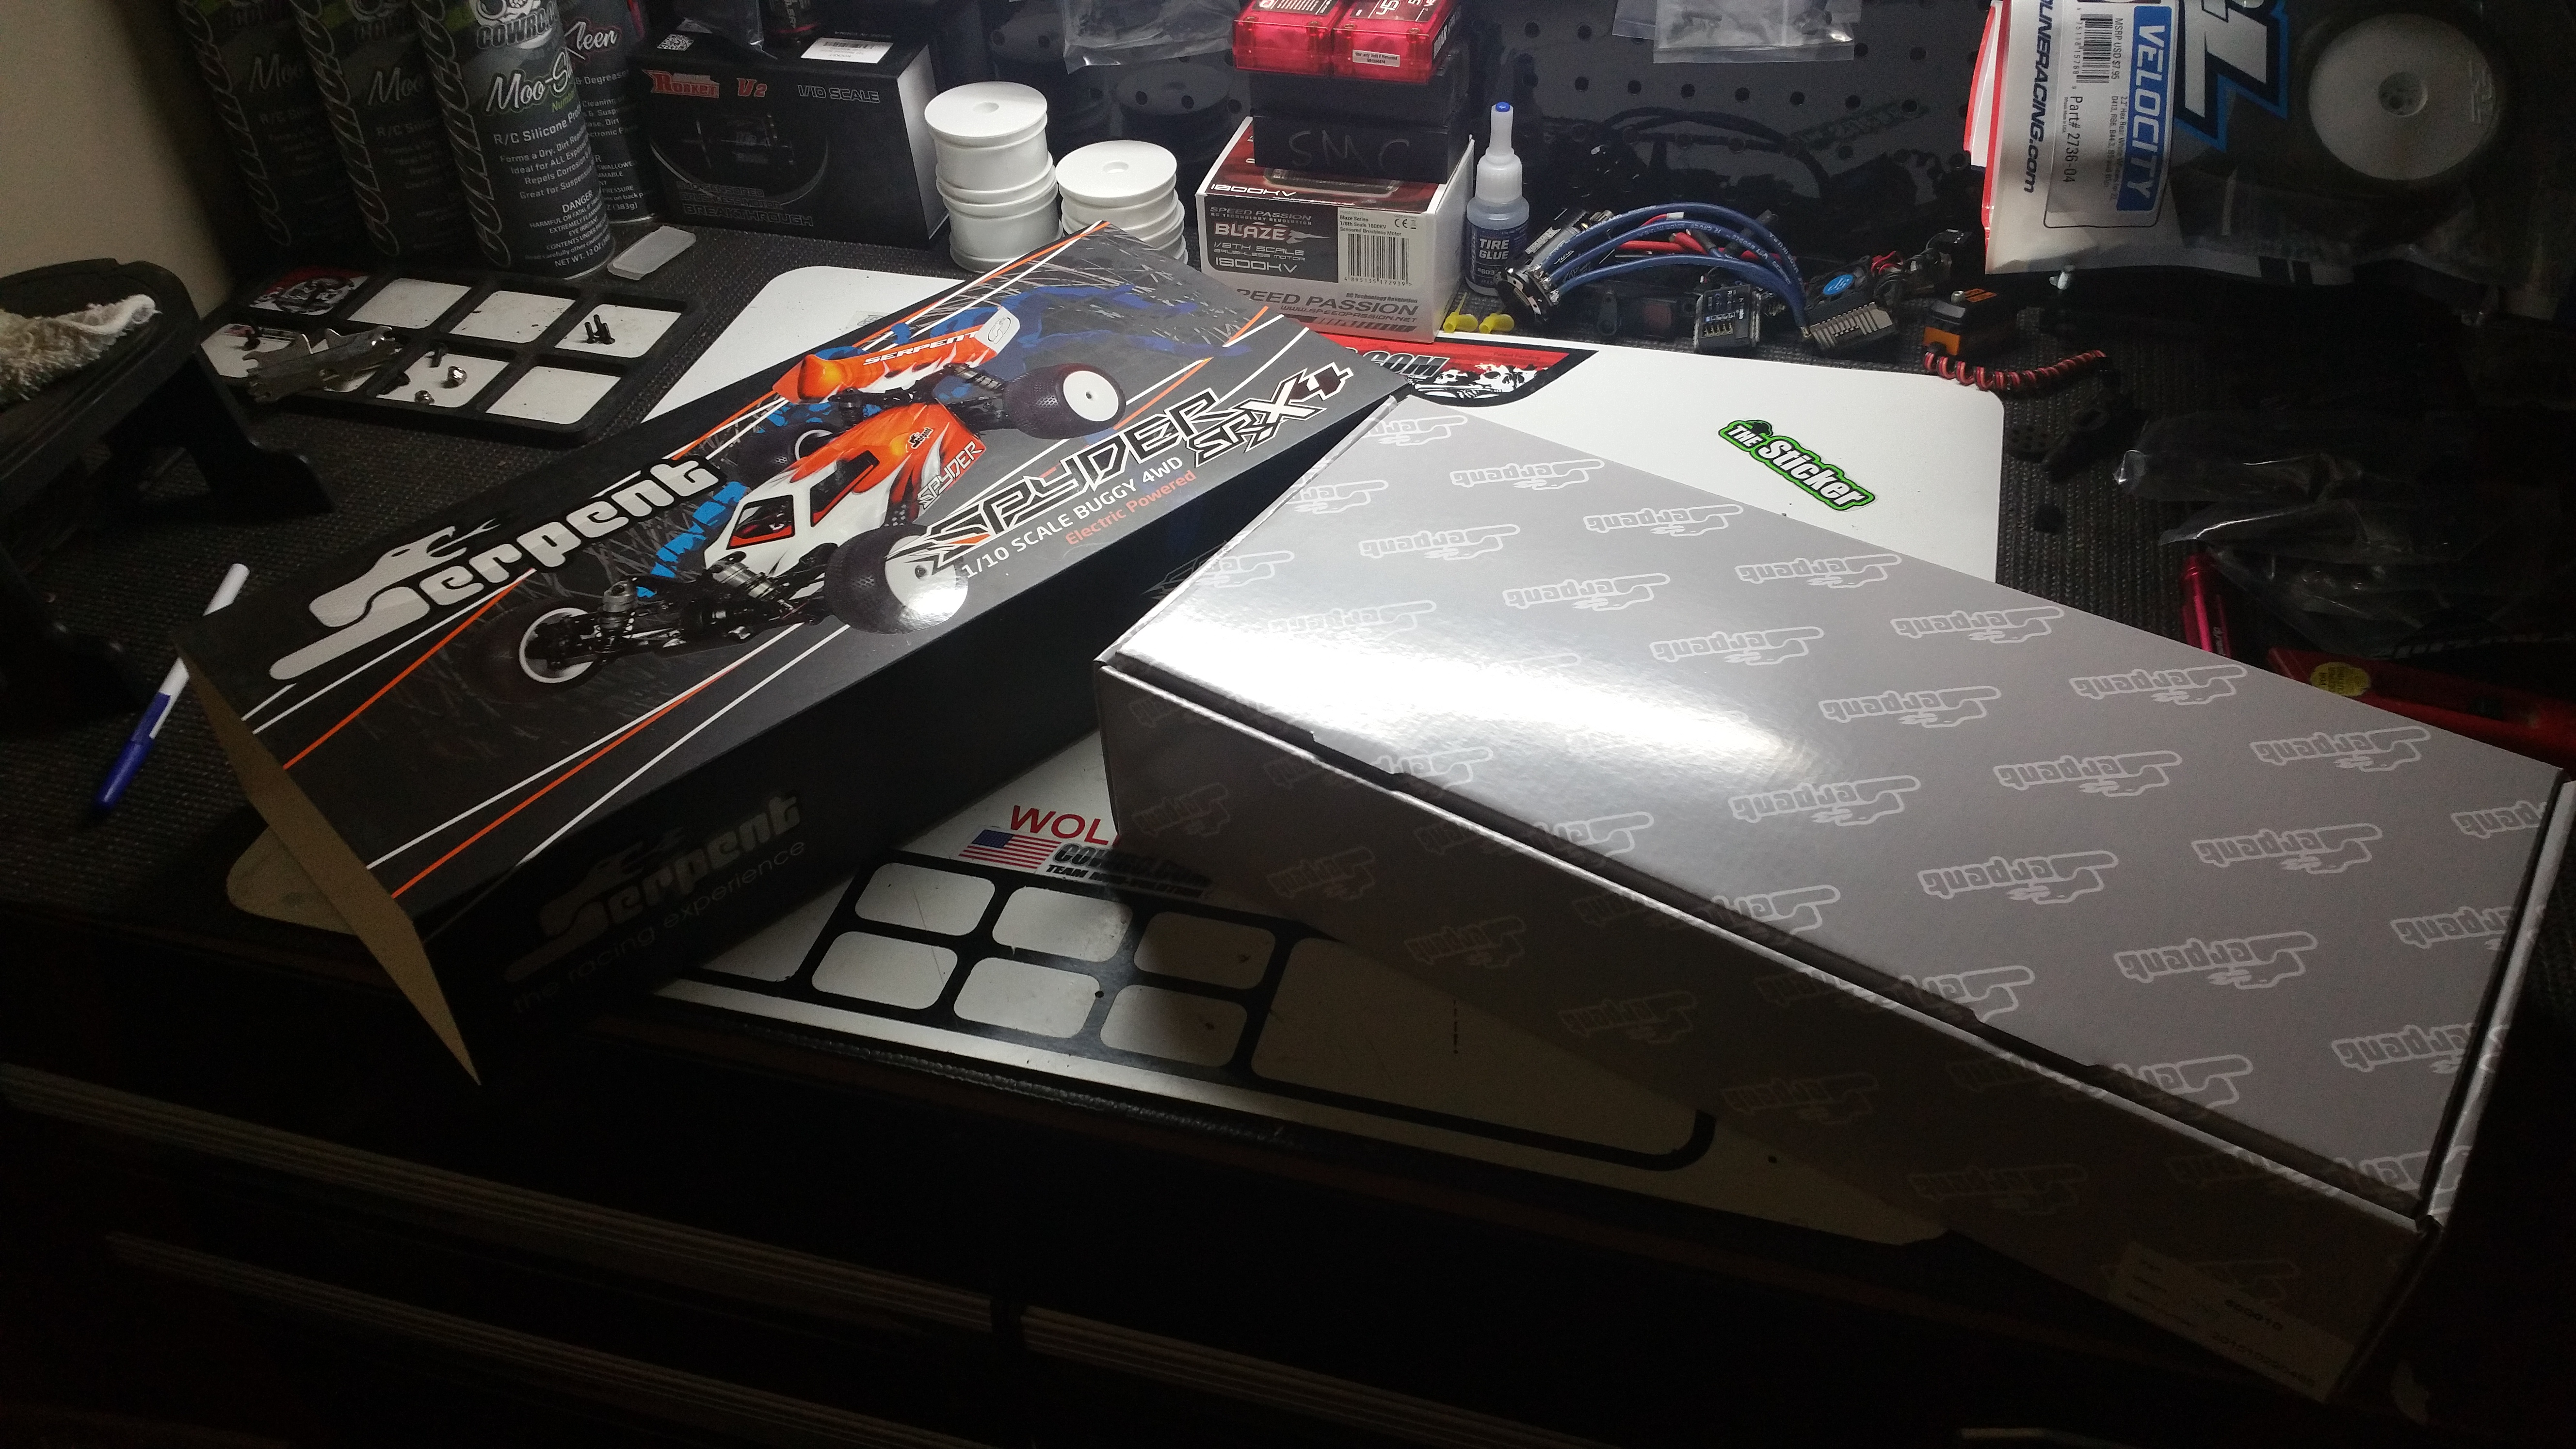
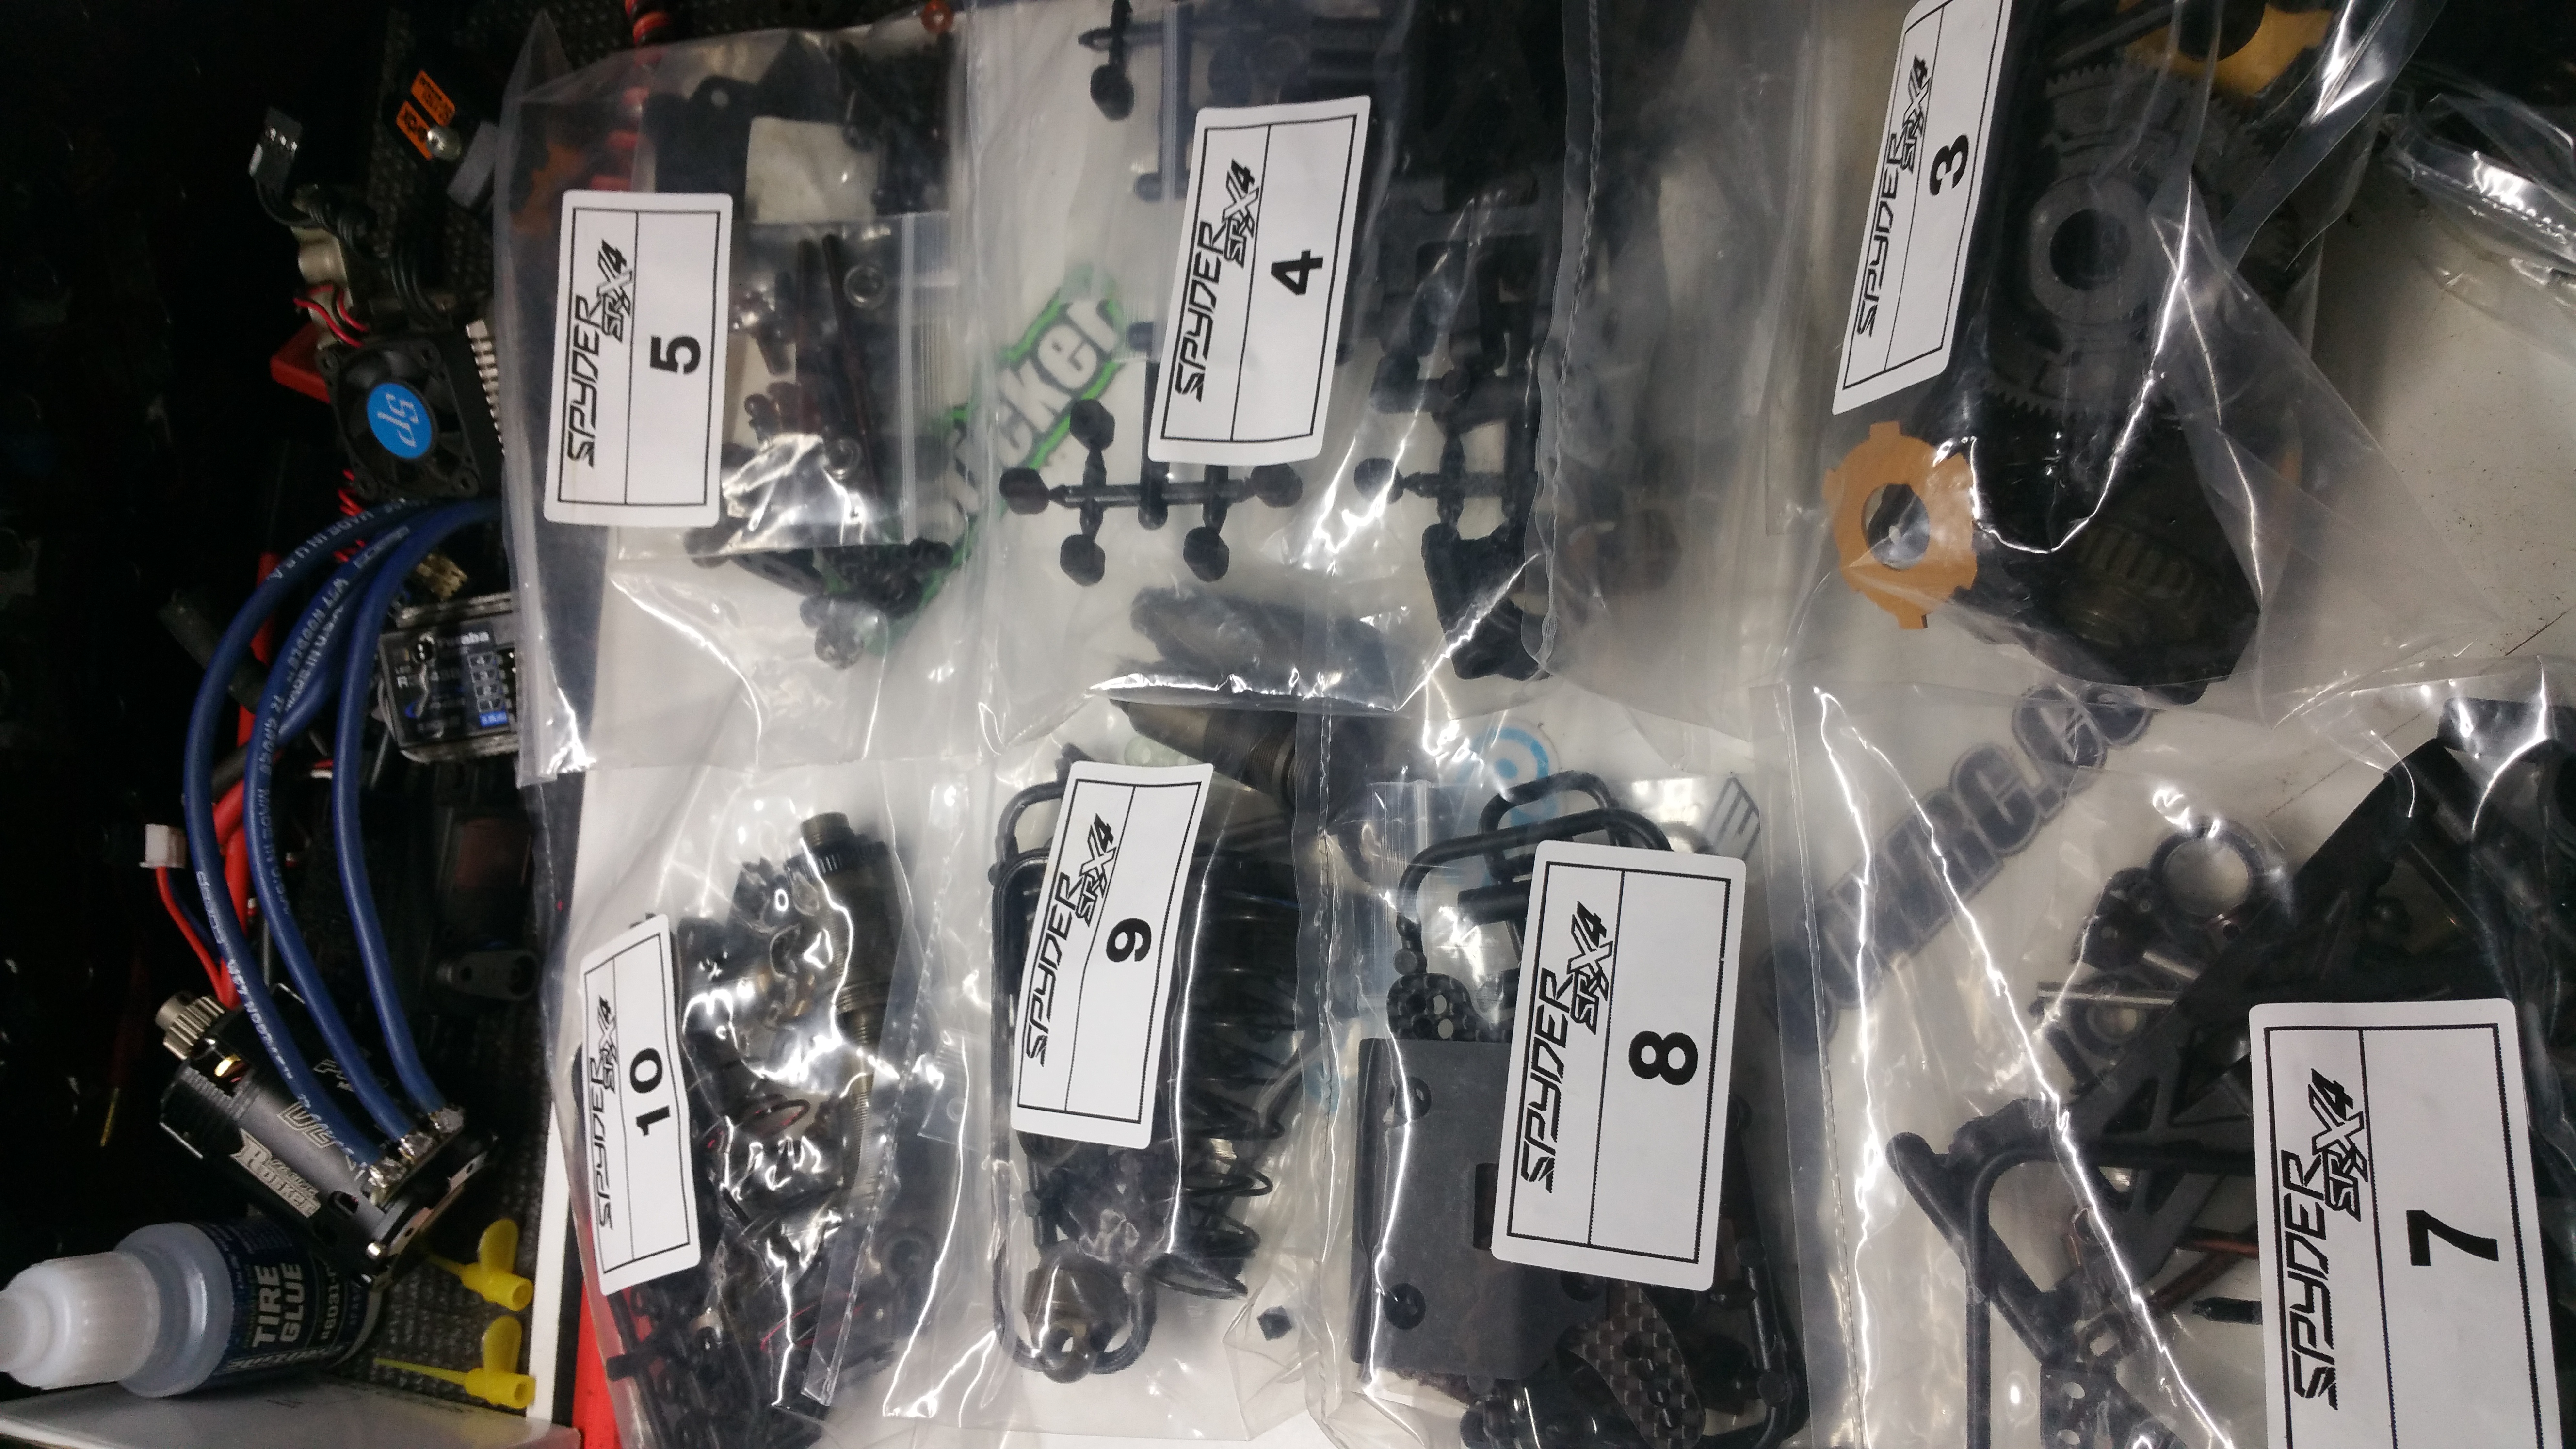
Going on with the Build, One thing i noticed when it got here, that the box was incredibly small.

The quality of the box just lets you see the quality in the car you’re about to build!
I plan to use the box for all my NIP Parts that i take to the track with me.
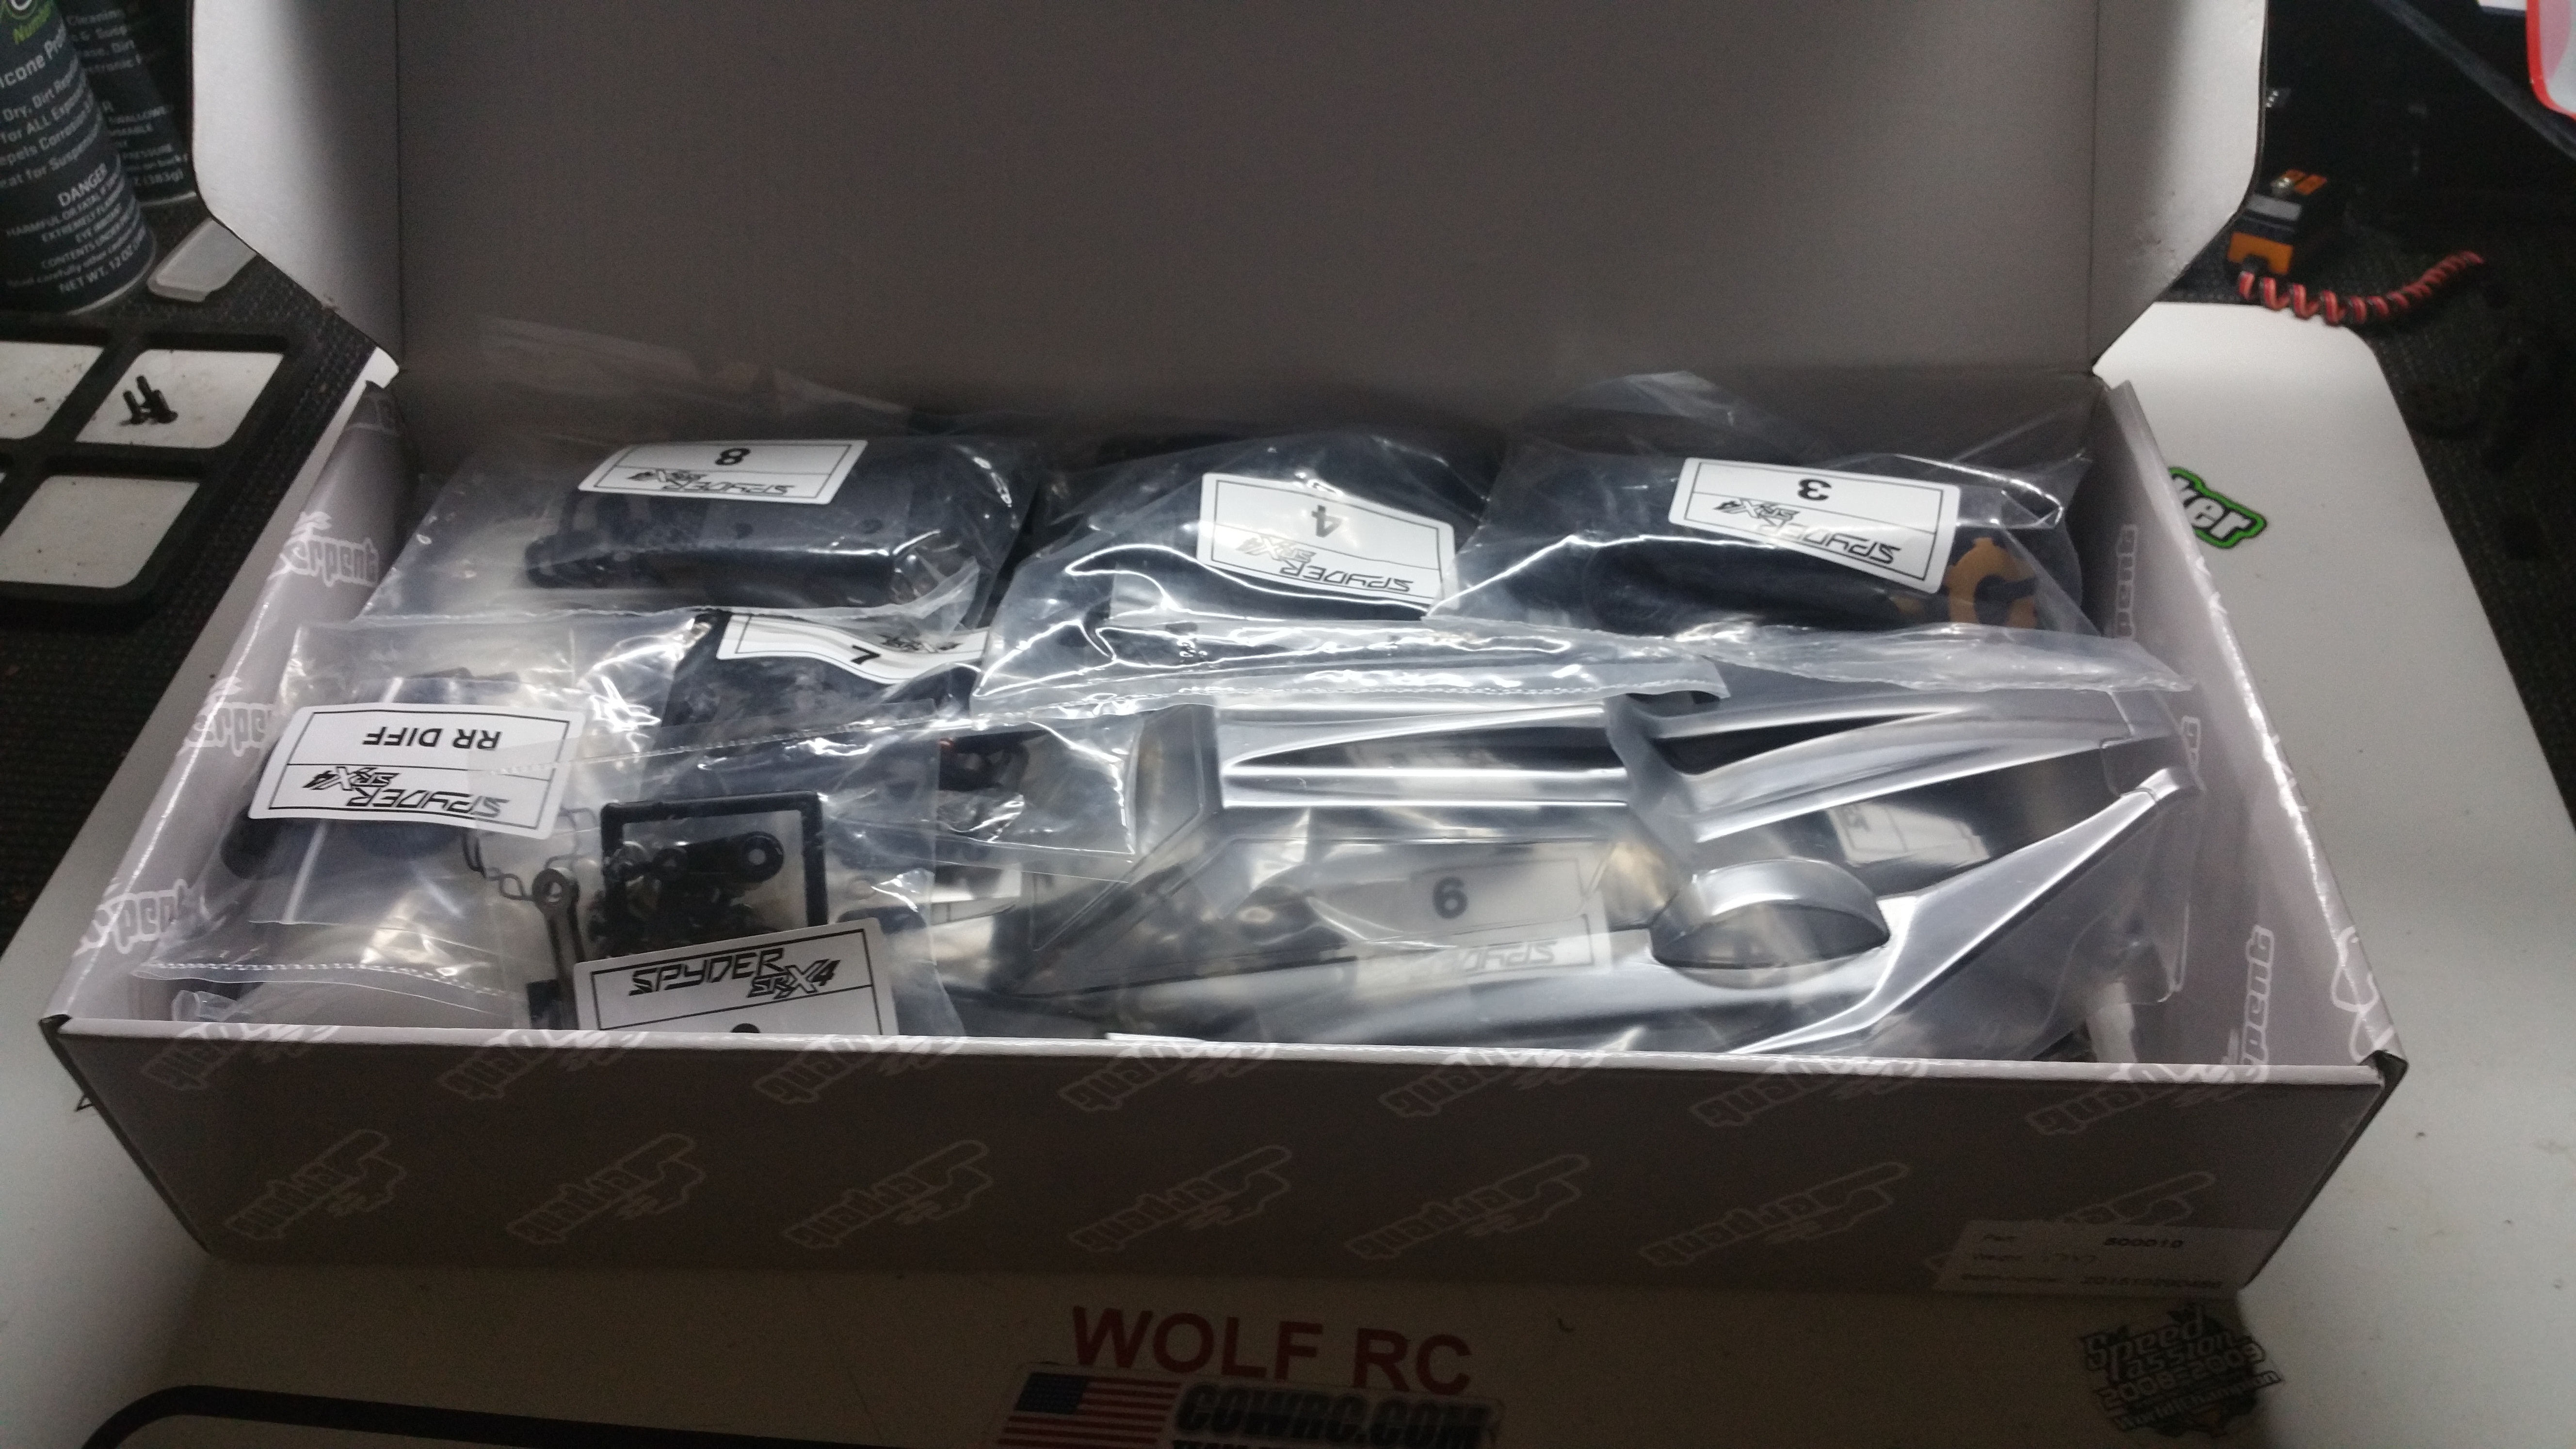
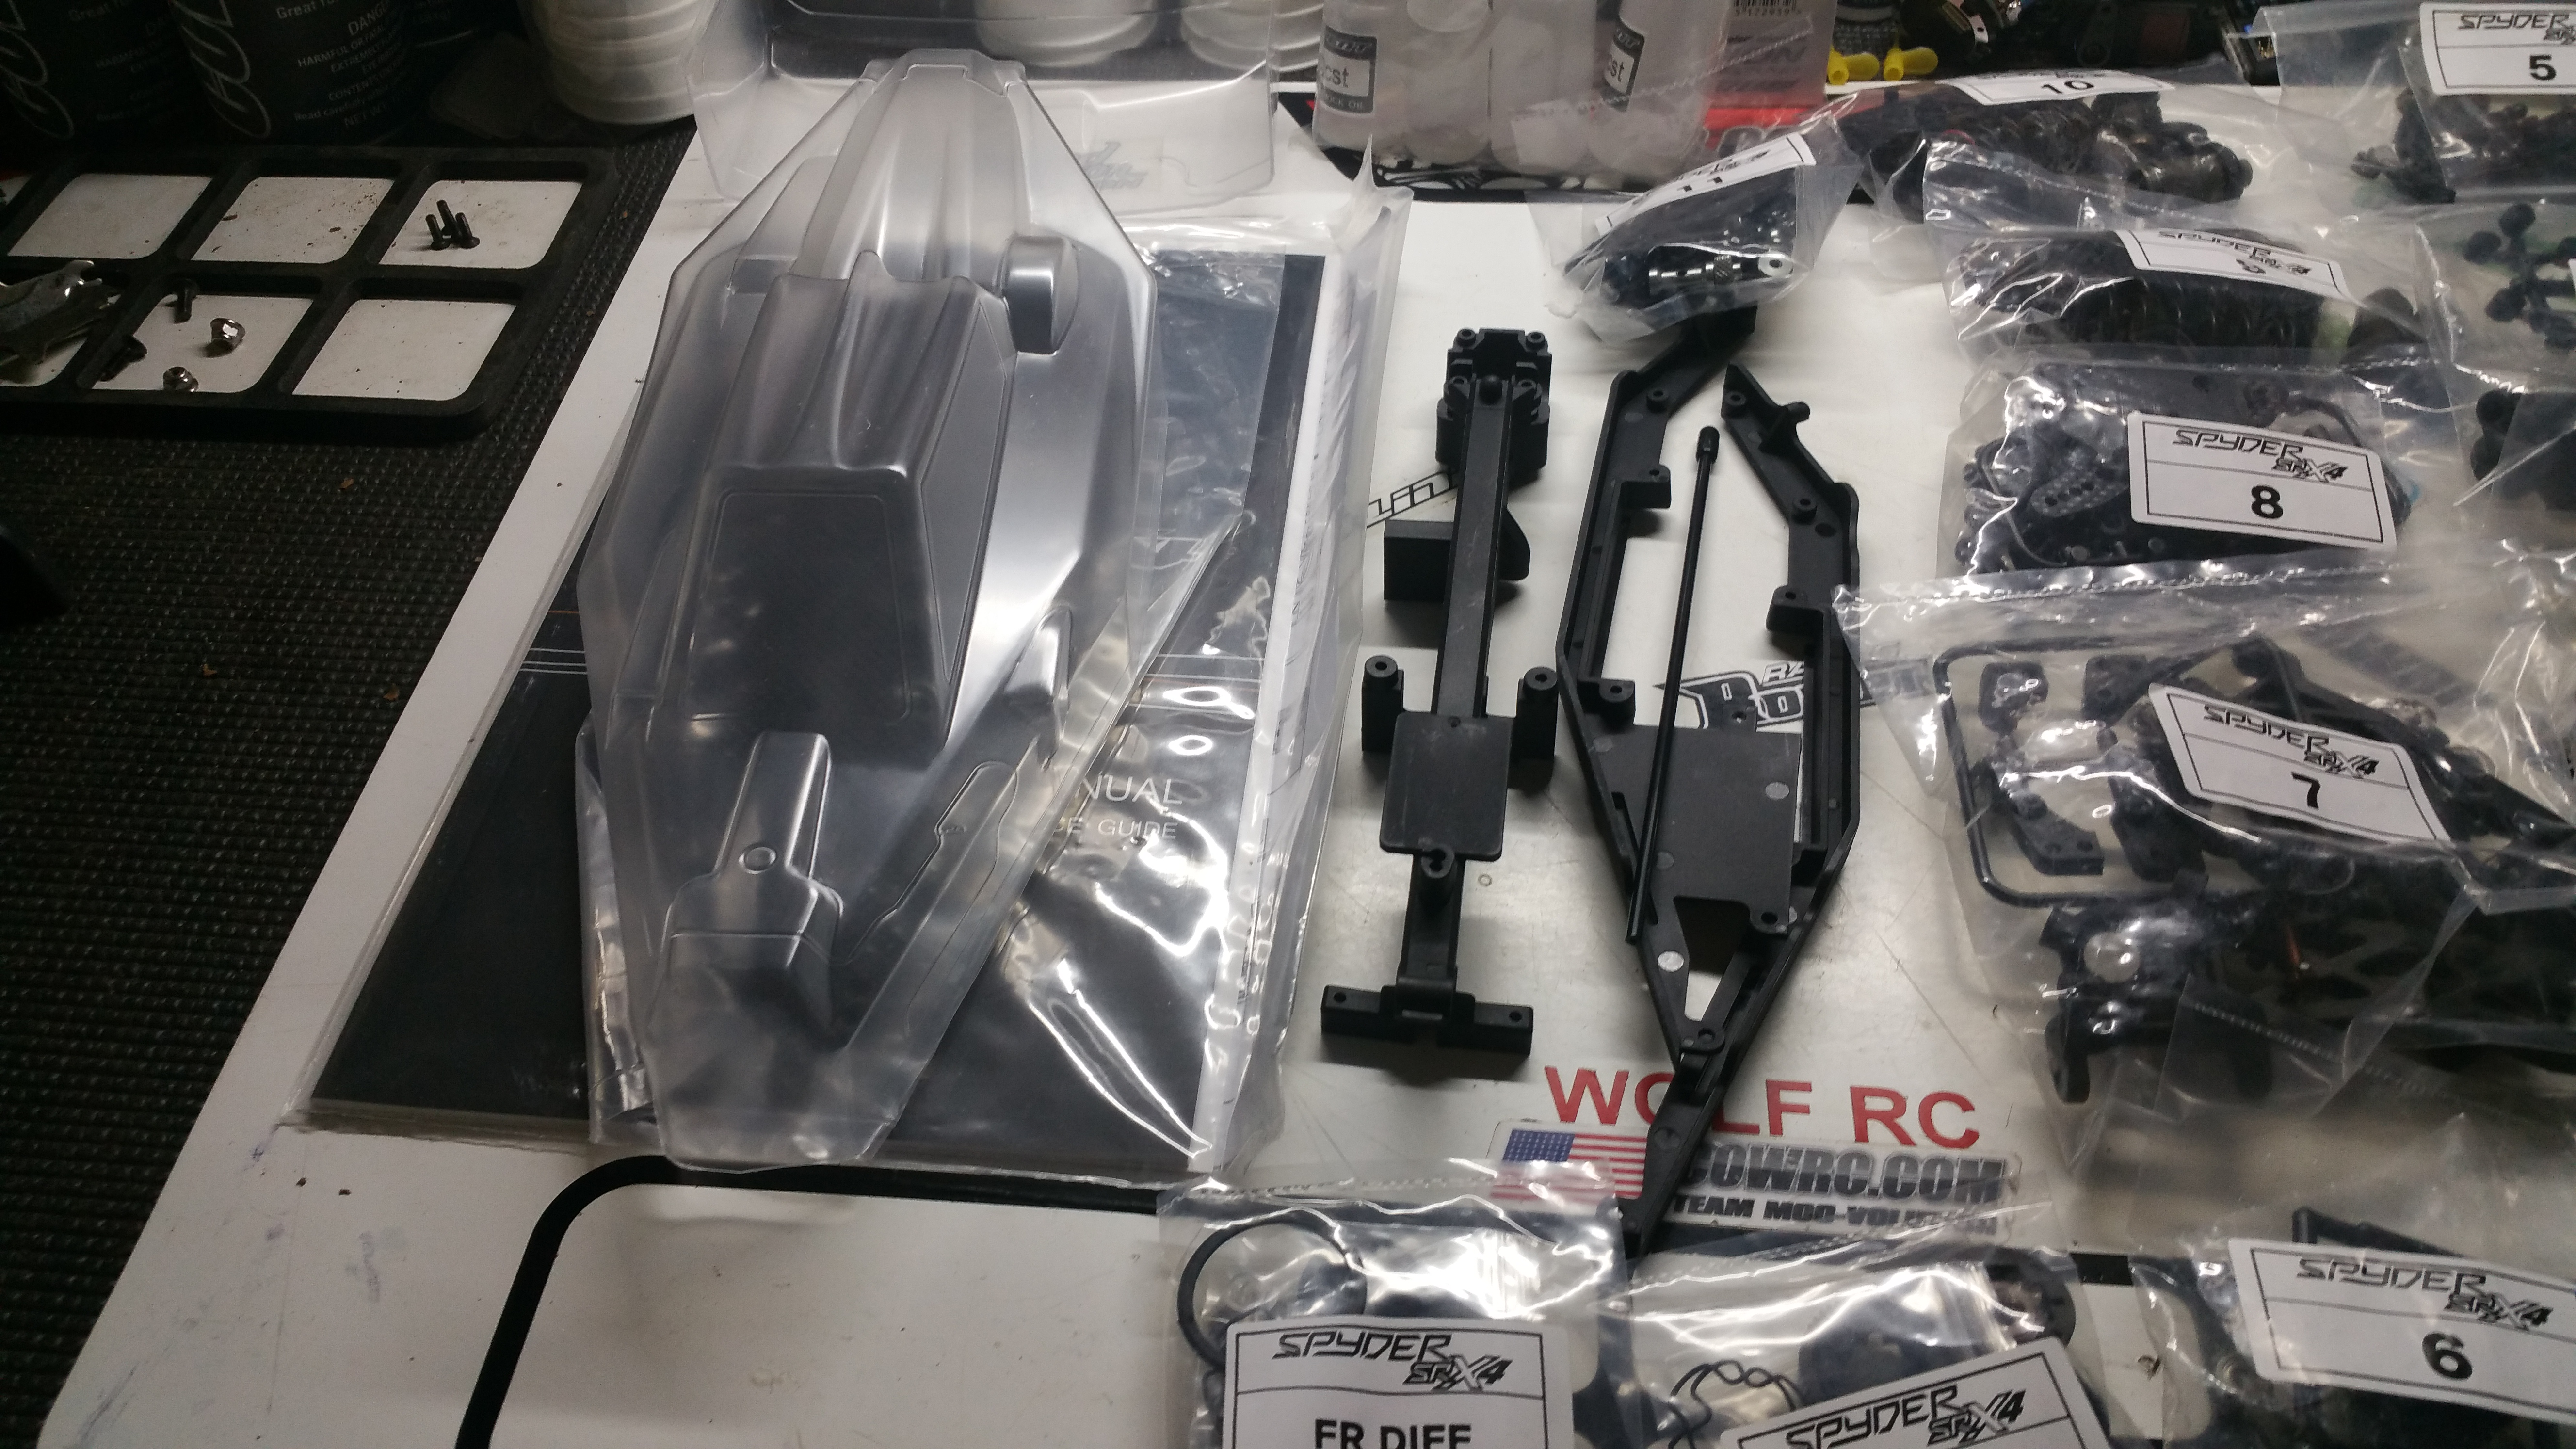
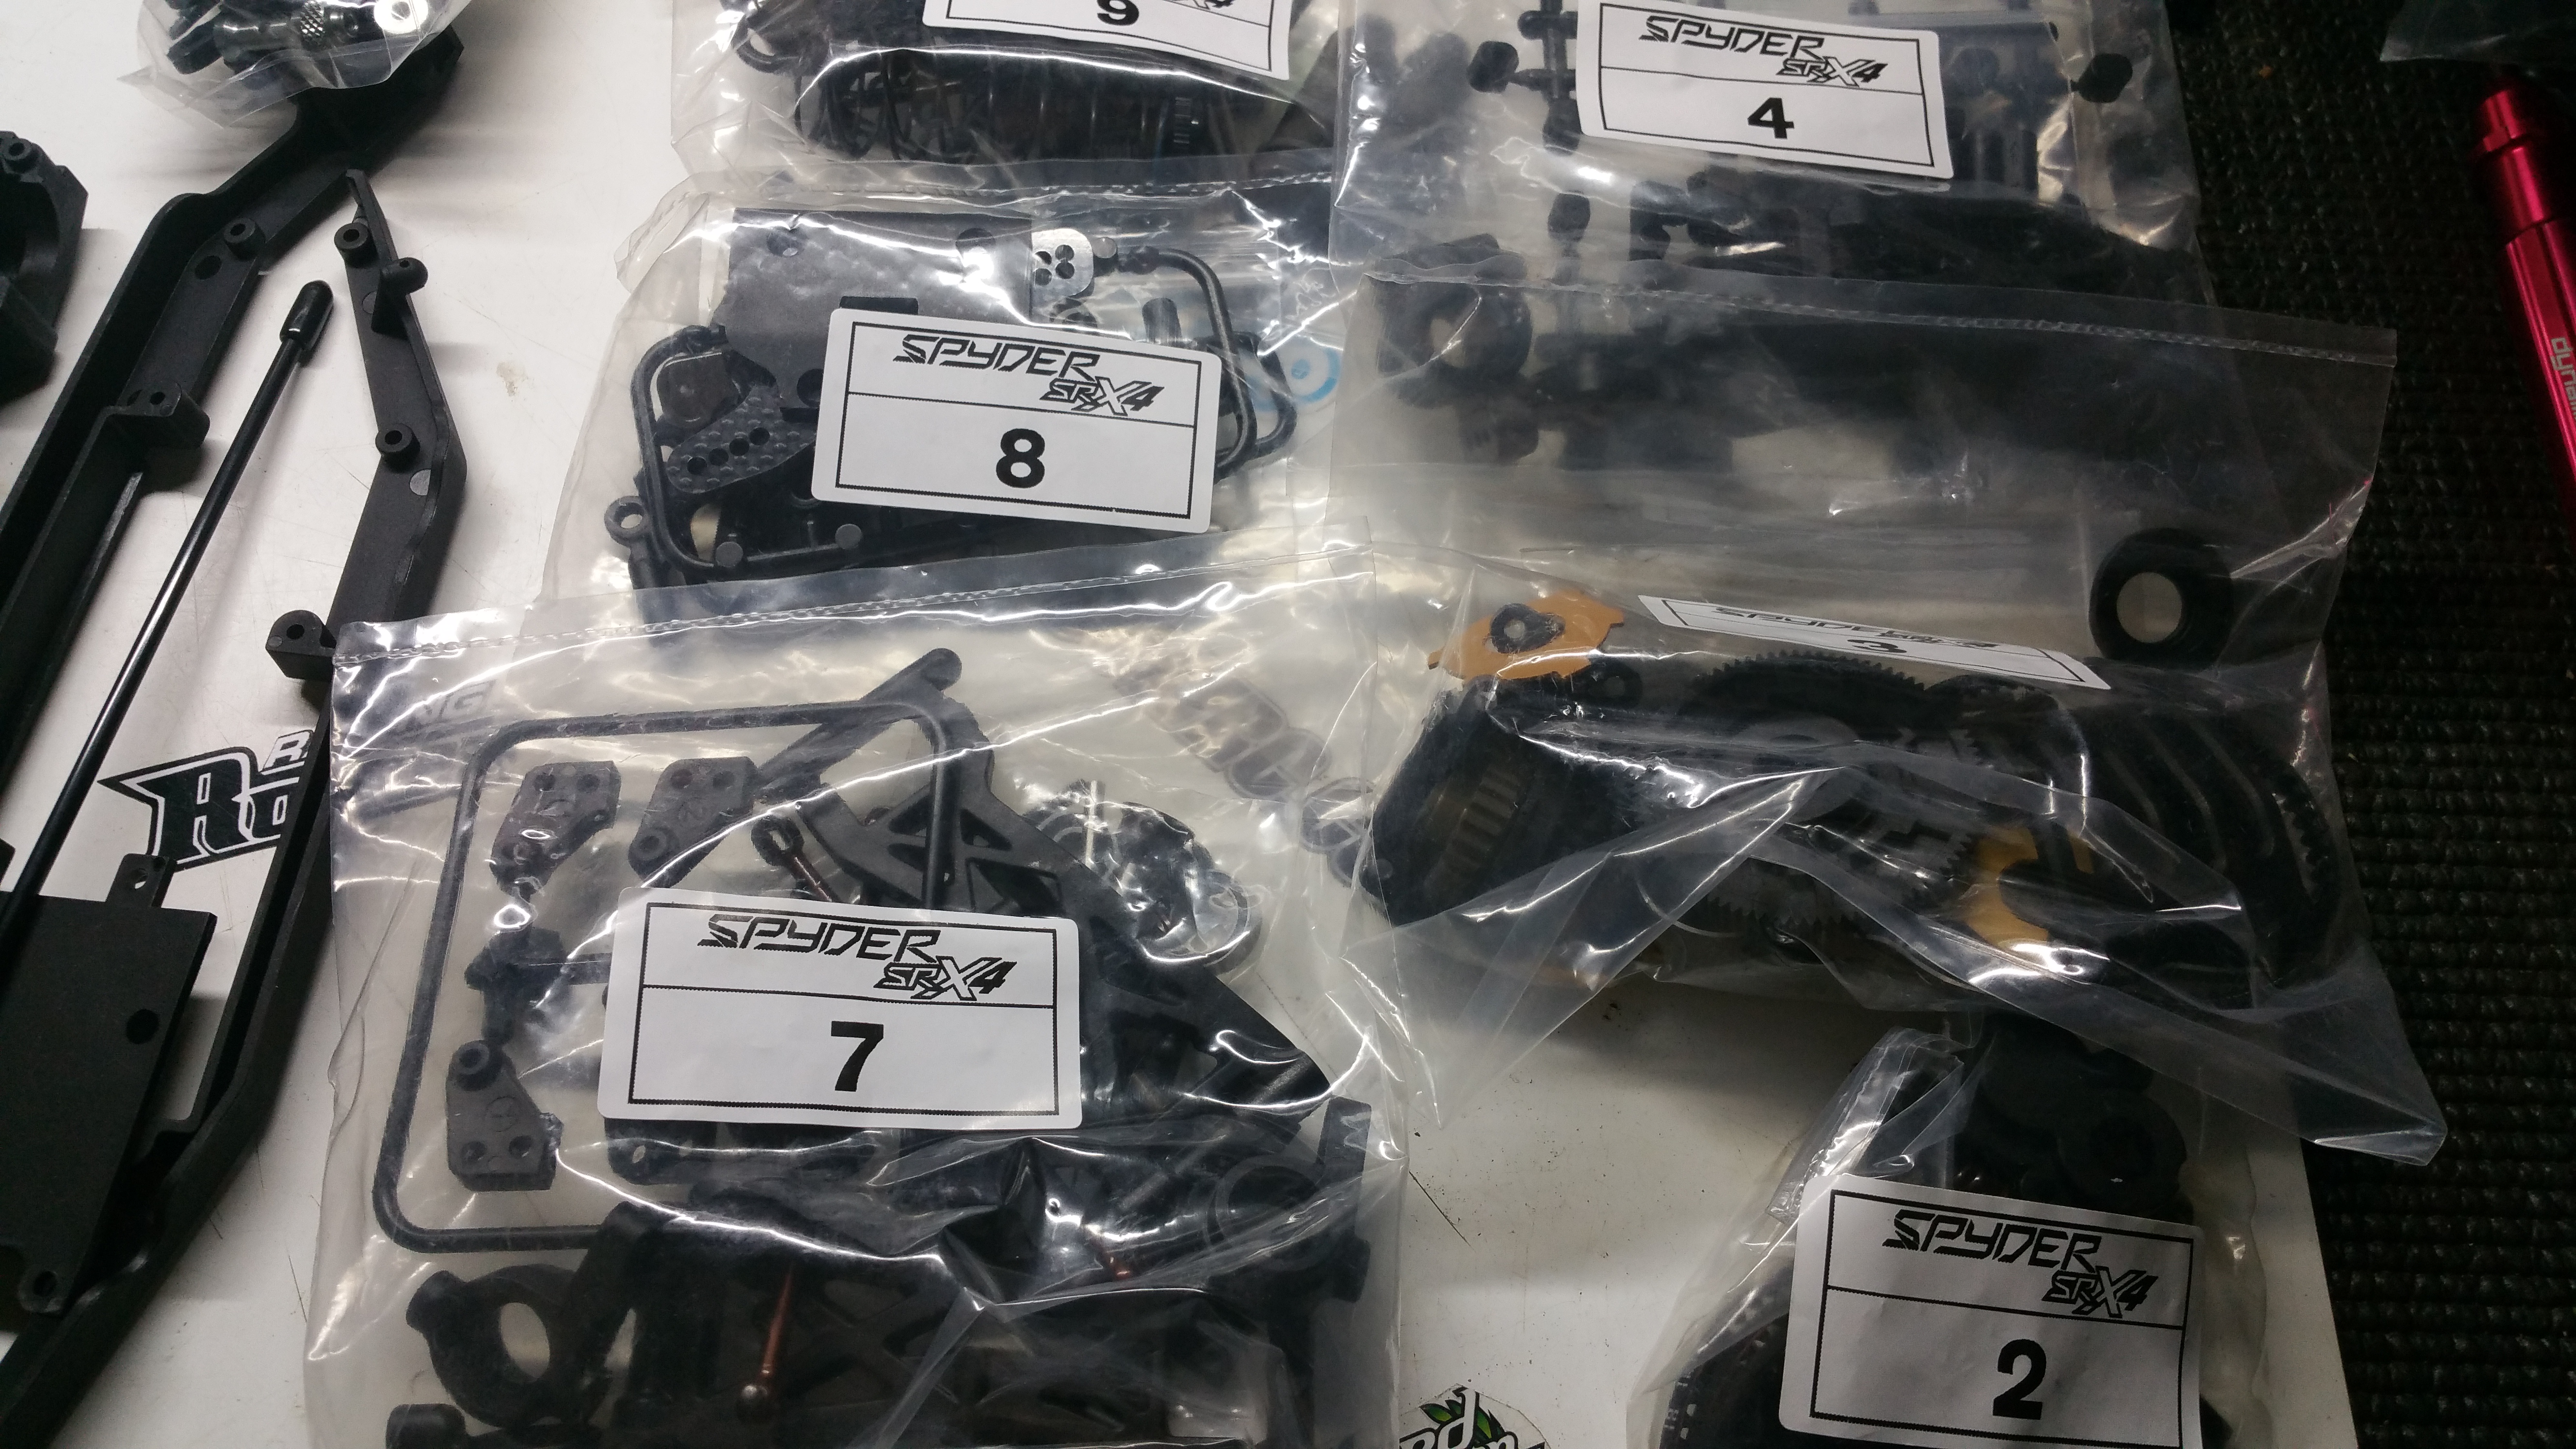
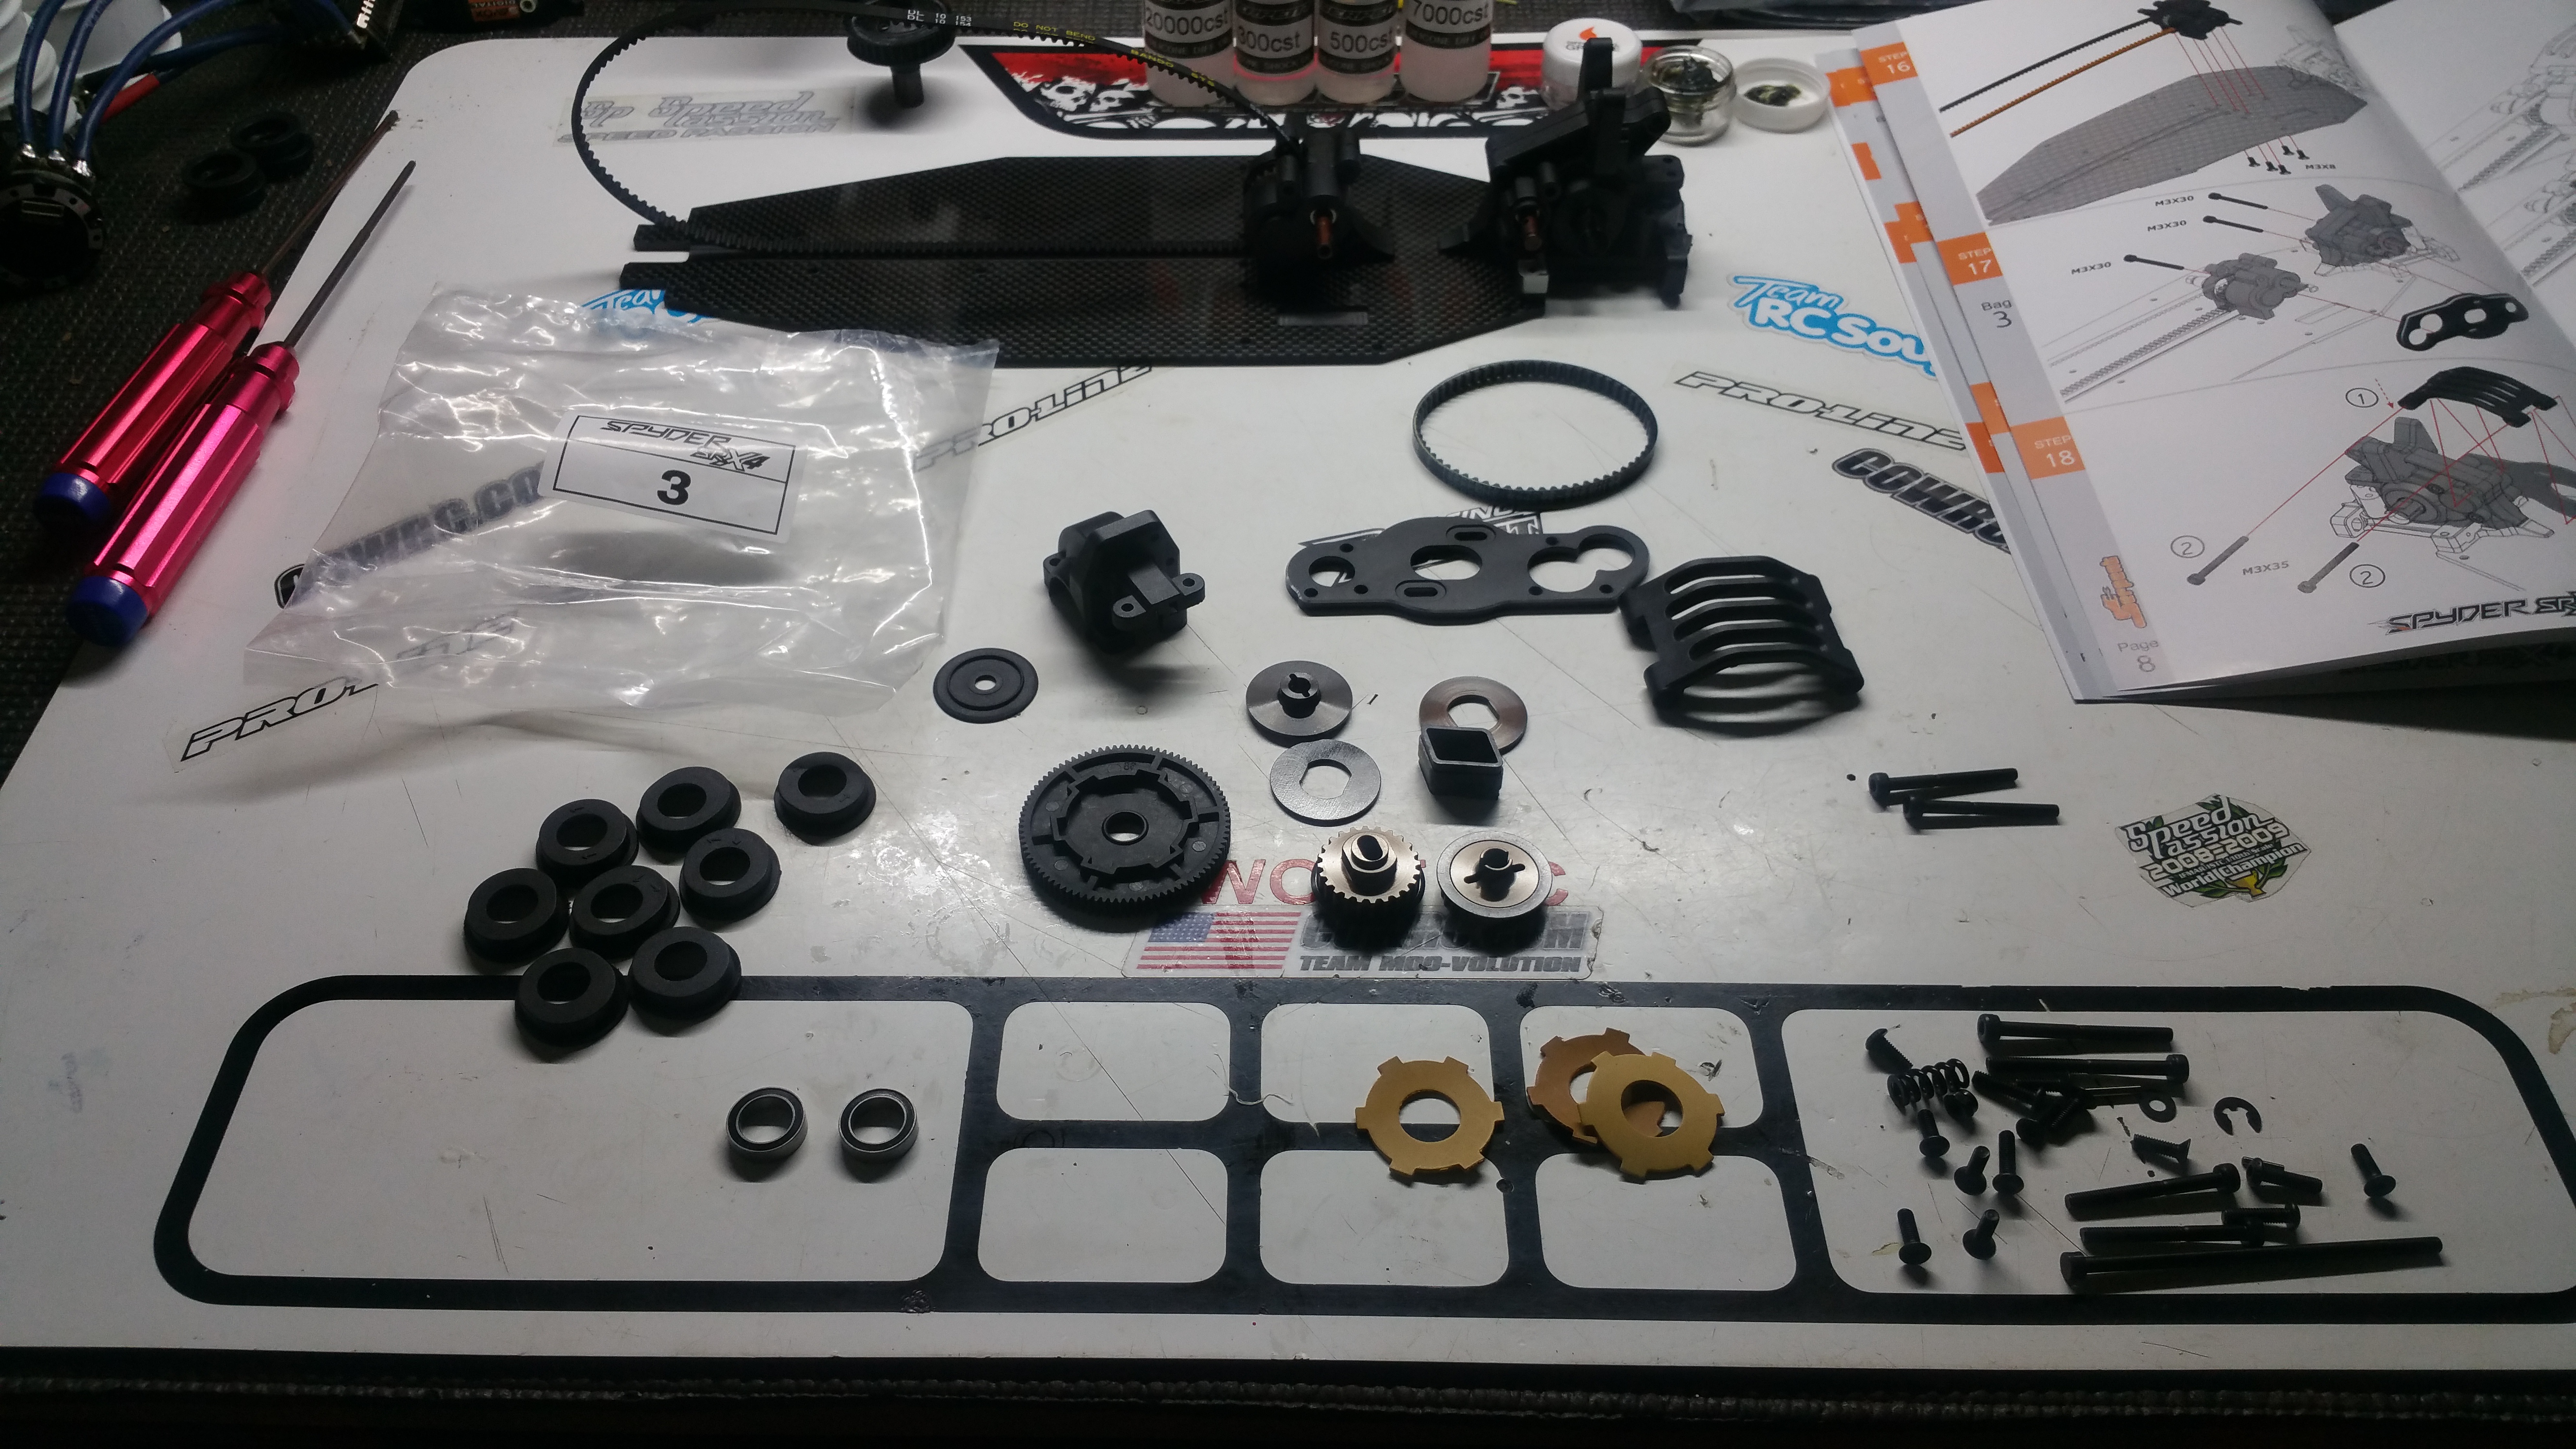
So many parts in the little box!
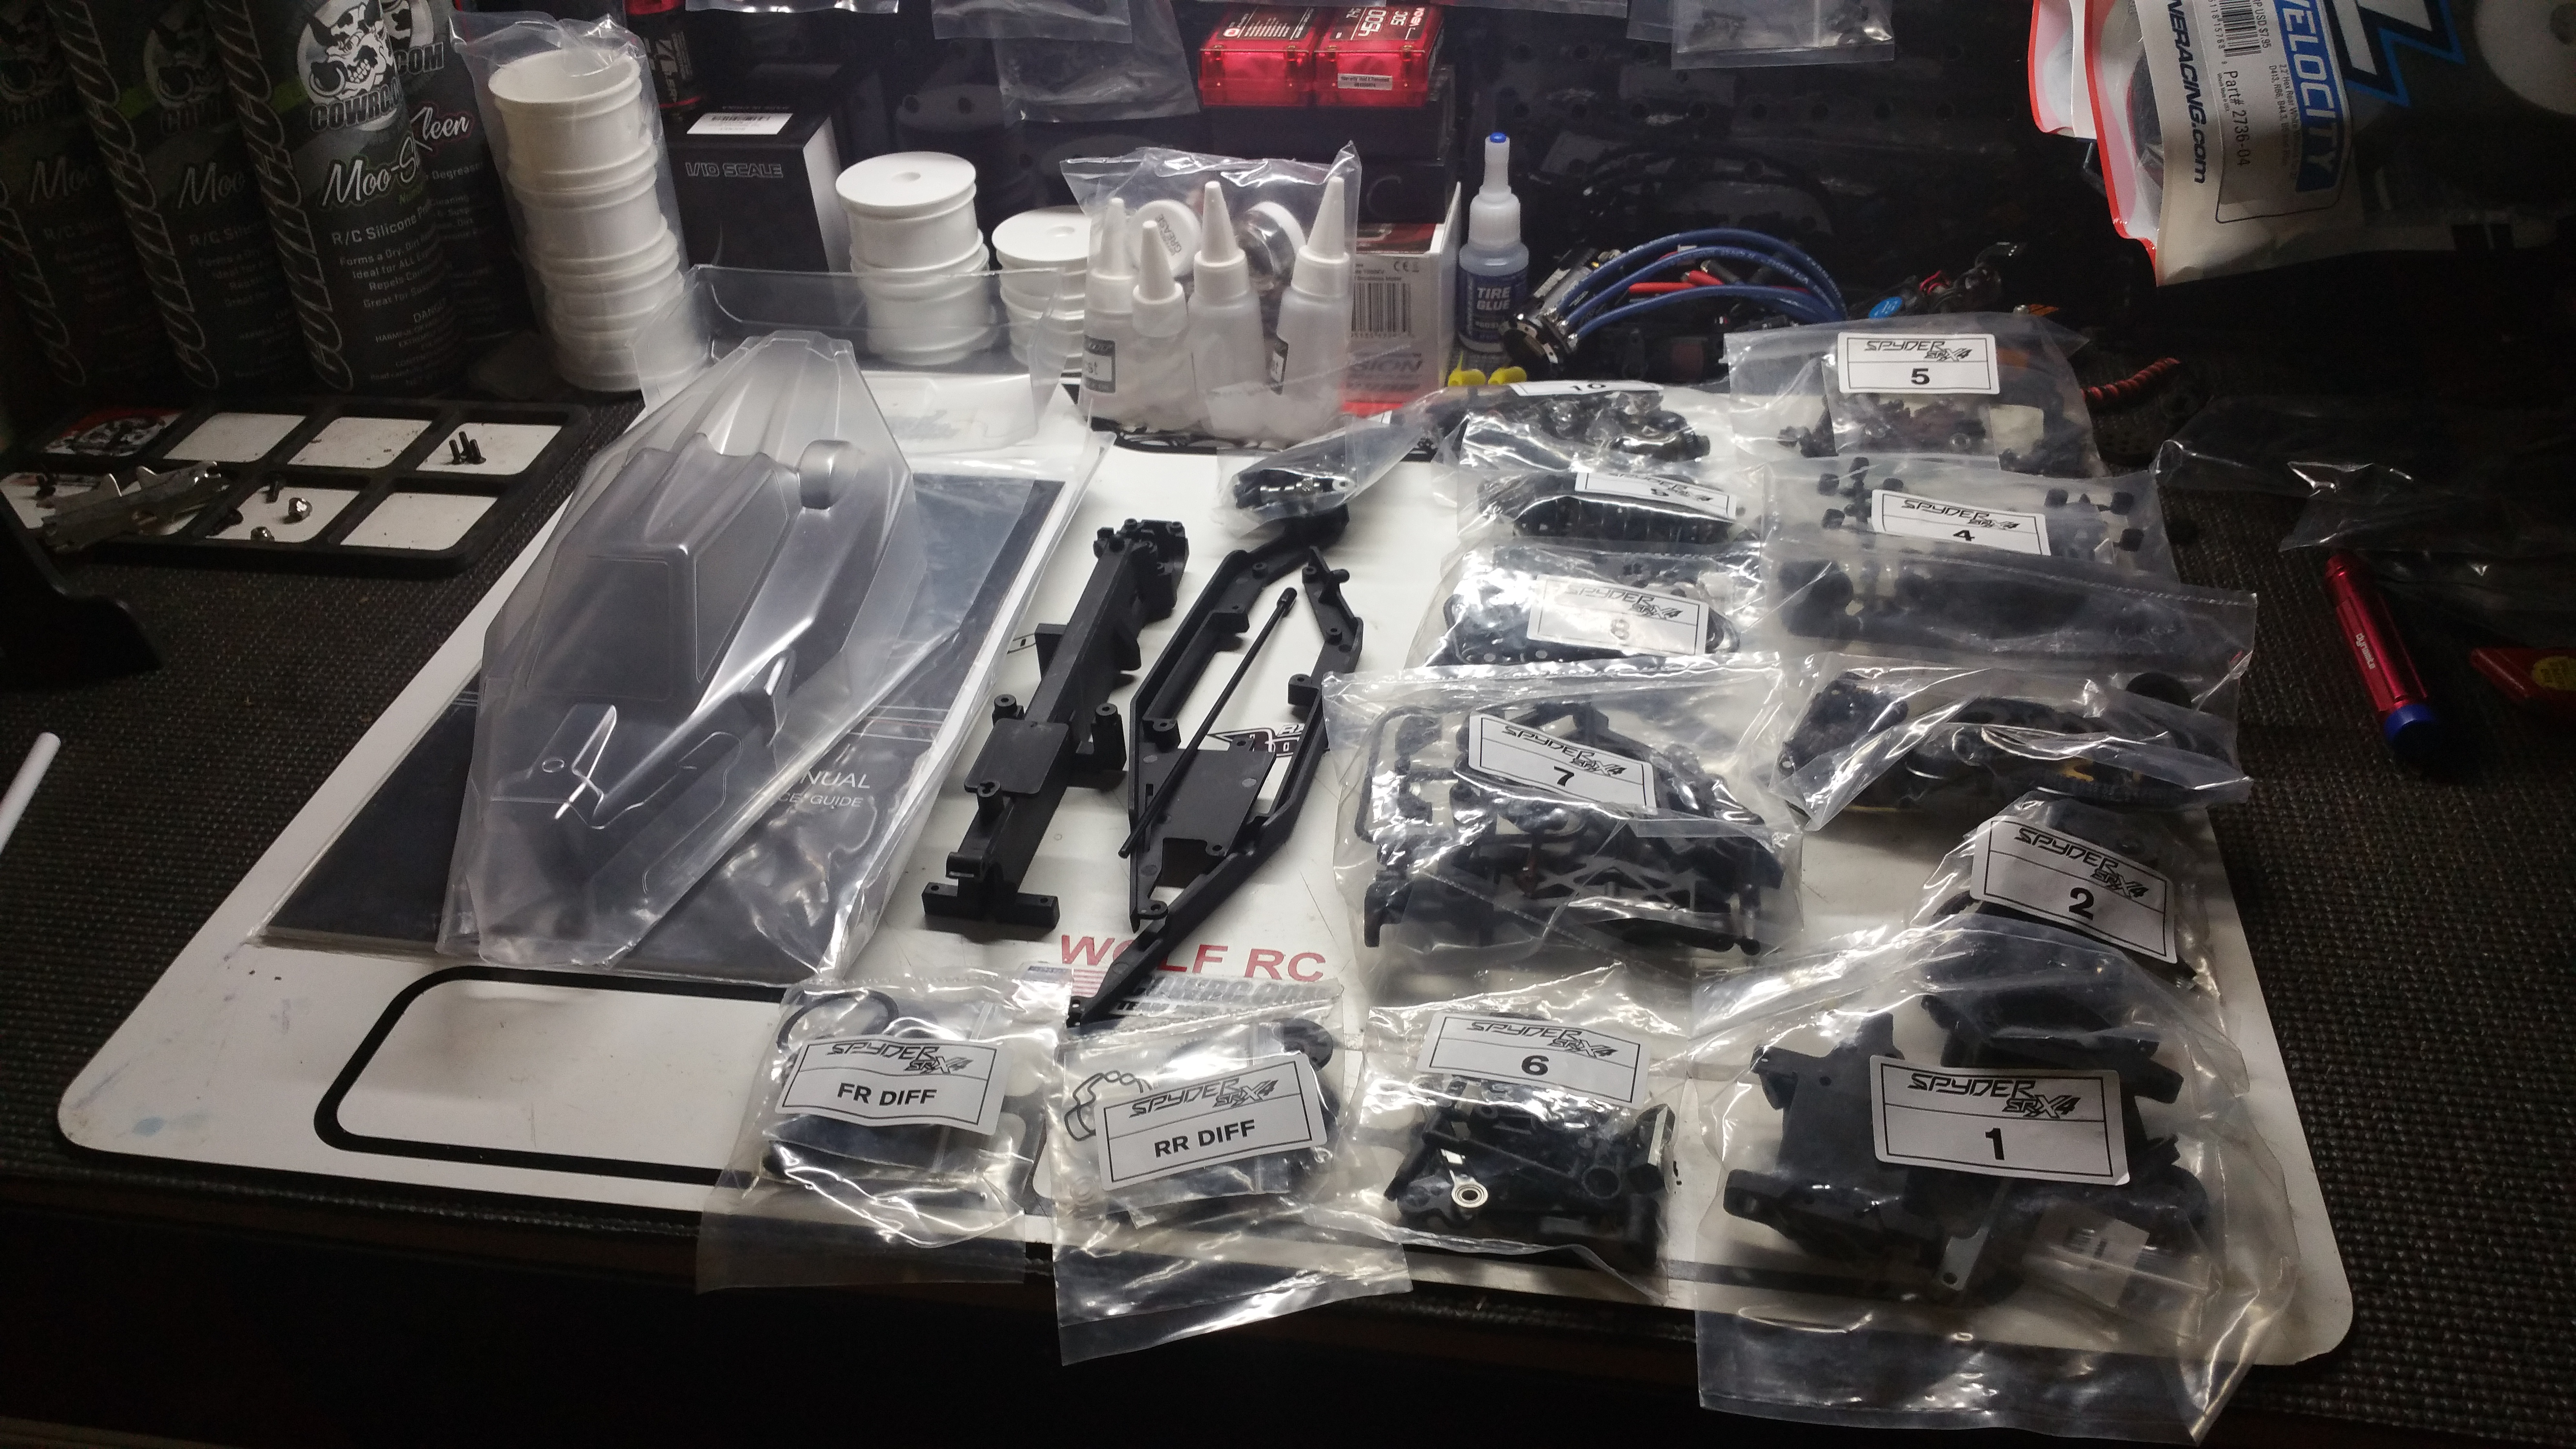
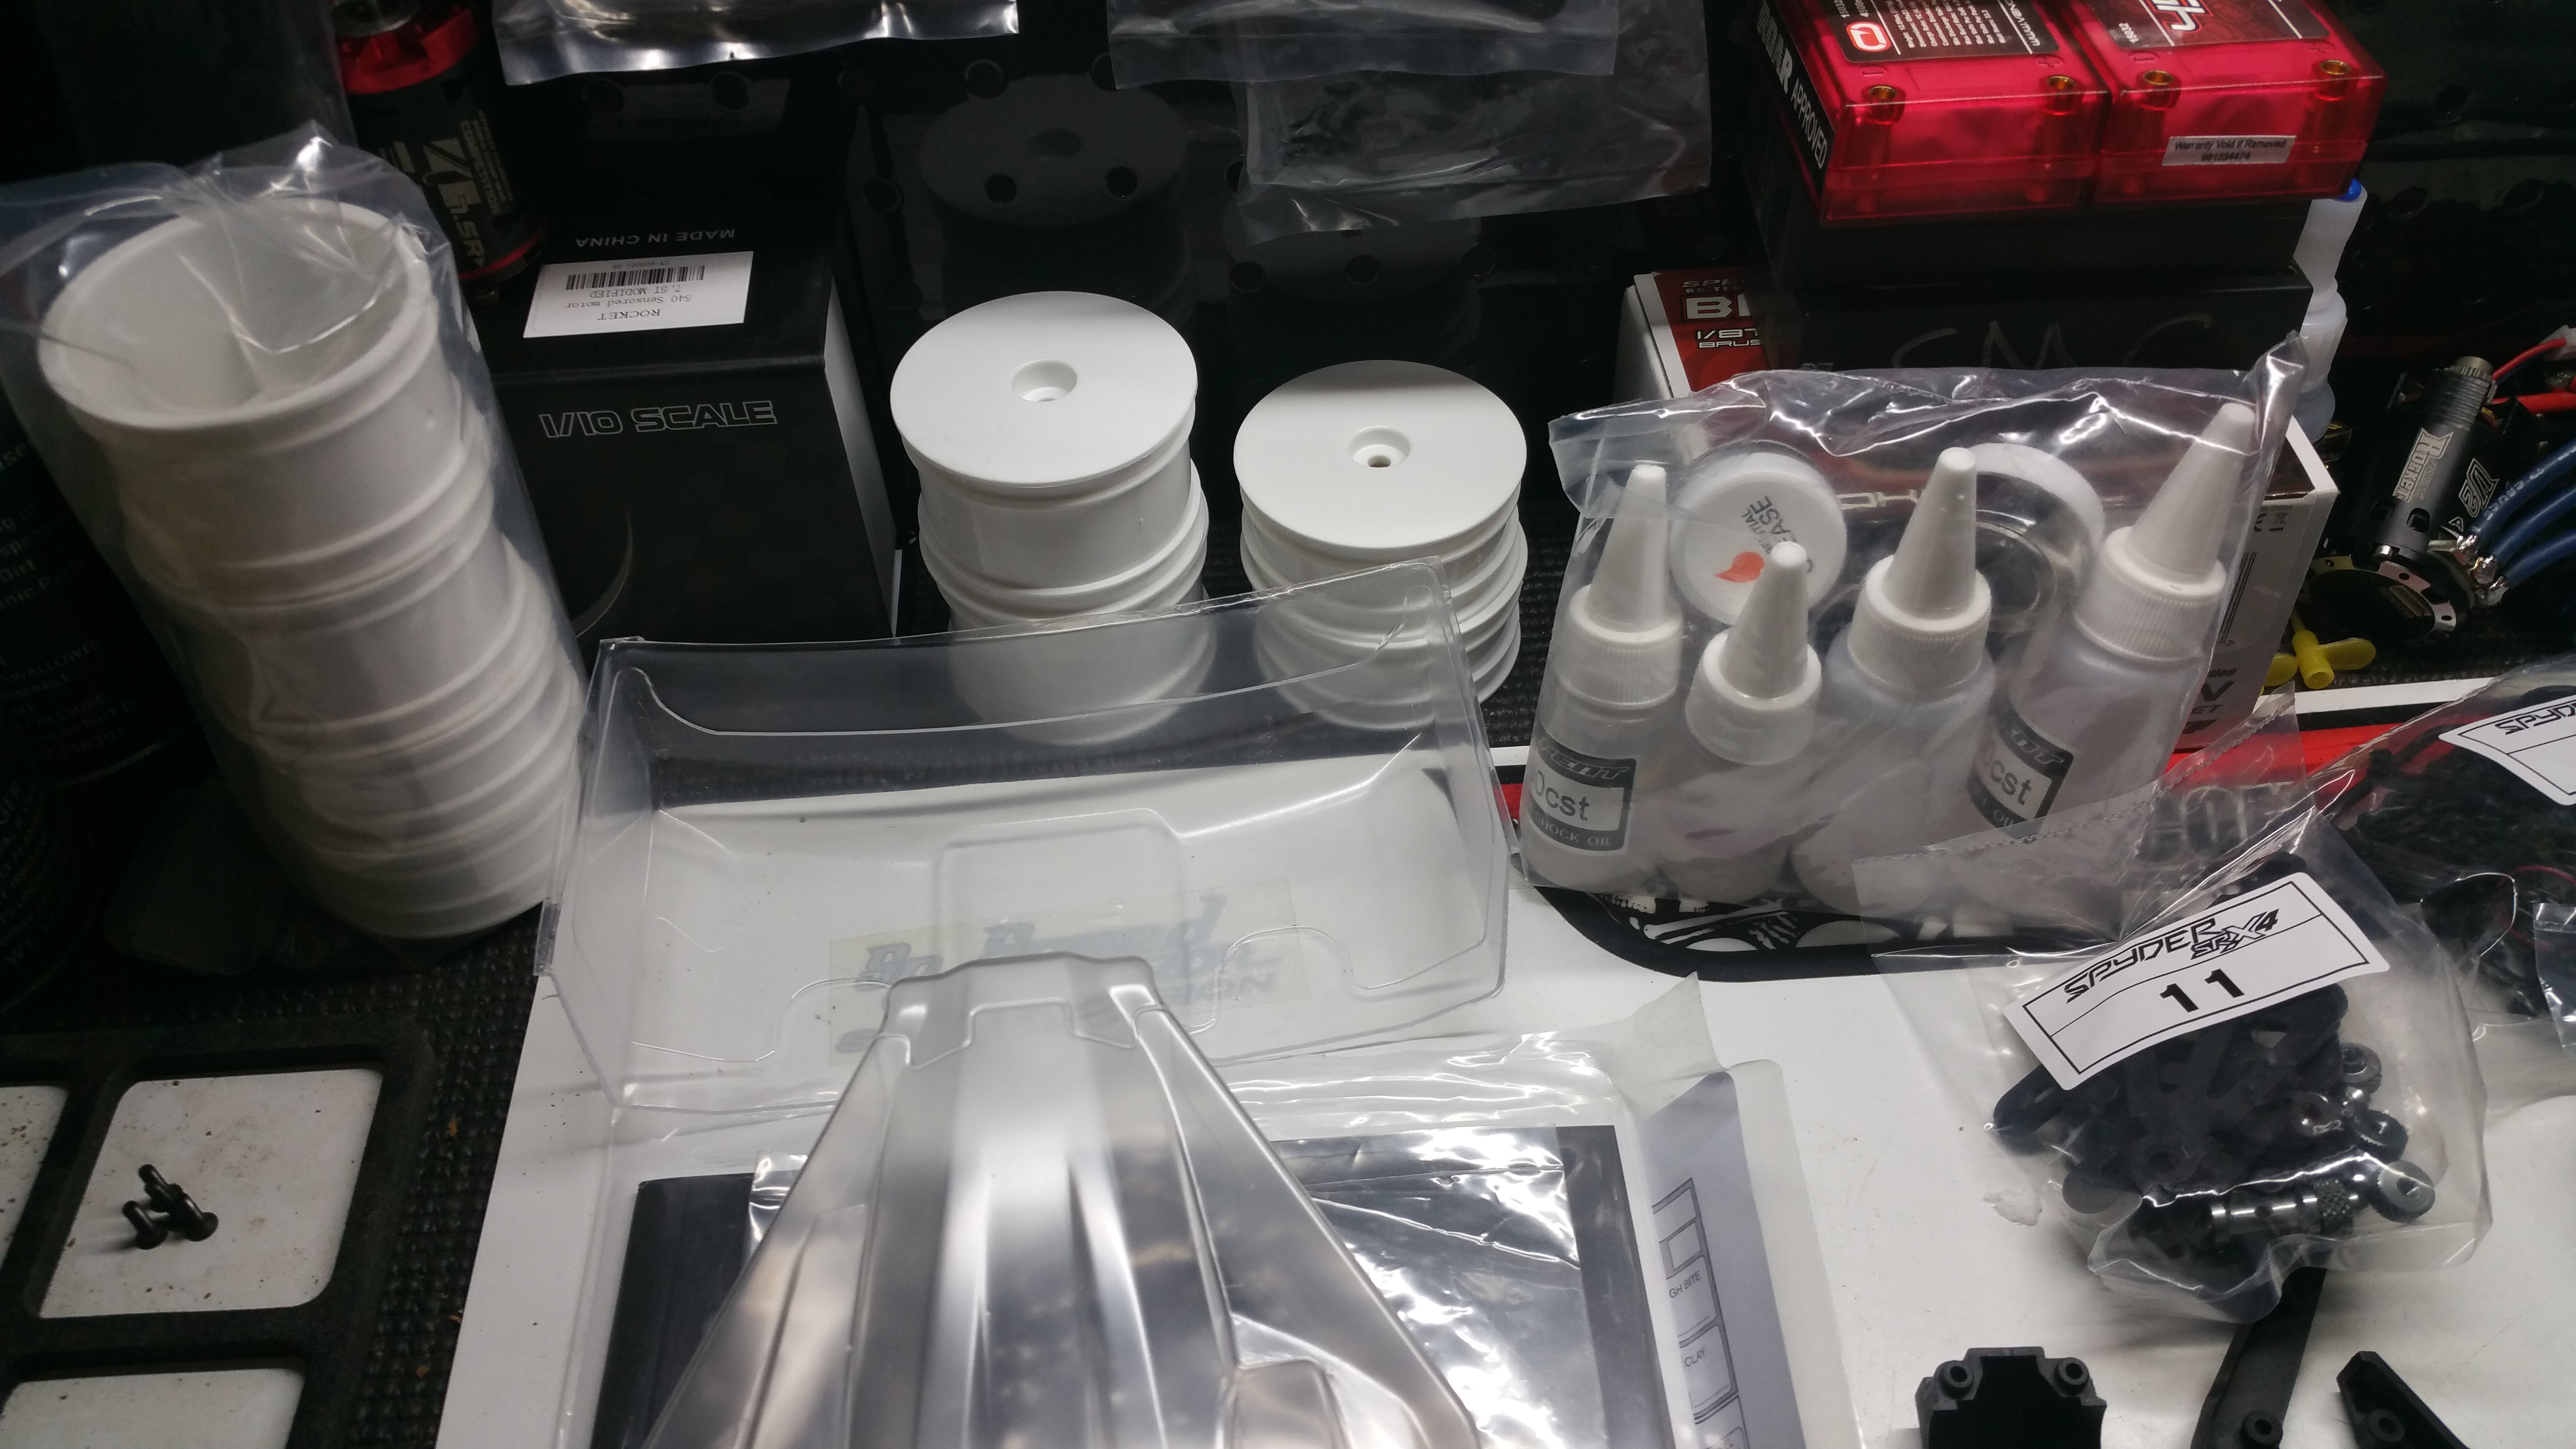
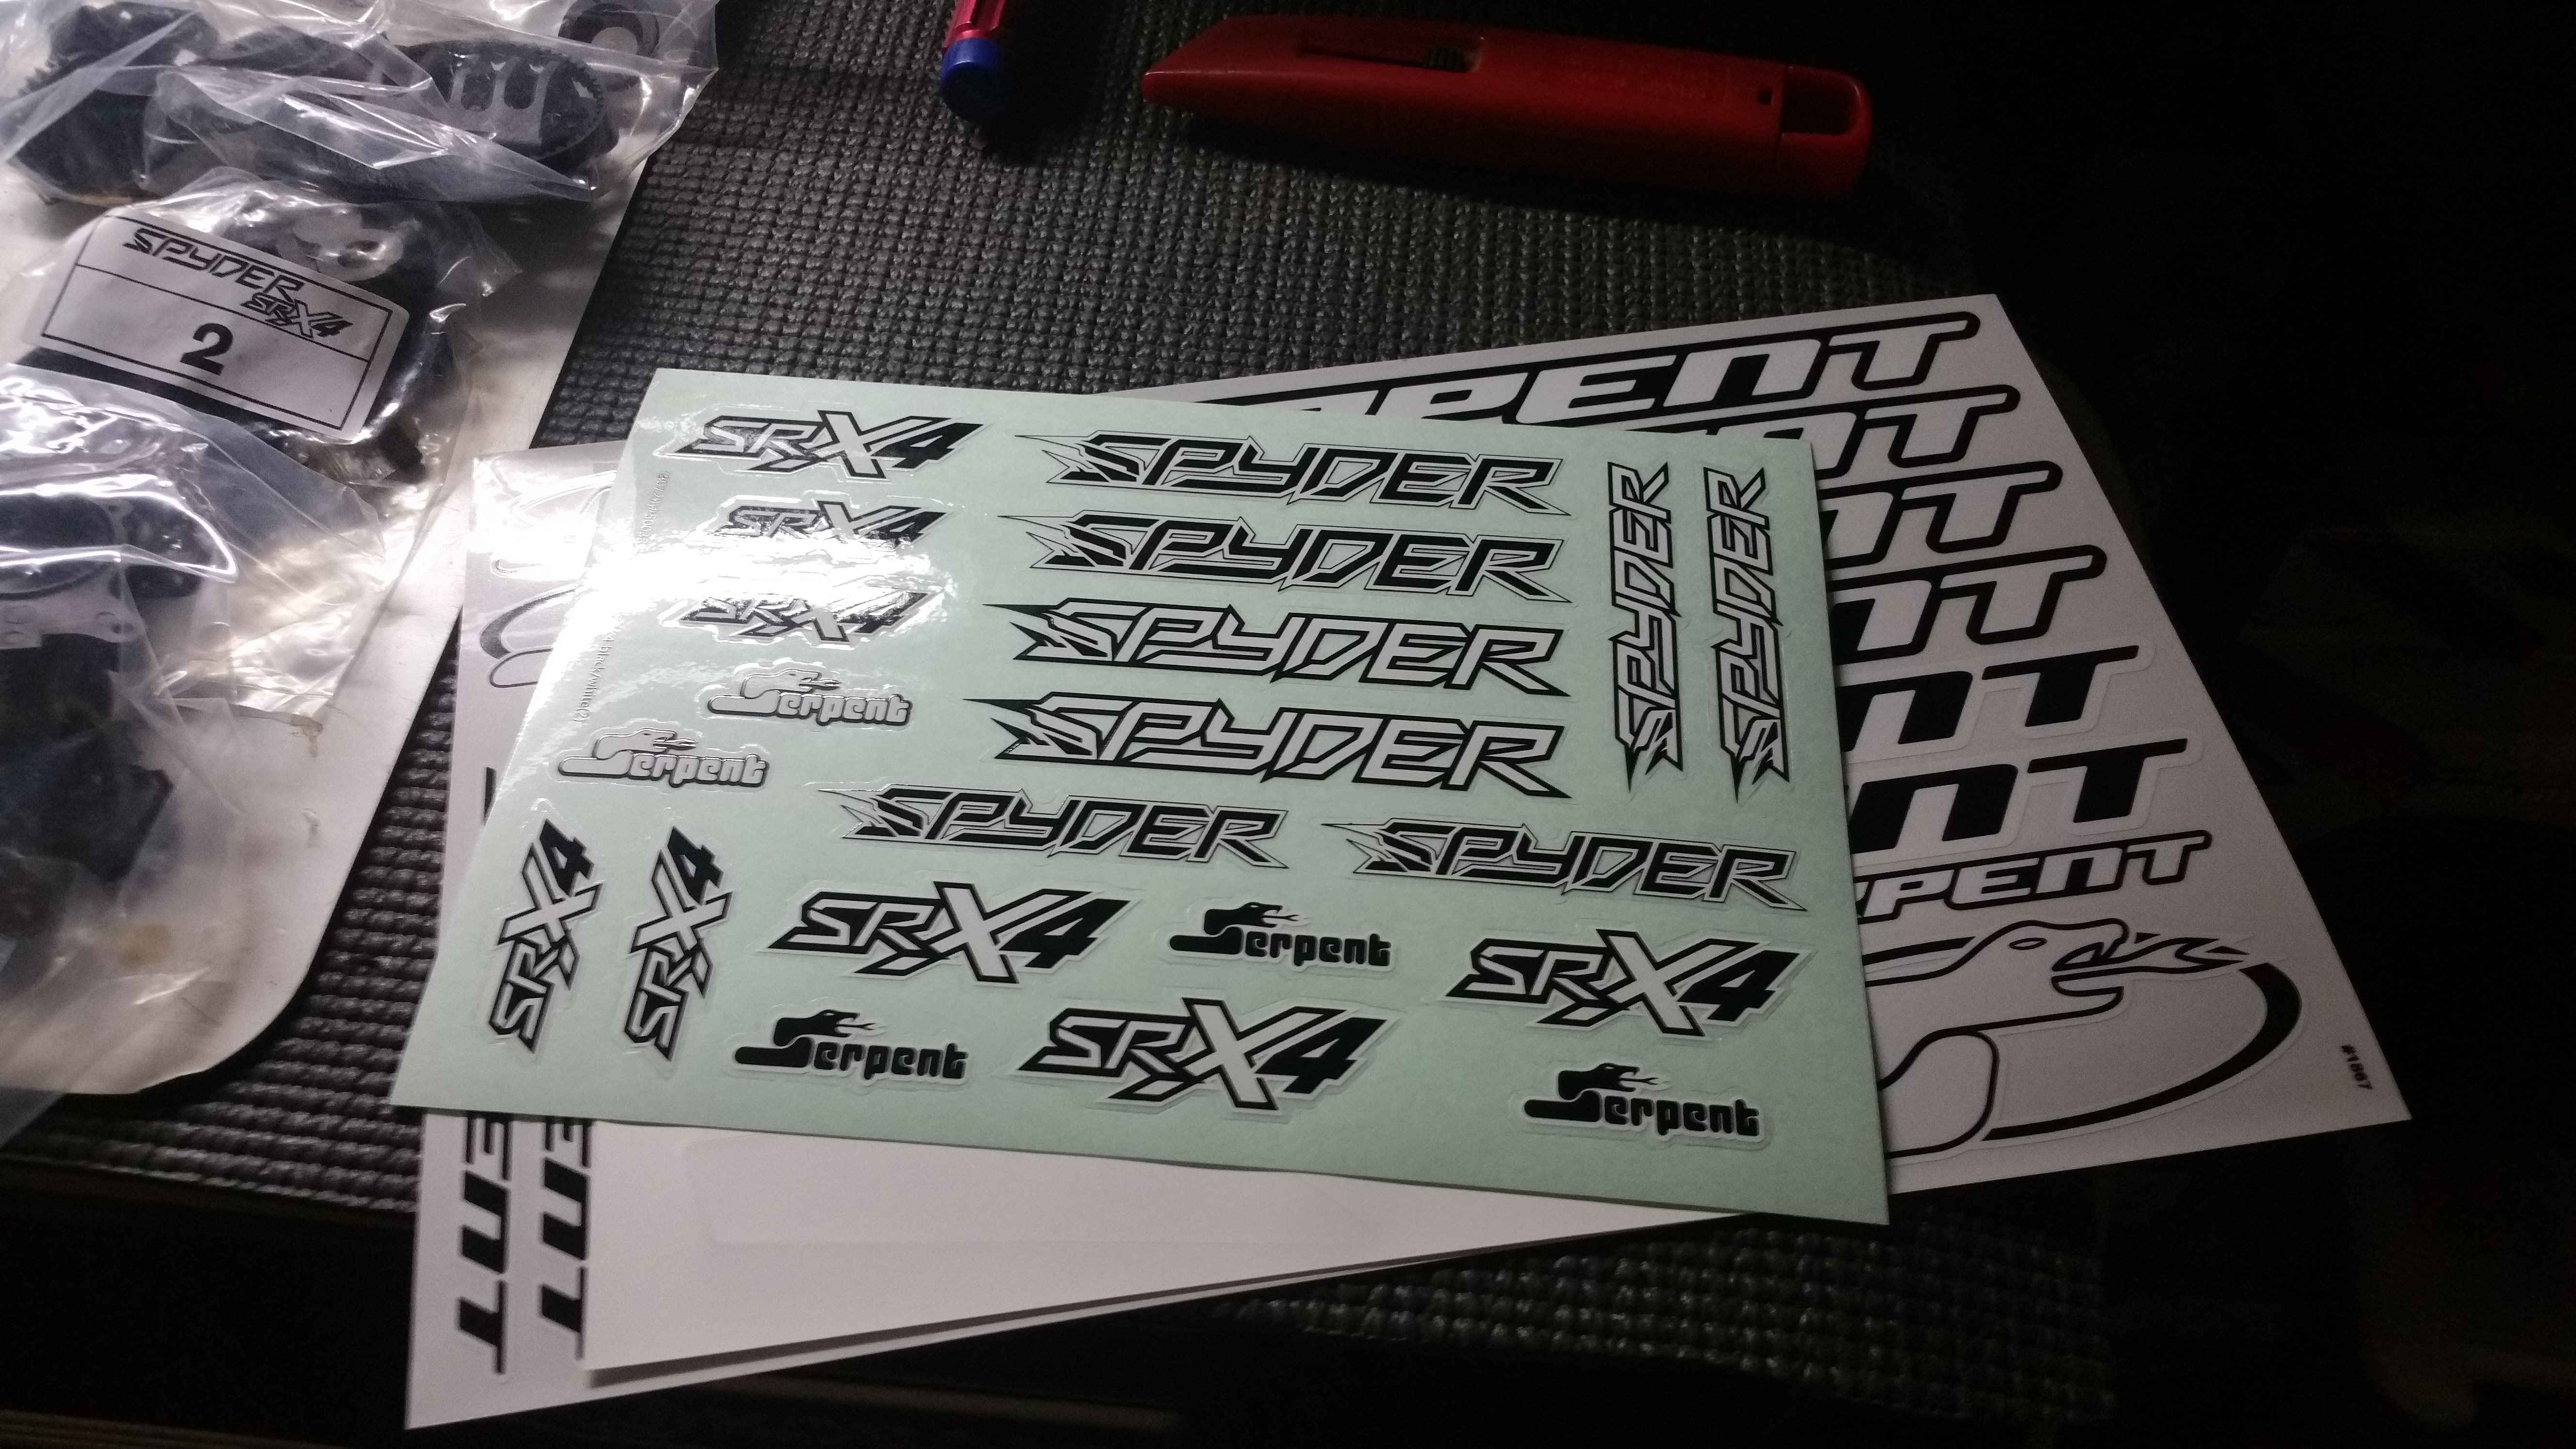
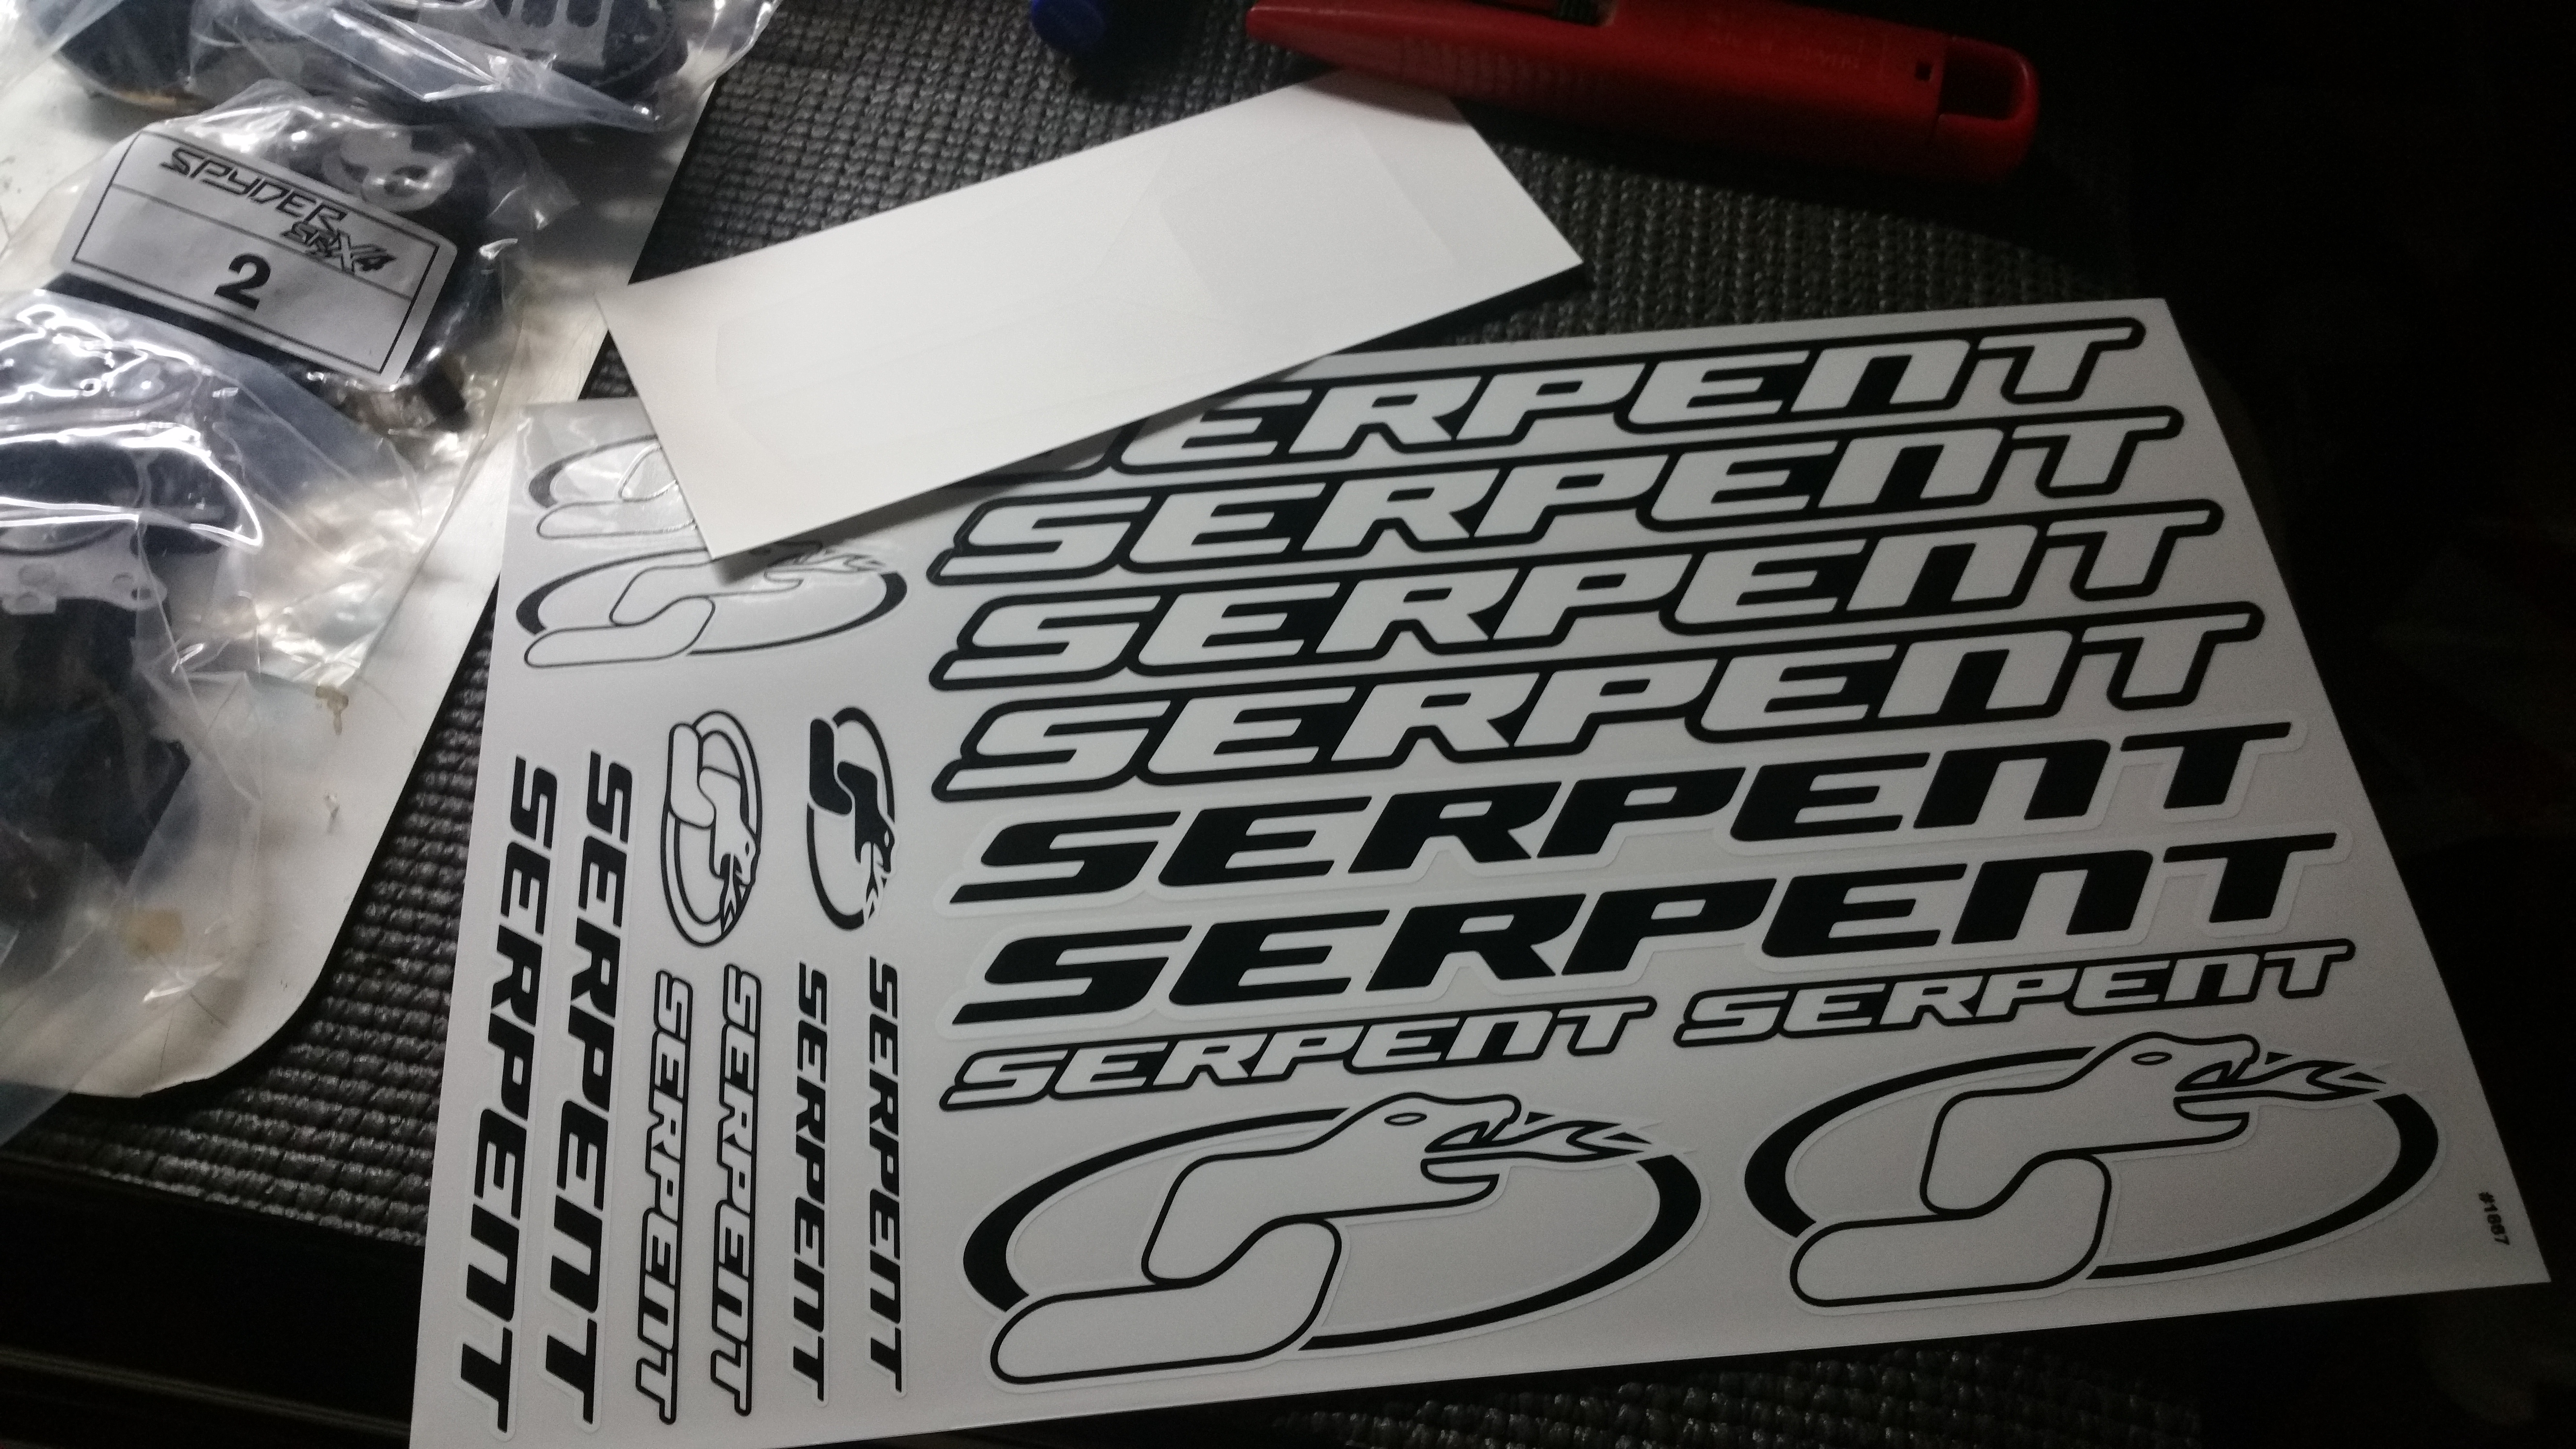
Serpent includes 2 sheets of high quality stickers!
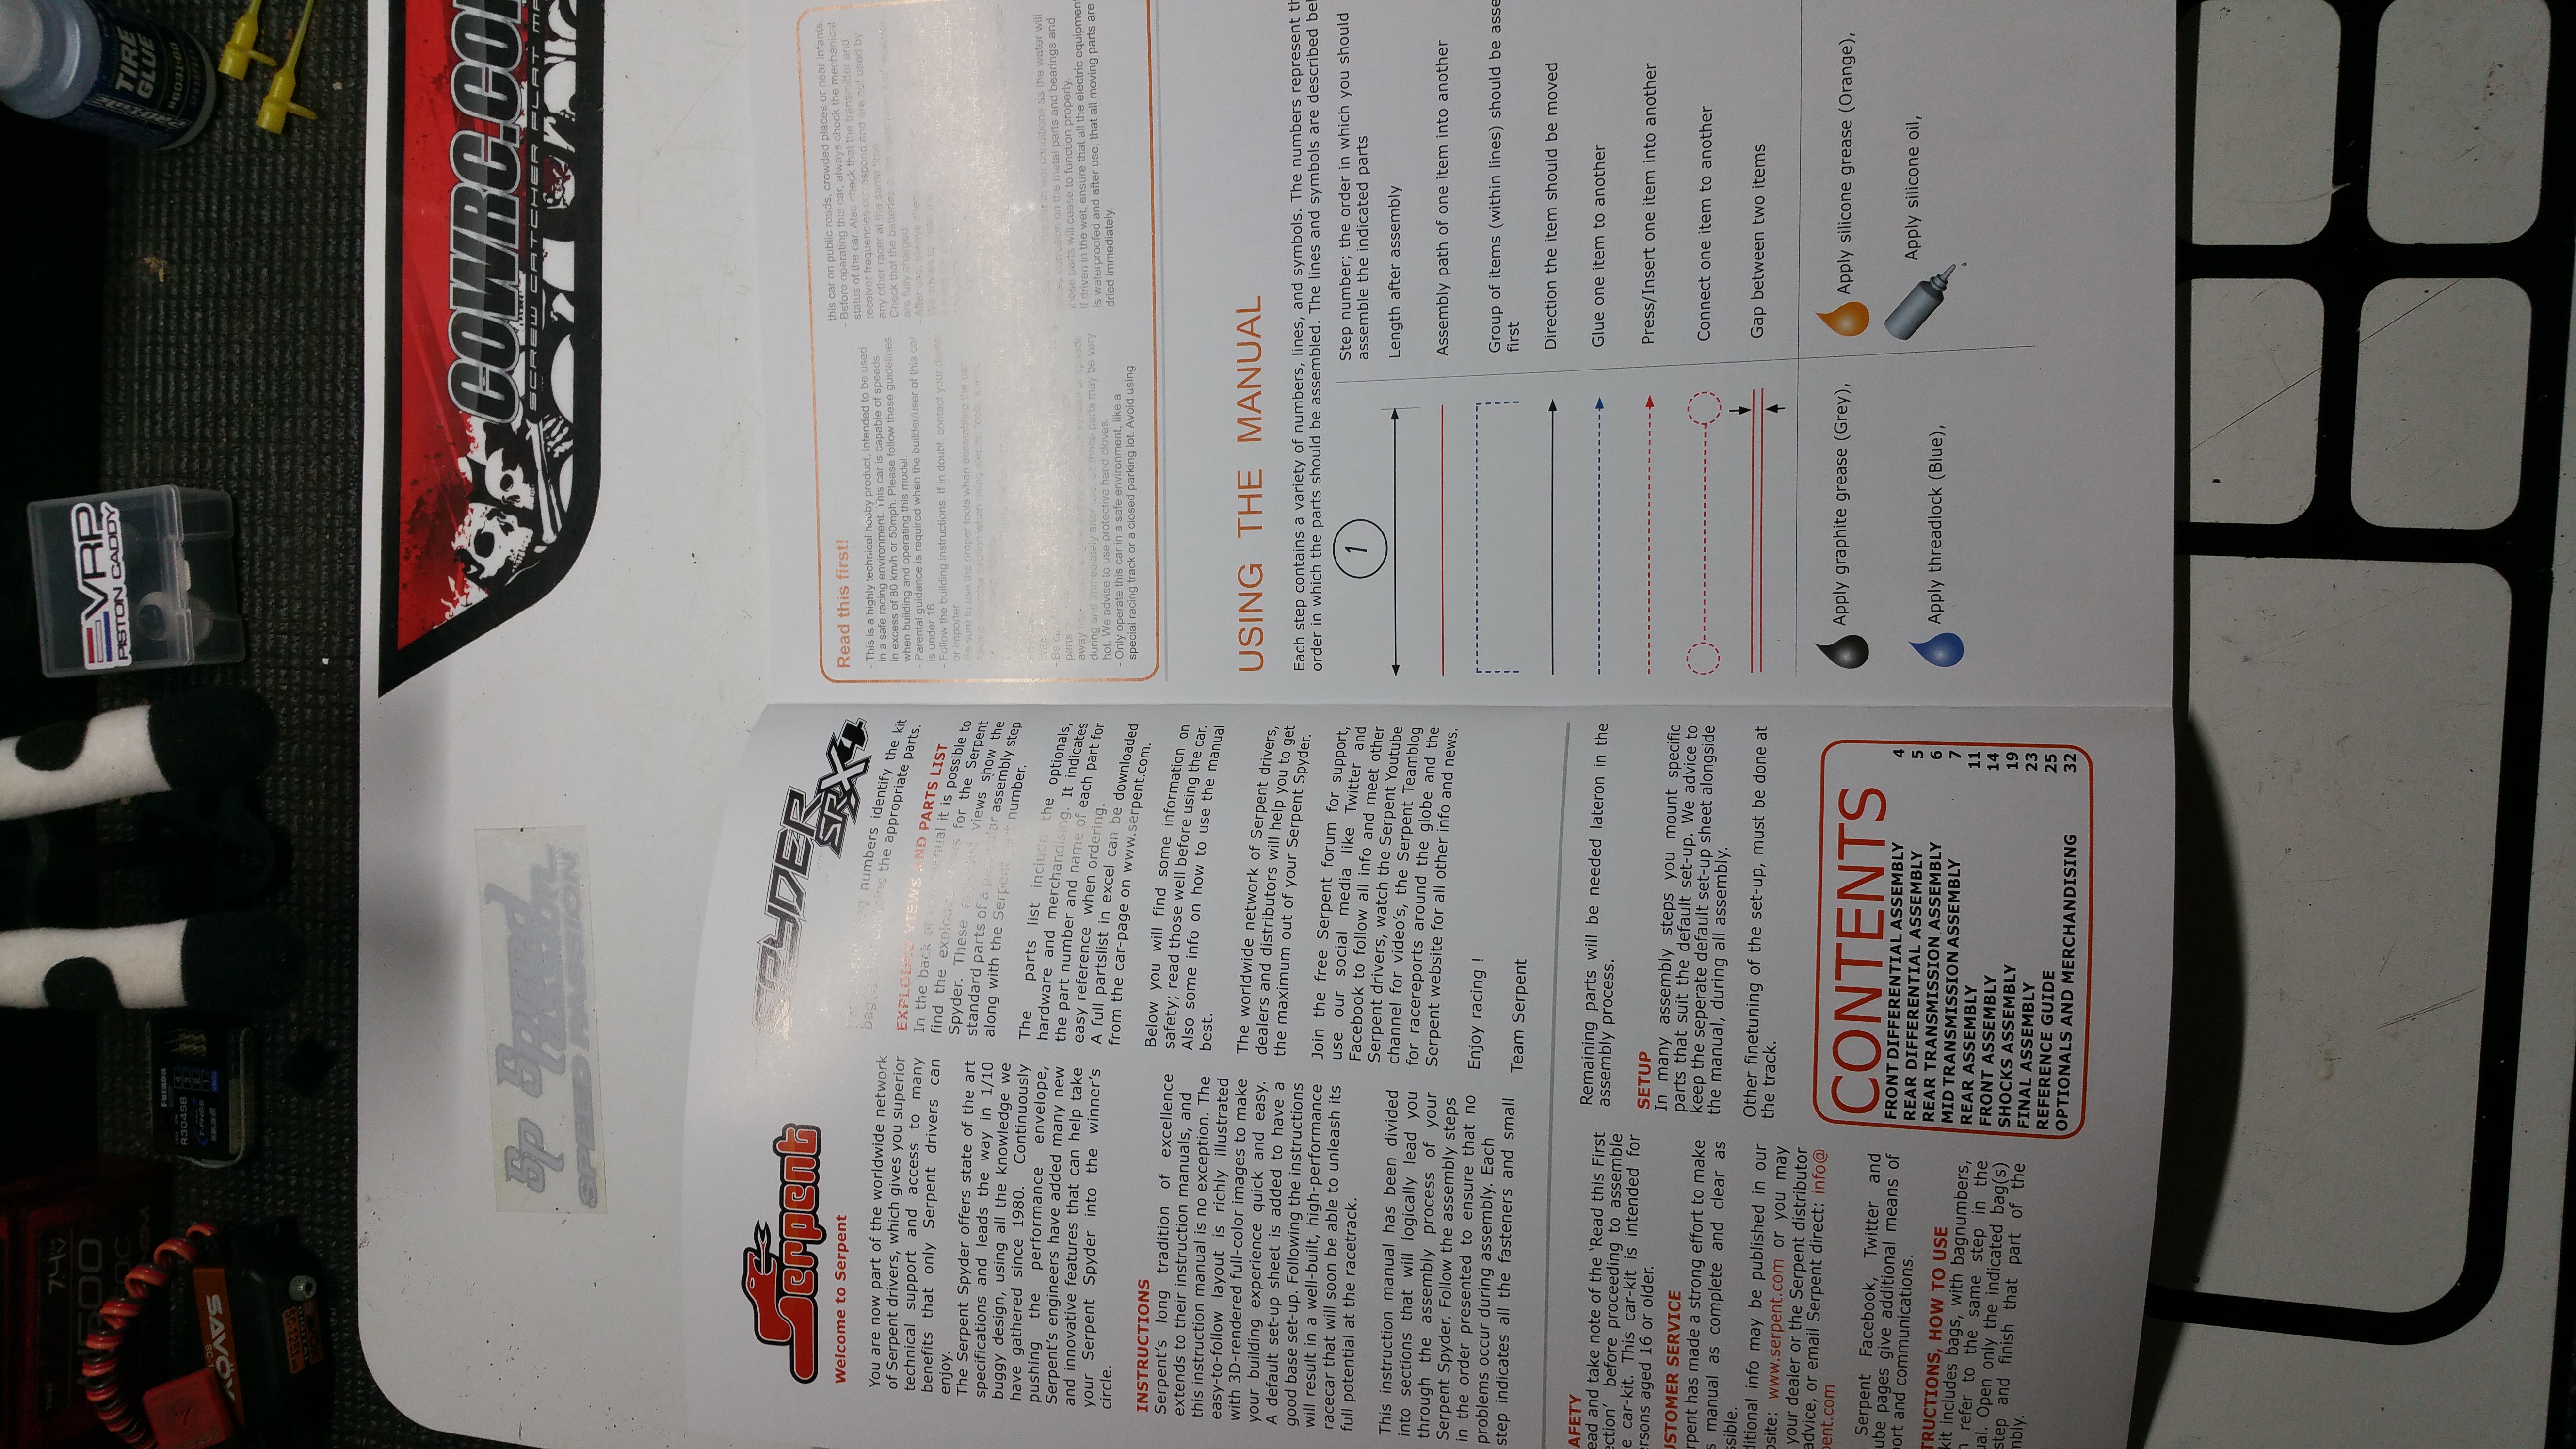
The manual is very detailed, colored, and has many different tips and option part numbers that may increase the function in the build!
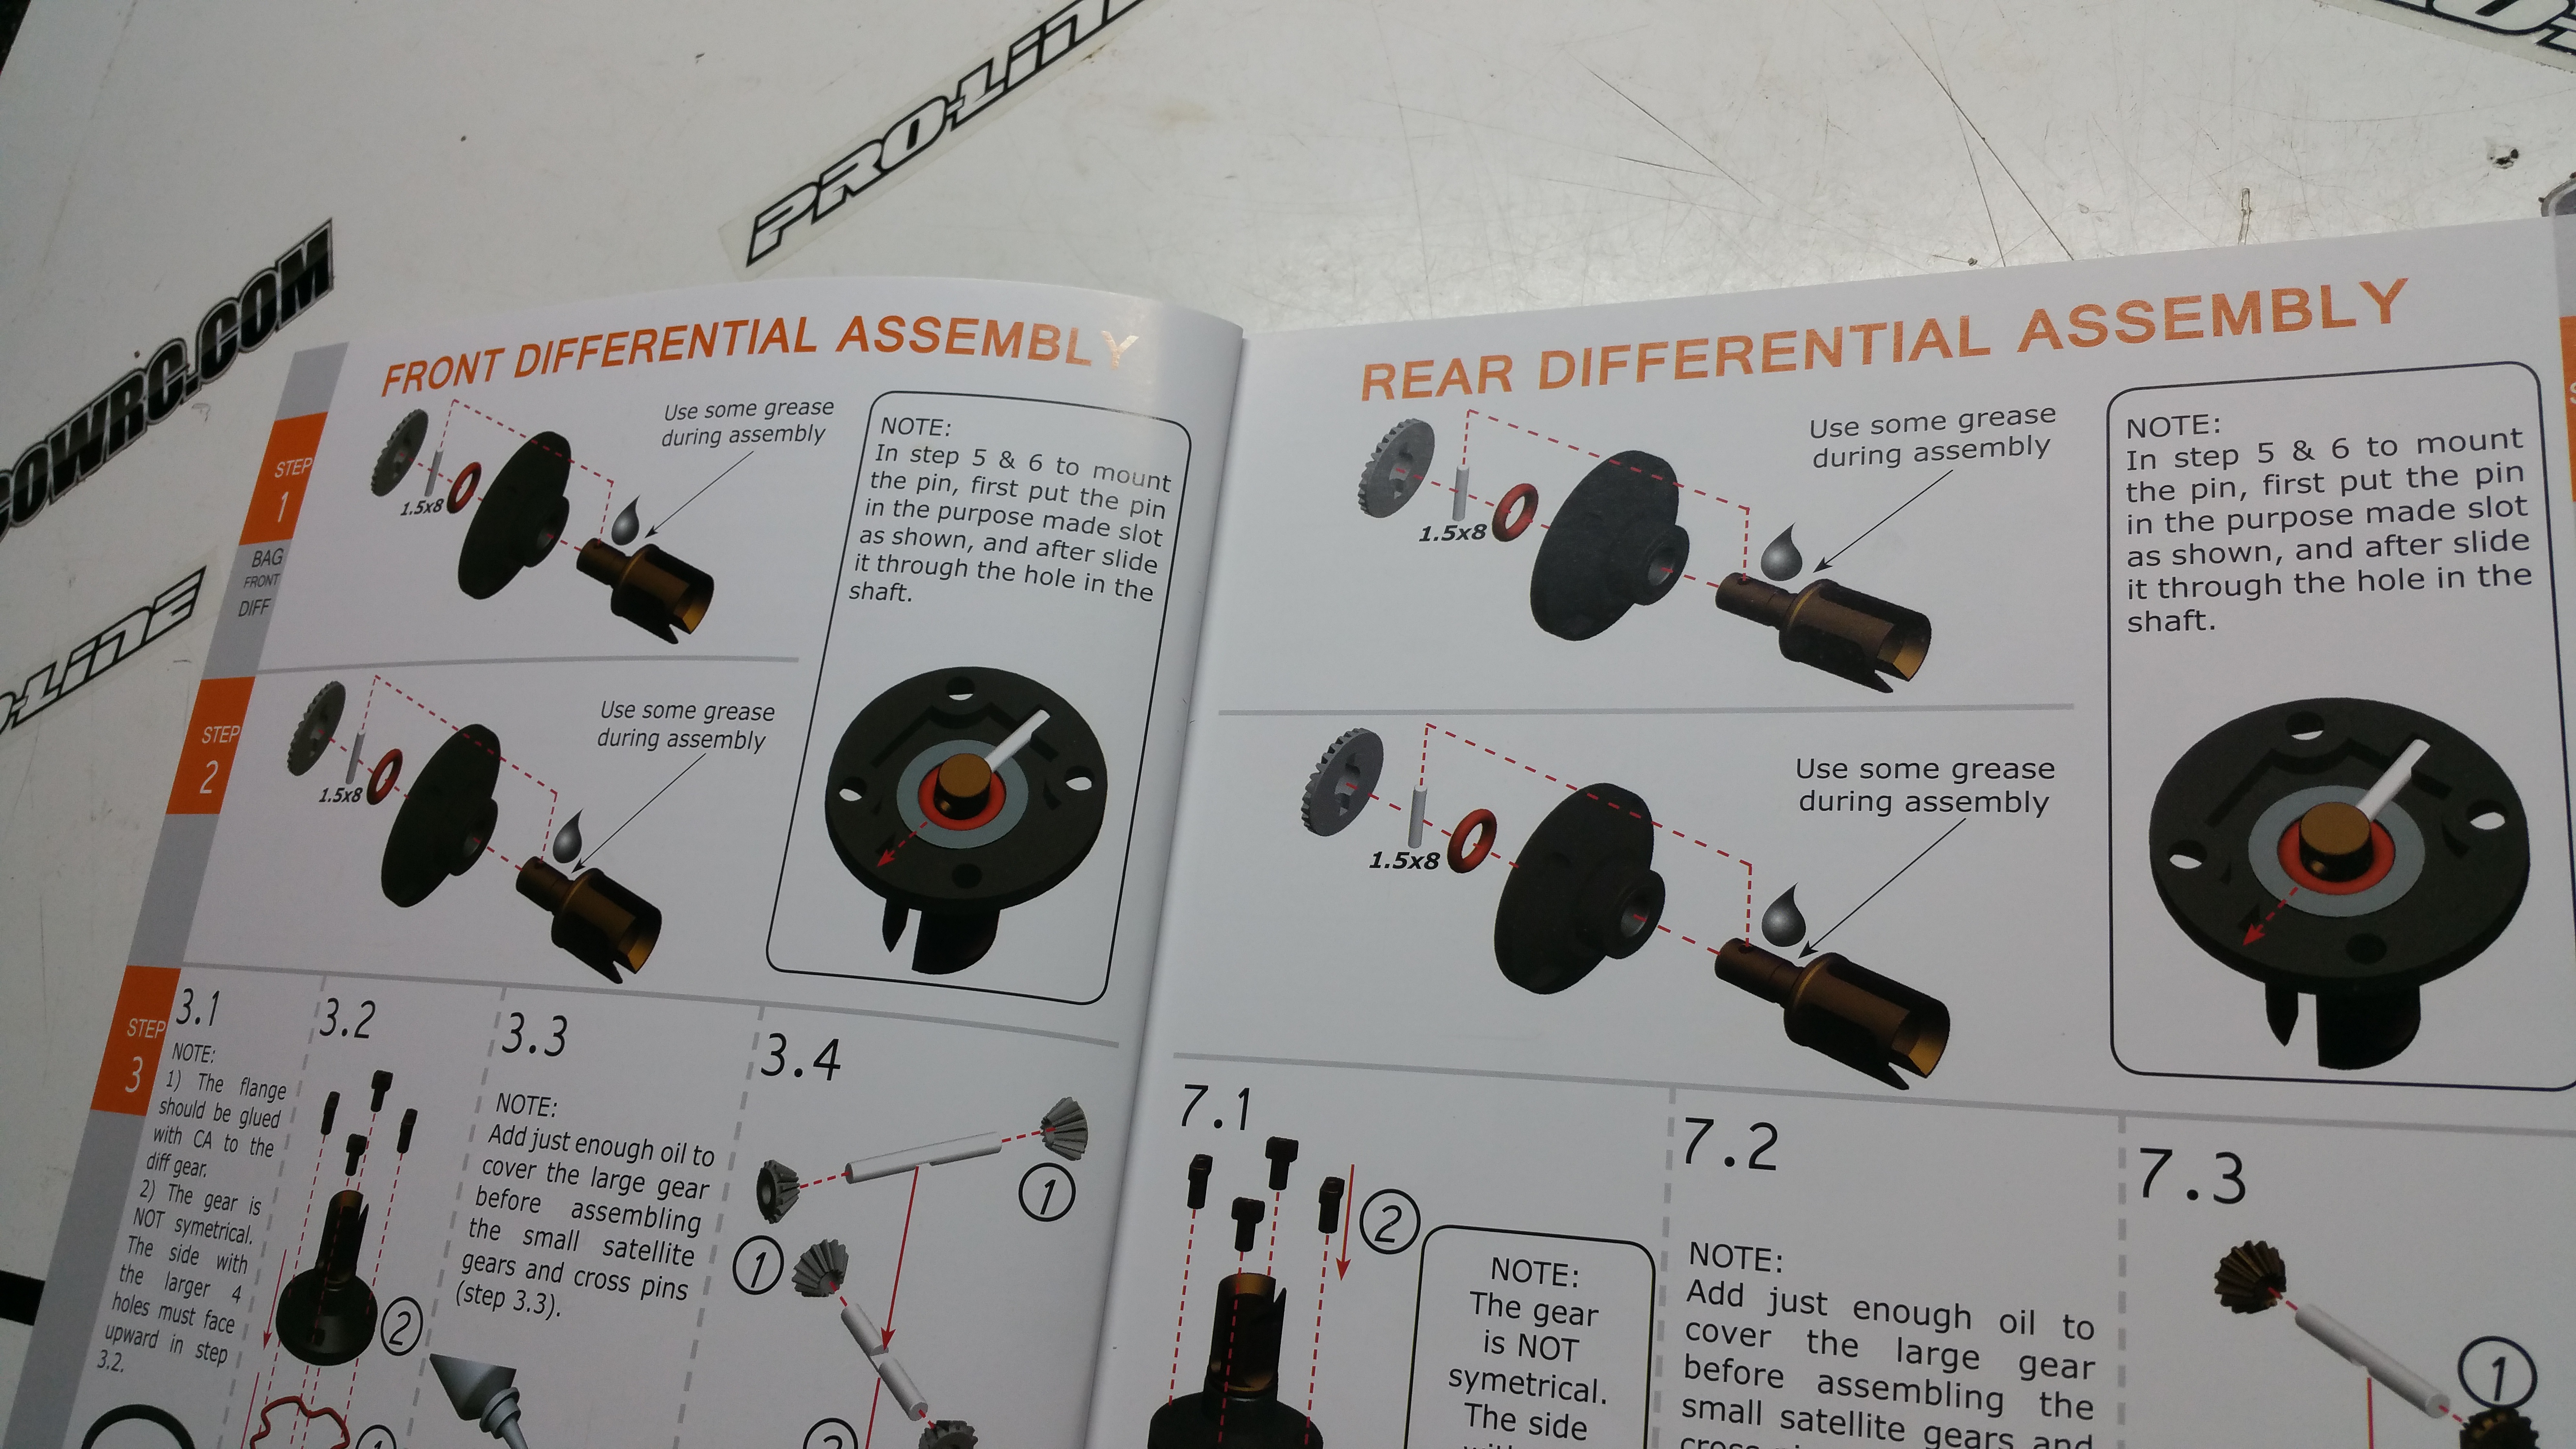
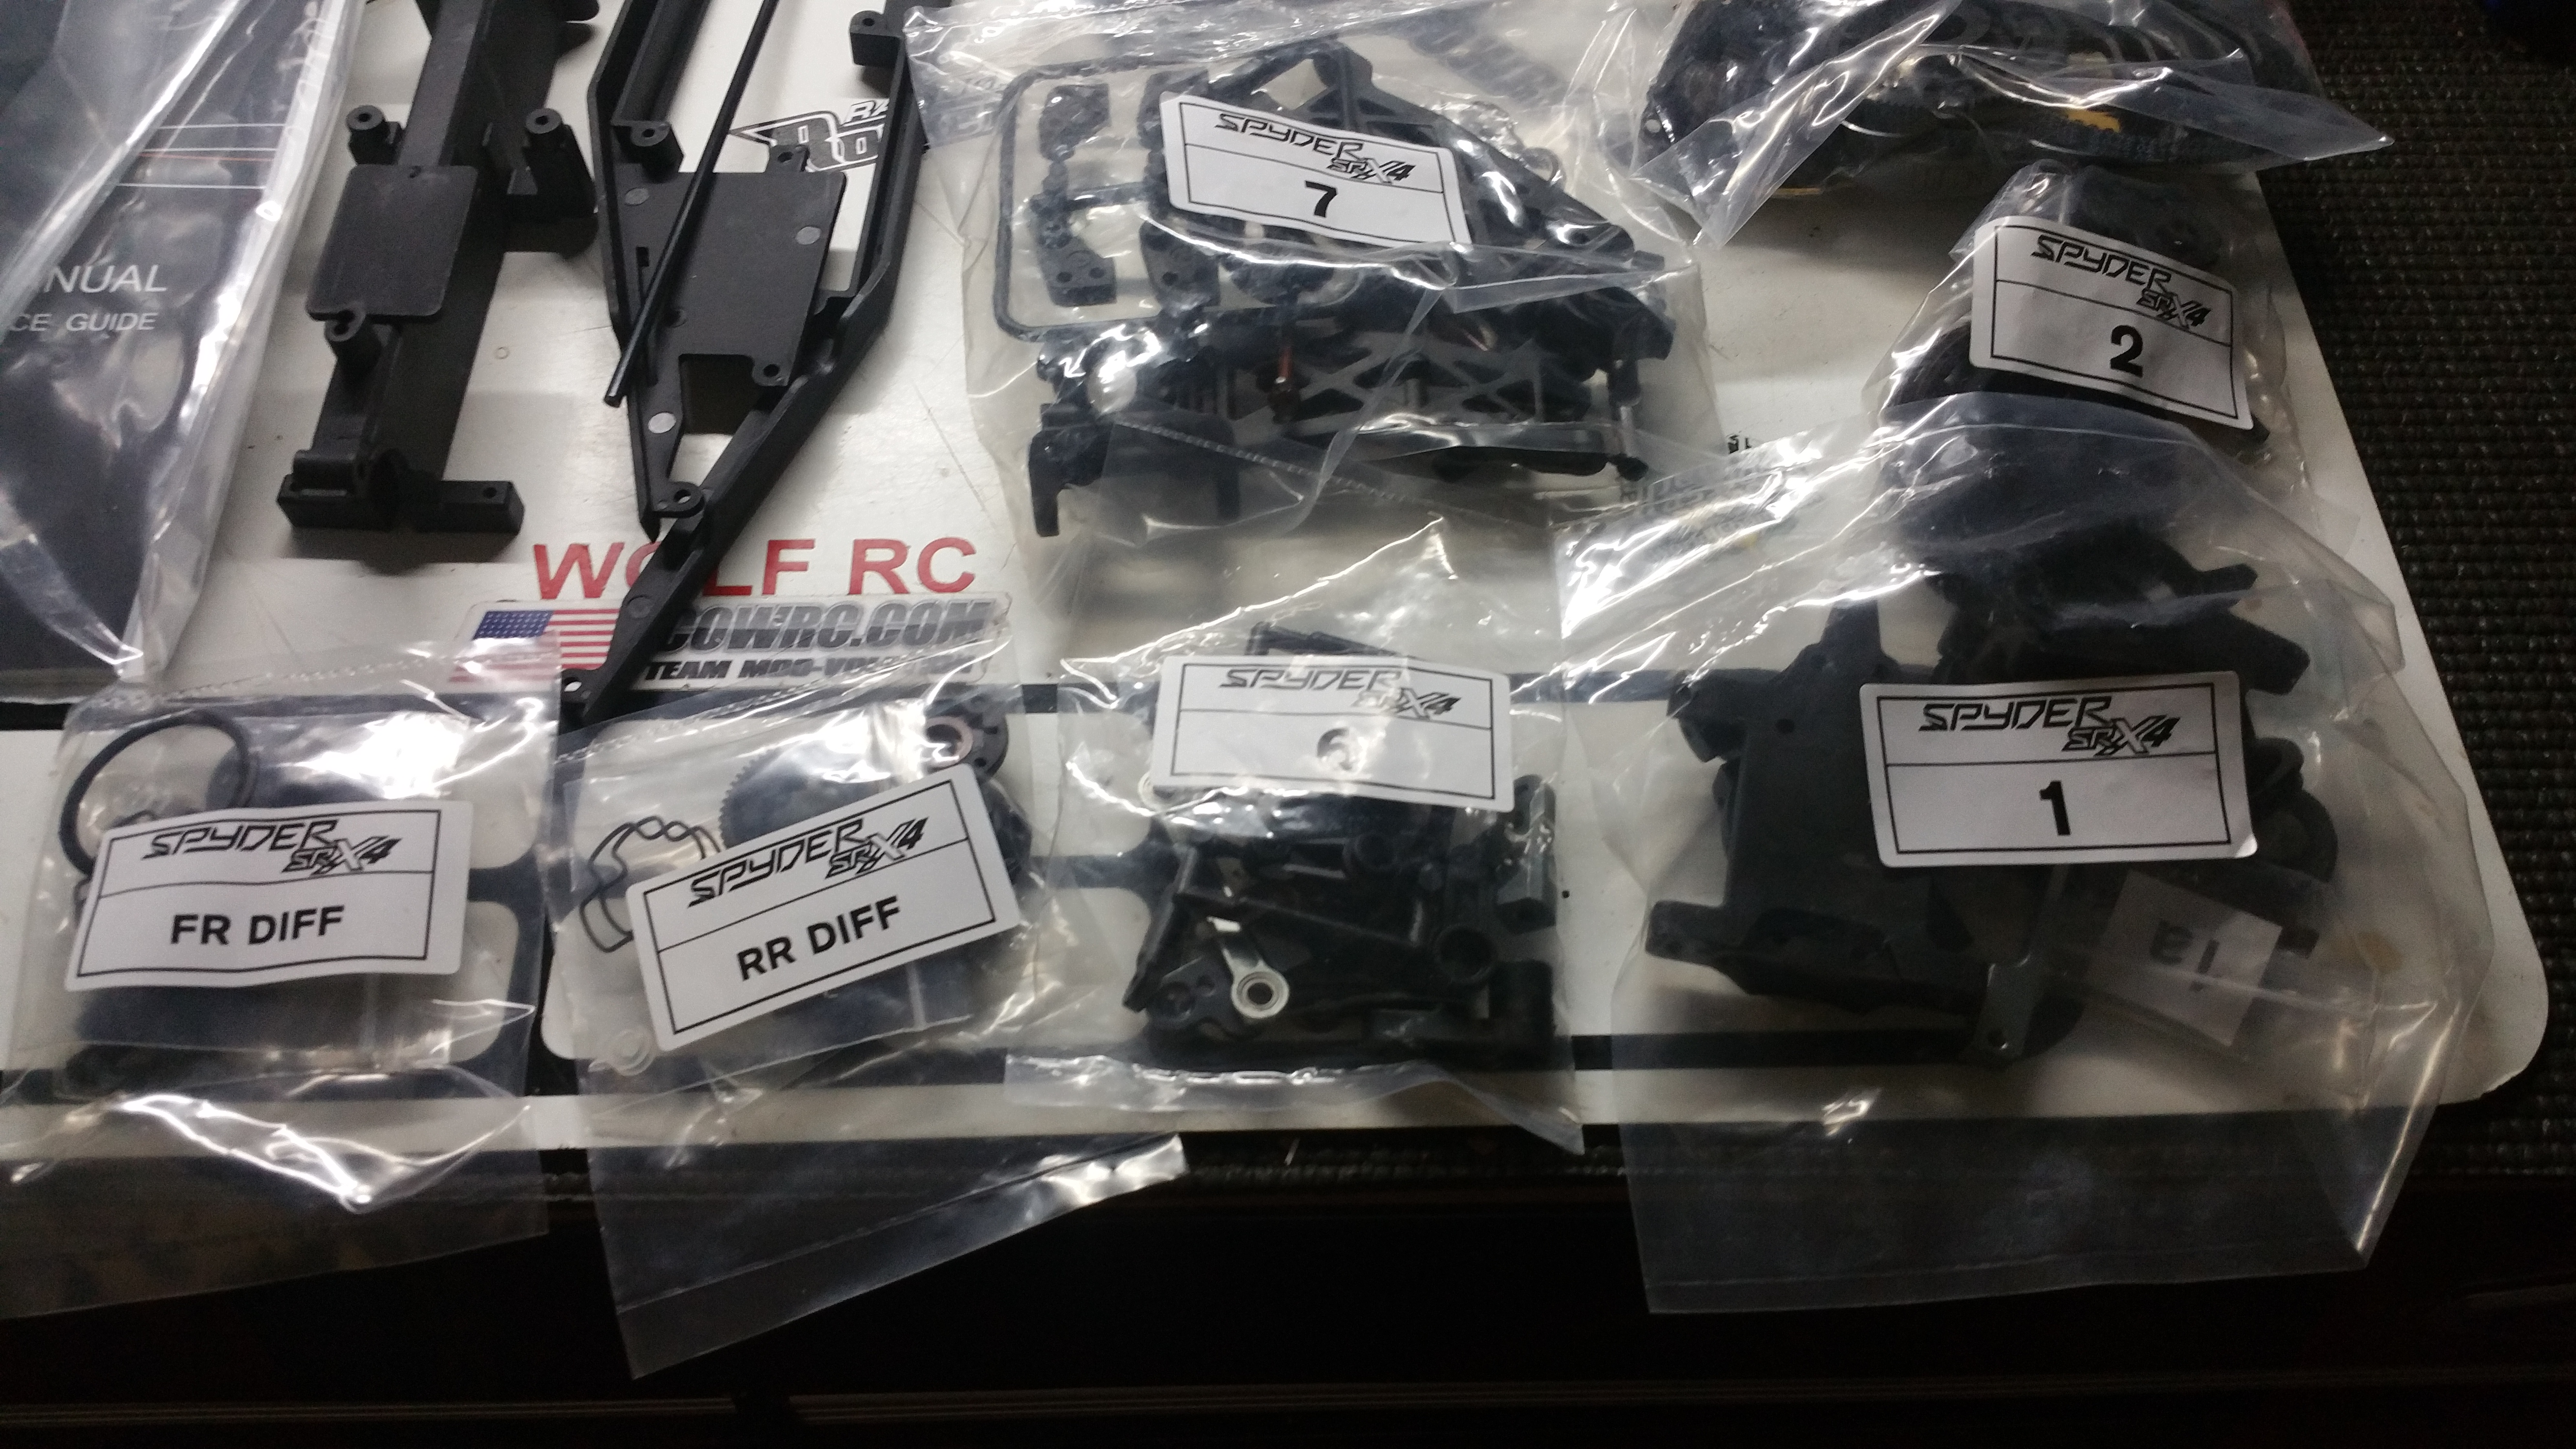
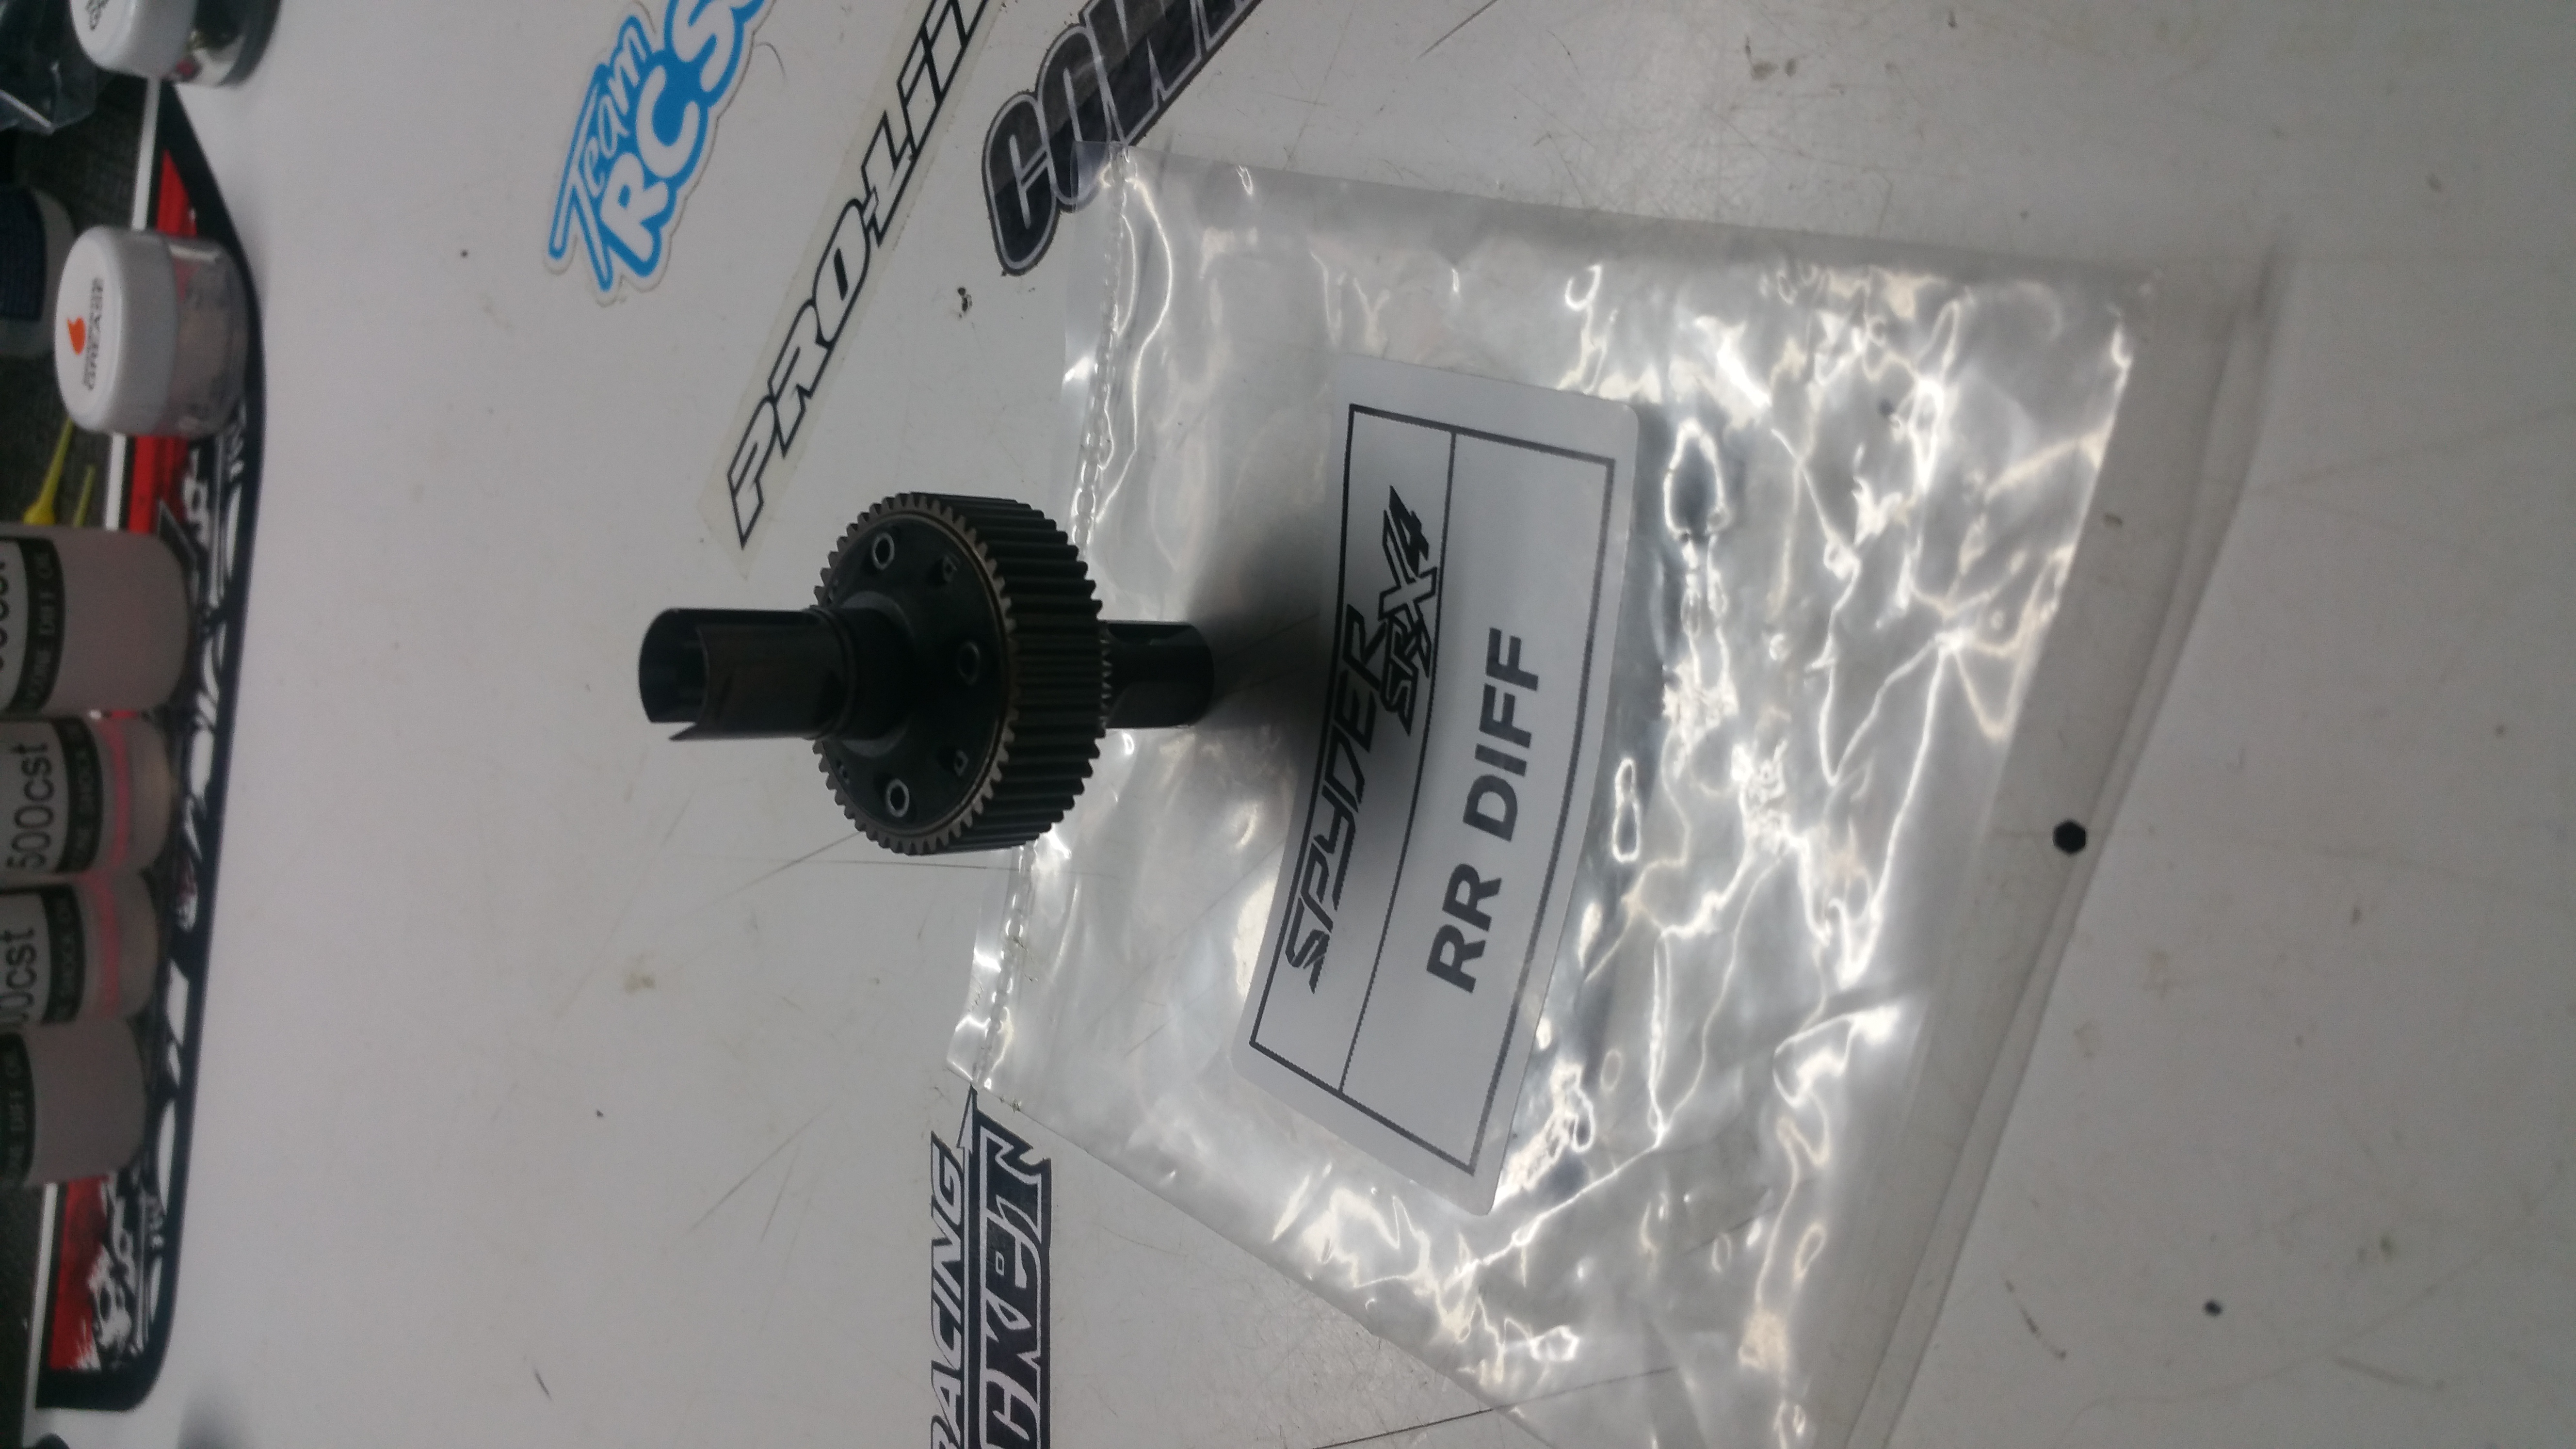
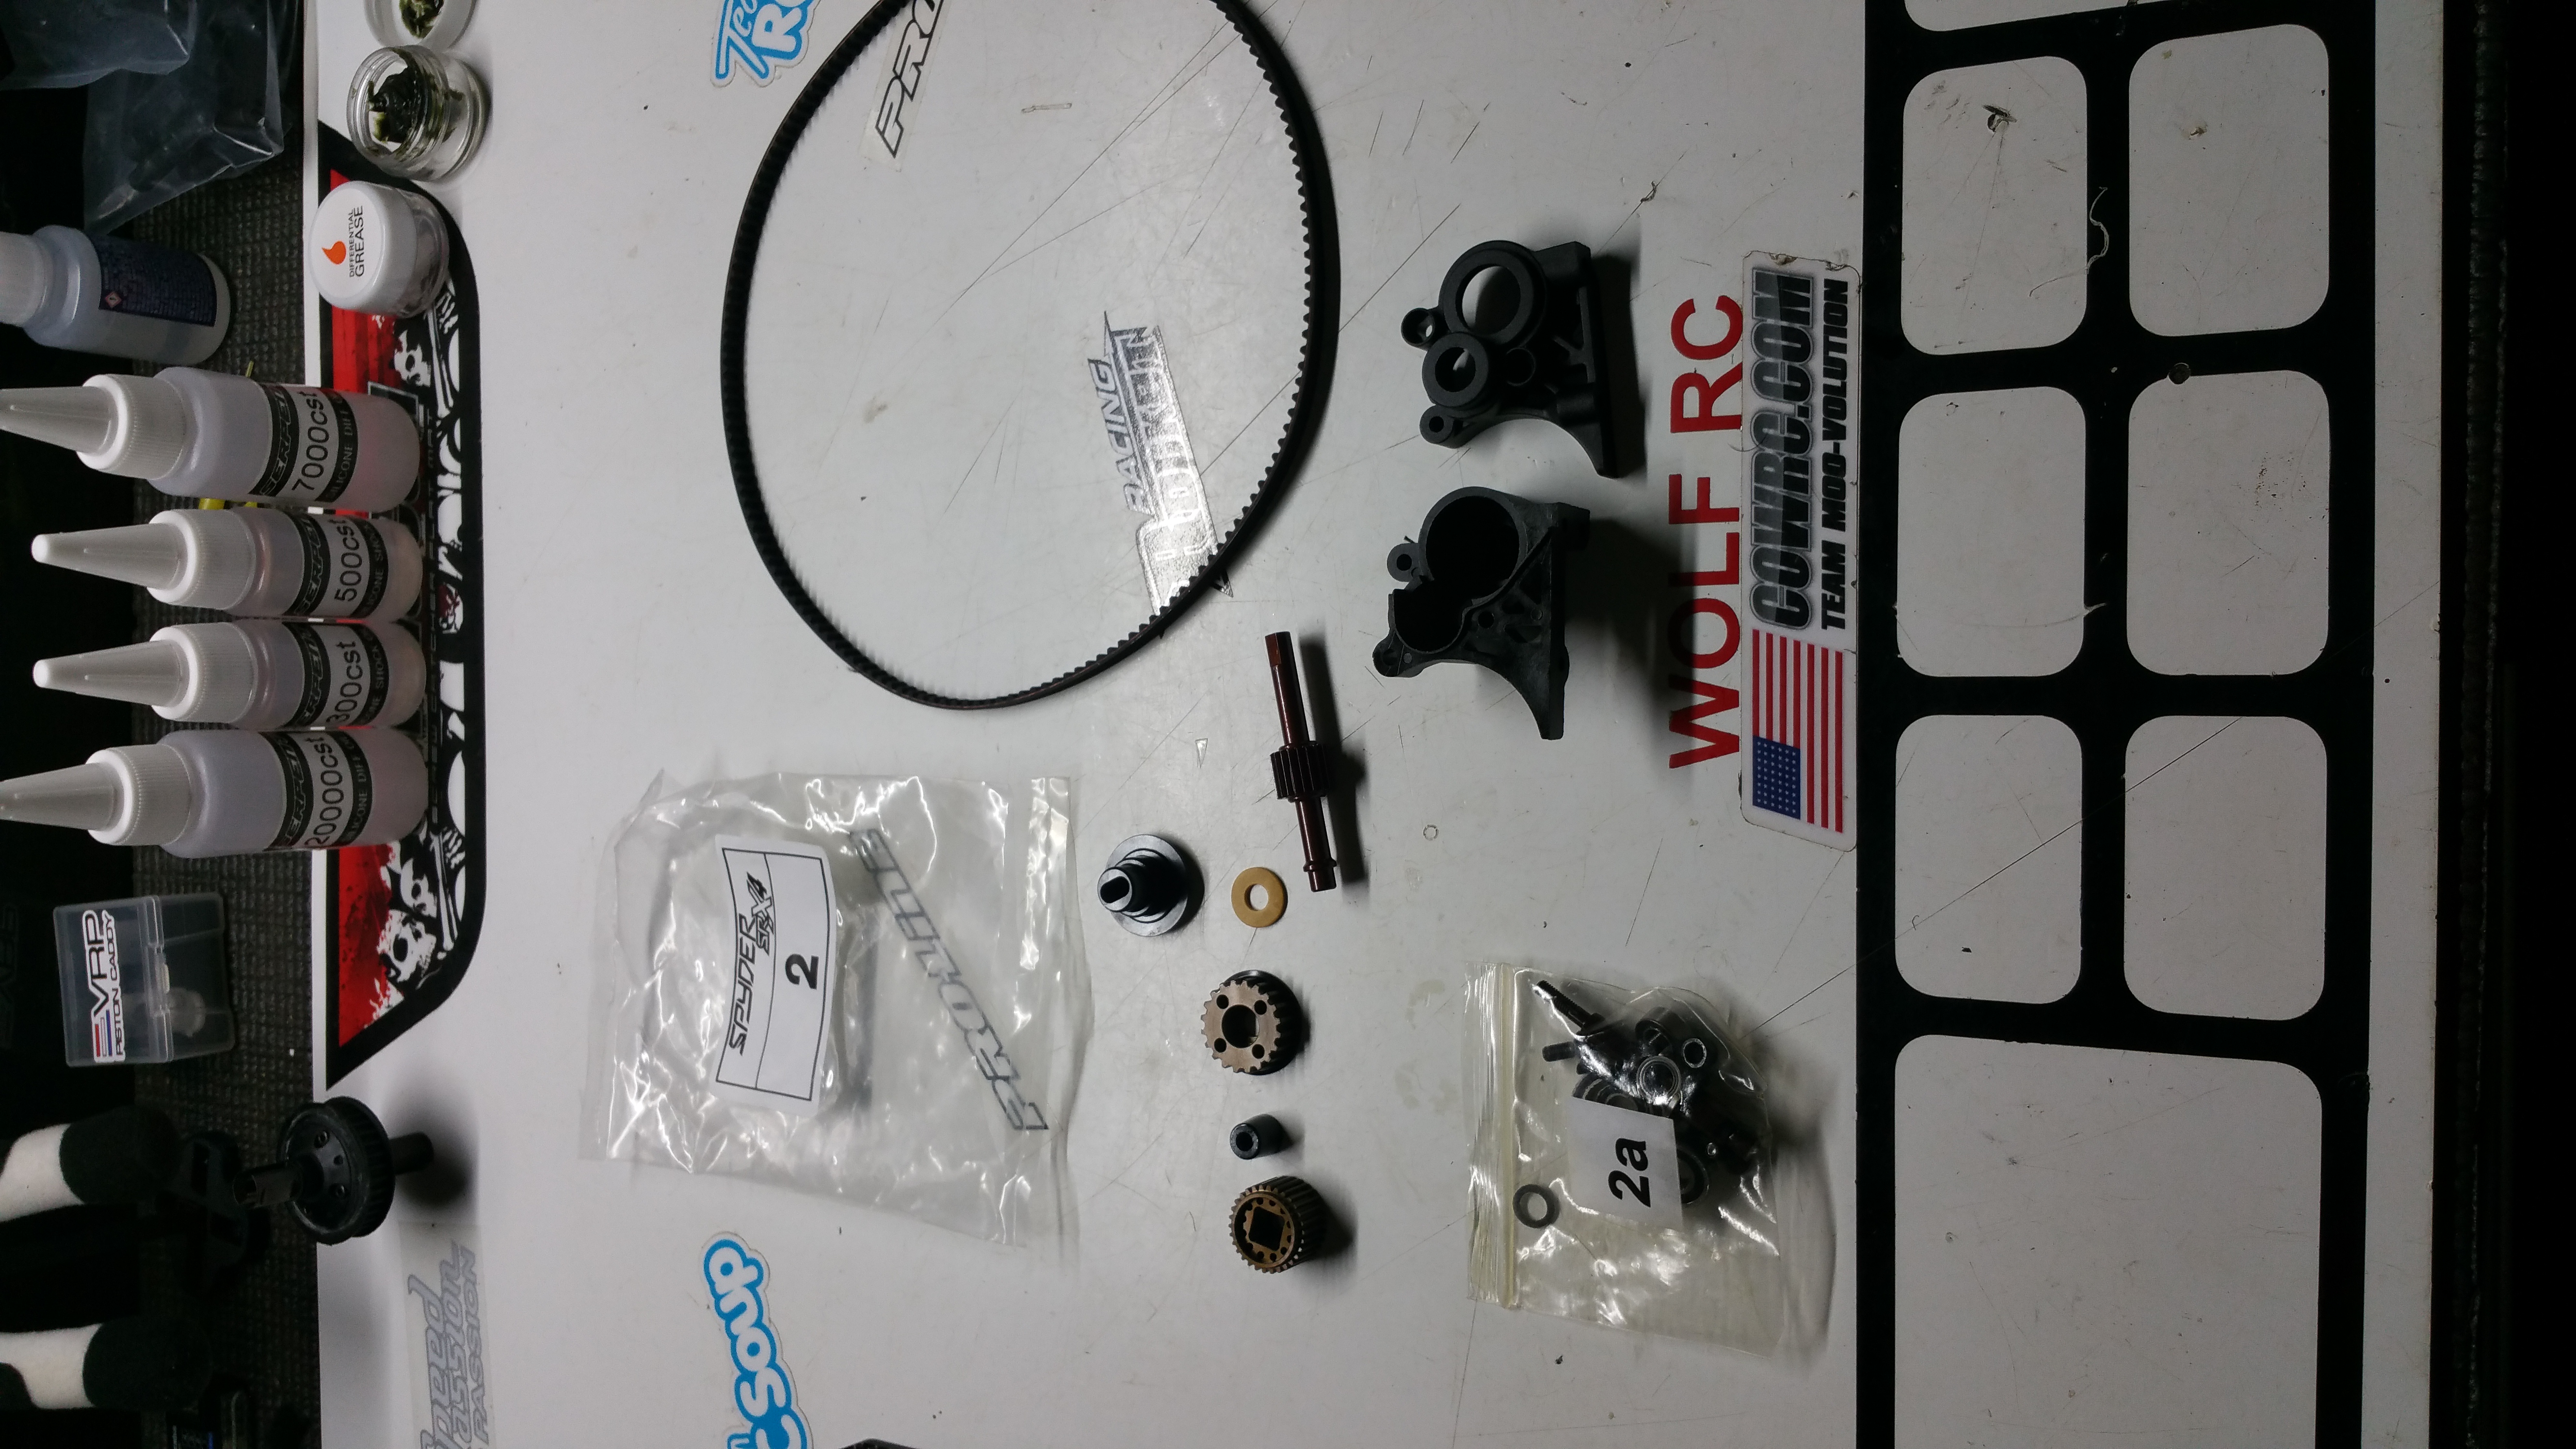
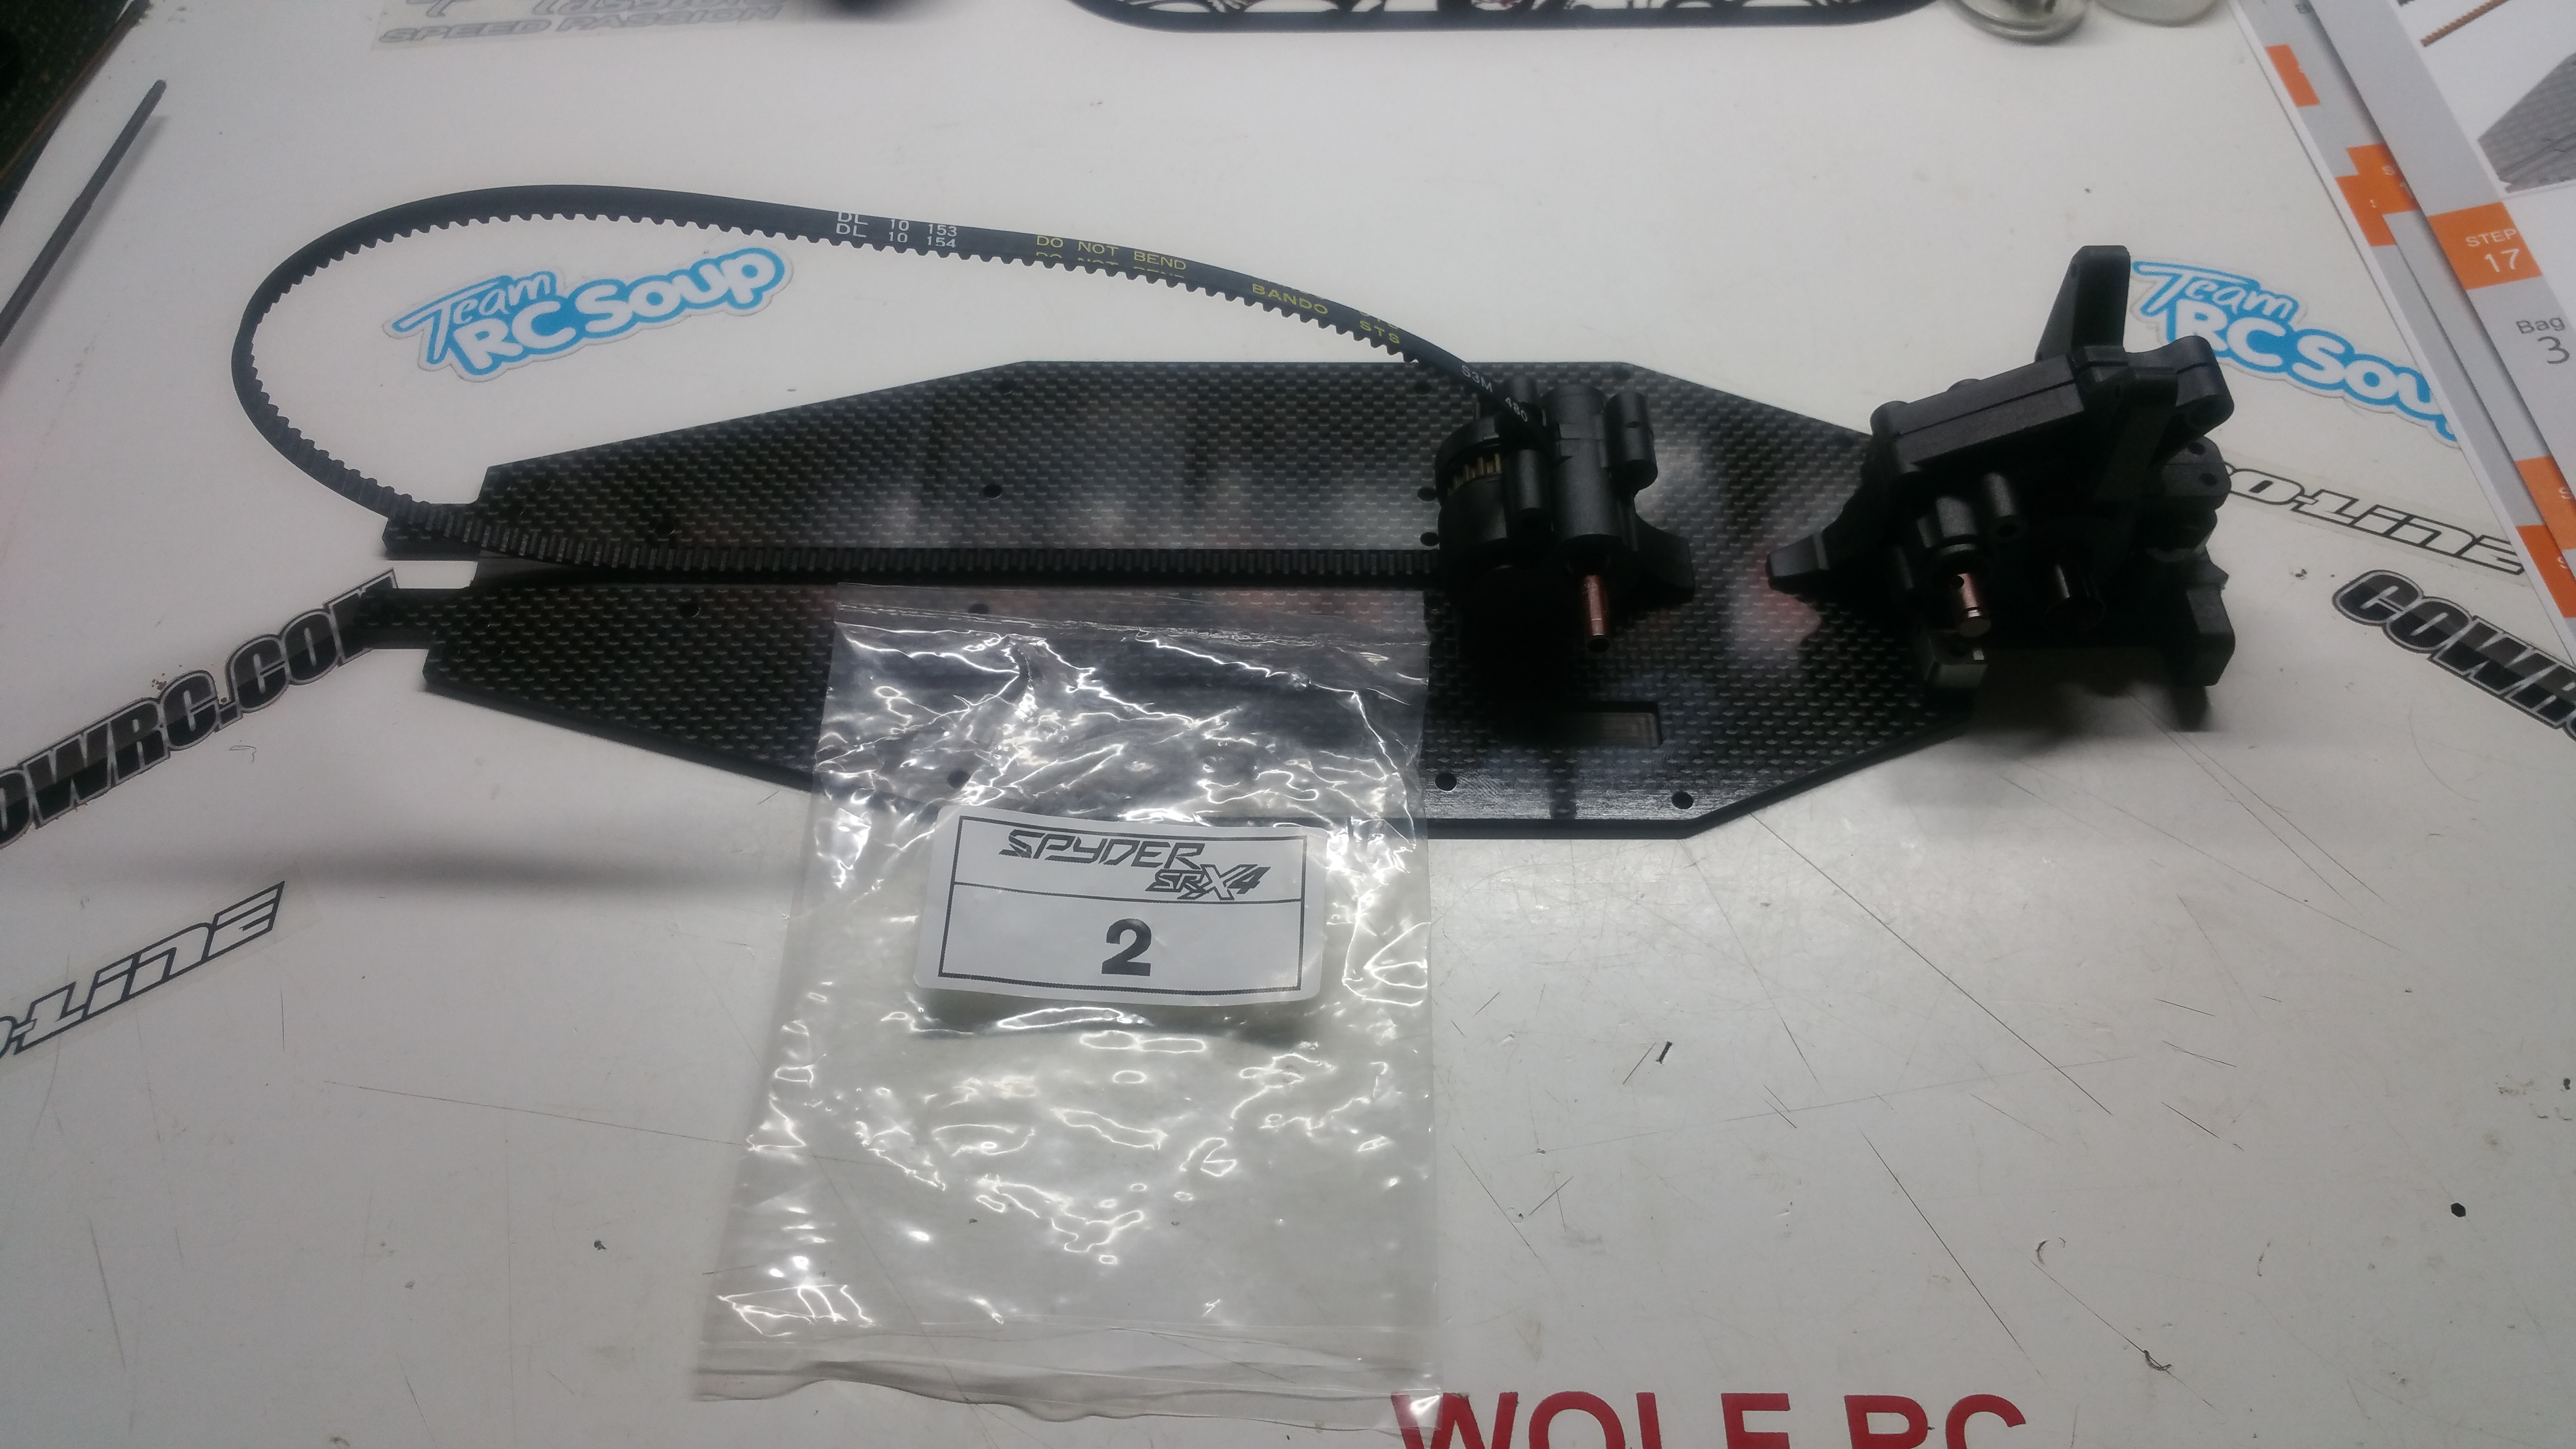
We first start off with the Rear diff Case.
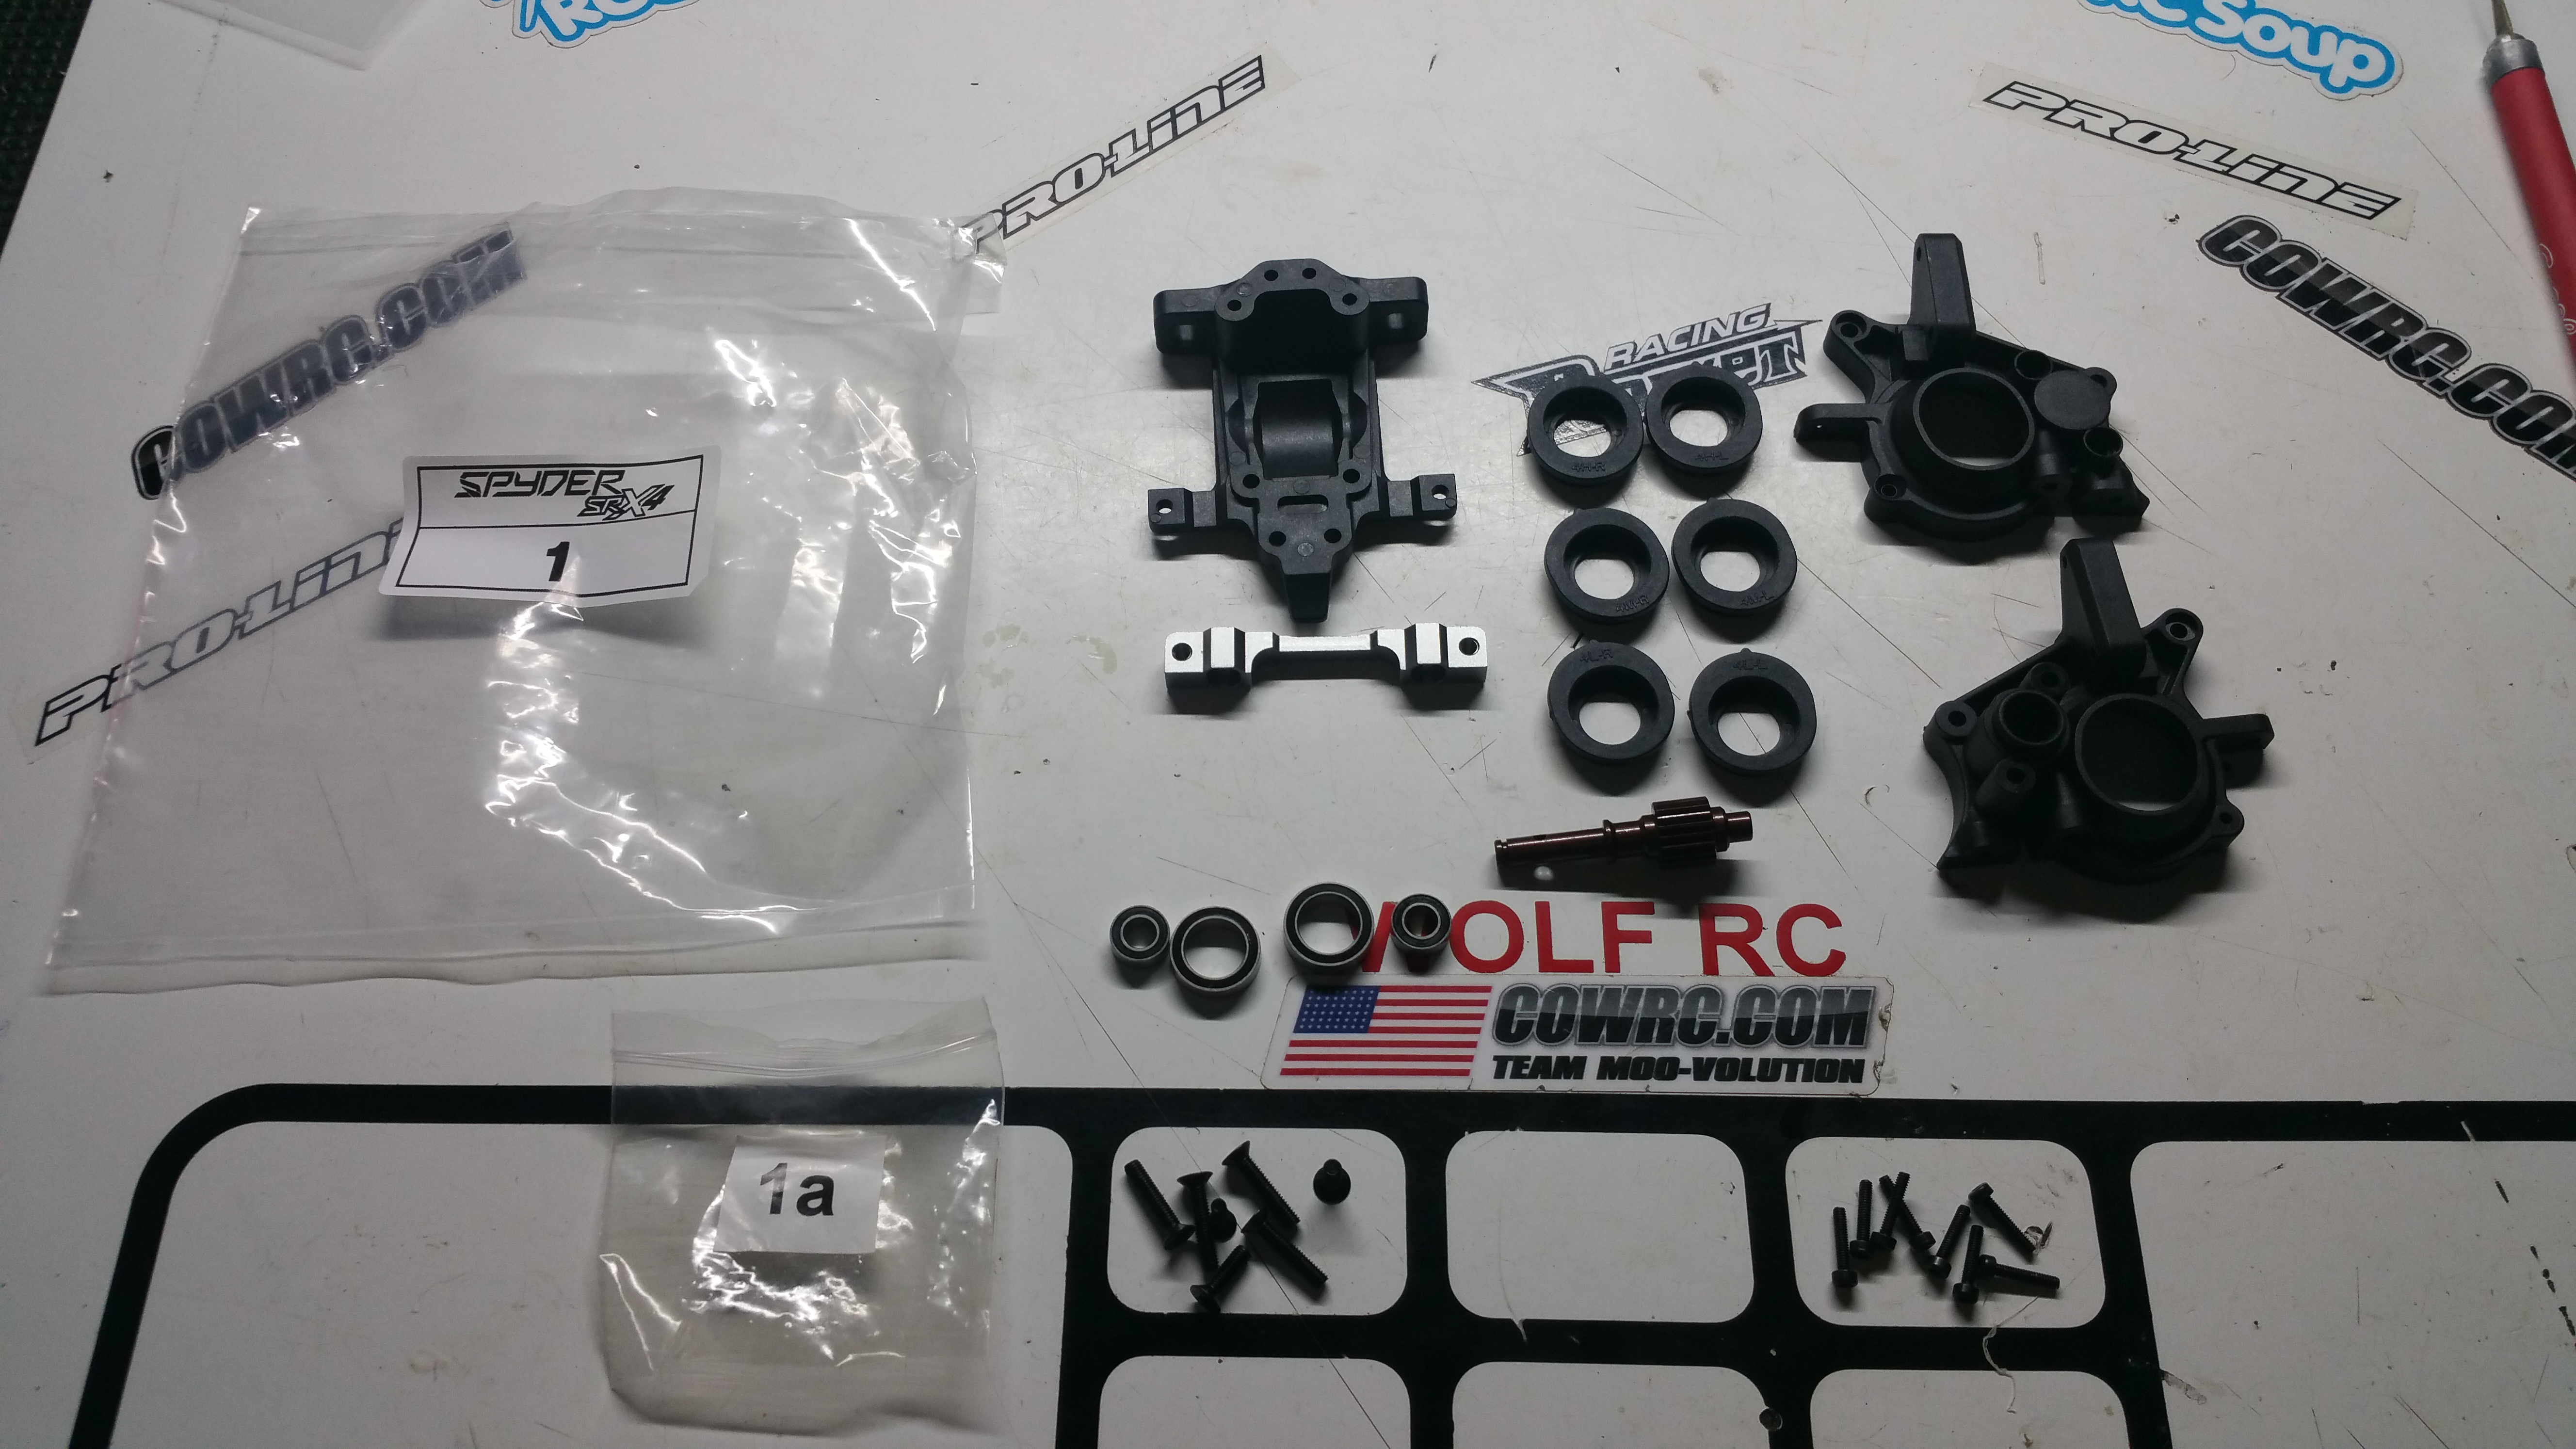
Rear Diff
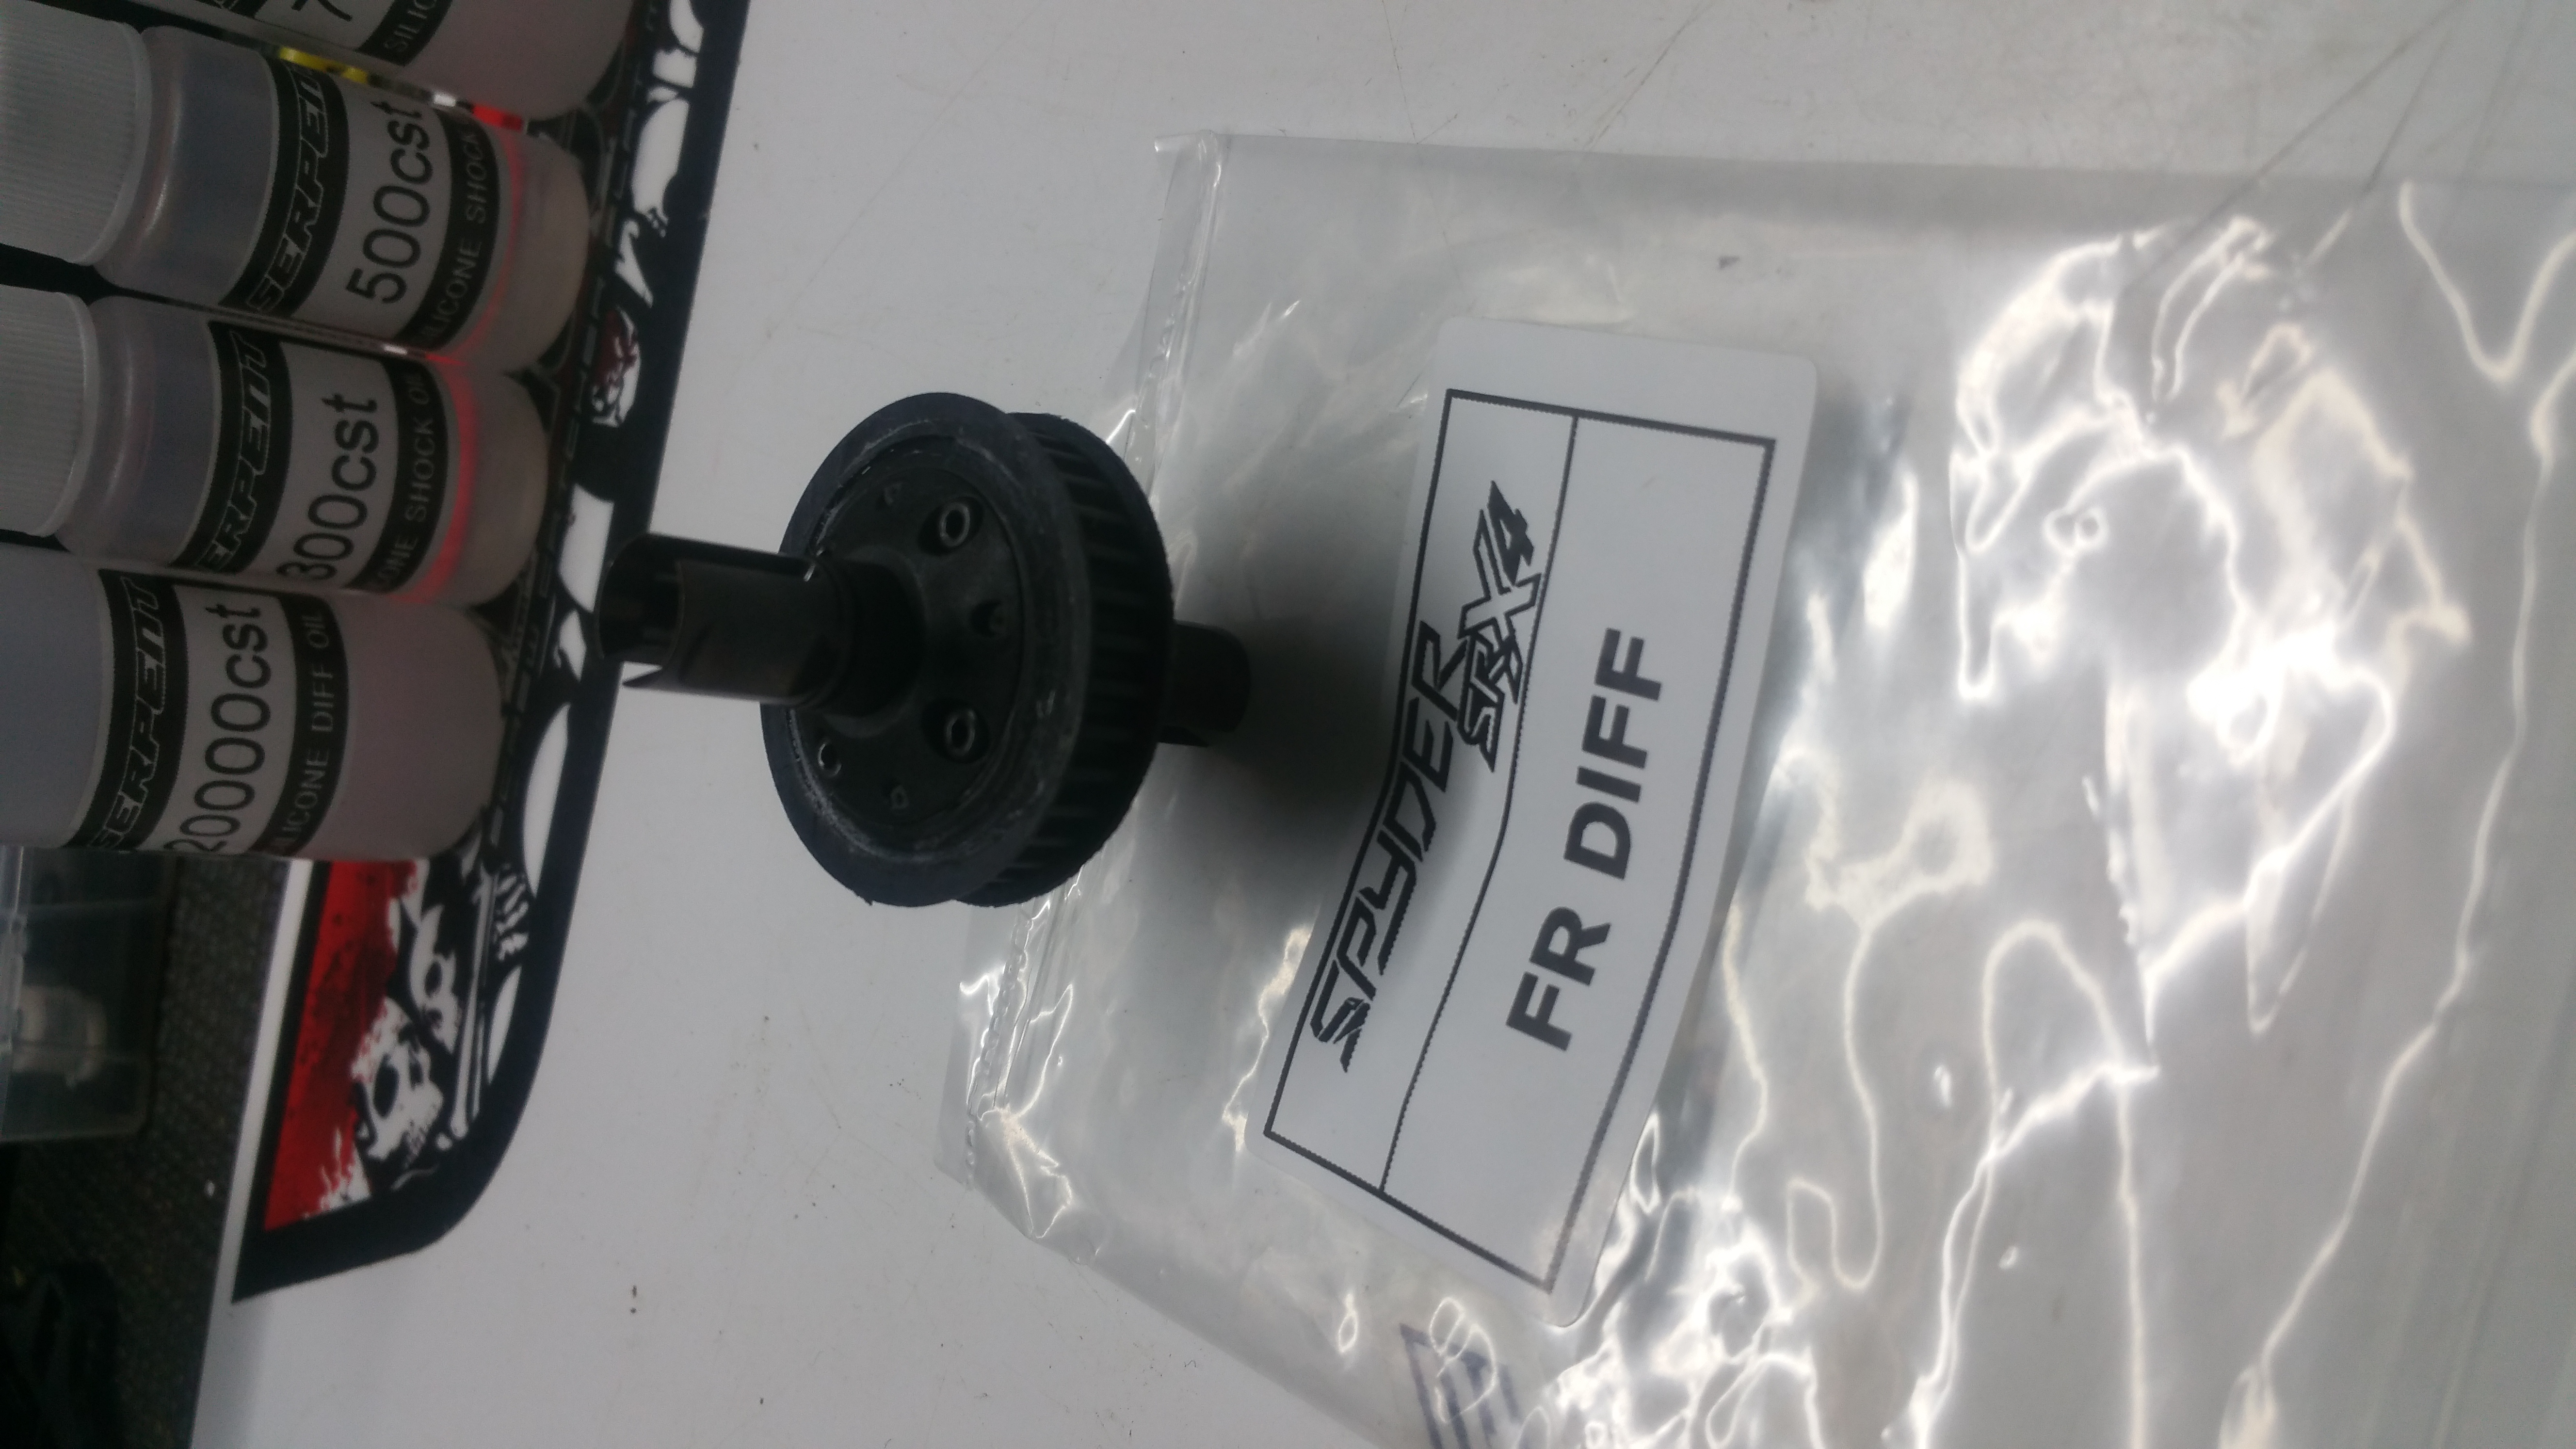
Front diff built as well!
Rear Diff case Built and ready to install!
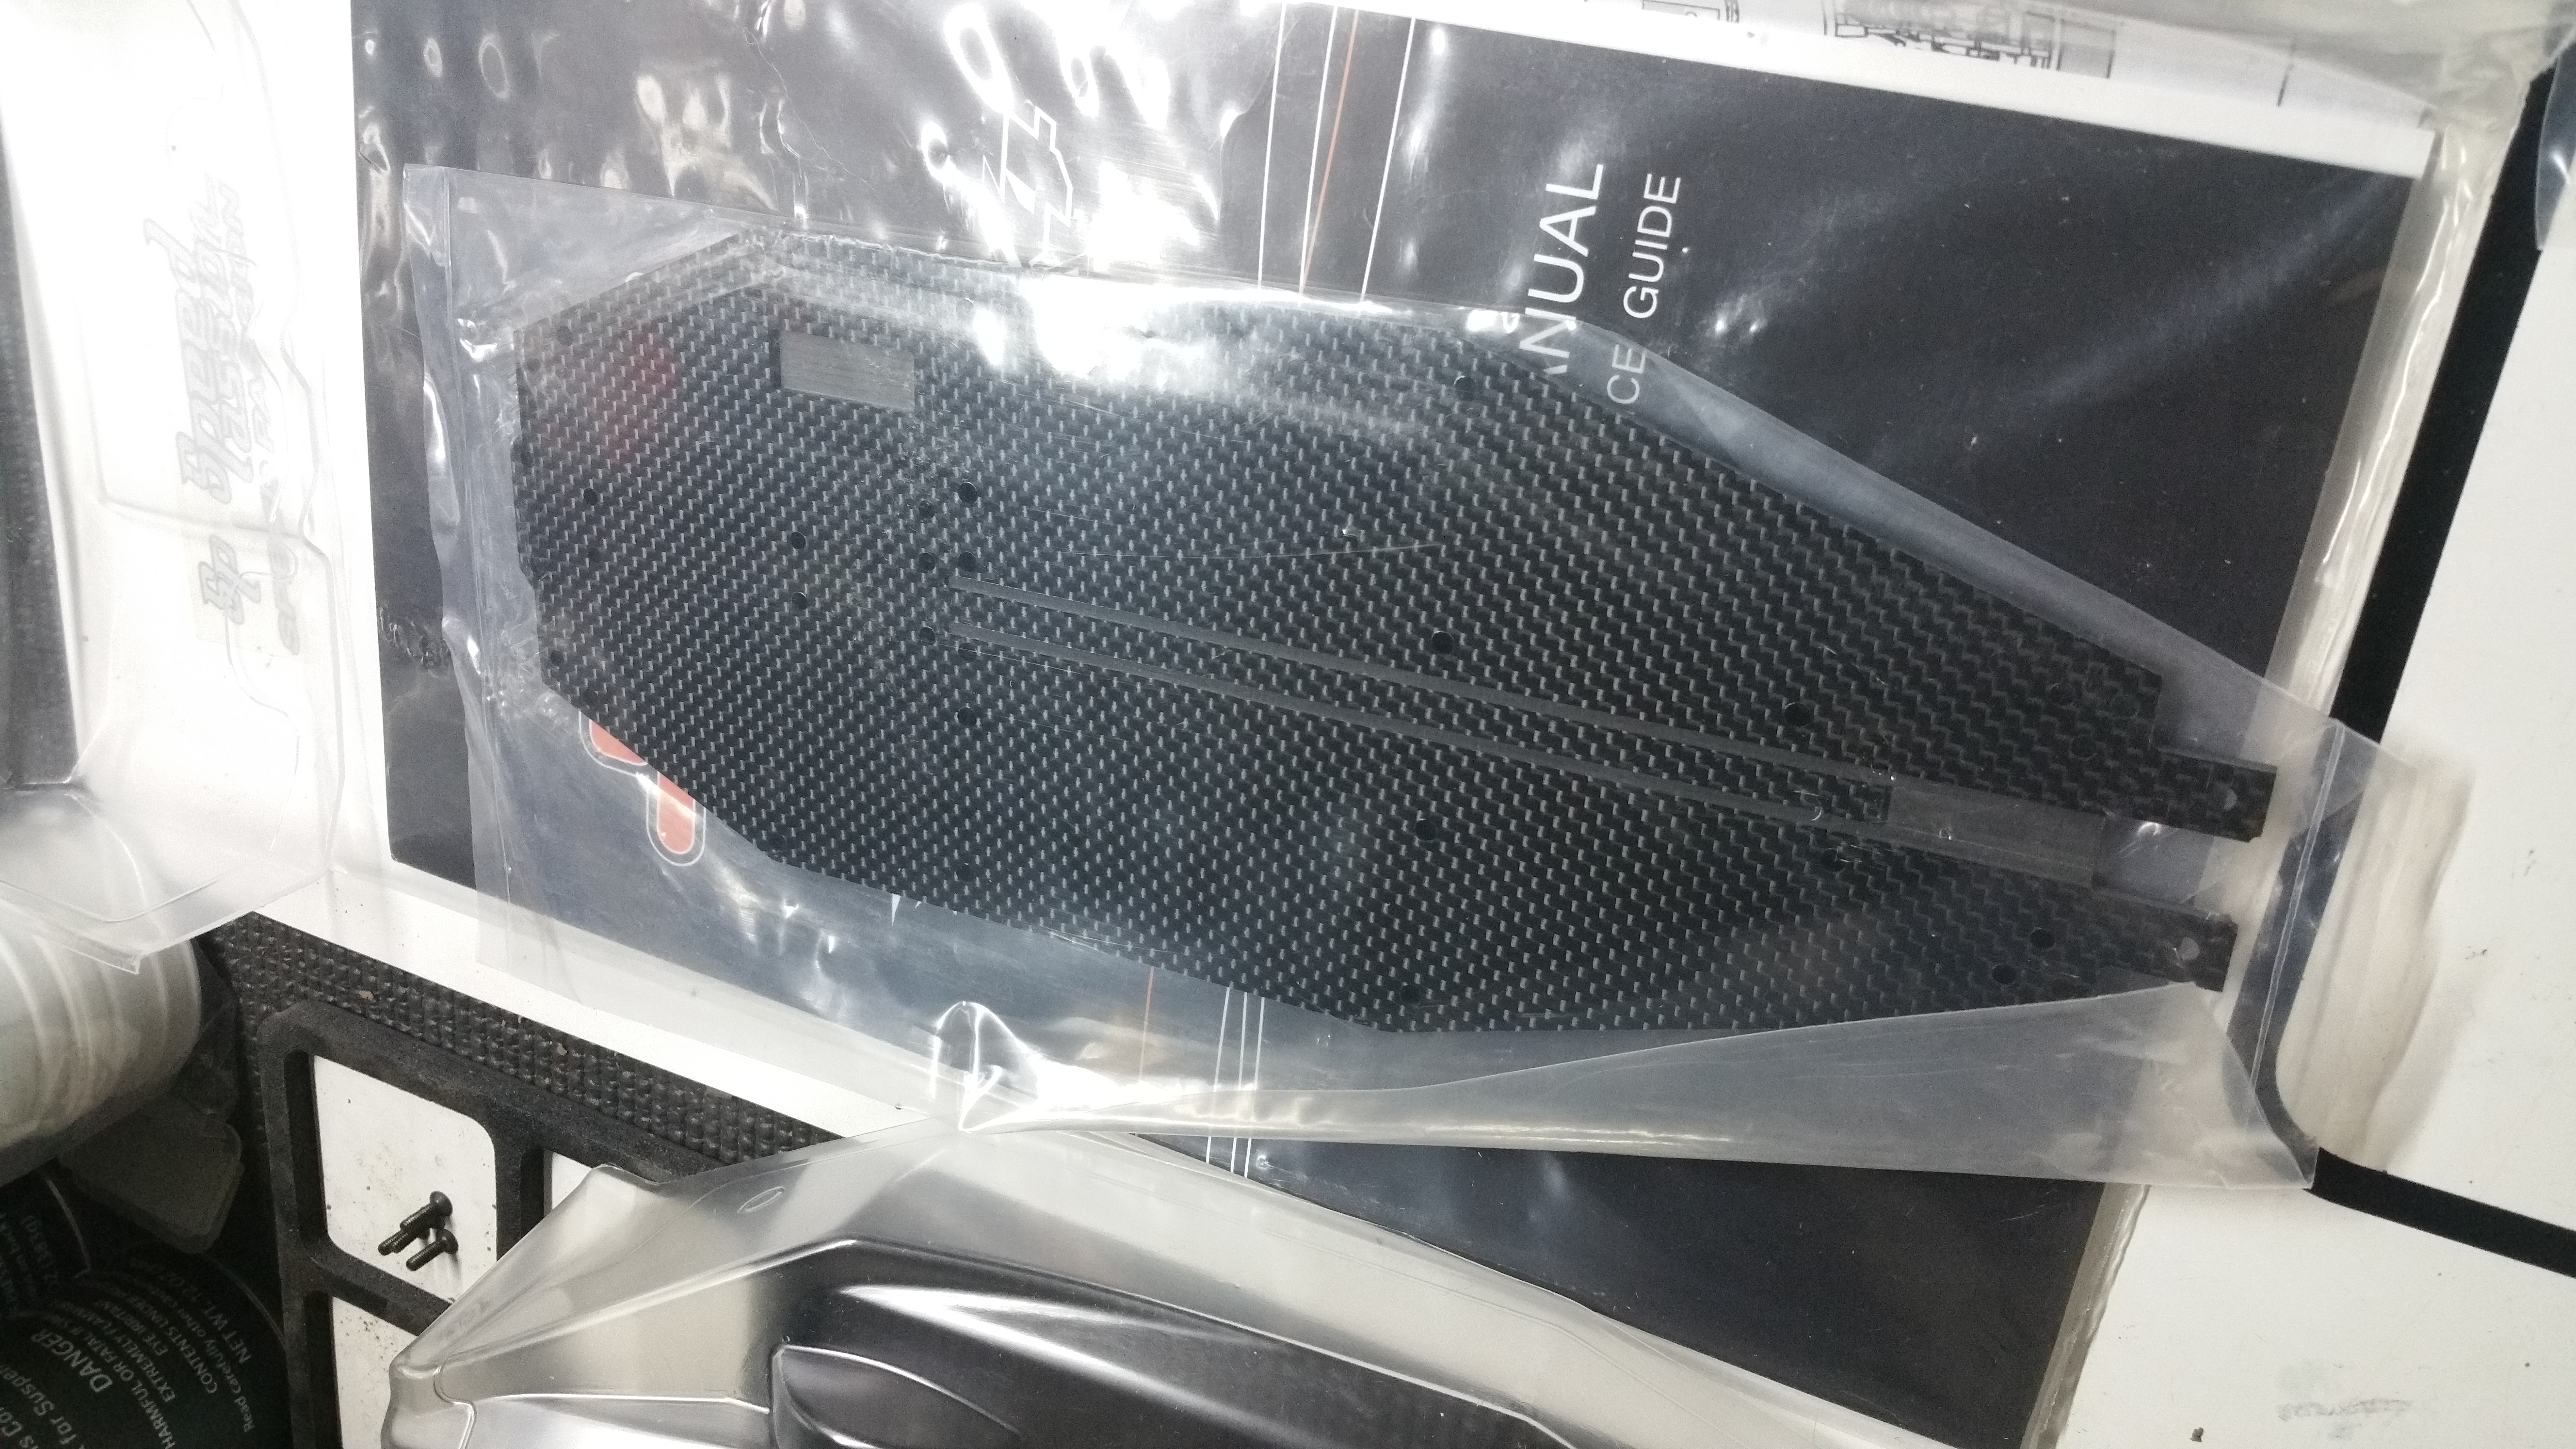
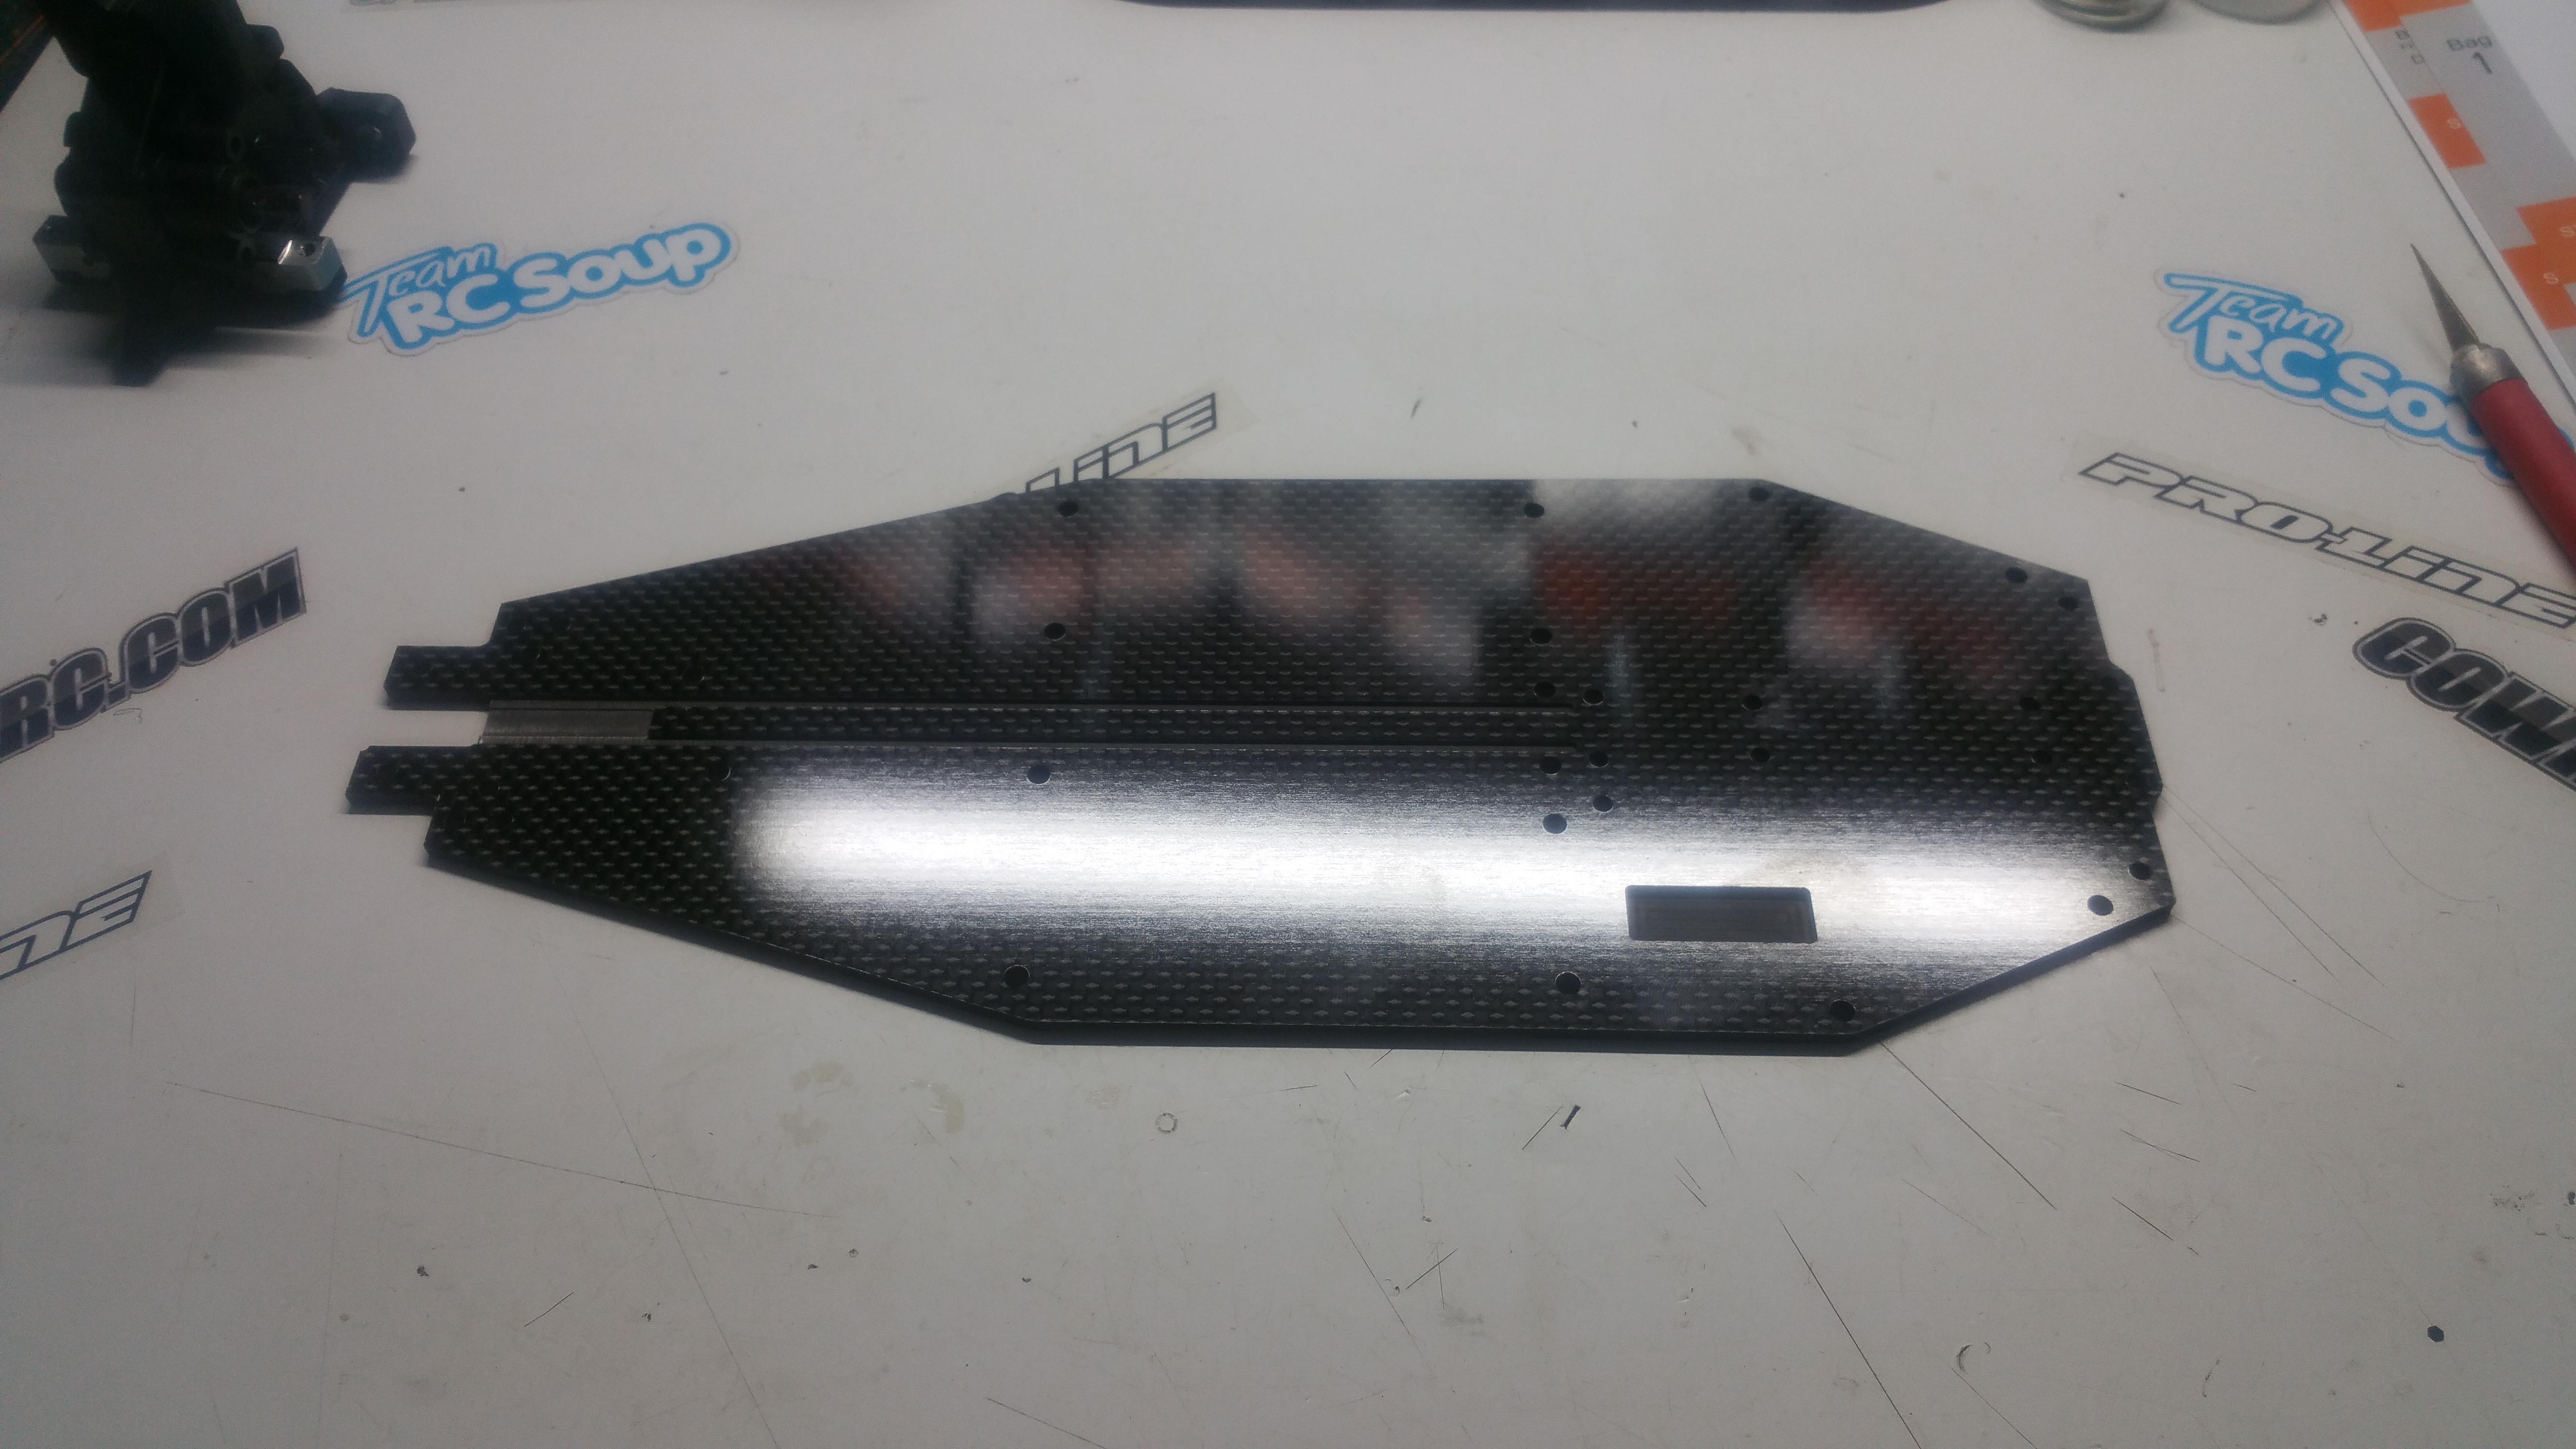
One of the things Serpent did different from most of the other Companies with 4wd buggies is the Carbon chassis.
However Serpent does offer a Aluminium chassis option ( SER500461)
Rear Diff case installed!
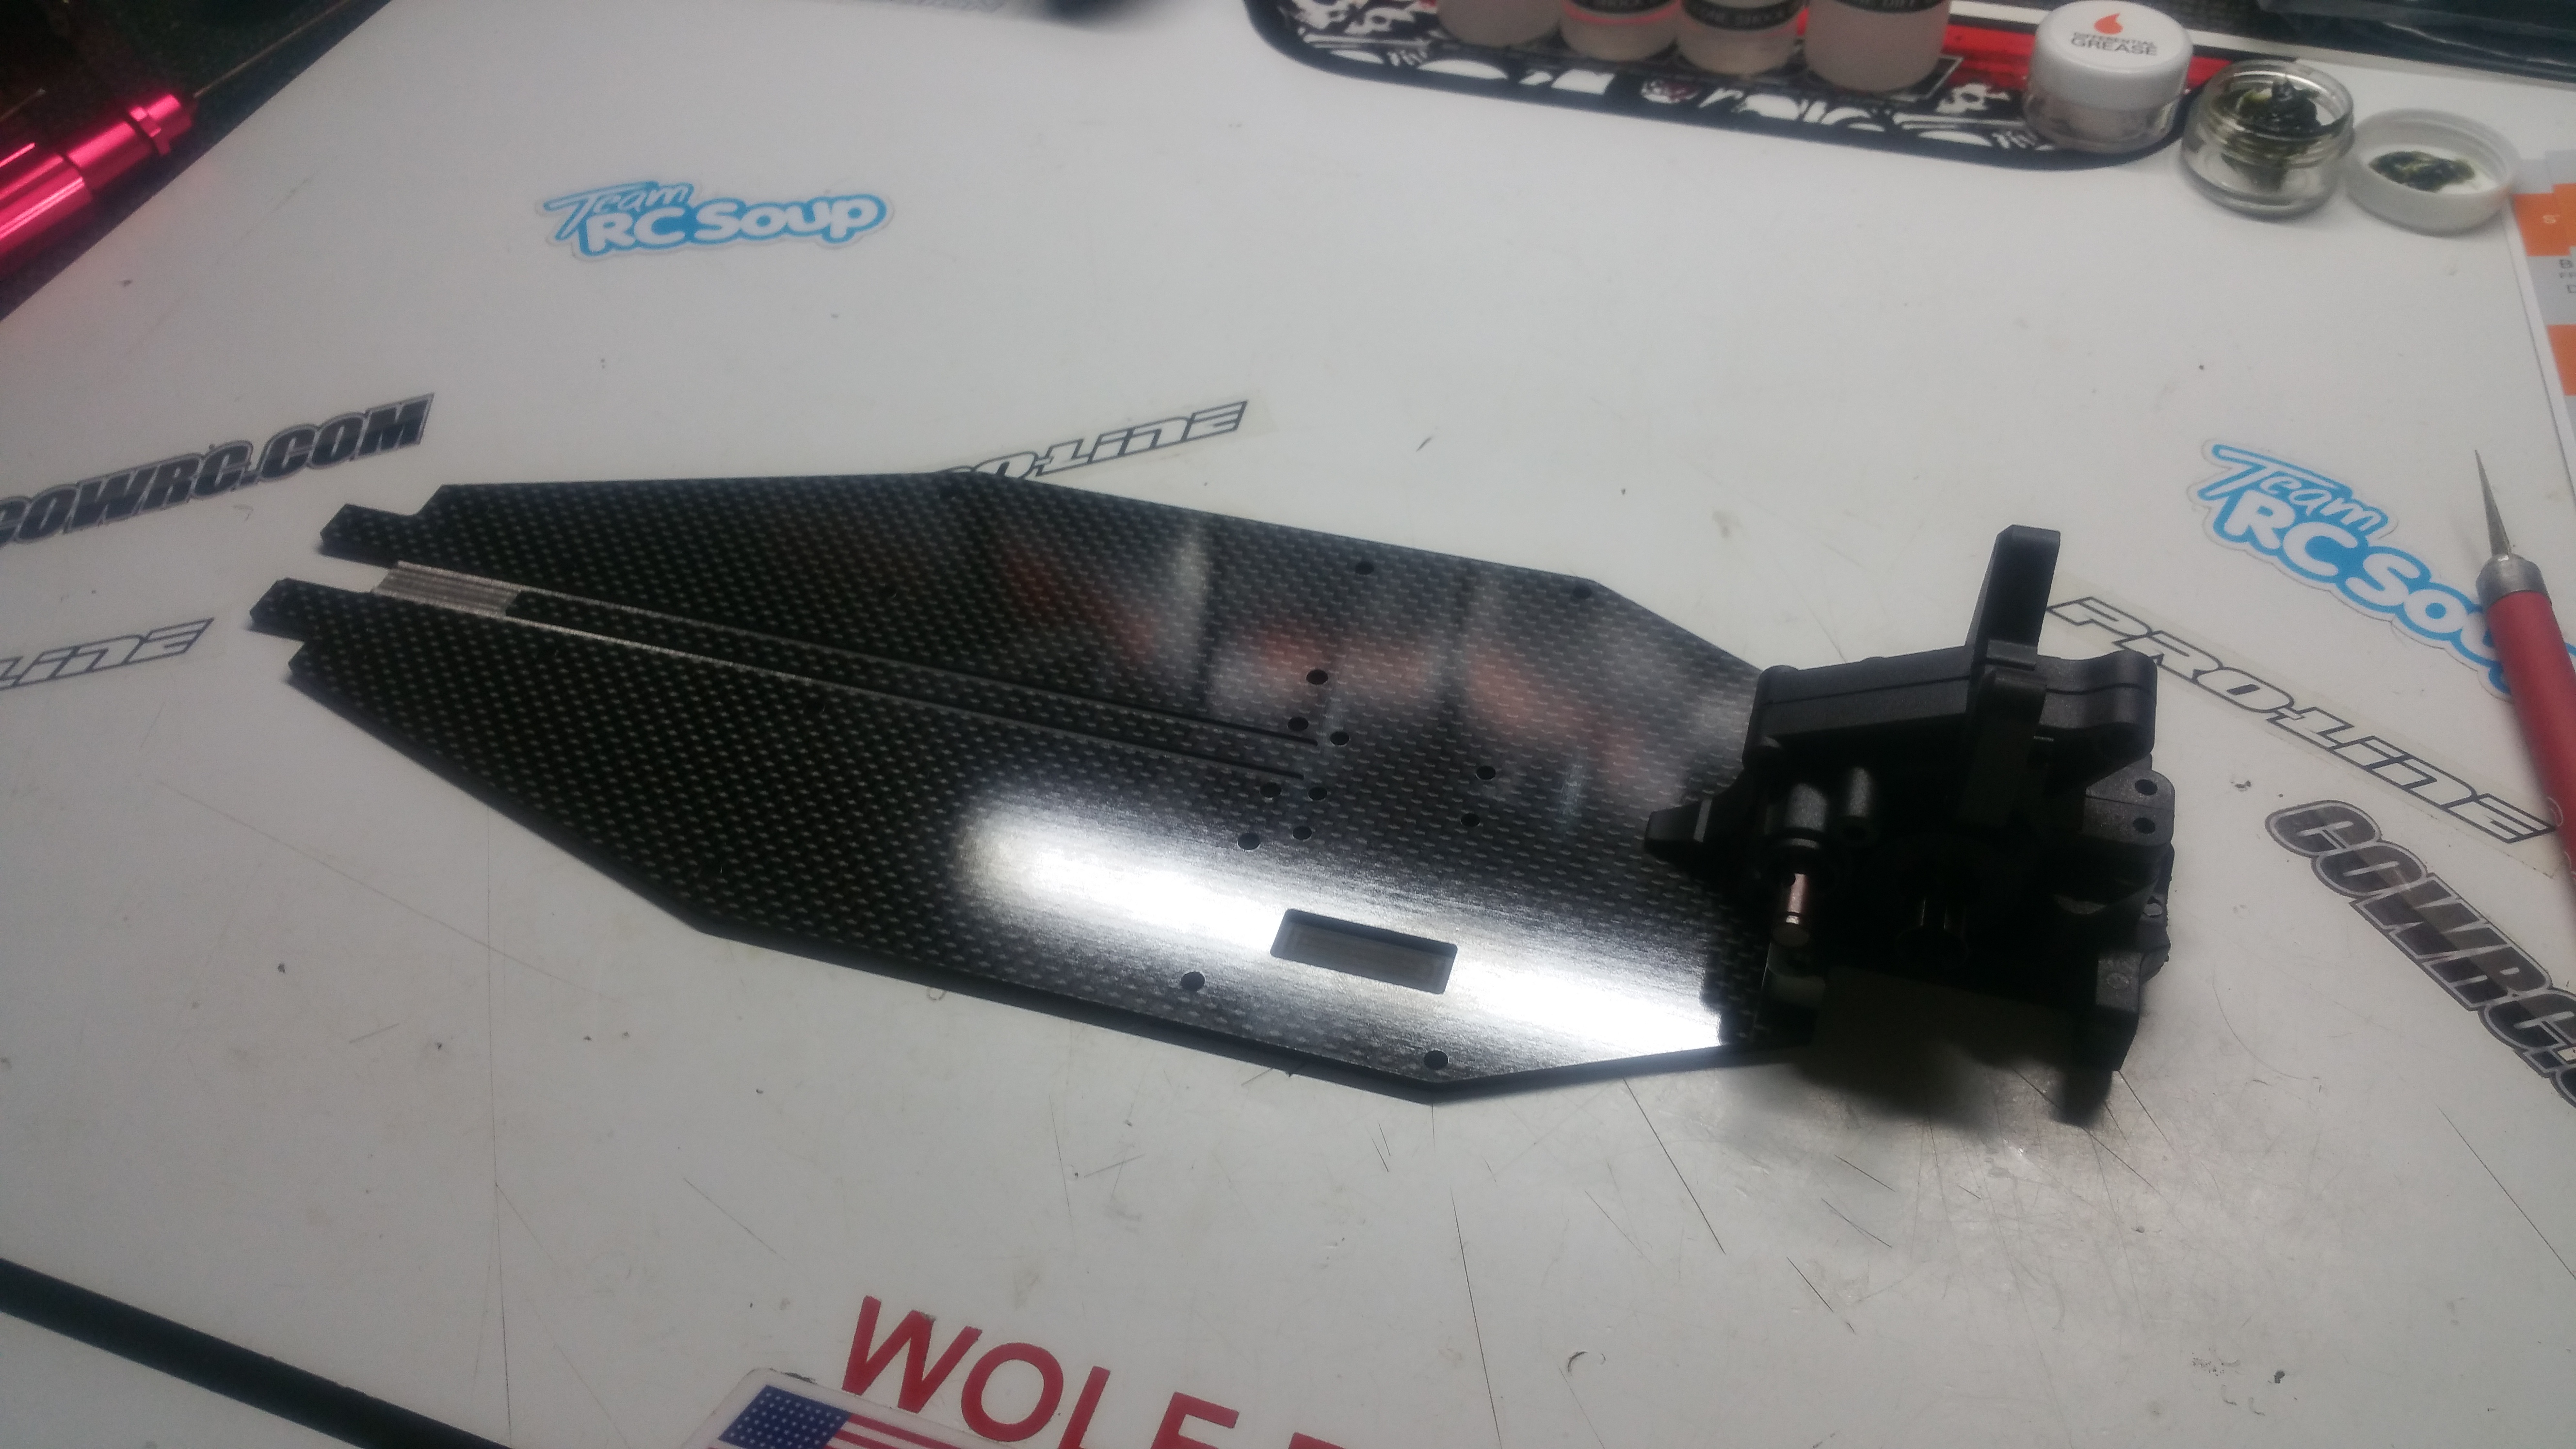
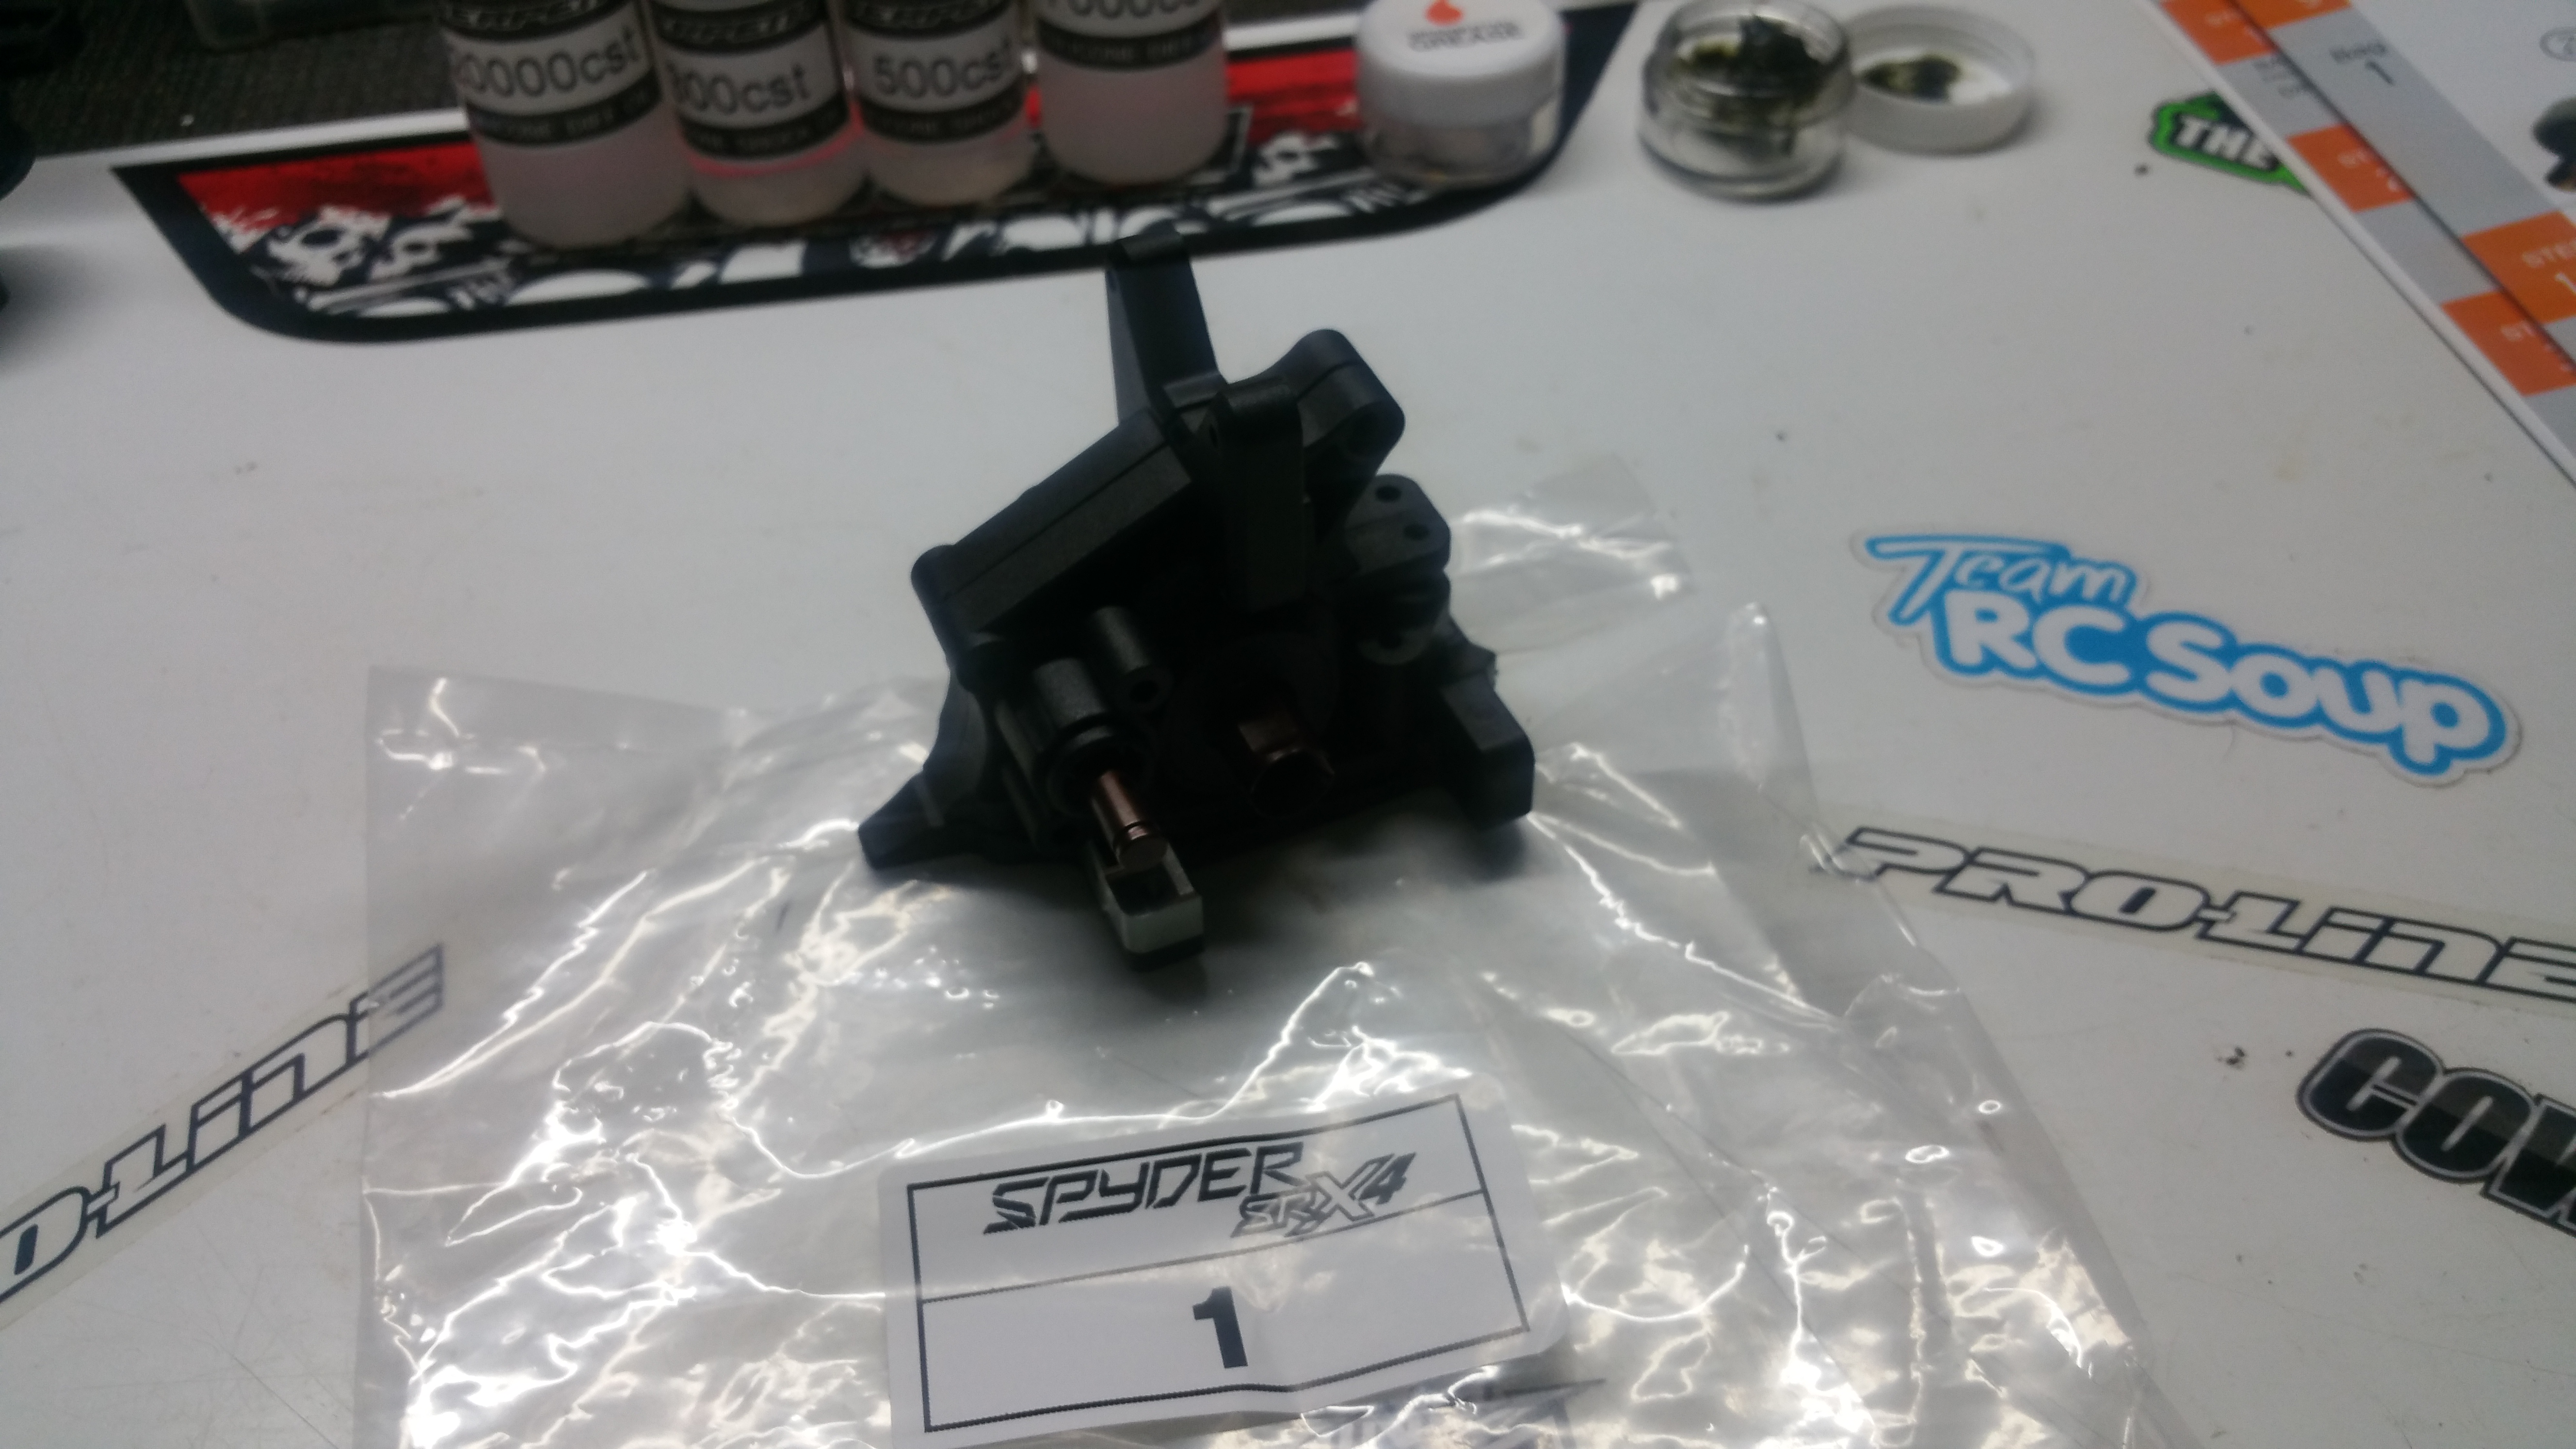
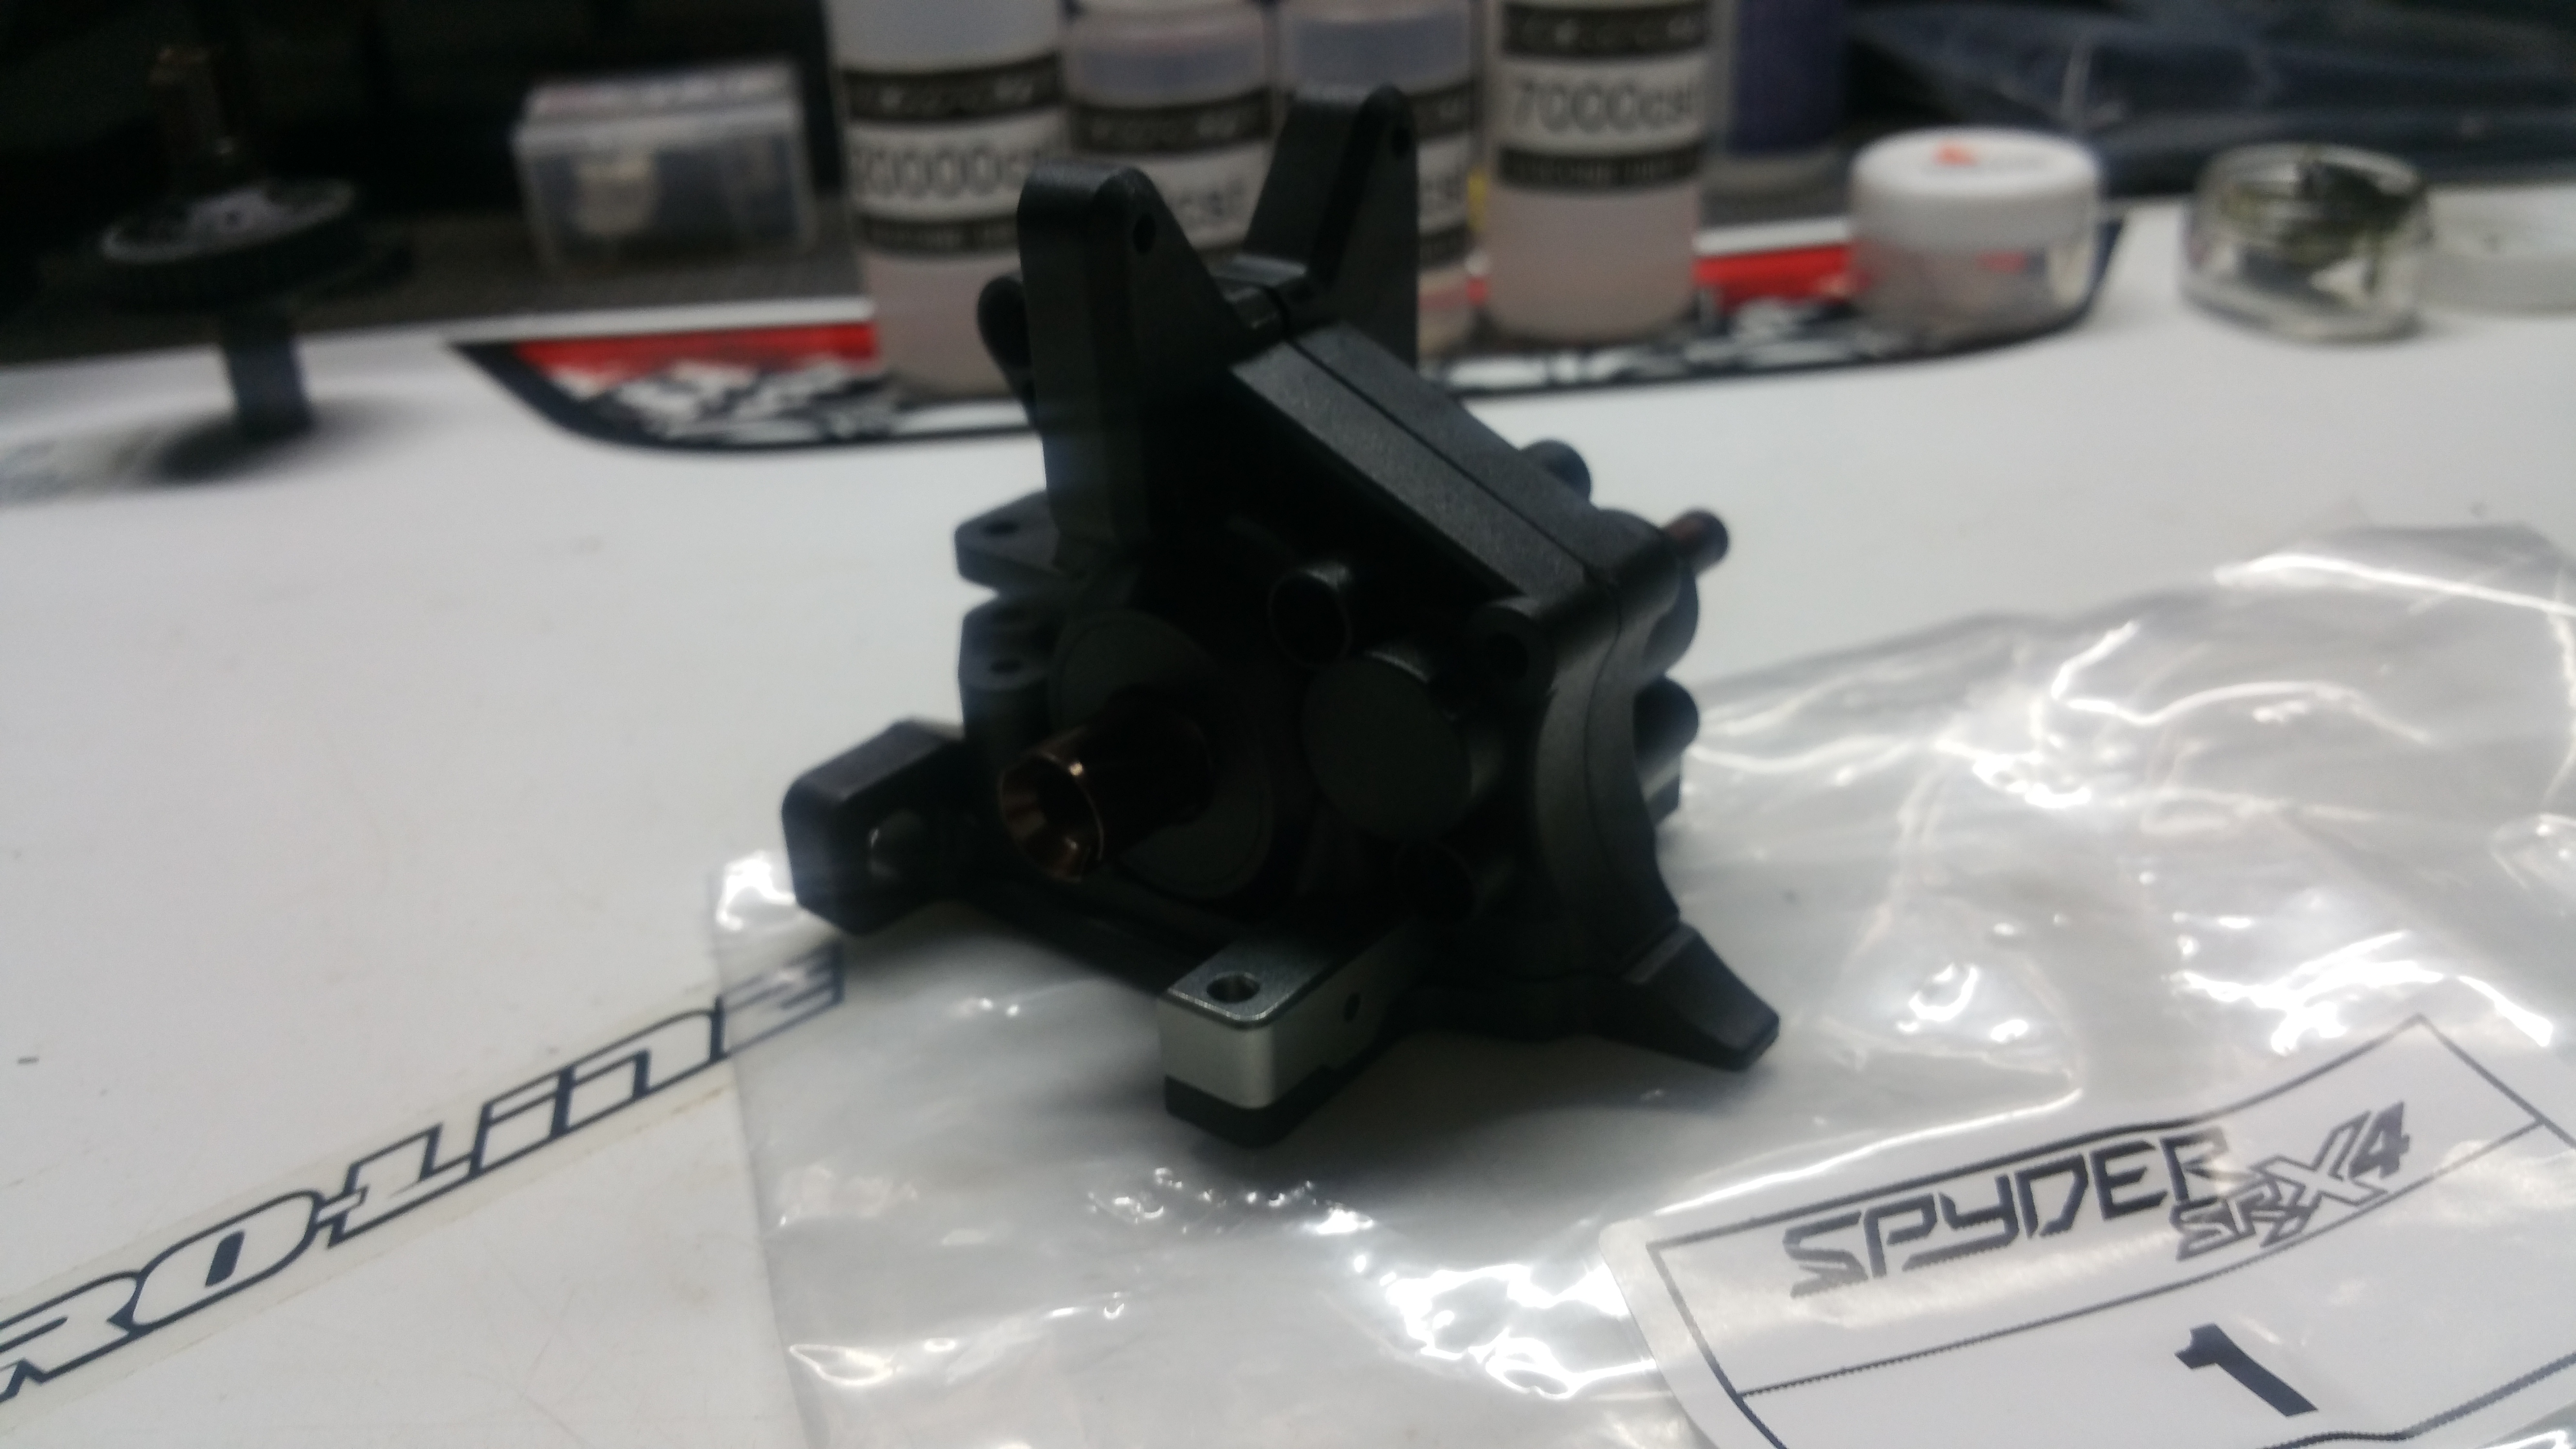
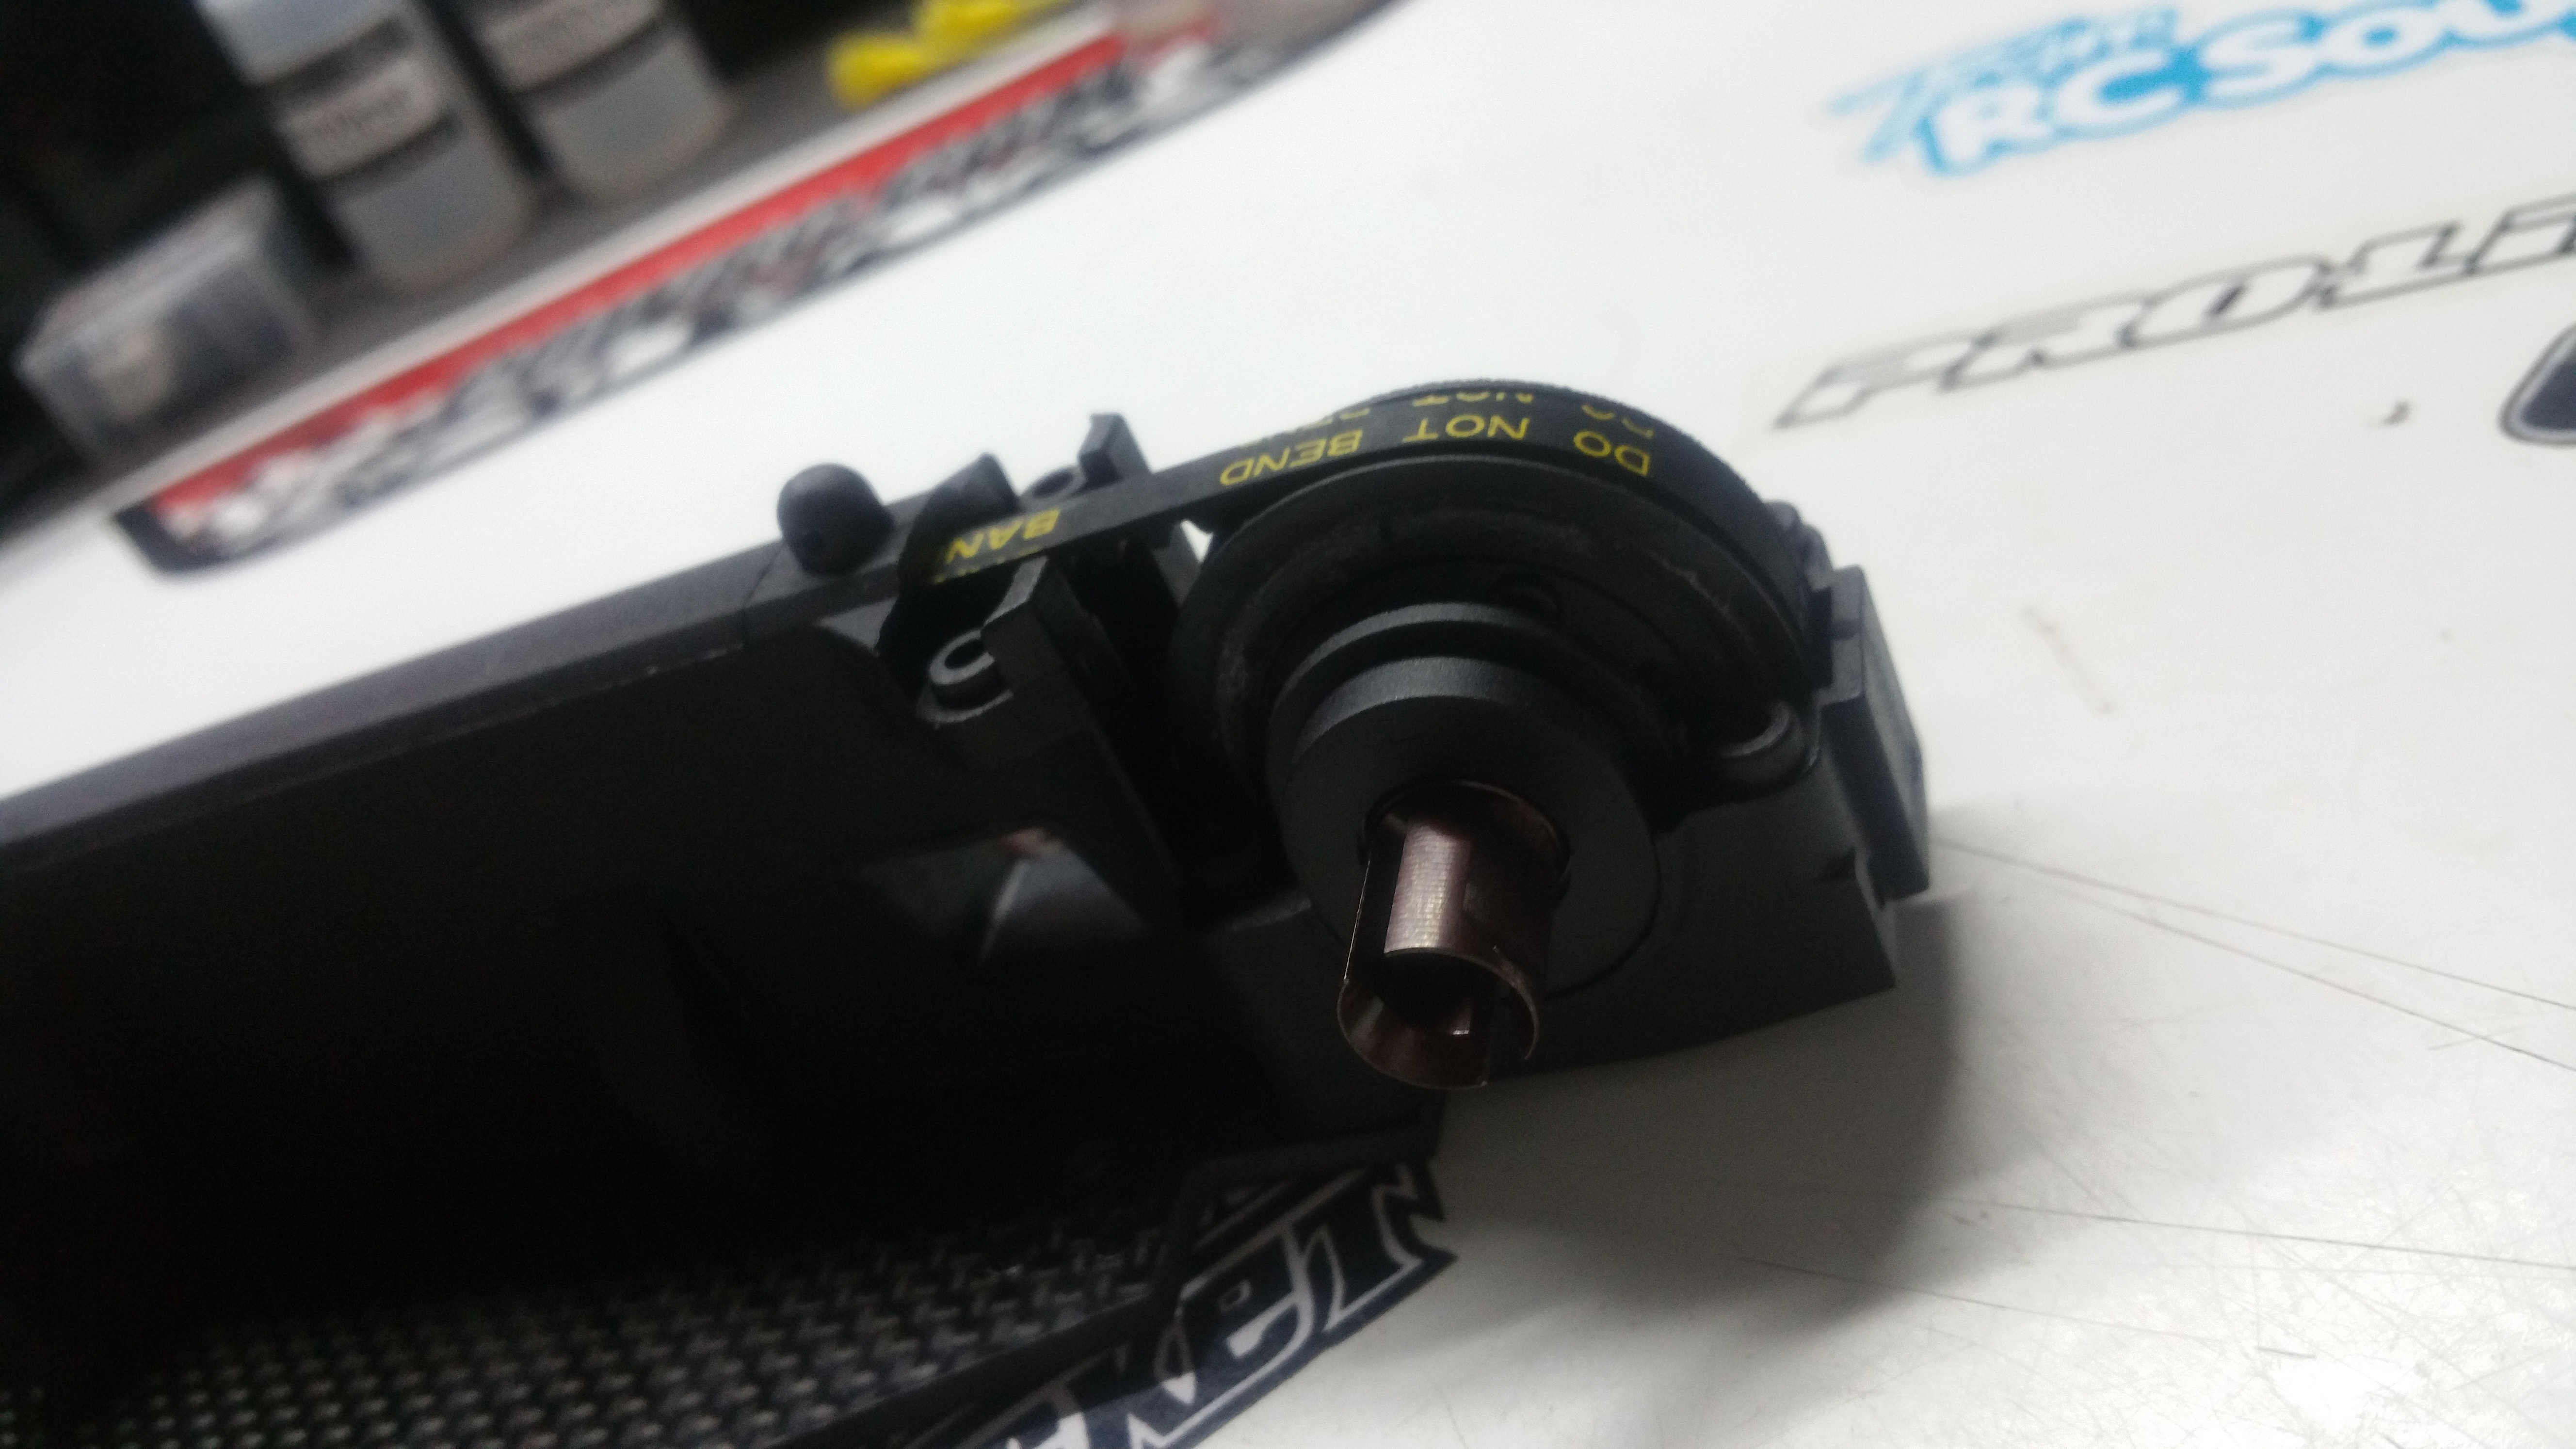
Center Transfer case!
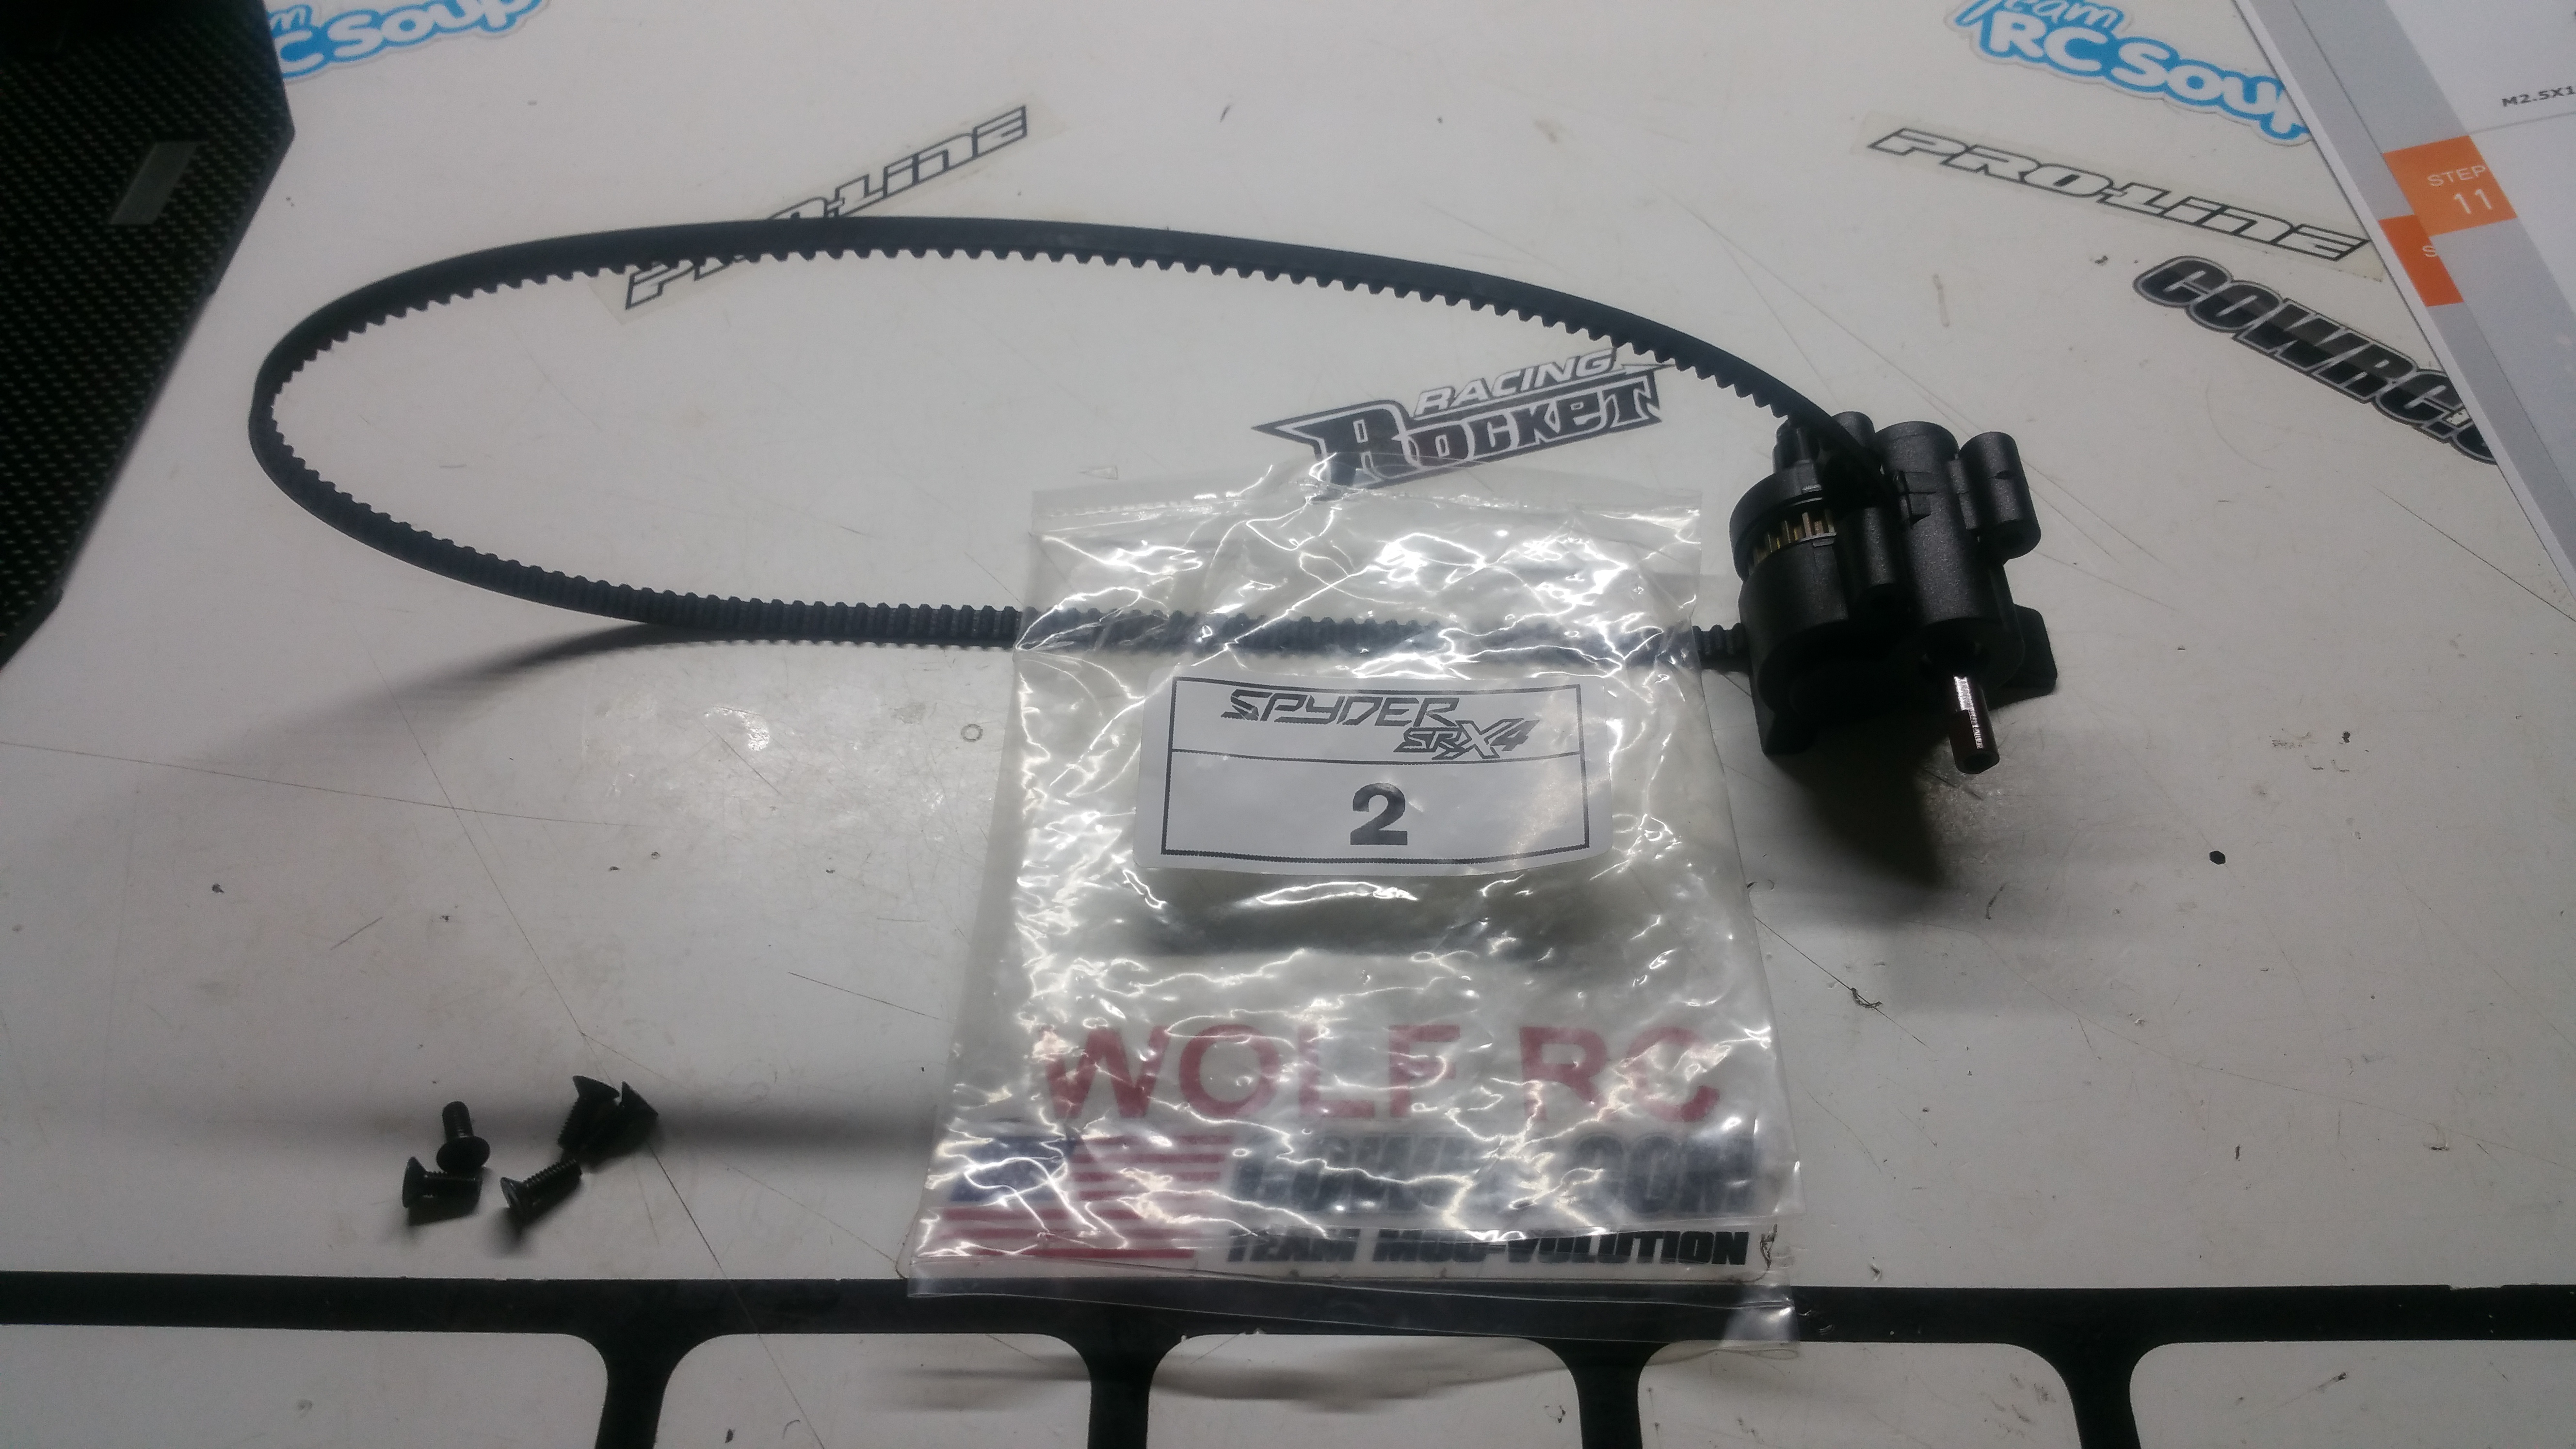
Center transfer case installed onto the chassis!
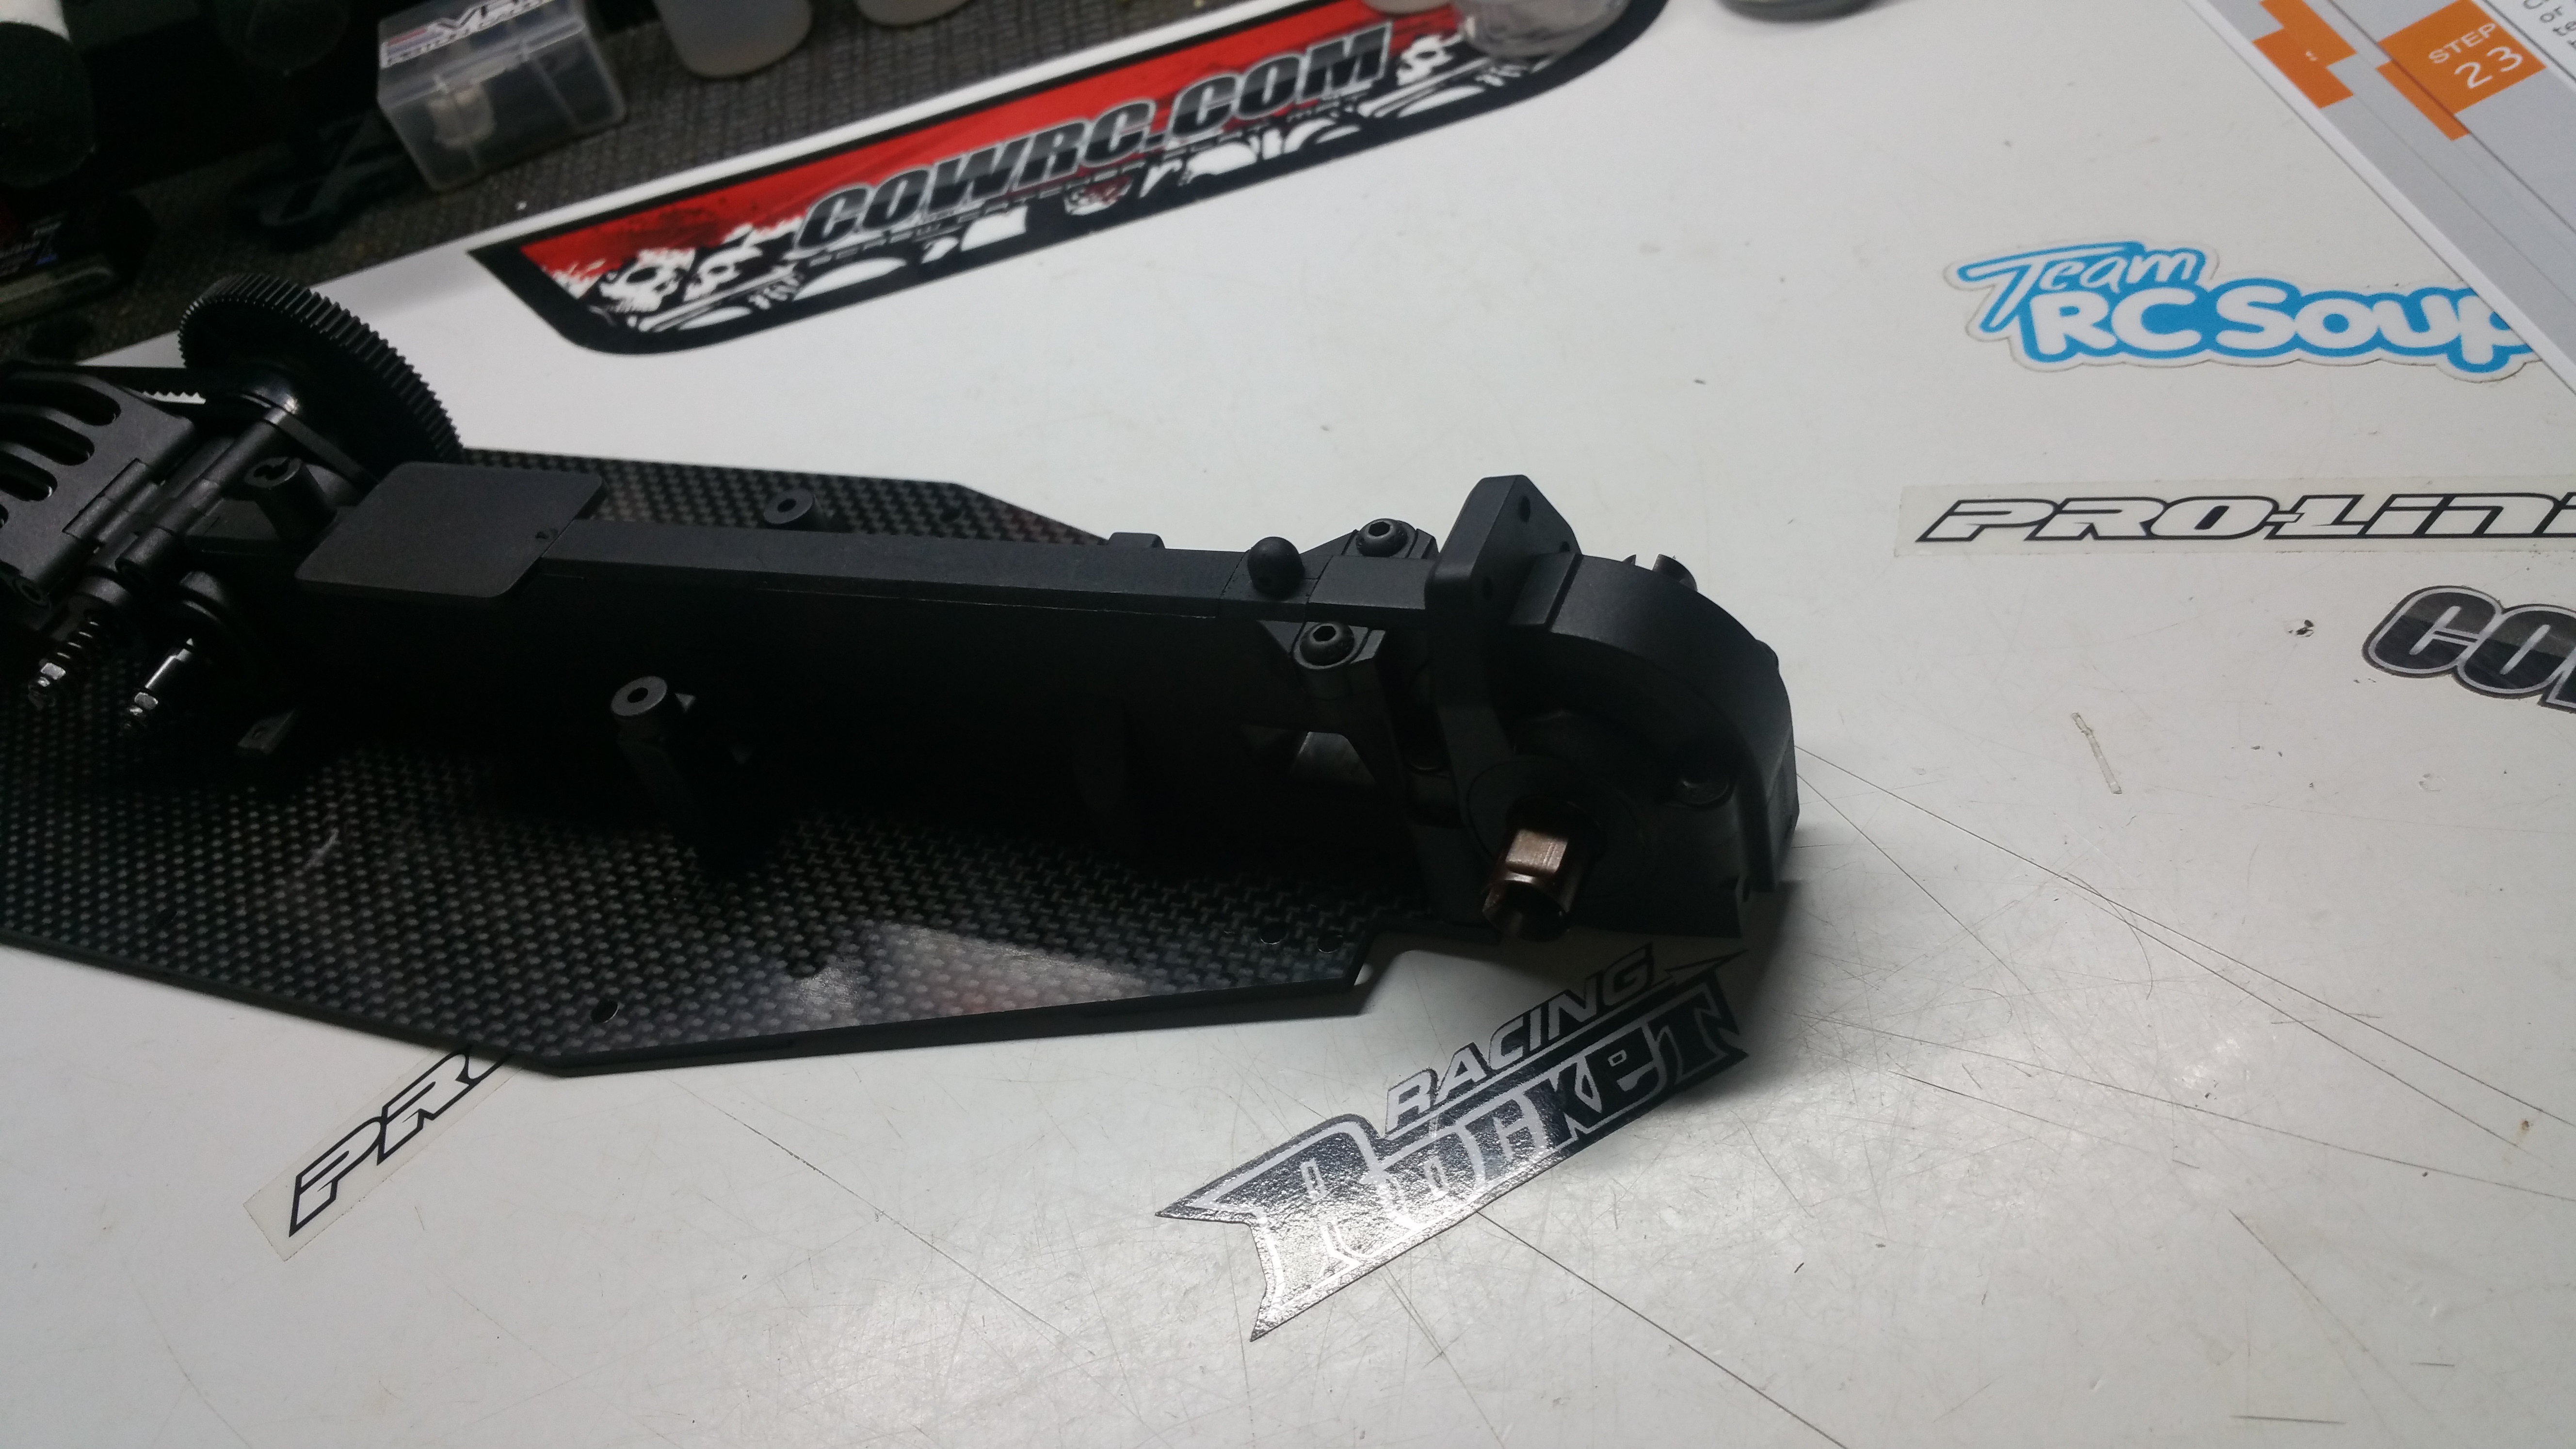
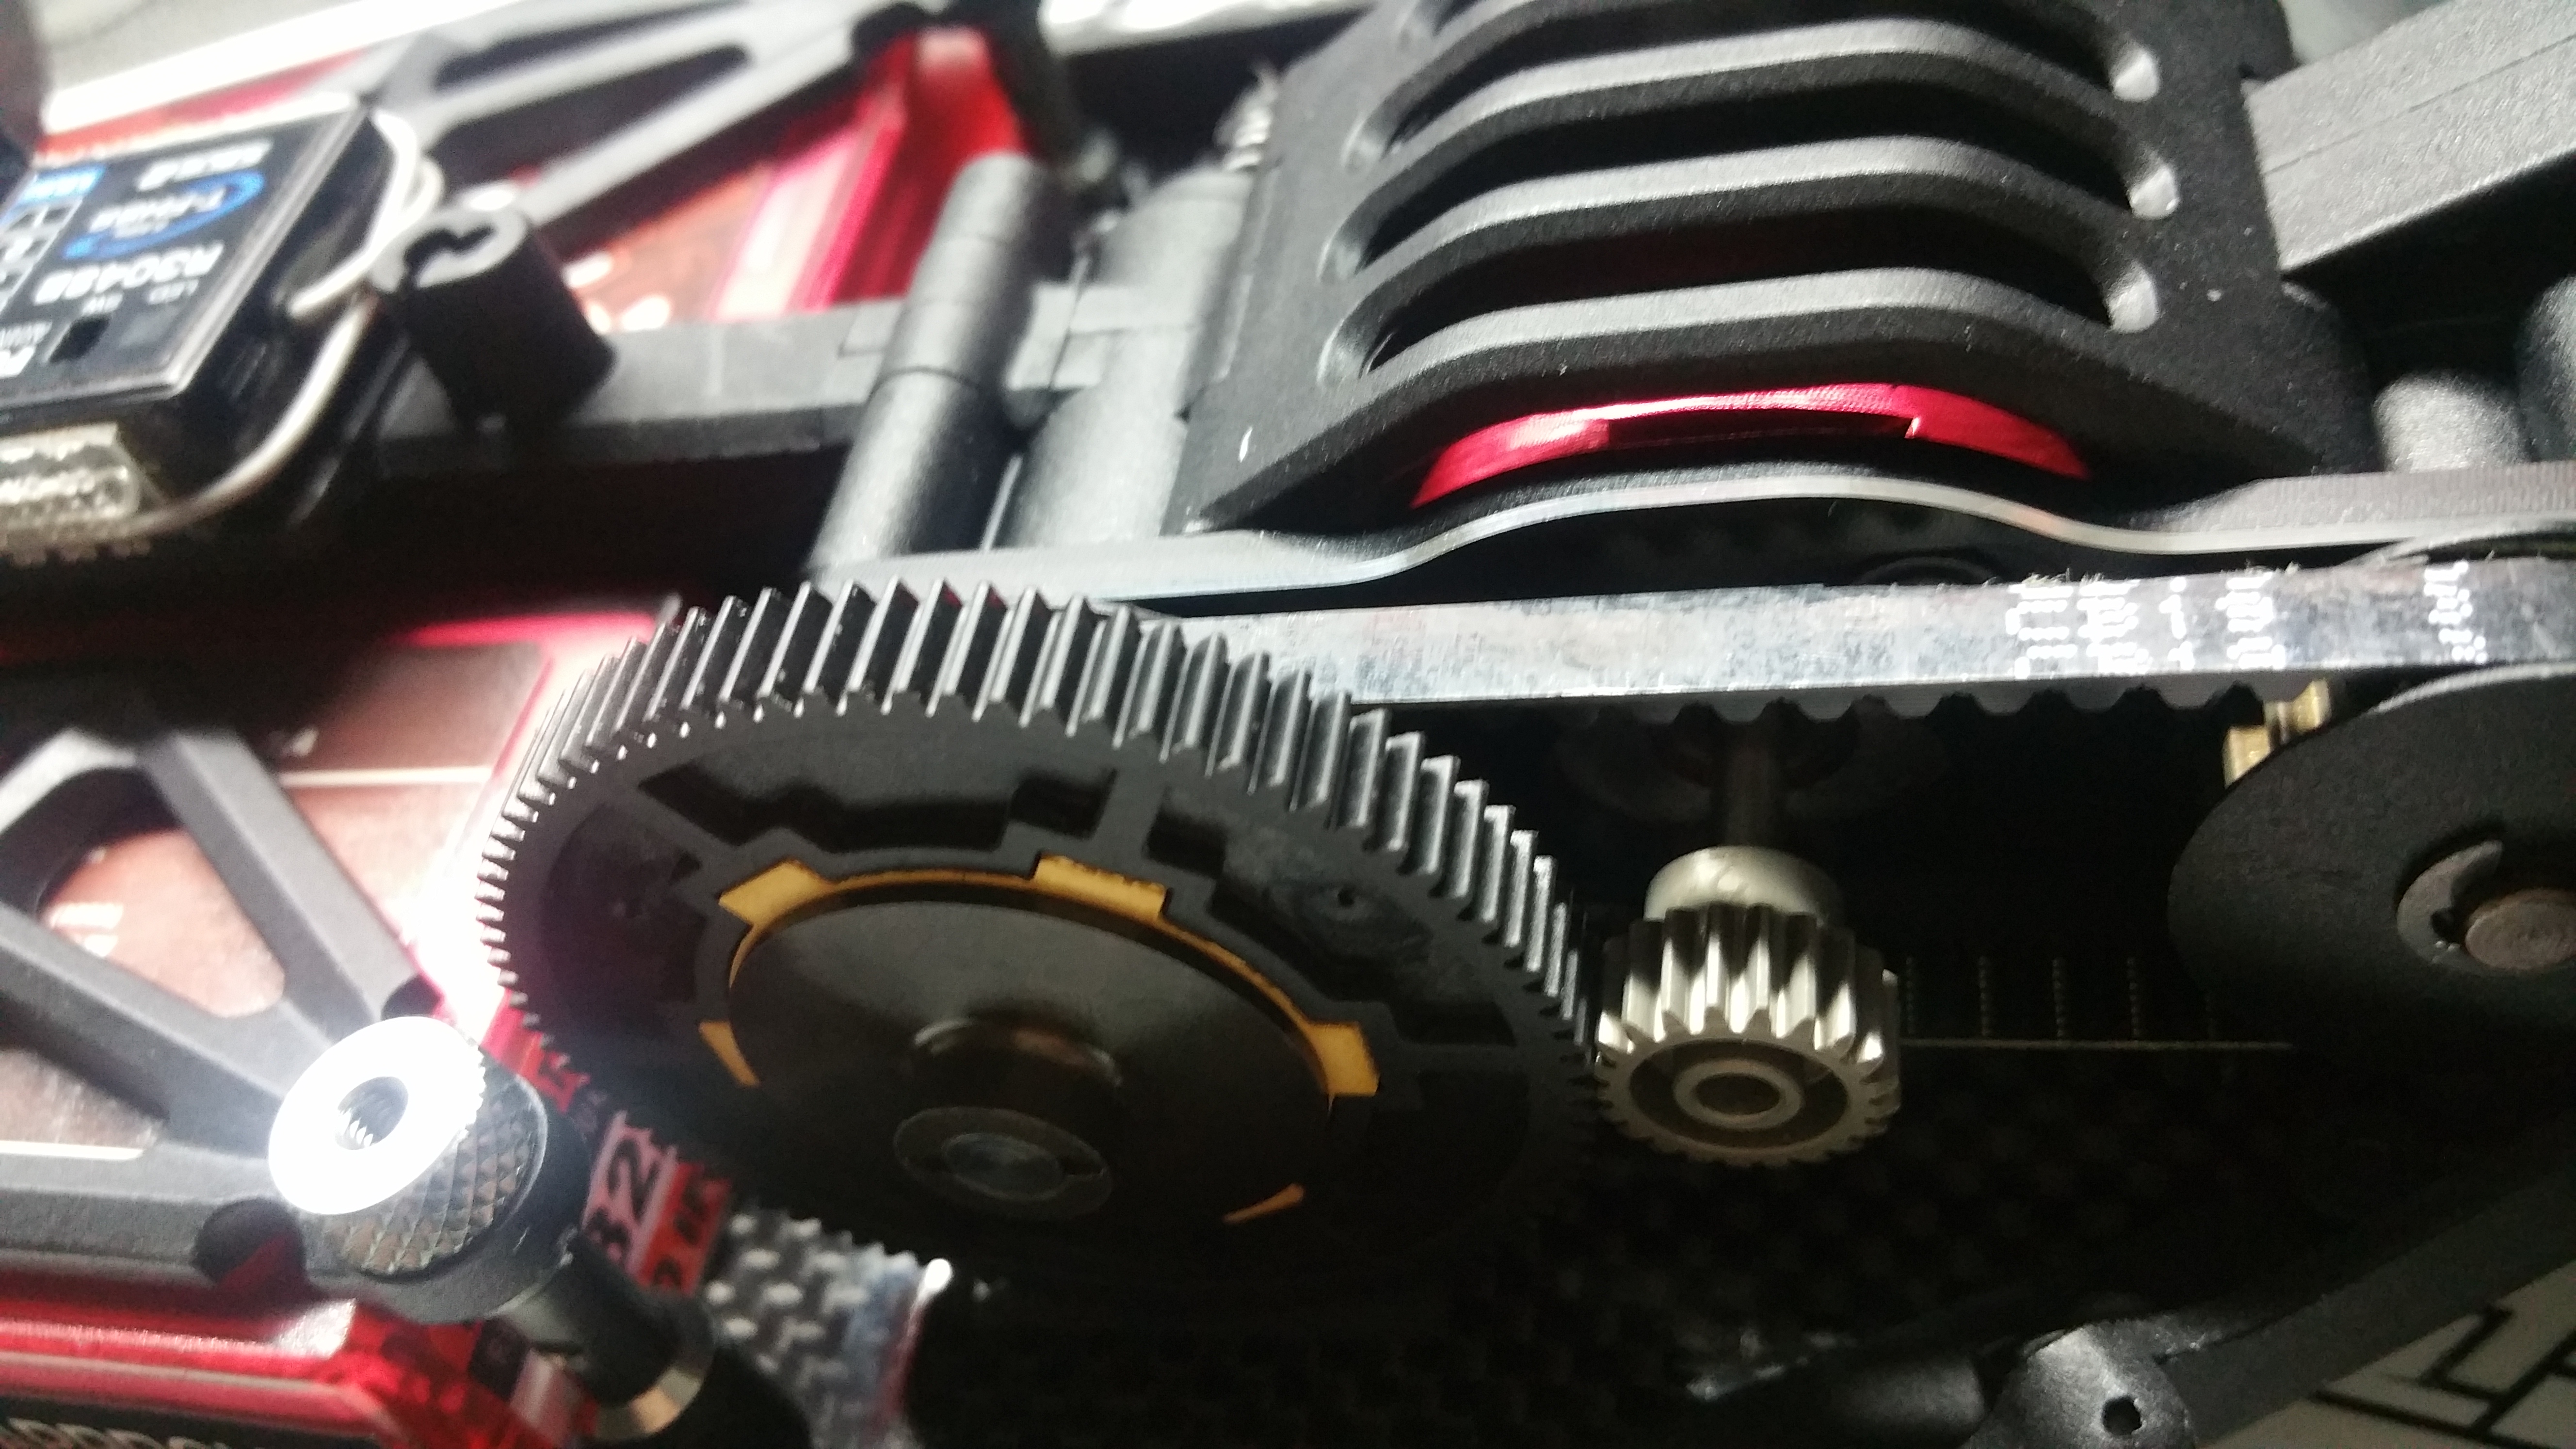
Motor Plate / Slipper setup!
Installed on the Car! getting closer for the complete belt setup!
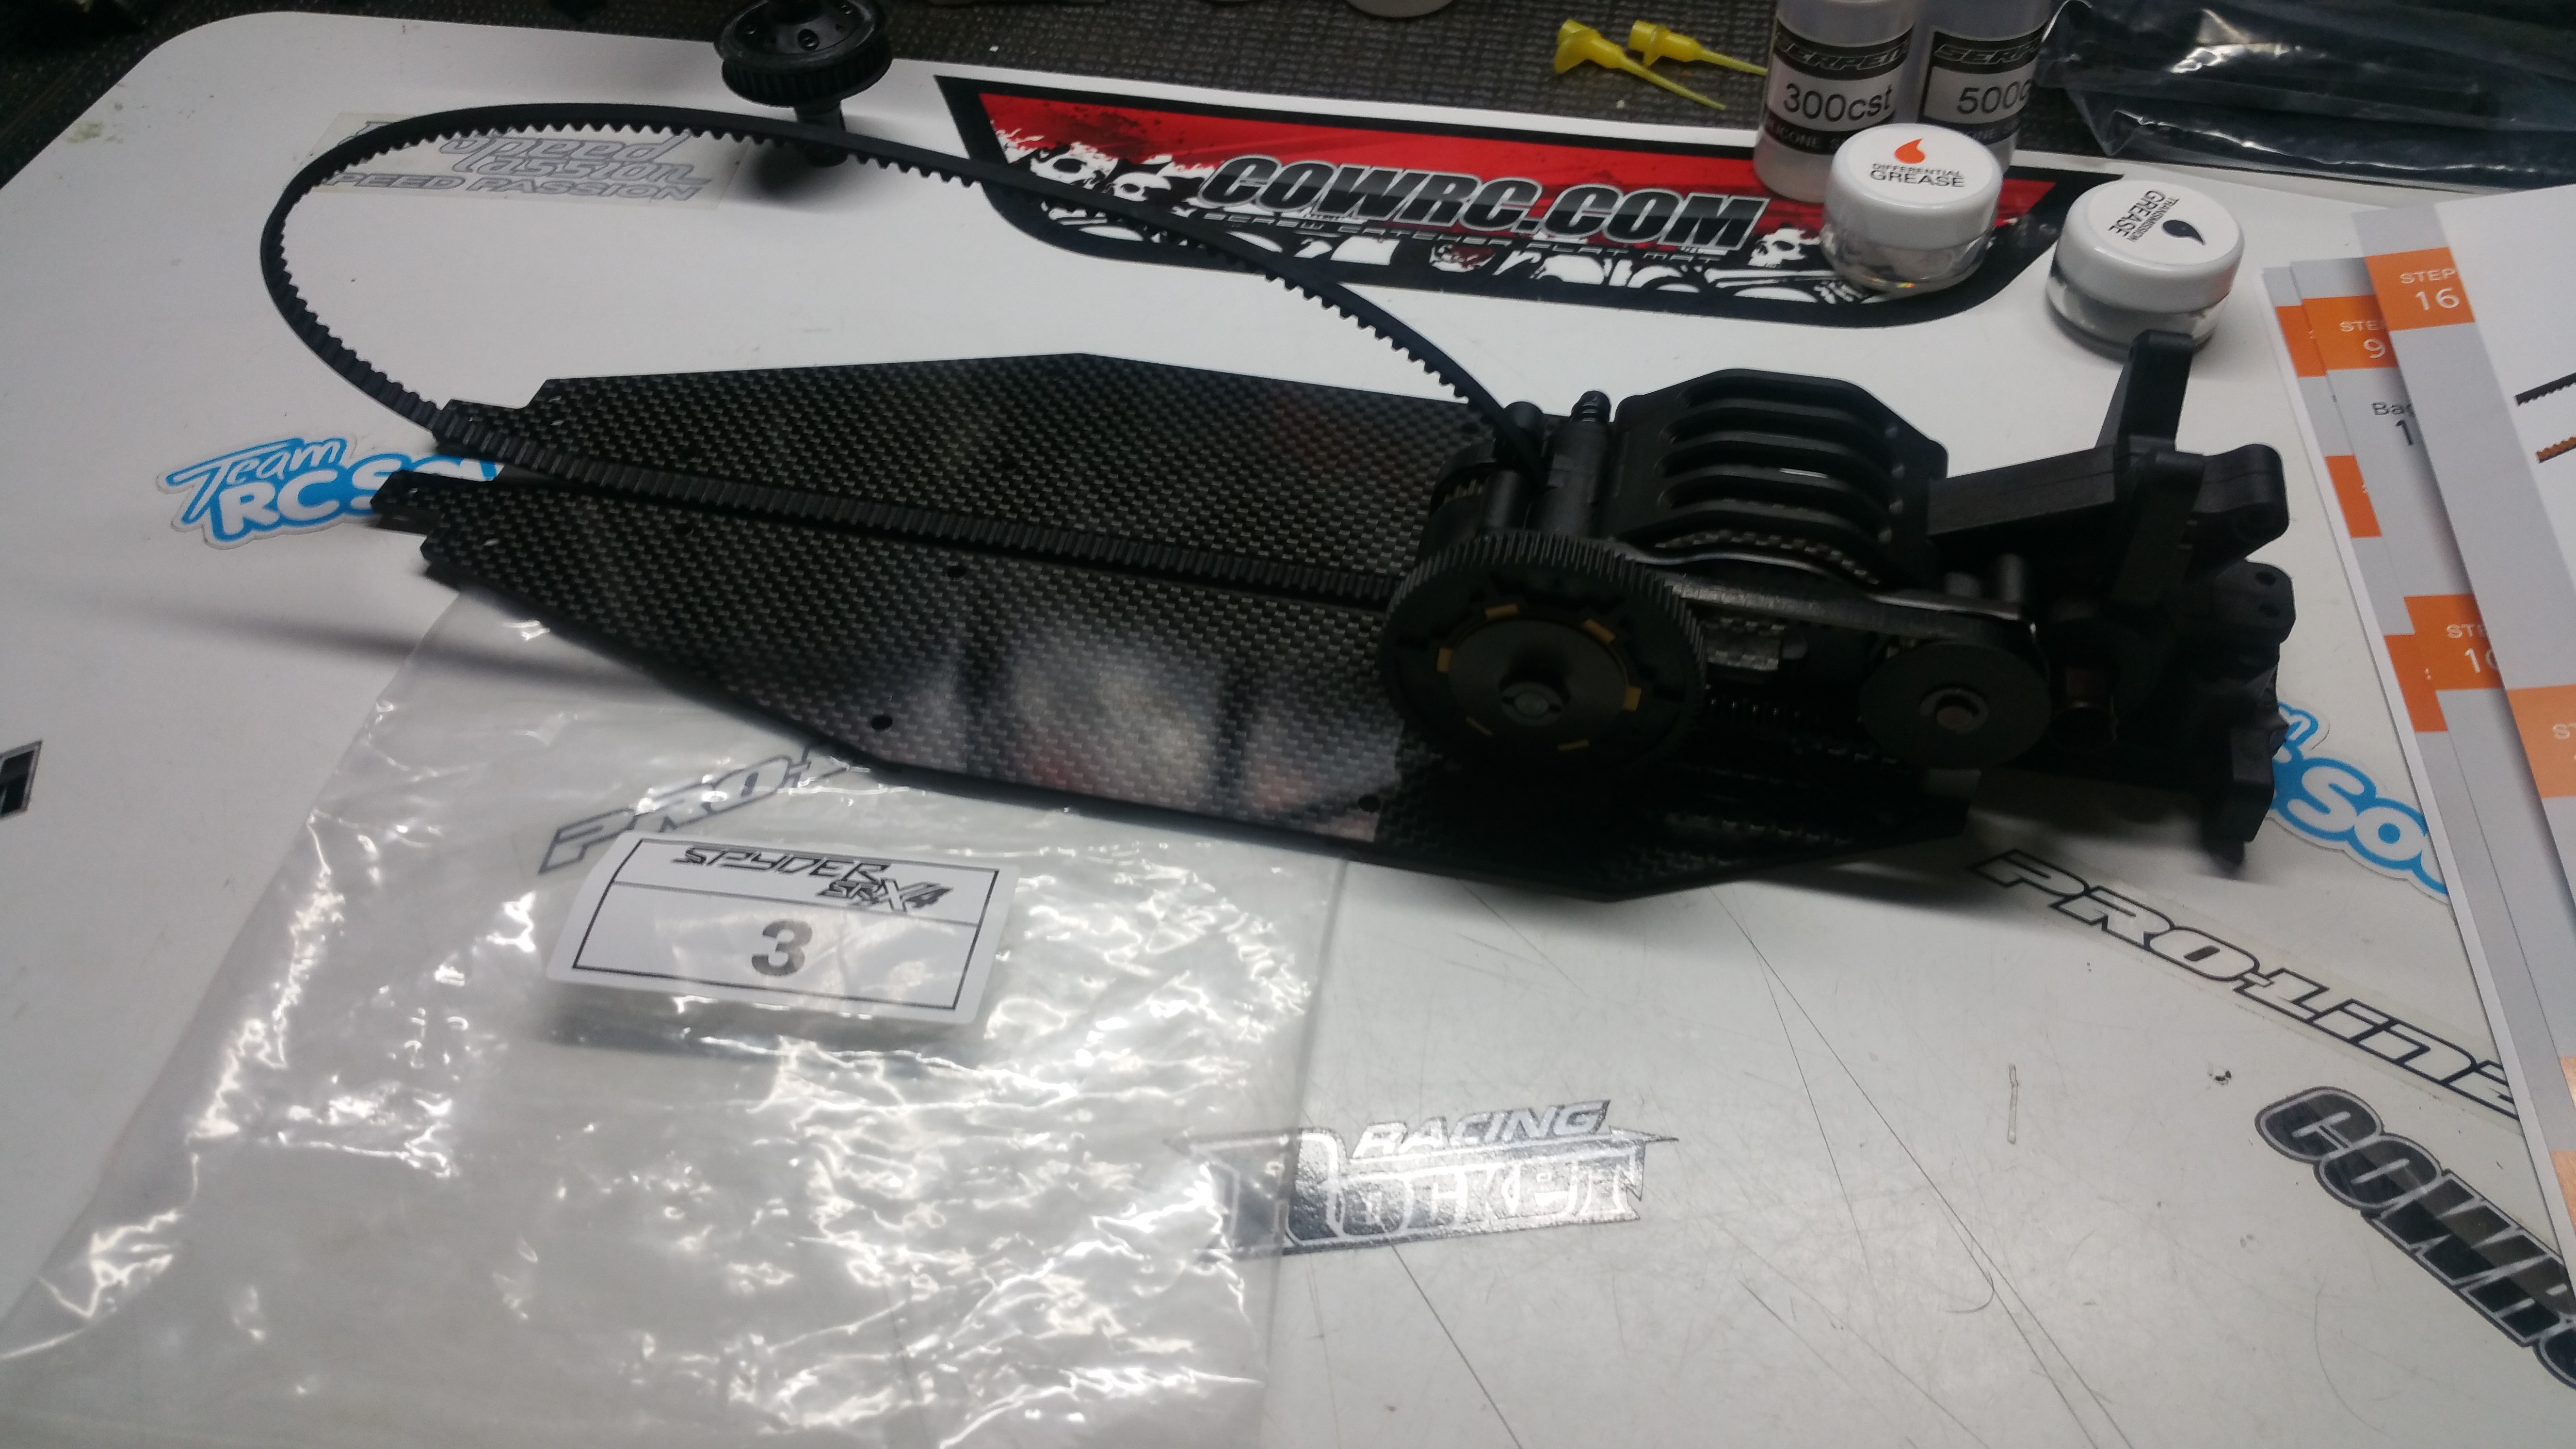
Center Chassis brace / support installed!
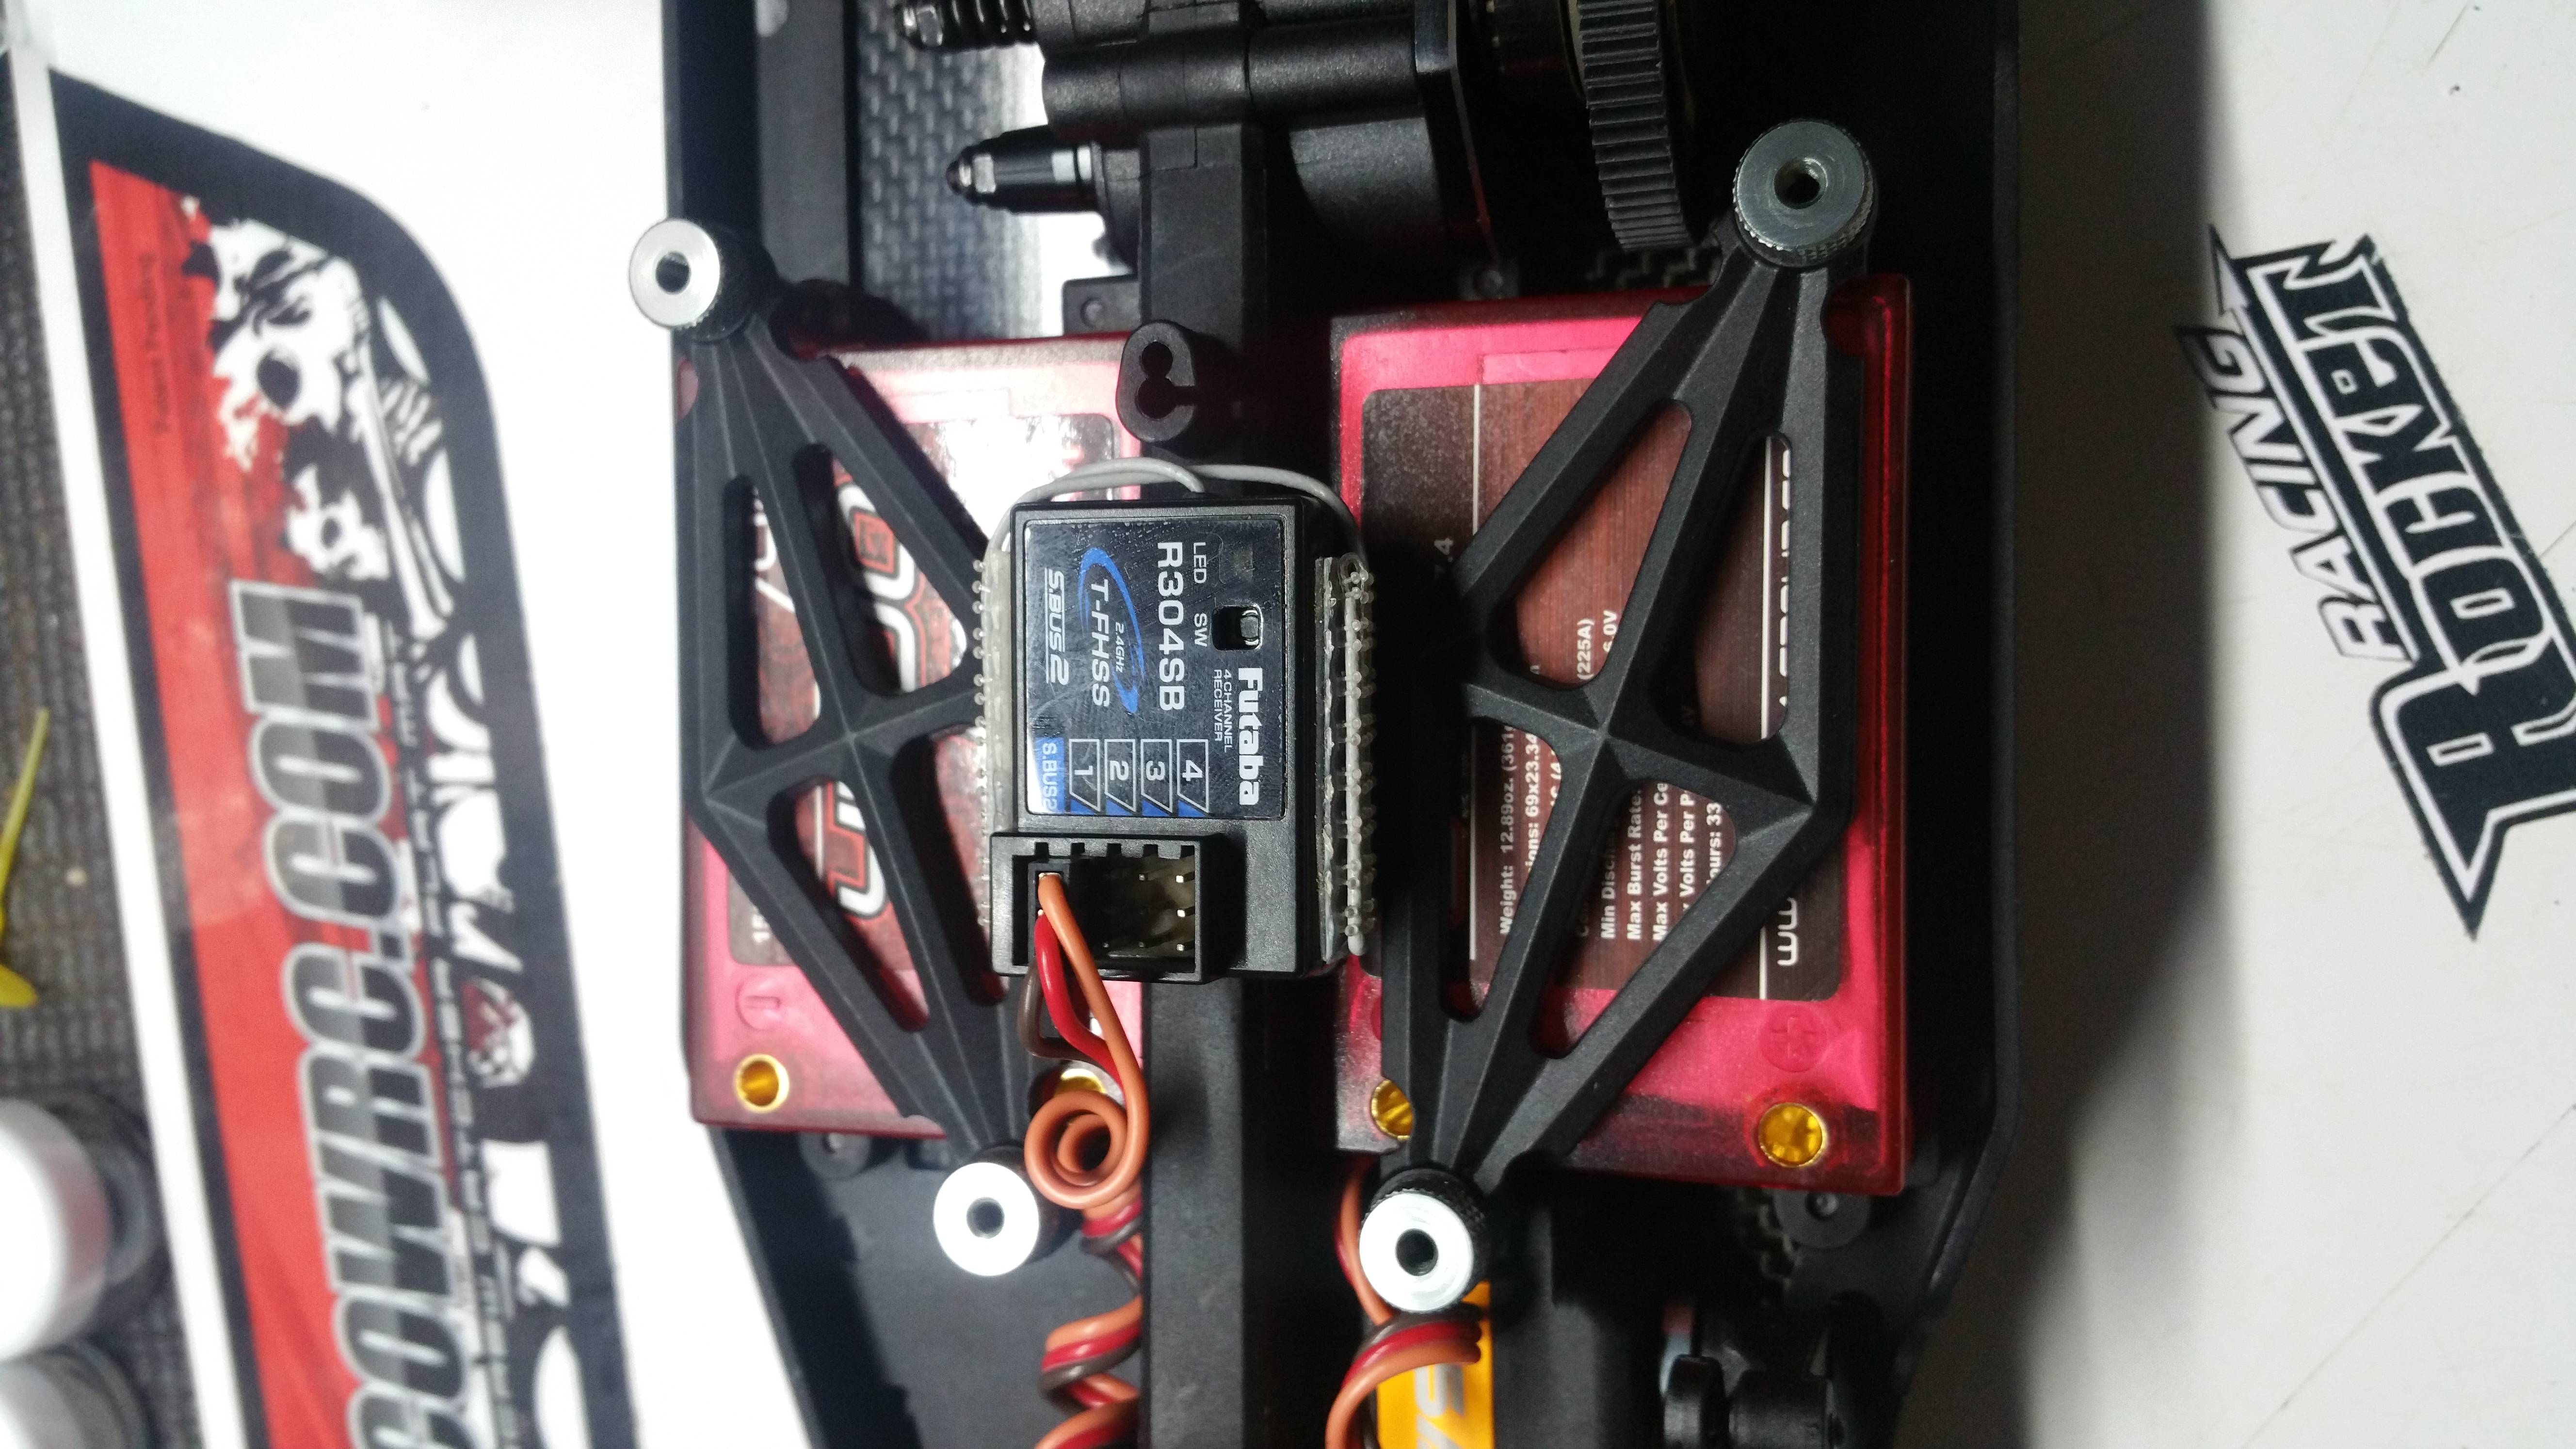
This mounts your Receiver and Servo!
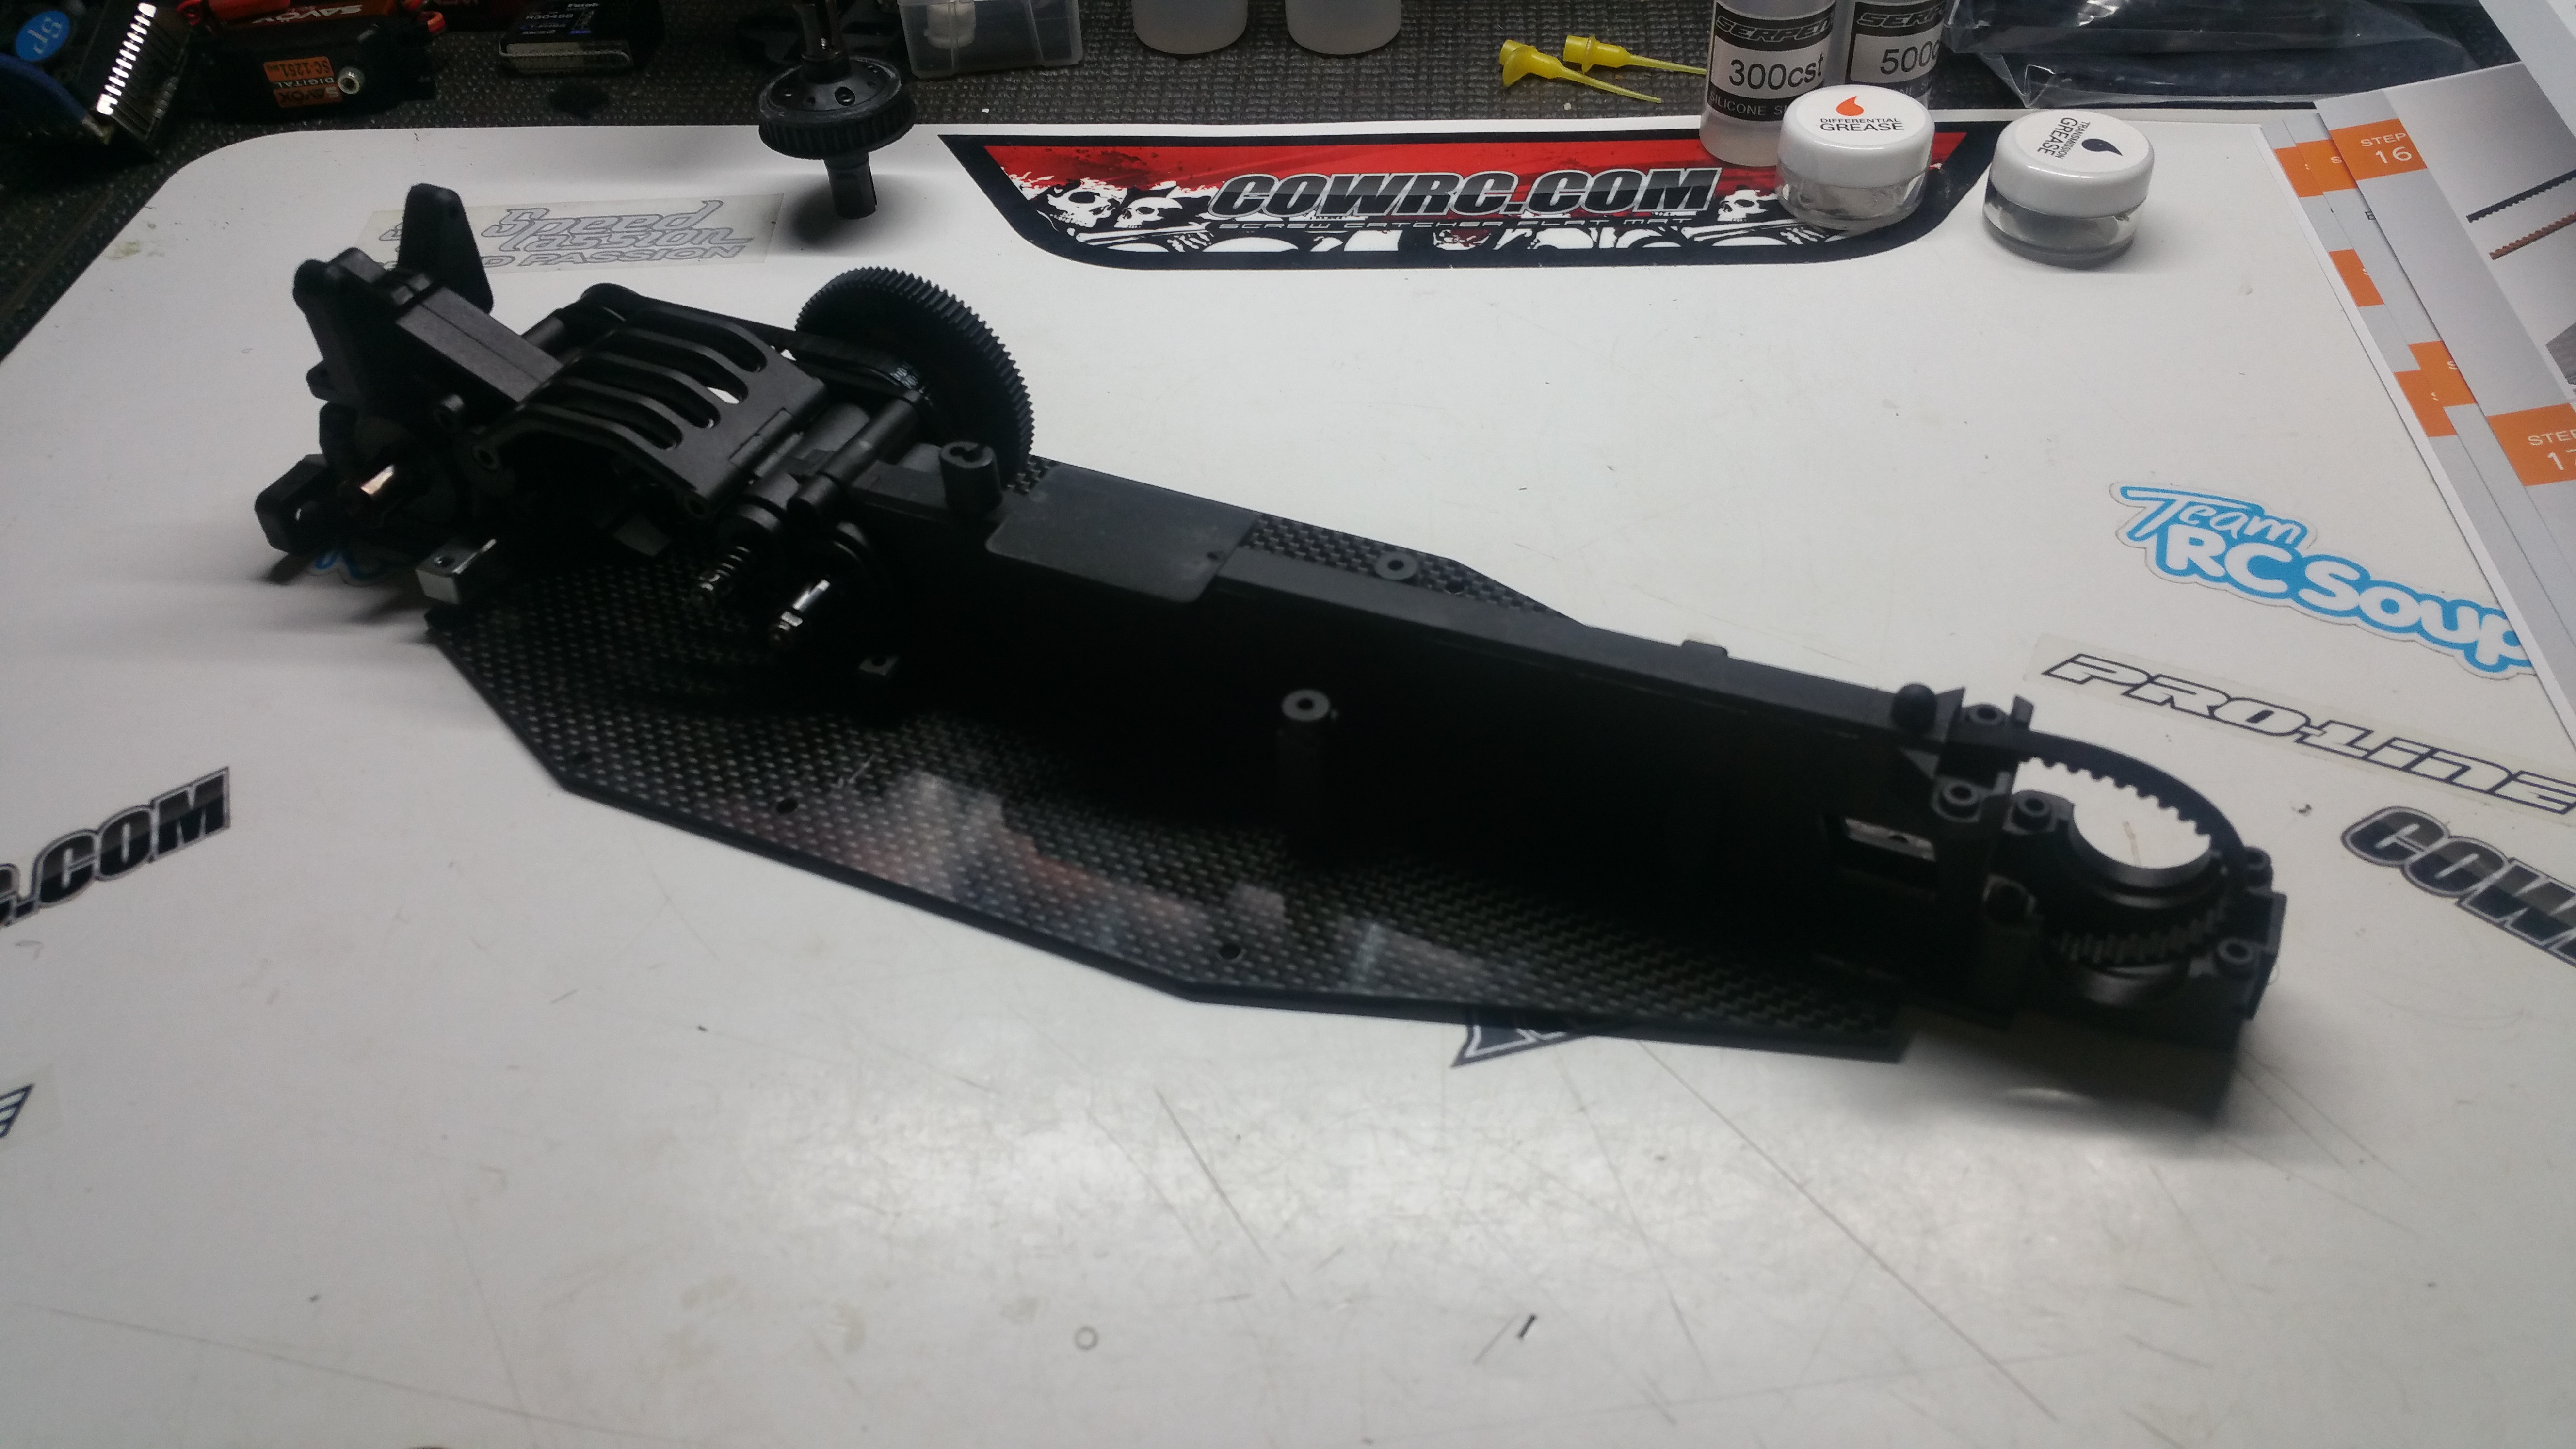
Front Diff installed!
Picture shown is with the Stock Lower inserts, when the kit is brand new the belt is fairly tight, and i have since Installed the CR Lovell Diff inserts that are 3D Molded and are designed to help slacken up the belt and let it be alittle looser. After installing, There was less drag on the front belt.
Diff Cap Installed!
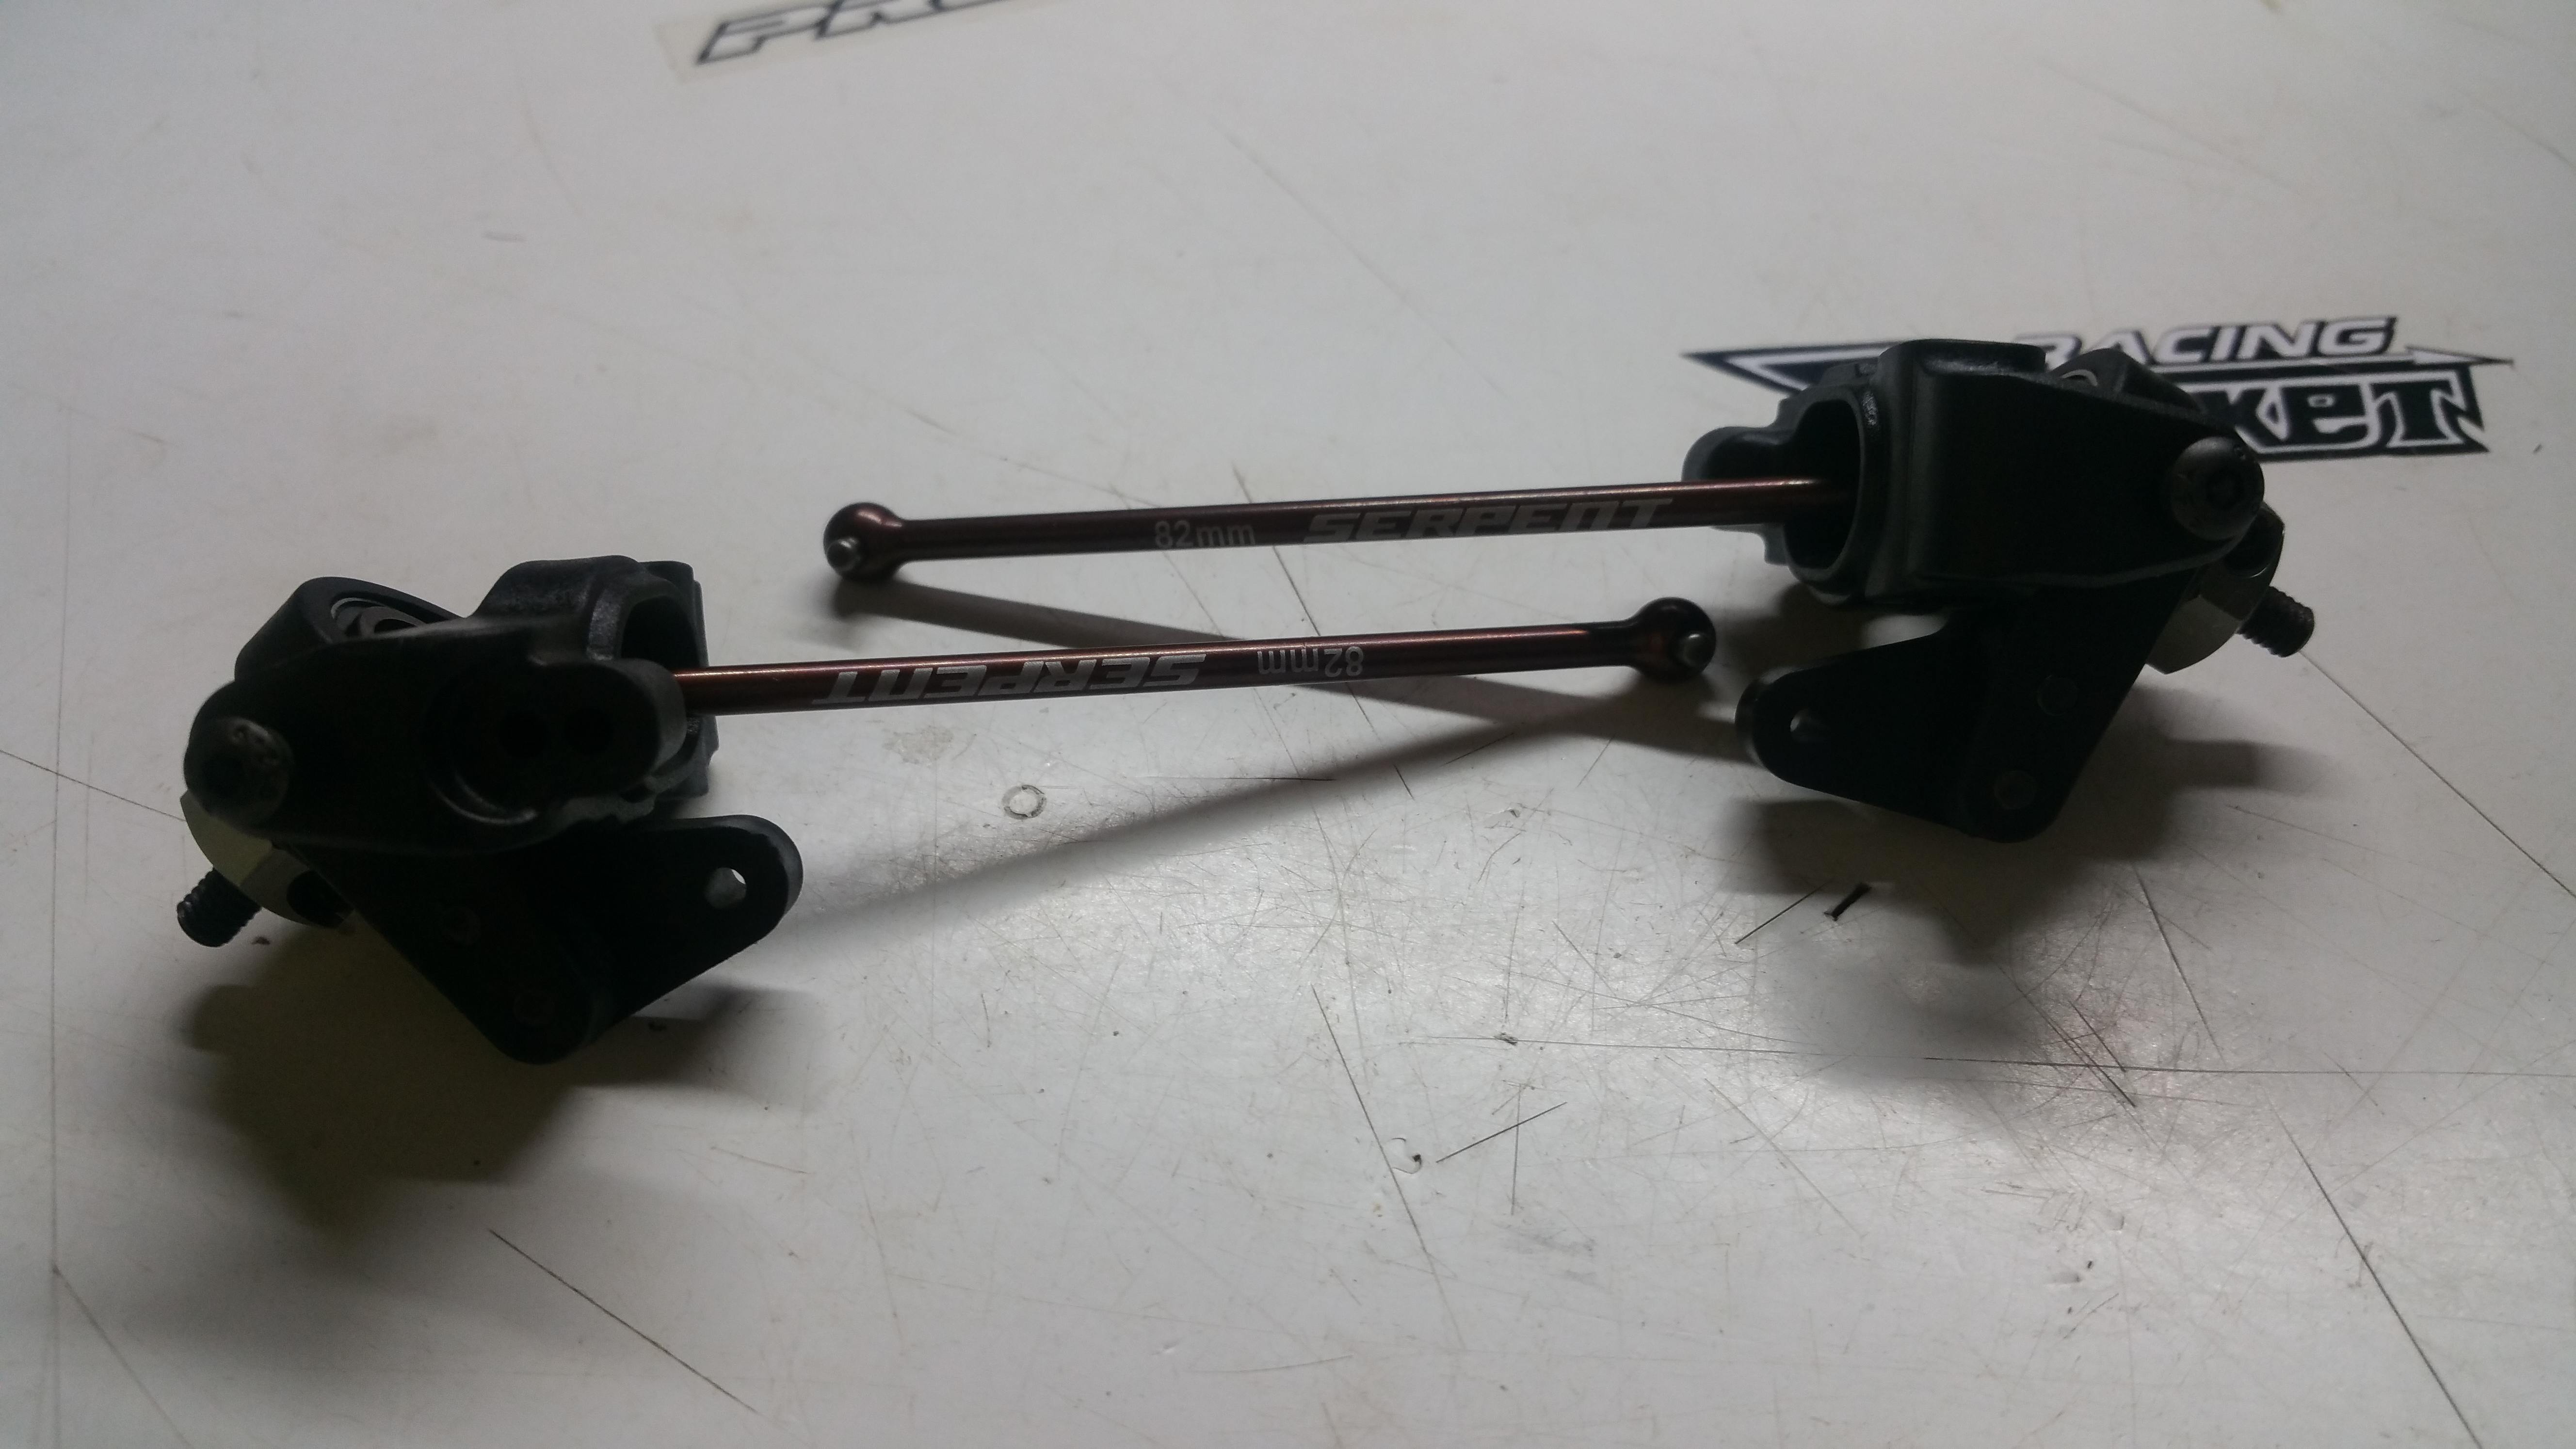
Starting to work on some of the Drive Terrain, we work on the rear!
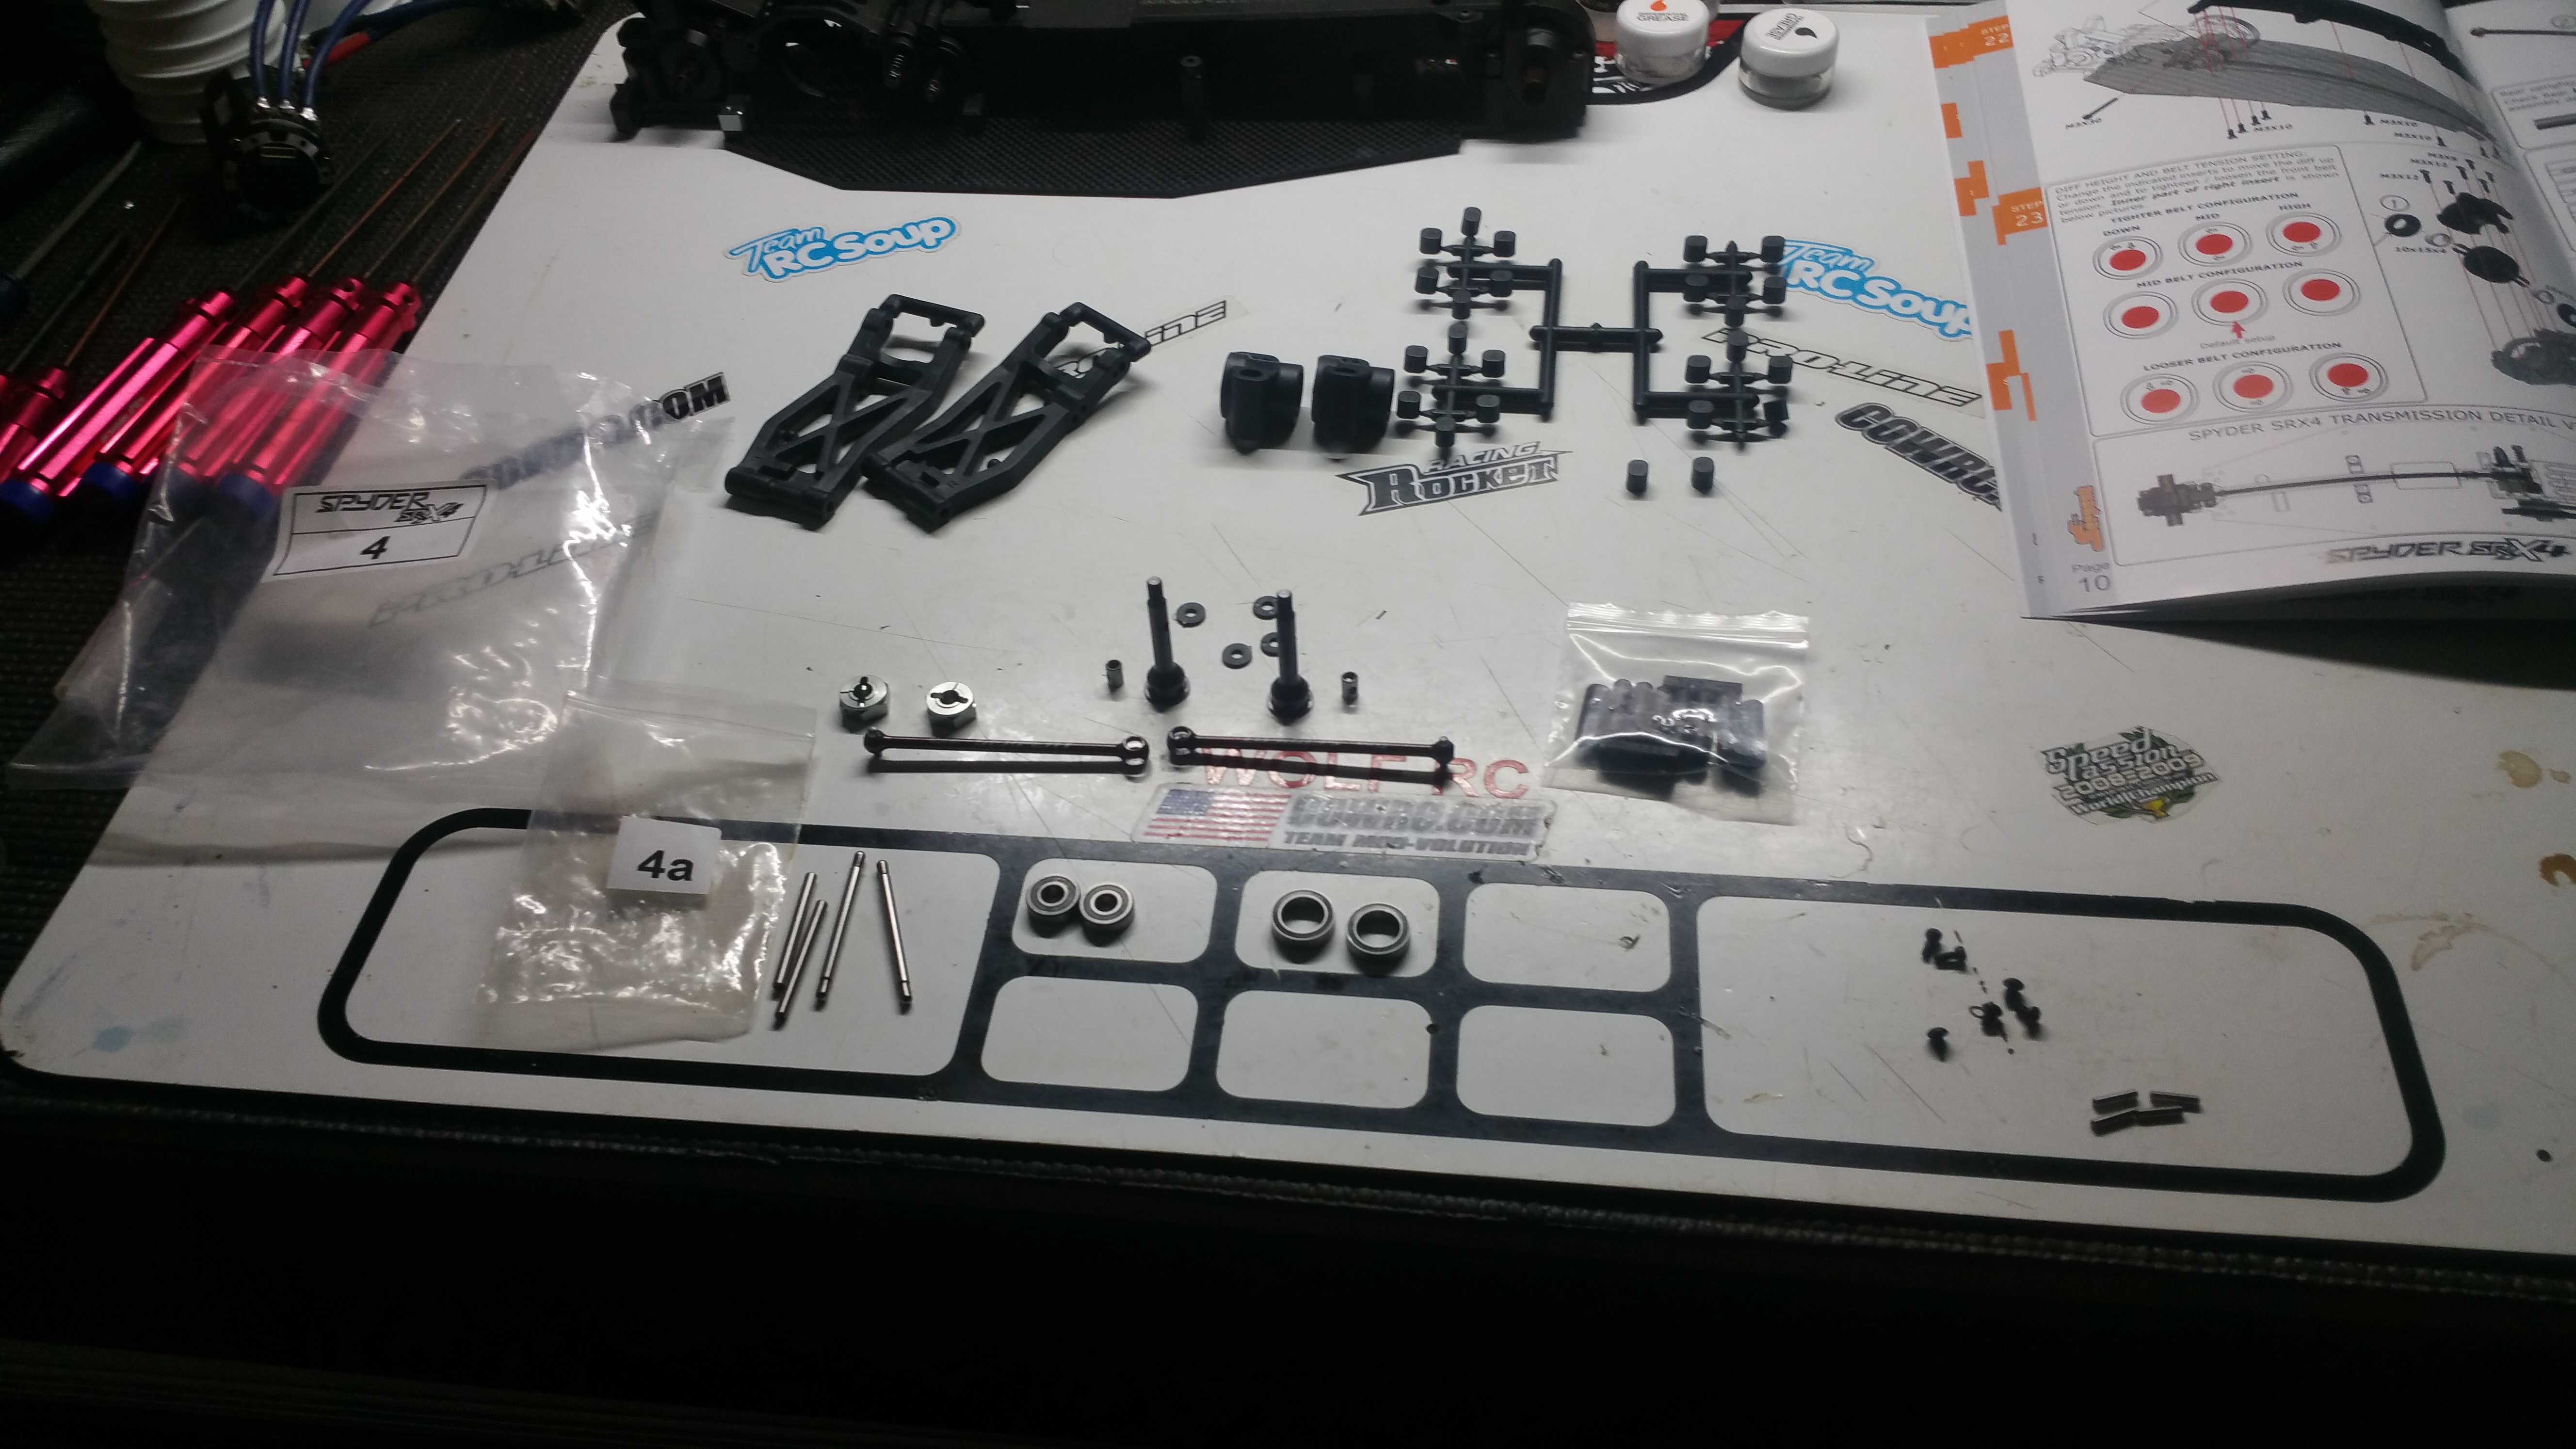
Rear hubs and Suspension inserts.
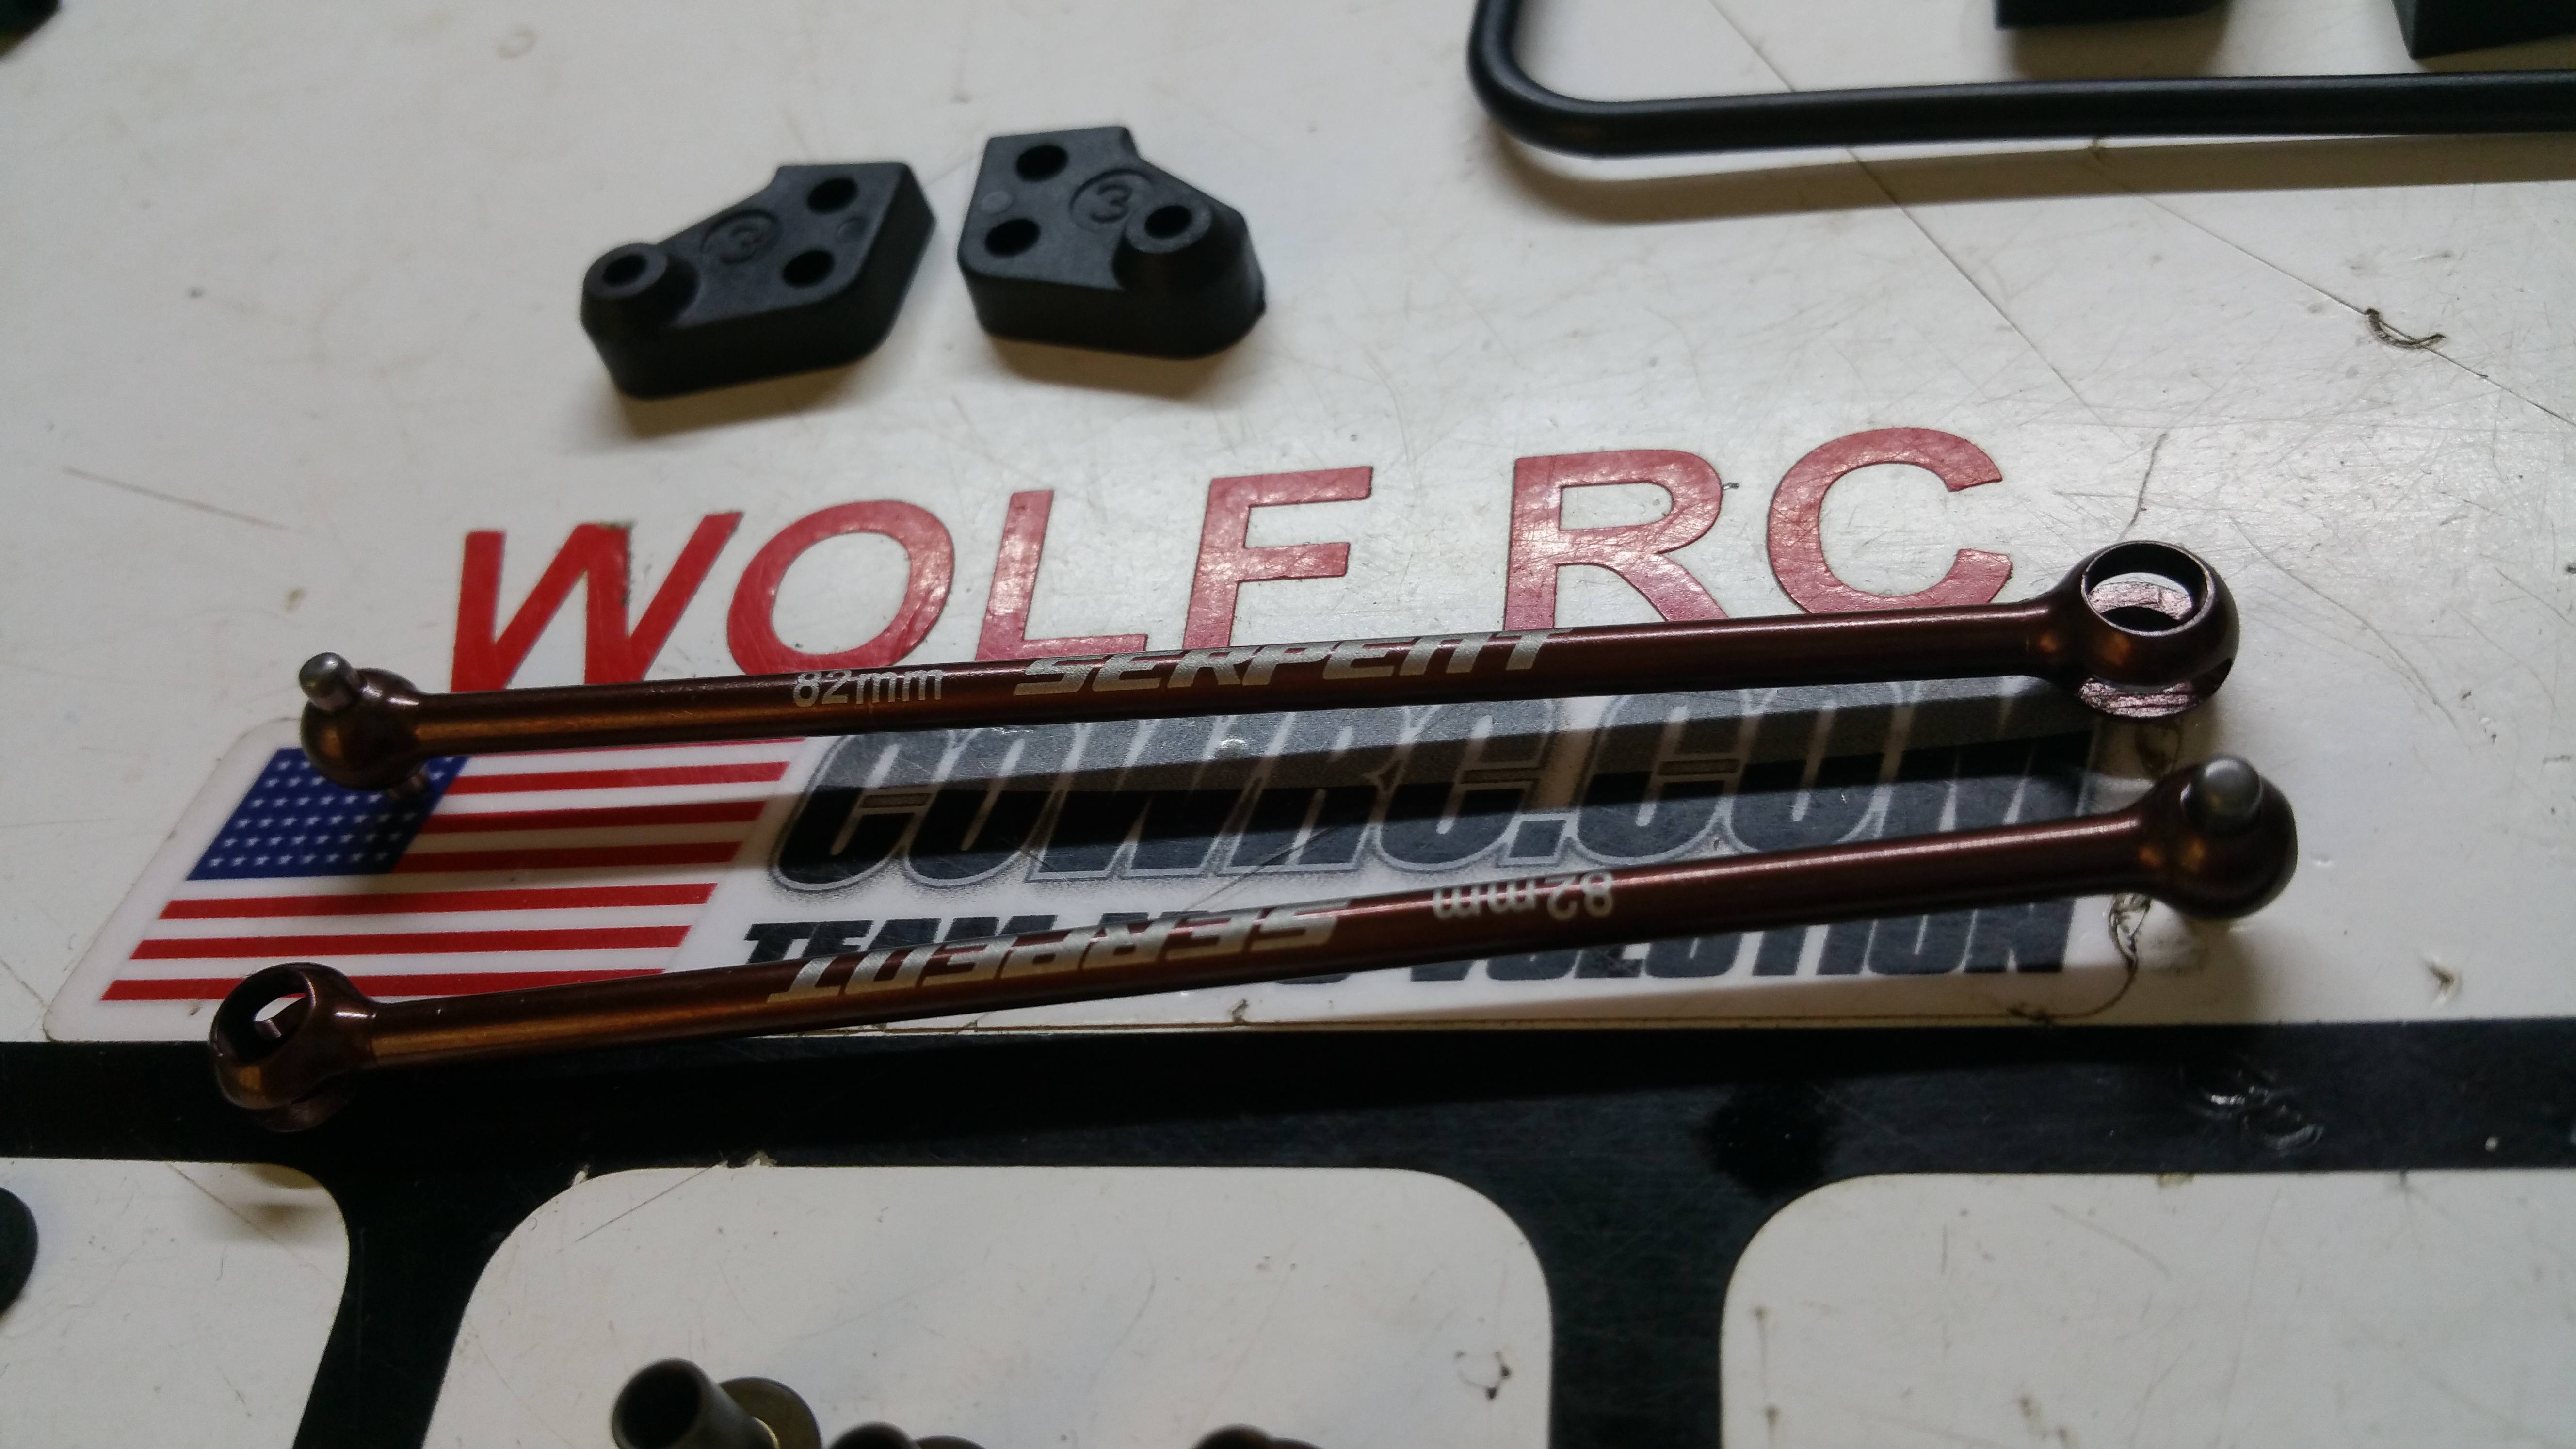
Marked drive shafts with the Serpent etching and length!
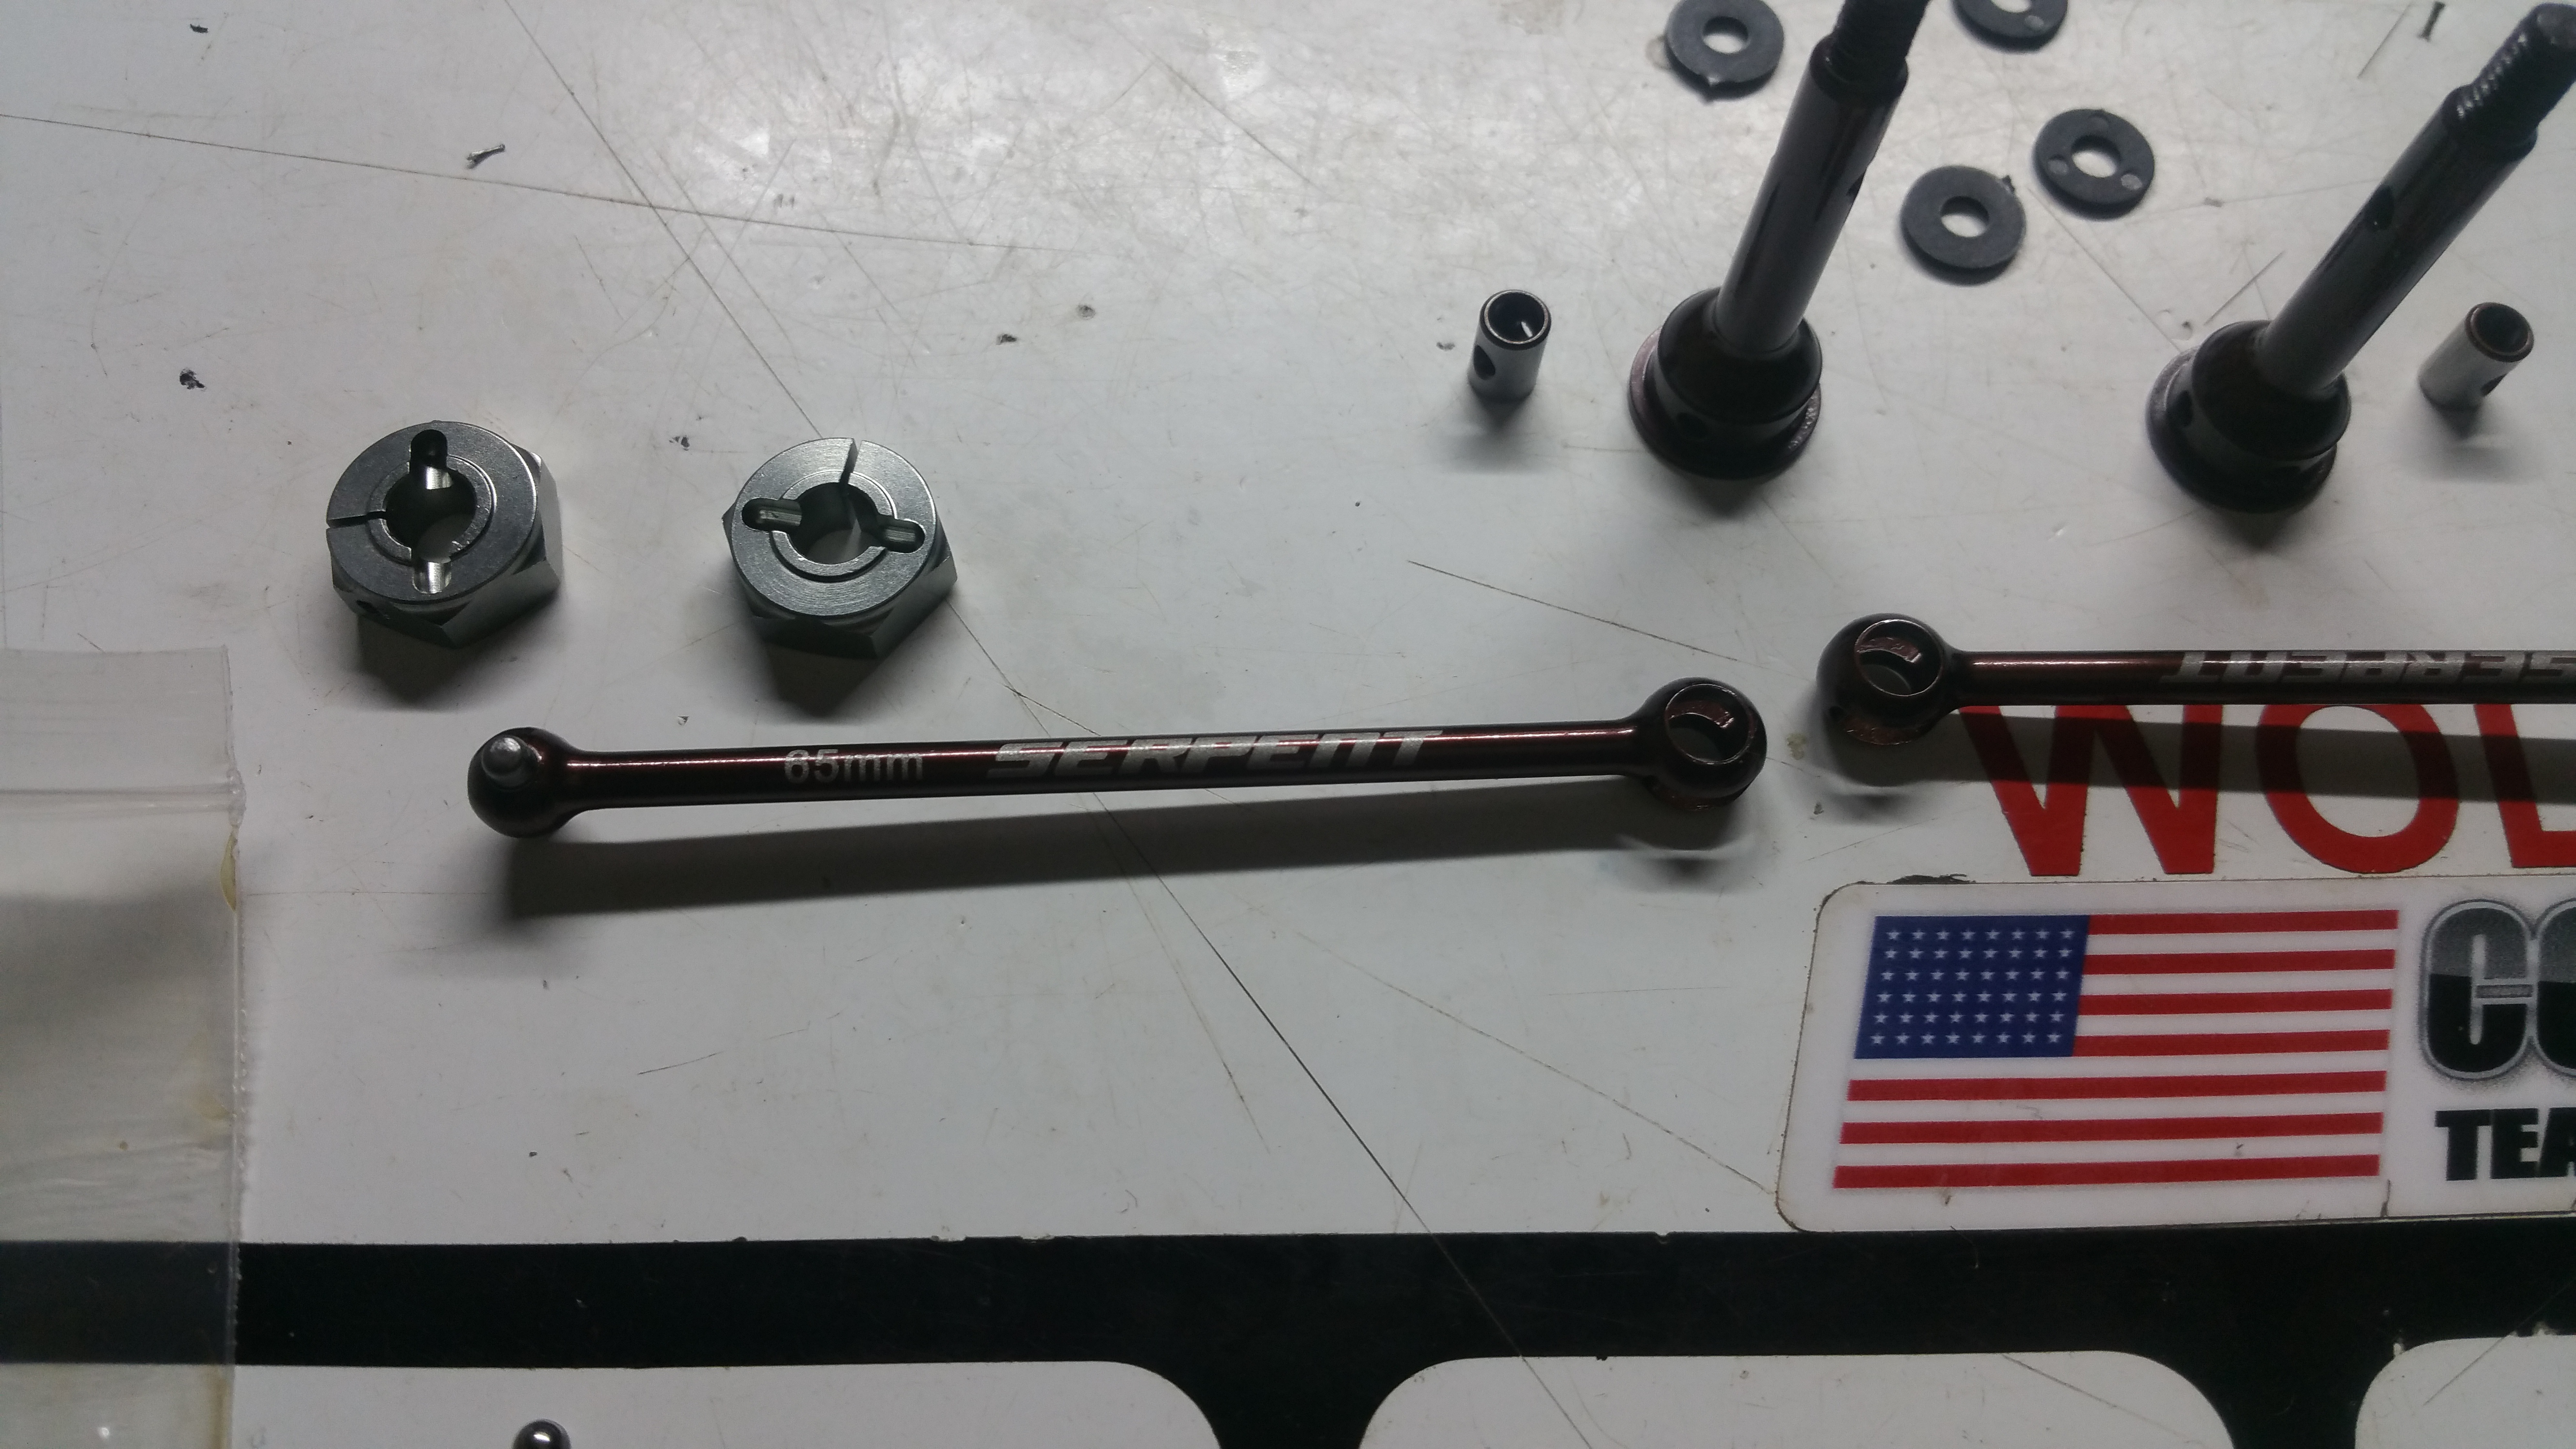
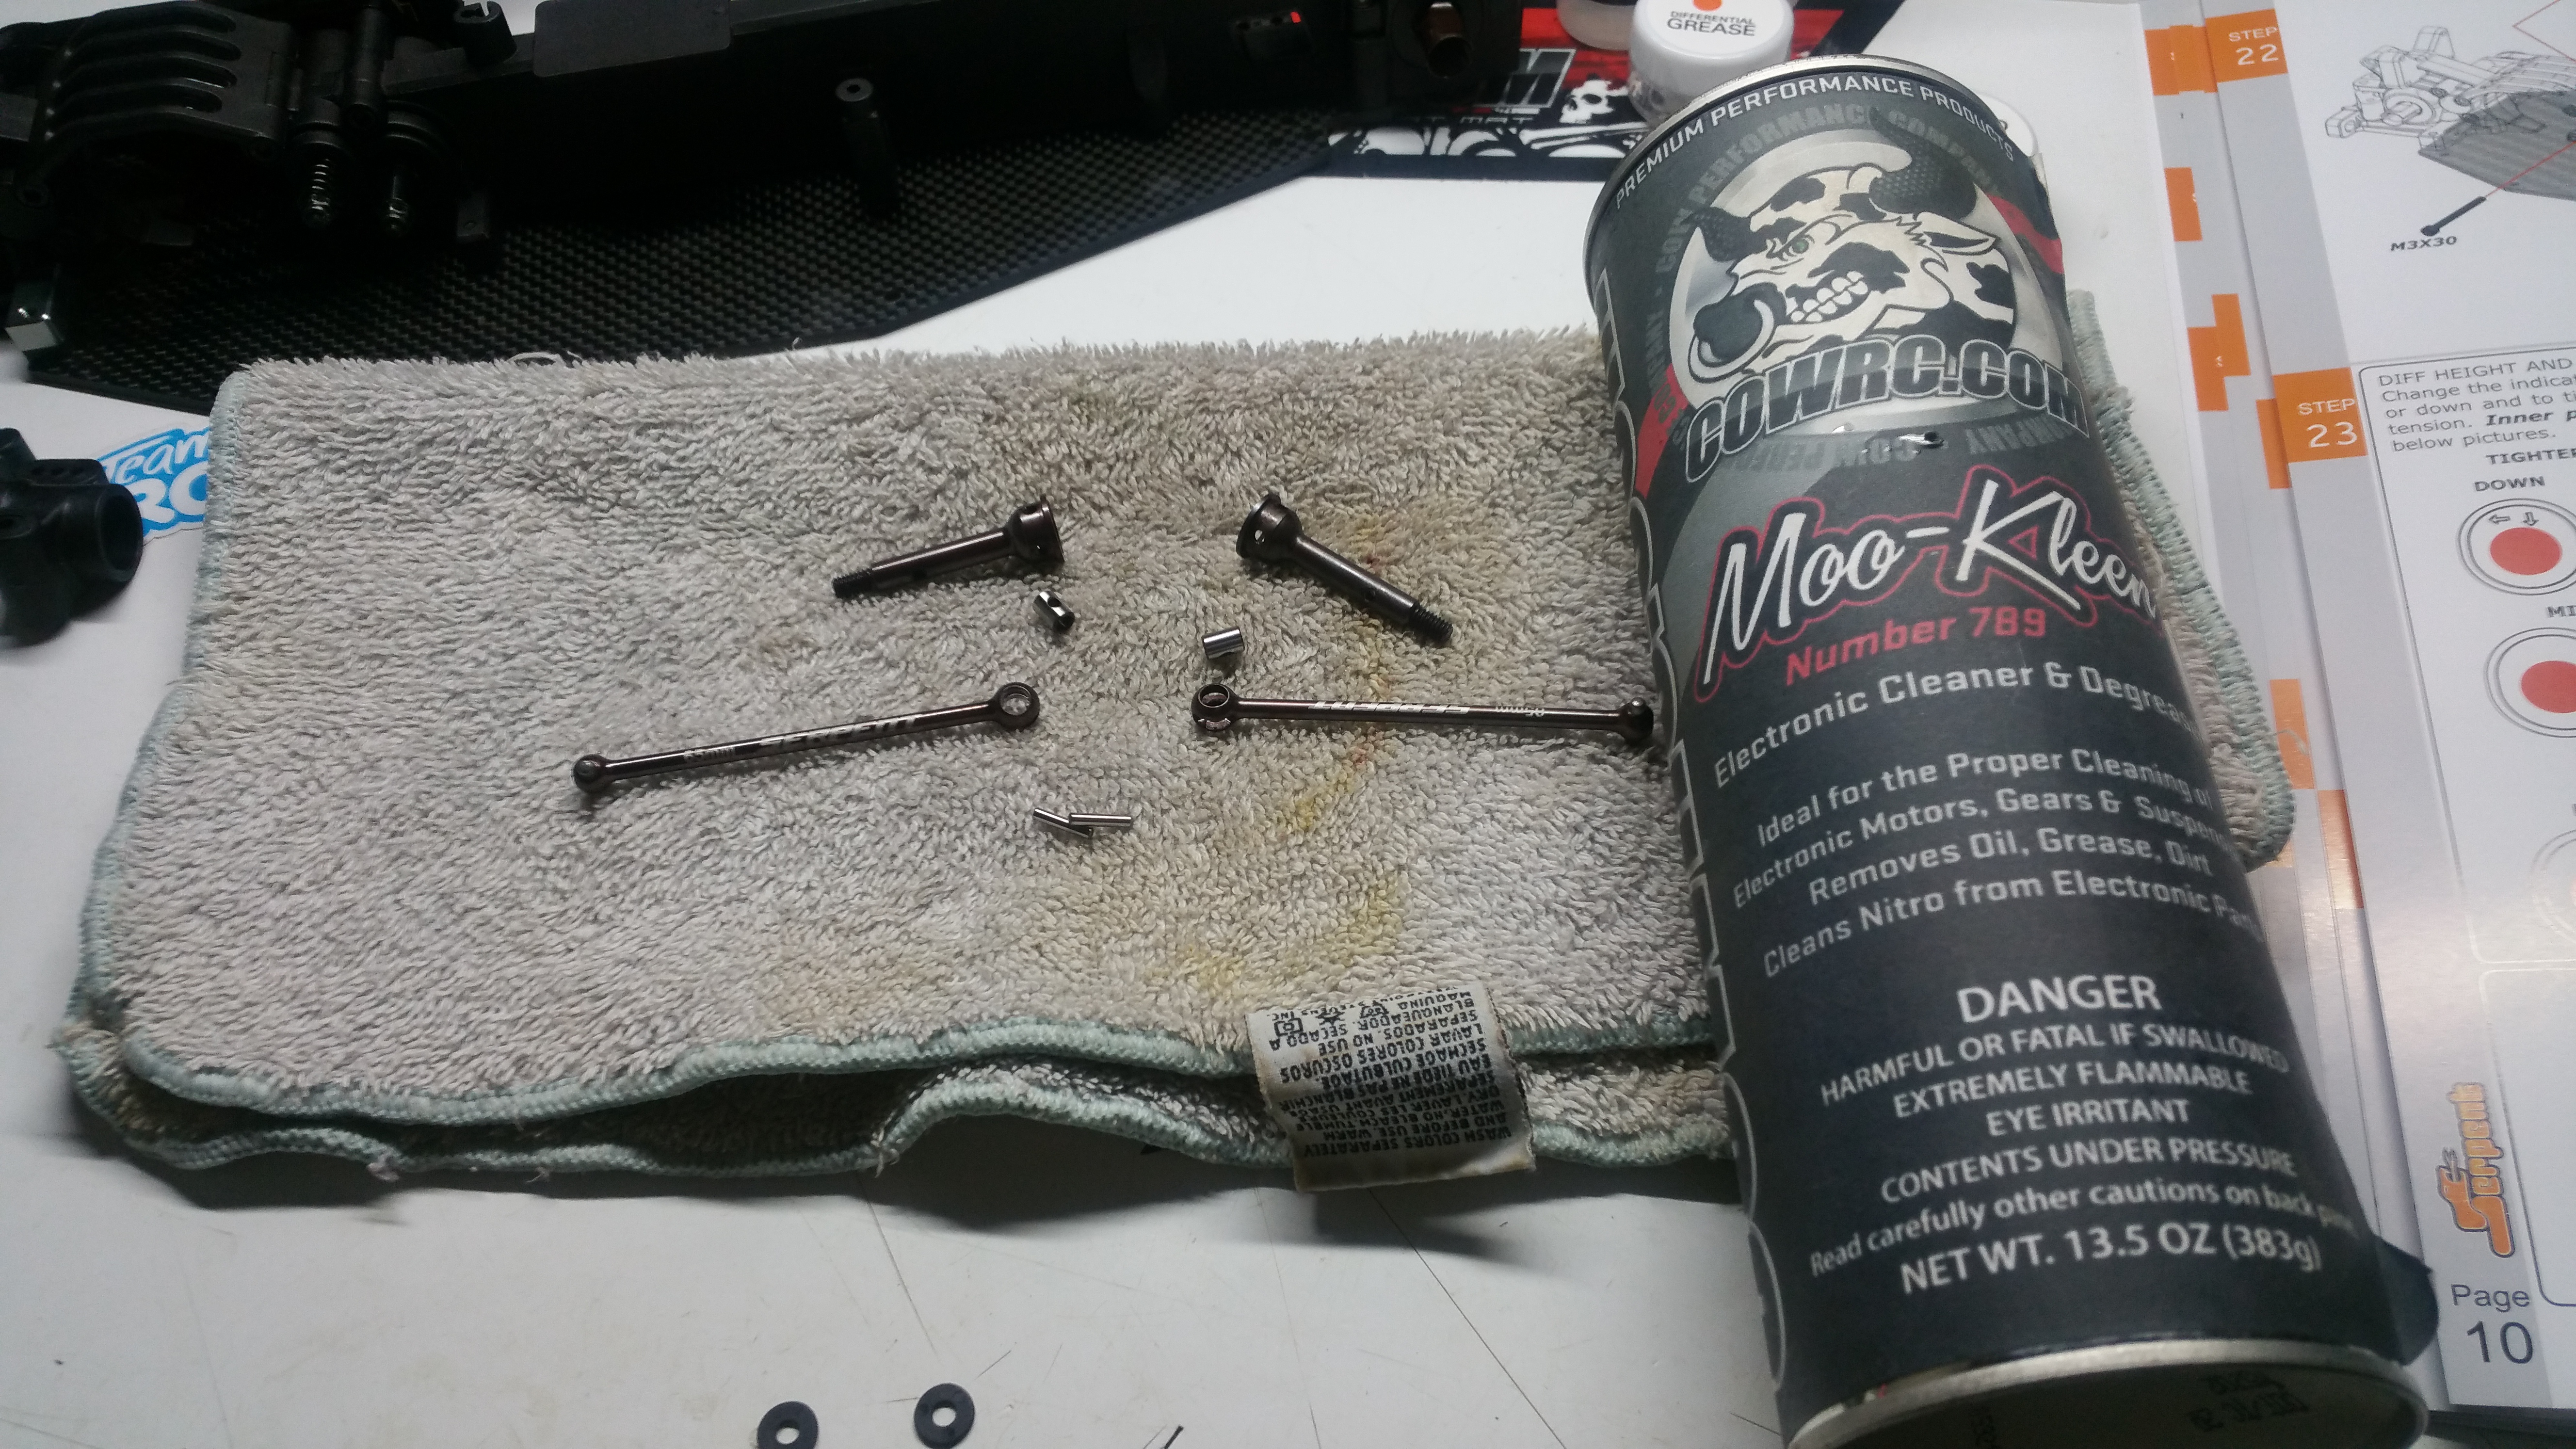
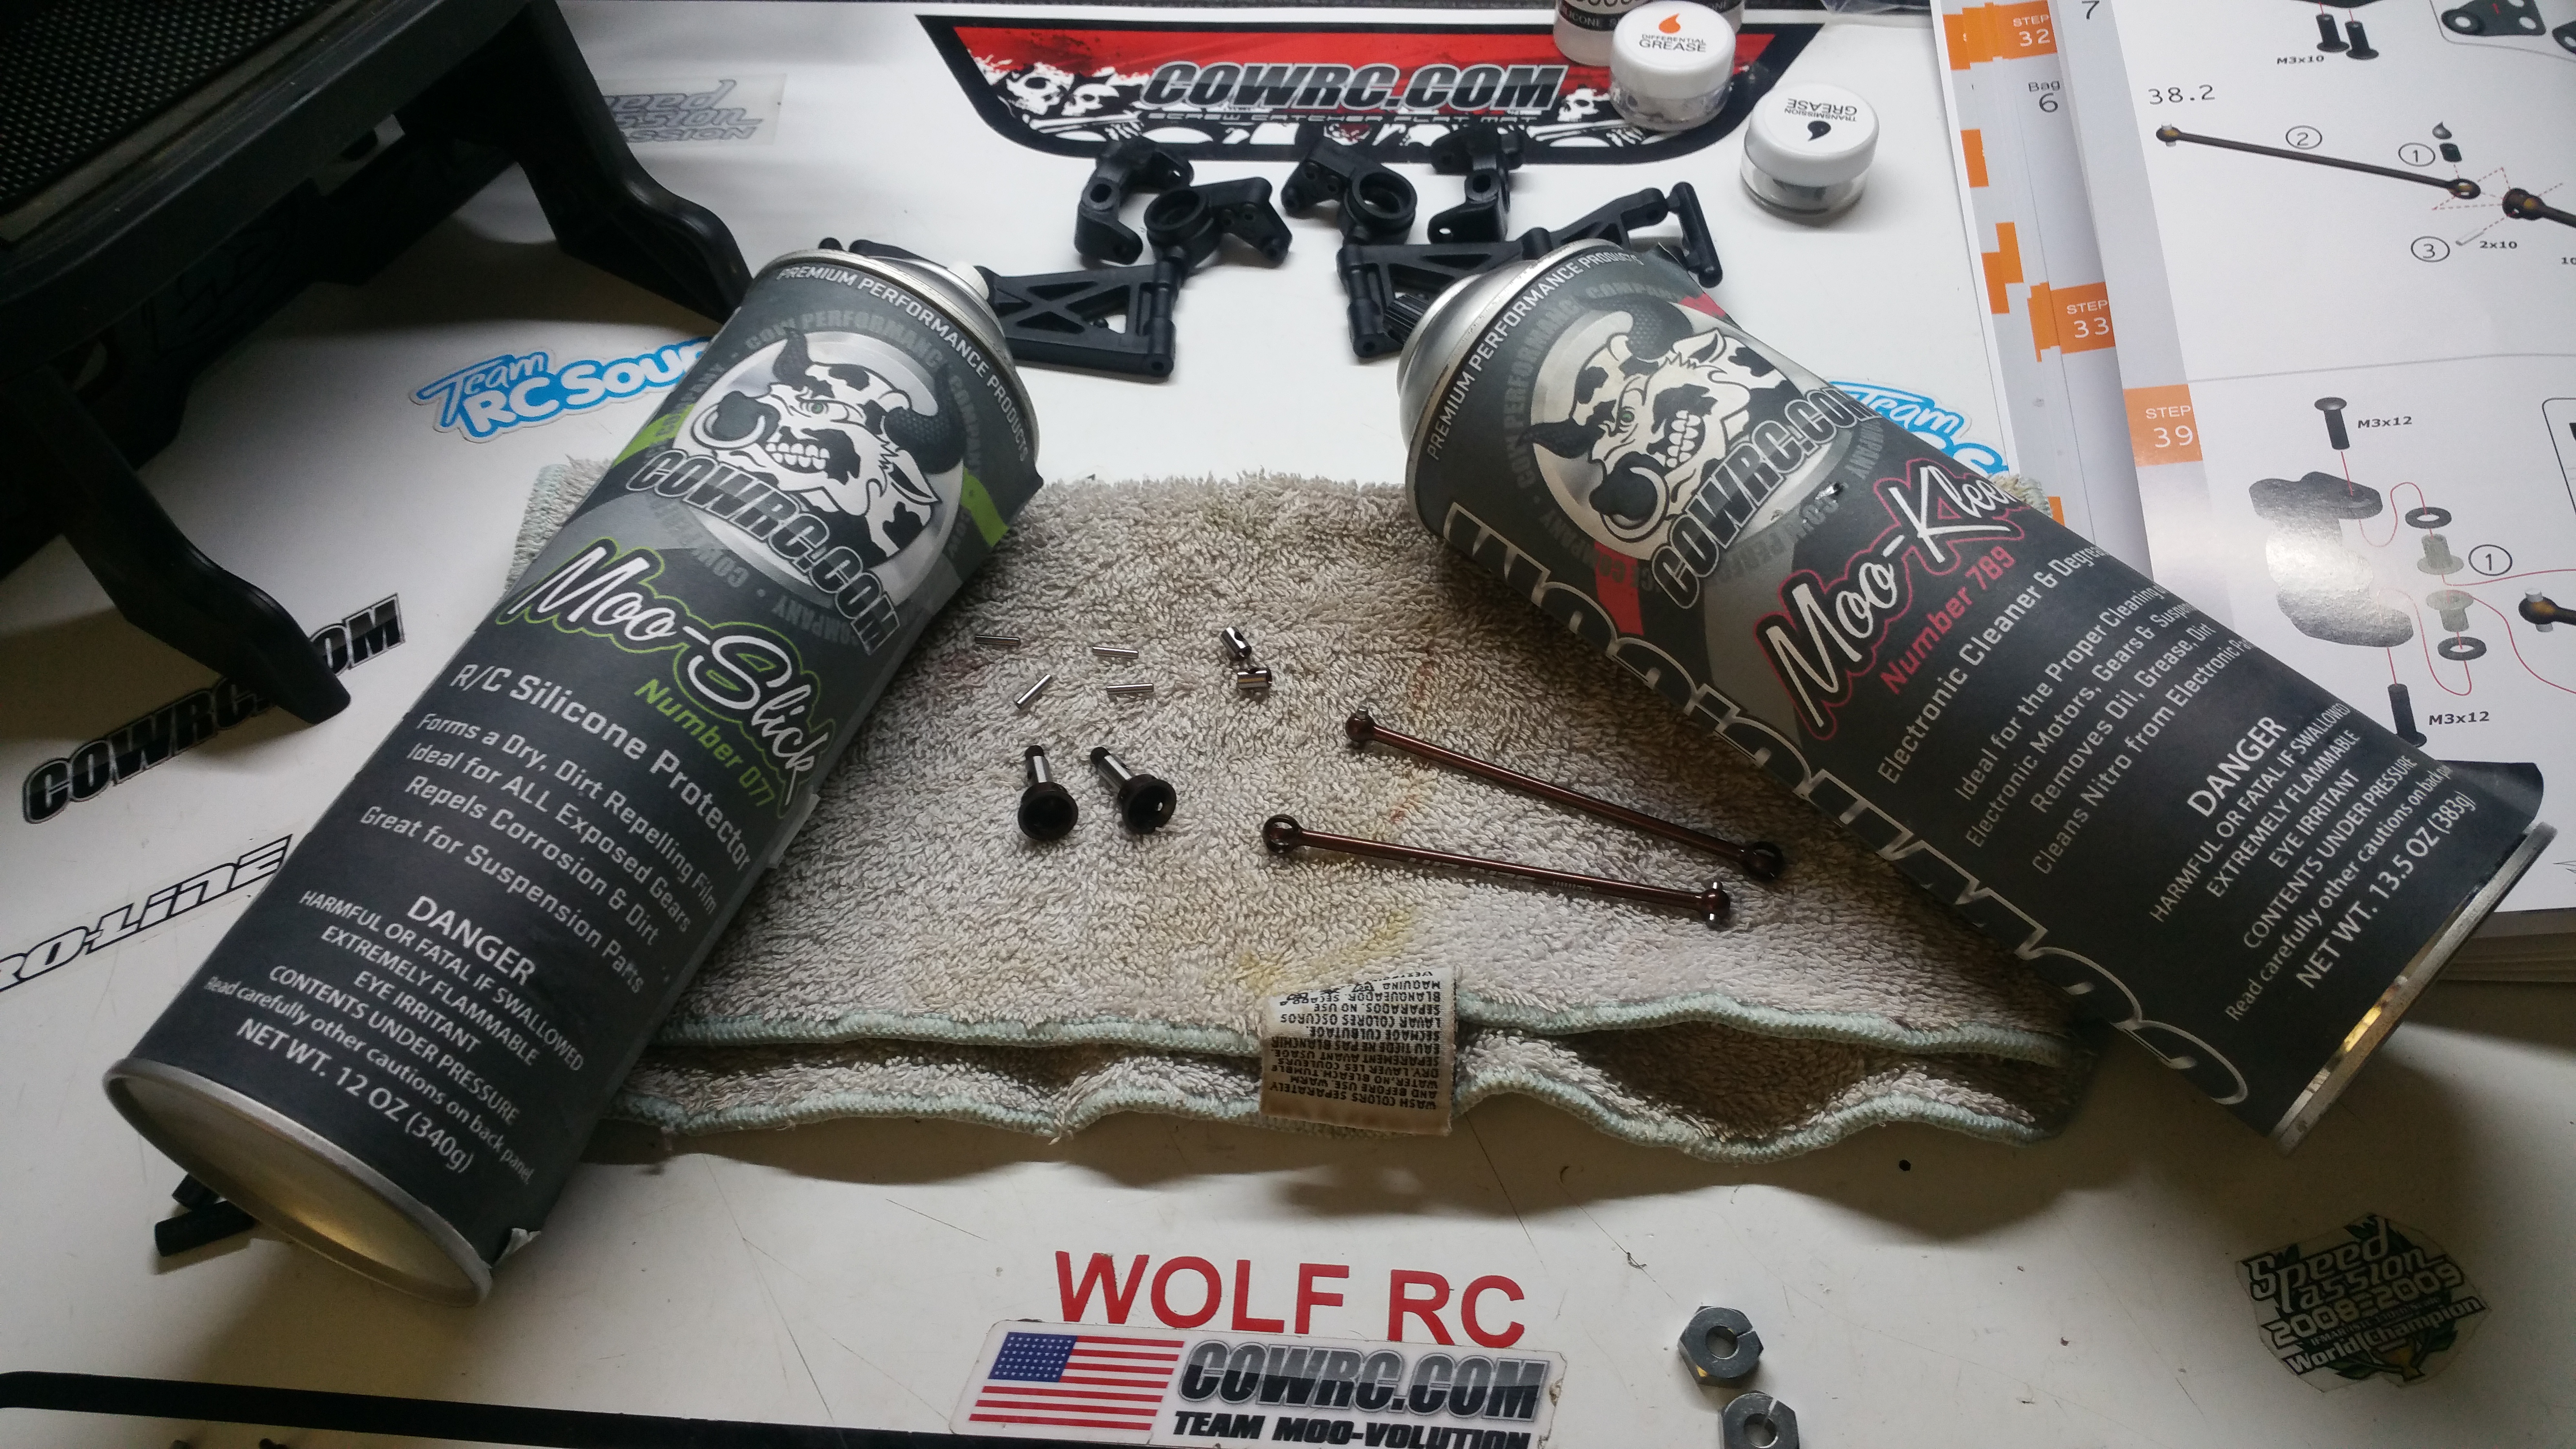
Before building, always clean with your favorite De-greaser to get those pesky machining oils off.
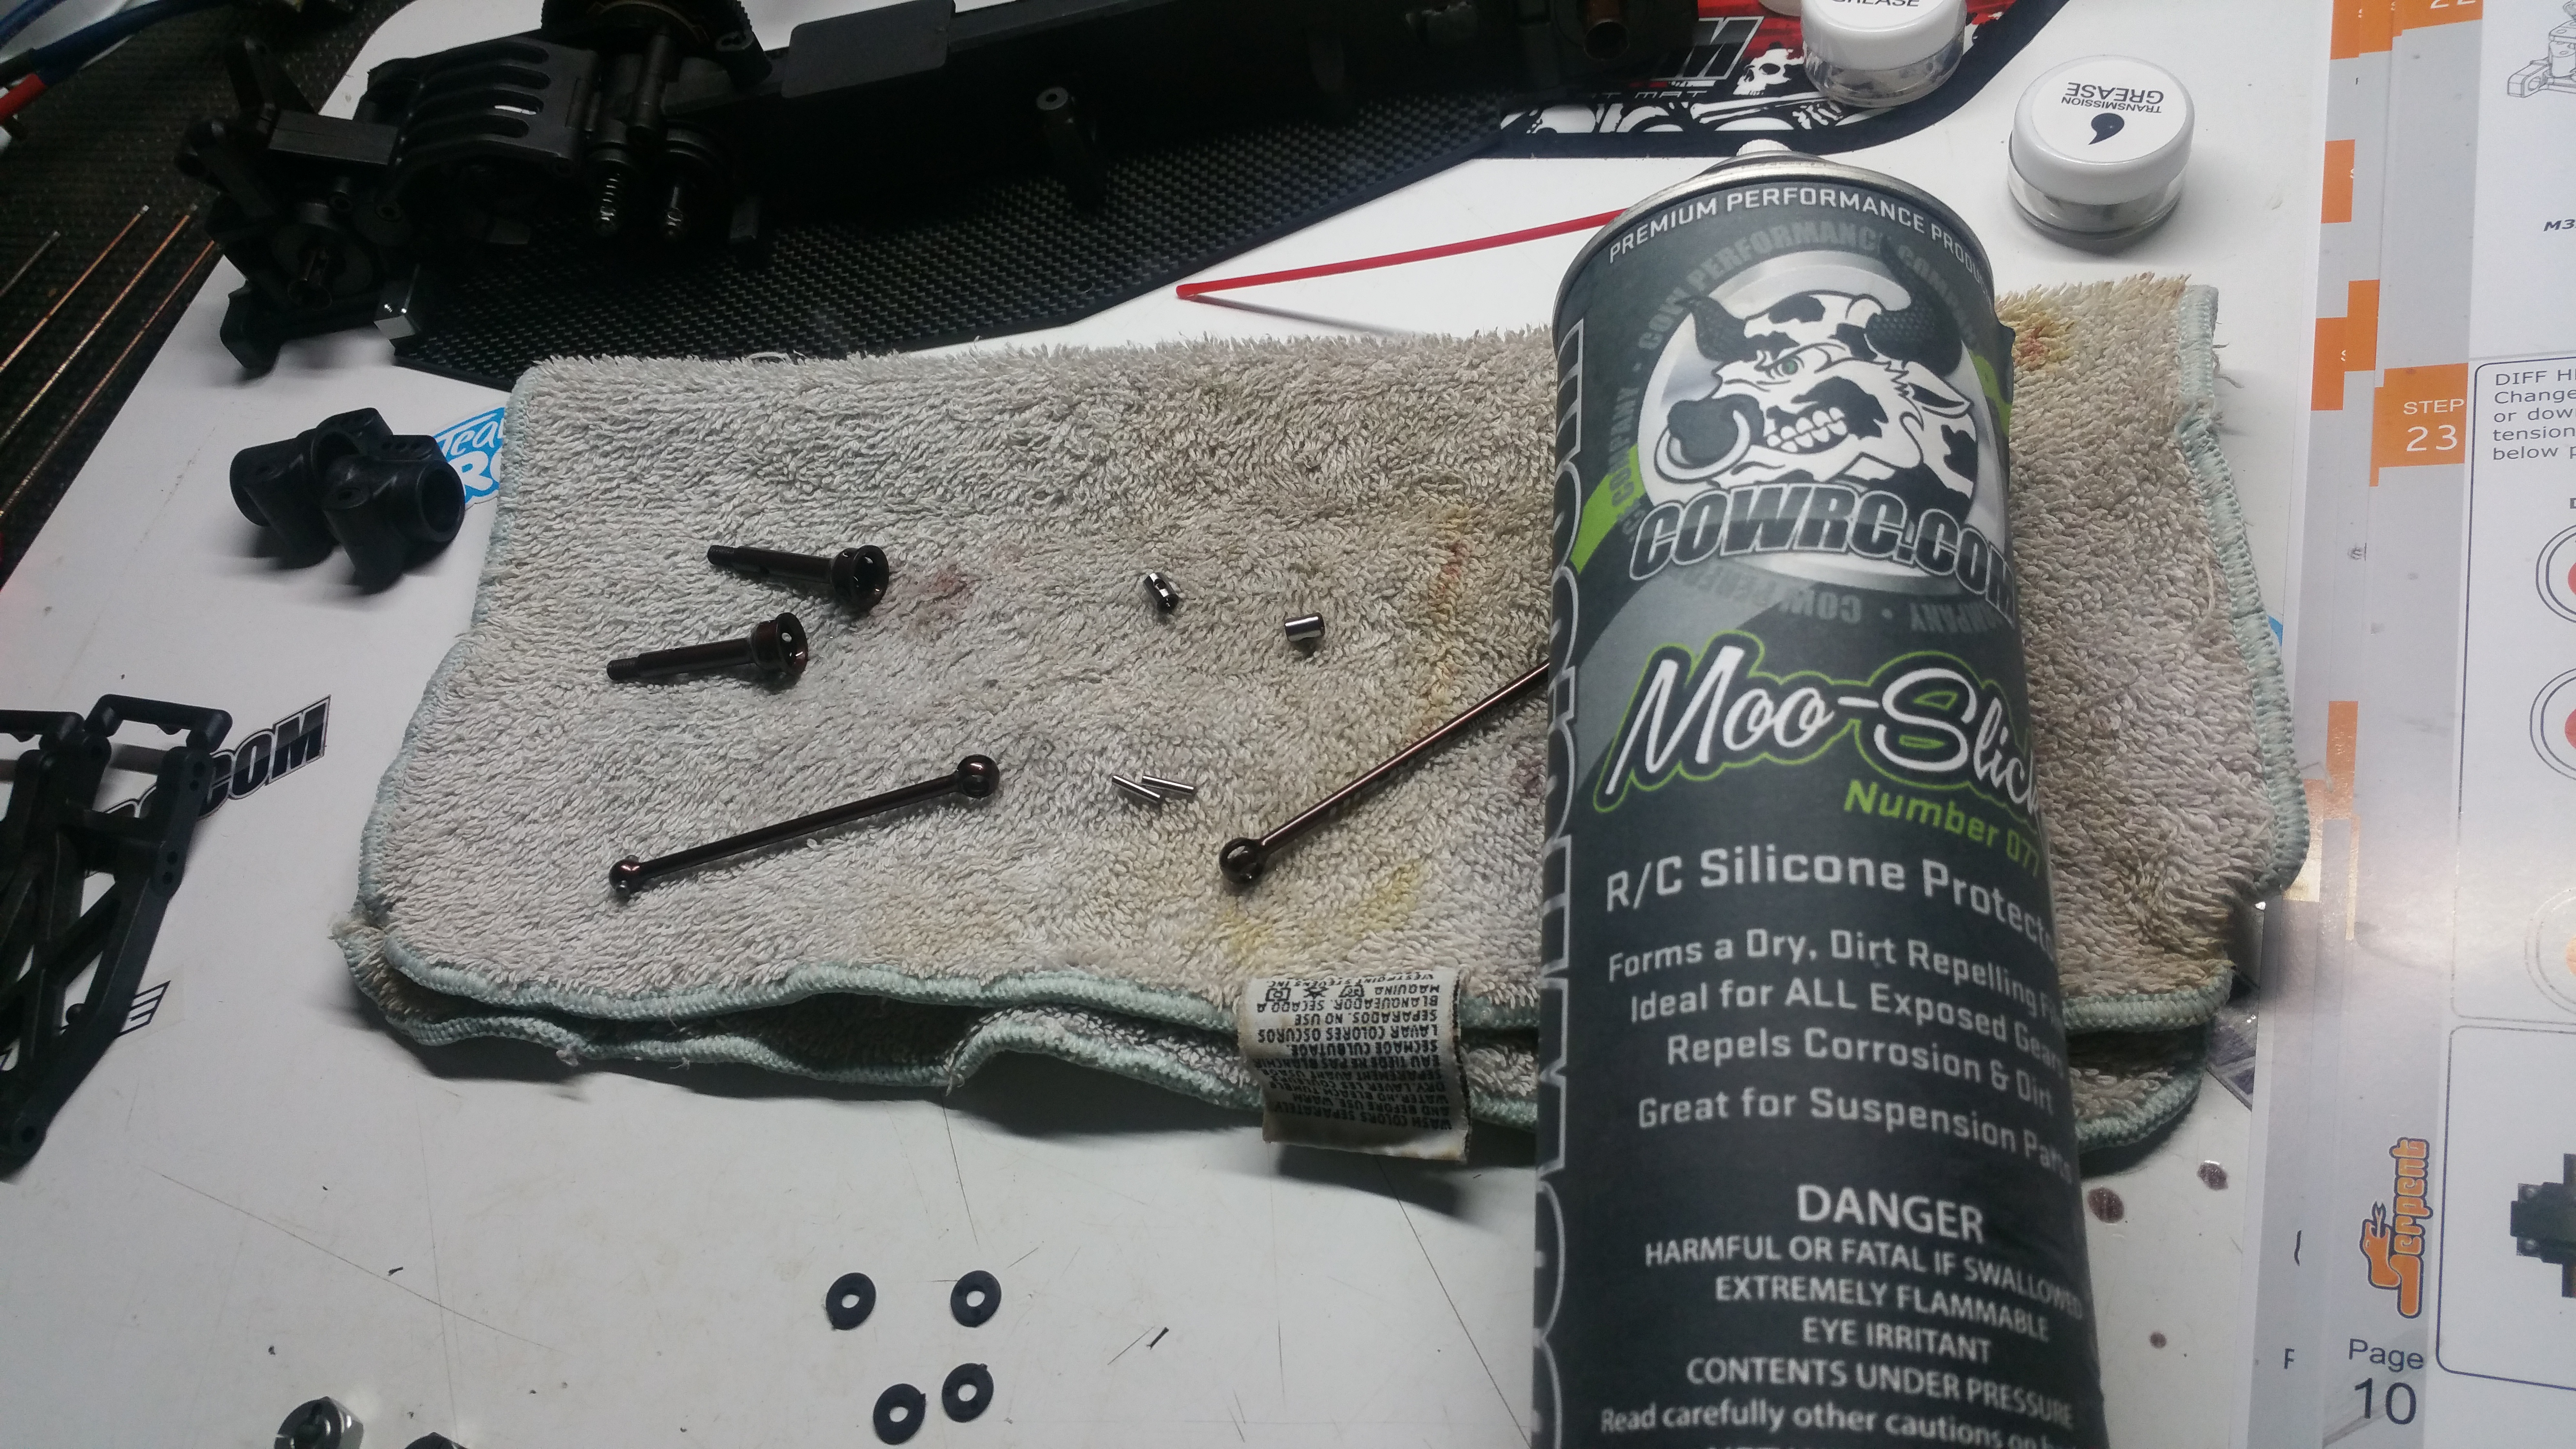
When building, most use Black Grease to build, however i prefer Moo-Slick, seems that it doesn’t last as long on Drive shafts. I prefer it because it doesn’t attract dirt, and and helps prolong wear.
Rear Drive shafts / Hubs built.
Rear arms / hubs installed onto the Chassis!
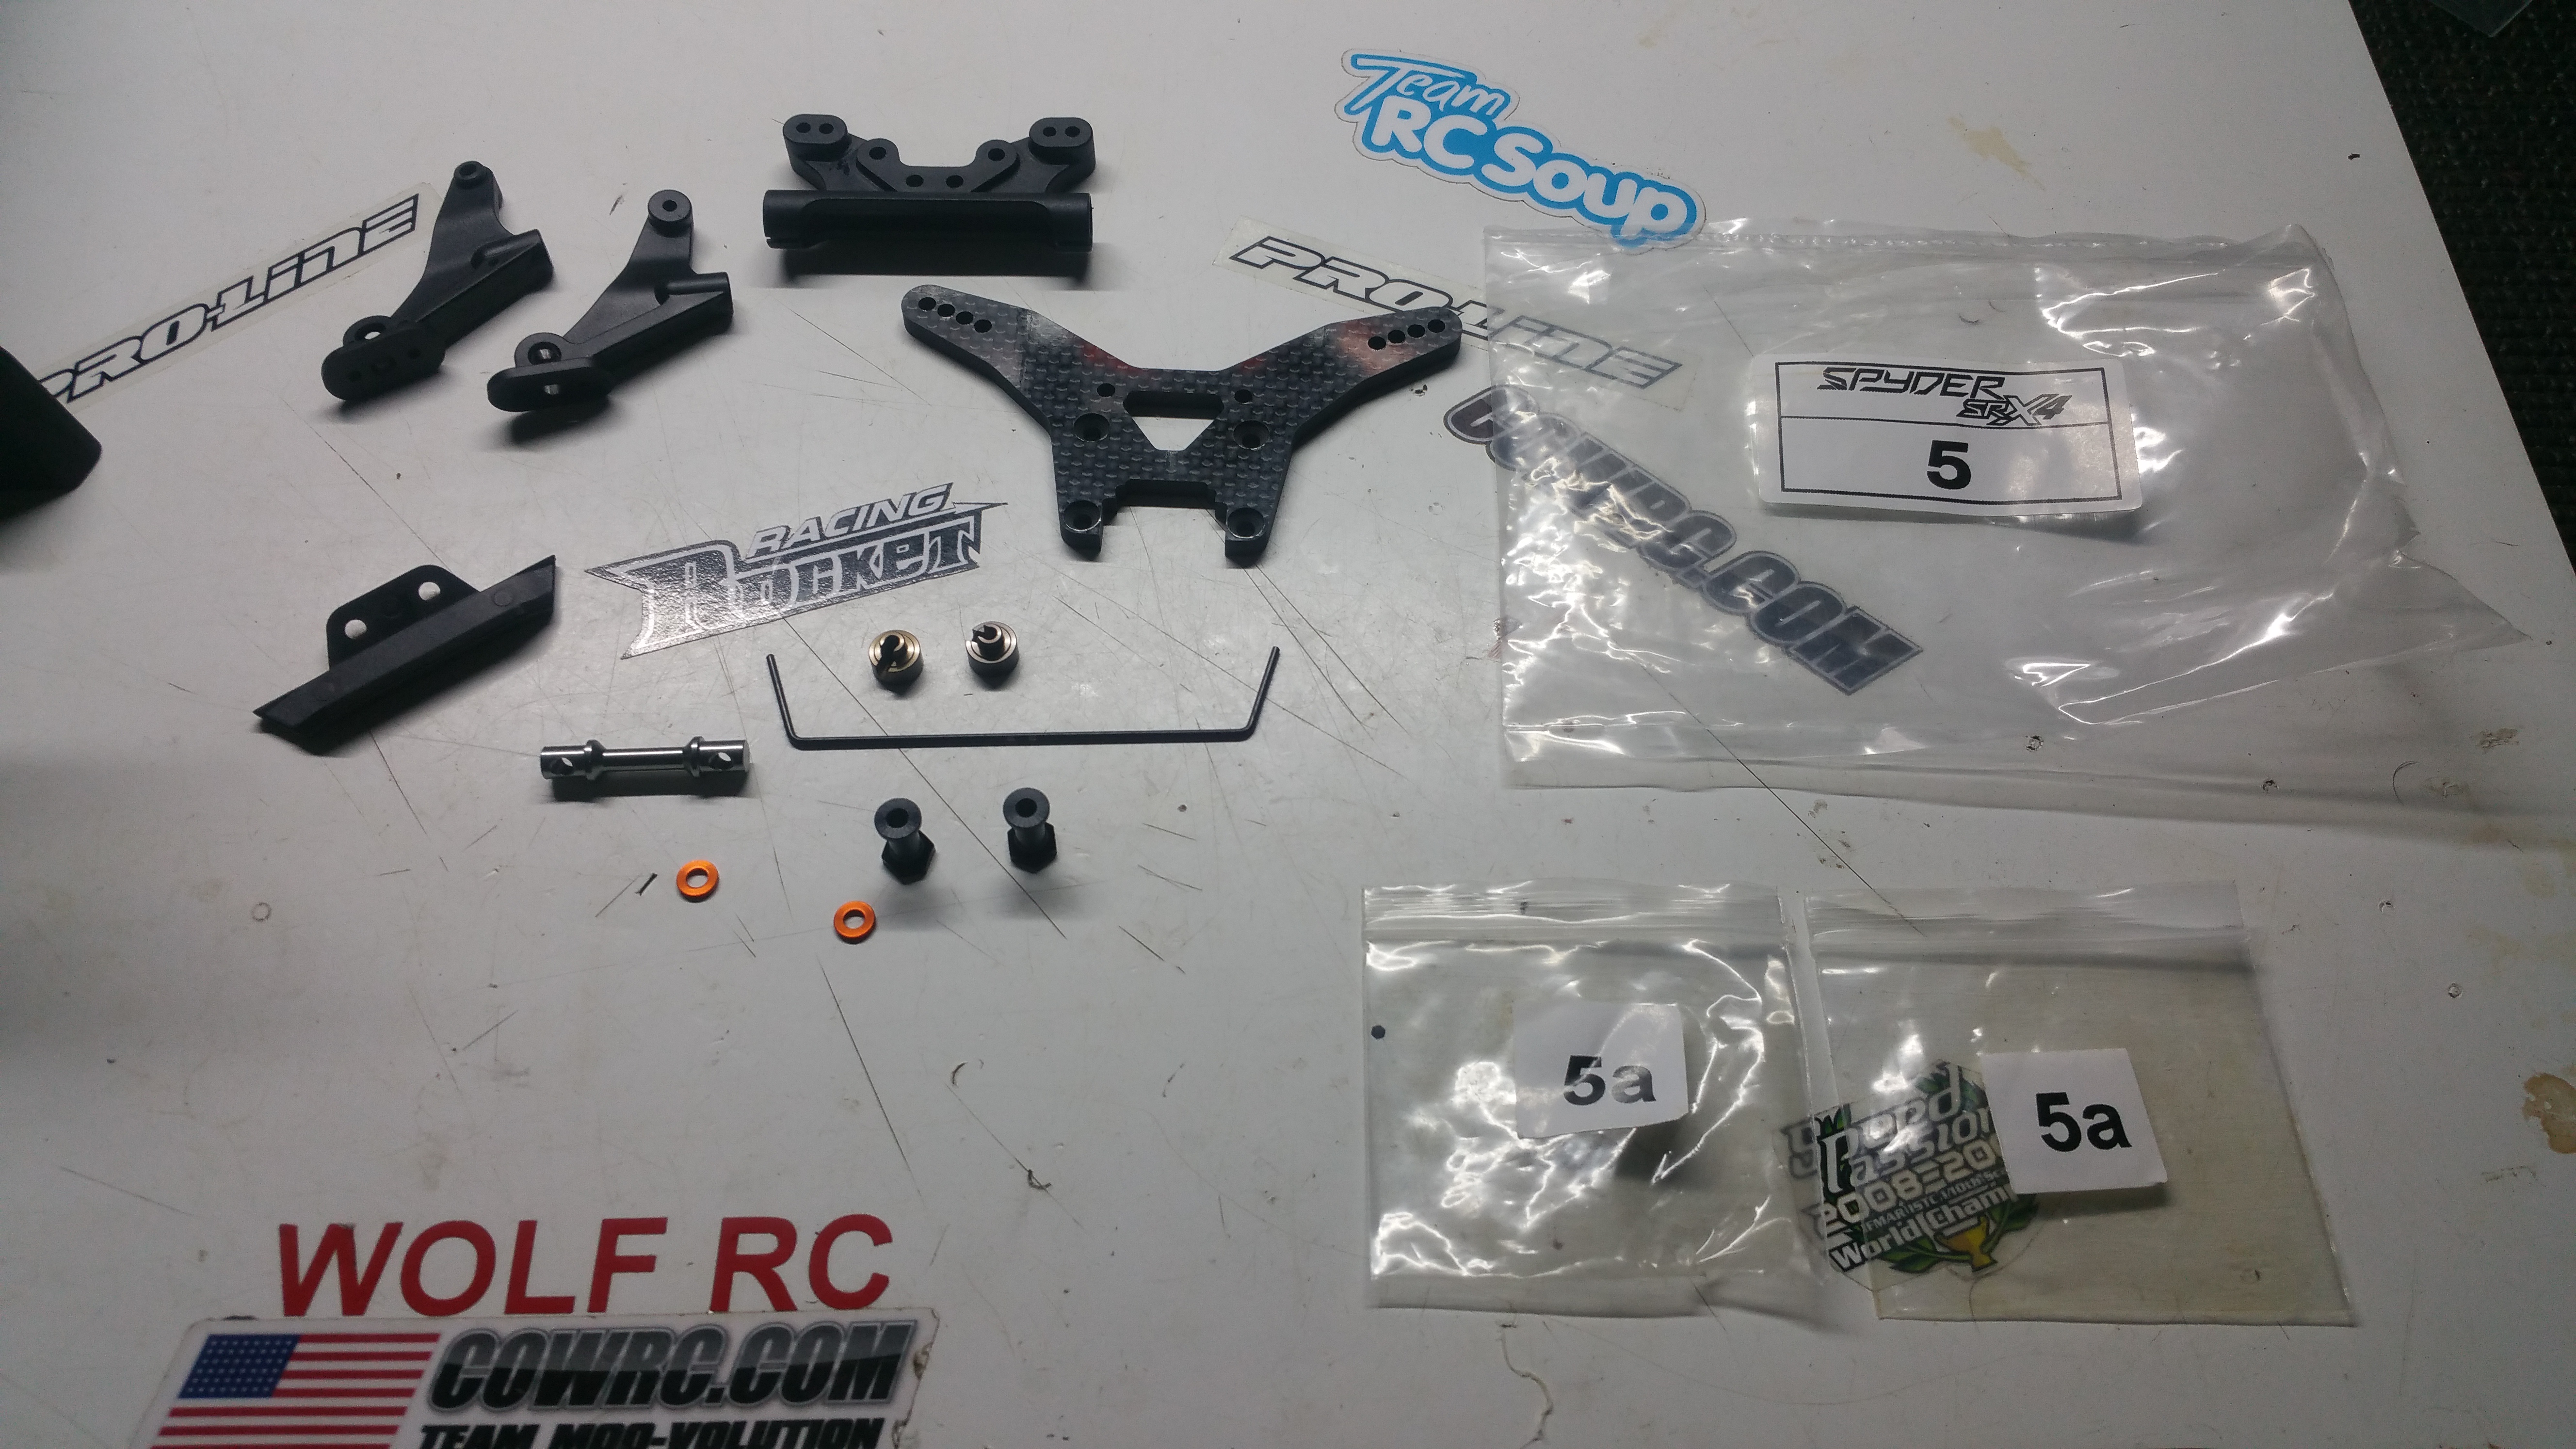
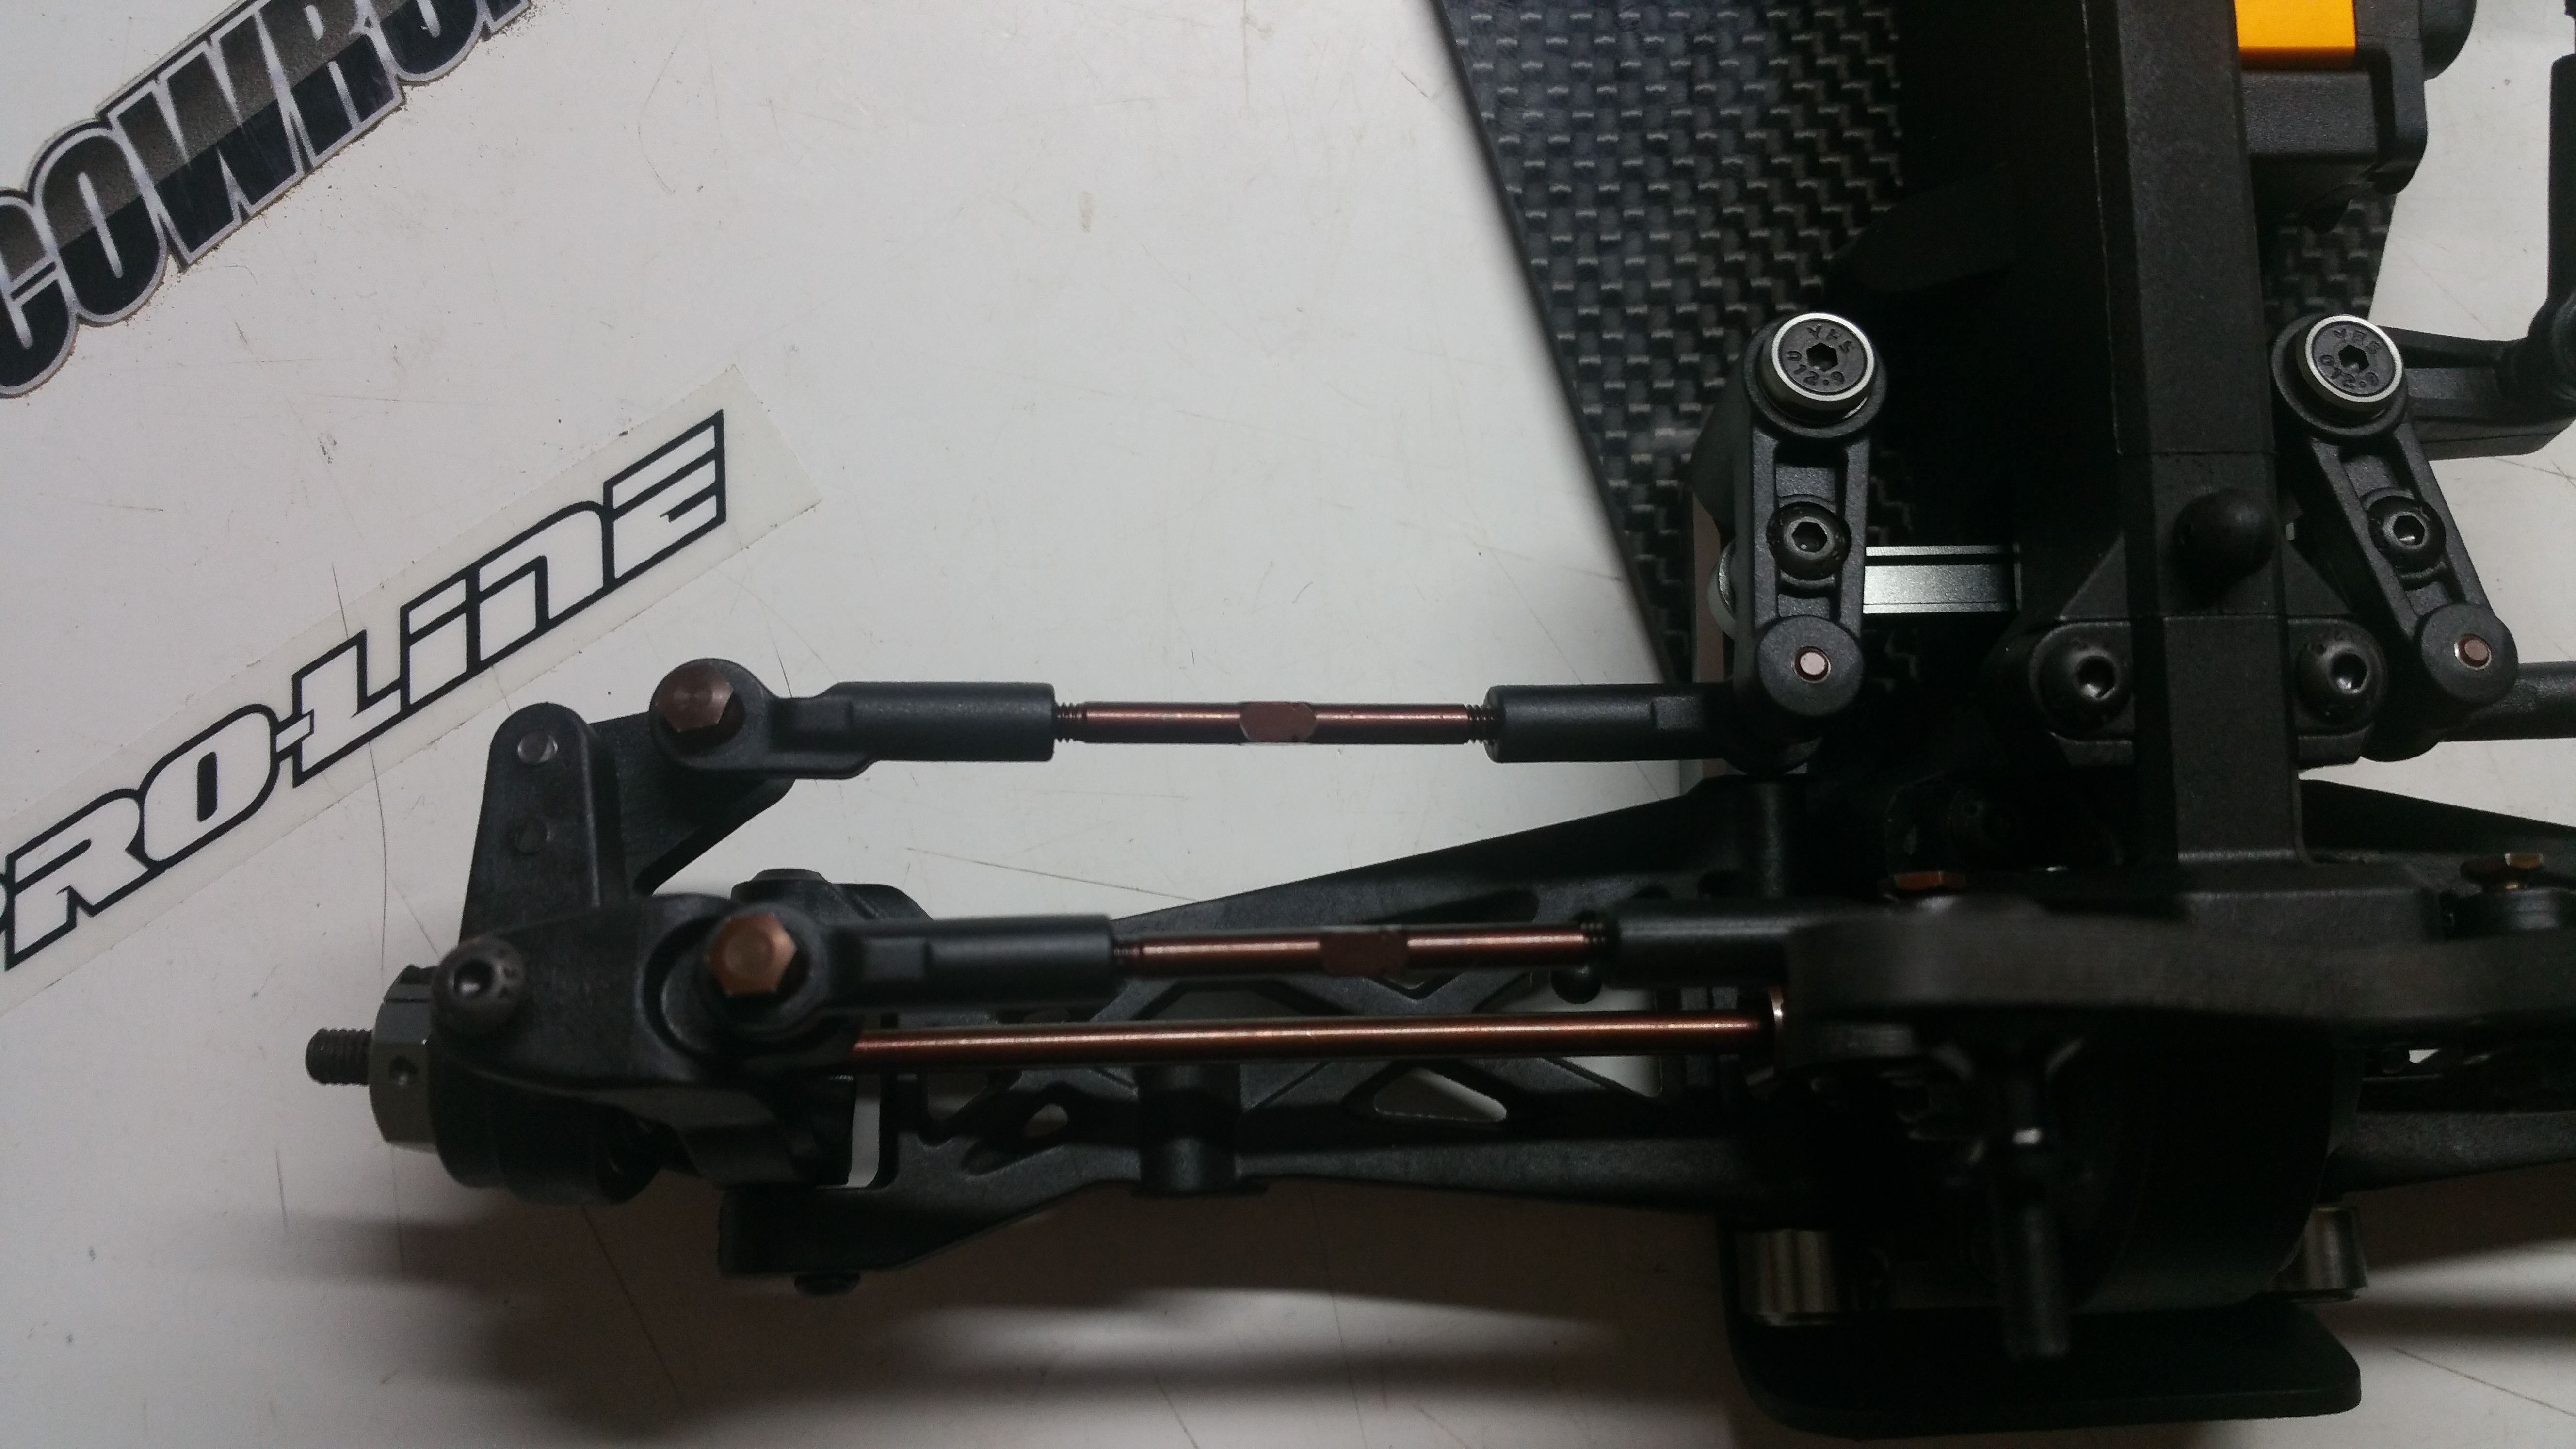
Rear Shock tower / Sway bar
Sway bar mount and Turnbuckles installed!
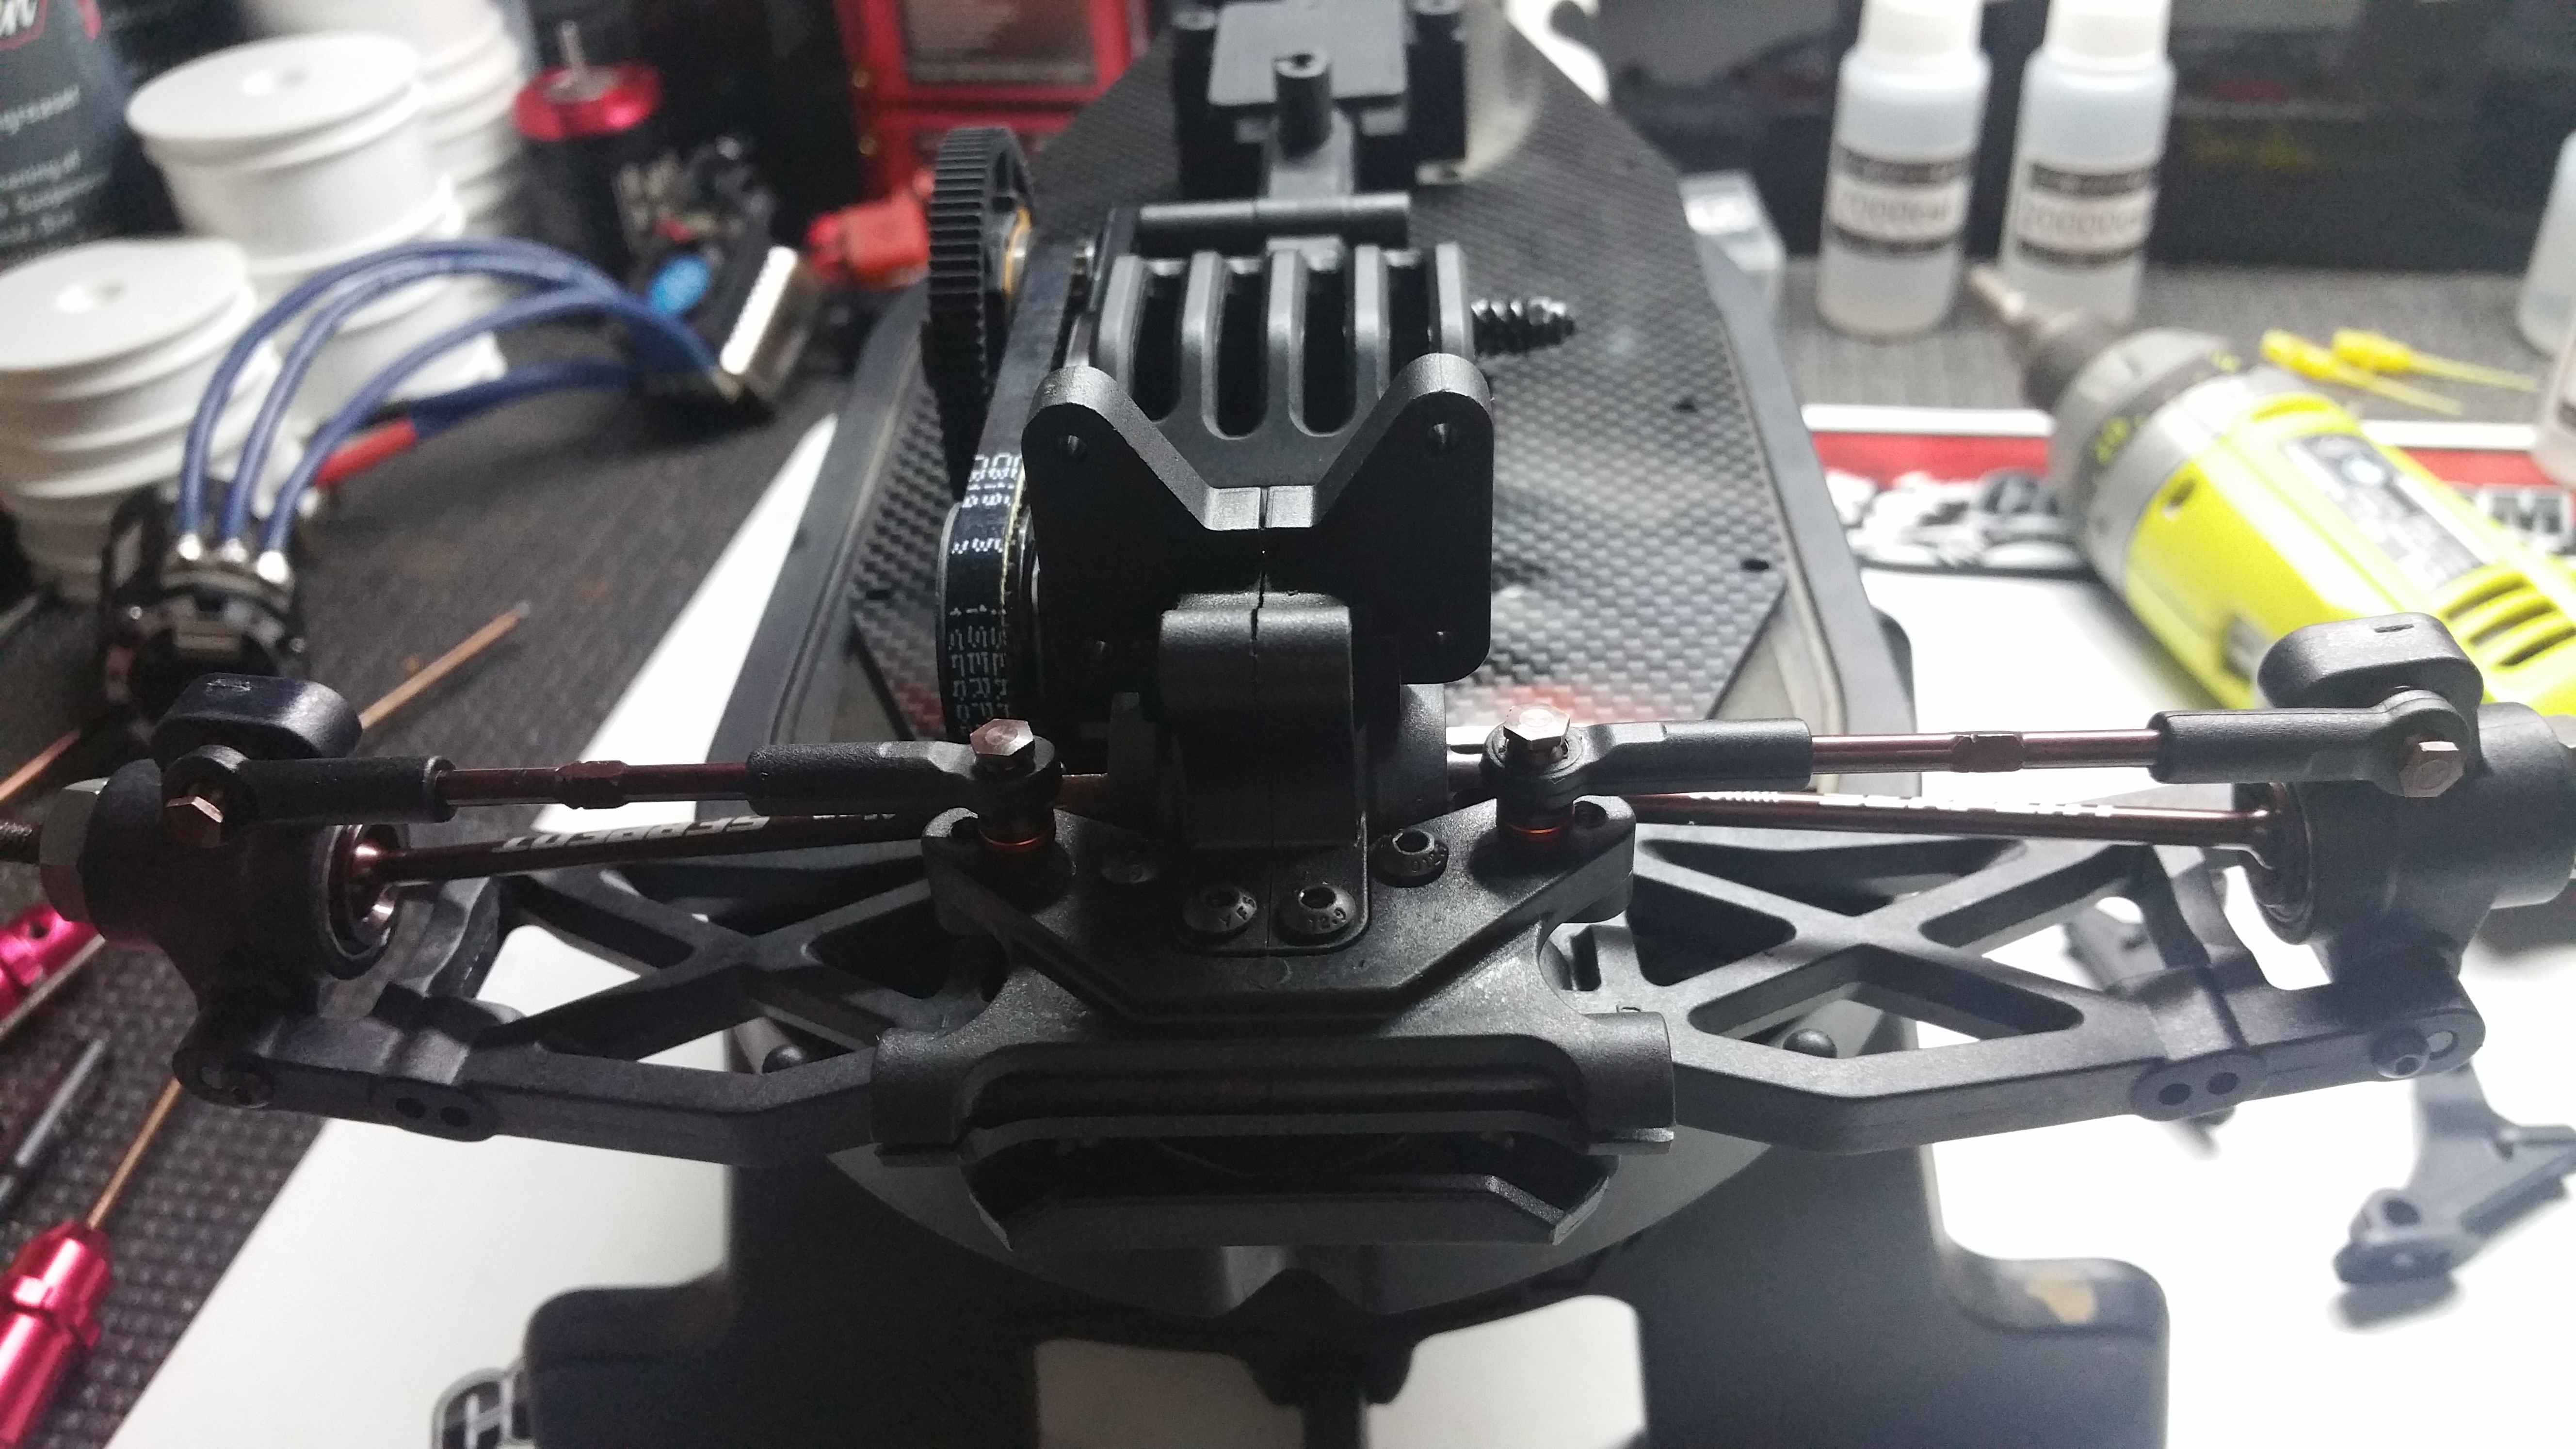
Swaybar Installed!

Shock Tower Installed!
Wing mount installed!
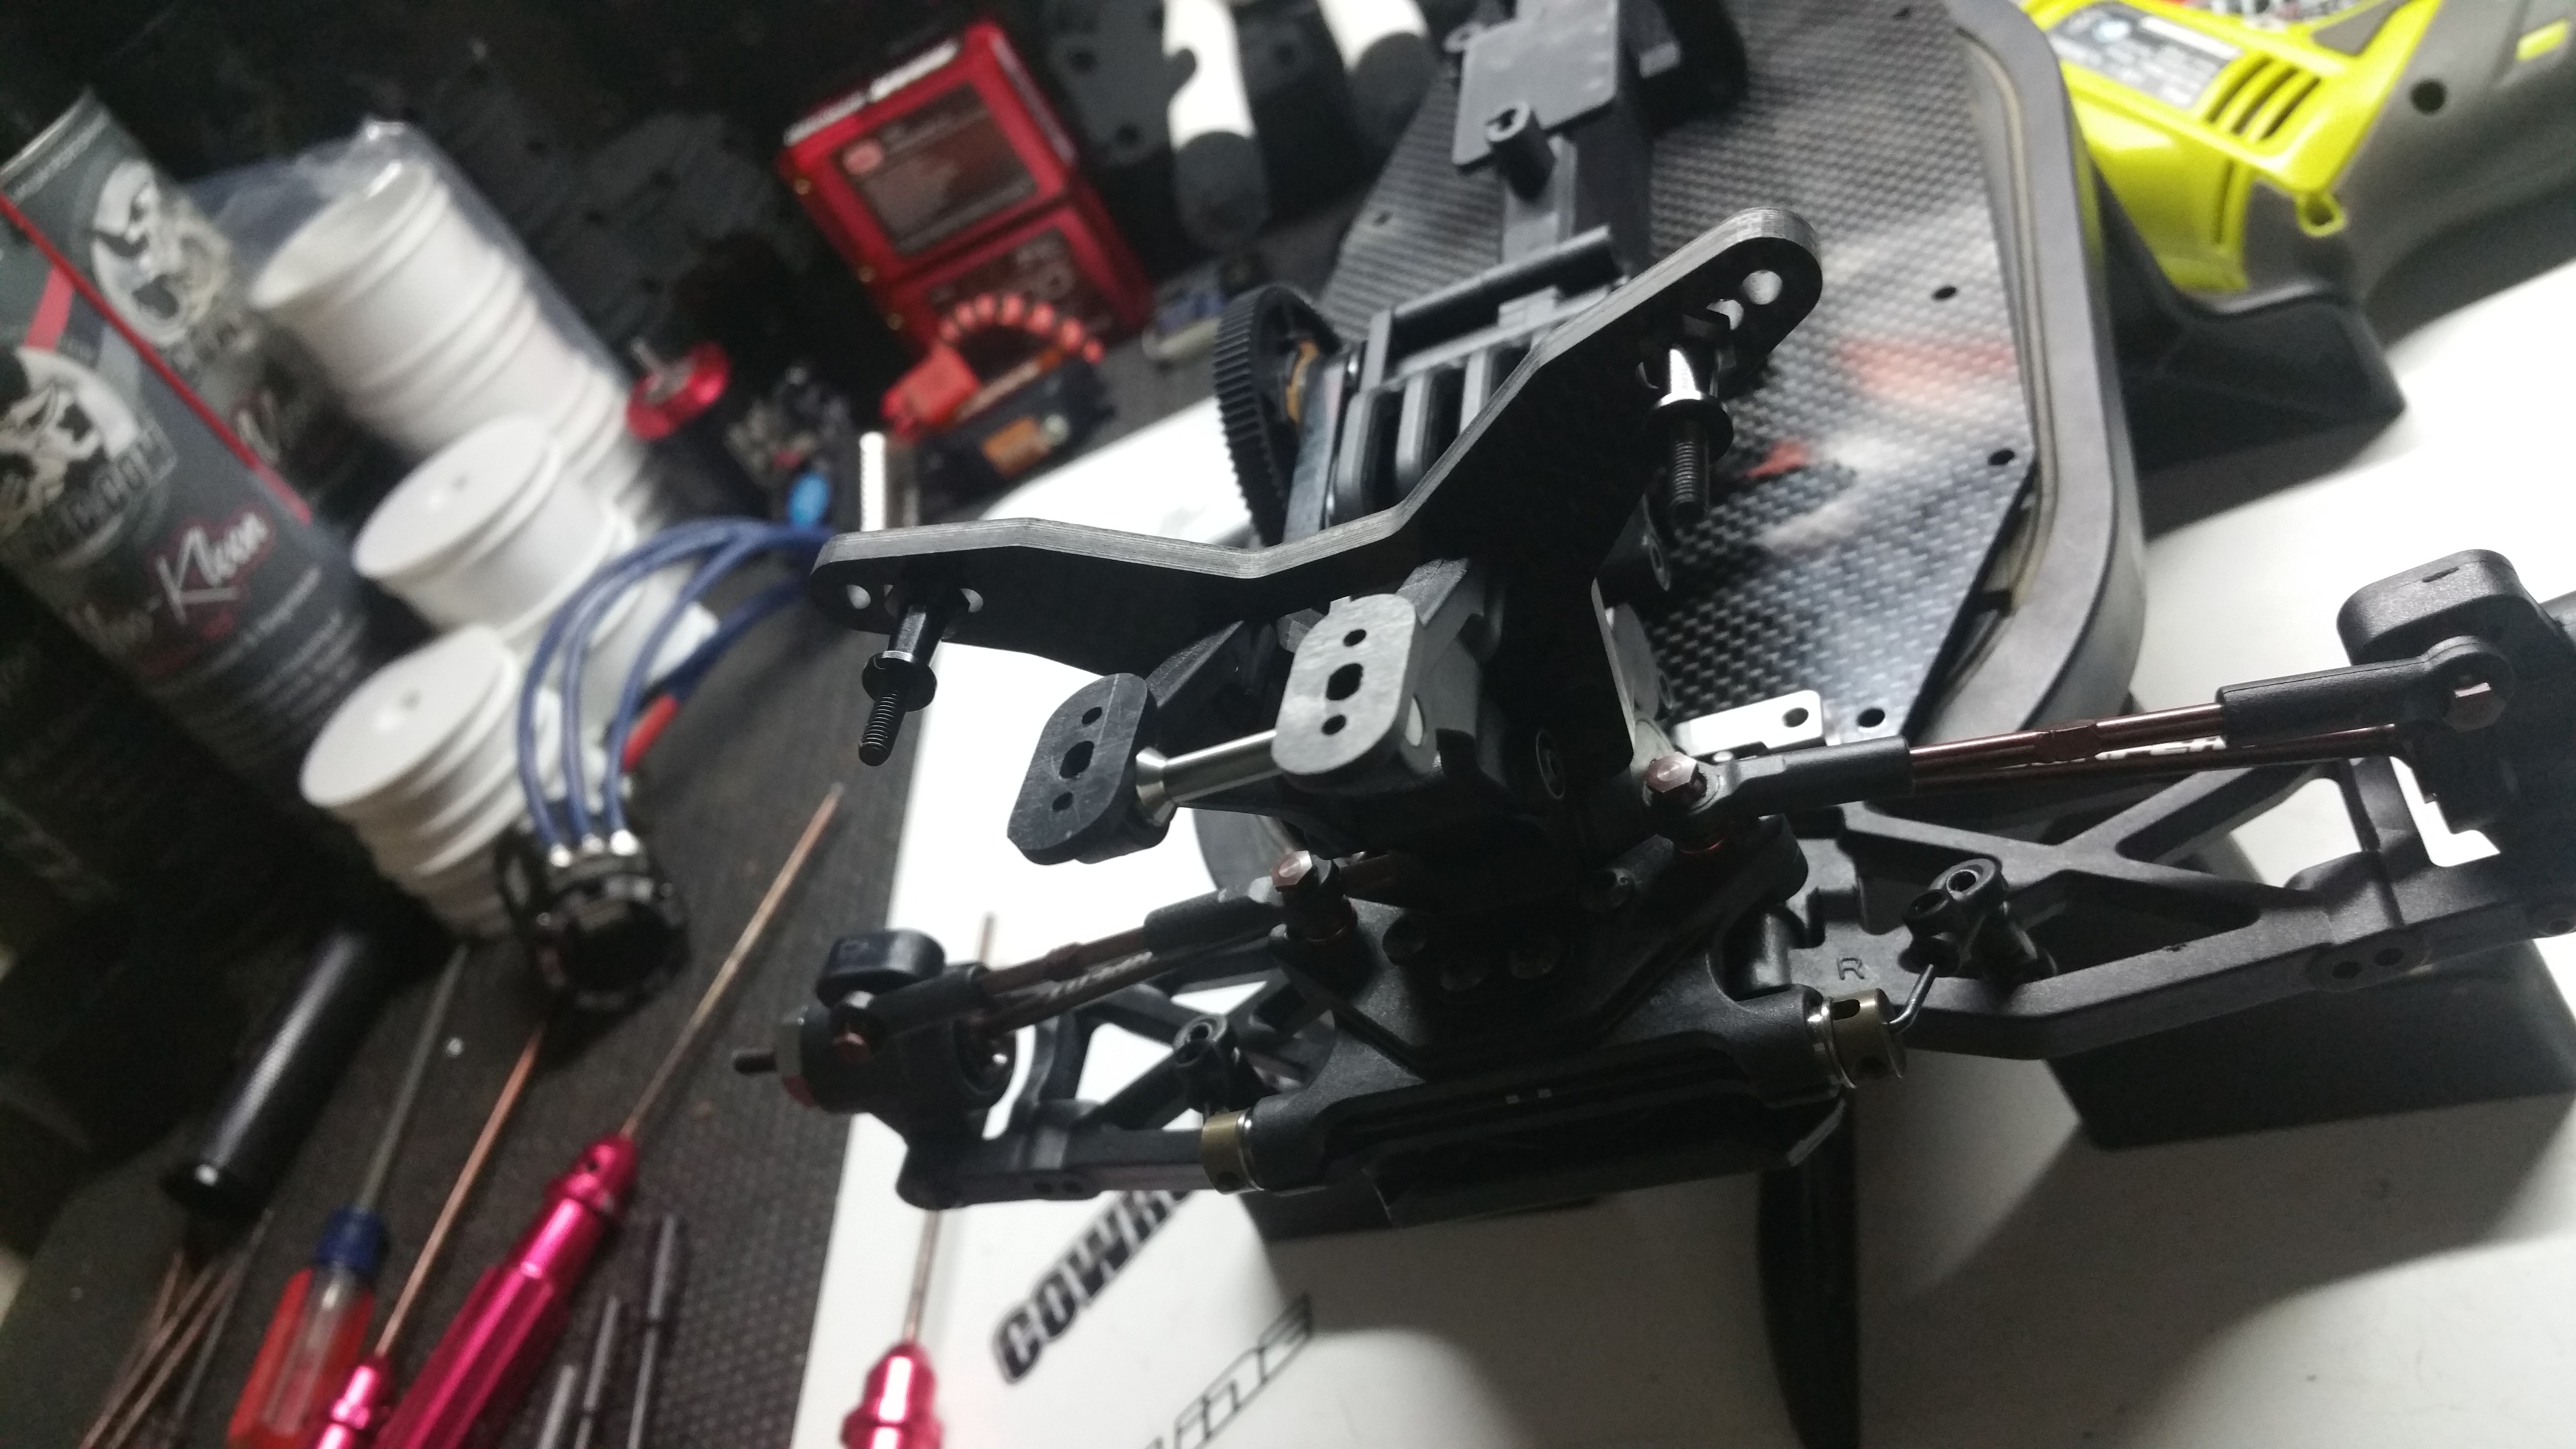
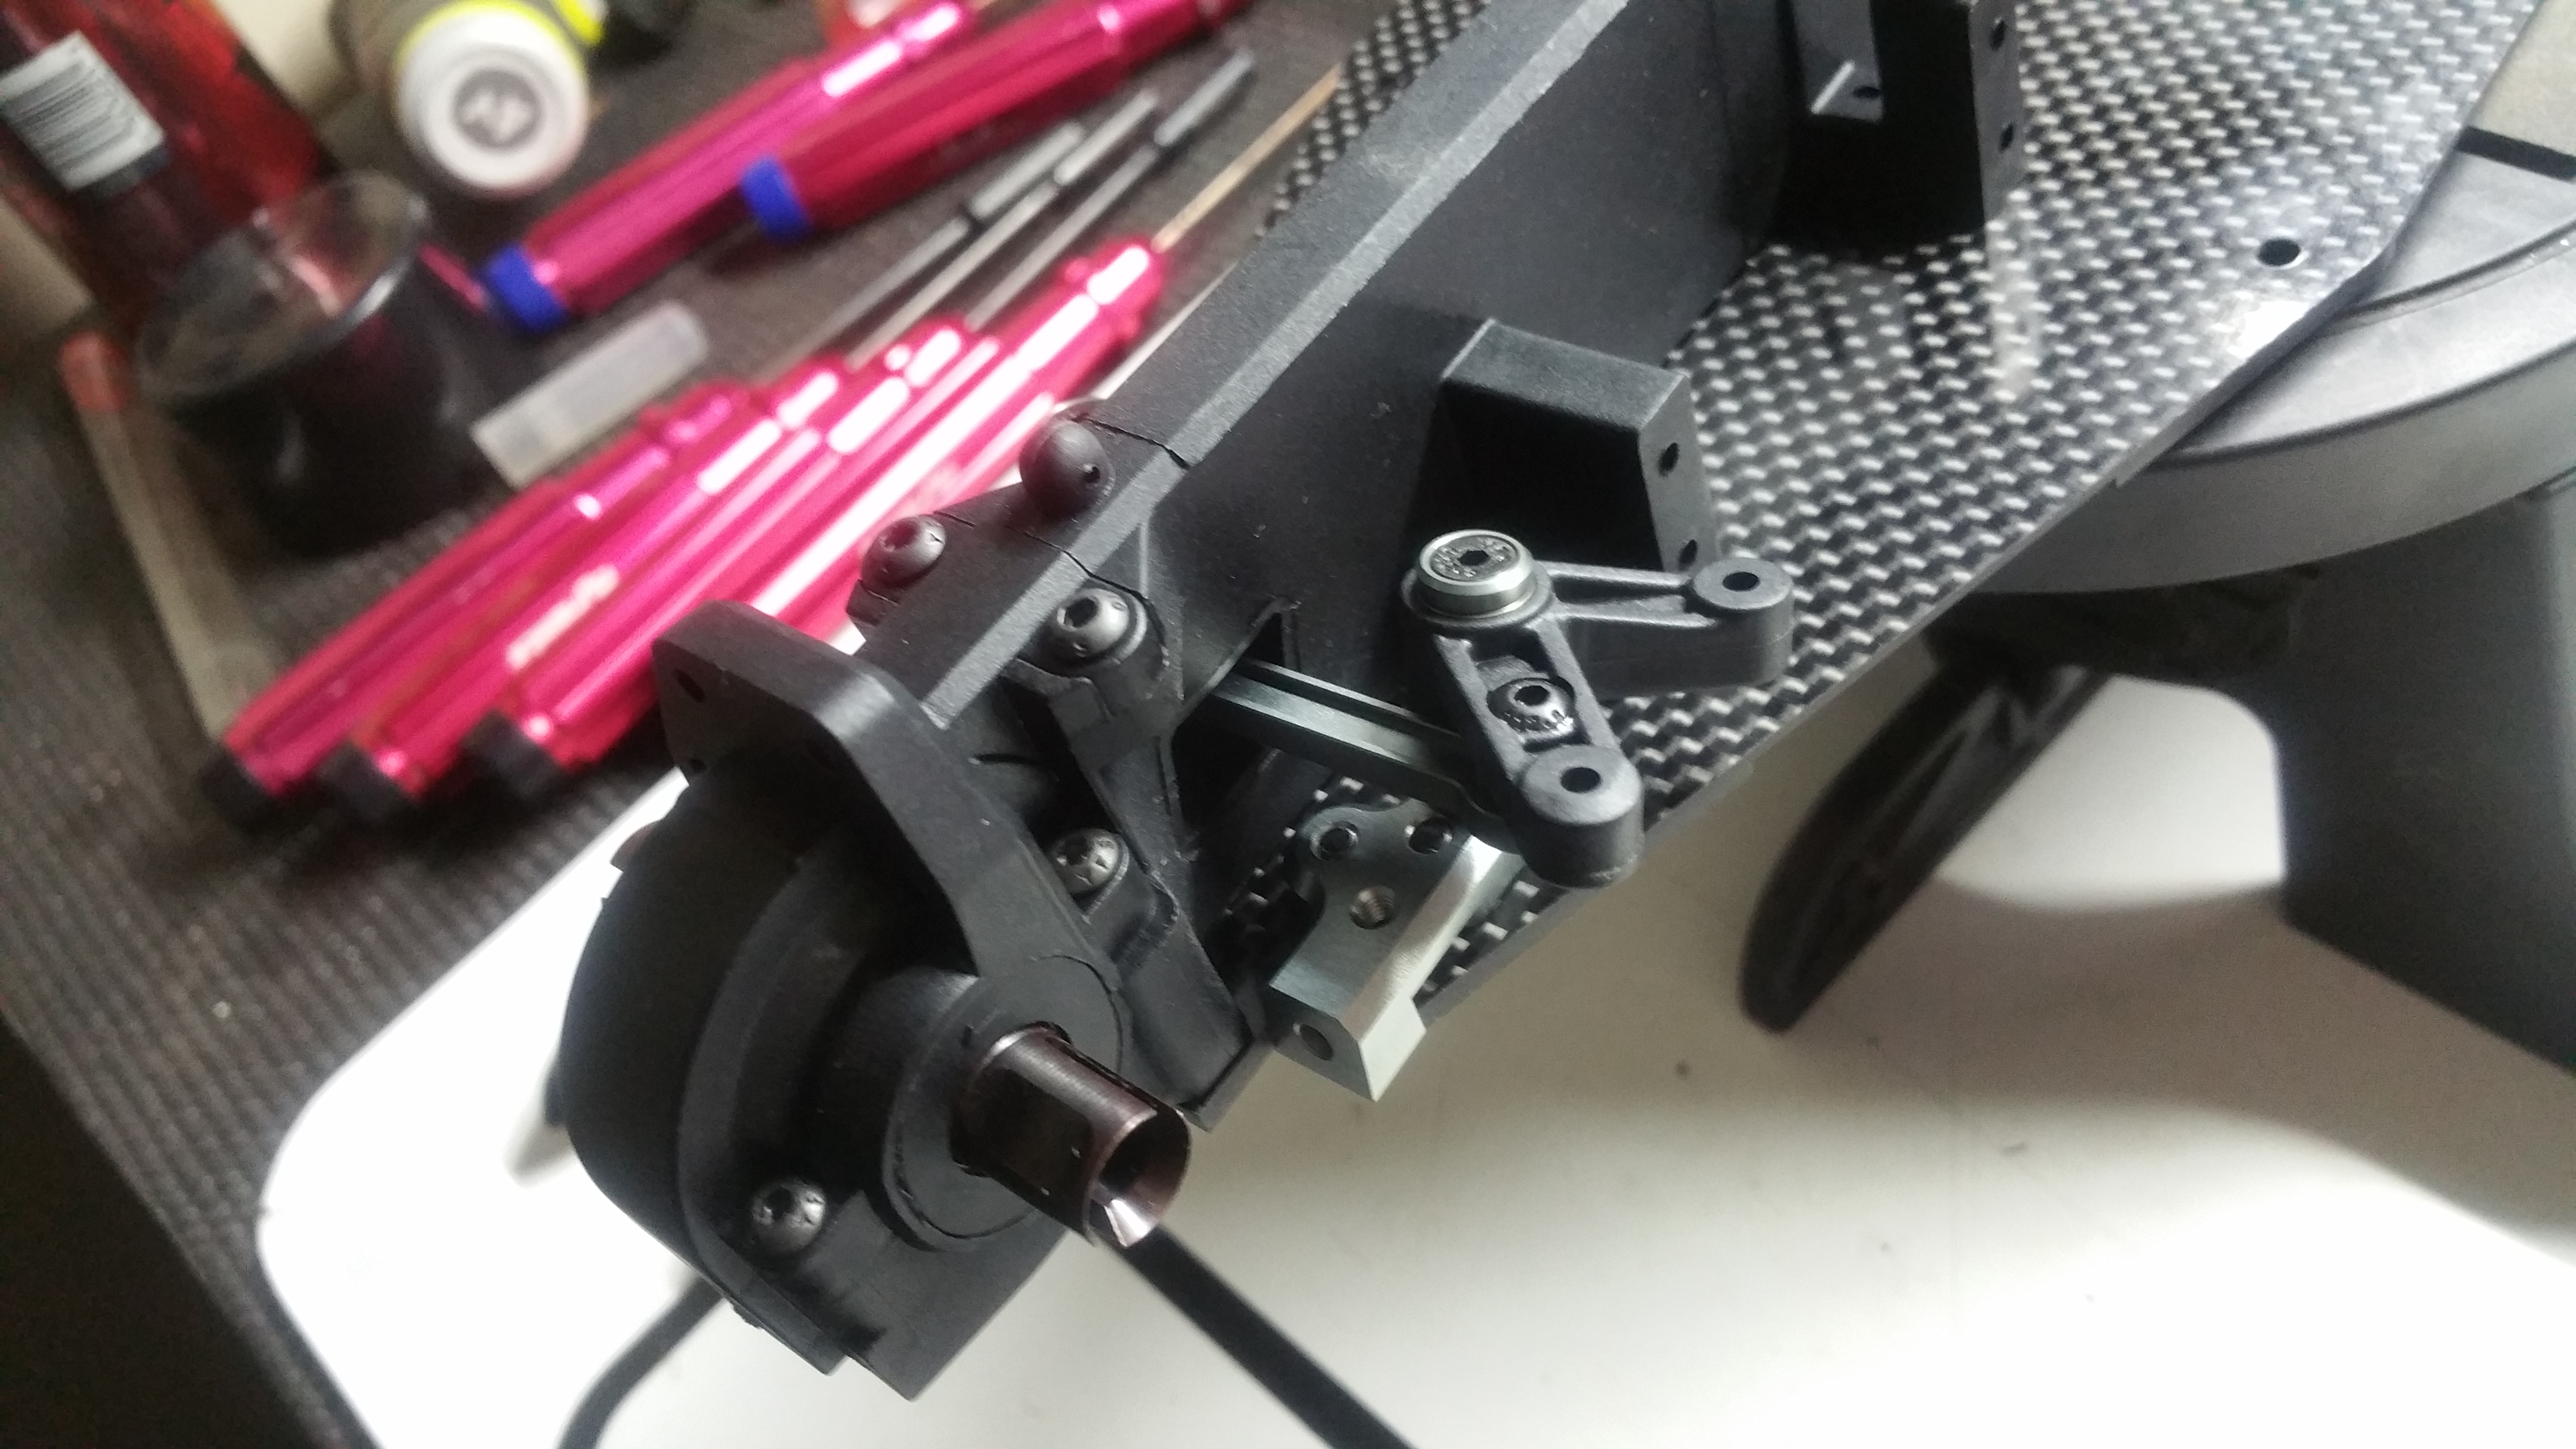
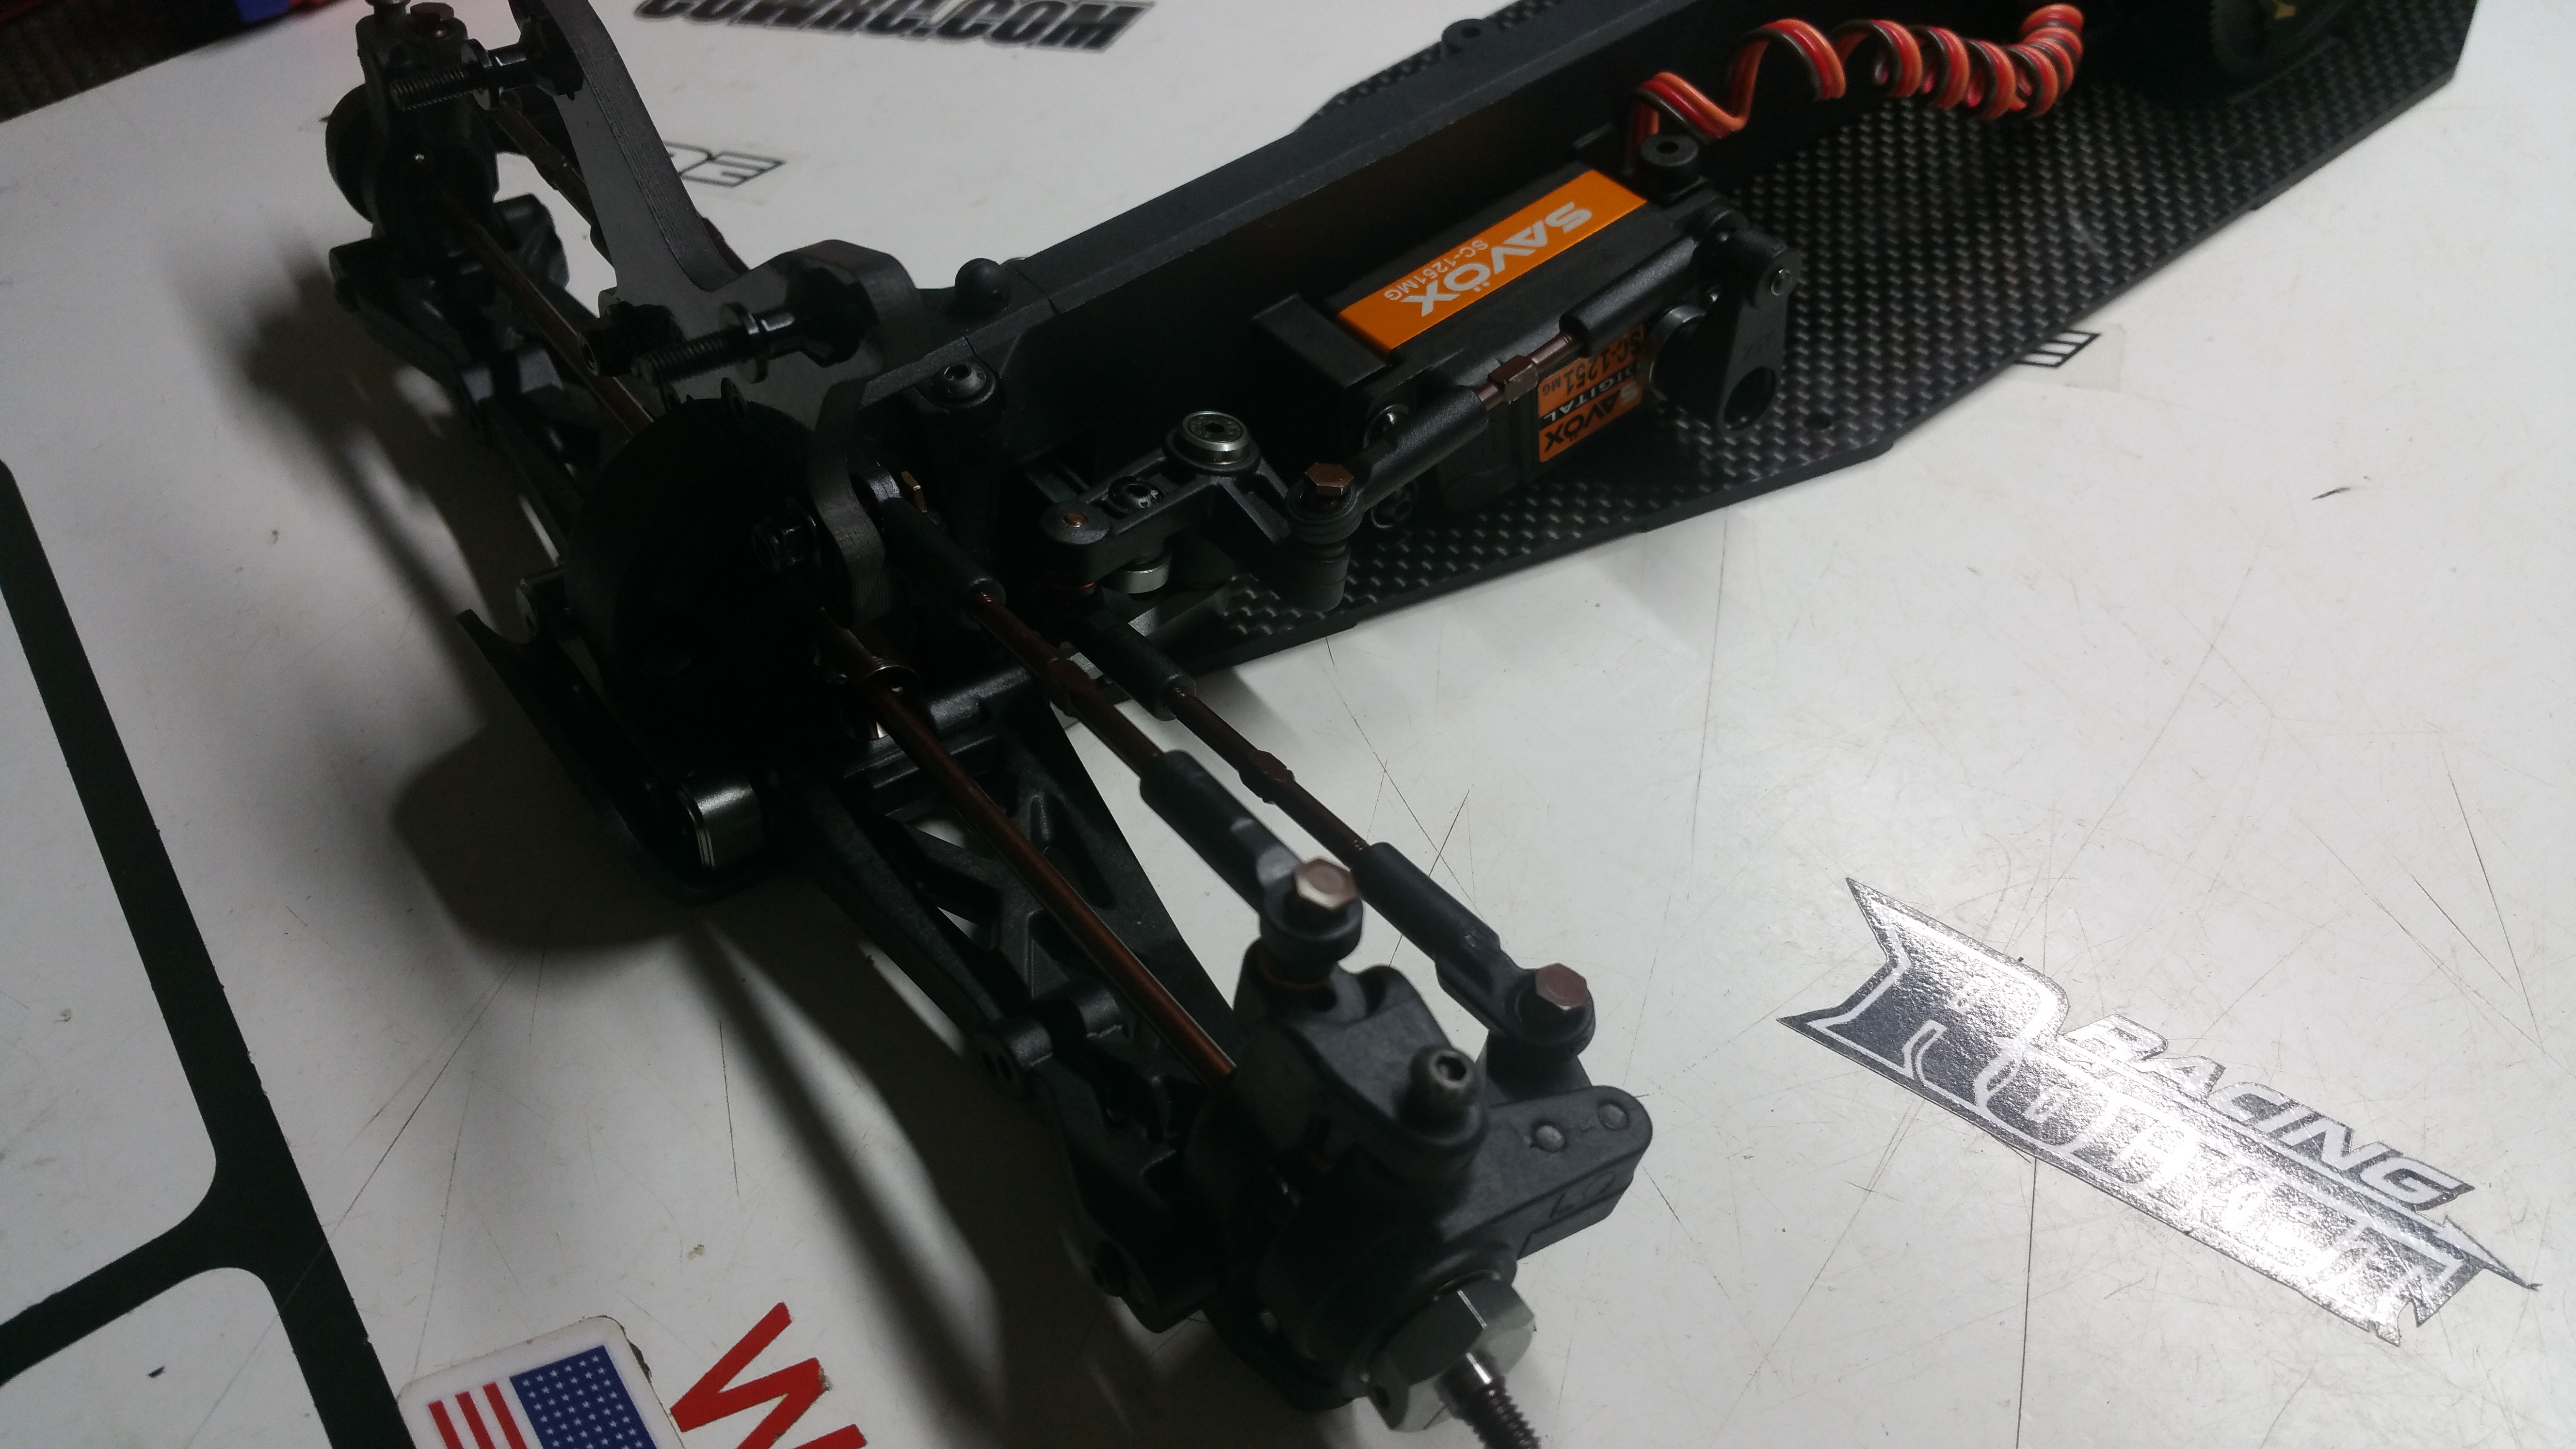
Starting on the steering setup.
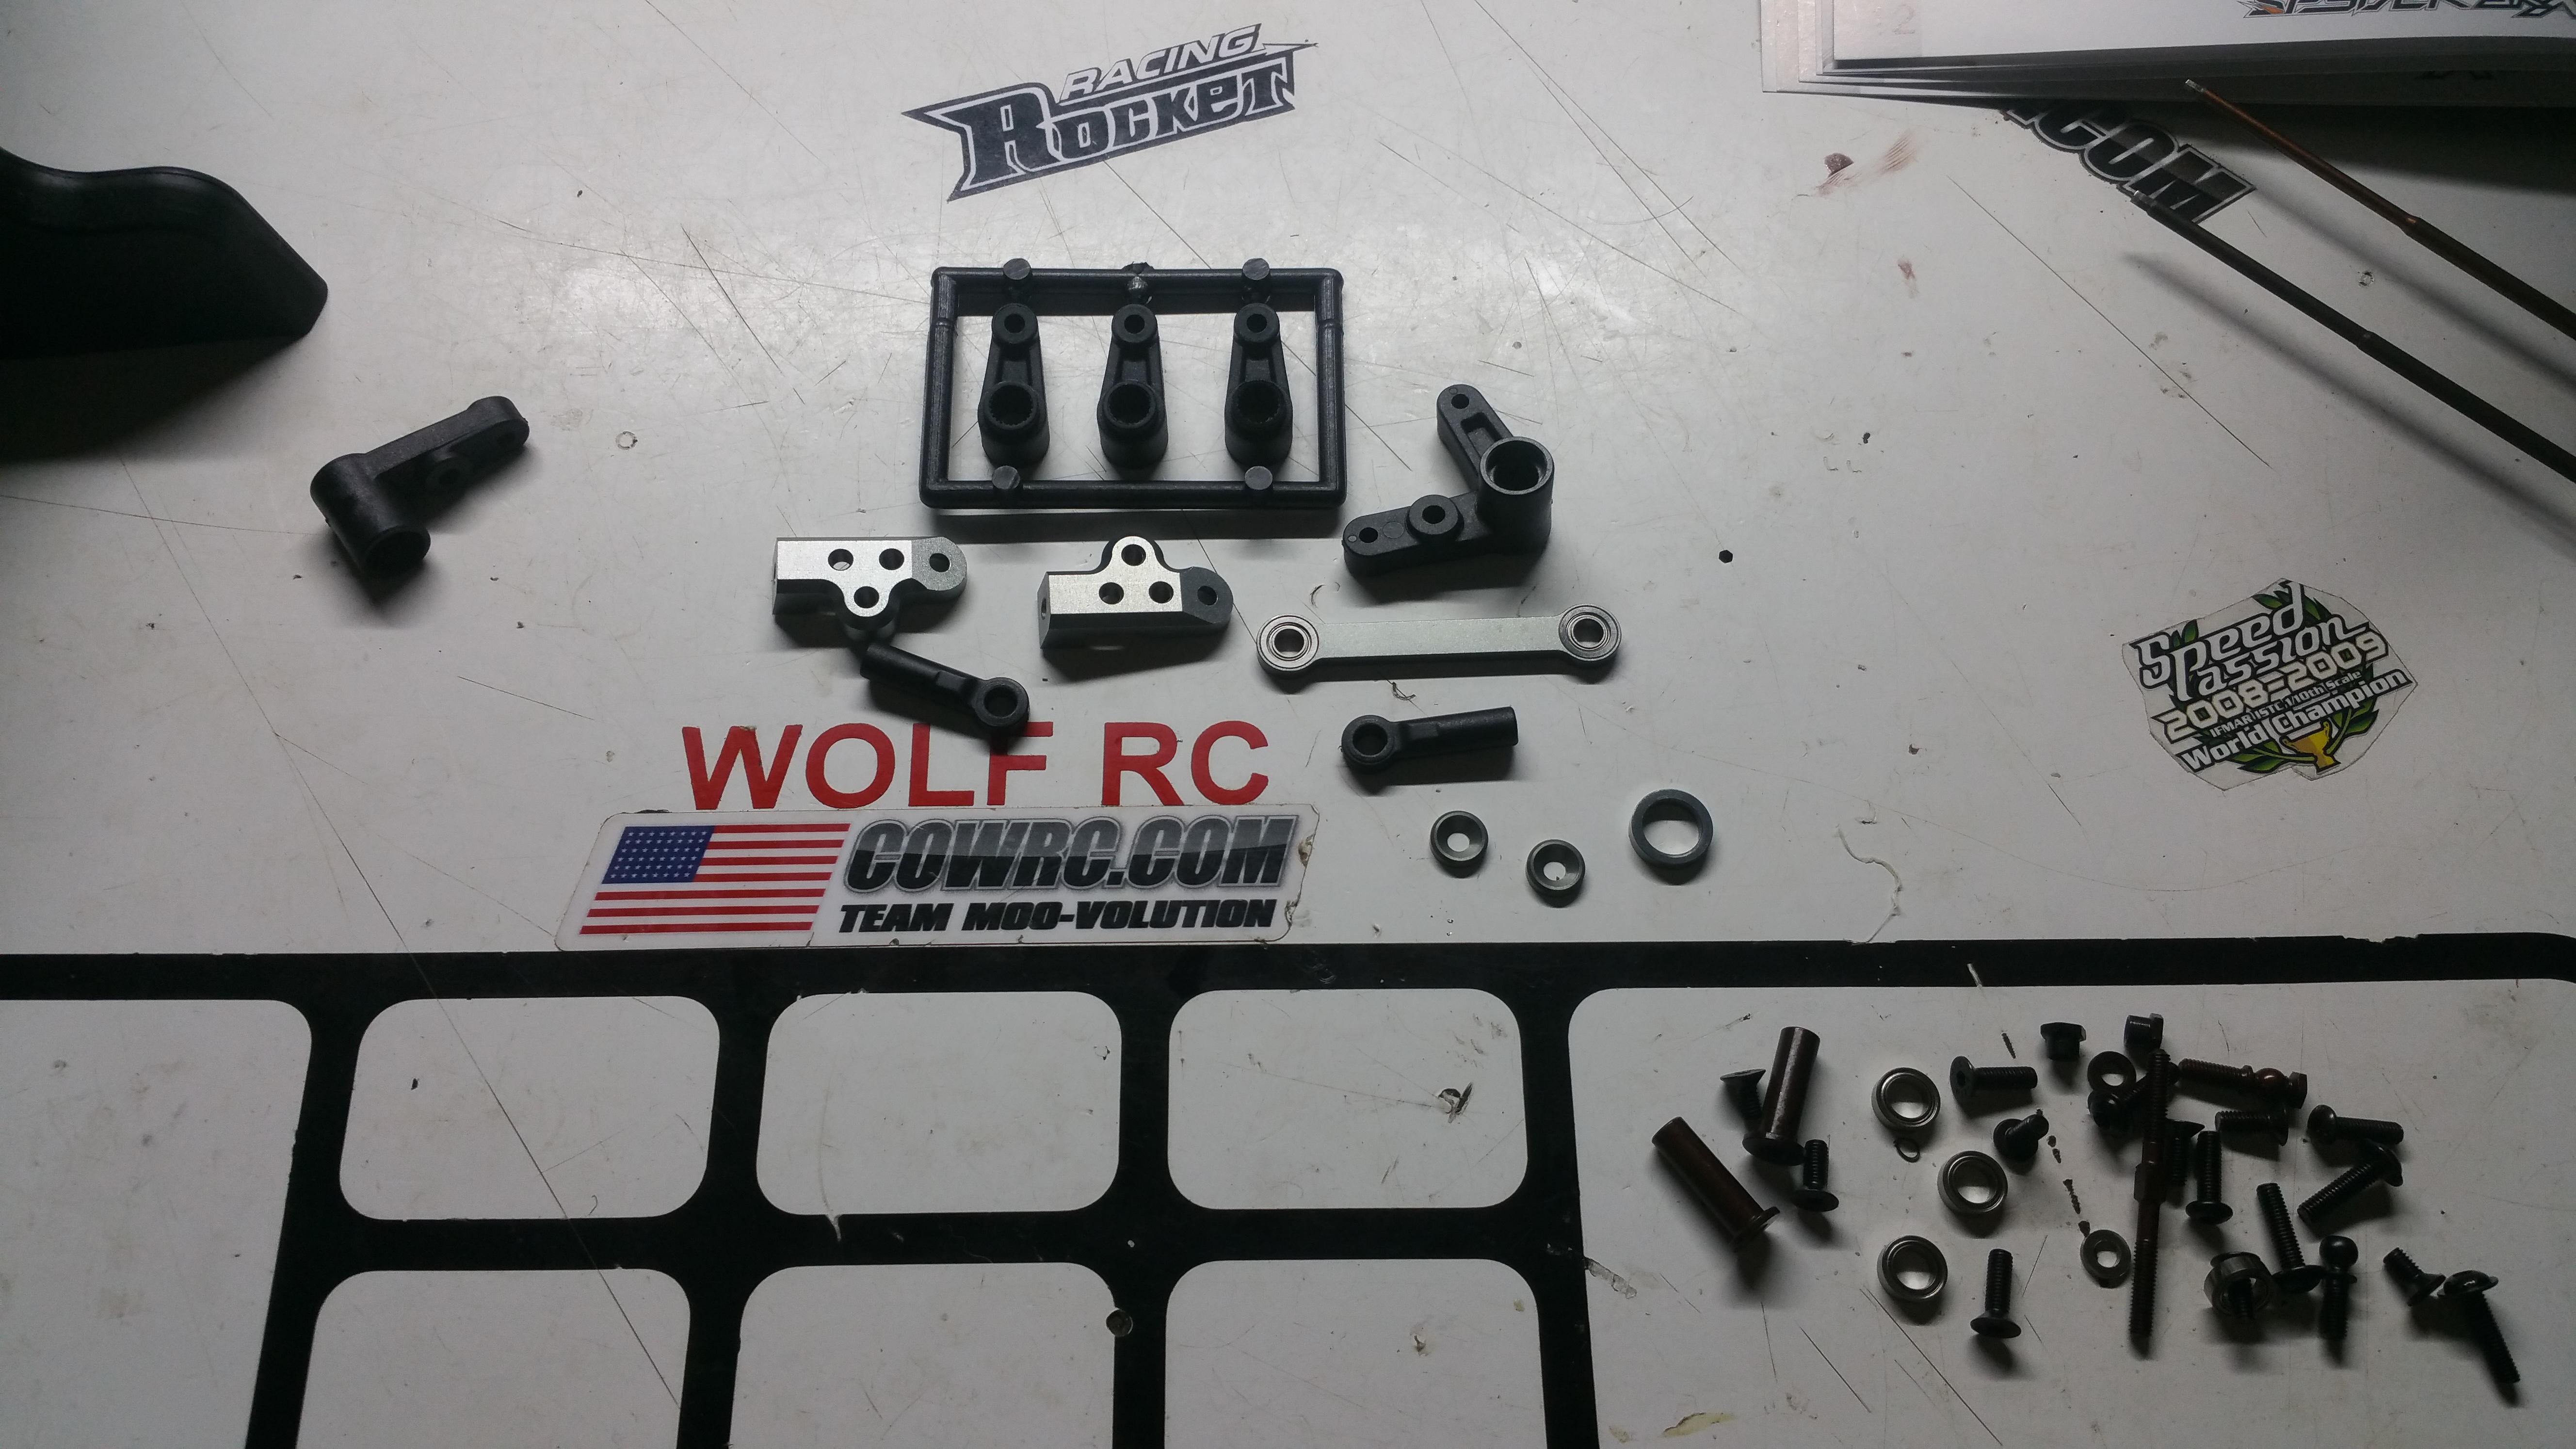
Steering installed!
Drag link installed!
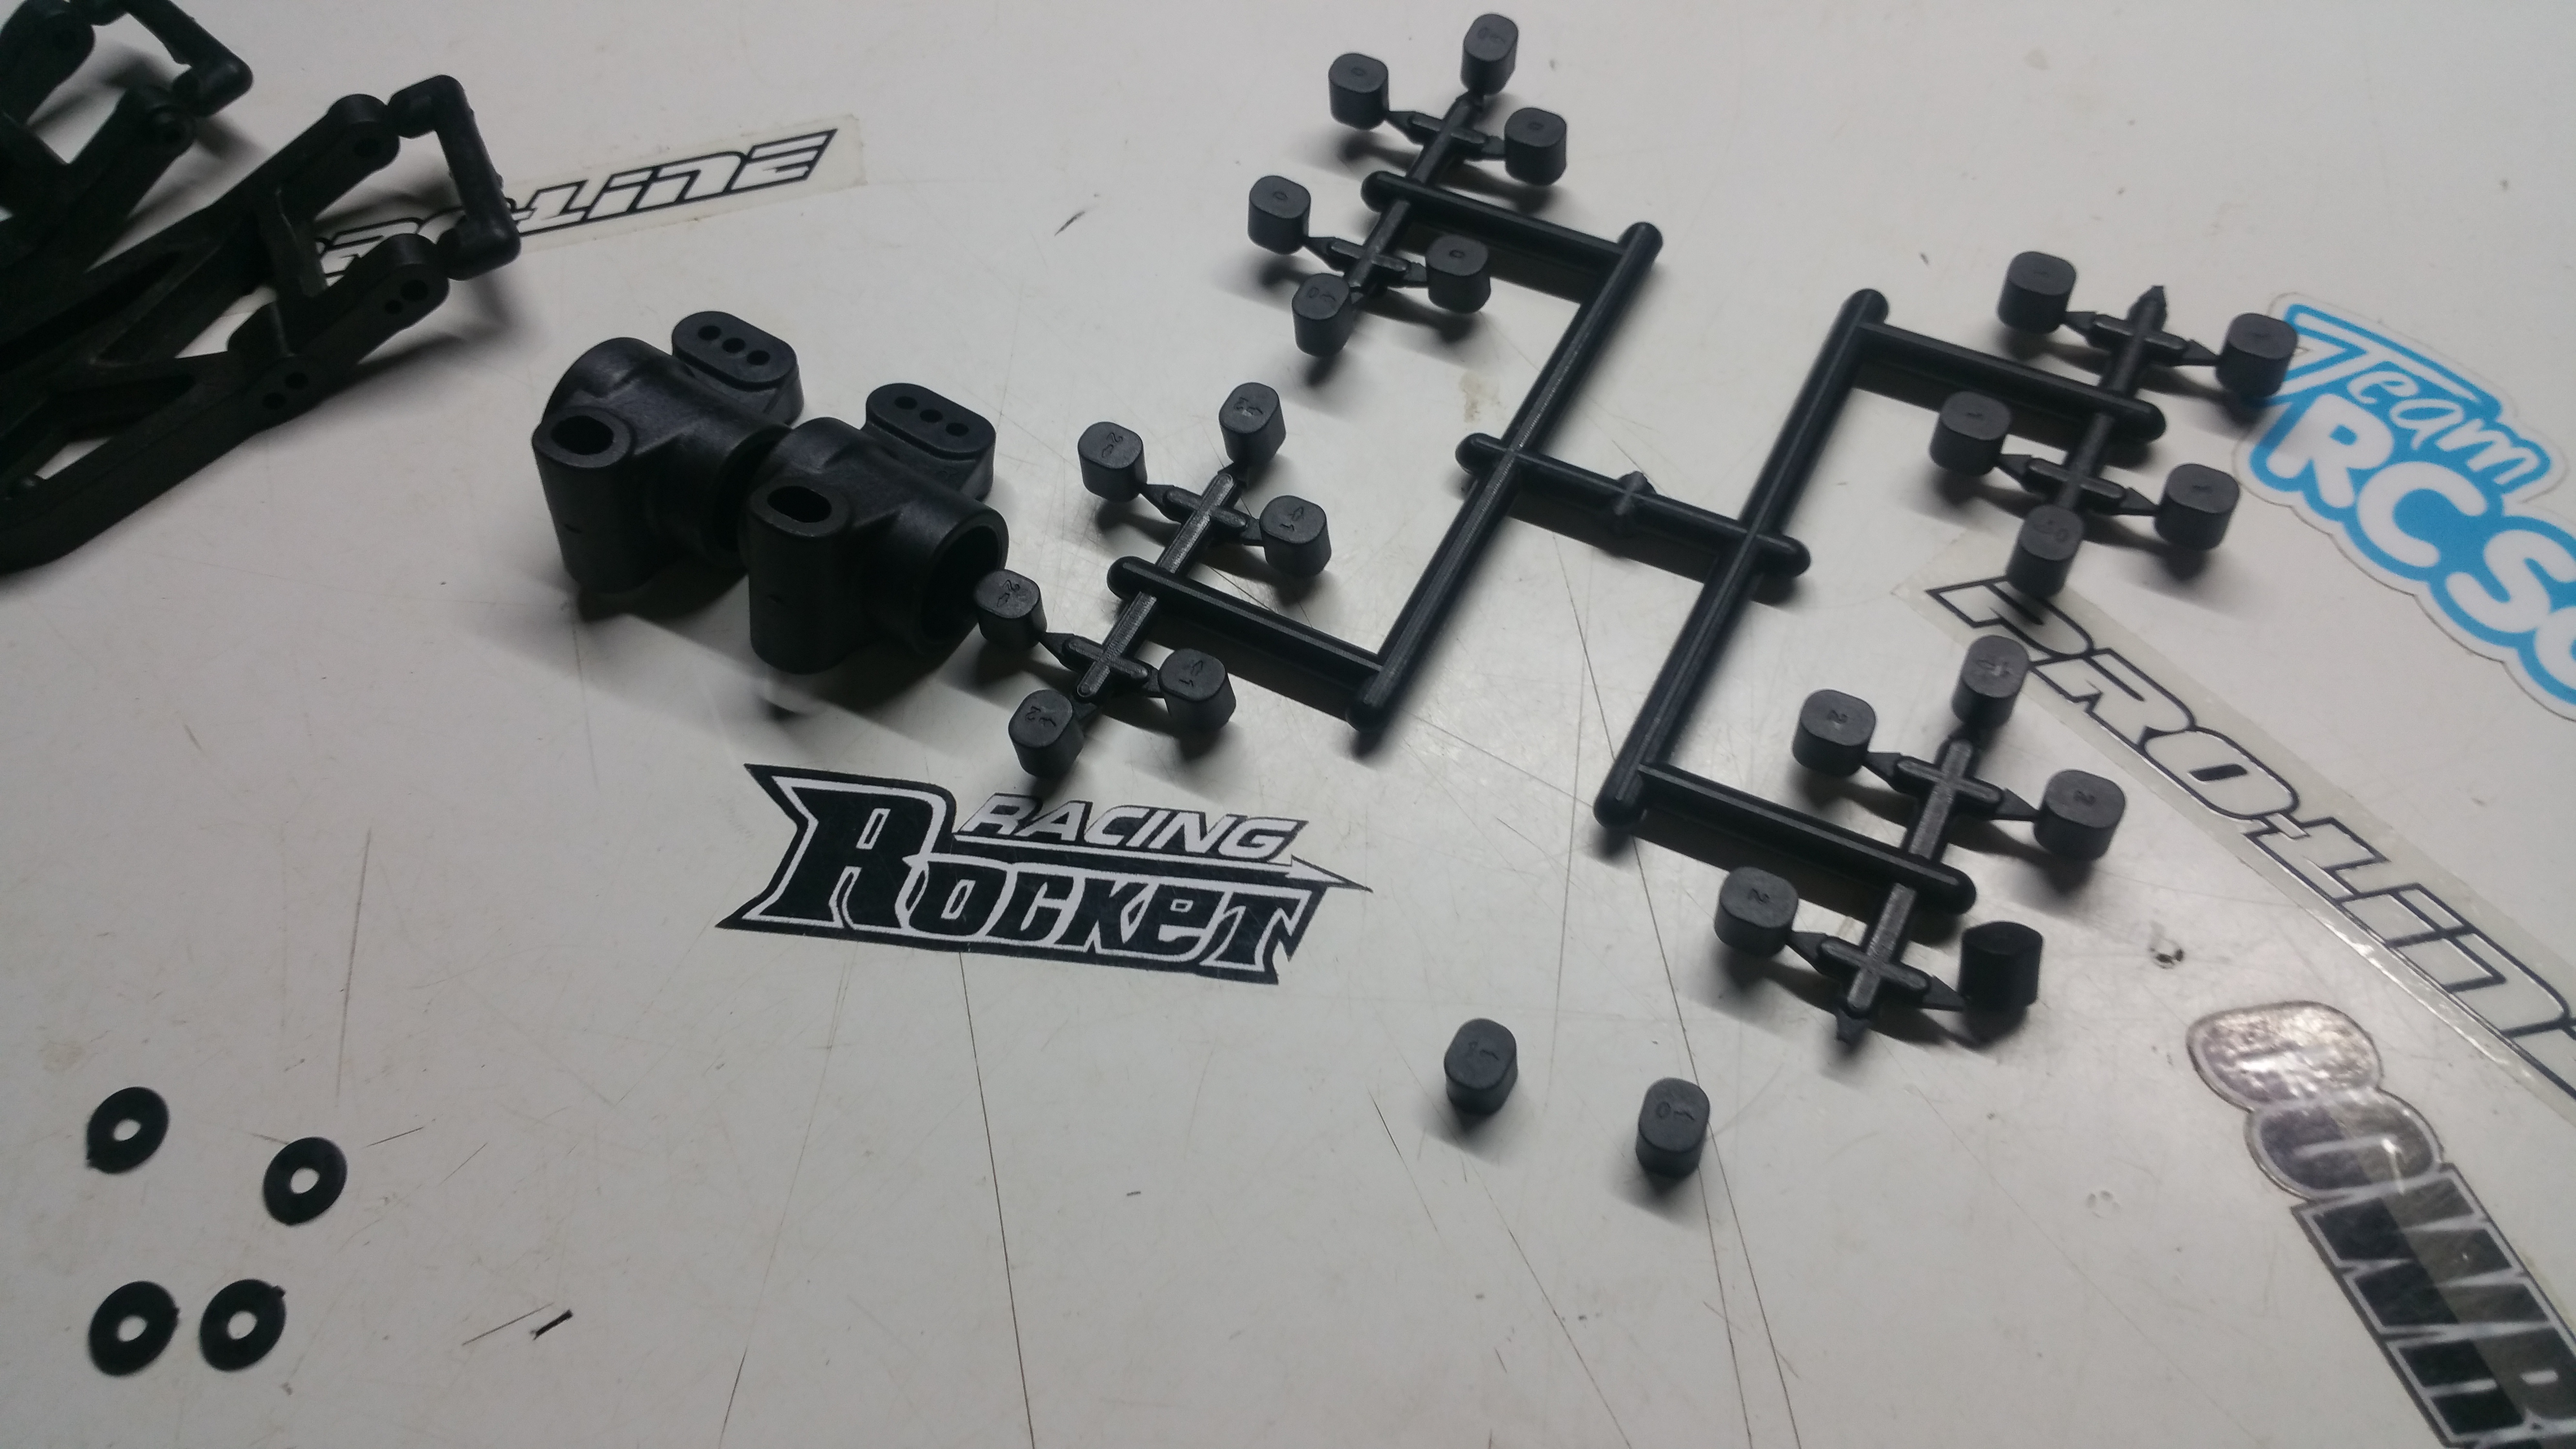
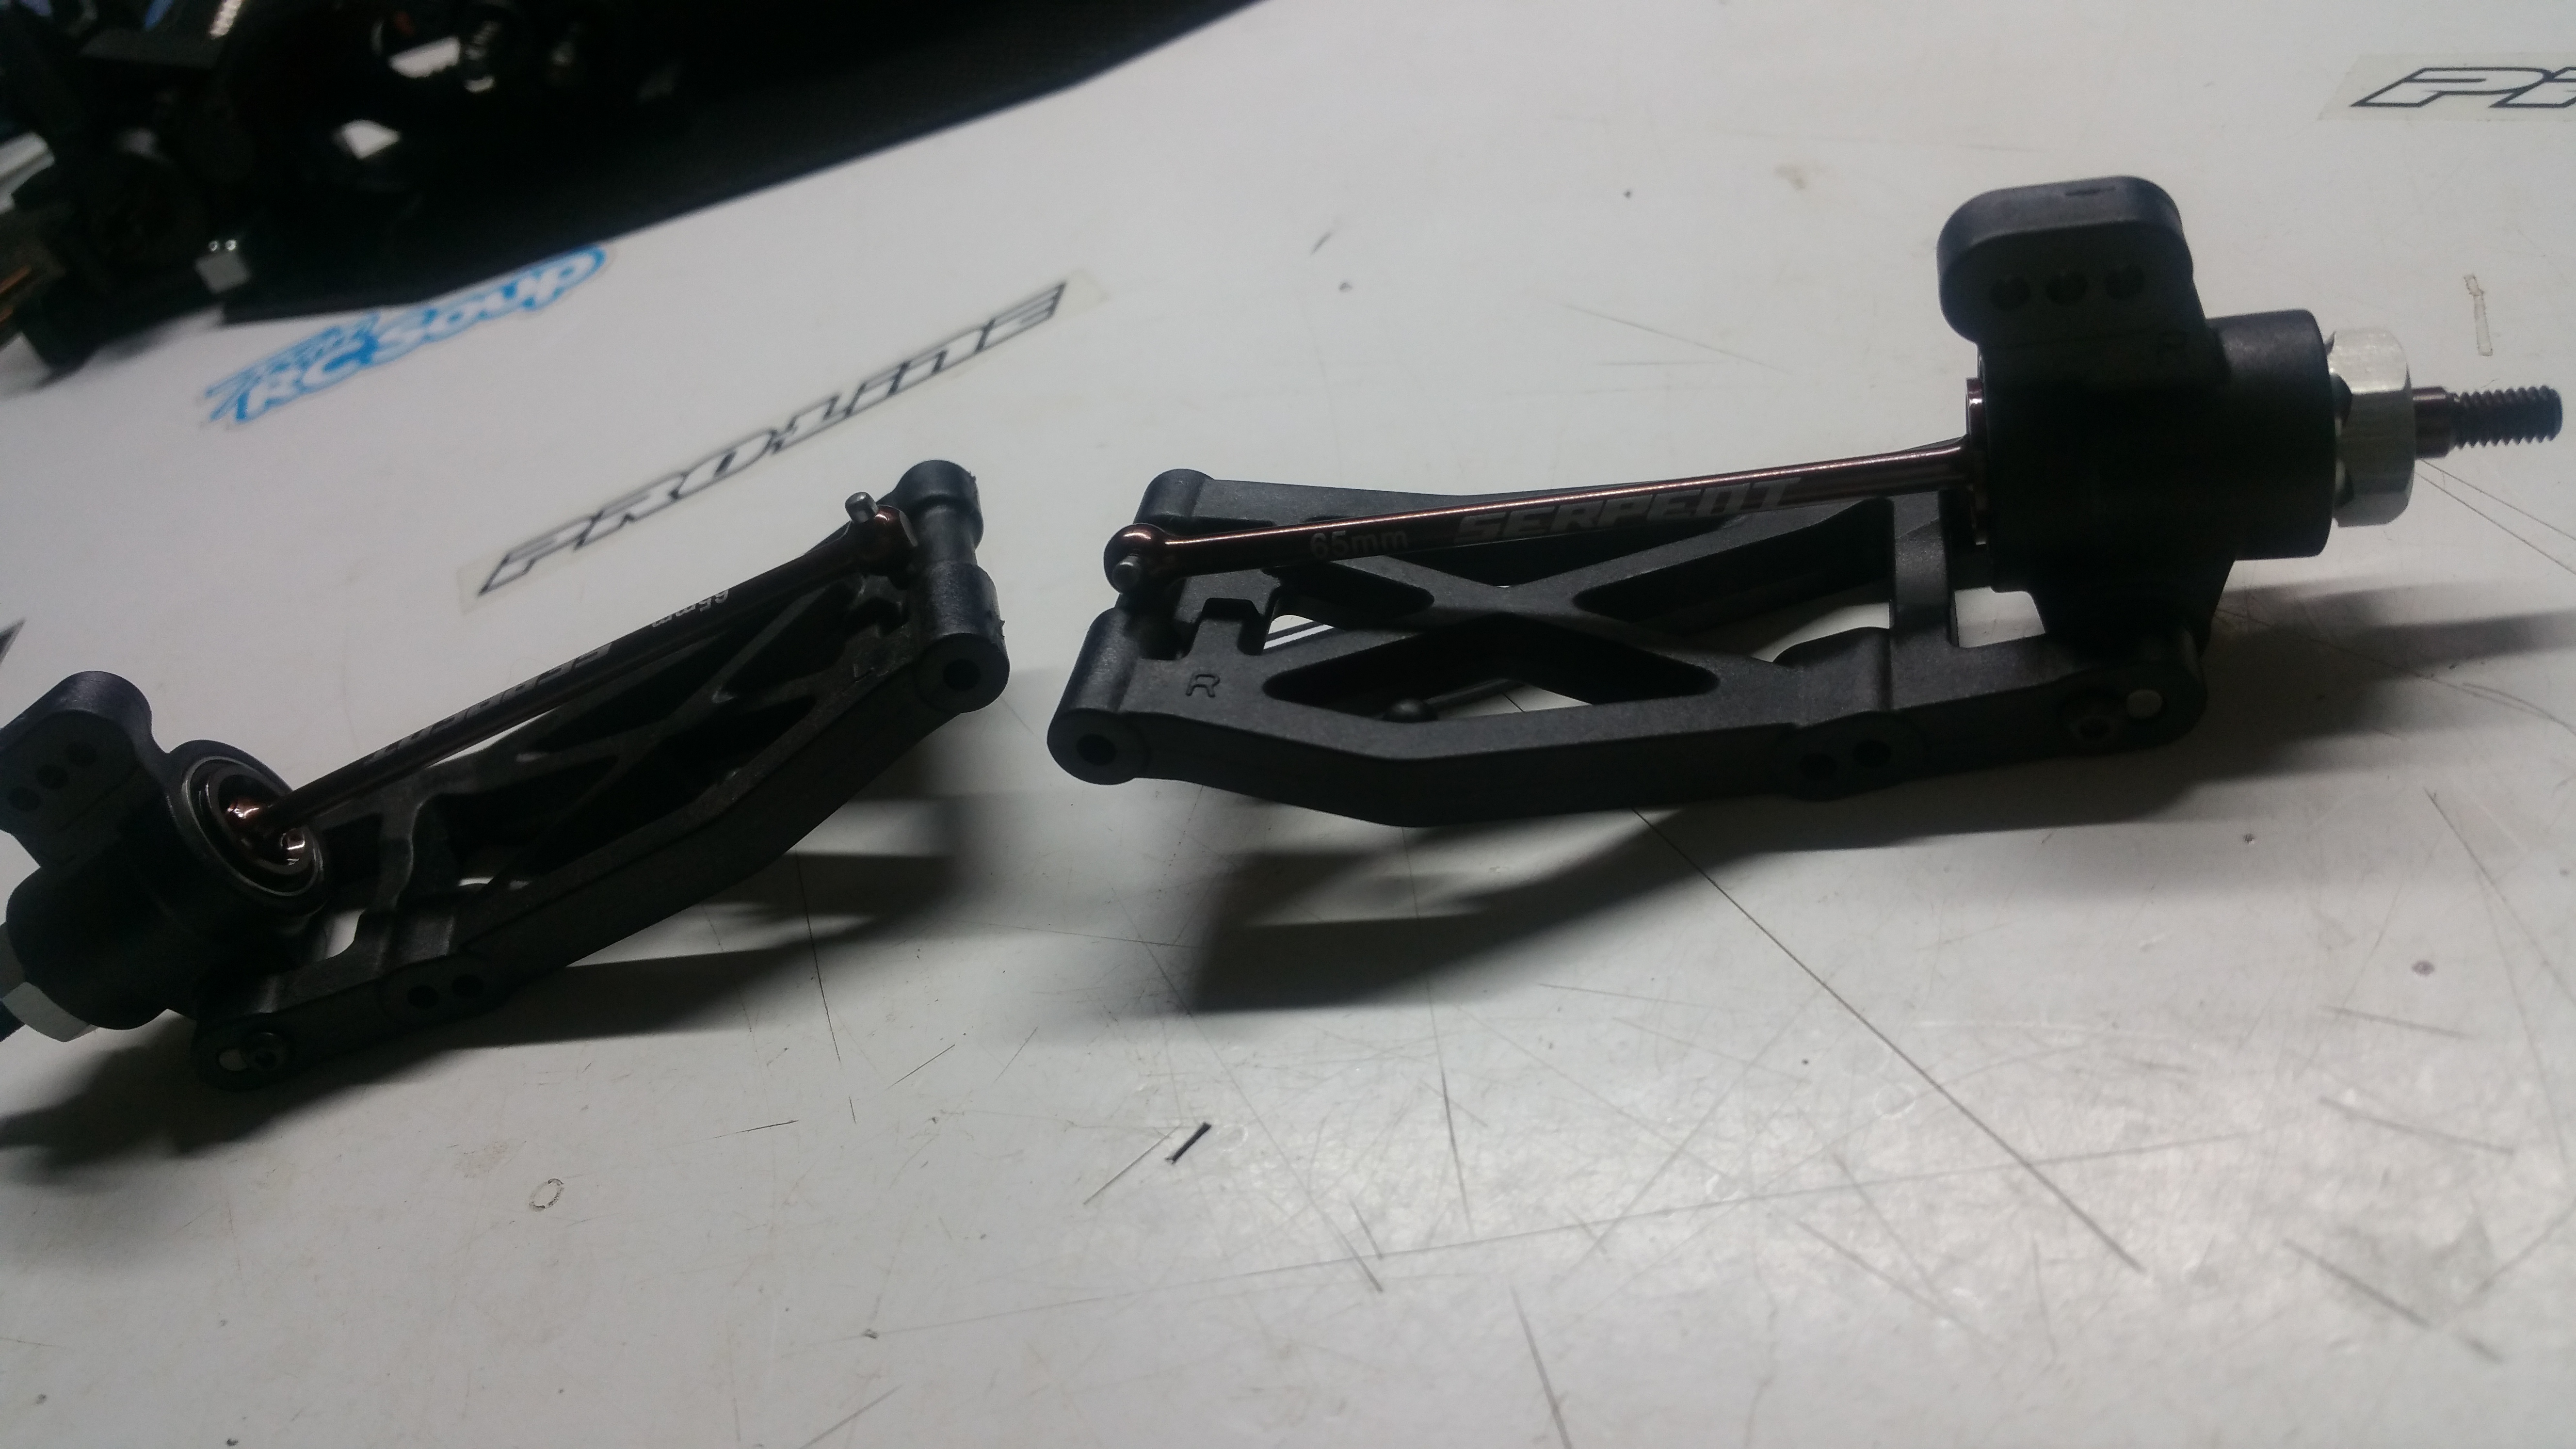
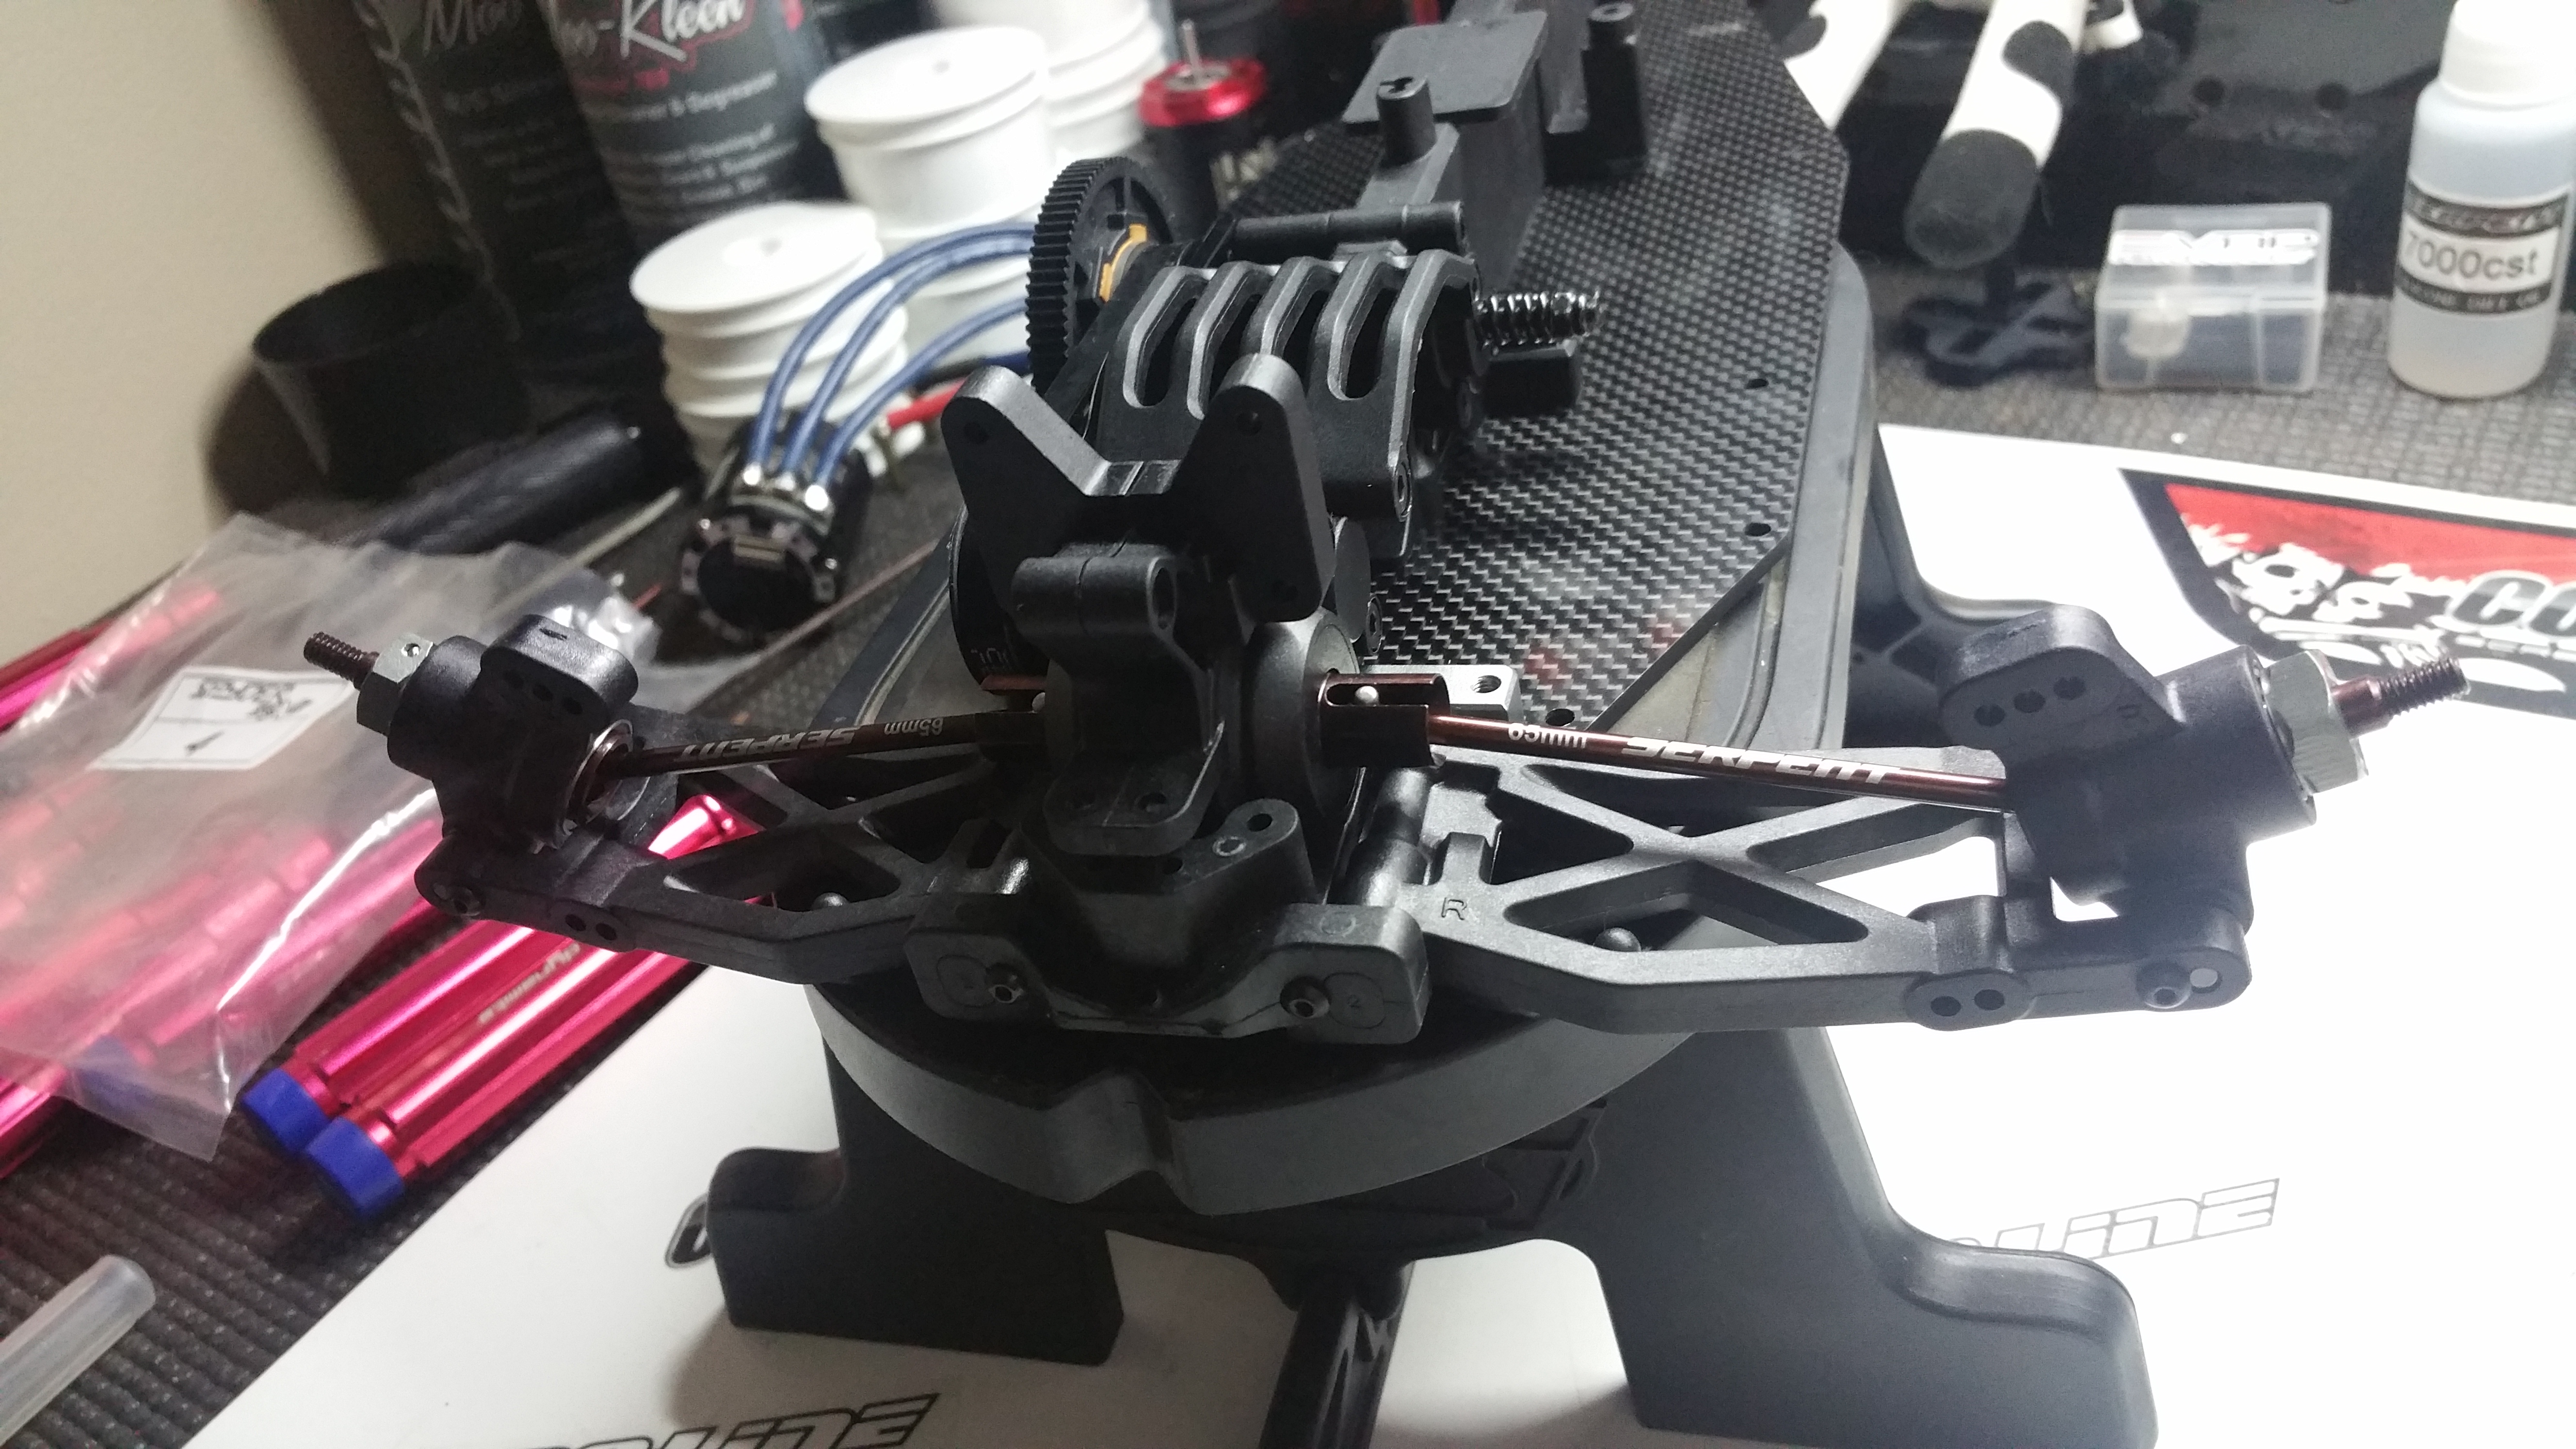
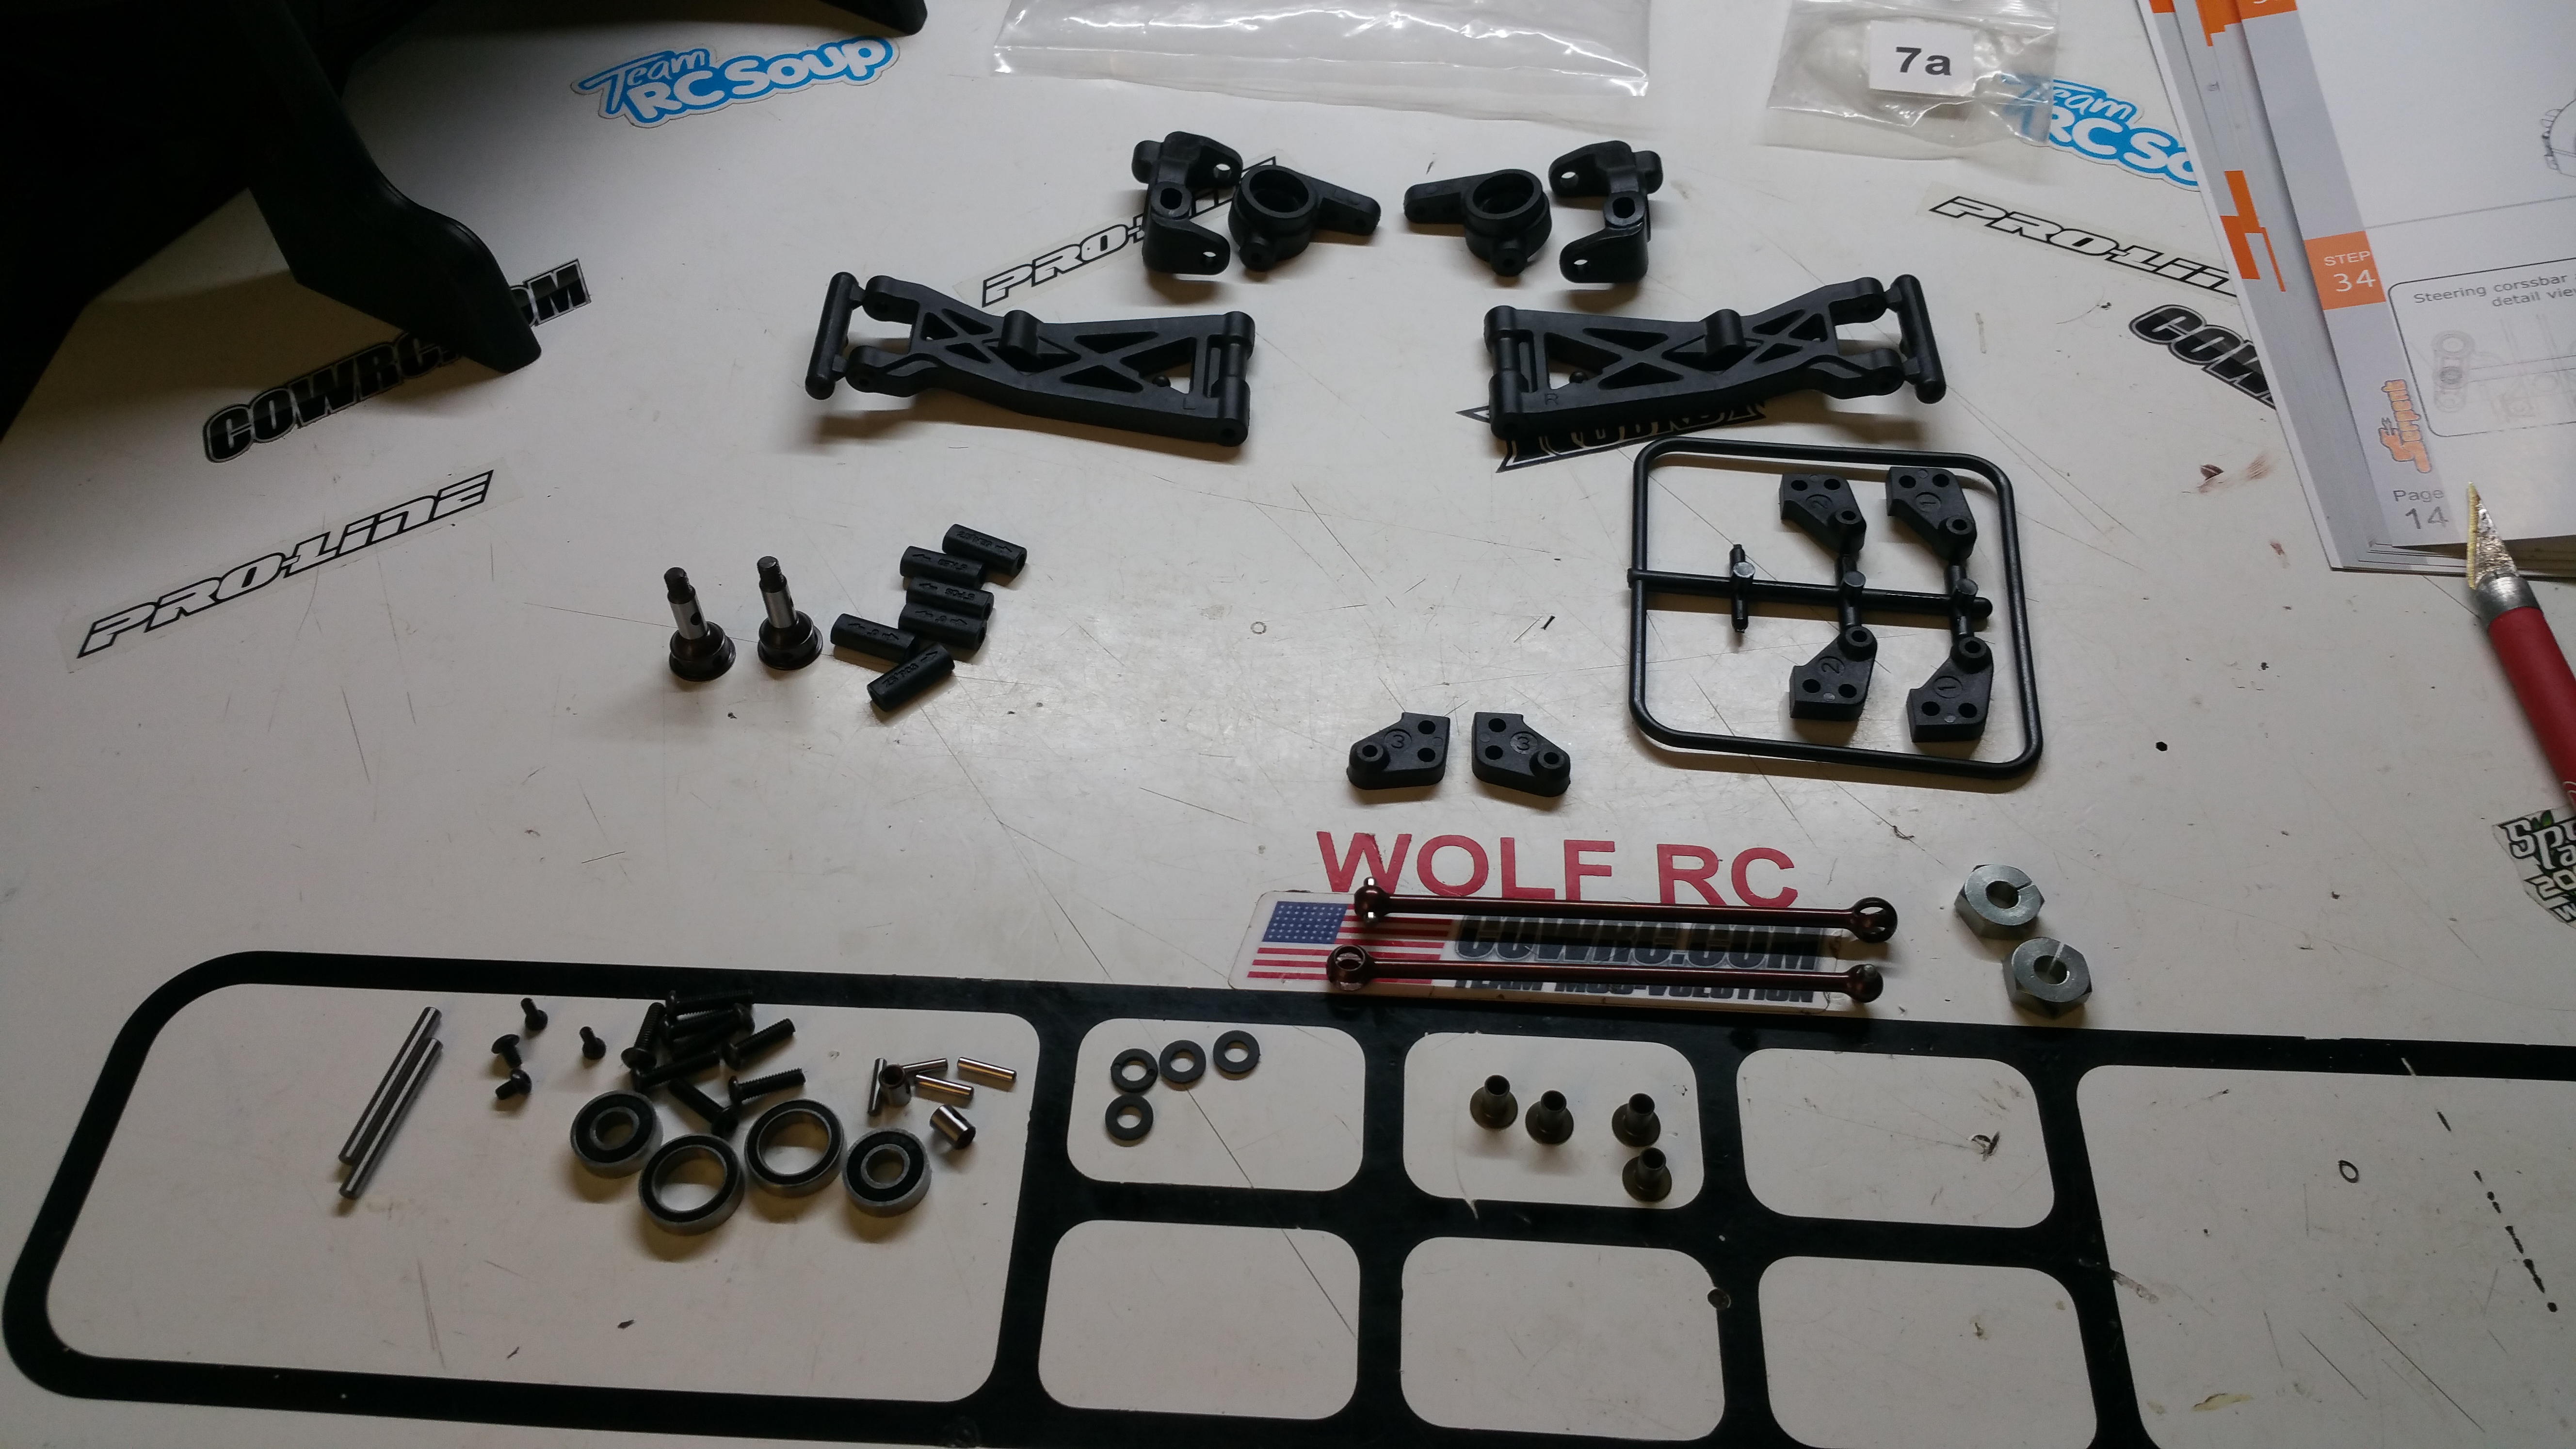
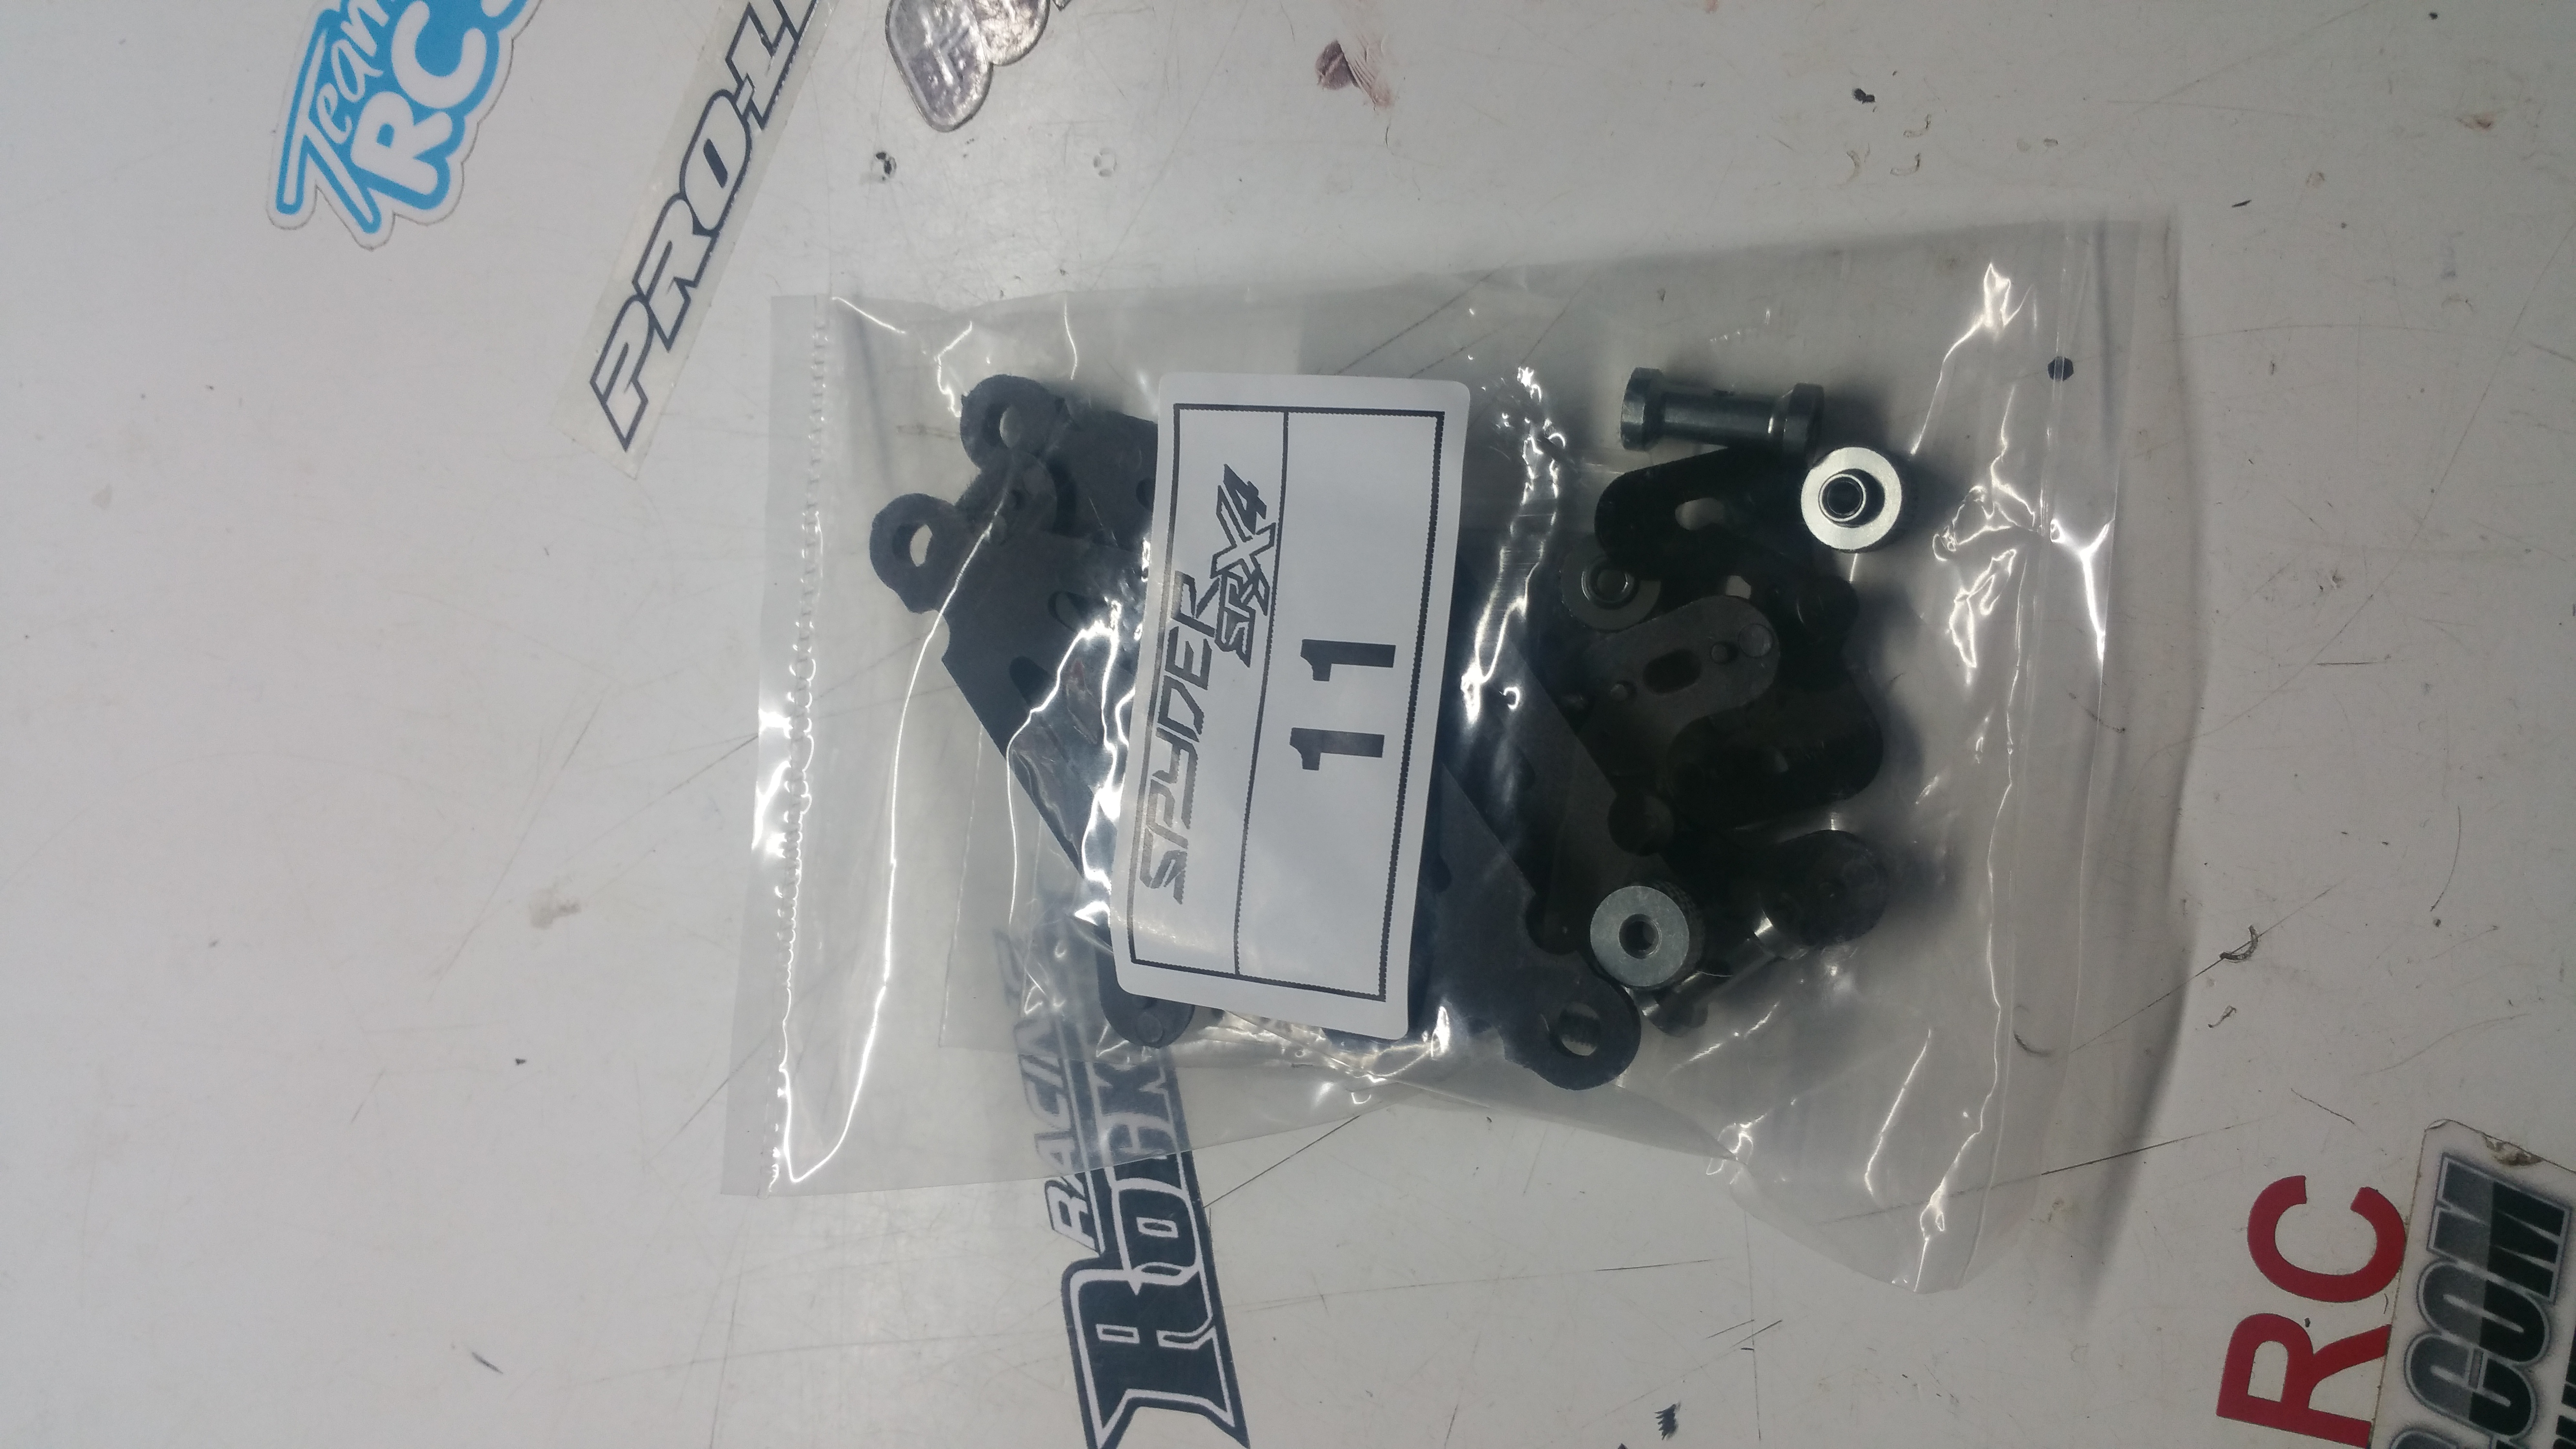
Front Arms / Hubs
Just like the rear, the Etching on the drive shafts with the Serpent Logo and Length!
Just like the rear, I use MooKleen to Clean, and MooSlick to Lube up the drive shafts!
Front hubs built!
Option #2 used in this build was the RC Shox Ackerman Plates! (Installed after the build, not shown)
The Ackerman plates included in the kit are 3,2, and 1 degree, where most team drivers find that its too aggressive, and desire the RC Shox Plates come in 0 and -1 degree, where my current setup is using -1 degree plates!
Installed on the Arms

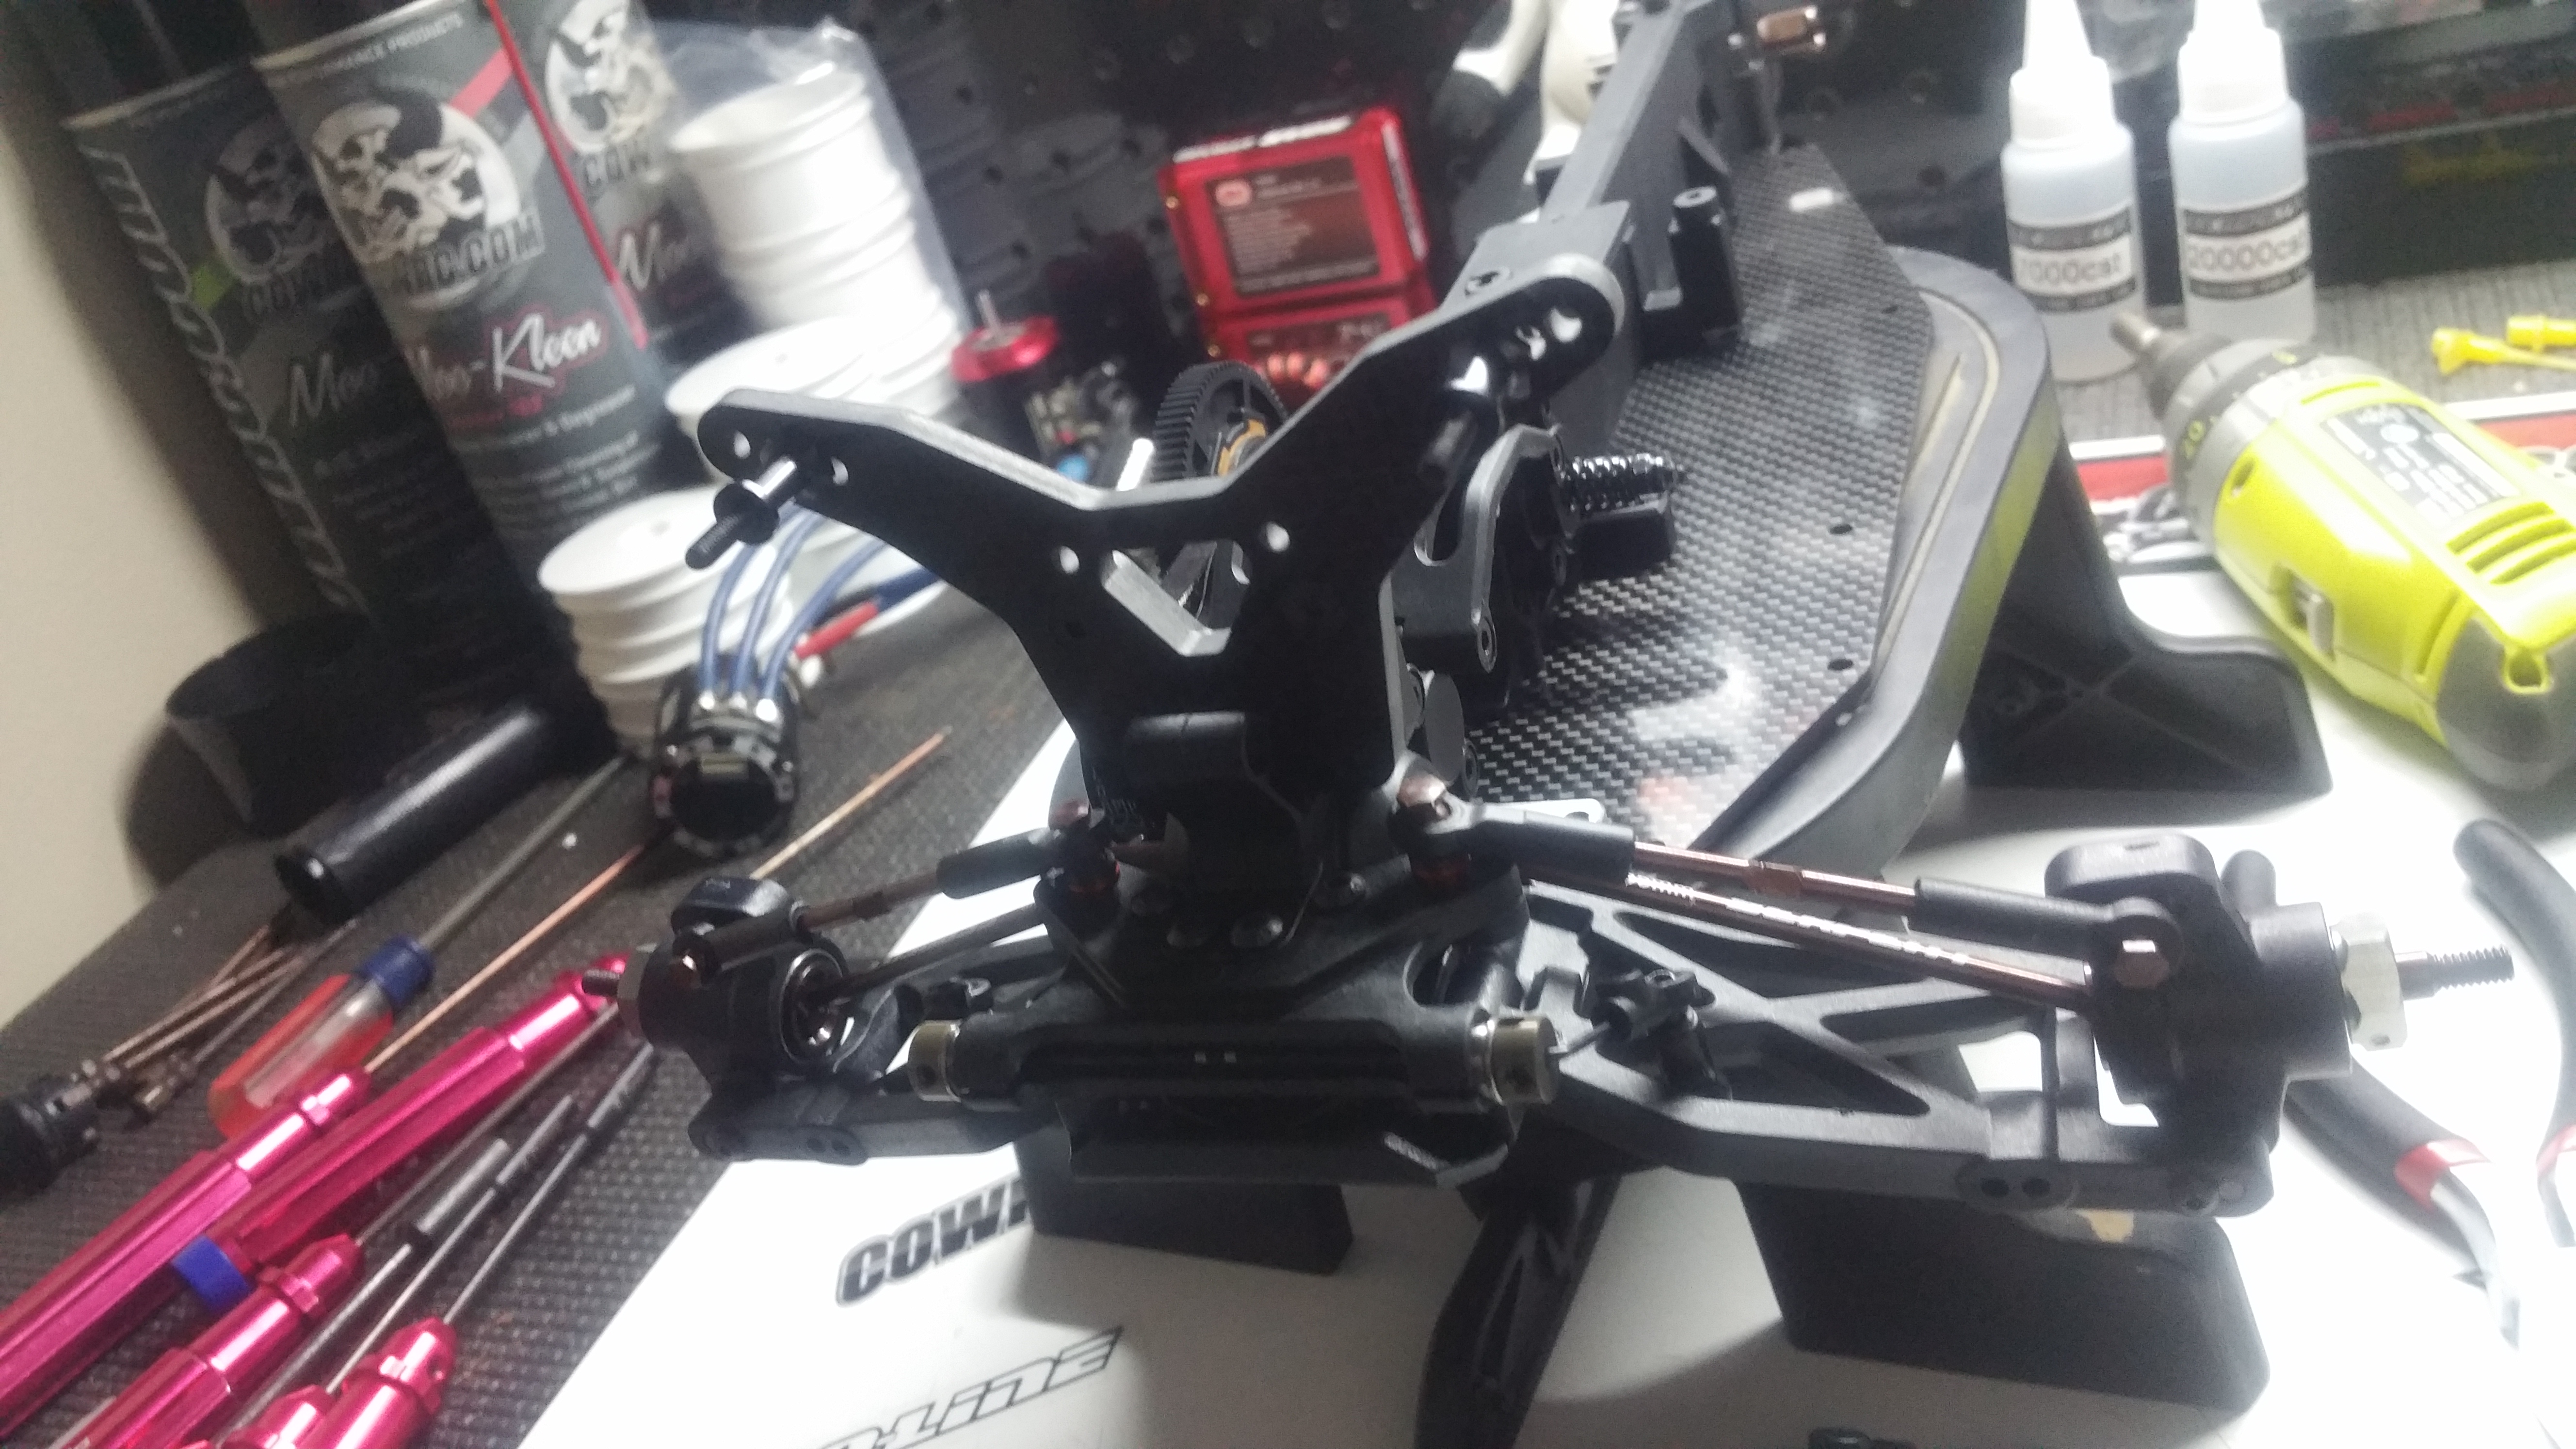
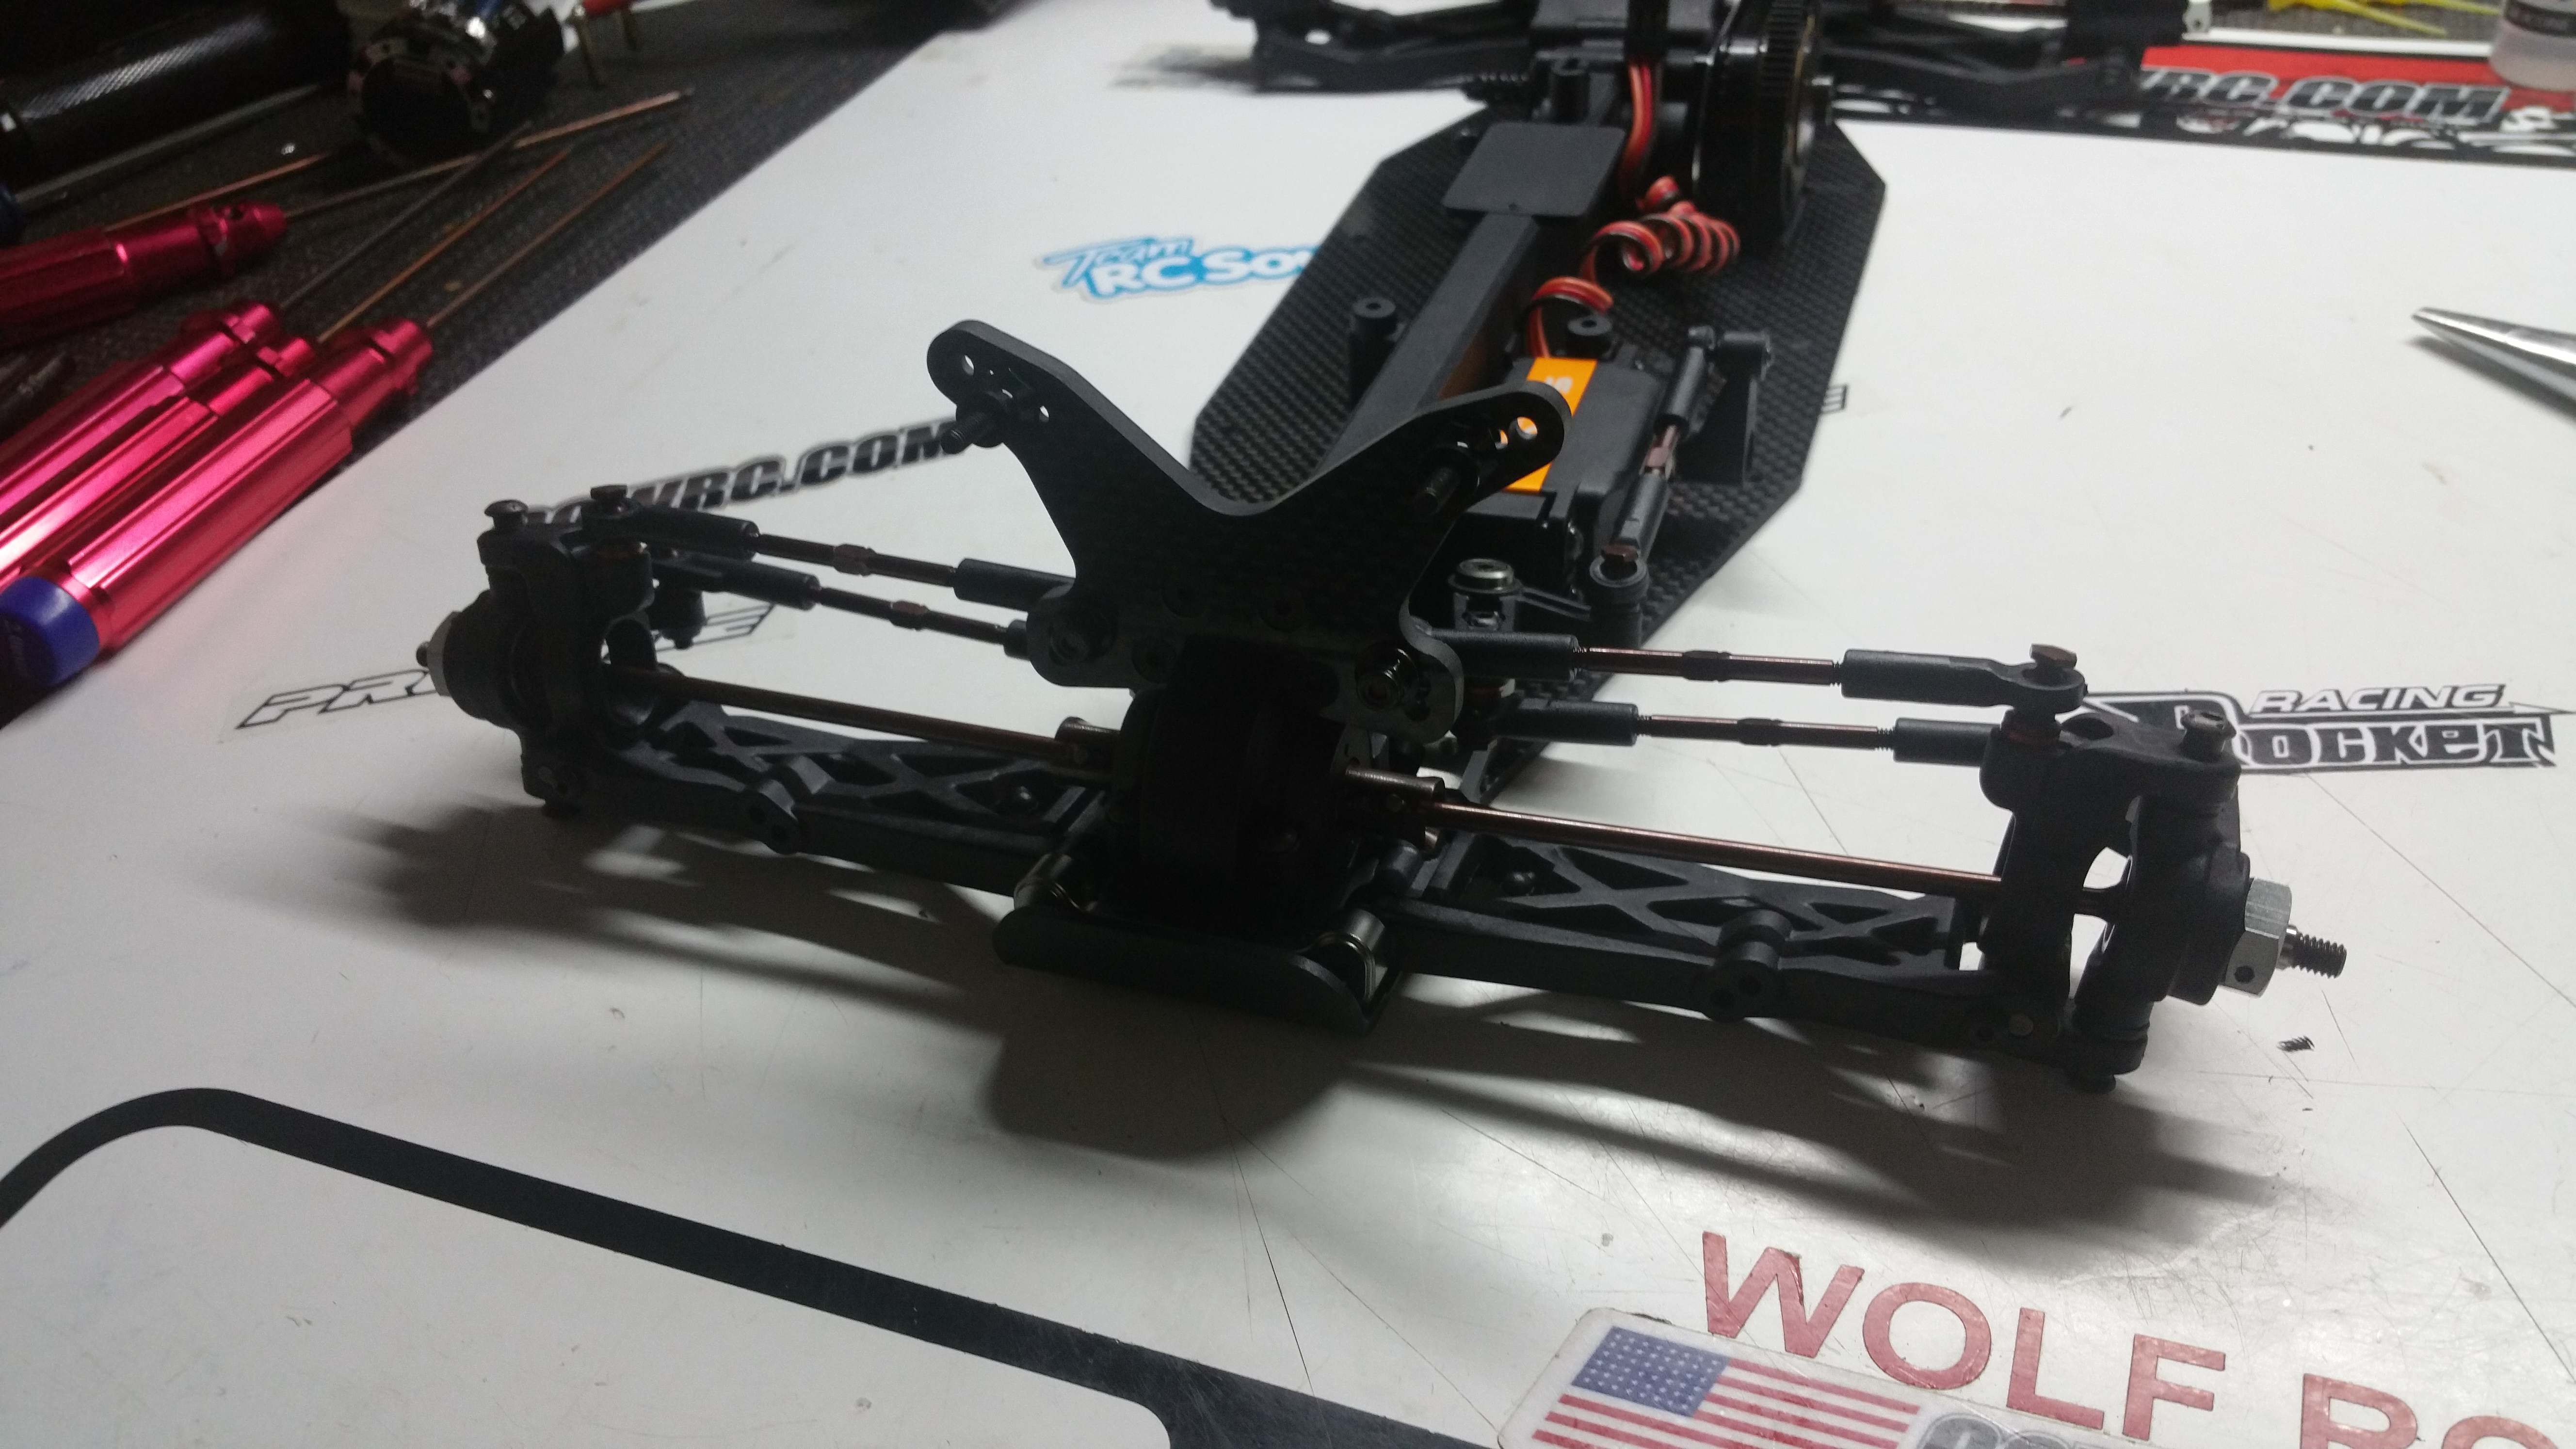
Suspension and Shock Tower!
Front arms installed!

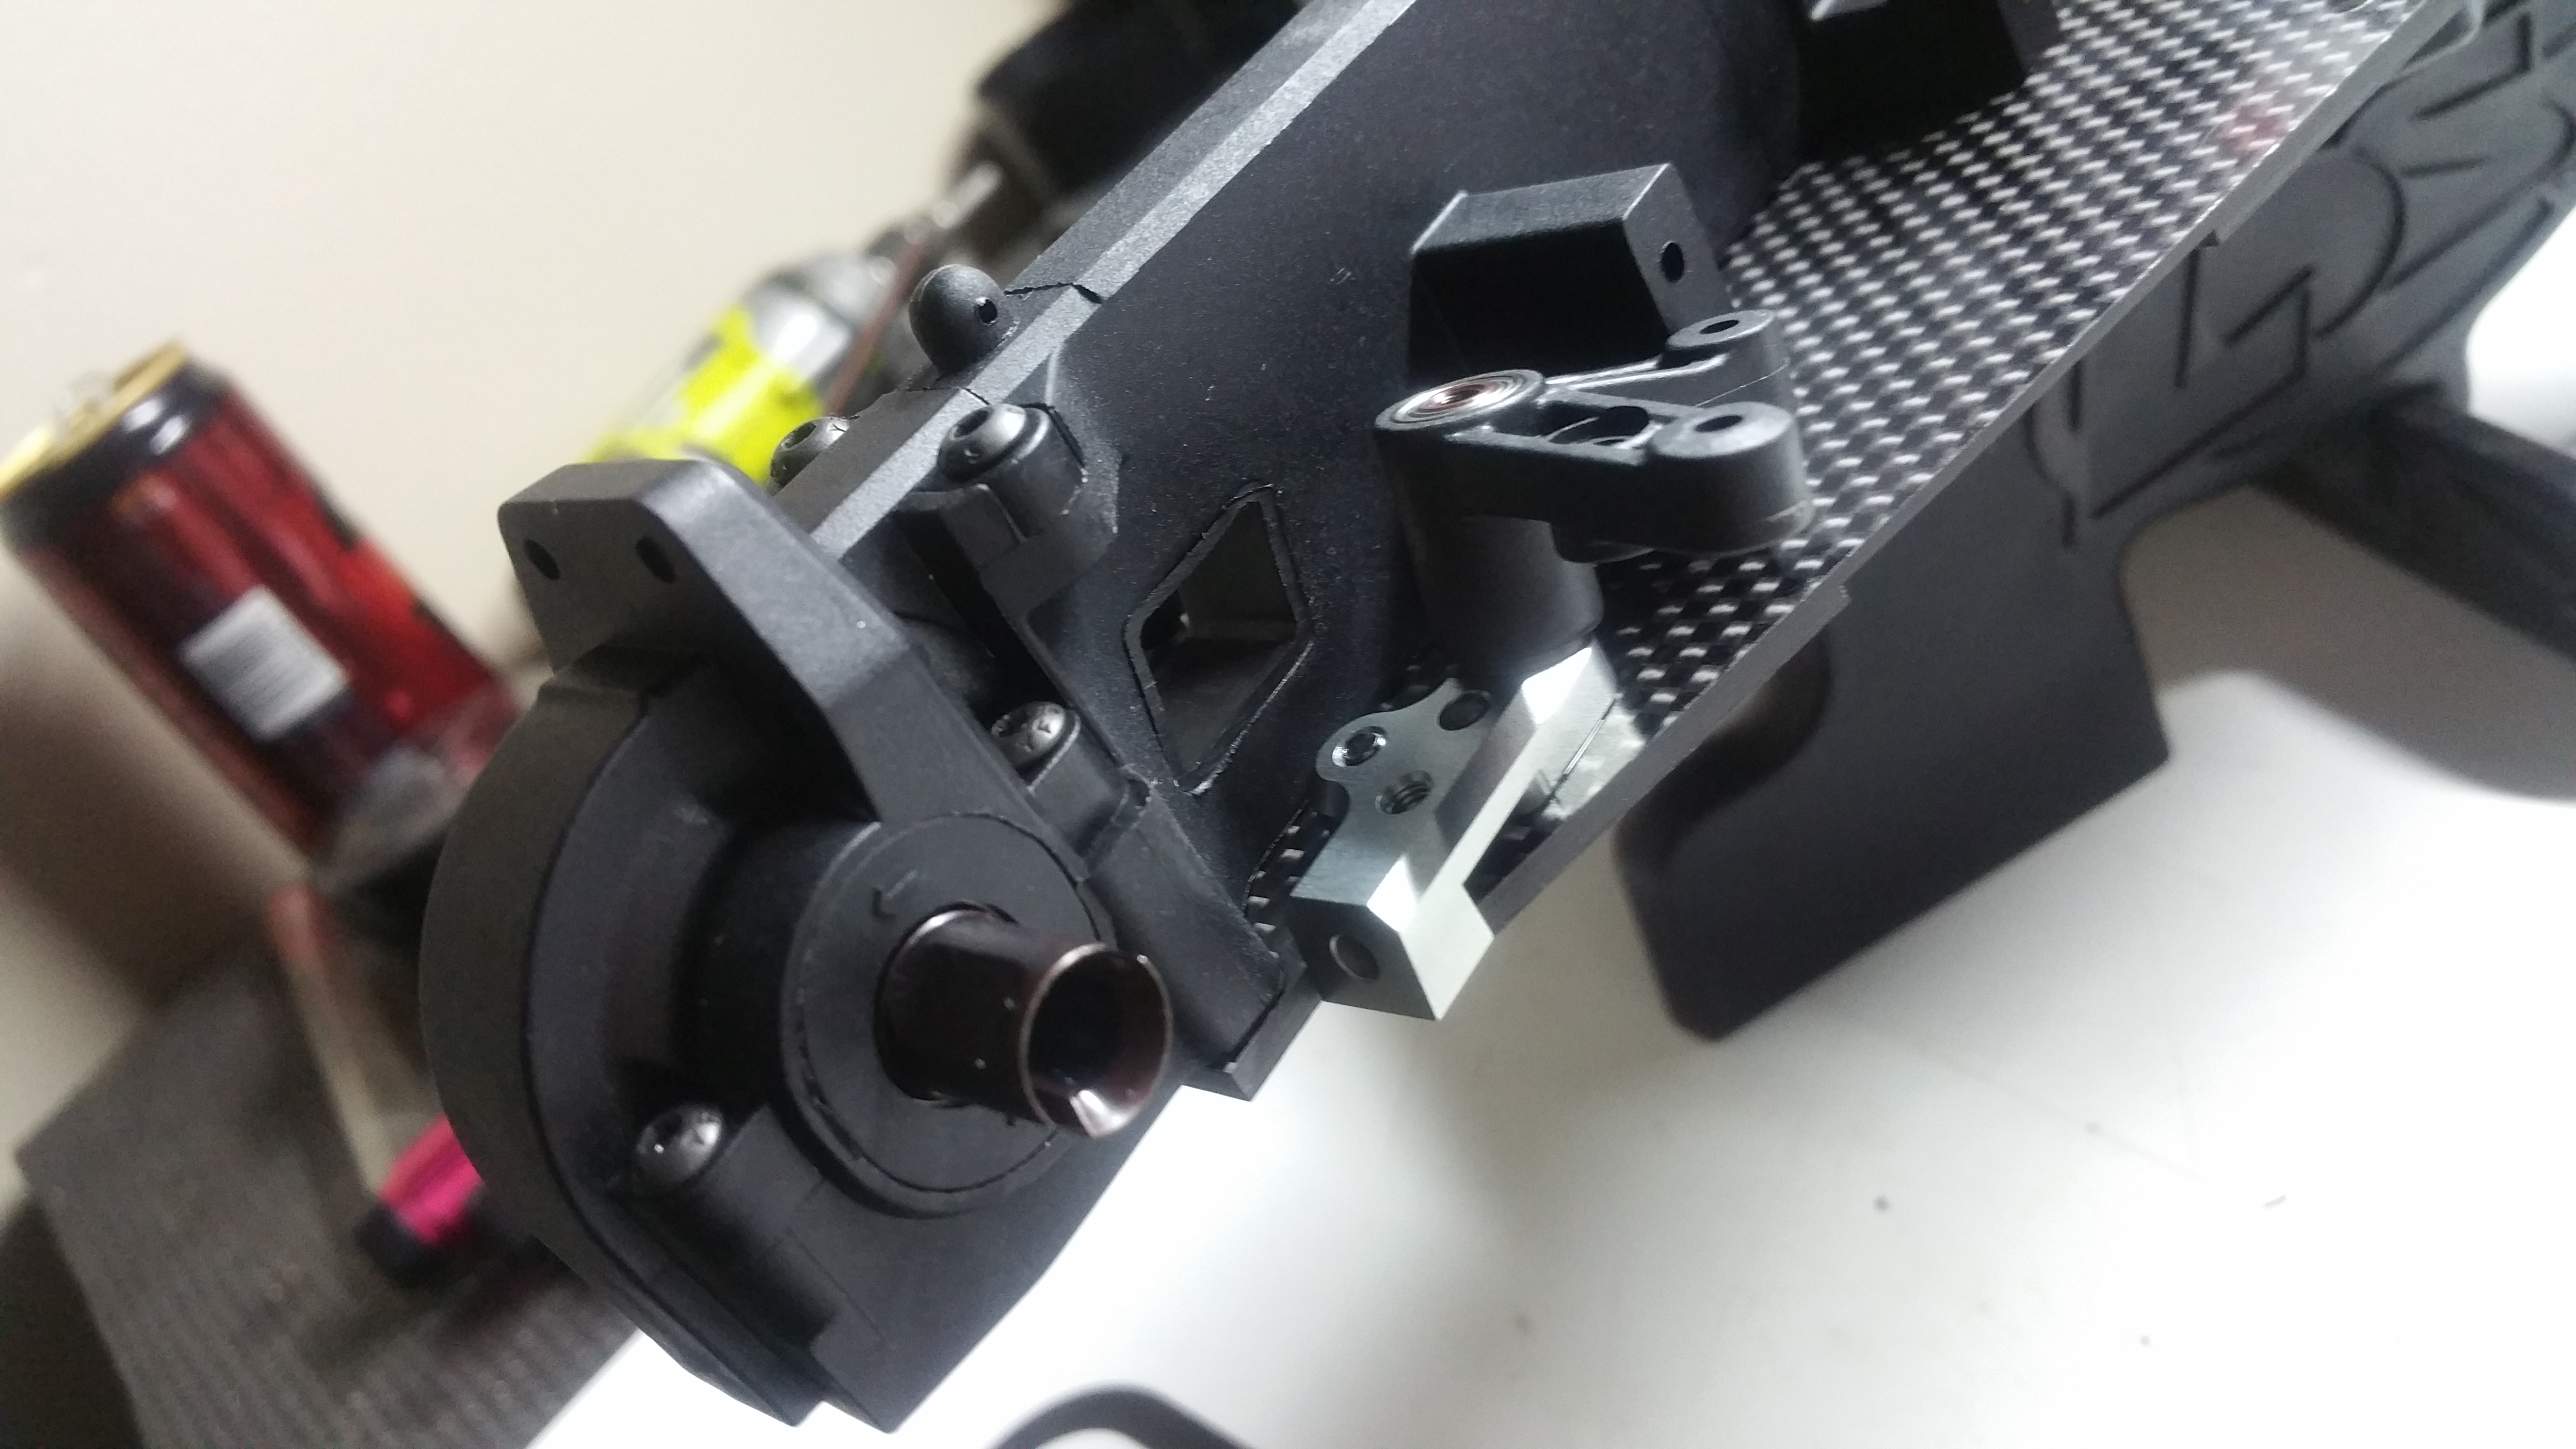
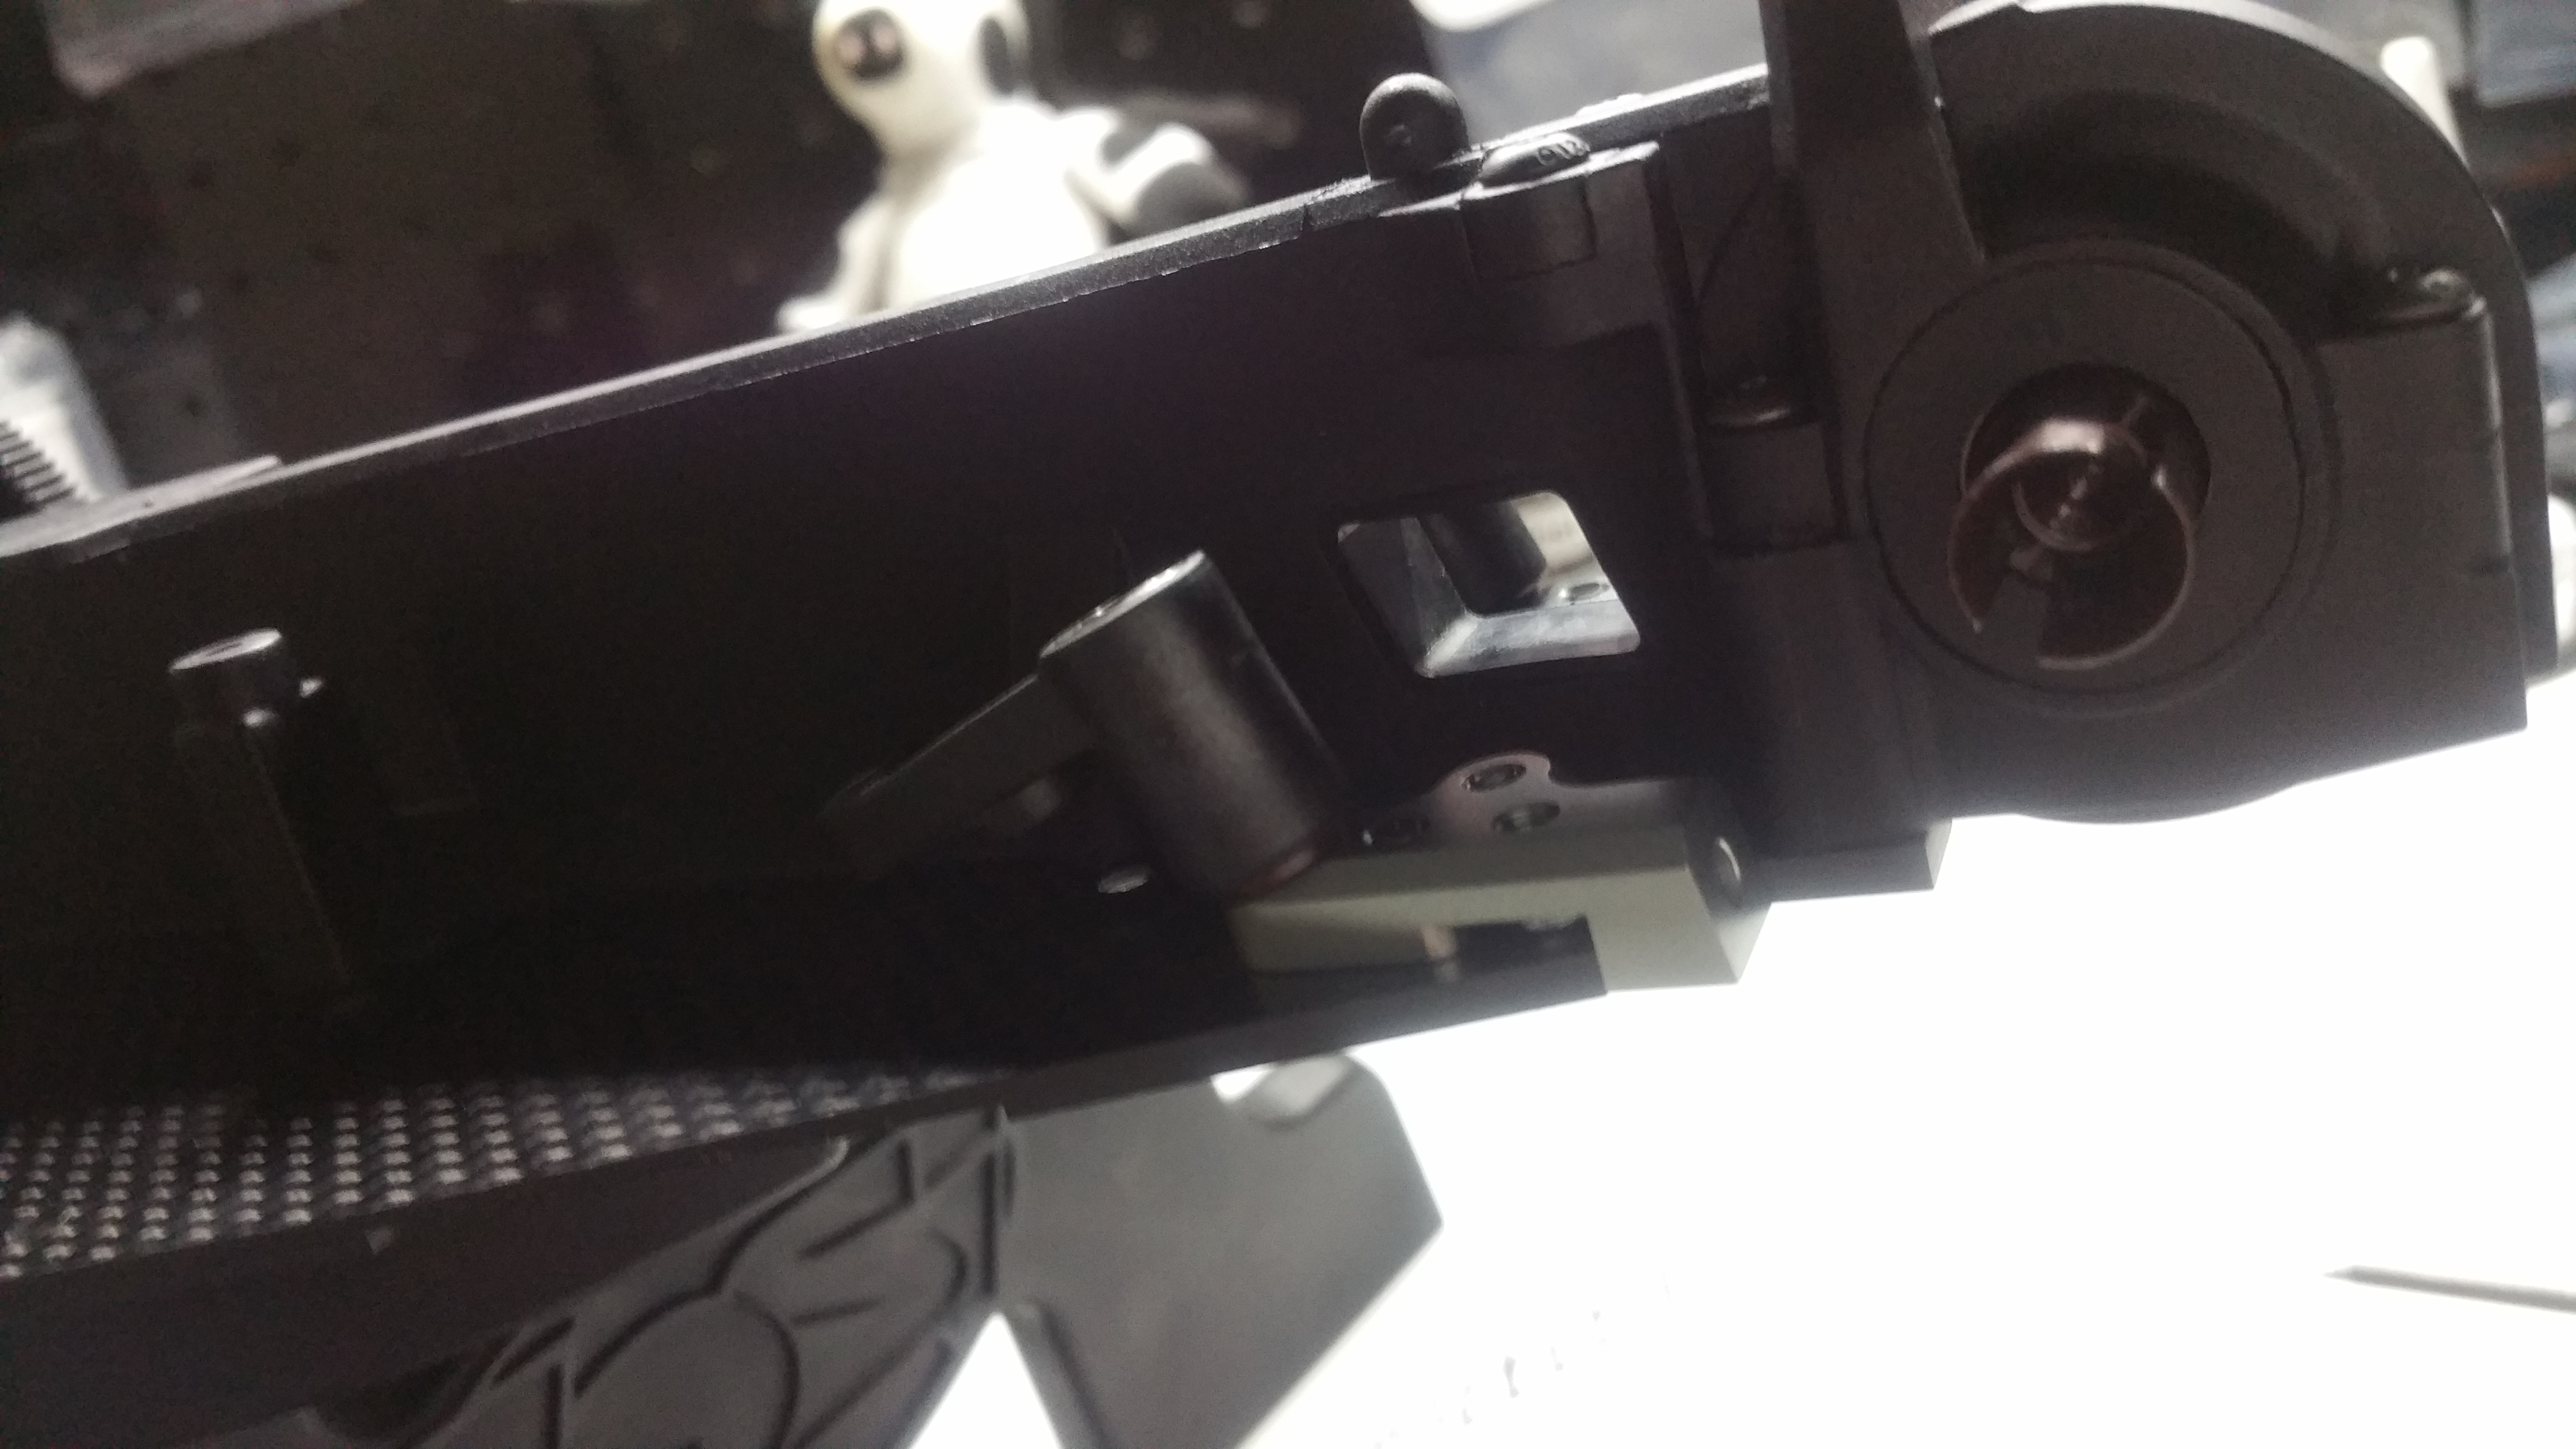
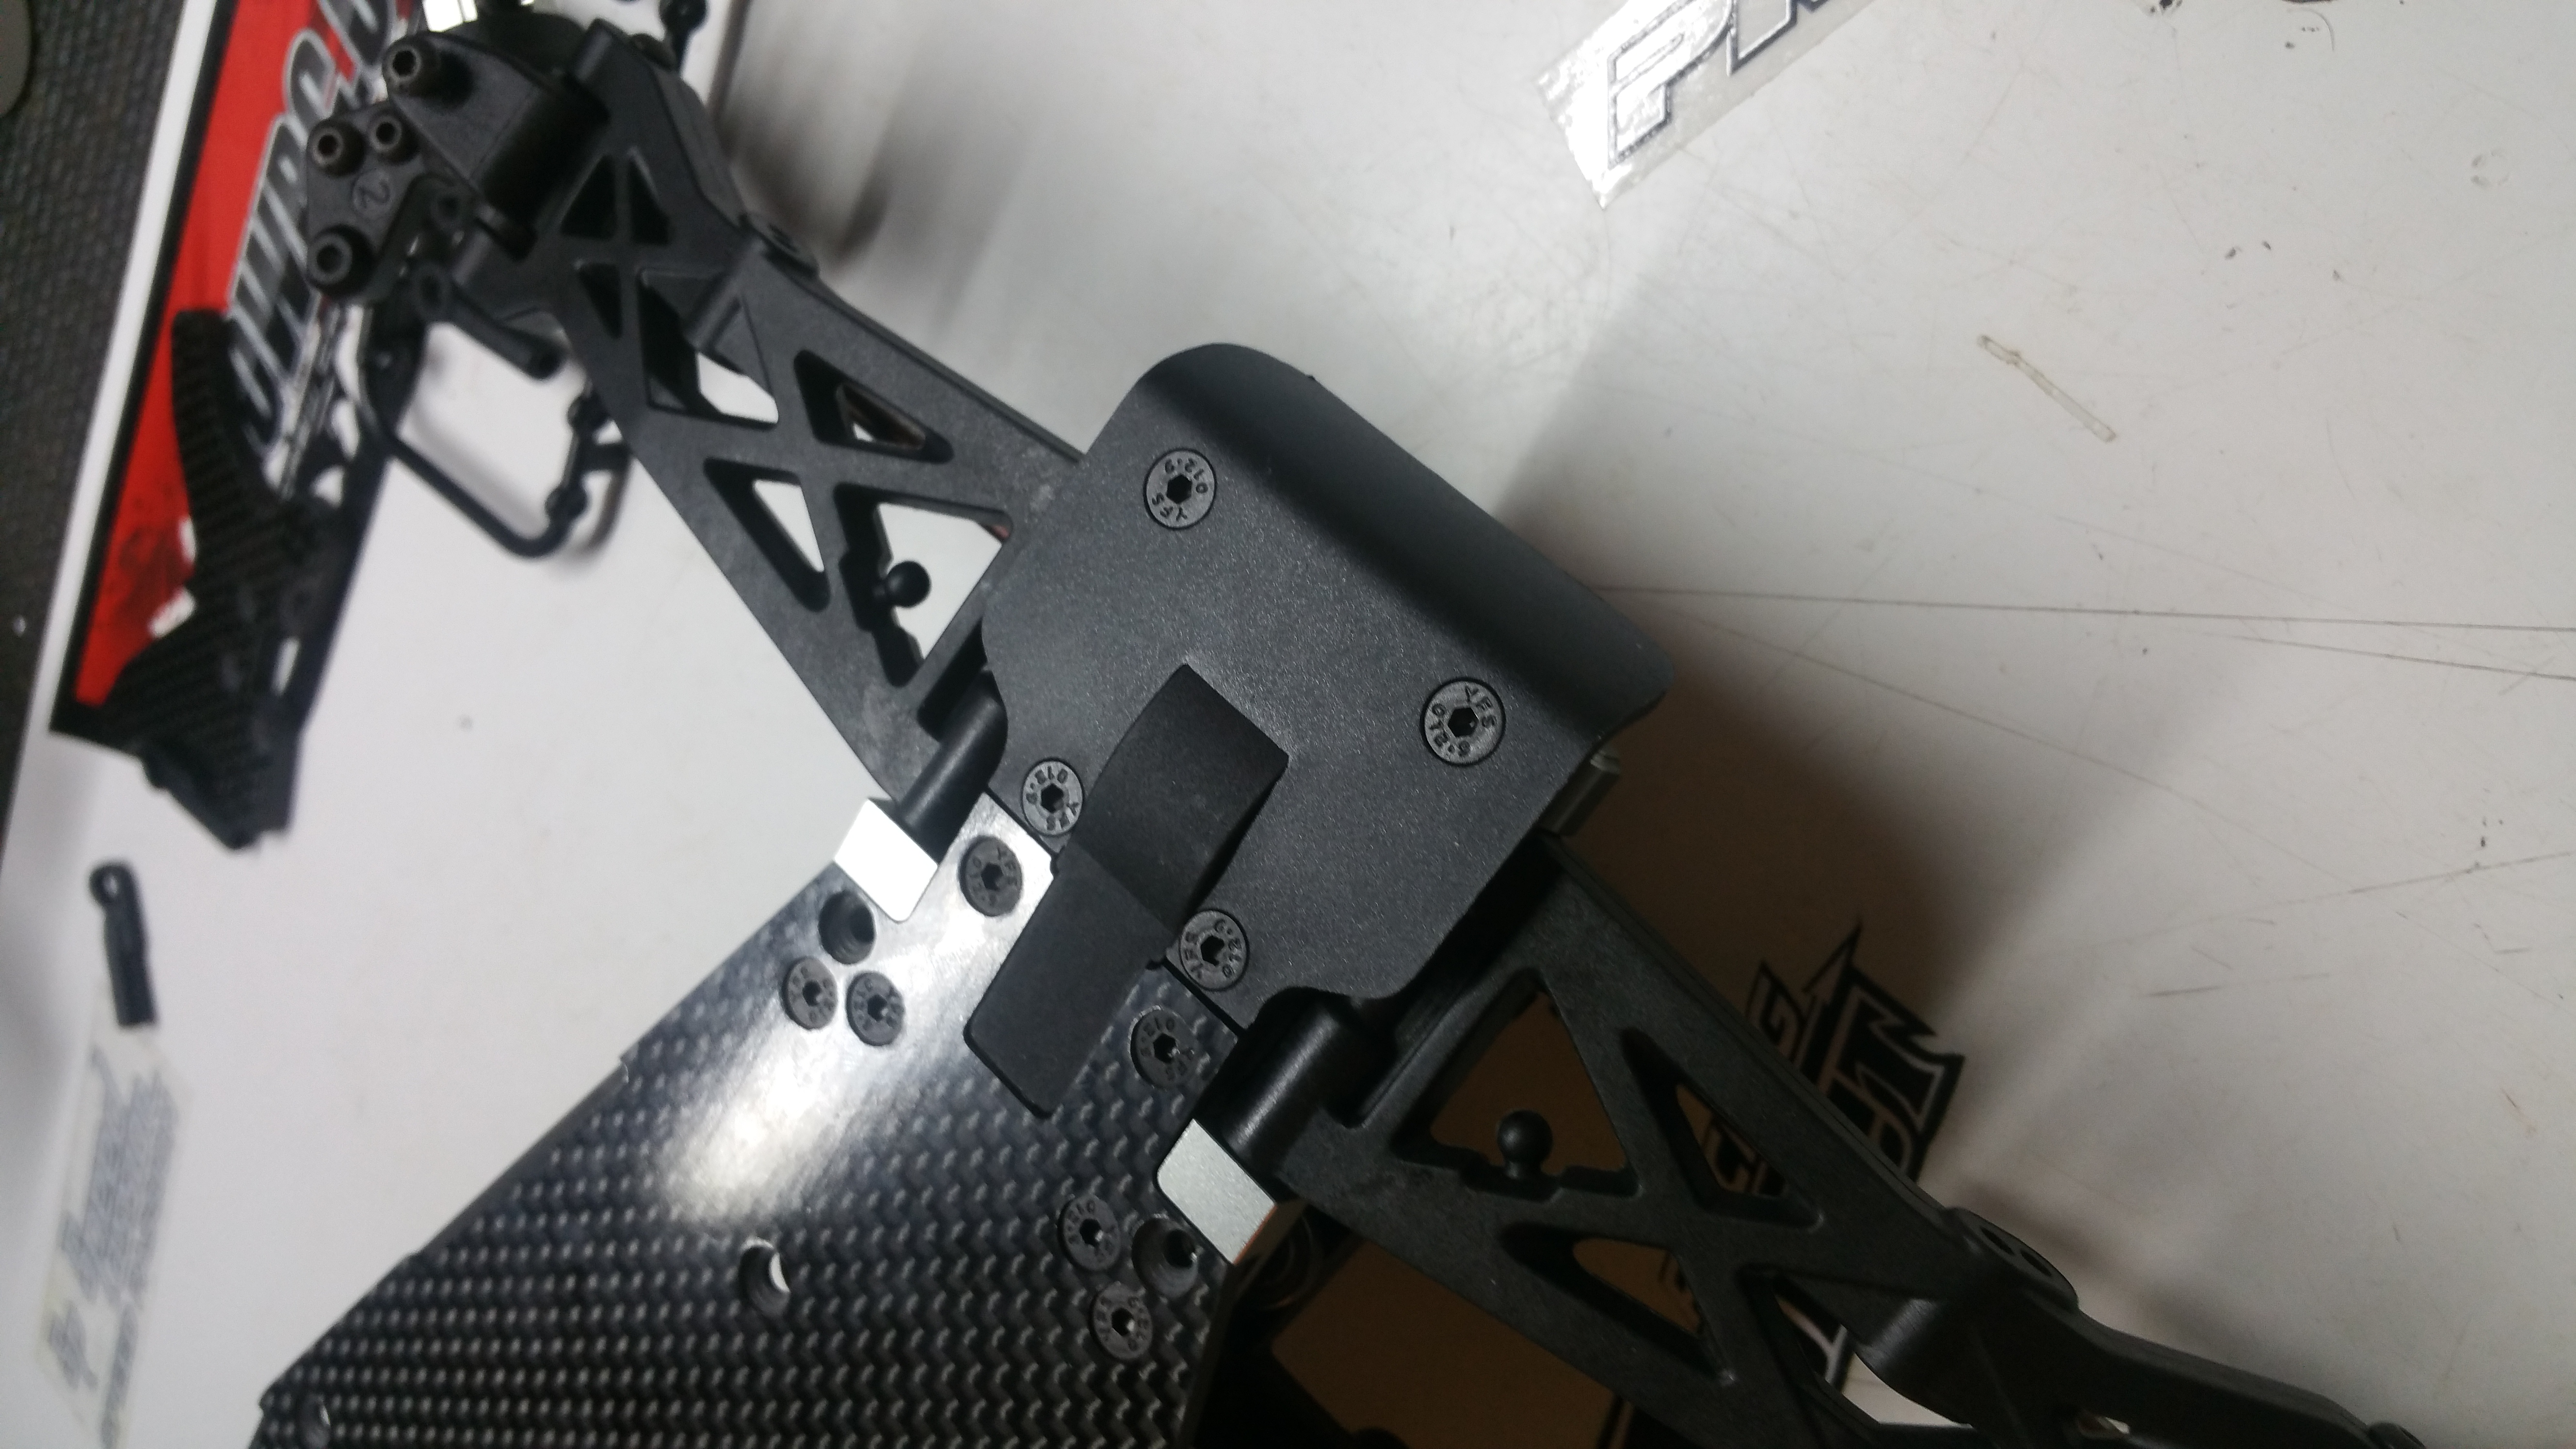
Rear Bumper installed!
* Pro tip *
The 2 screws closest to the Chassis, put 1mm washers under the bumper to bring the bumper level with the chassis, to help to not de-laminate the chassis in rough tracks.
**
Front Shock tower and Camber Links installed
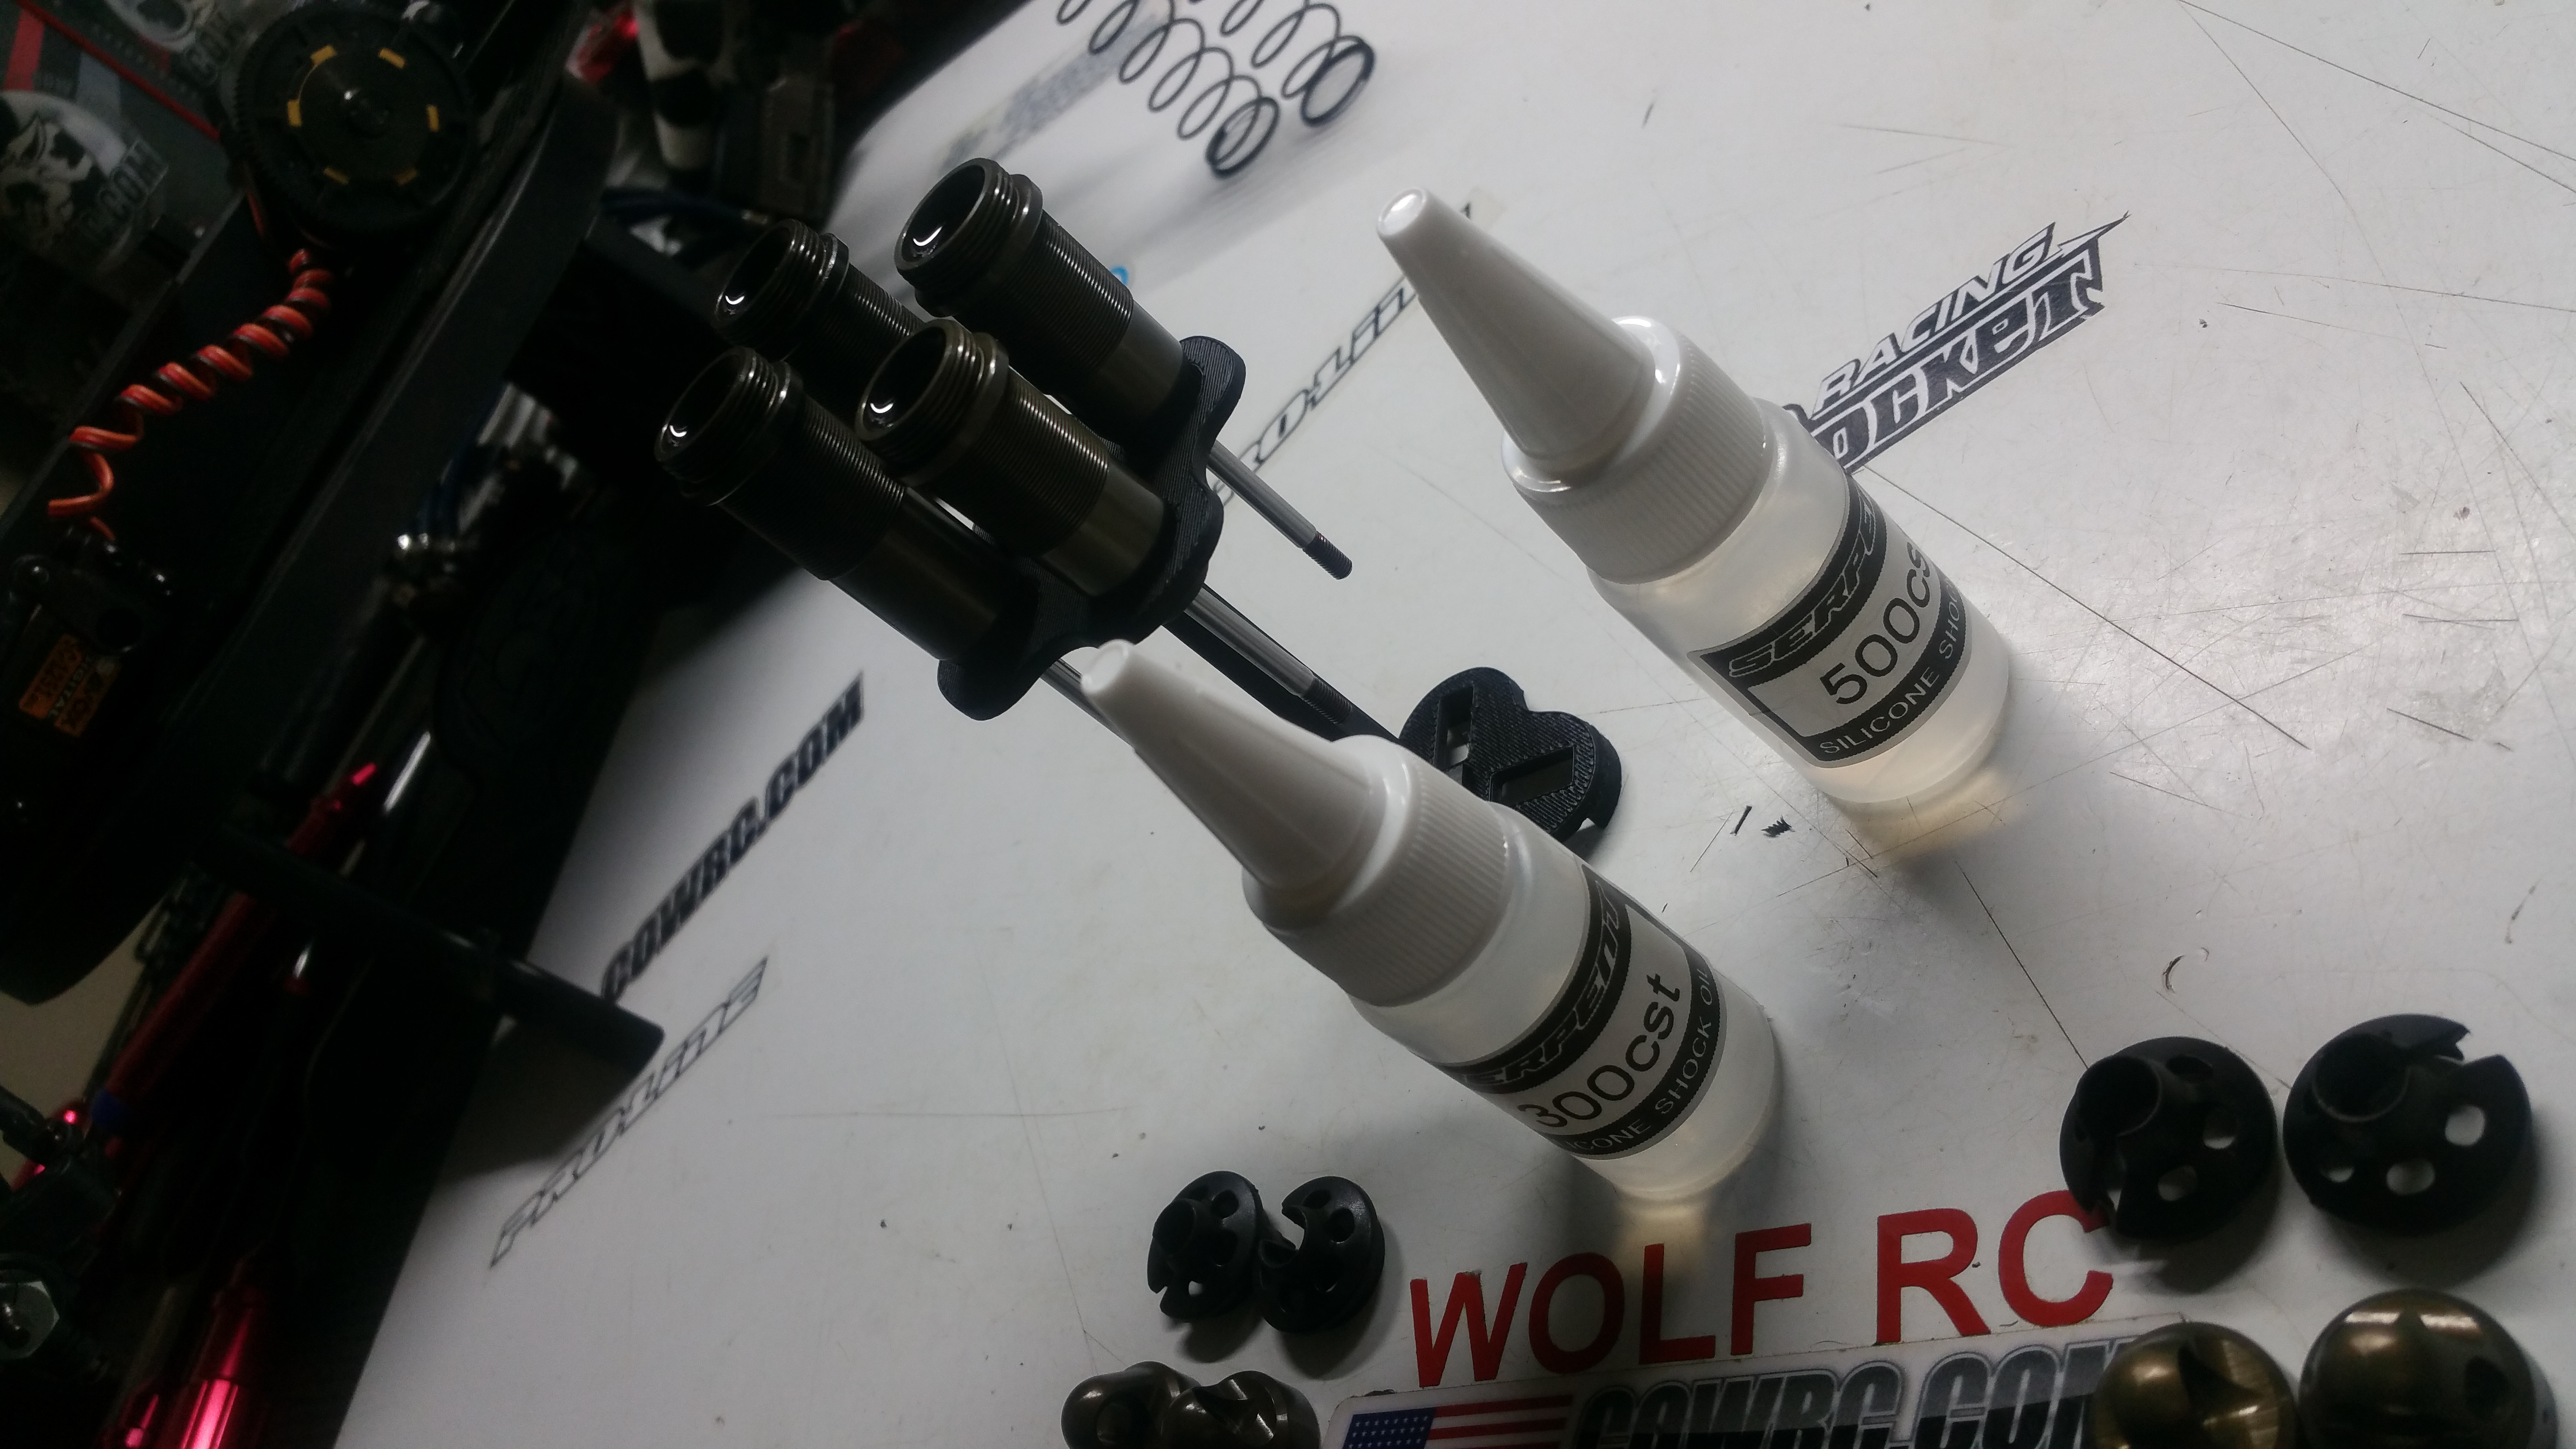
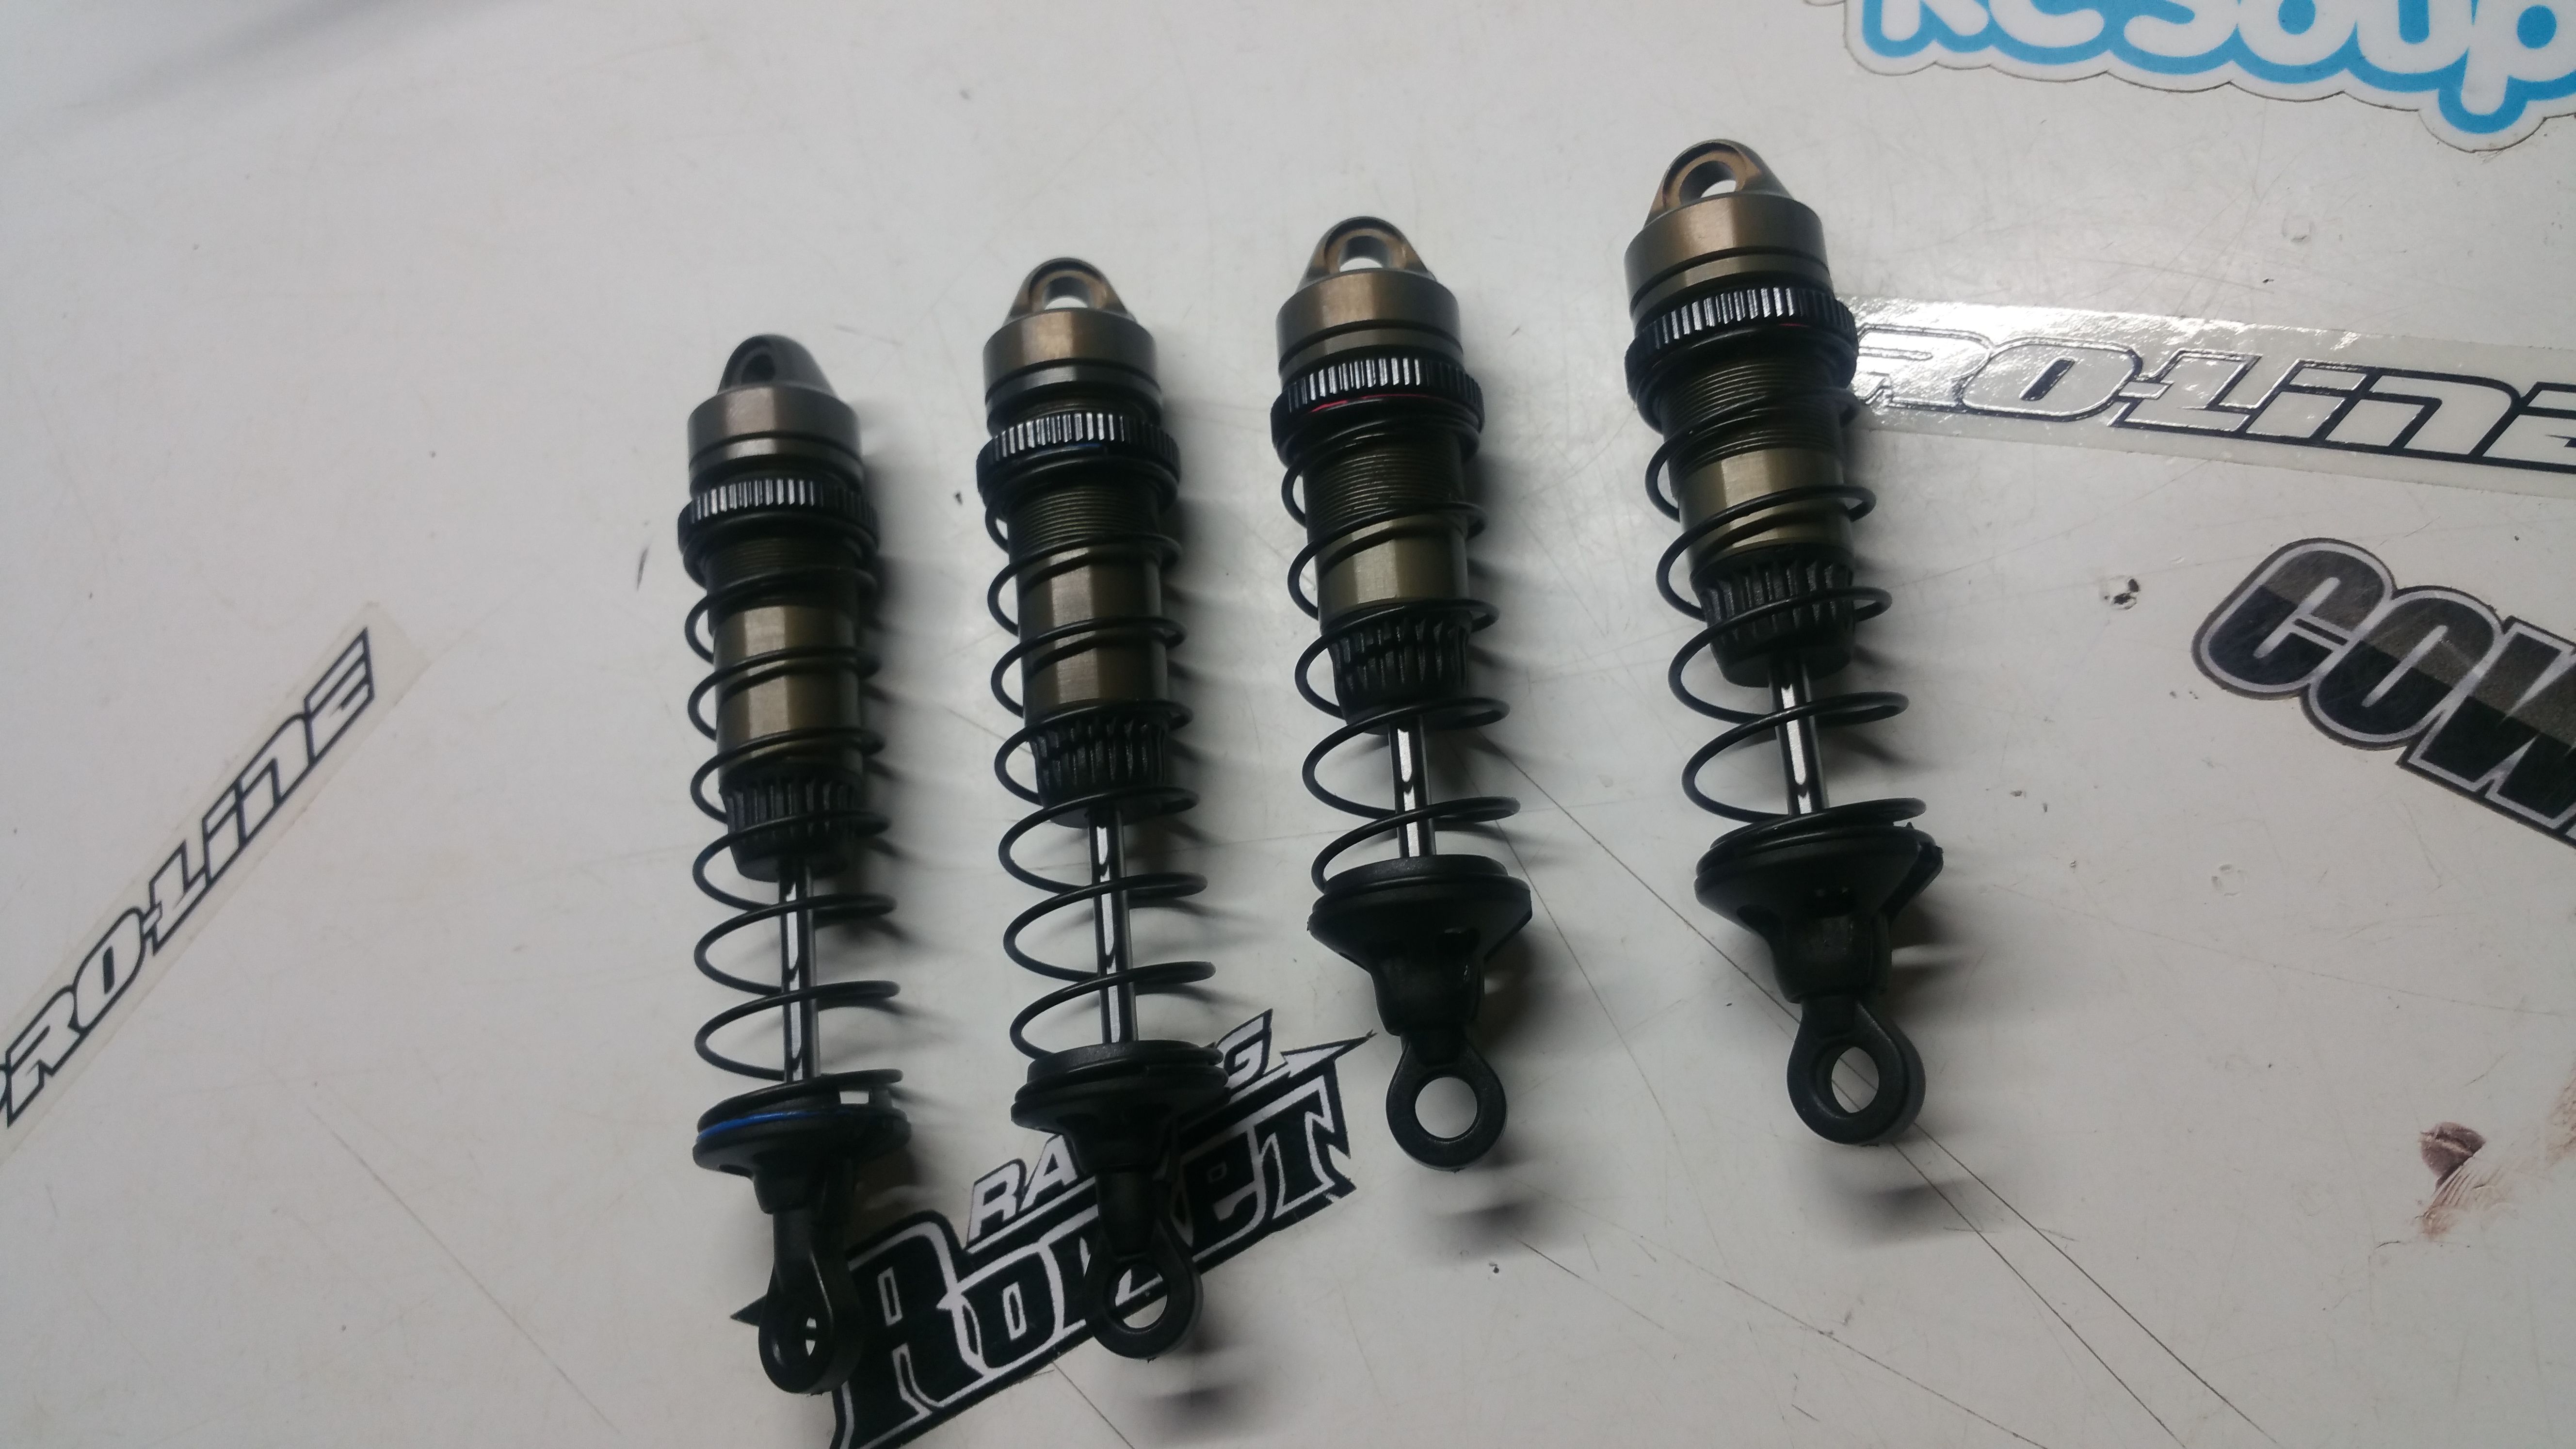
Shock Time!

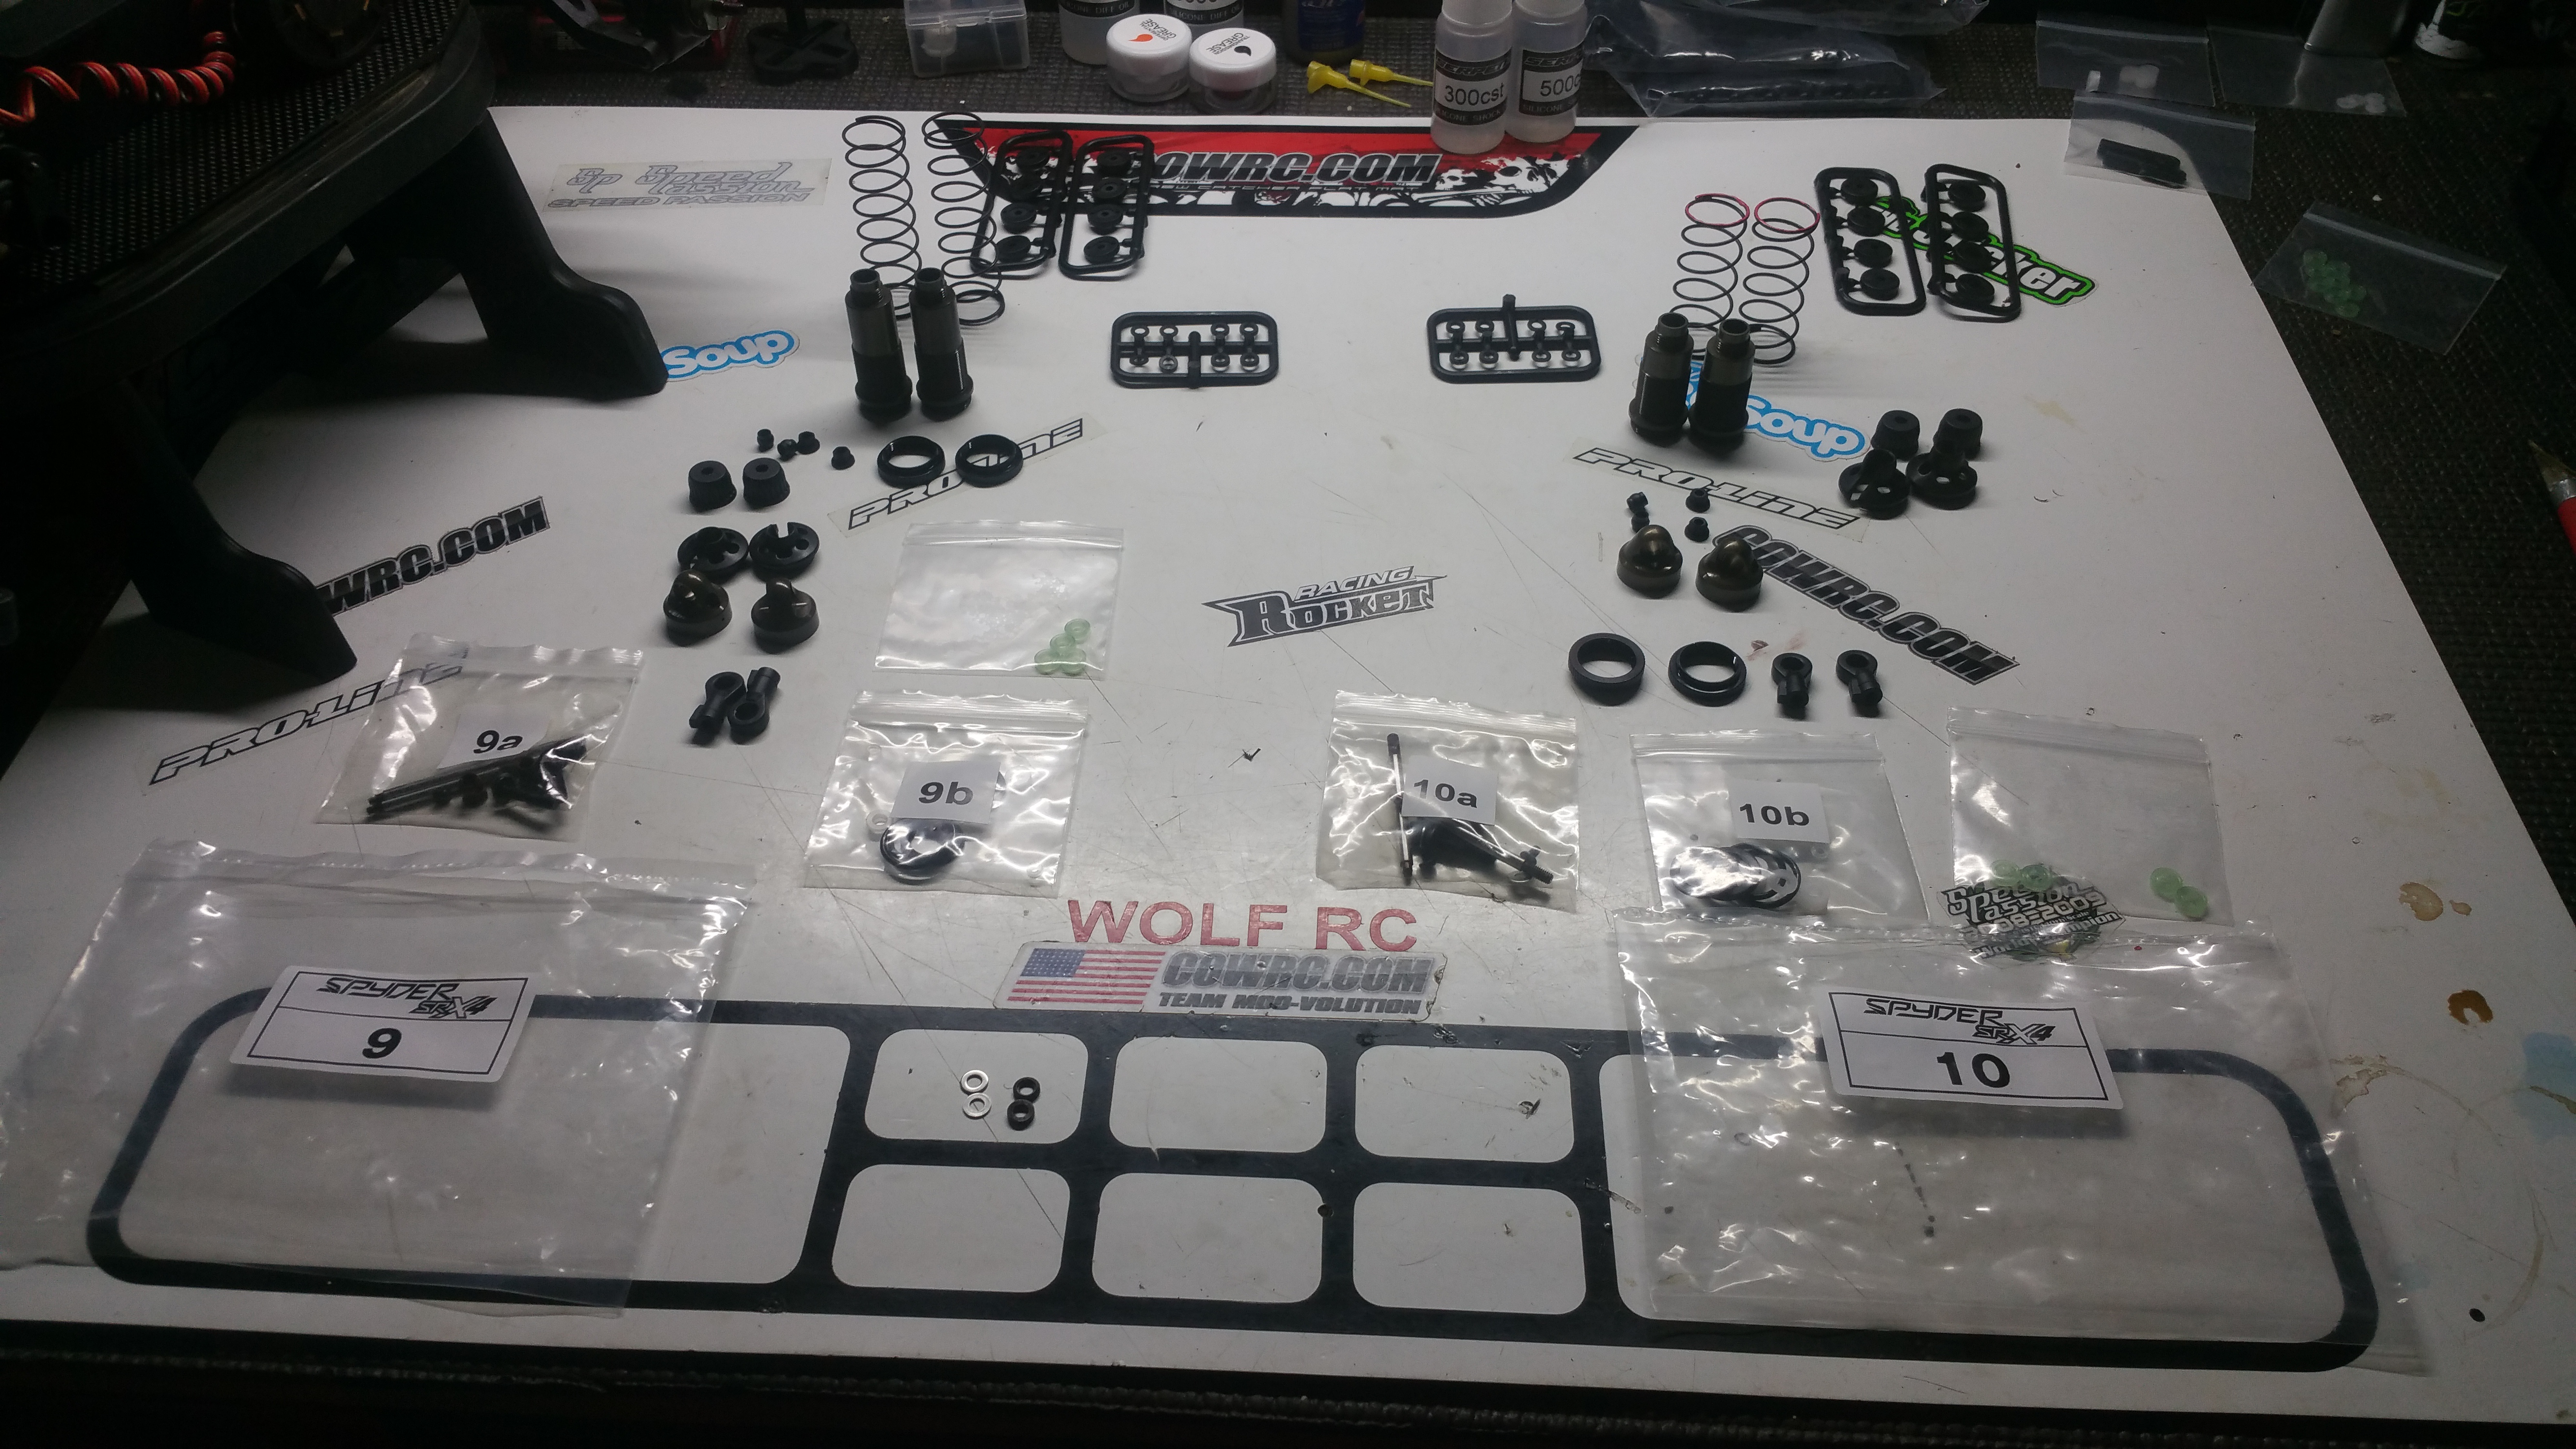
Option part #3 used in this build was Serpent Machined pistions 4 hole 1.1mm , 2 holes drilled to 1.5mm for the front, and 2 holes drilled to 1.6mm for the rear. ( SER500490)
Shocks Installed!
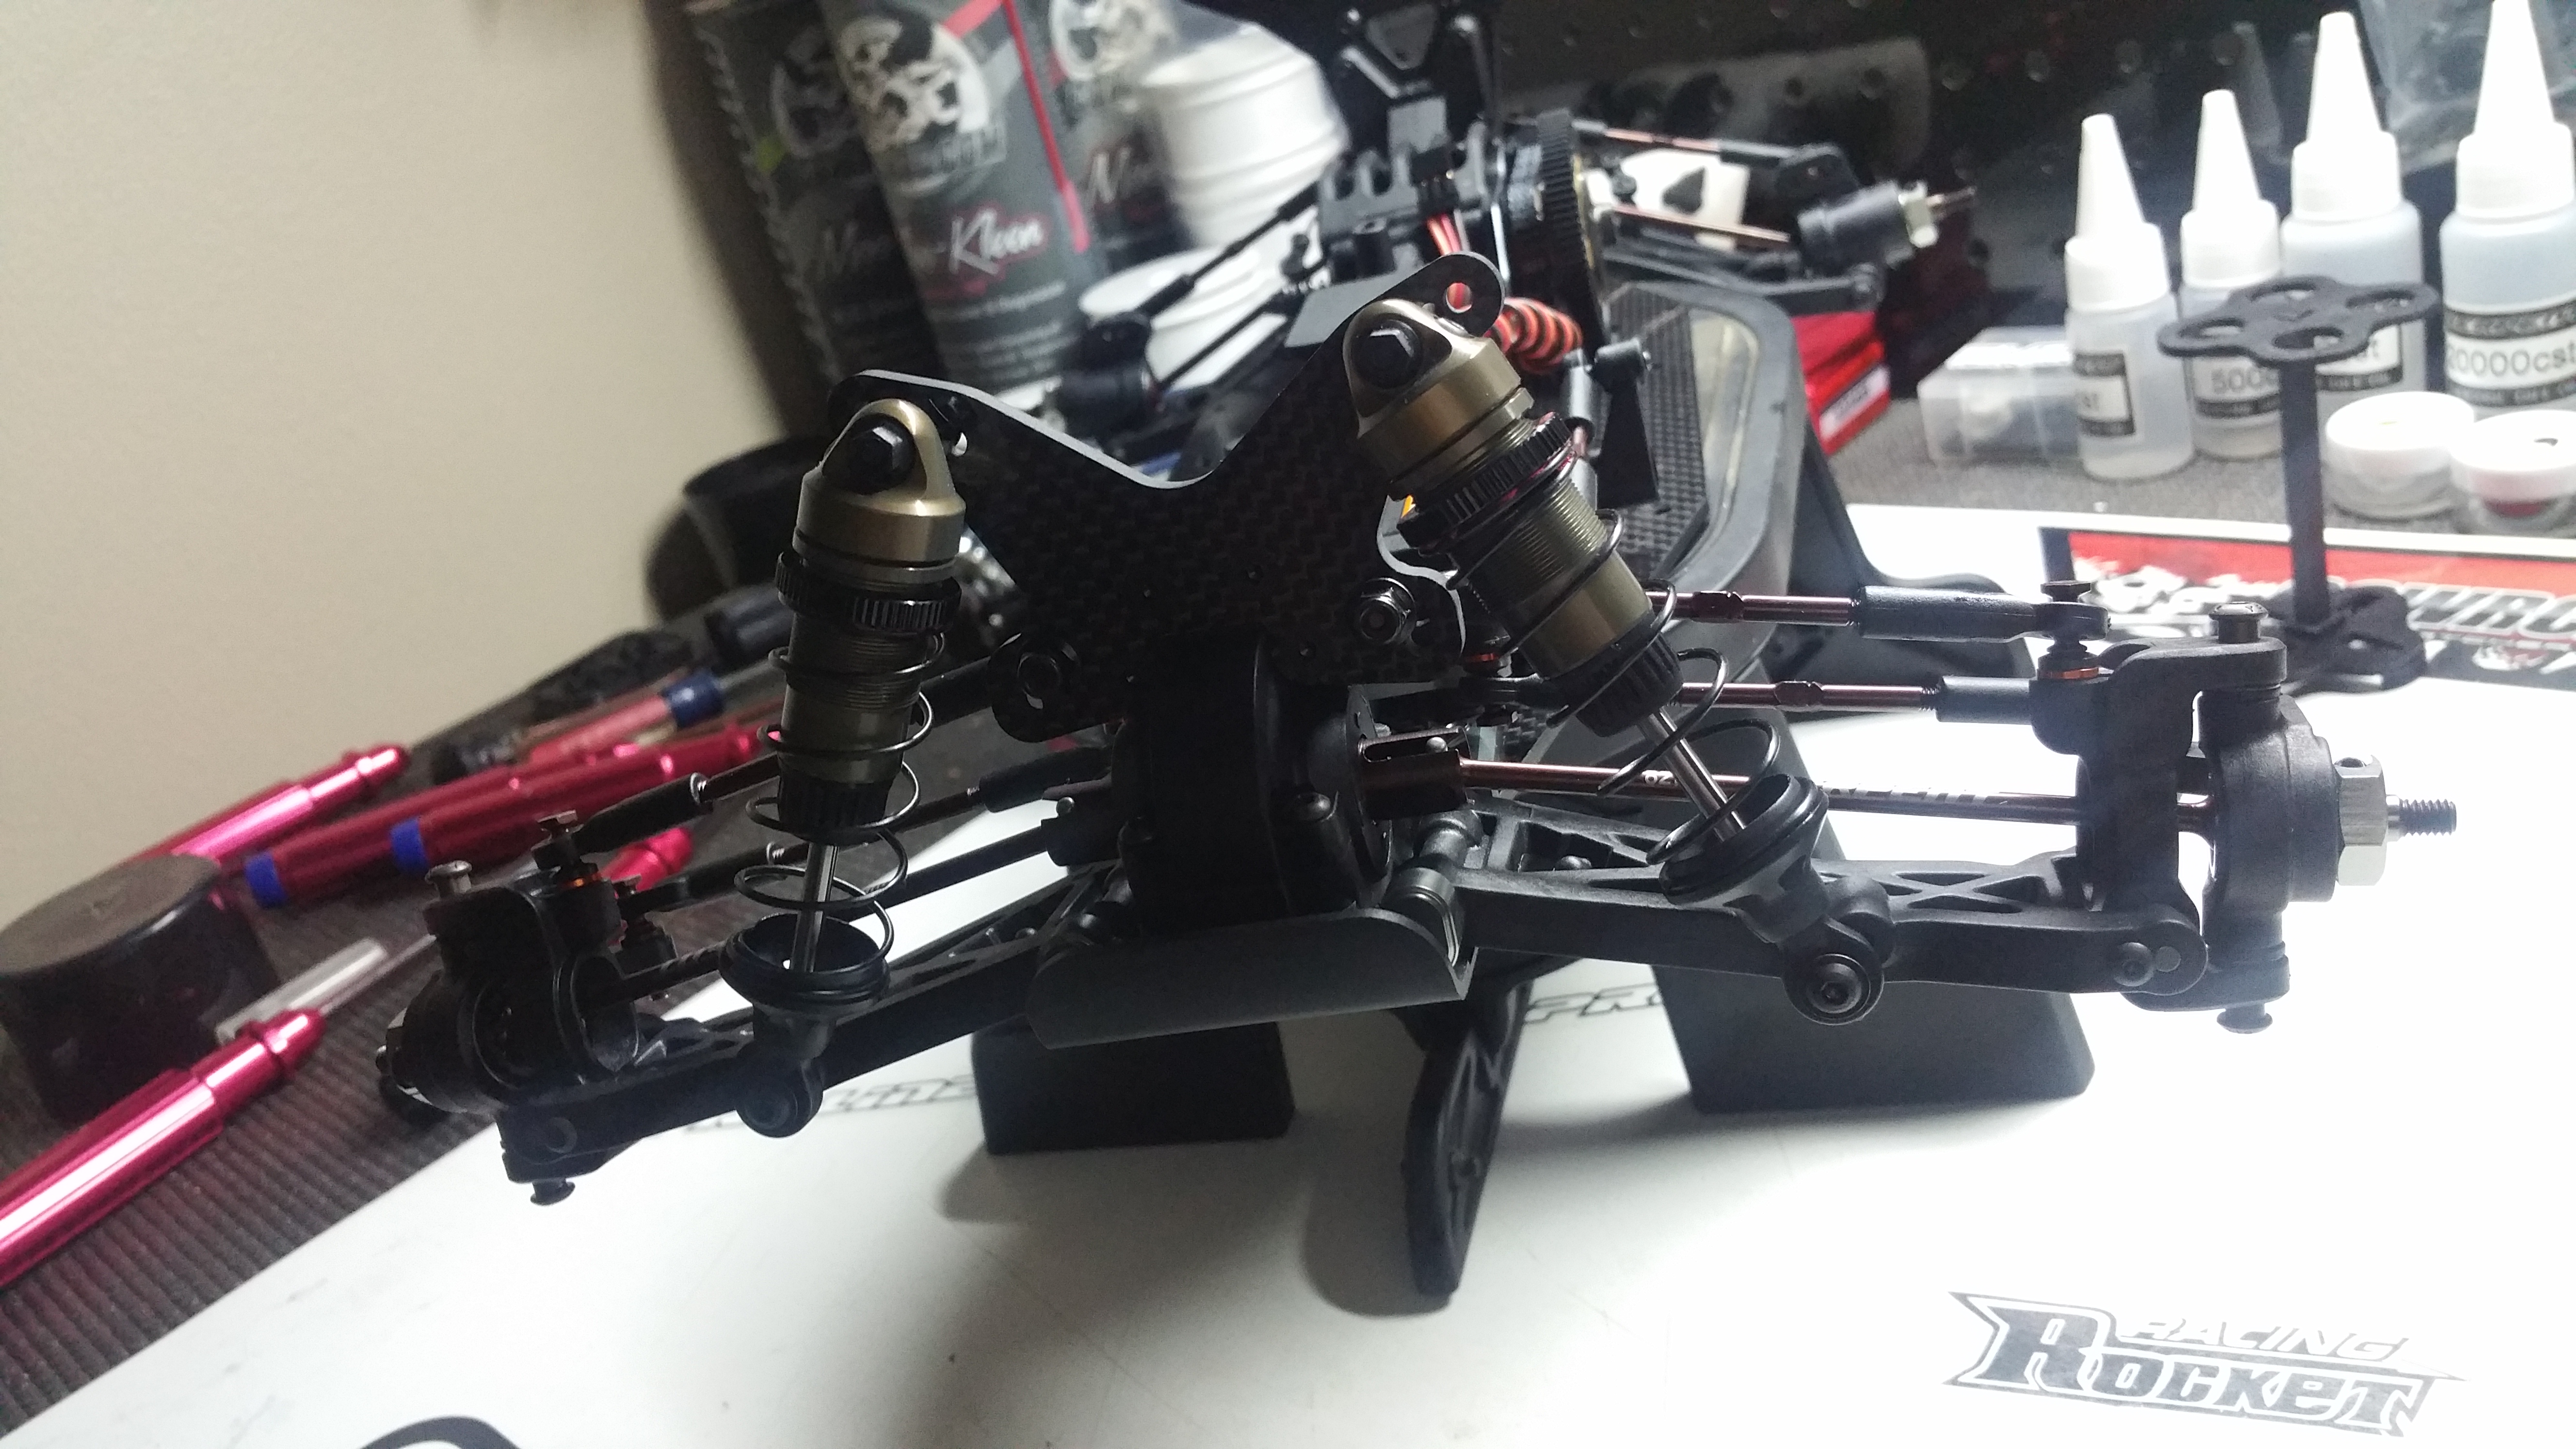
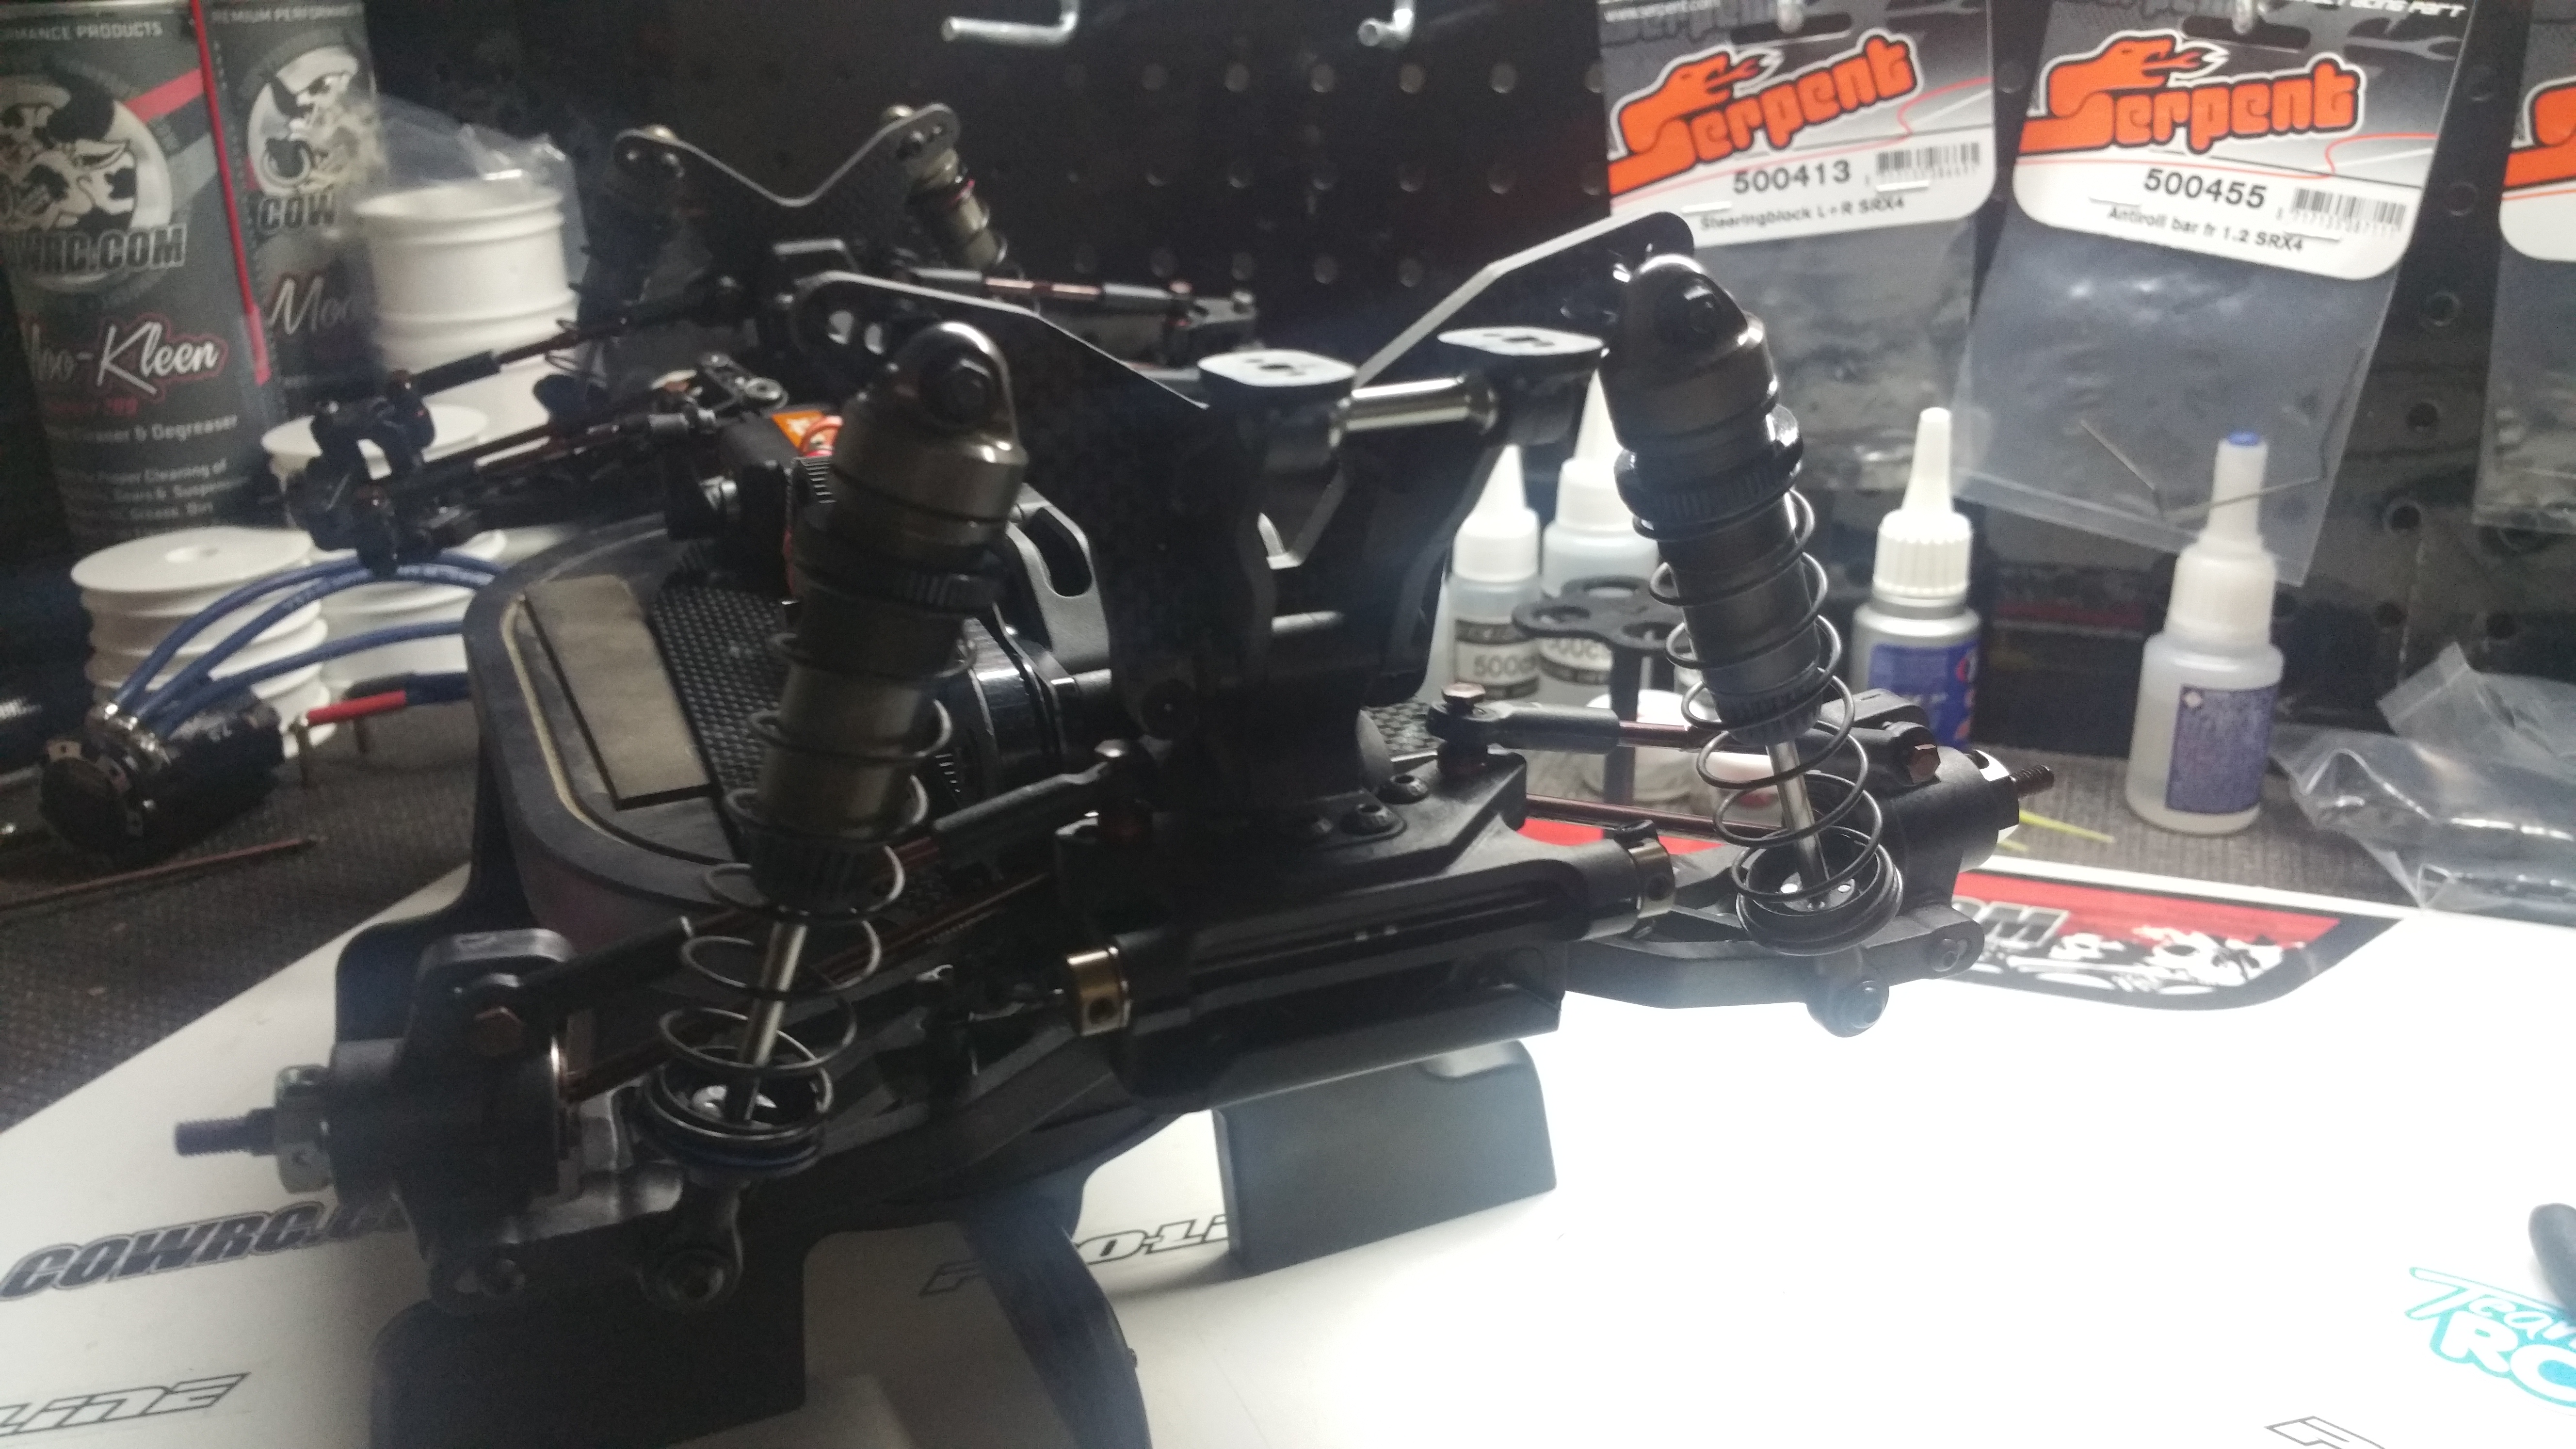
Getting closer to the end with the finishing touches!
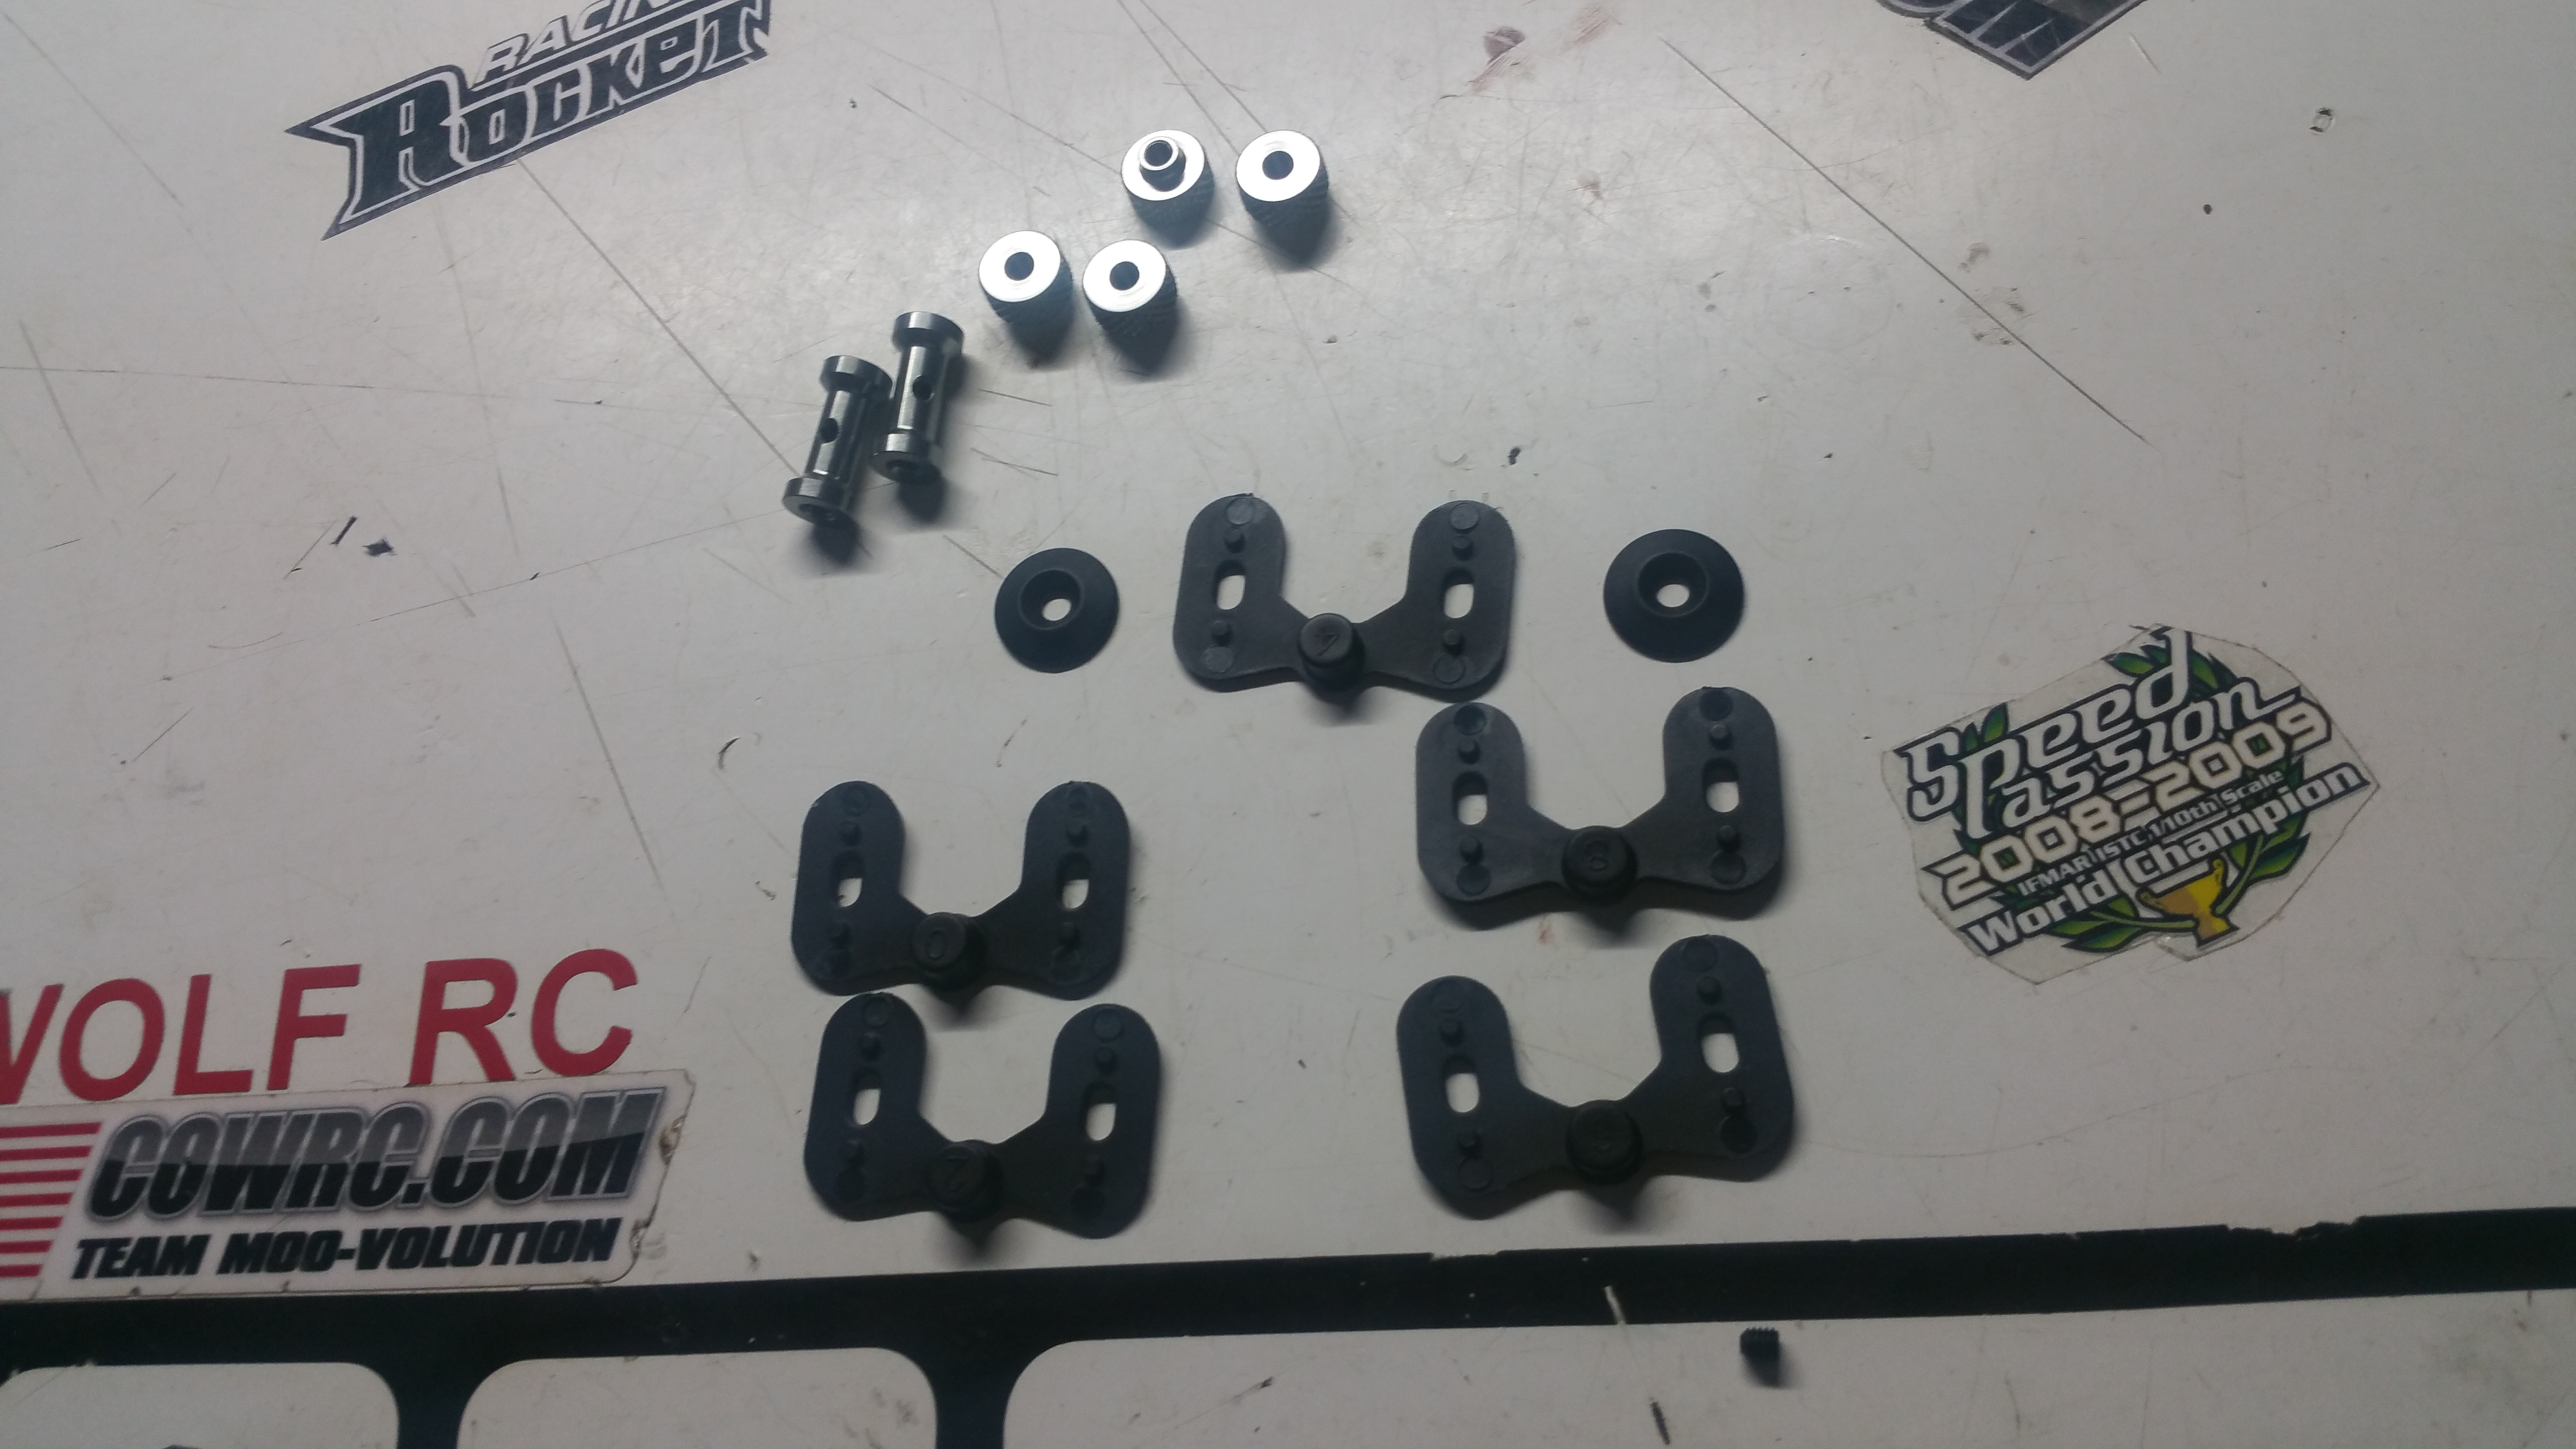
Wing shims! in all different degrees!
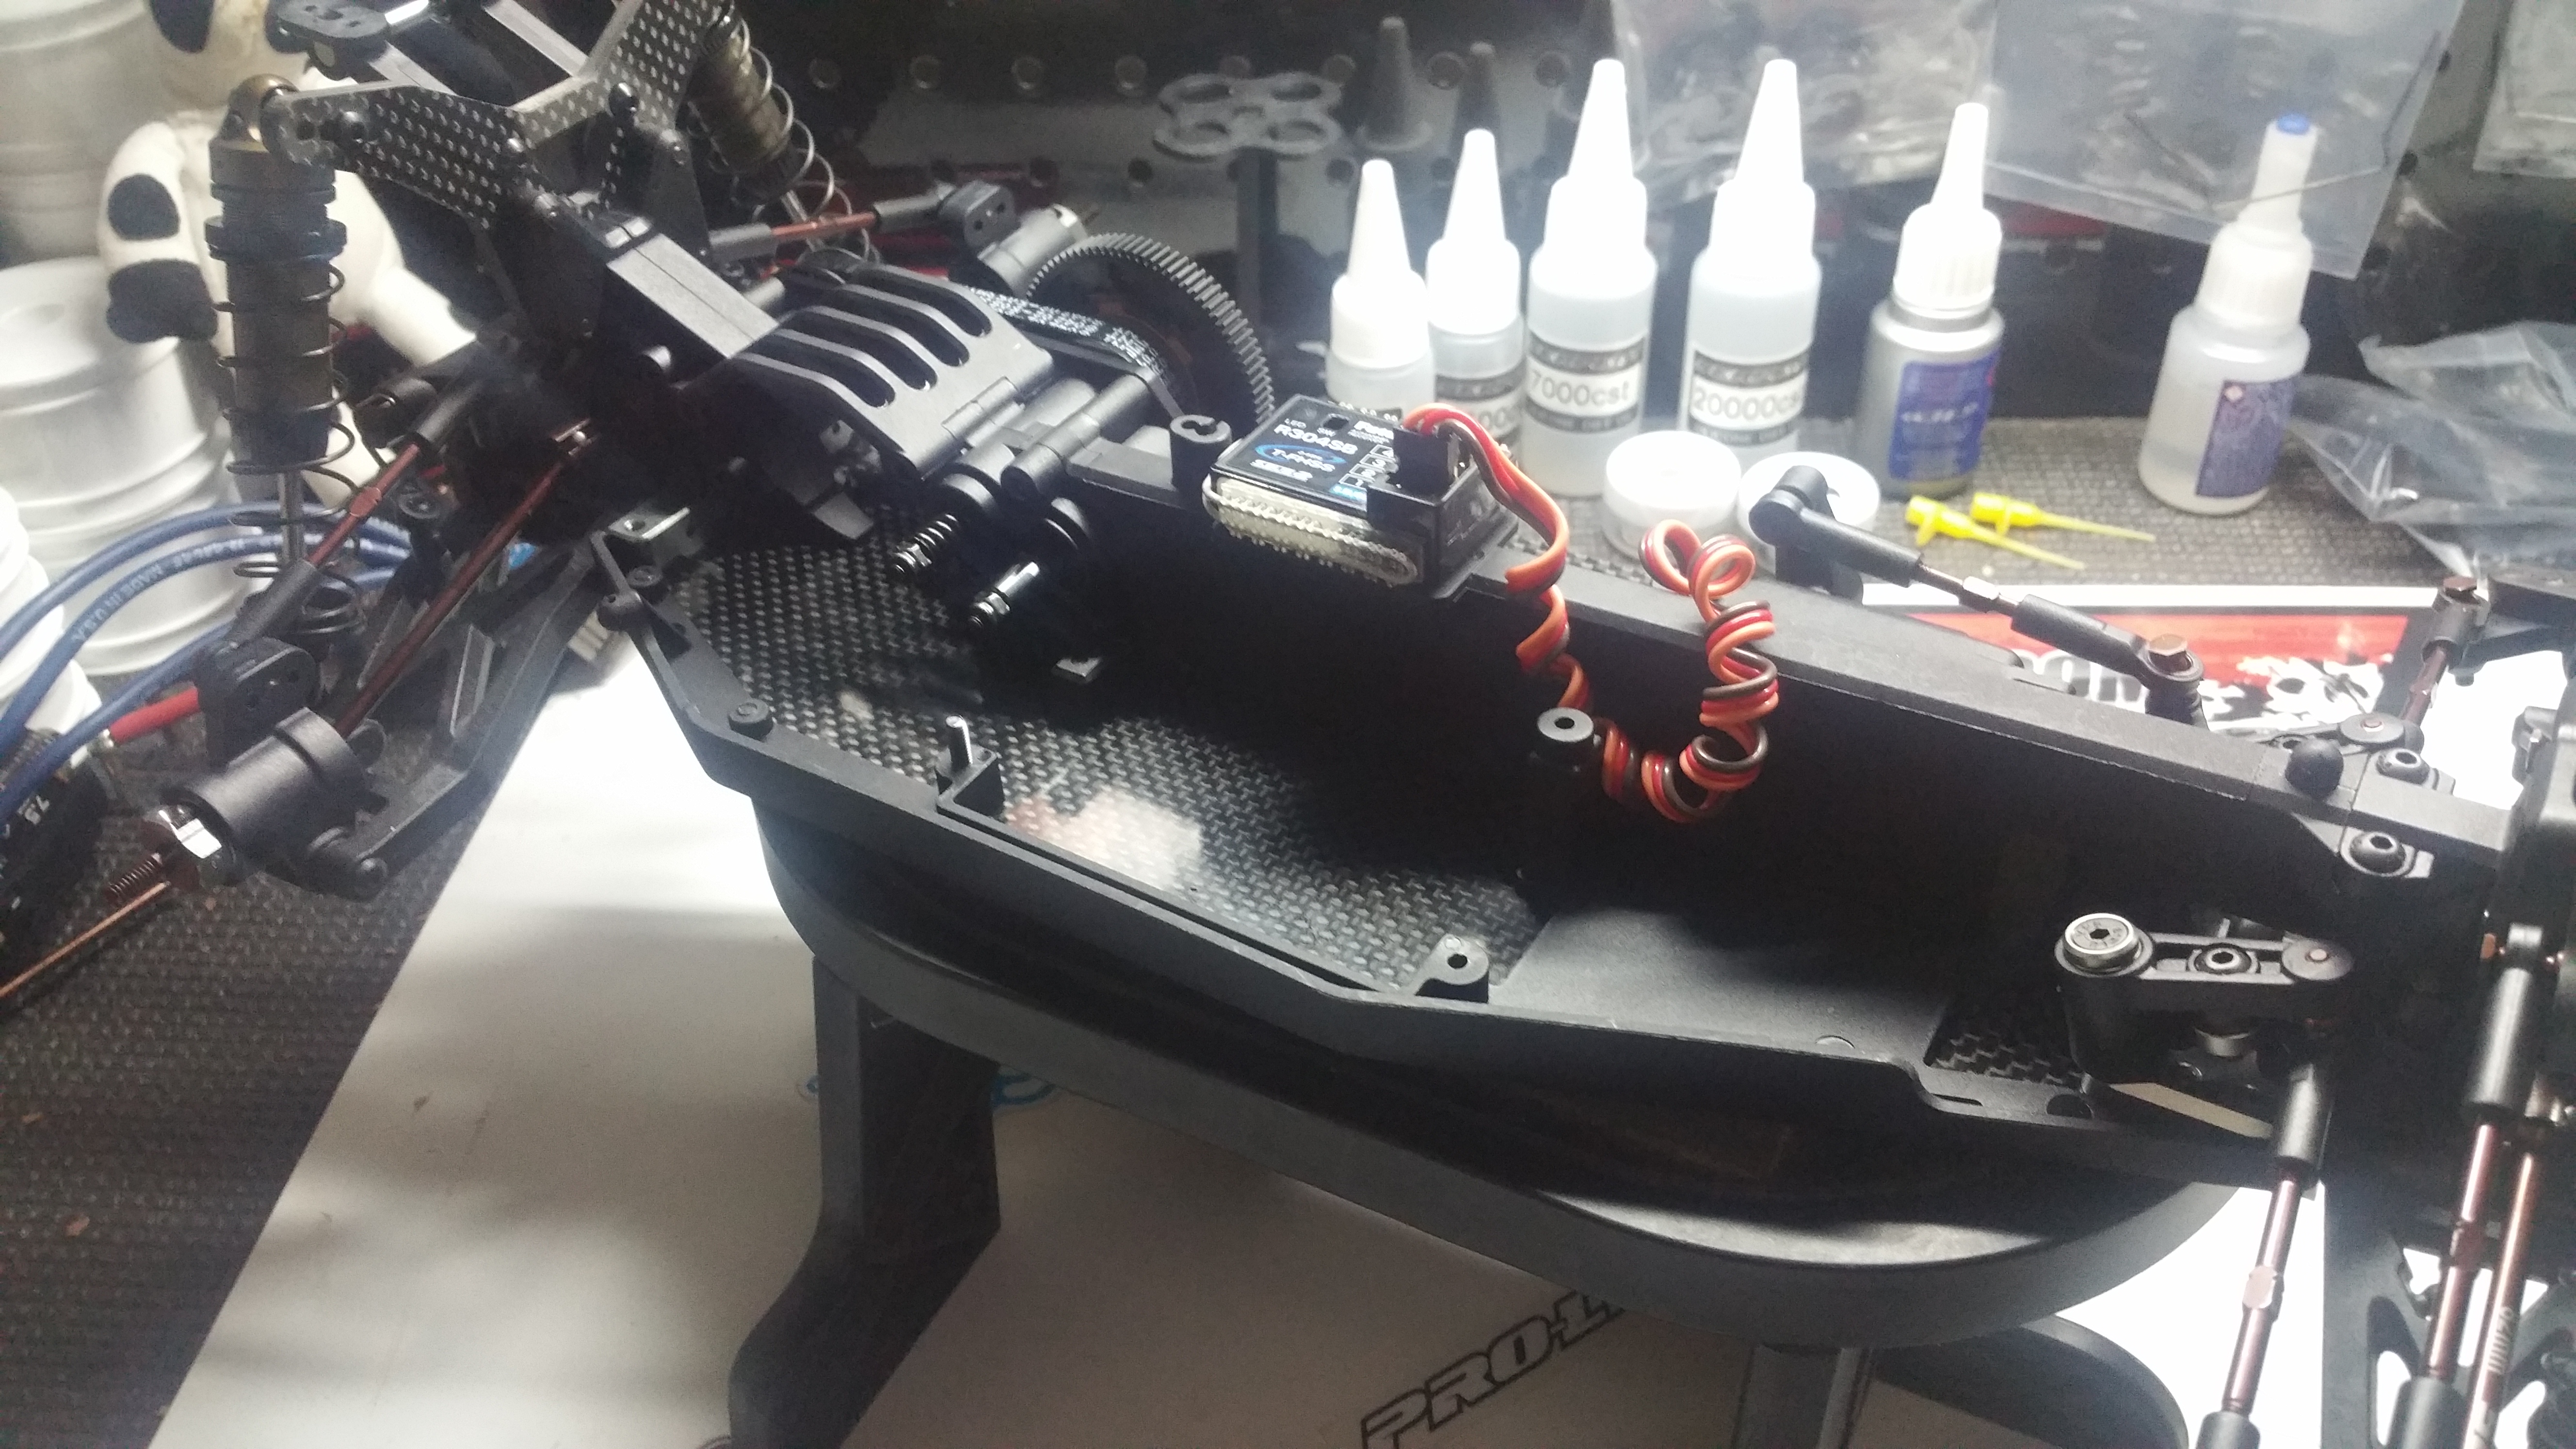
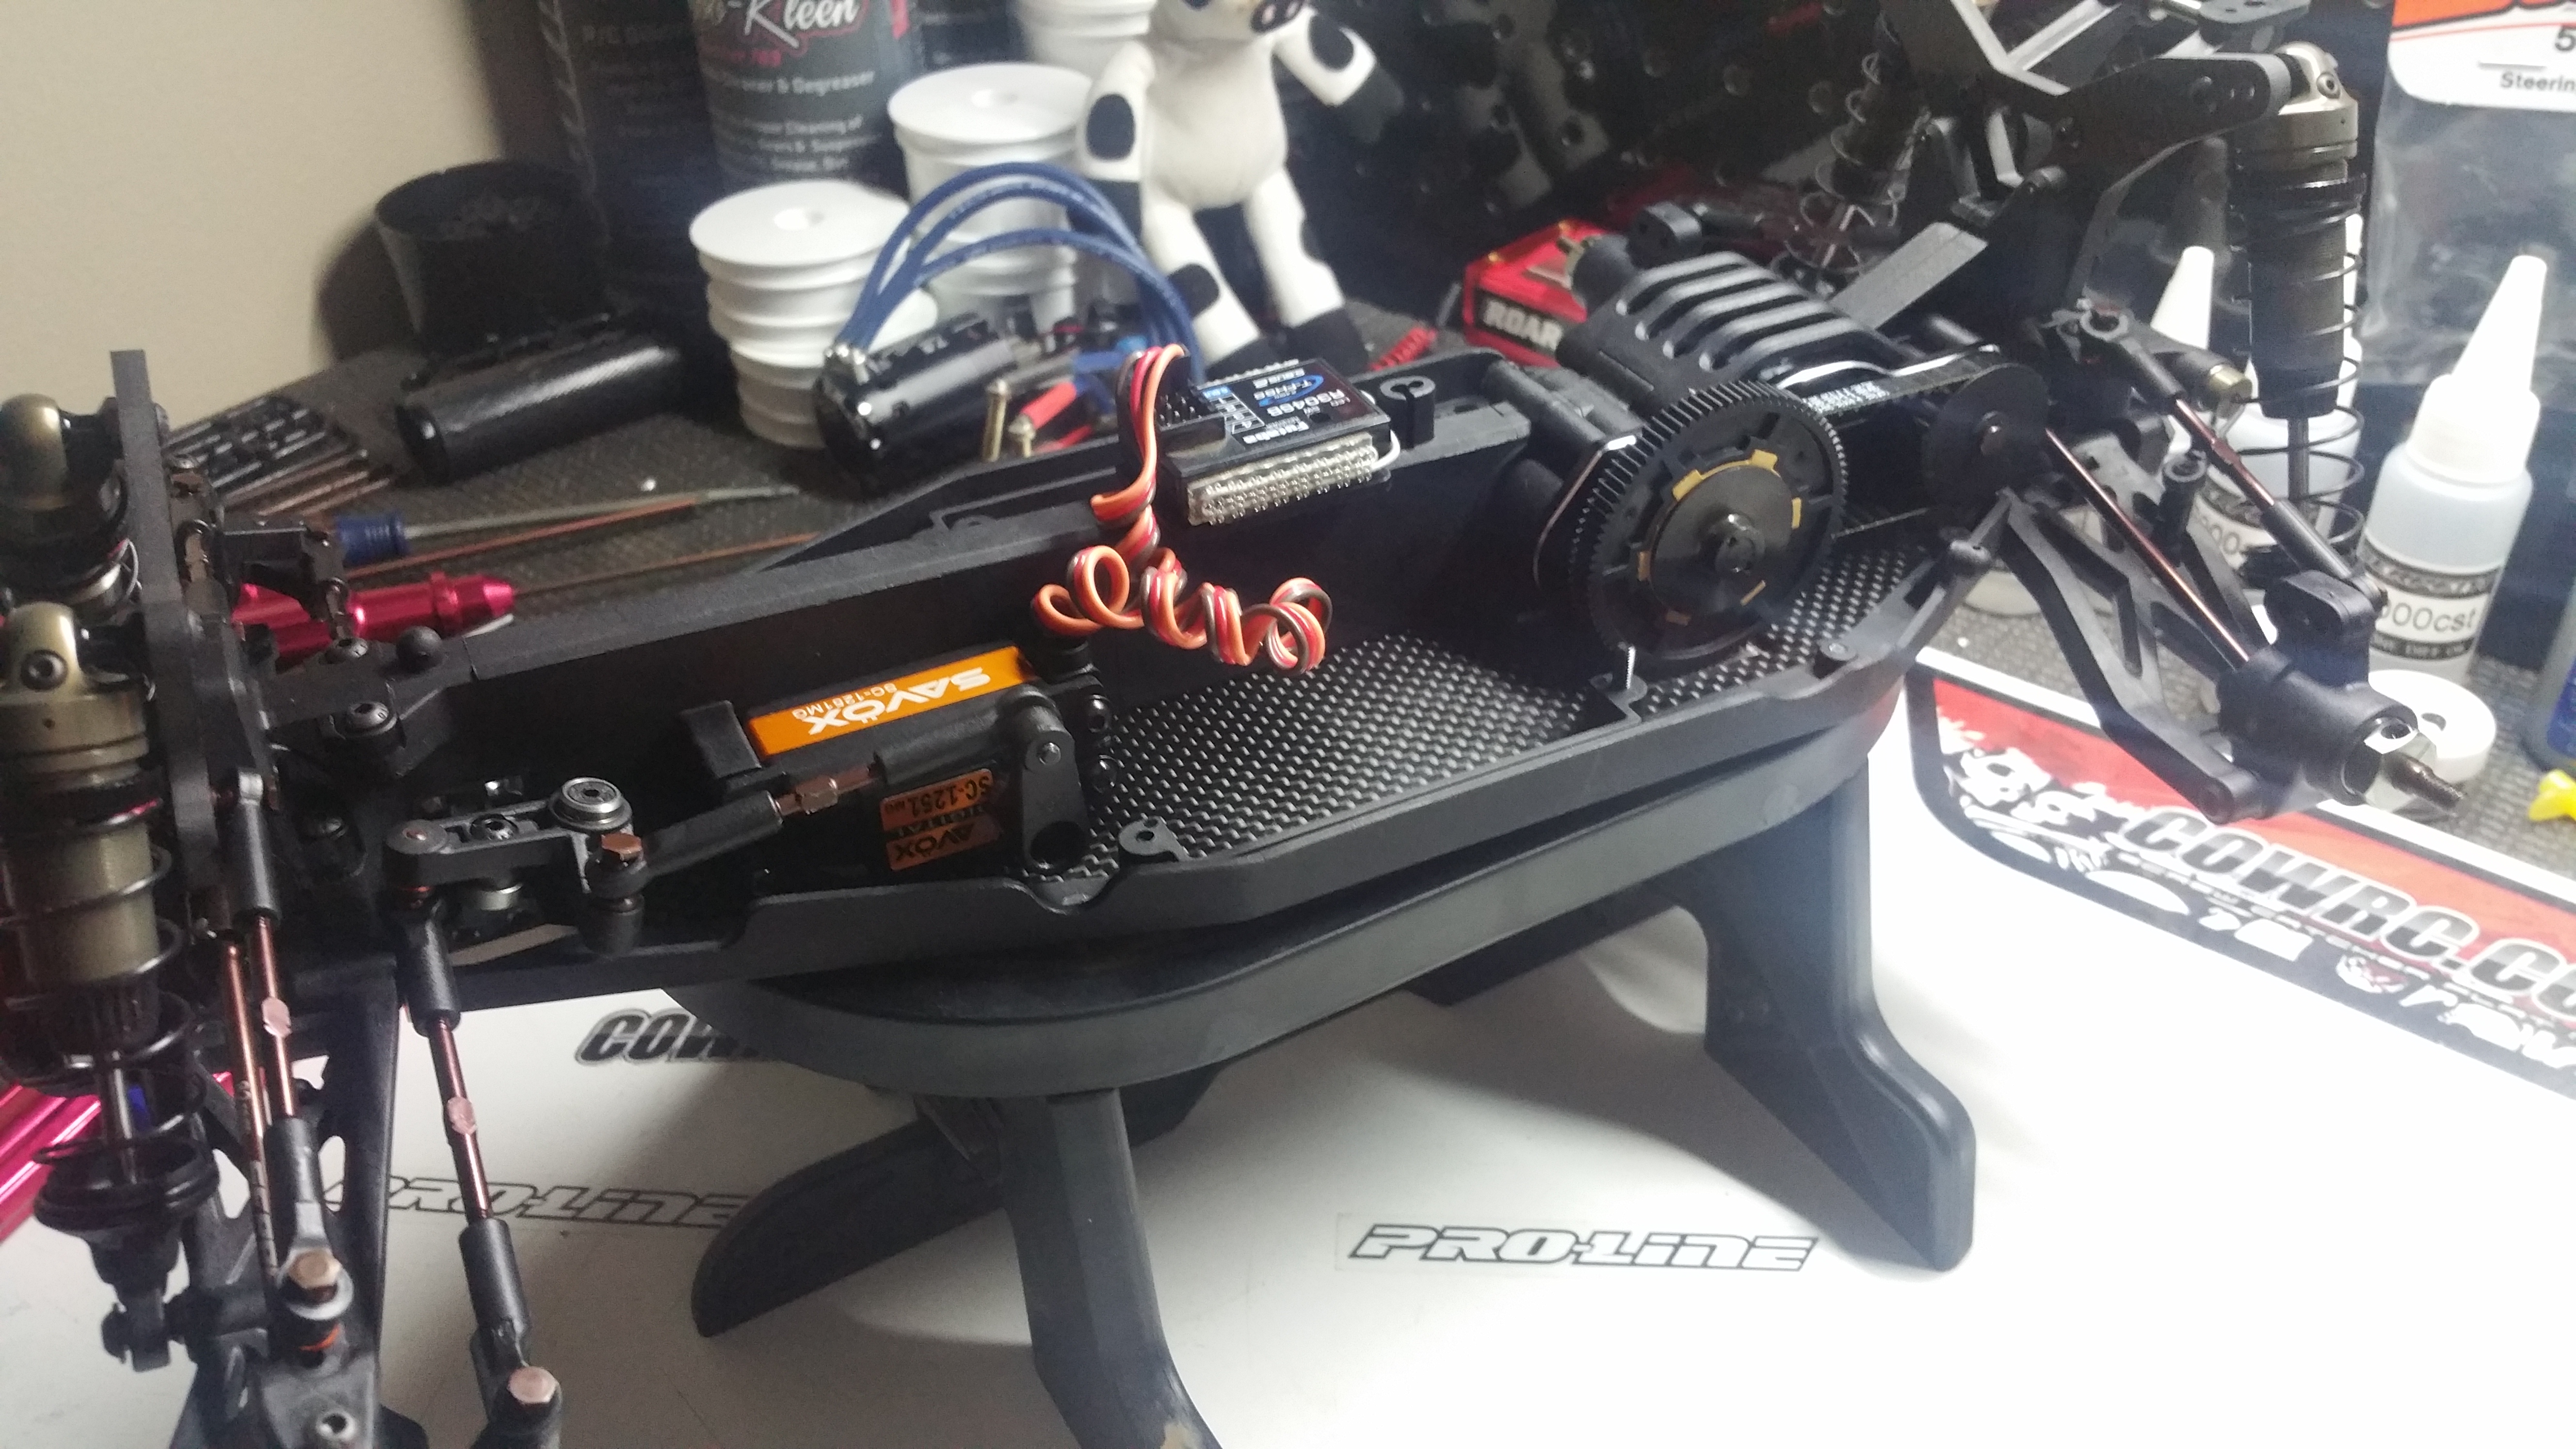
Receiver installed!
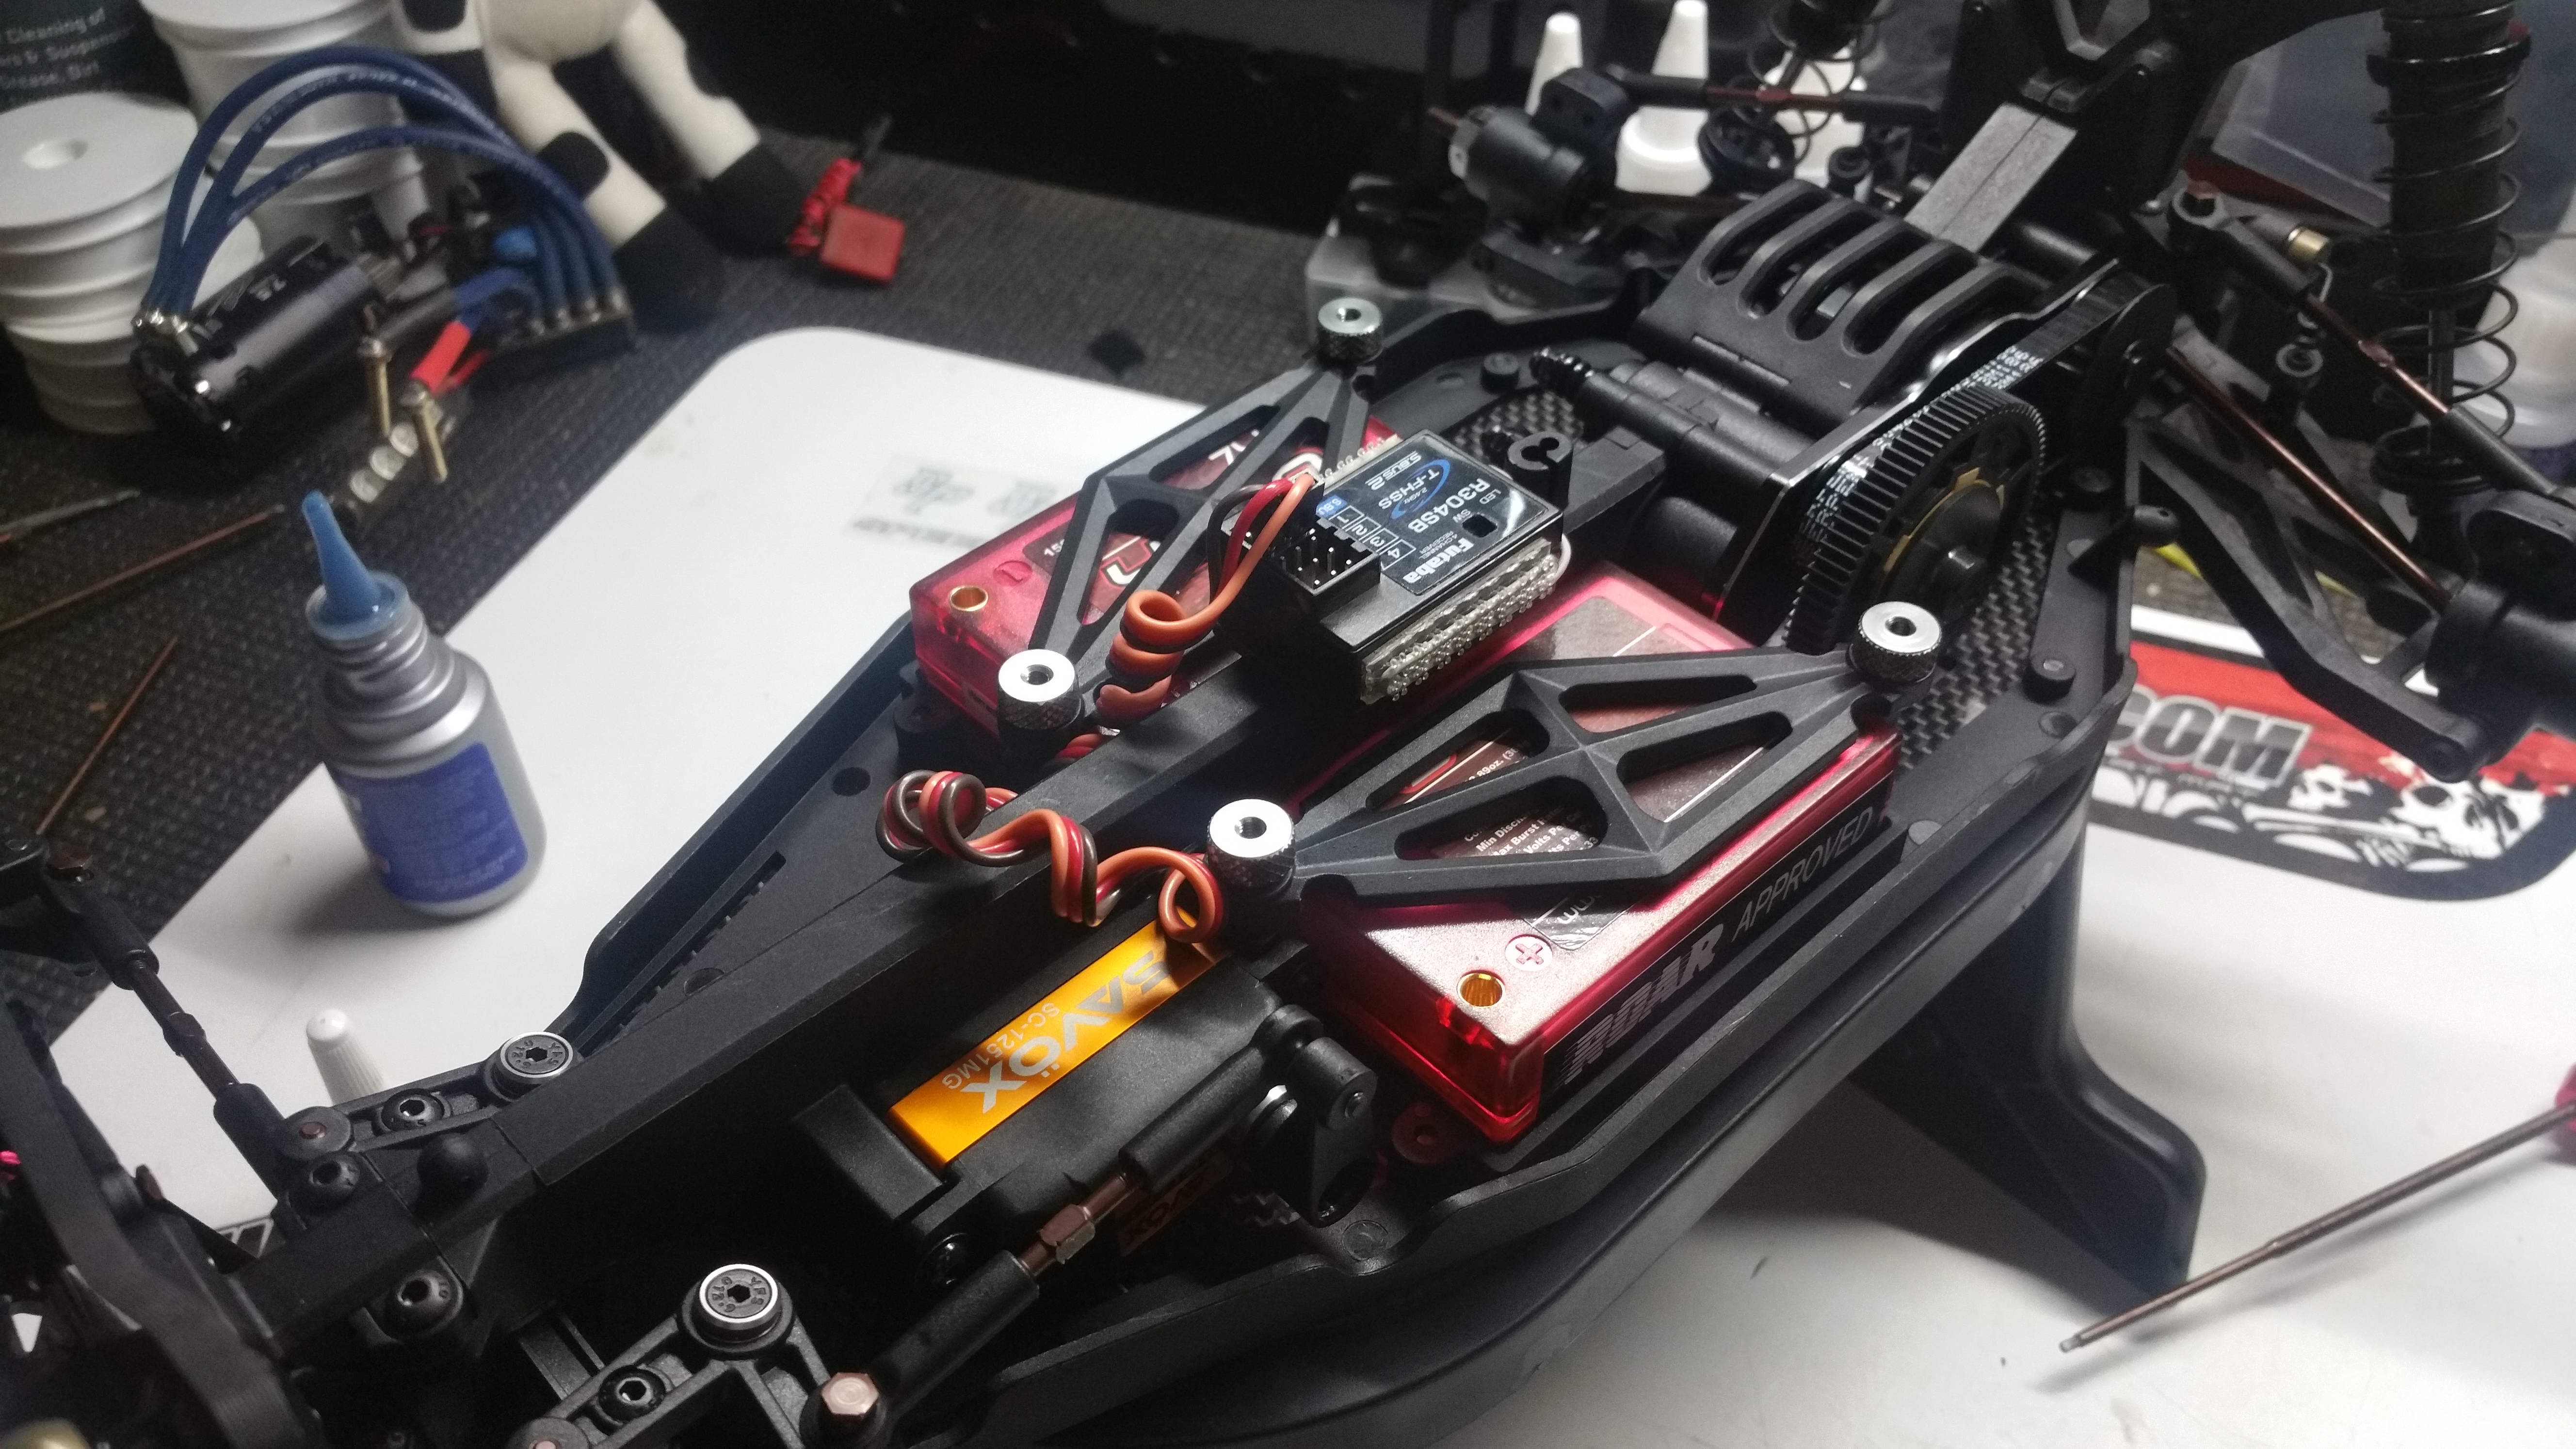
Saddles Installed!
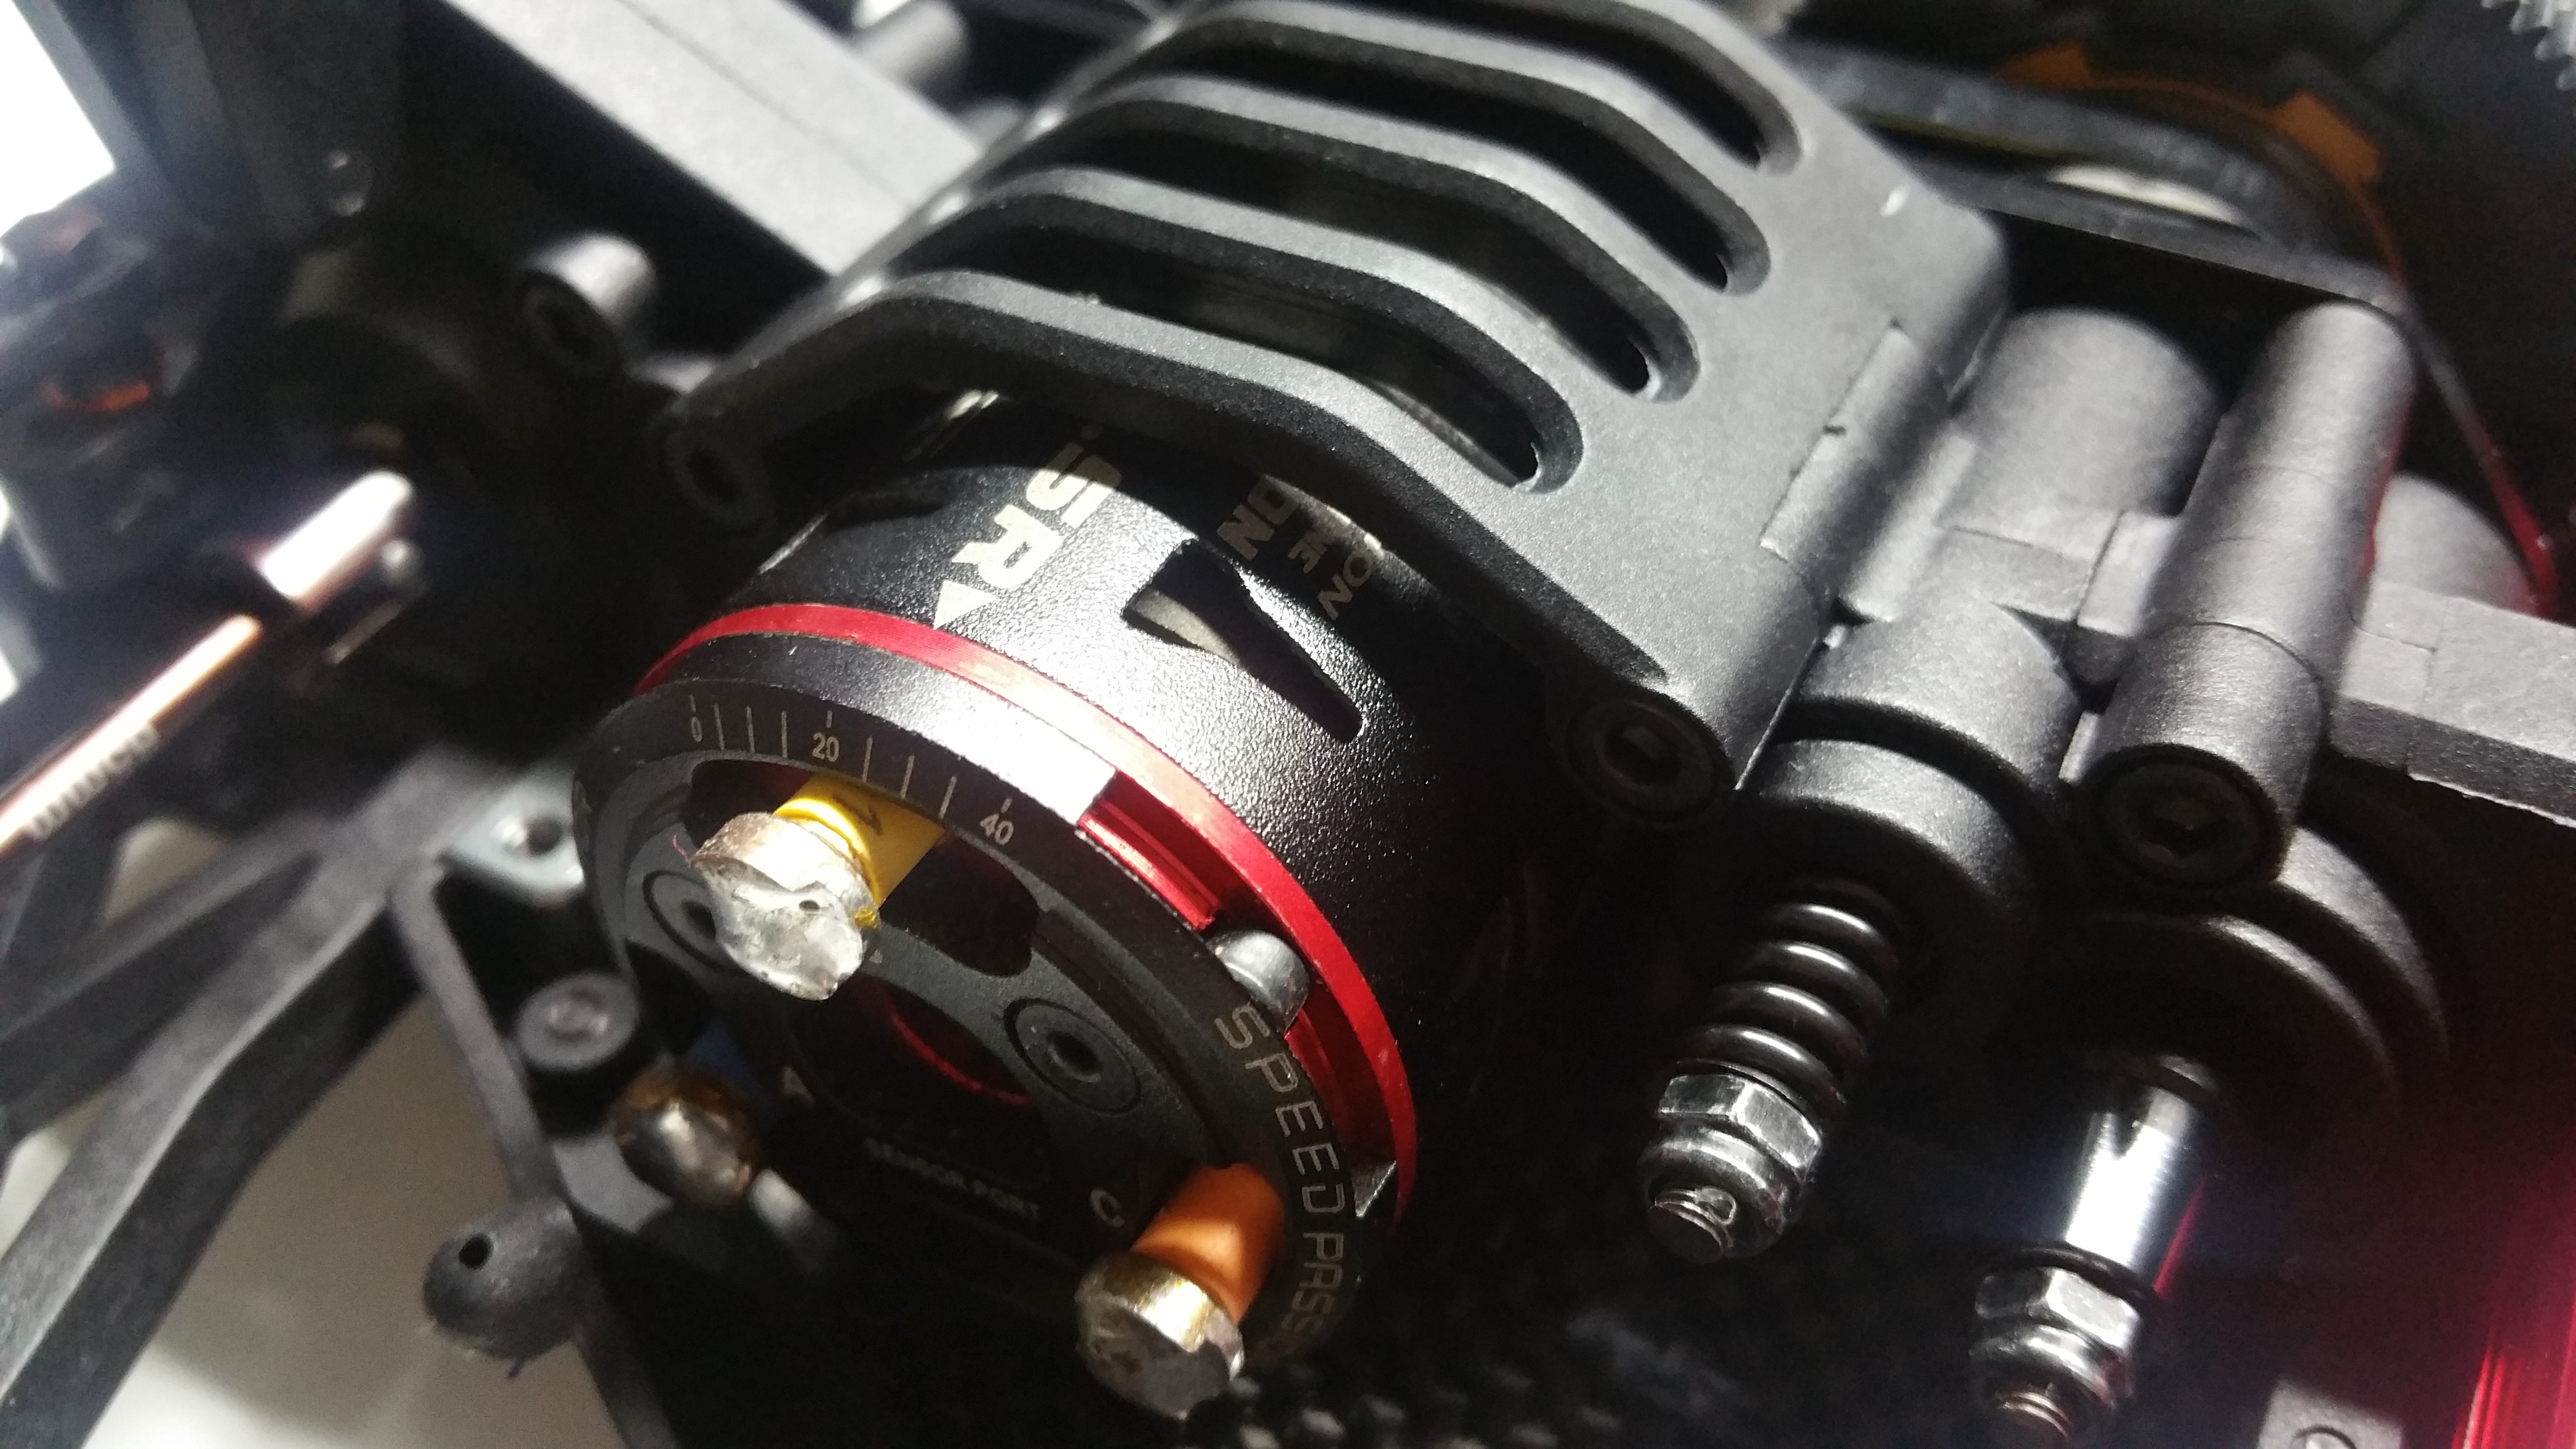
Motor Installed!
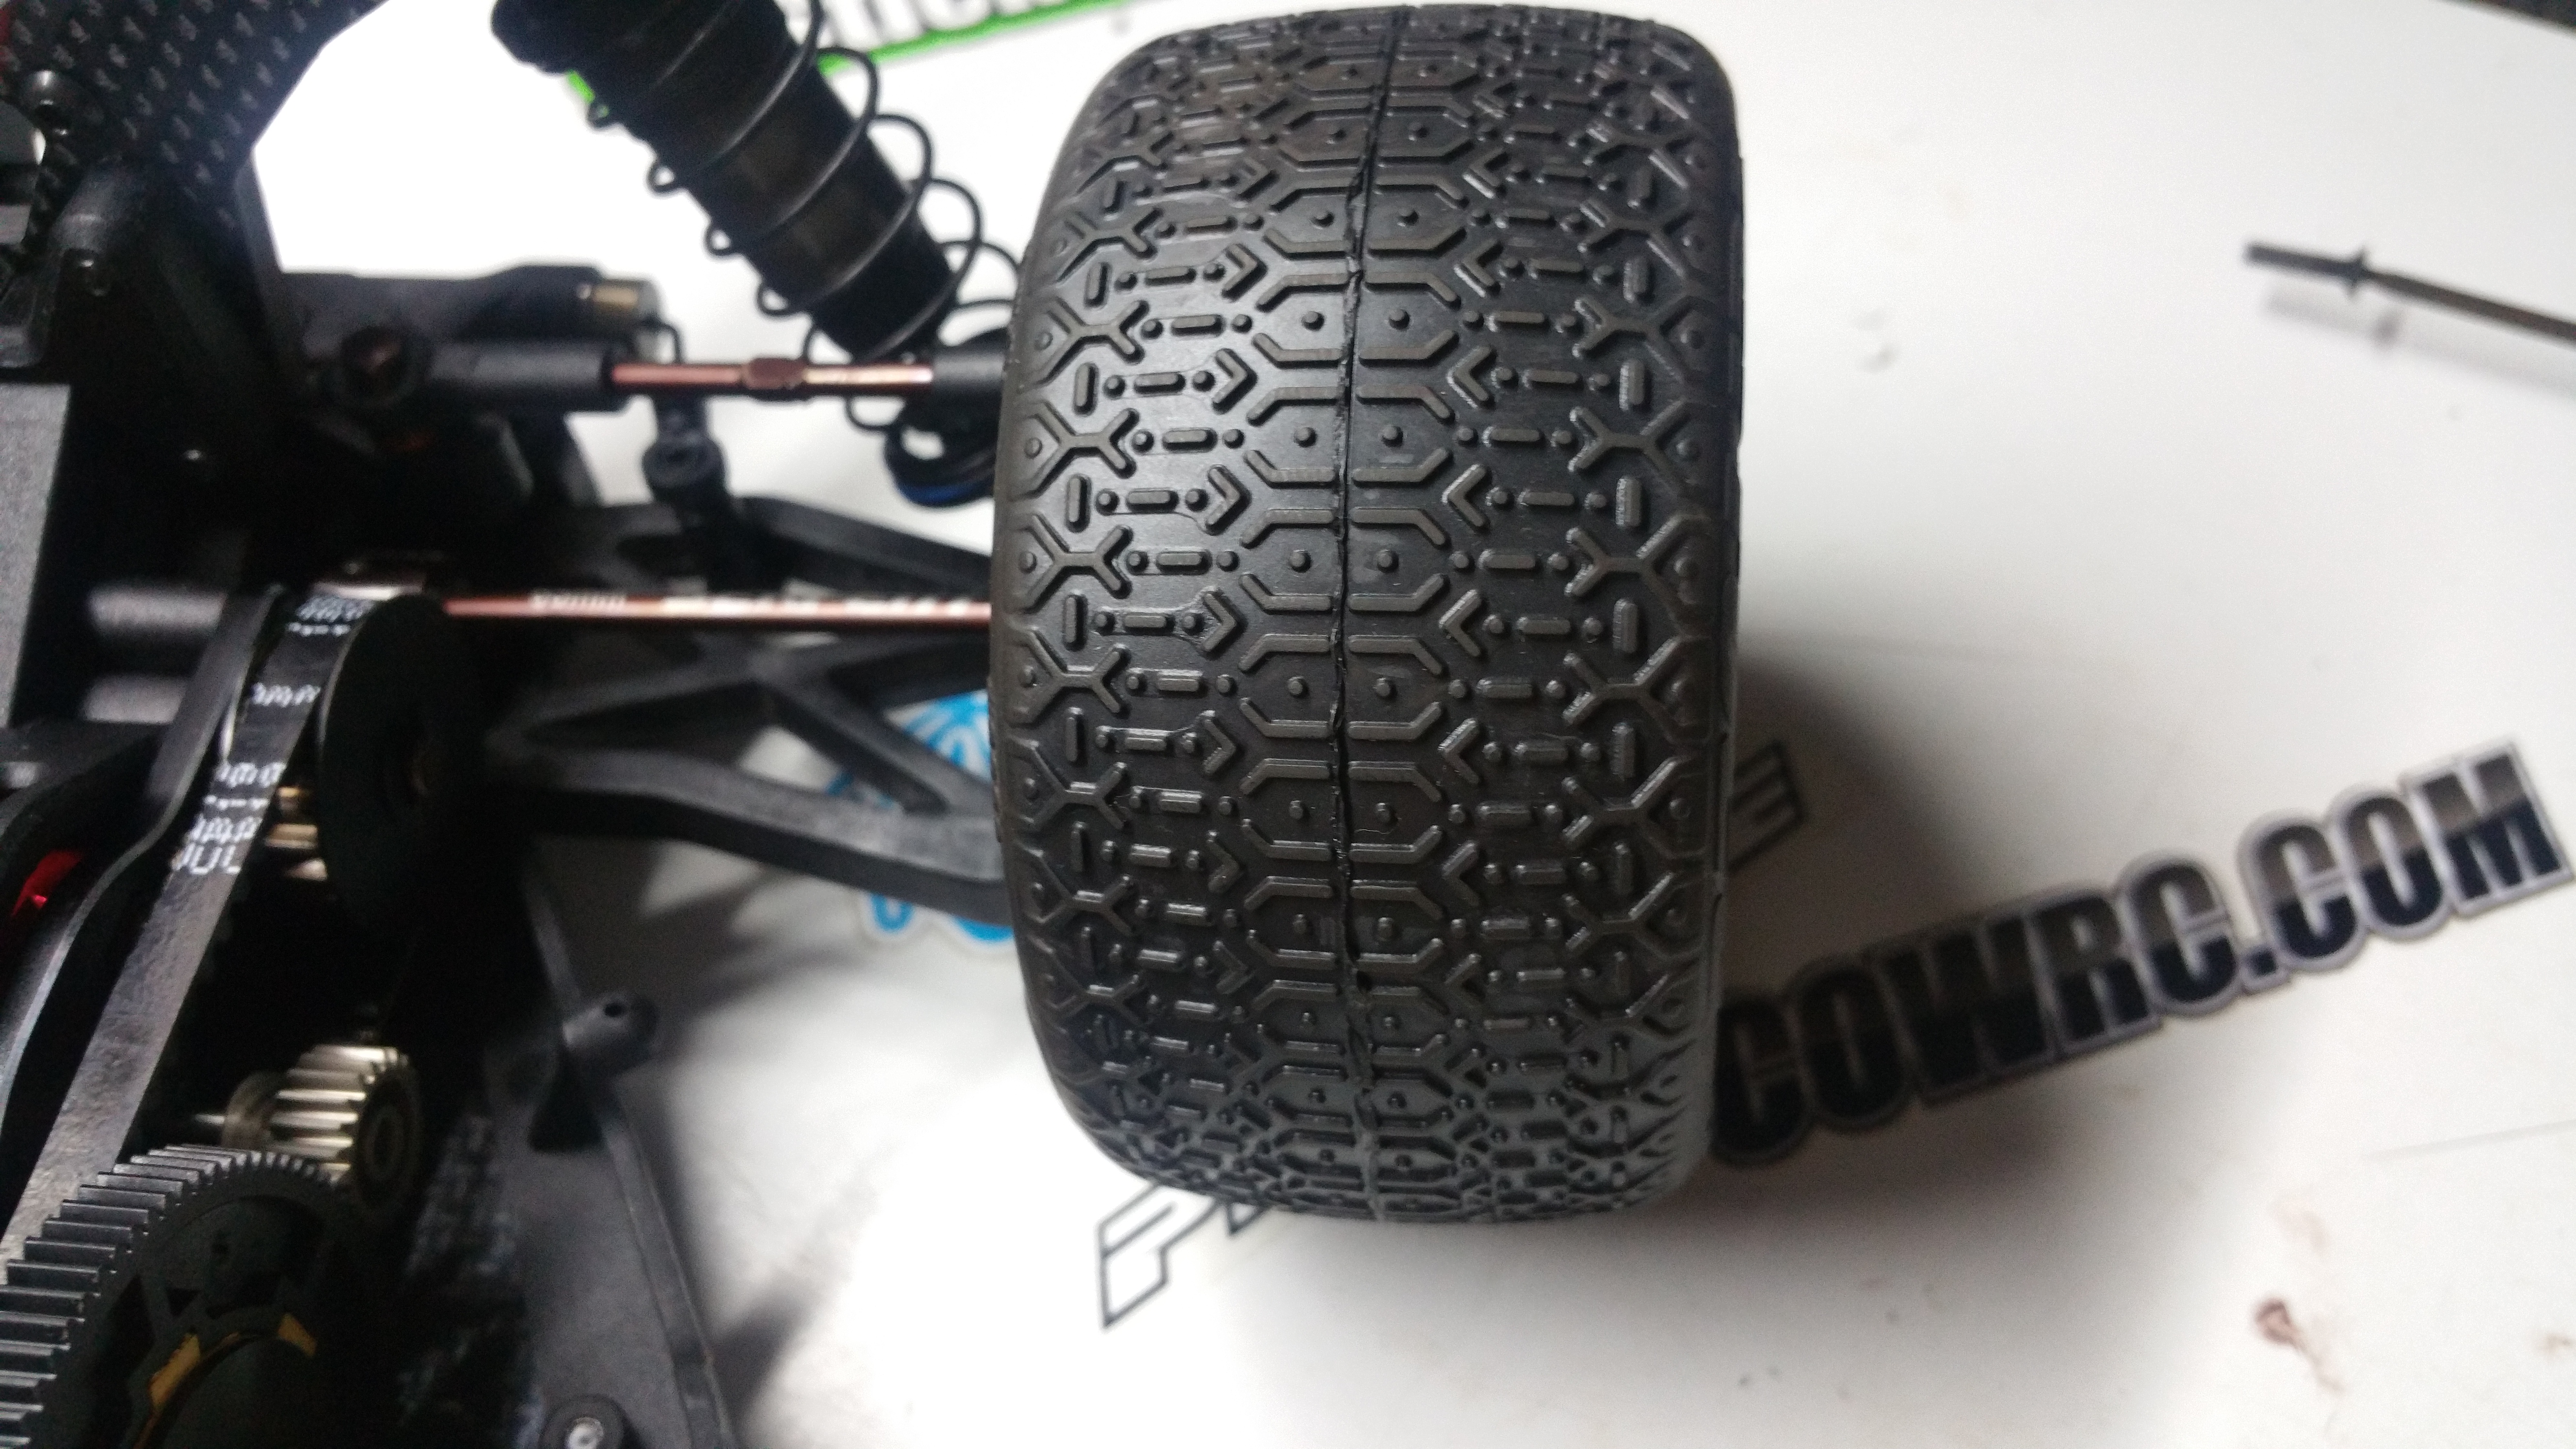
Proline Ions in M4!
Serpent 6.5 Inch Wing comes stock!

Due to my Camera messing up i do not have the pictures of my ESC being wired in.
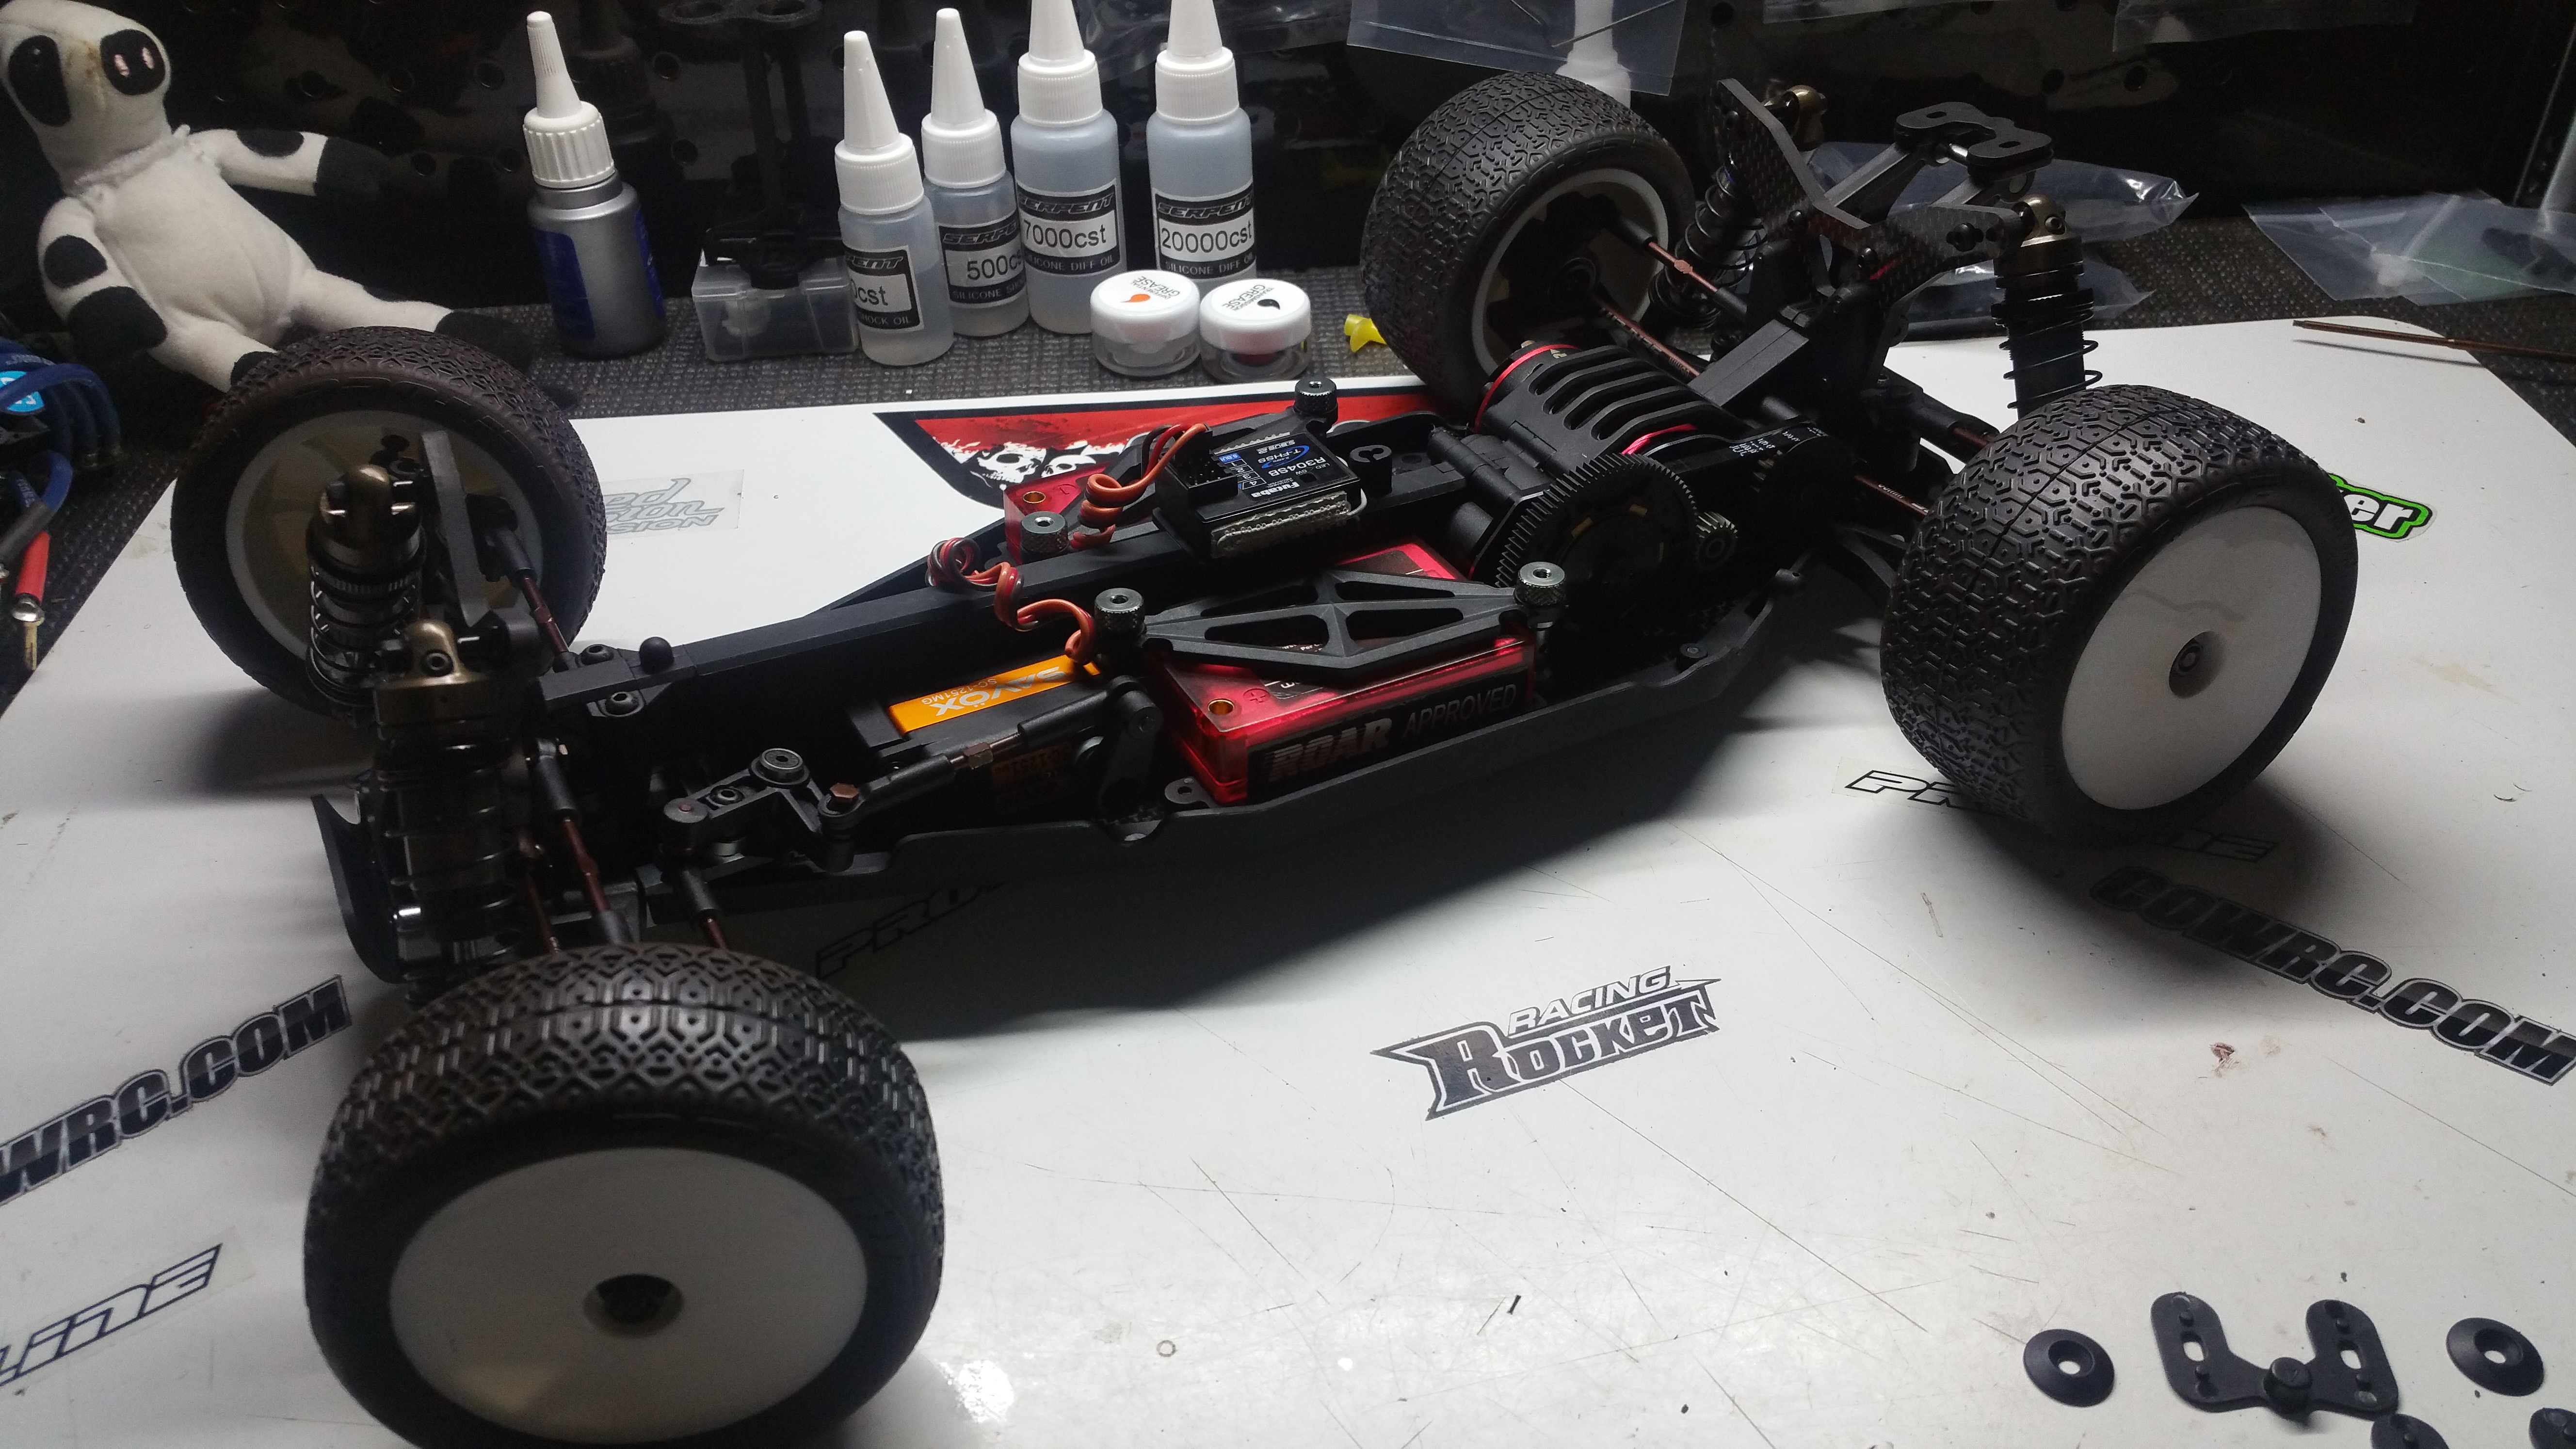
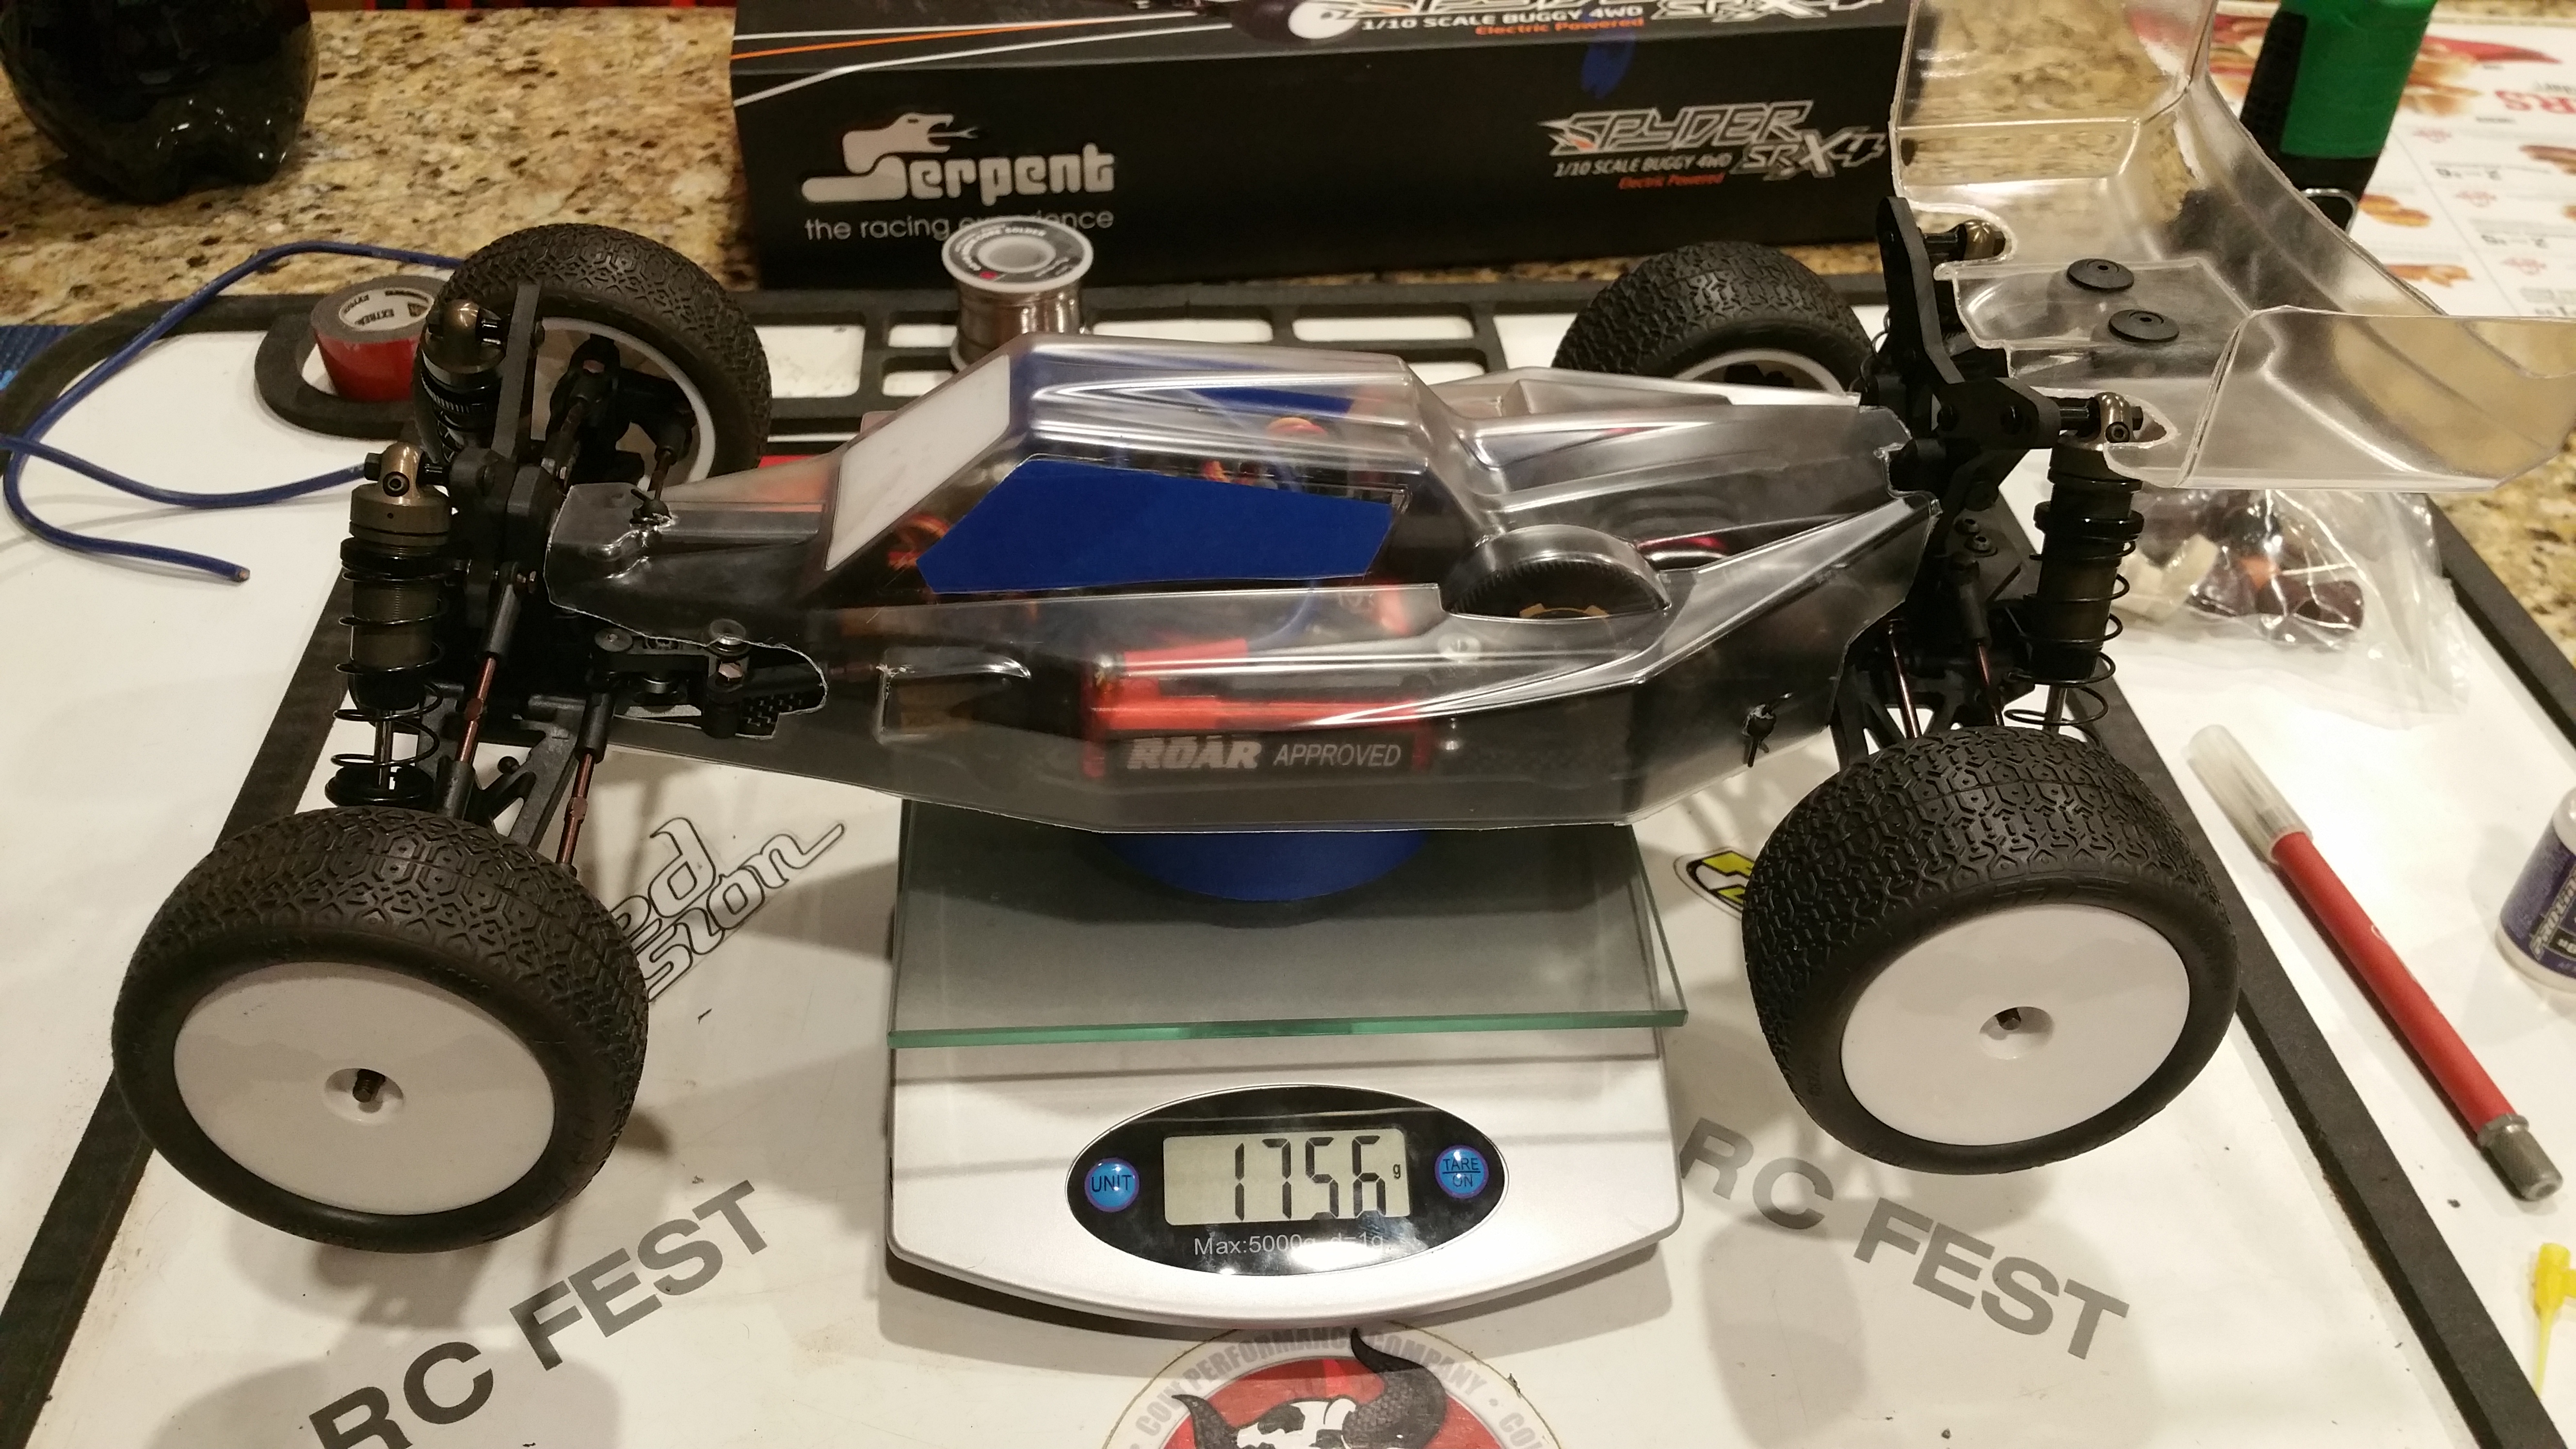
Decided to weigh it Ready to run minus paint on the body, 1756 using deans 12g wire
Initial thoughts of driving this car :
Being the first time ive ever driven a belt car, first time i put it on the track i was impressed with how smooth it drove, even with the 1 degree ackerman plates the steering felt calm, but had enough aggression for my driving style.
Some felt that the car needed a front swaybar, however i found that i did not like the front swaybar, with just a stiffer spring in the front instead.
While i have about 2 months on the car, I feel this is one of the best 4wd buggies that ive ever driven!
One thing ive noticed is that i need a slightly bigger motor, while i ran a 7.5 turn in my last 4wd buggy, it was also a shaft driven buggy and this buggy has slightly more drag than the other. So i believe i am going to jump up to a 6.5 motor here shortly.
The starting setup that i used was Jared Kirkwood’s, Local Fast guy and Pro Serpent driver!
The setup can be found here : http://site.petitrc.com/setup/serpent/setupsrx4/SRX4_JaredKirkwood_OhioRace20151212/
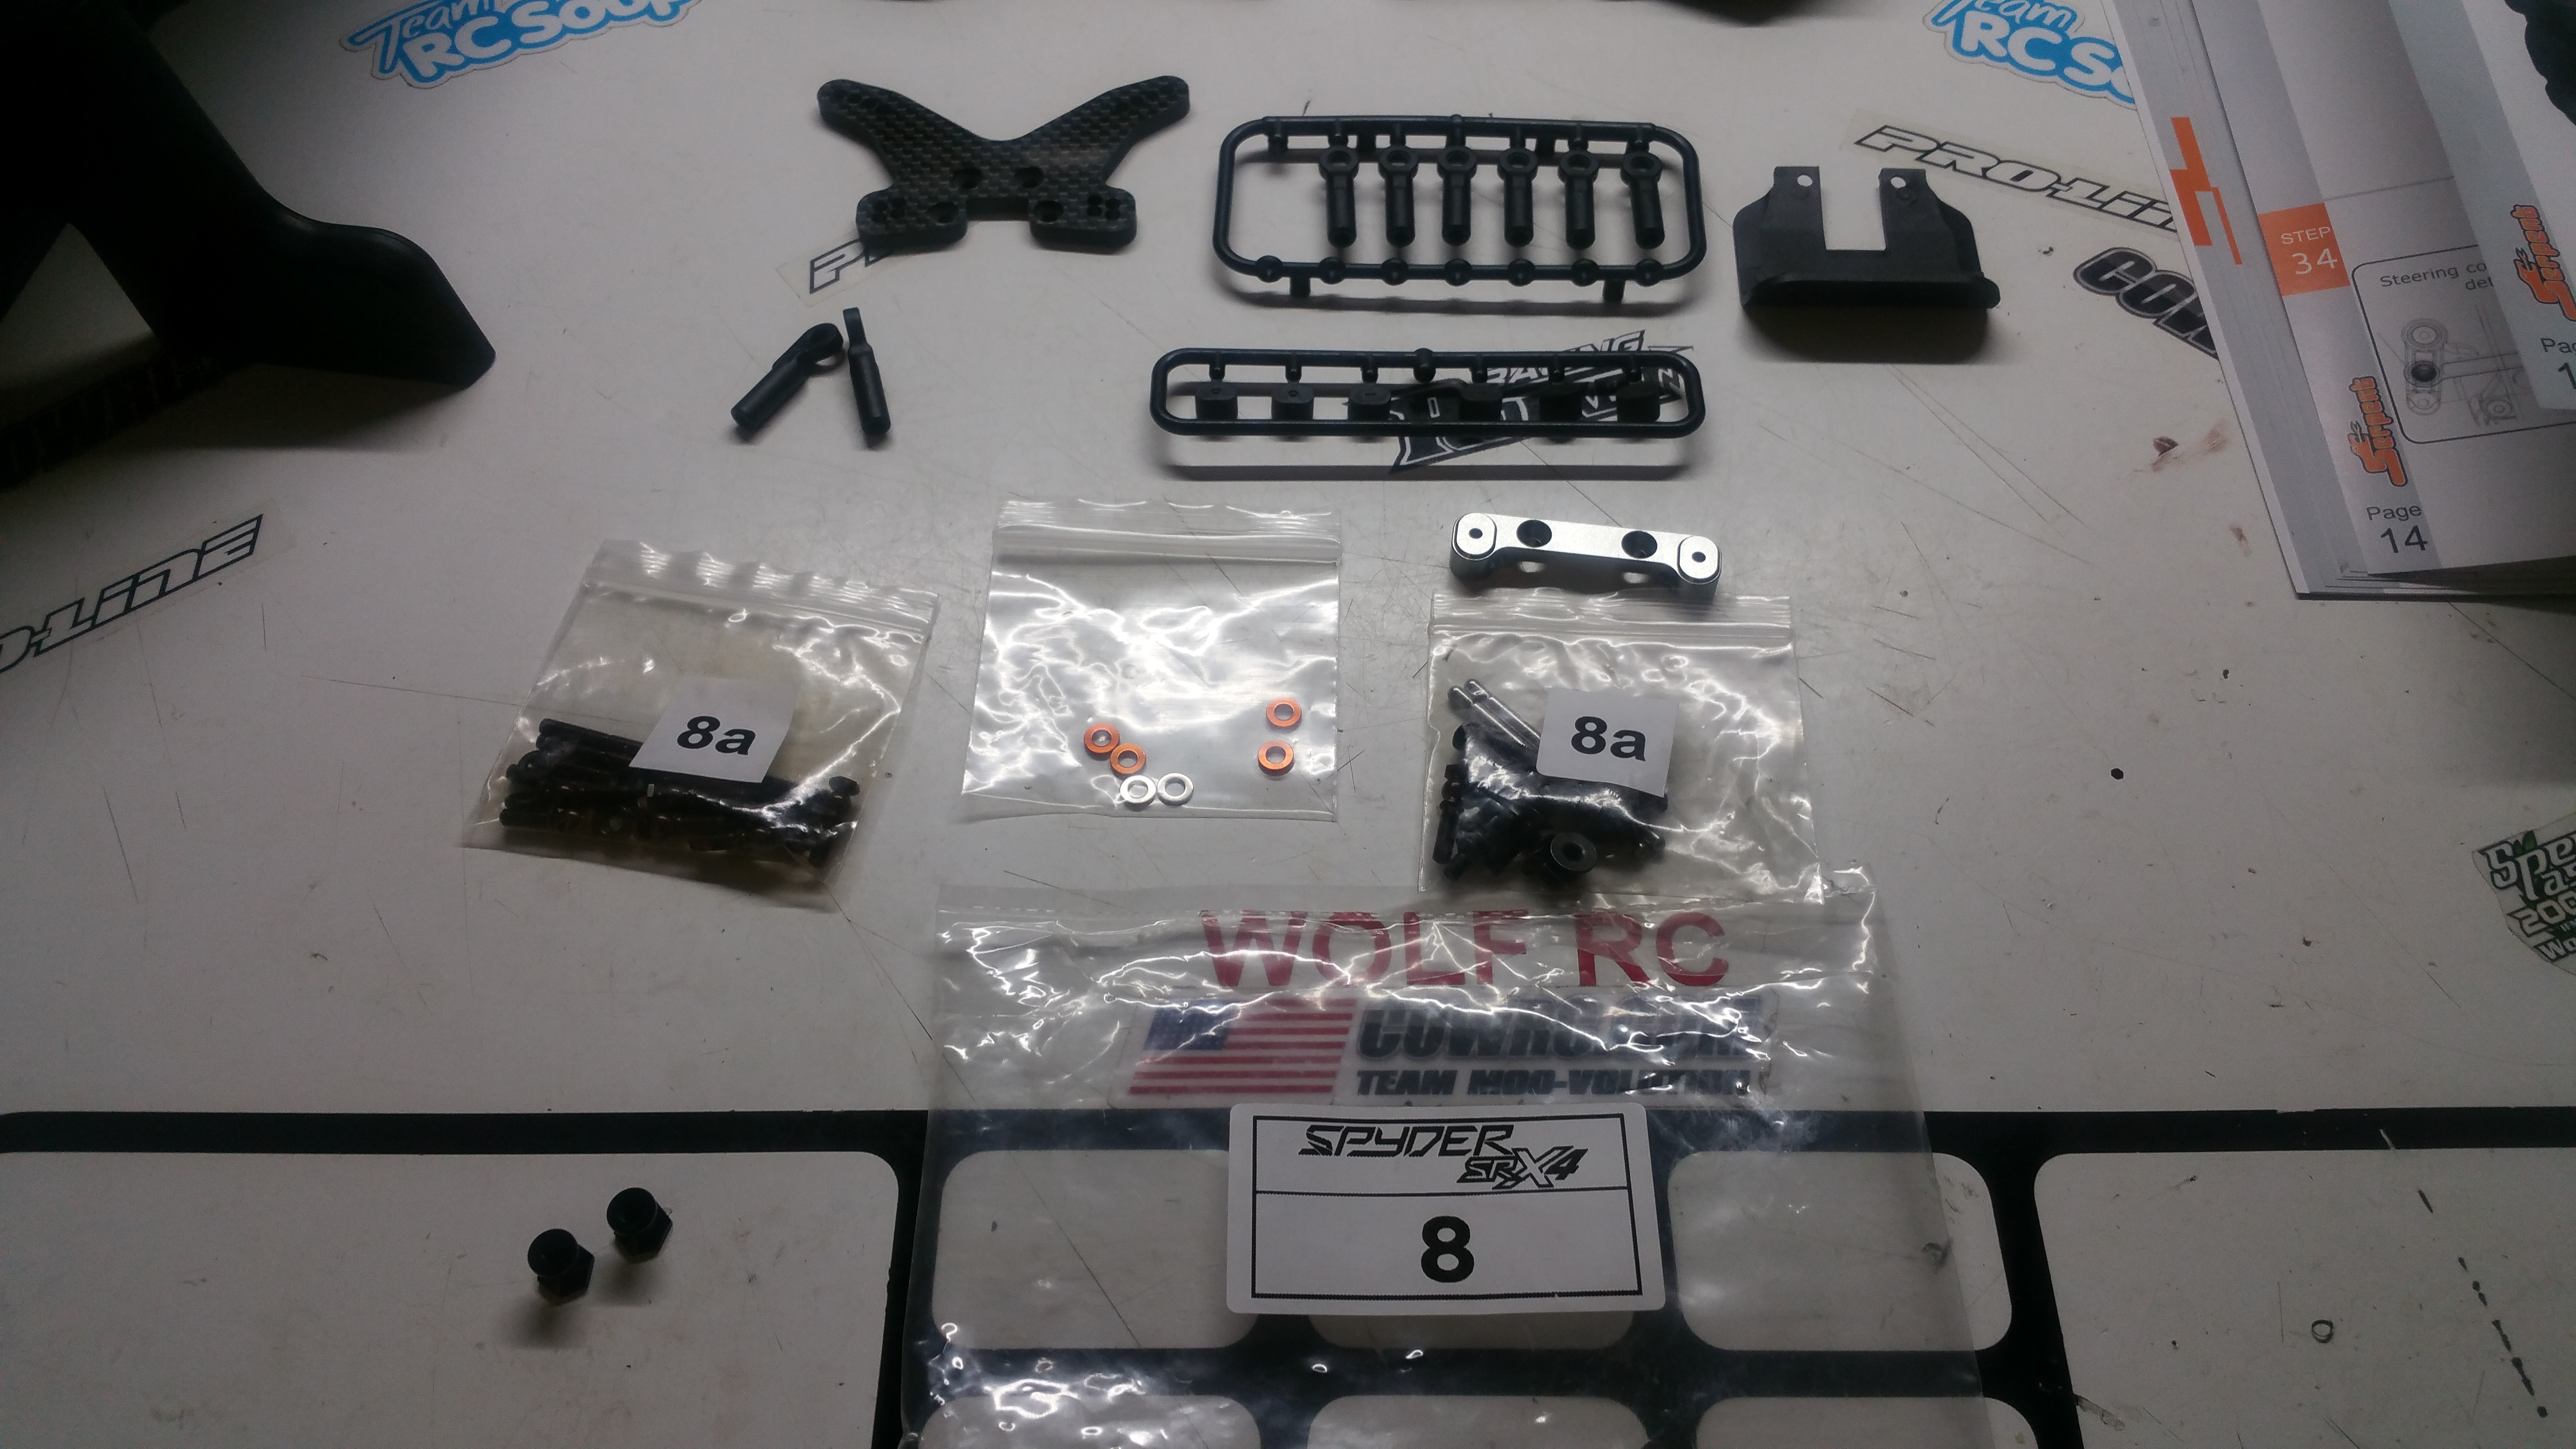
Items used in this Build :
Serpent Parts –
Front Sway Bar Parts :
SER500458
SER500470
SER411187
SER500455 ( 1.2mm fr swaybar)
SER500205(1.1mm rear swaybar)
CR Lovell Diff Inserts :
CR Does not have a Website just yet, So if you would like to try his Inserts, You can contact him via Private message on his Facebook Page
https://www.facebook.com/profile.php?id=100003347543167
CowRC Products :
MooSlick – http://www.cowrc.com/store/#!/MOO-Slick-NO-077/p/14380718/category=12842156
MooKleen – http://www.cowrc.com/store/#!/MOO-Kleen-NO-789/p/14380716/category=12842156
Flat Mag Screw Catcher – http://www.cowrc.com/store/#!/PRO-MAG-Large-Screw-Catcher-Flat-Mat/p/21311061/category=5109029
Venom RC :
Venom 4500 mah 50c Saddle Pack Lipos
RC Shox :
SRX4 Ackerman Plates – http://www.rcshox.com/srx4-ackerman-plates/
Speed Passion :
Speed Passion Revention Pro 1.1 – http://shop.speedpowerrc.com/reventon-pro-1-1-metal-black/
Speed Passion V4 7.5 – http://shop.speedpowerrc.com/competition-v4-0-brushless-motor-7-5r/
 Posted in
Dallas…very nice and professional write up on the SRX4. Good job!