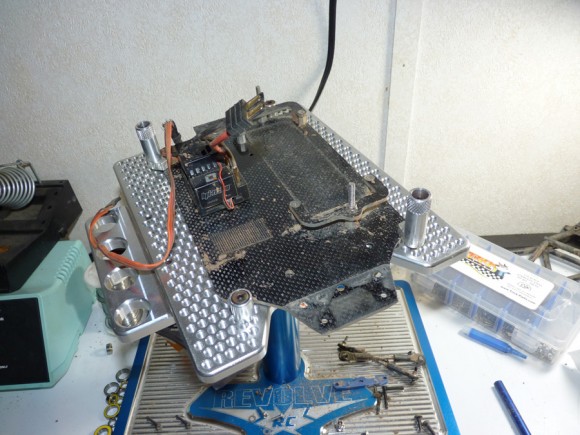
Time to break out the new T-RCE LWB chassis plates. Basically what I did was remove stuff off of the old truck, rebuild it, and mounted it to the new chassis.
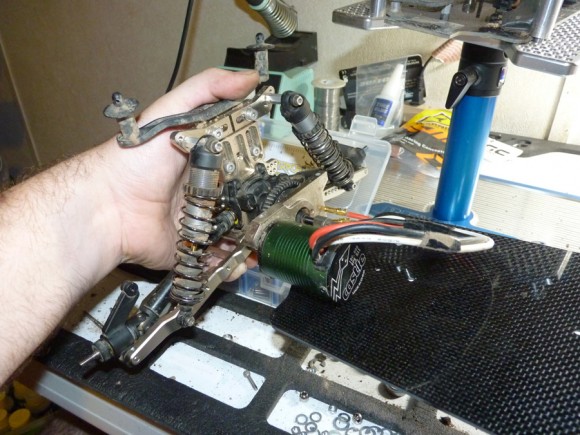
Starting with the rear bulkhead.
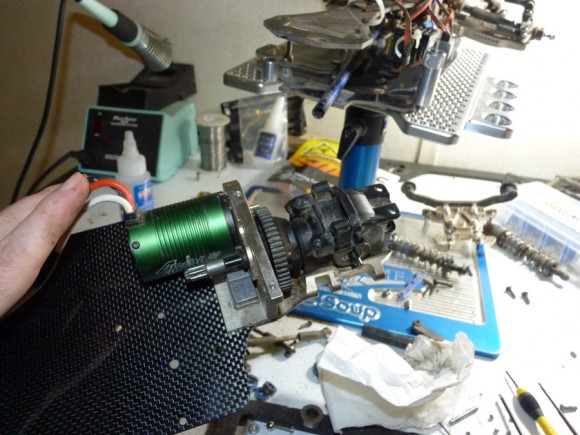
Now I installed the rear diff and motor mount.
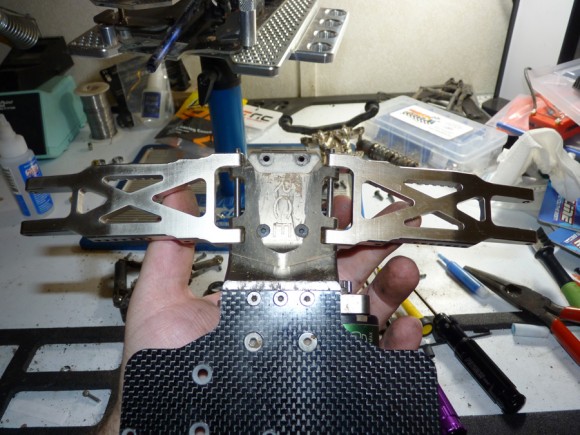
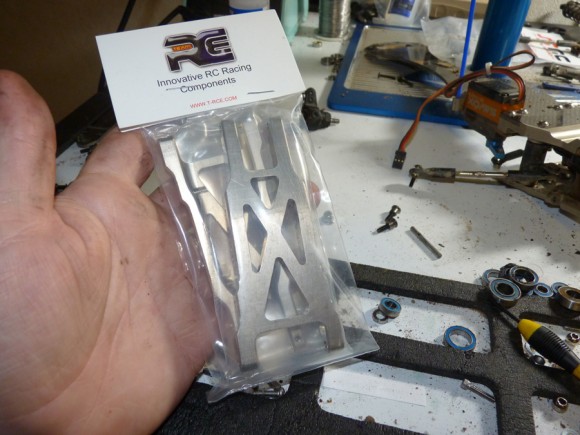
Next up is the new Wider arms.
Rear end is coming together nicely.
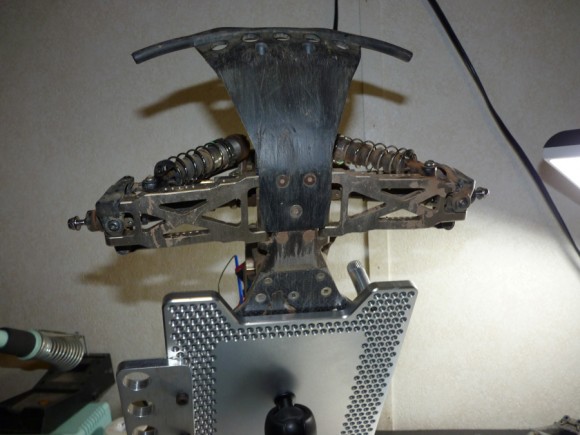
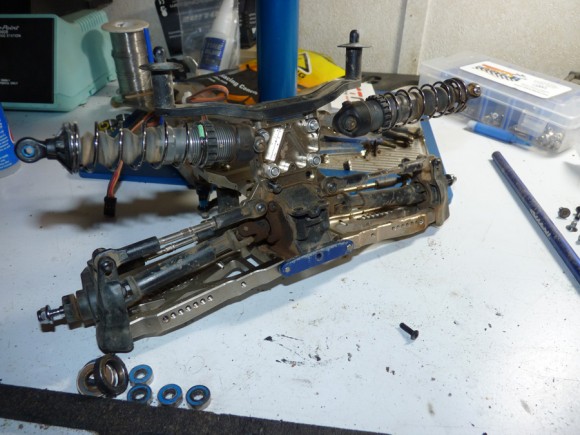
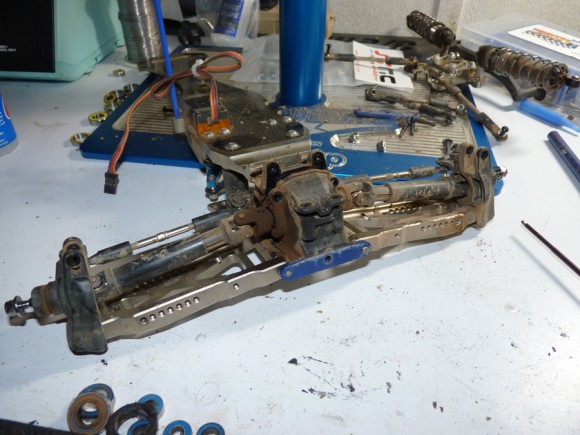
I then turned my attention to the front. I was able to remove the whole front section of the chassis without removing it from the stand.
Not much left.
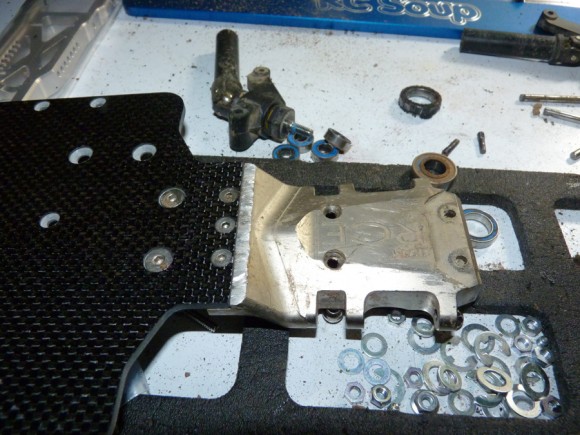
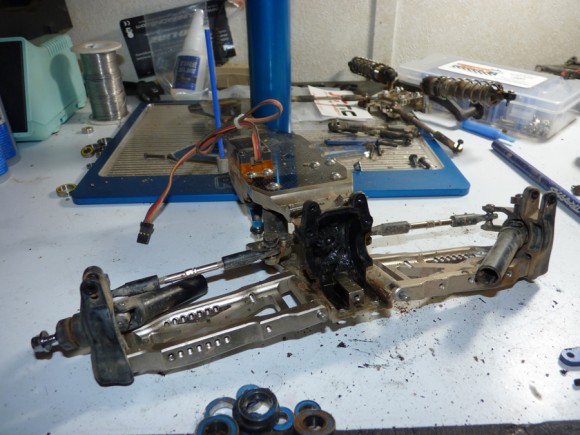
Front clip removed from the lower chassis plate.
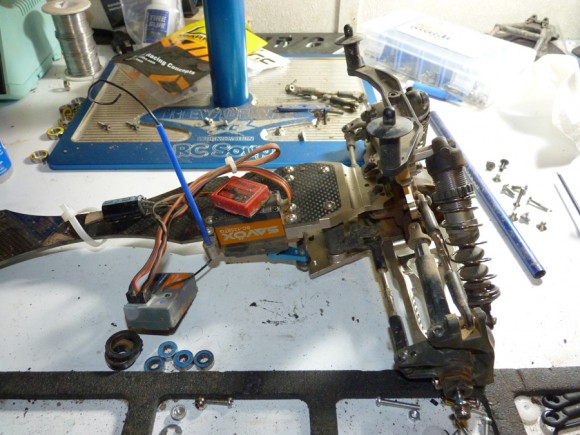
Time to get working on removing the front diff and swapping out fluids.
Front shock tower is now removed and out of the way.
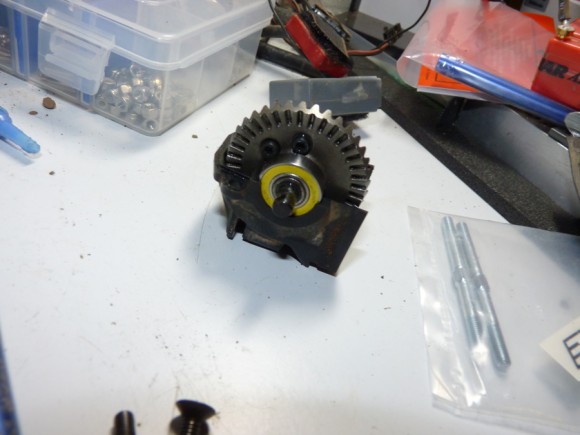
Diff is finally removed.
Fluid and bearings changed, and ready to be mounted up.
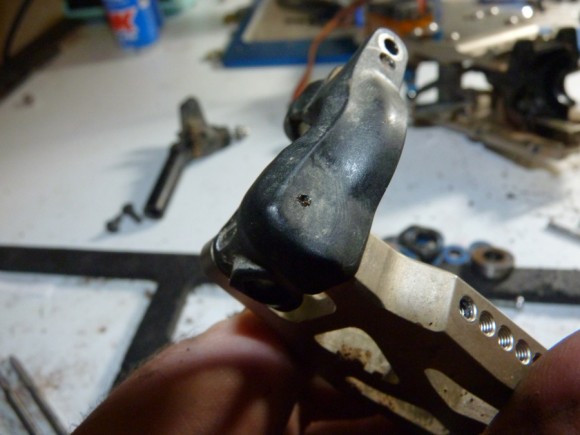
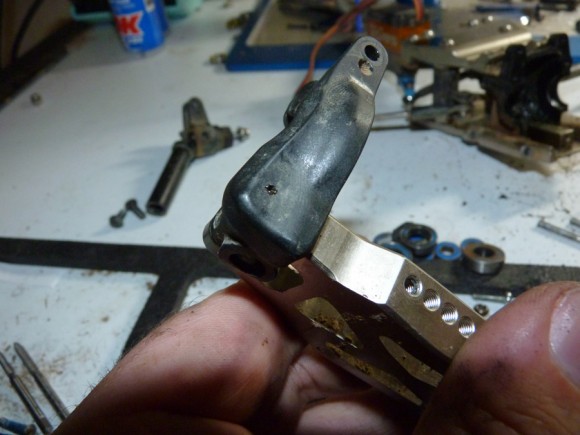
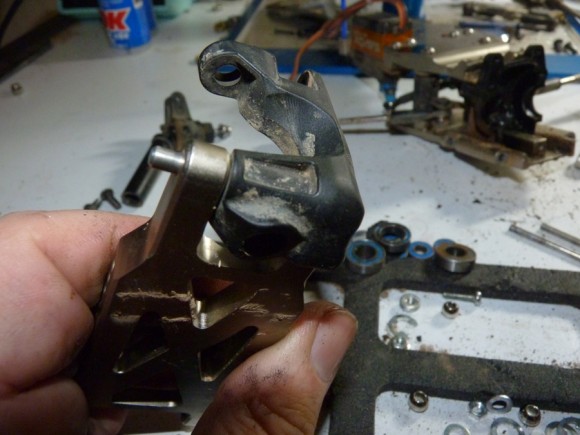
One issue I ran into, was getting the new style hingepins out of the old arms. They are held in by a grub screw from the top of the arm. With that removed, they are free to slide out, but with the stock Traxxas C hub in place, there’s no way to get to them. My solution was to use the tip of my hobby knife and insert it thru the thin plastic of that general area on the C Hub. Pin slid right out, and my hole isn’t big enough to have it cause an issue on the track.
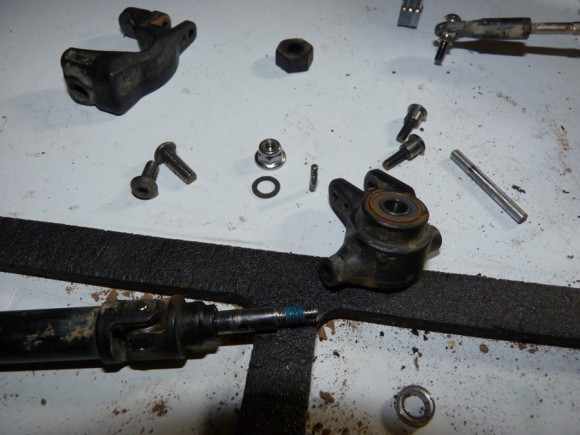
With the C hub finally off, I continue to do my bearing swap.
Another shot of the beautiful T-RCE Wide arms.
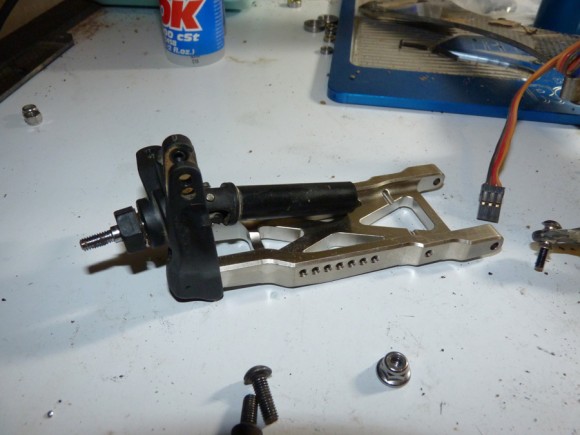
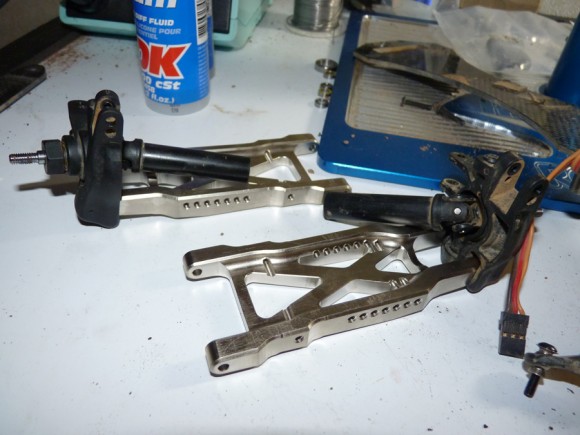
Installing them with the old parts. Eventually I may look at getting some CVD’s and aluminum uprights.
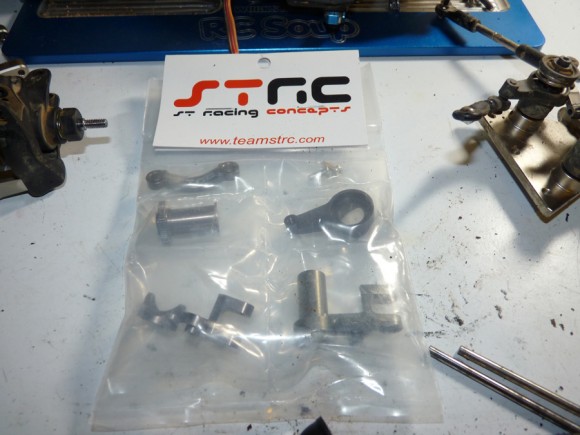
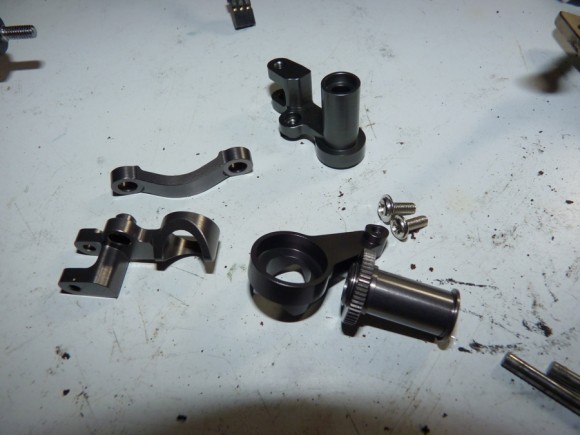
Now that the arms are all assembled, it’s time for the STRC aluminum bellcrank. I picked mine up in the Gun Metal finish.
Here are the components unbagged.
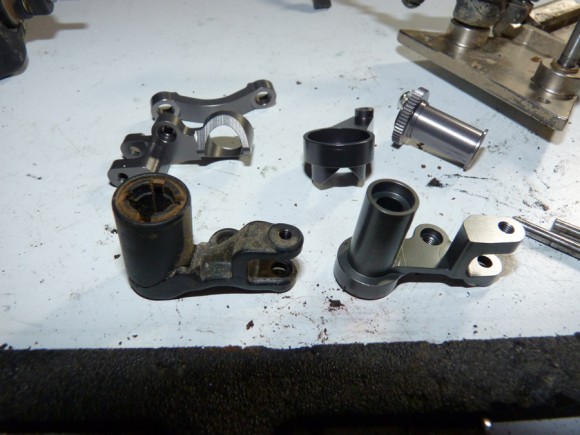
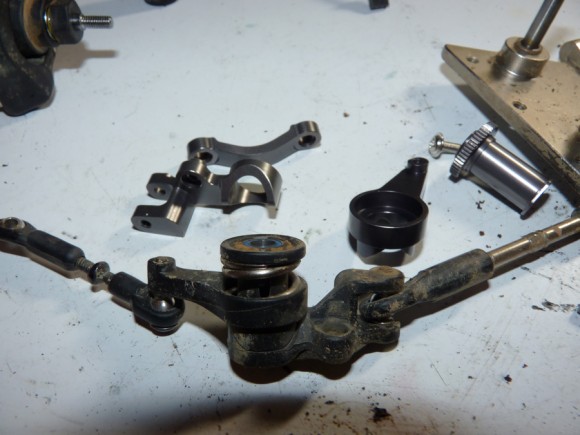
They replace the stock parts, just are a little stronger and have no flex like the stock one will eventually have. They will provide a better, more reliable steering motion.
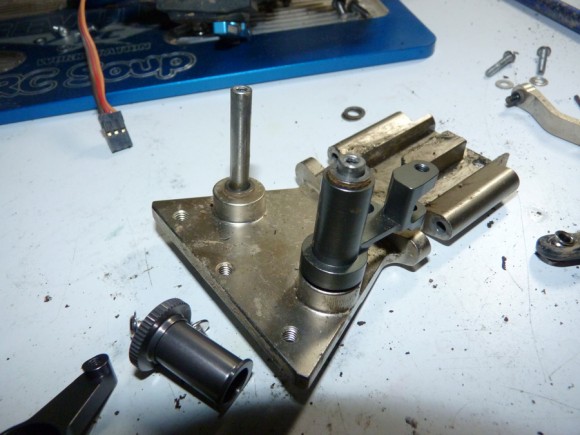
If you’re swapping out the bellcranks on the T-RCE, make sure to keep track of the shims so you maintain the proper bump steer spacing.
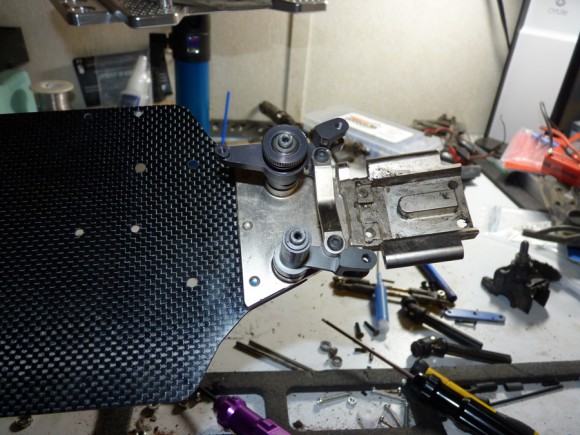
All assembled on the chassis.
We’re still using the T-RCE center link.
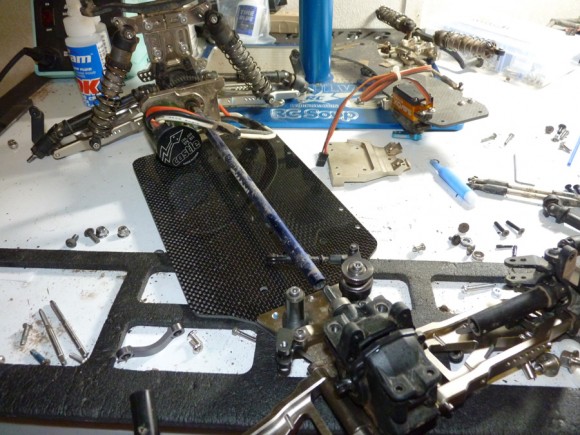
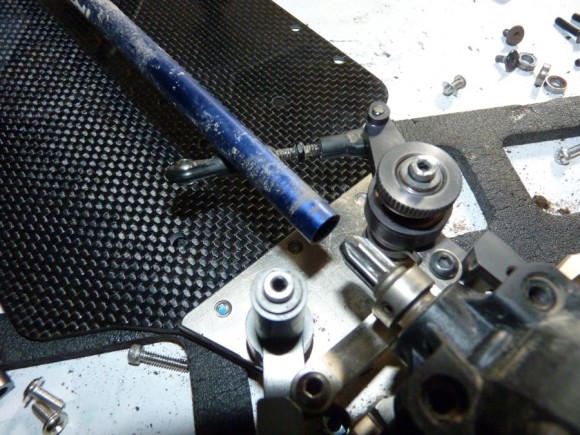
Center shaft no longer fits, see below.
This is how much longer the new chassis is.
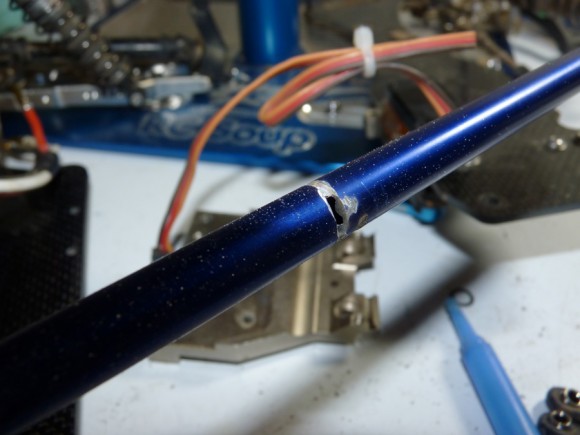
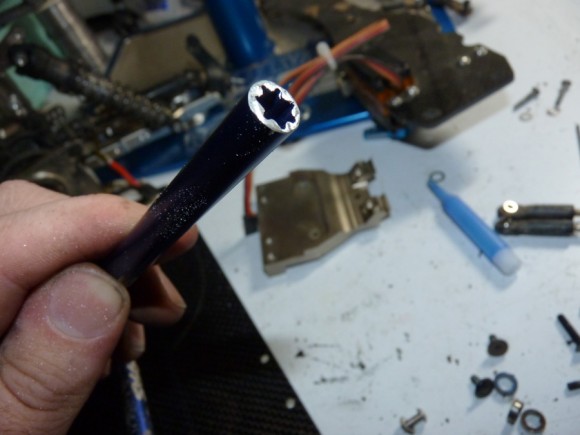
I measured the difference and market my XO-1 center shaft (looks identical to the stock, just longer). I then cut it with a cutoff tool and a Dremel.
Smooth out the edges and you’re good to go.
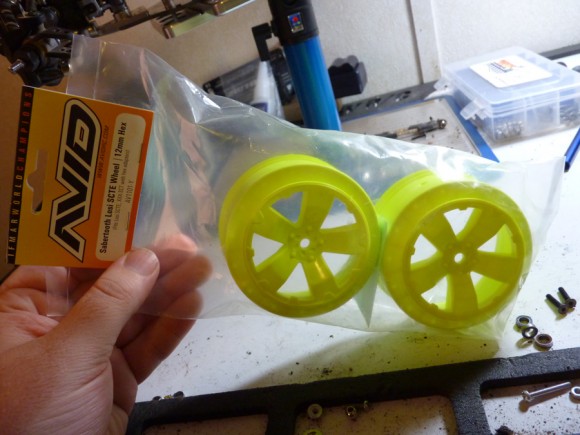
I then mounted up my wheels and tires. The AVID Sabertooth wheels in yellow are BRIGHT and look AWESOME!
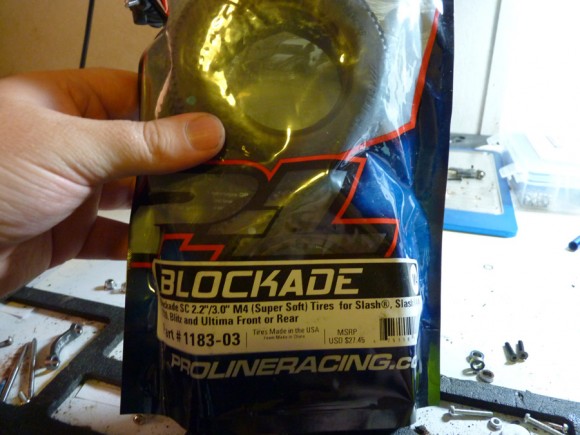
Pro-Line Blockades in M4 compound felt very soft and sticky. Should provide excellent traction.


 August 31st, 2012
  Kevin
Kevin 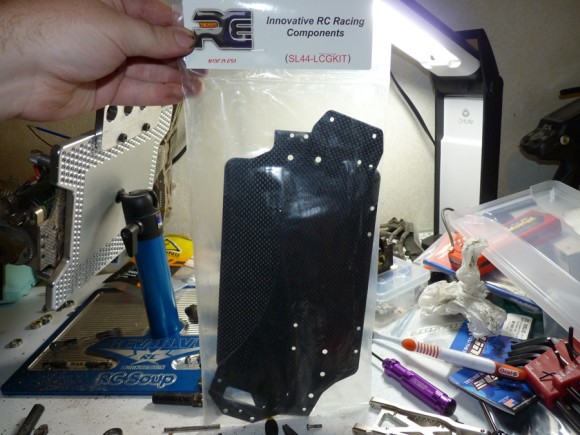
 Posted in
  Tags:
Tags:
[…] 3 RC Soup build complete. http://www.rcsoup.com/2012/08/team-r…-iii-upgrades/ __________________ http://www.rcsoup.com – R/C Reviews, News, and Tips <<- PM Me if you'd like […]
[…] […]
[…] 10:30, and they started a bit after 11AM. I had just enough time to swap out the motor system in my T-RCE Slash 4×4 for a new, higher power Viper system. I love putting myself under that kind of pressure. I’m […]