

 October 1st, 2013
  Kevin
Kevin We all know how expensive this hobby can be. I’ll be the first to admit that I have spent way more than I probably need to, just to feed the addiction. I often reach for the best equipment I can find even if it’s a little more money, while there are usually reasonable/capable options that are cheaper. This time I opted to go a different route.
I recently got into 1/12 on-road and ventured into 1/10 oval last season with the Pemberton Raceworks SJ-10 Chief. I never did have a pit board and found myself borrowing one all the time. I needed to get one of my own. While there are some really great ones out there by companies like HUDY and Genesis R/C, I decided to try my hand at a cheaper route; for now. The purpose of a setup board is to be a perfectly flat surface to set your car on to properly set your car up (camber, toe, ride height, etc). They can be made of lexan, glass, carbon fiber, wood.. whatever, as long as it’s flat it will work. Most benches/tables in the pits at the track are not very flat, even, or level, so that is where this comes in. It’s essentially a tuning aid.
Anyways, upon a tip from fellow Team Soup member Jarodd Goedel, I decided to take a trip to Lowe’s. They have a decent selection of shelving that seemed like it would work just fine. Most are 3′ long, and available in 8, 10, 12, and 15″ widths. I wanted enough room to put a camber gauge on the side of my 1/10 oval car so I went for the 15 5/8″ Melamine coated shelf.
Here you can see the variety, and how cheap they are.
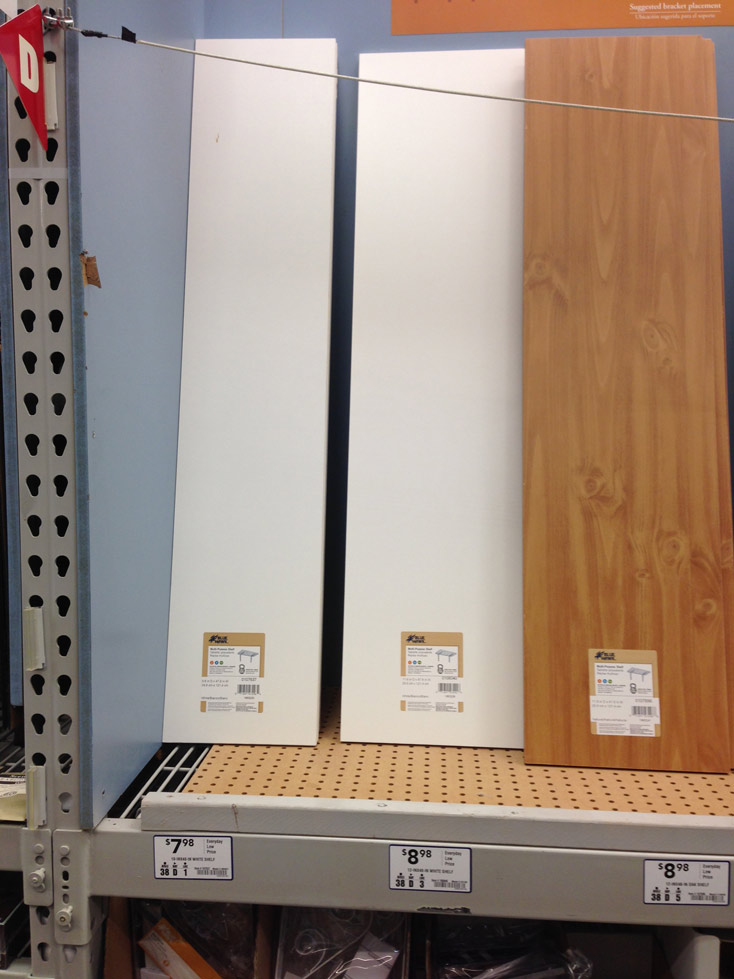
This is the one I went with. It’s a little wider, and melamine coated (stain resistant), and cost a whopping $10.
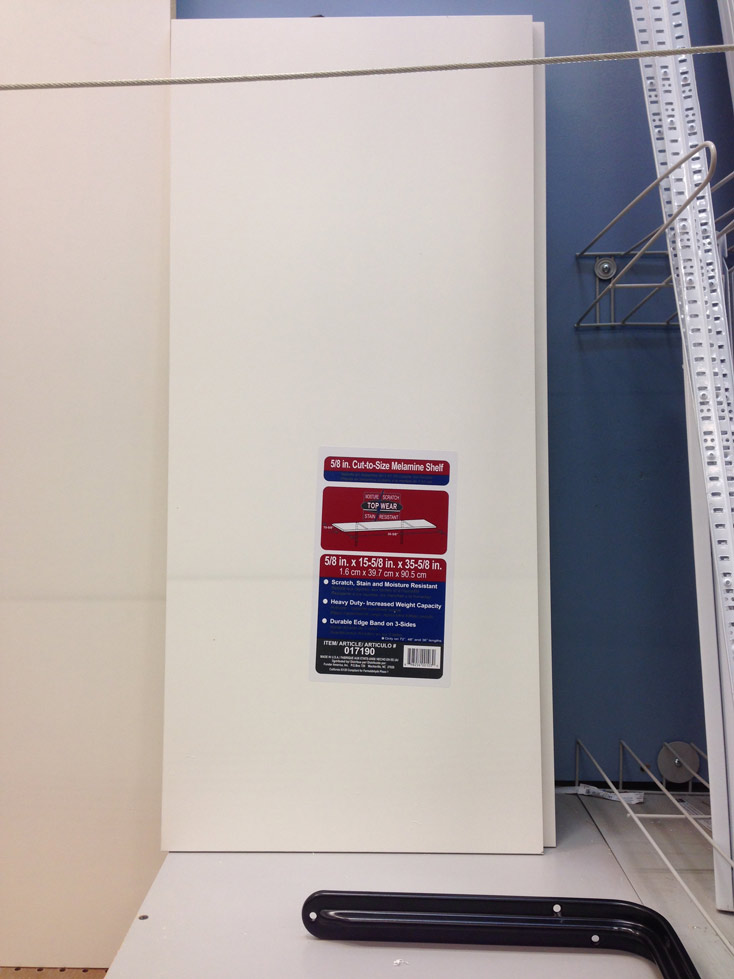
It should make a pretty nice board. Actually, two.. I could just cut it in half.

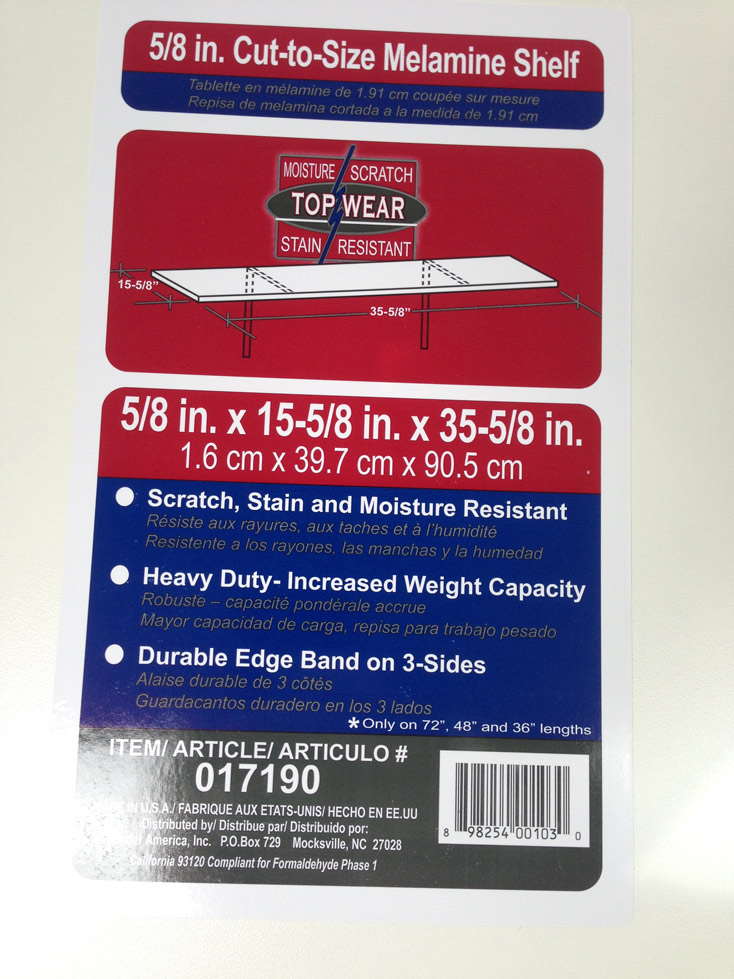
Here’s the label for those that want to read all them juicy specs.
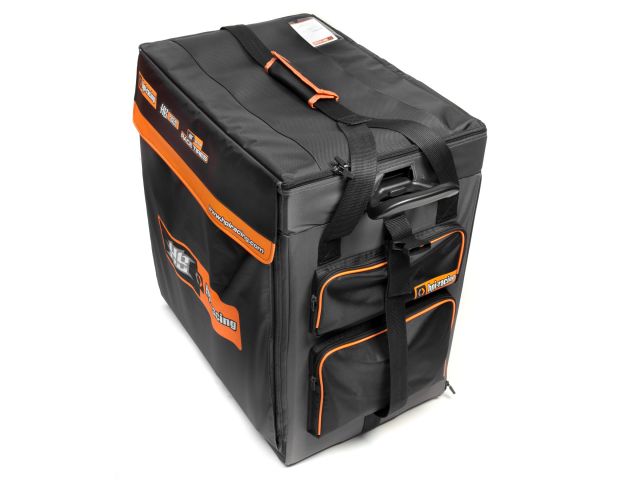
So I got the board home, and measured it up. I decided I needed 18″ long to accommodate my SJ10 car. There’s plenty of room on there for the 1/12, so I measured for the bigger car. I also paid close attention to the pocket size on my HPI Hauler Bag to make sure that it would fit in the setup board pocket. You can almost squeeze an 18×18″ square in that pocket, so 18×15 5/8″ was perfect.
This is the hauler bag for those that don’t know what I’m referring to. The side on the left in the photo is a large pocket for such a setup board or pit mat.
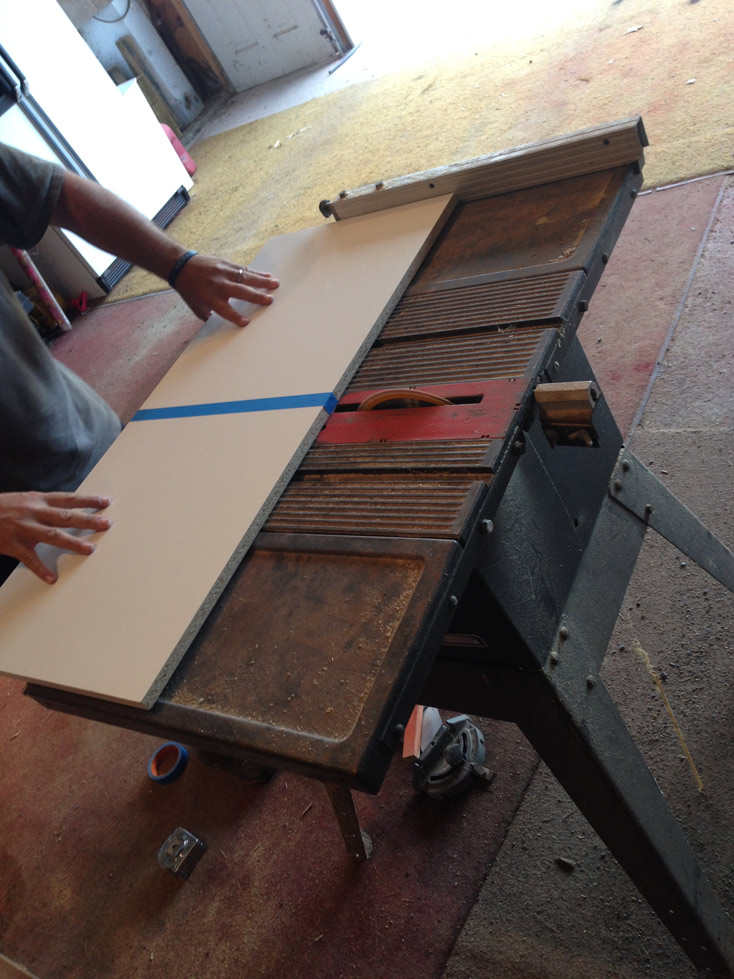
So anyways, I headed over to Jarodd’s. We measured and taped the shelf. The tape helps prevent the coating from chipping. We put the board on the table saw and cut it down to 18″ on the one side.
This is what I ended up with. I now have 2 boards, 1 at the size I need and one a little shorter that someone else can probably still use. Since I don’t want to look like a complete hack, I’m going to seal off the exposed edges with some iron on melamine edging.
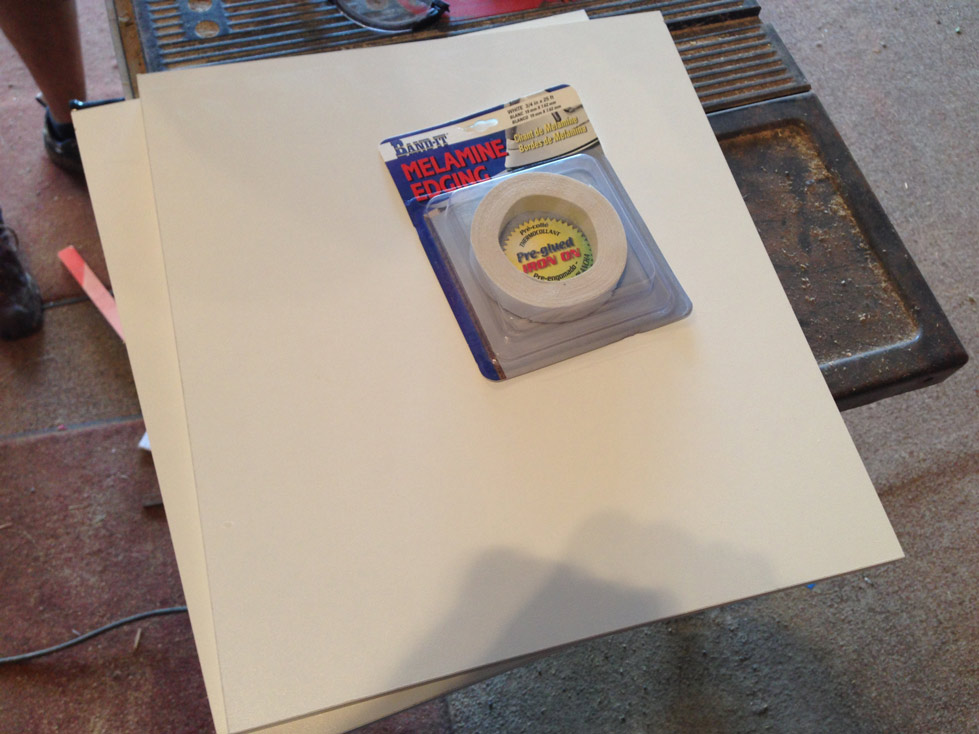
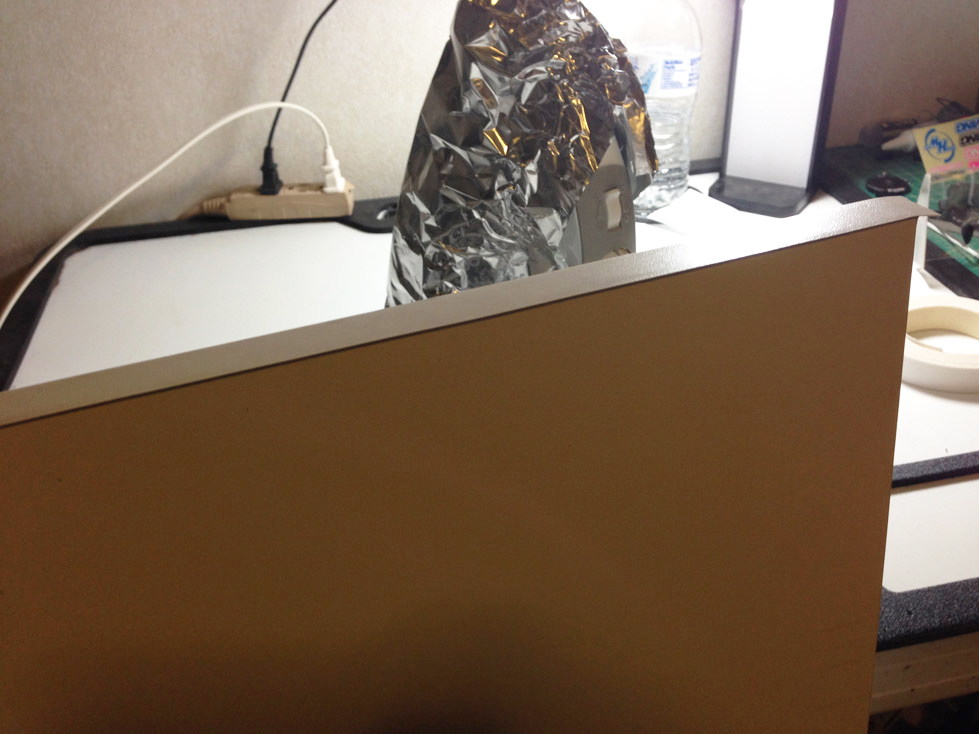
Basically with the iron on edging, you simply cut the preglued material to the length you need and heat it on. To protect the iron, you will want to use aluminum foil or parchment paper as a barrier between the material and the iron.
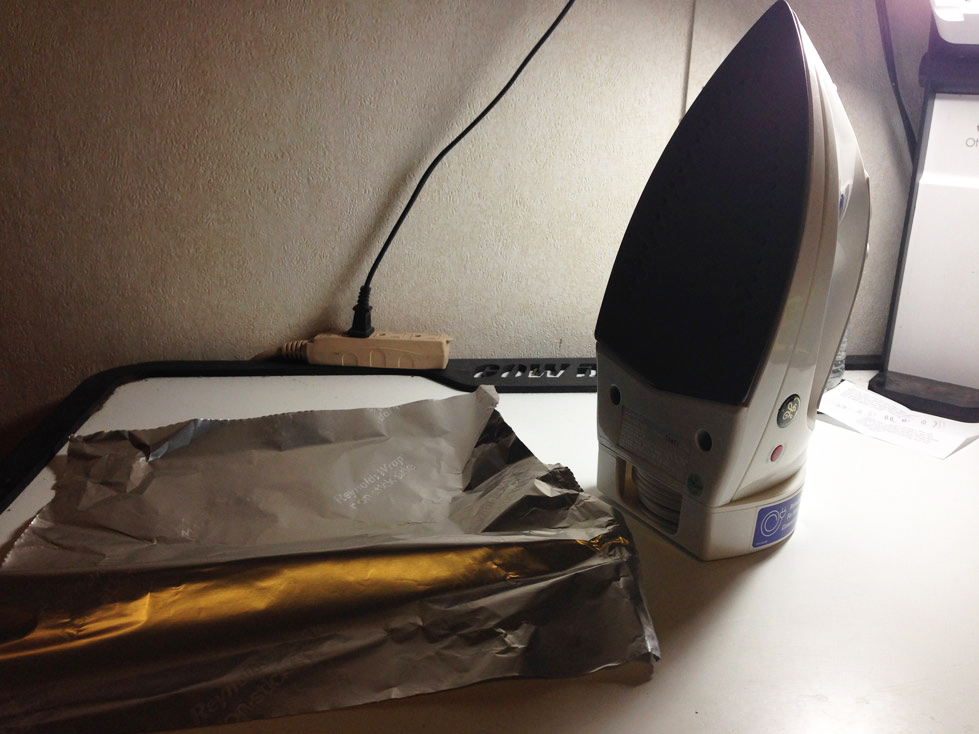
I wrapped my iron with a sheet of foil. I then measured and cut what I needed for each edge. The material is flexible and can be cut with a blade or scissors.
With it held in place, simply slowly go over it with the hot iron (on cotton setting). The glue melts to the board and you should get a nice smooth application. Be sure to remove any saw dust or particles left on the board with compressed air or a brush.
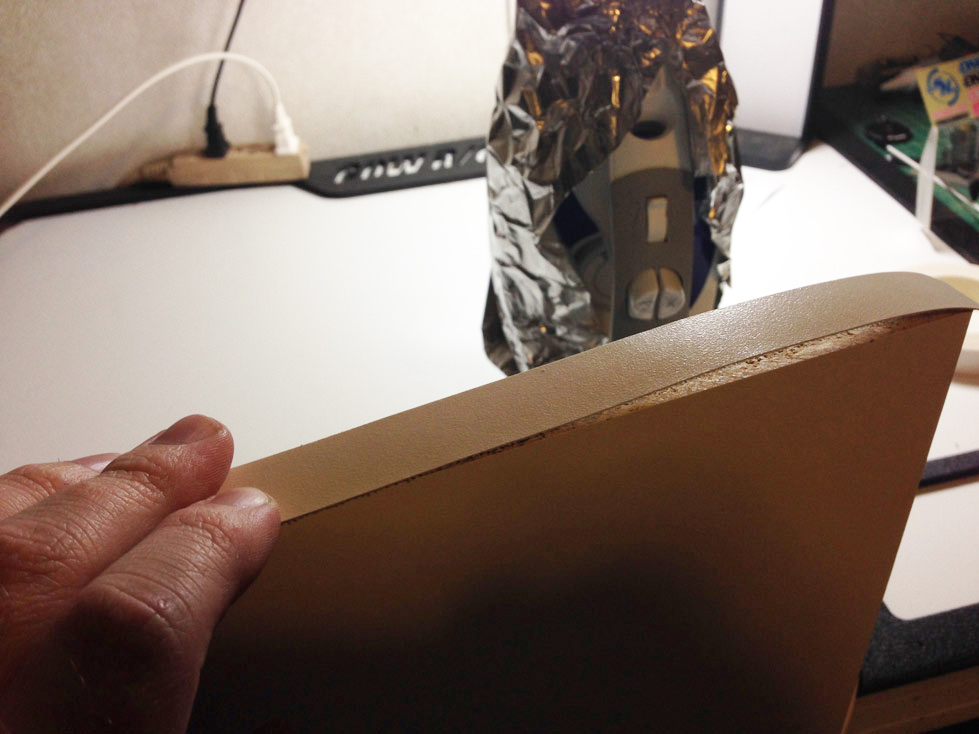
The edging is a bit wider than the board, so you end up with a slight overlap on both sides for this particular board.
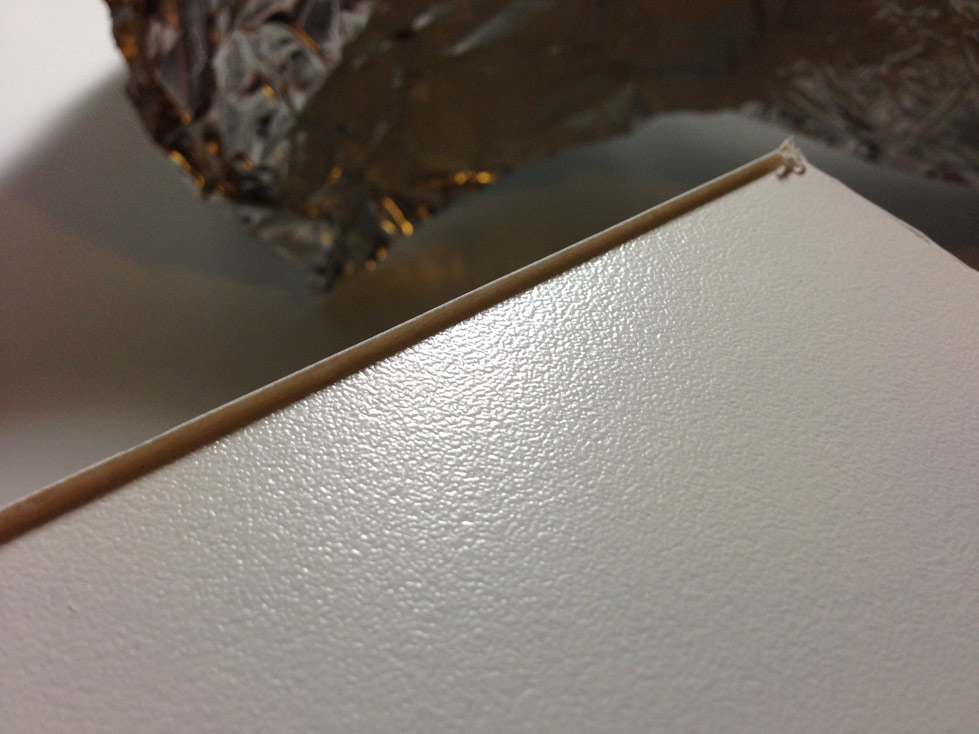
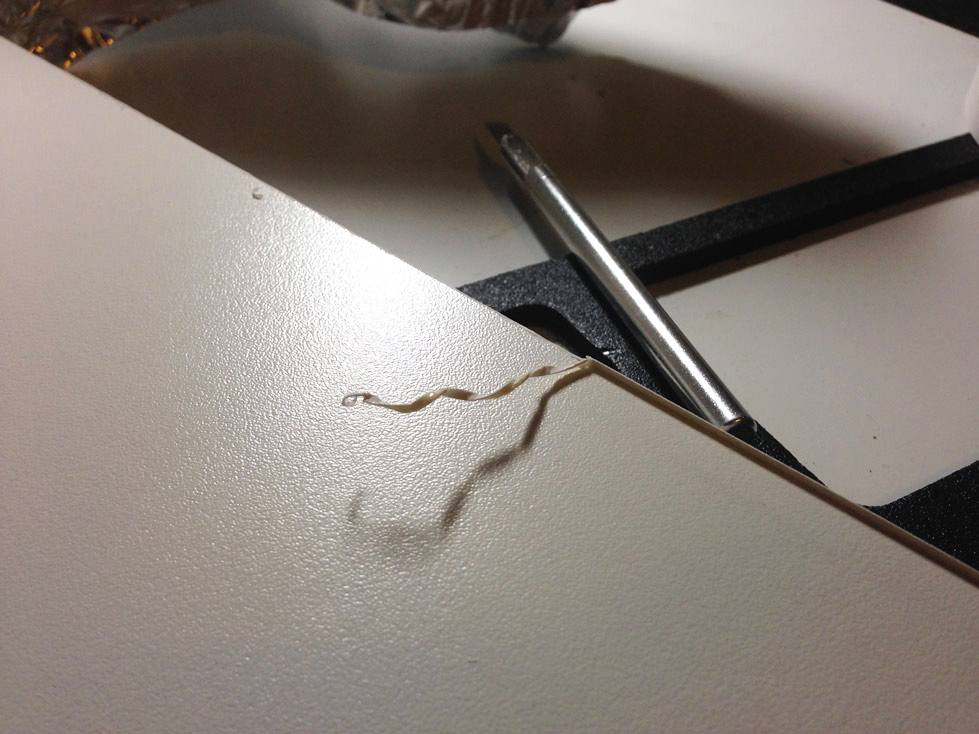
With a steady hand and a hobby knife, it’s easy to just trim it right off to the board for a clean smooth edge.
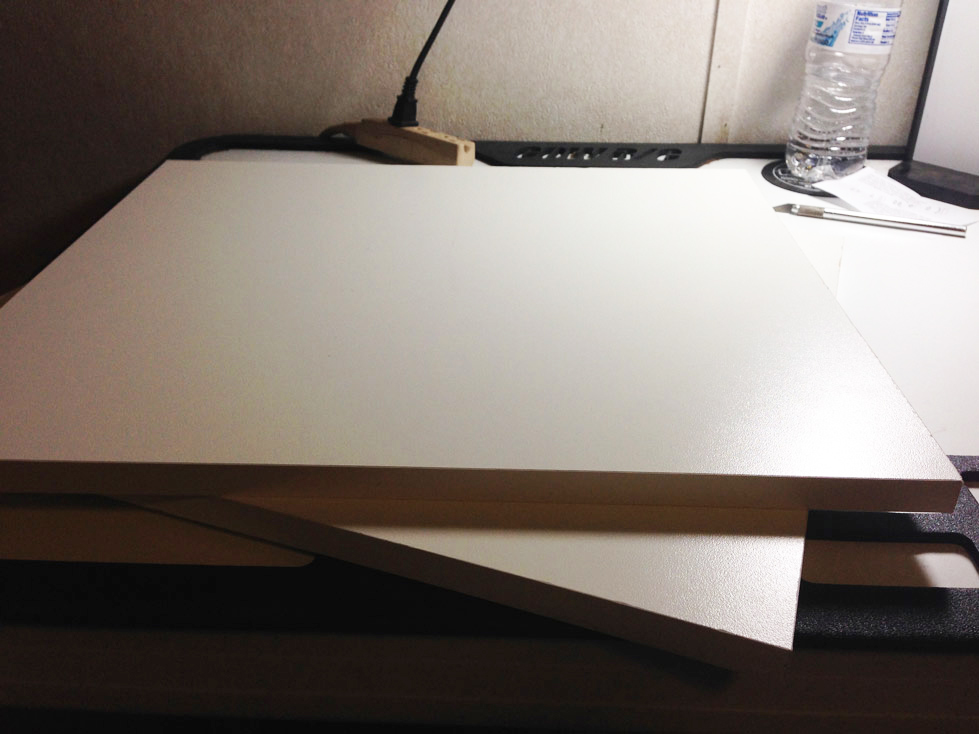
And just like that… I have 2 setup boards of a decent size for under $15. If you want to go crazy, HUDY makes a decal that actually fits on this size board that would add measurements and such. I will probably just leave mine as is though.
 Posted in
  Tags:
Tags: