

 November 2nd, 2013
  Jarodd
 Once the temperature starts to drop and the leaves start to change it means that off road racing is coming to an end in Central New York. Especially if you call CRC Raceway home as I do. CRC is known for their carpet on road and oval cars. The Battle Axe 3 is their latest offering to the 1/10 Oval market. The CRC team guys were running the BA 3 last year and were dominant. Everyone was eagerly awaiting the release. As the season approached I decided to step up and build my own. I want to take oval racing seriously this year!
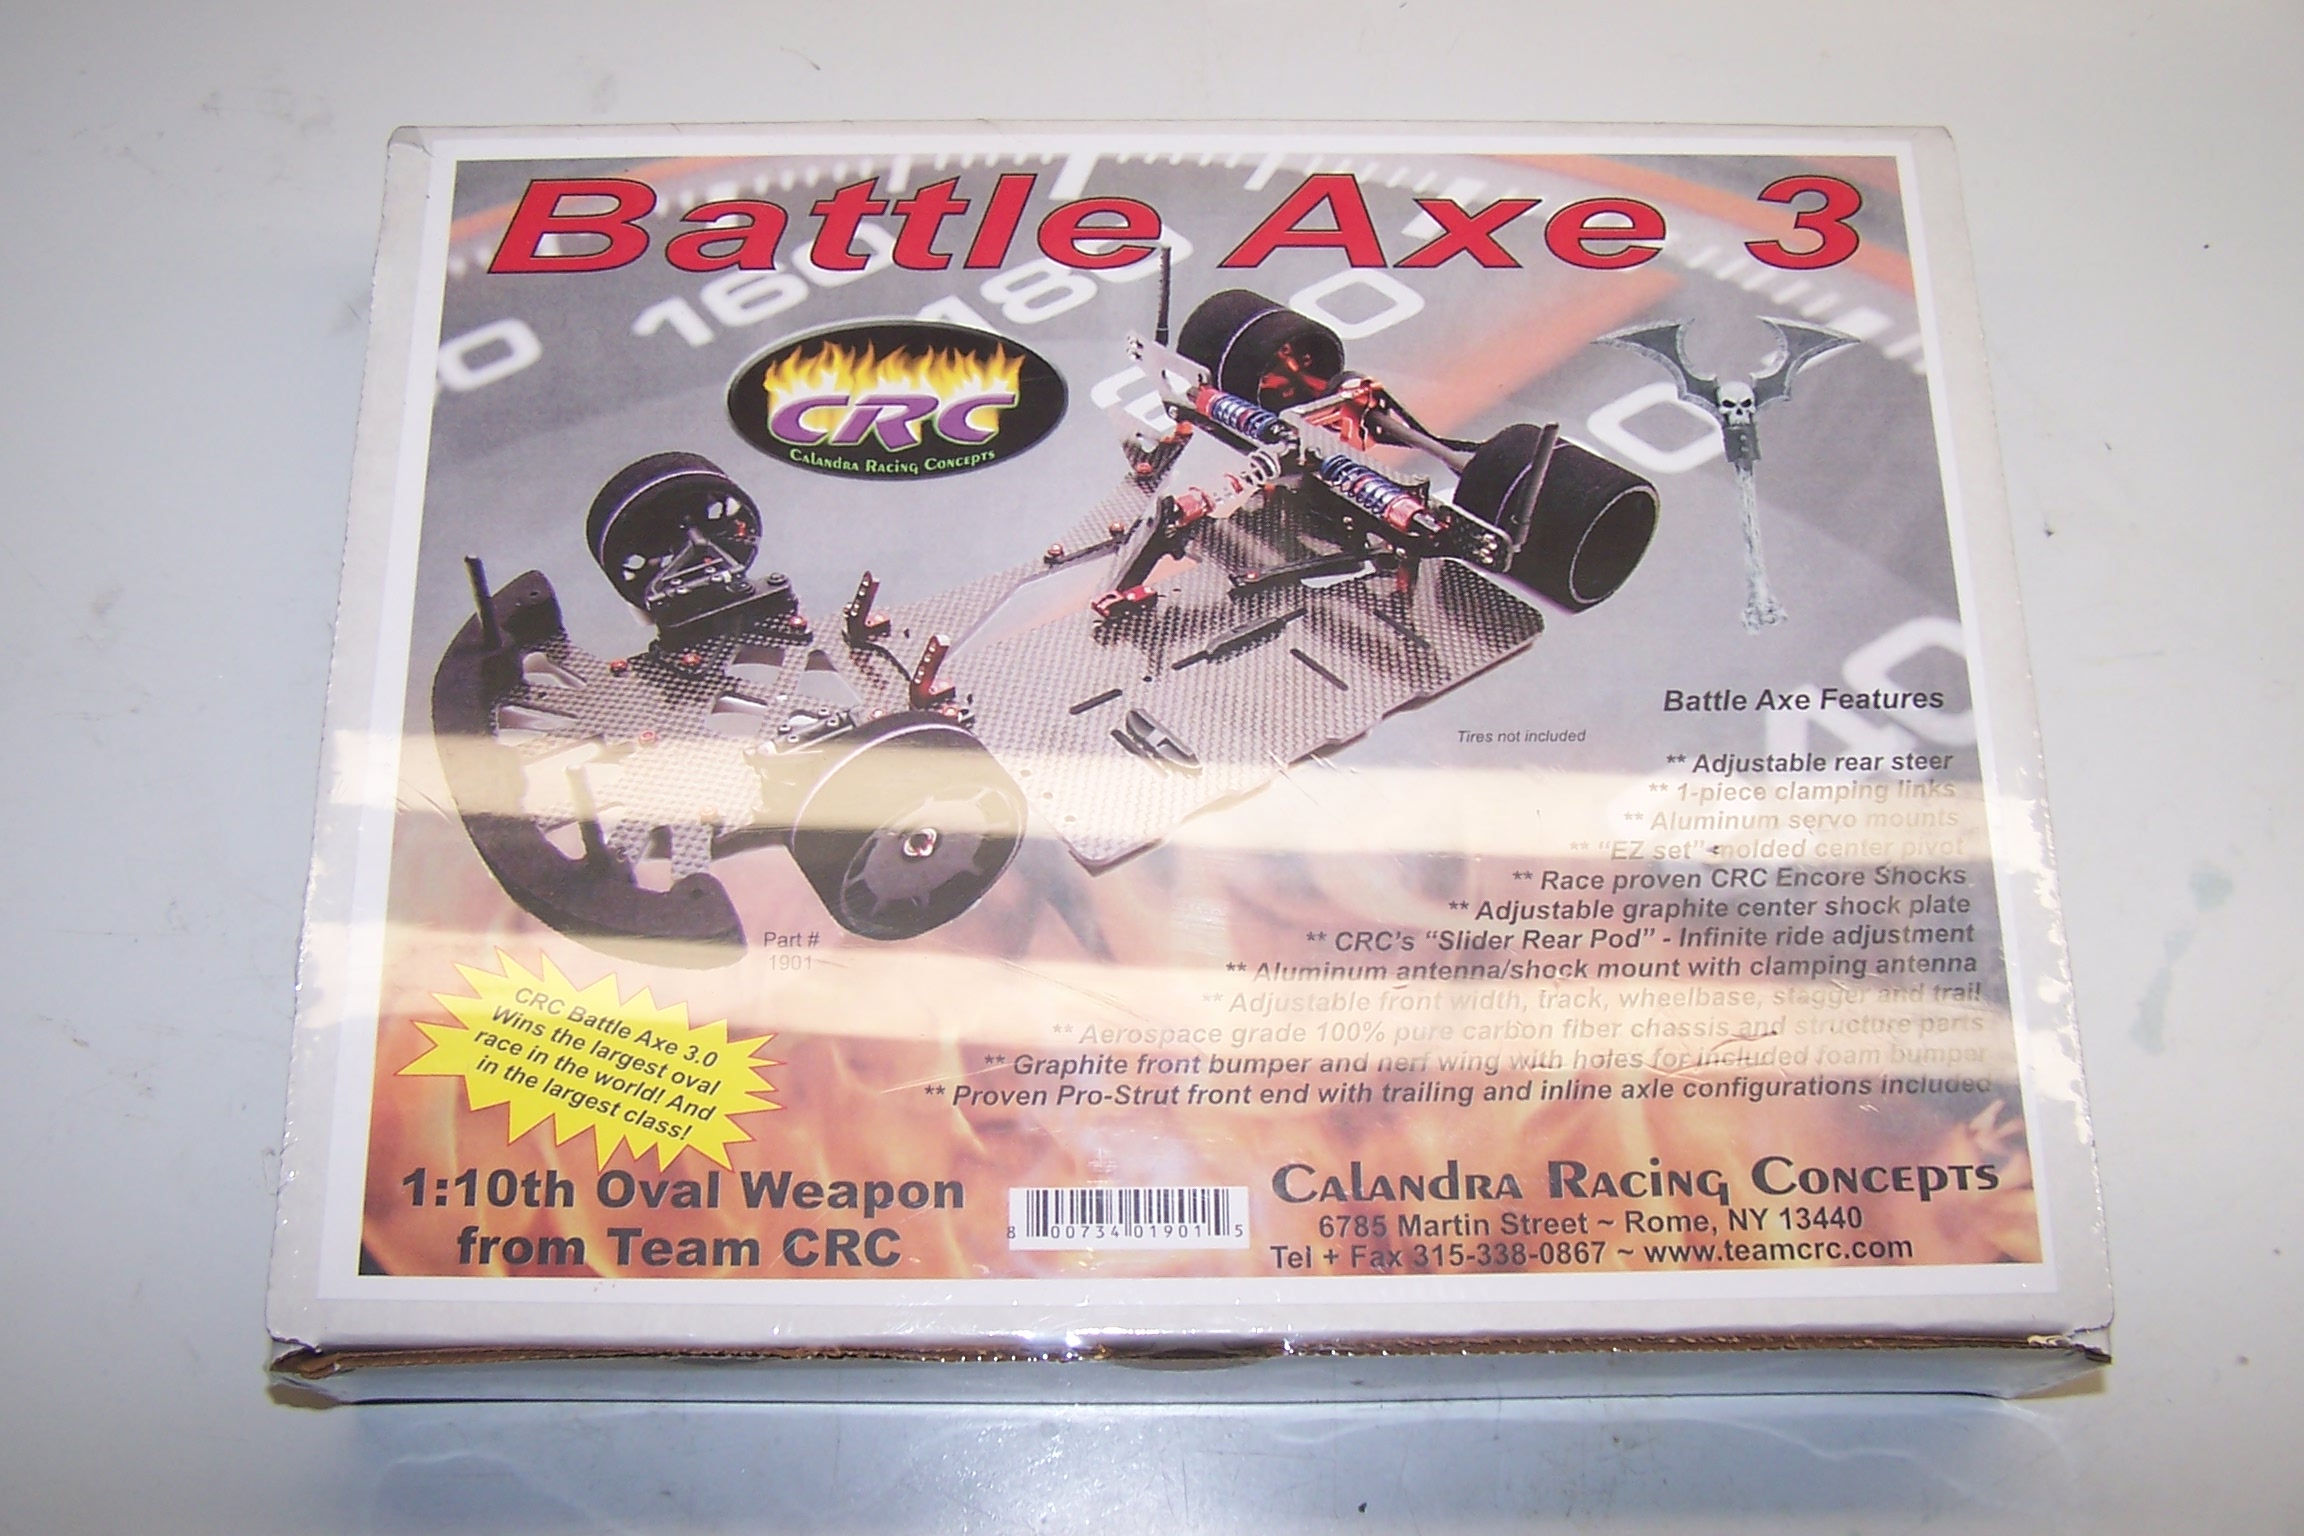
Fresh in the box and ready to start.
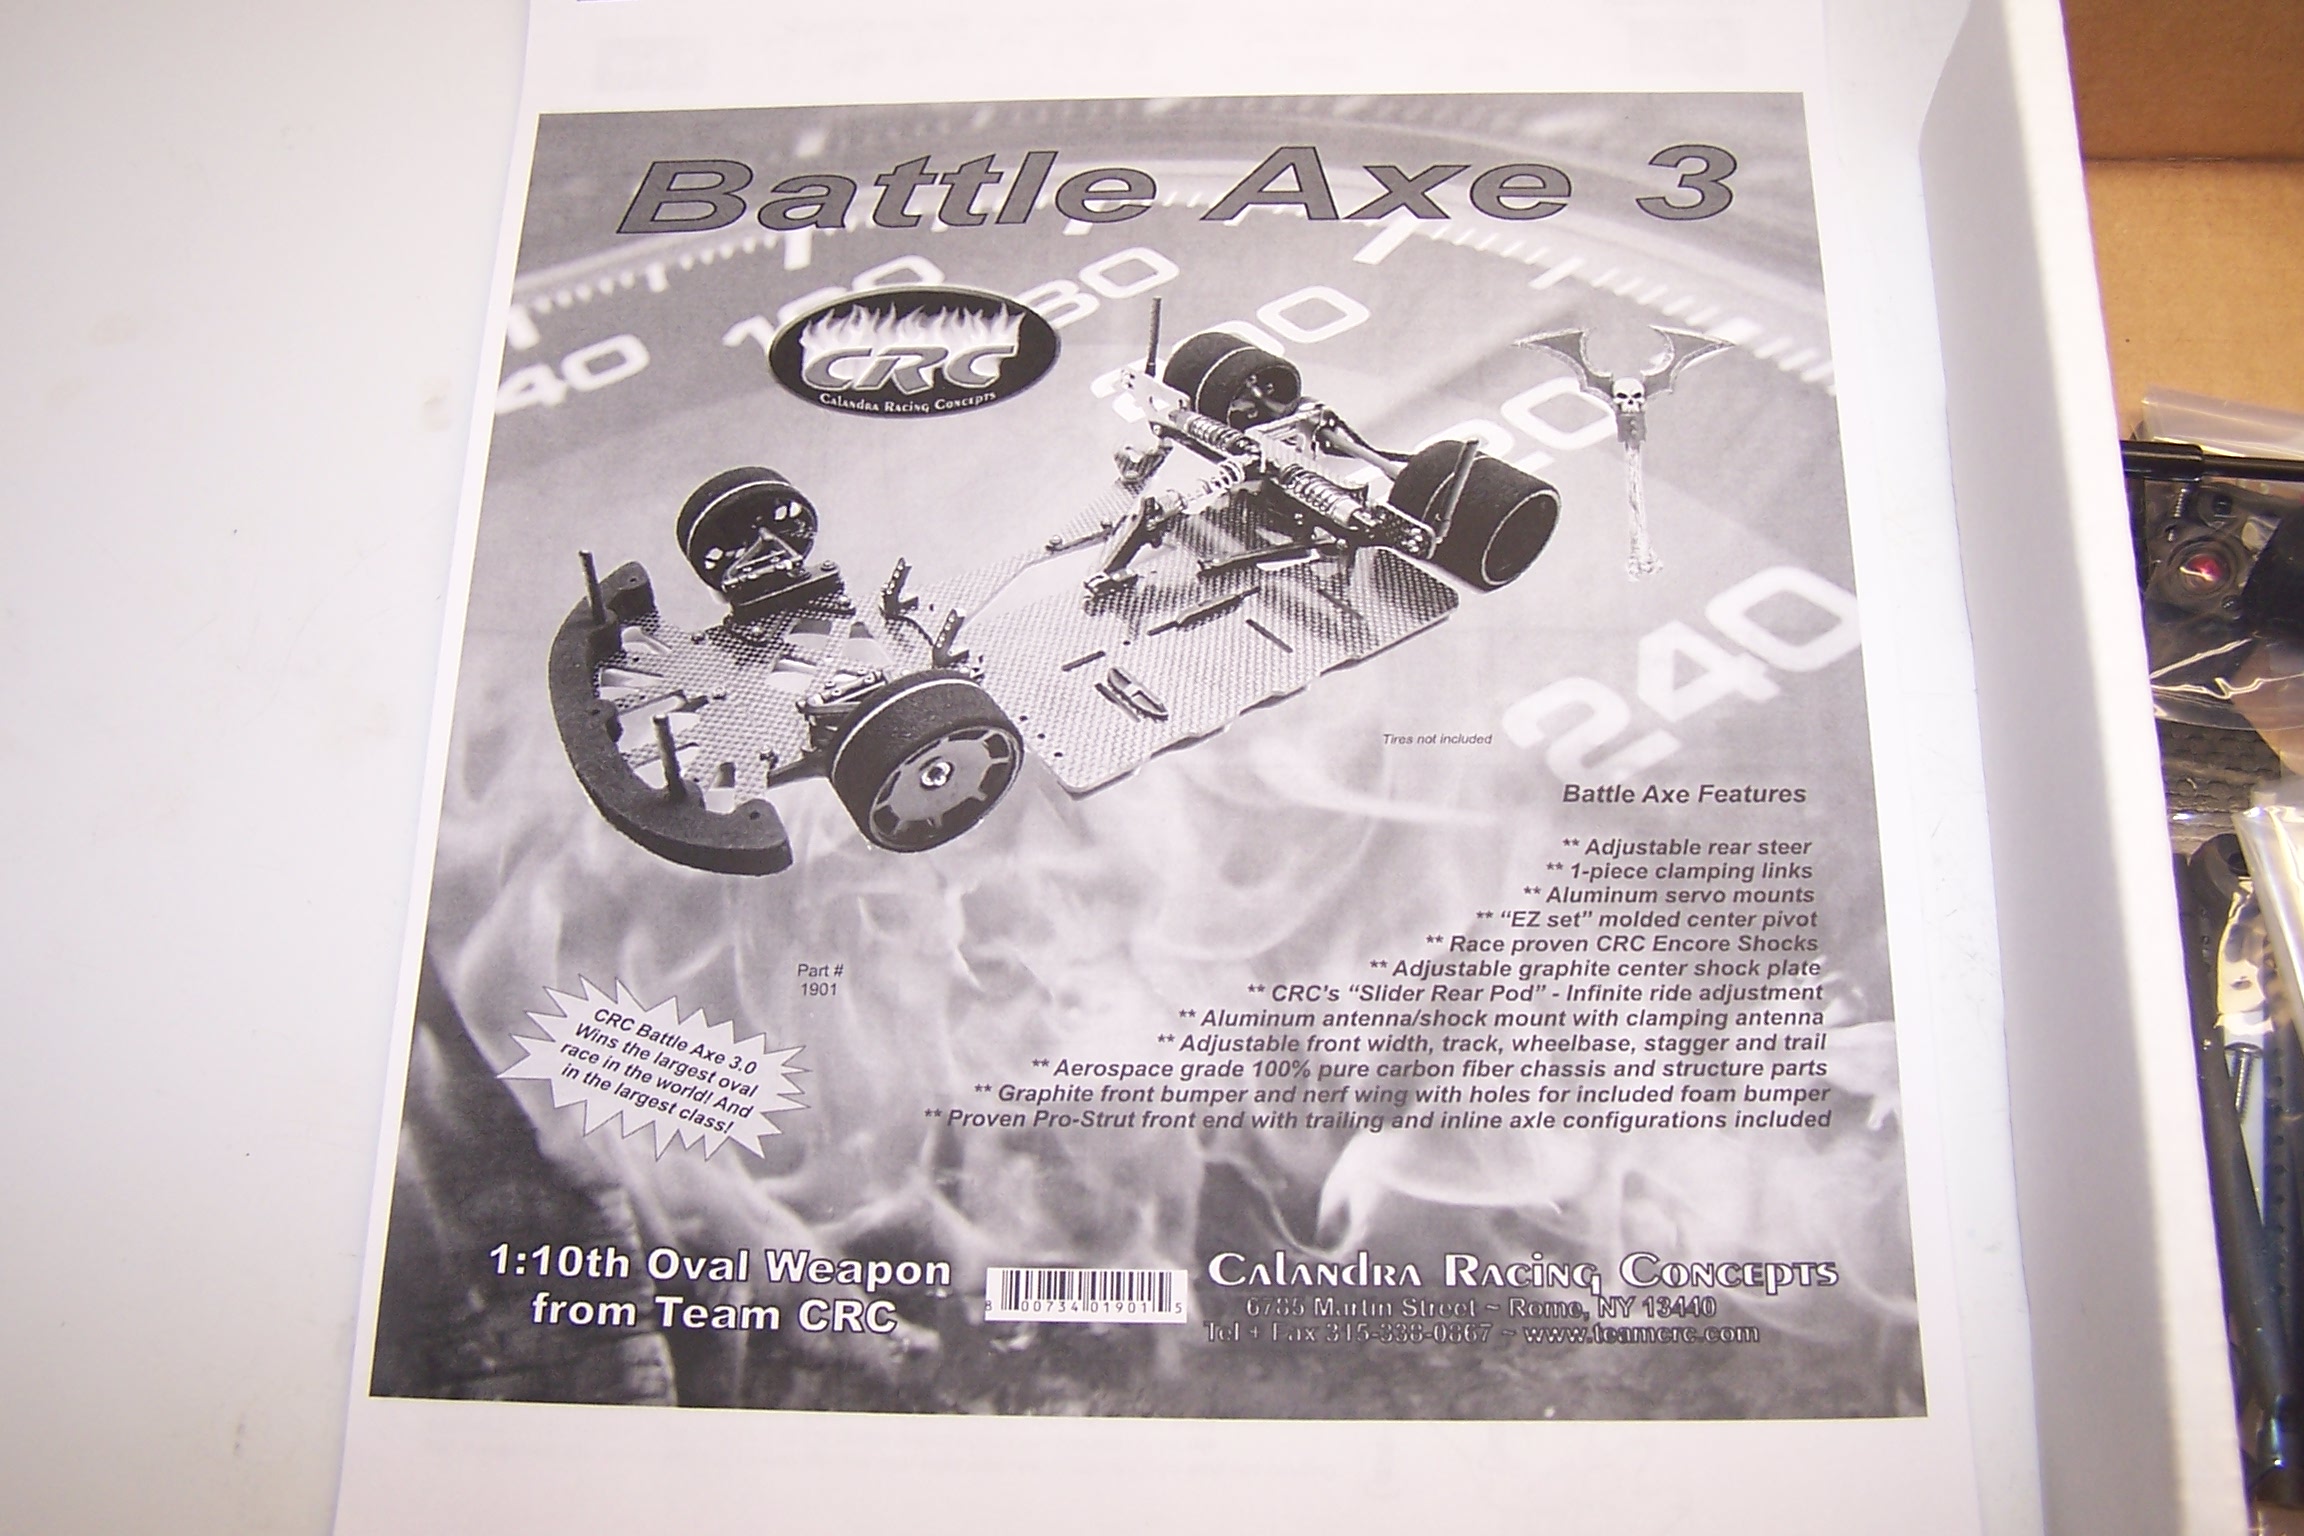
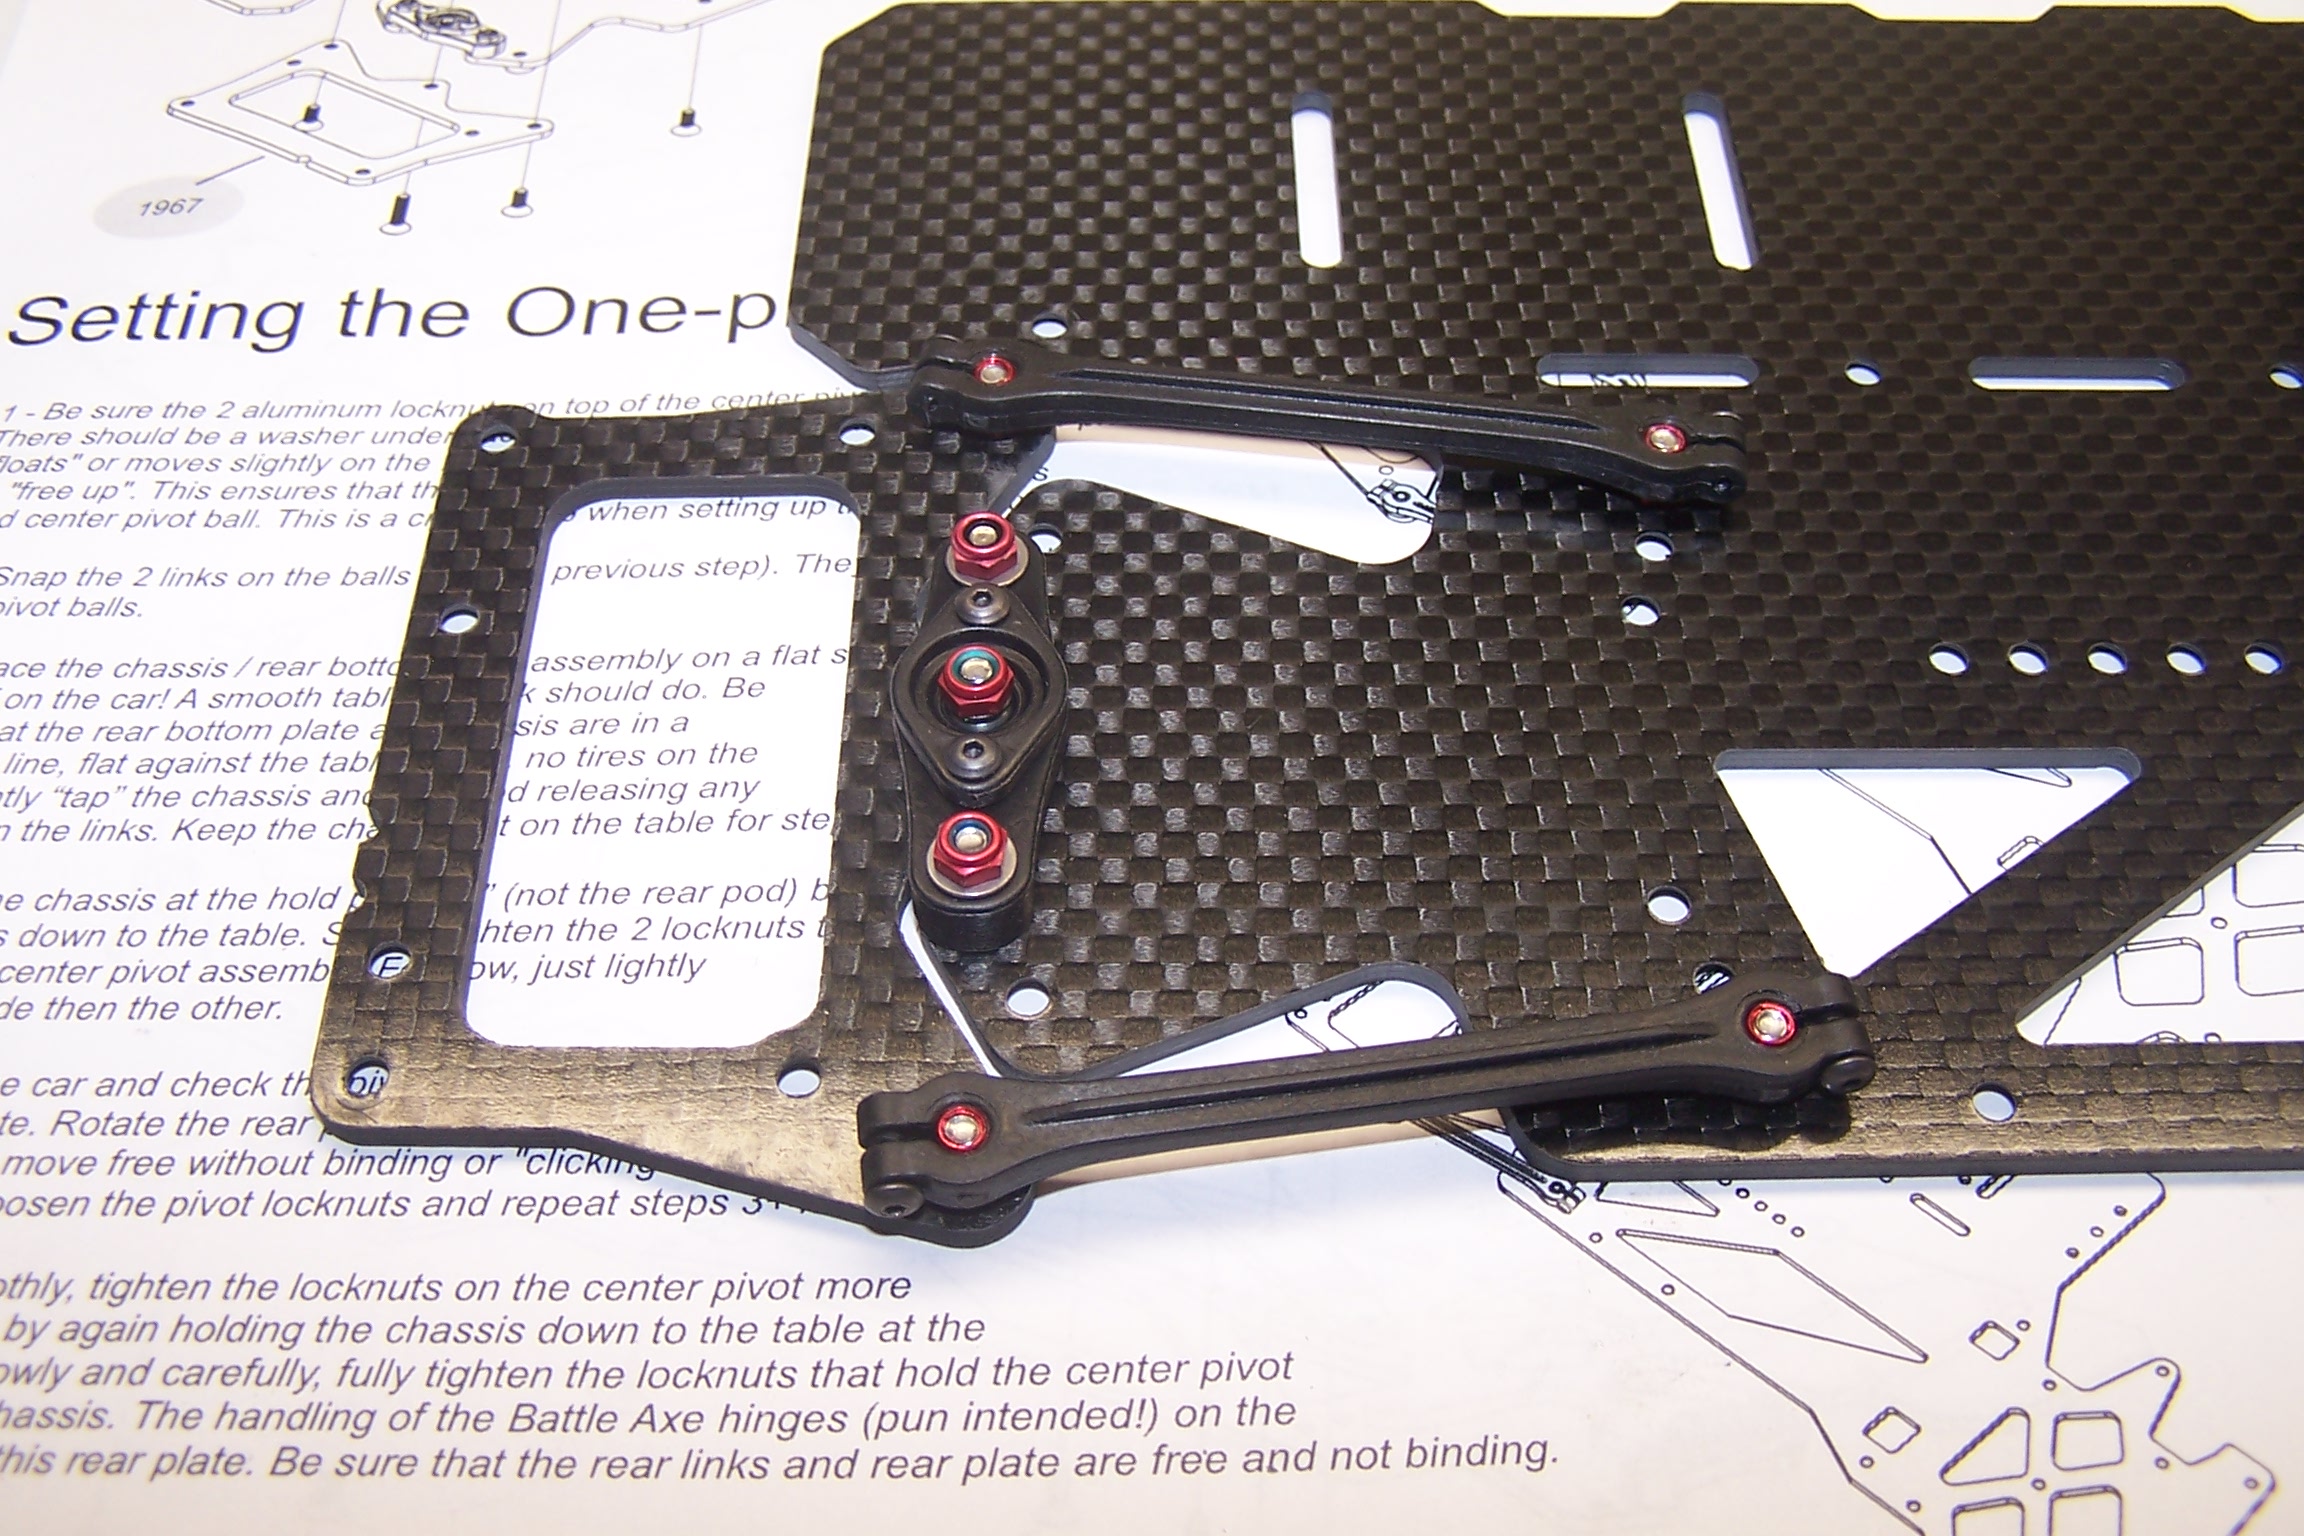
CRC’s instruction manuals are always well written and have explanations and tips at critical steps.
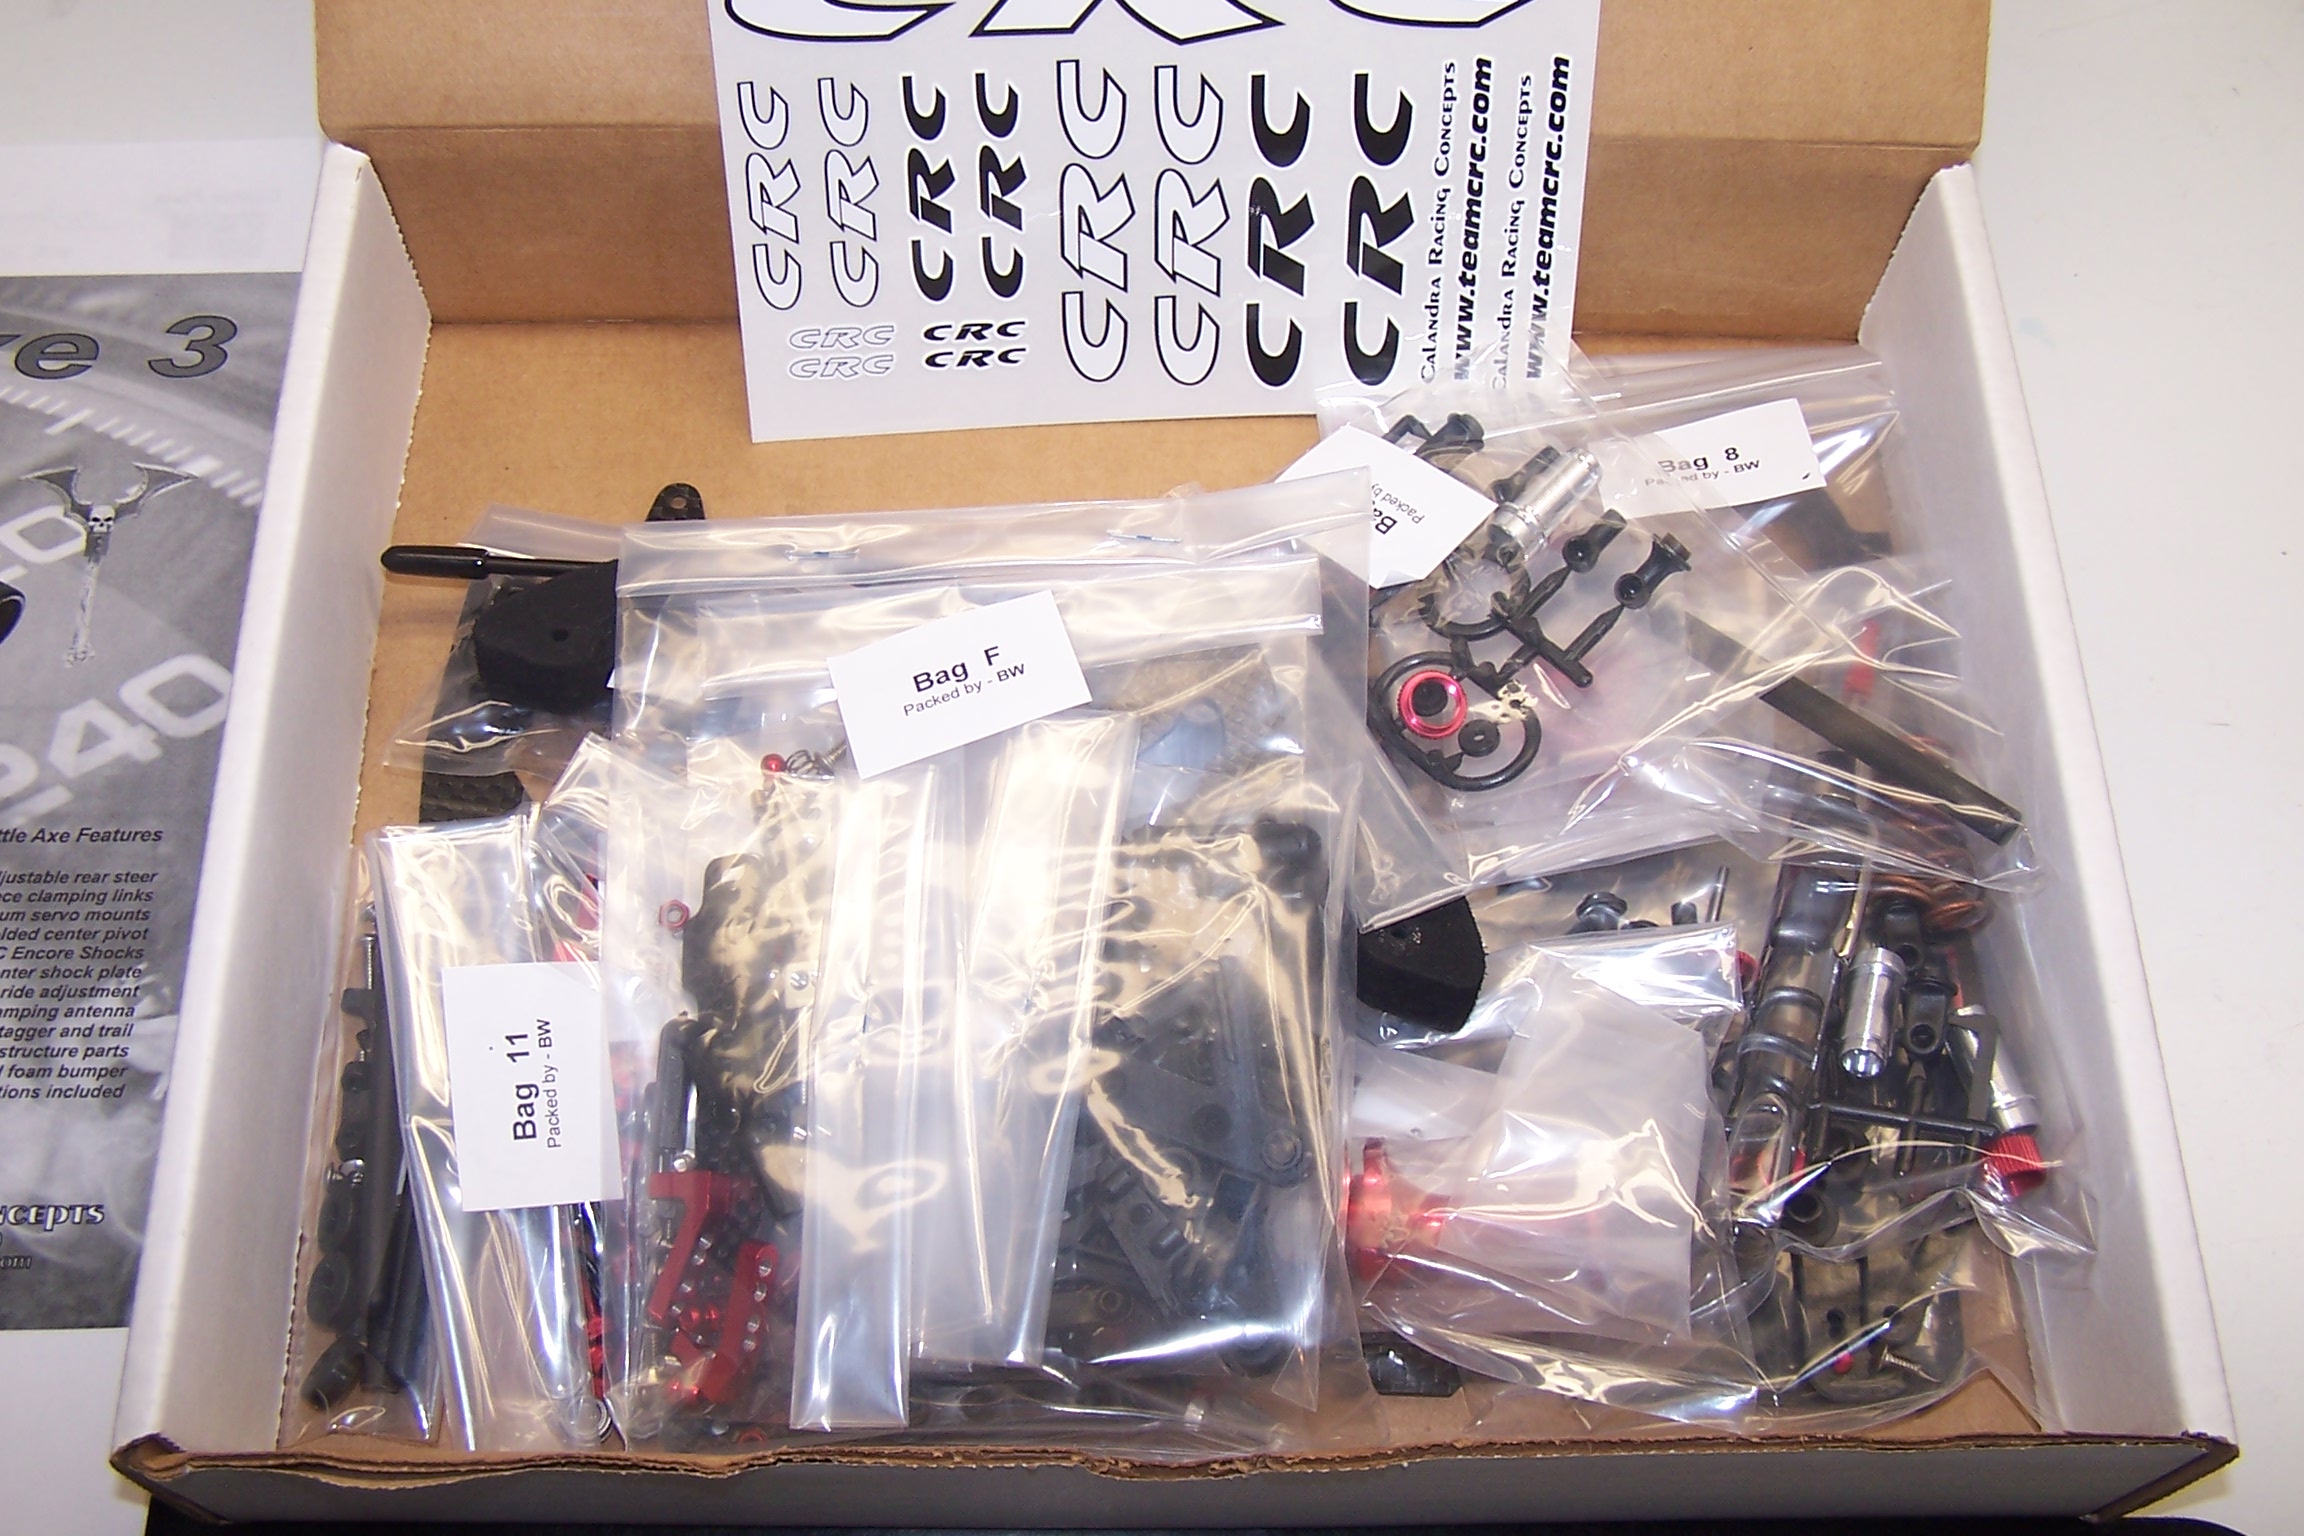
Everything is bagged per step. As you move through the manual you keep using bags. CRC also includes a nice set of decals.
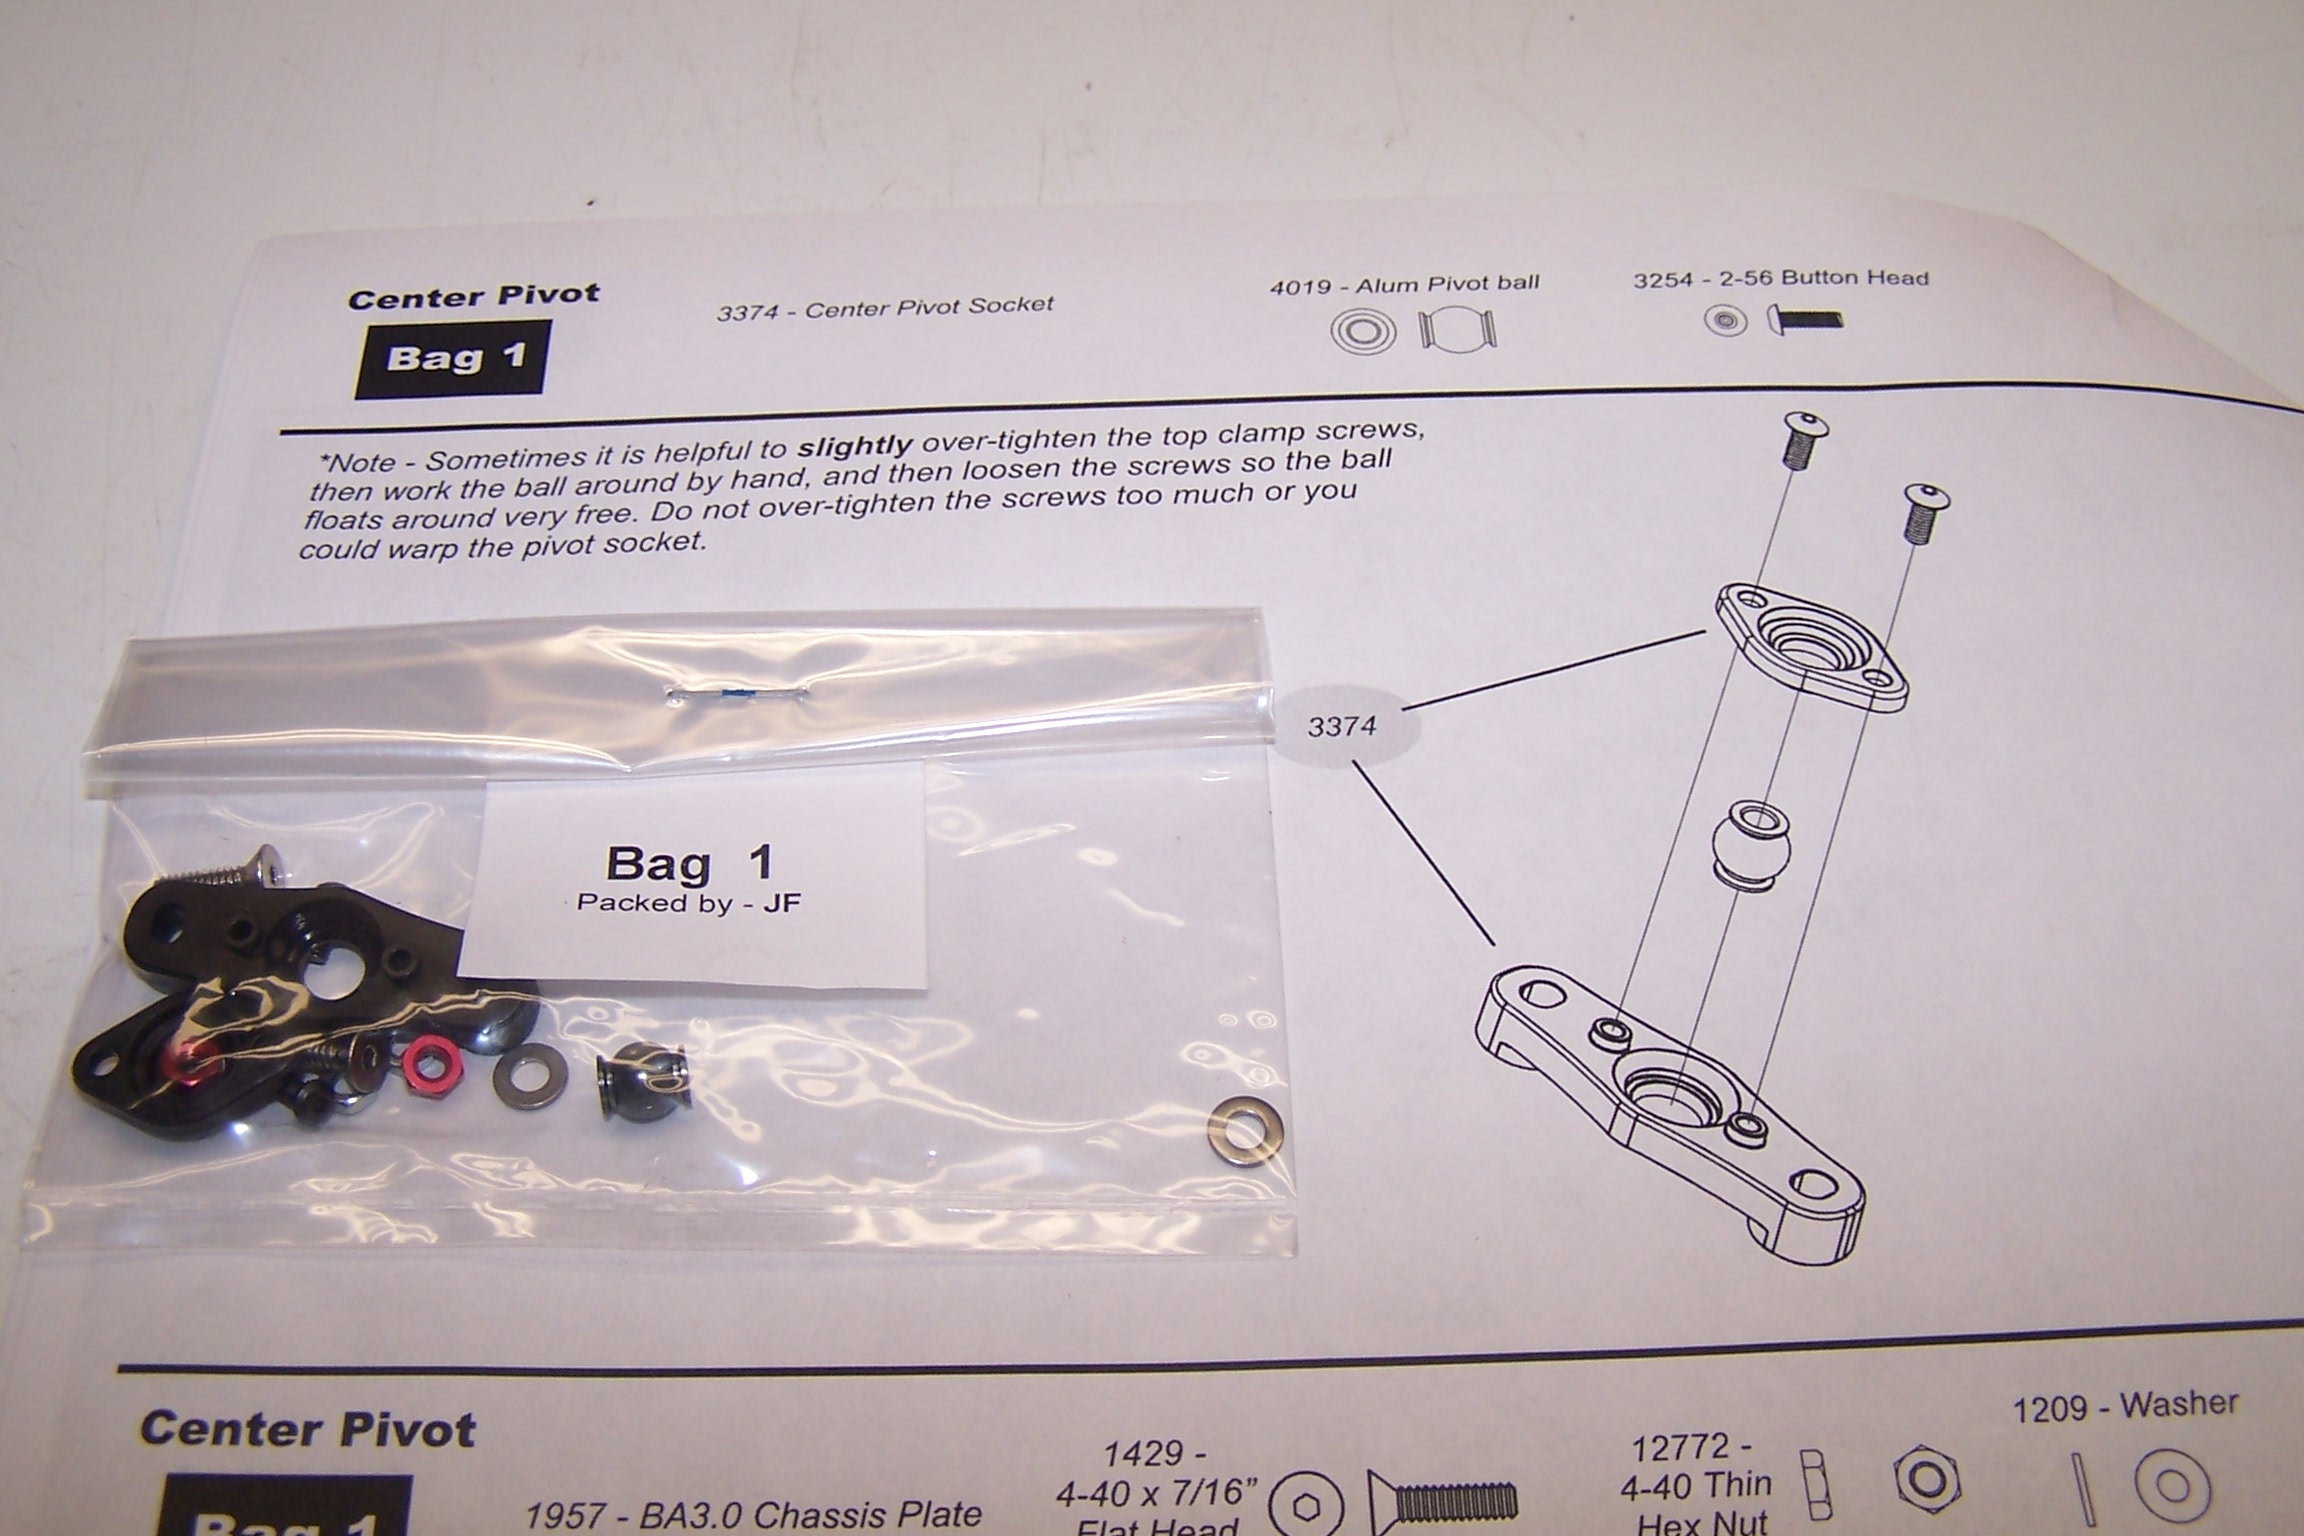
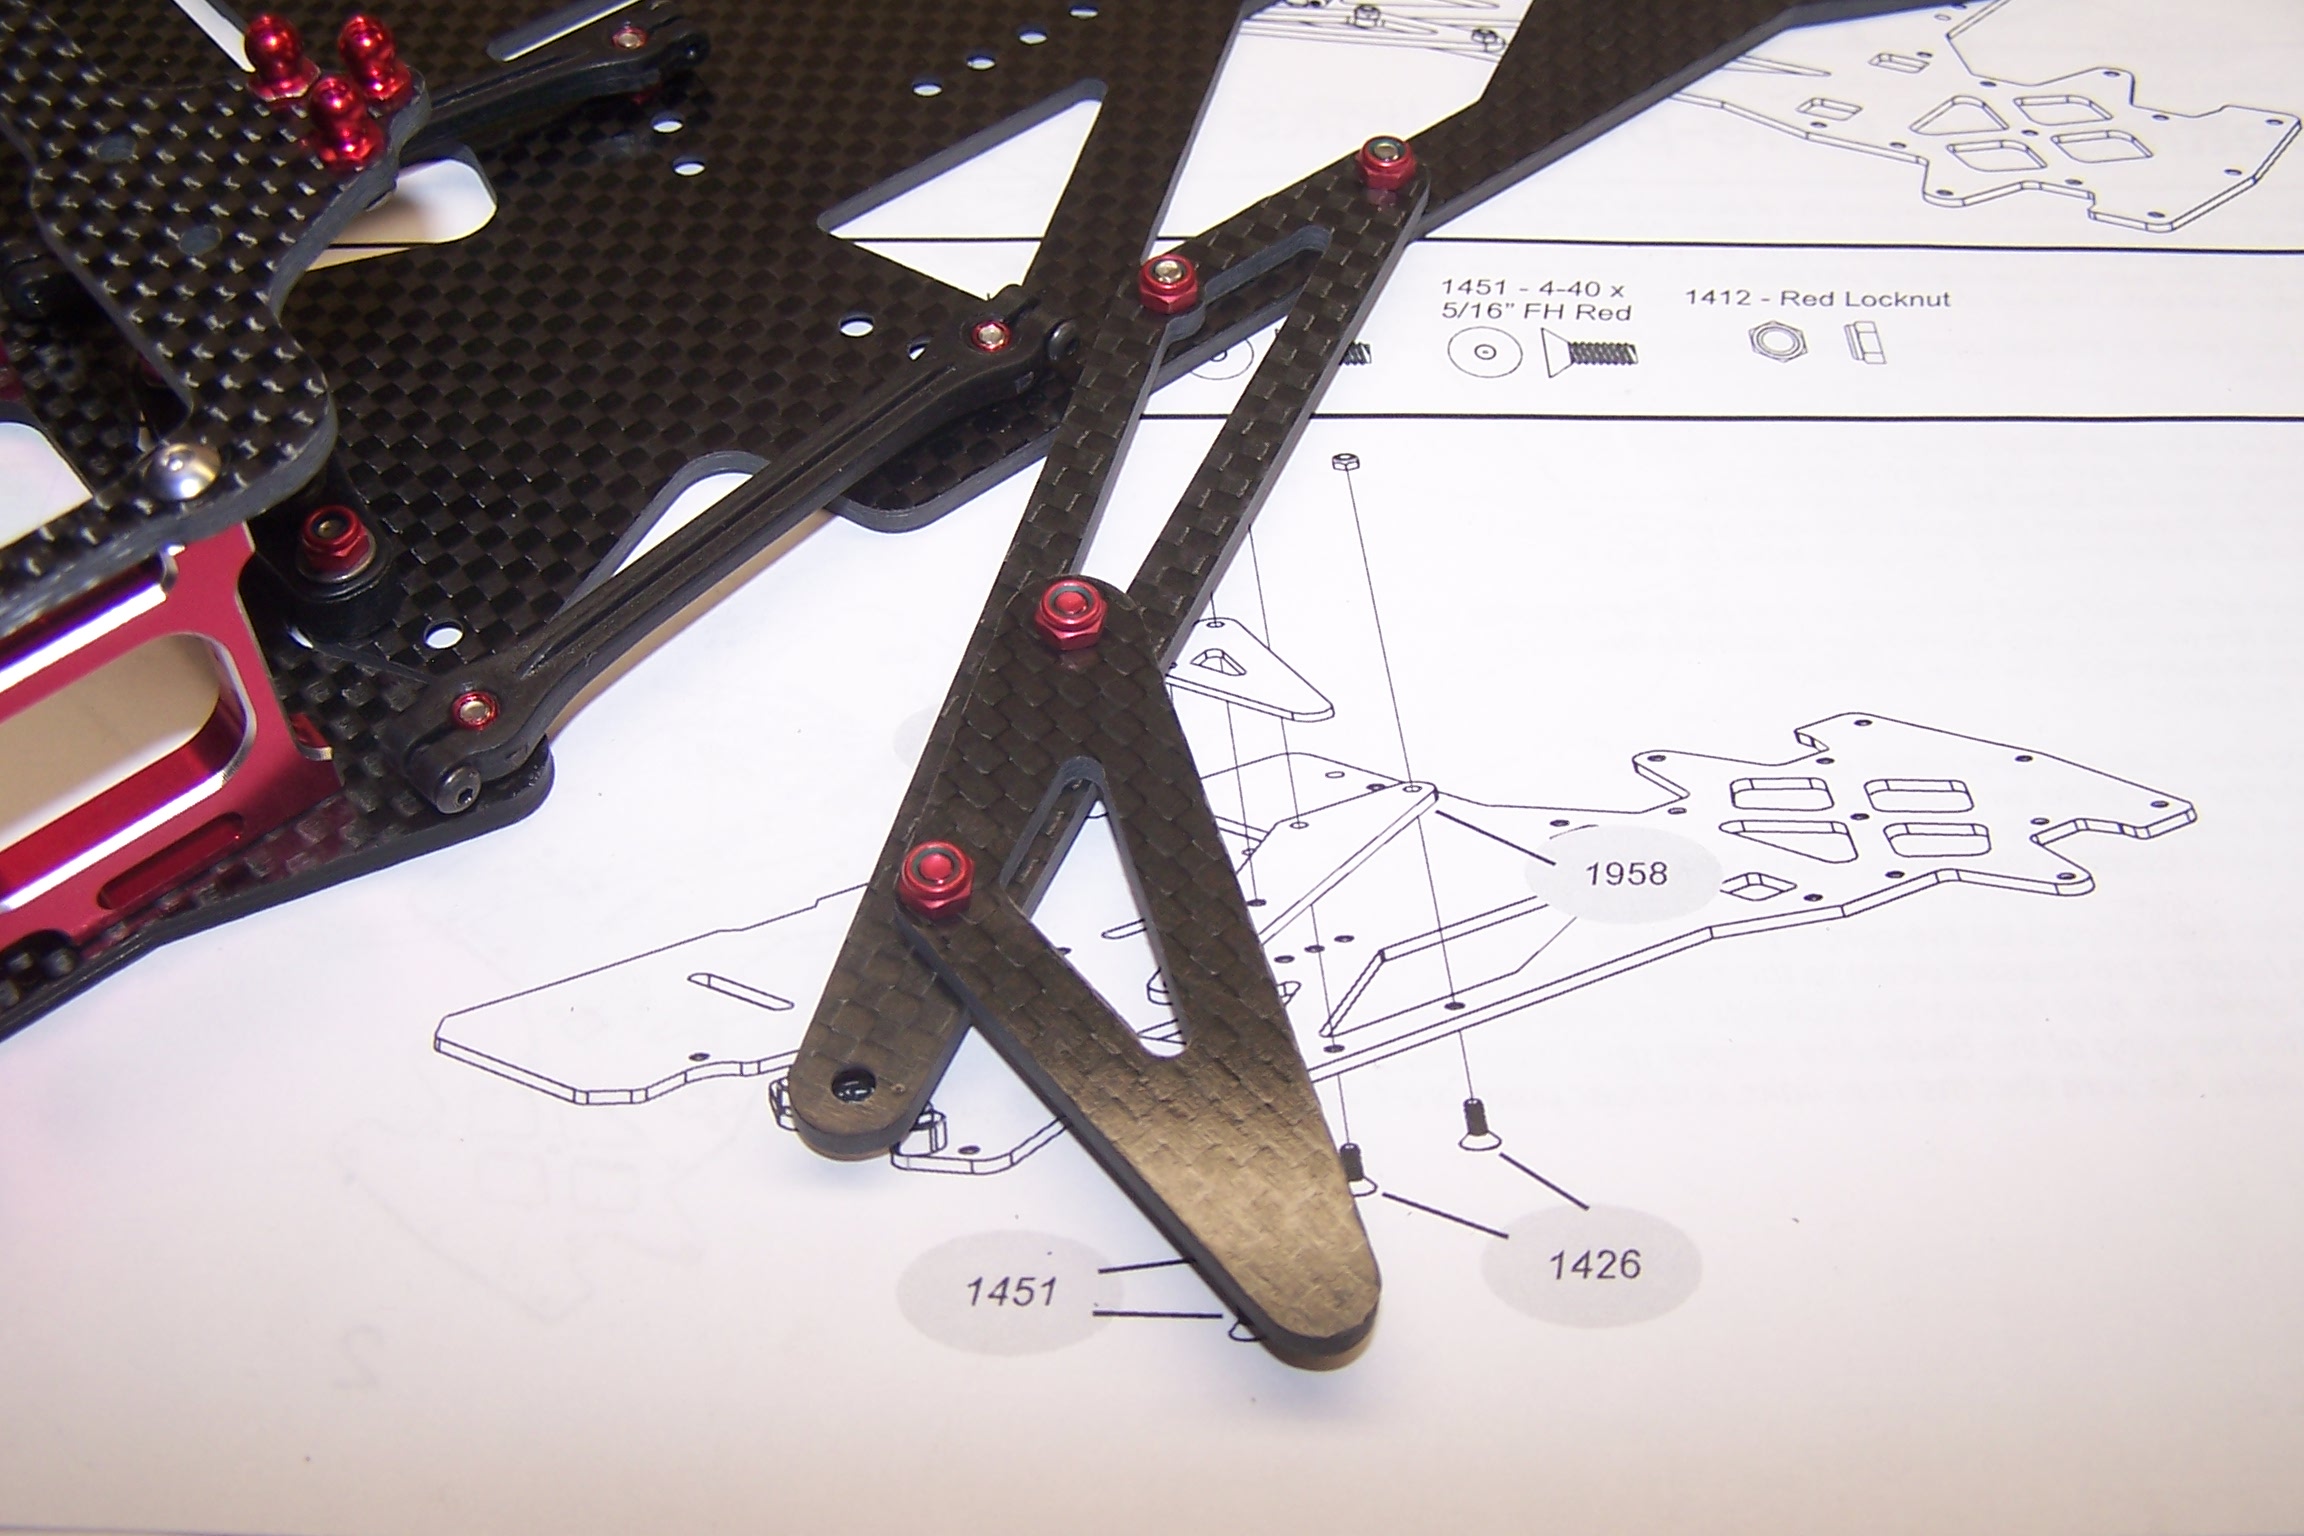
The first step is to build the center pivot (some call this the “football”. This step is very critical and follow their tips. This assembly allows the rear pod to pivot on the main chassis. Any binding in this and the car will handle poorly.
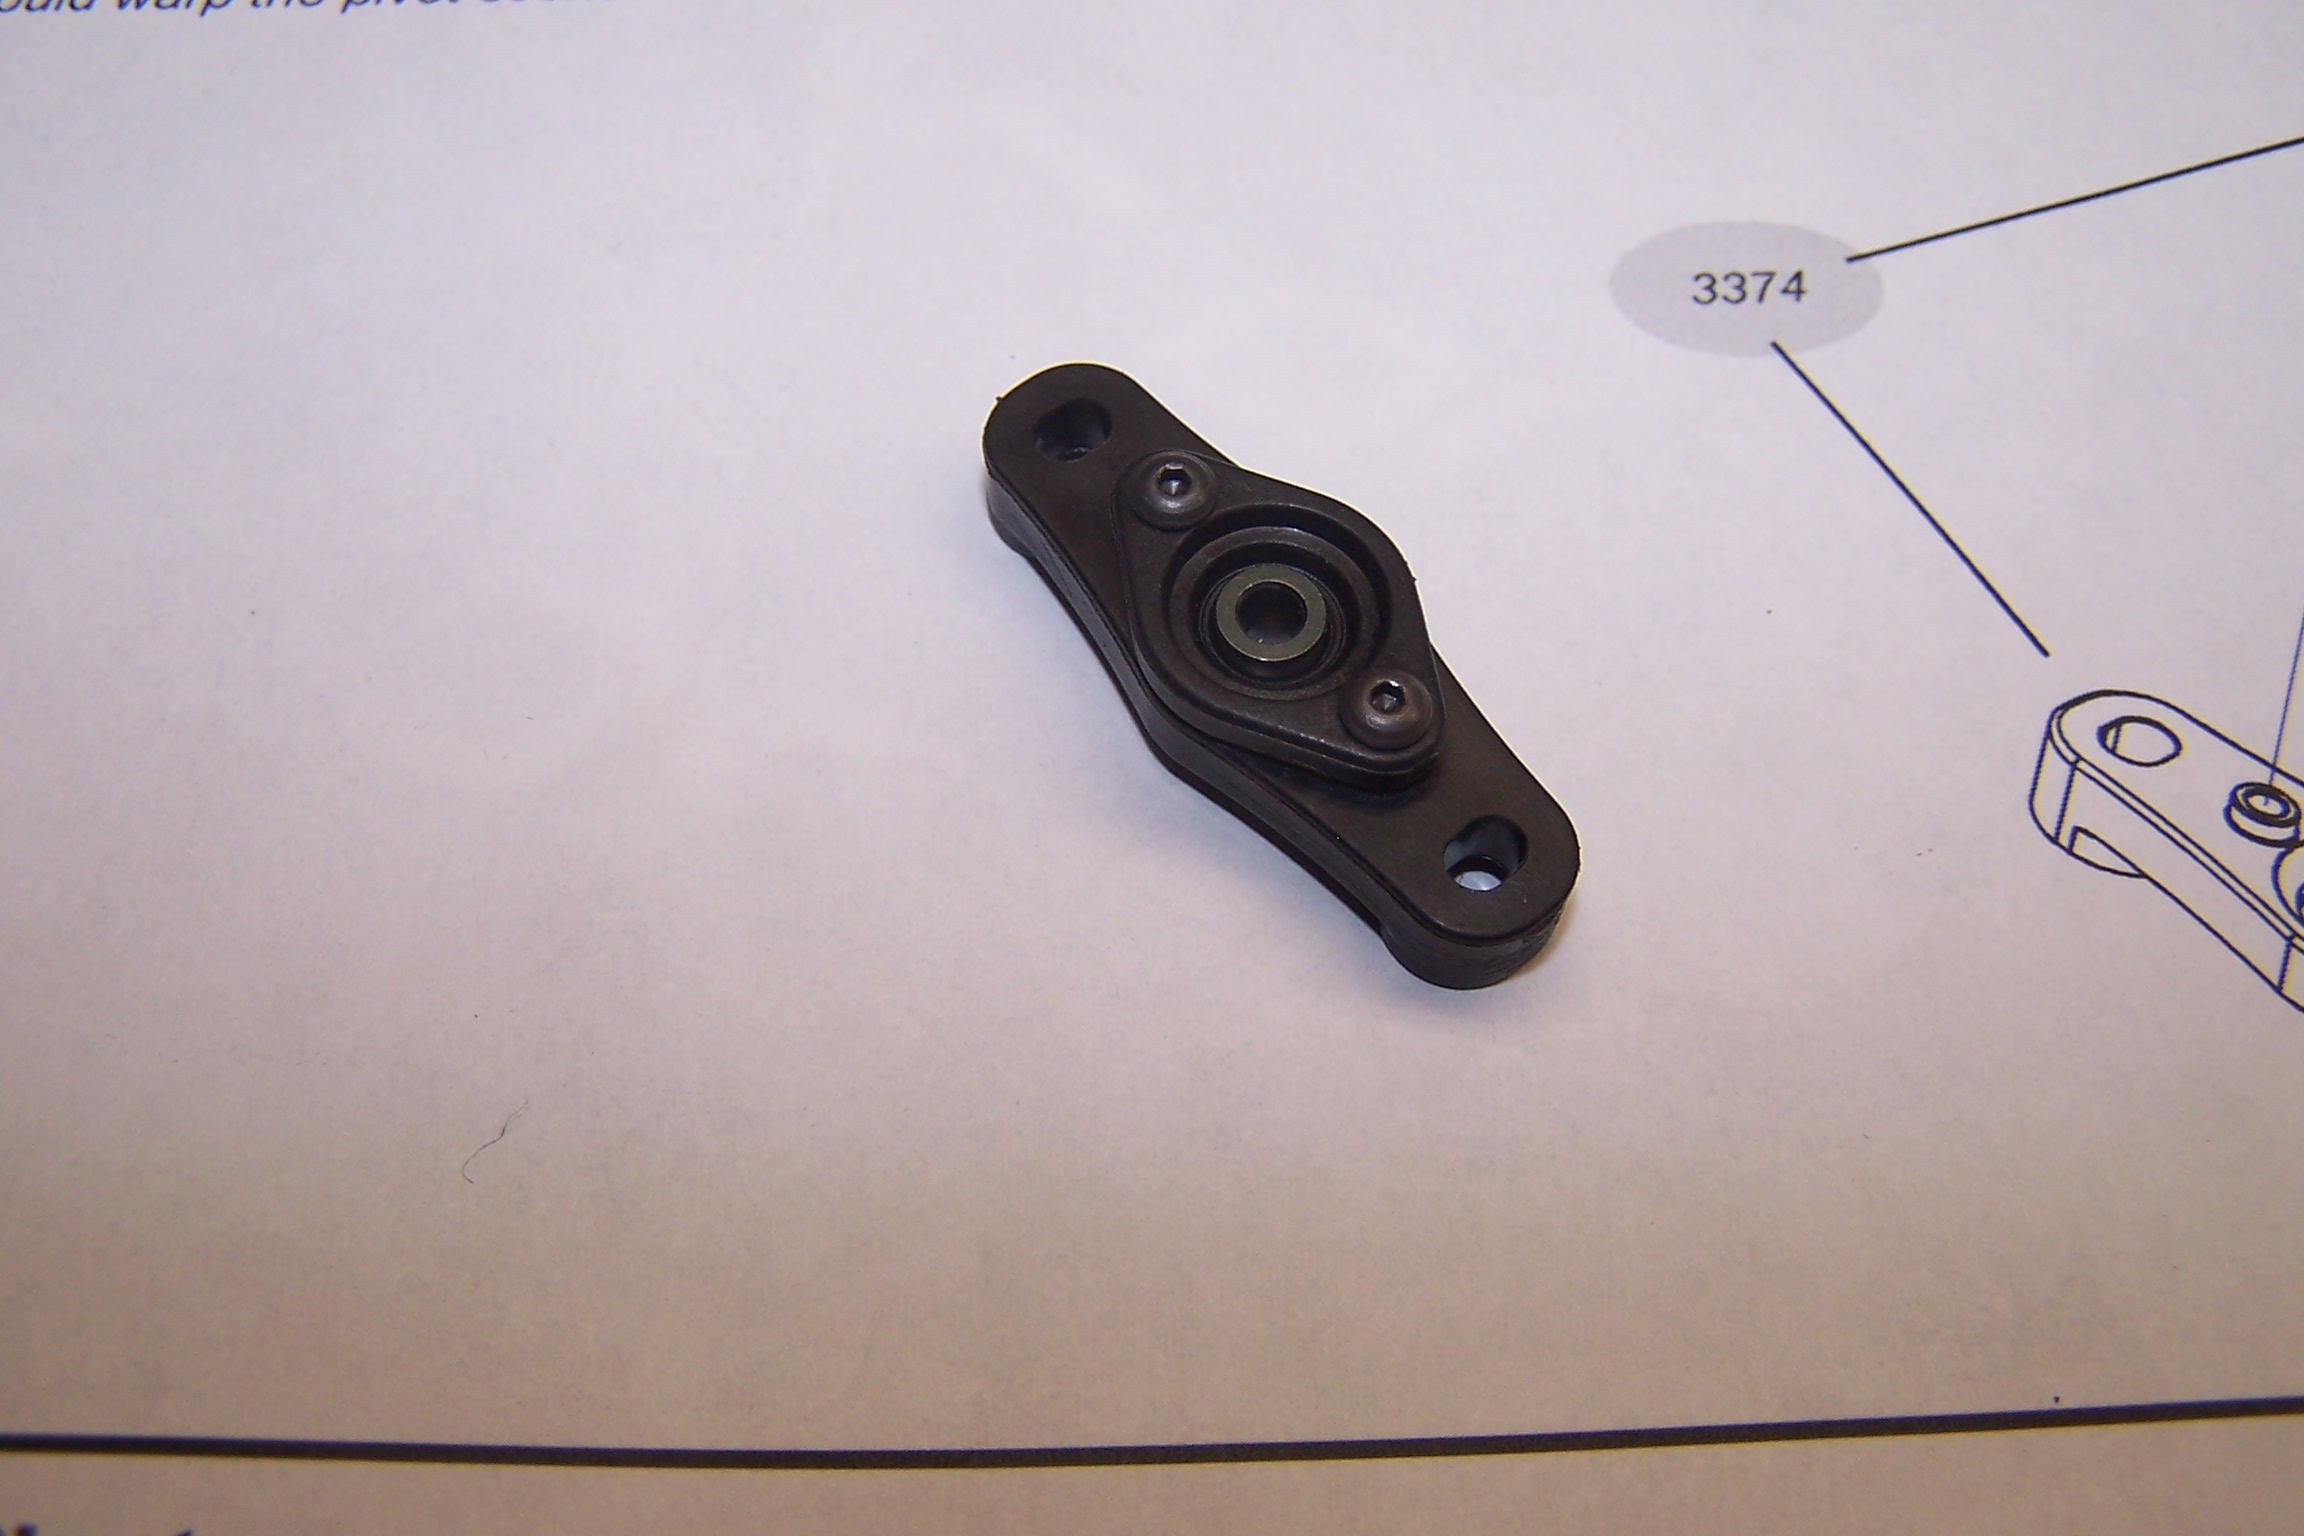
The pivot can be adjusted later if it is found to be too loose or too tight. It may have to be tightened after laps are run.
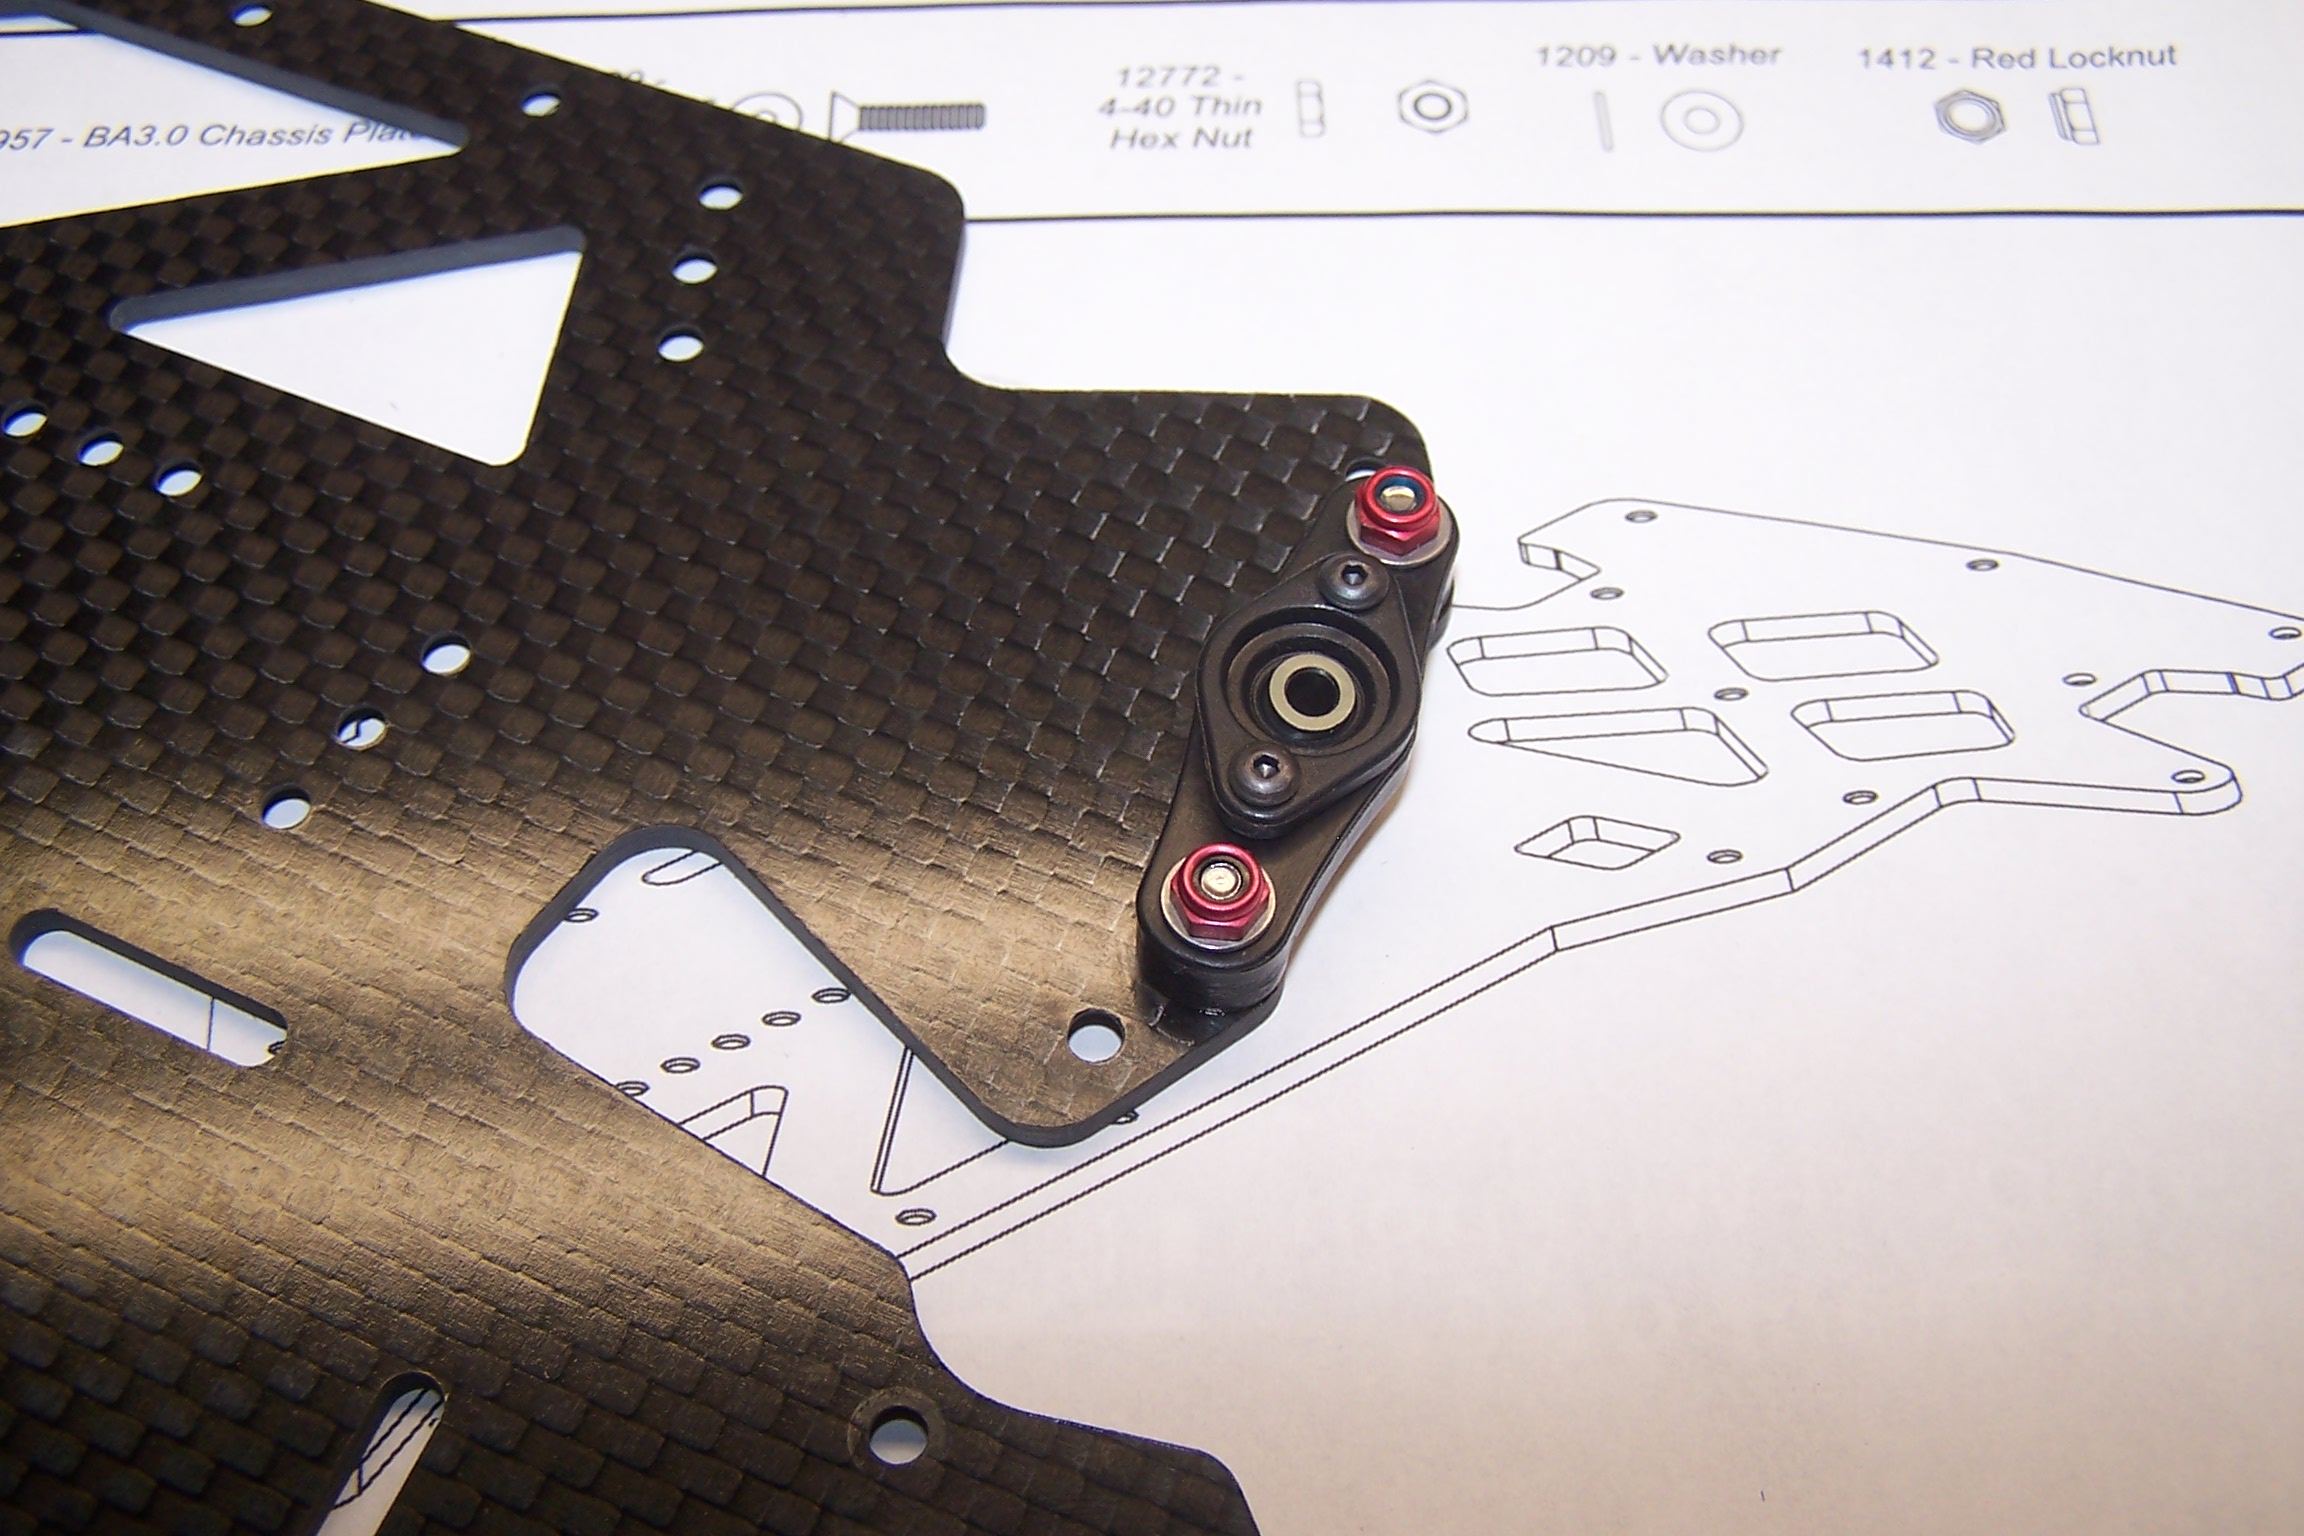
The pivot assembly is loosely attached to the chassis.
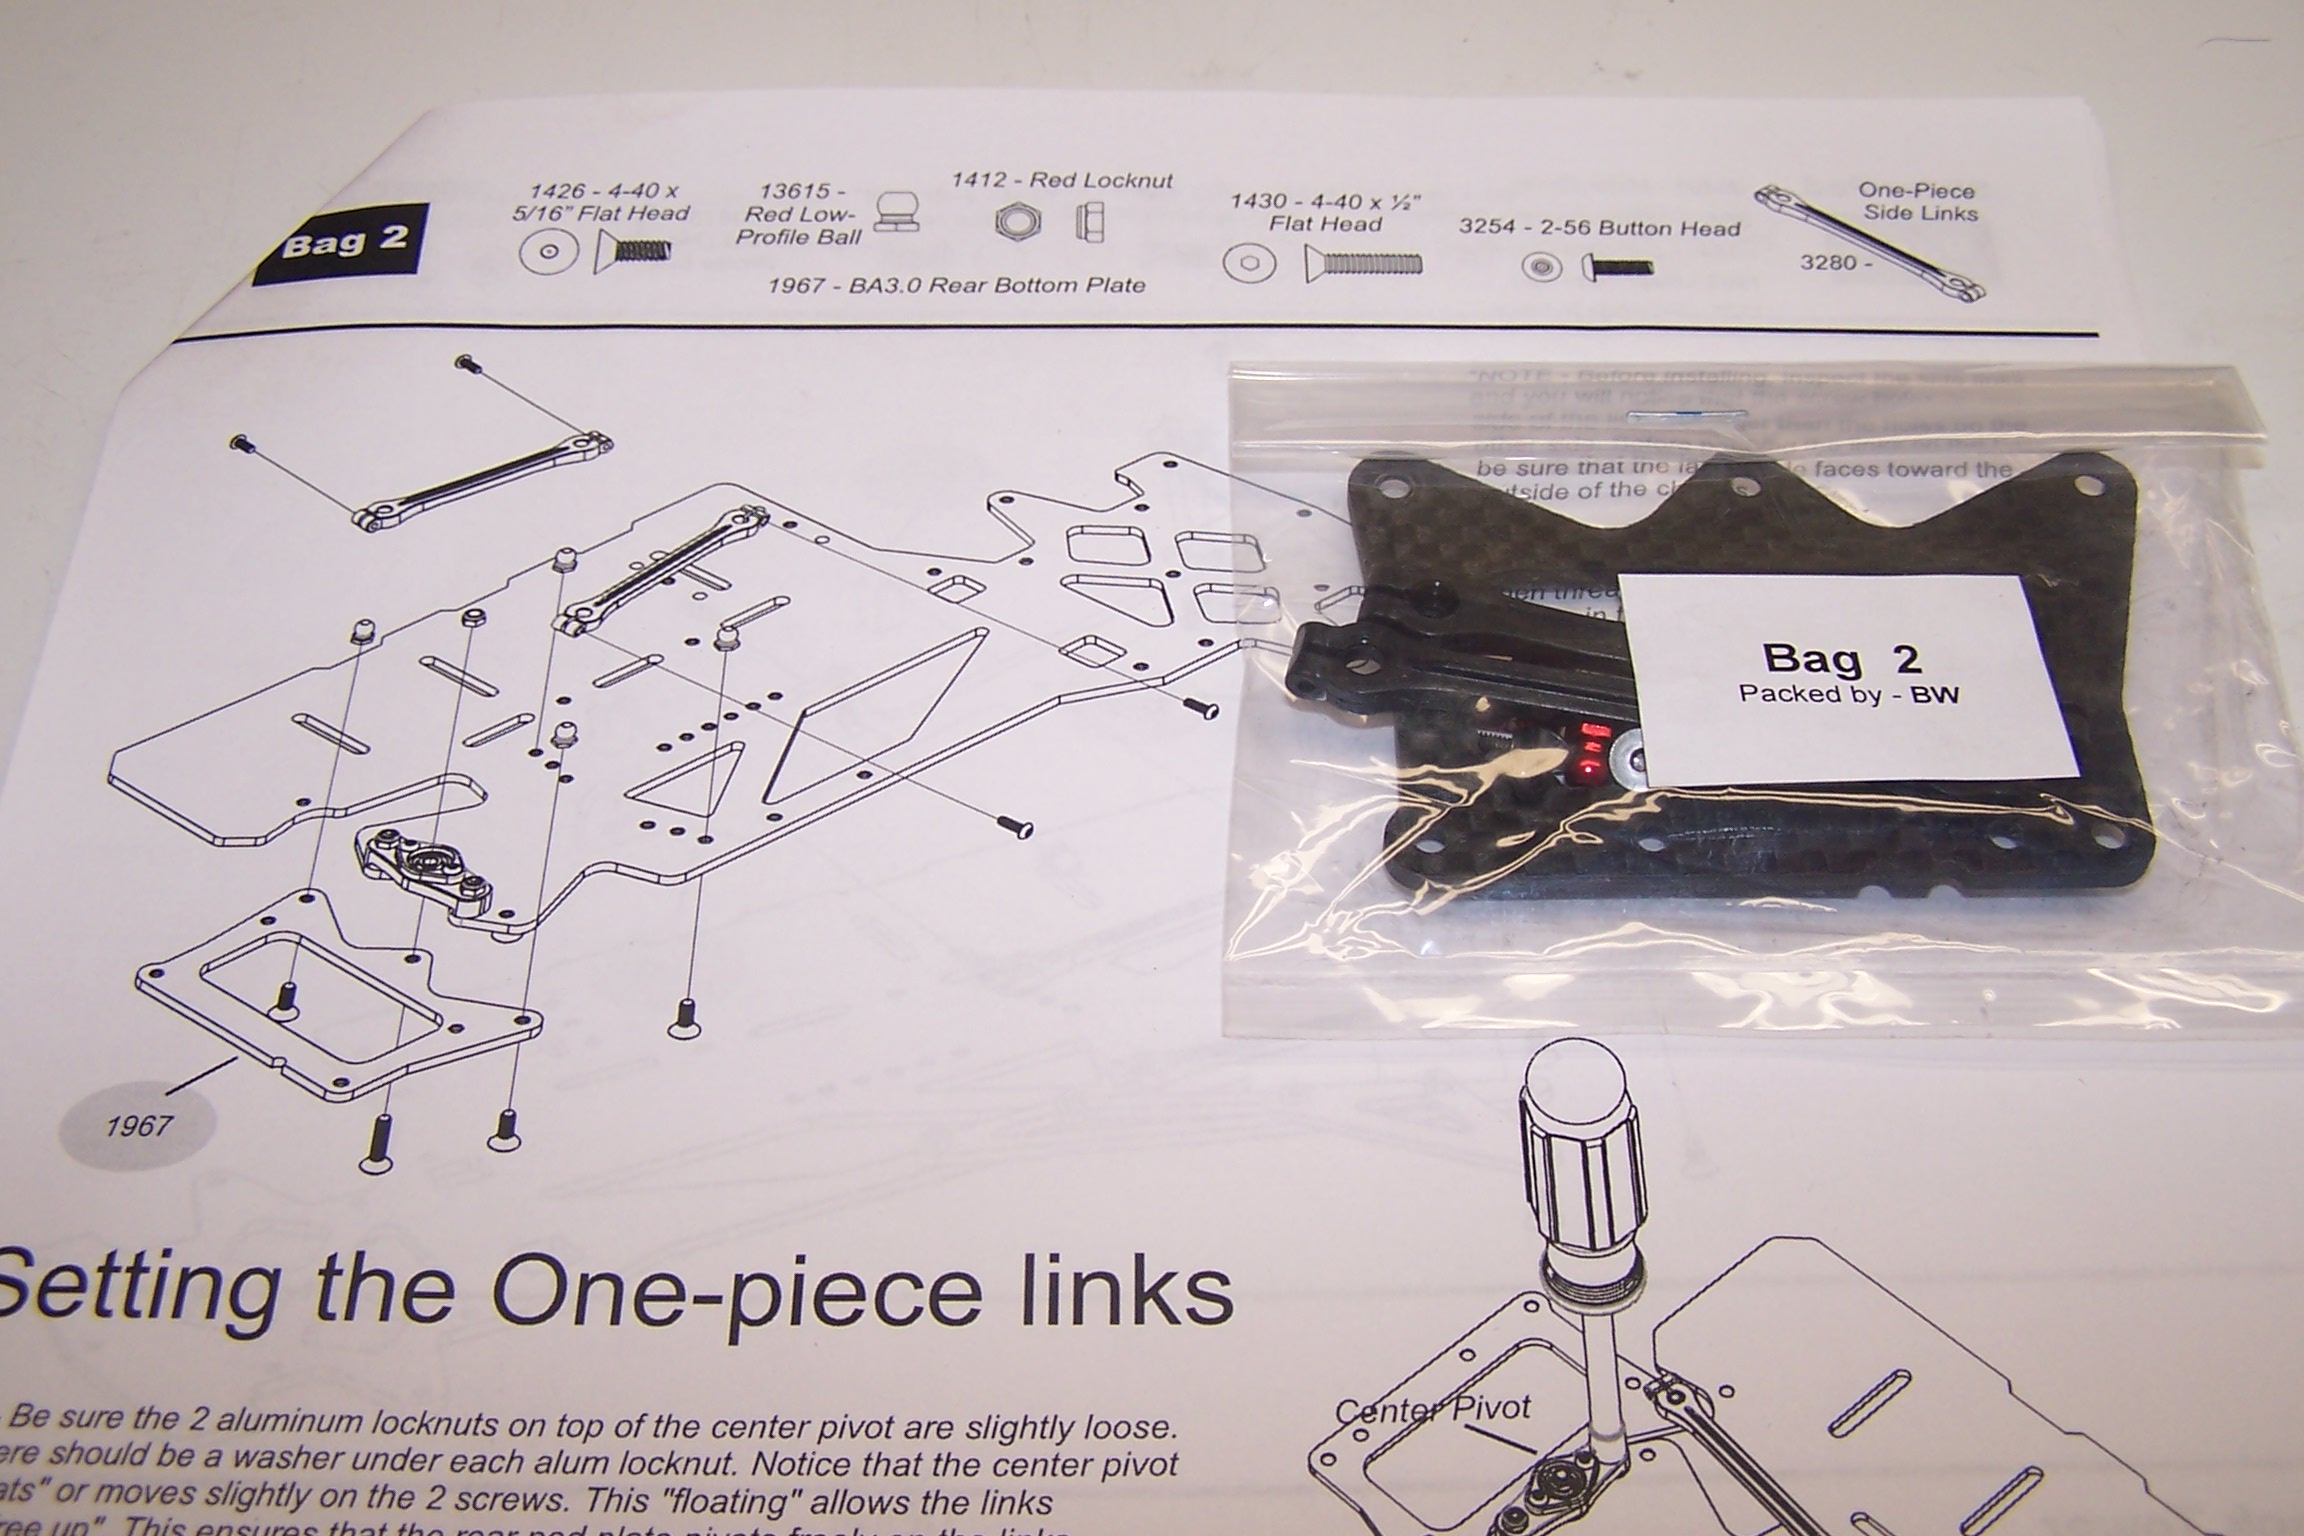
Bag 2 includes the rear bottom plate and side links.
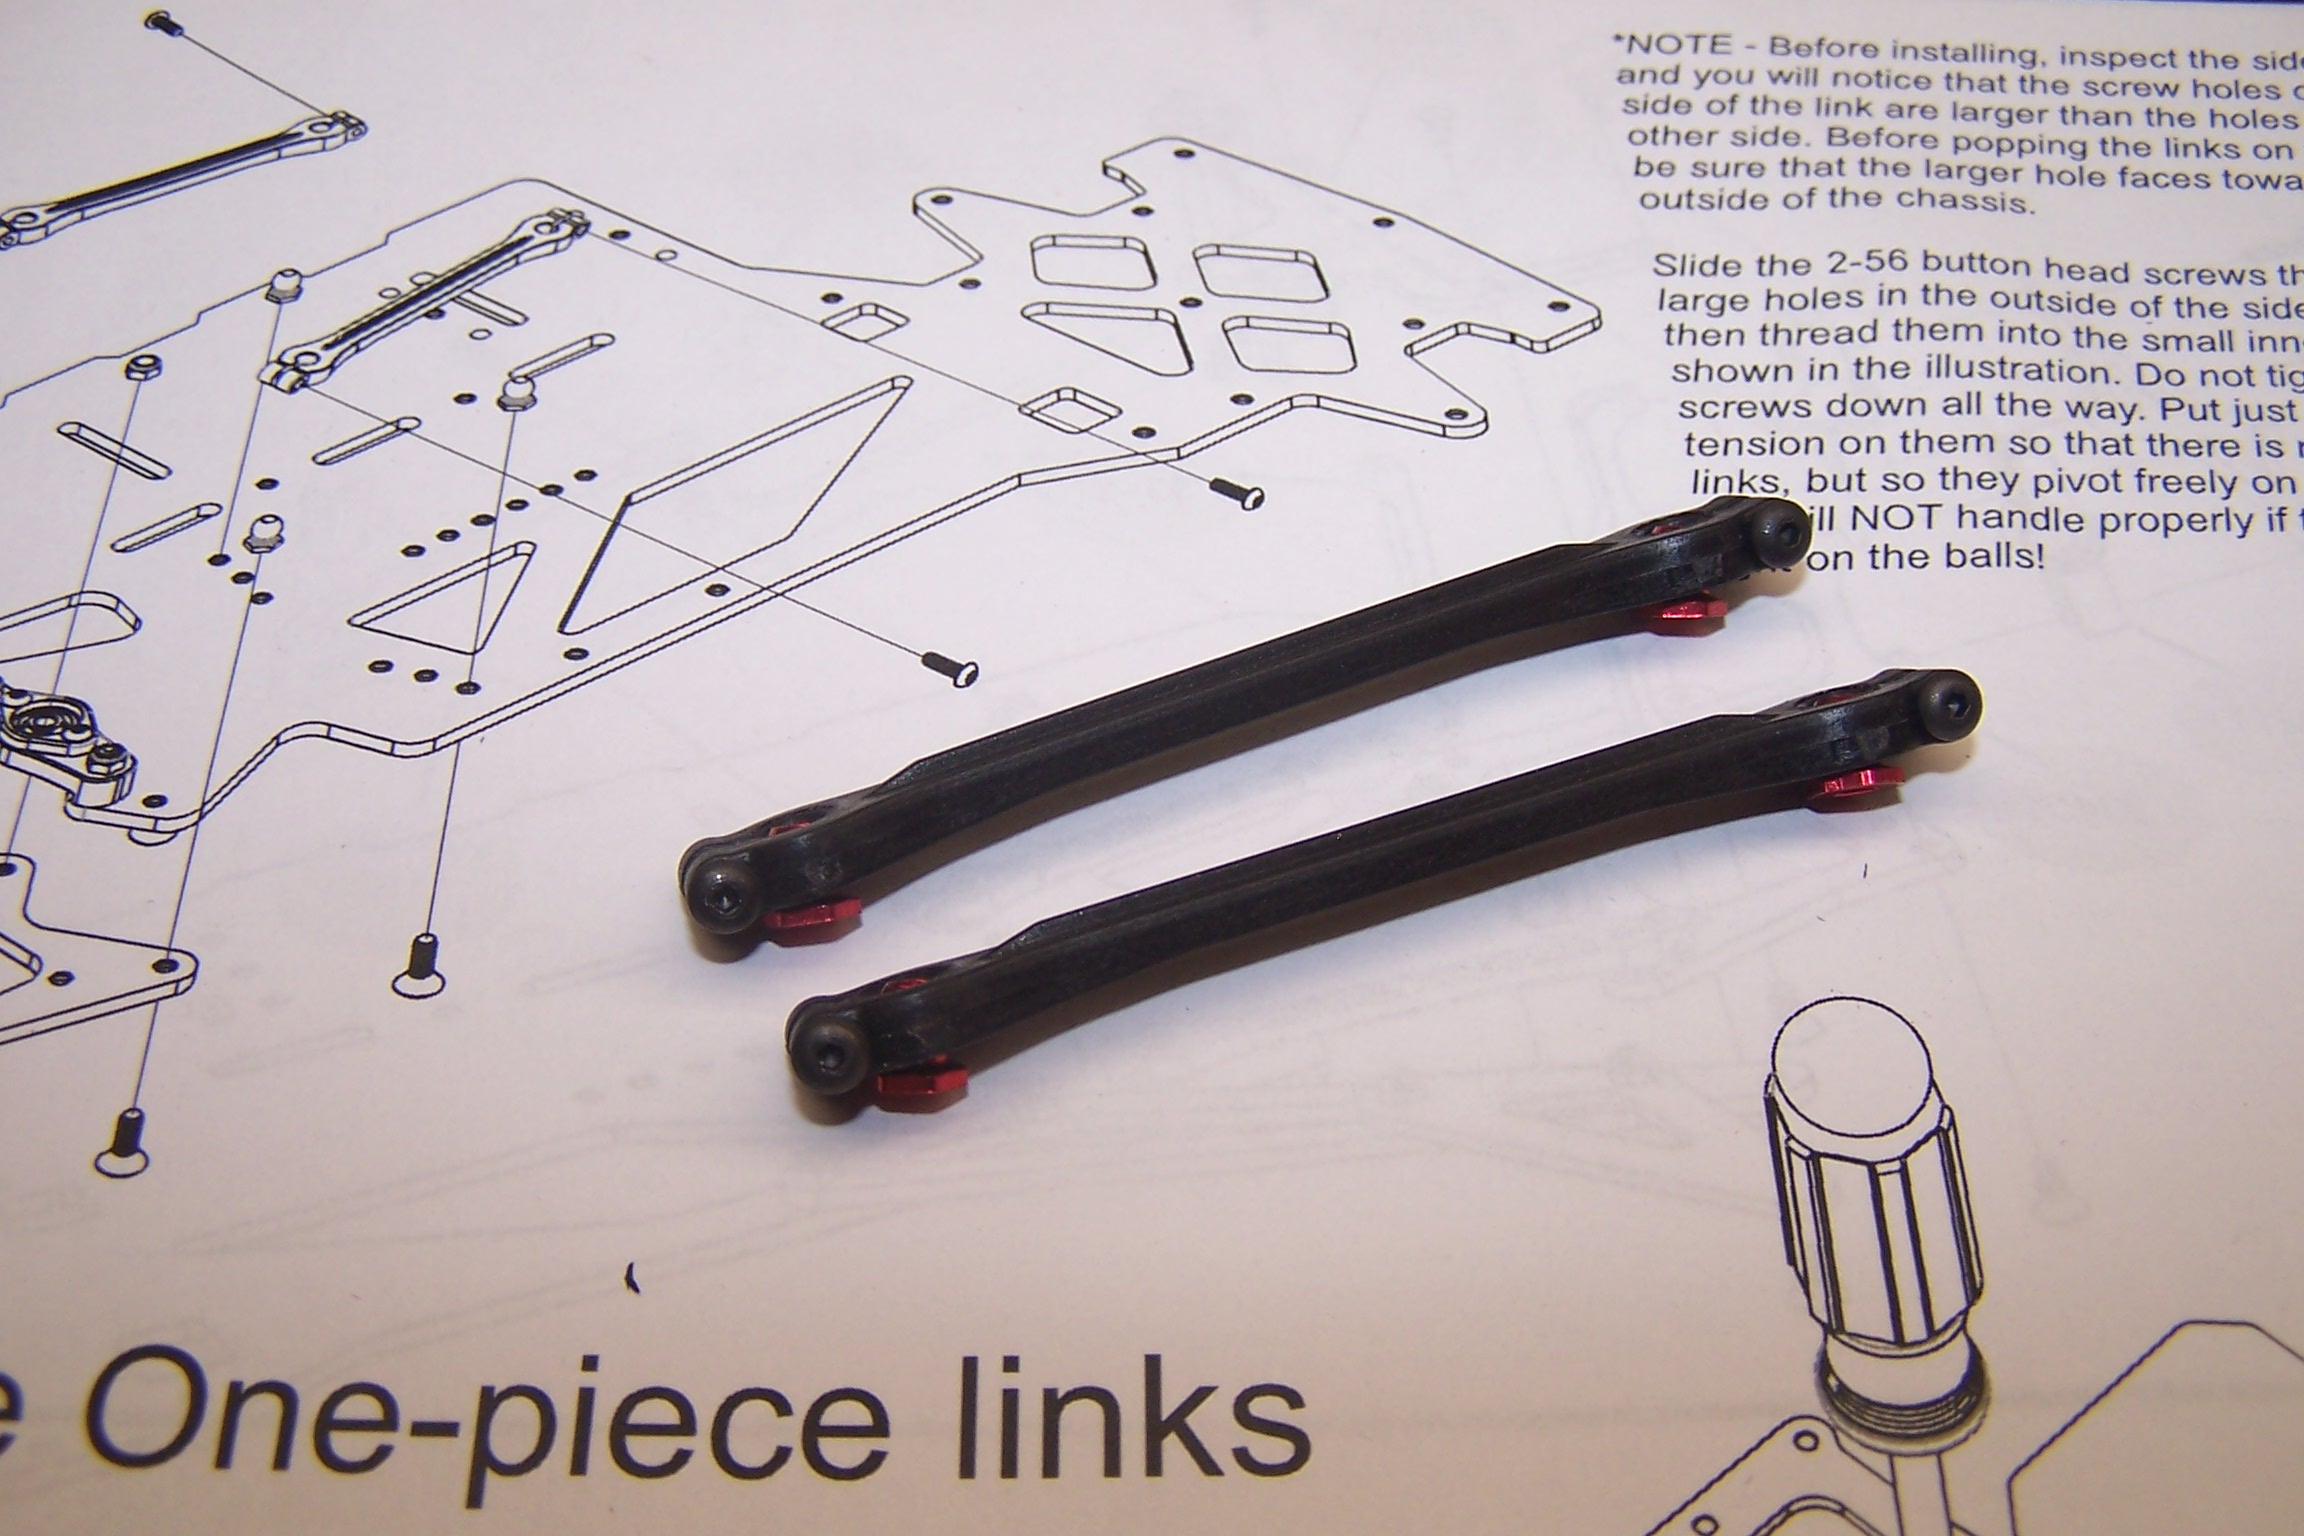
The pivot balls are inserted into the side links. Make sure you put the small screws facing outward so you can loosen or tighten them later.
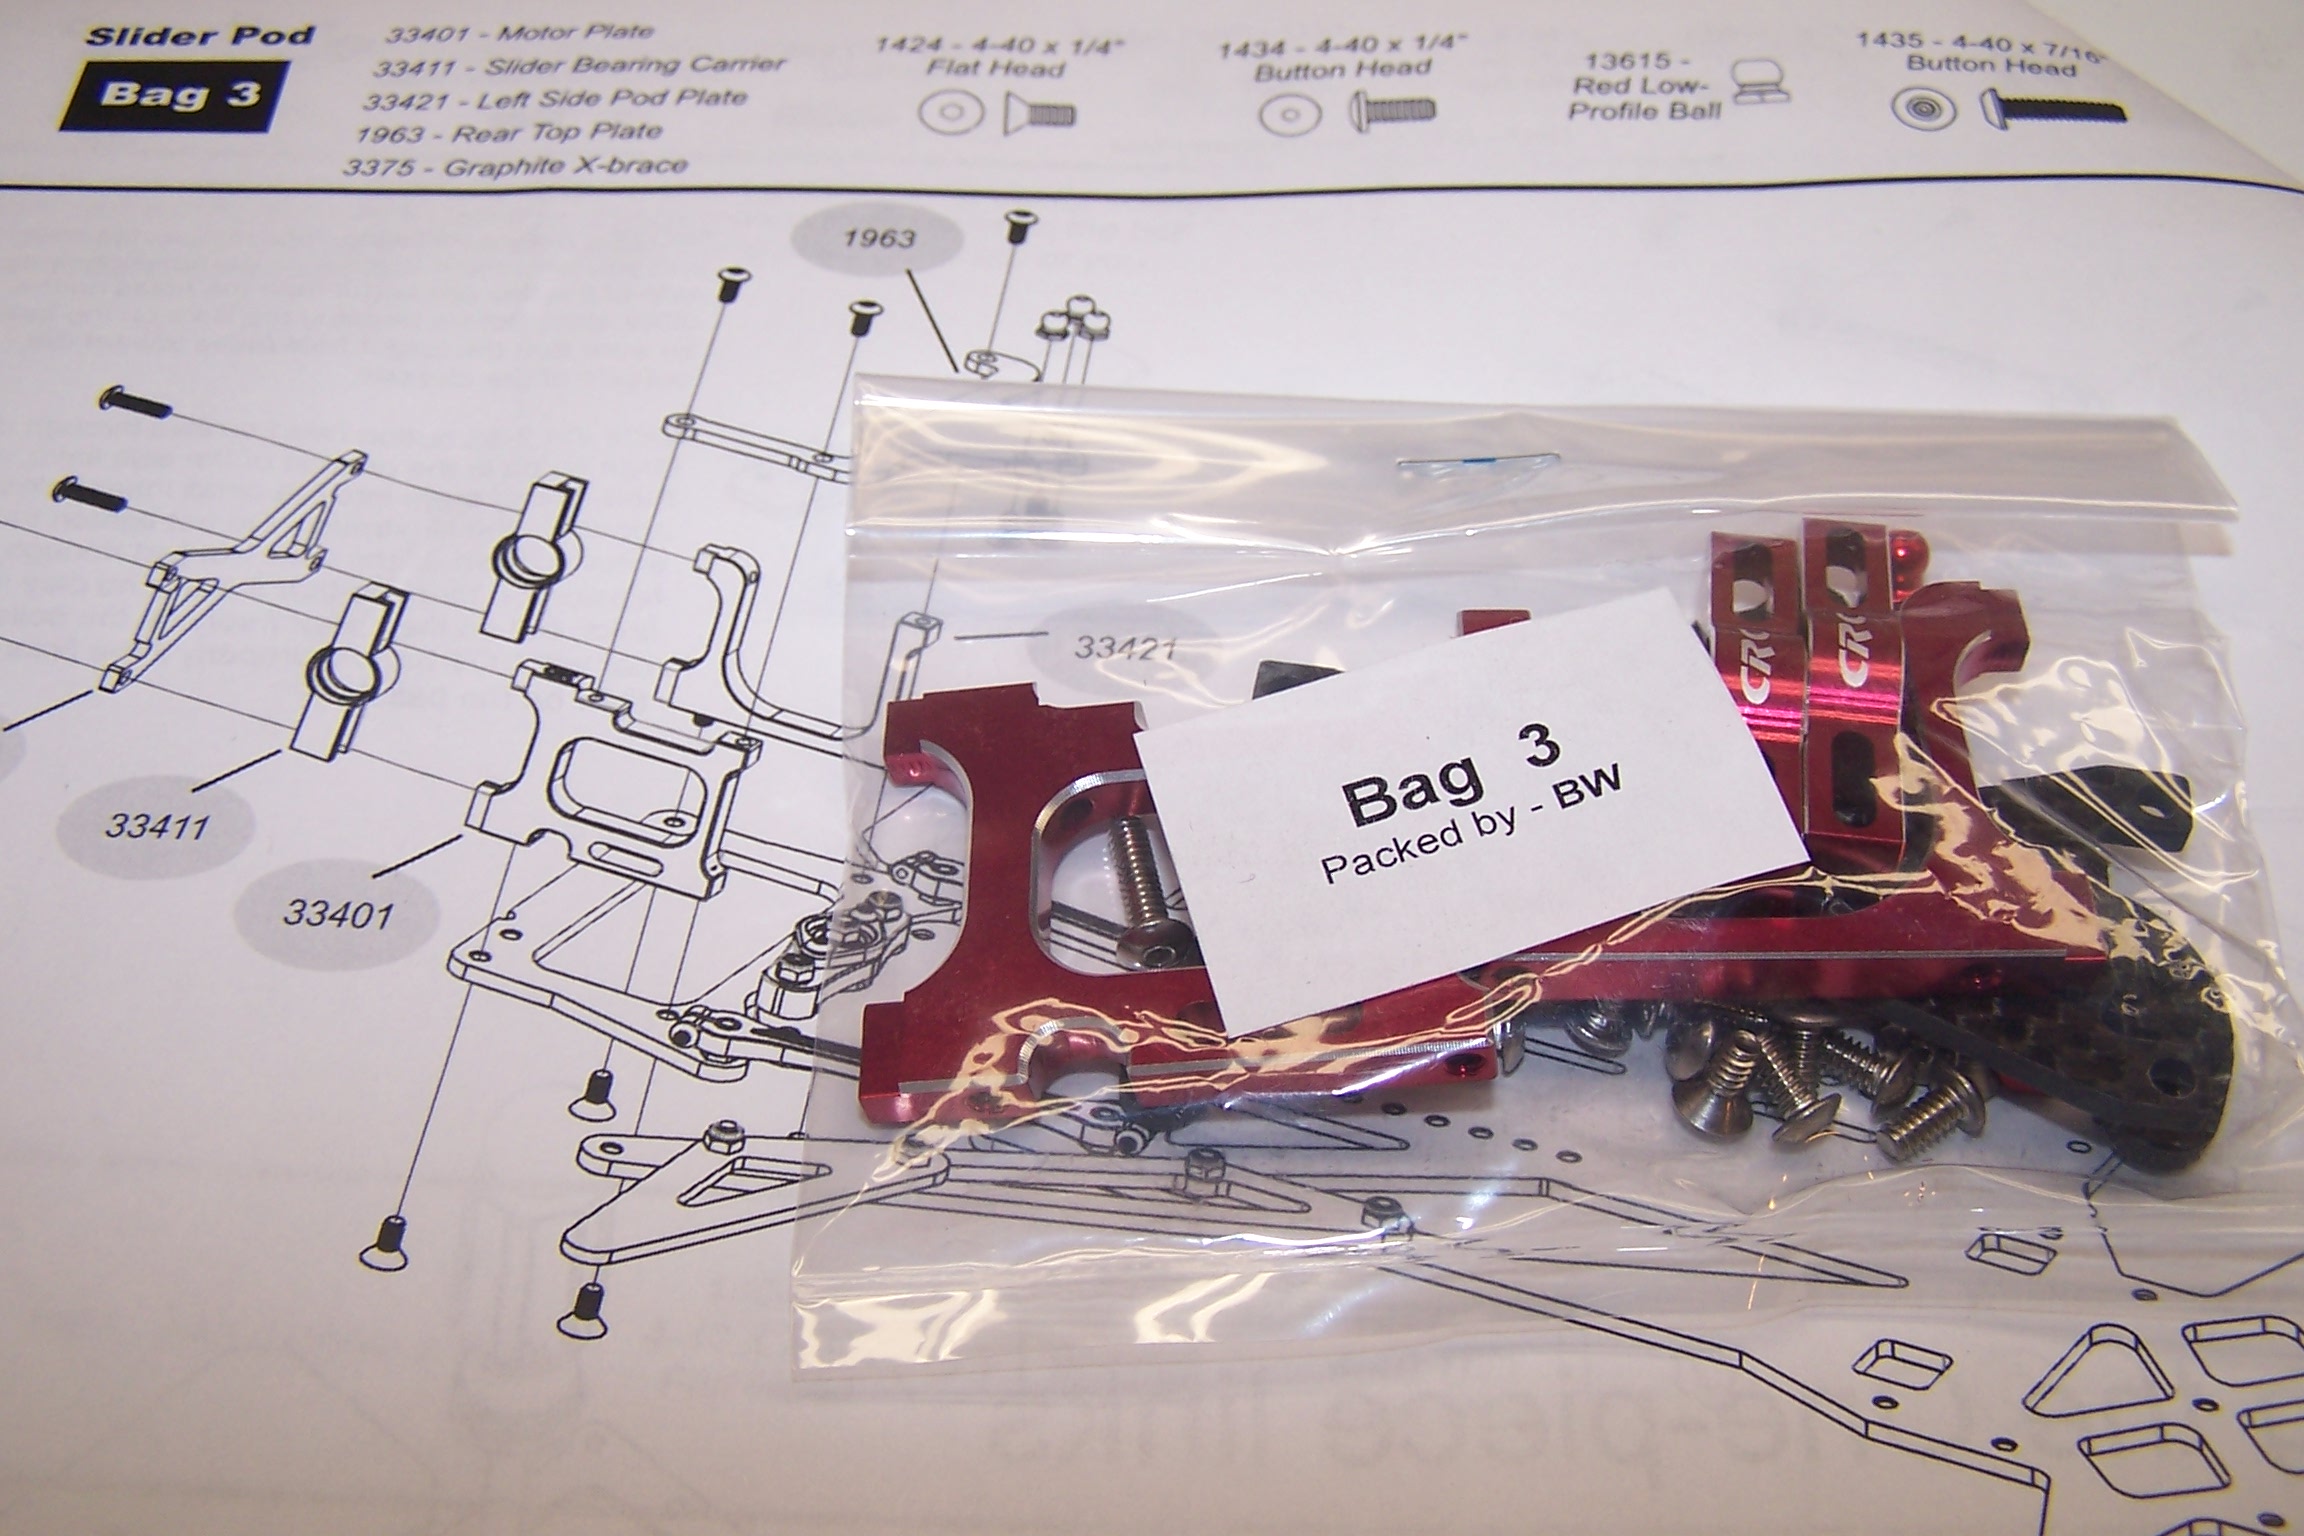
Bag 3 contains the rest of the parts to complete the rear pod assembly.
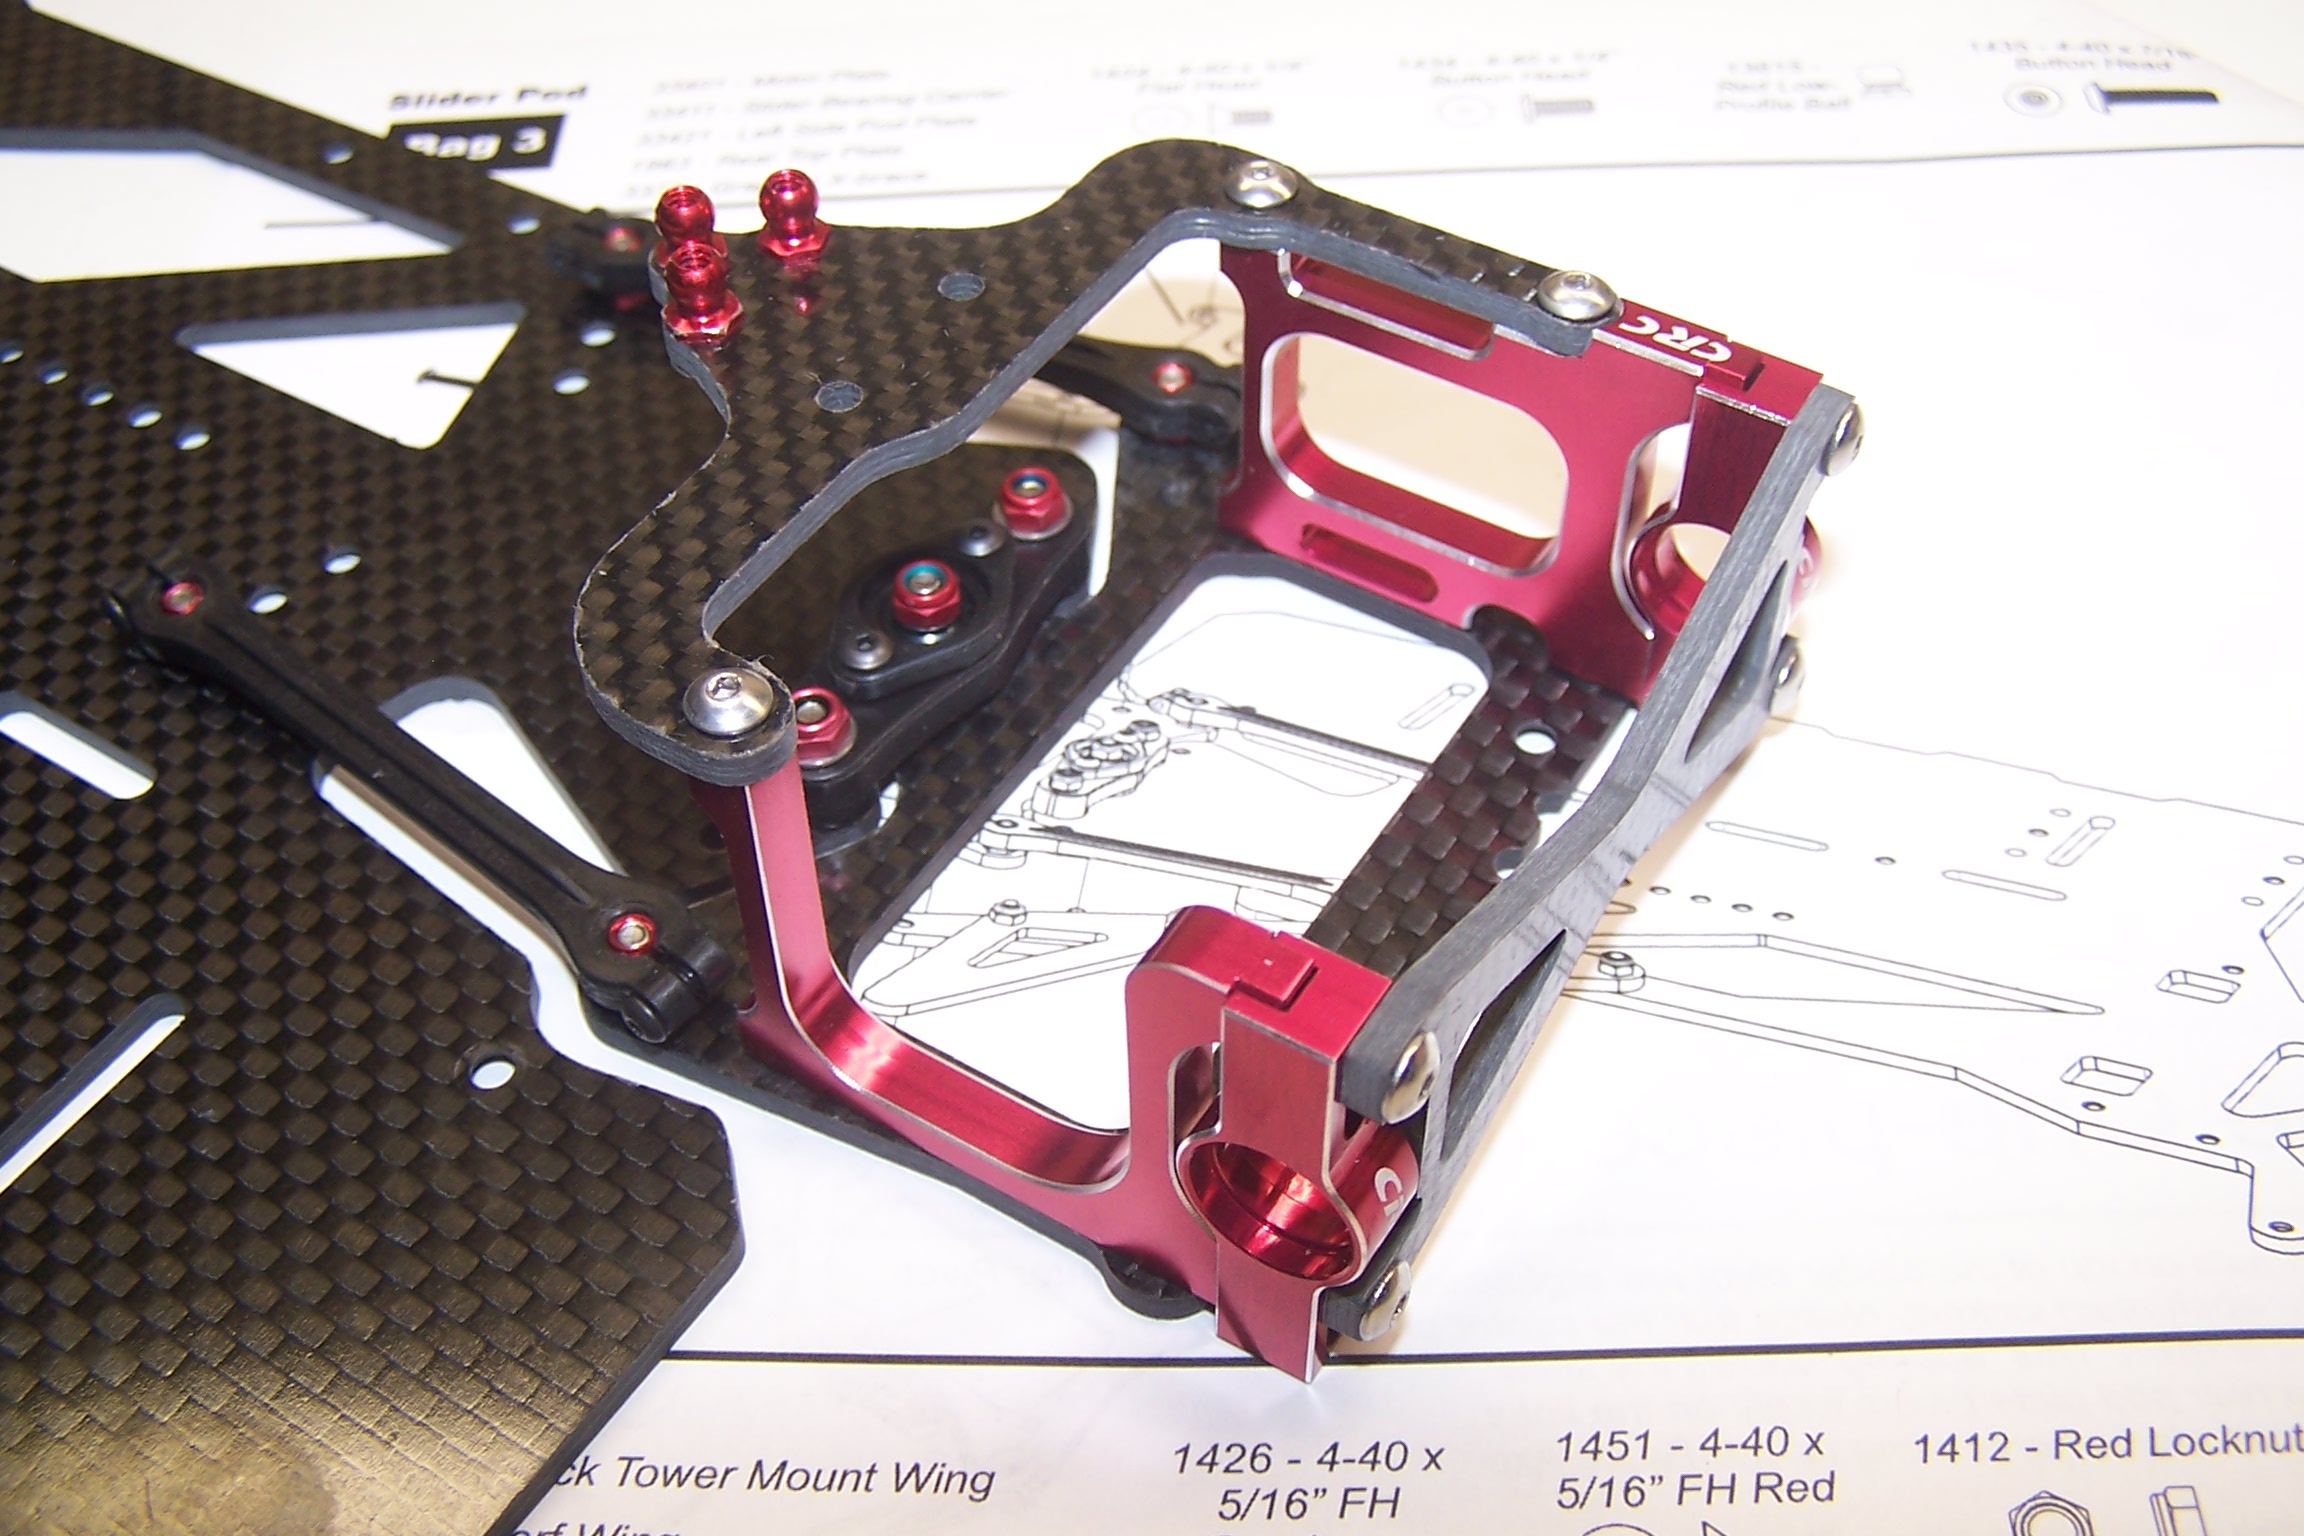
The BA 3 includes CRC’s new rear “slider” assembly. This assembly saves tons of time adjusting rear ride height. Instead of changing the axle spacers as your tires wear you just loosen the 4 rear screws, set your ride height, and tighten the screws. The ride height adjustment is infinite.
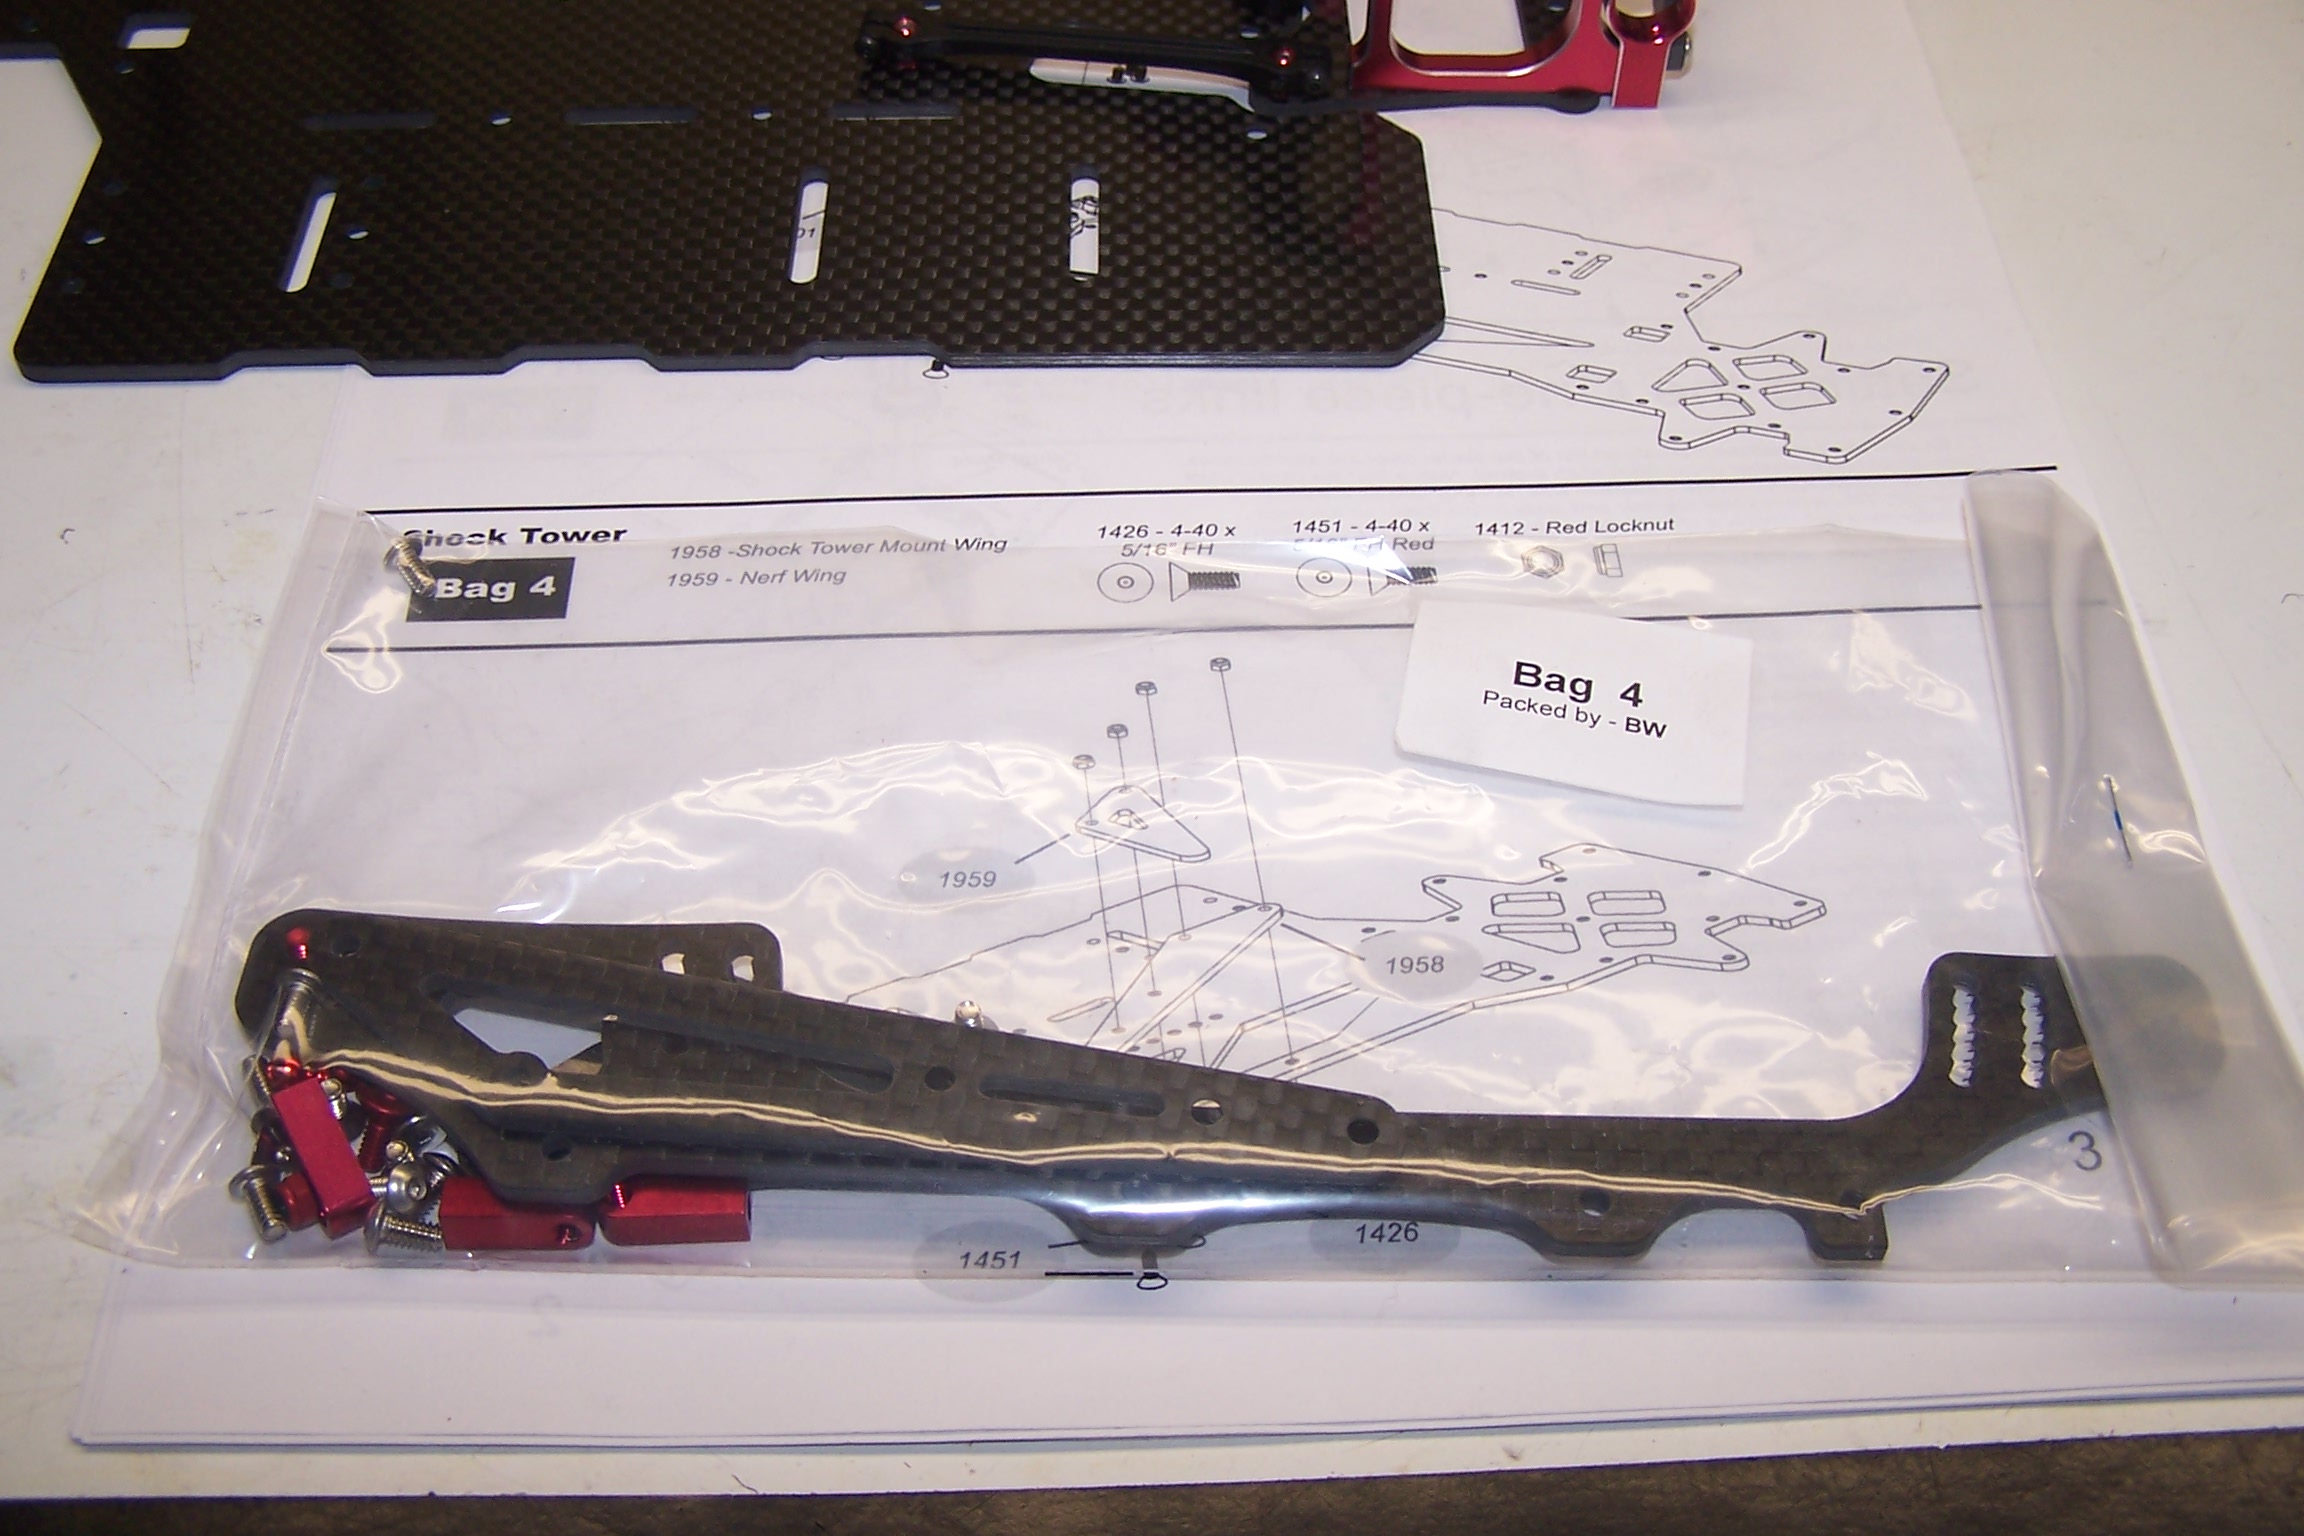
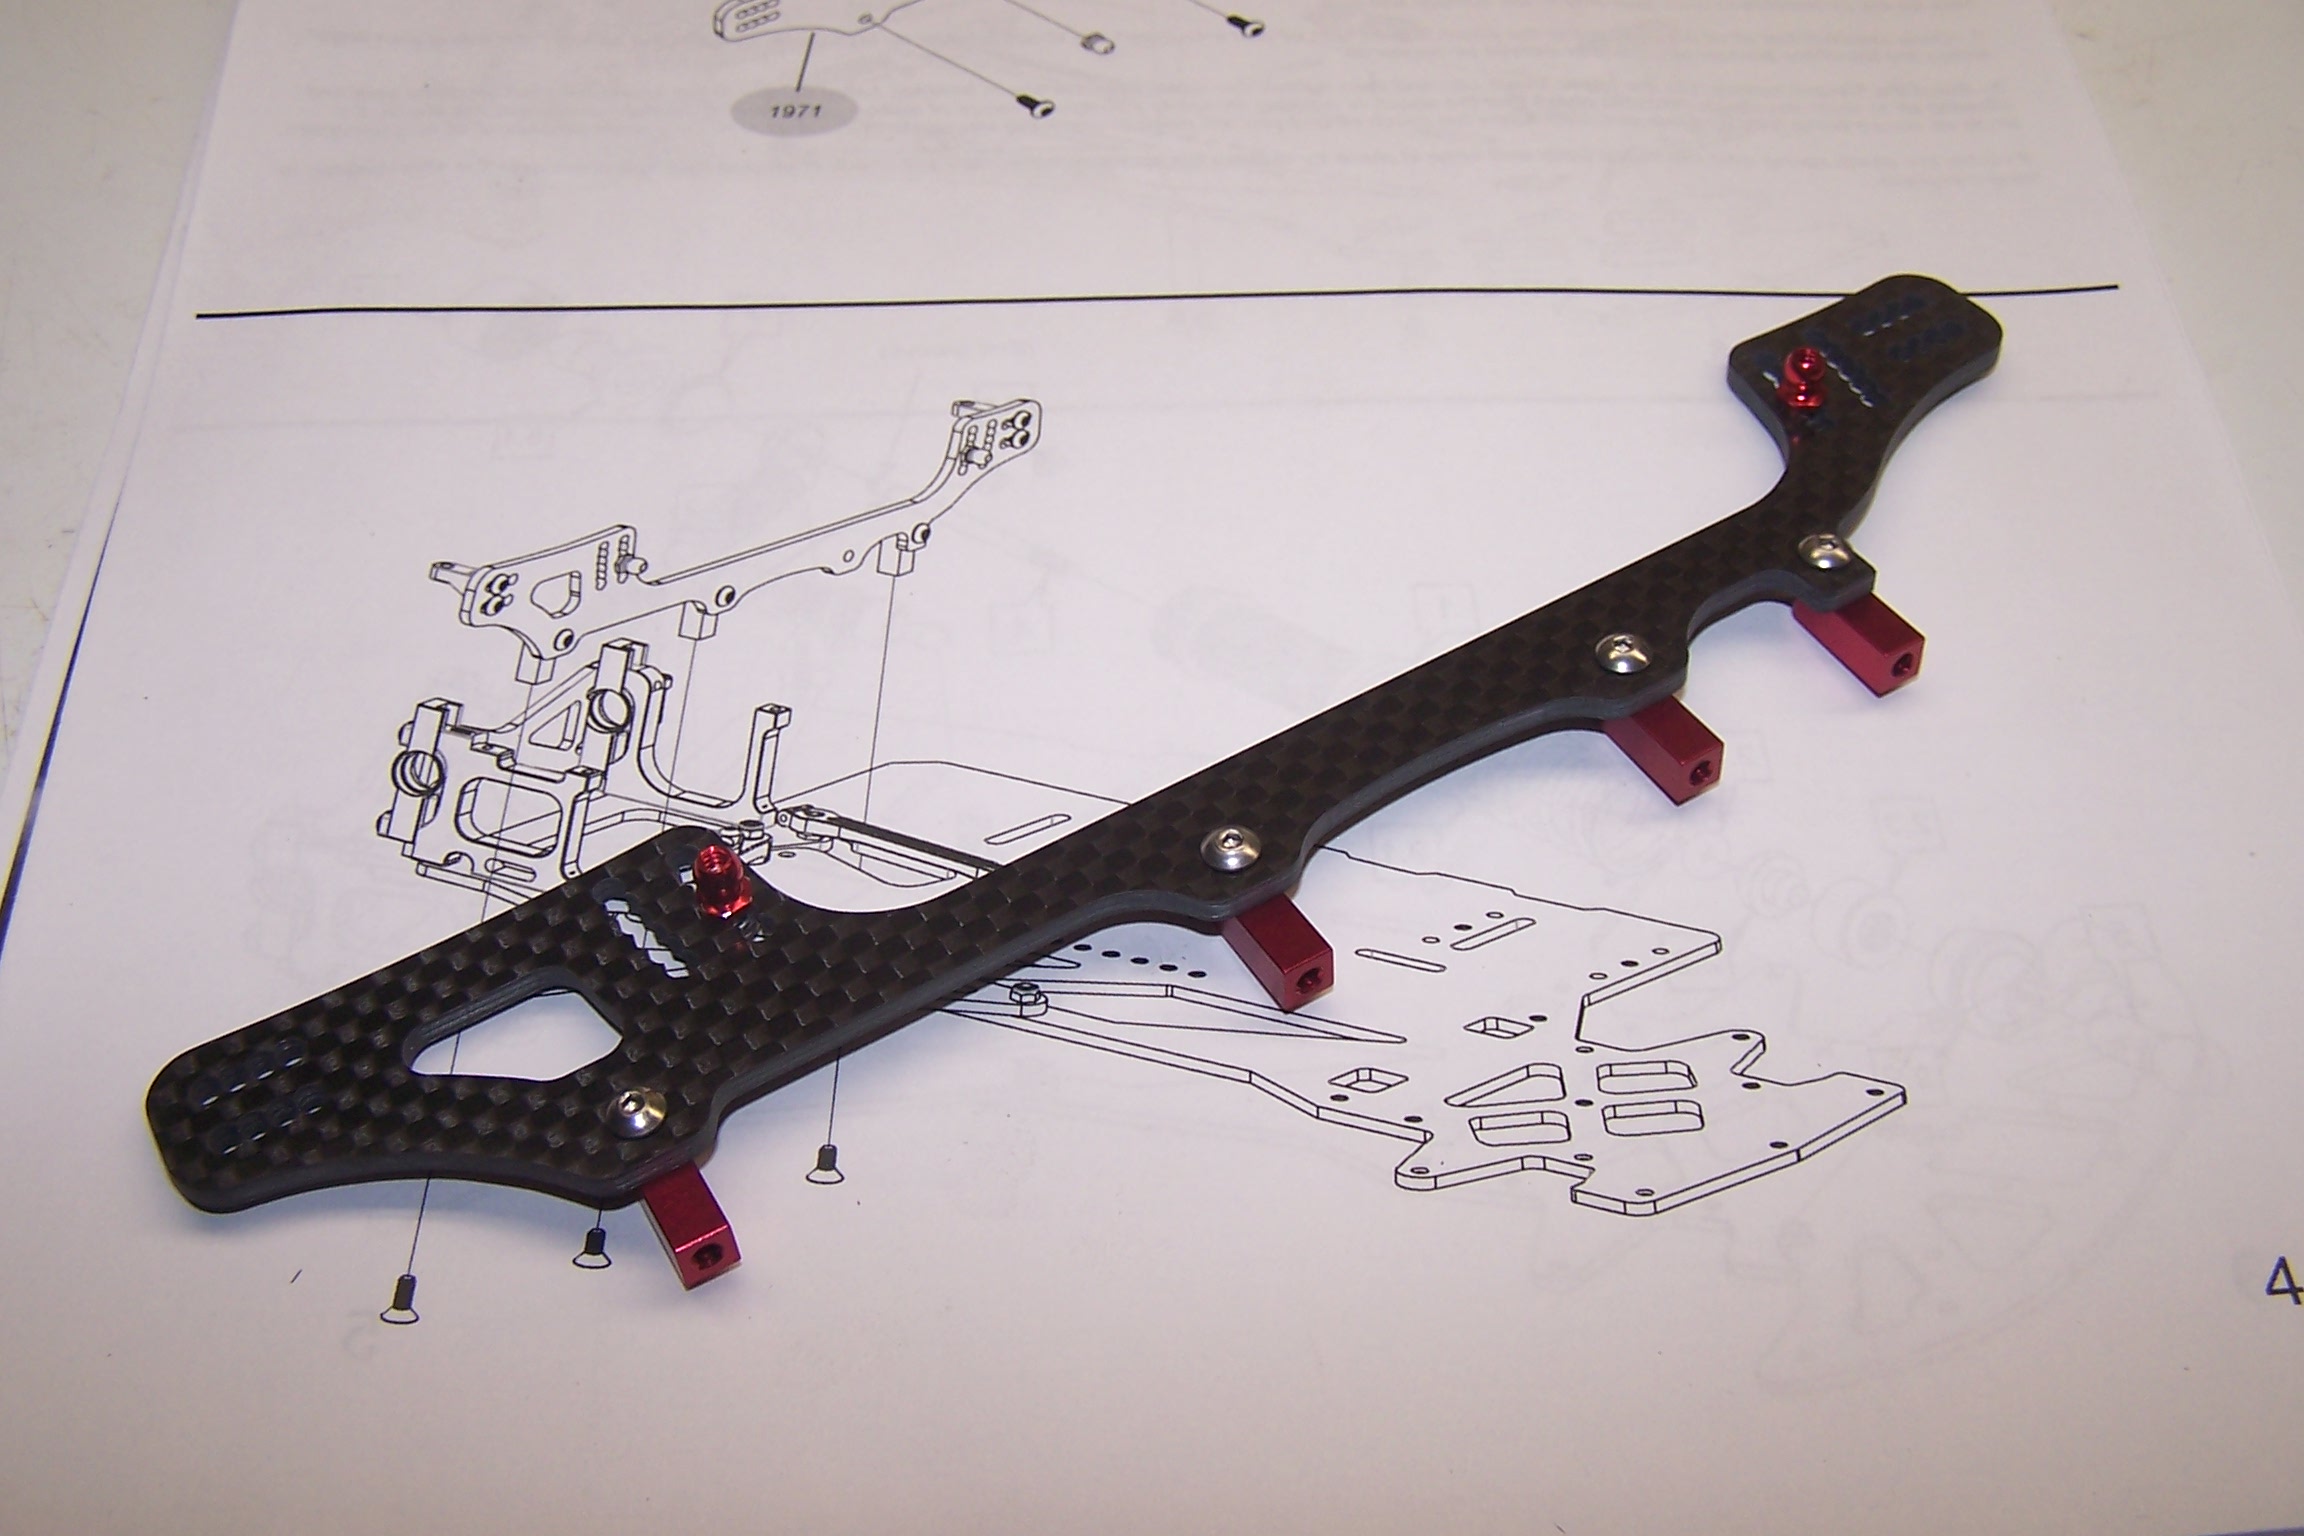
Bag 4 includes the rear shock tower.
Because everything is placed on the left side of the chassis for oval racing a small “winglet” is placed on the right to deflect any hits.
The rear shock tower is assembled.
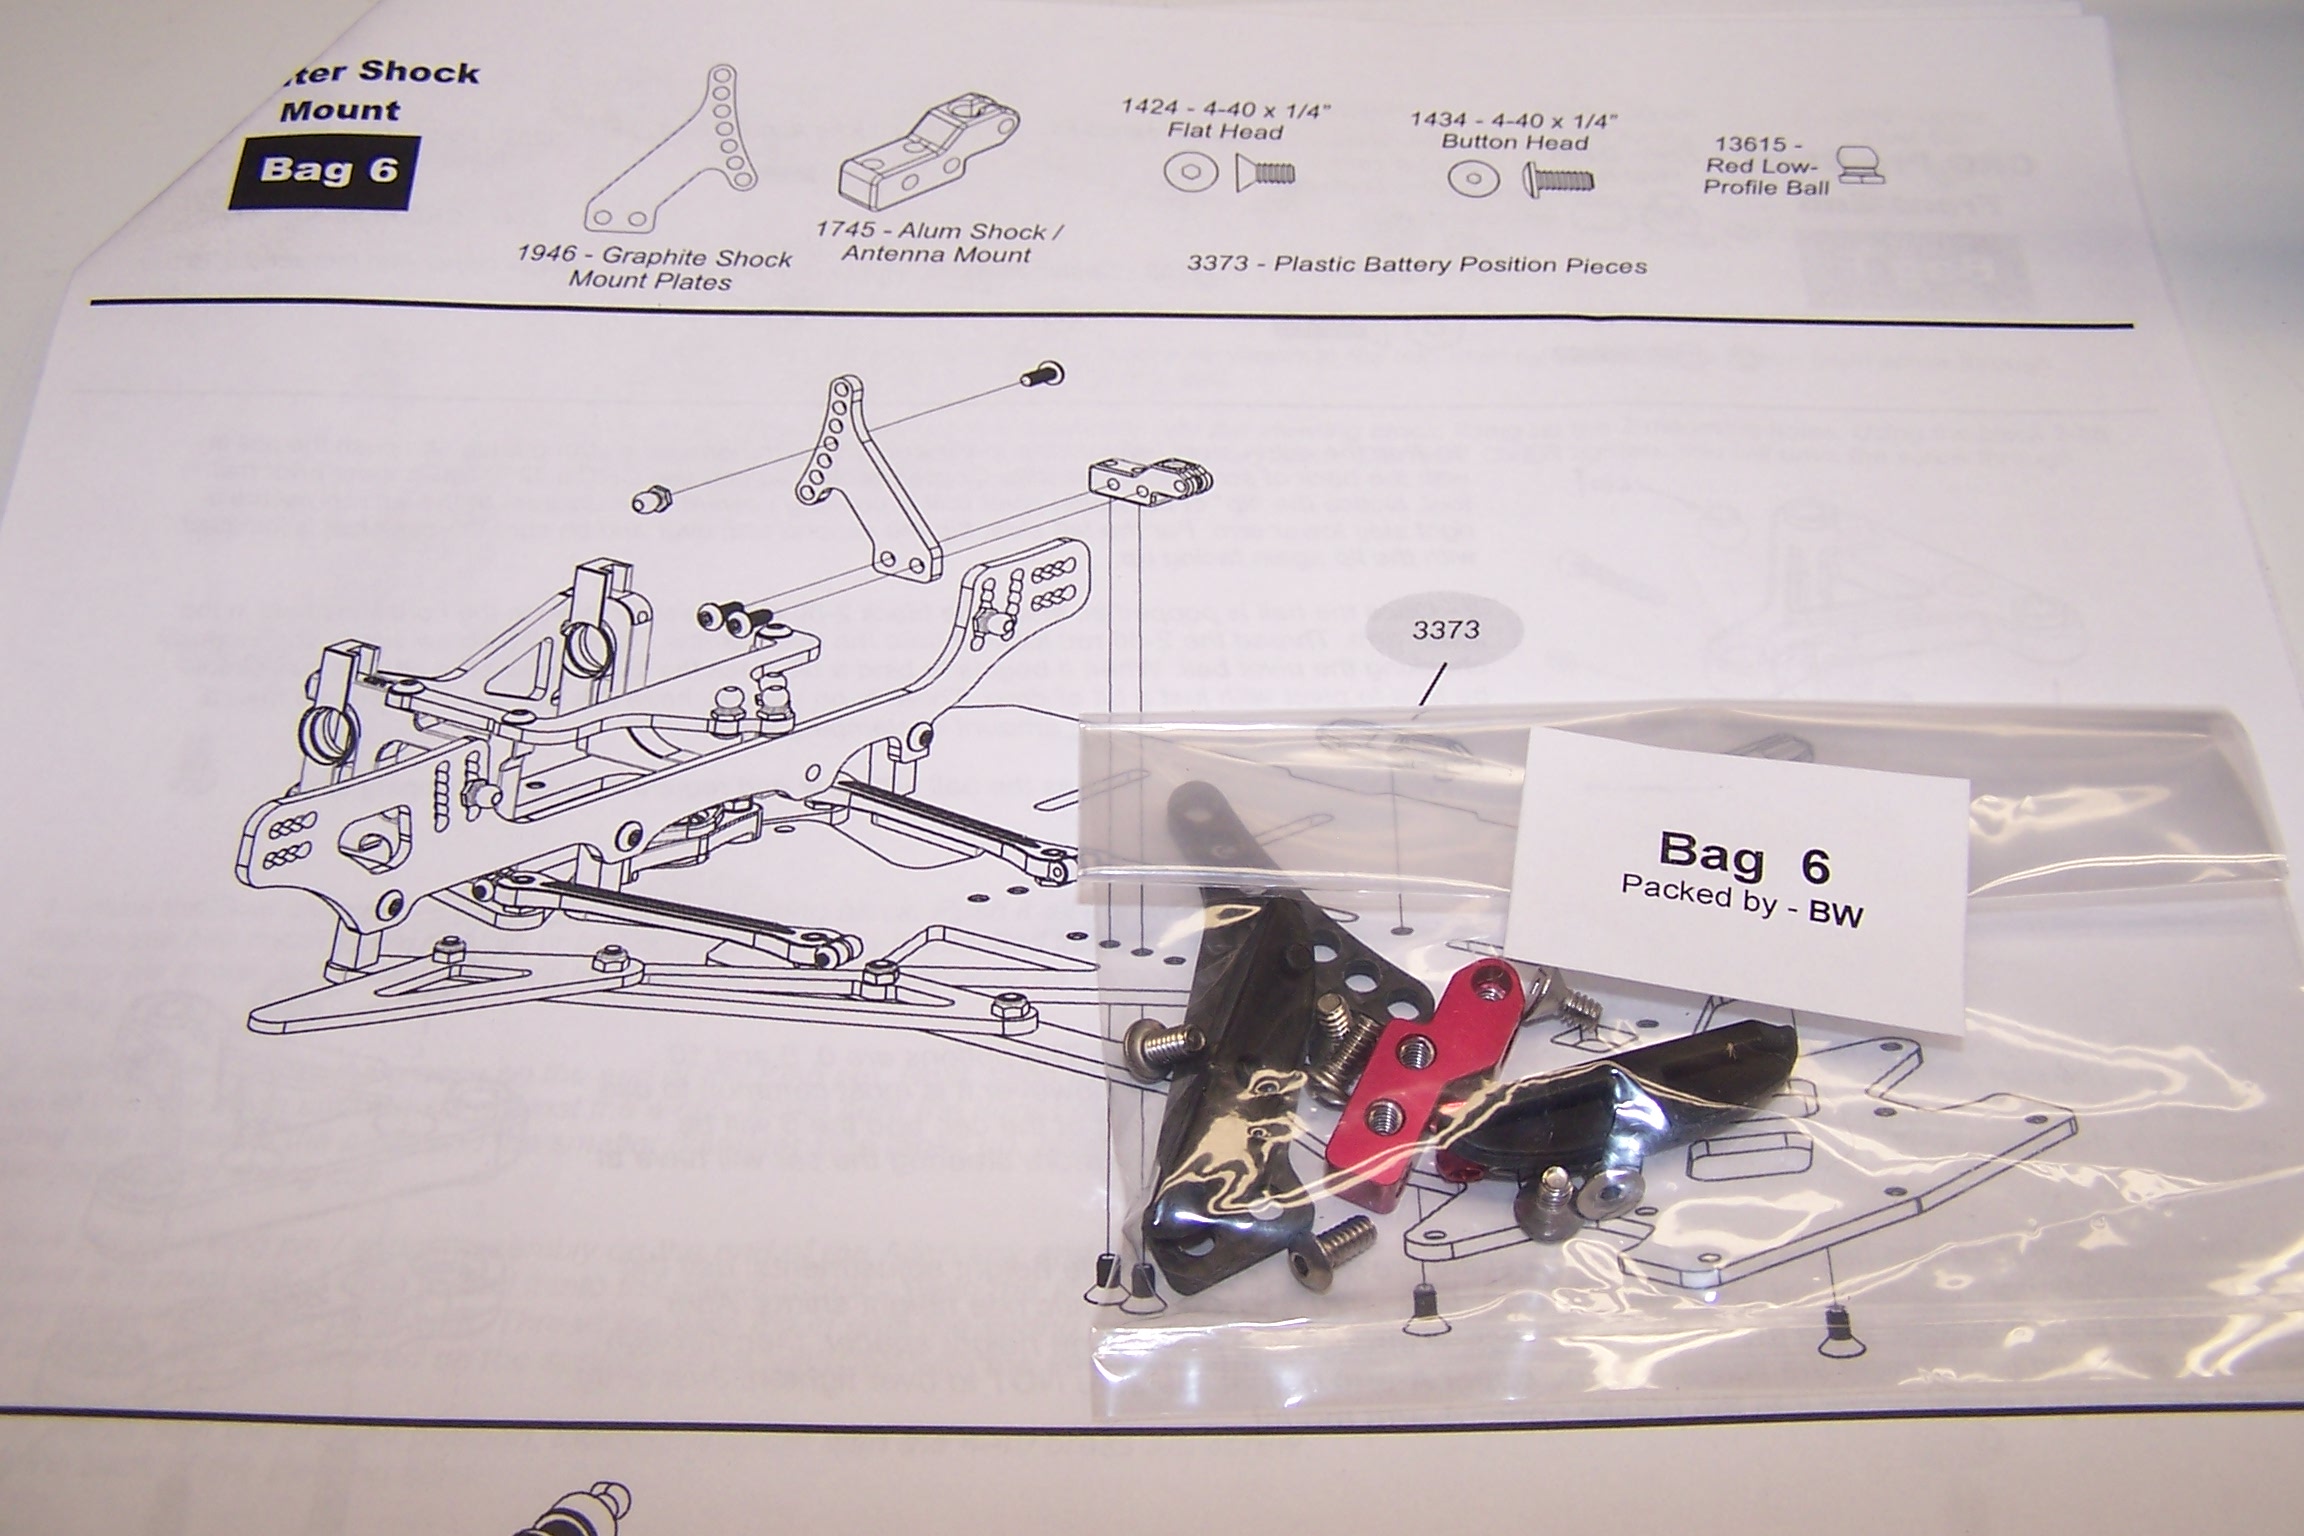
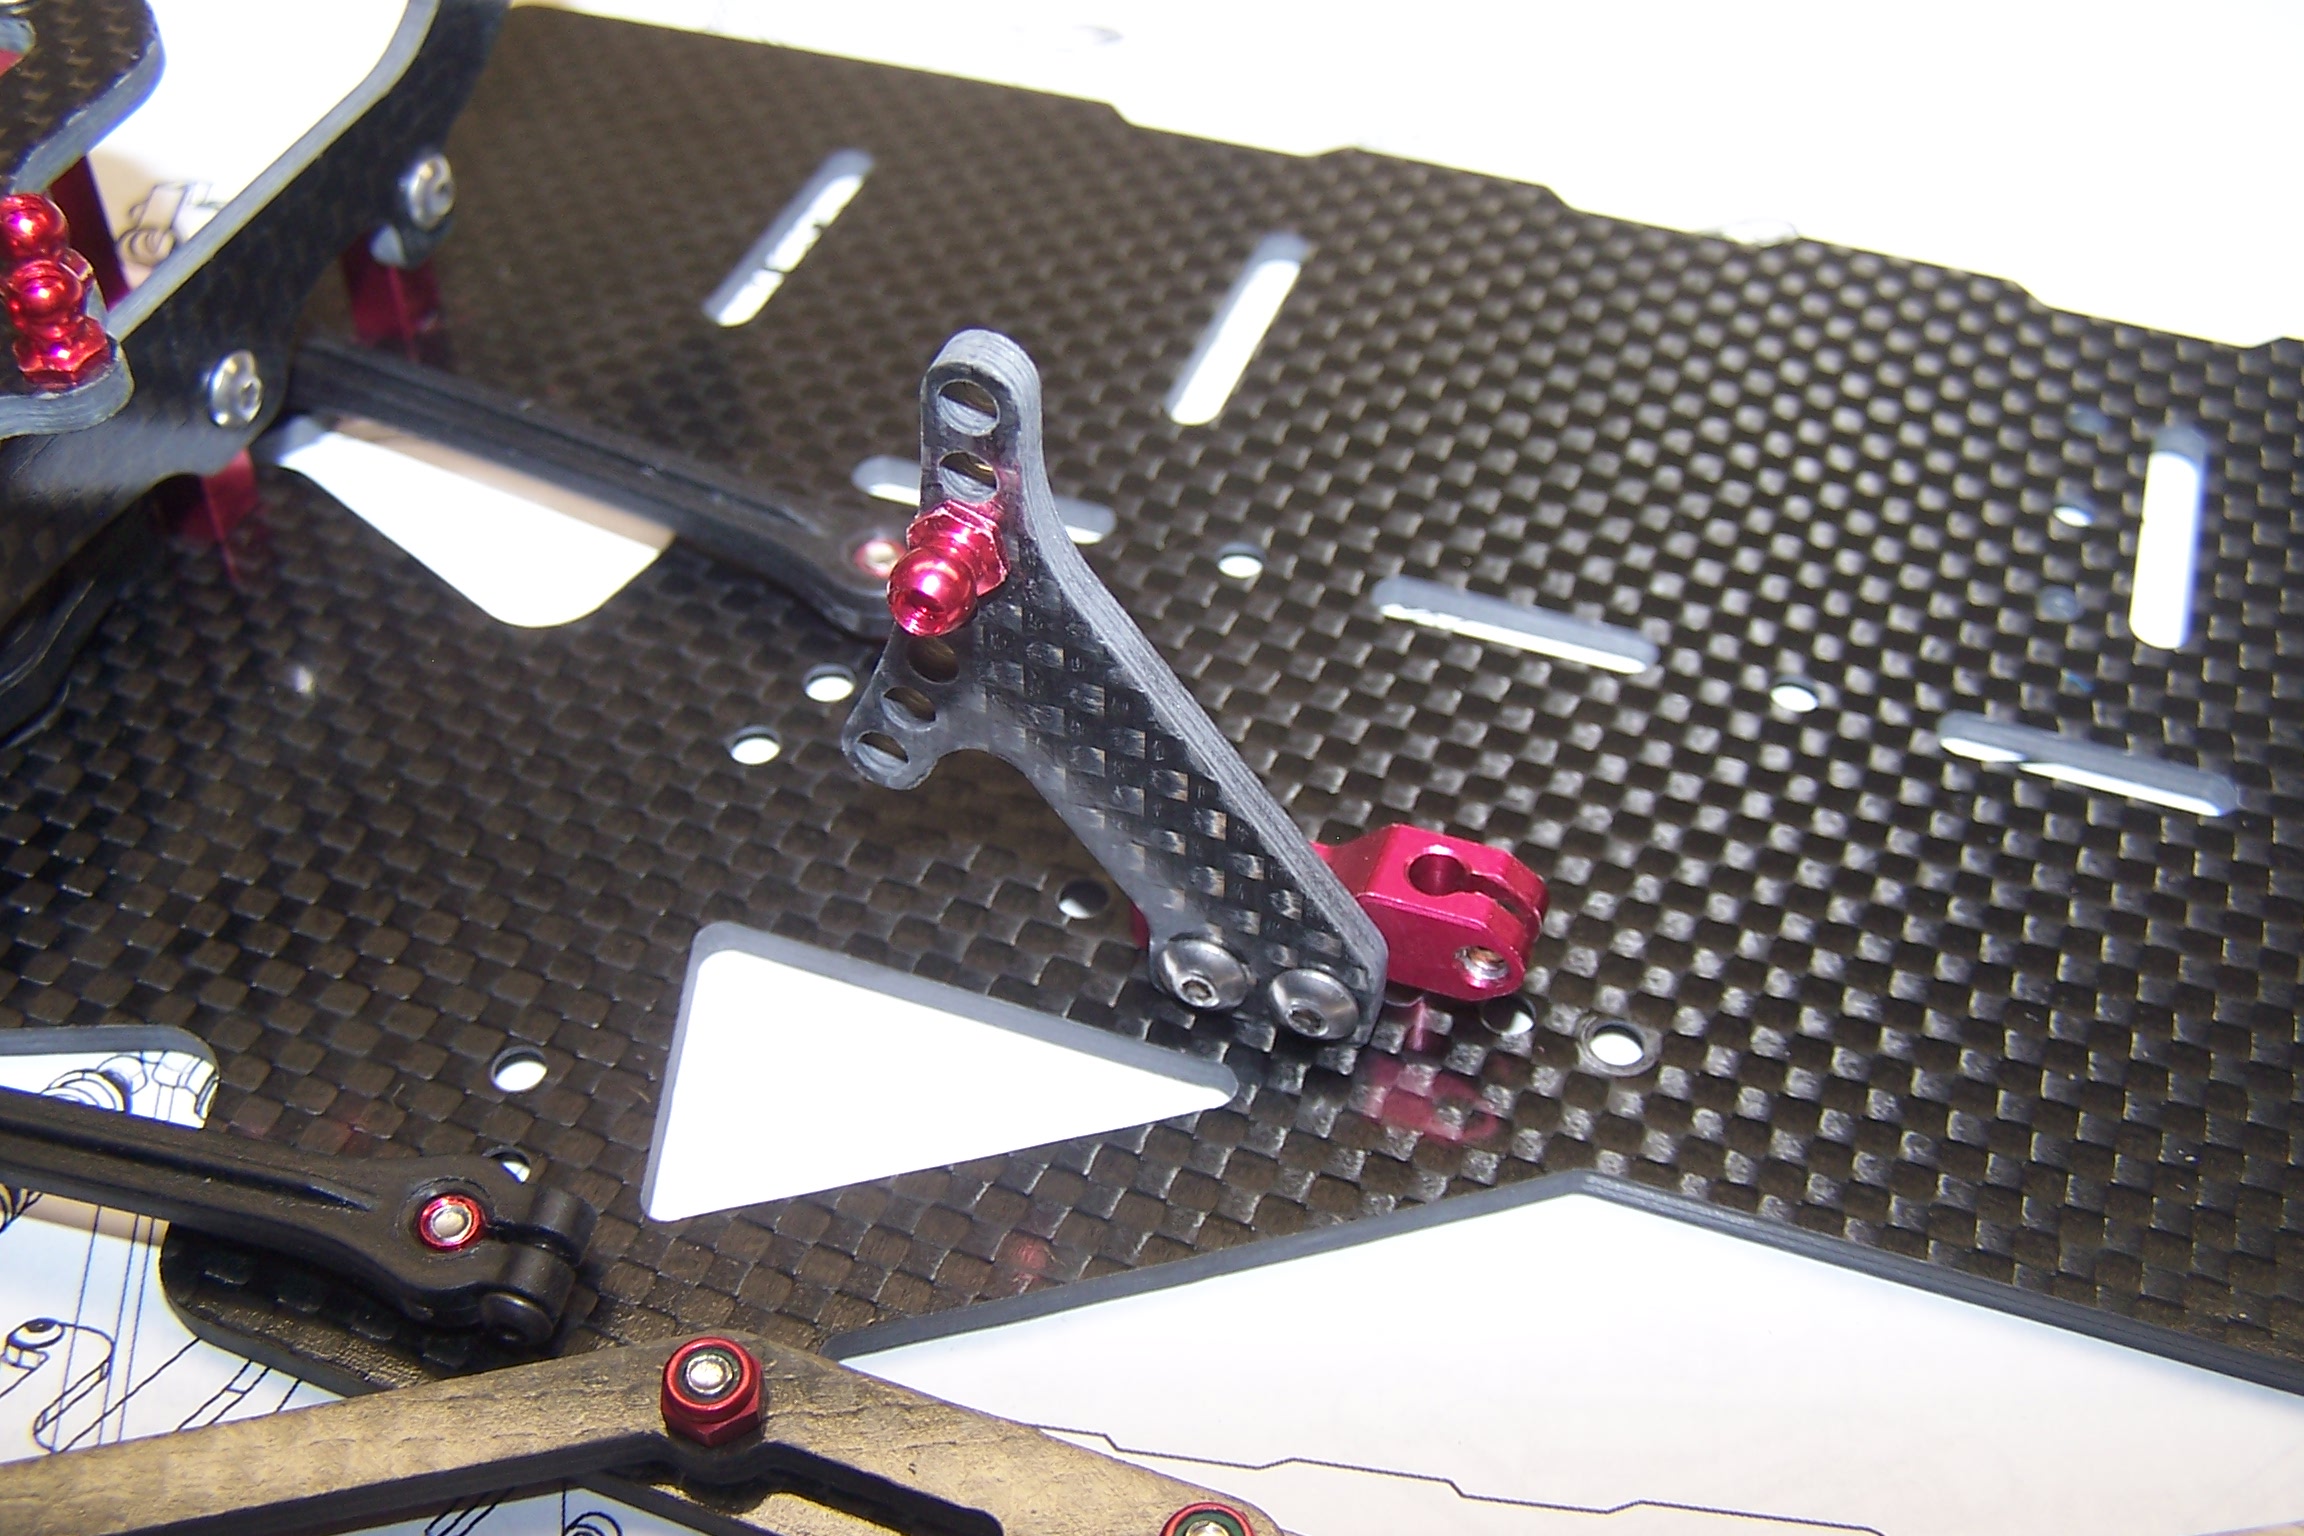
The center shock mount is assembled and mounted to the chassis.
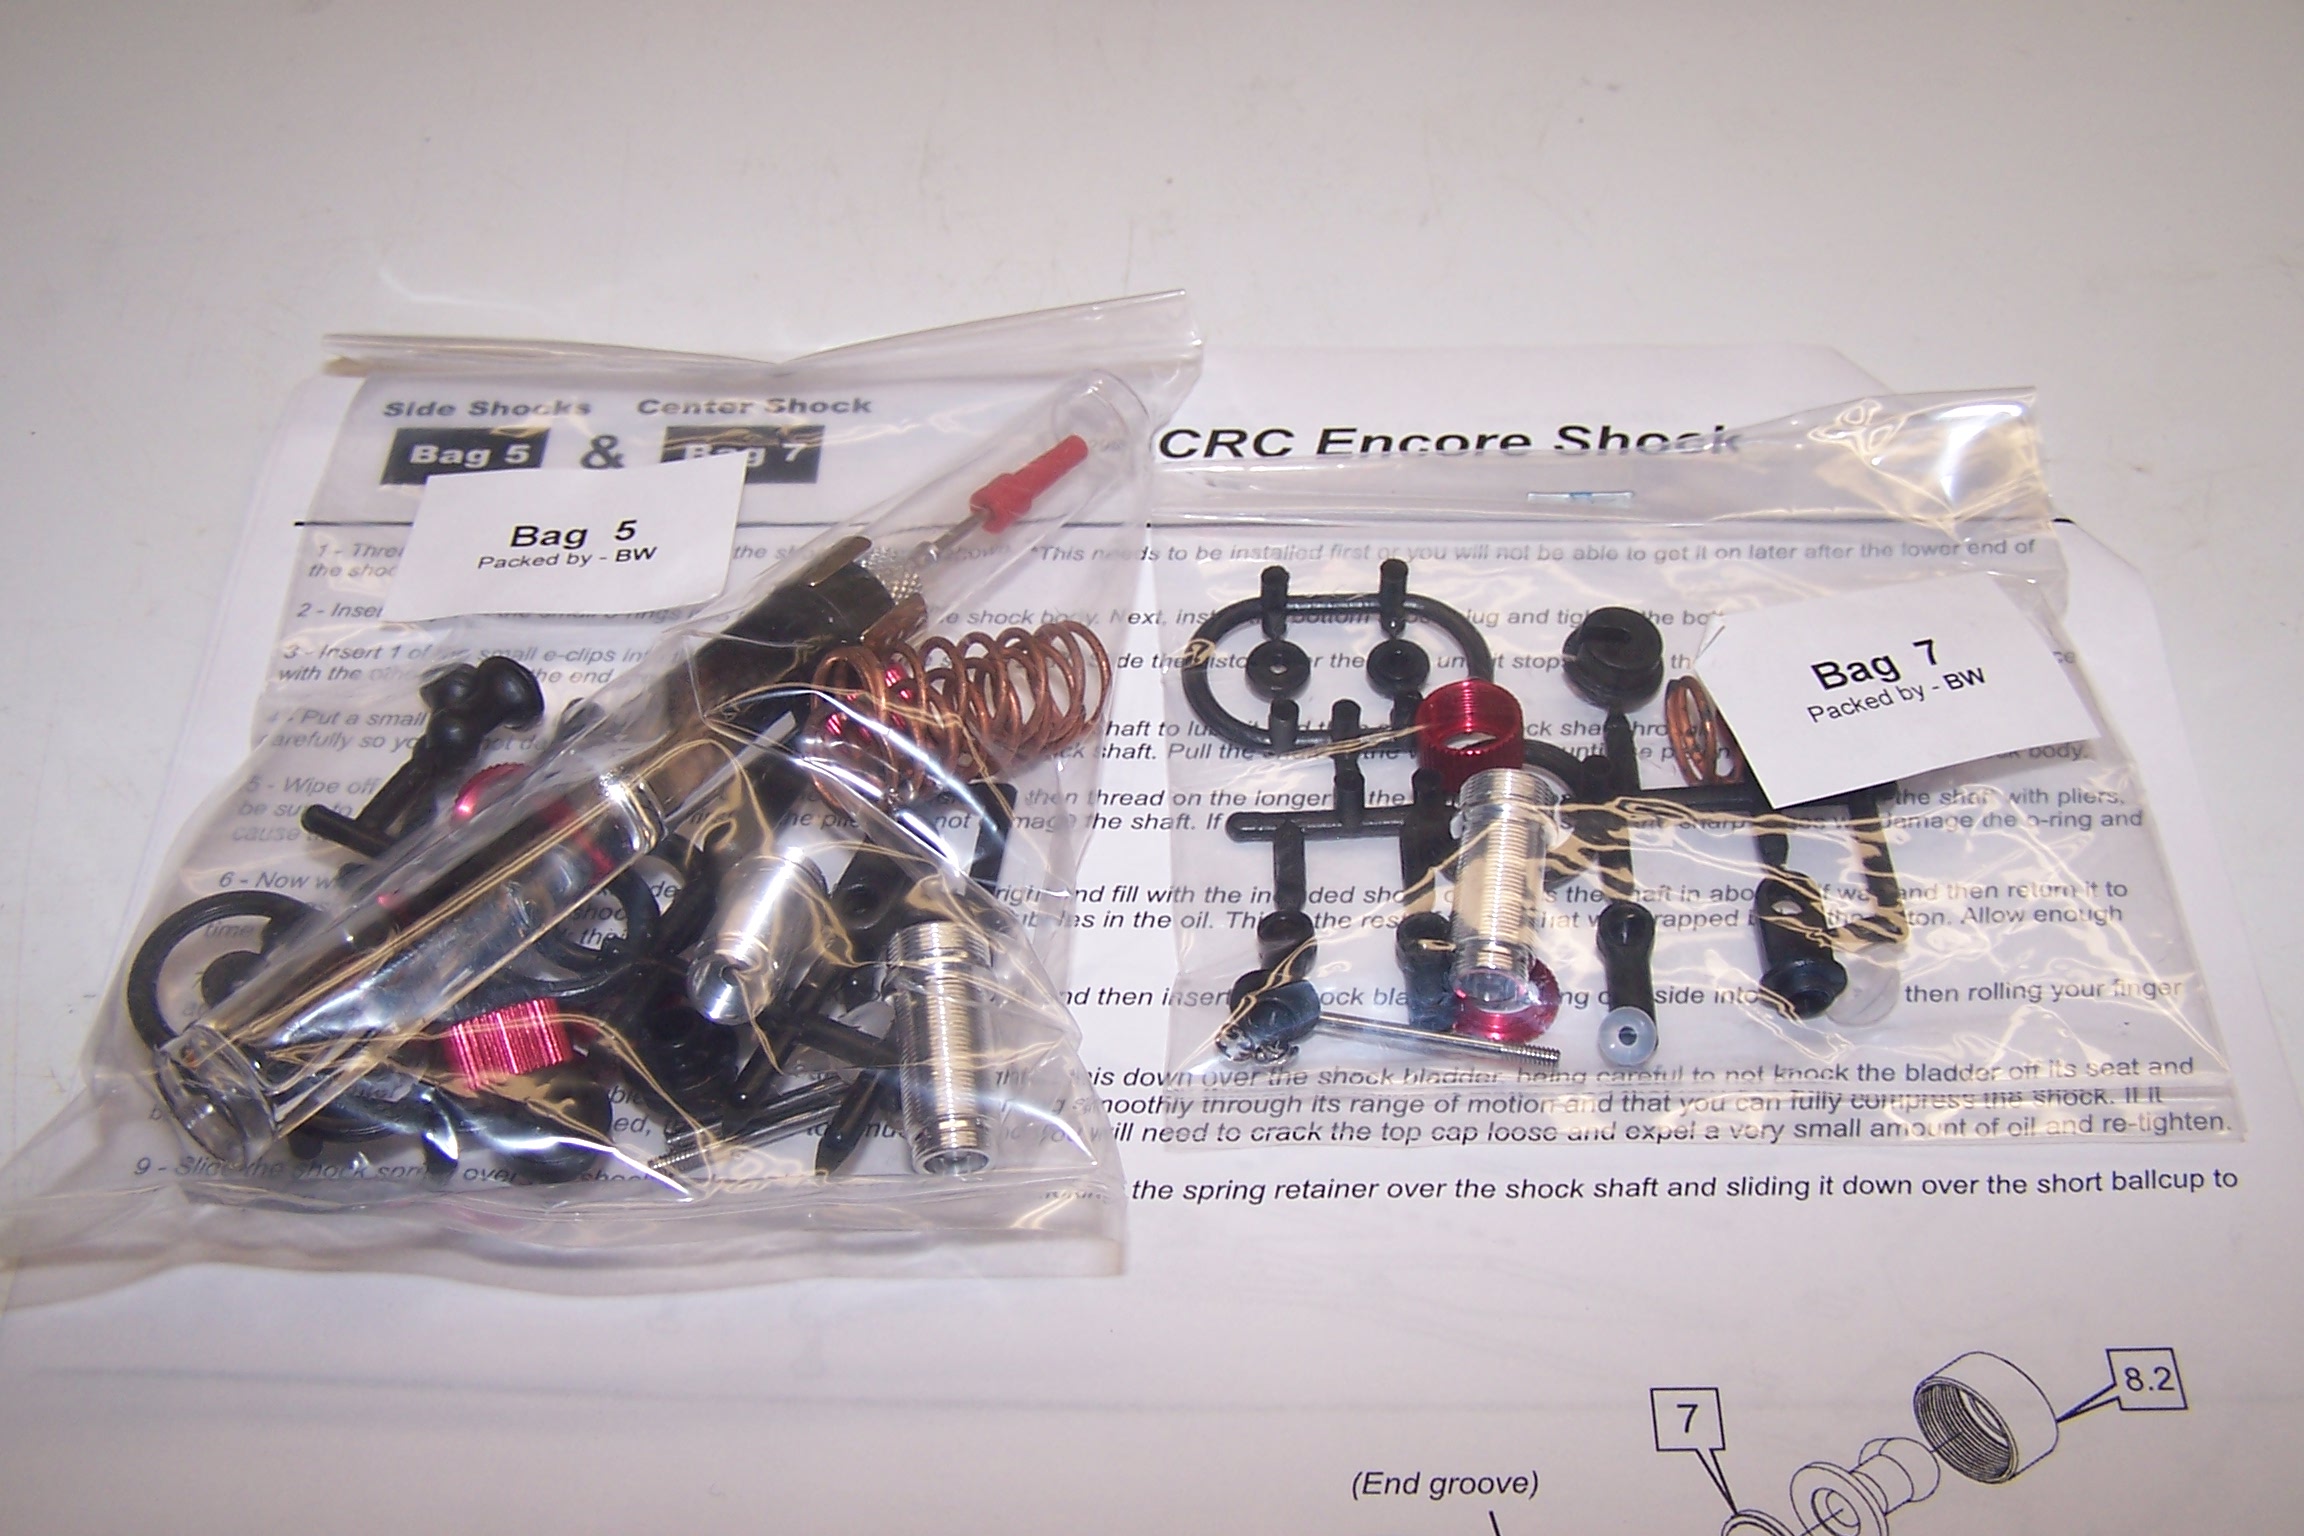
The BA 3 includes CRC’s Encore shocks. This shock has been proven for many years in their road racing cars. The shock bodies are threaded for fine adjustments. The encore shocks are always silky smooth. CRC also includes the shock oil recommended.
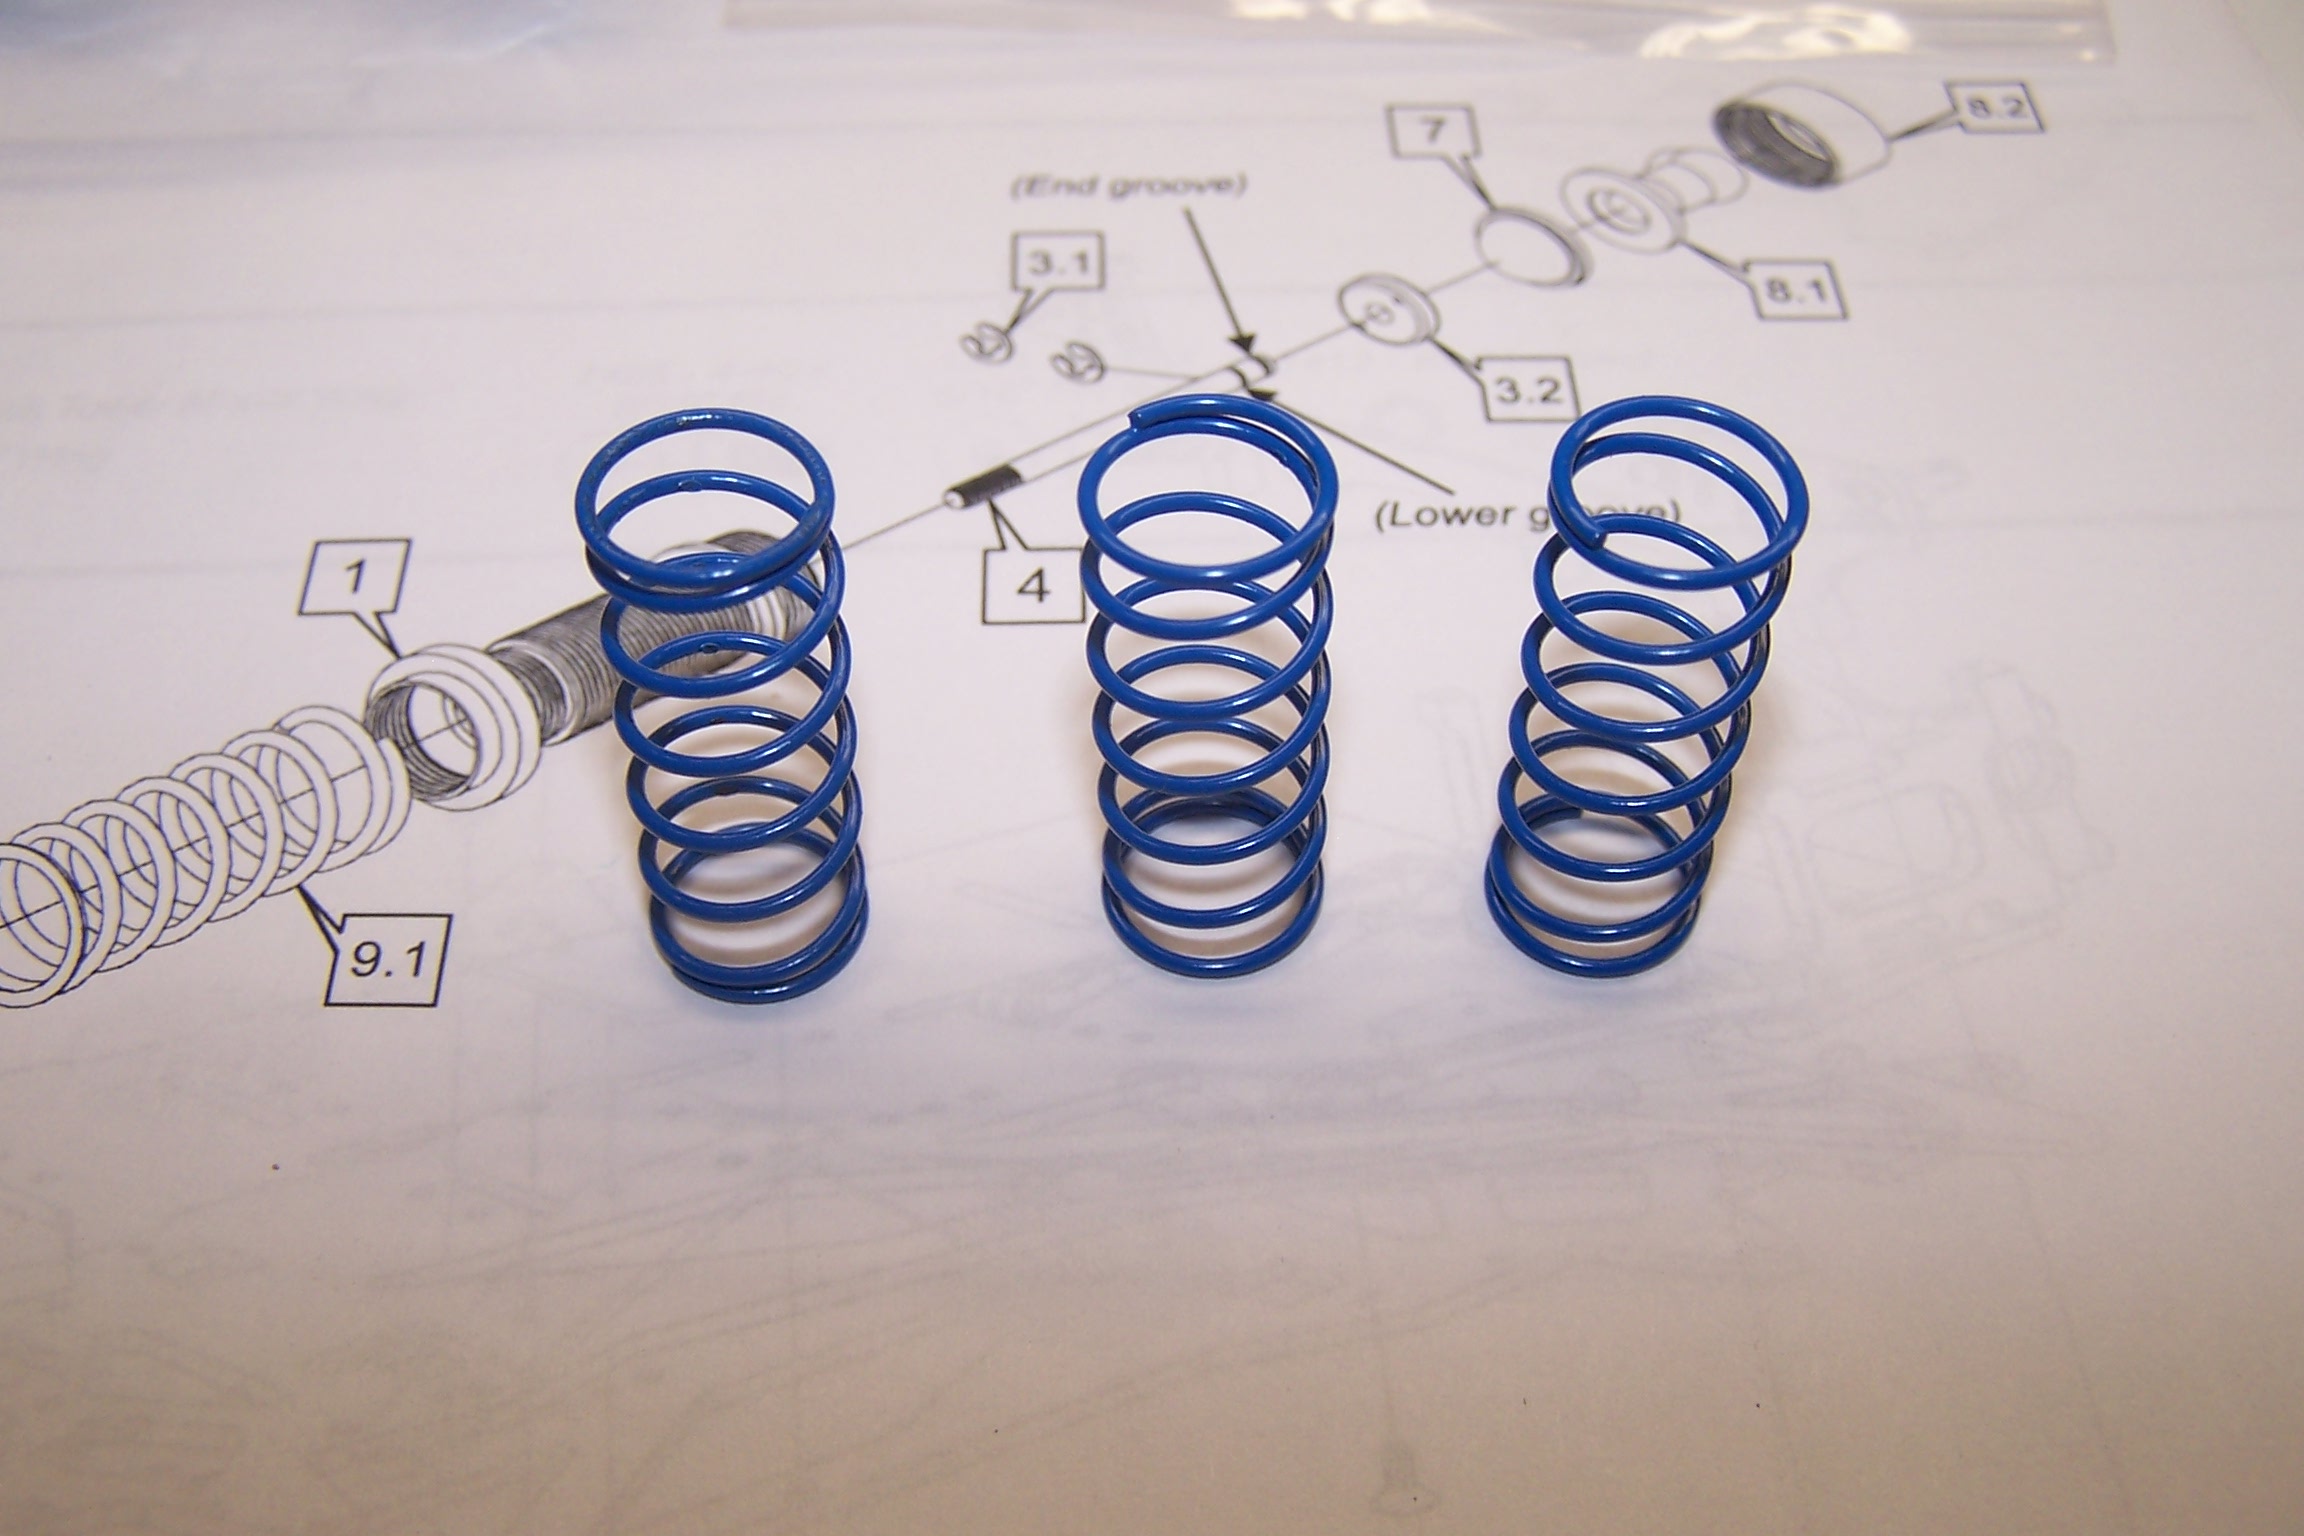
The only non-stock item I used were blue shock springs.
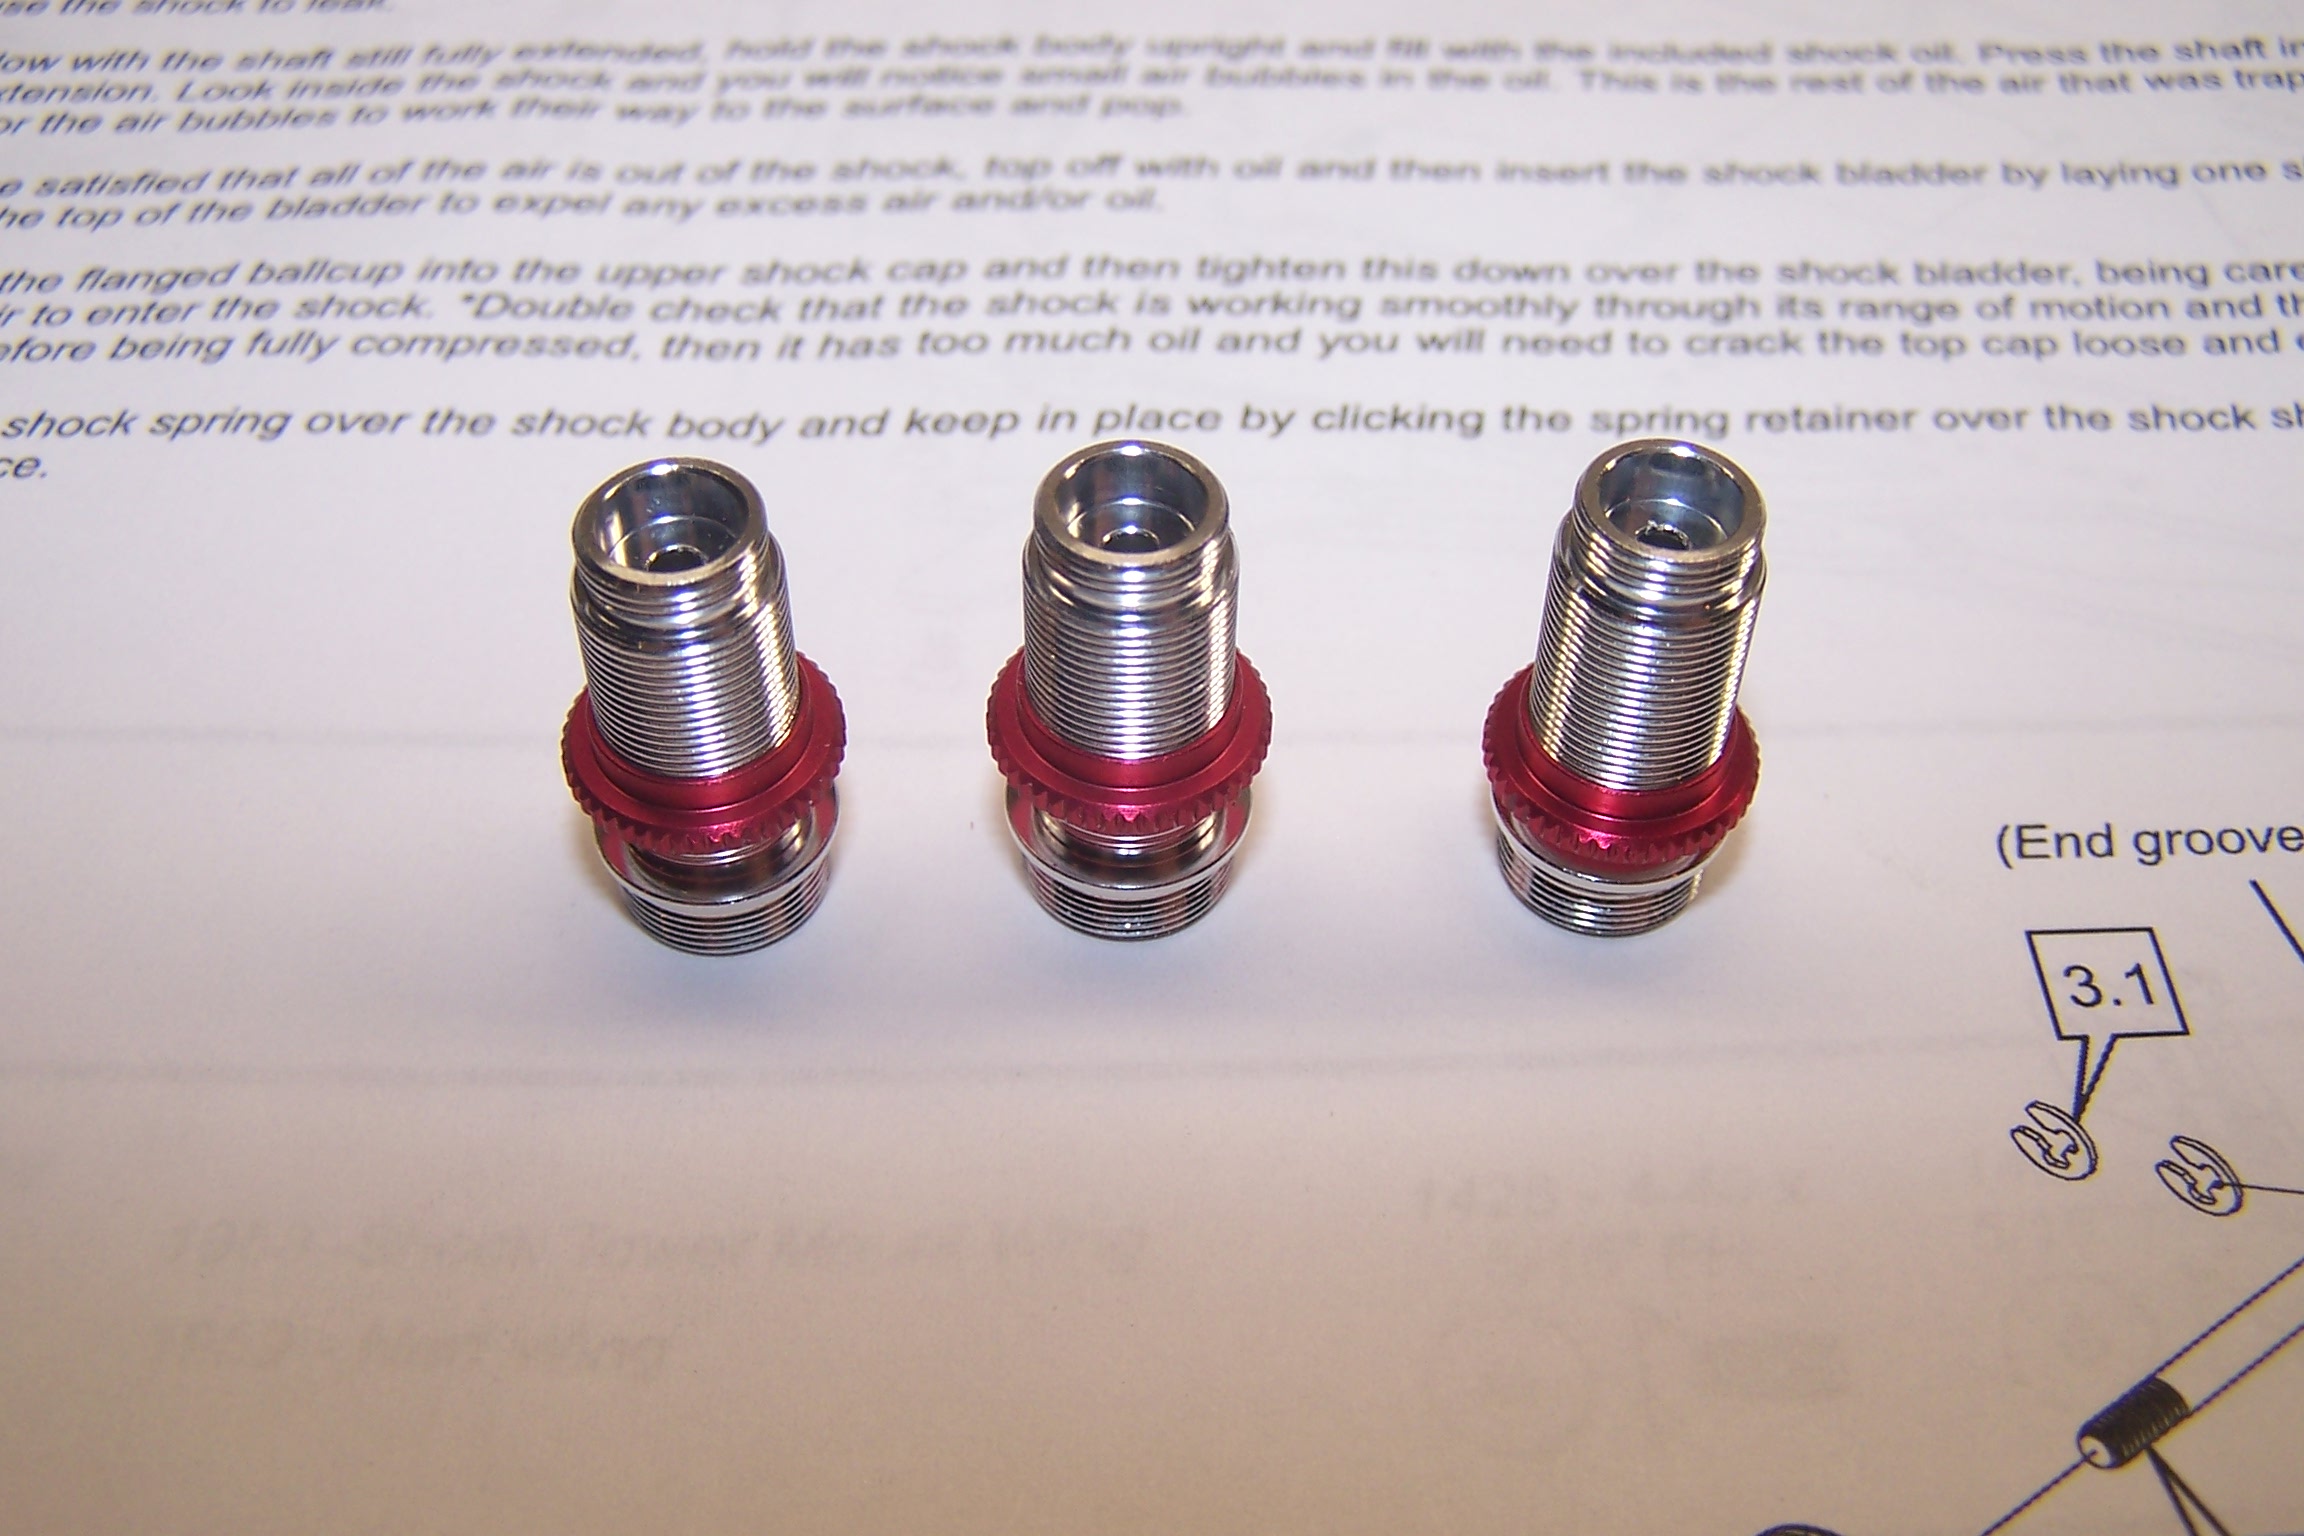
The machining is always top not for any CRC car. These shock bodies are mini works of art.
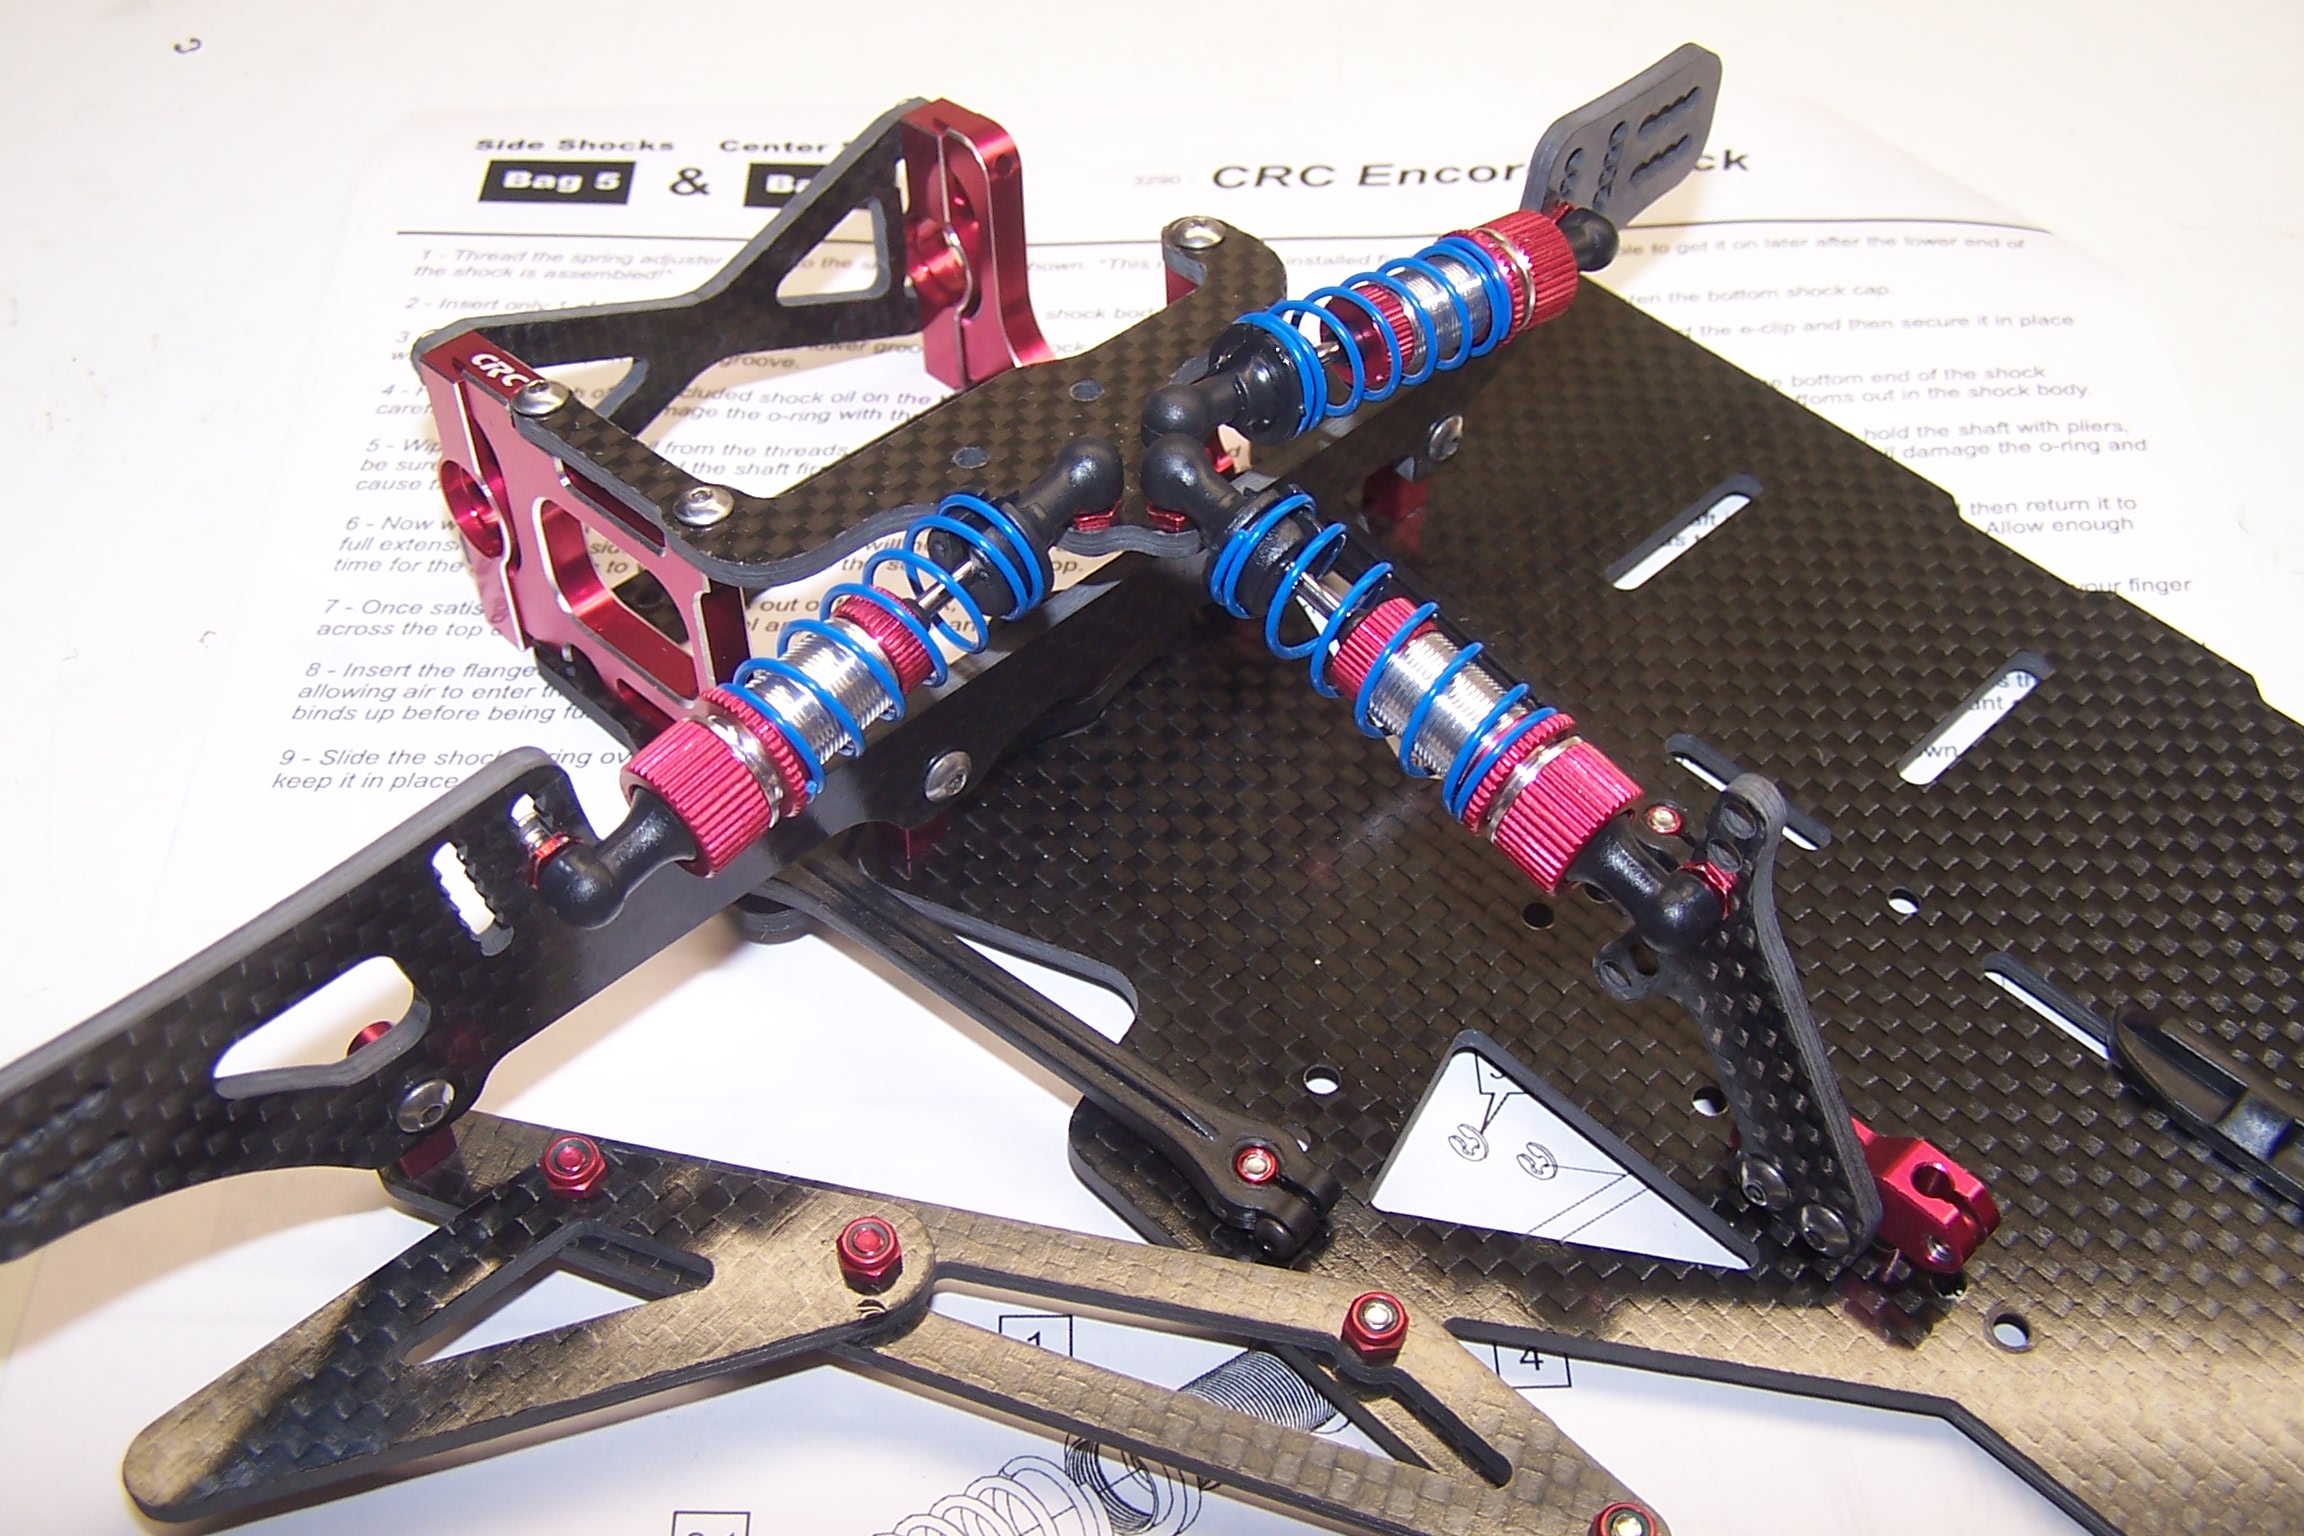
All three shocks are topped off with oil, bled for air, and mounted on the chassis. Preload will be adjusted once the car is complete.
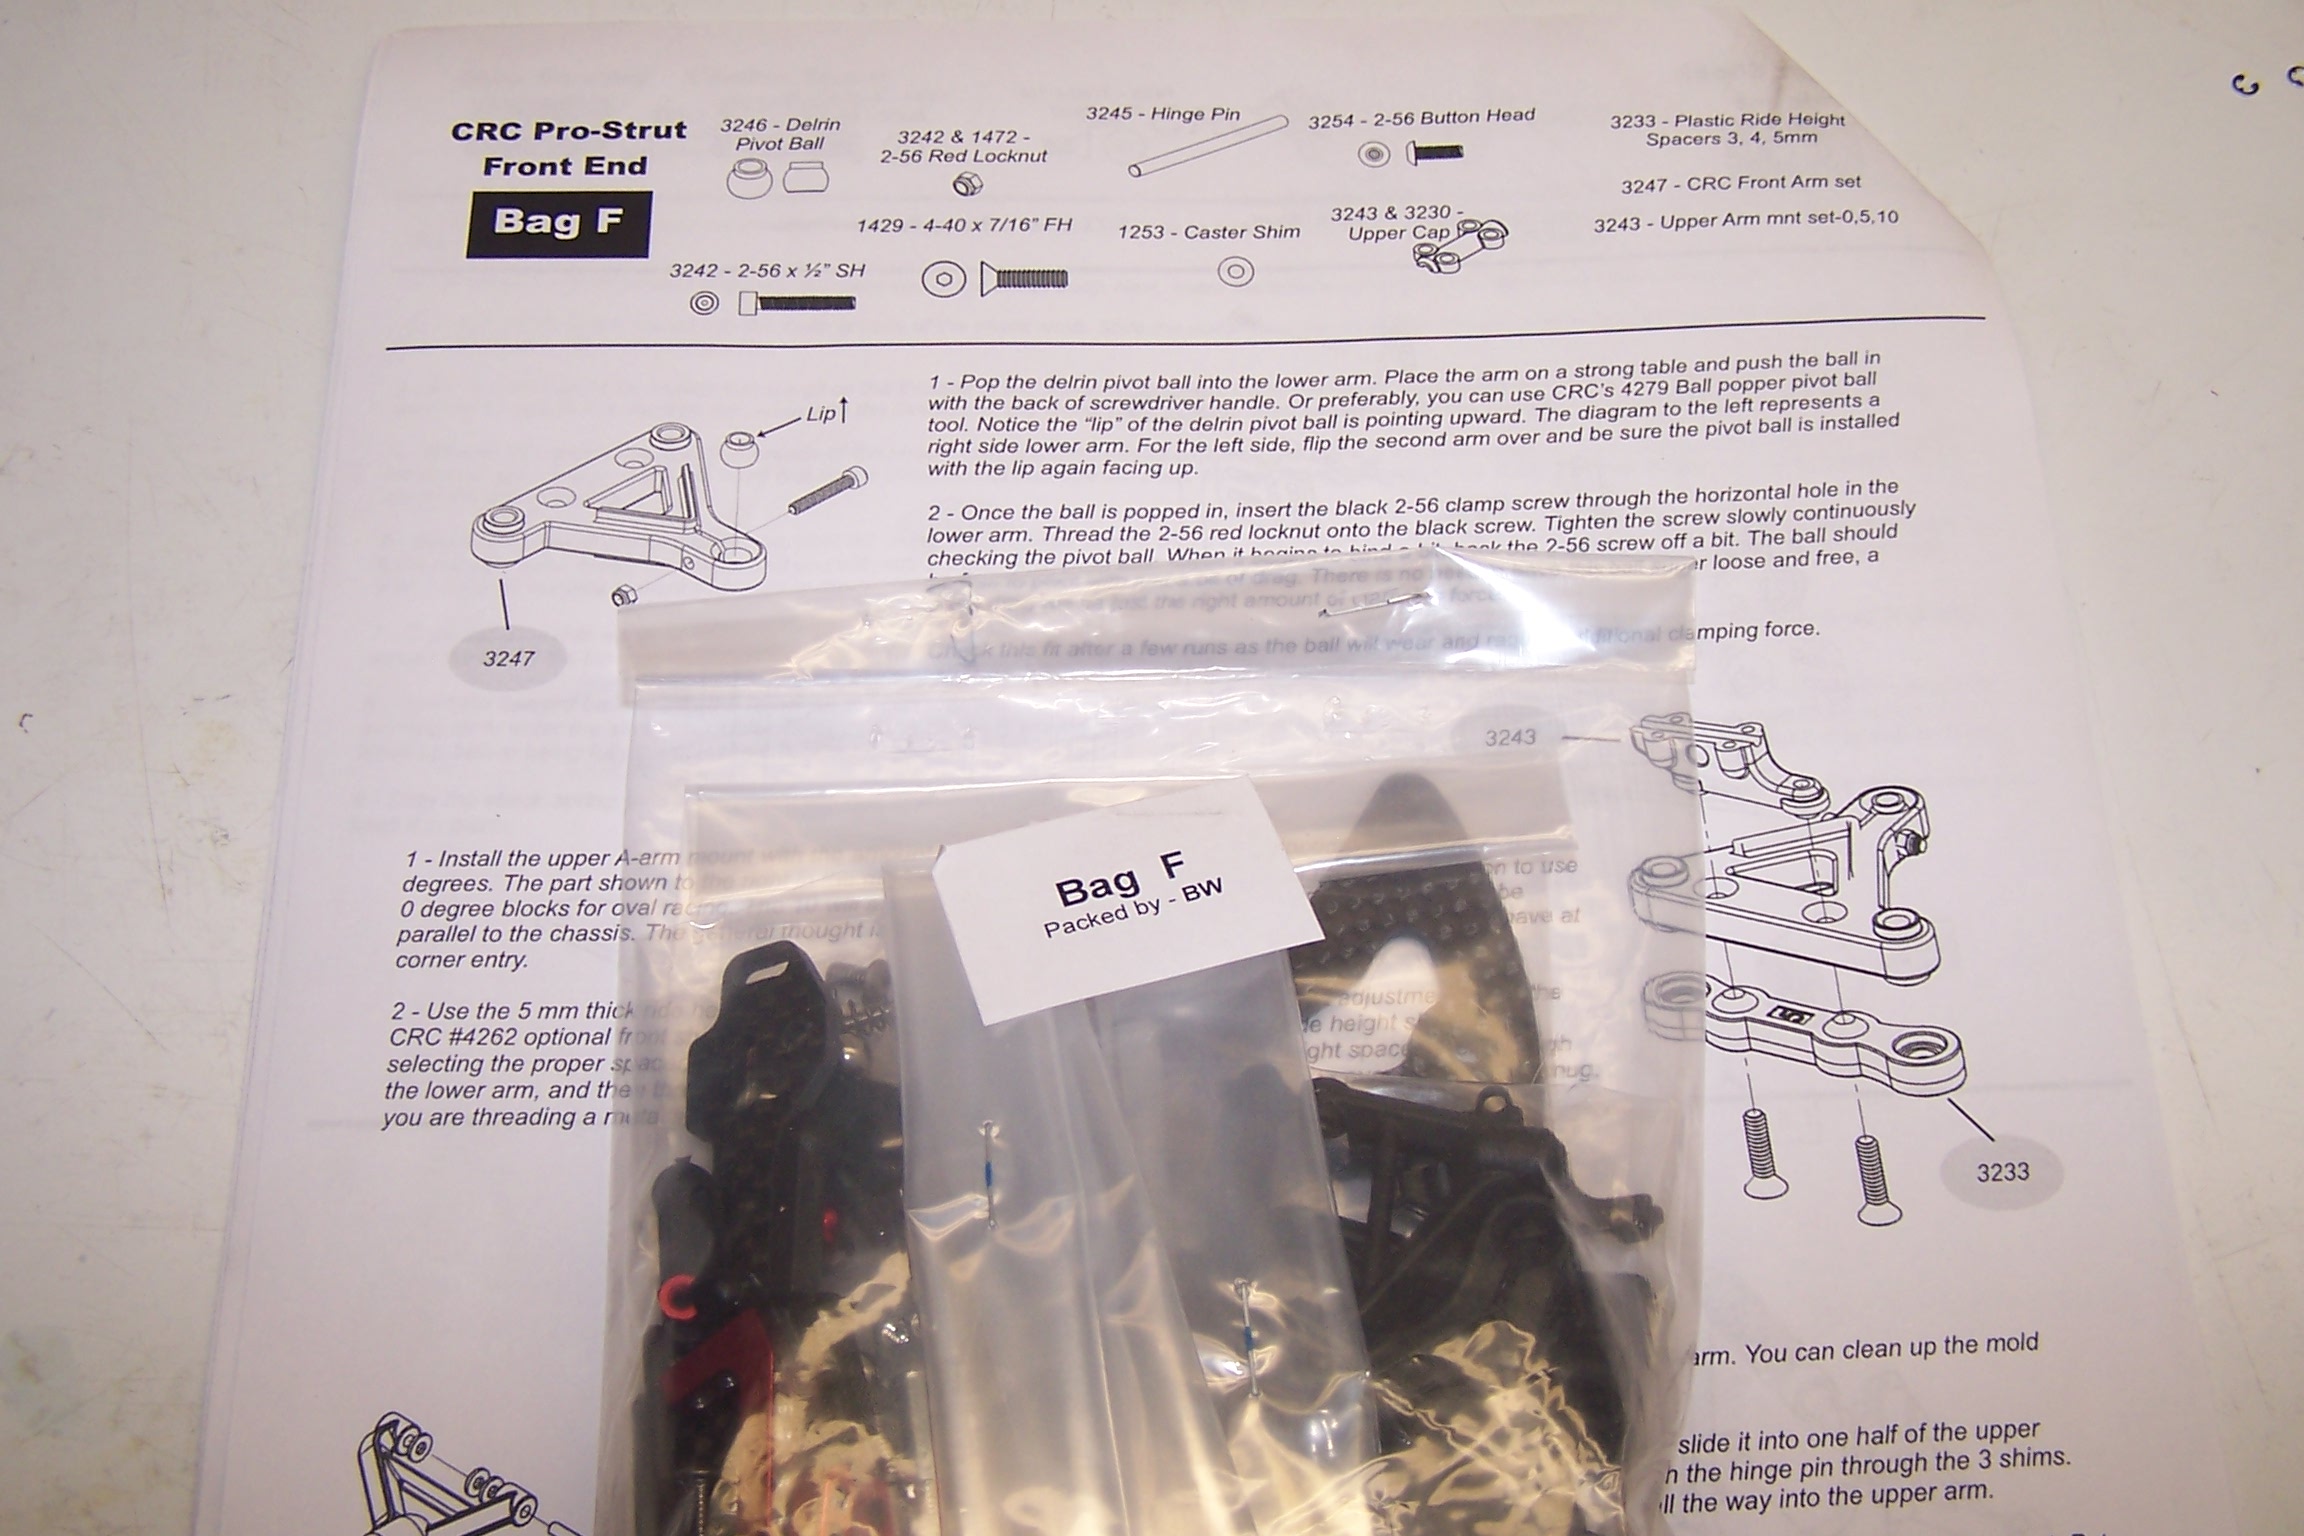
Bag F starts the build of CRC’s famous pro strut front end. Many racers use CRC’s front end on other manufacturer’s chassis. When you see the assembly you will realize why.
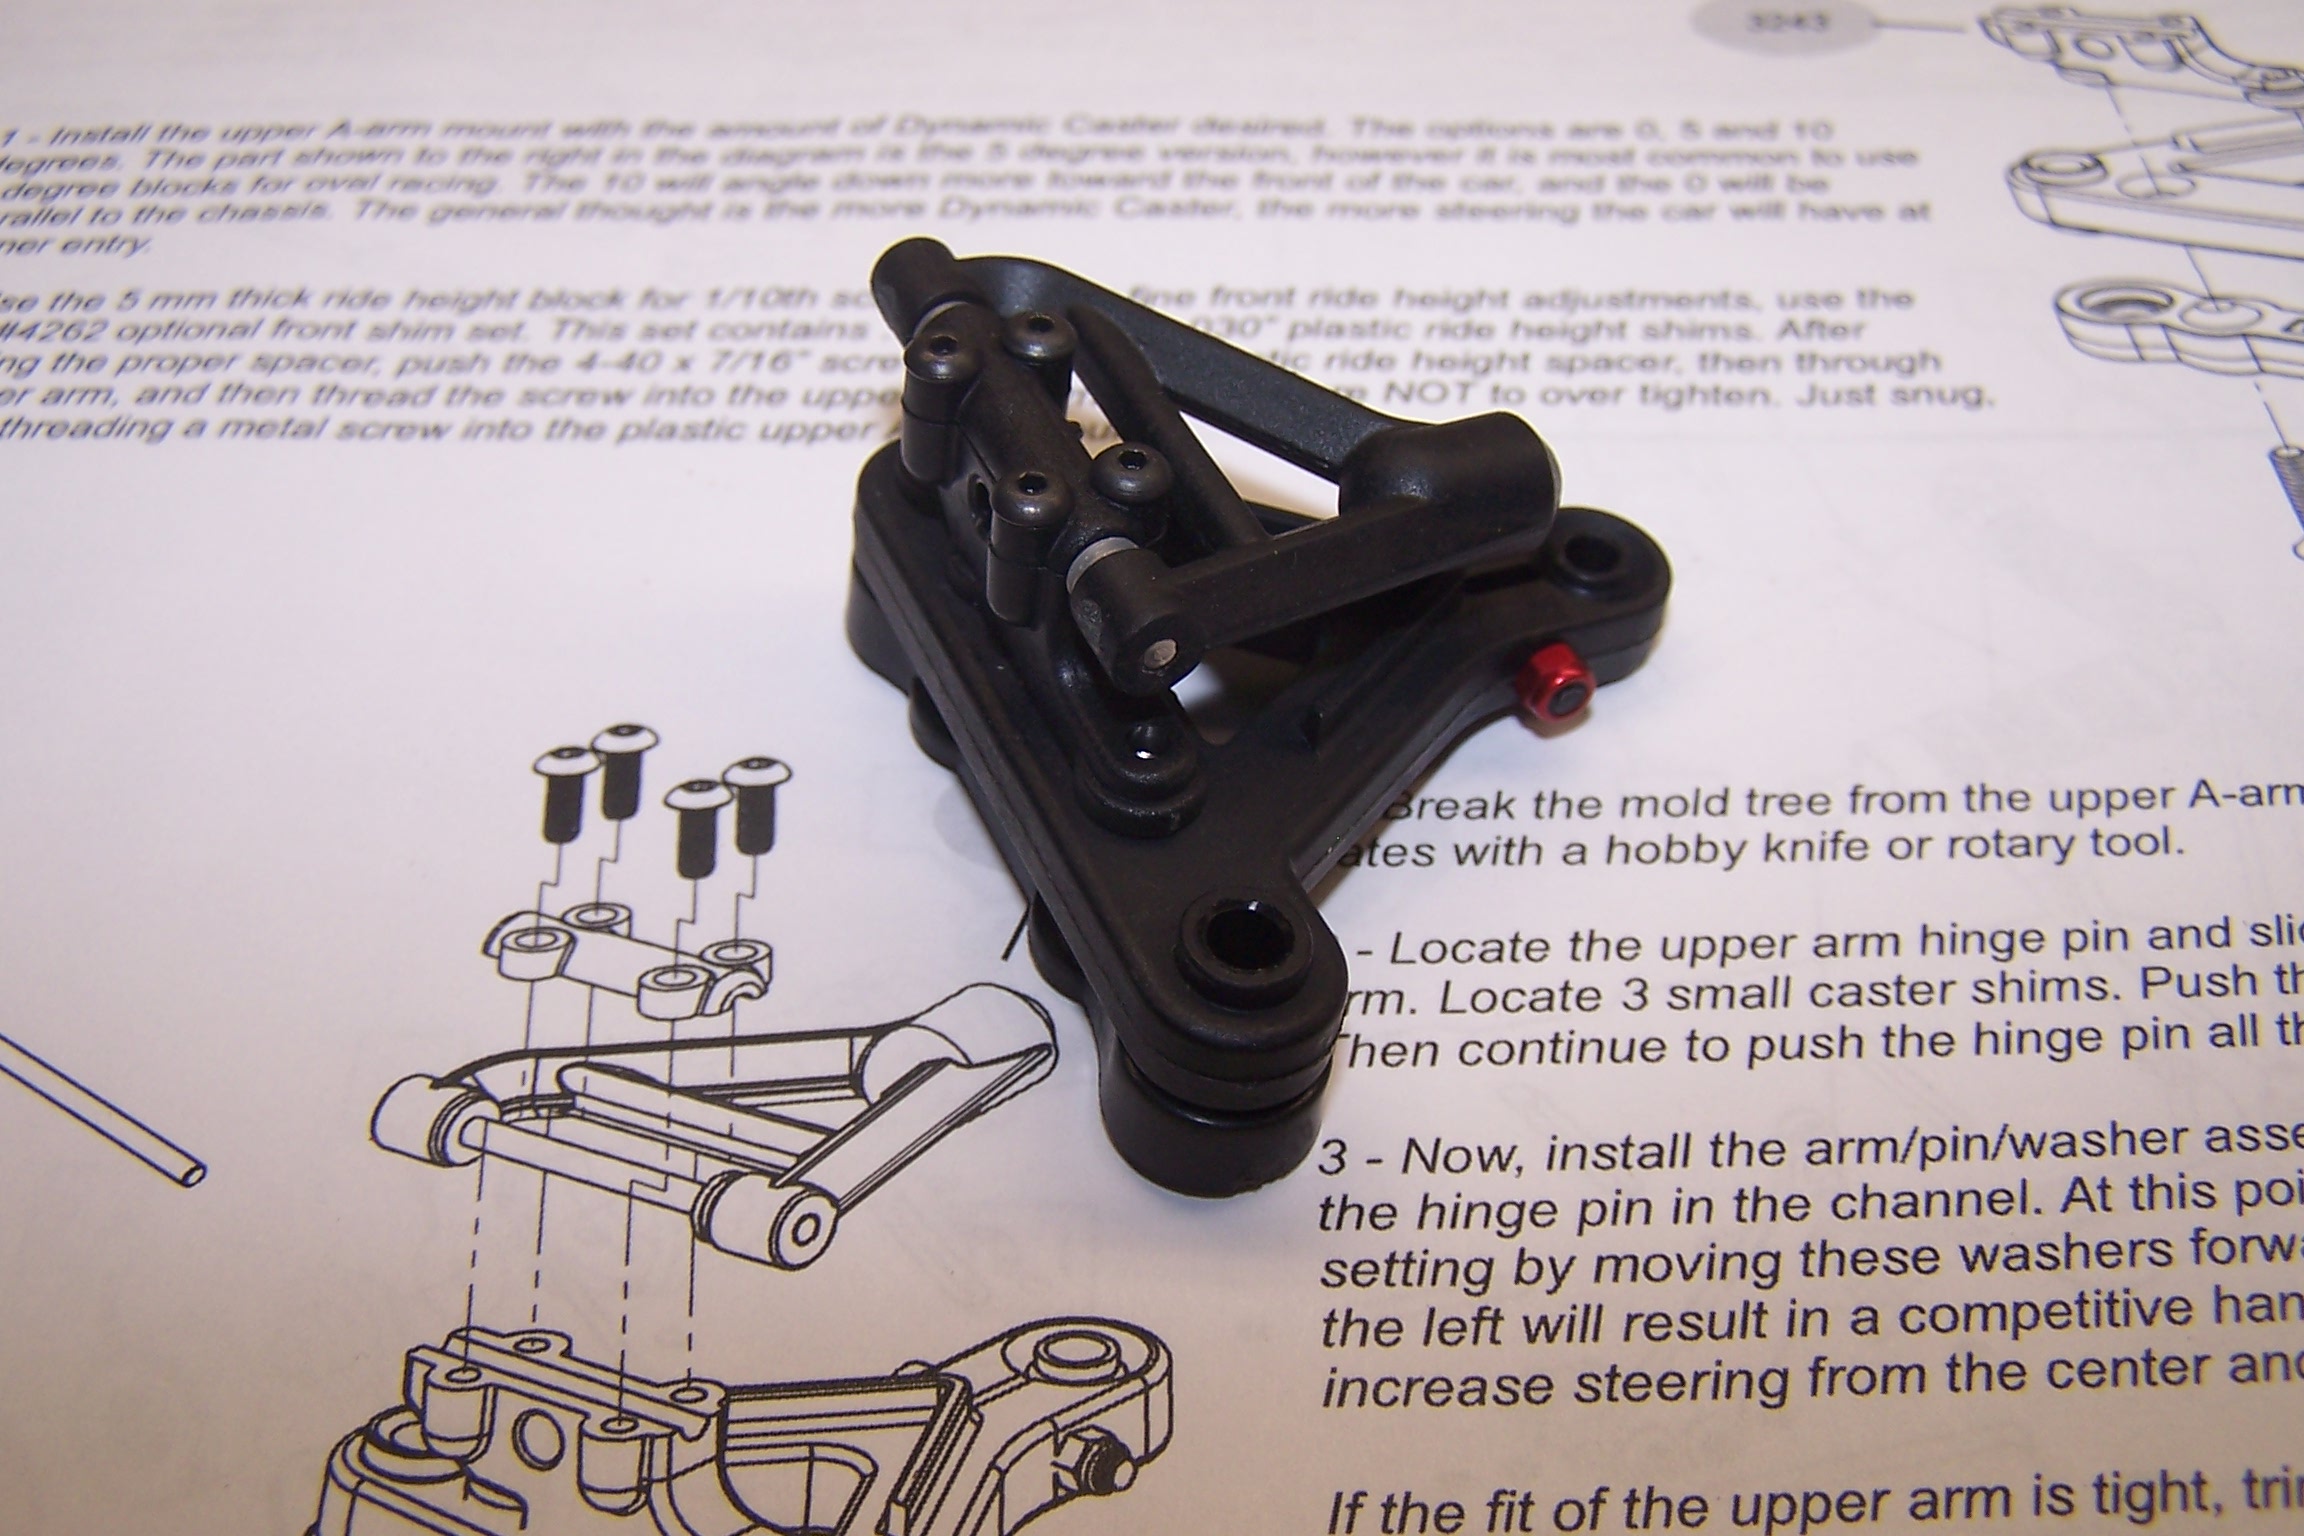
The pivot ball has been installed in the lower arm and then that is assembled to the upper arm with the caster blocks. CRC ships the kit with 3 different degrees of caster blocks, for oval, we’re installing the zero degree ones. The shims on the upper arm can be adjusted to make the car more or less aggressive depending on the driver’s preference.
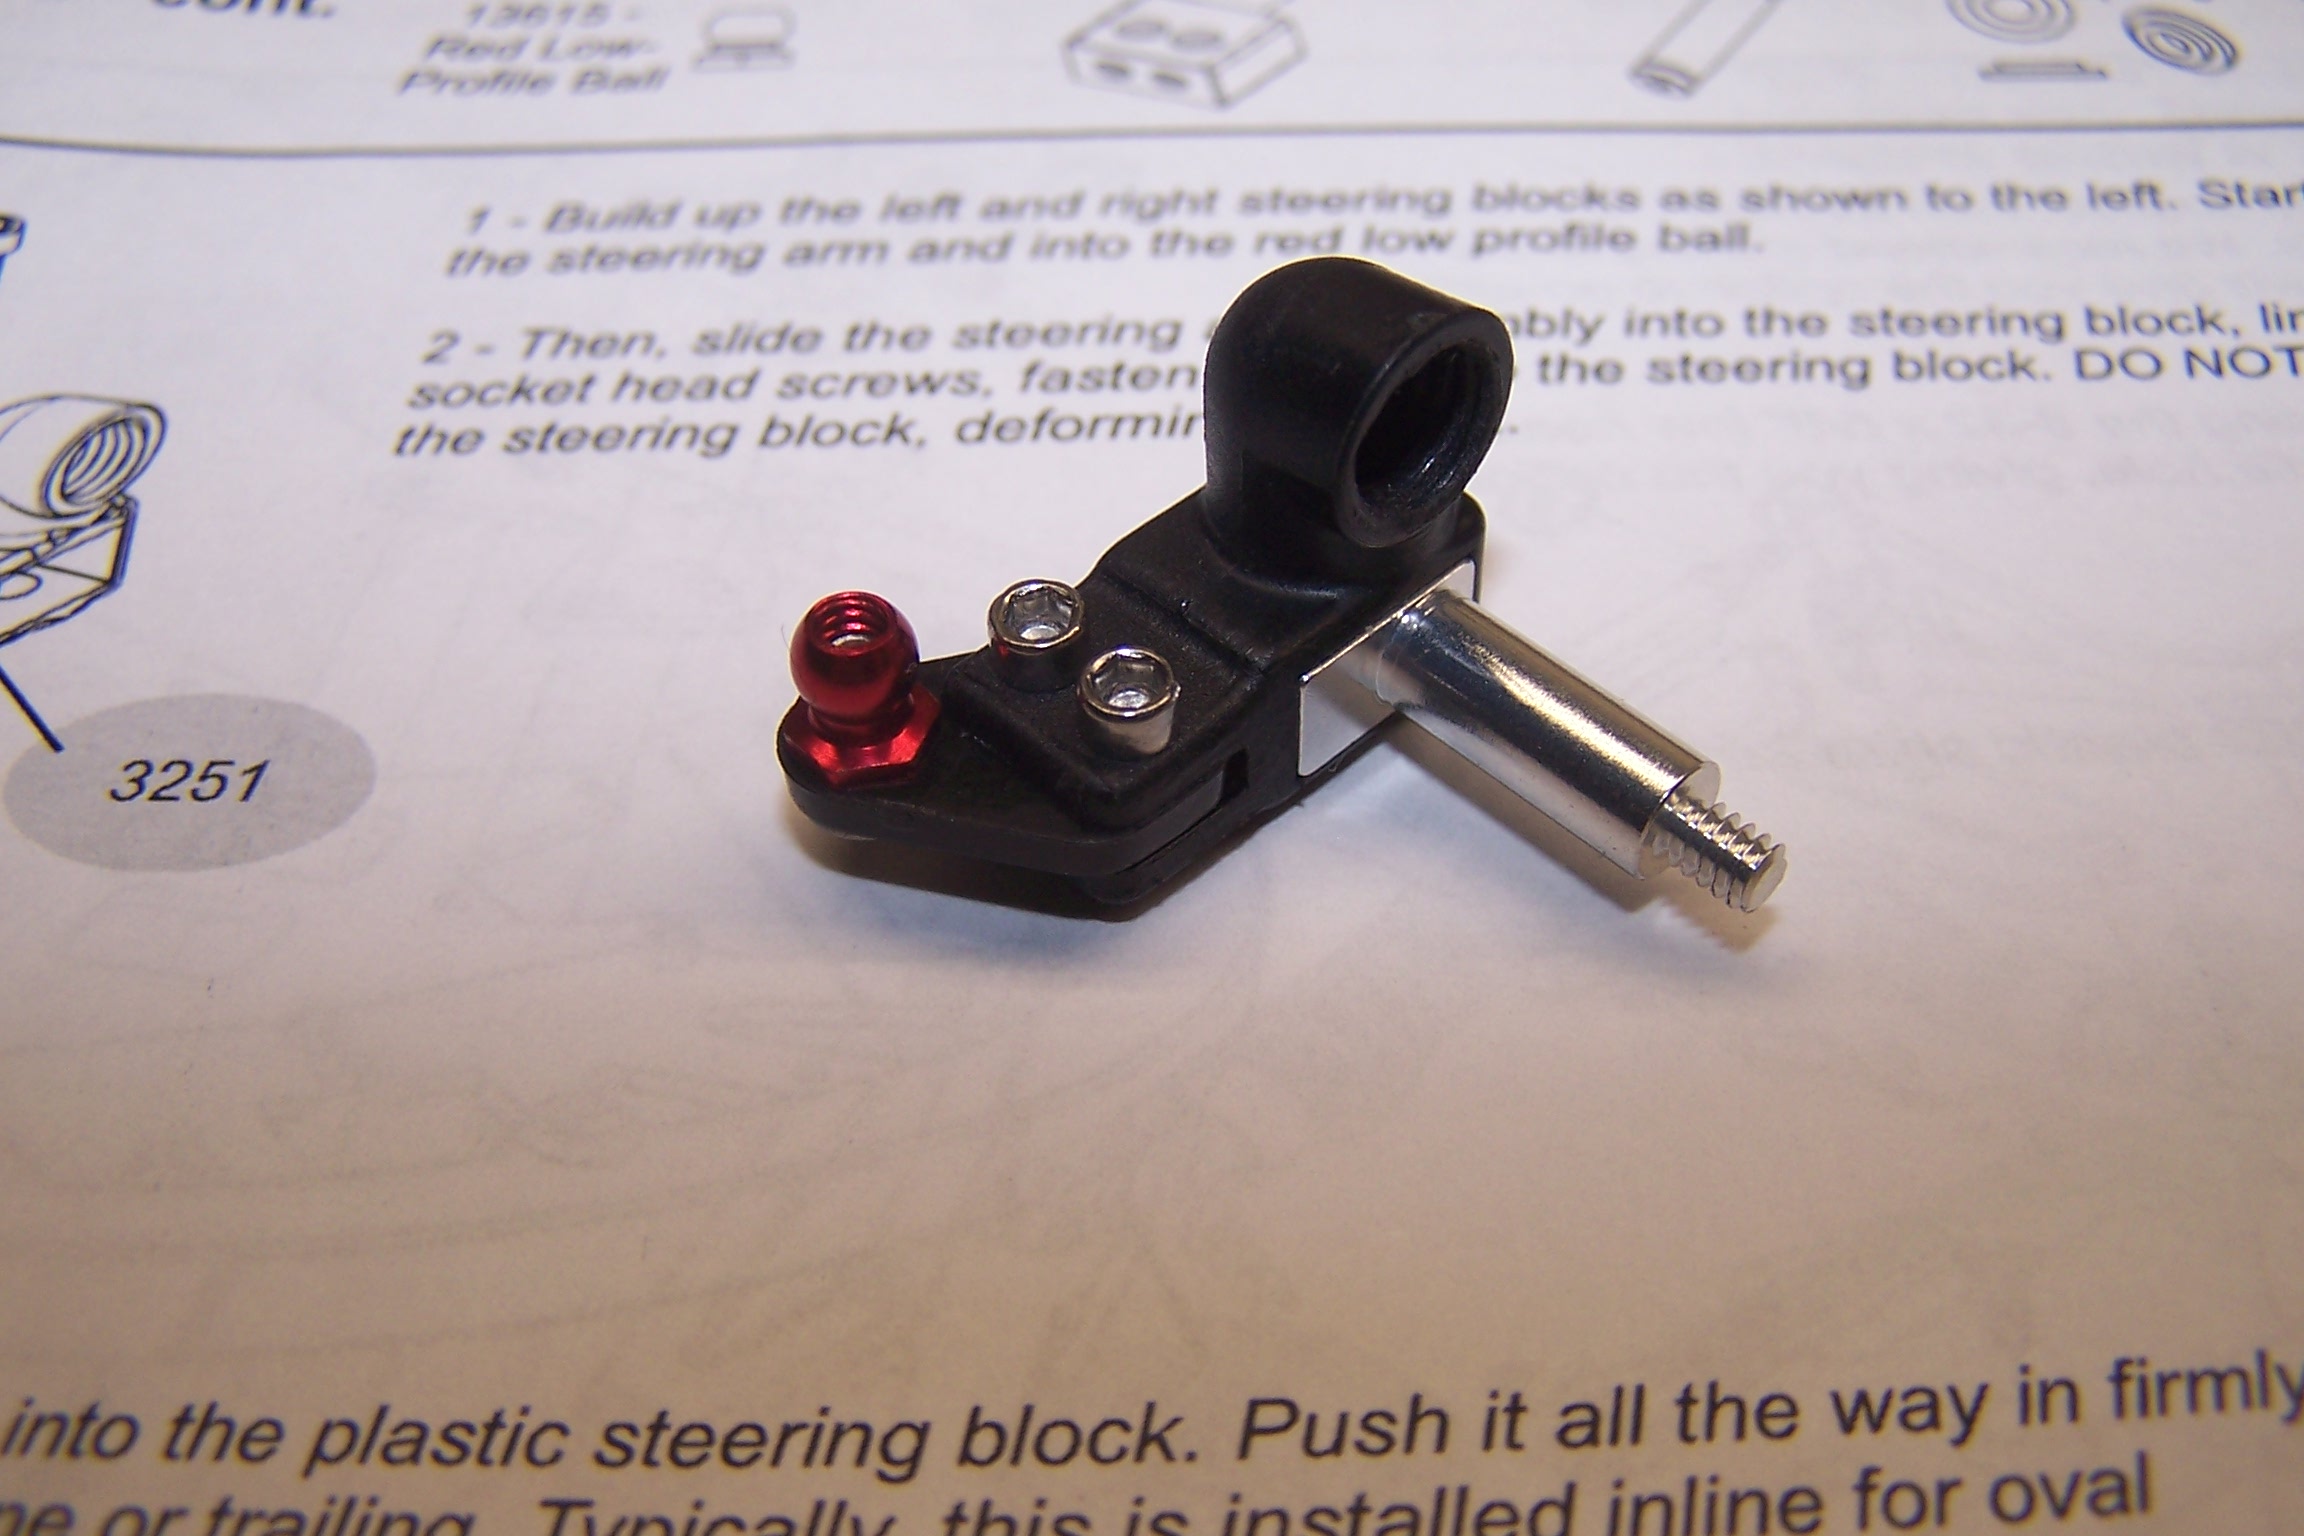
The aluminum axle and steering ball have been assembled to the steering block.
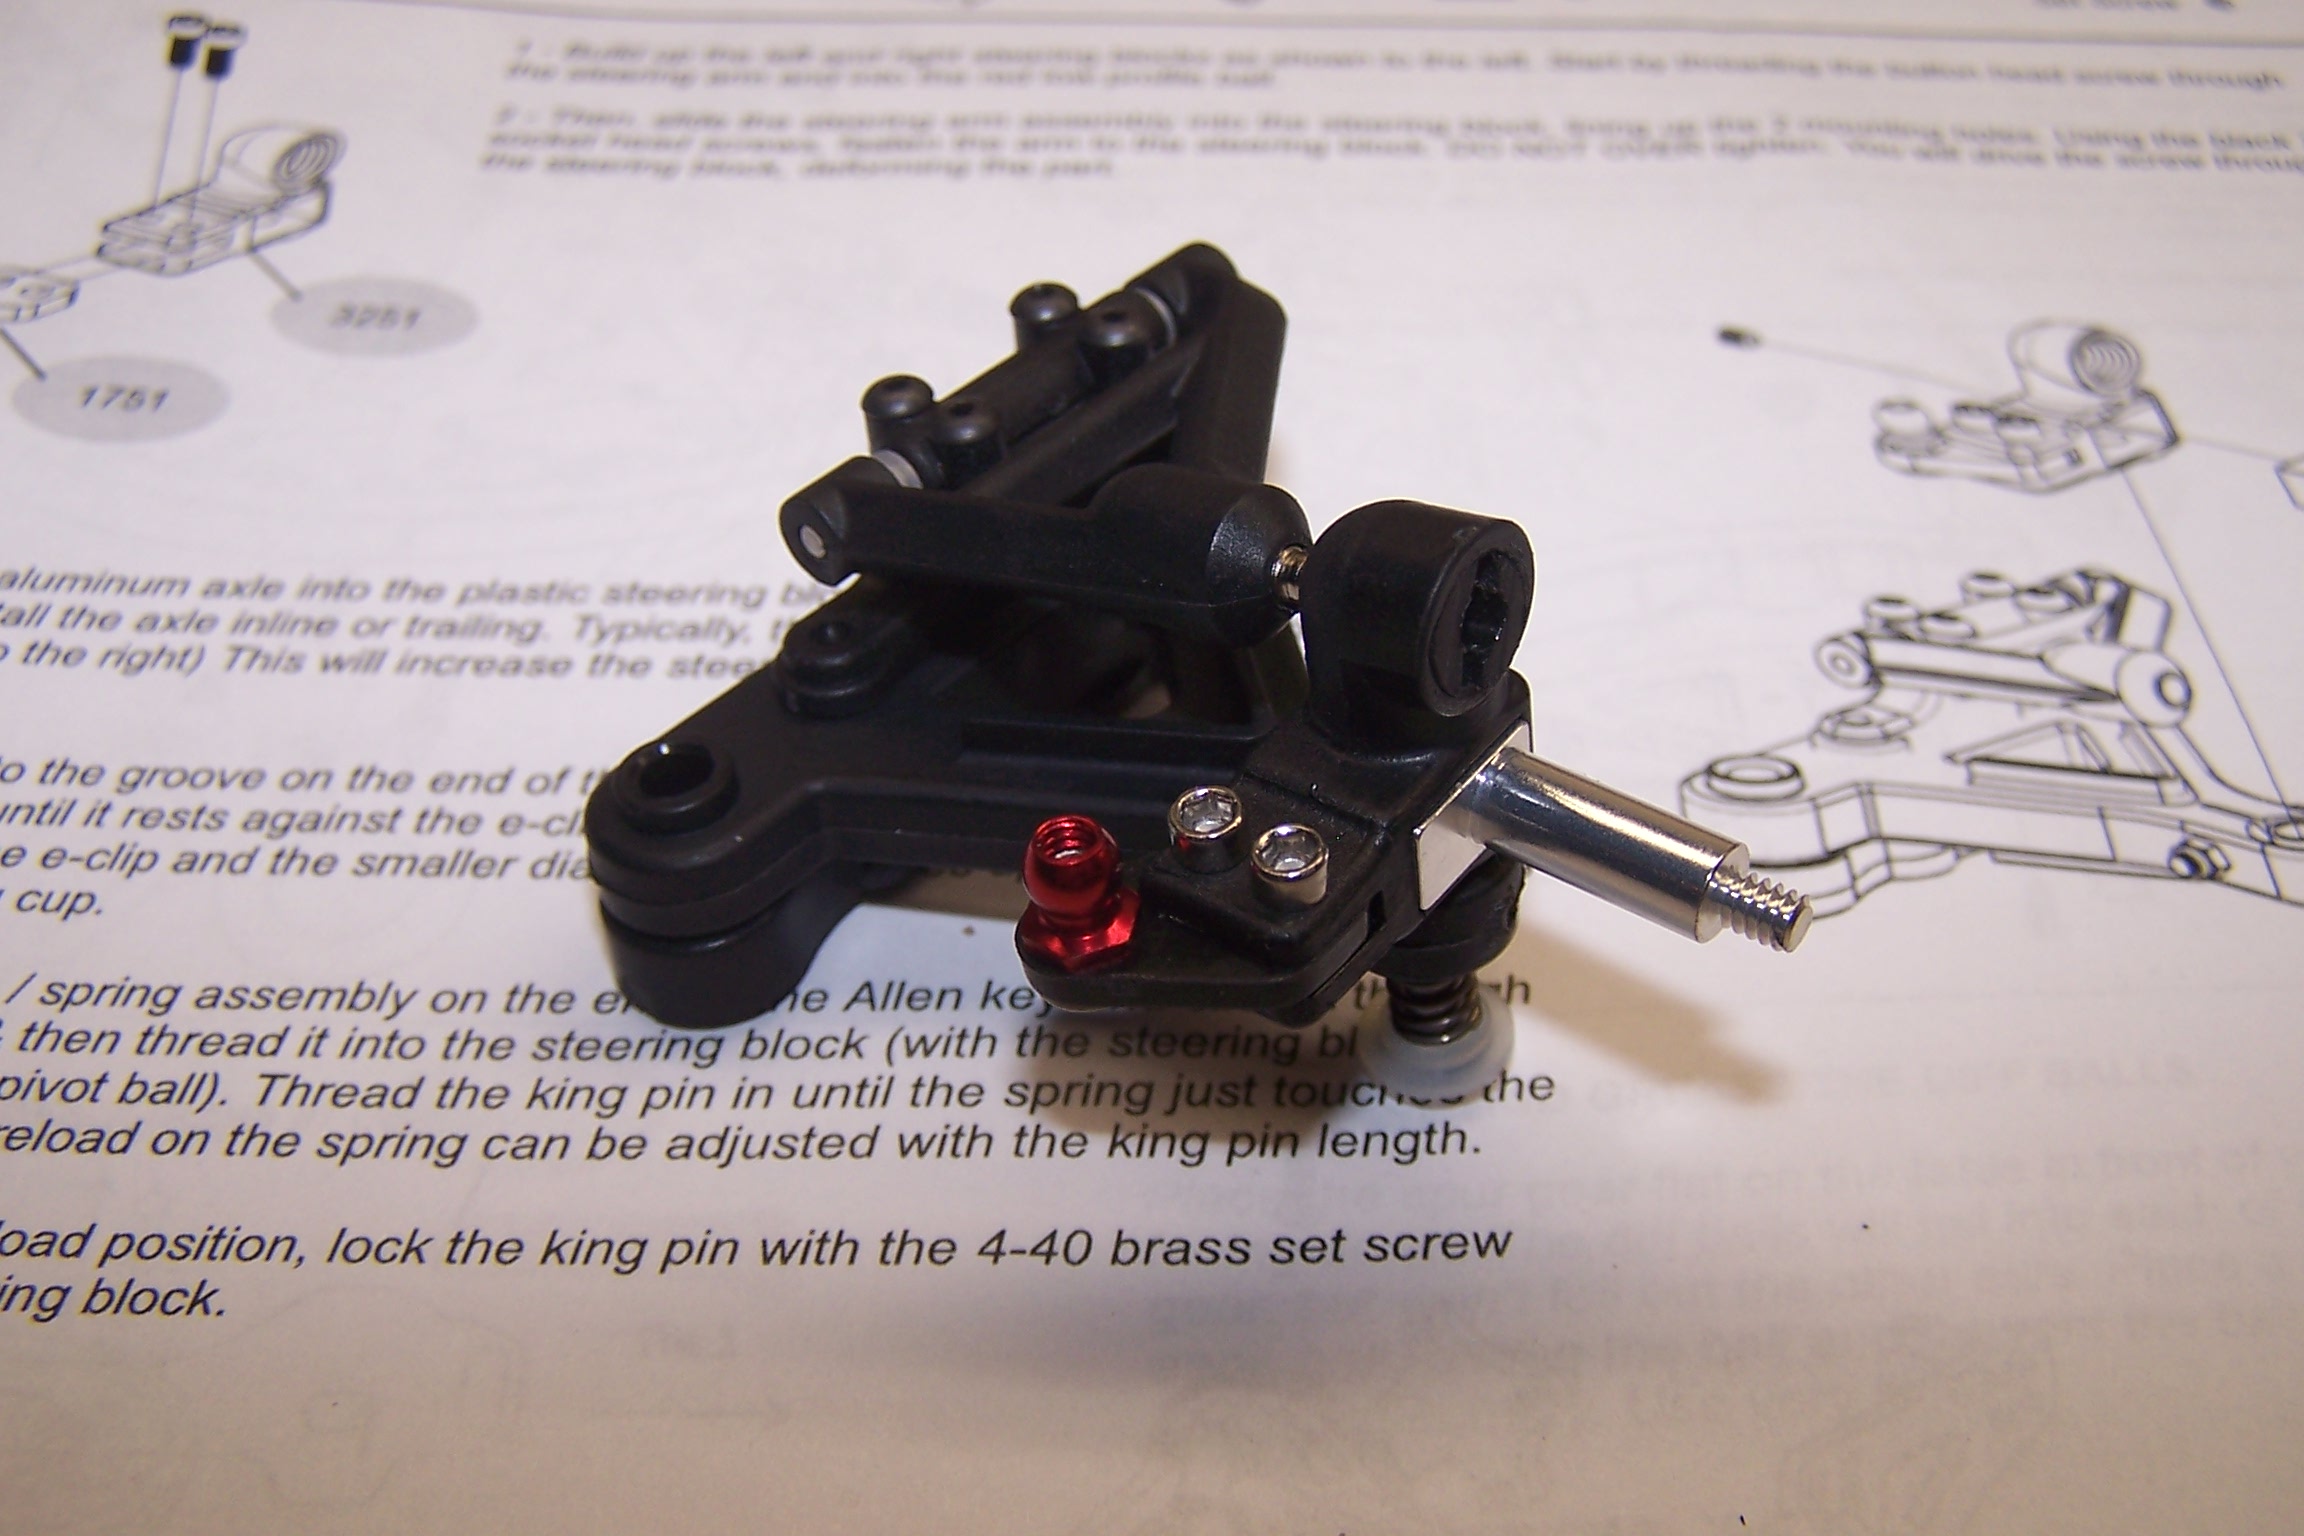
The steering block assembly is added to the suspension arms using a lower king pin and upper pivot ball.
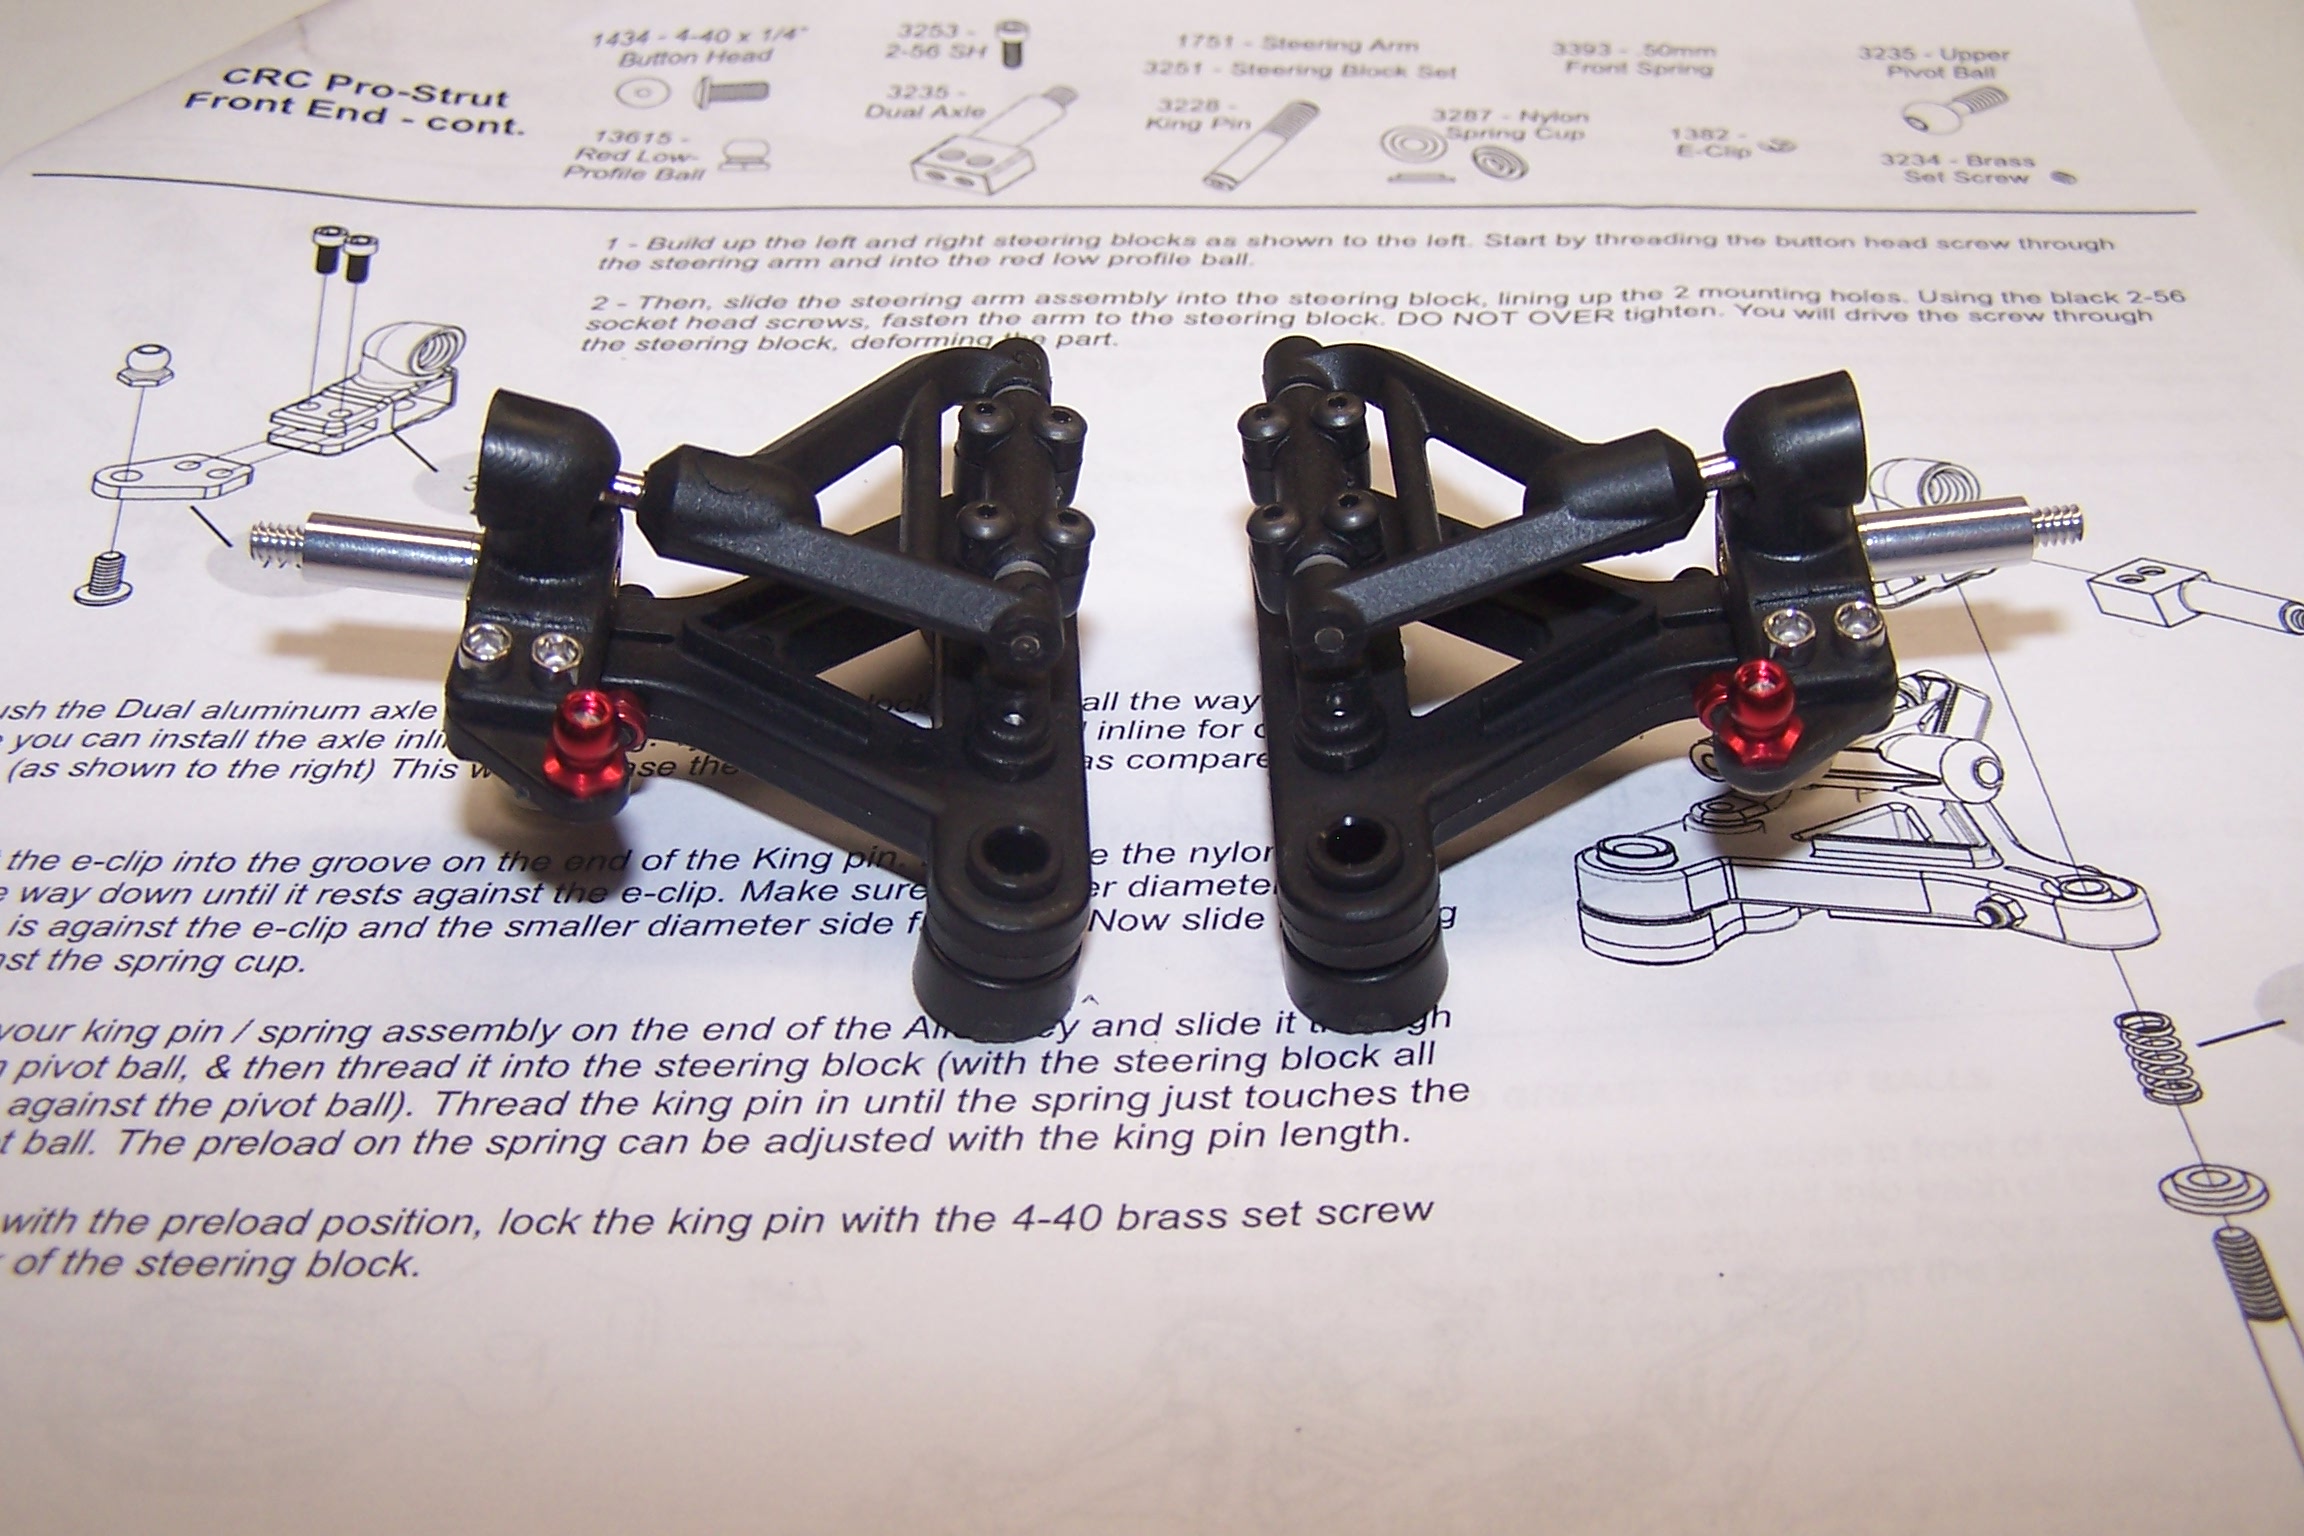
Repeat the process for the left side
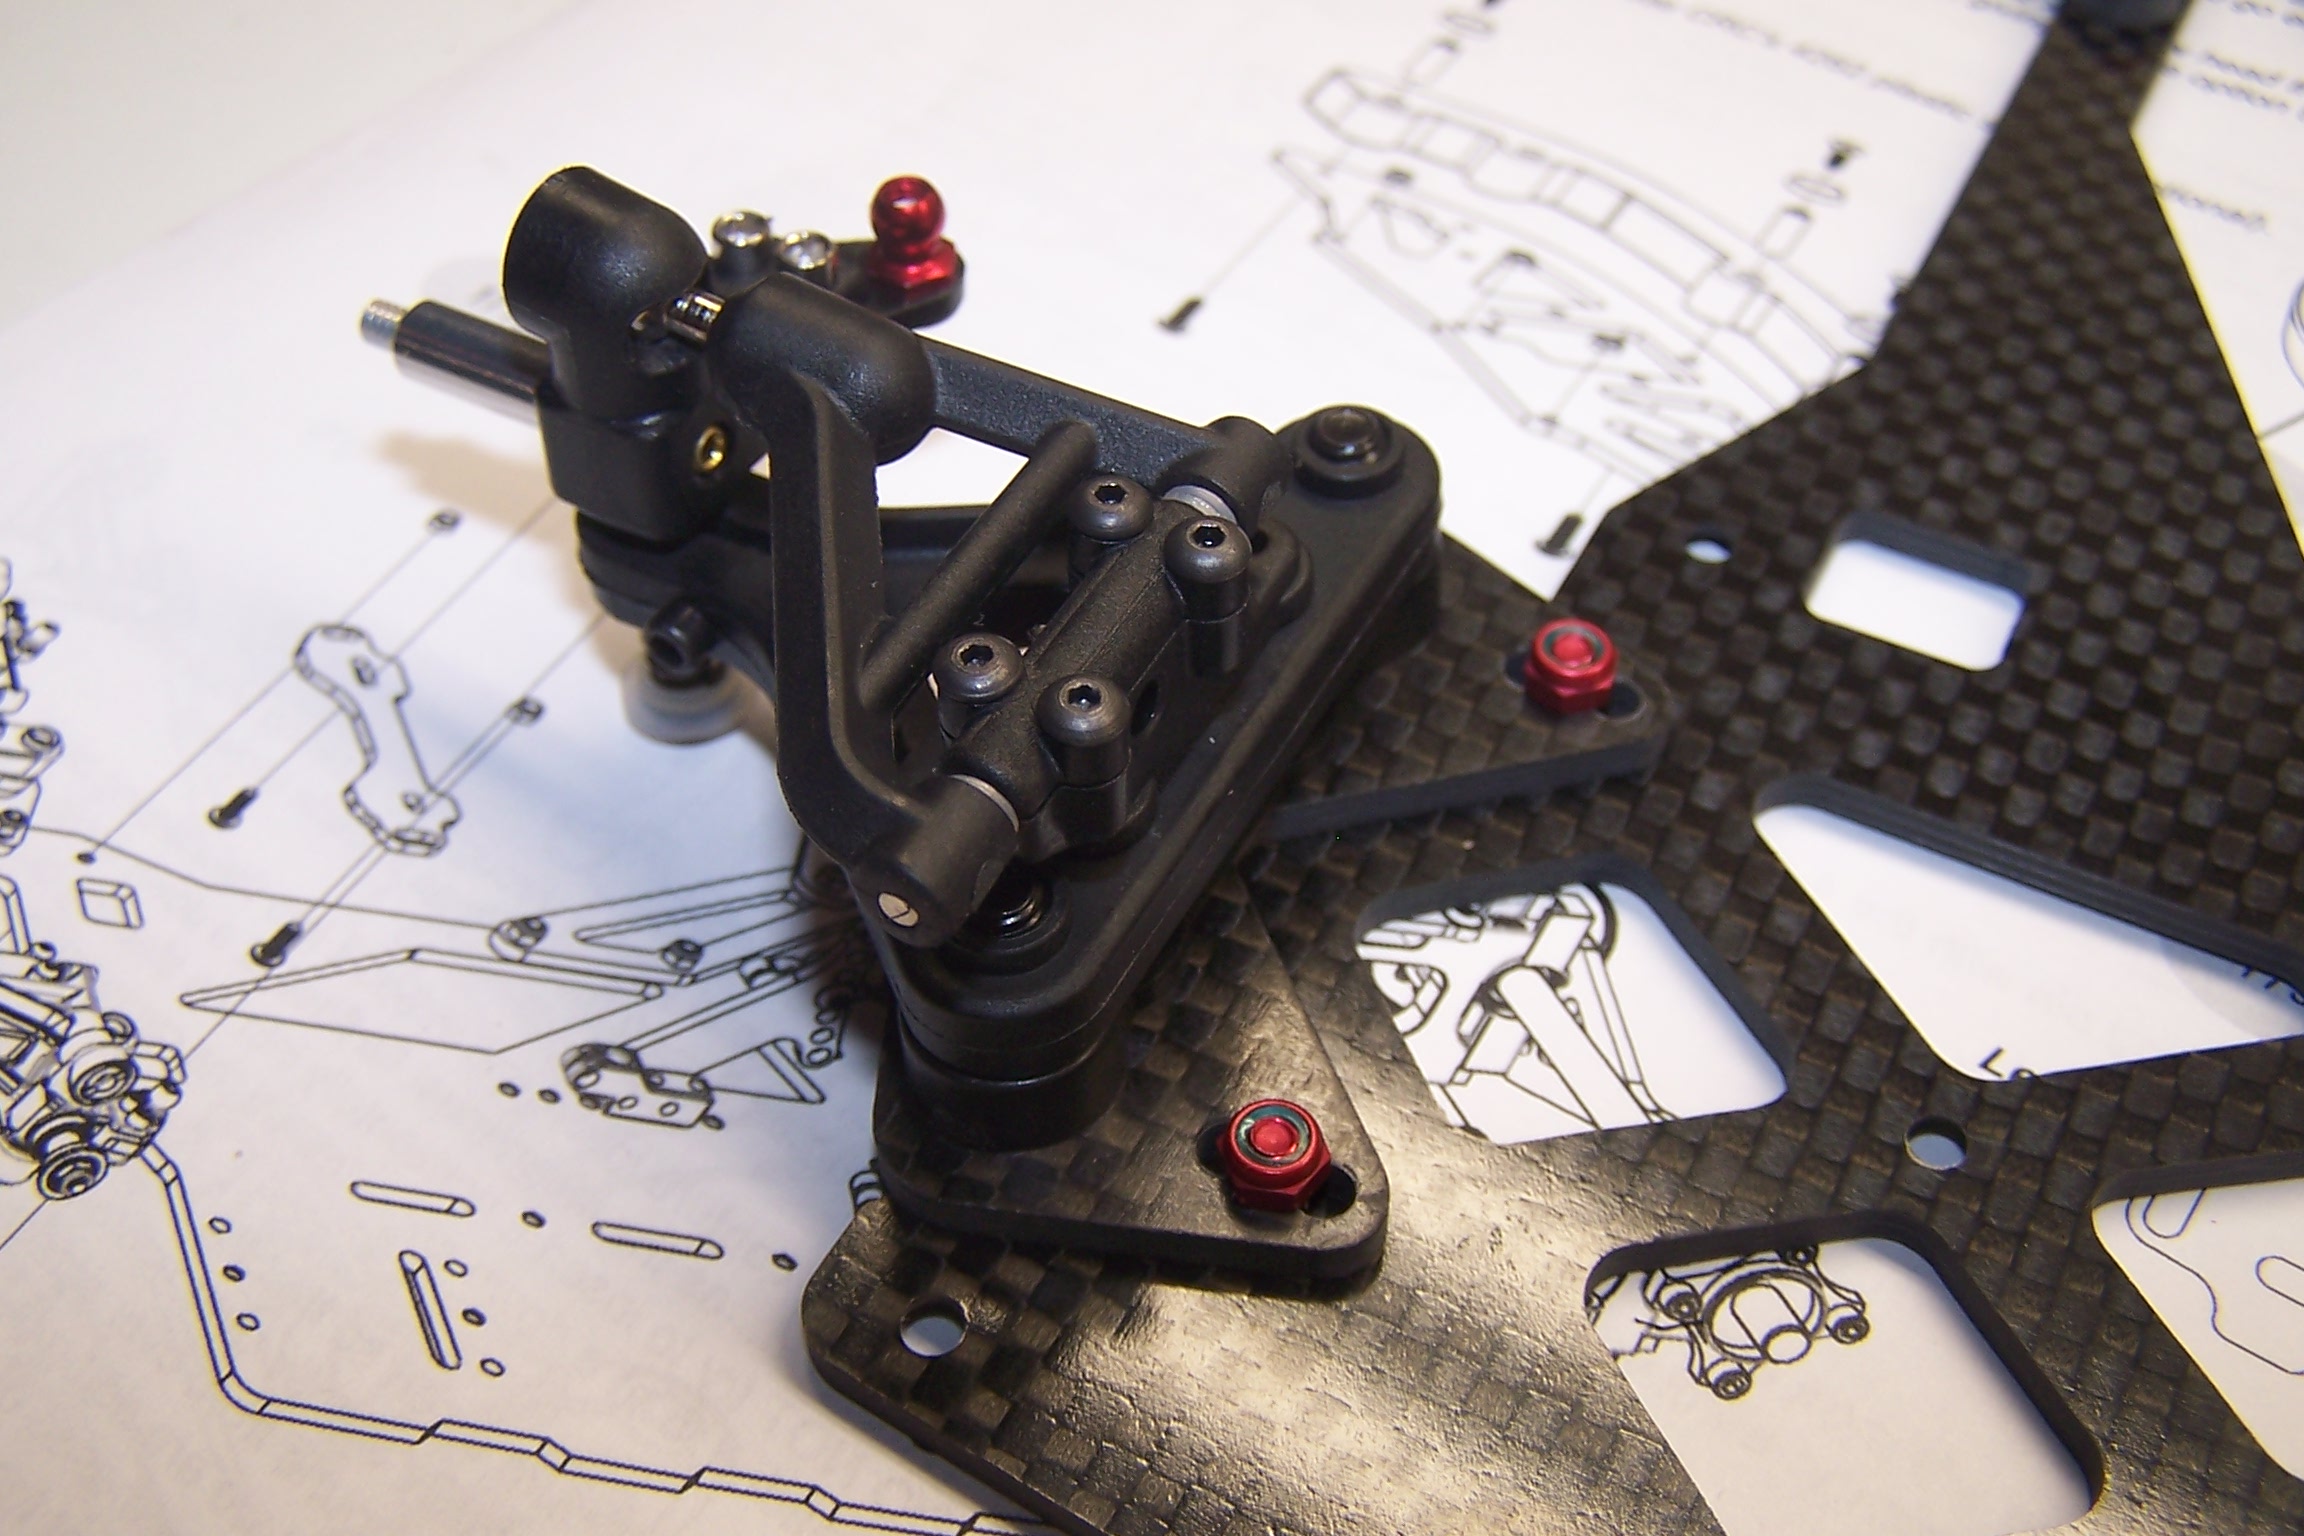
The steering arm assemblies are mounted to the chassis. The width is adjustable depending on what holes are used.
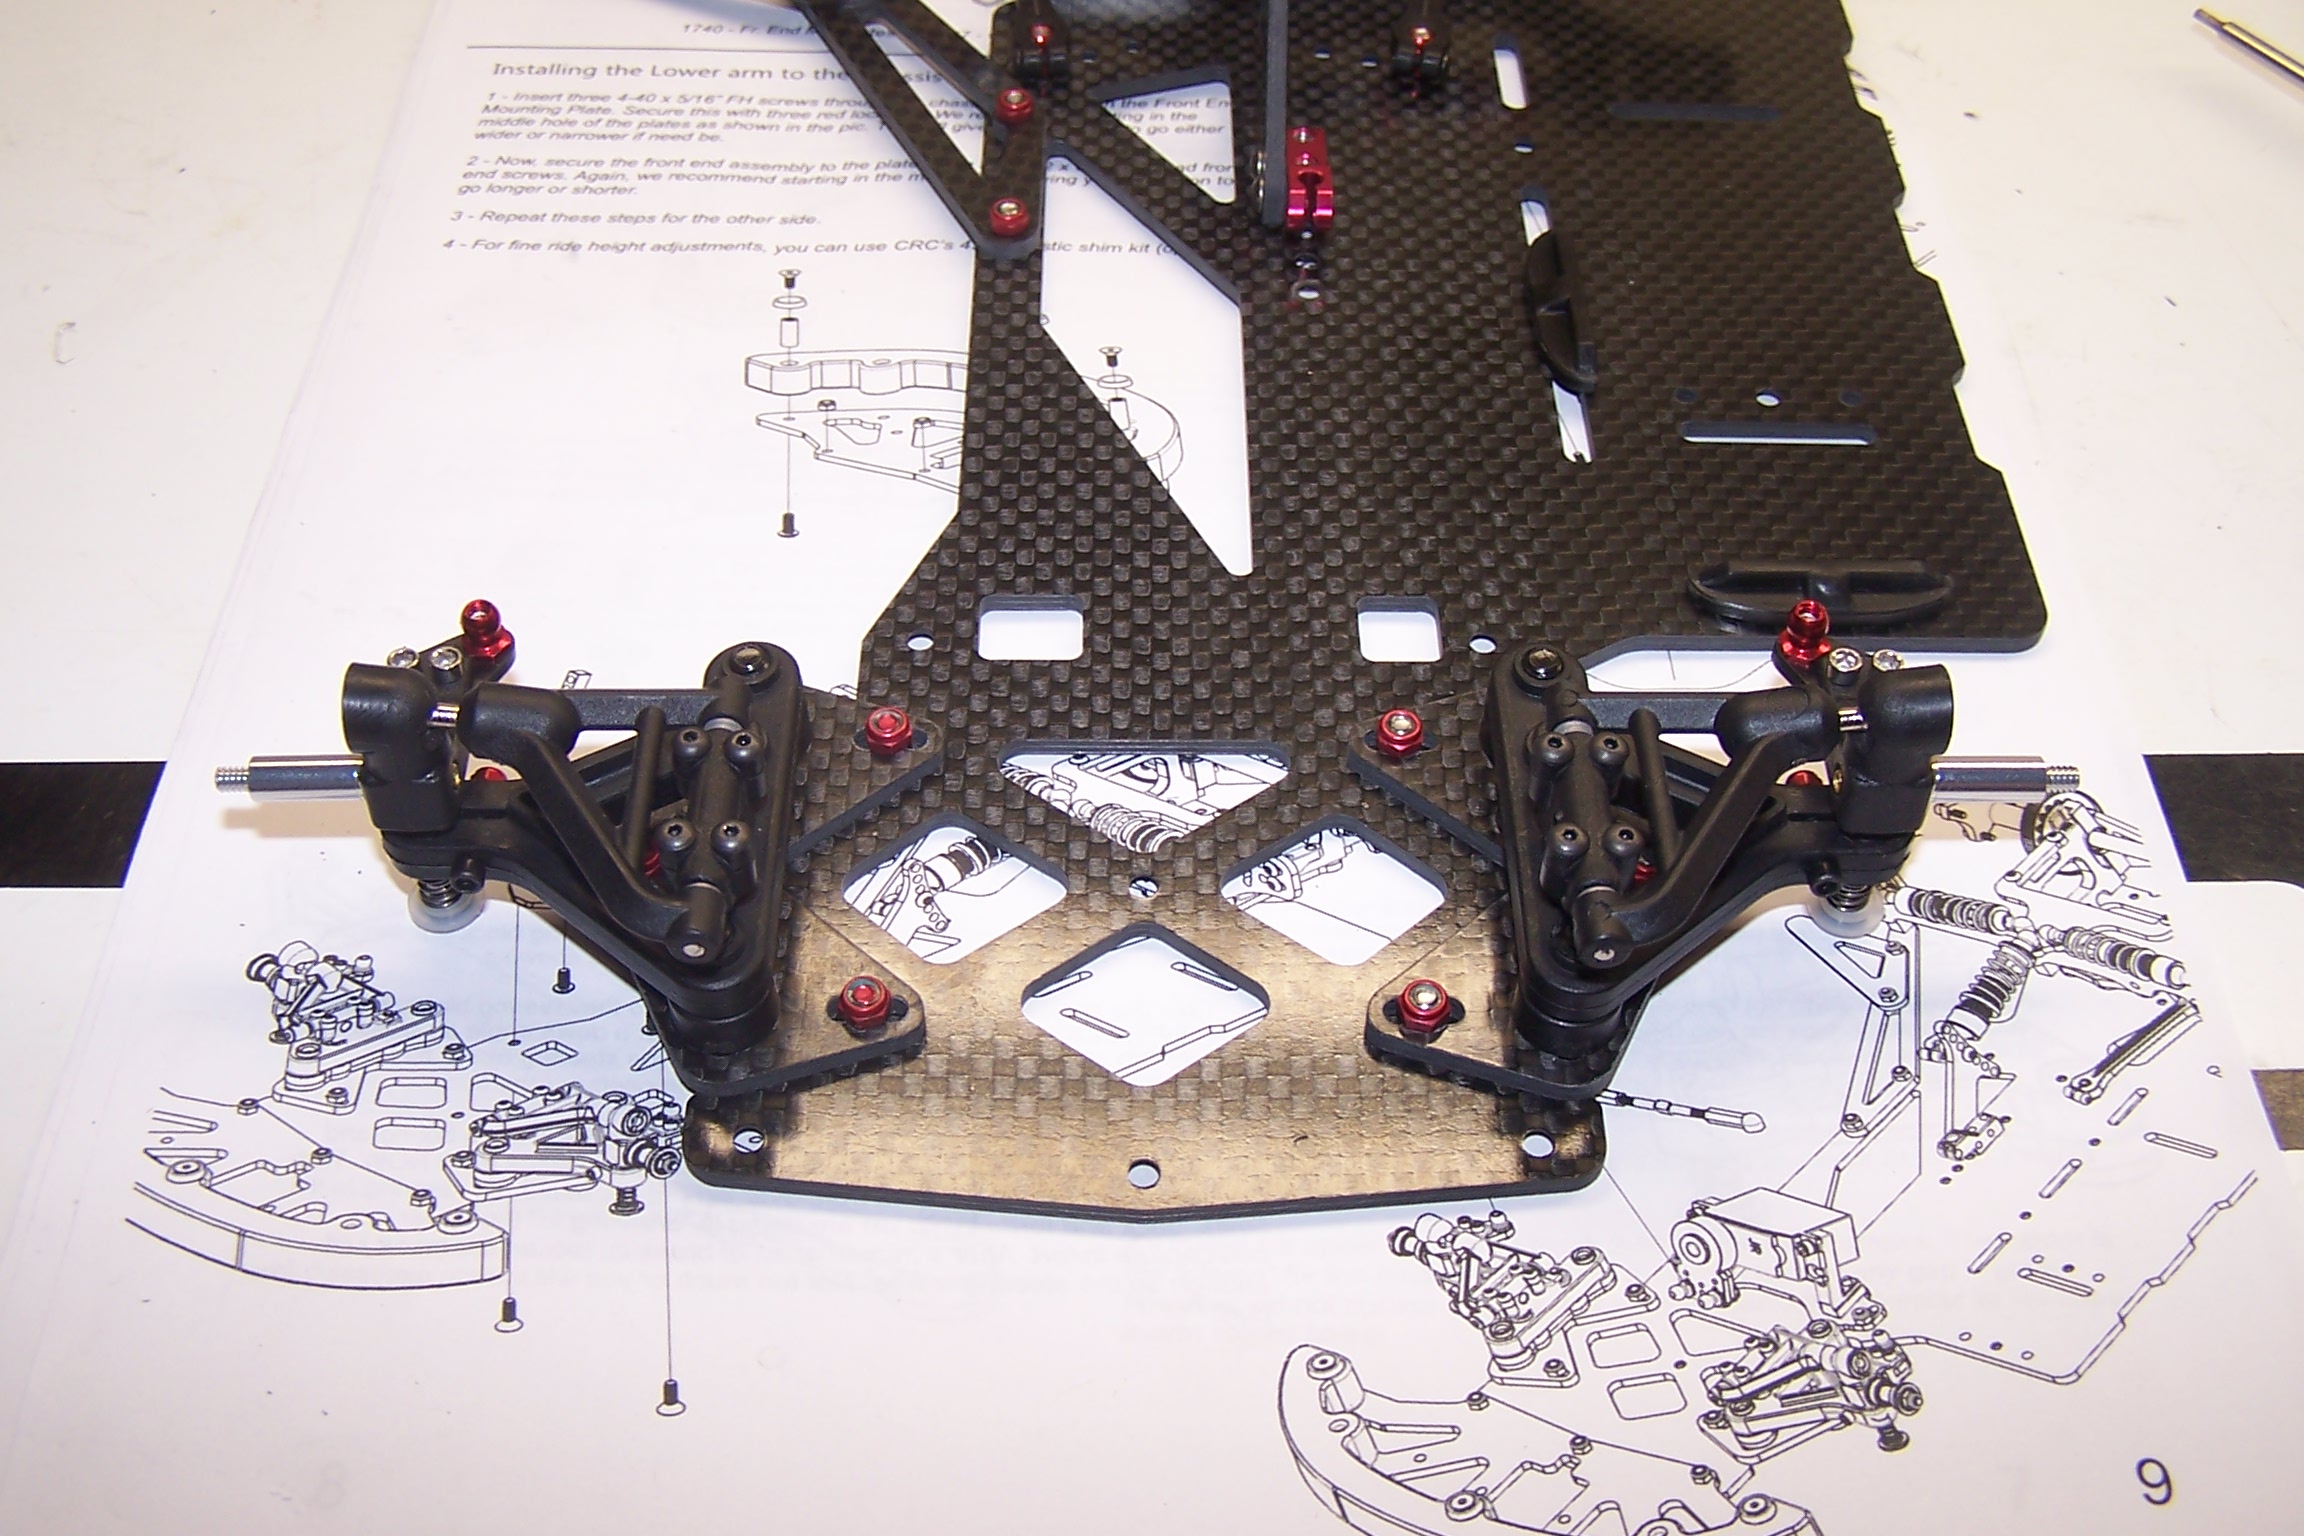
Repeated for the left side. Its starting to look like something.

Bag 8 contains the rear axle assembly. The carbon axle and right side hub is the only preassembled piece in the box. The placement is critical.

Bag 9 contains the diff assembly and diff grease. CRC does a great job explaining the assembly and adjusting the diff. Once a few laps are run adjusting the diff is necessary.
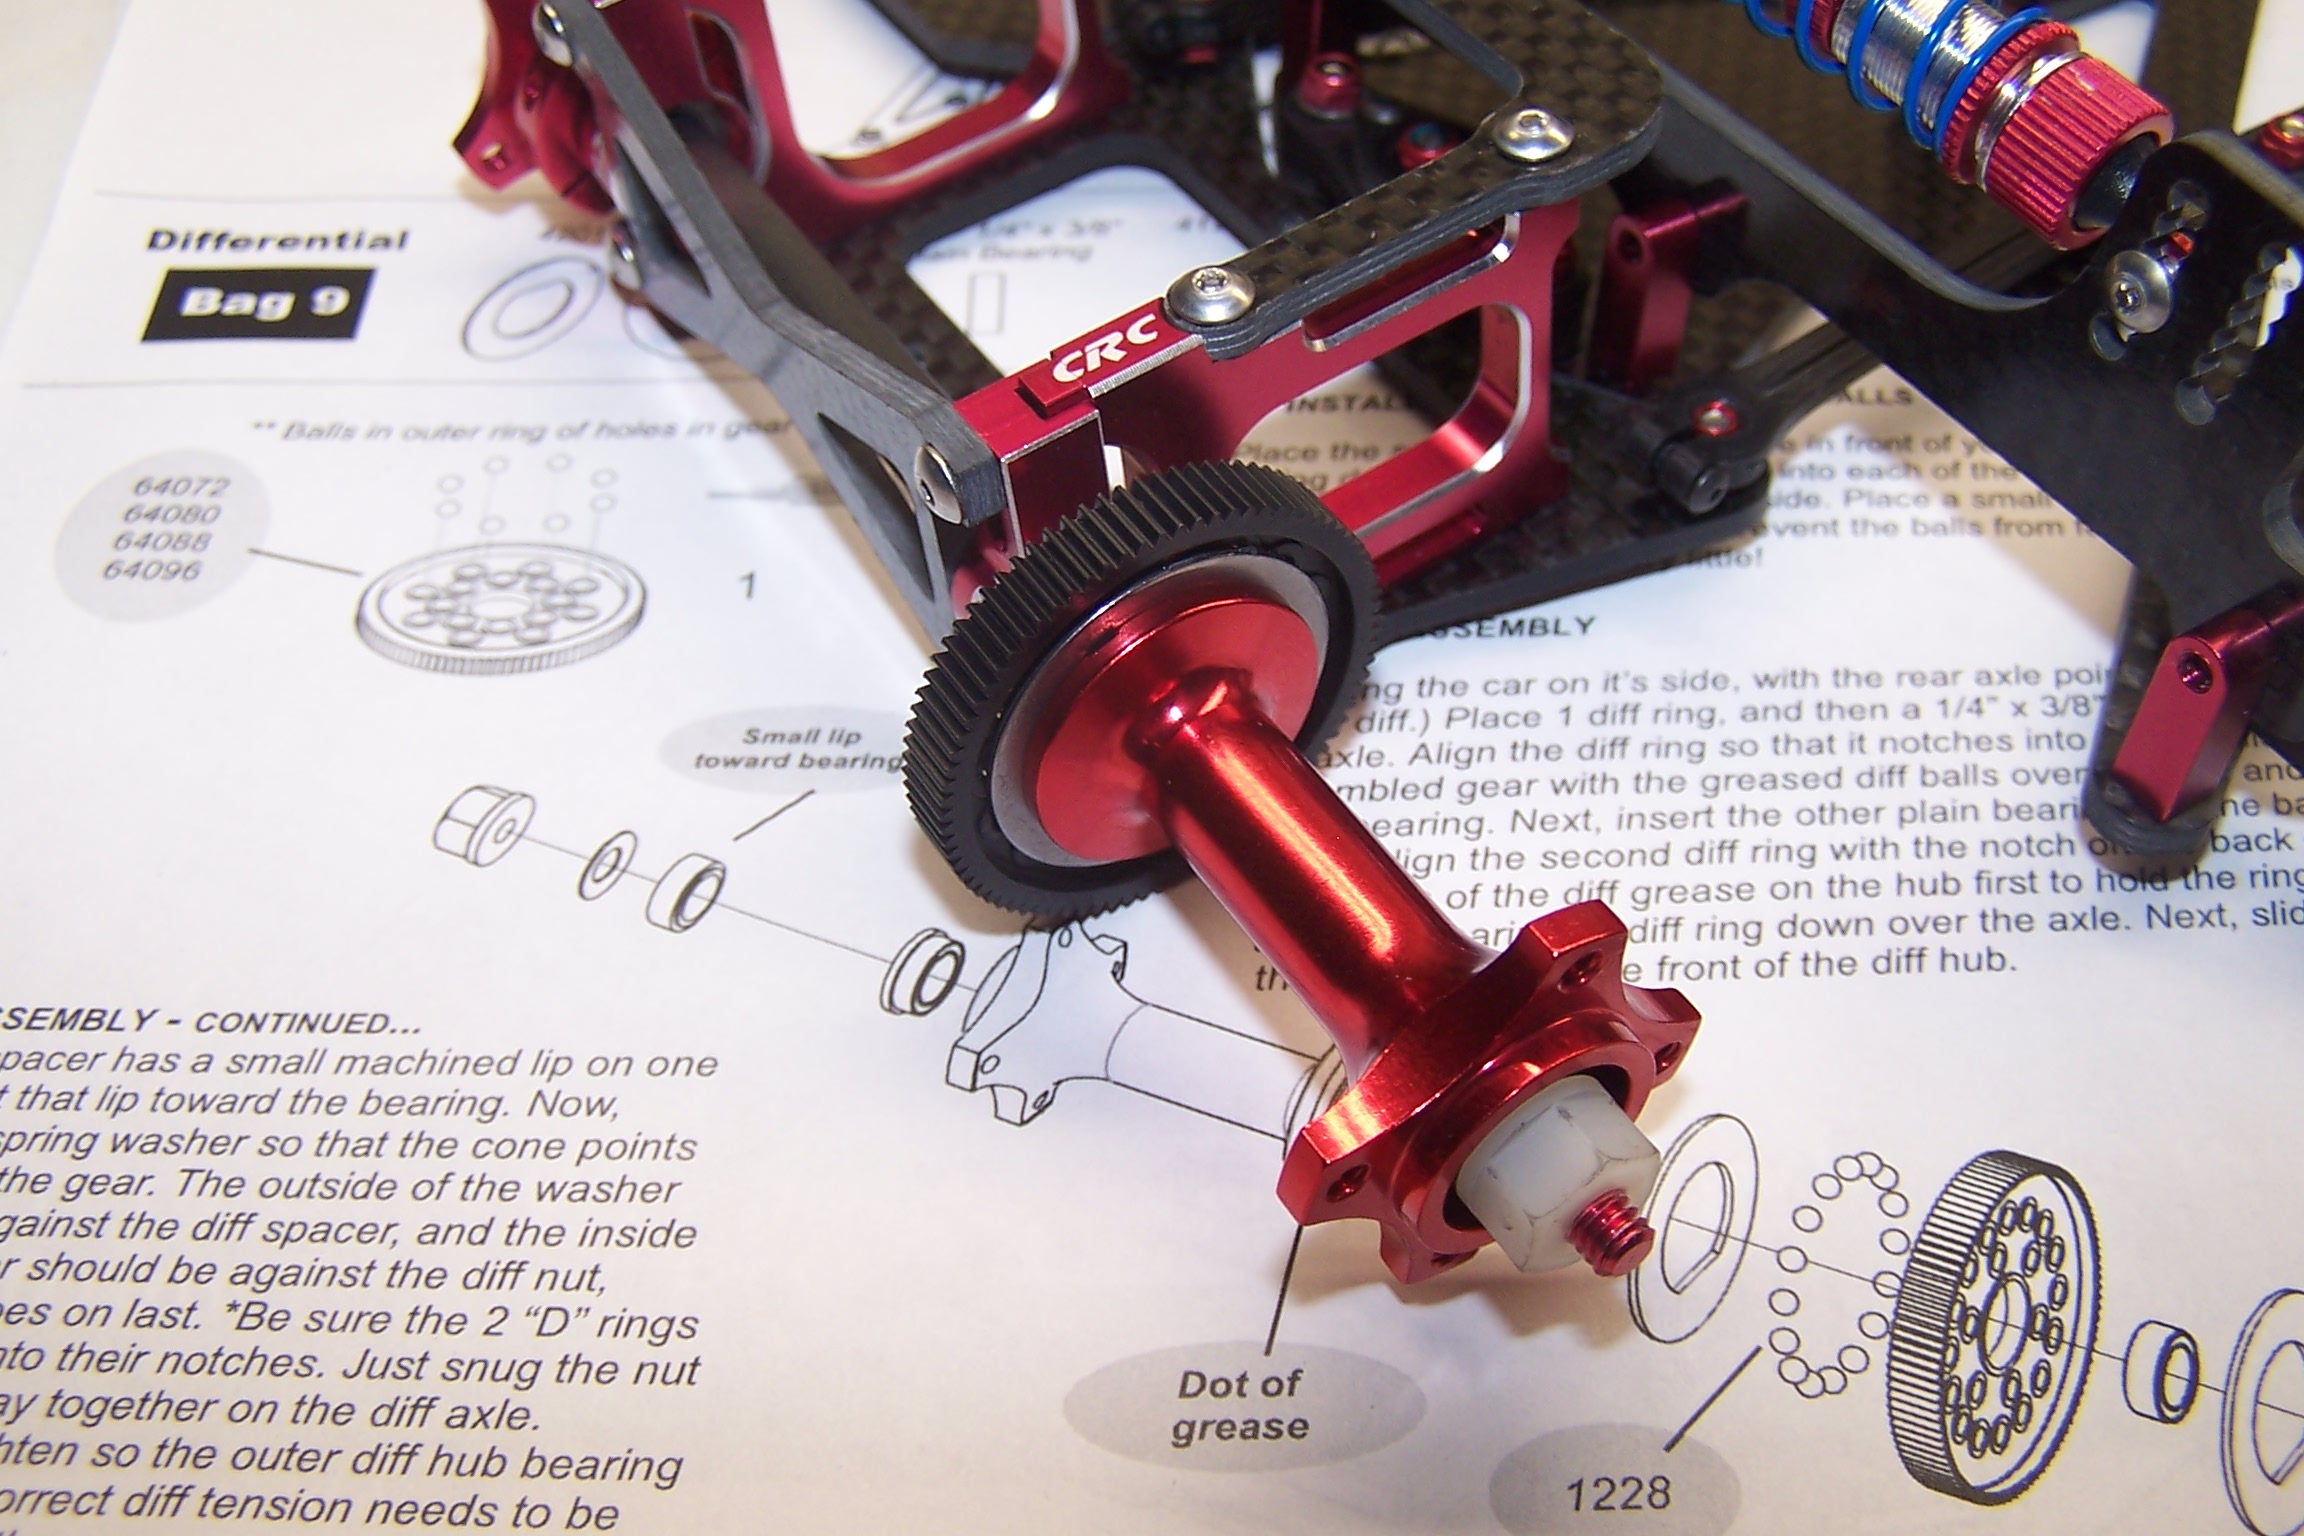
The right wheel hub is slid over the axle. Make sure you get the right combination of bearing and spacers. If not, the diff will not operate correctly. Once it is complete make sure you slowly tighten the axle nut. Make fine adjustments and check the diff.
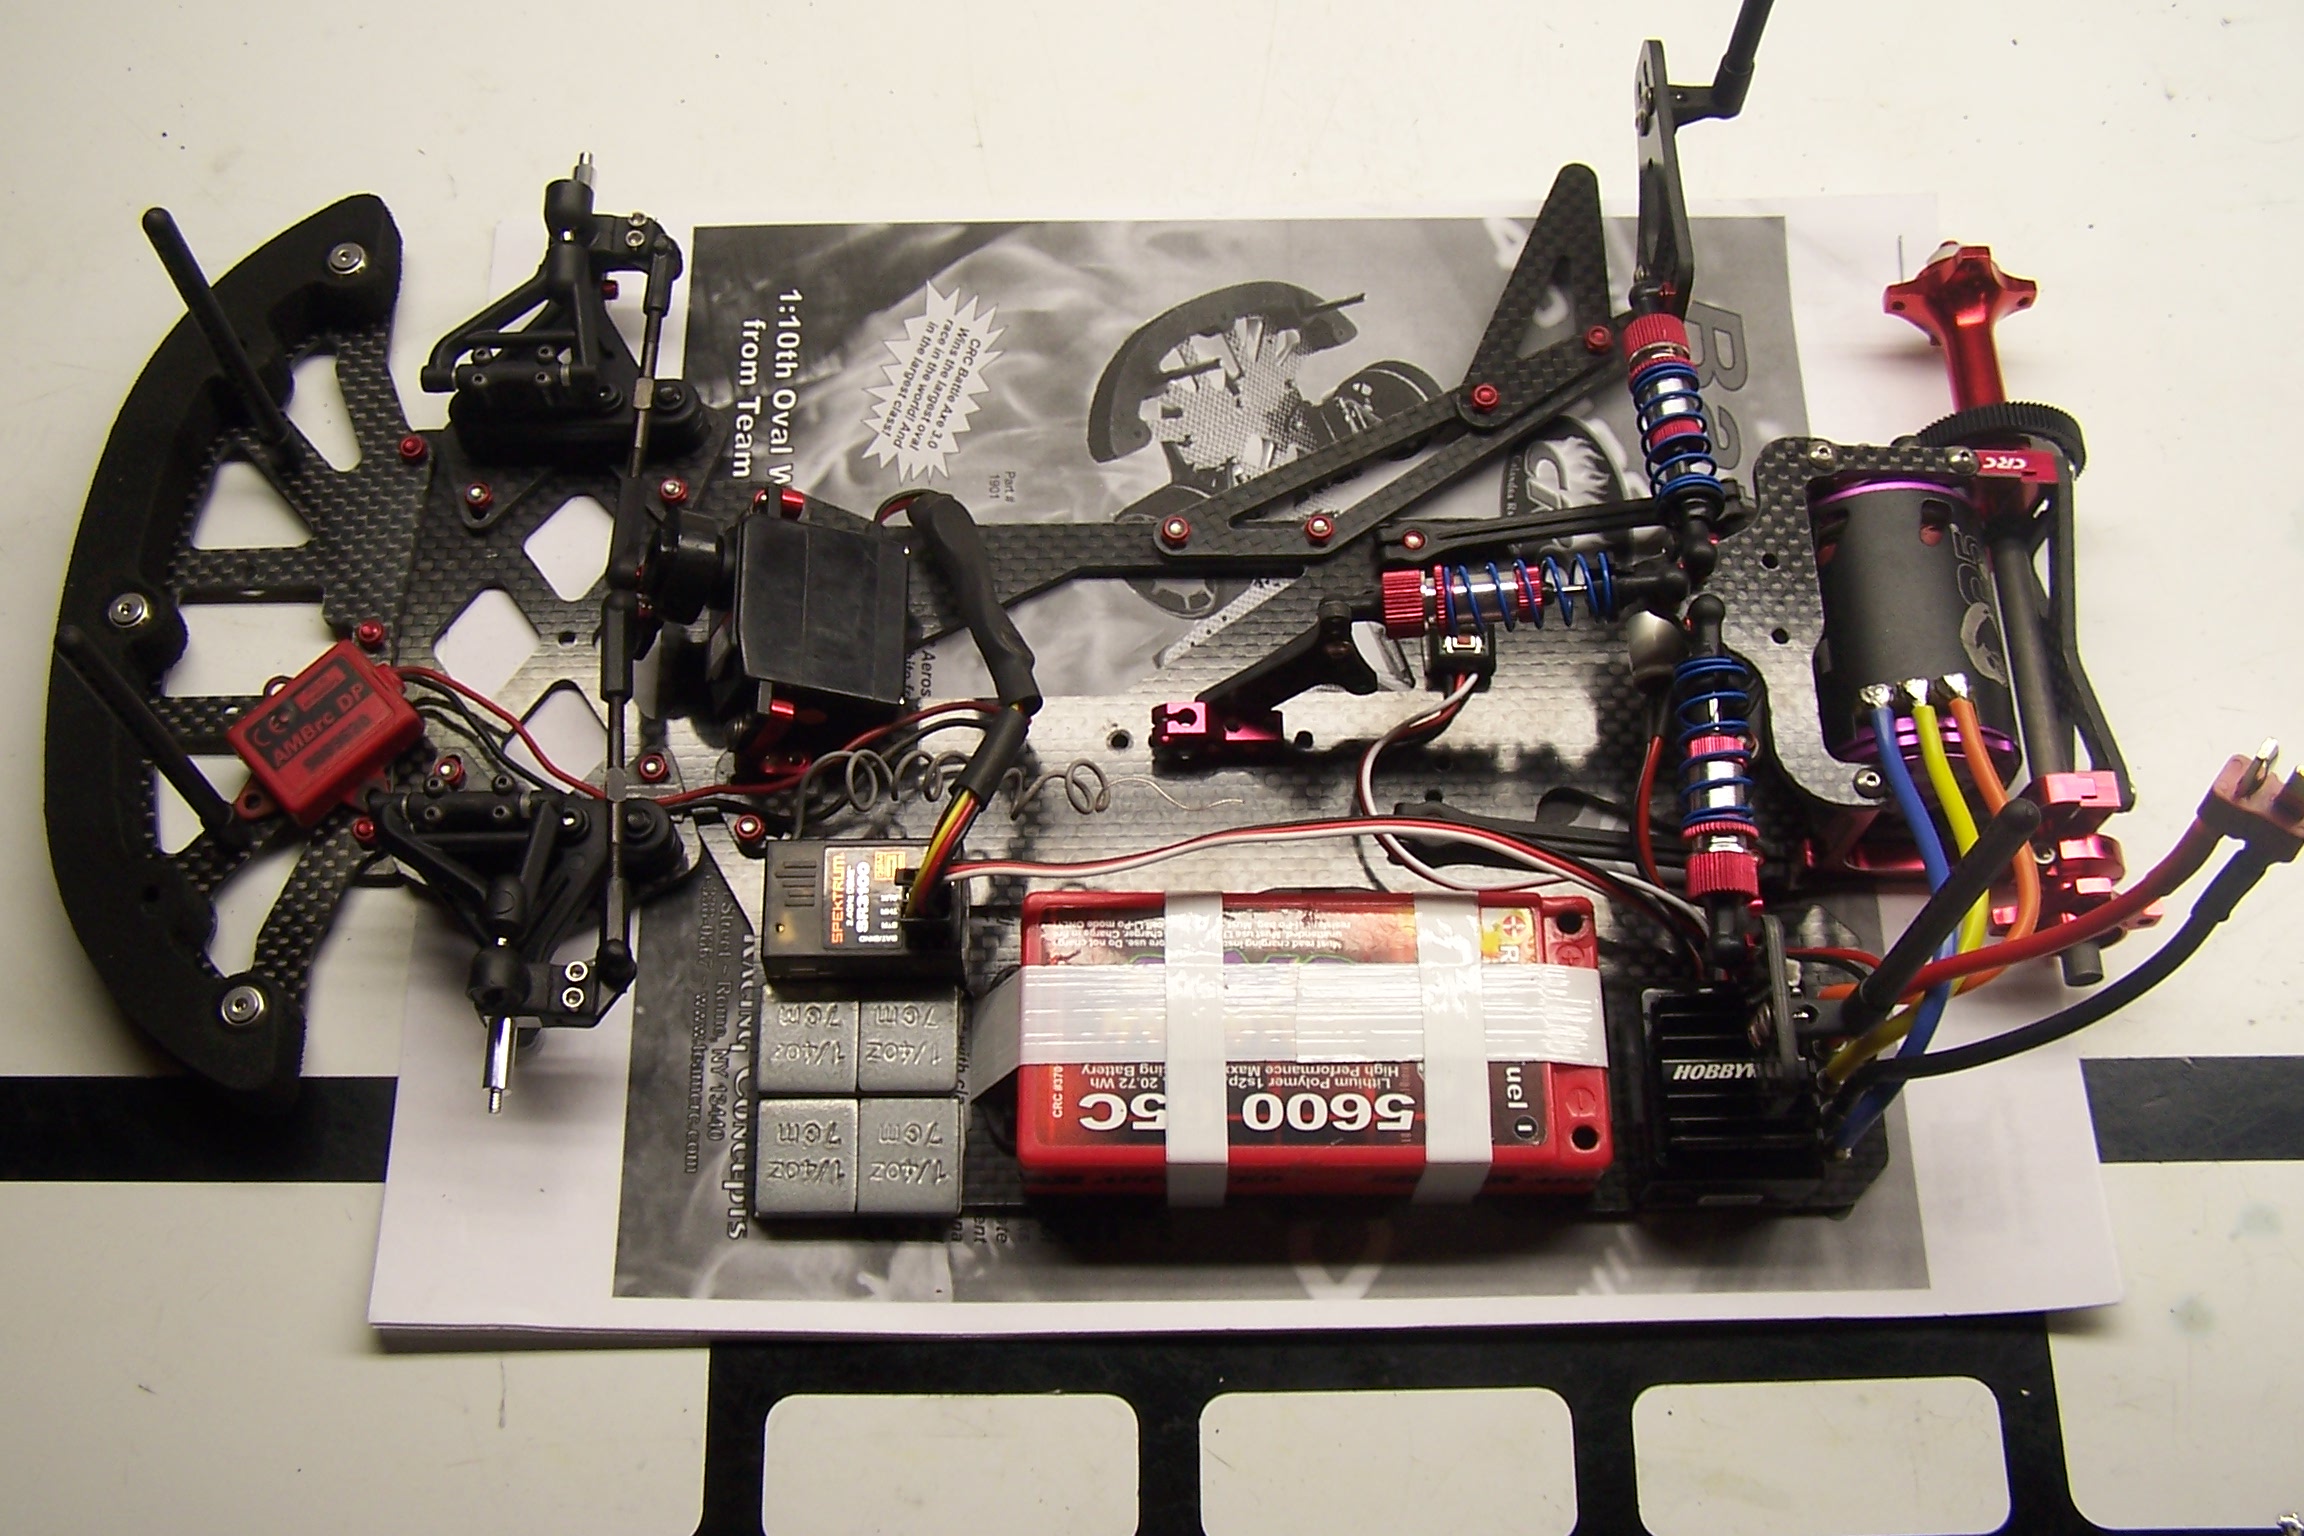
Radio layout is pretty standard. Put everything as far left as you can on the chassis. I had to grind a tiny amount from the left shock tower so the speed control would fit under it.
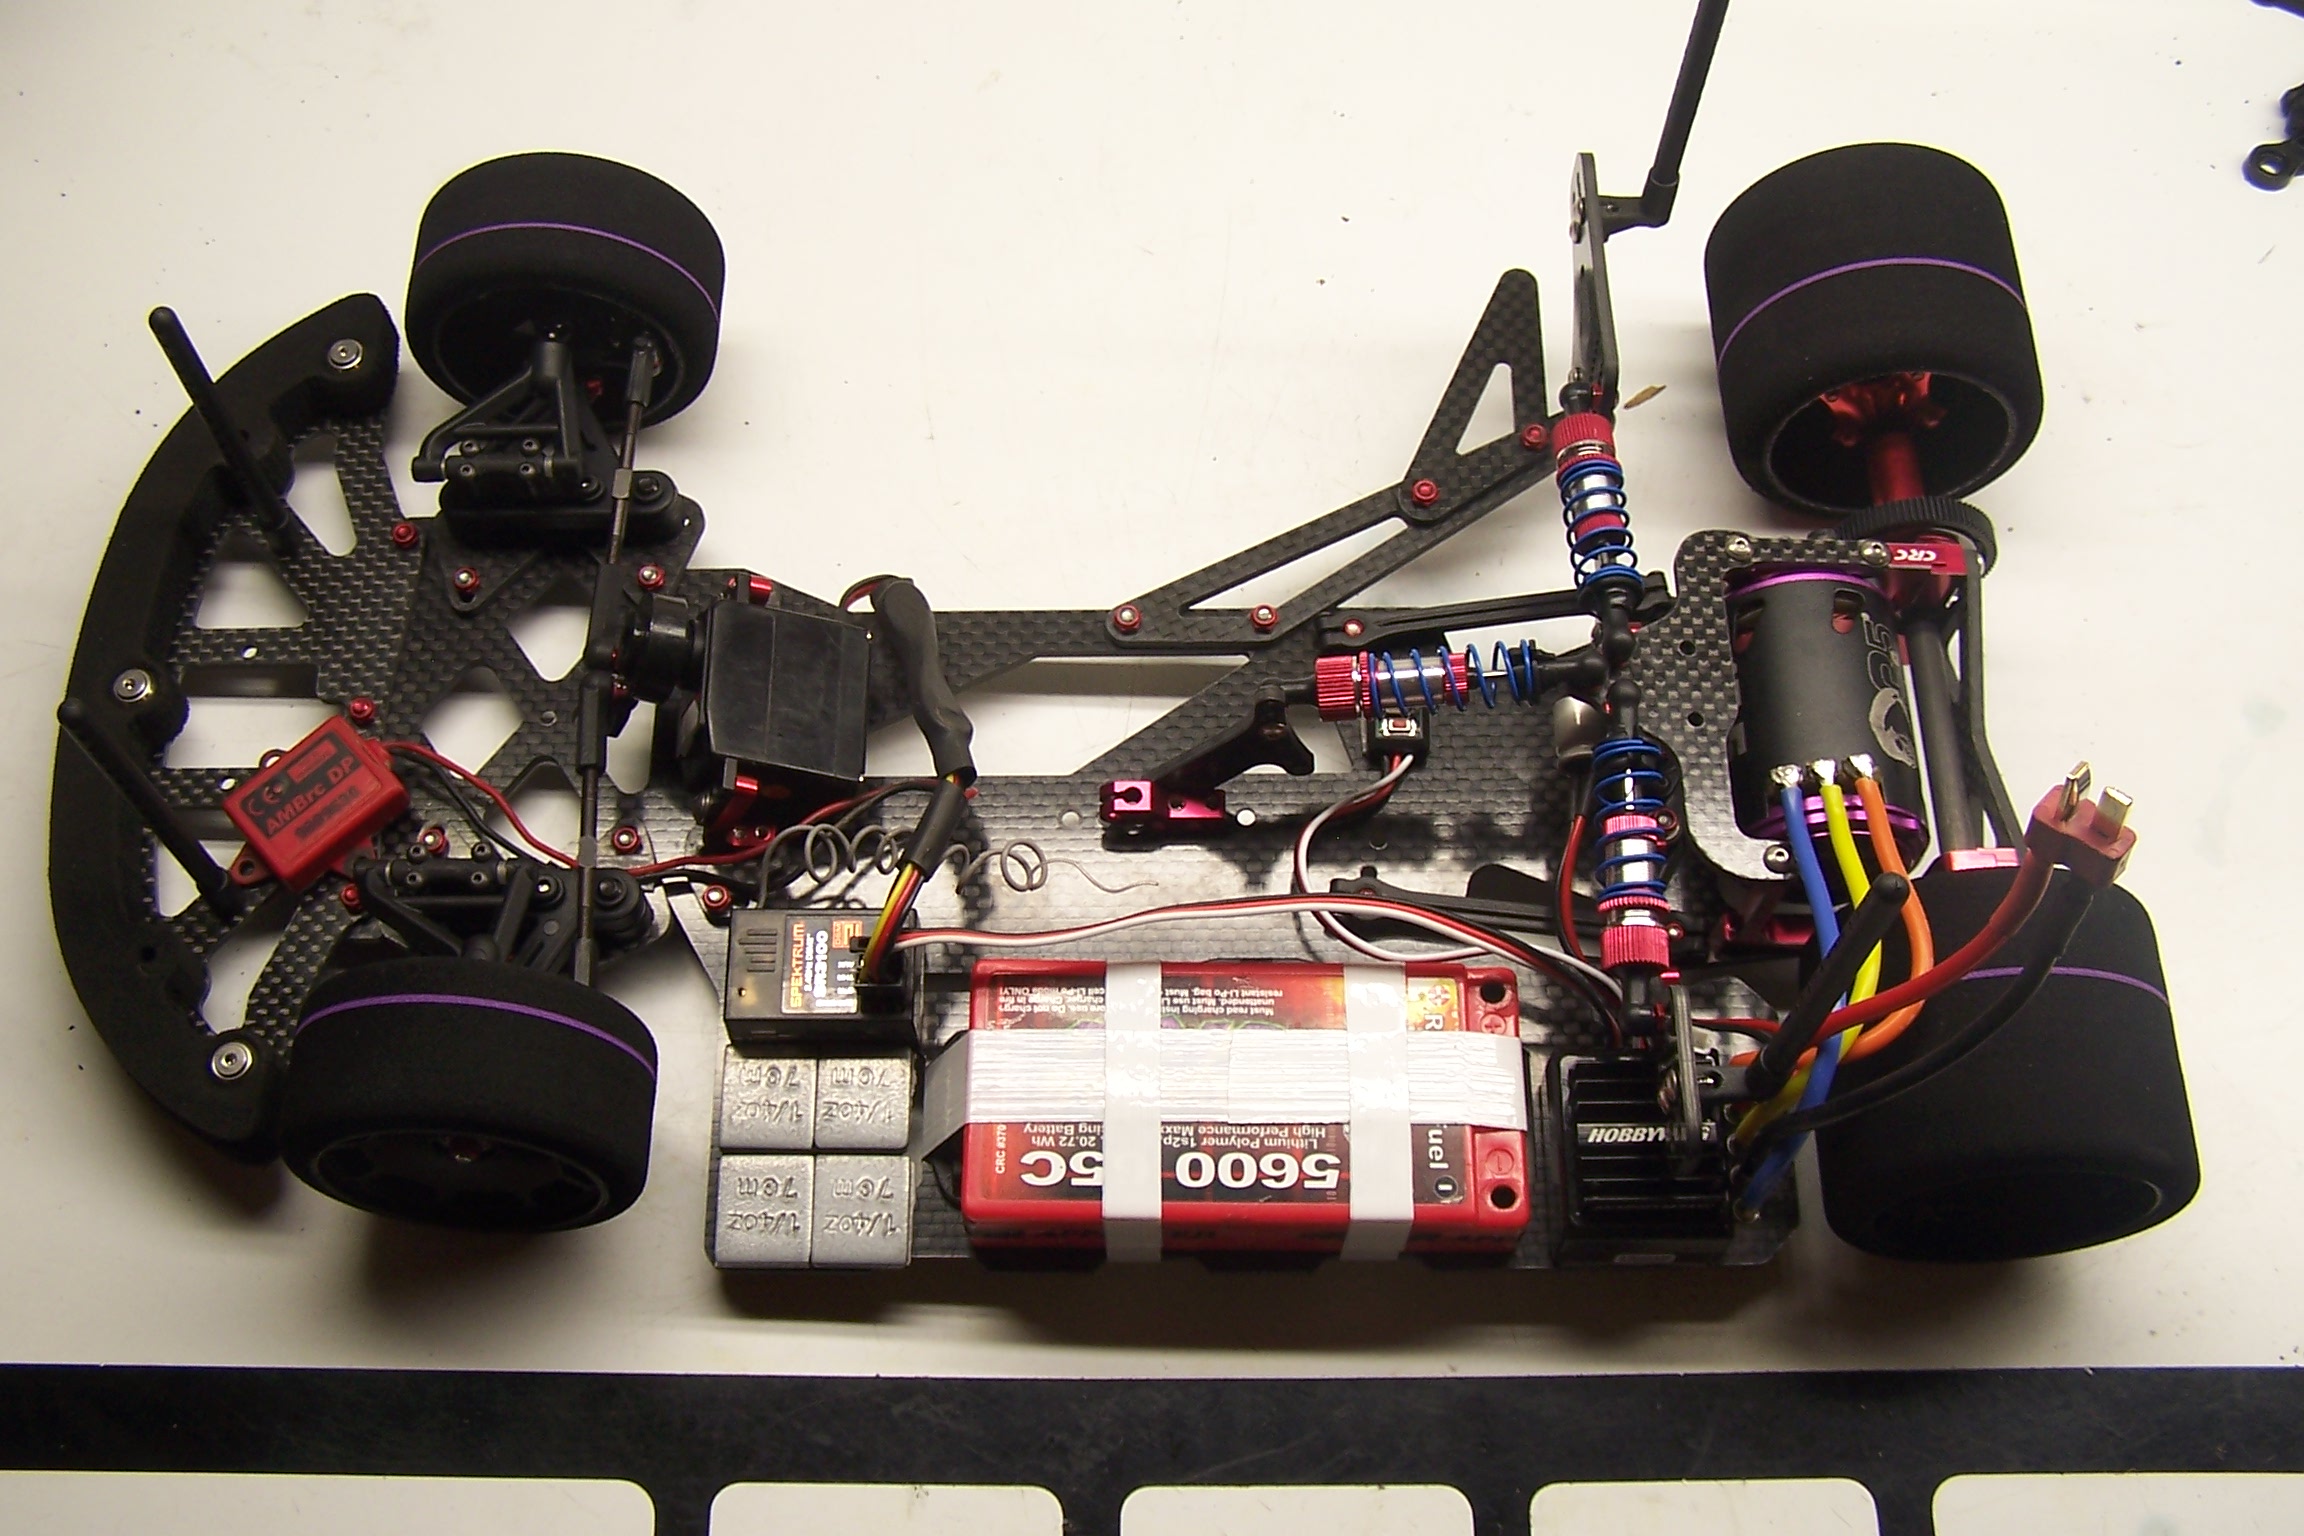
We are running a basically spec 17.5 class. Rules do vary from track to track so make sure you check with your track before racing.
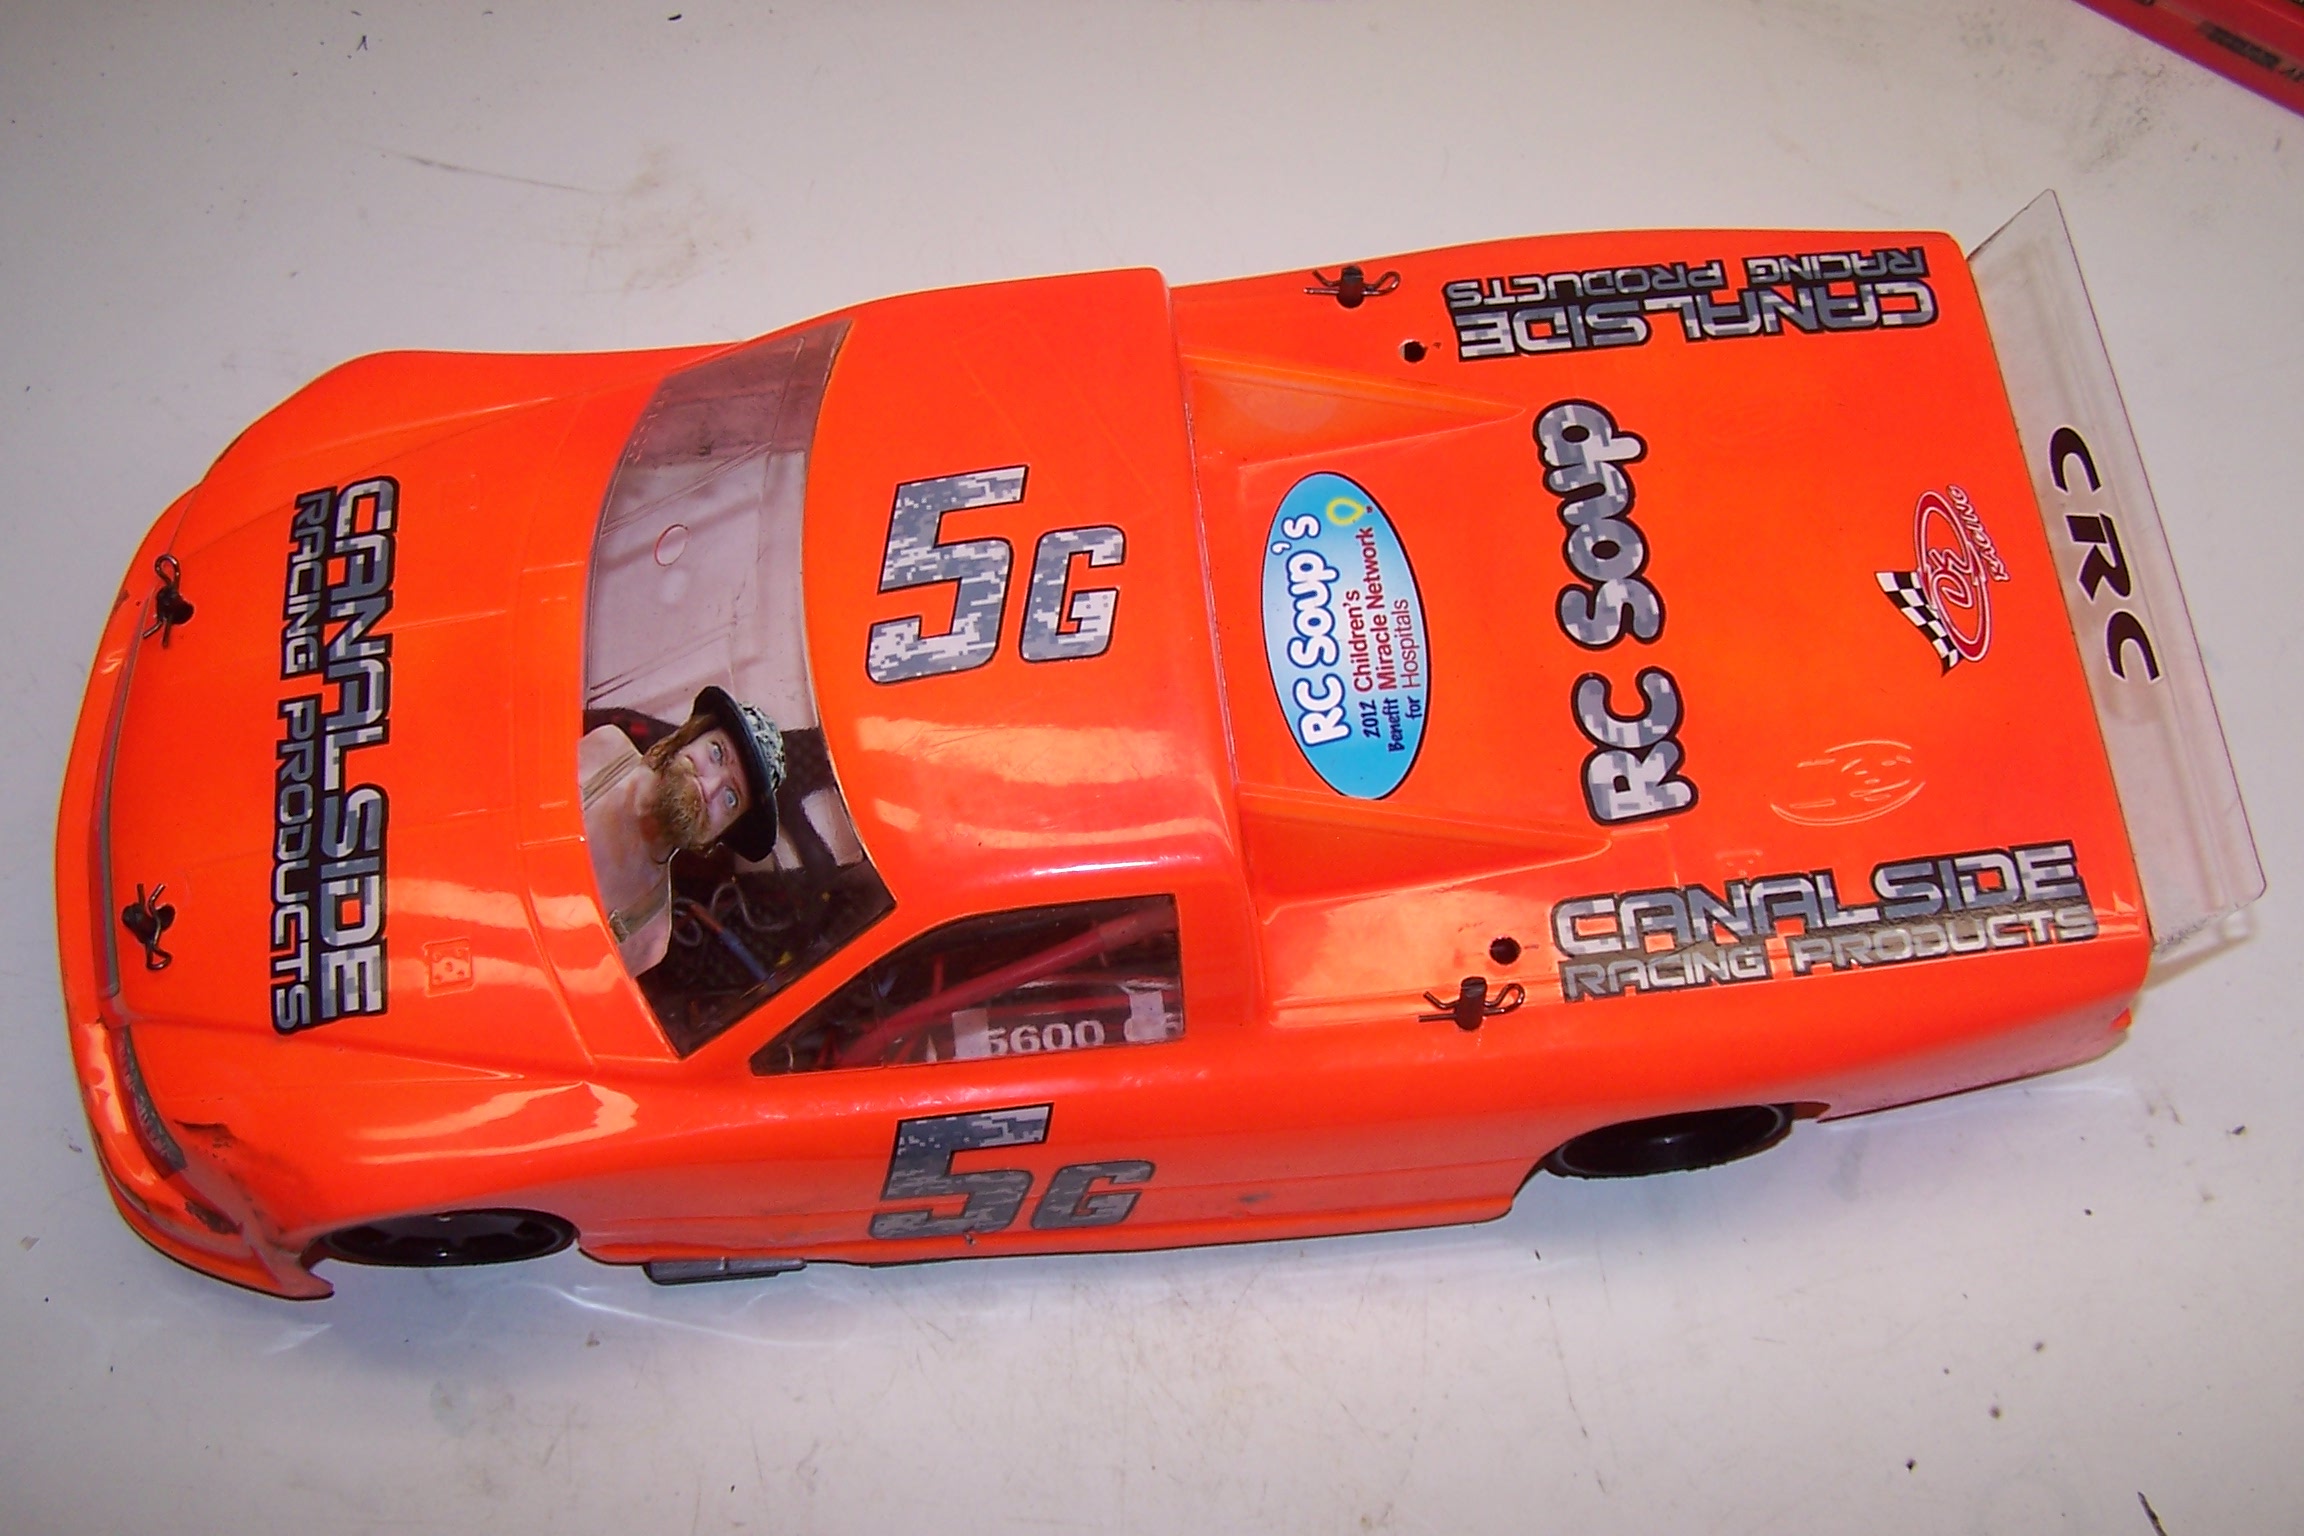
I wanted to get some time on the track before I painted a new body so I used the one from last year. Uncle Cletus doesn’t seem to mind.
I summarize this truck build with one word. Easy! You could build this truck in a night and have it ready for the track in the morning.
On the track it is an animal and easy to drive. I had 0 laps on the truck and TQed round one at CRC’s Battle of the Bullring. You can’t beat that. I can’t wait to drive the truck and push it to its true potential. CRC got it right with this one.
 Posted in
  Tags:
Tags: