

 September 22nd, 2014
  Casey
Casey The Hot Racing CS3308 is the silver version of their multi-position, swiveling car stand with shock length gauge. (CS3306 is the blue version)
I was struggling with my 8th scale in the pits until I got my hands on the Hot Racing car stand. Fuel tubing car clamps hold the vehicle in securely without damage. The multi-directional swivel and solid base made it a breeze to get my big fingers into the diffs, and even made re-gluing tires a snap.
With its ability to handle heavier machines in a secure fashion, it made wrenching a breeze! Any angle, any position, securely. The base and Pillar are very sturdy and the stand itself is adjustable for both length and width.
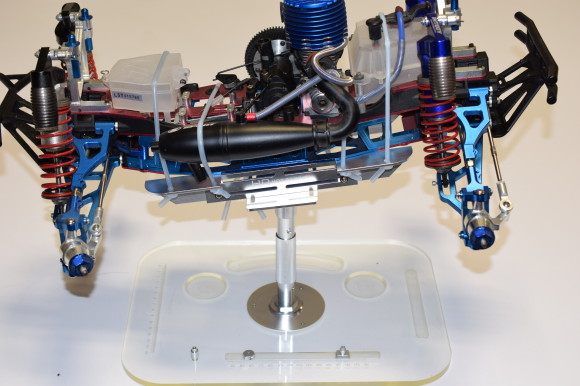
Holding it up high enough to have other gear underneath made my pit space much smaller and the security of the broad base allowed me to not worry about tip over accidents.
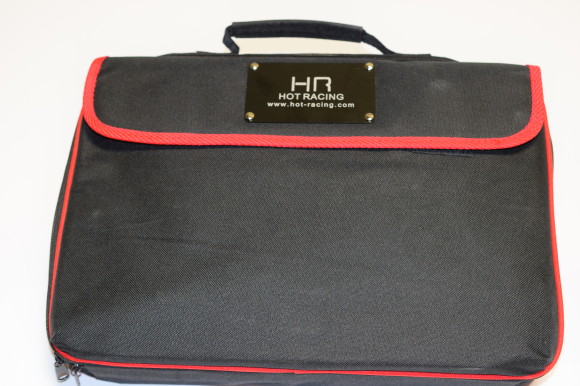
Easy to carry in a black laptop bag with red trim, it breaks down into a flat 2.5 inch thick case. An outer flap pouch and interior tool rack allow you to stuff some extra goodies in there. Inside you will find 4 parts bags:
- Stand – Pillar – Base – Hardware
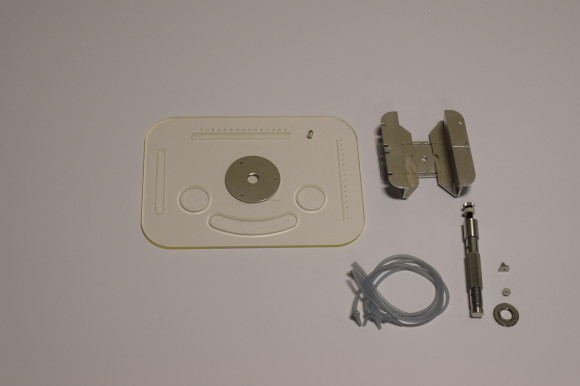
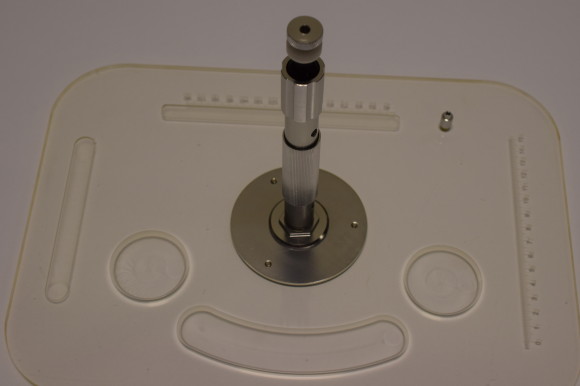
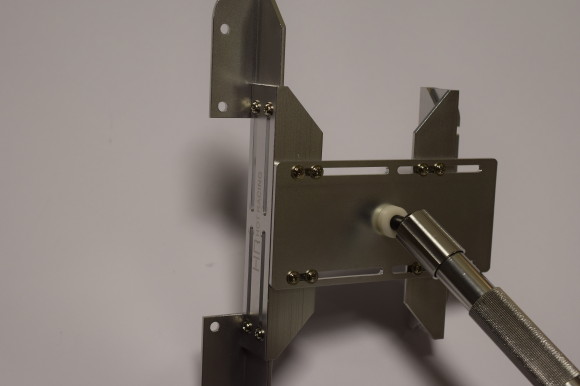
The base has multiple cut-outs to hold little parts and even has a shock length tool built in! The hardware bag contains a ‘guide block’ for you to attach to the top of the shock while the base has a permanent peg to screw down the bottom of the shock. They even throw in a hex clamp so that you can put it on the shock shaft and turn the eyelet without scratching the shock shaft!
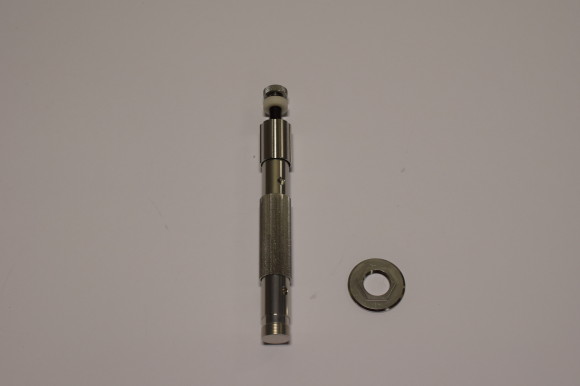
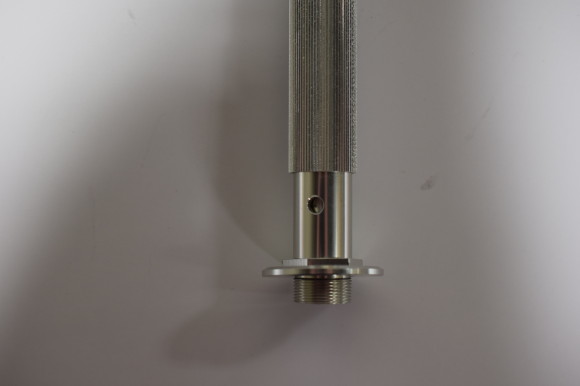
Start by taking the Pillar and hardware out of their bags. Put the 1.5 inch flat nut onto the bottom of the Pillar with the nut facing up. Screw it all the way up. Next, screw the Pillar into the base. You will notice the ridged section of the Pillar will turn. You want to gasp the very bottom of the Pillar and hand tighten it. Next, turn the flat nut on the Pillar all the way down and ‘snug’ it into place on the base. It does not need to be overly tightened, but a little more than snug.
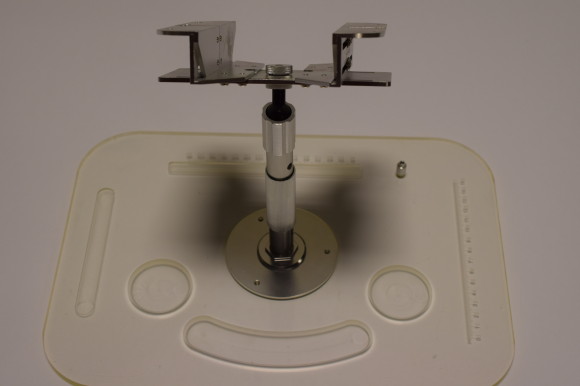
Next, remove the hand nut on top of the Pillar (don’t loose the rubber o-rings). Put the stand onto the top of the Pillar clamp bolt. Hand screw the stand nut back on to secure the stand to the Pillar. Hand tight is all that is needed, but for heavier machines, you may want to tighten it up a little more.
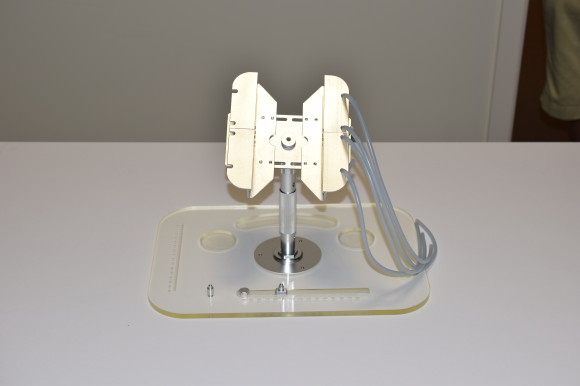
You will have noticed fuel tubing in the package. Cut into 4 equal length sections. Tie a knot in the very end of each one. Thread the tubing through the car stand side holes. Once you have placed your vehicle on the stand, stretch the tubing over the car to see where you should tie a second knot in the other side to secure it.
The stand itself is adjustable in both length and width making it perfect for 1/16th to 1/8th scale.
‘I’ had initially written this product off, but after battle testing it at the races, I have to say this is now in my ‘must have’ list of pit tools. To me, function trumps looks, but this has both.
 Posted in
  Tags:
Tags: