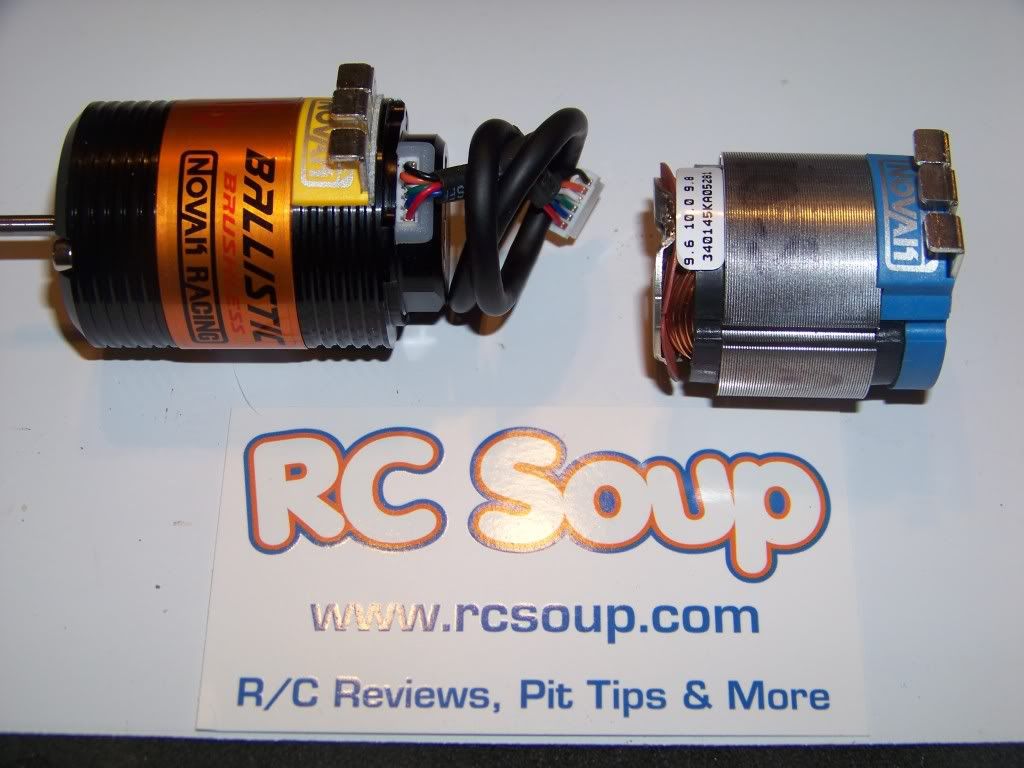
One of the really nice features about the Novak Ballistic 540 series of motors is the ability to change the wind of the motor, simply by changing the stator, You can go all the way from 21.5t to 3.5t with the same 540 motor. You’ll see the process below, as I change a 17.5t into a 10.5t. With this motor, and all of the winds available, racers can race multiple classes without having to purchase several different motors. Depending on your abilities, you can perform the change in under 10 minutes.

Novak color codes their stators. Seen above, in yellow, is the 17.5, while the 10.5 is blue. This makes it easier to determine from the outside which stator you’re running. They specifically did this for the various racing classes out there, so that a tech inspection would quickly determine how many winds your motor has. The 21.5 stator is green, the 17.5 is yellow, the 13.5 is orange, and the 10.5 is blue. Once you get to the 8.5, 7.5, 6.5, 5.5, 4.5 and 3.5 winds, they are all black. There aren’t spec racing classes using these winds on a widespread basis, and therefore less emphasis on tech inspection.
Now lets change a 17.5 into a 10.5.
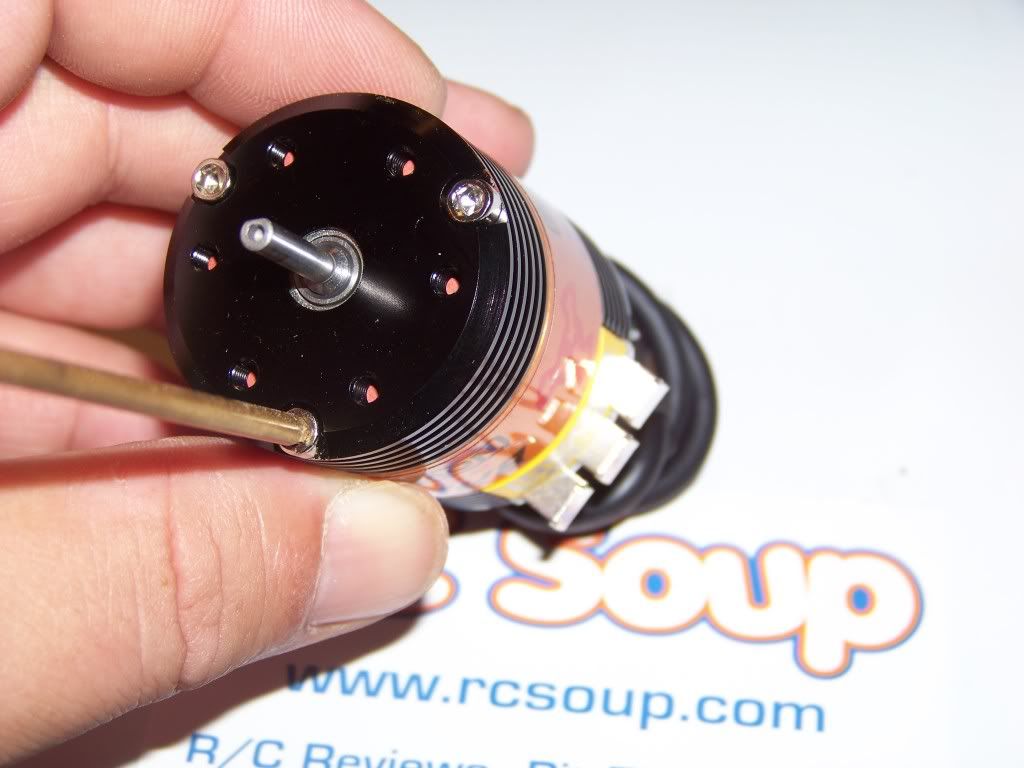
First, remove the three screws holding on the end bell. You’ll find that the screws are threaded into the rear endbell.

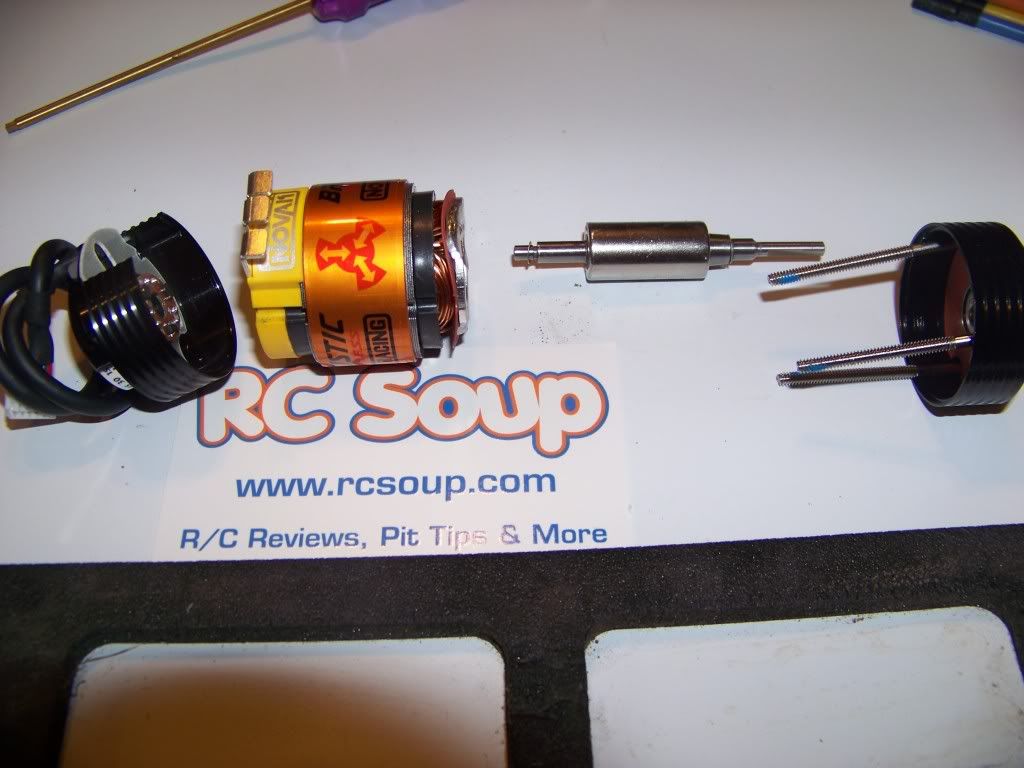
Once the screws are out, remove the front end bell, to expose the stator and rotor.

Now, carefully slide the rotor out of the stator. Try to avoid scraping the sides. This will be kind of tricky as the magnetized rotor will want to attract to the sides. Once the stator is out, you will be able to slide the collar off the old stator, as well as the rear end bell.

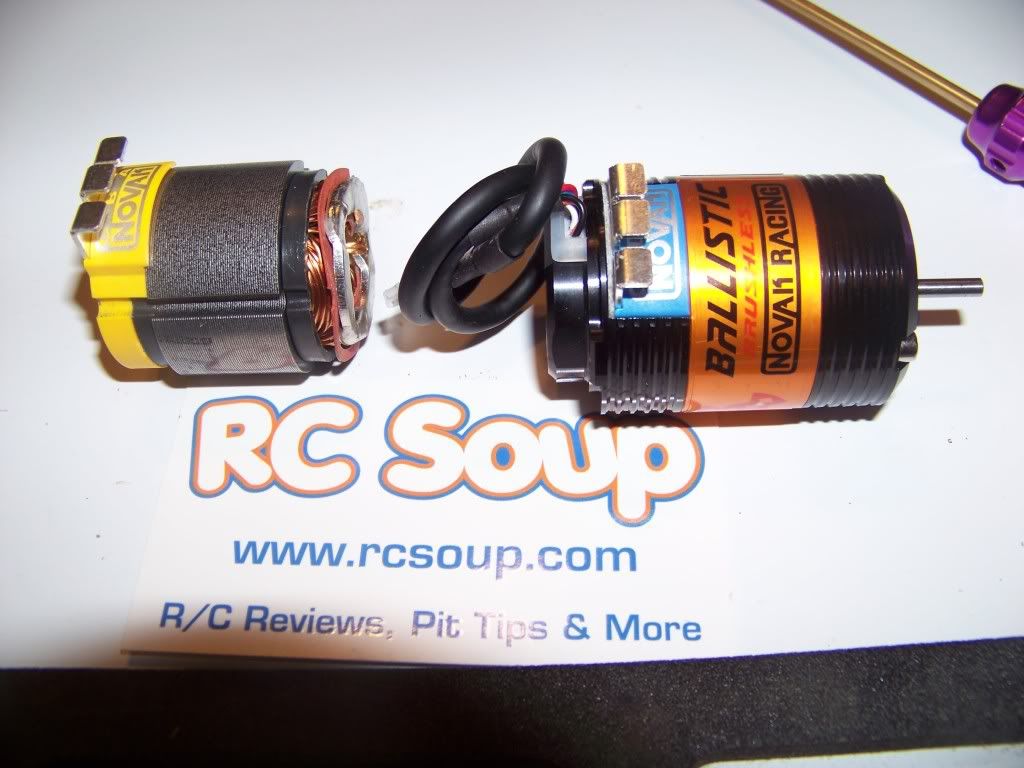
With the motor now apart, set the old stator aside, and put the rotor into the new stator. It has to face the same direction as when you pulled it out. I found it easier to slider the rotor into the stator, then slide the rear endbell on. Once the rotor is sitting in the bearing on the rear endbell, carefully slide the rear endbell onto the stator. You’ll notice the endbell is notched to fit only one way around the wire tabs. Make sure it seats fully.

Now it is time to slide the front endbell over the rotor. Watch the alignment of the screw holes in the endbell. One way you can do this is to install it with the screws in it. I tried this way, and had difficulty getting the endbell to seat properly over the stator. Without the screws was much easier in my opinion. Once seated, put the three screws back in. Tighten them in a circle pattern, Don’t tighten each screw fully, you want to the endbell to sit flush. Tighten each screw a little at a time, going around the endbell until each screw is tight.

That’s it. Now you can install the motor in your vehicle, and enjoy.


 June 25th, 2011
  Matt
Matt  Posted in