Tire Mounting… Ever wonder how the pros do it? Well, it’s time to find out. We headed over to local pro, Jarodd Goedel‘s shop (home of Canalside Racing Products) for a little demo on how he keeps his tires mounted to his wheels. Using these methods he claims he’s never had a tire blow out during a race in the last 5 years!
We are working on a shootout in the coming weeks, and AKA Products was awesome enough to sponsor it with a control short course tire for us. We’ll use those as an example for this demo. Canalside was generous enough to glue all of them up for us.
So, our goodies list to get this done includes:
AKA Gridiron Super Soft tire
AKA Shaped Soft Red Insert
AKA Cyclone SC wheel
Losi Standard Tire Glue (Any CA will work)
Kal-Gard Contact Cleaner (Any cleaner/degreaser would work too)
Sand Paper (we used 80-100 grit)
Leather Punch (can pick these up cheap at places like Harbor Freight)
JConcepts Tire Glue Bands (Panther and ProTek make these too)
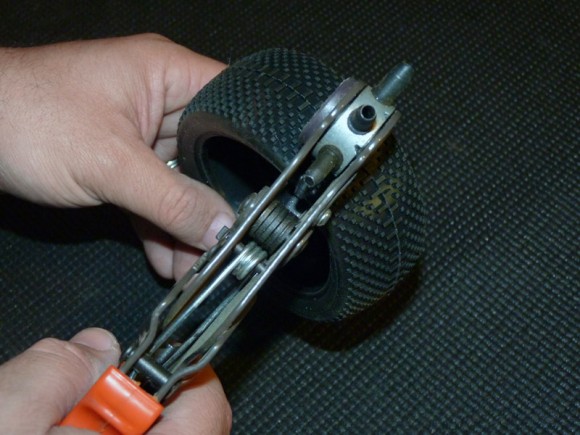
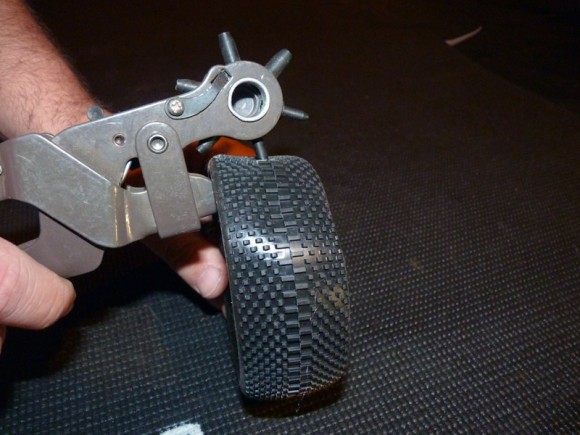
First we take the tire, and punch holes in it using the leather punch. Jarodd likes to do two 1/8″ holes on opposite sides of the tire. Why punch holes in perfectly good rubber you ask? Well, it’s to let air escape the tire. Some companies have holes drilled in the rim for this, but in a dirt racing environment, this allows dirt to enter the wheel/tire without a way to escape. Having the holes in the tire, the dirt naturally has a way to escape and is forced out through rotation. If your wheels have holes, we usually tape over them when using this technique.
Jarodd always punches in the center of the tire.
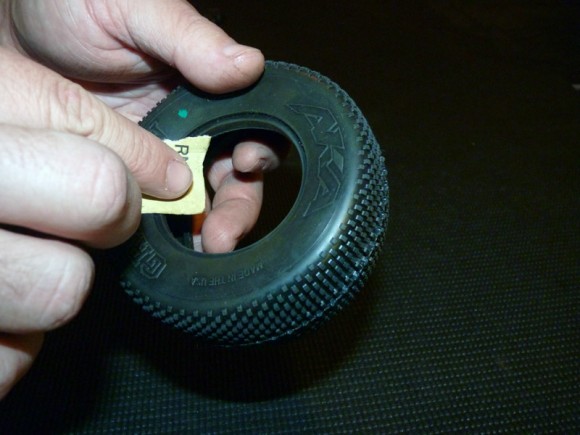
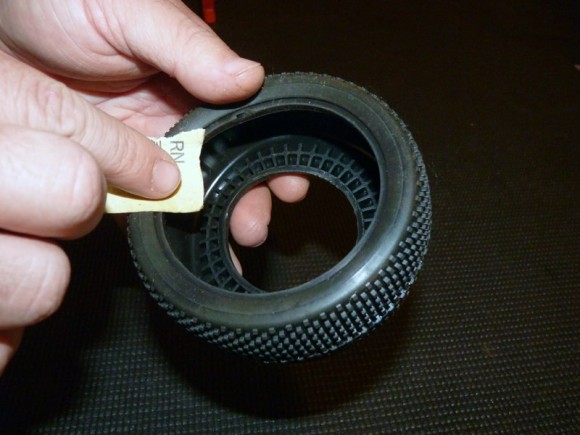
Next we take a small piece of sandpaper and scuff the beads of the tire (both sides). This allows for the glue to adhere better to the rubber surface.
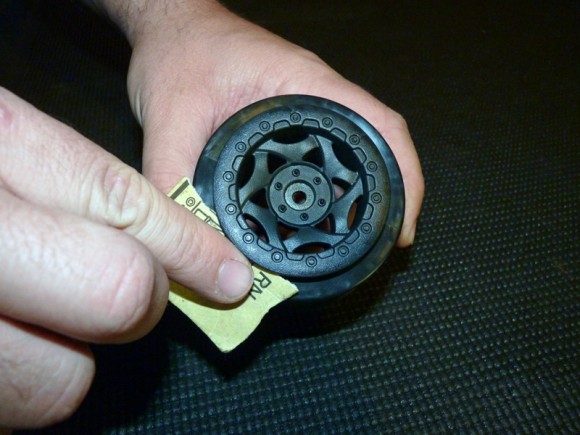
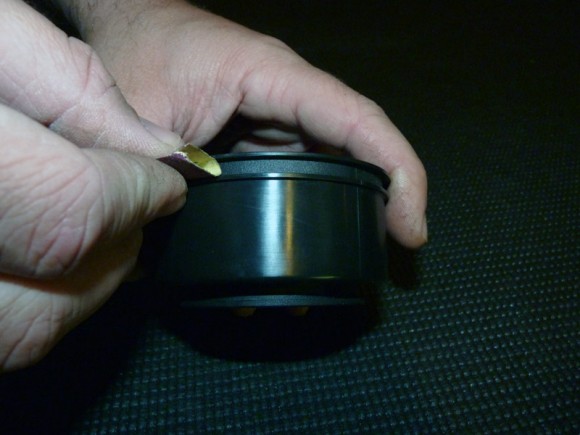
We also lightly scuff the gluing surfaces of the wheel with the same sandpaper.
Make sure to get into the groove by folding the paper a bit. You don’t have to go crazy with sanding, but roughing up the surface is very beneficial.
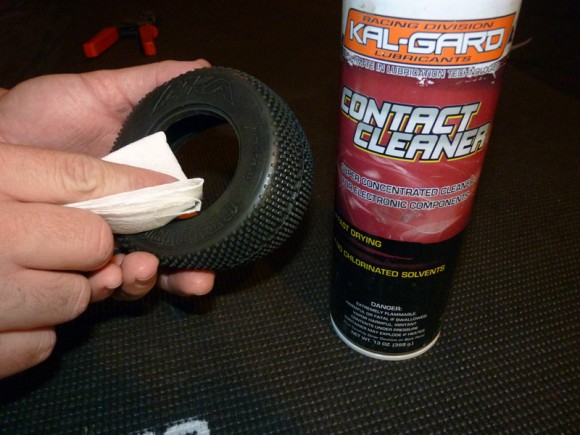
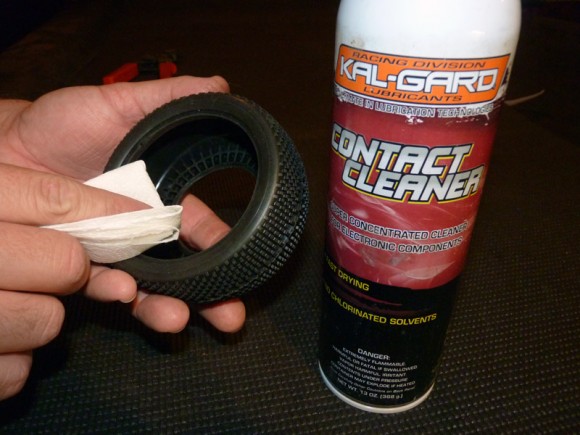
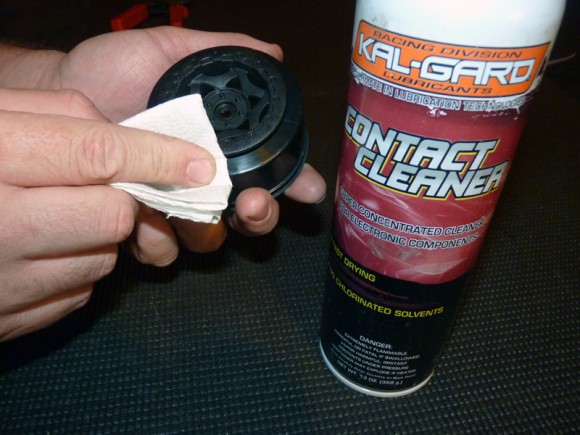
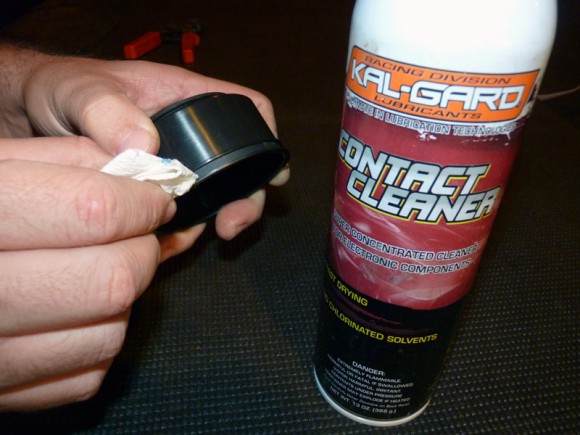
Then Jarodd likes to use the Kal-Gard Contact Cleaner to clean the gluing surfaces. Basically, any cleaner/degreaser will work for this as long as it does not leave residue behind. The purpose of this cleaning is to remove any possible leftover mold release residue from the manufacturing process. We clean the same areas that we just roughed up with the sandpaper. You could reverse the order of these 2 steps if you wanted to clean and then scuff.
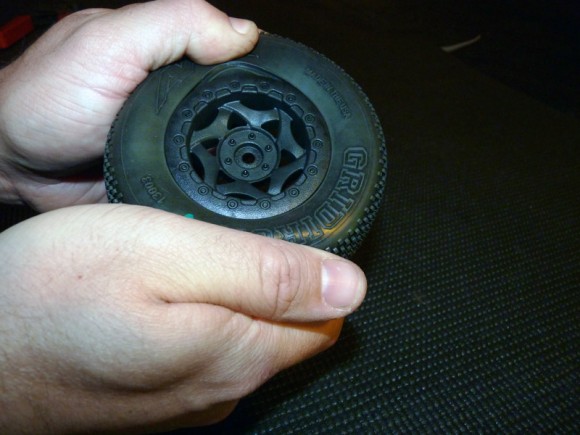
Now it’s time to finally mount the tire. We pop the tire on and make sure the beads are all lined up and in place.
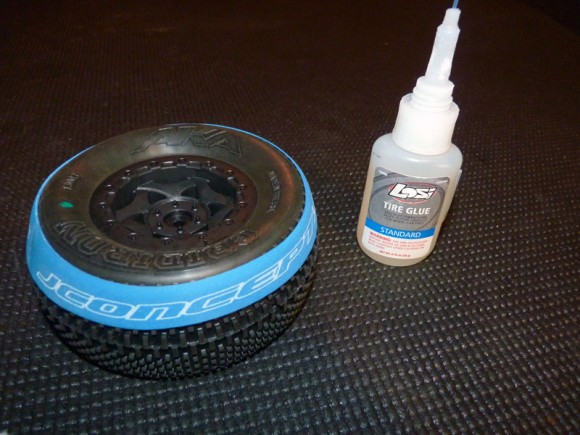
The next step is installing the Tire Rubber Bands (also referred to as Glue Bands). These go on the outer edge of the tread on the side of the tire that you are gluing. They hold tension on the bead during glue curing time. Drying time for most CA glue is 10-20 seconds, but it’s best practice just to let the tire sit for a bit with the band on after gluing to allow it to fully cure. The bands are sold in sets of 8, so it’s easy enough to just move to the next tire while the glue dries.
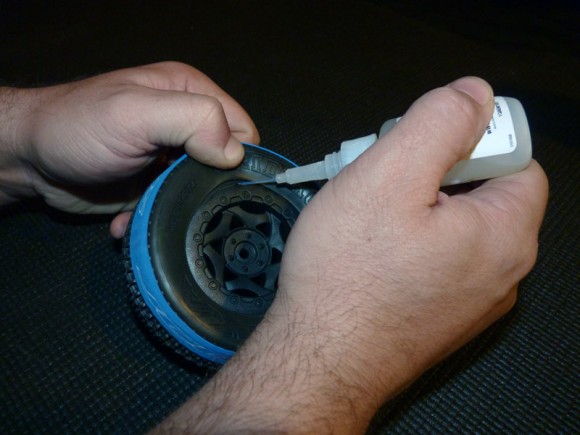
Here you can see Jarodd pulling back the bead from the wheel a little at a time. Put a little glue on the tire and in the wheel in the areas you scuffed (not too much or it will ooze out and look like a messy glue job). Work your way around the tire a little bit at a time.
Set the tire down and wait (usually if I’m in a rush, the first tire is dry by the time I glue up the 4th, so I just rinse and repeat so to speak). Typically I’d glue all the front sides of the wheel on all 4 tires and then do all the back sides. You only want to do one side at a time, because if you do both, and use too much glue… if it oozes you risk gluing your tire to the table.
Stay safe, take your time, and definitely DON’T use the CA glue as eye drops.
Happy Gluing!


 May 12th, 2012
  Kevin
Kevin 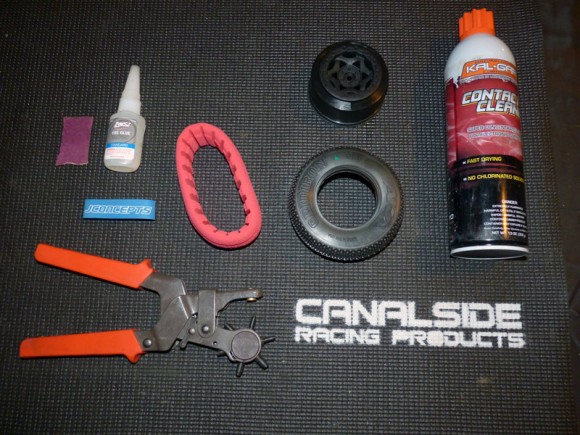
 Posted in
  Tags:
Tags:
[…] Pit Tips […]
[…] you guys recommend punching holes in tires before mounting? __________________ Slash 4×4, TA05 v2, TT01, M05-Pro, RC18's Building […]