Revolve RC first caught my attention when they were sponsoring the Psycho Nitro Blast earlier this year. I spotted their logo on some of the coverage and went to check them out. Their website had a stand on it, unlike any I’ve seen in recent memory. Where most stands allow you to spin your car to get to various items.. this held the car firmly in place, but was repositionable to allow you to work on your car even from the strangest angles. Needless to say I was intrigued.
Fast forward a few months, and we finally got our hands on one! This is more of an initial impression and unboxing than a review. Look for the review later when we have some serious wrench time with it.
I don’t get too hung up on packaging, nor have we ever really done an “unboxing” on anything.. but this was very well packed, and I felt it was noteworthy. This stand retails for a somewhat staggering $159. It is of great comfort that with so much anodized aluminum, Revolve RC has the sense to properly package this stand kit so as to not allow it to arrive completely marred up.
Let’s dig in… below is the box as it arrived (well, inside another box was this box). It has their logo on it. Very nice.
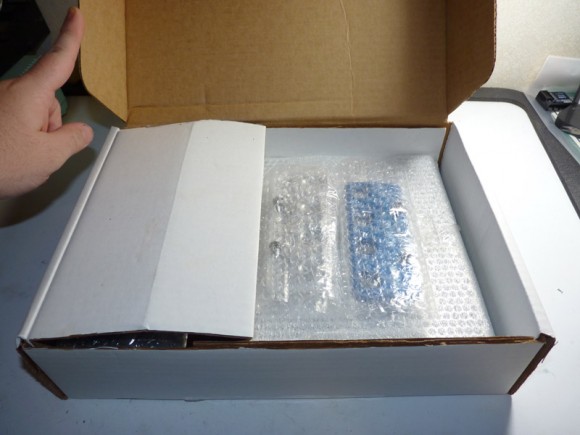
What I found impressive upon opening it, is a cardboard insert that separated several elements (each of which were separately bubble wrapped for protection). This was thought out.
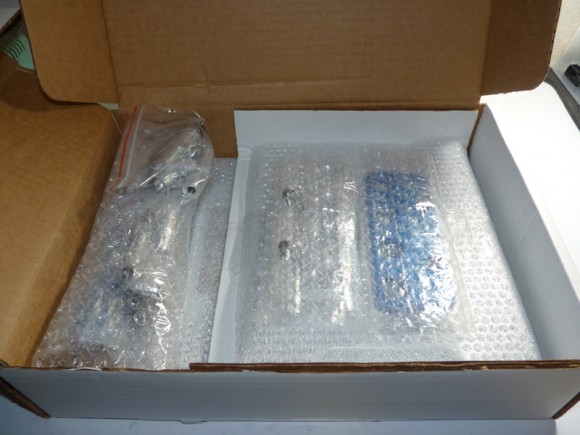
I unfolded the top cardboard flap to reveal the ball/post, lock tab sets, and the shock holders. We got a mixer pack so to speak (2 sets of lock tabs, 2 different size shock holders, 2 different top plates), so this may not be what everyone experiences, but I imagine it’s close. Everything was taped together for secure shipment.
First we have the 2 different sized shock holders. These will come in handy for filling shocks.
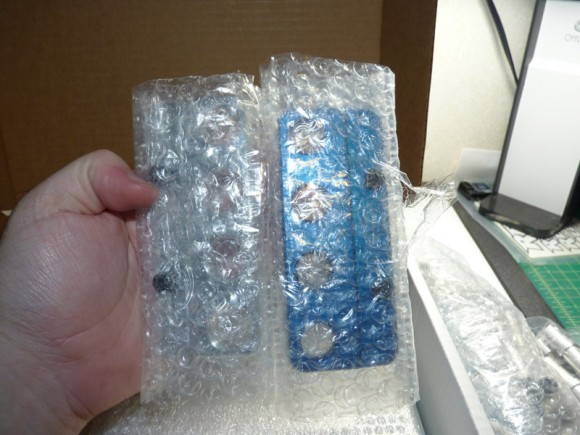
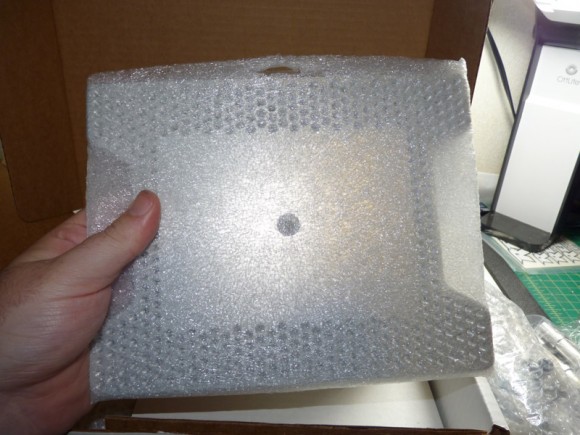
After digging that out, I found a large top plate.
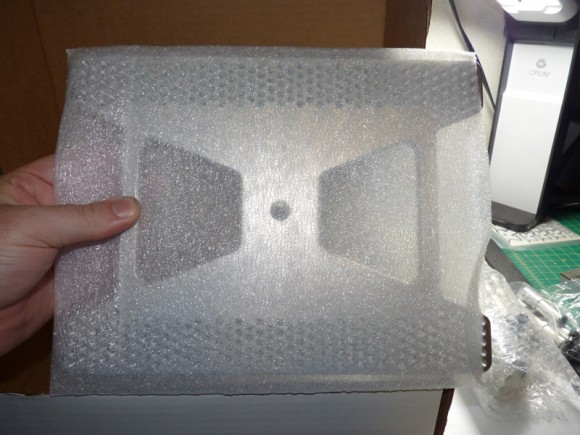
I then found the XL Truggy top plate.
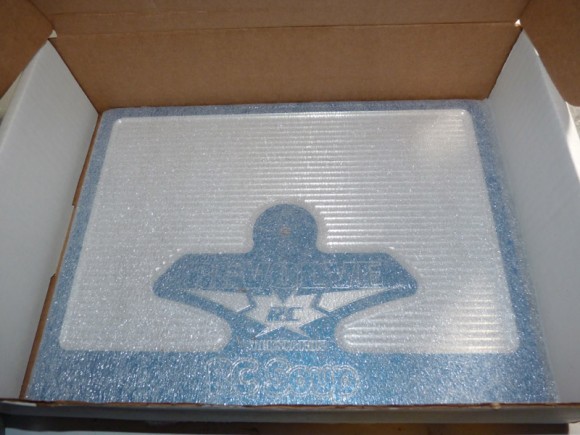
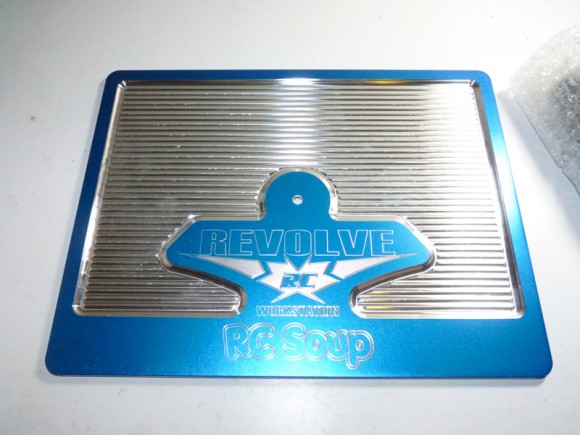
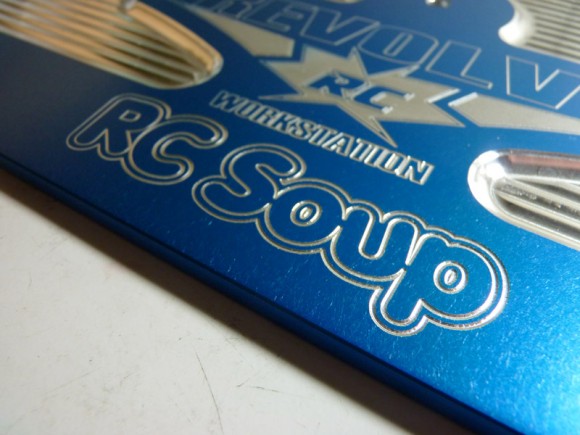
All the way at the bottom was the base. Is that custom engraving??
You betcha!! The guys at Revolve RC really hooked us up. We sent them our logo in .EPS format, and away they went.. etching it into 6061 Aluminum. Gorgeous isn’t it?
Engraving close up. So cool!
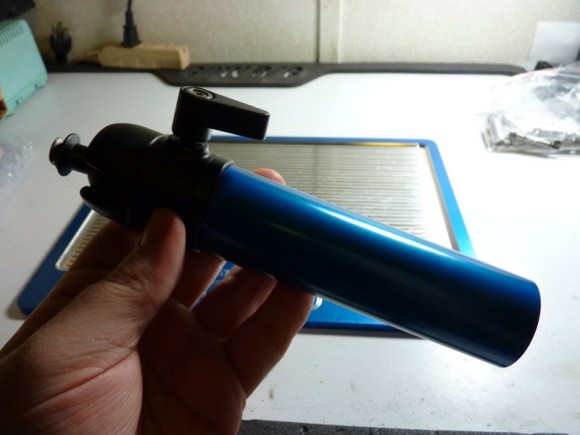
Here’s the center post. I forgot to get a shot of it wrapped up like the rest, but rest assured it was just as protected as everything else.
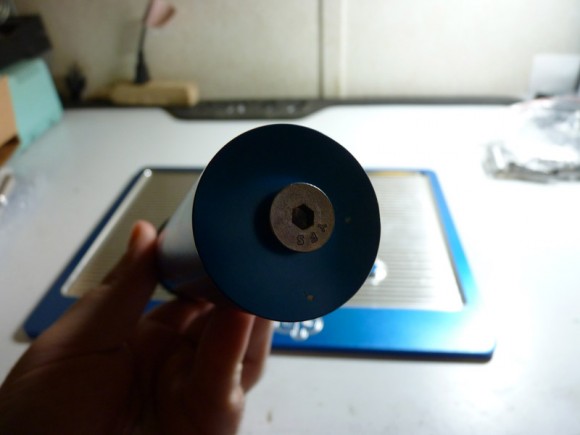
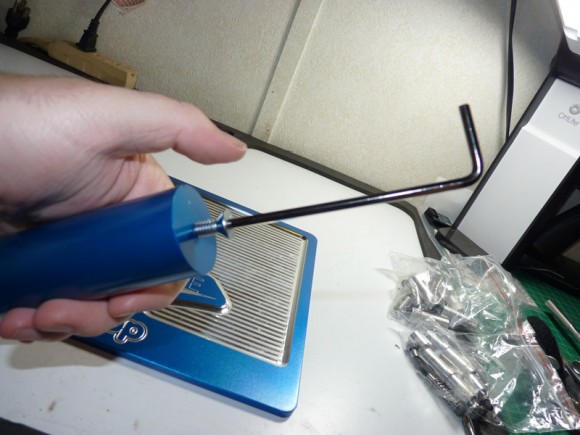
The bottom of the post has a hole with a countersunk screw in it. They provide an allen key for this and the screw that secures the top plate to the pivot ball.
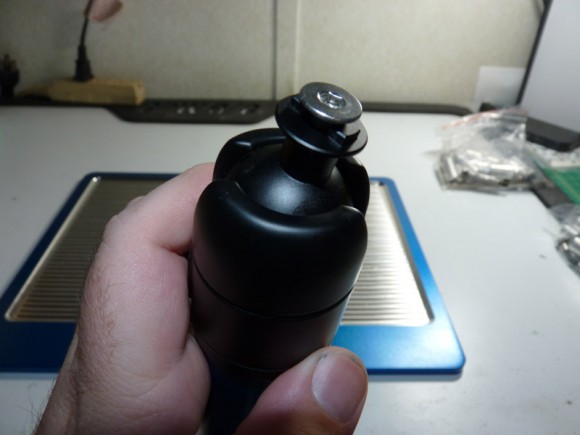
Ball Head on the top of the post.
First thing I did was remove the screw from the post with the included allen key.
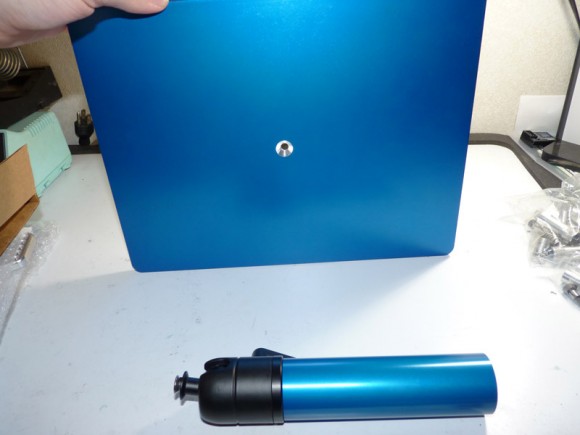
This is the bottom of the base, as you can see it is also countersunk.
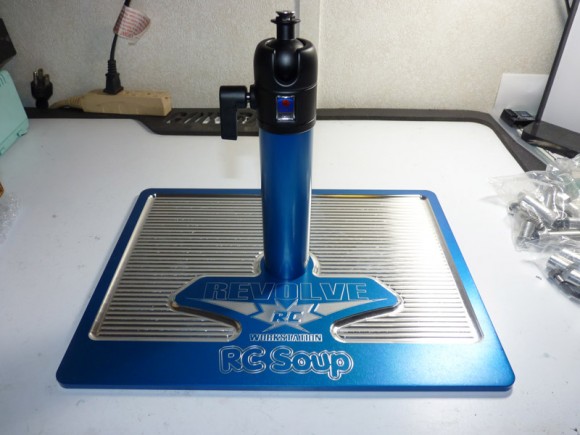
Simply insert the screw through the hole in the base and secure to the post. I’d try not to overtighten this.
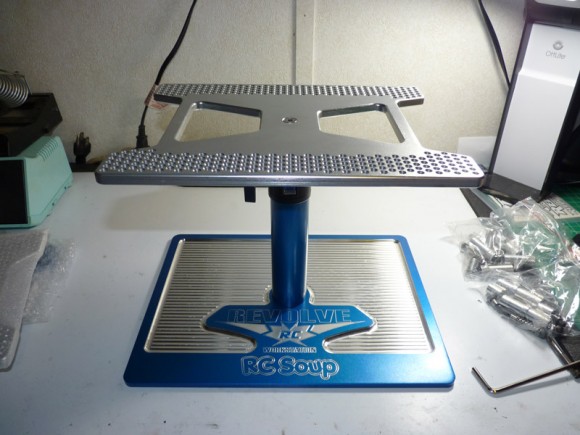
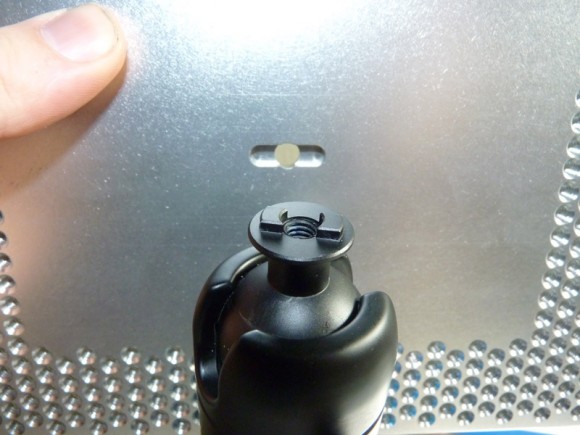
Next we’ll mount the top plate.. same concept, one screw through the center, down into the ball head. The top plate is notched so that it does not move around on the ball head.
Alright, so that pretty much concludes the “unboxing” portion. How about we see what this thing can do? Check out the next page for a demo.
Pages: 1 2


 July 17th, 2012
  Kevin
Kevin 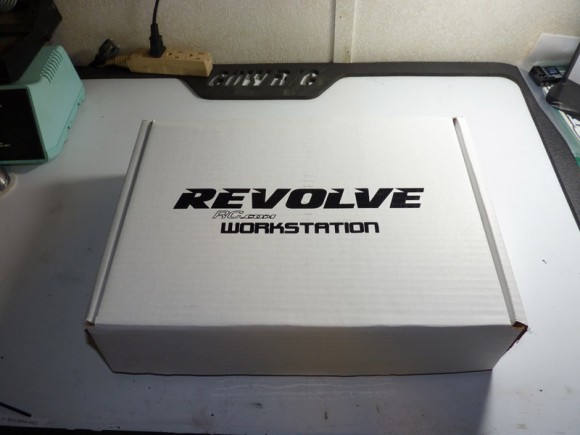
 Posted in
  Tags:
Tags:
That is one sweet vehicle stand! Awesome!