We recently posted our LCG Slash 4×4 shootout. This shootout consisted of us taking three stock Traxxas Slash 4×4’s, and slapping on three different LCG chassis to see which one would come out on top. These were all built using the stock electronics, stock suspension, and stock bodies. It showed what you could do by taking an otherwise stock Traxxas Slash 4×4 and slapping on one of the top 3 LCG chassis on the market today. But that was just the first step. Many people who pick up these chassis simply slap on the stock gear and run them like that at first. Then over time they swap the various stock parts out in favor of better performing components. And that’s what we’re doing too.
We have already posted Stage II and Stage III upgrades, as well as lap time comparisons to Stage I, which was the shootout itself. This time will be slightly different. We ran the Stage IV version at the Intergalactic Short Course Championships at CRC Raceway in Rome NY. Before this event, CRC made changes to the track to prevent an unfair advantage to the locals. The changes were great enough that it meant lap time comparisons were no longer valid. So, for Stage IV, I will give you driving impressions only.
The Viper powered truck definitely has plenty of get up and go. I can stick with and pass anyone on the track. The stock drivetrain is still working as it should. The next obvious thing I needed to change was the servo. I had so much more speed entering corners now, that the slow stock servo became a limiting factor.
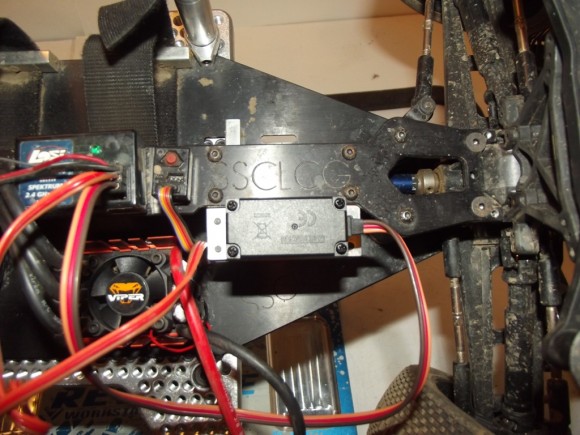
Just 4 screws through the top plate hold the servo mounts in place.
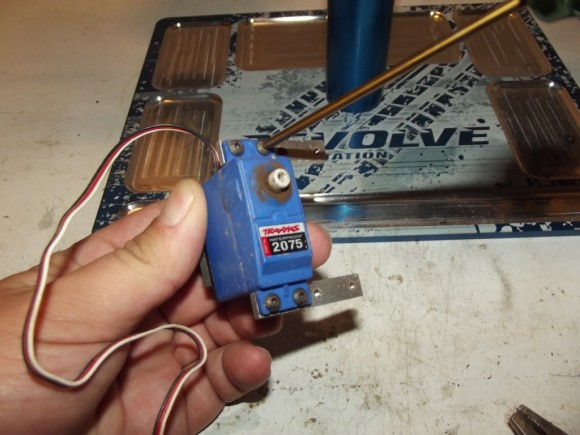
Next we’ll remove the servo mounts from the stock Traxxas servo, so that we can put them on the new servo.
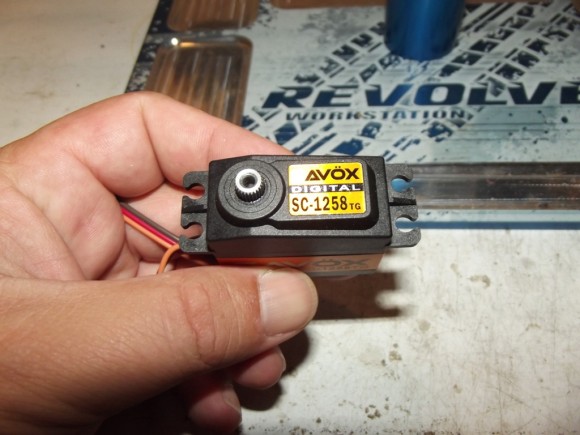
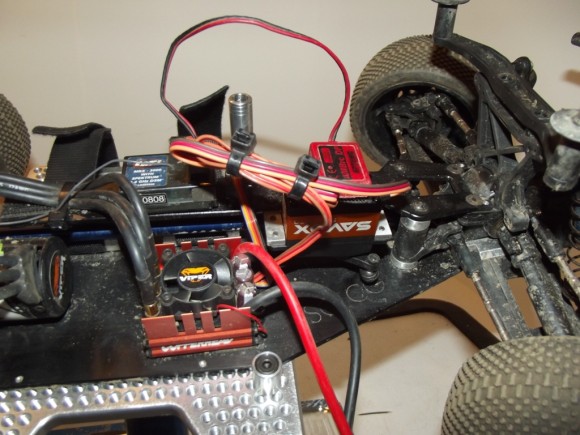
We are going with a Savox SC1258TG servo. These are super quick, with plenty of torque for this application.
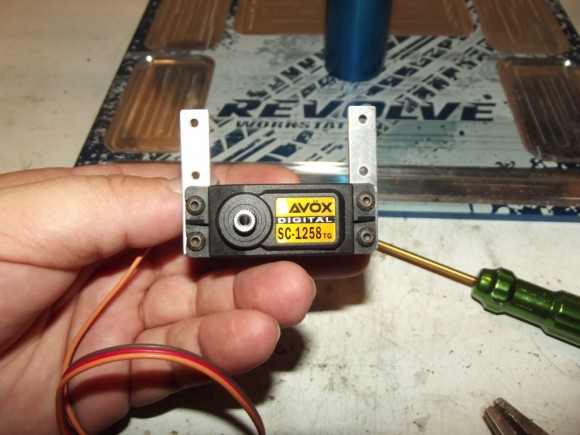
The servo mounts go on the exact same way they were on the stocker.
I plugged everything in, and powered the servo to center it. Then I centered the wheels, and popped on theservo horn without a screw at first. I mounted up the servo, making sure that the wheels were straight. Then I took it back out to put the screw in the servo horn.
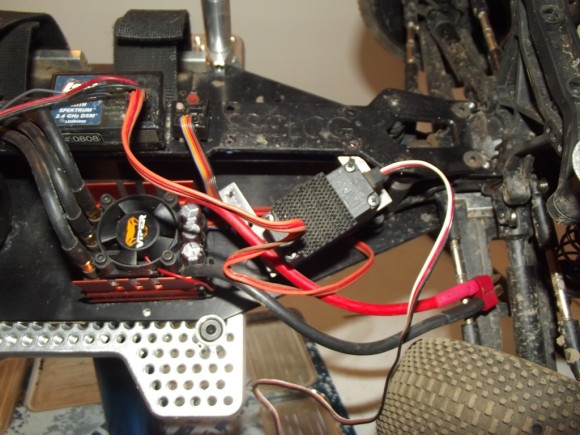
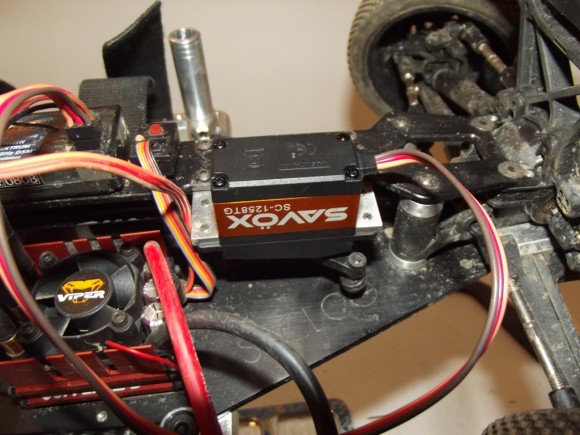
Servo is back in, and we can snug down the mounts.
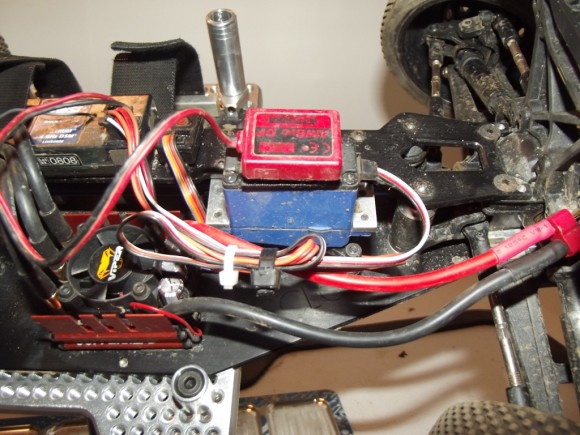
The servo sits so close to the receiver, the extra long servo wire needs to be tidied.
Pages: 1 2


 September 4th, 2012
  Matt
Matt 
 Posted in
  Tags:
Tags: