Next up, Gearbox stuff! The CC-01 is so easy to work on. I love it. To open the transmission, it’s a matter of 4 phillips head screws and the whole top cover comes off.
You don’t have to remove anything else to gain access to this!
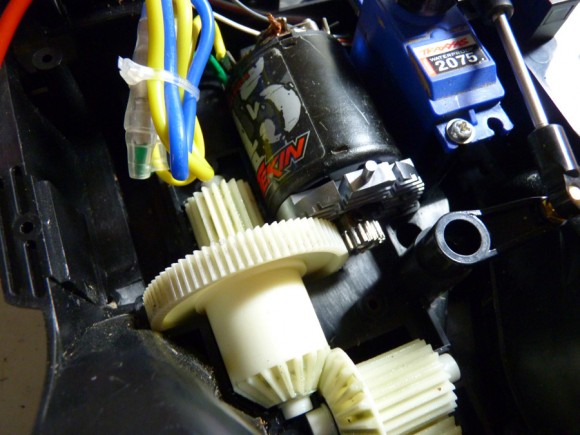
This is how we left it last time.. it’s riding on full Fast Eddy bearings, so we won’t have to mess with those. The first thing we’ll do is replace the motor mount. The motor just pops out at this point, as the mount holds it in place via pins that slide in holes in the chassis and top plate. With the top plate removed, there’s nothing to hold it in.
So we slide out the motor/mount and remove the old one. It’s made of molded plastic.
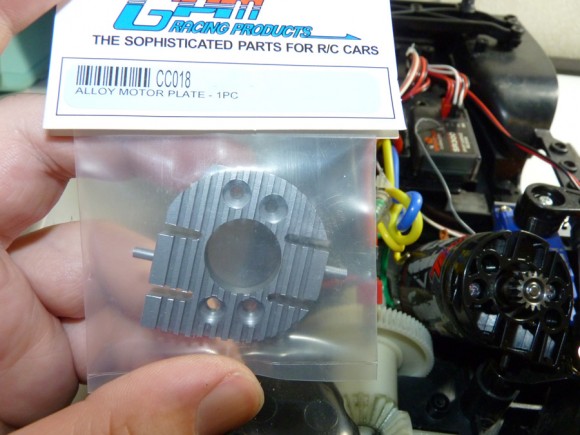
This is the GPM replacement aluminum motor mount. The finned heatsink design will help dissipate heat built up by the motor (not that a 45T generates a lot of heat). It’s still nice to know it’s in there though. It will also be more rigid.
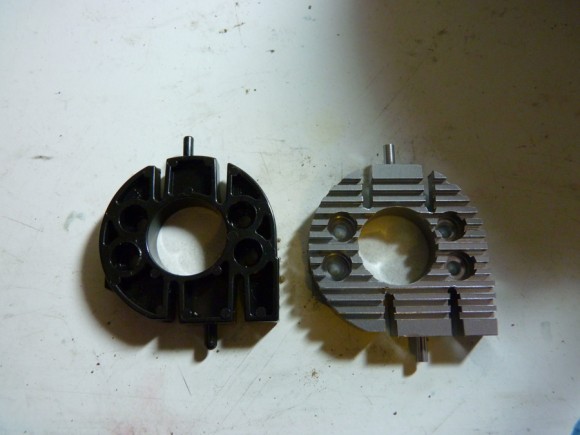
This is the 2 motor mounts side by side. The holes and everything are identical. You can see the pin system it uses to hold itself in place.
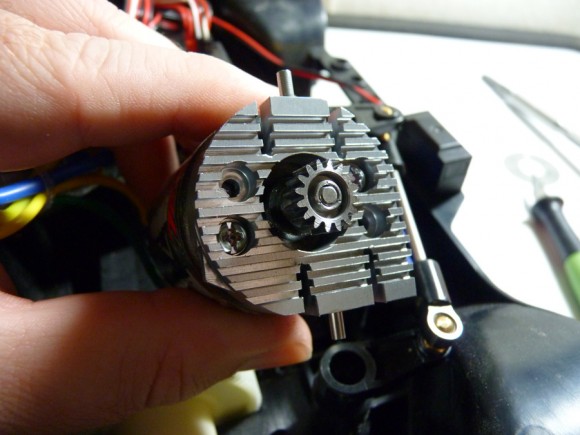
All mounted up (with the stock pinion- we’ll be removing that in a second).
It dropped in flawless, no issues, direct fit. Thats what I like to see!
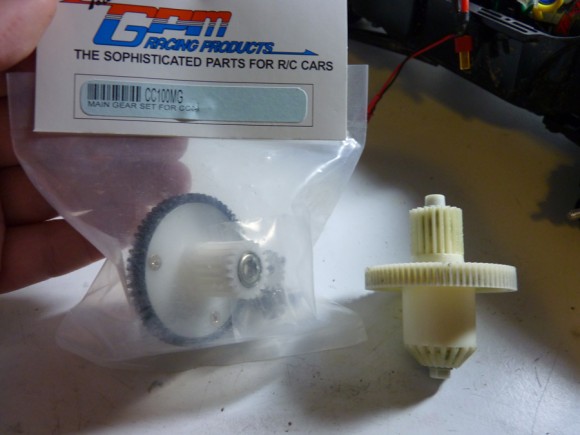
Now we have the GPM main gear set. This contains:
- Steel Spur Gear 59T with 0.8mm pitch-1pc
- Aluminum motor gears of 13T & 16T-2pcs
- Plastic Spur Gear Holder-1pc
- 5x8mm bearing x 1pc
- 5x11mm bearing x 1pc
This is a different pitch than the stock configuration (which was Metric 32P). The teeth on the GPM are much larger in size. With this setup, we’ll be gearing down a little bit (will help slow the truck down, one of my issues in the review was that it was still quite fast for a scaler with a 45T motor). Slowing it down was on my to do list. We’re going from 16/80 in stock gearing to 13/59 on the new one. I’m not sure how much of a difference it will be, but hopefully it’s some.
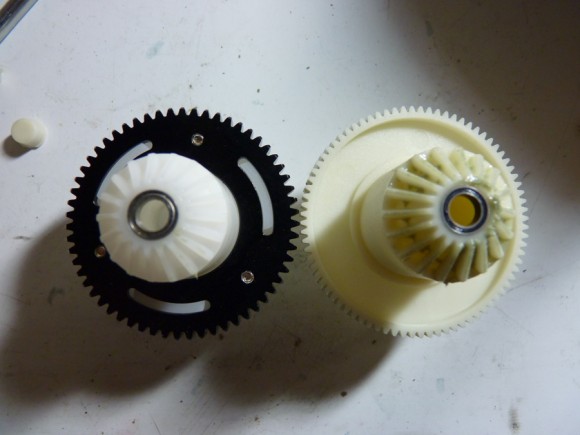
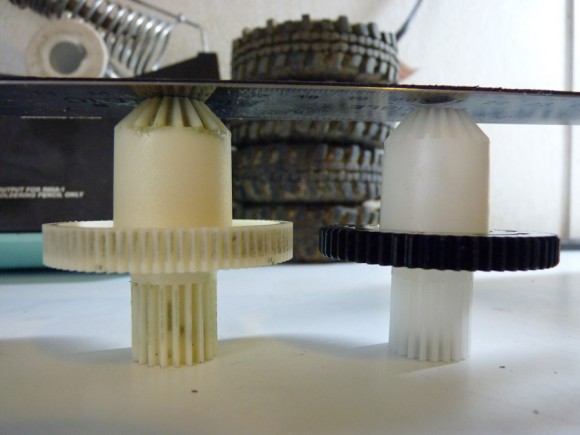
Side by side shot.
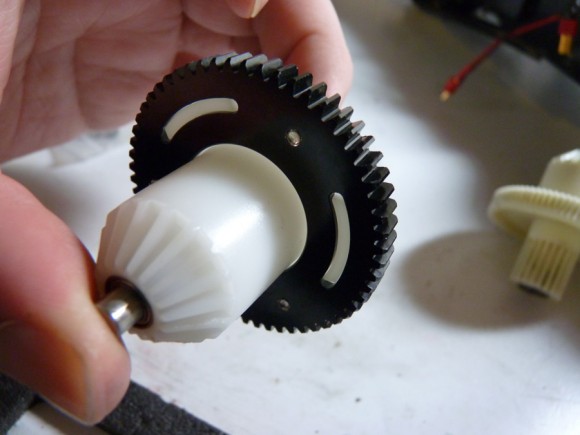
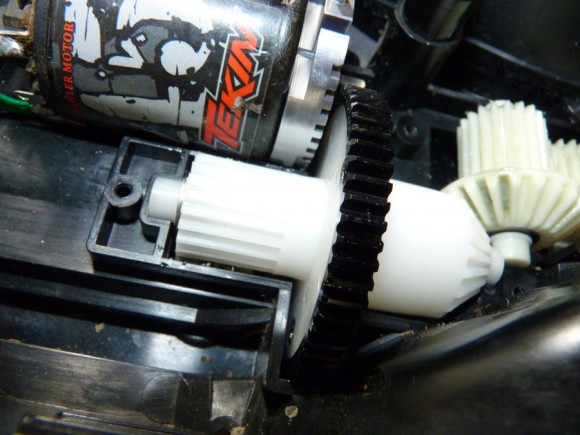
This has a metal spur portion, bolted to a plastic main gear.
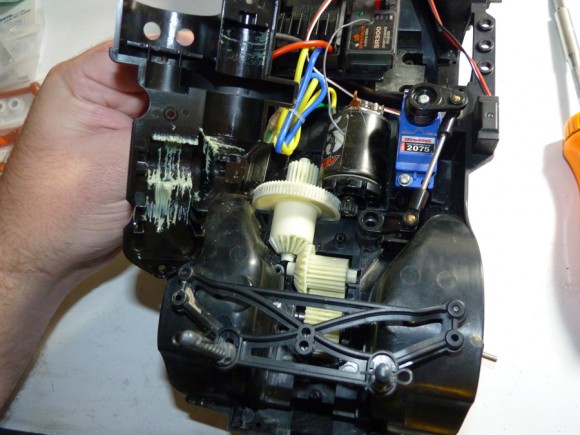
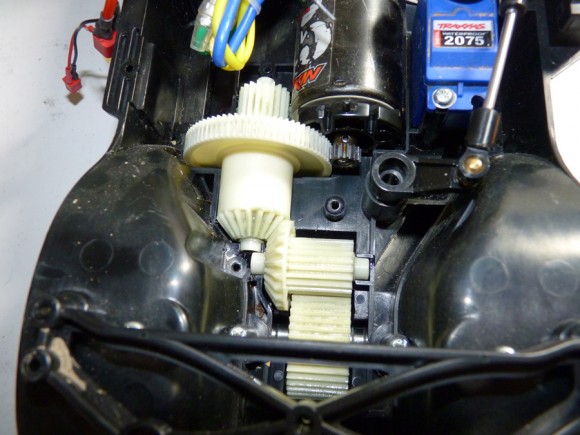
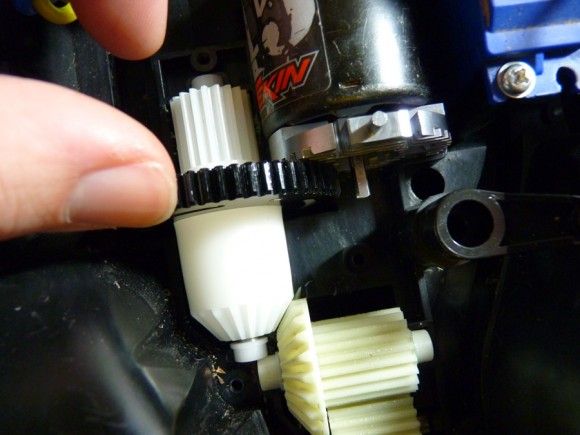
Initial fitment, POOR! The gear is shorter than the stock one. It shucked back and forth in the little plastic end cap spacers. It shucked so much that the front part of the gear that meets the idler gear, lost complete contact!
Upon further inspection, my suspicions confirmed (I know this is not an accurate form of measurement).
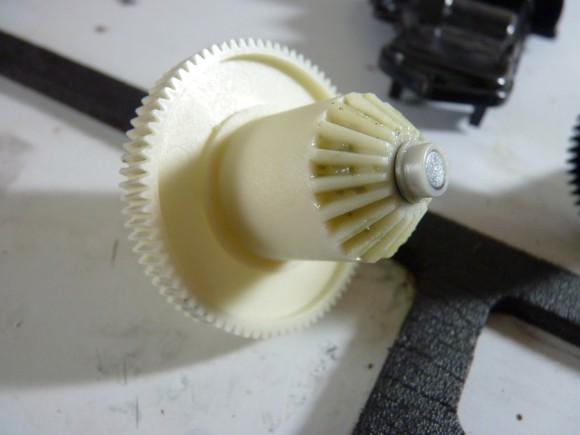
So let me point it out this way. Here is the stock gear, with the stock shaft inserted. Notice how it meets the spacer on the end, flush?
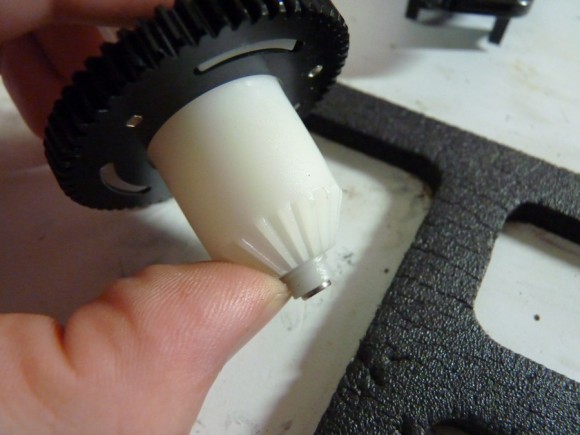
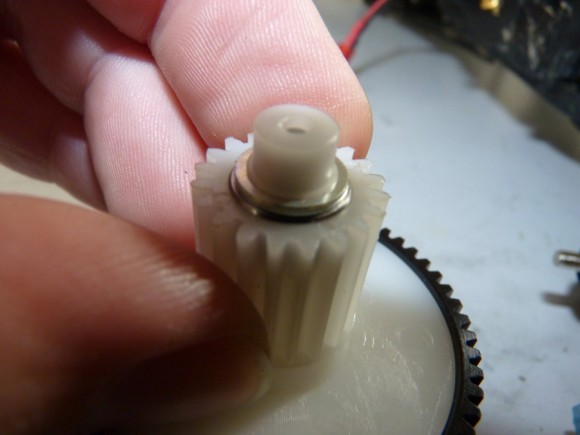
This is the GPM one. Notice the gap?
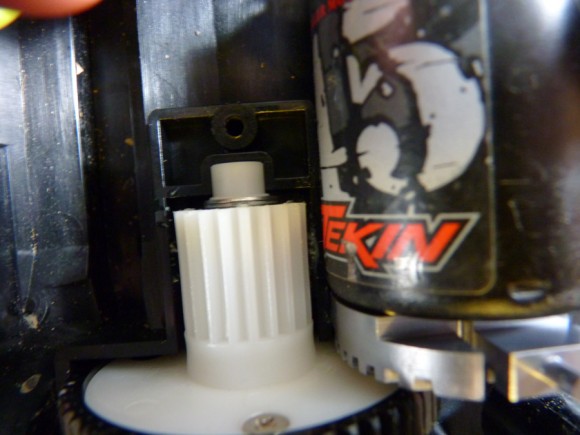
I thought all was lost until I found some shims in my pit box that seemed to work. I put them between the gear and the back spacer, to put the front gear mesh with the idler gear as close together as possible.
This solution ended up working and it glides silky smooth! No shucking!
Close up of shims.
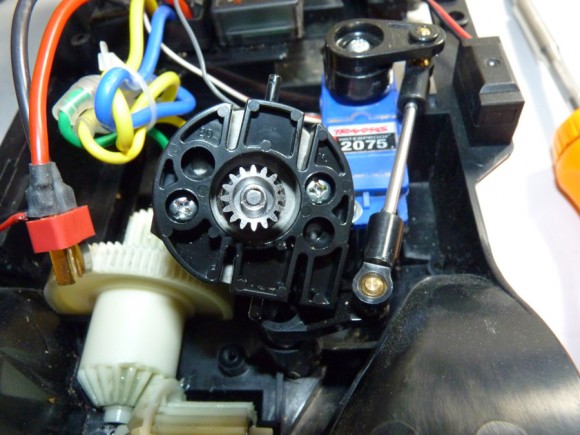
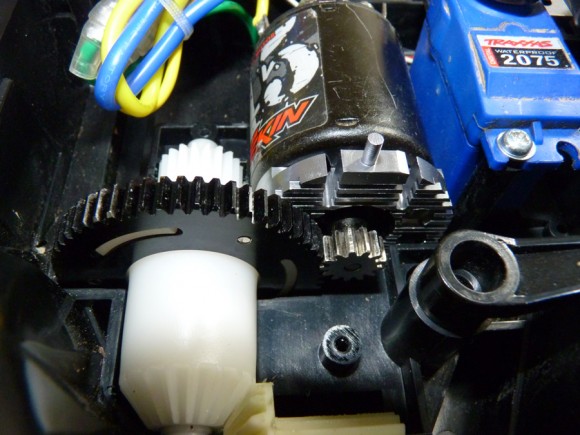
The GPM gear kit comes with 2 different pinions. We want a lower ratio, so we are running the smaller pinion, the 13T. I had to switch my motor position to get it to fit right, and the gear mesh seems a little loose for my liking (the other way was WAY too tight). I think it will work though. Time will tell when we hit the trail.


 September 12th, 2012
  Kevin
Kevin 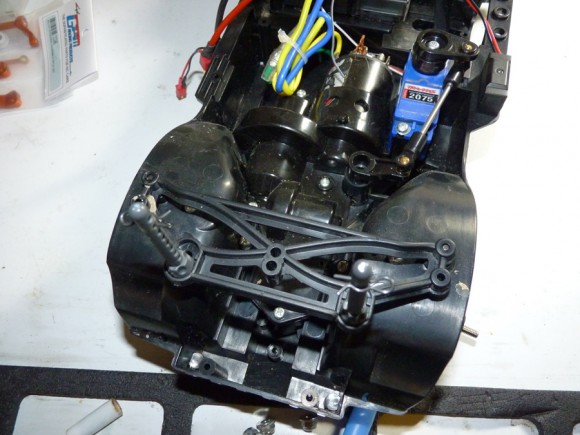
 Posted in
  Tags:
Tags:
This is cool, I am excited for pics and vids and an assessment of a few runs withe mods!
[…] Re: GPM Spur gear for CC01- issue? I did eventually make it work by swapping the motor position on the mount like said above.. Still had to shim tho… full writeup here: Tamiya CC-01 Unimog Upgrades Installation | RC Soup […]