

 November 25th, 2013
  Geo
Geo 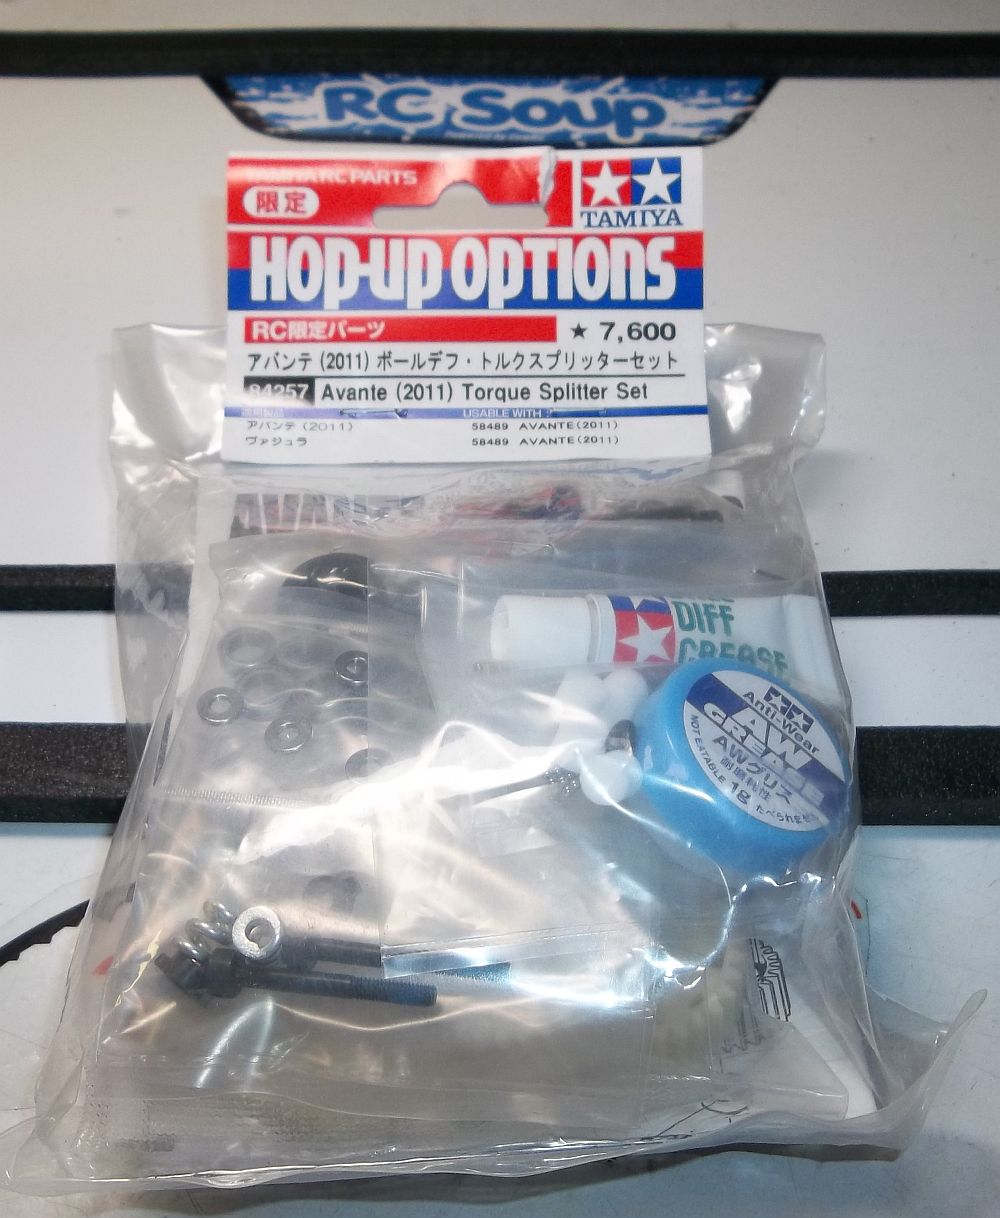 Now for the fun part, the Tamiya torque splitter set.
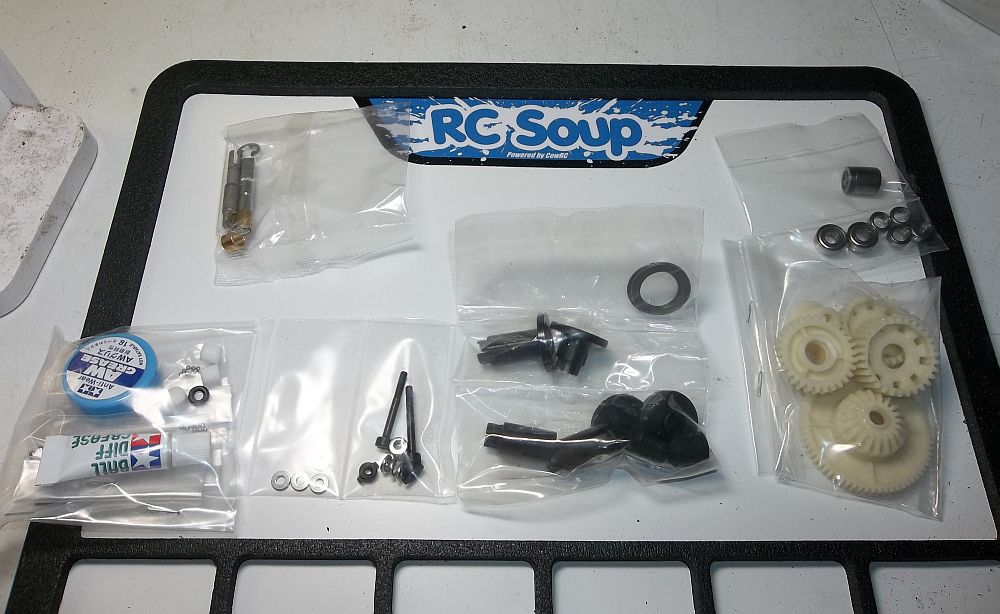 Here is a photo of a lot of the parts. The kit includes a front and rear ball diff,a center one way and a center lock. You have a choice of running one or the other. I chose to go with the lock.
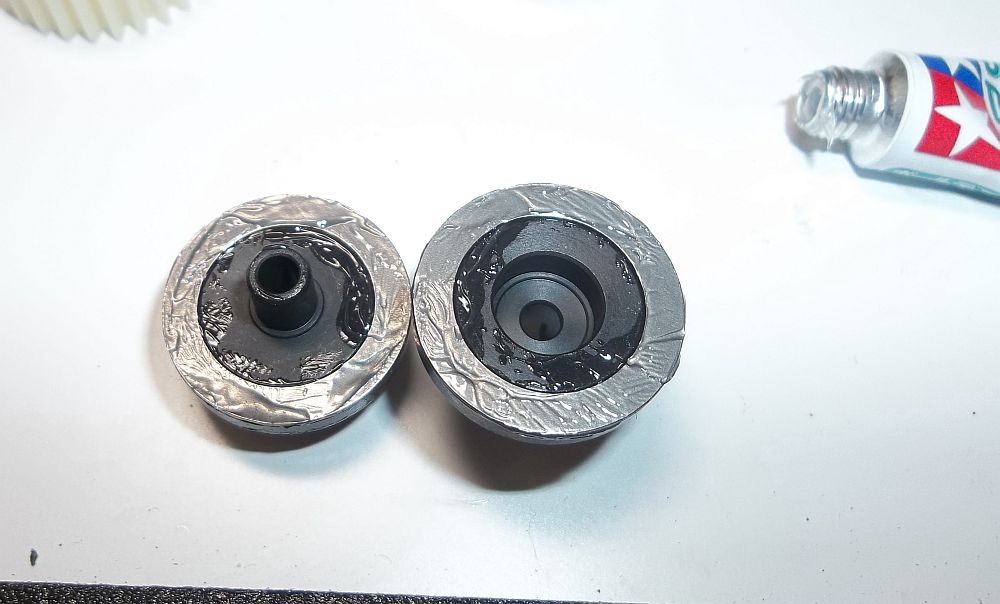 The first steps in building the diff, lube the diff rings and place them on the out drives. This is the front diff.
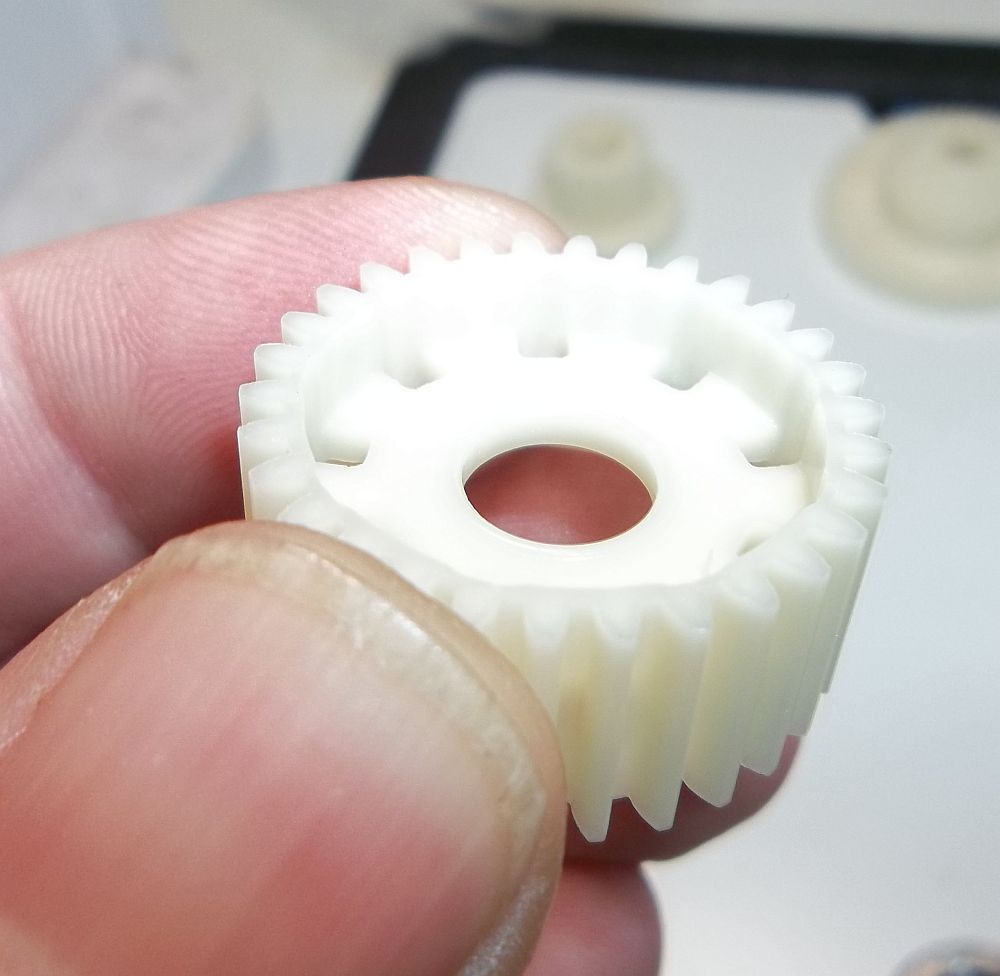
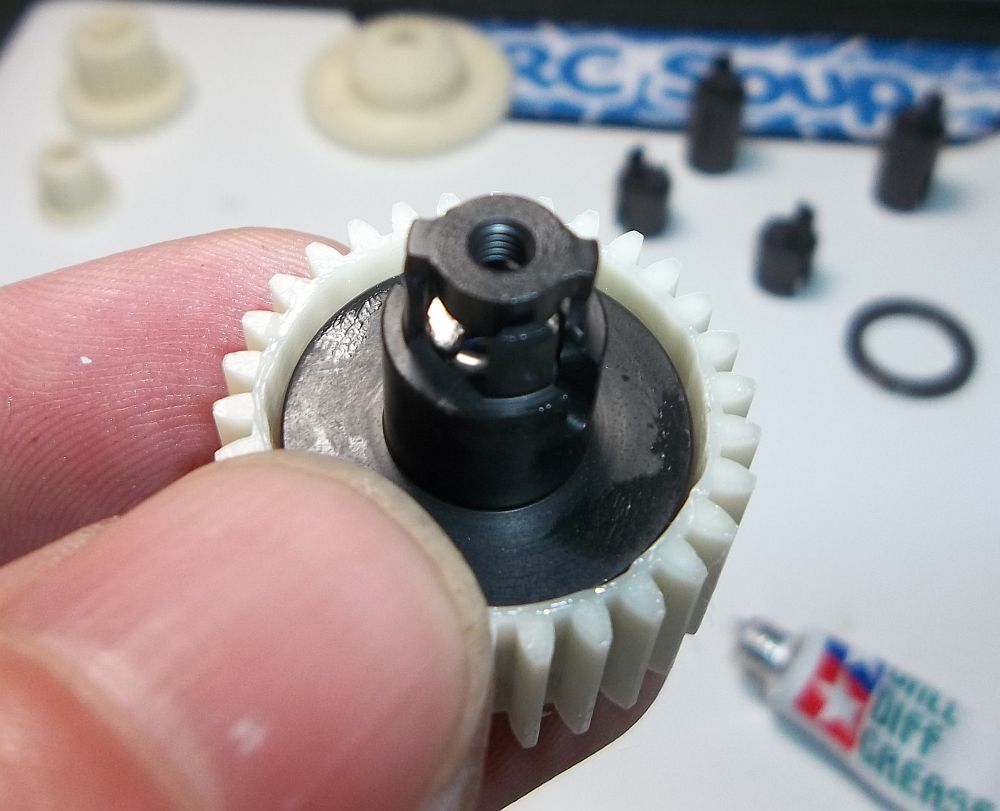
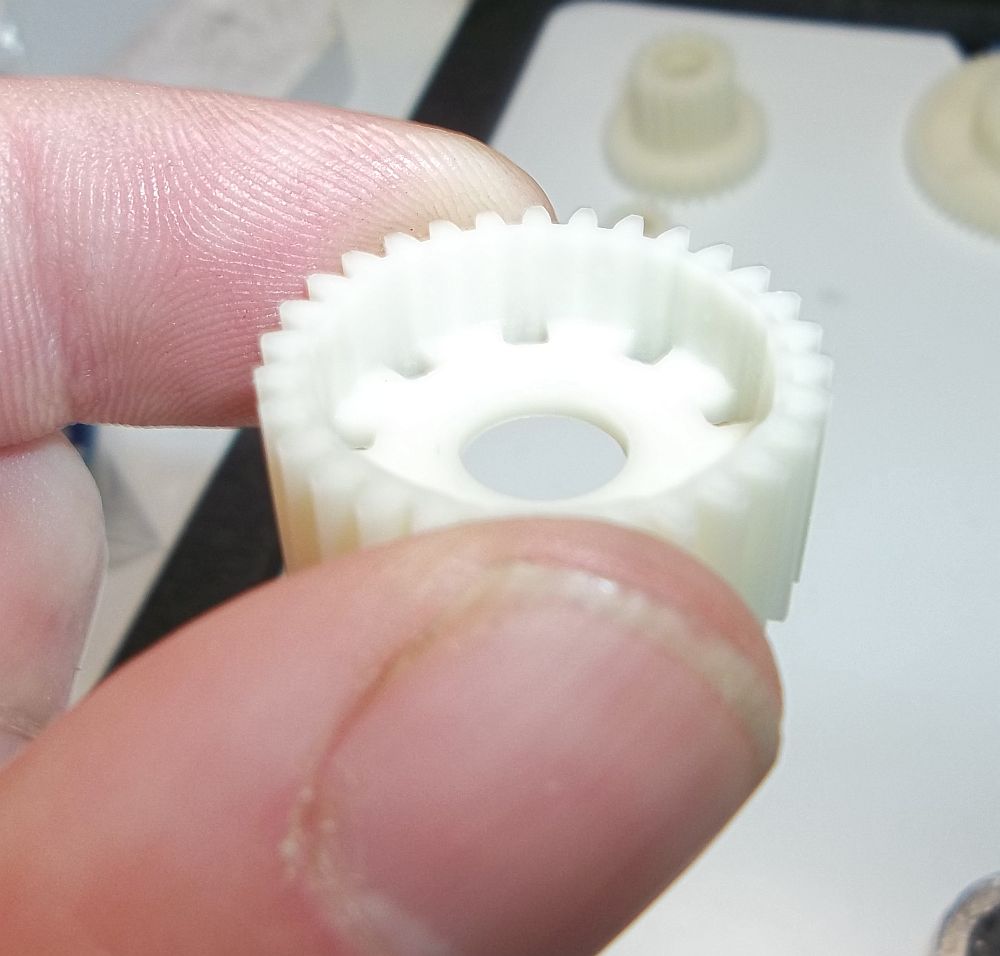 Notice the gear itself. It has a shallow side and a deeper side. This photo shows the deeper side. Pay attention the the instructions for proper orientation.
 and the shallow side…..
 Now place one bearing on the “male” (we will call it that for obvious reasons) out drive.
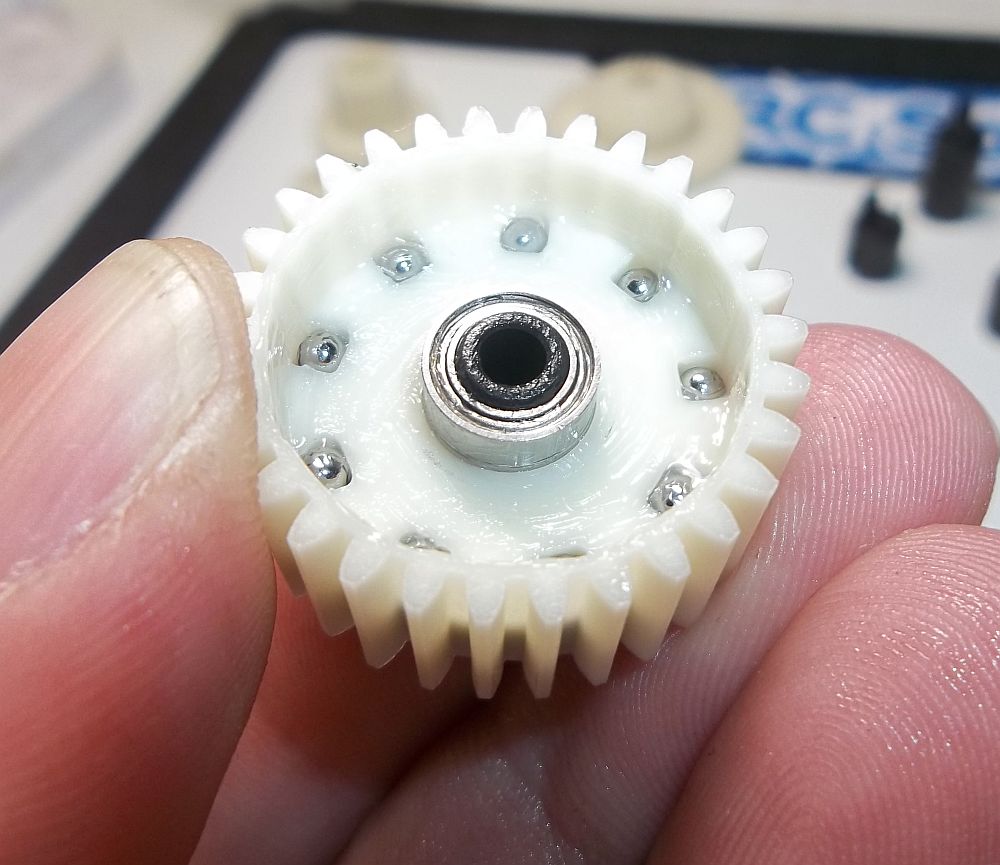 Now place the gear over the male out drive and bearing. Then use a small allen wrench and fill each hole with some diff lube. Then place a diff ball into each. Remember the deep and shallow side of the gear? Make sure you have the right side on the correct outdrive according to the instructions.
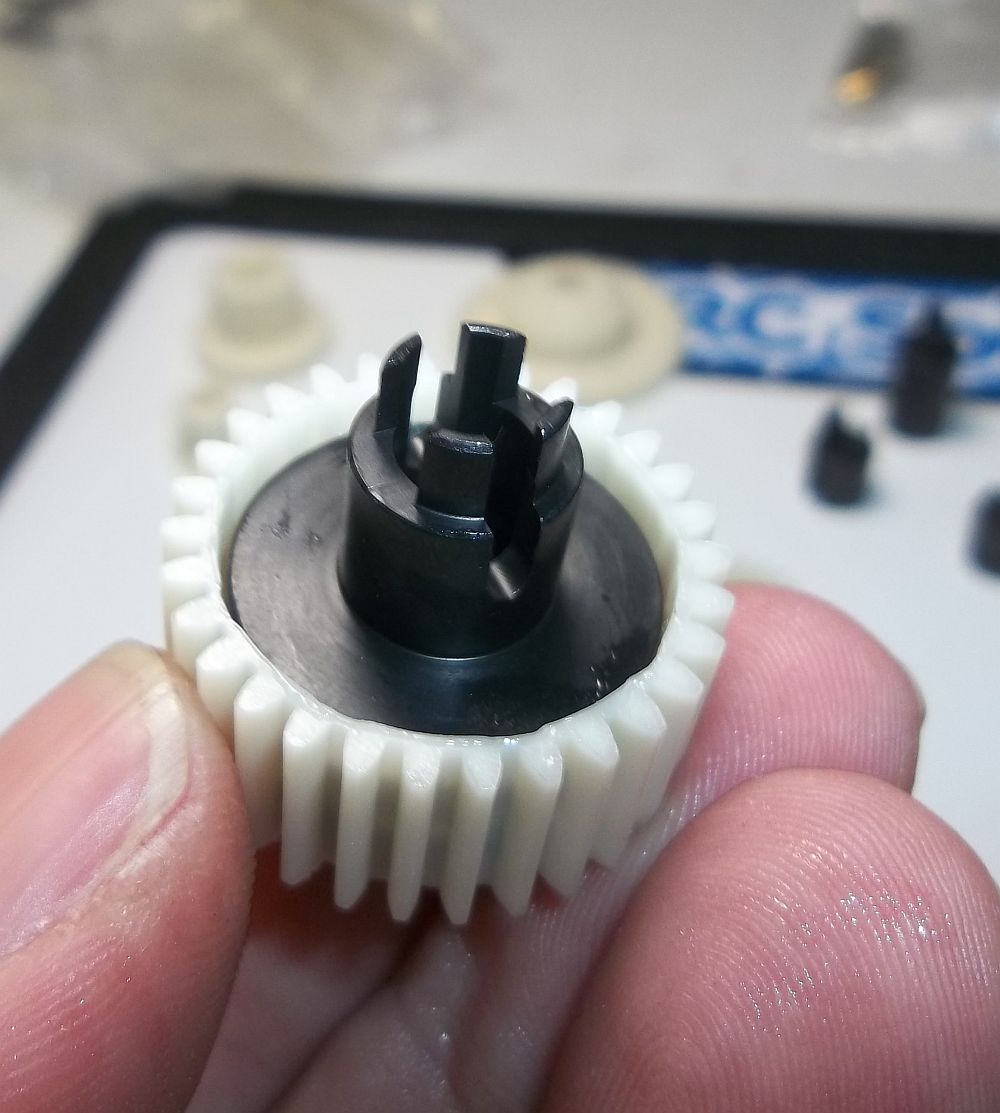 Take the other out drive and place it on the opposite side of the diff. Make sure not to lose the diff washer that is on the out drive. Note the the keyed slot of the outdrive? More on this later.
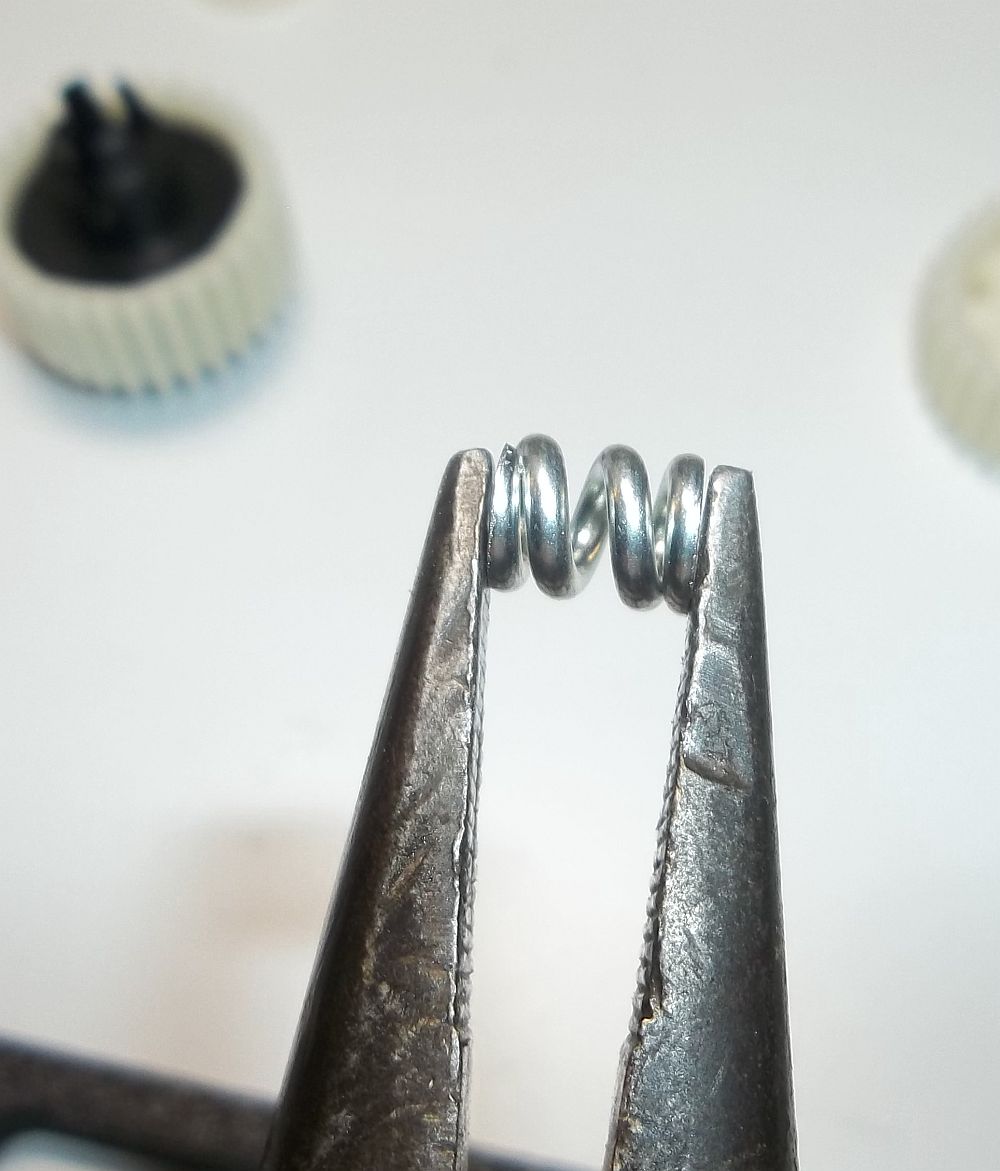 Take the diff spring and squeeze it down with a set of pliers.
 Place it in the out drive described in the instructions. Follow that buy the “T” nut.
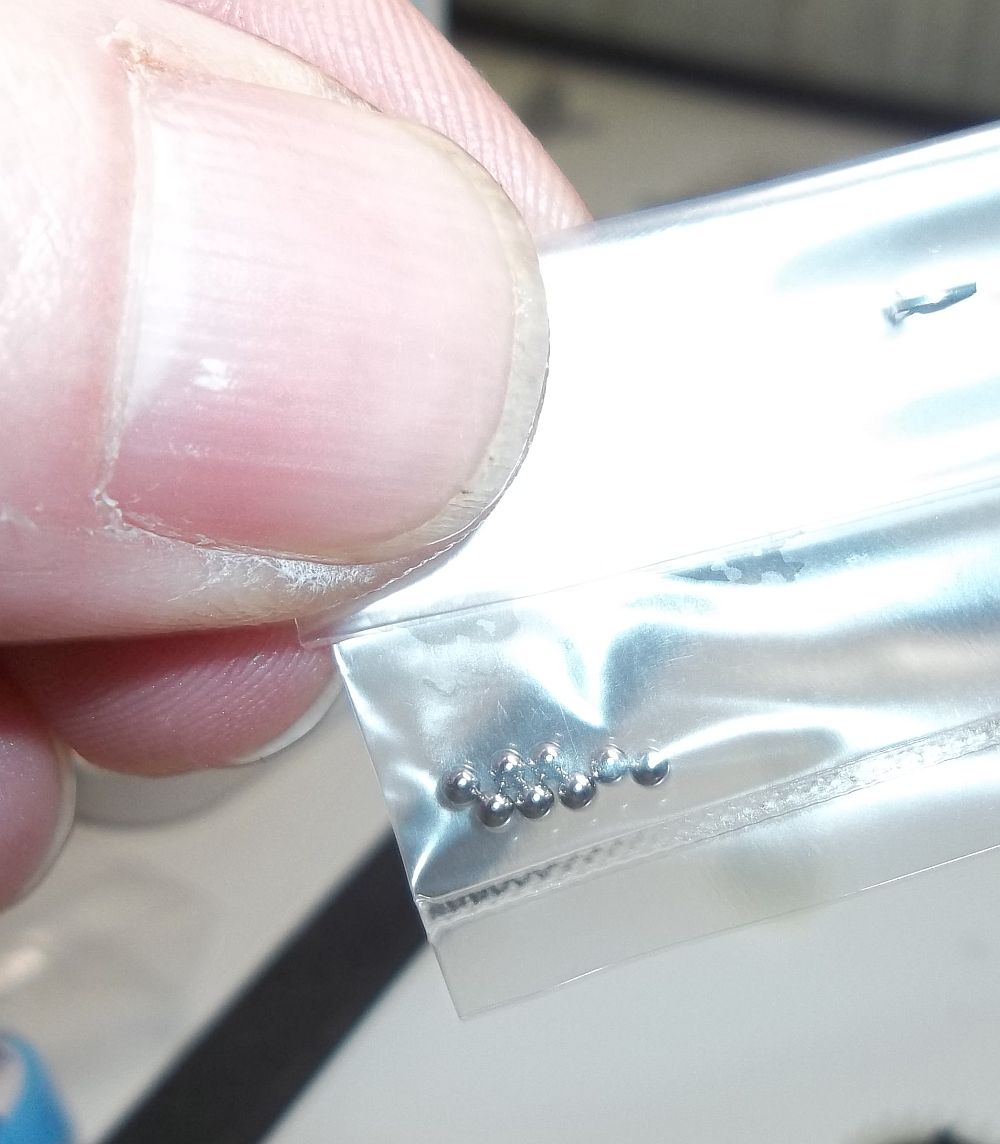 Here is the bag of thrust balls. This is where the magnetic Cow mat comes in handy.
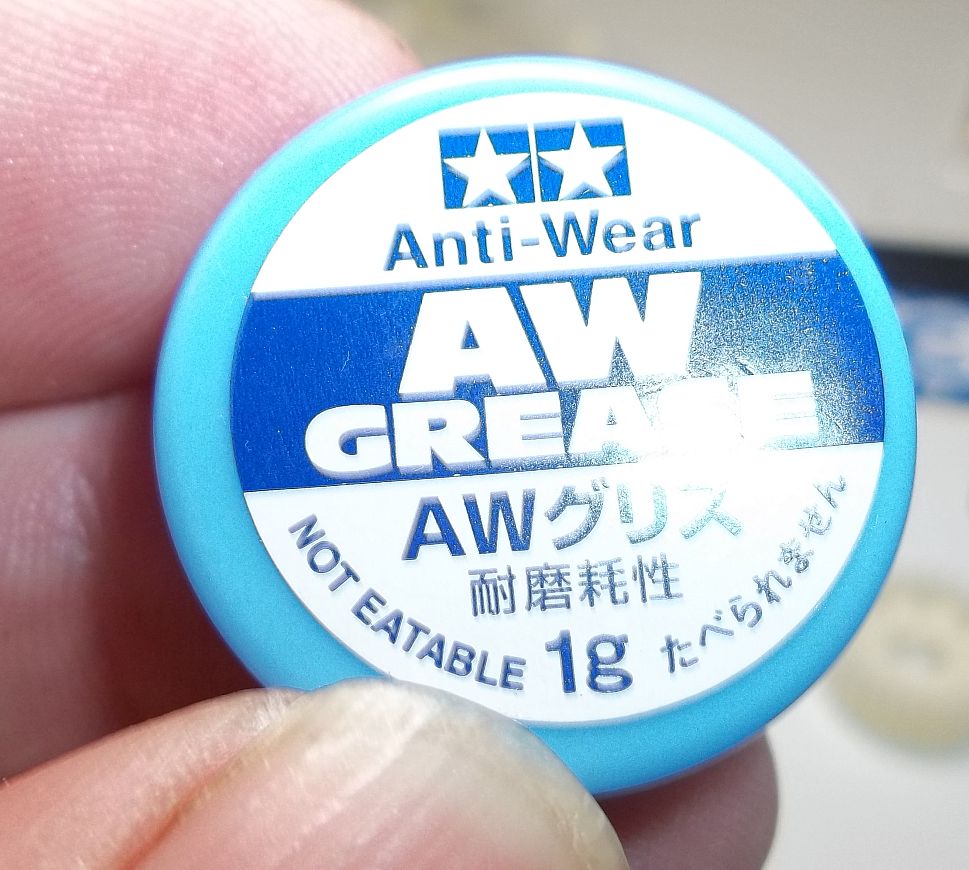 Tamiya’s anti wear grease. Don’t eat this.
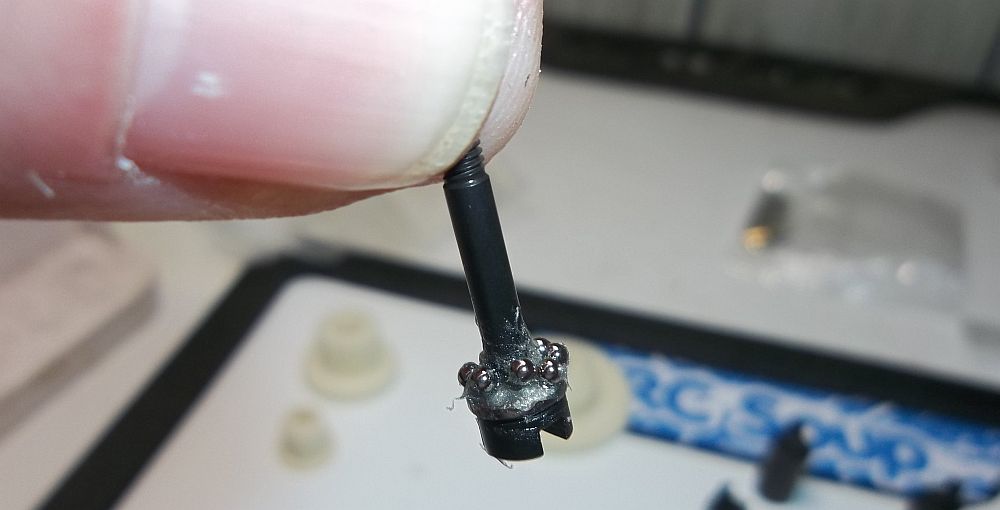 Now take the diff screw and place a thrust washer on it. Next take some anti wear grease and put a good amount of it on the washer. Follow that with placing all the balls around the washer.
 Now take the other washer and place some more anti wear grease on it and slide it over the diff screw. You should have a thrust bearing now.
 Place the thrust bearing screw assembly into the diff opposite side of the “T” nut. There are specific sides for the “T” nut and the diff screw so pay close attention to the instructions.
 Tighten the screw all the way down and back off about an 1/8 of a turn. The instructions were vague here so some minor adjustments might be needed. You DO NOT want the diff to slip.
Repeat steps above for the 2nd (rear) diff.
 Now we can take off the front gear cover by loosening the four Phillip head screws that hold it in place.
 With the cover removed we can see the stock gear diff. This needs to come out.
 To do so I found the easiest way is to take off the knuckle and pull the CVD out.
 Now you can pull the stock out drives out. Then the diff gear will come right out.
 Here it is, the stock gear diff. Remove the bearings,these will be used on the ball diff.
 Now the out drives on the new ball diffs are a bit odd. They are a two part design. Put some anti wear grease on the end of the out drive and key them into the out drives on the diff.
 Here is a pic of how everything should look.
 You need to take the outer drives off to place diff gear in gearbox.
 Use the bearing guides that are molded into the gearbox halves to slide the diff into place.
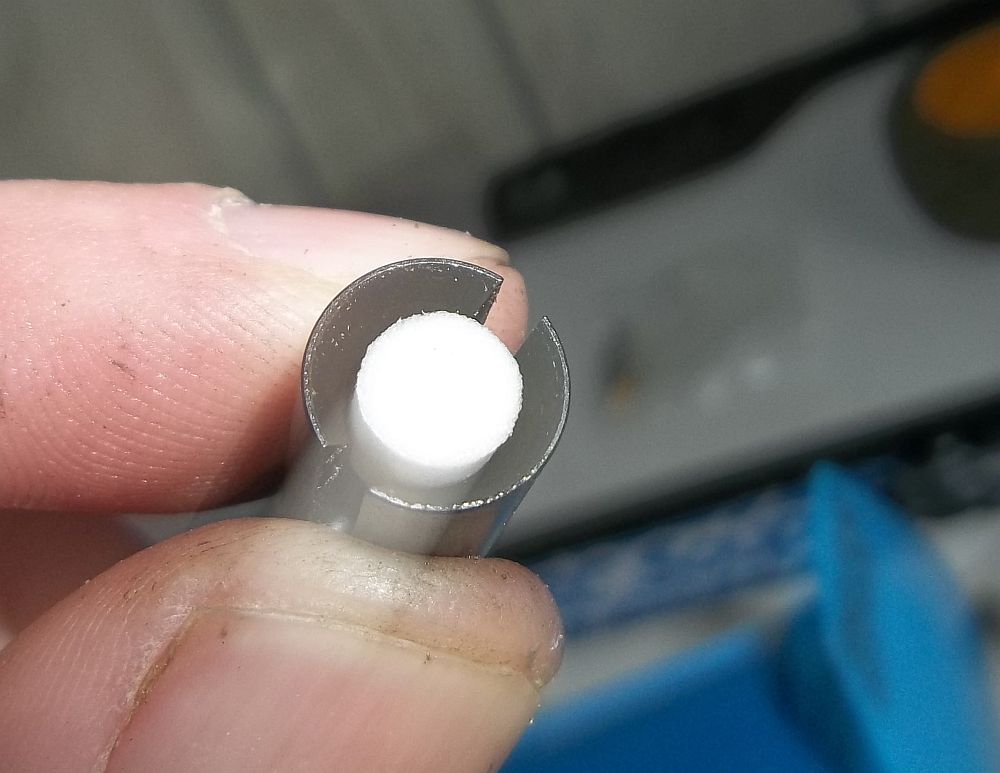
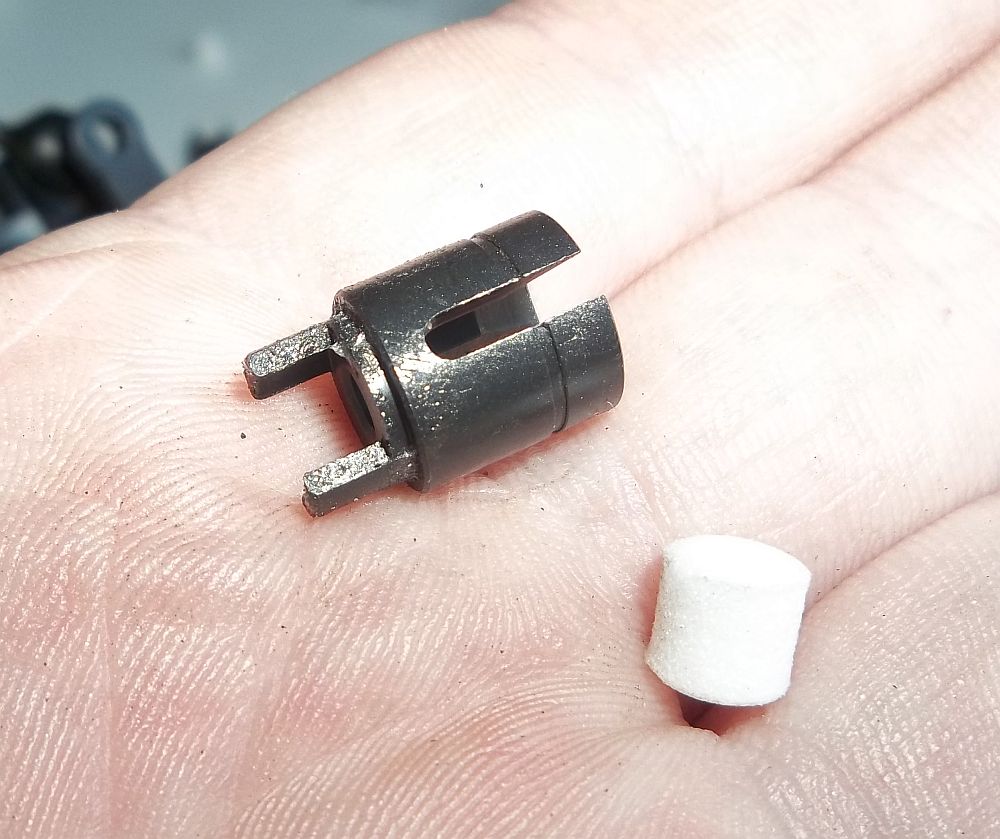 See these little marshmallow looking pieces? they go into the out drives. They help the cvd from bottoming out.
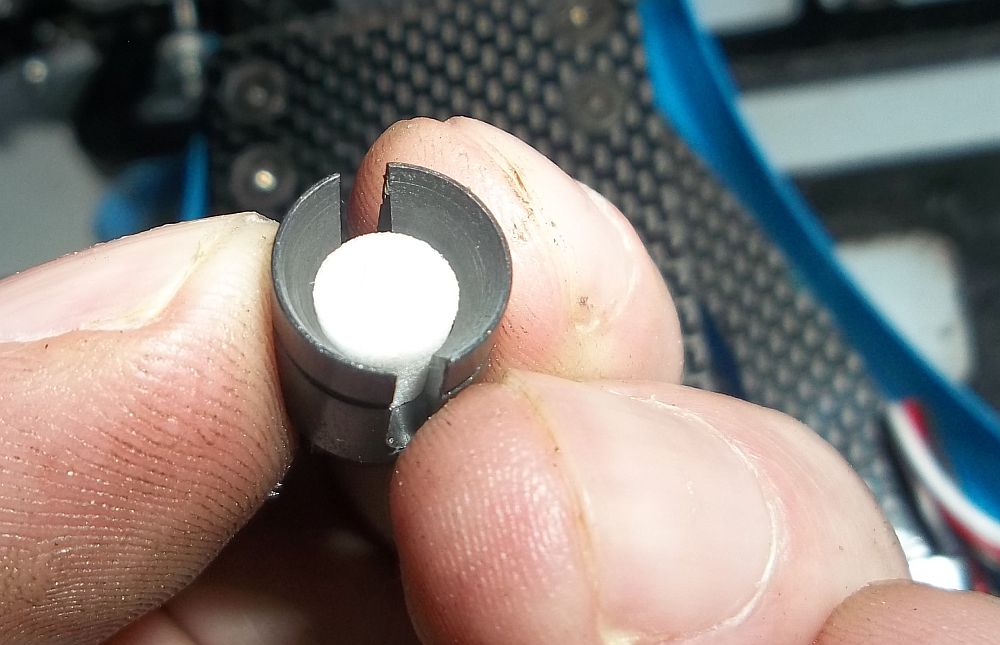 Like so.
 Diff gear installed into gearbox. Sorry for the blurry pic.
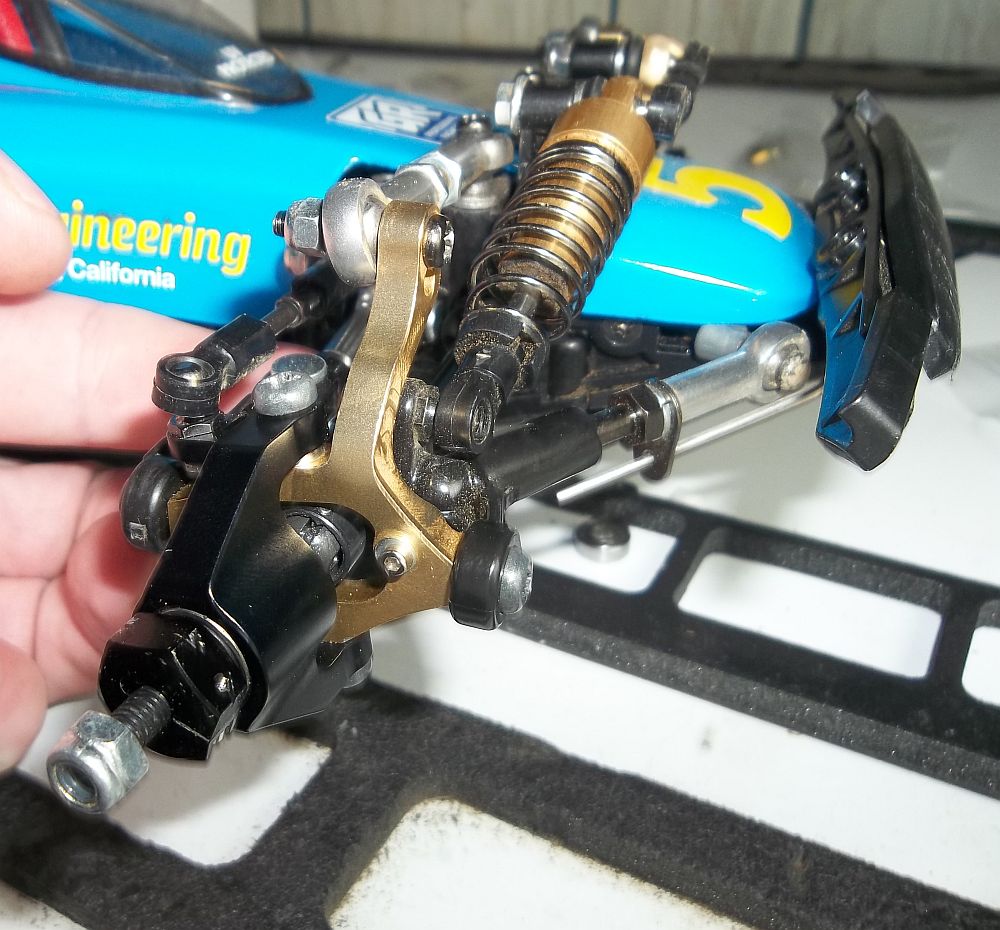 Front end is now finished.
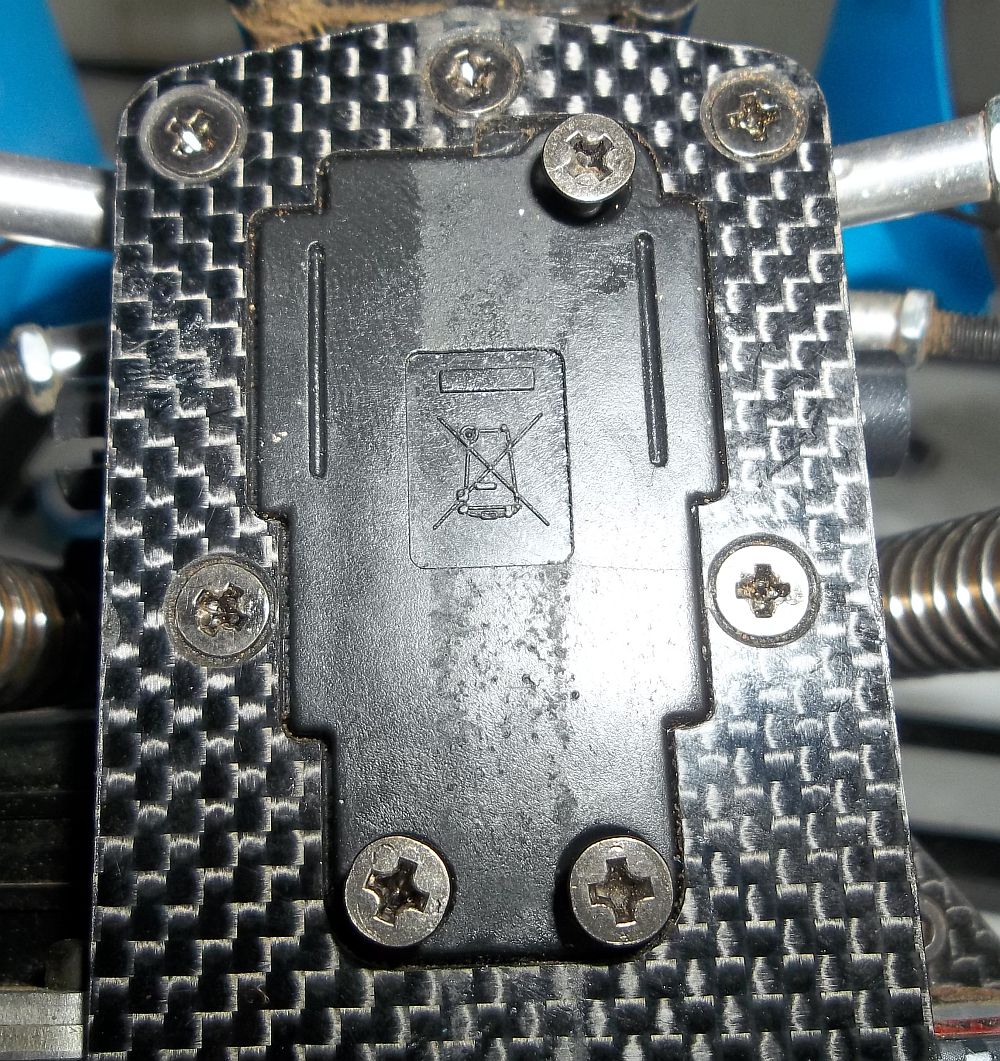
 Now for the rear end. Take off the rear gearbox plate.
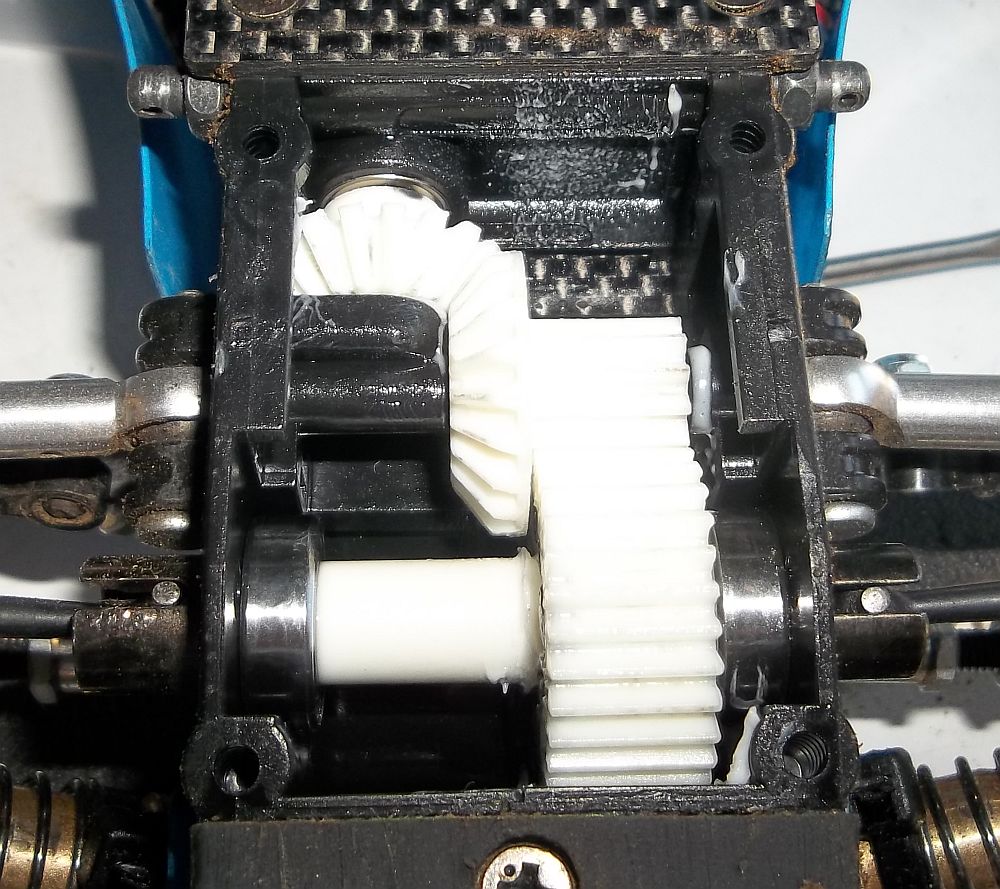
 Here you can see the inner workings of the rear gearbox.
 Take out the stock gear diff and place the bearing aside.
 Noting direction take the rear ball diff and slide the two bearings on either side of the outdrives (not pictured) and place into gearbox using the molded bearing slots as guides.
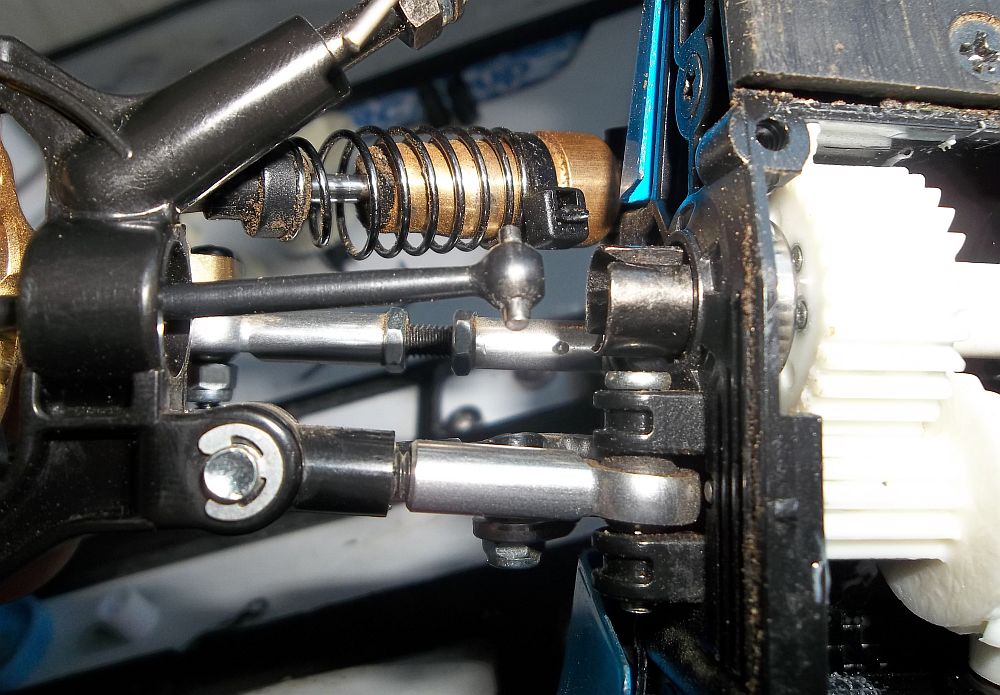
 Here you can see me putting the diff into the rear gearbox.
 One of the two additional outdrive sides. I am not a fan of this design.
 Remember to put your cvd marshmallows in!
 Place cover on and tighten it down. Re-instal cvds and you are done with the diffs!
 Here is a pic of the stock gear diffs.These are still very useful. Keep them and use as back ups or tuning aids.
 Now for the center gears. You have the choice to either build the center as a one way diff.(this will allow the front tires to free roll when breaking into a corner allowing the car to turn like a 2wd buggy). Or you can build it with a center “locker” that gives the Avante full time 4wd. This is how I chose to build it.
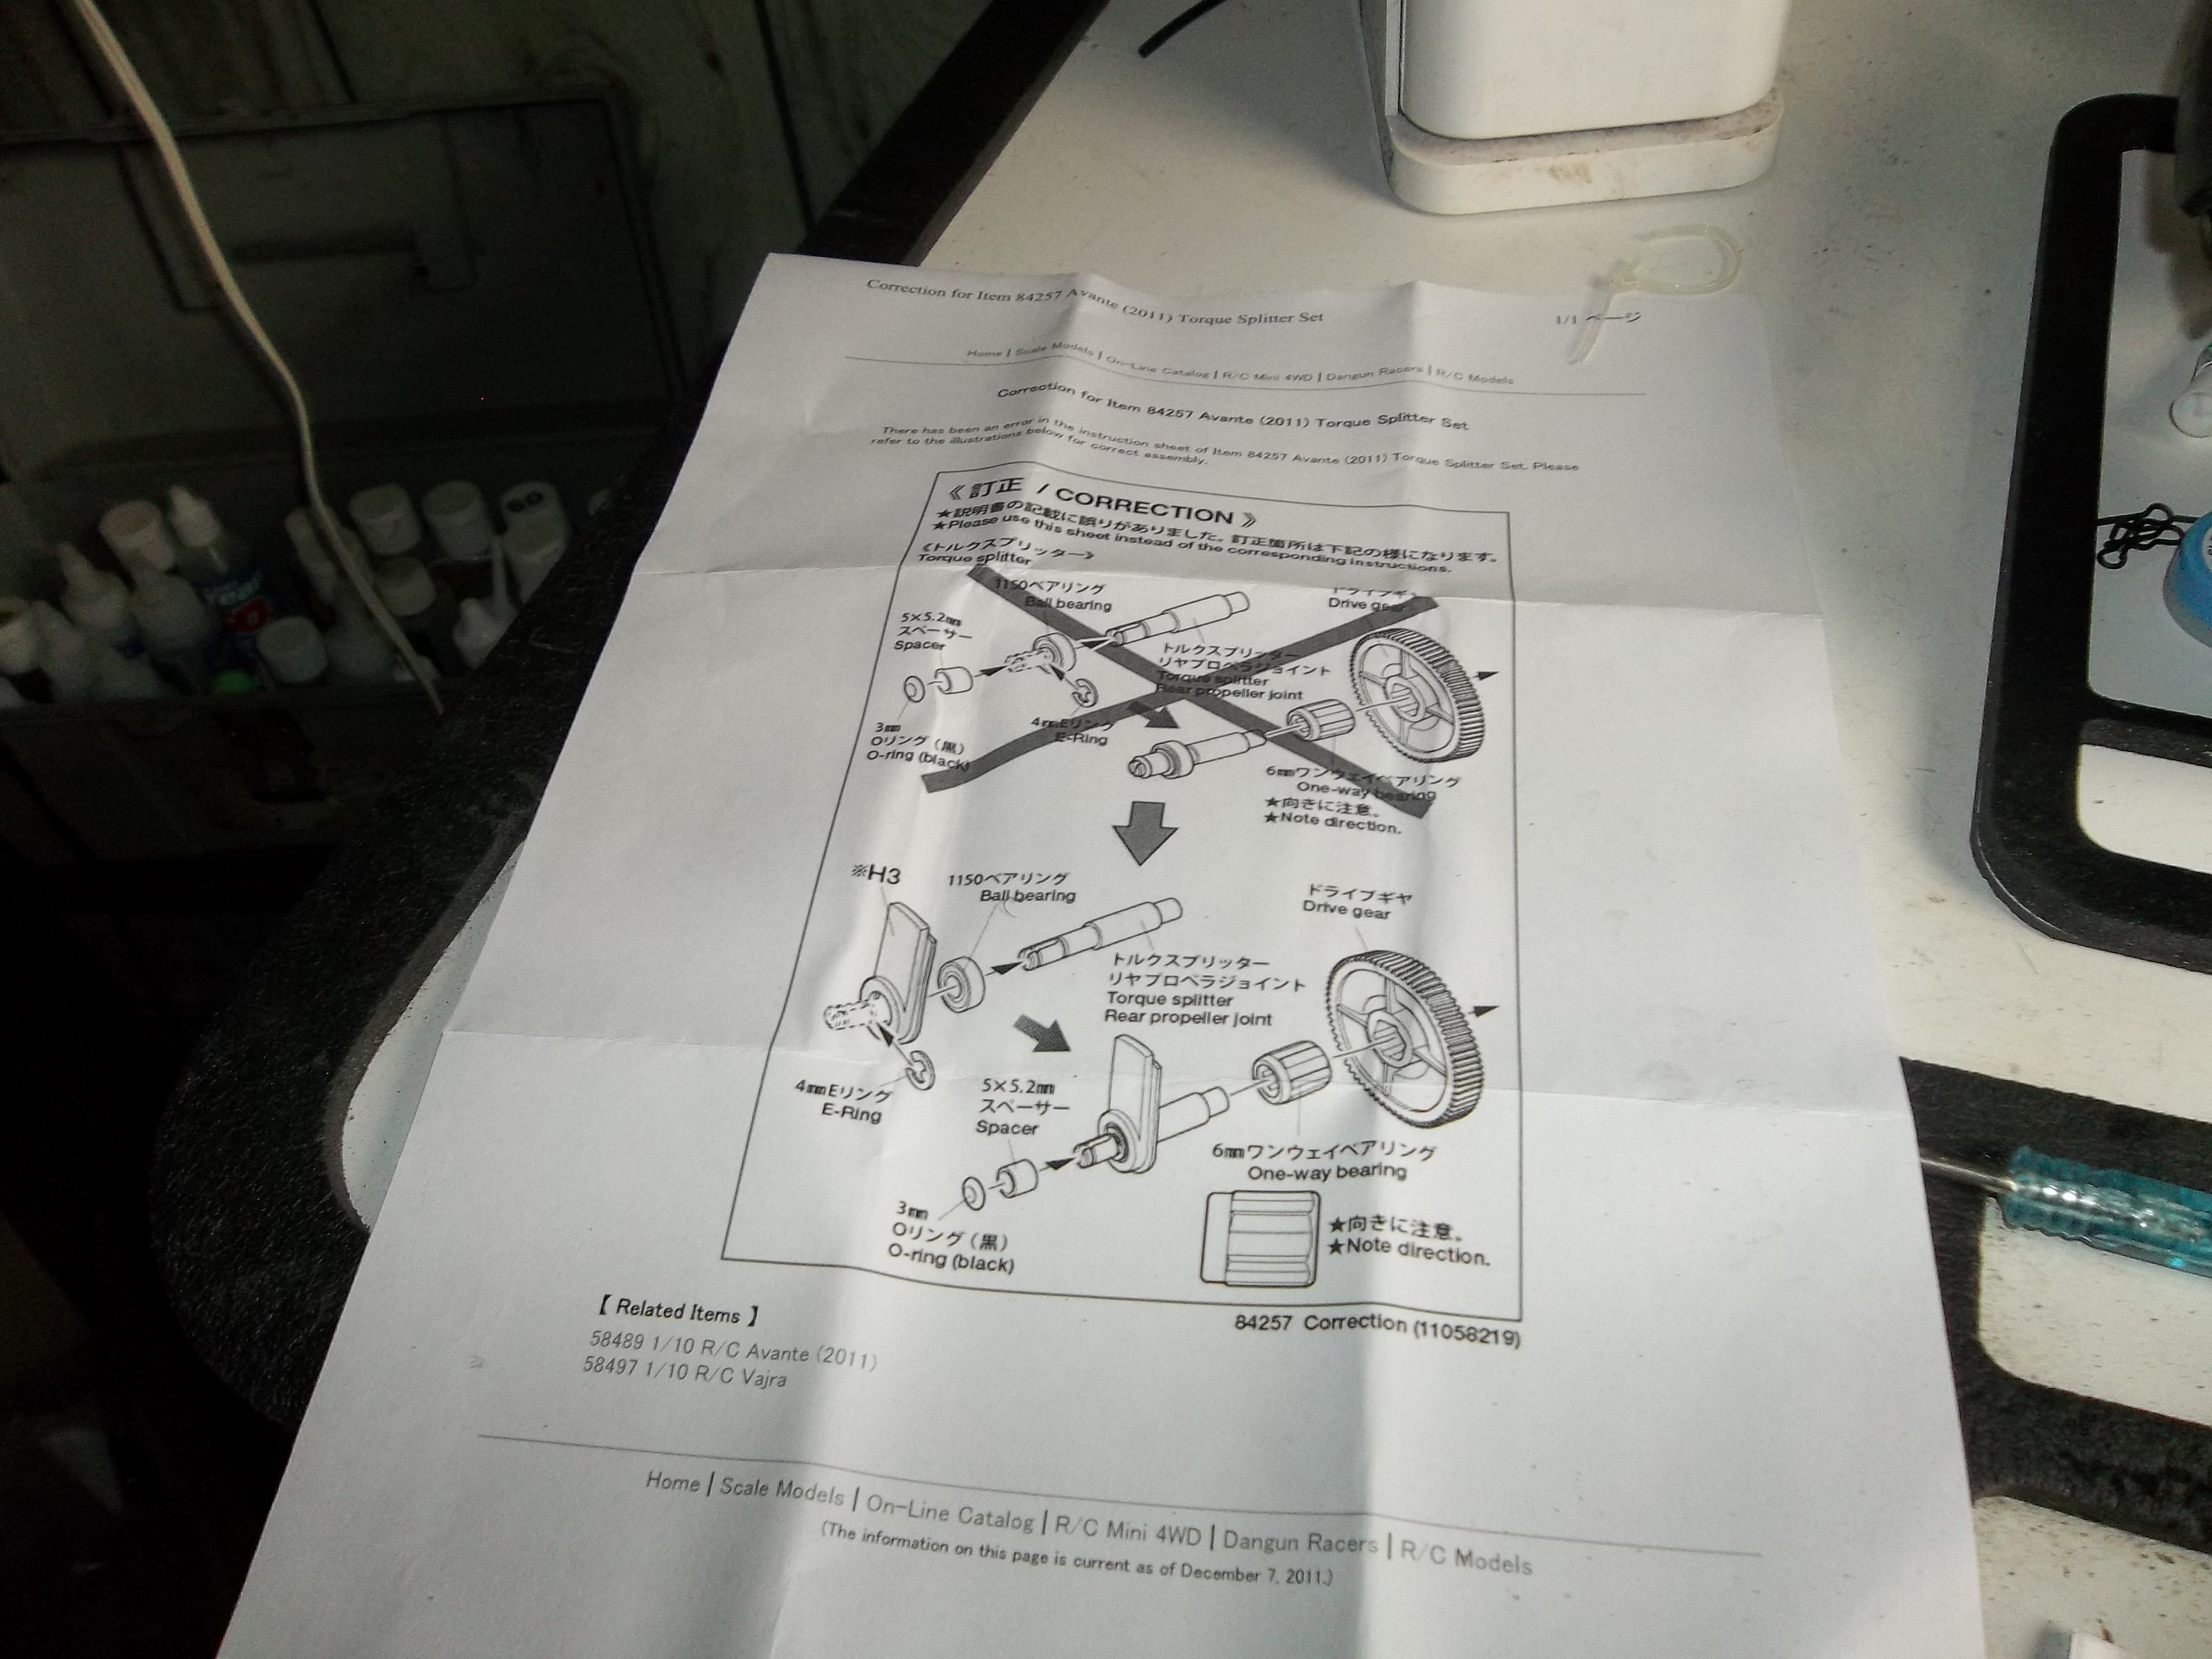 There is a supplied sheet with updated instructions. Use these!
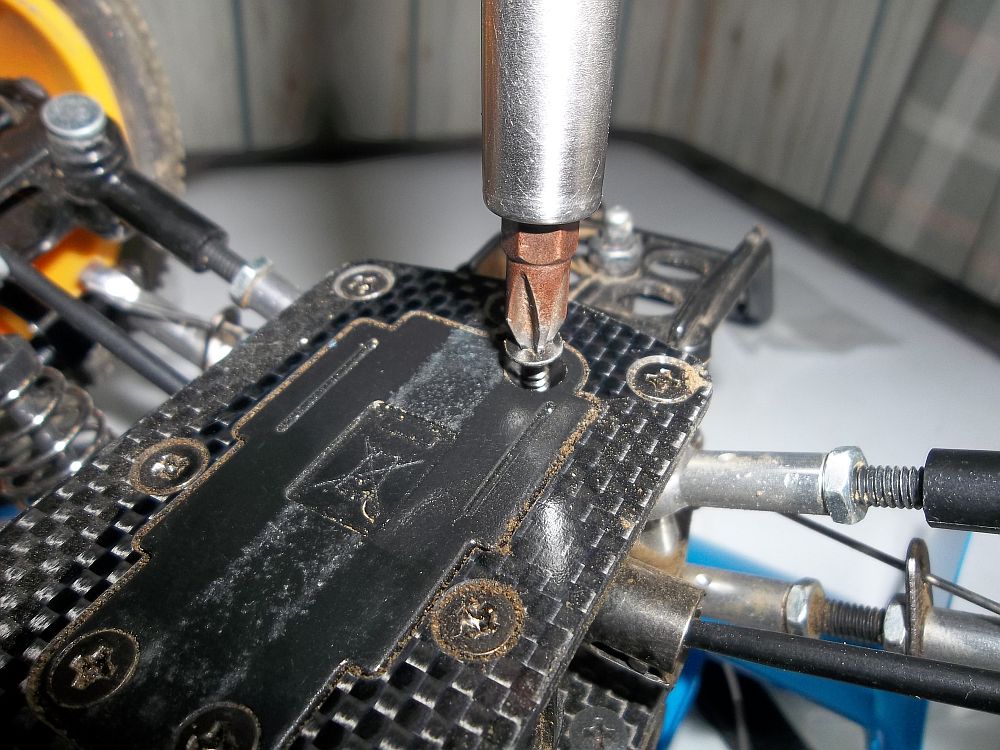
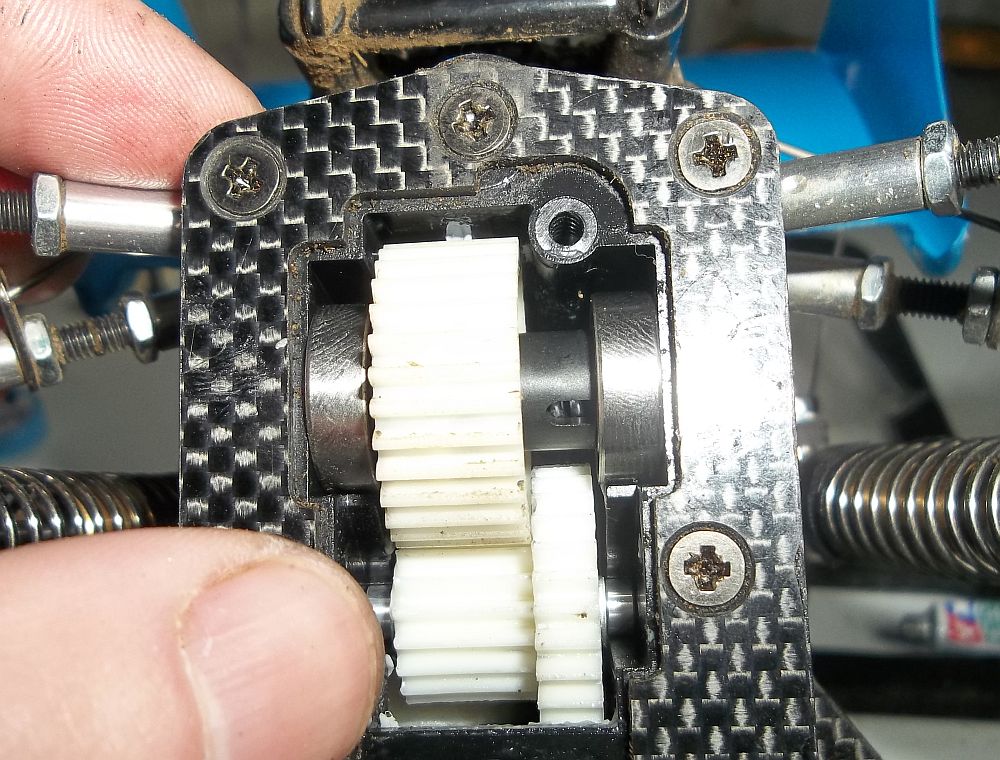
 Time to take off the upper gear cover that houses the stock center diff.
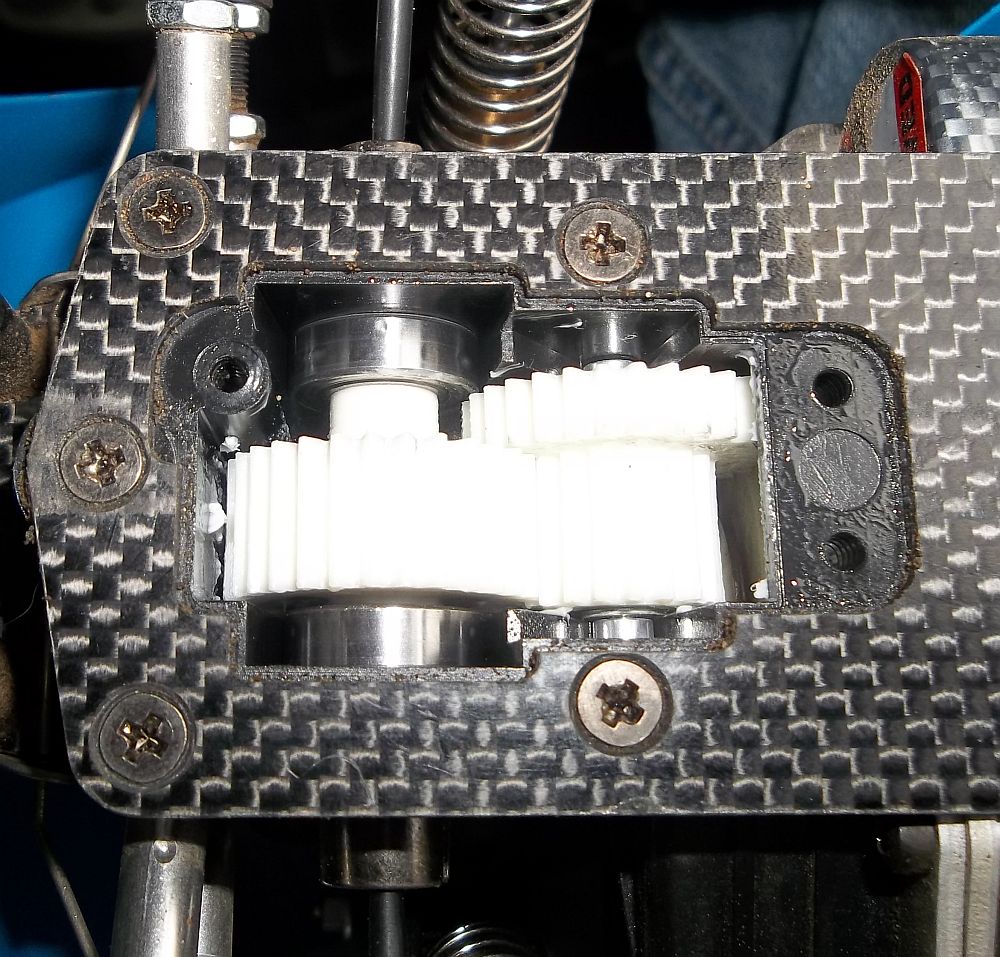
 The stock center diff, pinion and idler gears.
 This is a shot of the stock center diff.
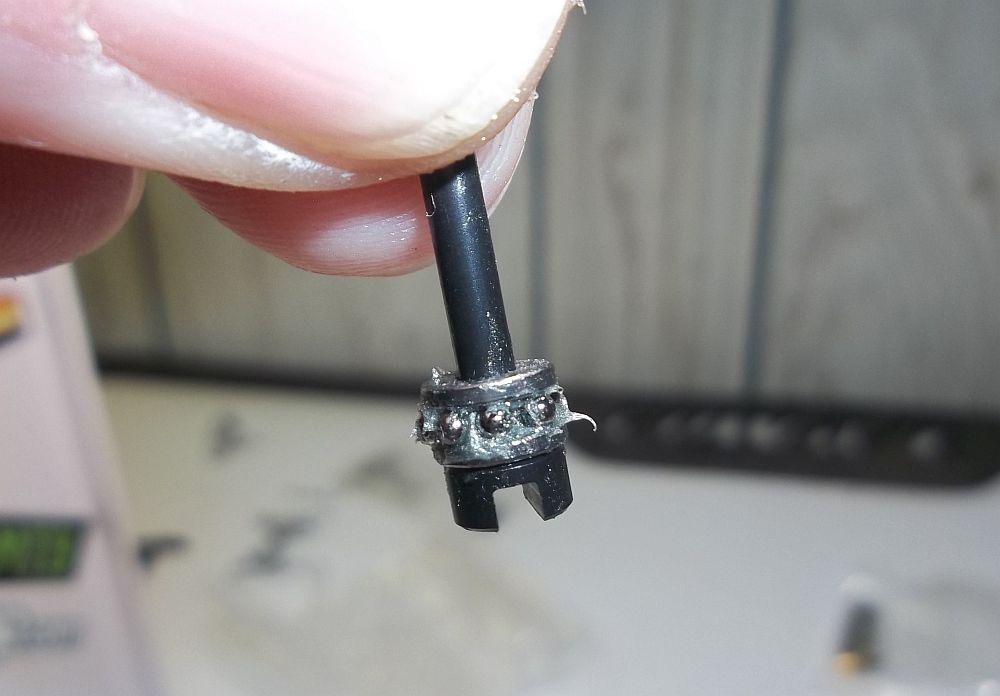
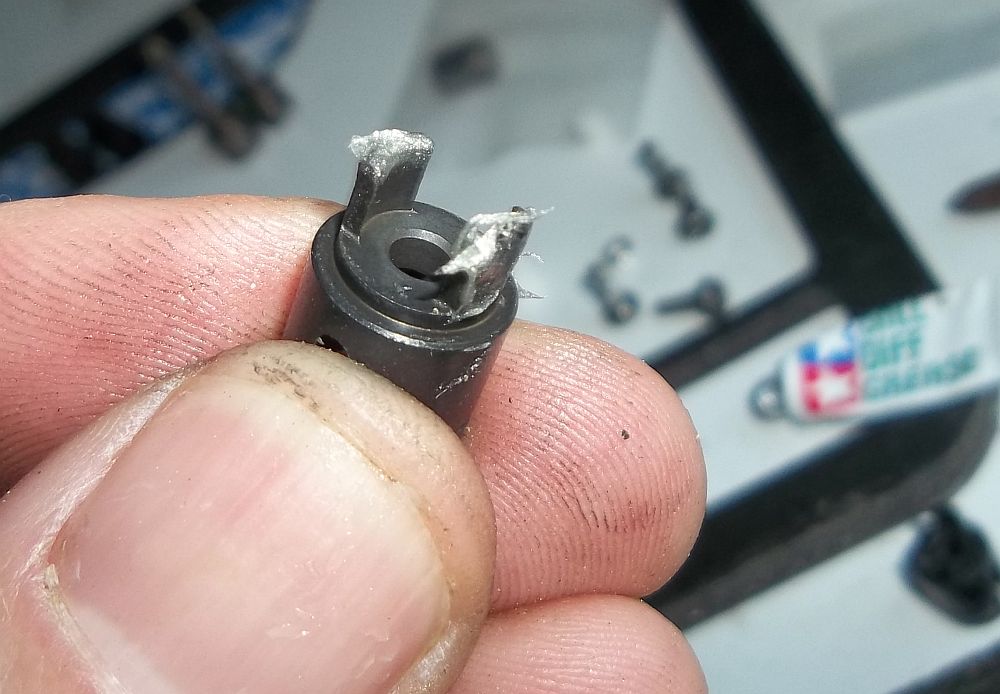
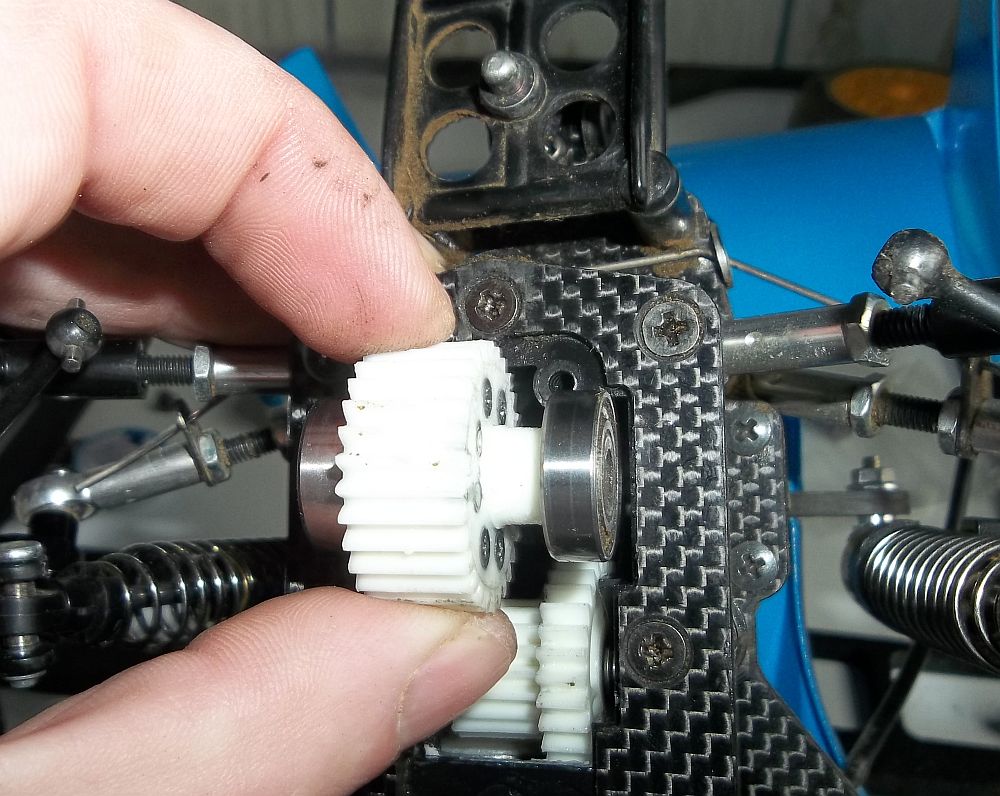
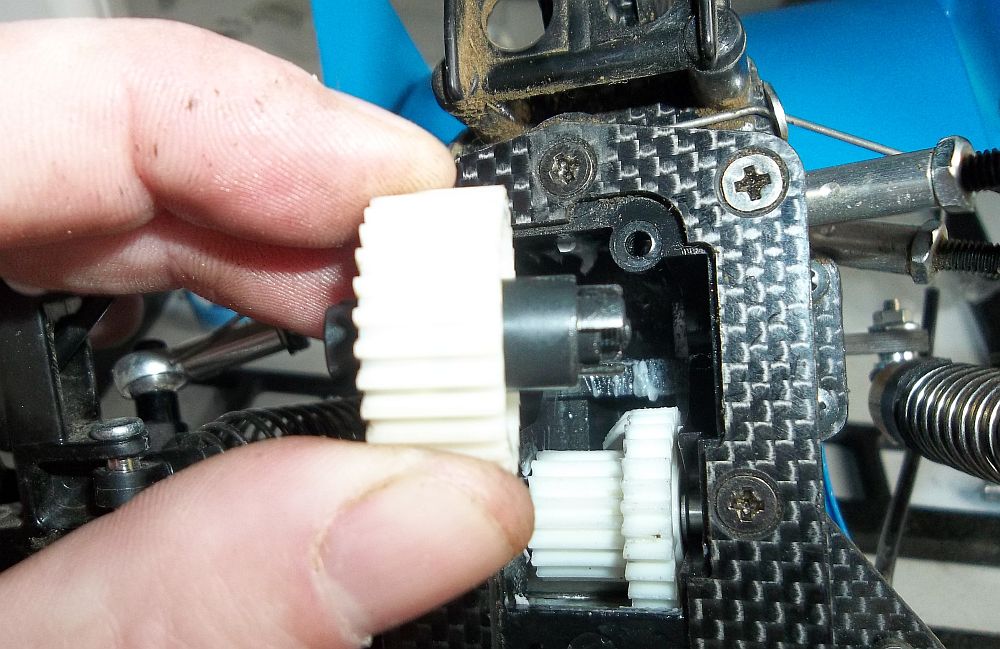
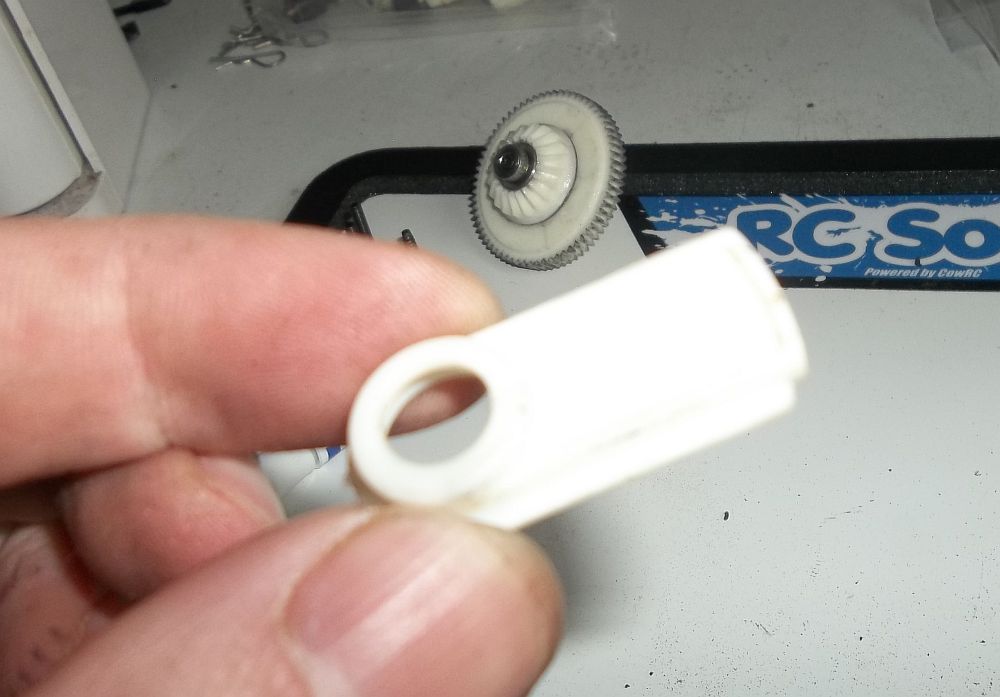 We are going to need this piece off of the center diff.
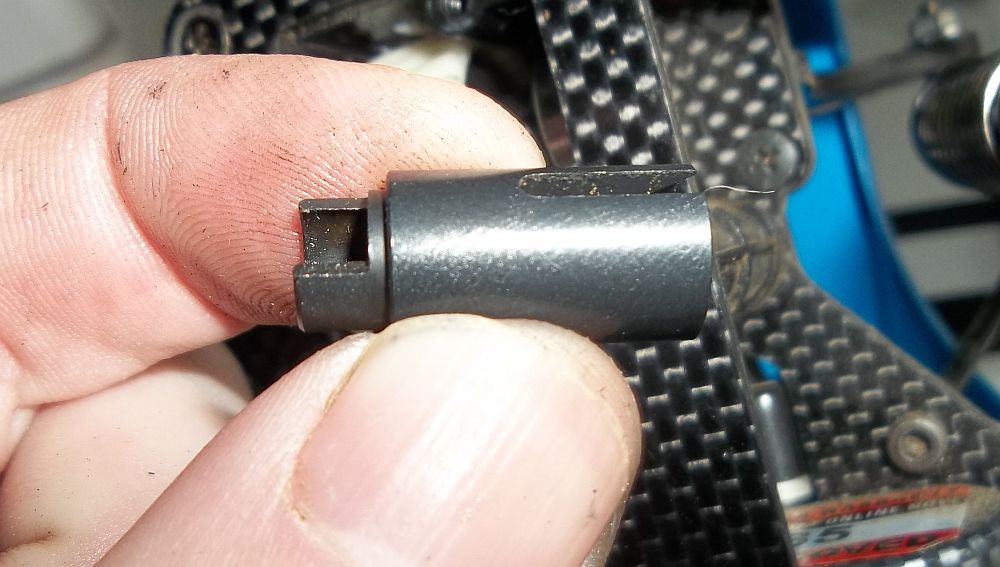
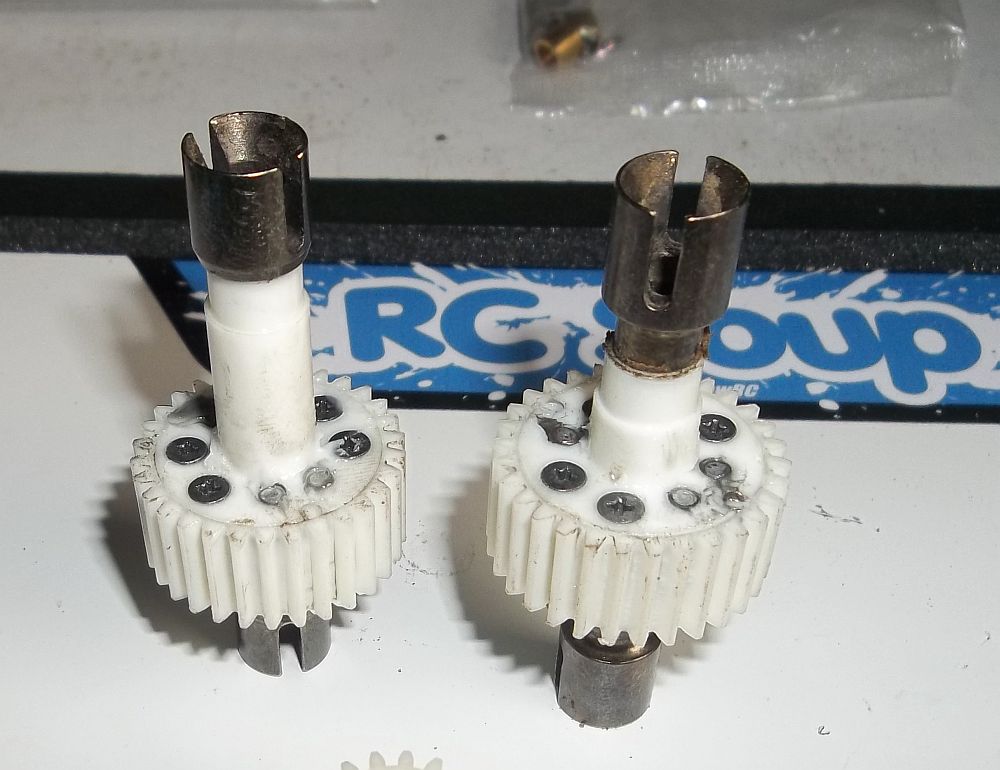
 Now to build the new center locker or one way you need to chose the appropriate shaft.
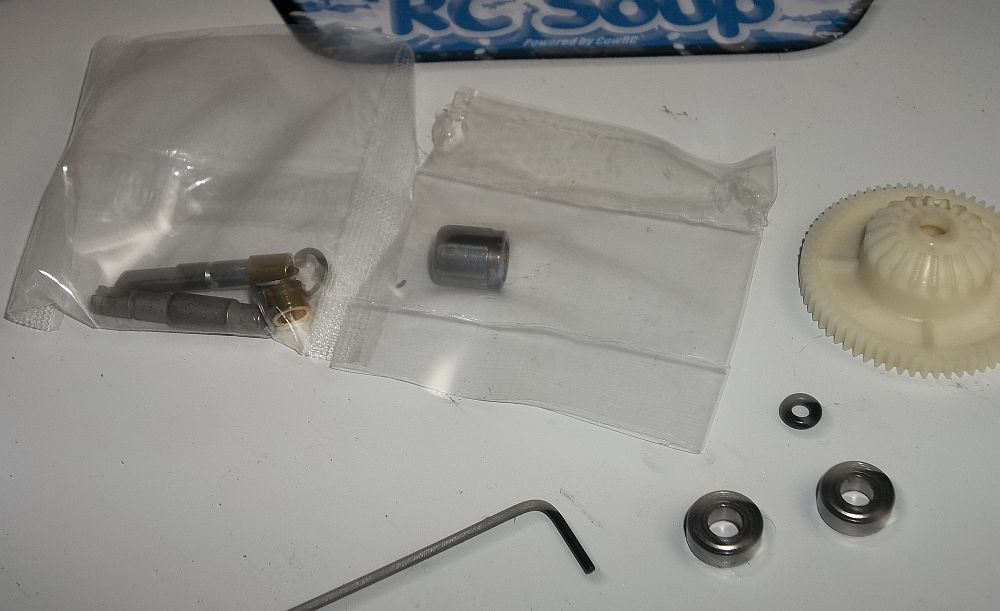
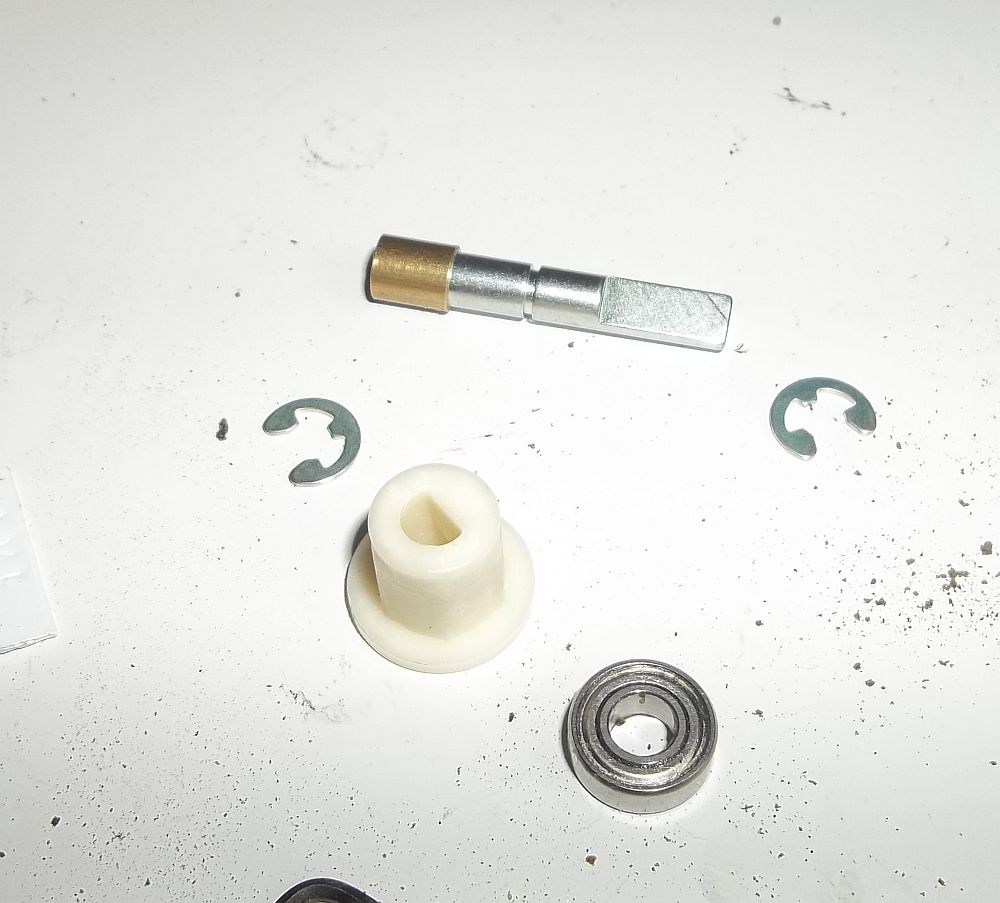 Here we have the white plastic locker, the shaft the goes to the locker, bearings and a couple of e-clips. Tamiya also provides a new spur gear that is not shown.
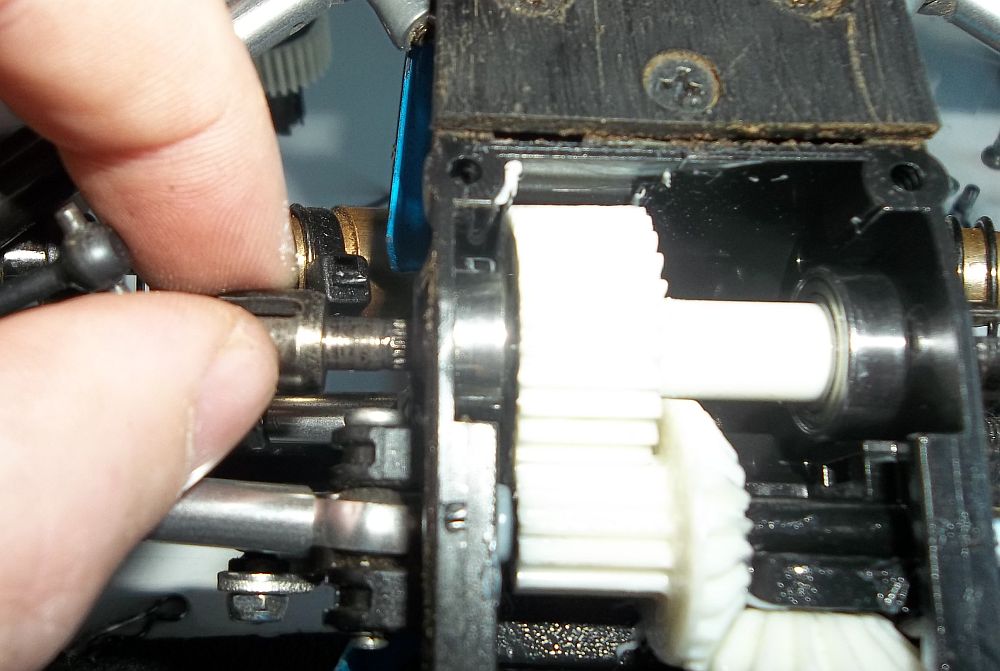
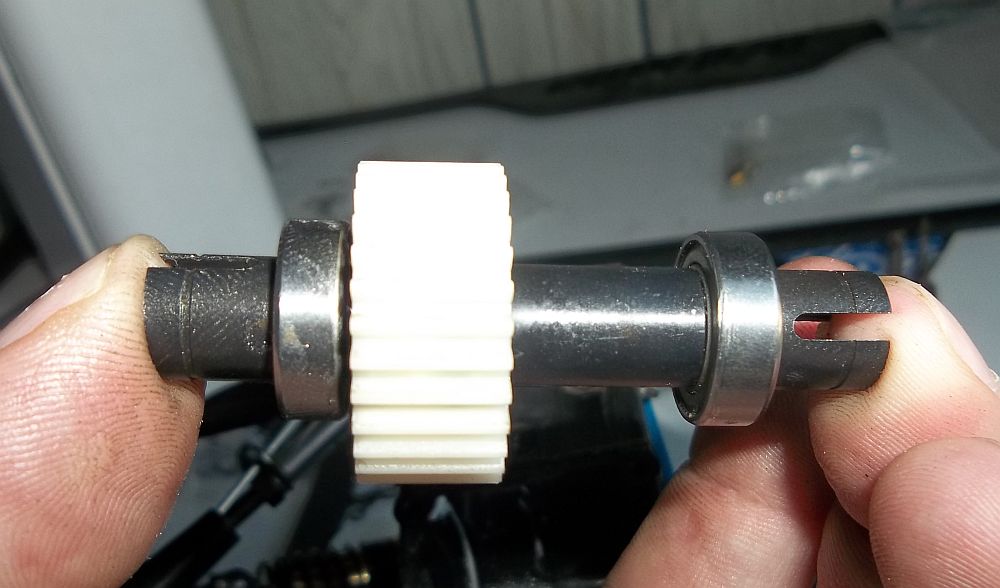
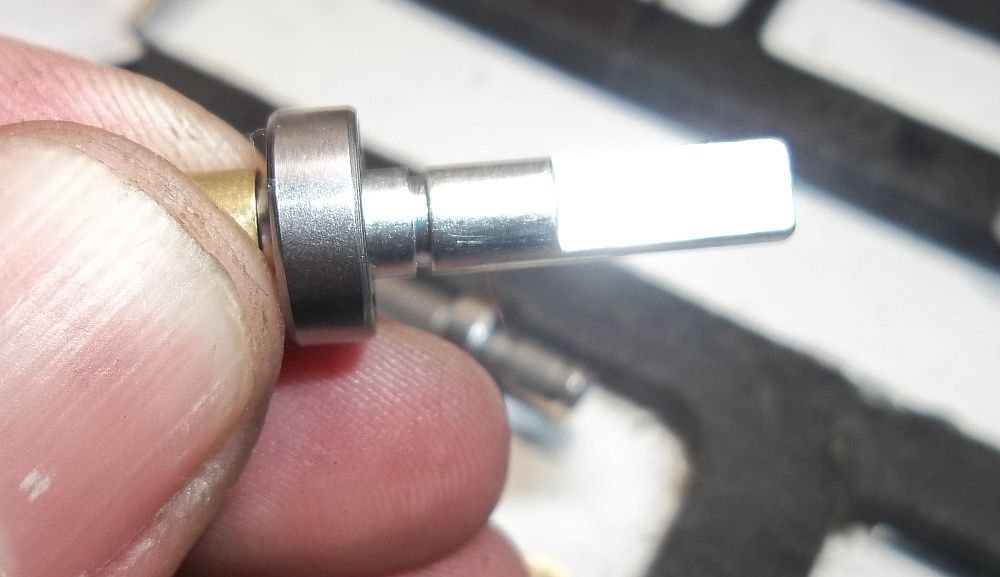 Take the shaft and place a bearing on it.
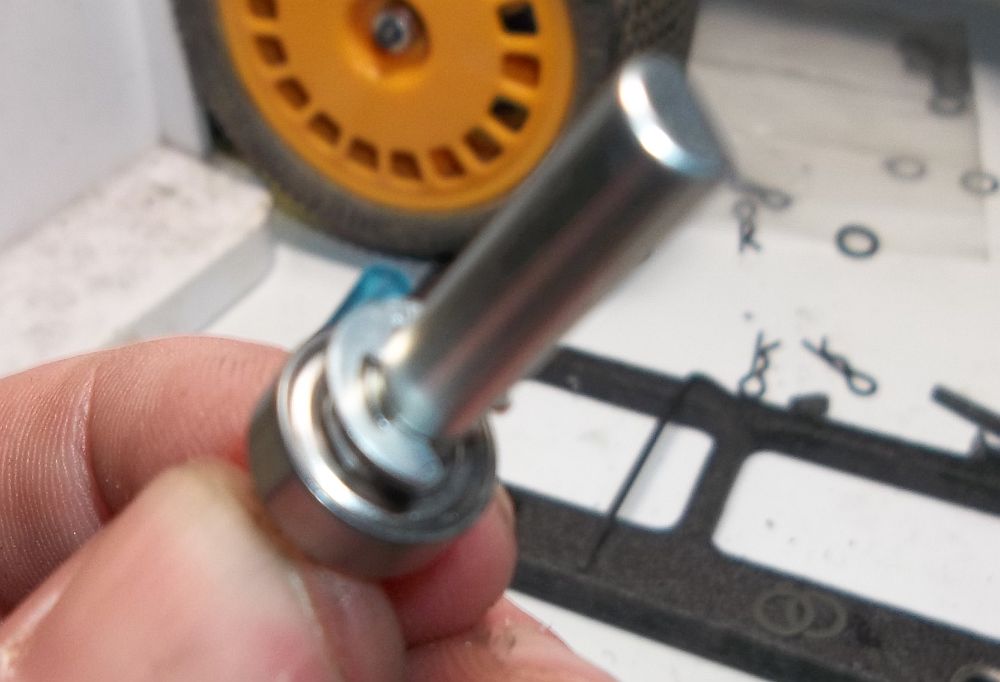 Then an e-clip.
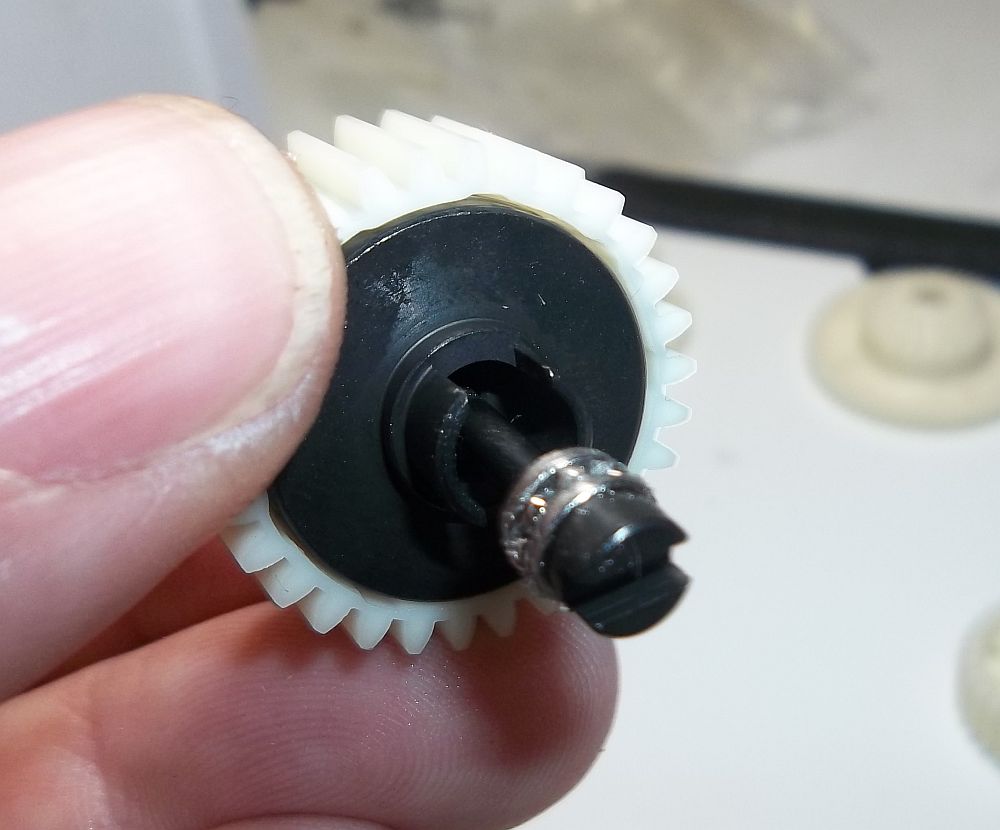
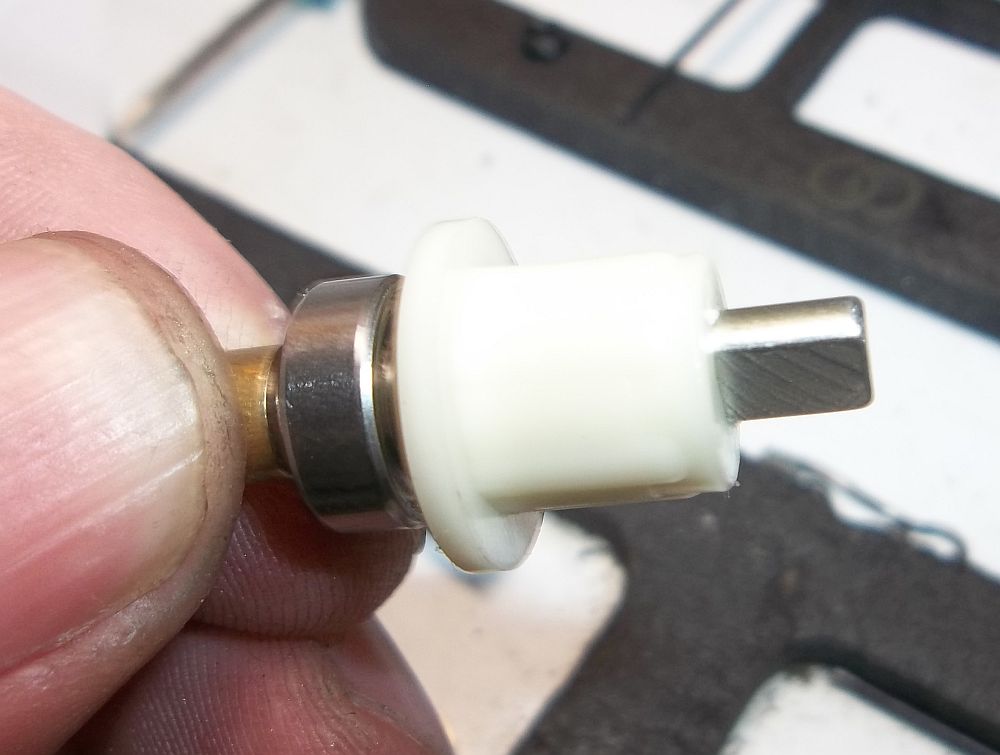 And now the locker.
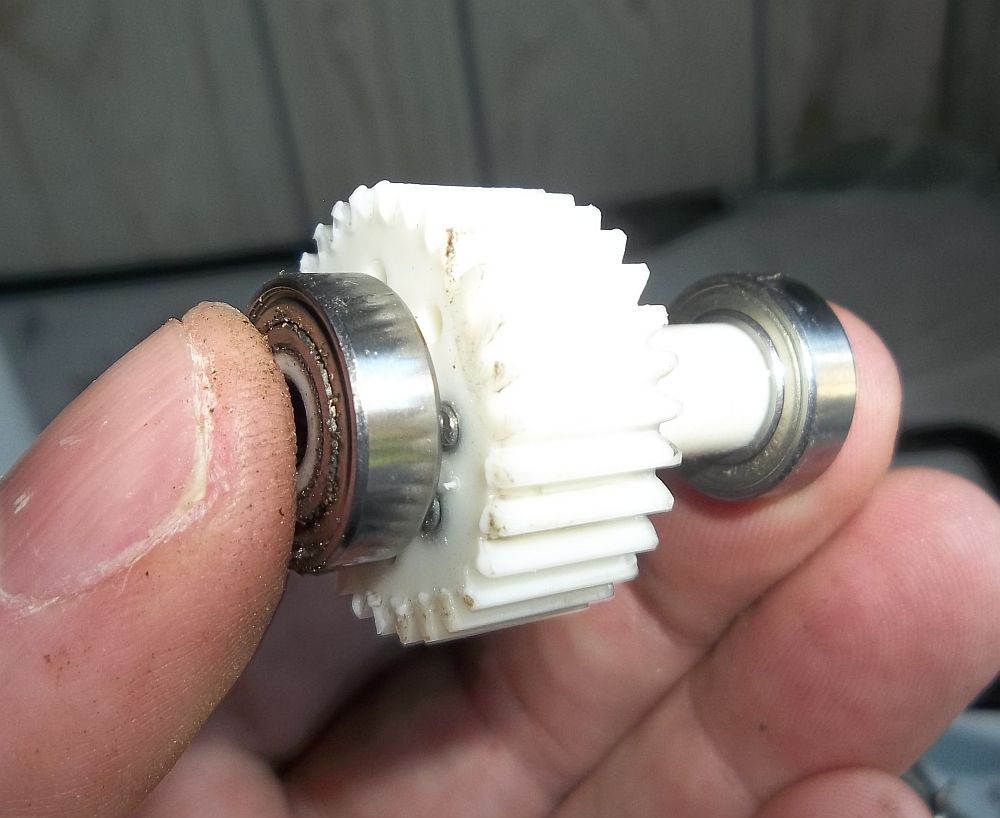
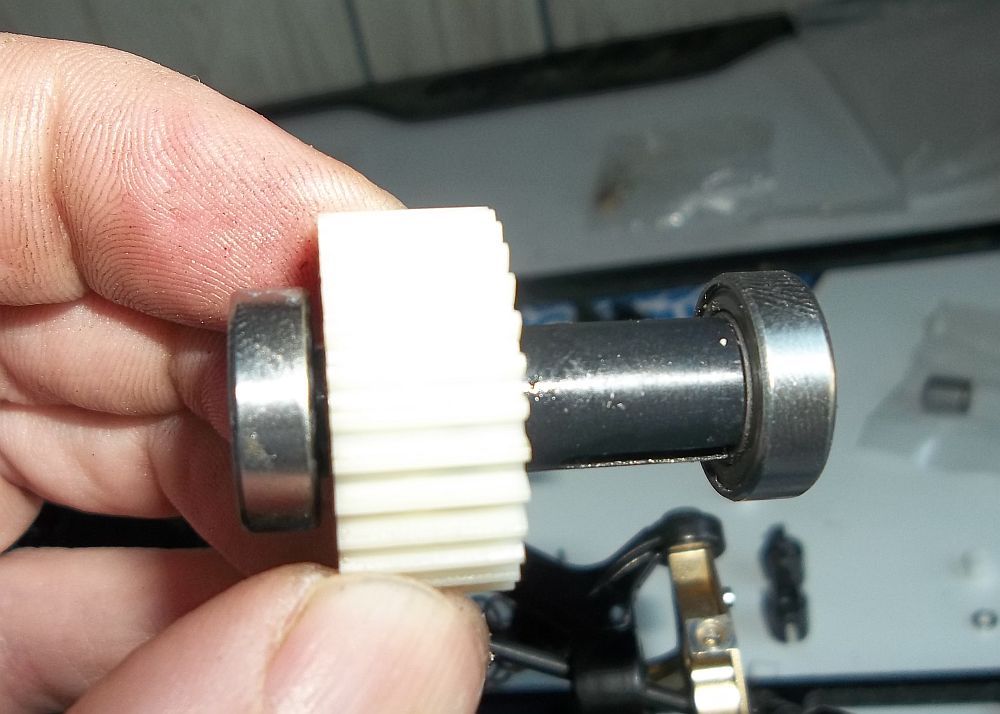
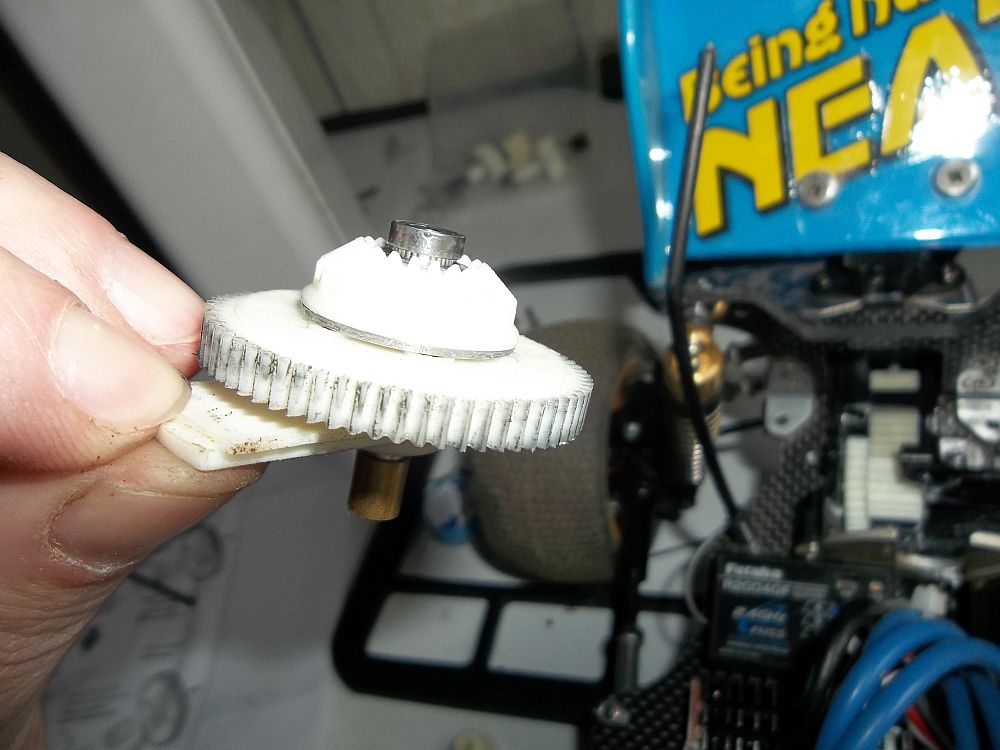
 The locker is shaped so it fits into the new spur gear. It slides into the left of the gear in this photo. The gear is dirty due to my dirty fingers.. uuugh lol and a tad out of focus. Sooner or later I will get the hang of it.
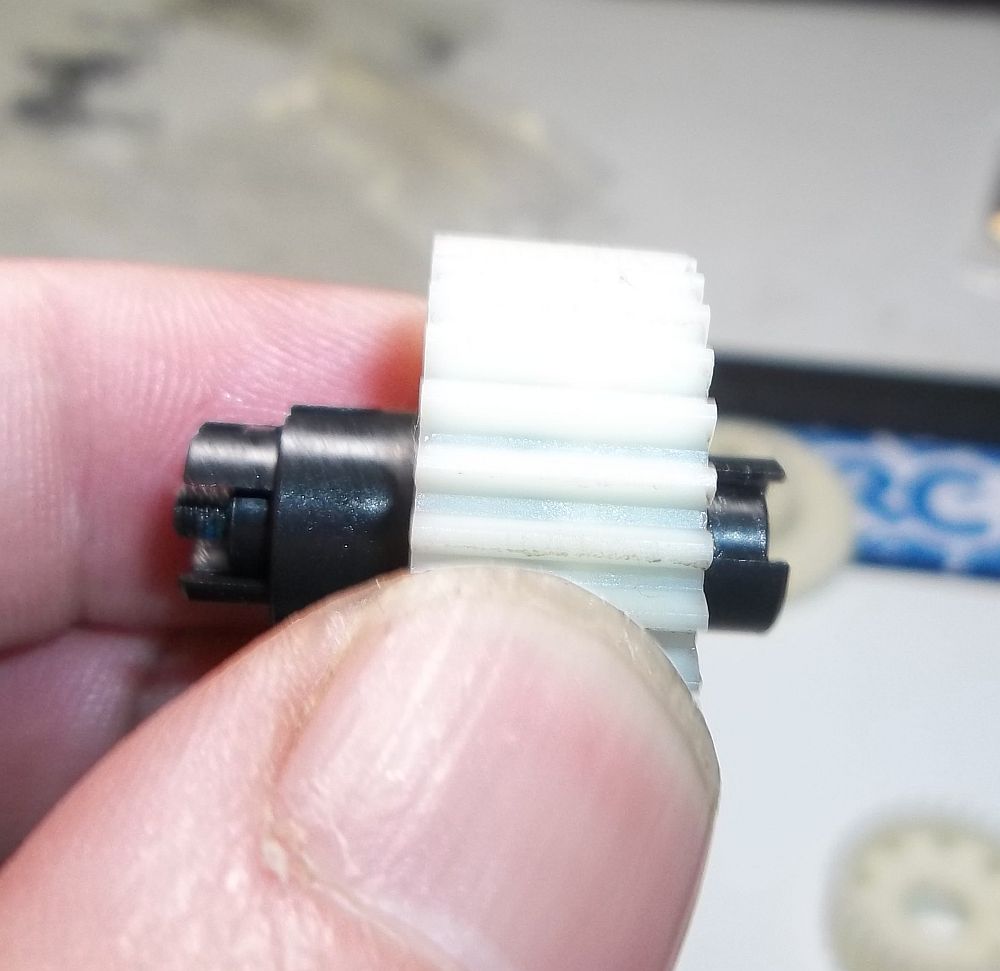
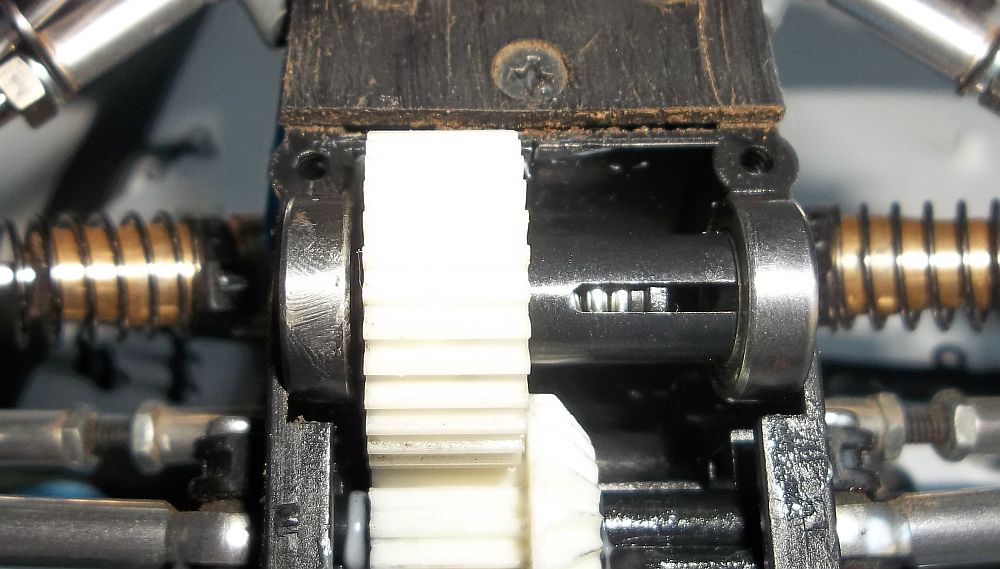
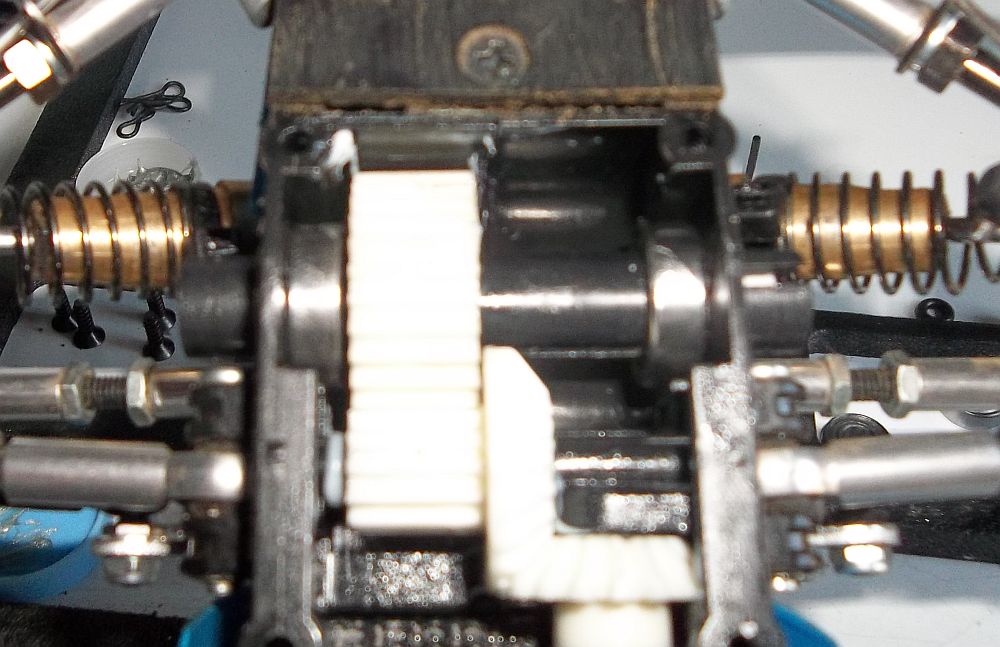
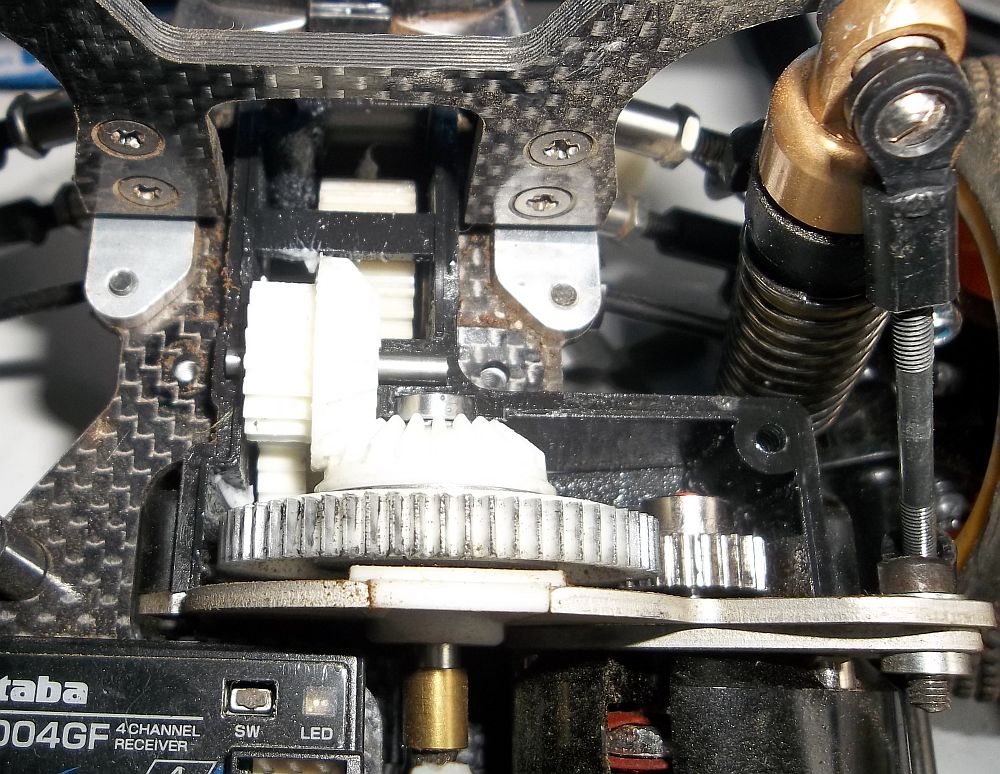
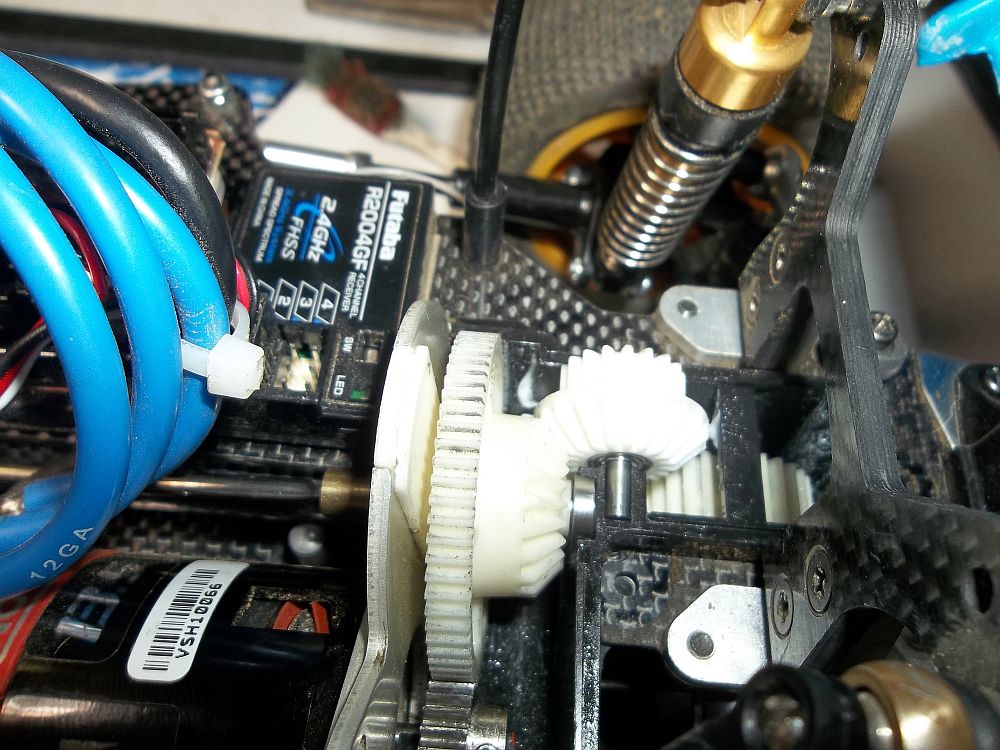 Everything installed. The dark spots that look like dirt on the spur is just grease from the pinion.
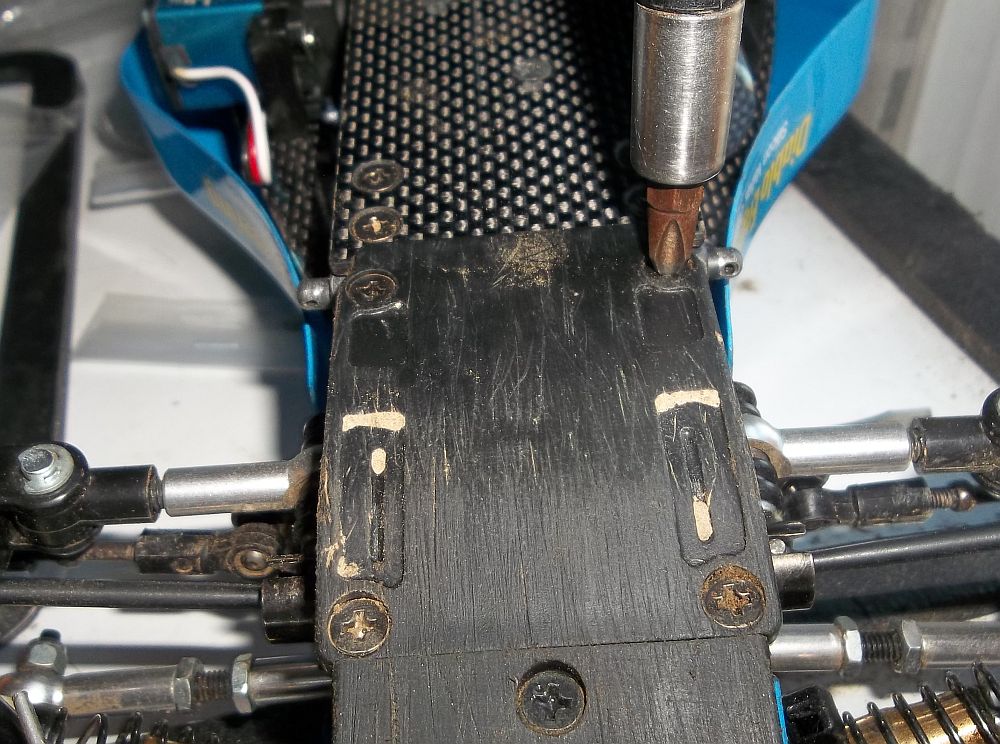
 Now just put the top cover back on and tighten up screws.
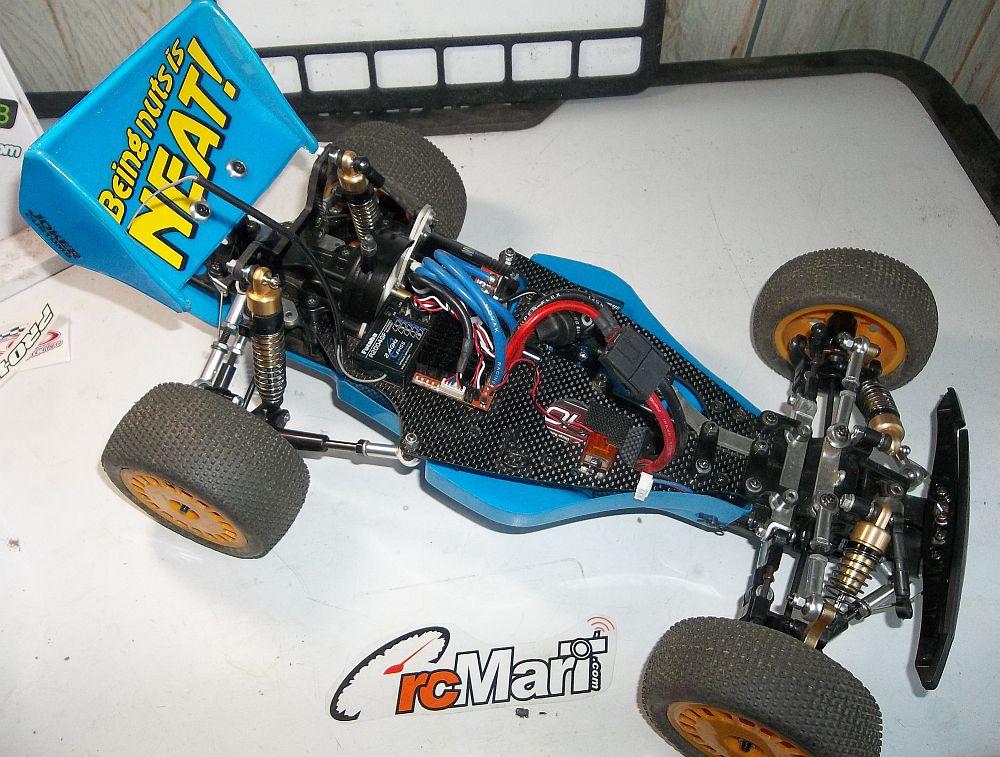
There we have it, she is finished!. Now its time to test her out. Thank you RCMART.COM for your support in this stage of PROJECT AVANTE!
Pages: 1 2
 Posted in
  Tags:
Tags: