

 July 3rd, 2015
  Dallas Pruett
 “THIS IS THE CAR, IT WASNT SUPPOSED TO HAPPEN, IT BEAT THE ODDS. DONT LET OTHERS STOP YOU FROM CHASING YOUR DREAMS, DO WHAT YOU WANT, NEVER GIVE UP. “
– Joseph Quagraine
Joseph, A man with so much drive. He has made such an impact in the RC community with his company, many said he would fail, he proved them wrong.
Want to read more? Check out THE Story http://jq-products.com/the-story
Link to THE Ecar: http://usa.jqracing.com/product/3516/theecar-white-edition-pre-order
NOTE
This is a pre-production kit, THE Manual and THE box is subject to change on the production kit
On To the build 🙂
When you first get it, you should unbox it, and take it to where you will be working.
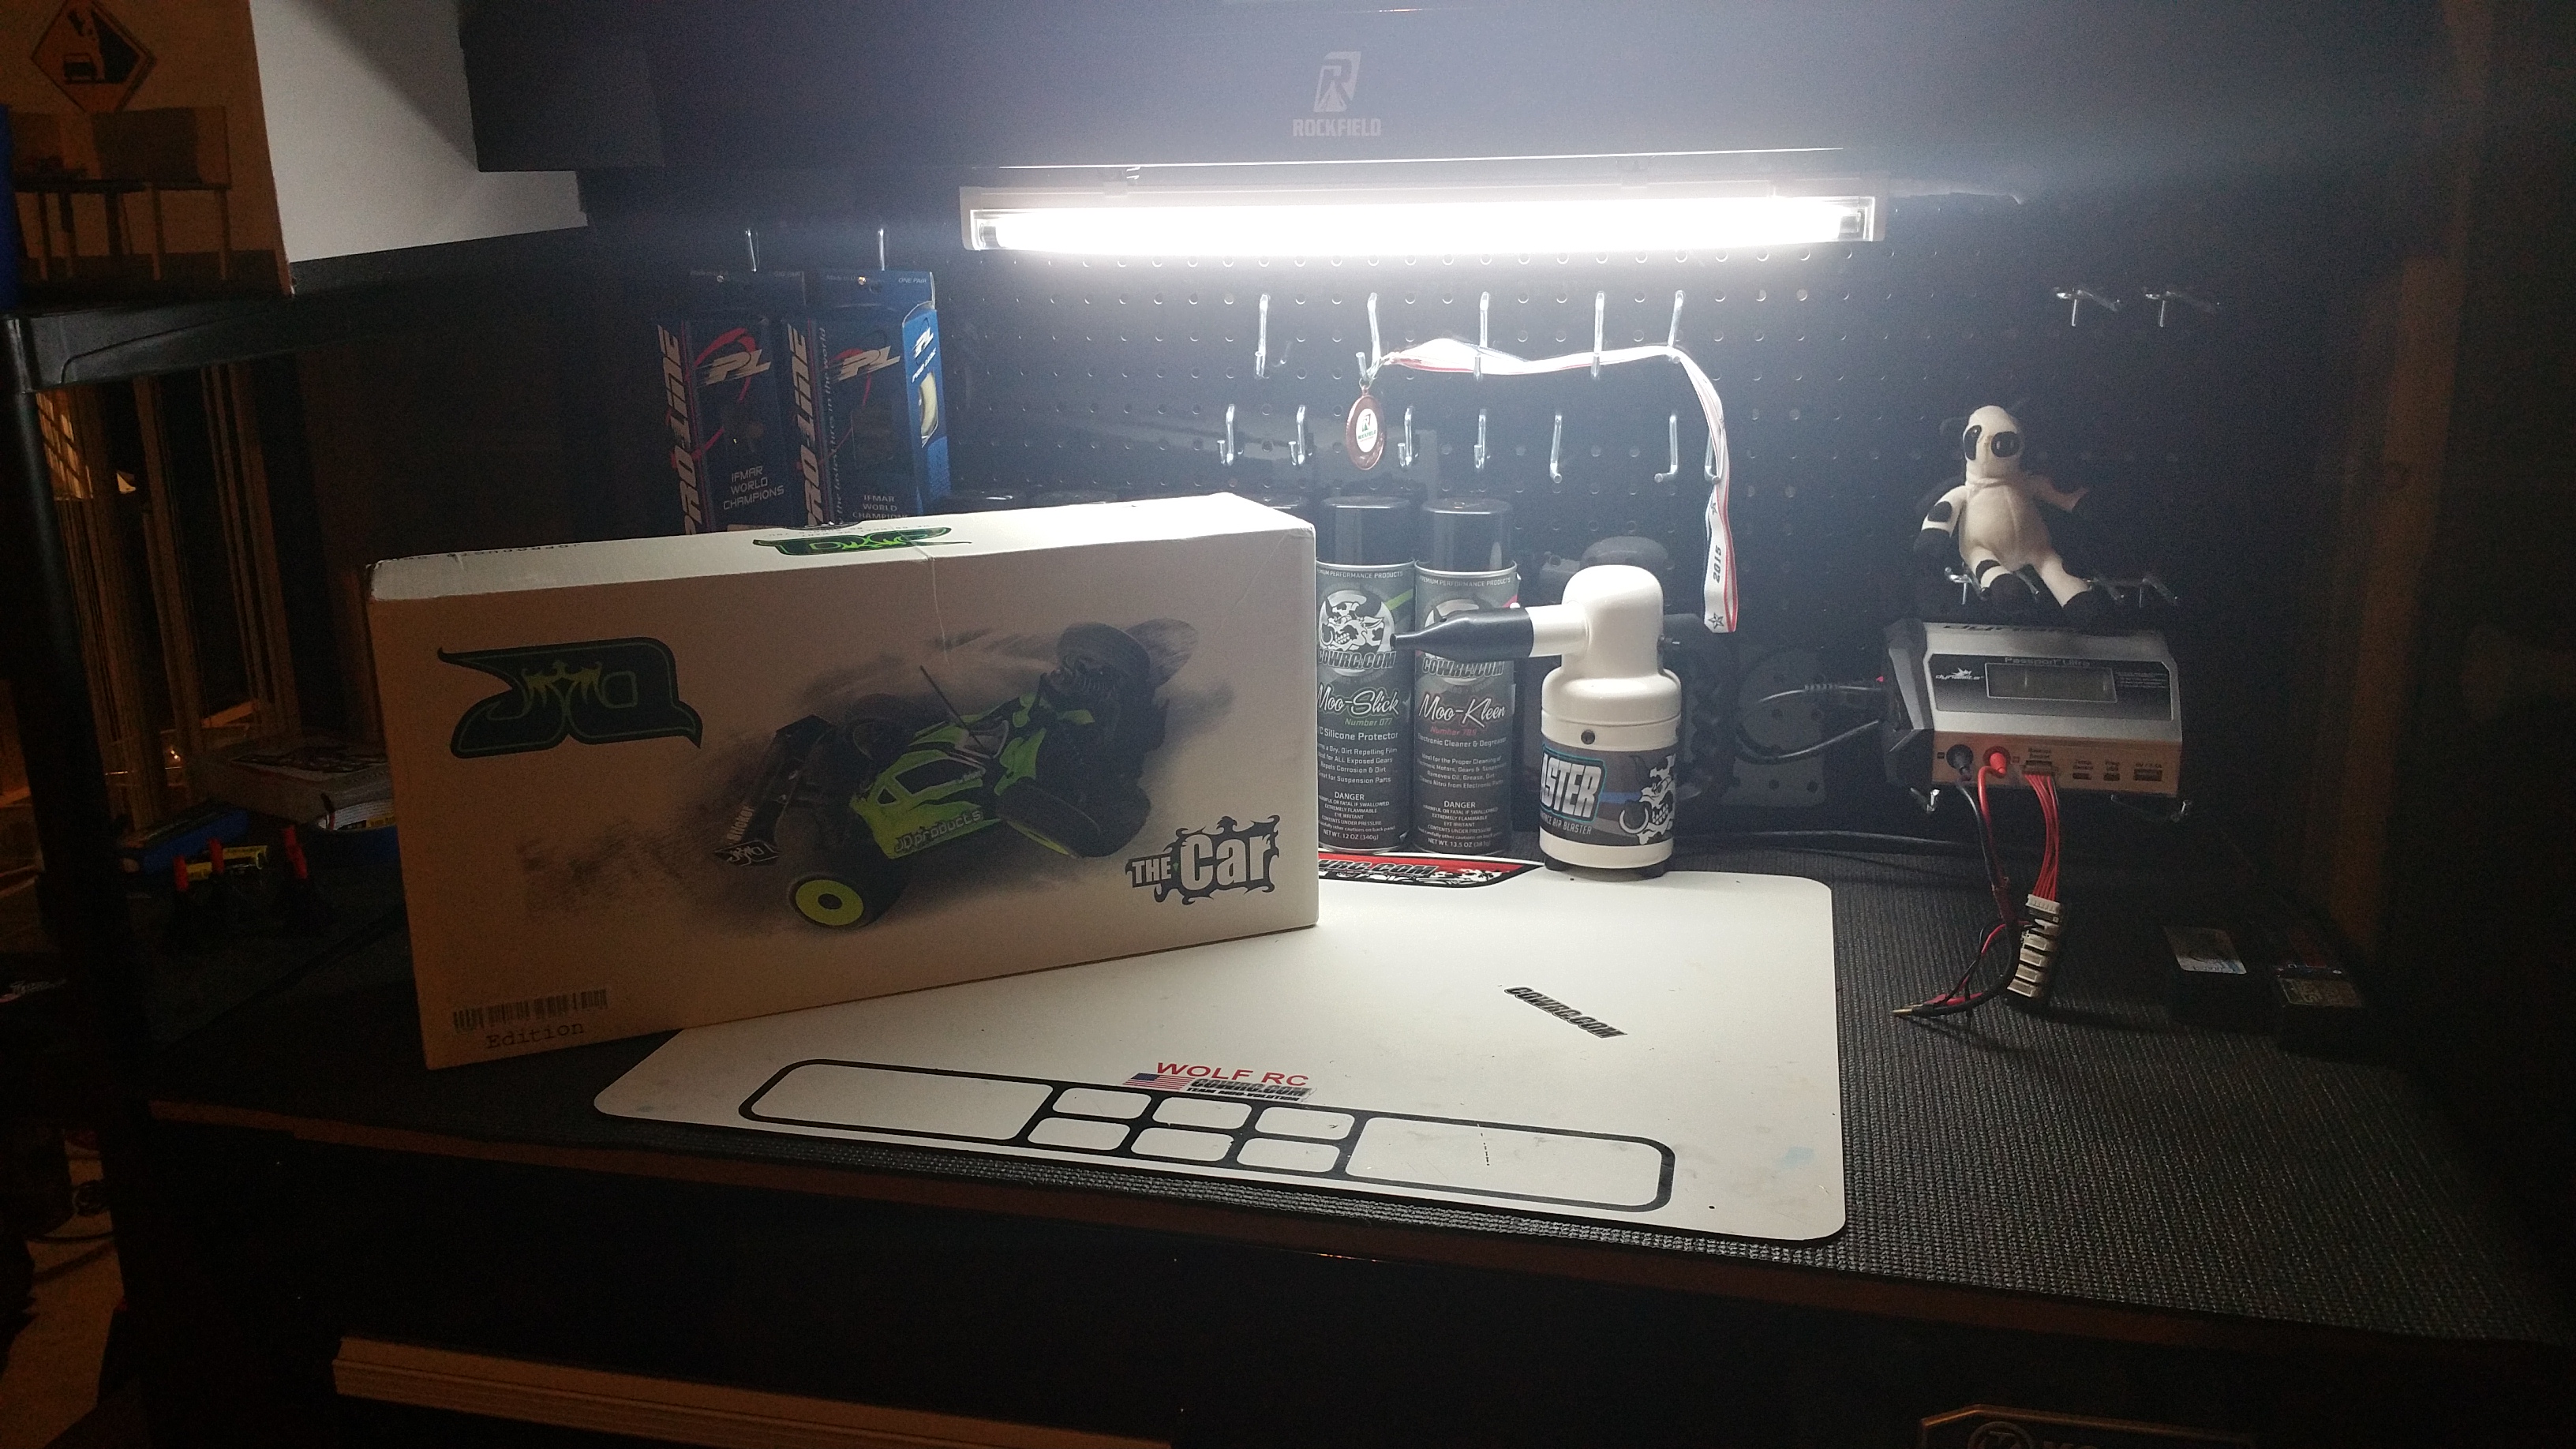
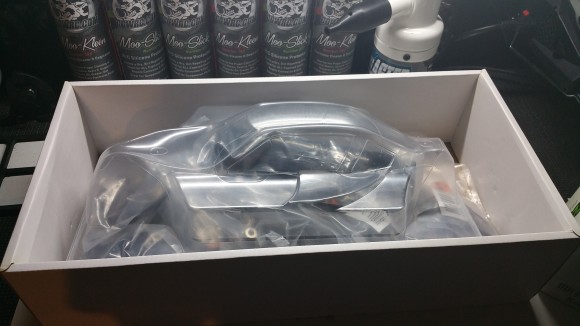
Next up, you should probably open the box. From there, you will see this awesomeness. * Note, the Box that was included was the White Edition NITRO Car box, the box art is subject to change *
 1
1
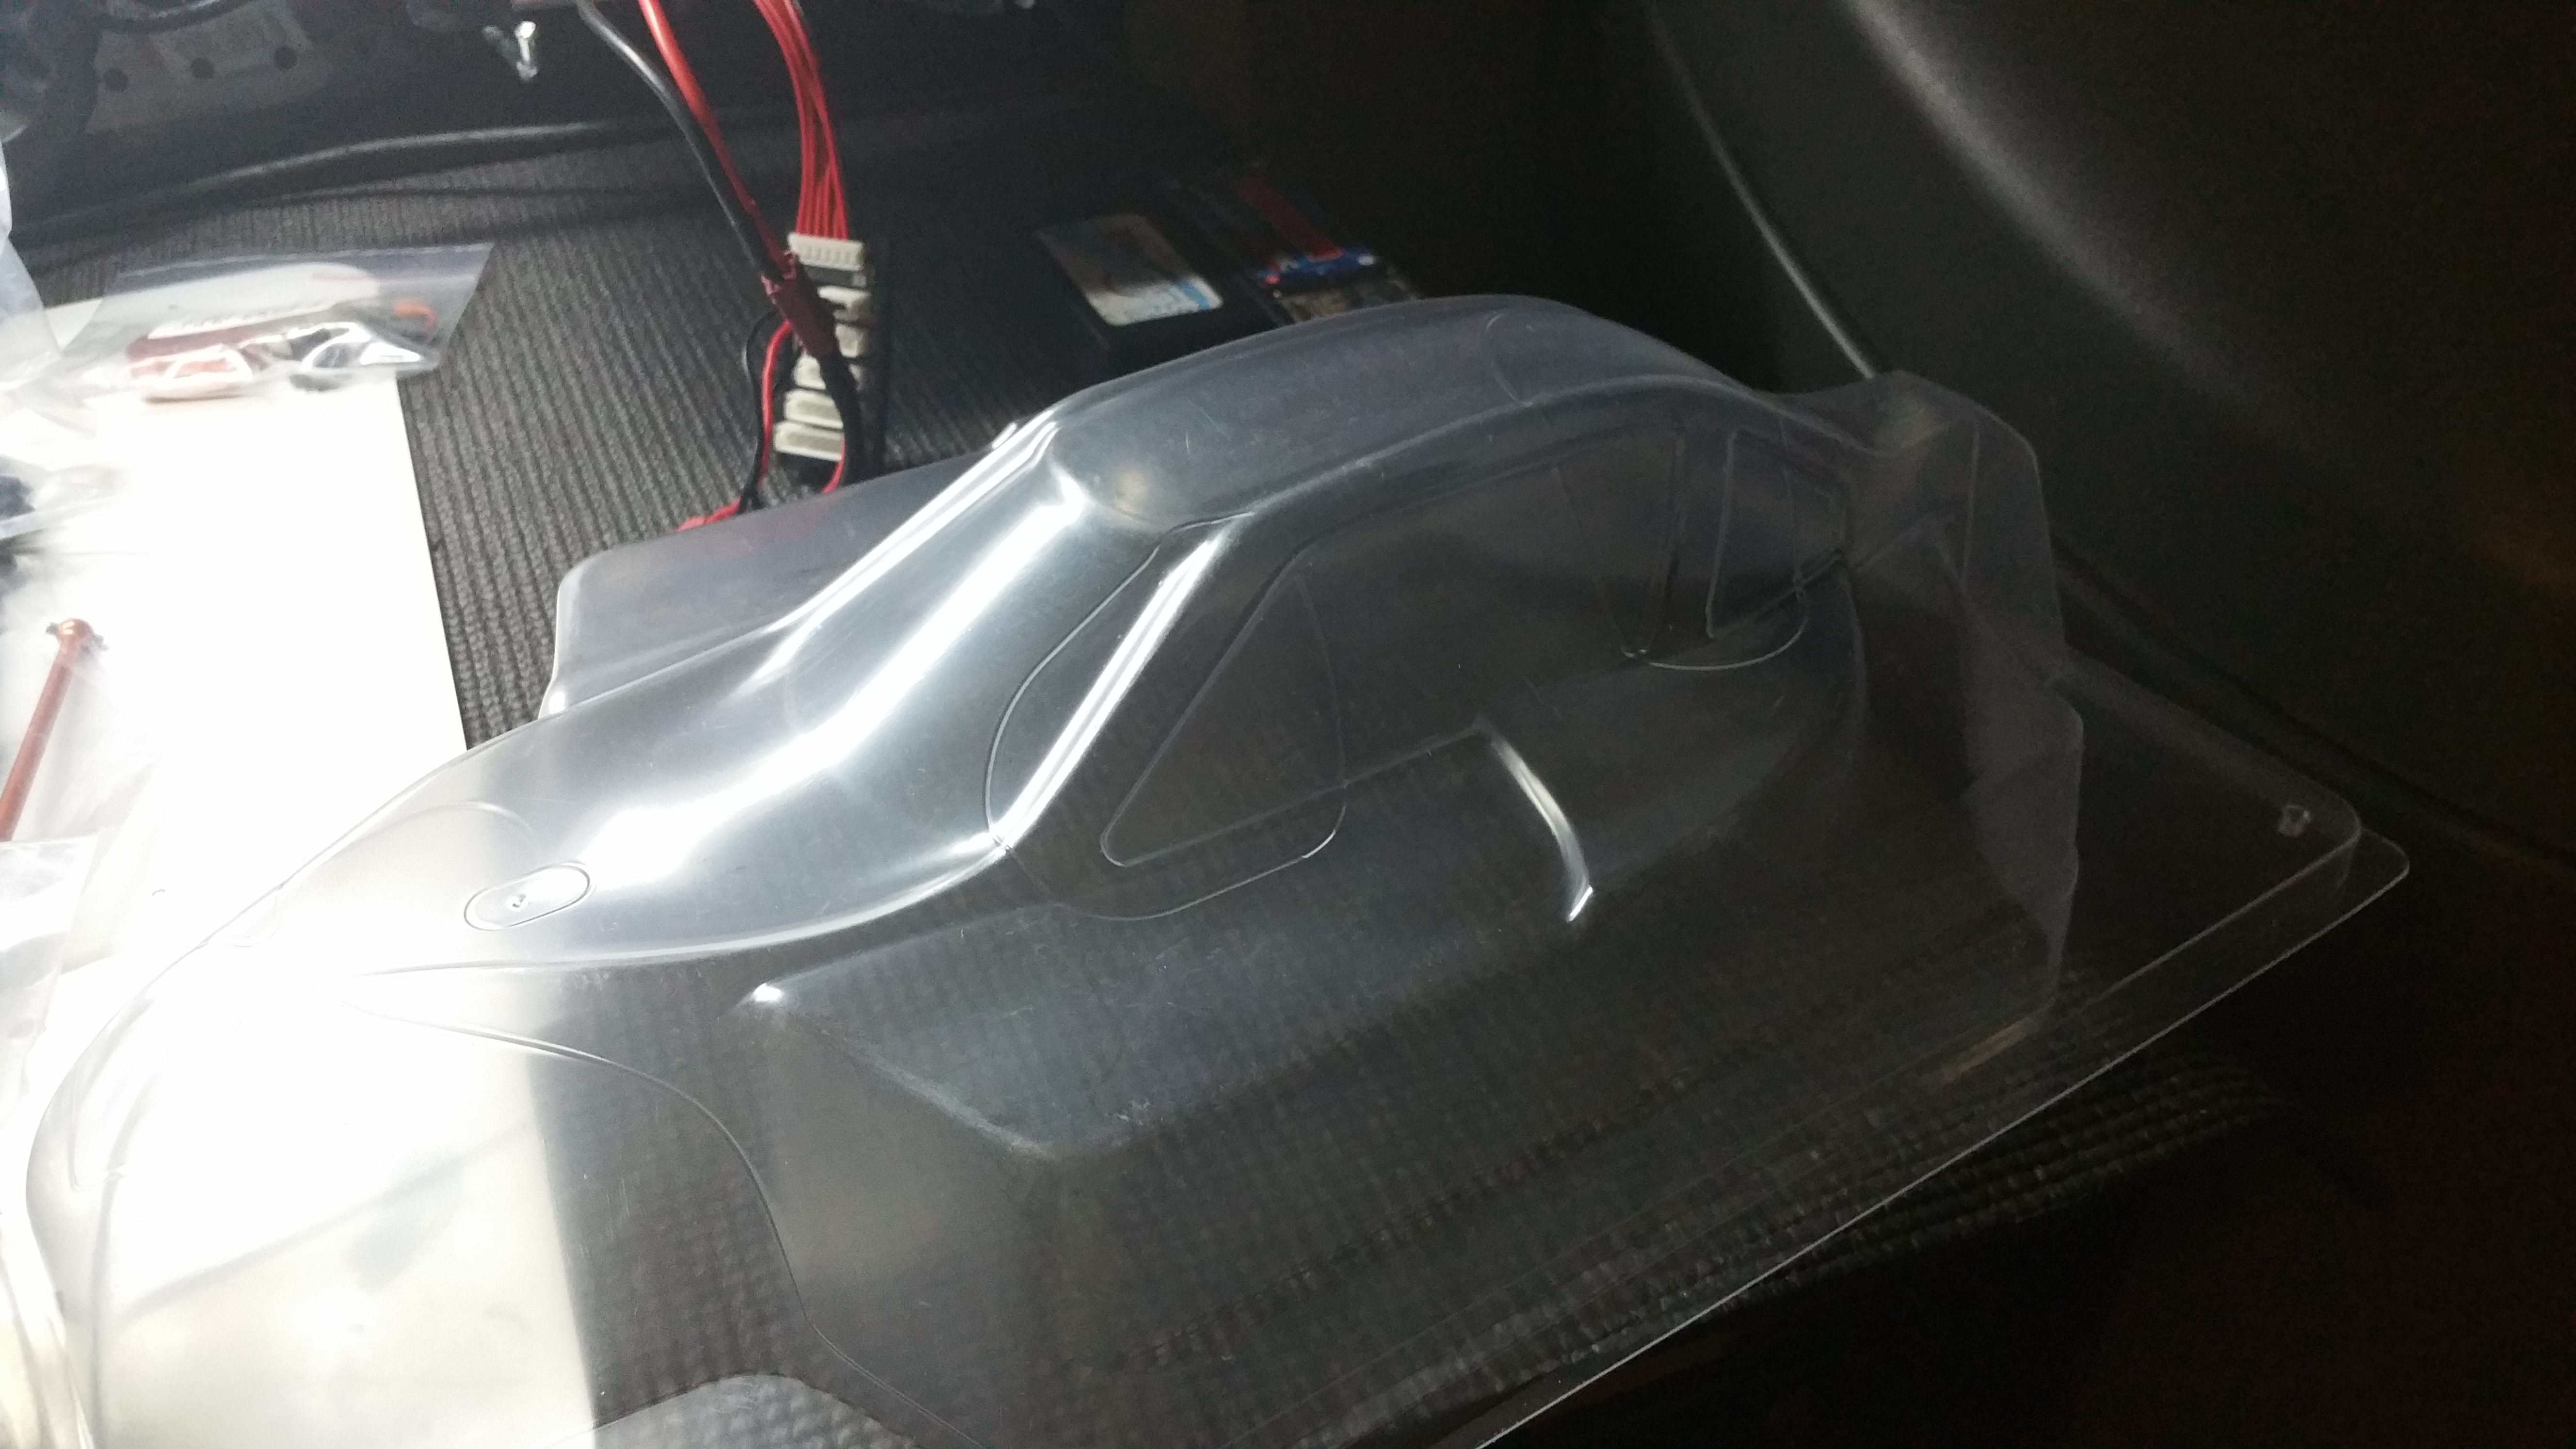
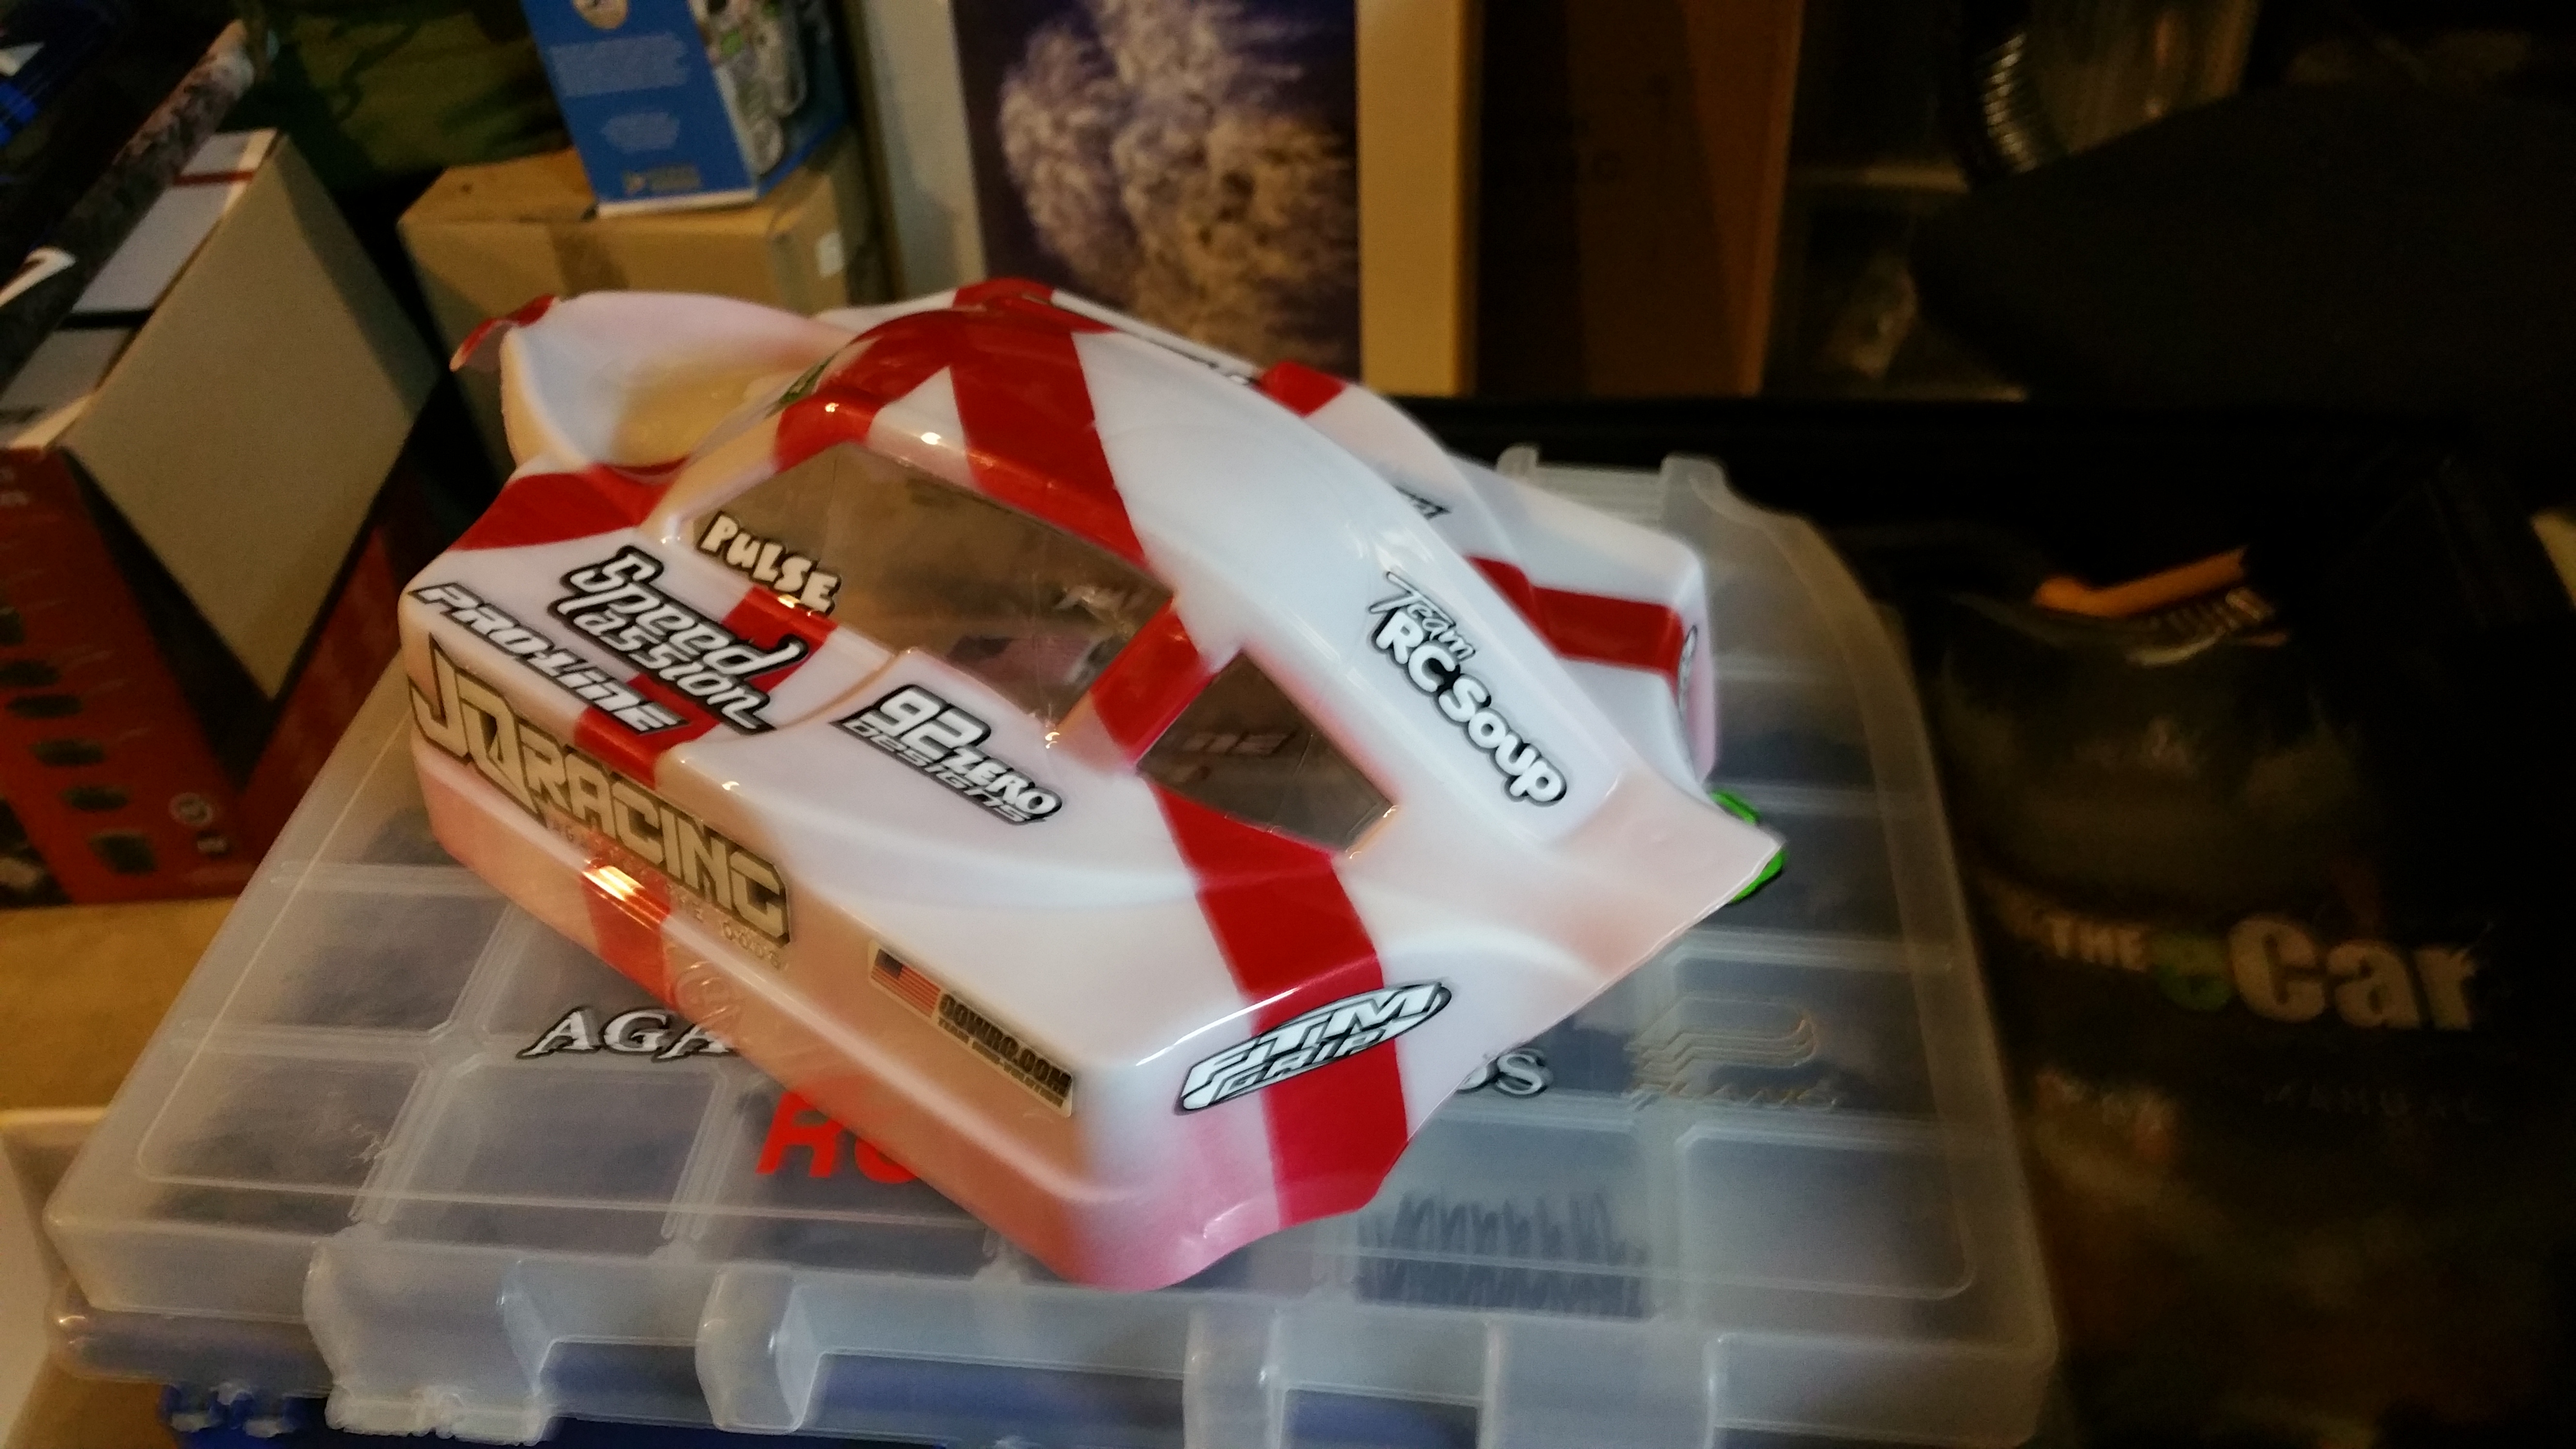
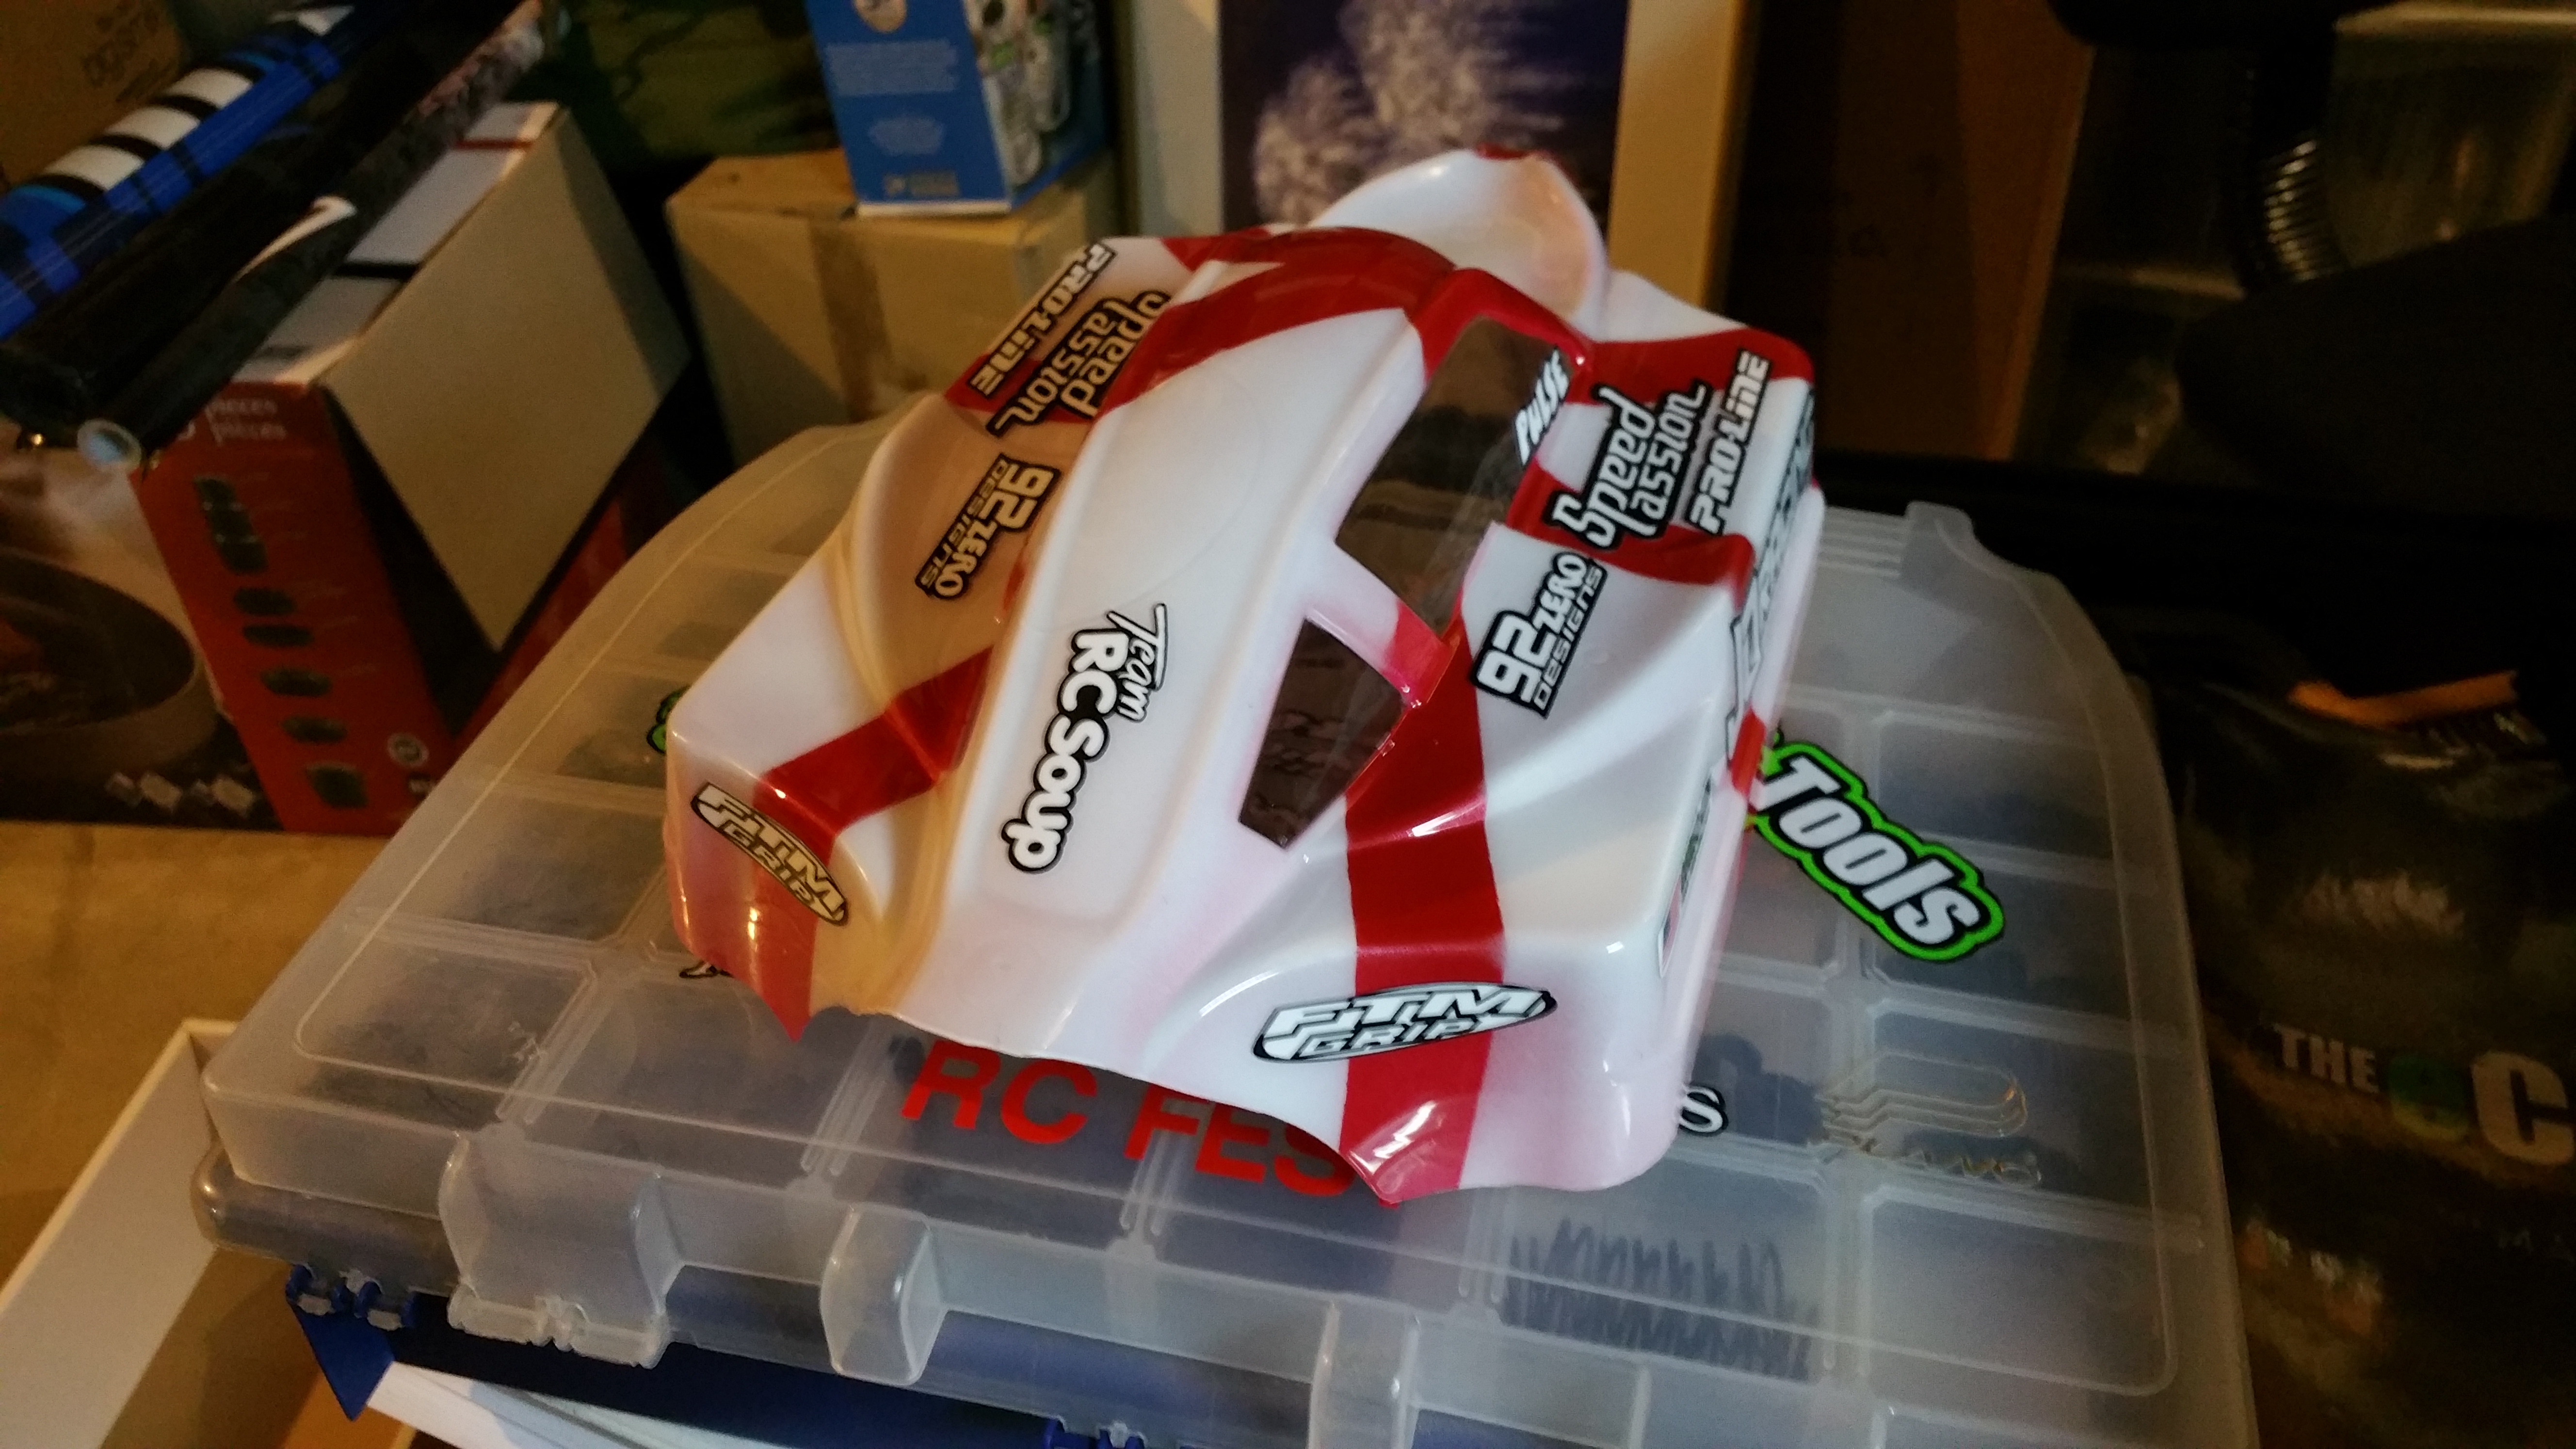
Once everything is out of the box, note the awesome packaging and sick looking body.
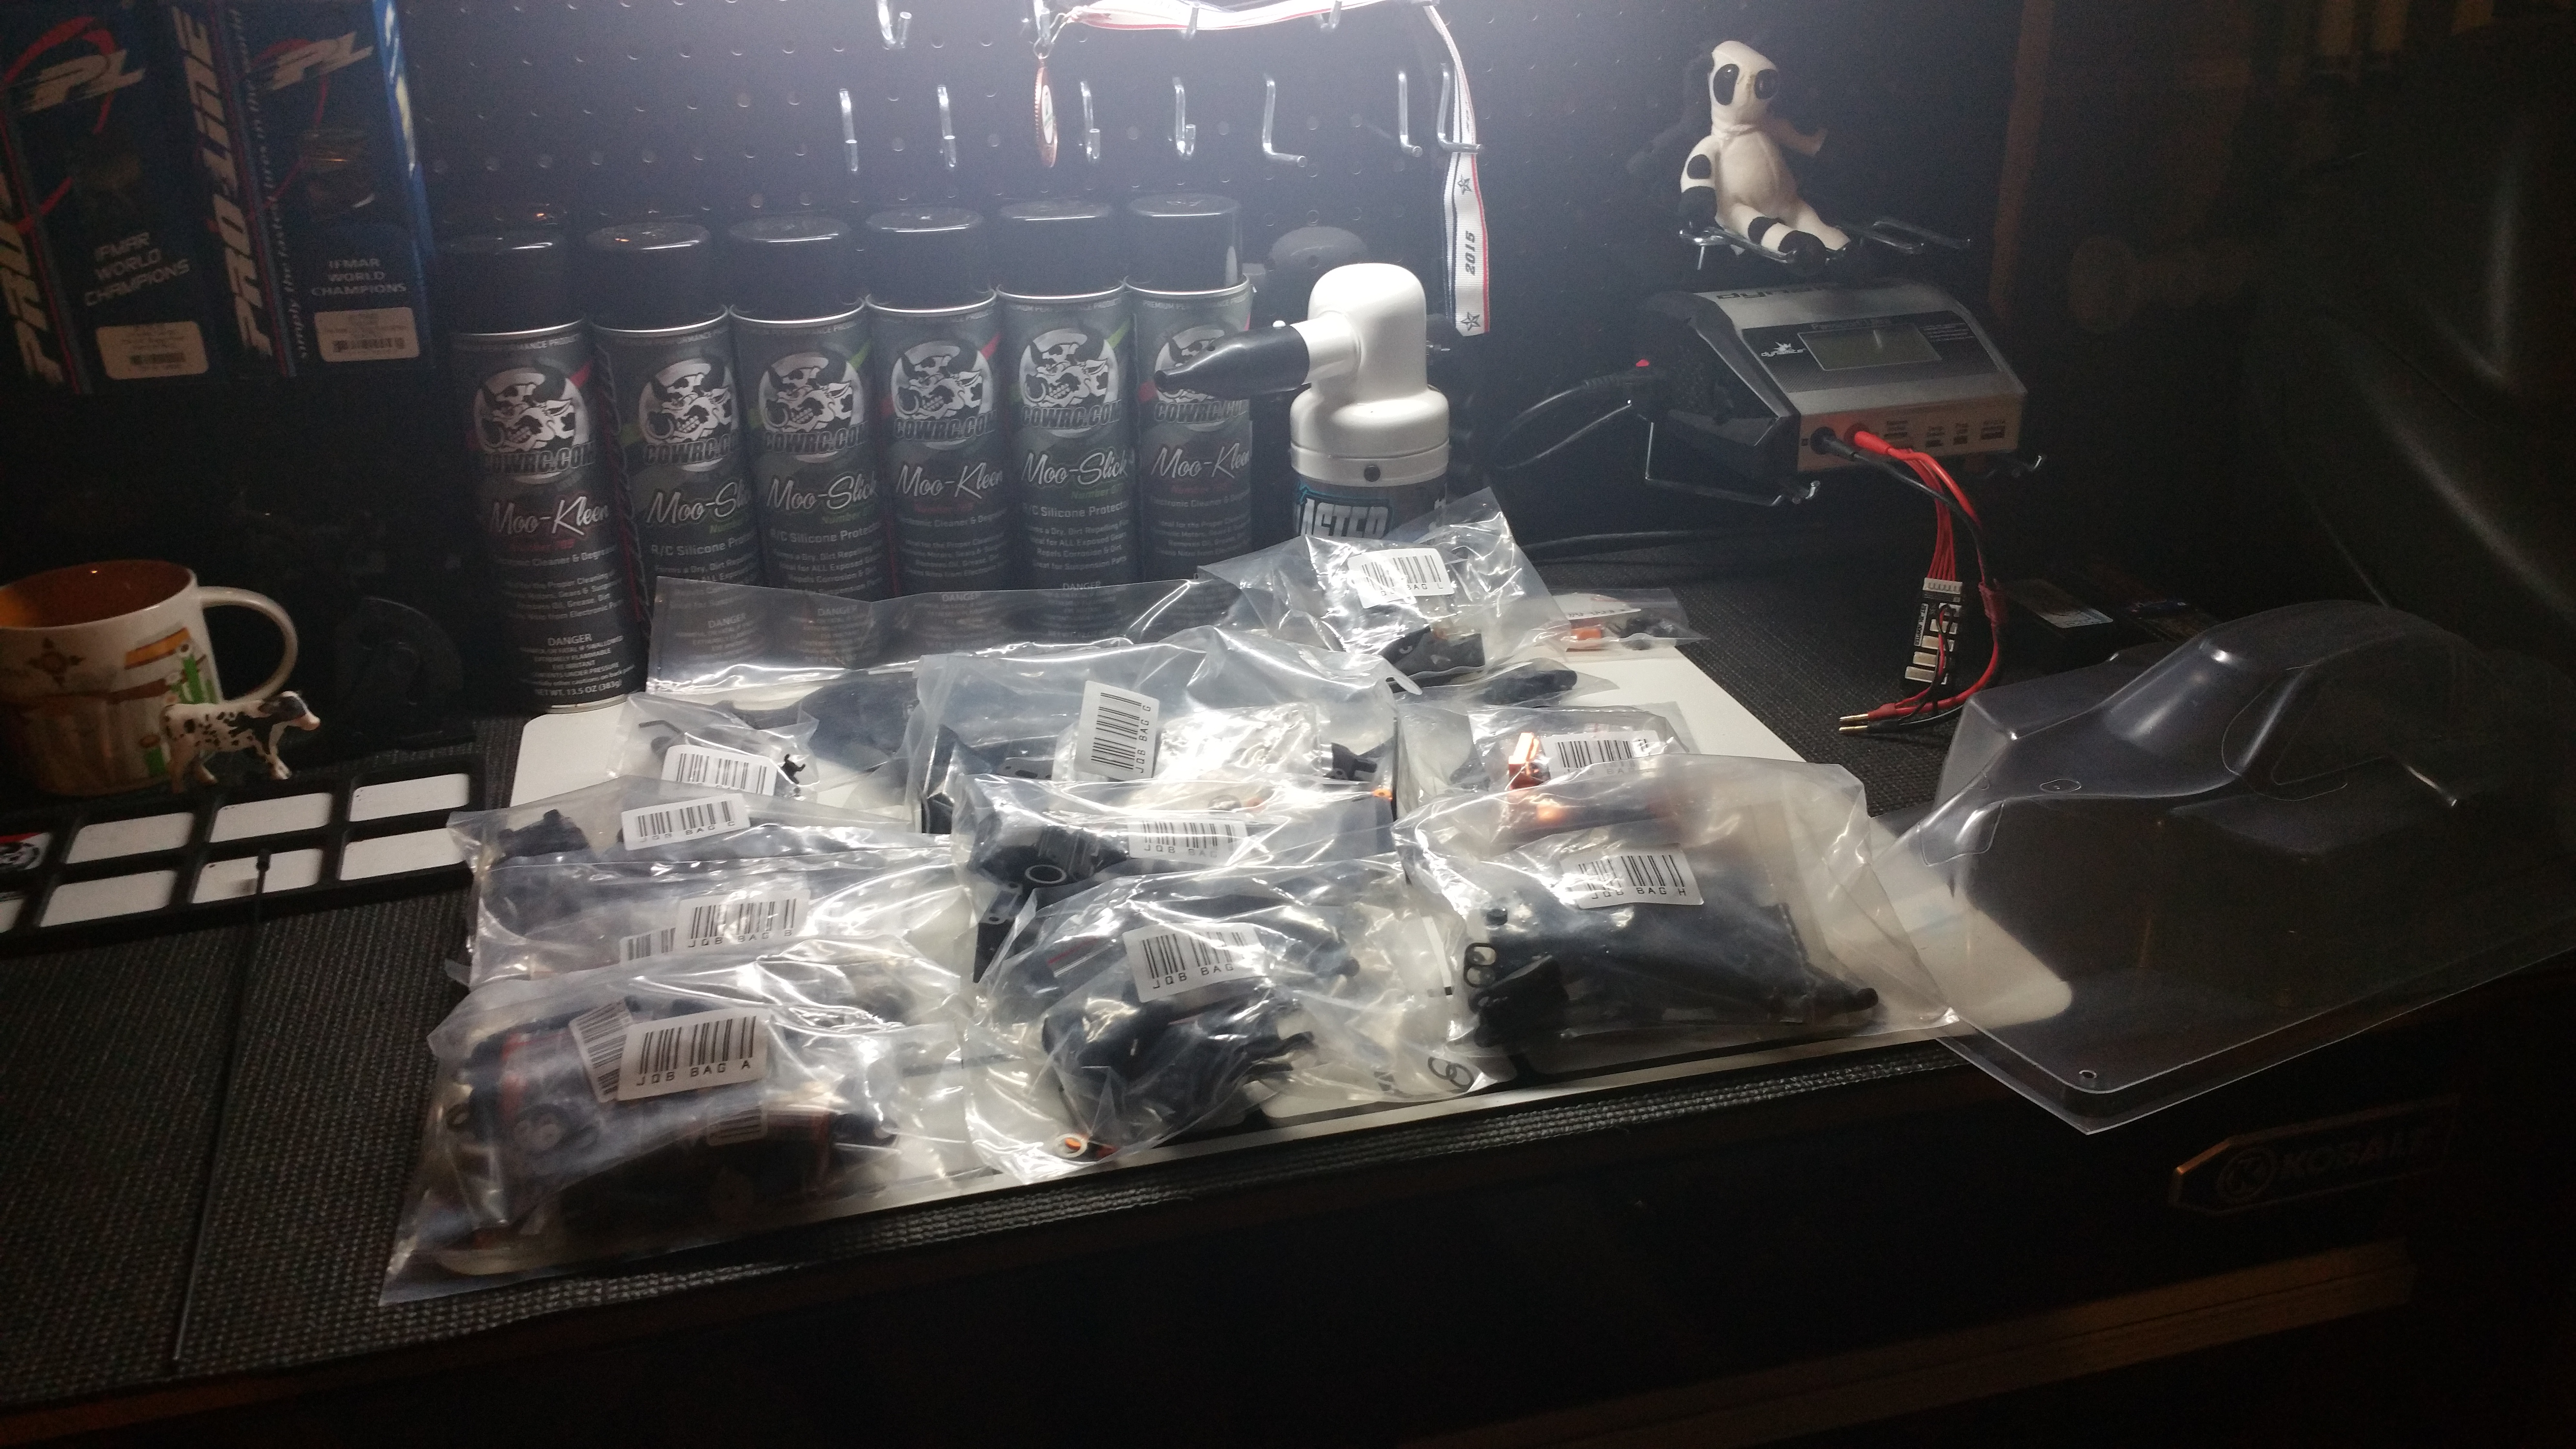
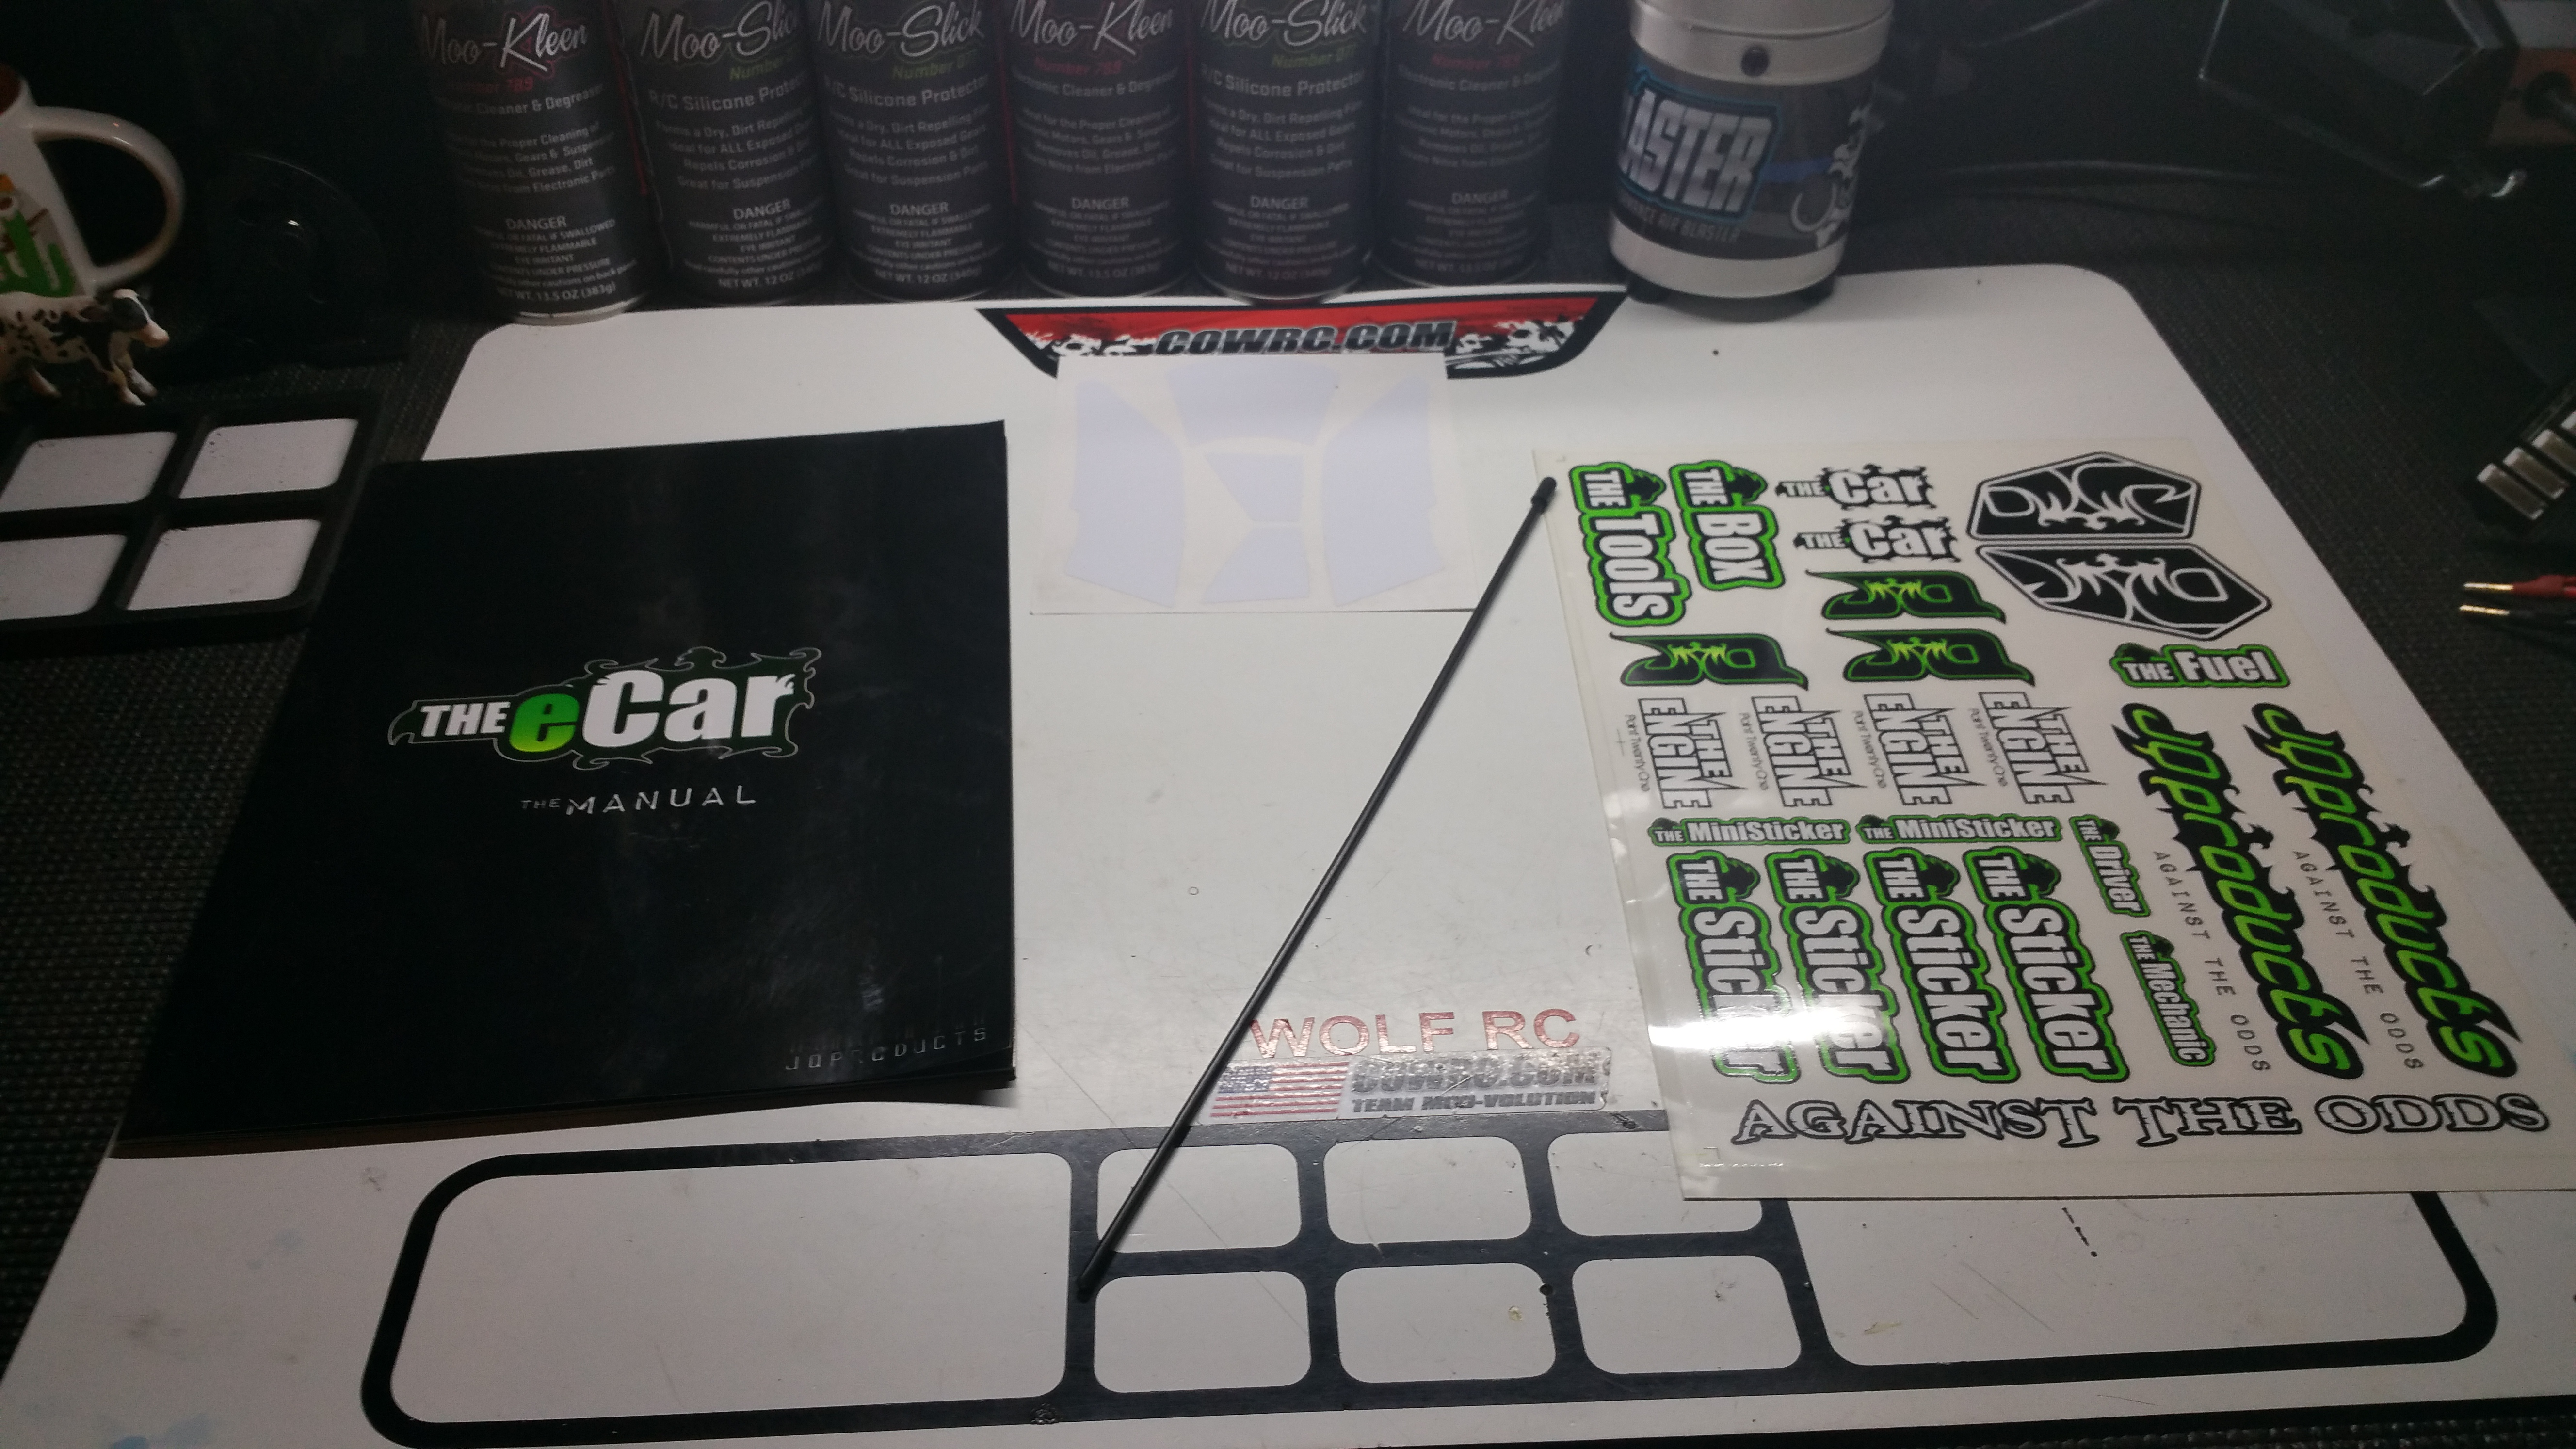
Along with all the bags of parts, you get a Manual, Window masks, and a sticker sheet. * Note, the Manual included in this kit was for the Previous YELLOW EDITION Ecar, The manual will be updated for the Production kits *
Whoops… don’t forget the antenna tube!
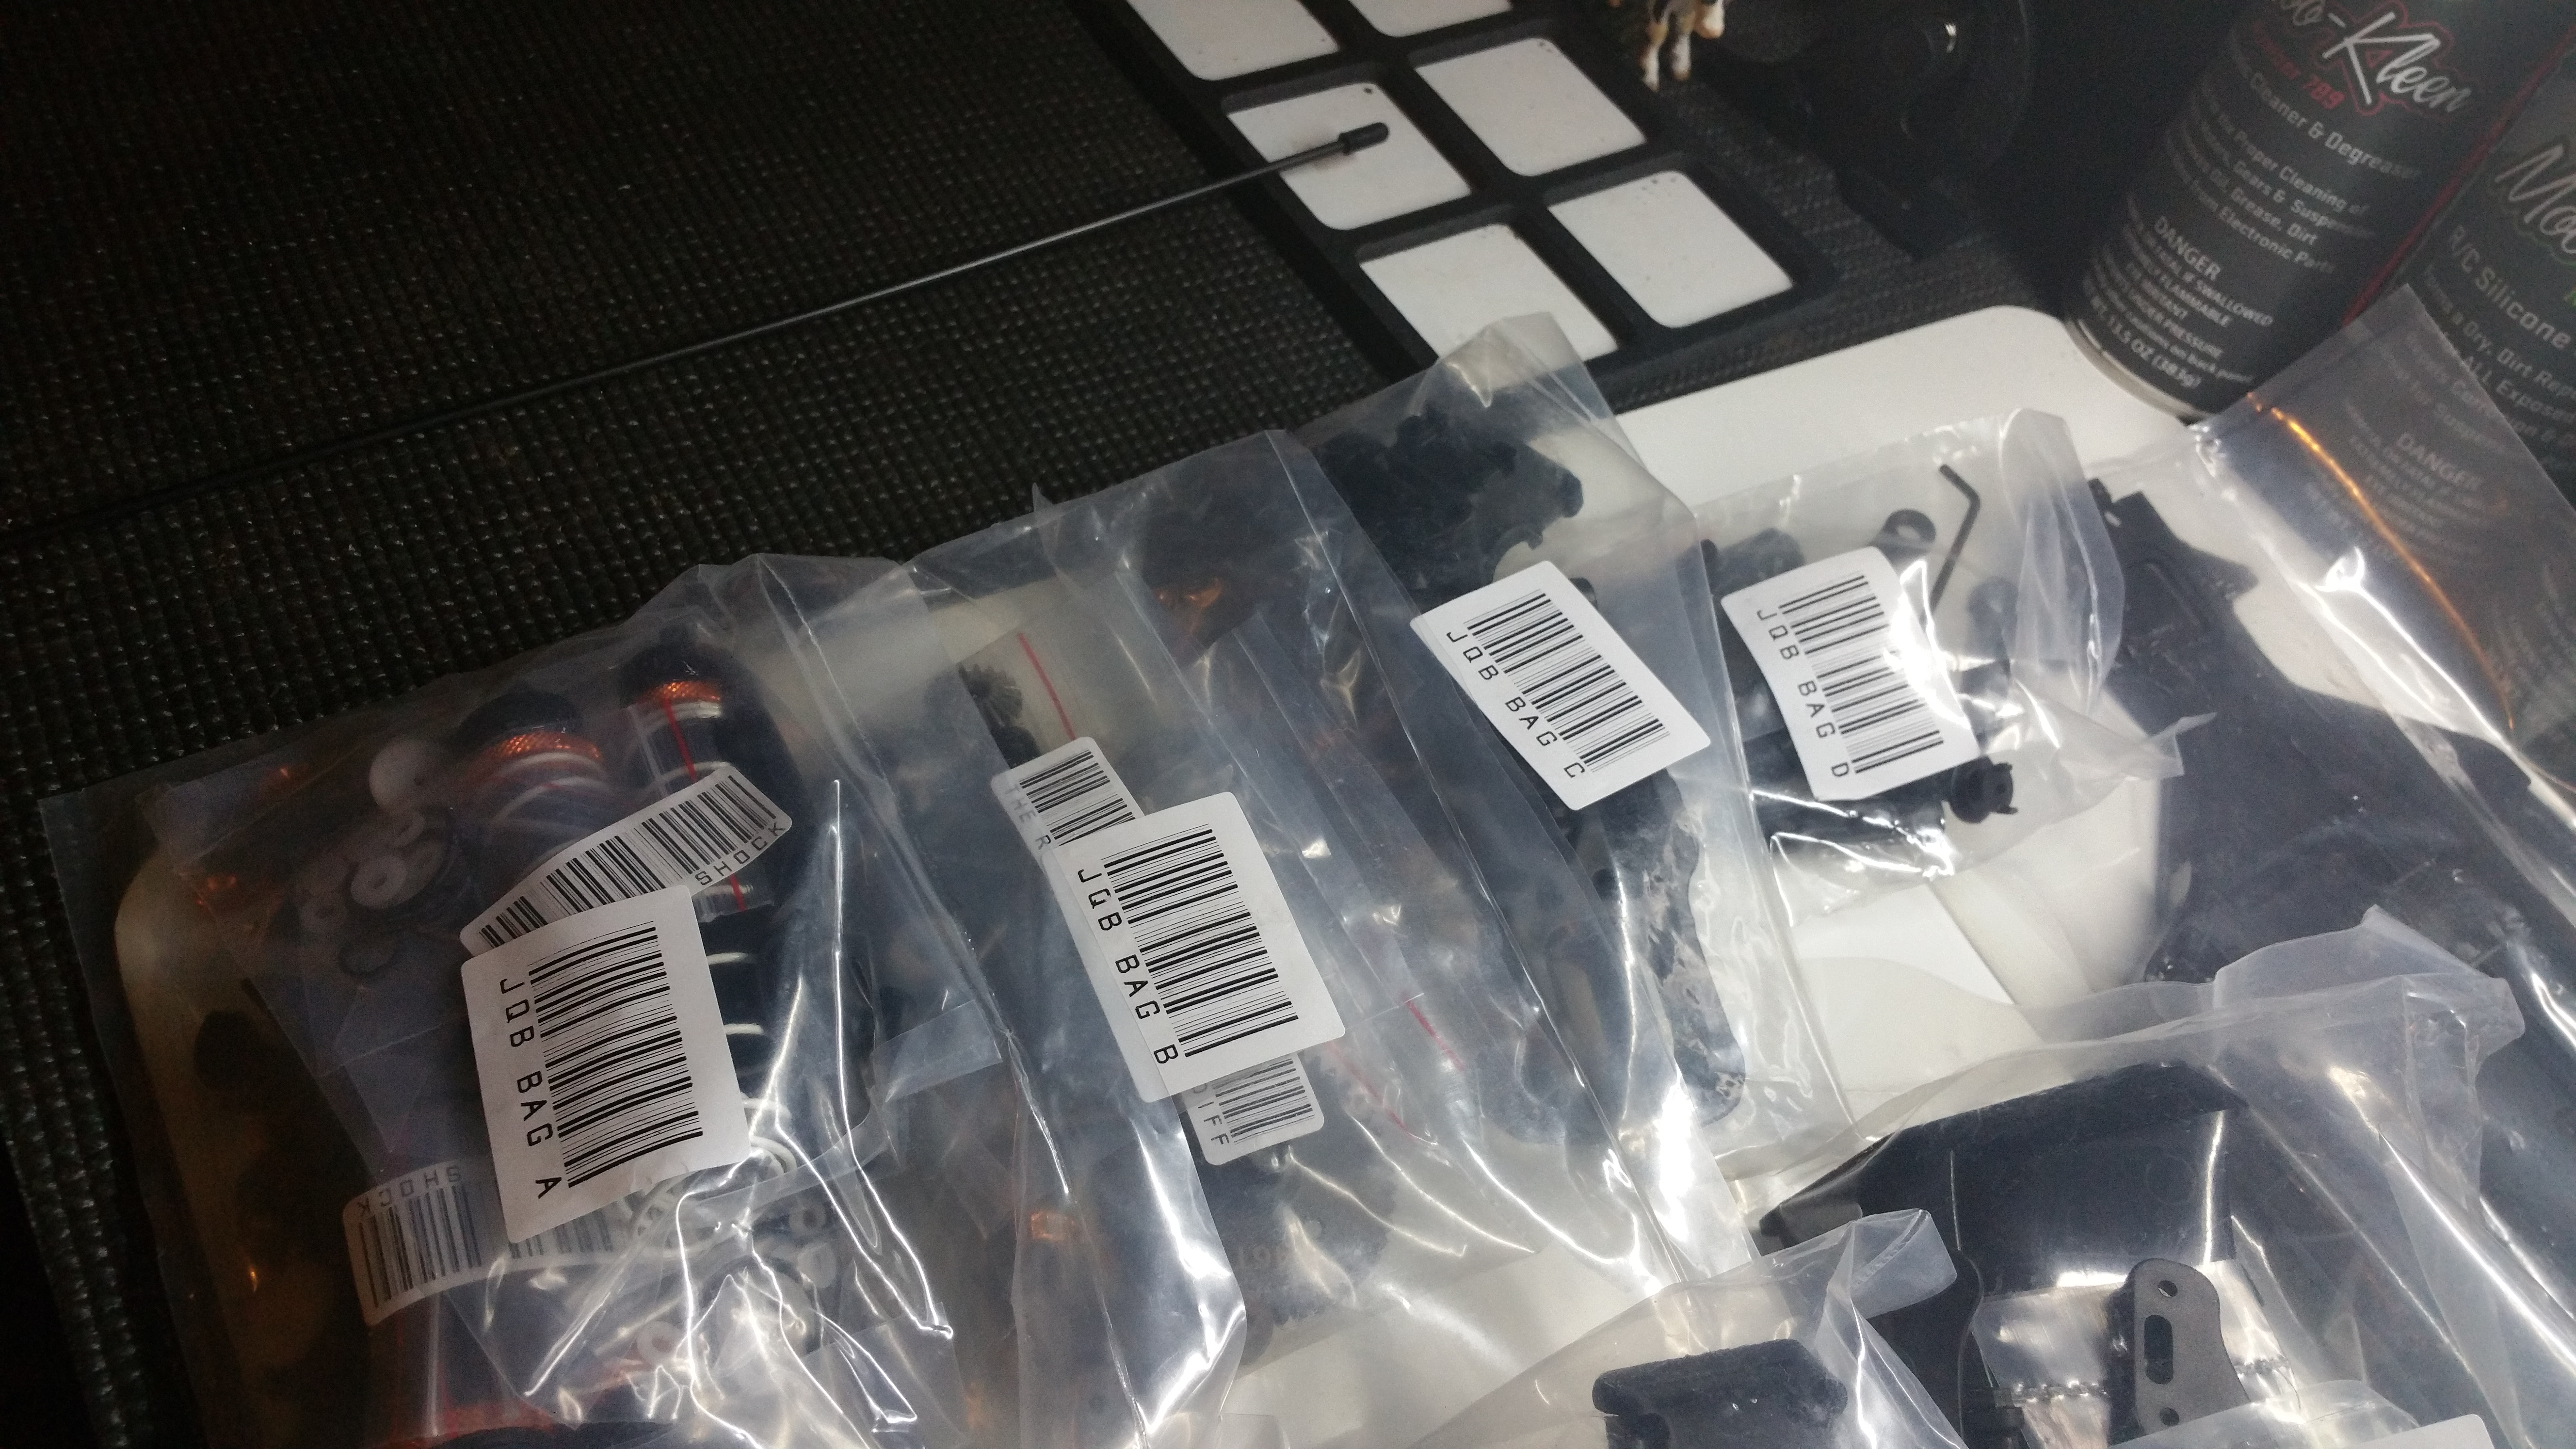
Onto Bag A
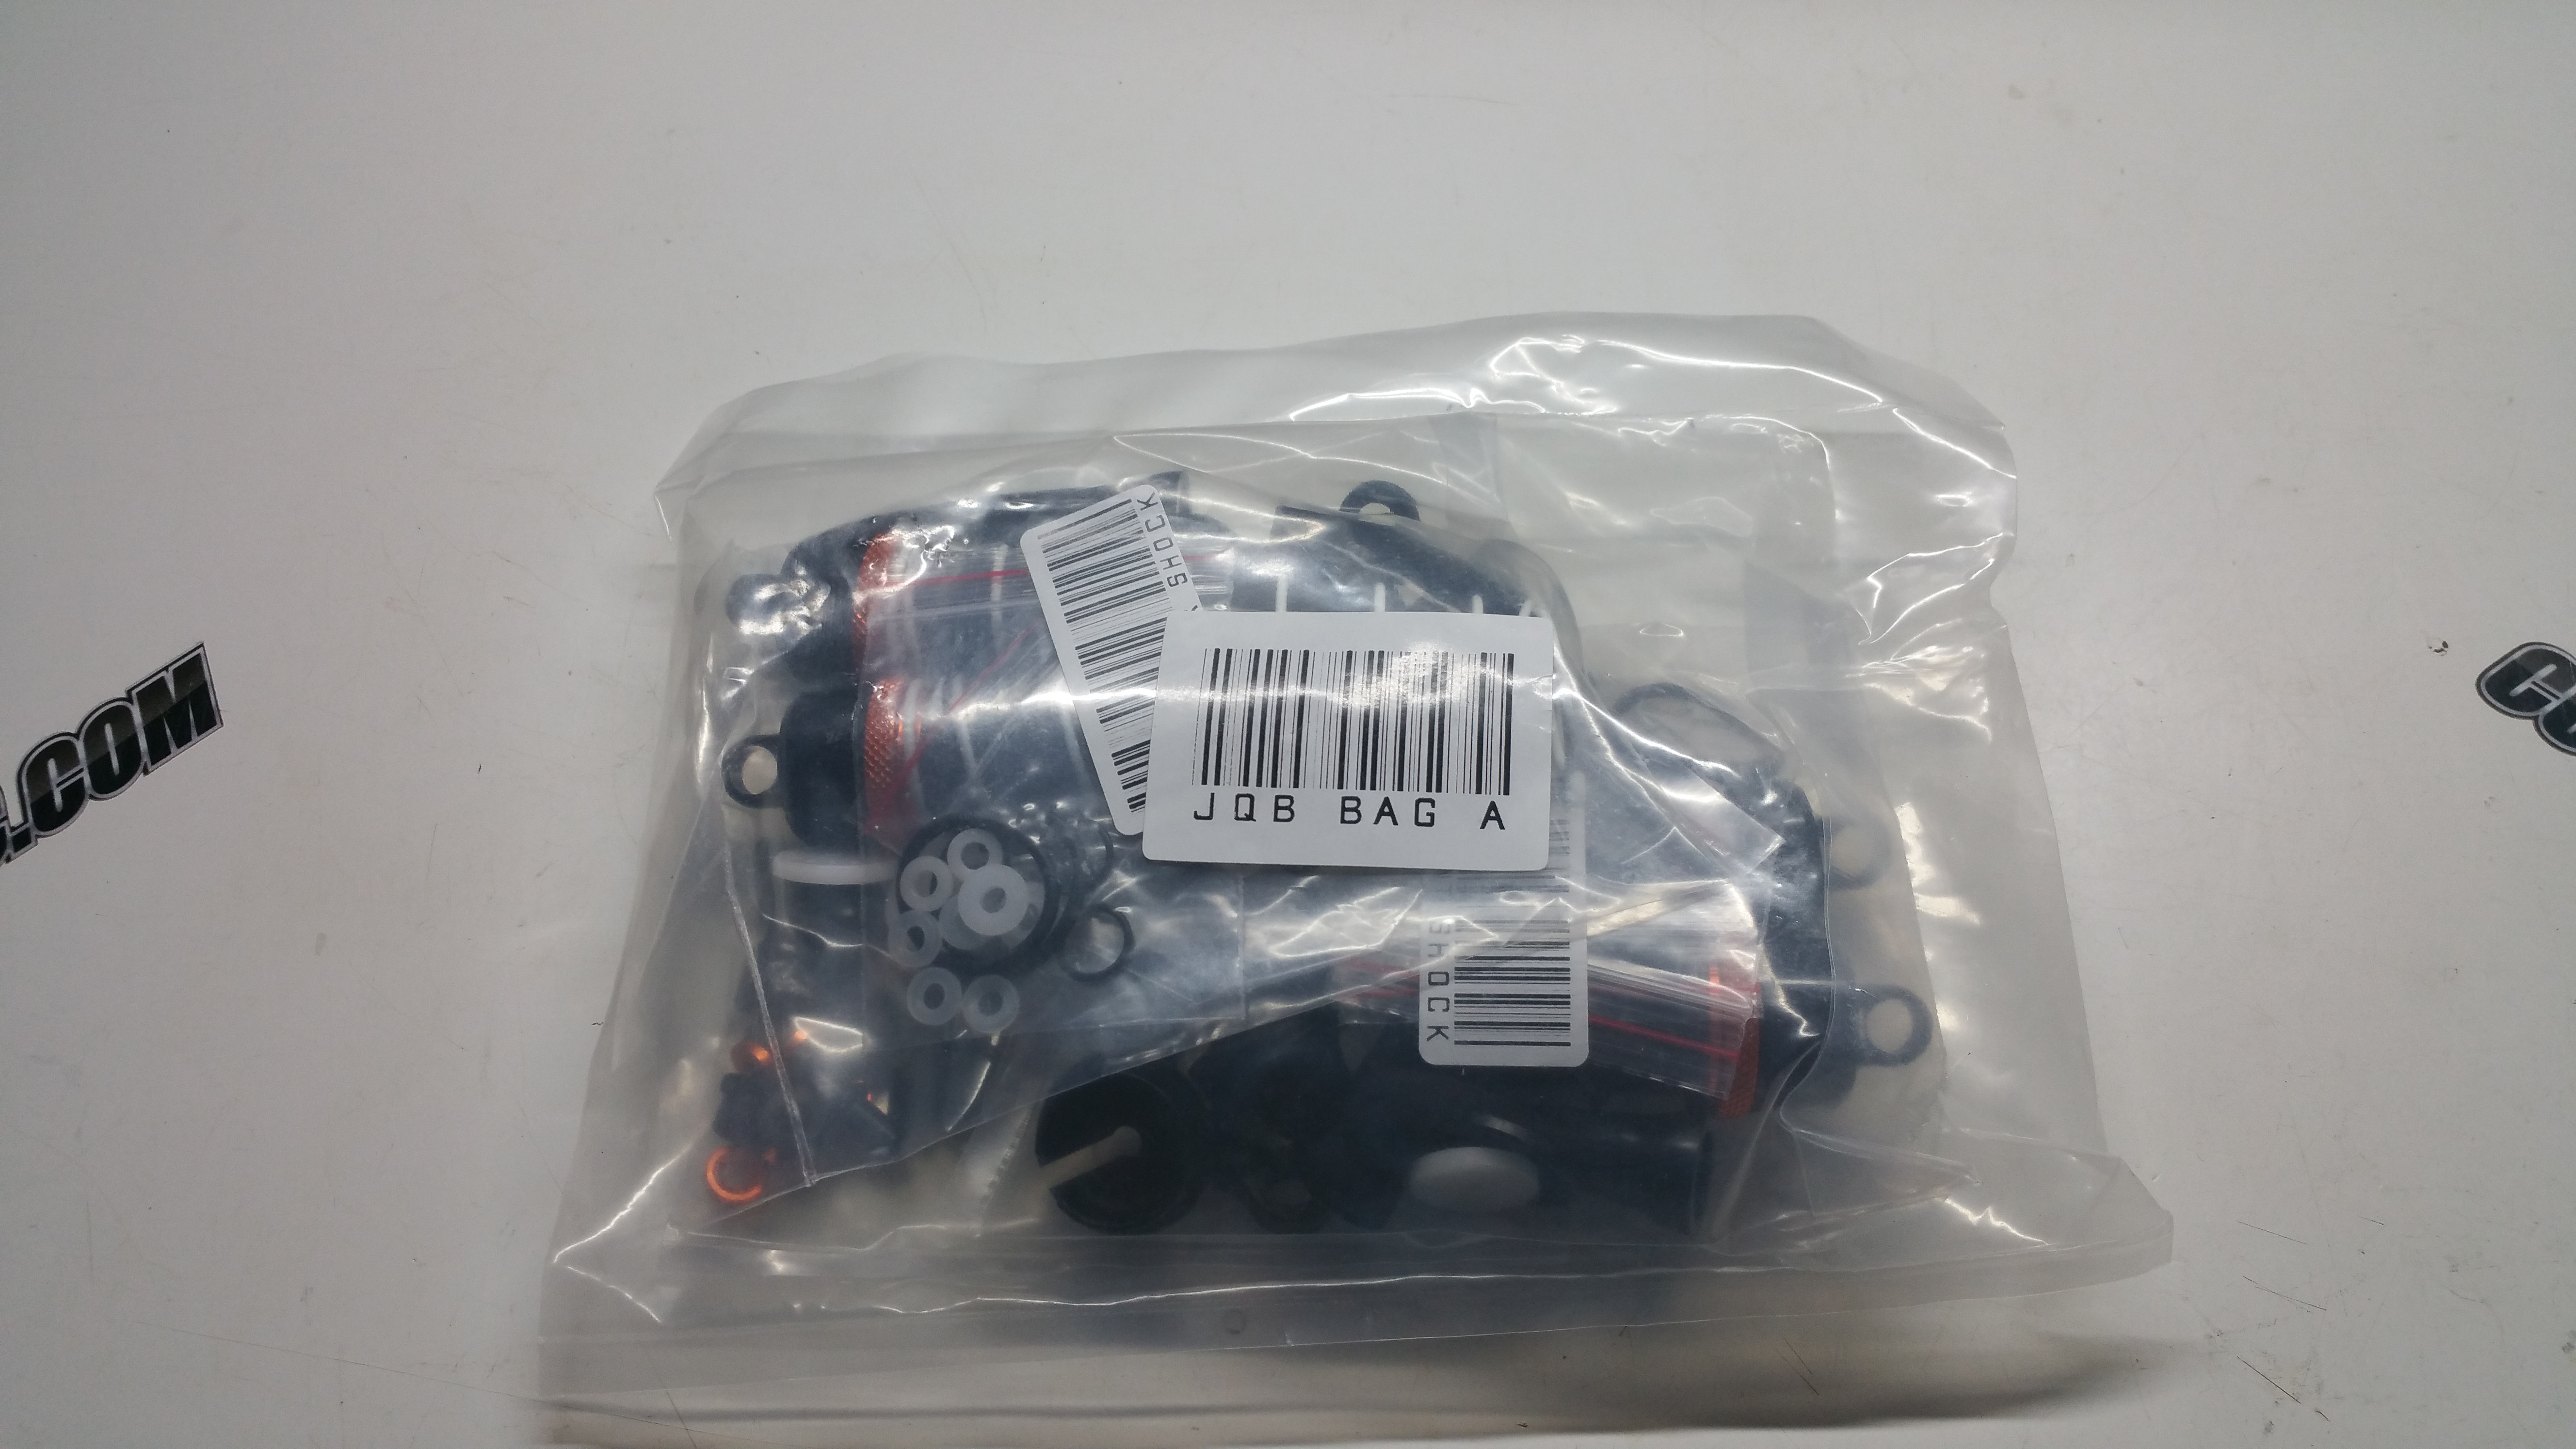
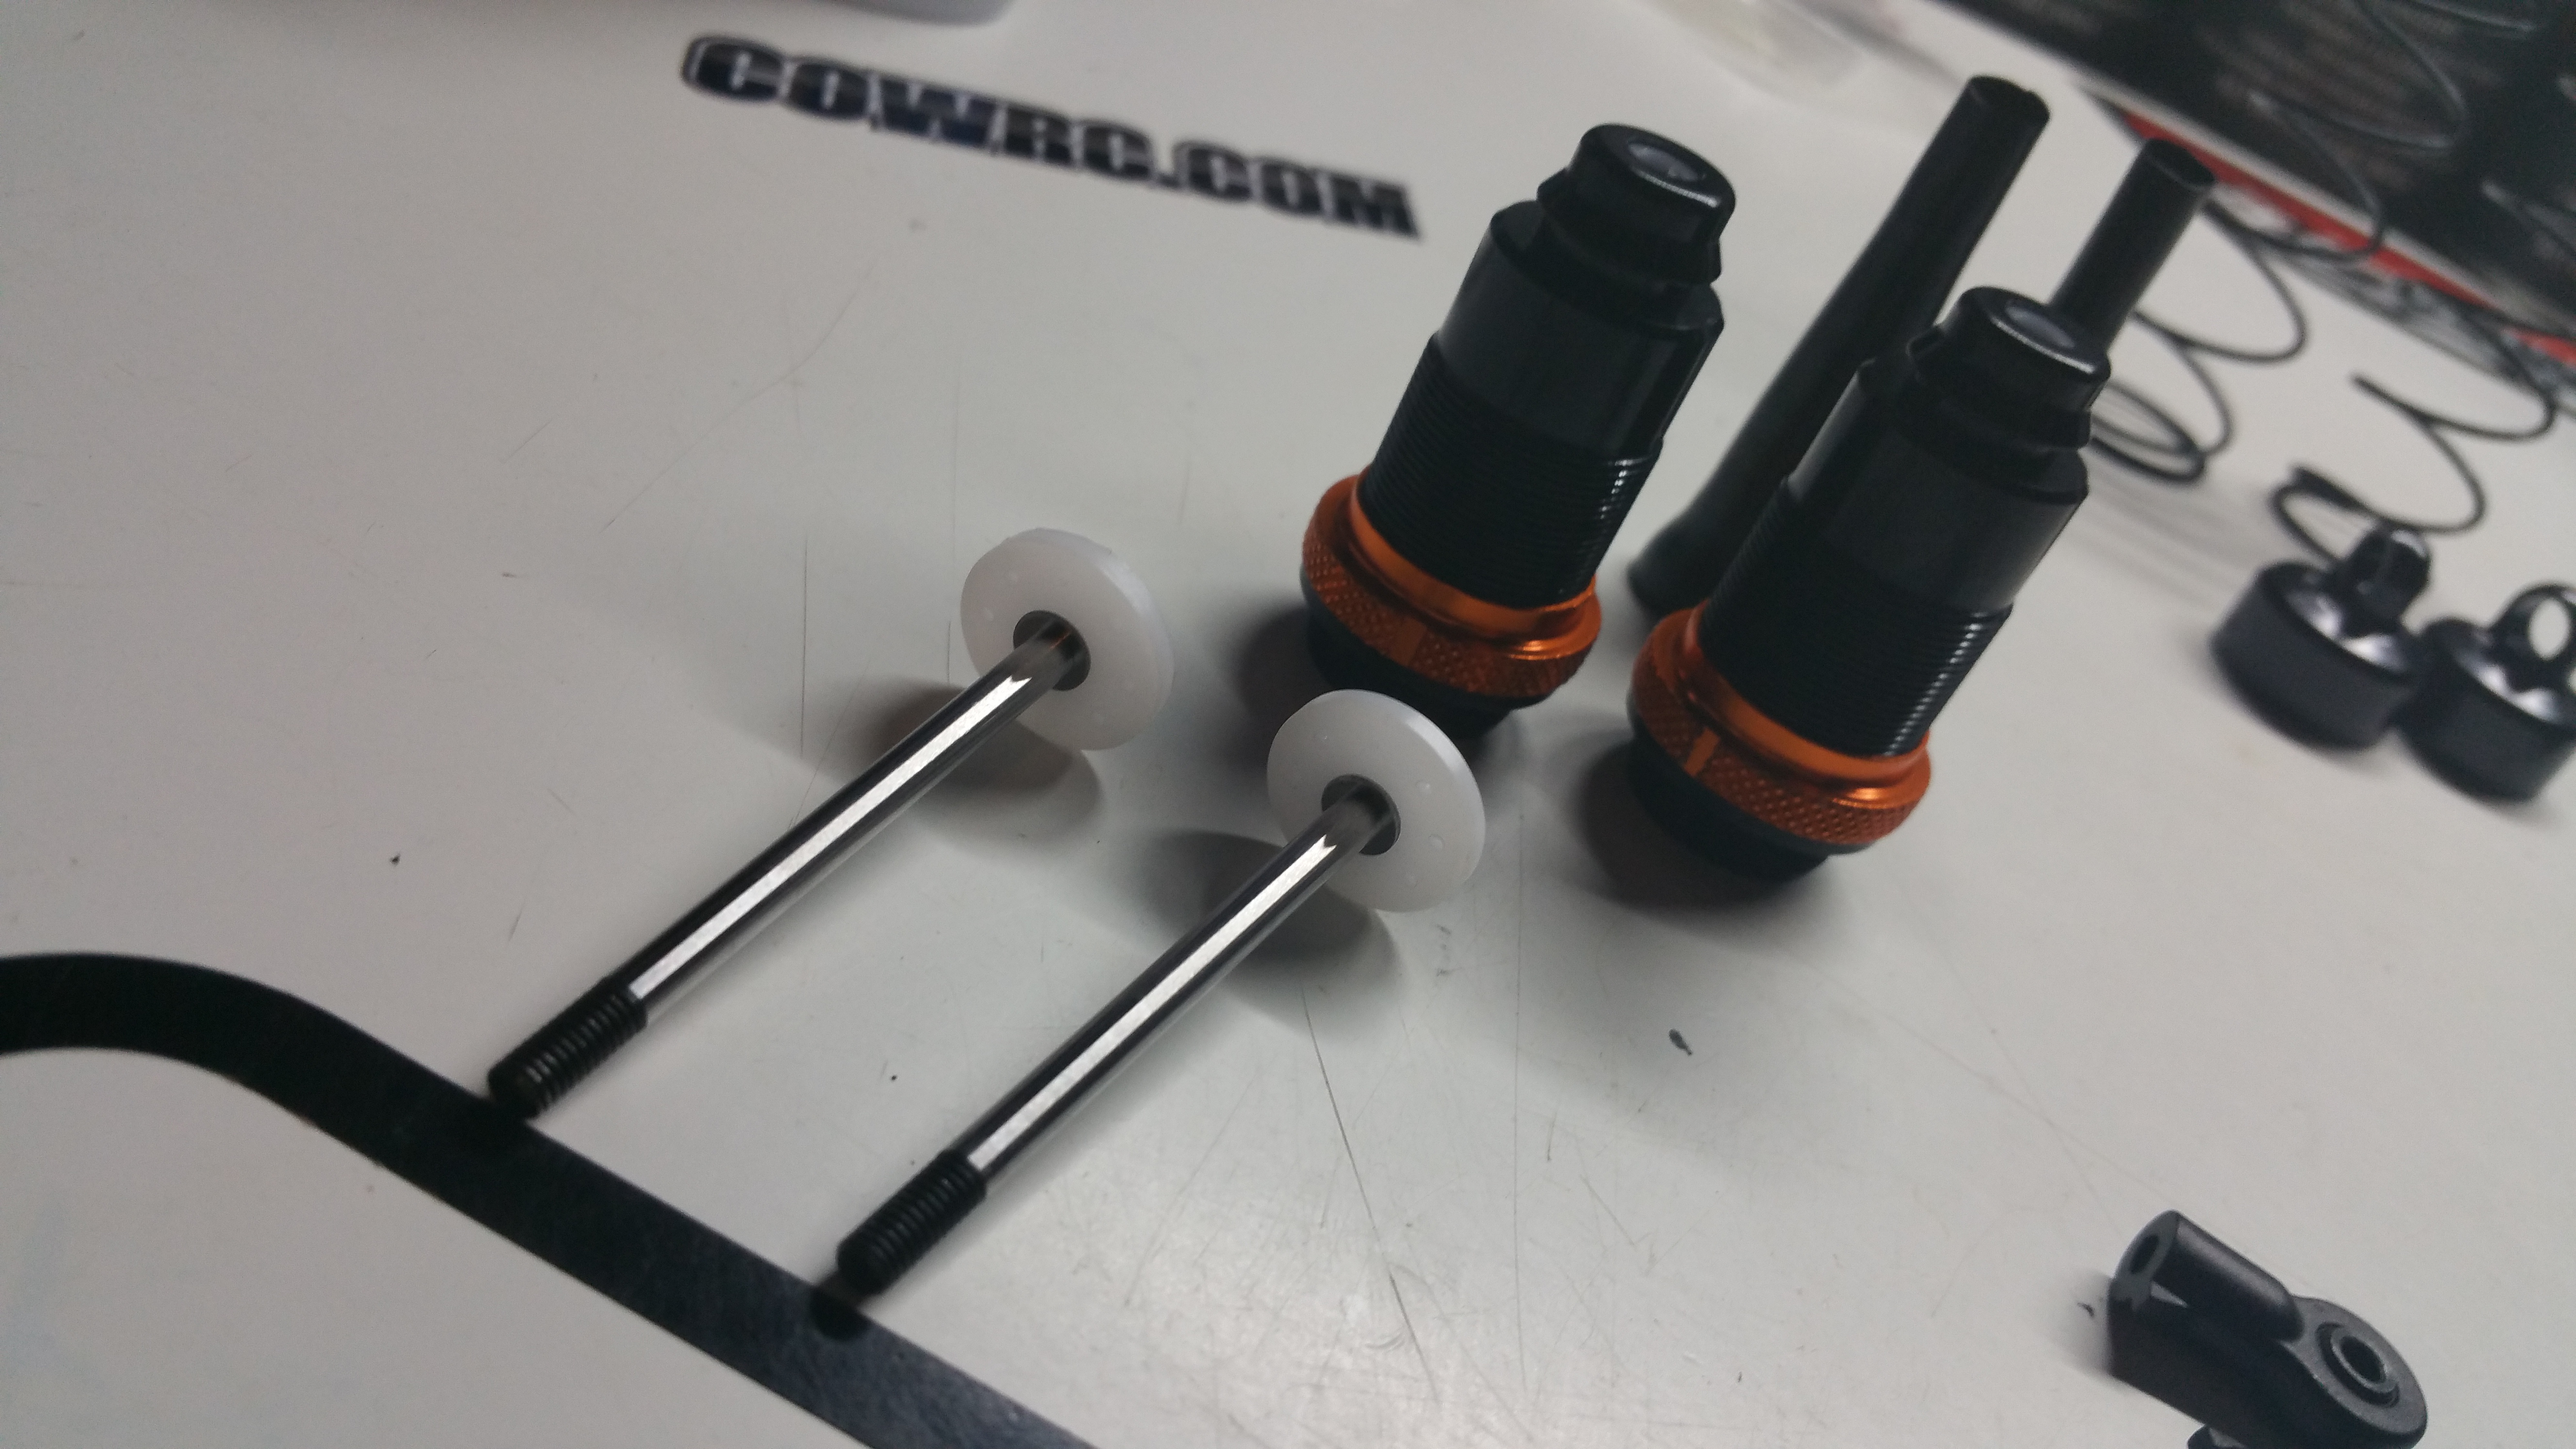
In Bag A, You have 3 bags. THE Front Shock, THE Rear Shock, and some hardware. One cool thing to note about this kit, lots of little color washers come standard, very appealing to me.
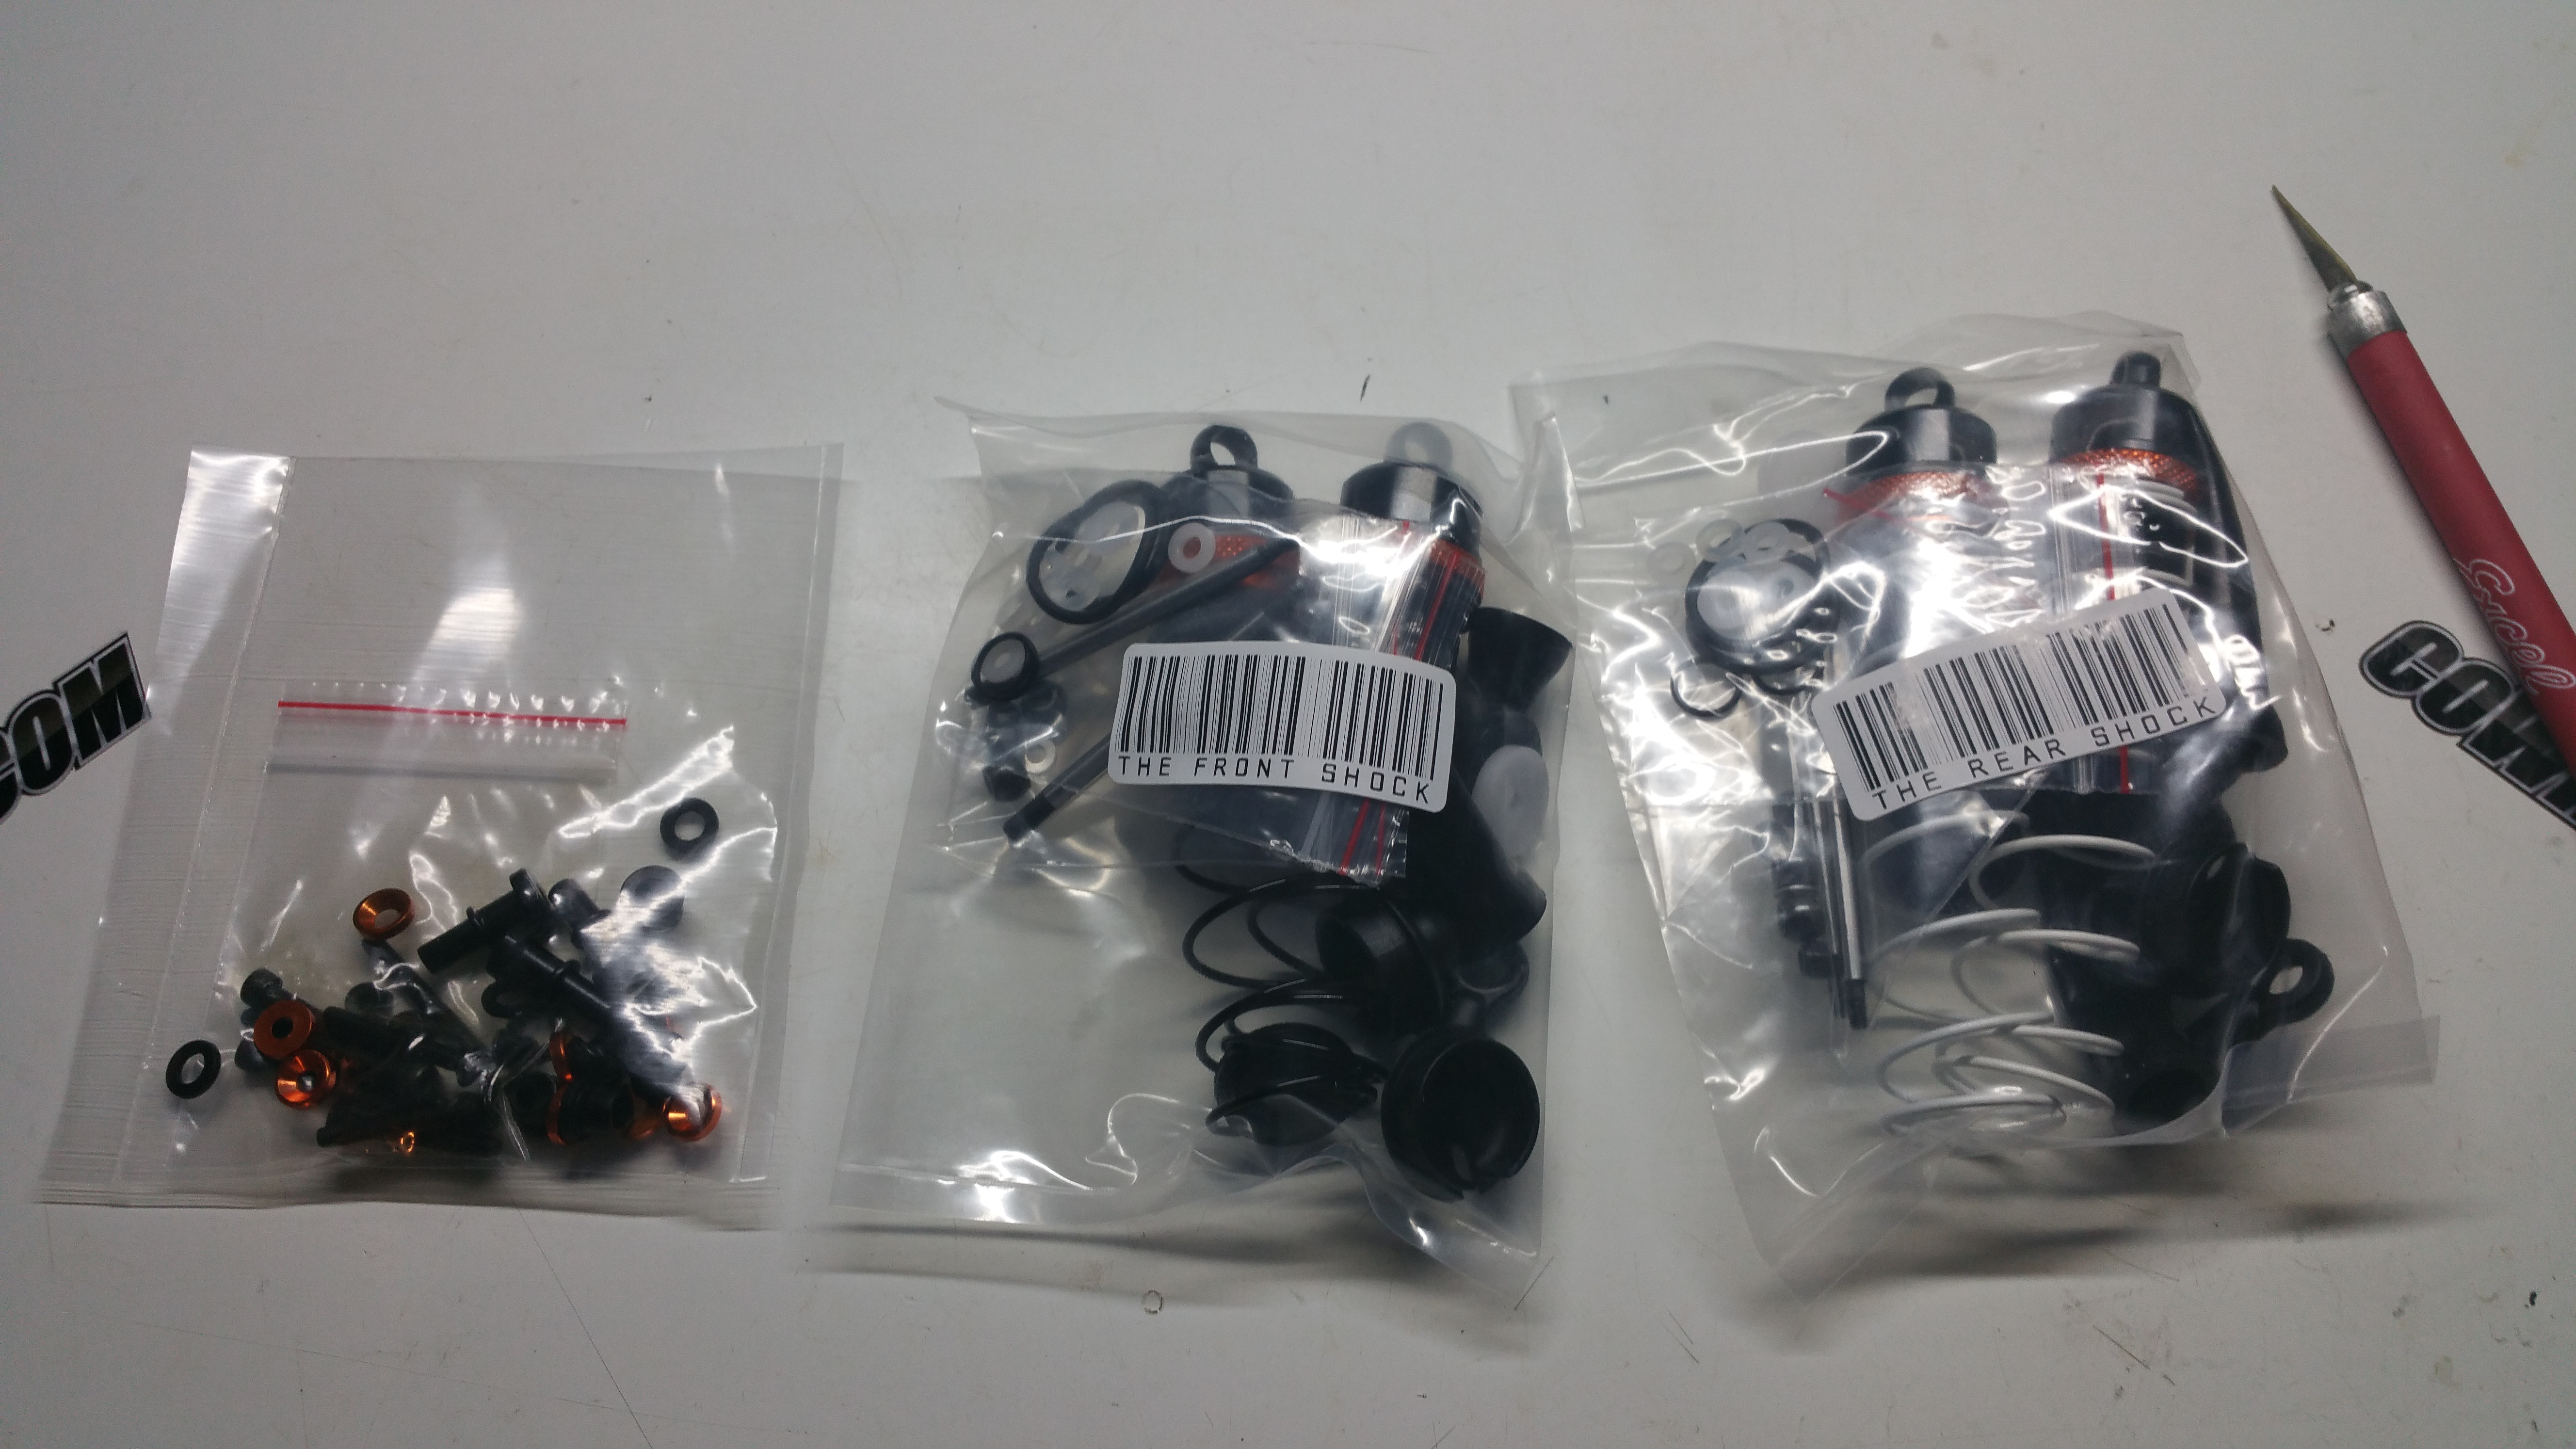
Open em up, and you see everything!
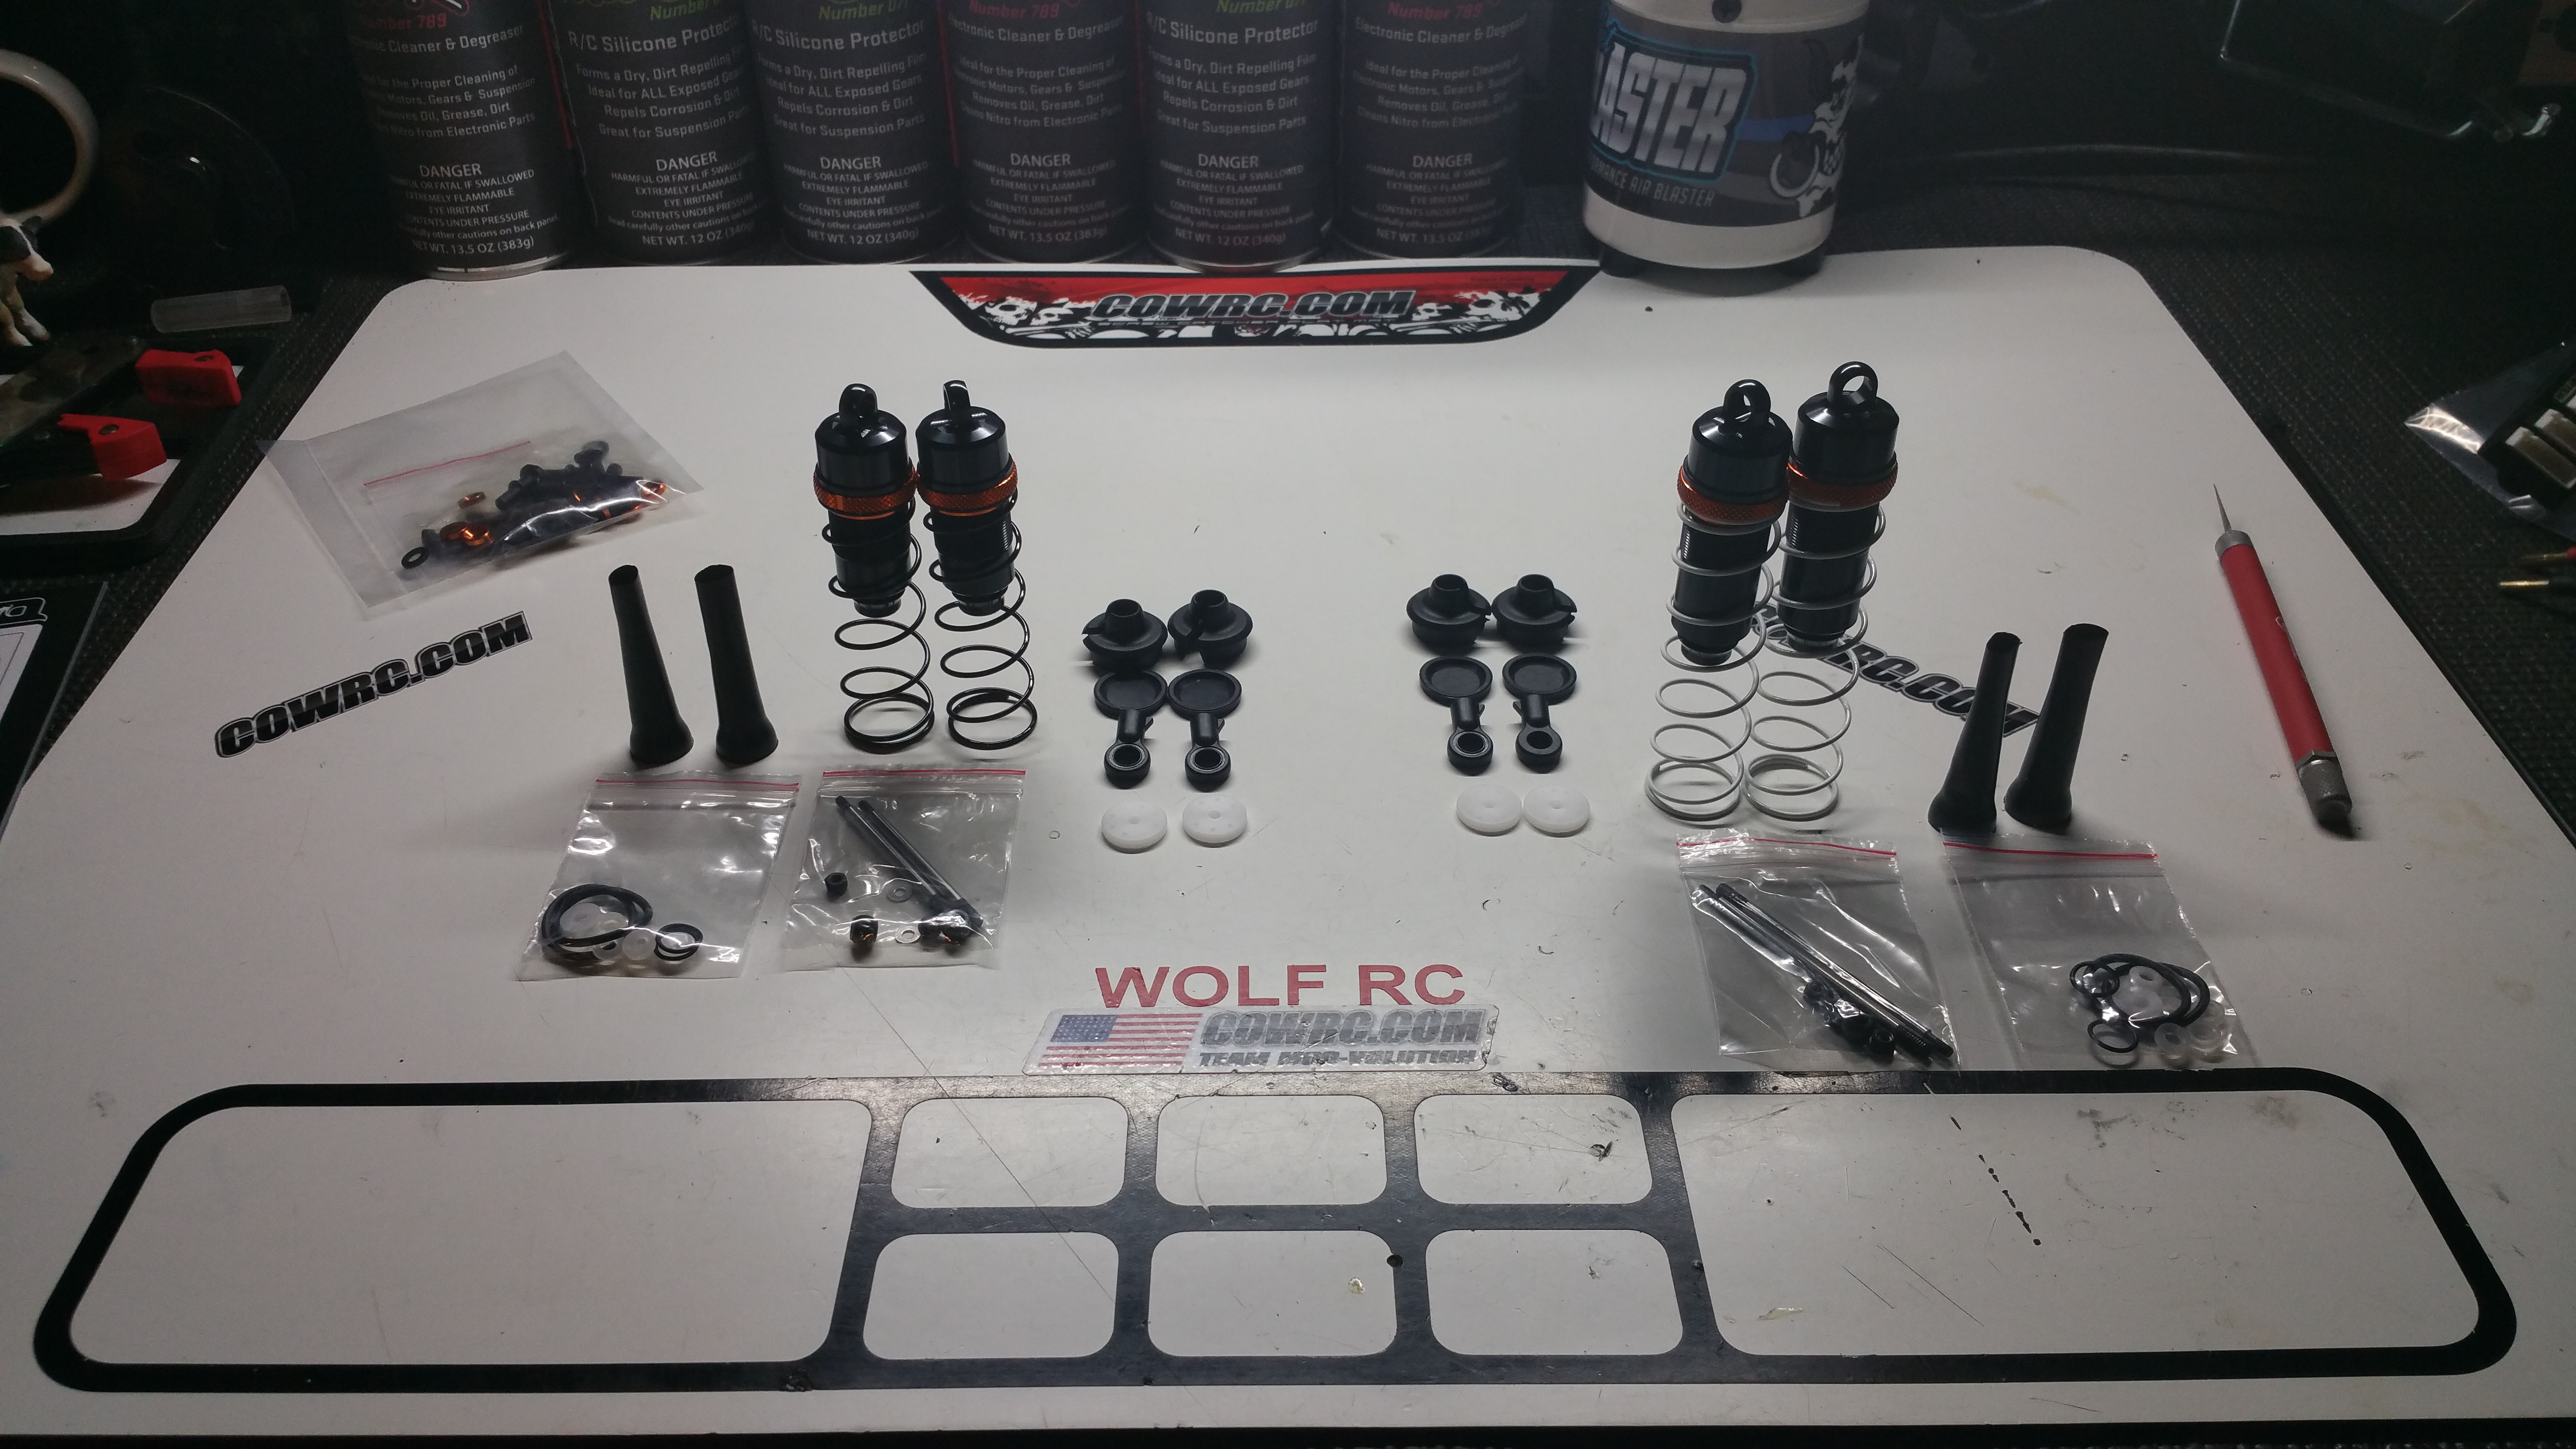
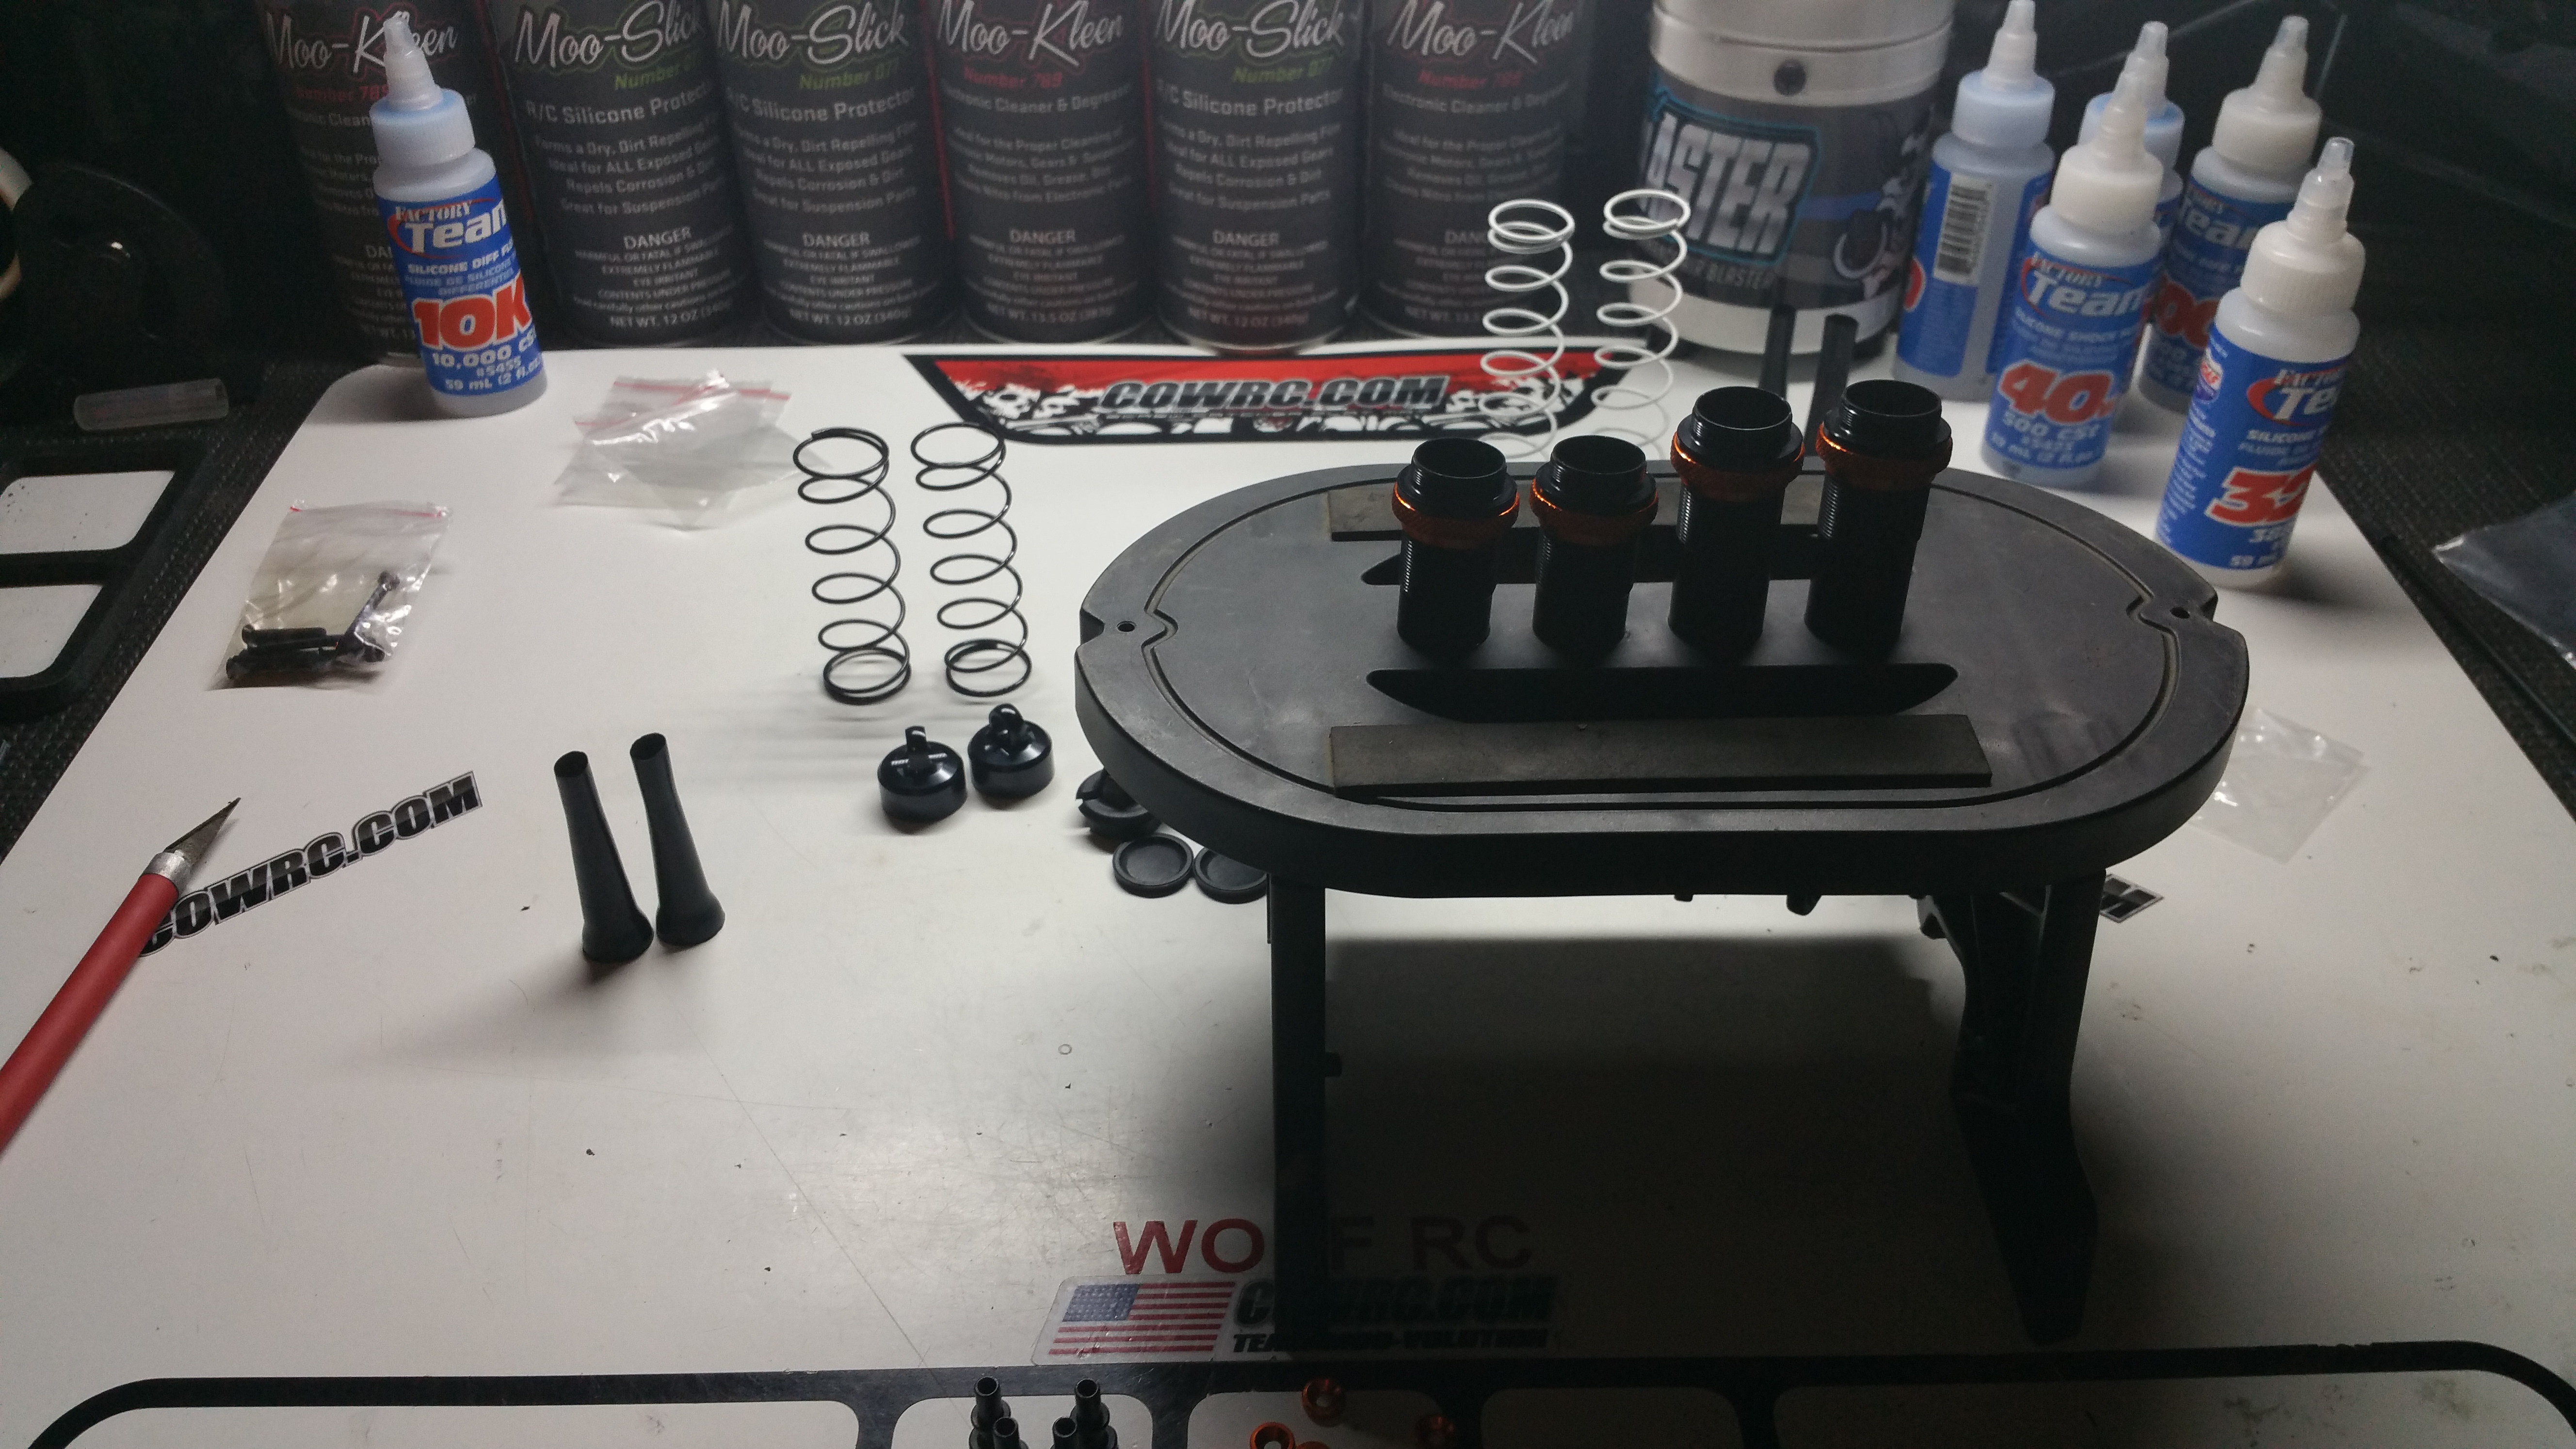
I’m currently starting with 40 wt. oil up front, and 35 wt. in the rear, with the stock pistons. I’ll be ordering up some VRP Pistons soon.
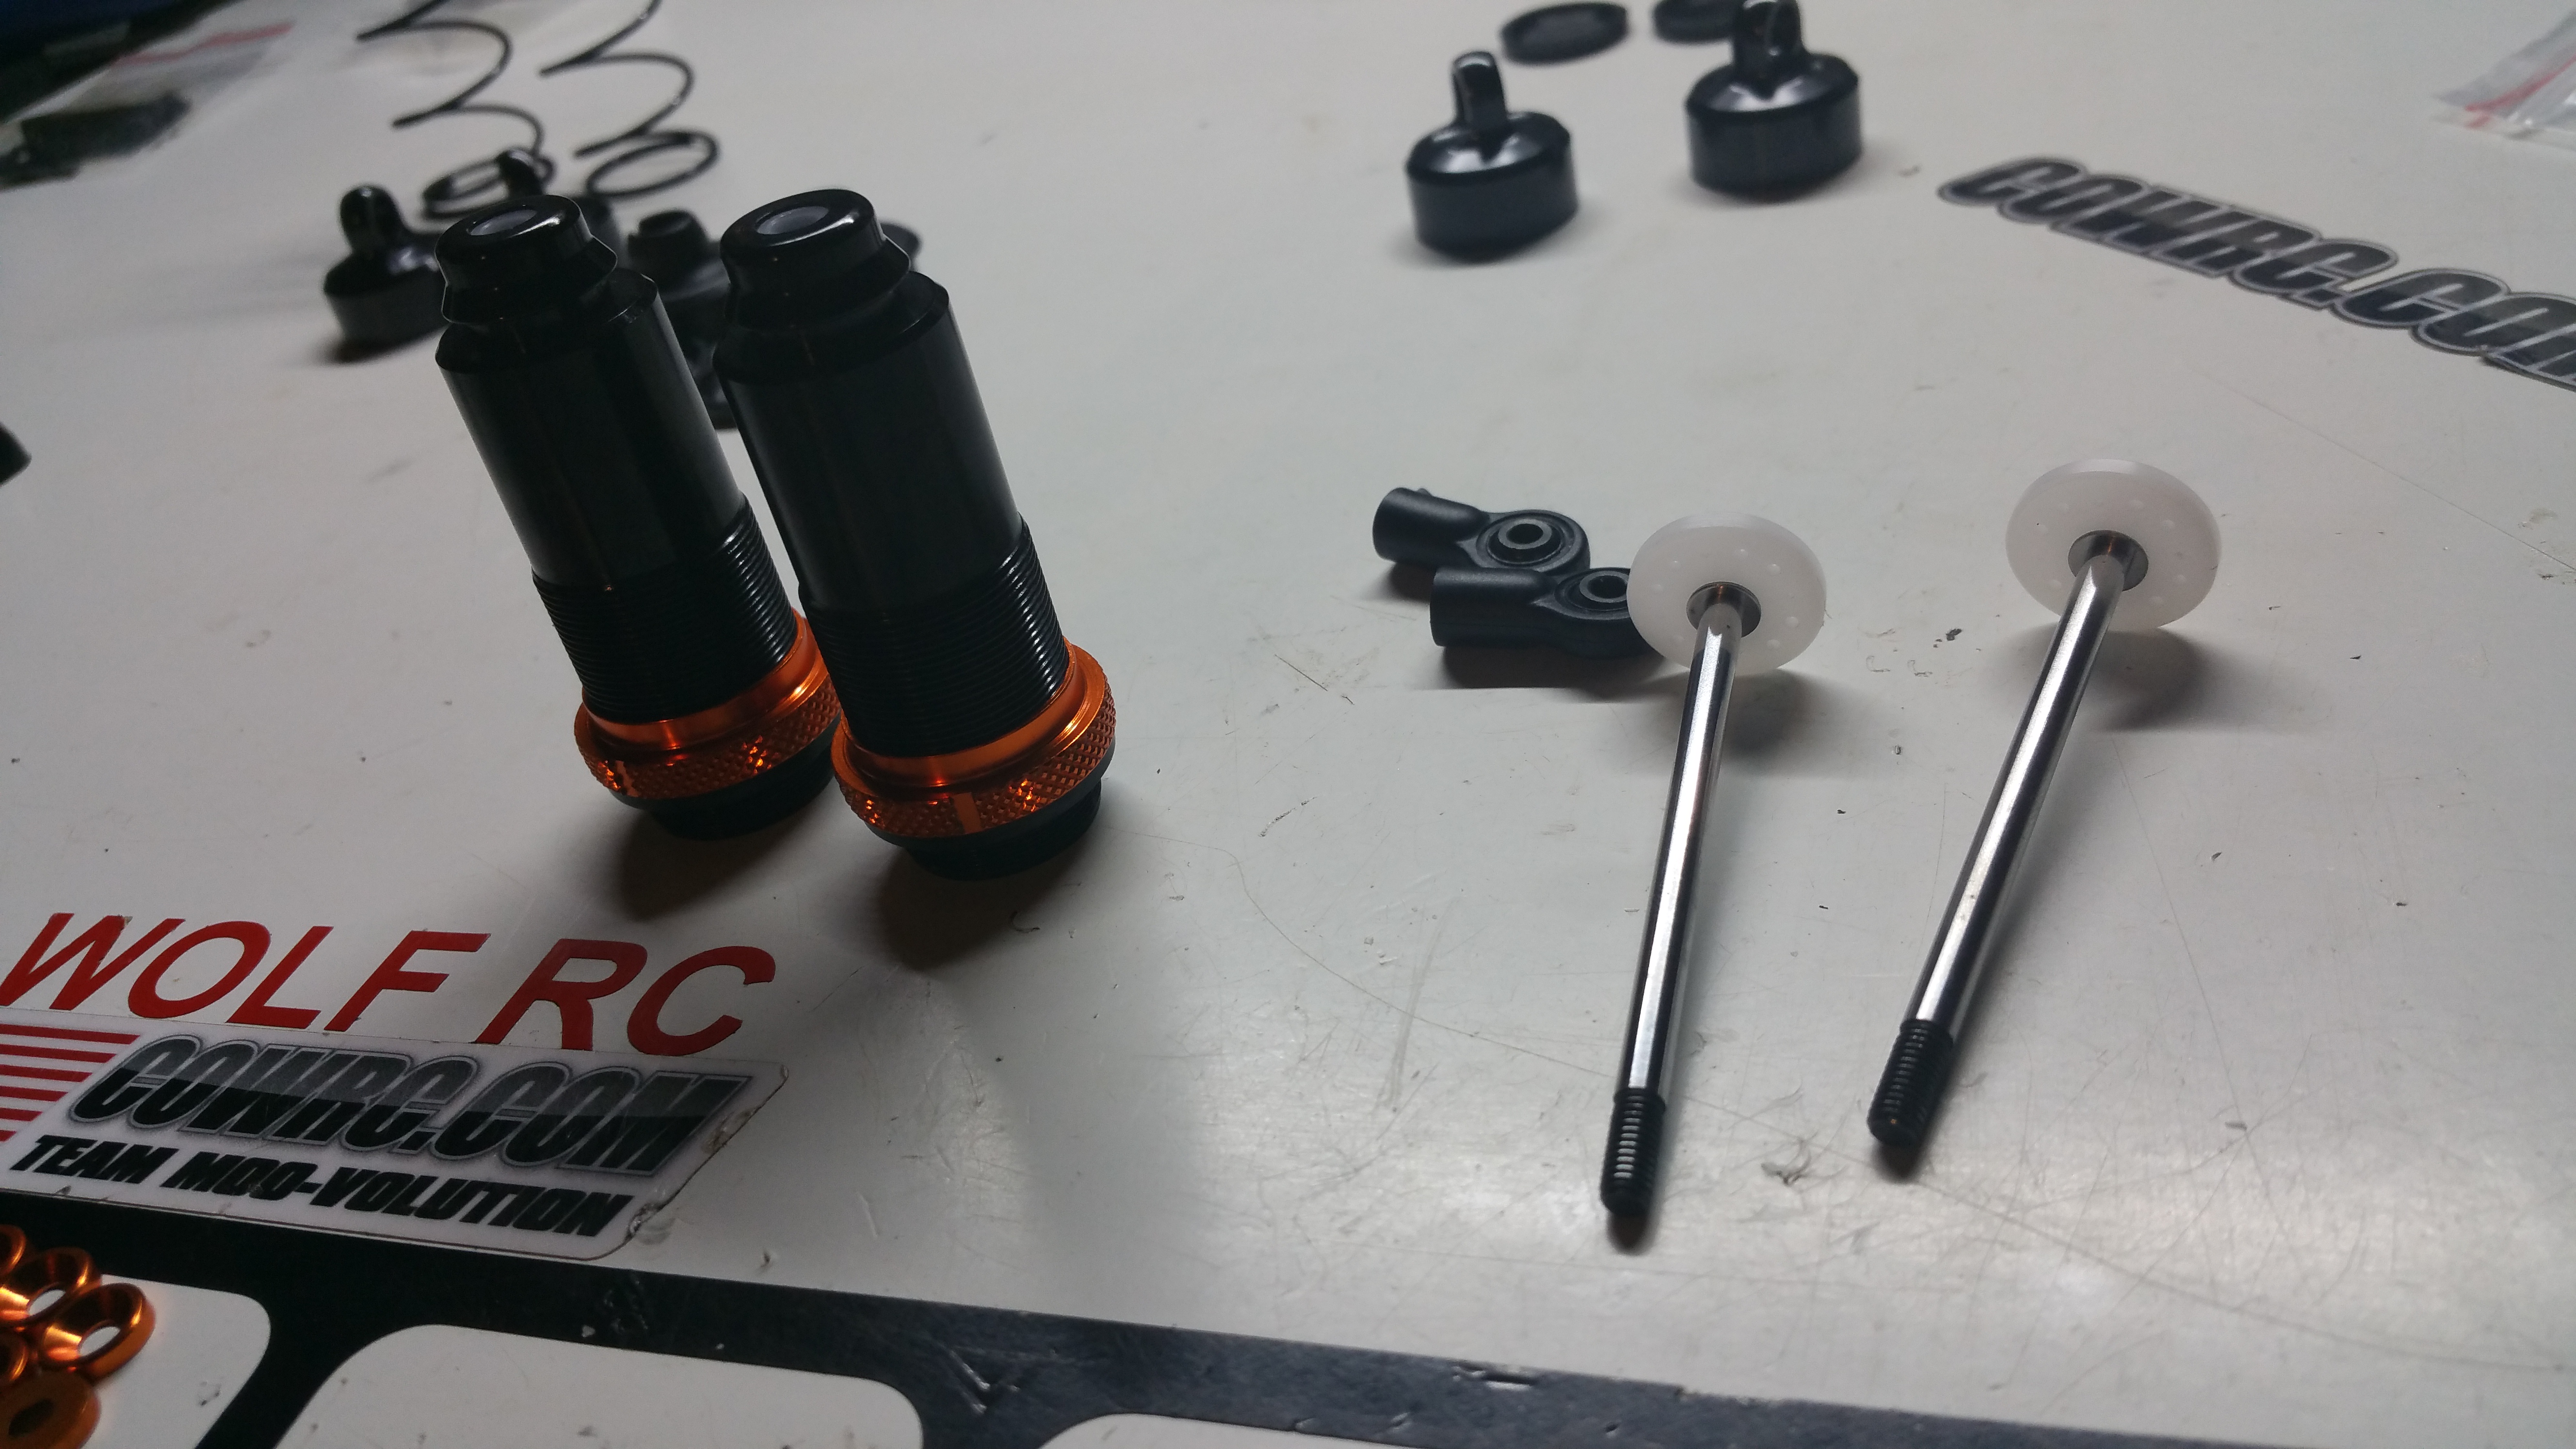
Fill em up!
And I Present… THE Shocks!
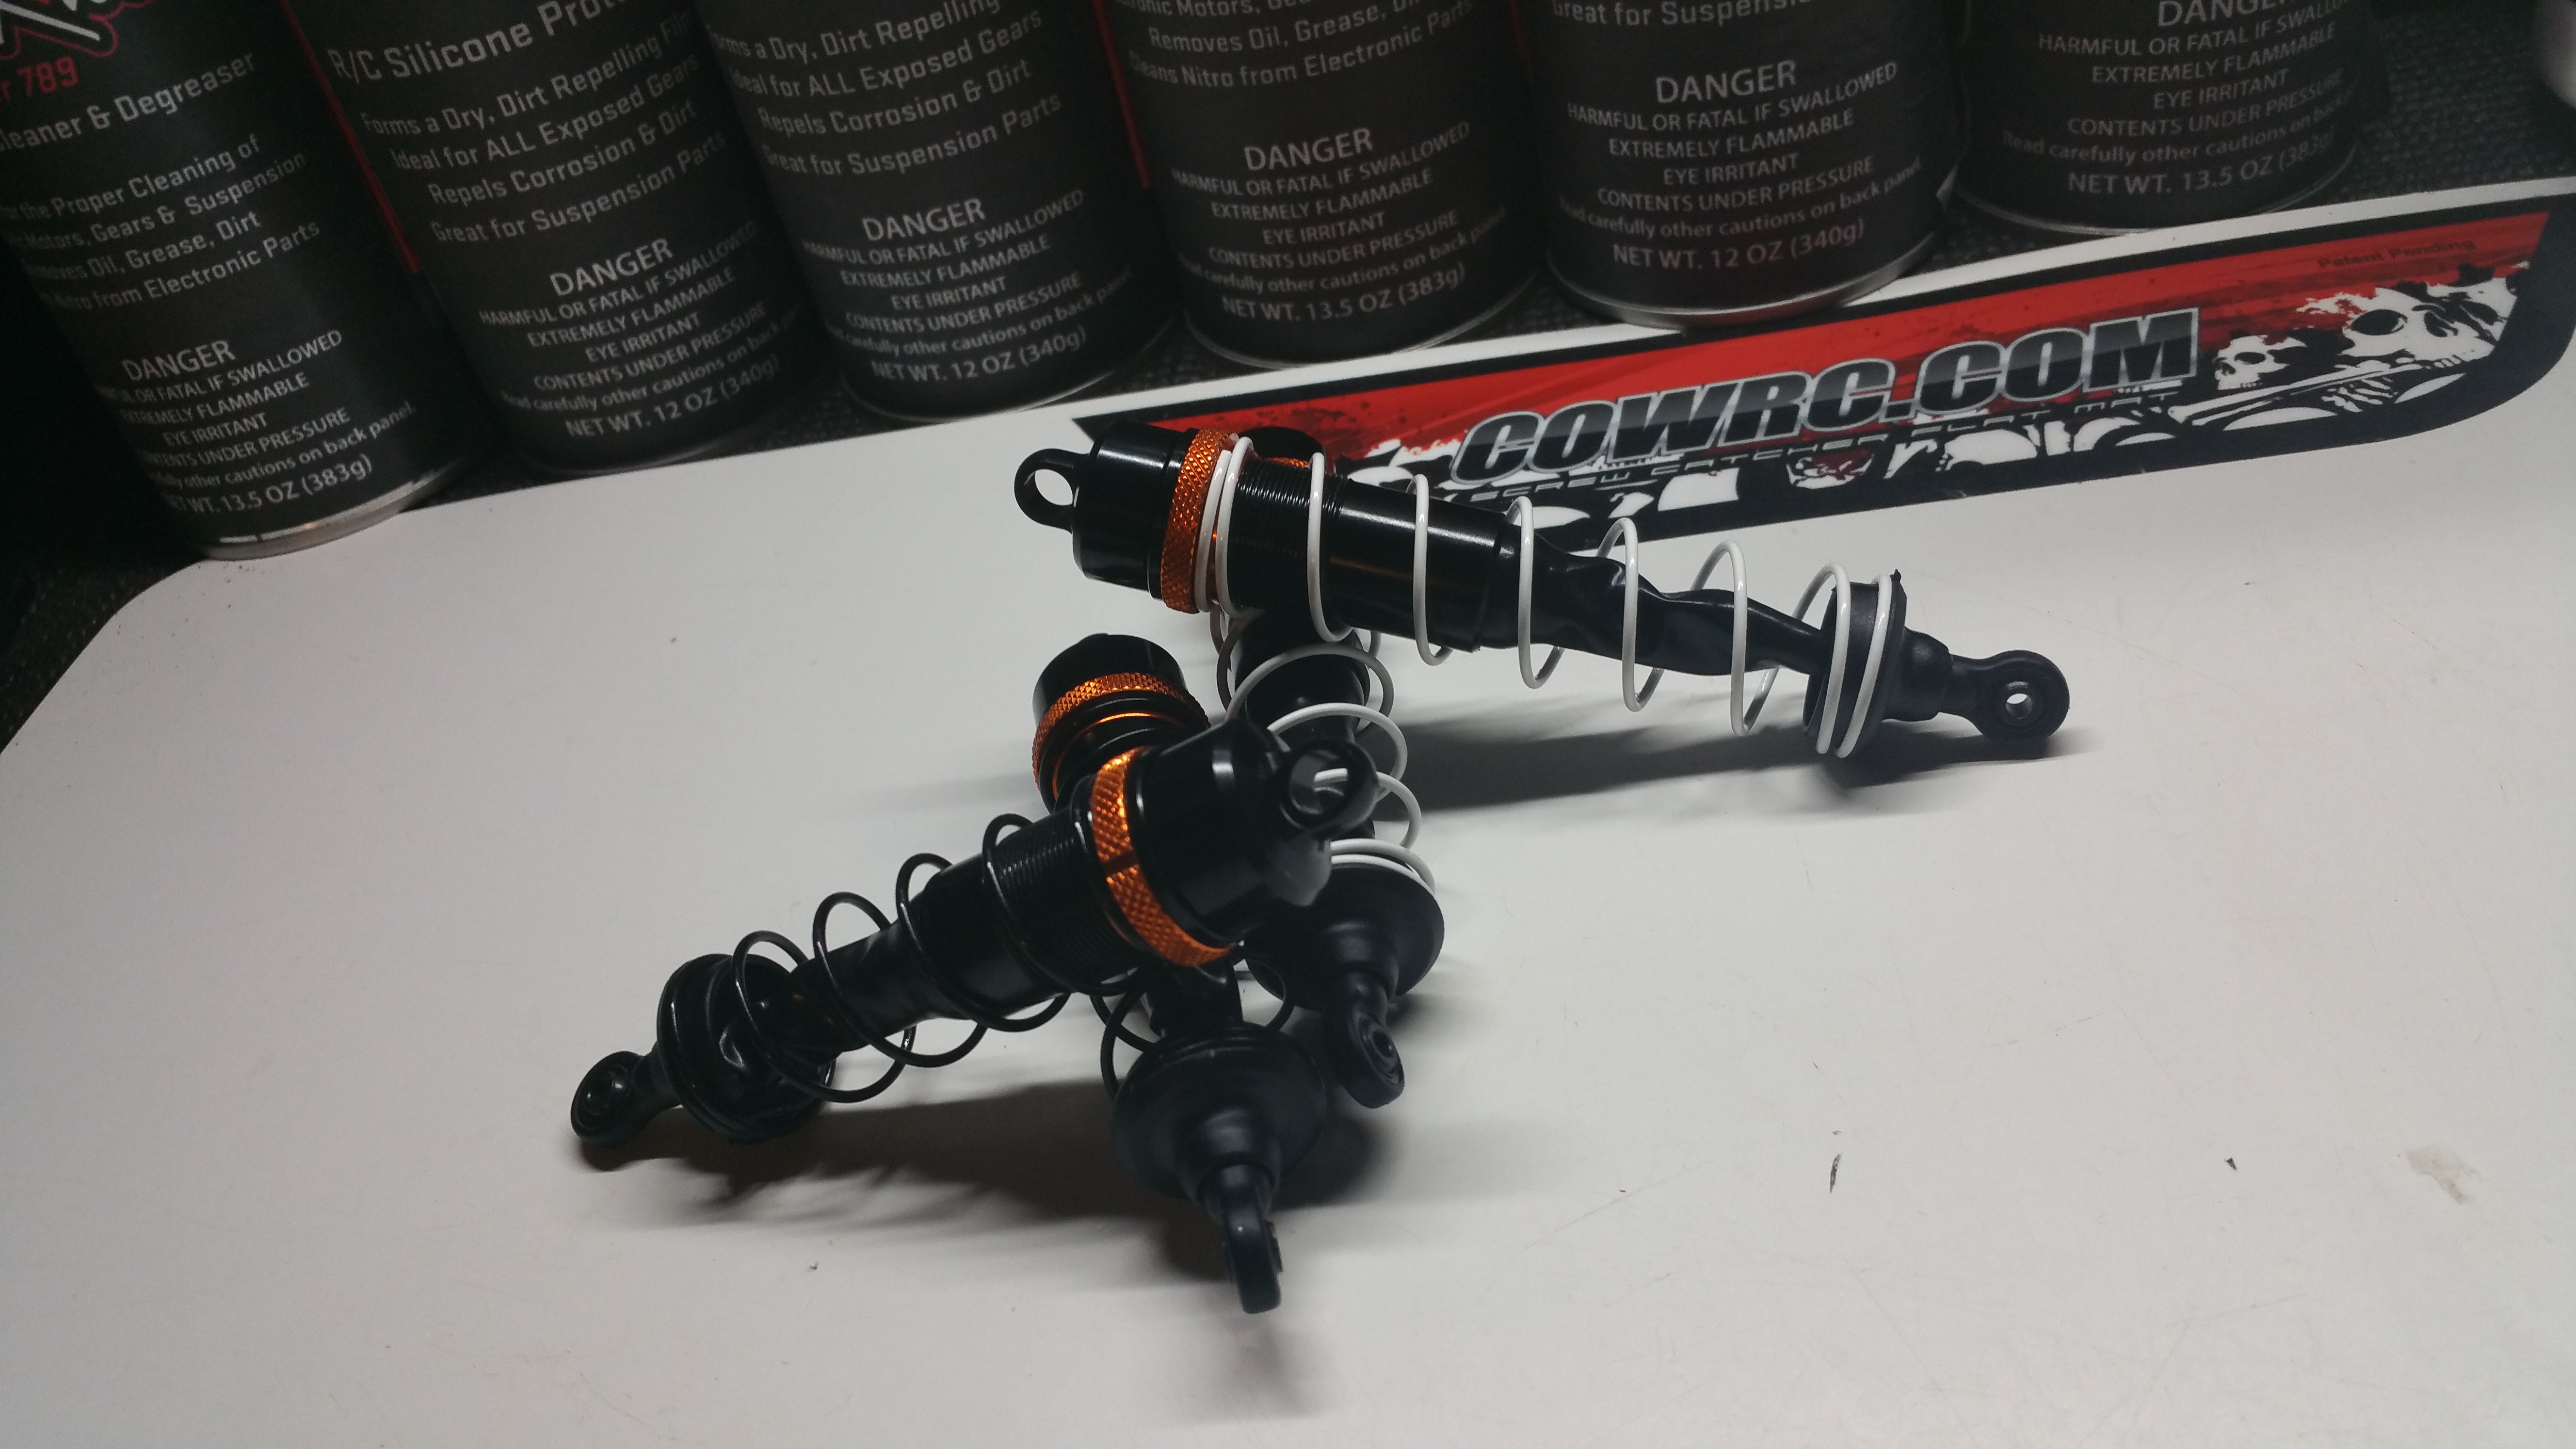
When presented with such awesomeness… remember… you need to breathe…
Moving on to Bag B…
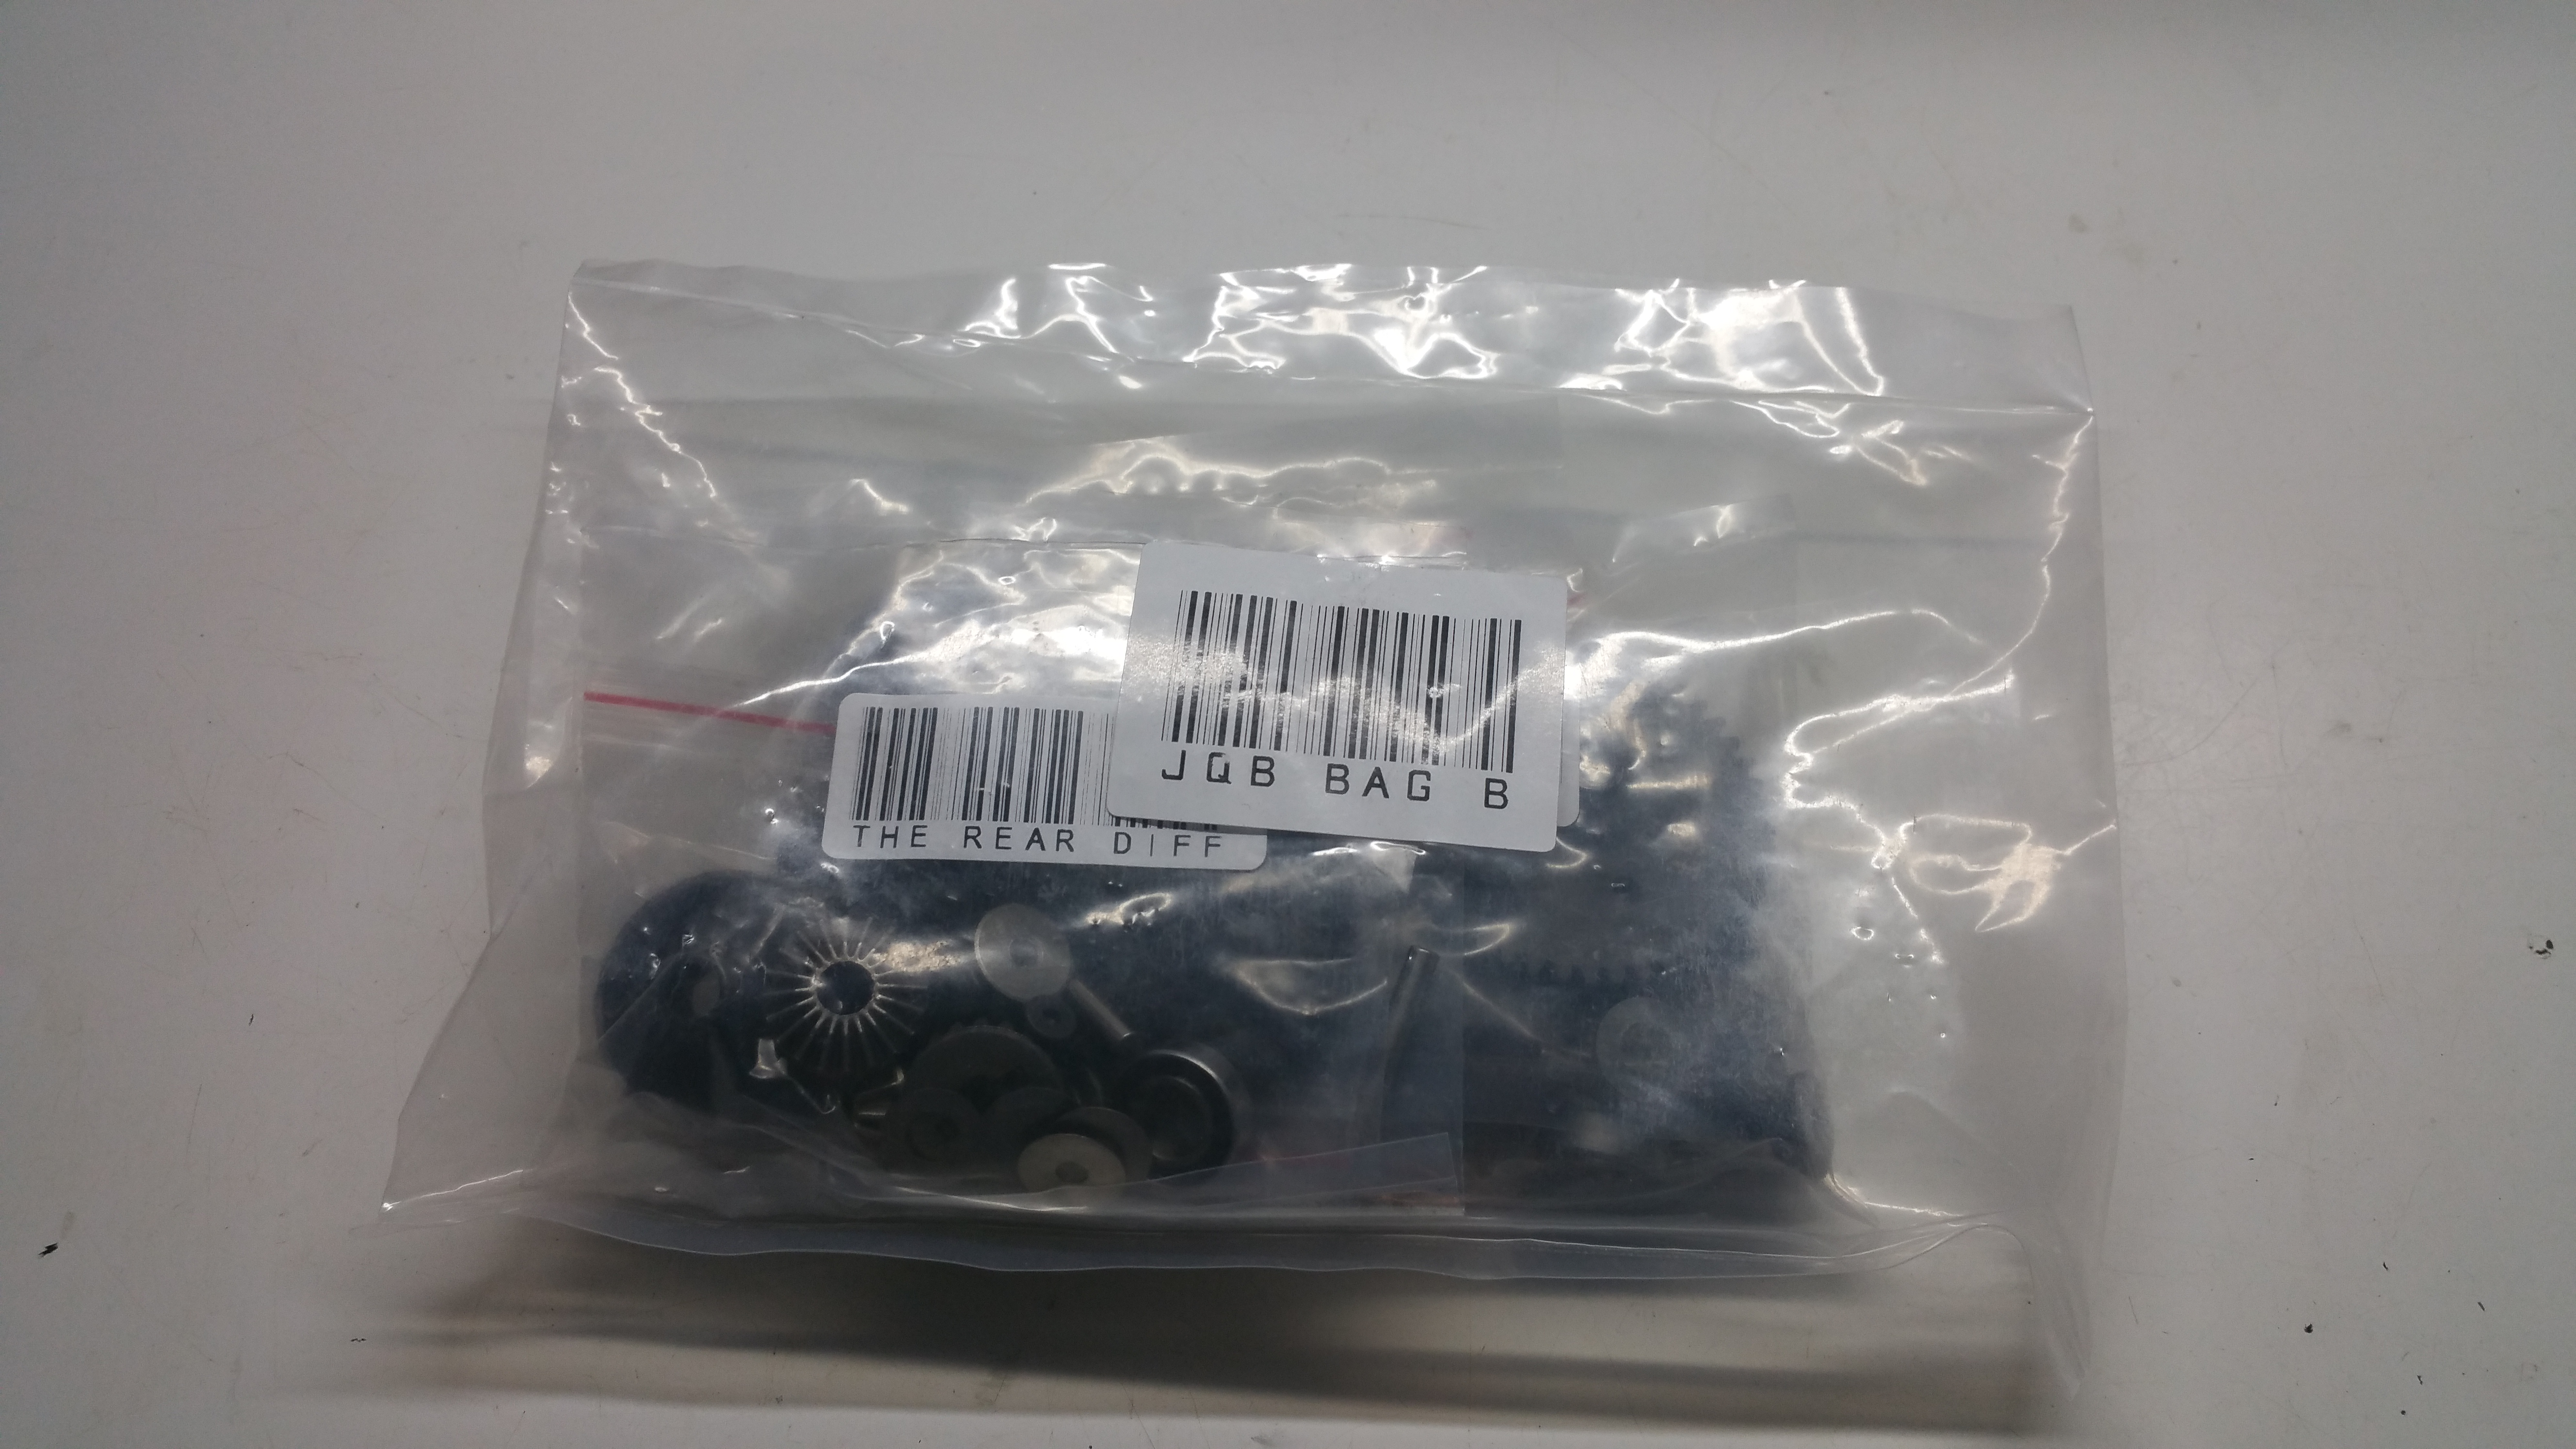
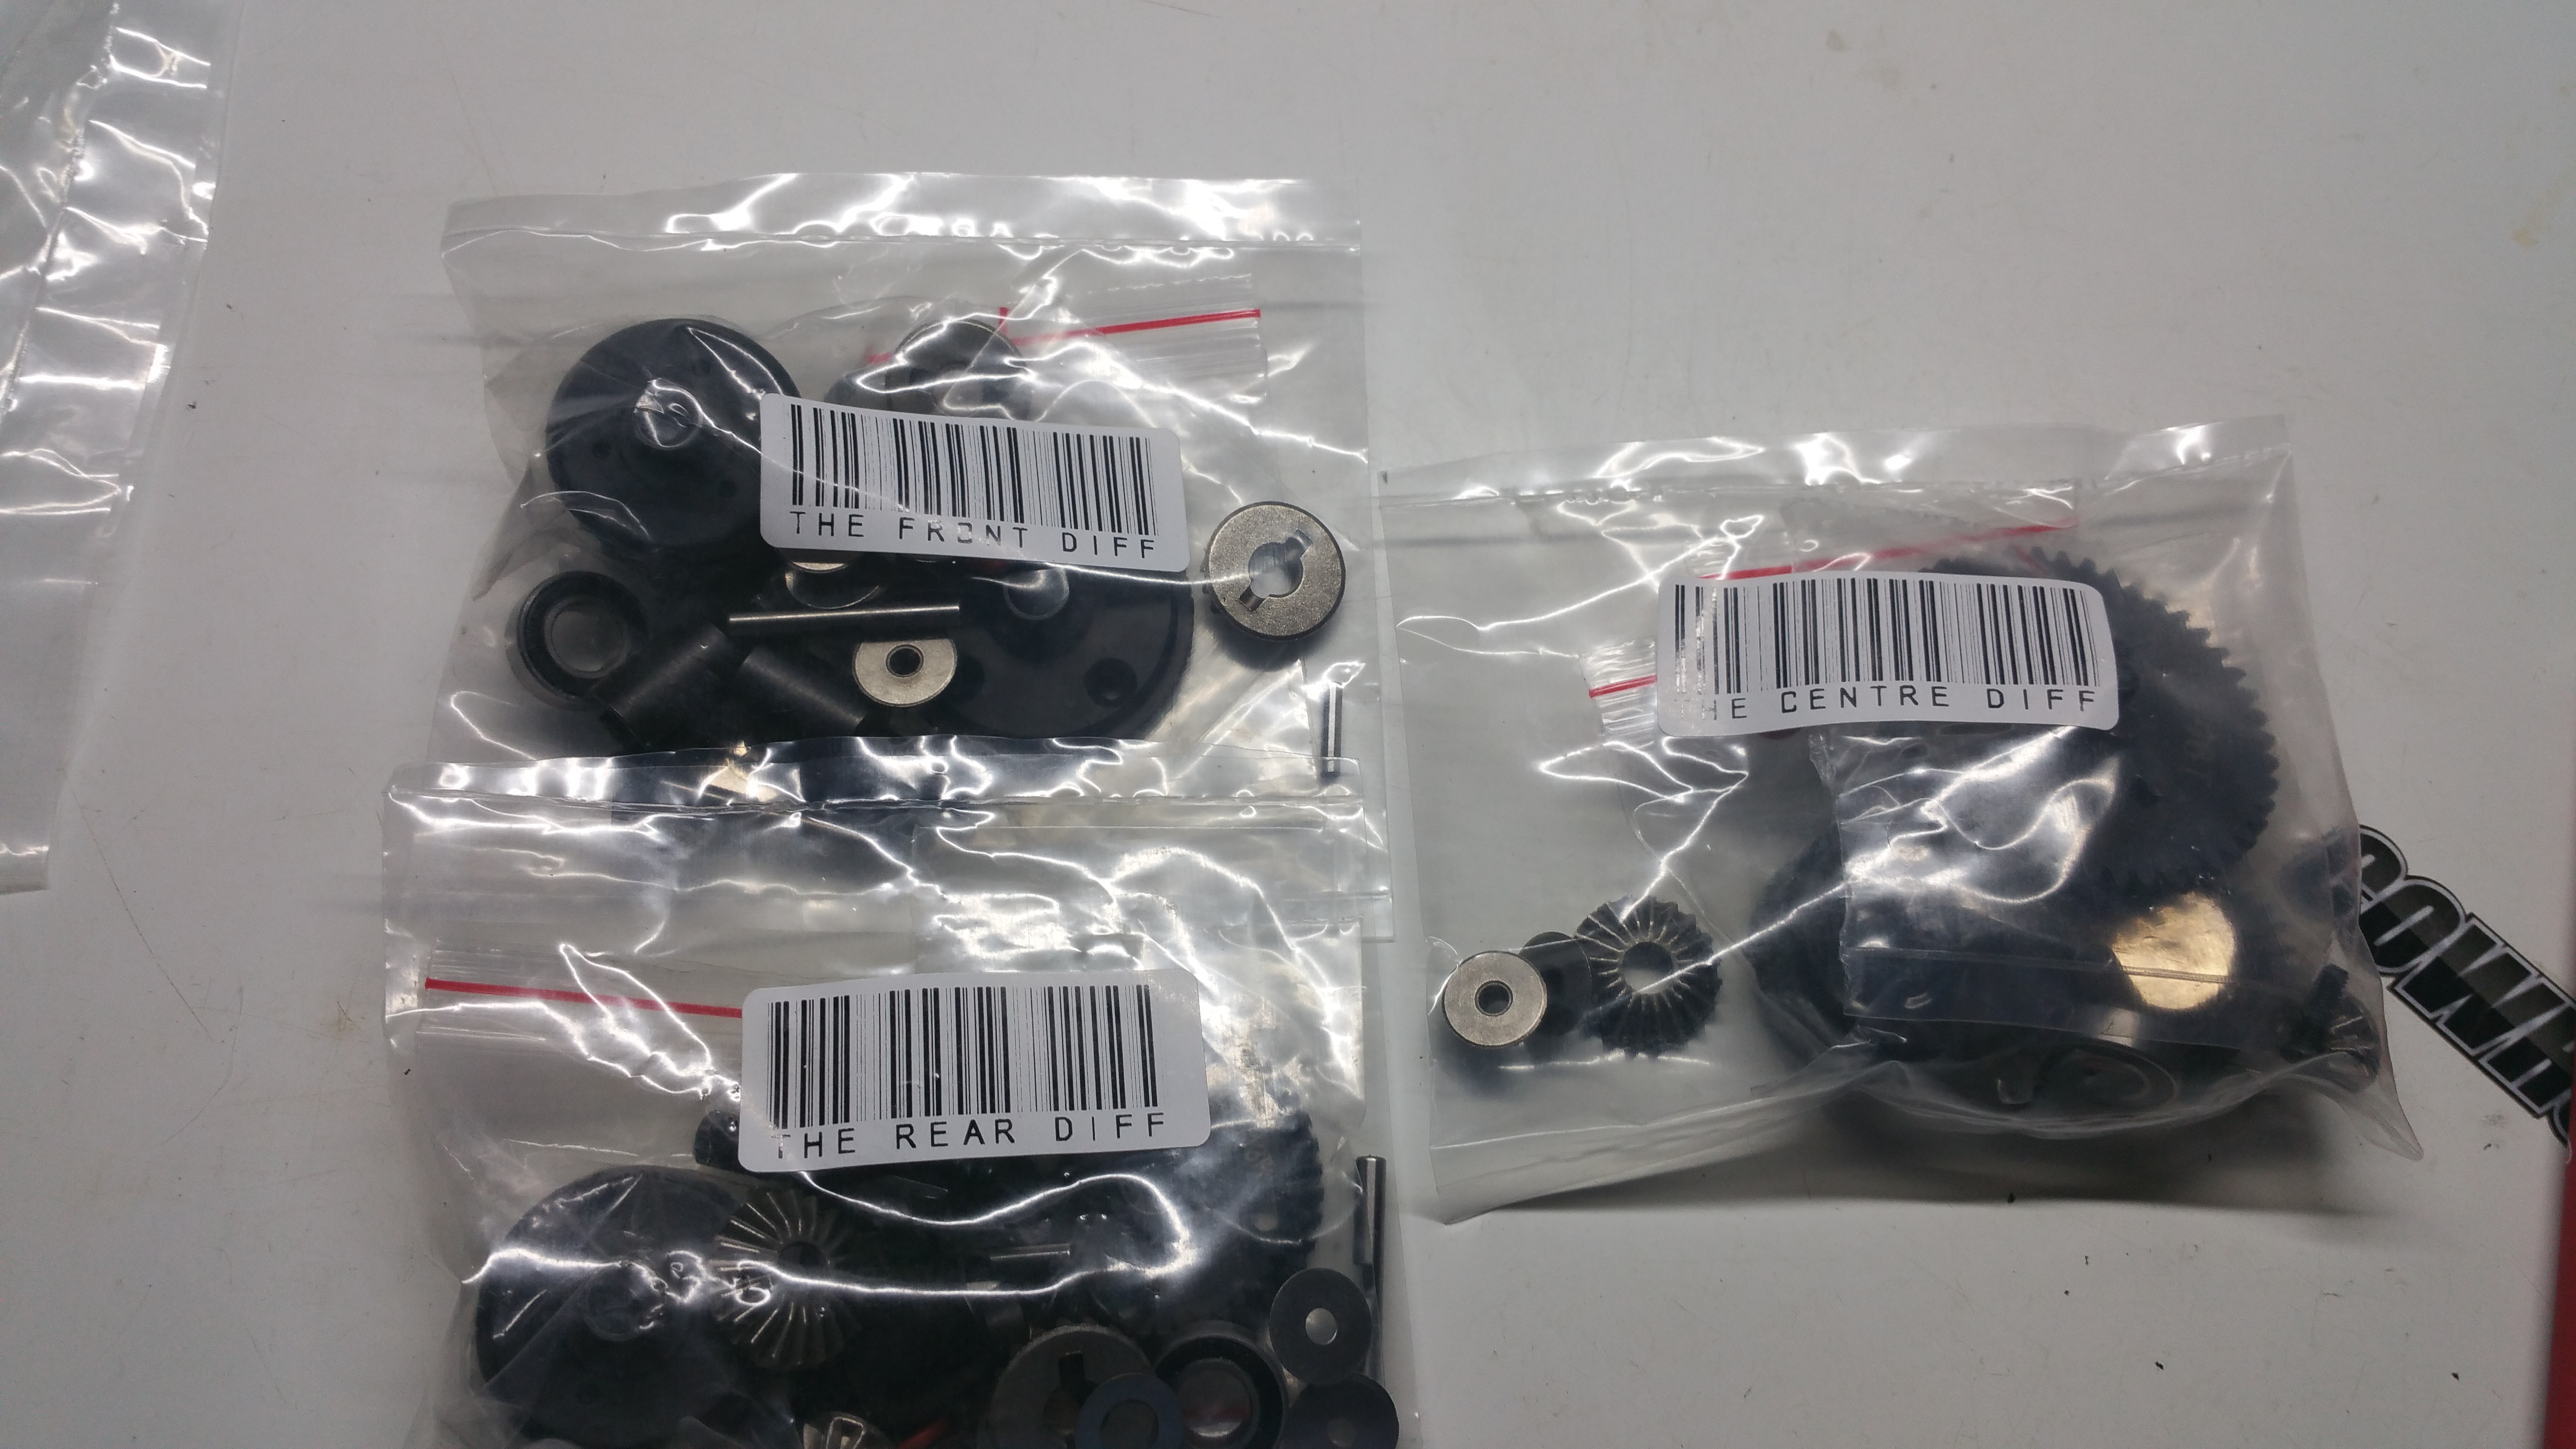
Seems like this may be containing the Diffs!
Bag B Splits up into three smaller bags… THE Front Diff, THE Centre Diff, and THE Rear diff.
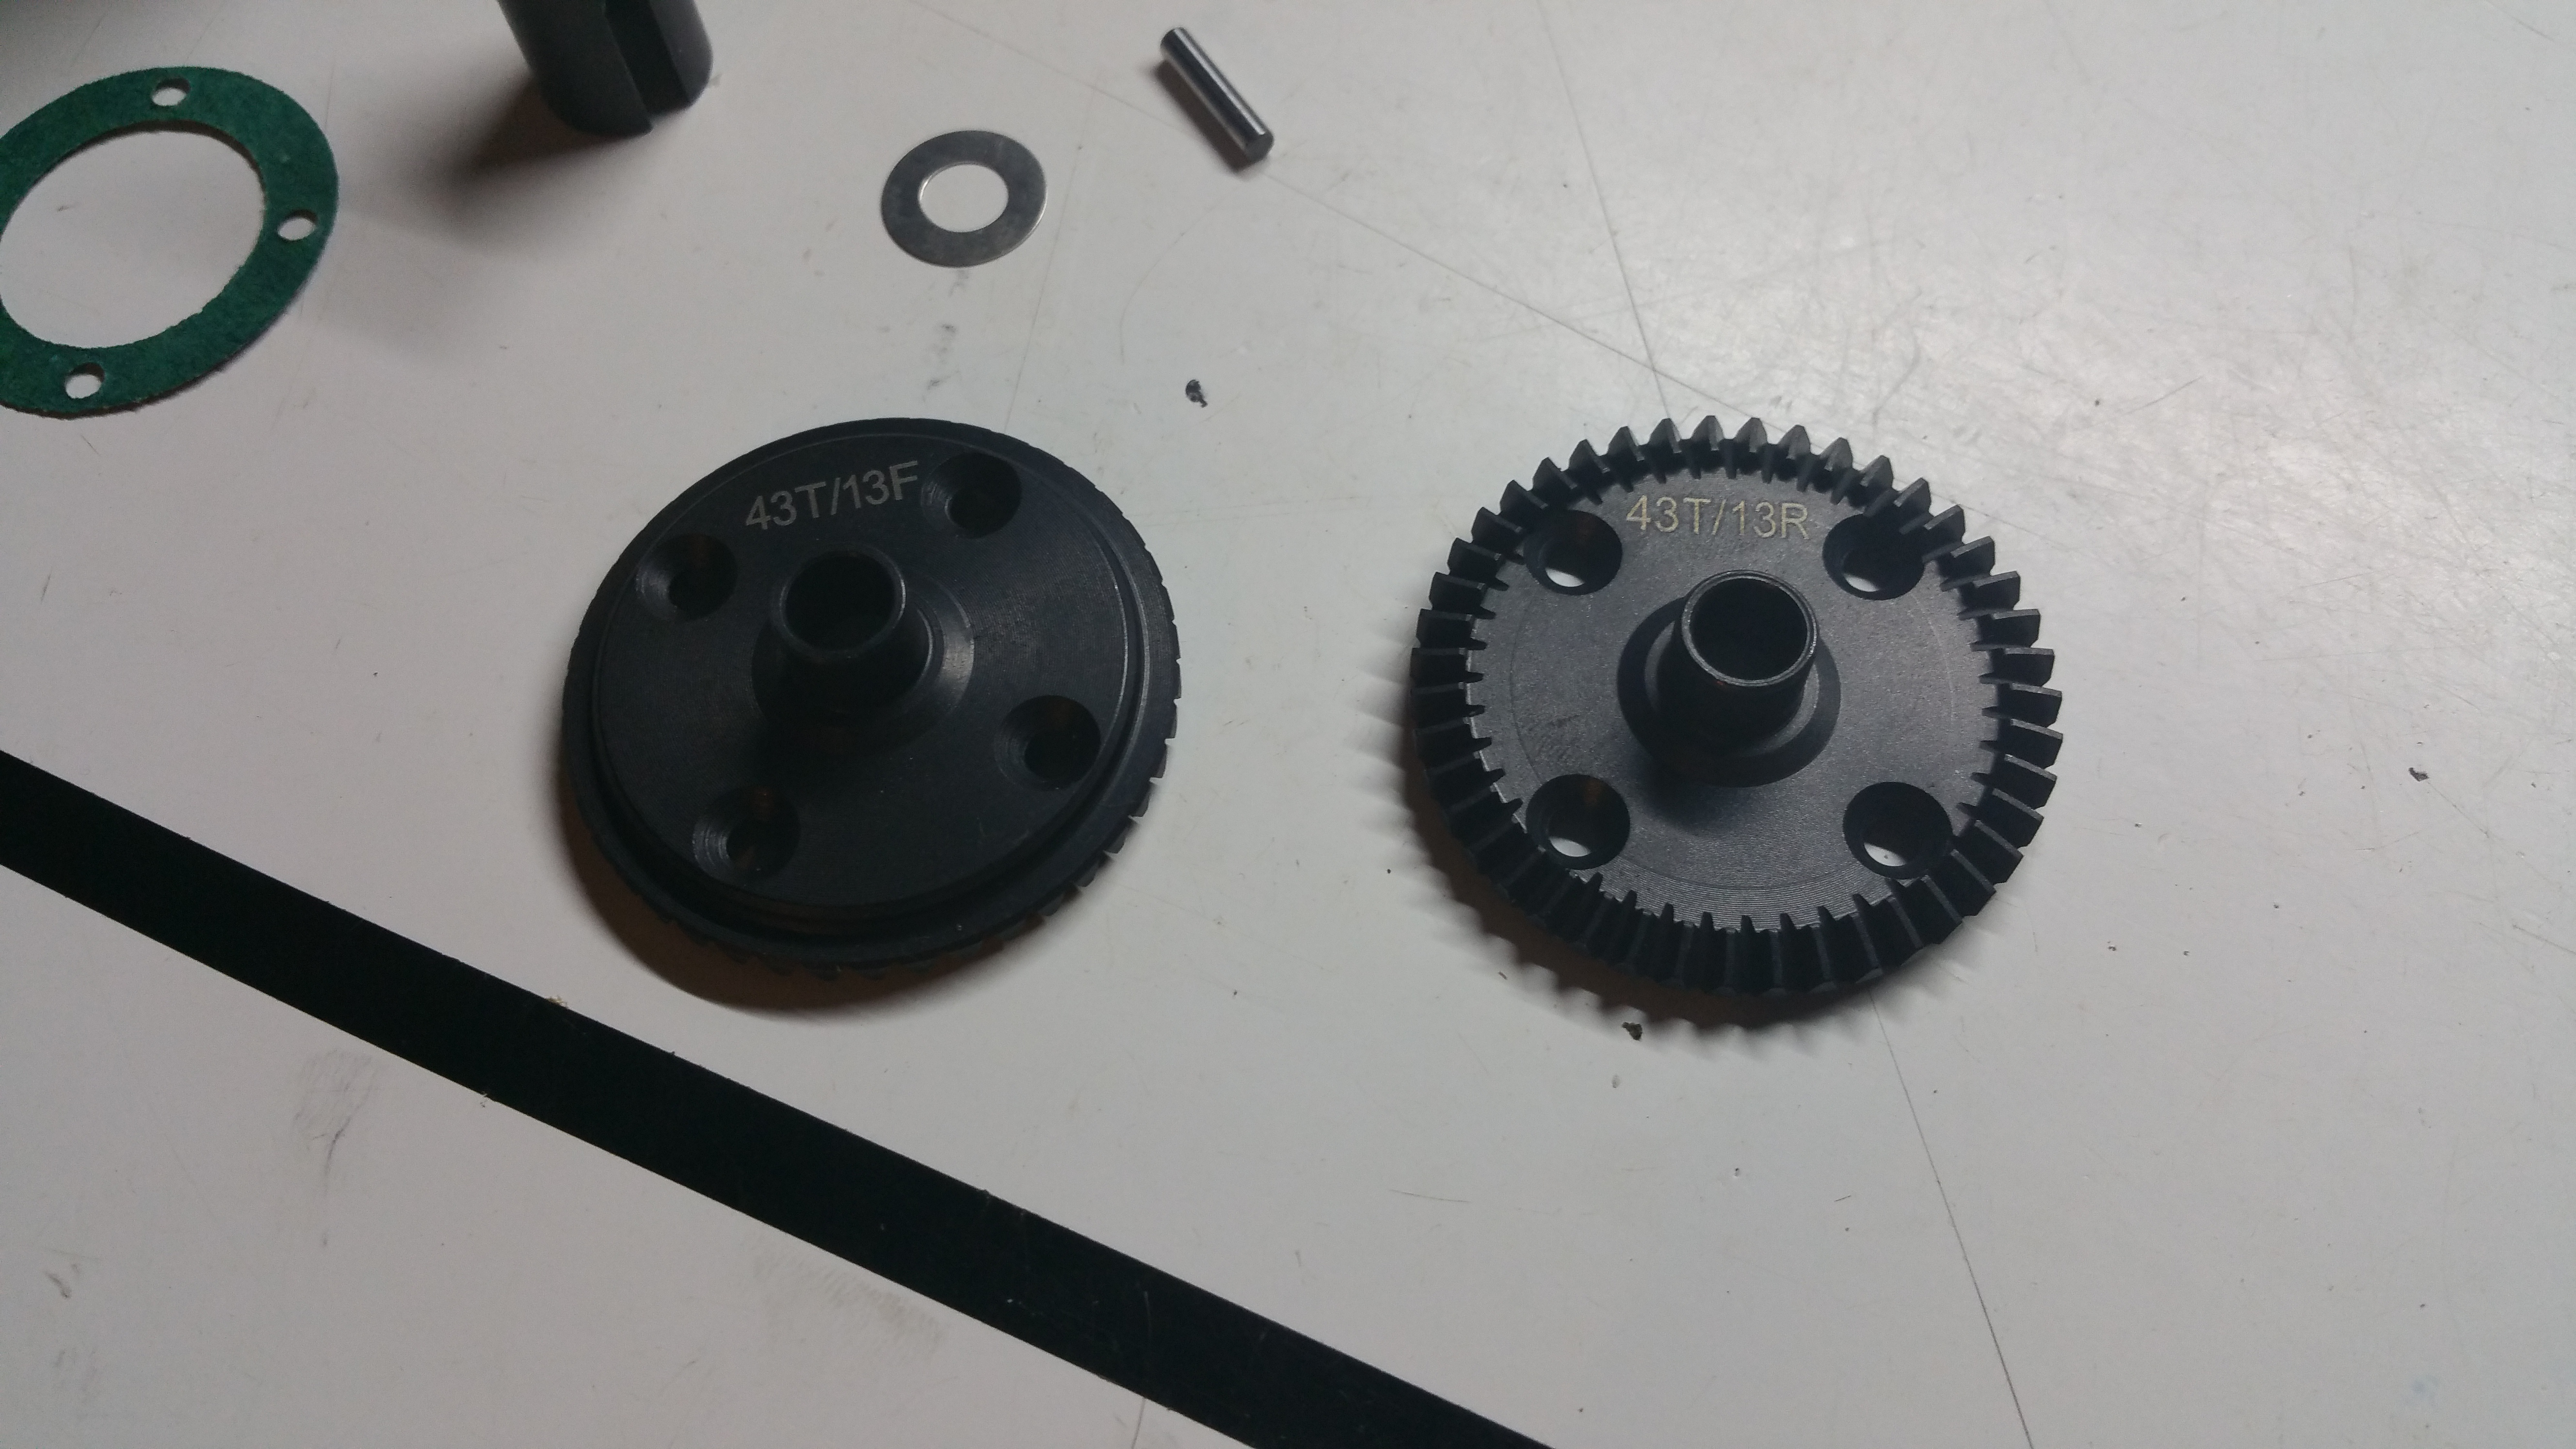
Noting the tooth count and gear set that is to be used with said gear.
43T/13F to be used in the front.
43T/13R to be used in the rear.
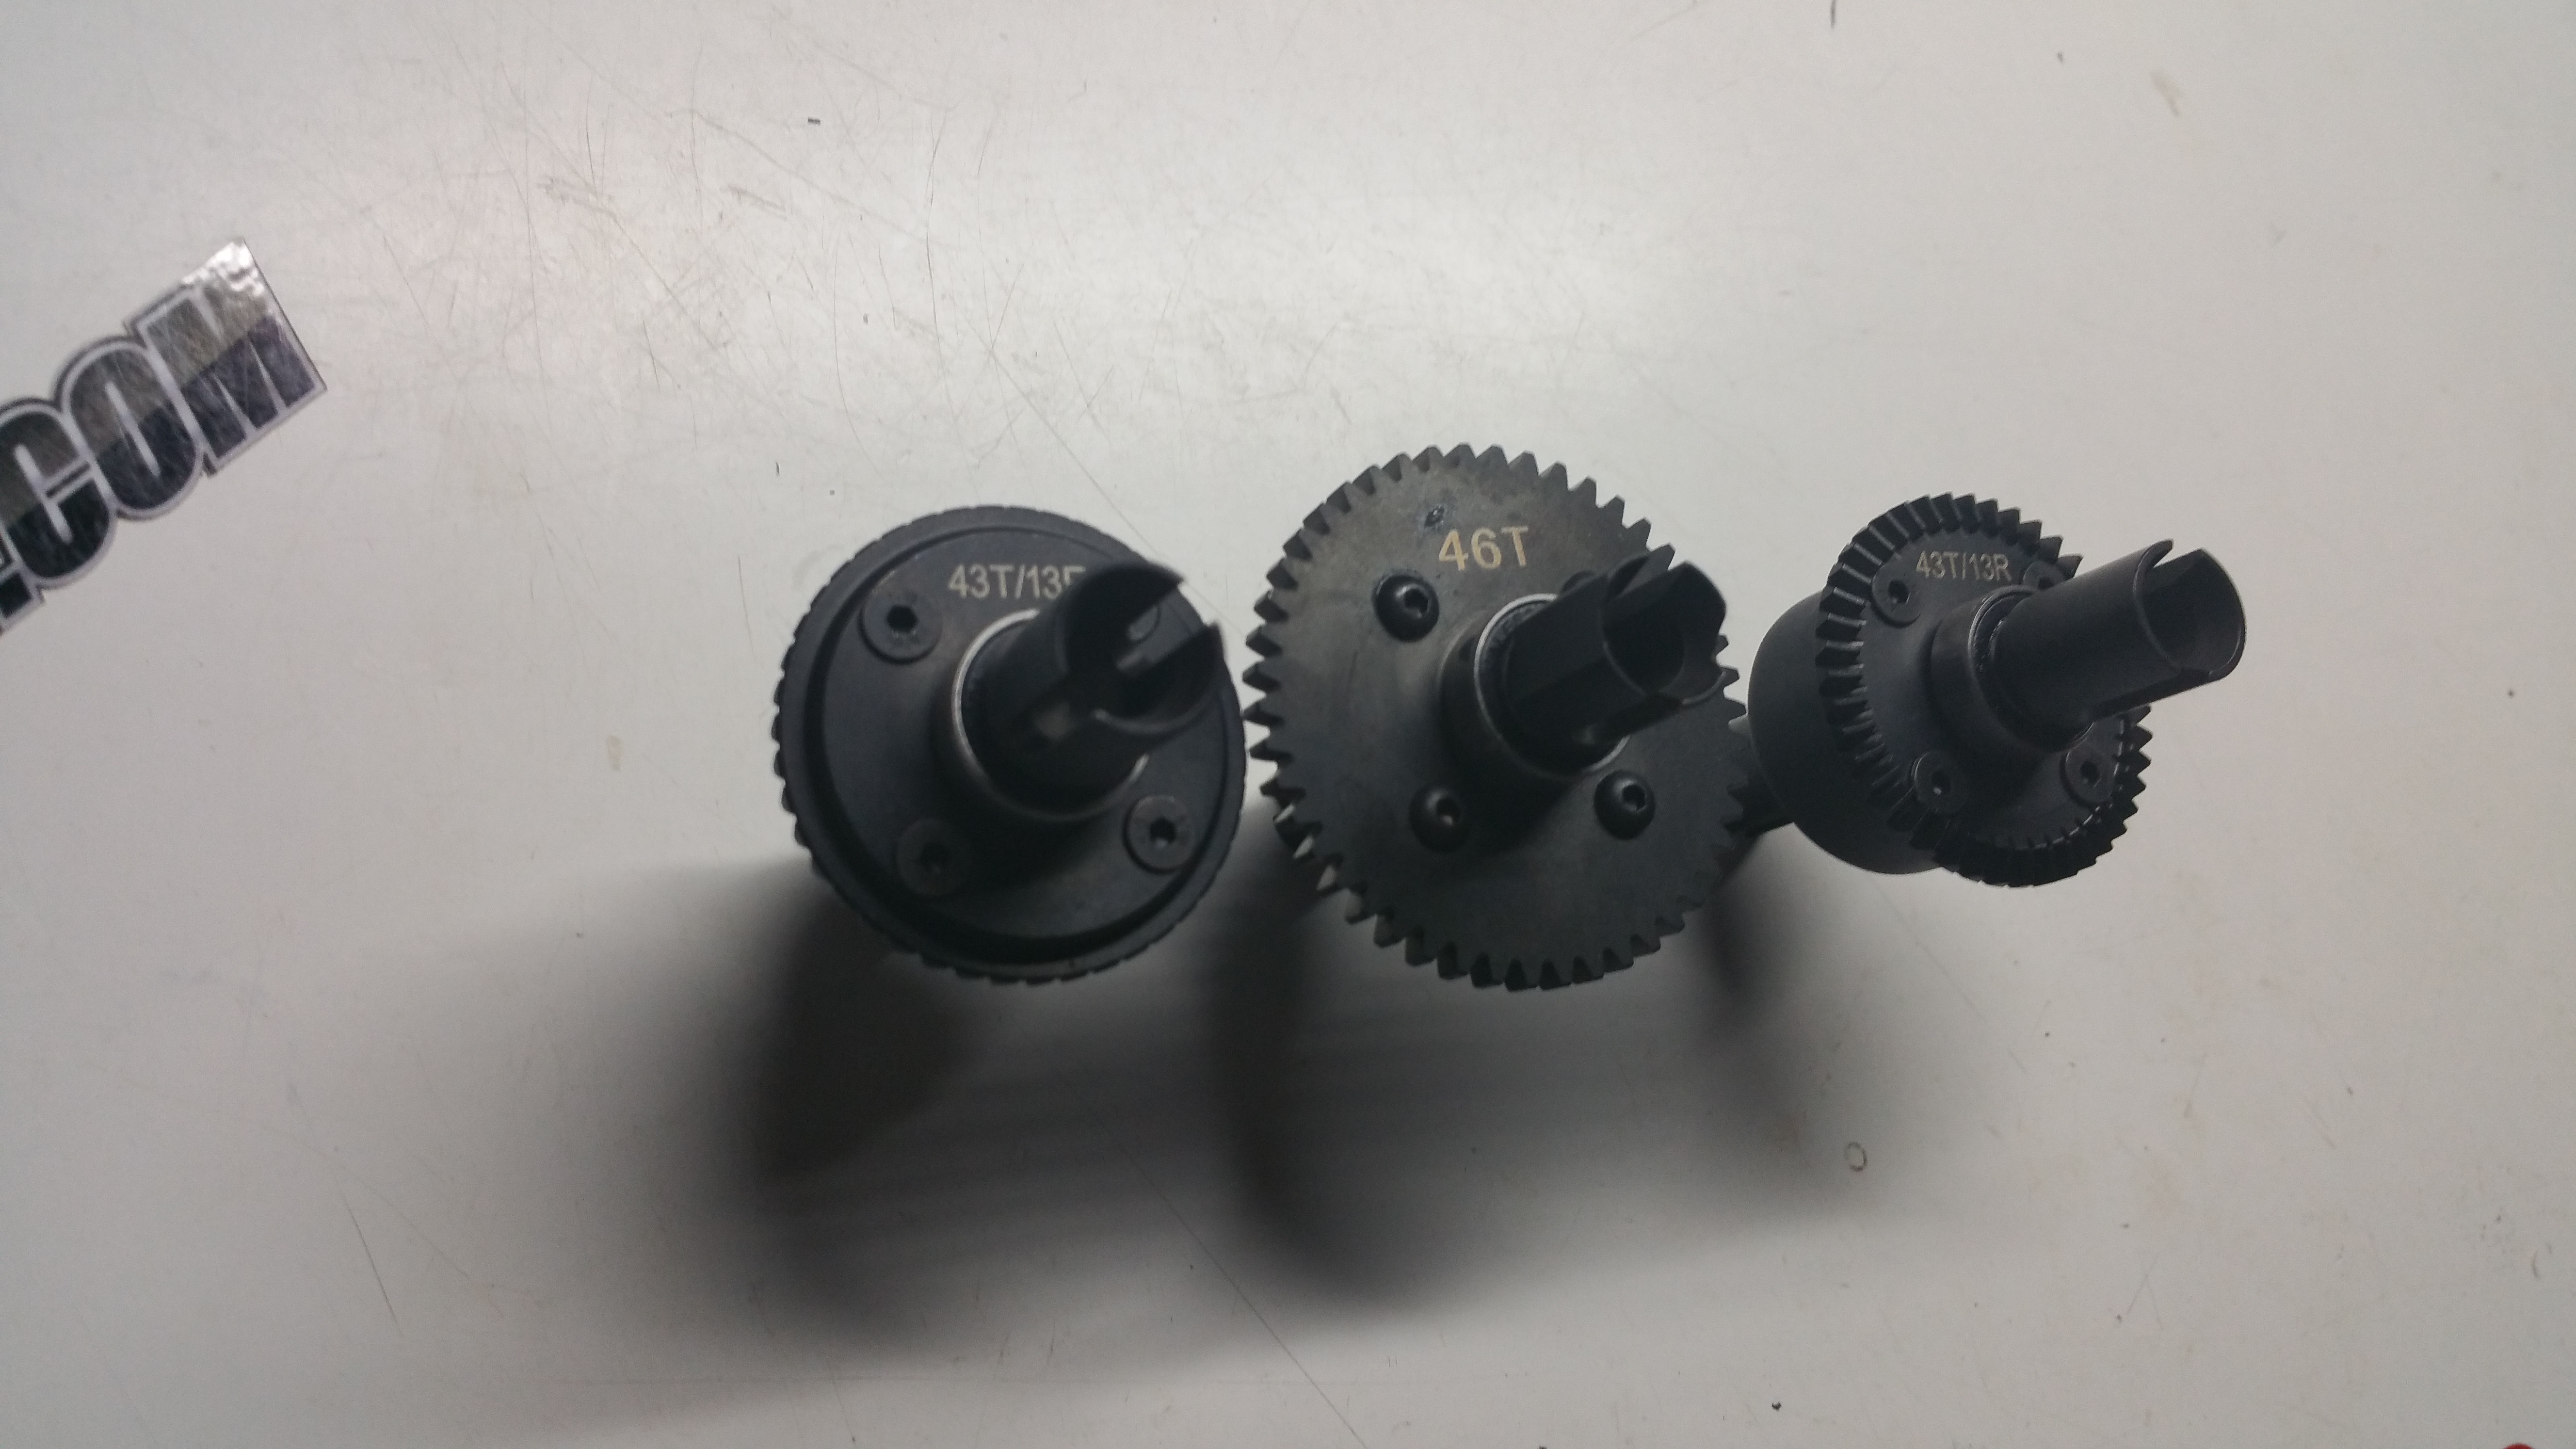
They’re ready to be filled!
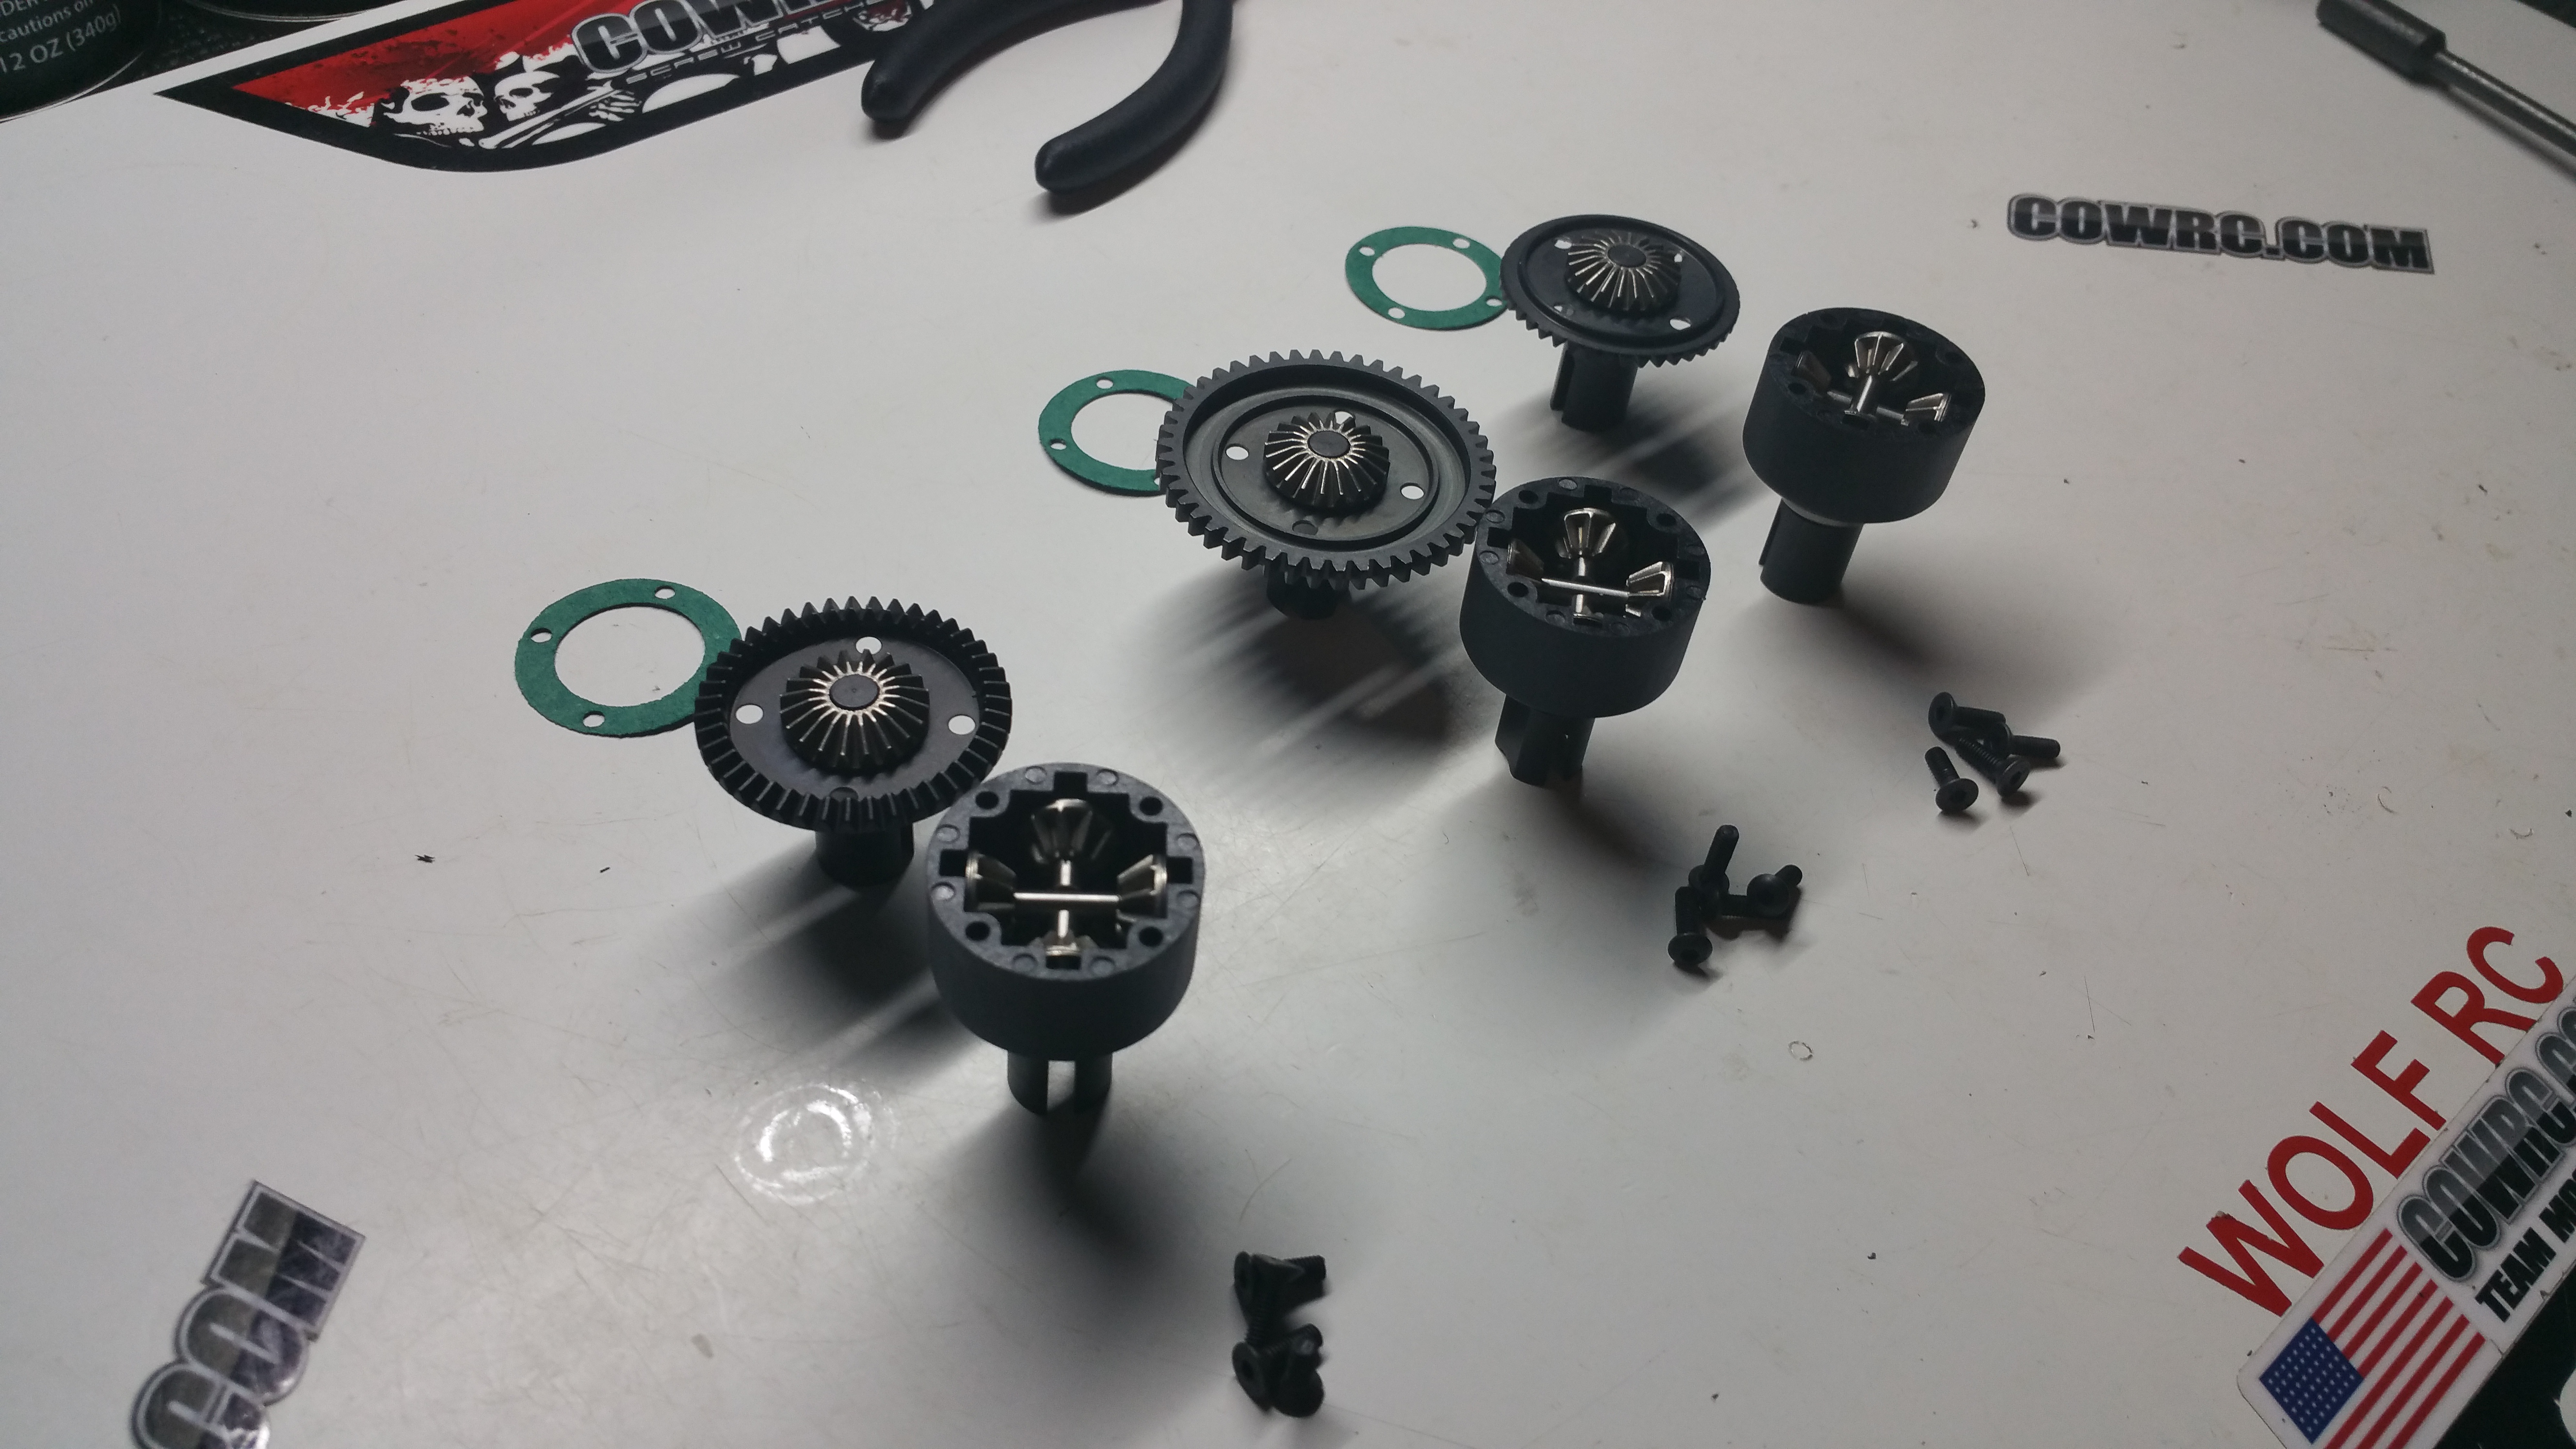
And by the magic of pictures, they’re done and filled!
My Starting setup will be 8000 F – 6000 C – 4000 R
Moving on to Bag C – We start working on the front clip of the car.
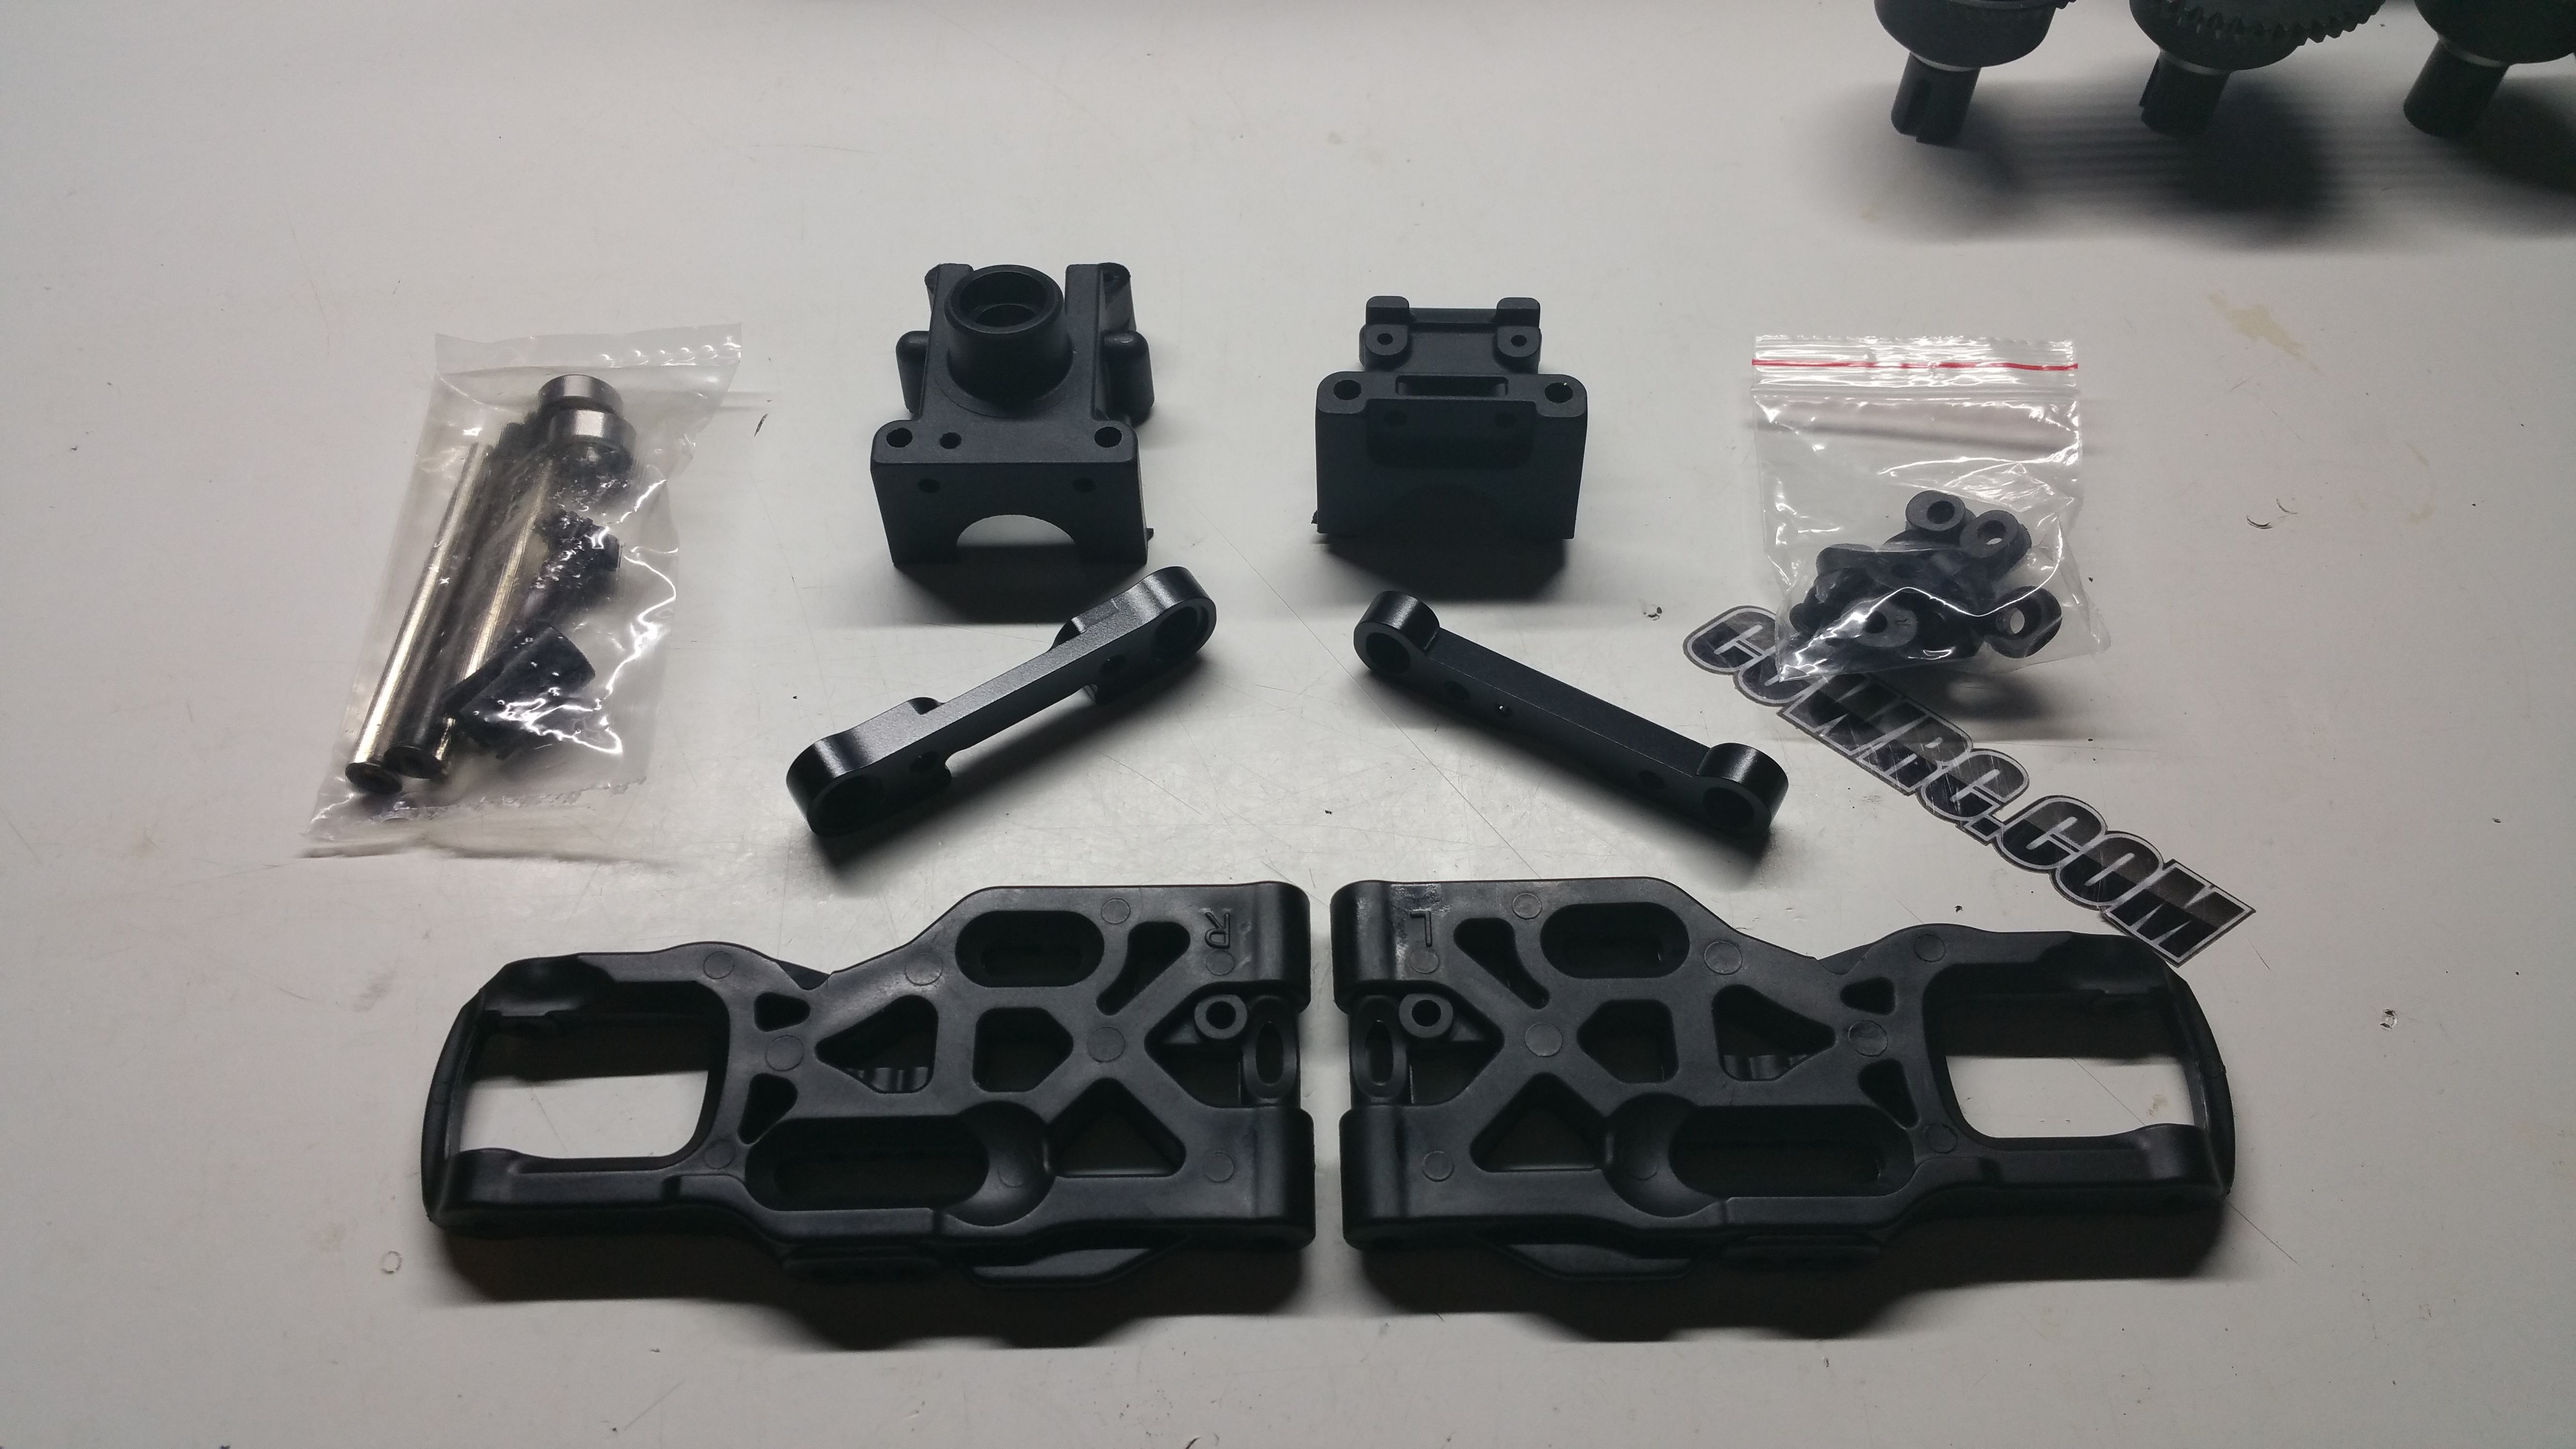
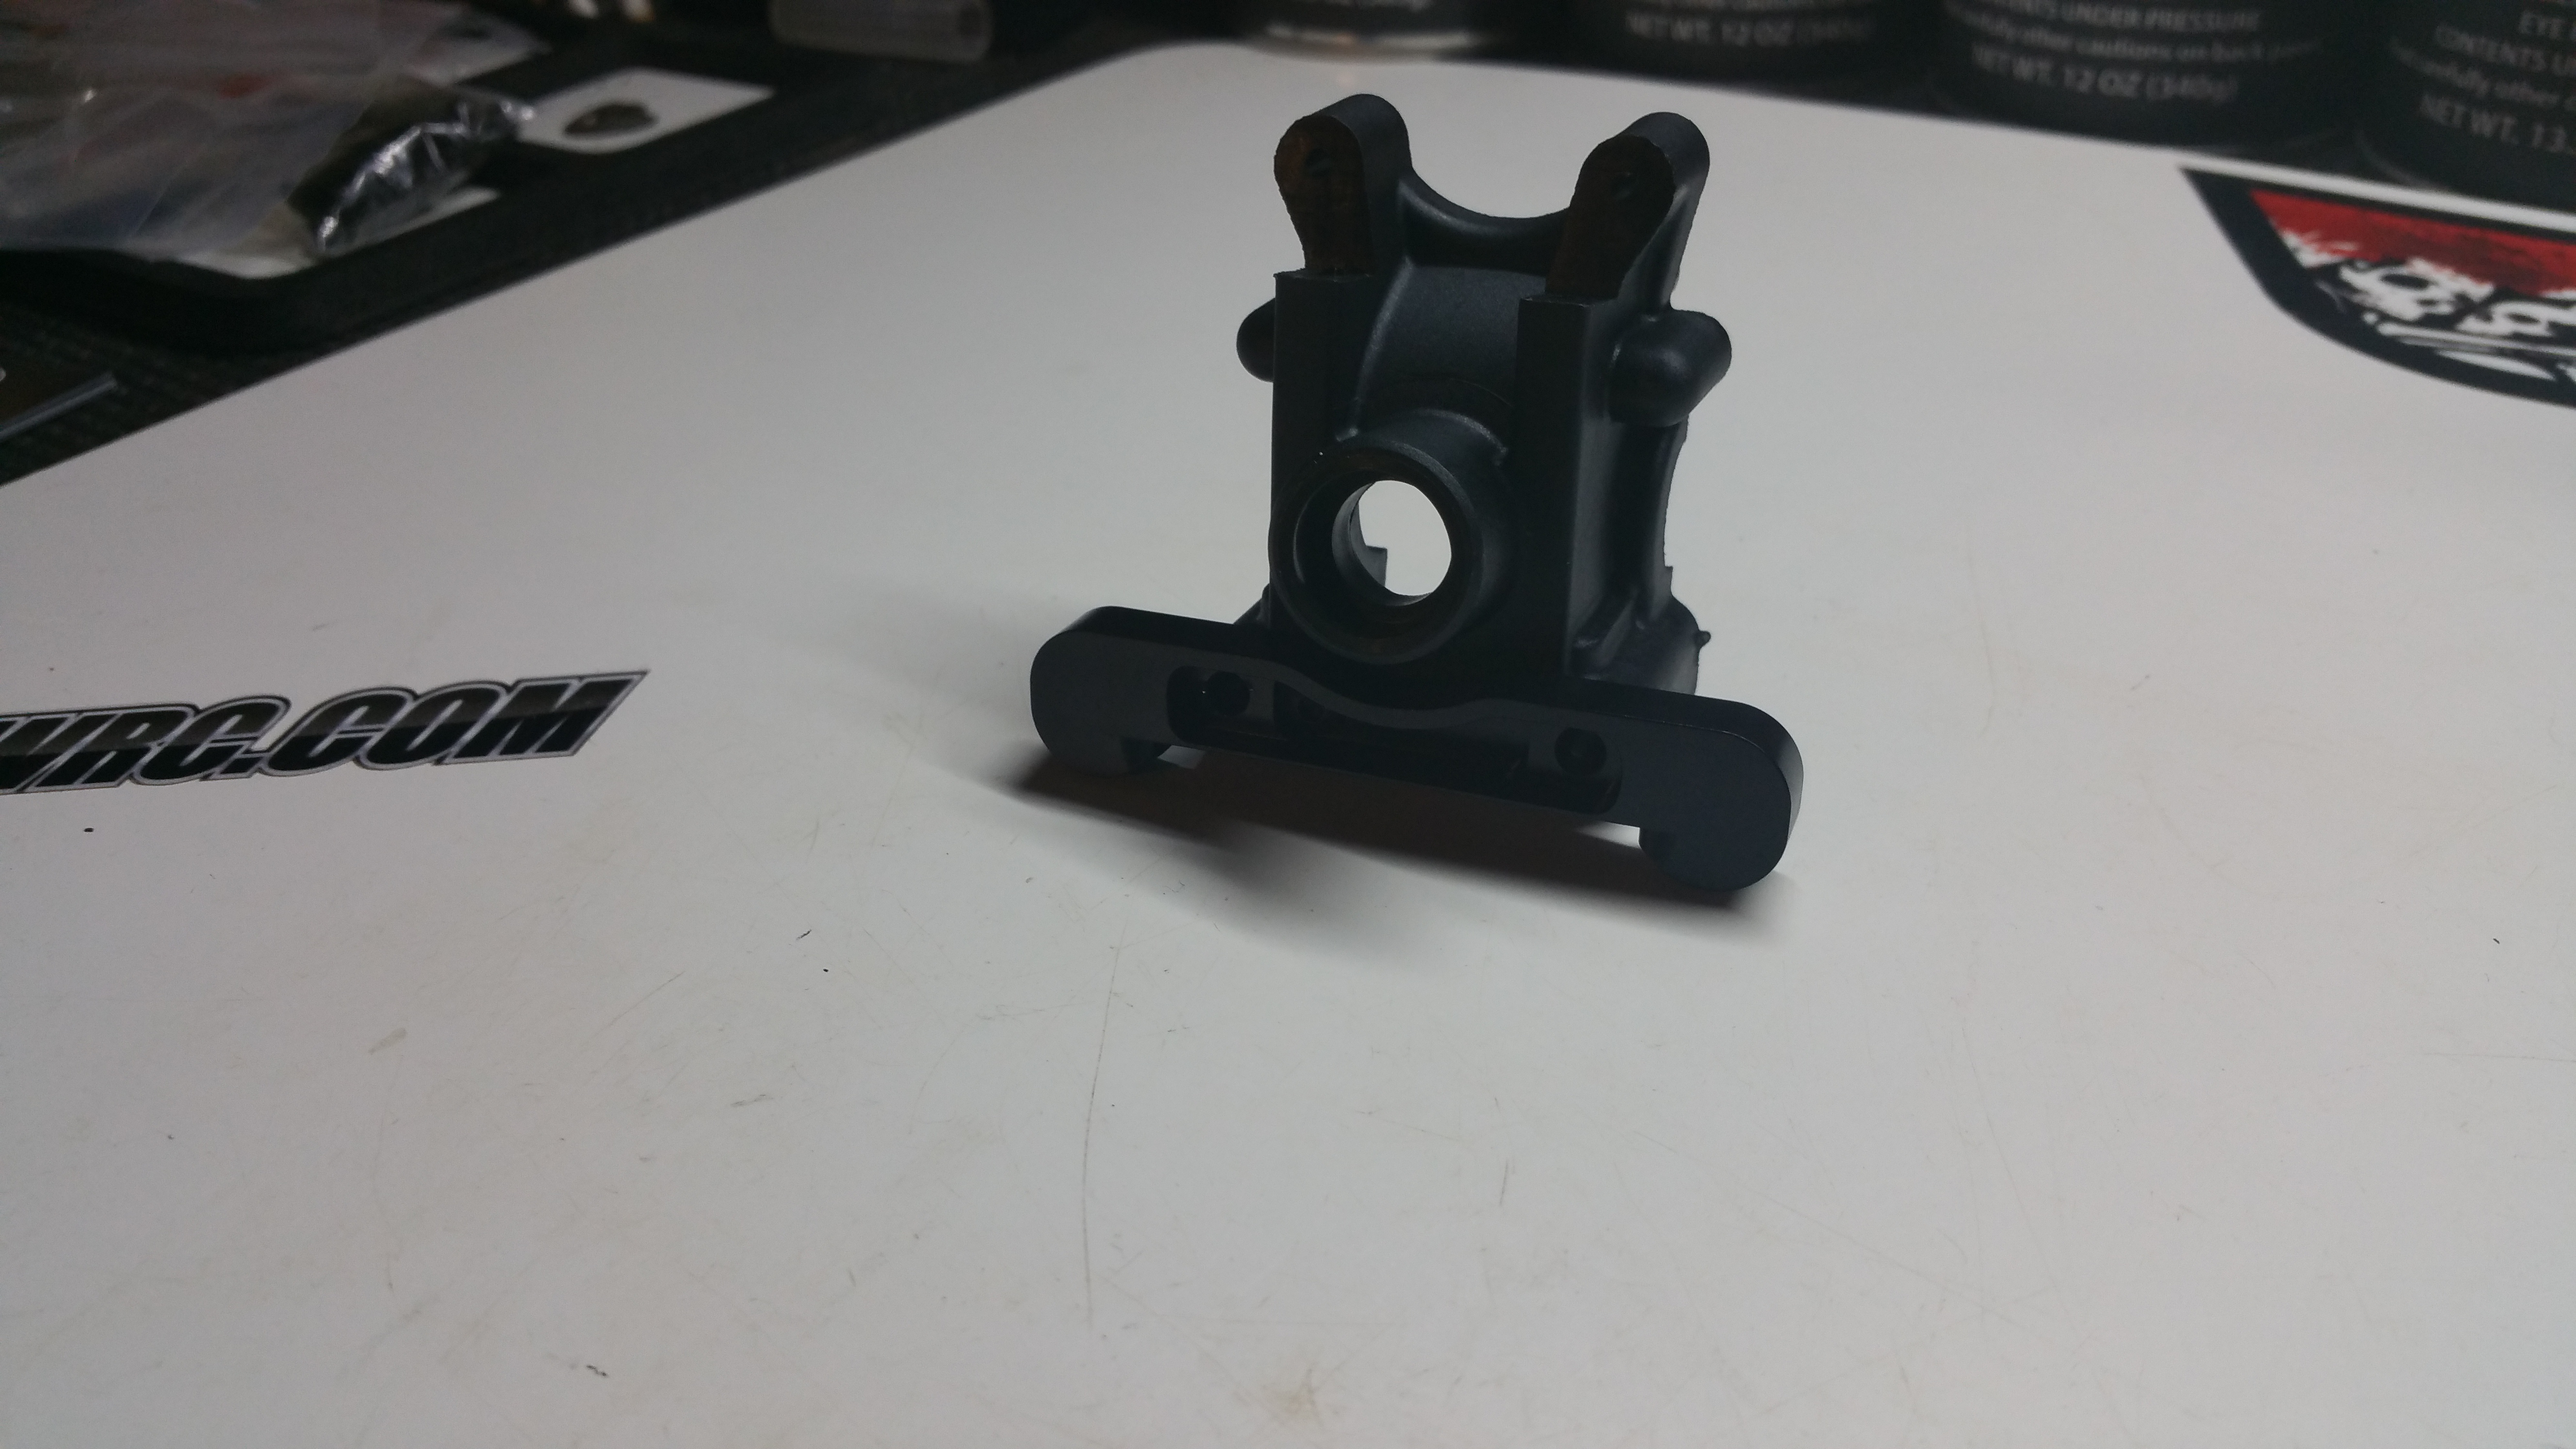
Step one, Attach the front rearward hinge pin retainer.
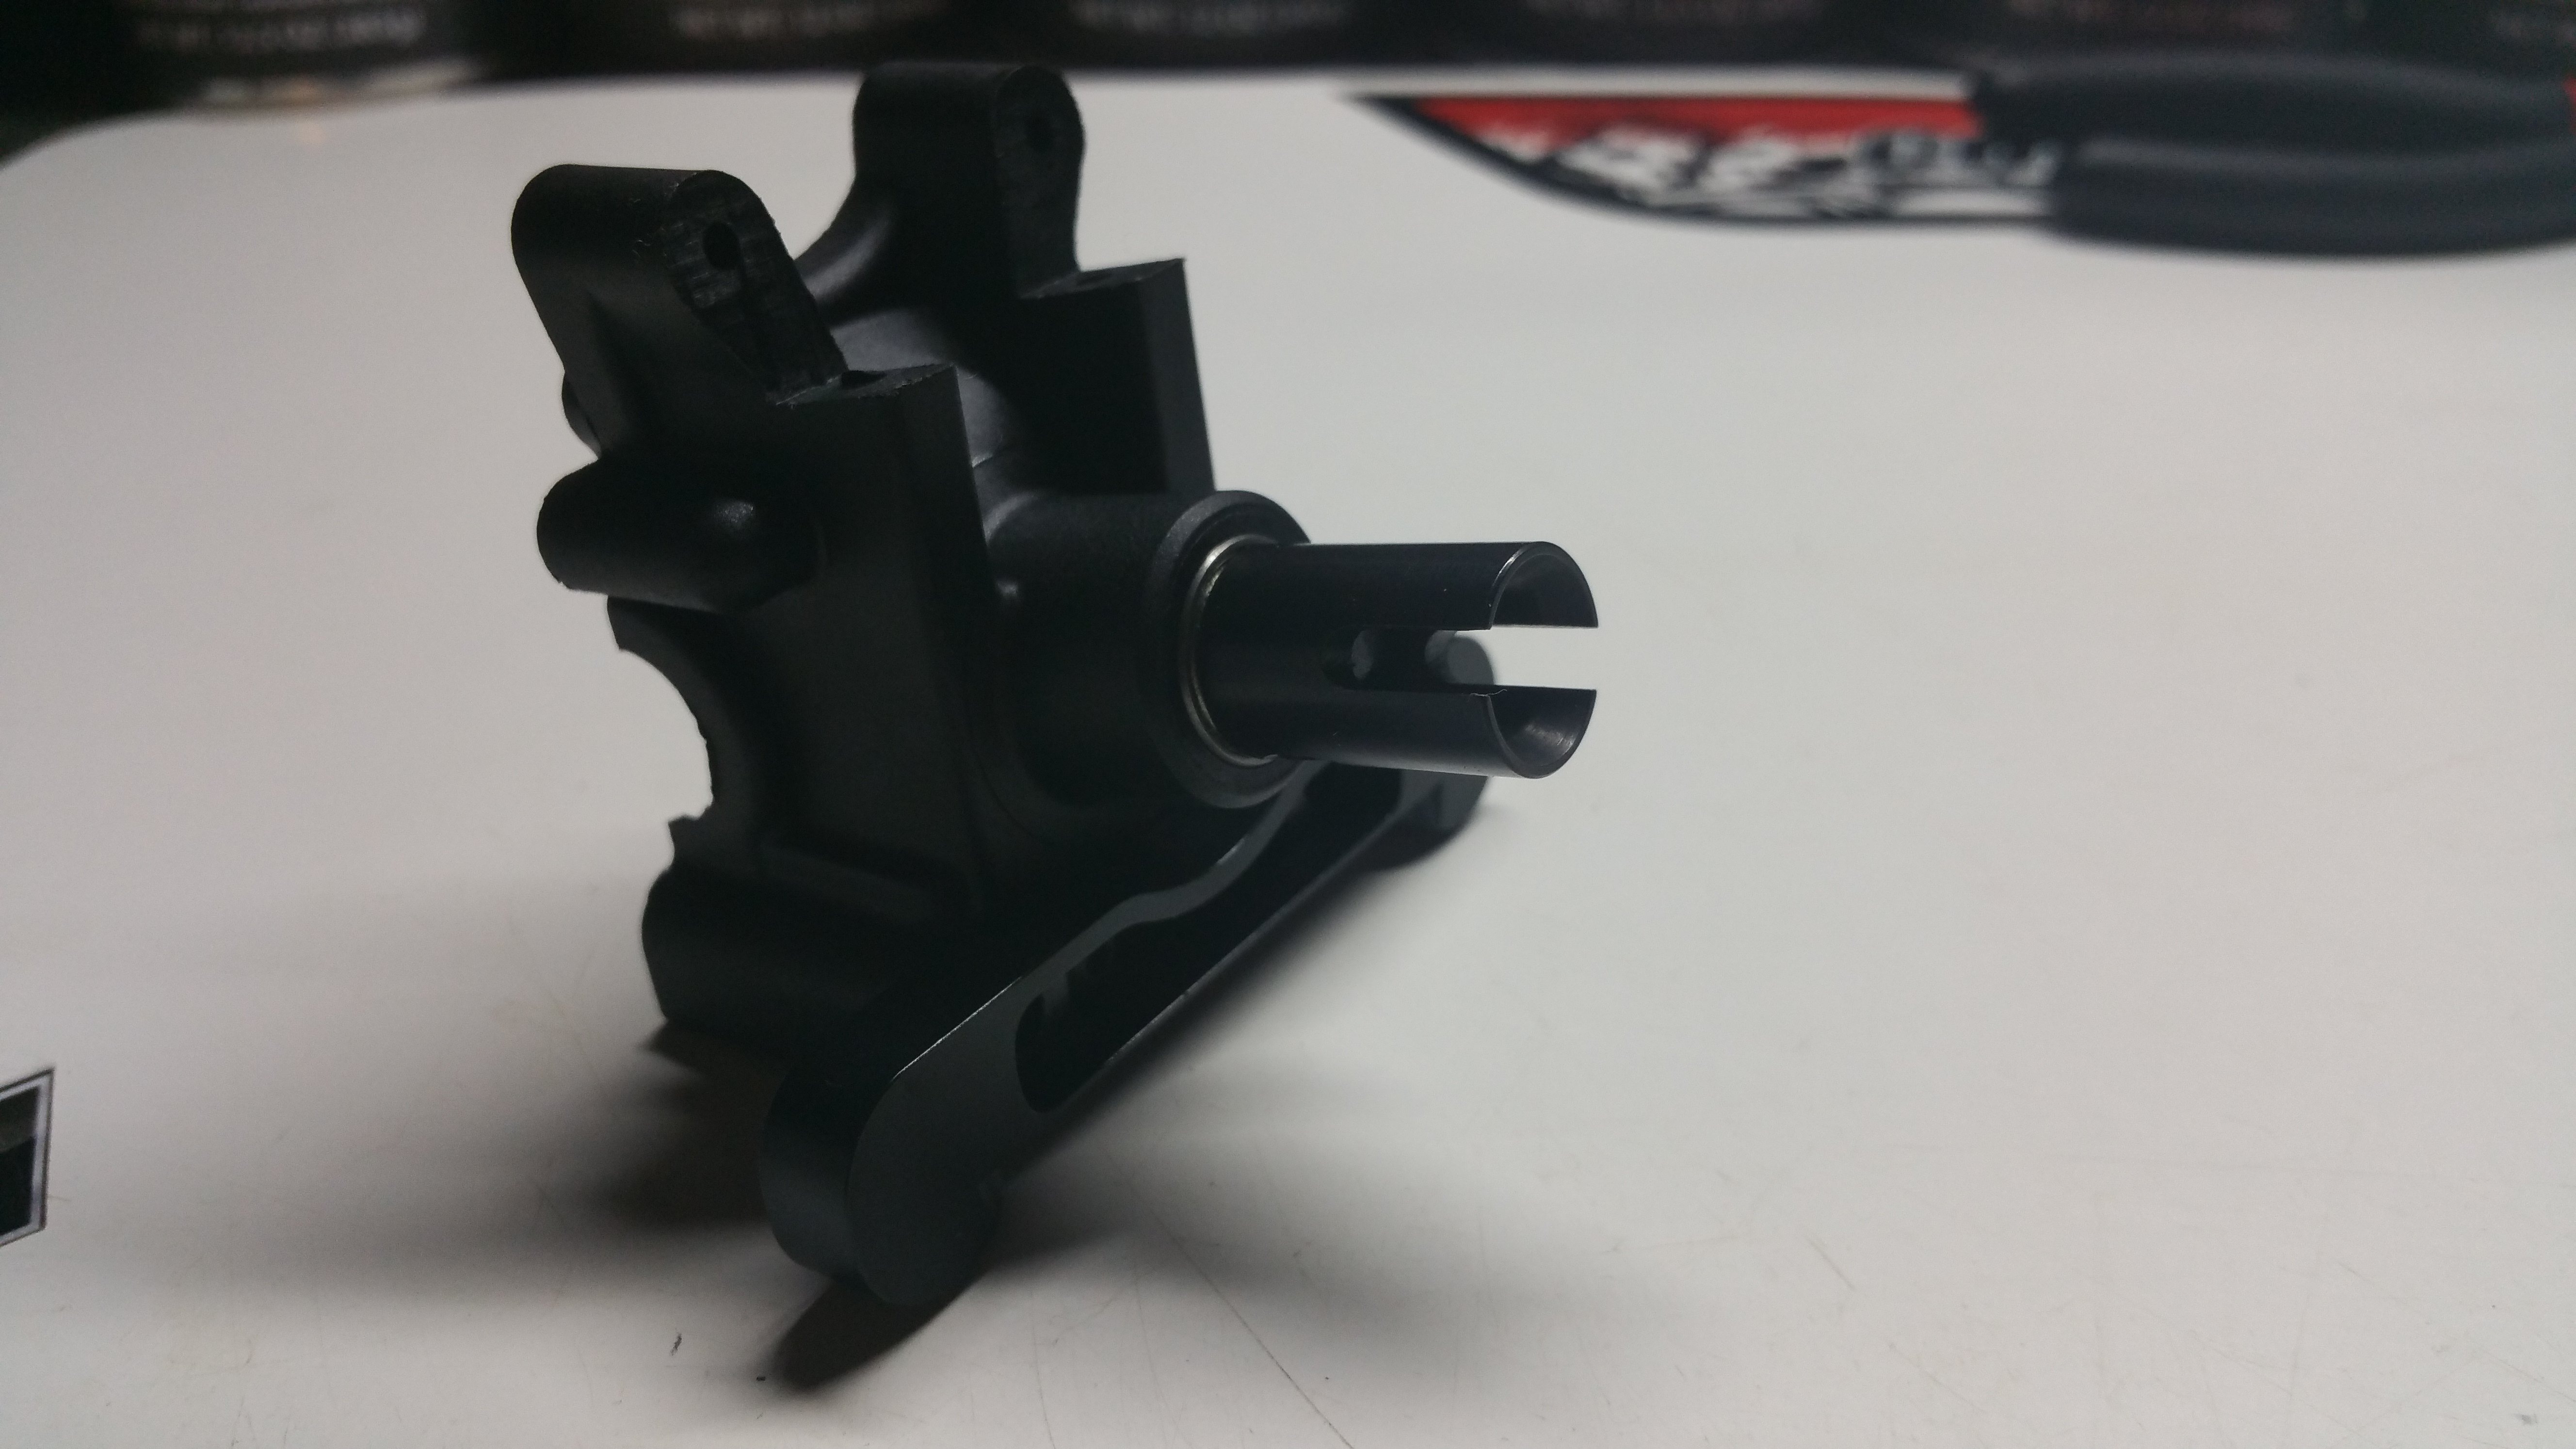
Step two, Insert the two bearings, insert the pinion gear and attach the cup for the center
driveshaft.
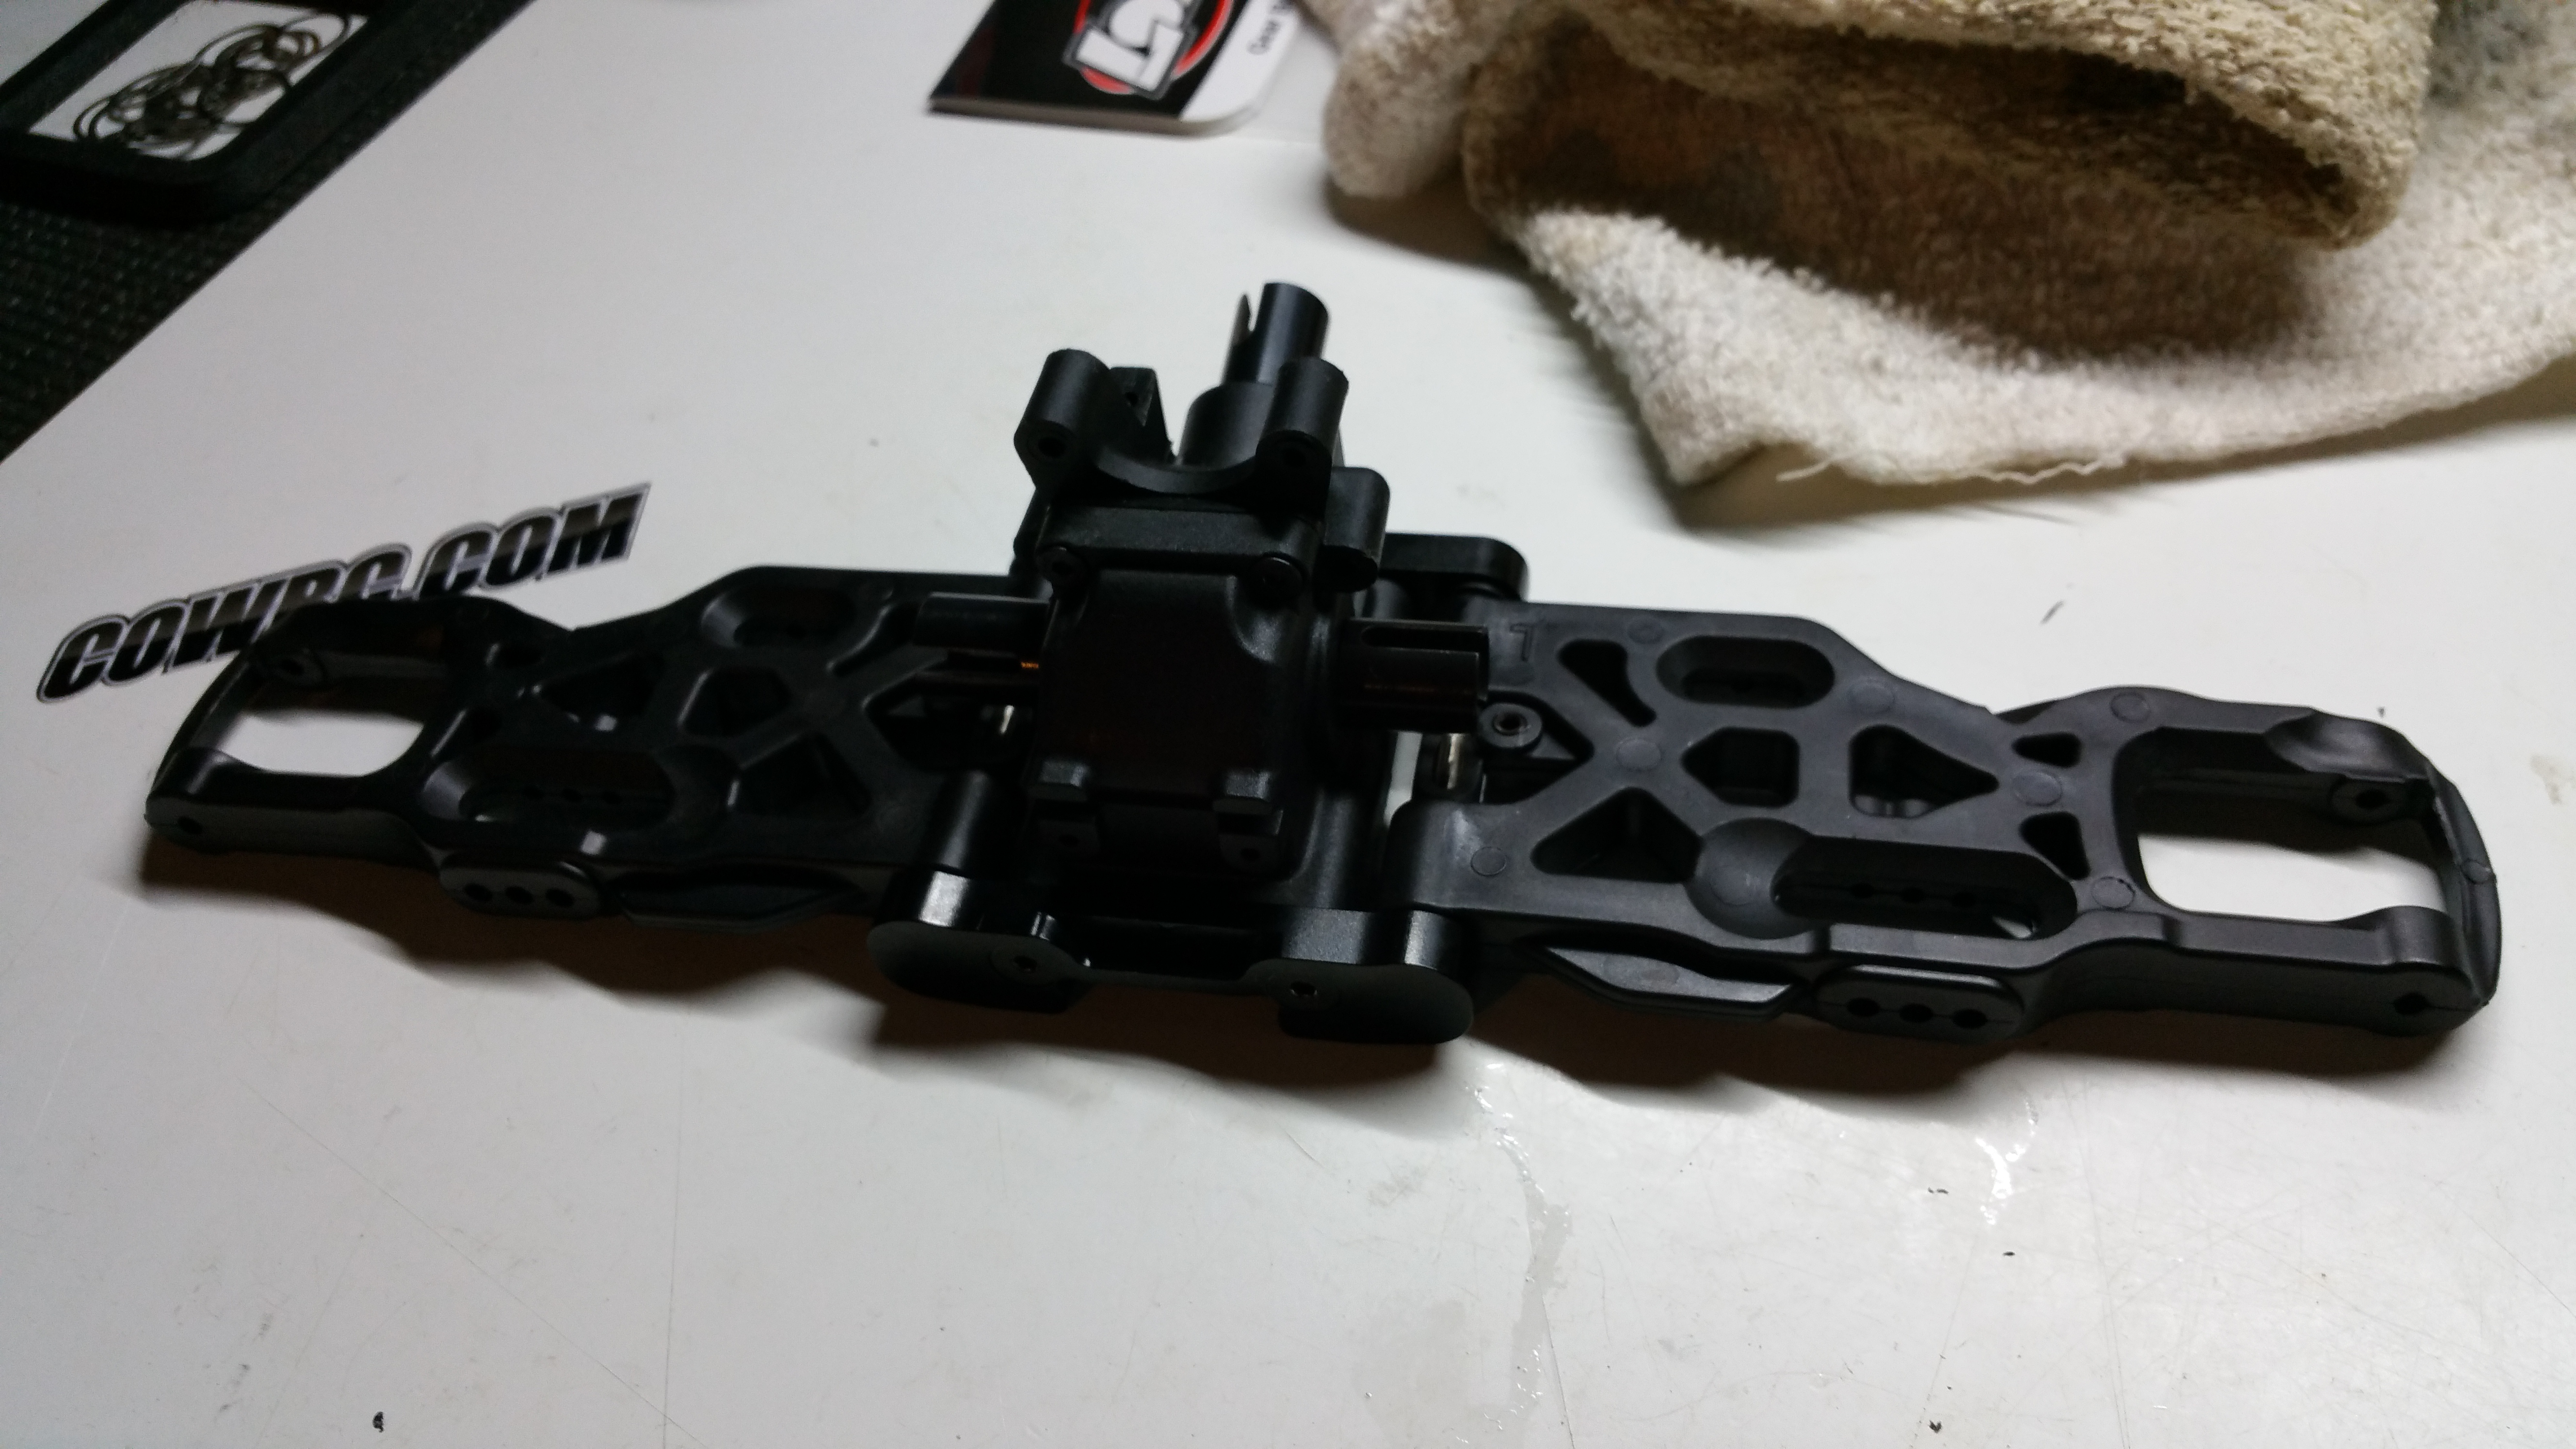
From here, we move on to installing the diff into the Diff case, and attaching the front hinge pin retainer along with the front A Arms.
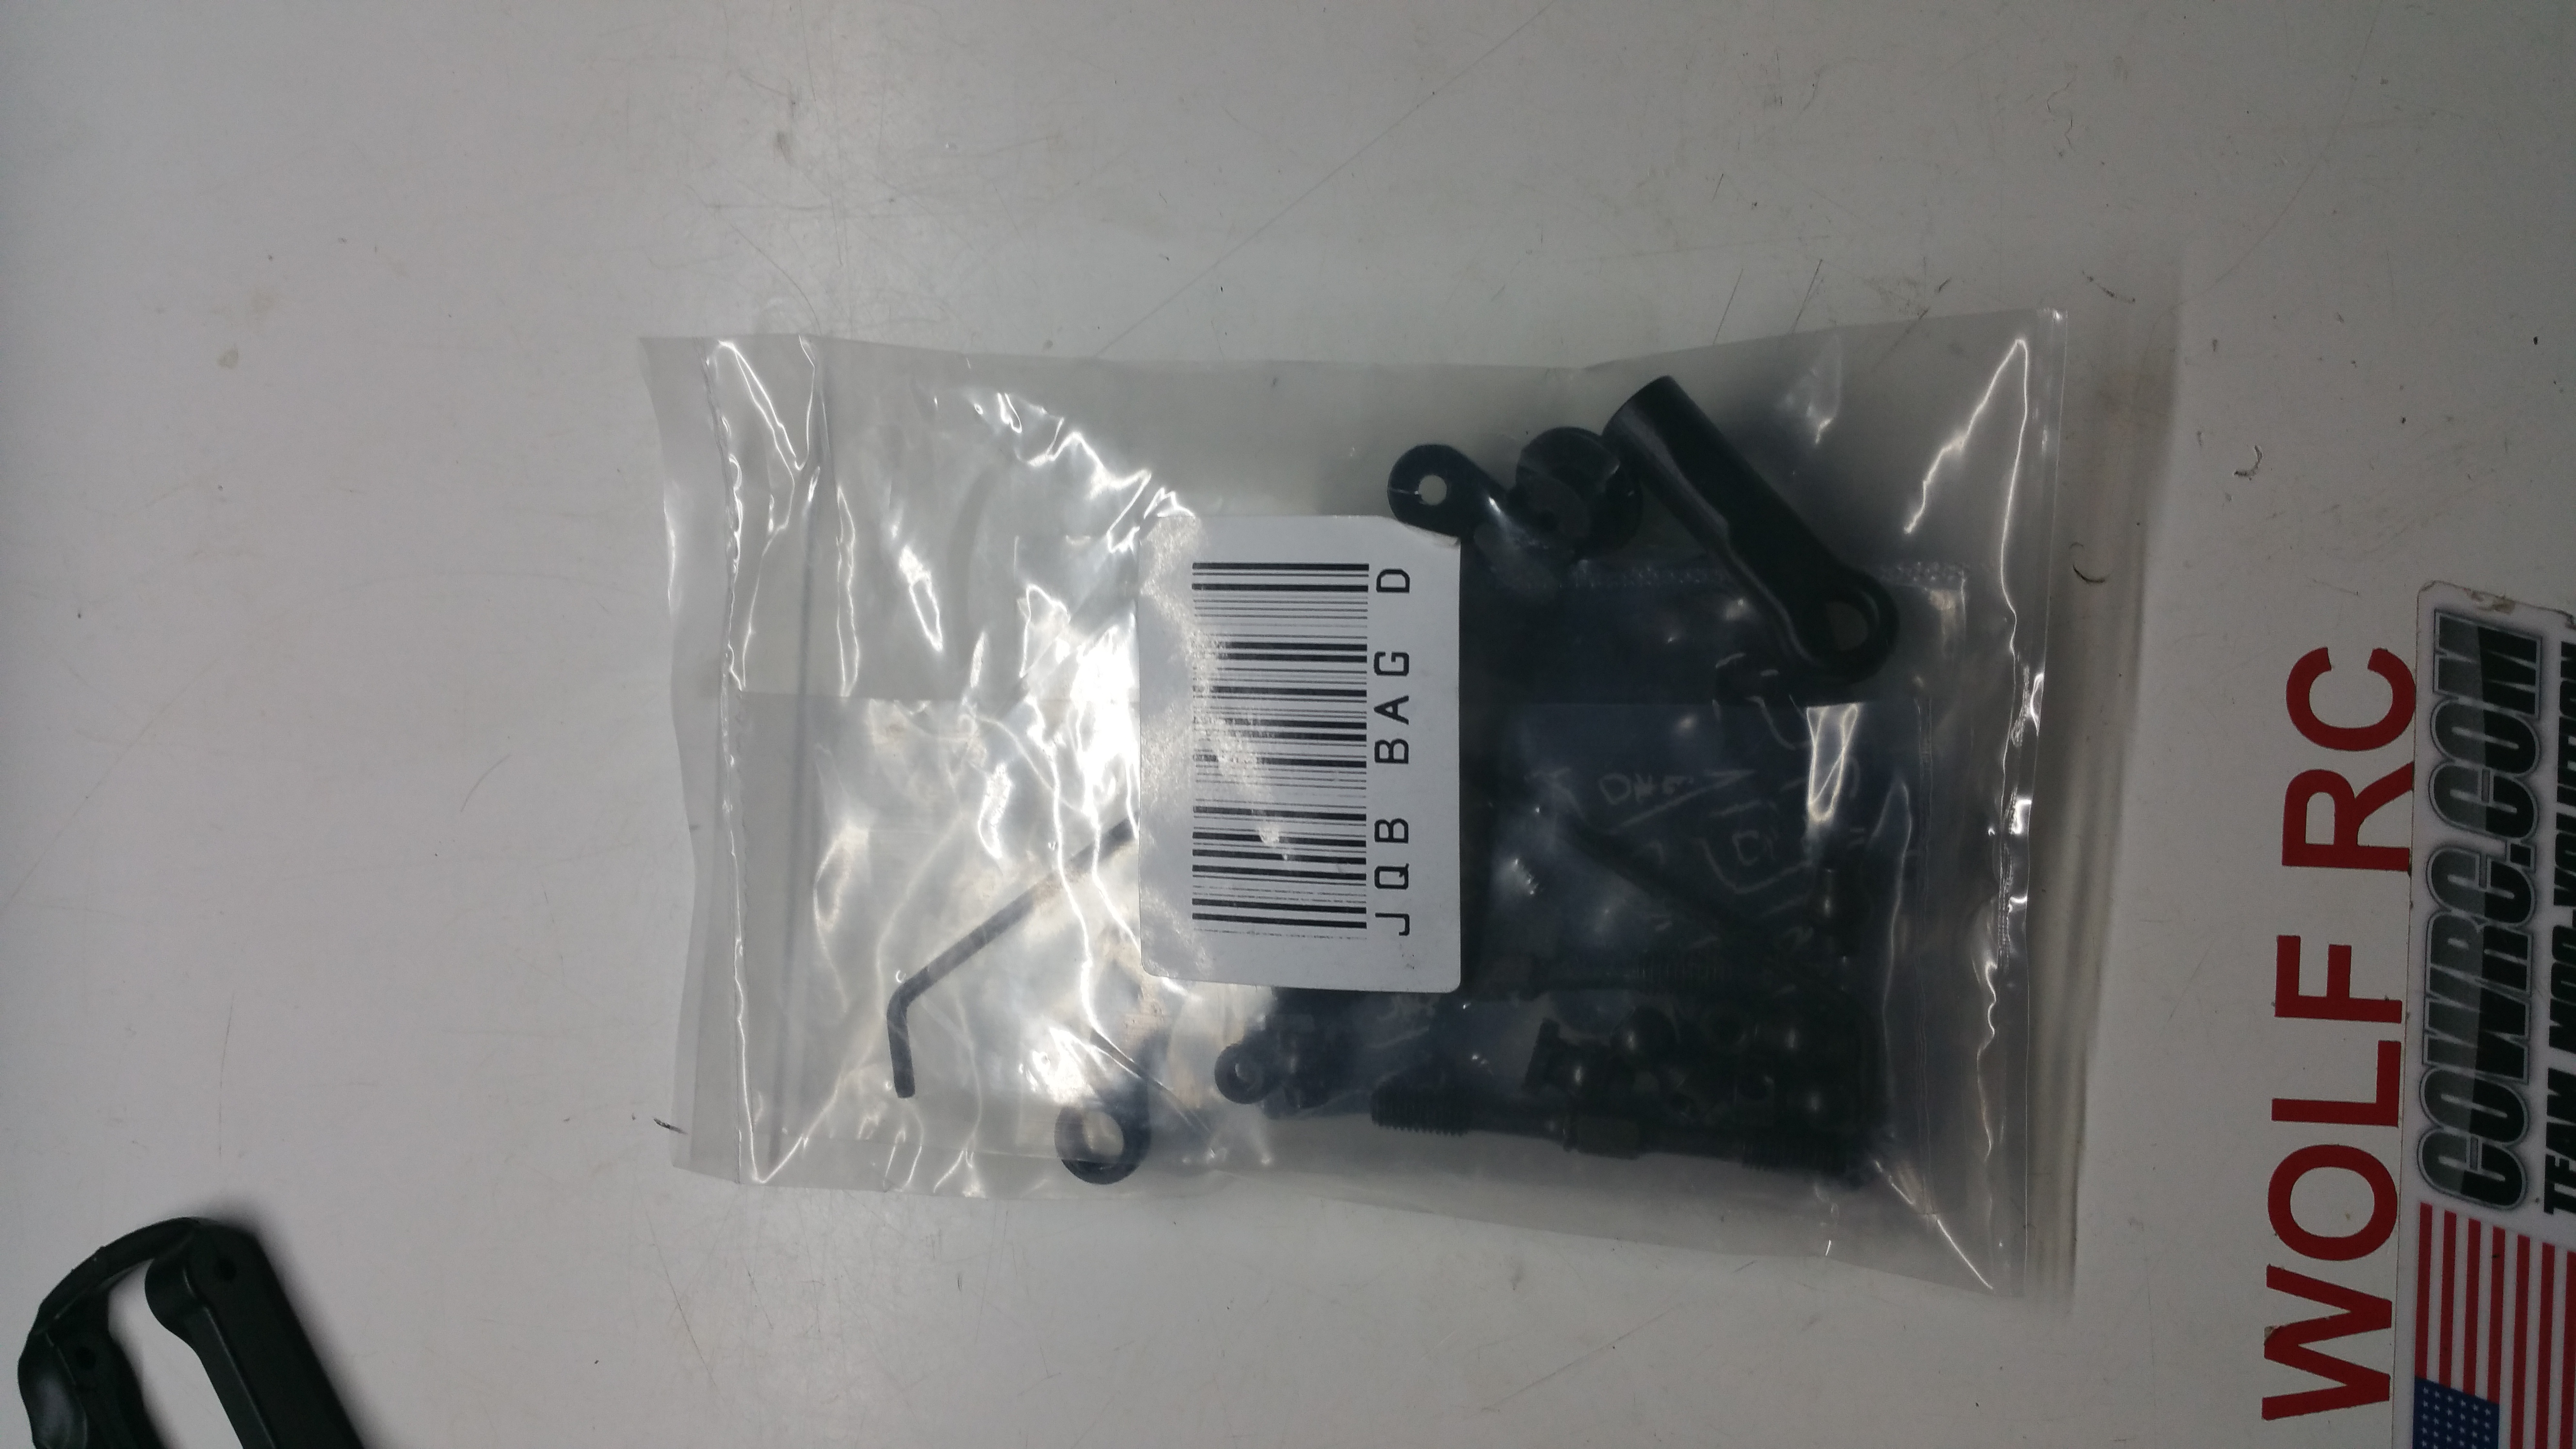
Next up, Bag D
This contains the front shock tower, front camber links, sway bar, and some shock mounting hardware.
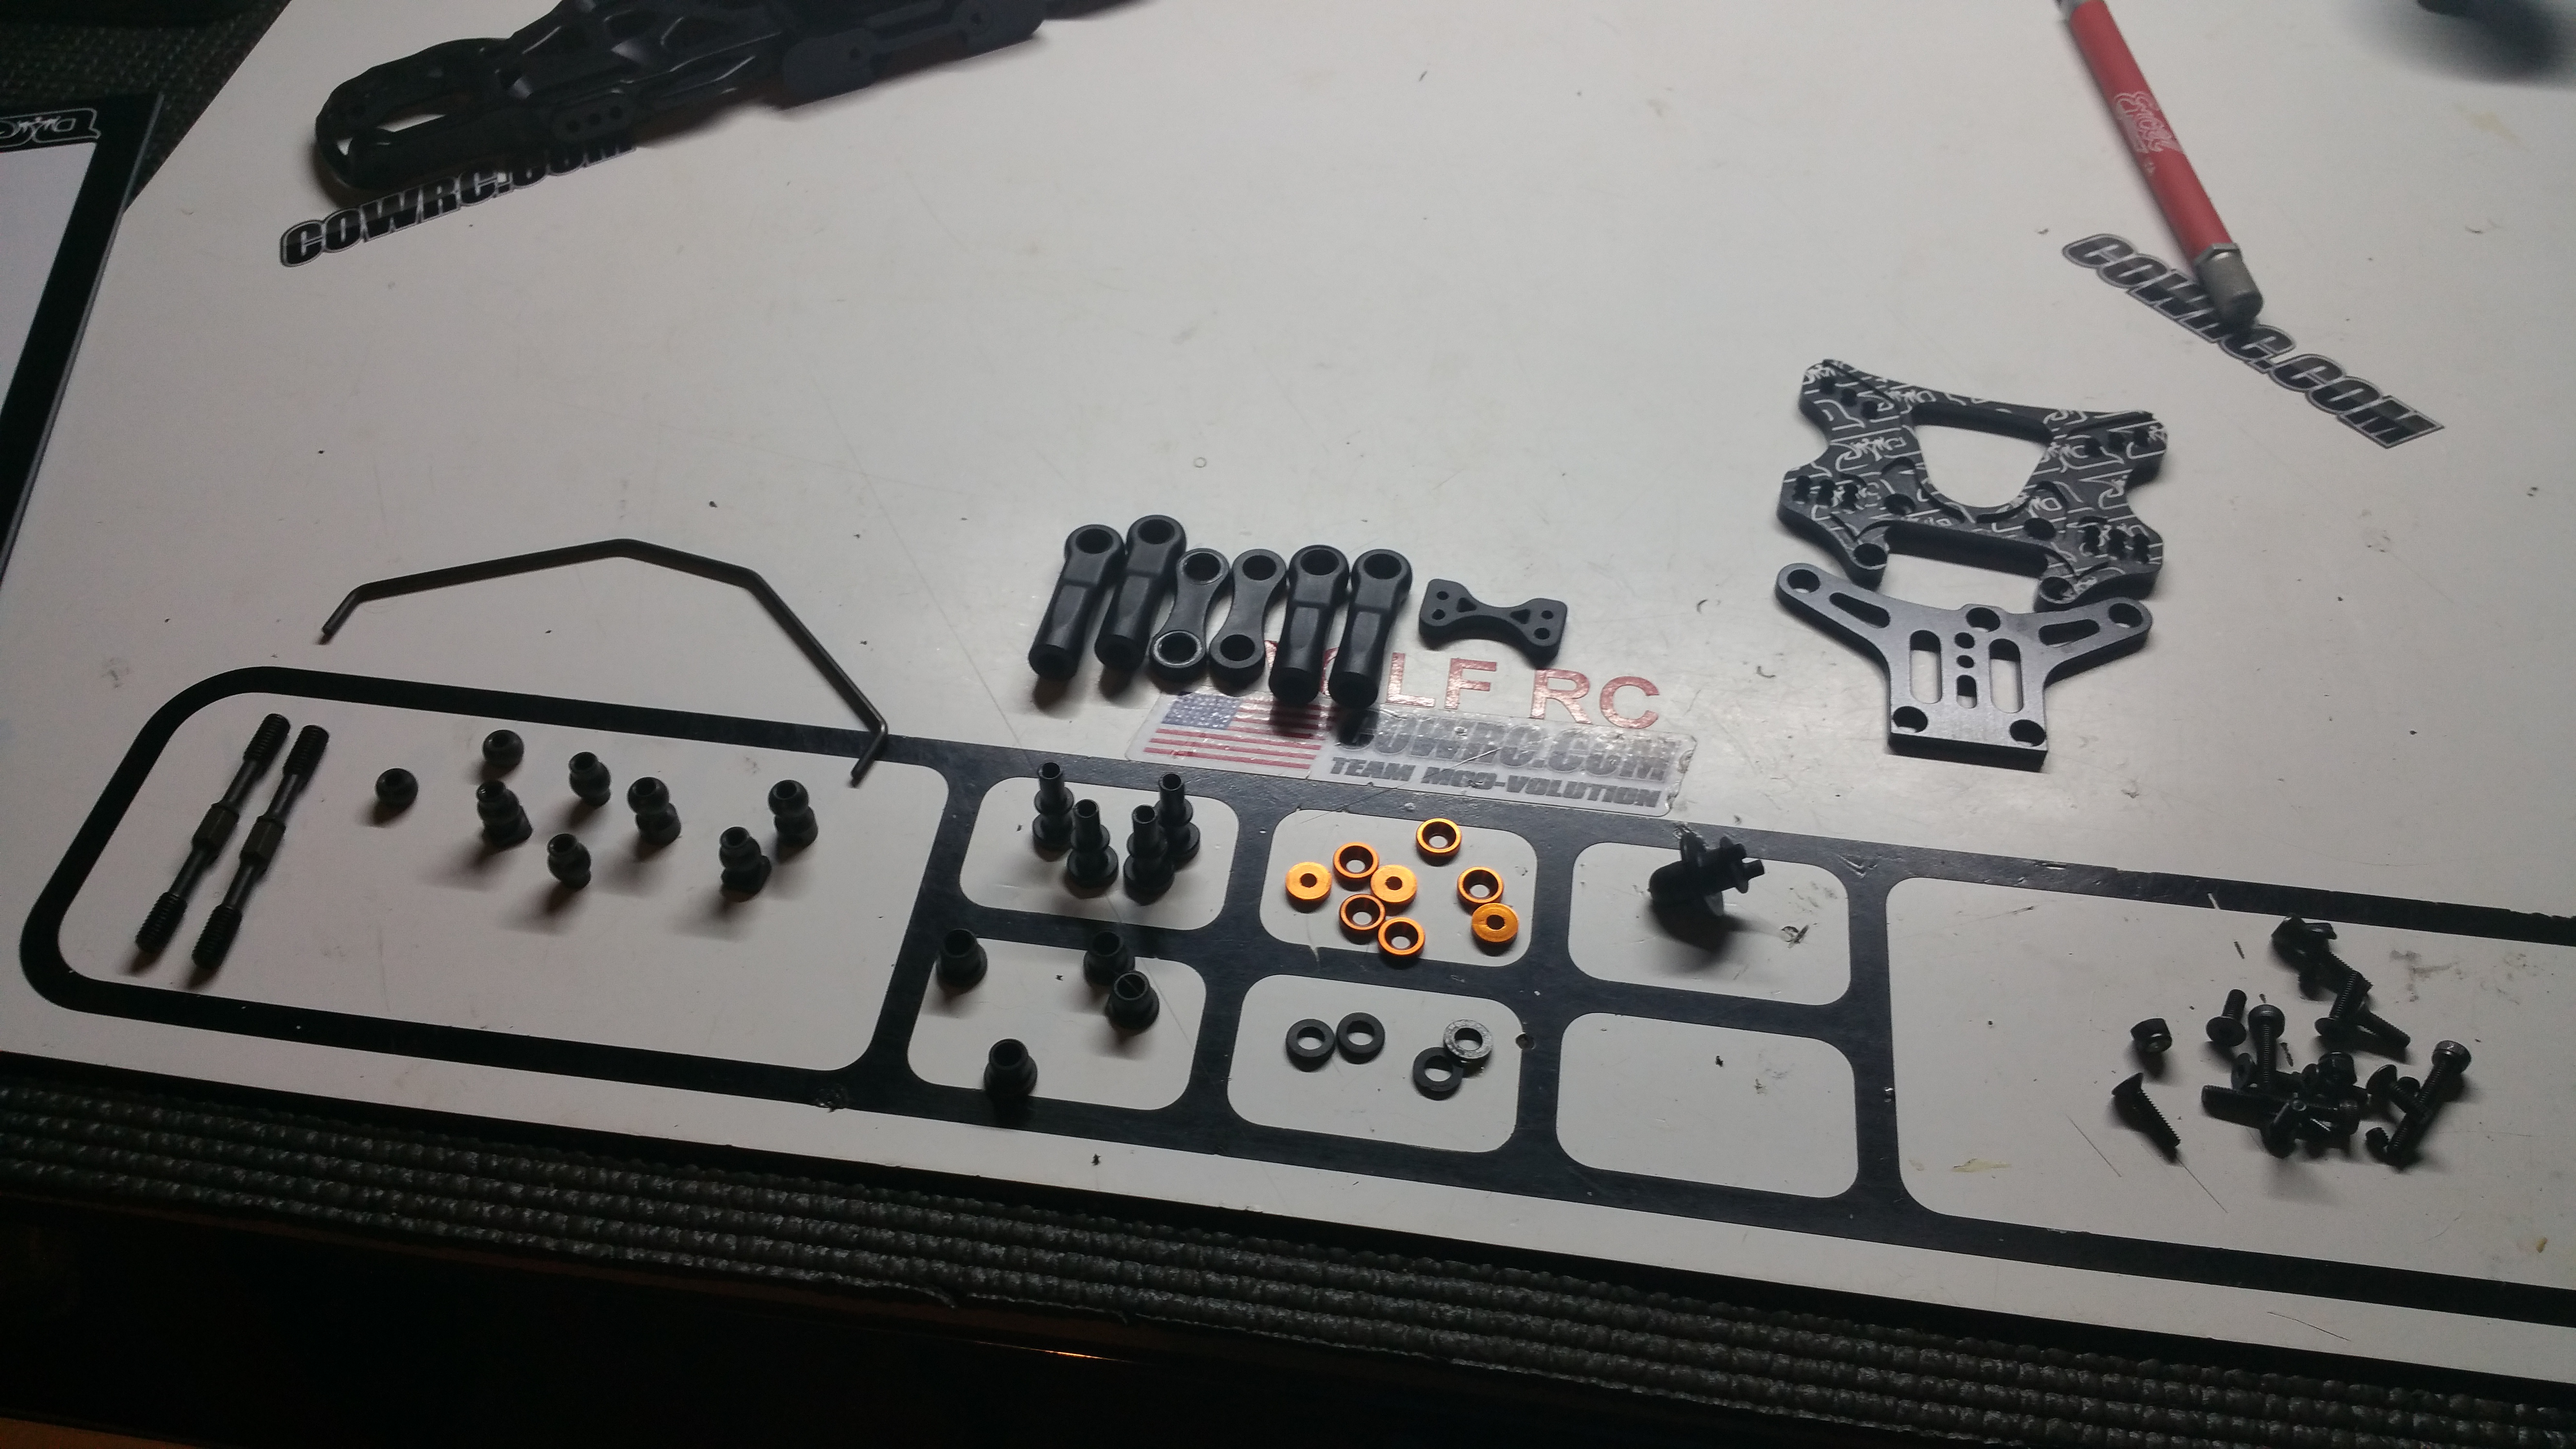
Mount the shock tower.
Note, 9 Camber link positions and 6 Shock mounting positions.
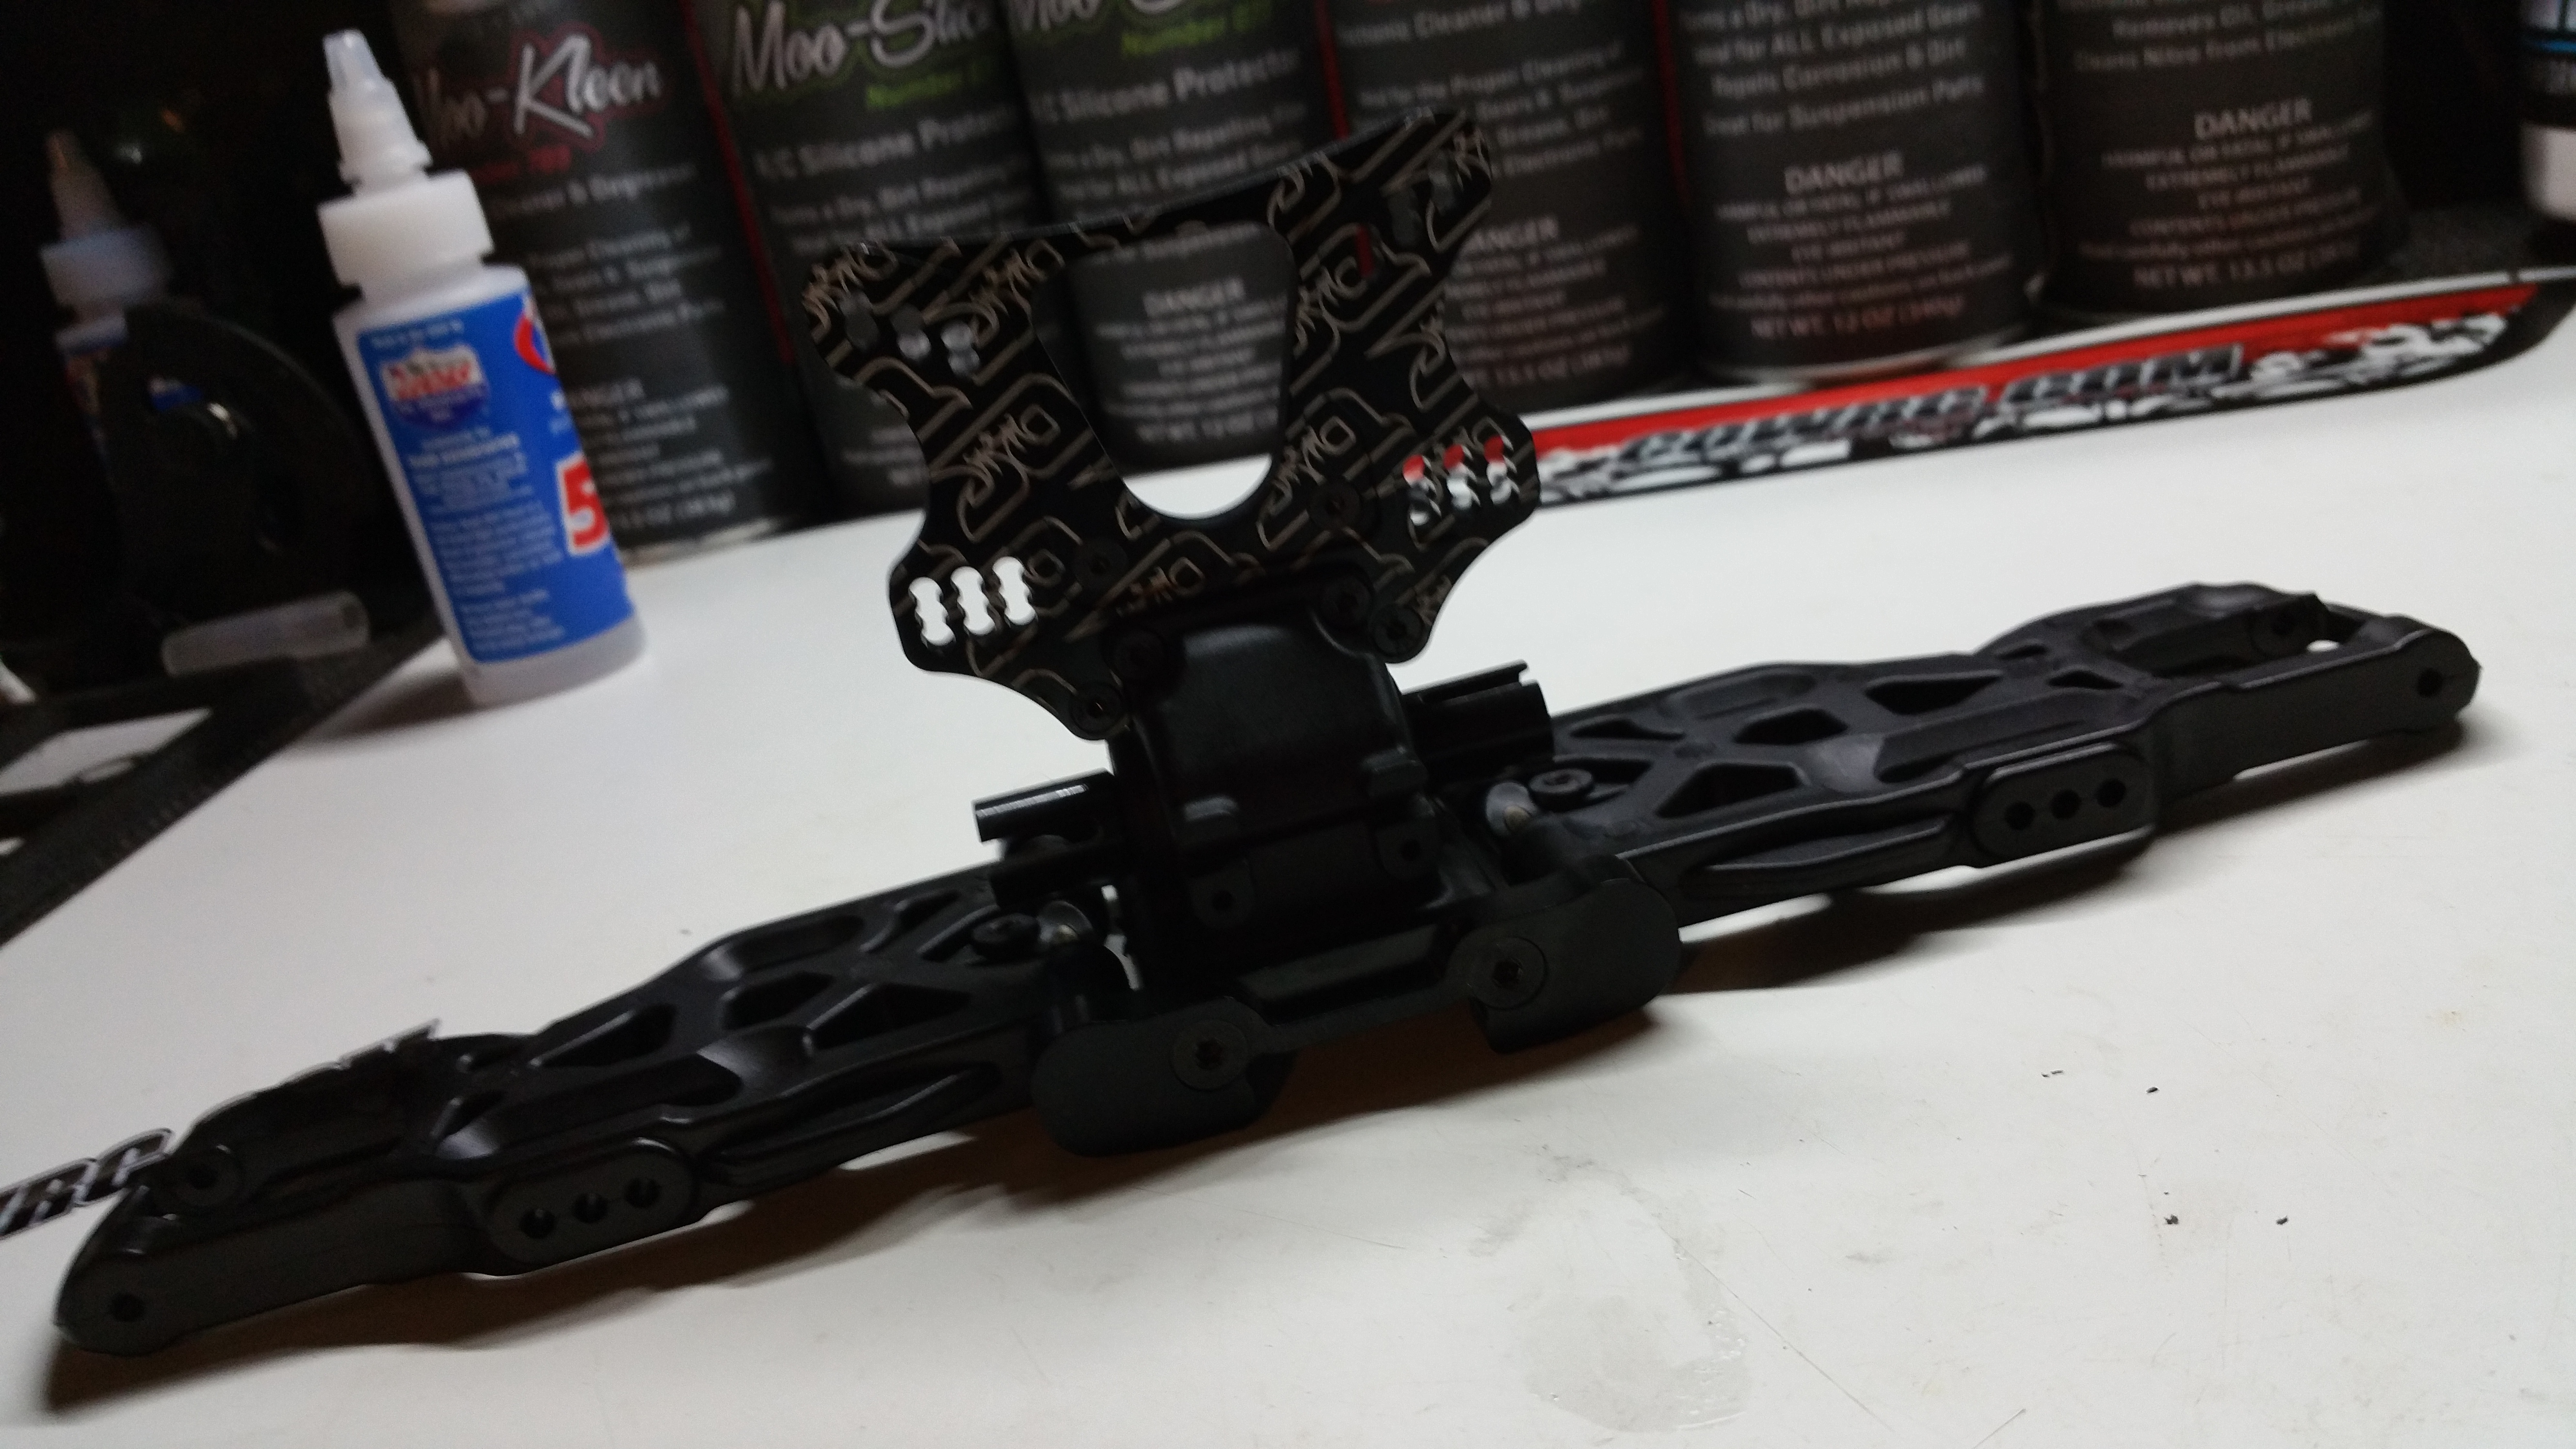
Sway bar!
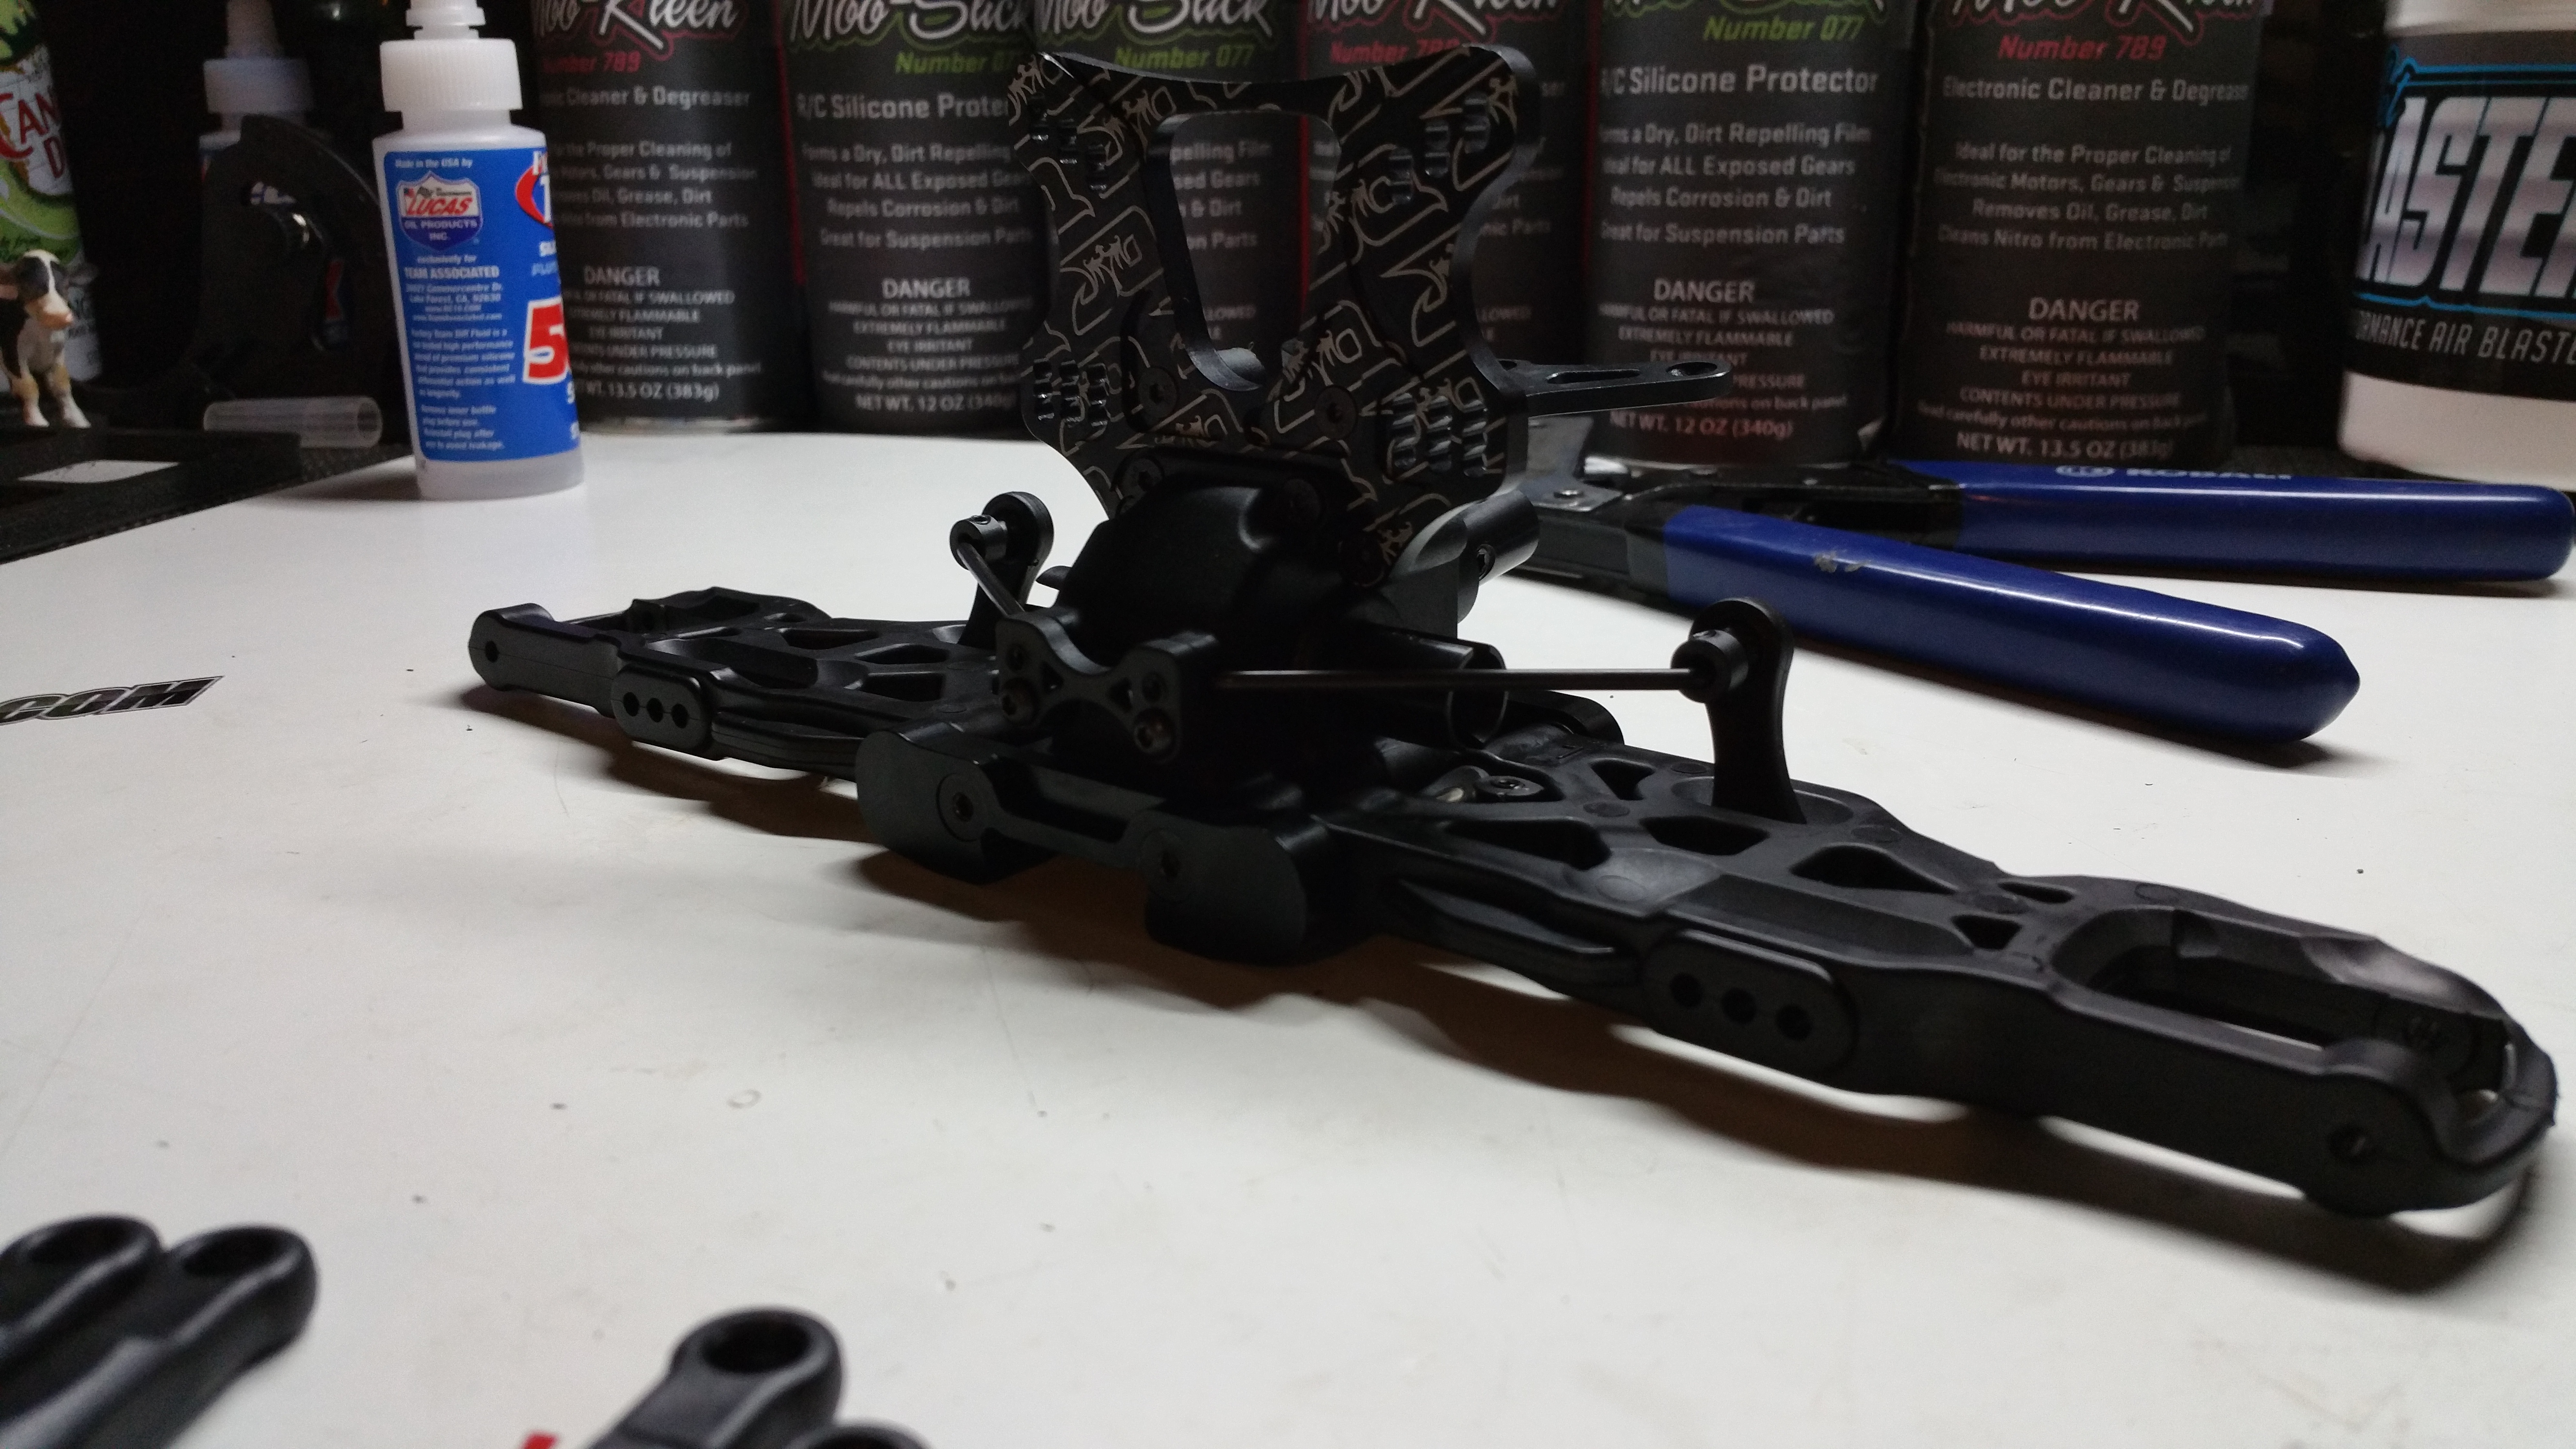
Top plate and front body mount!
Camber links!
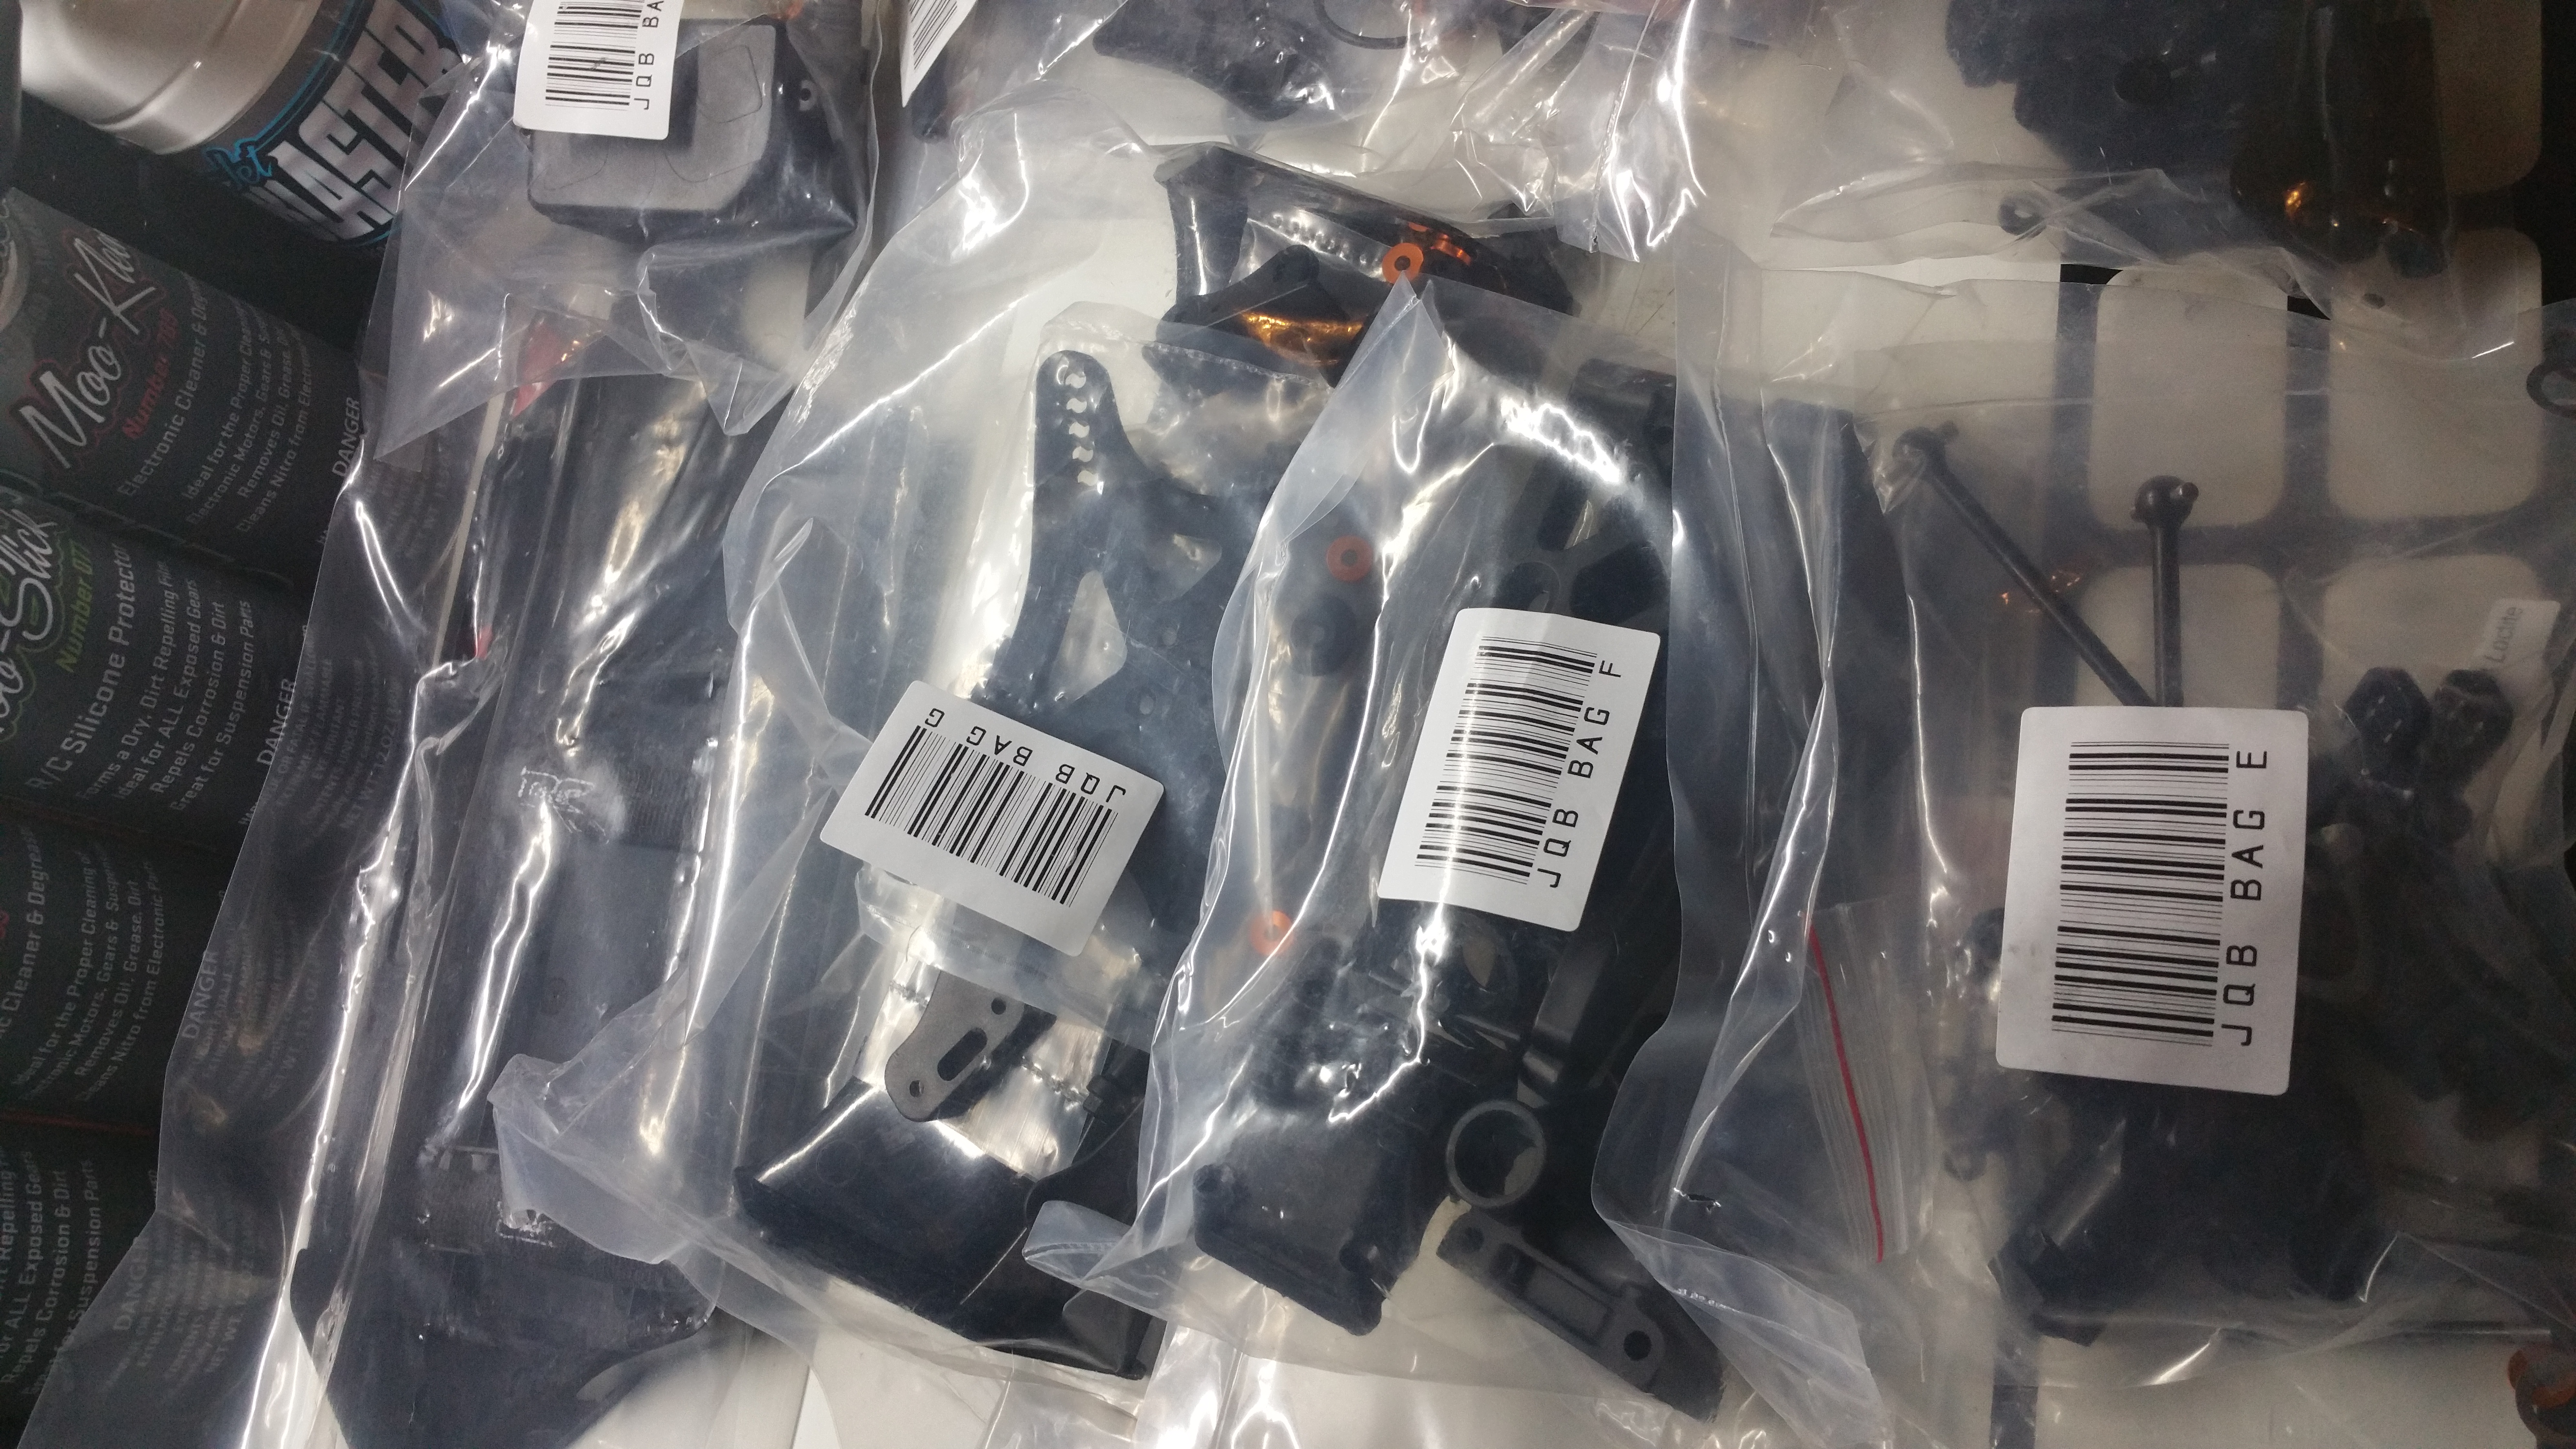
Bag E is just the Chubs and Knuckles. They come pre-assembled, which is great, although i always recommend taking them apart, and checking that it is built correctly.
Note, they are Aluminum – This is a very nice feature that is not standard on most other cars!

Bag E is just attaching the Chubs/Knuckles and putting those beautiful shocks on! here’s those colored washers! 😀
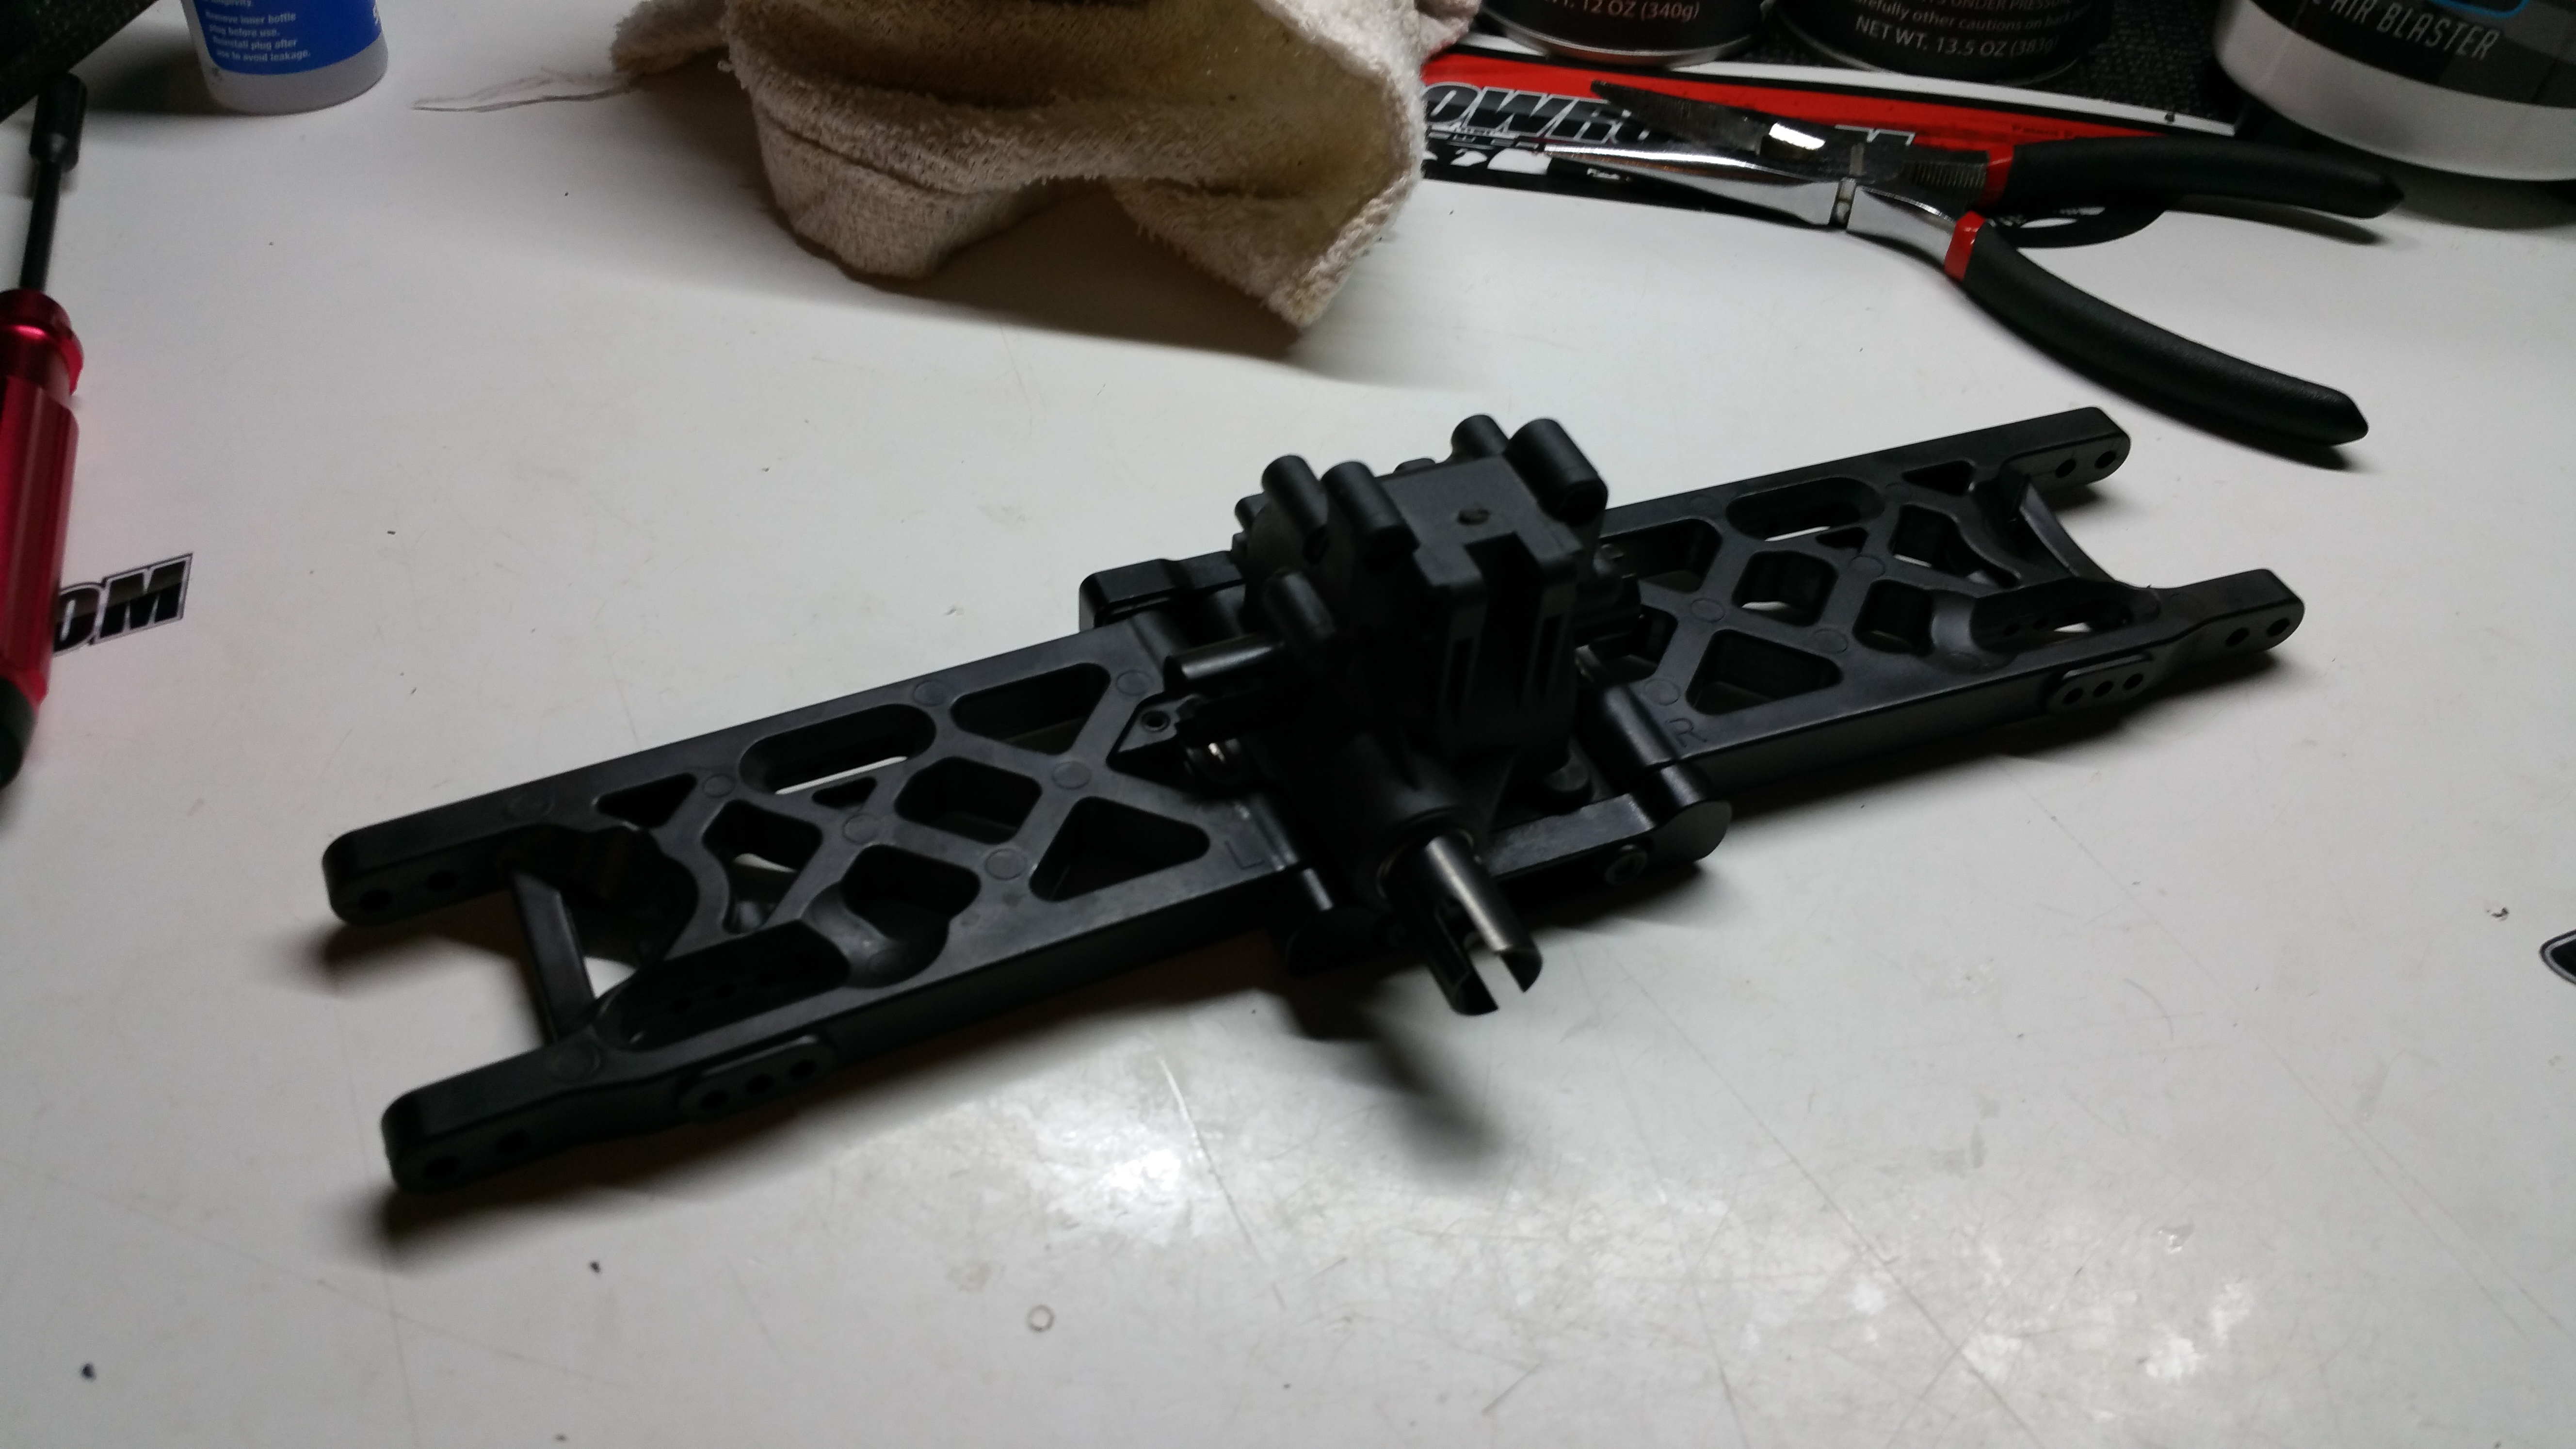
Bag F we just start on the Rear end of the car!

Insert the diff, Attach the Hinge pin retainers, and attach the A arms, we have a rear end!
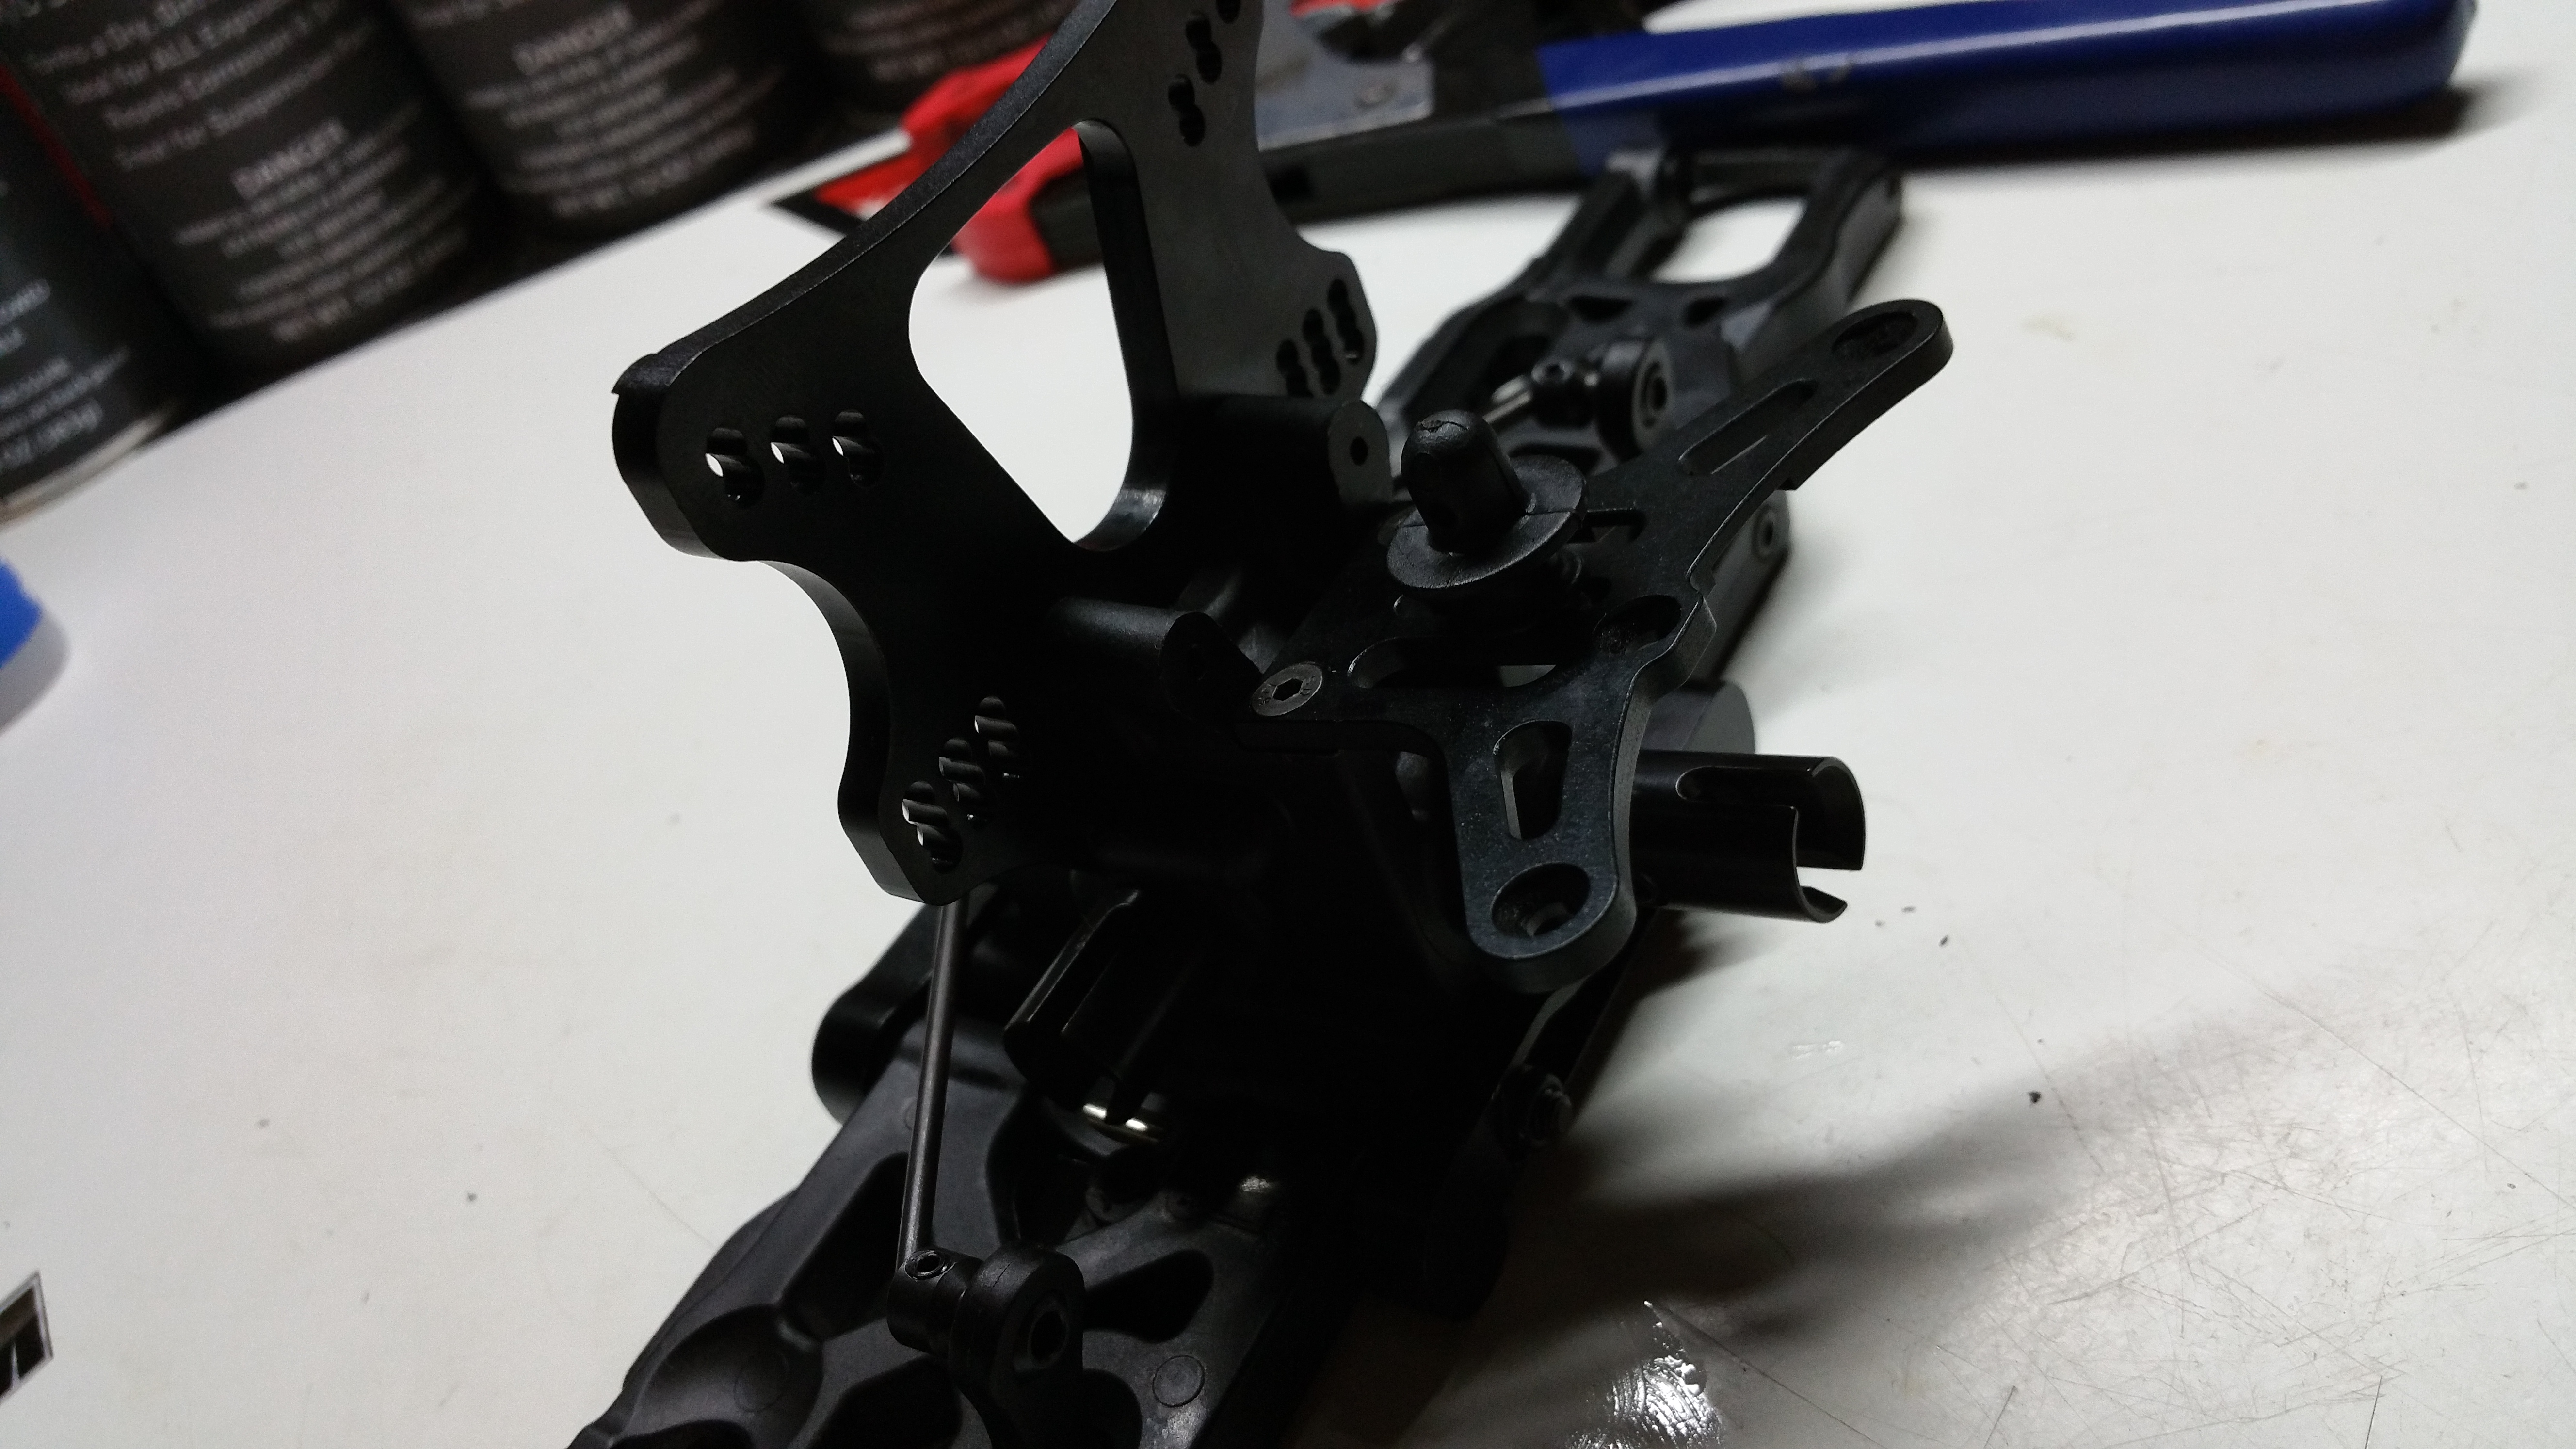
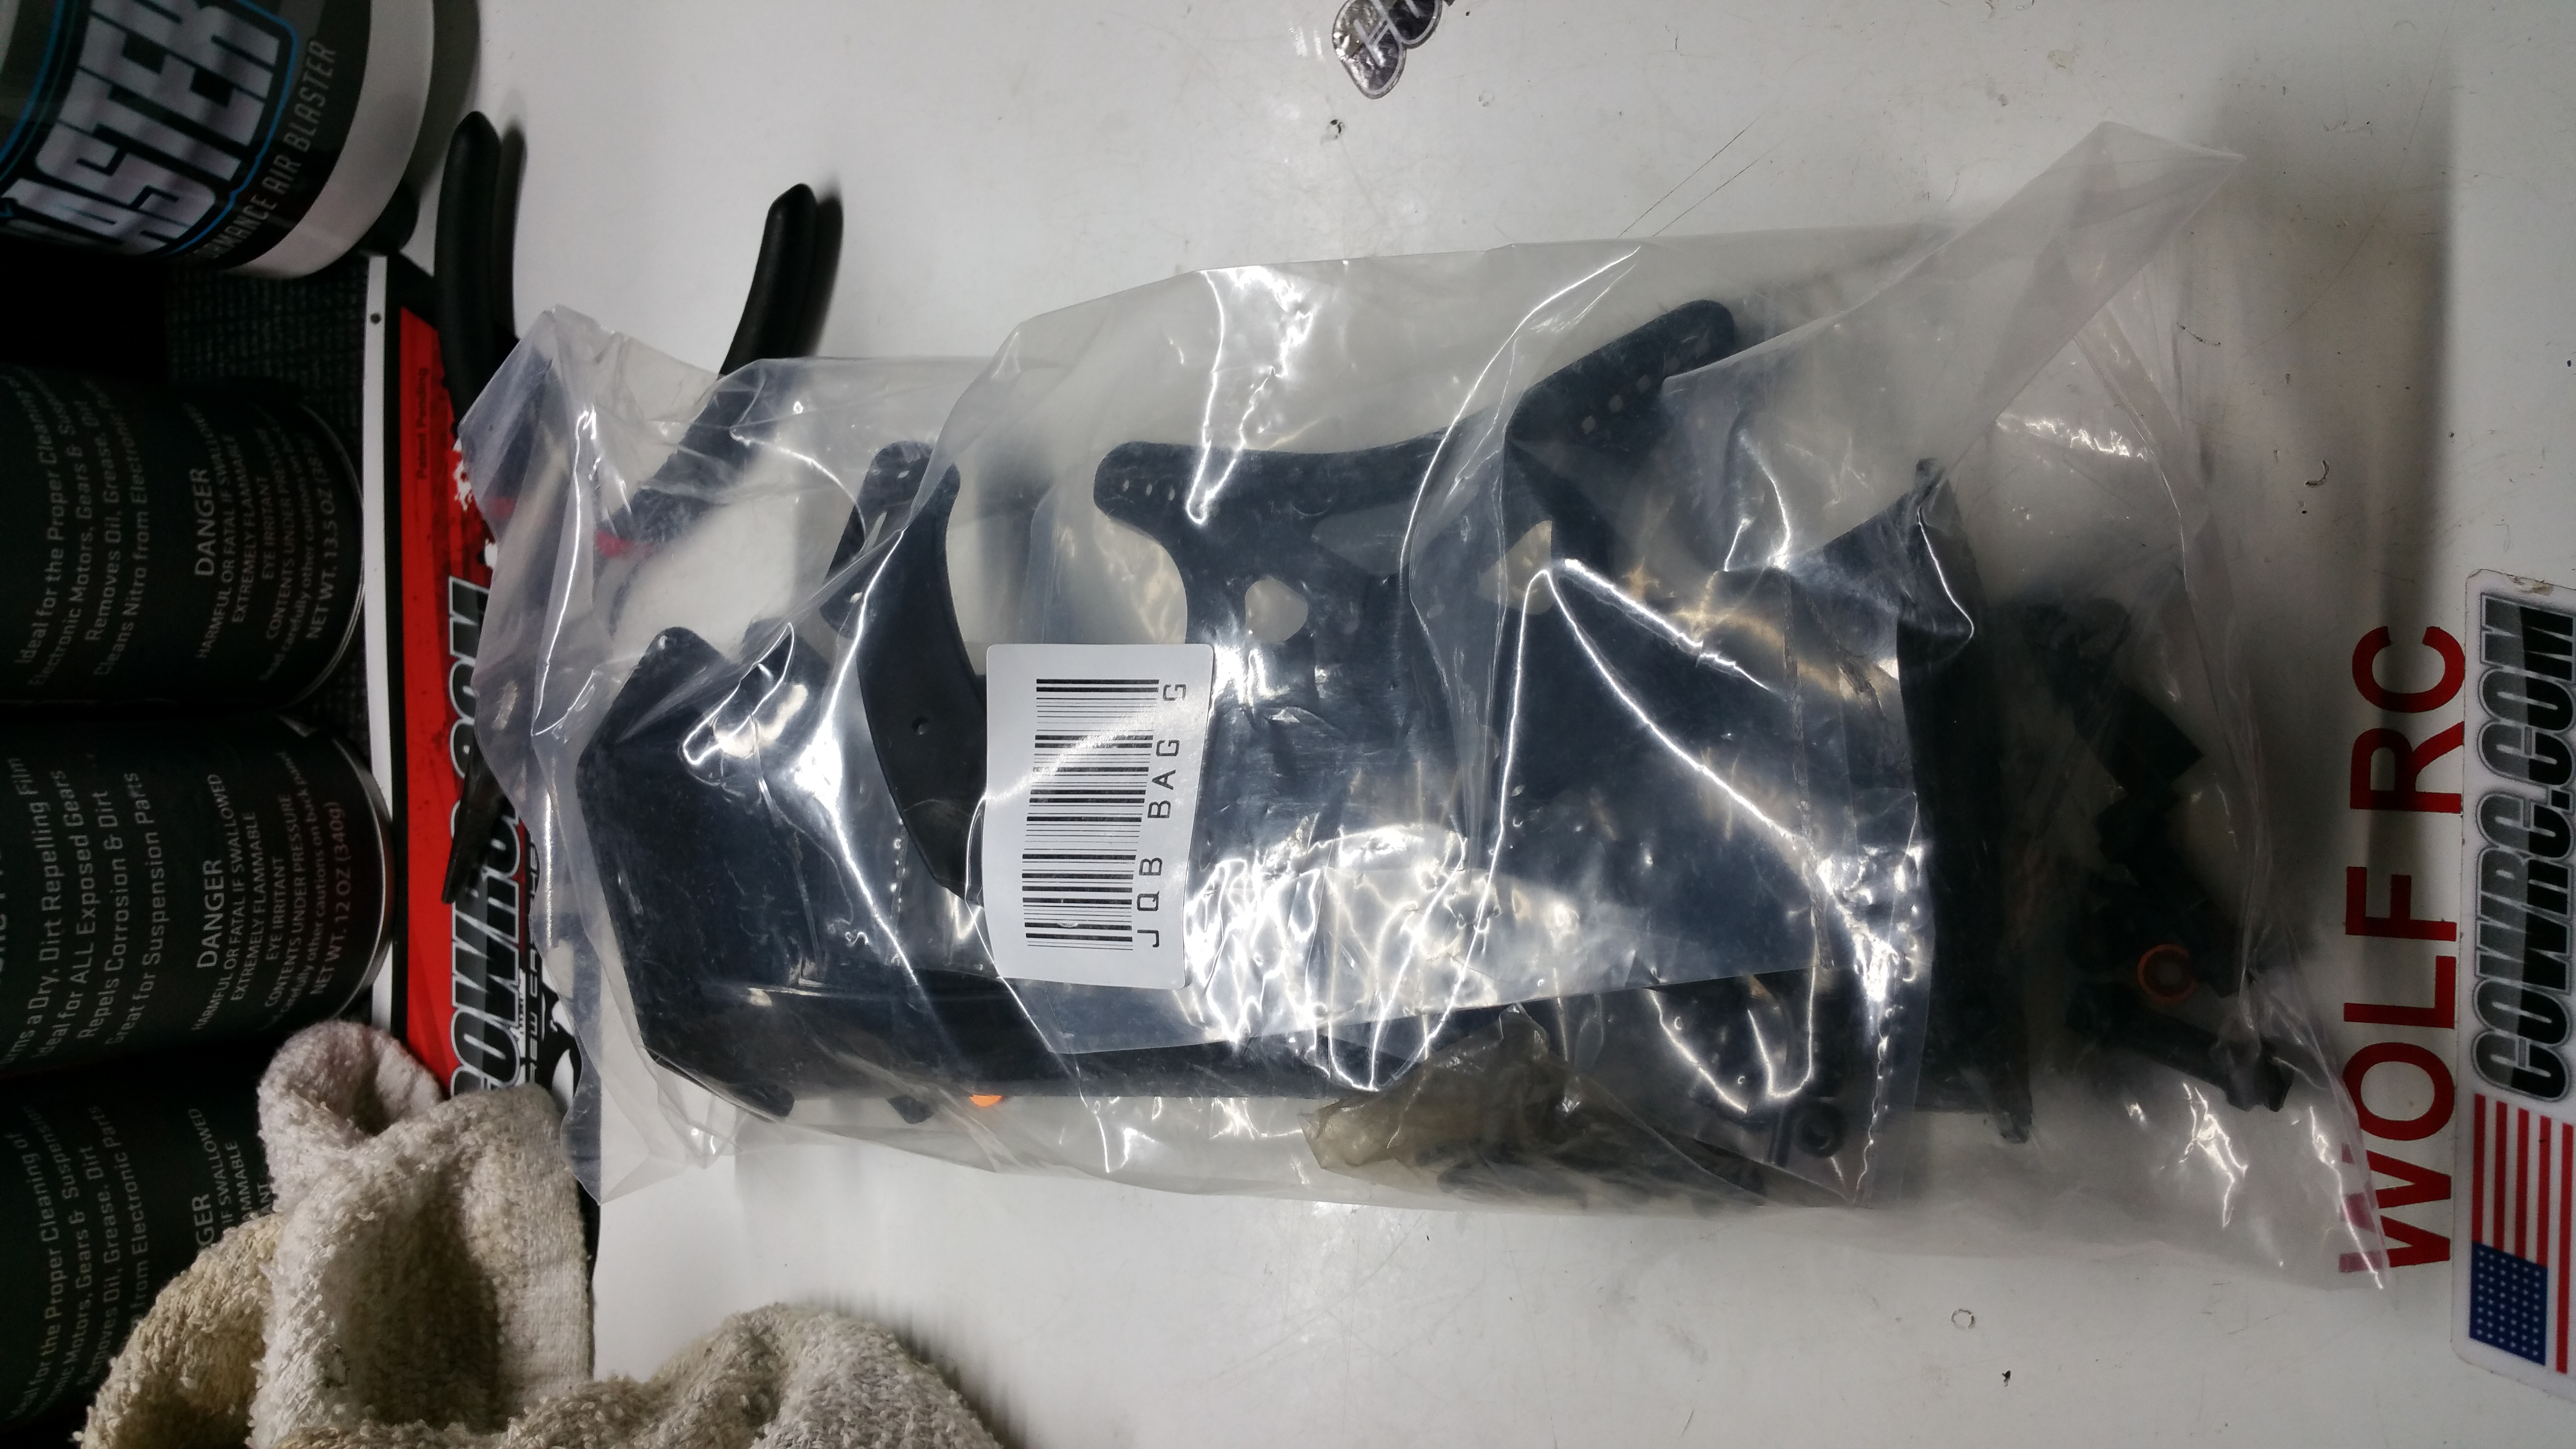
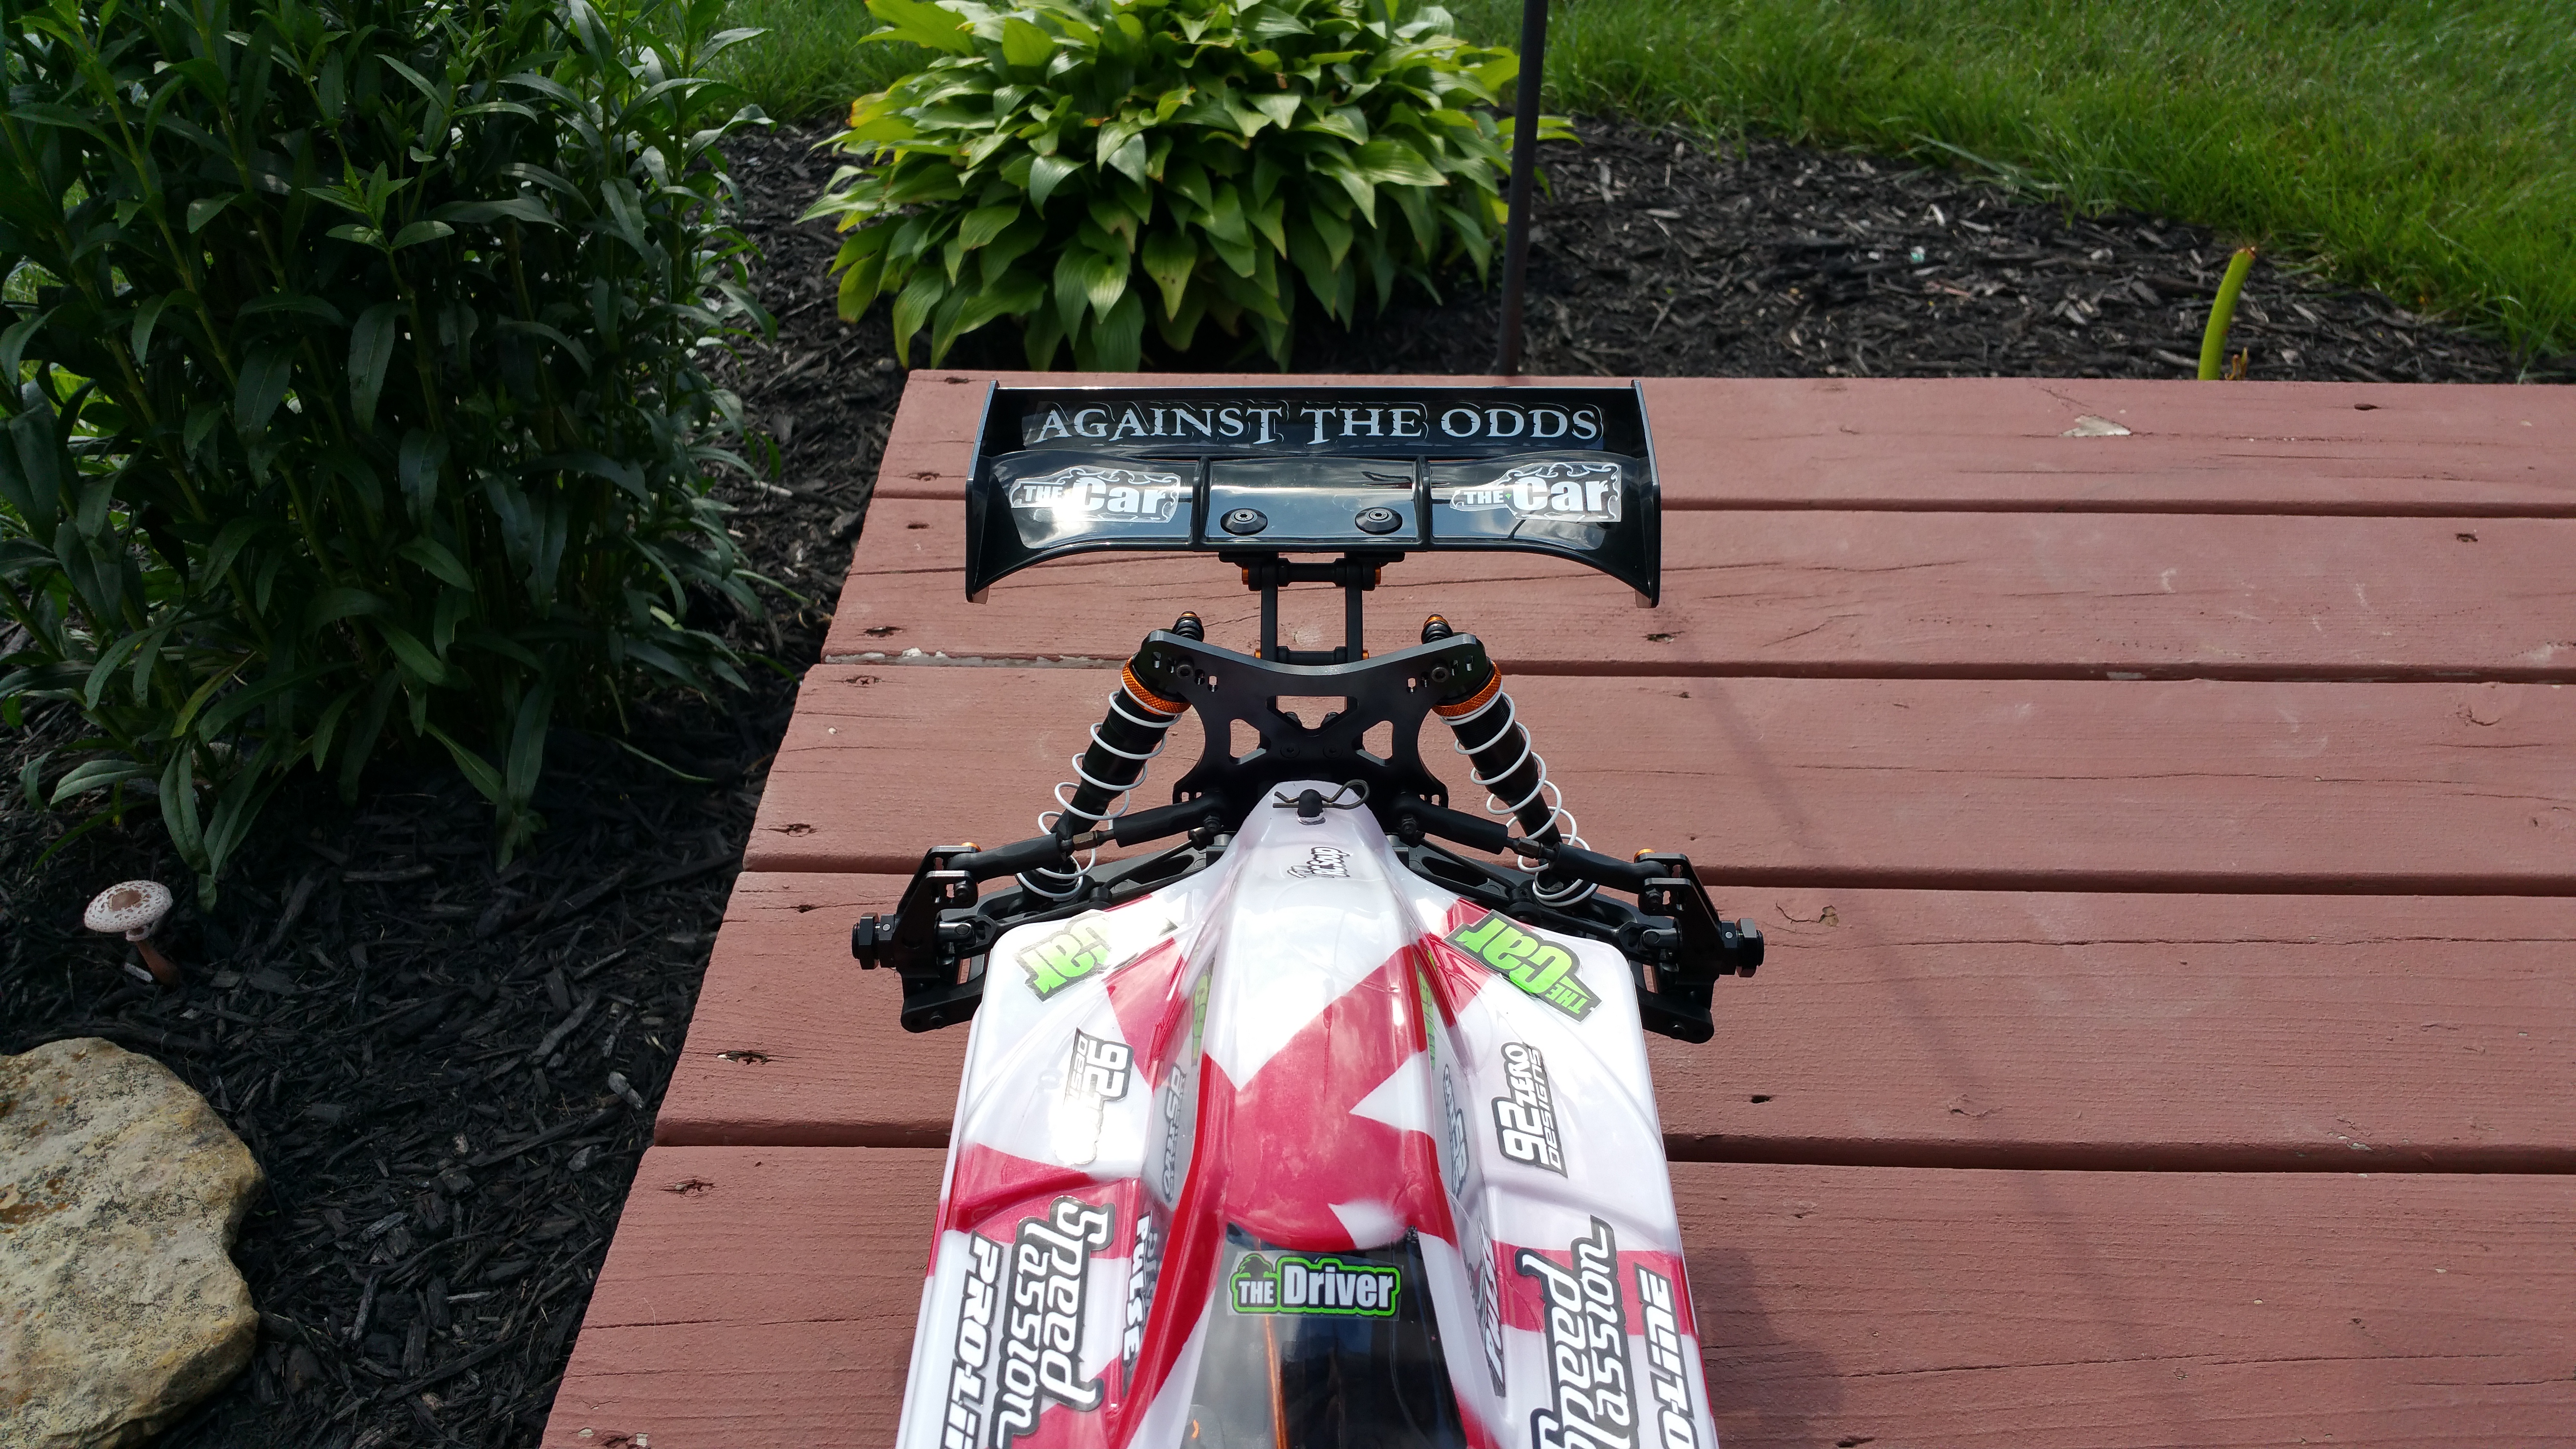
Moving onto Bag G – This bag contains the Rear shock tower, wing, wing mounts, and the hardware to attach the rear shocks!
Wing Mount!

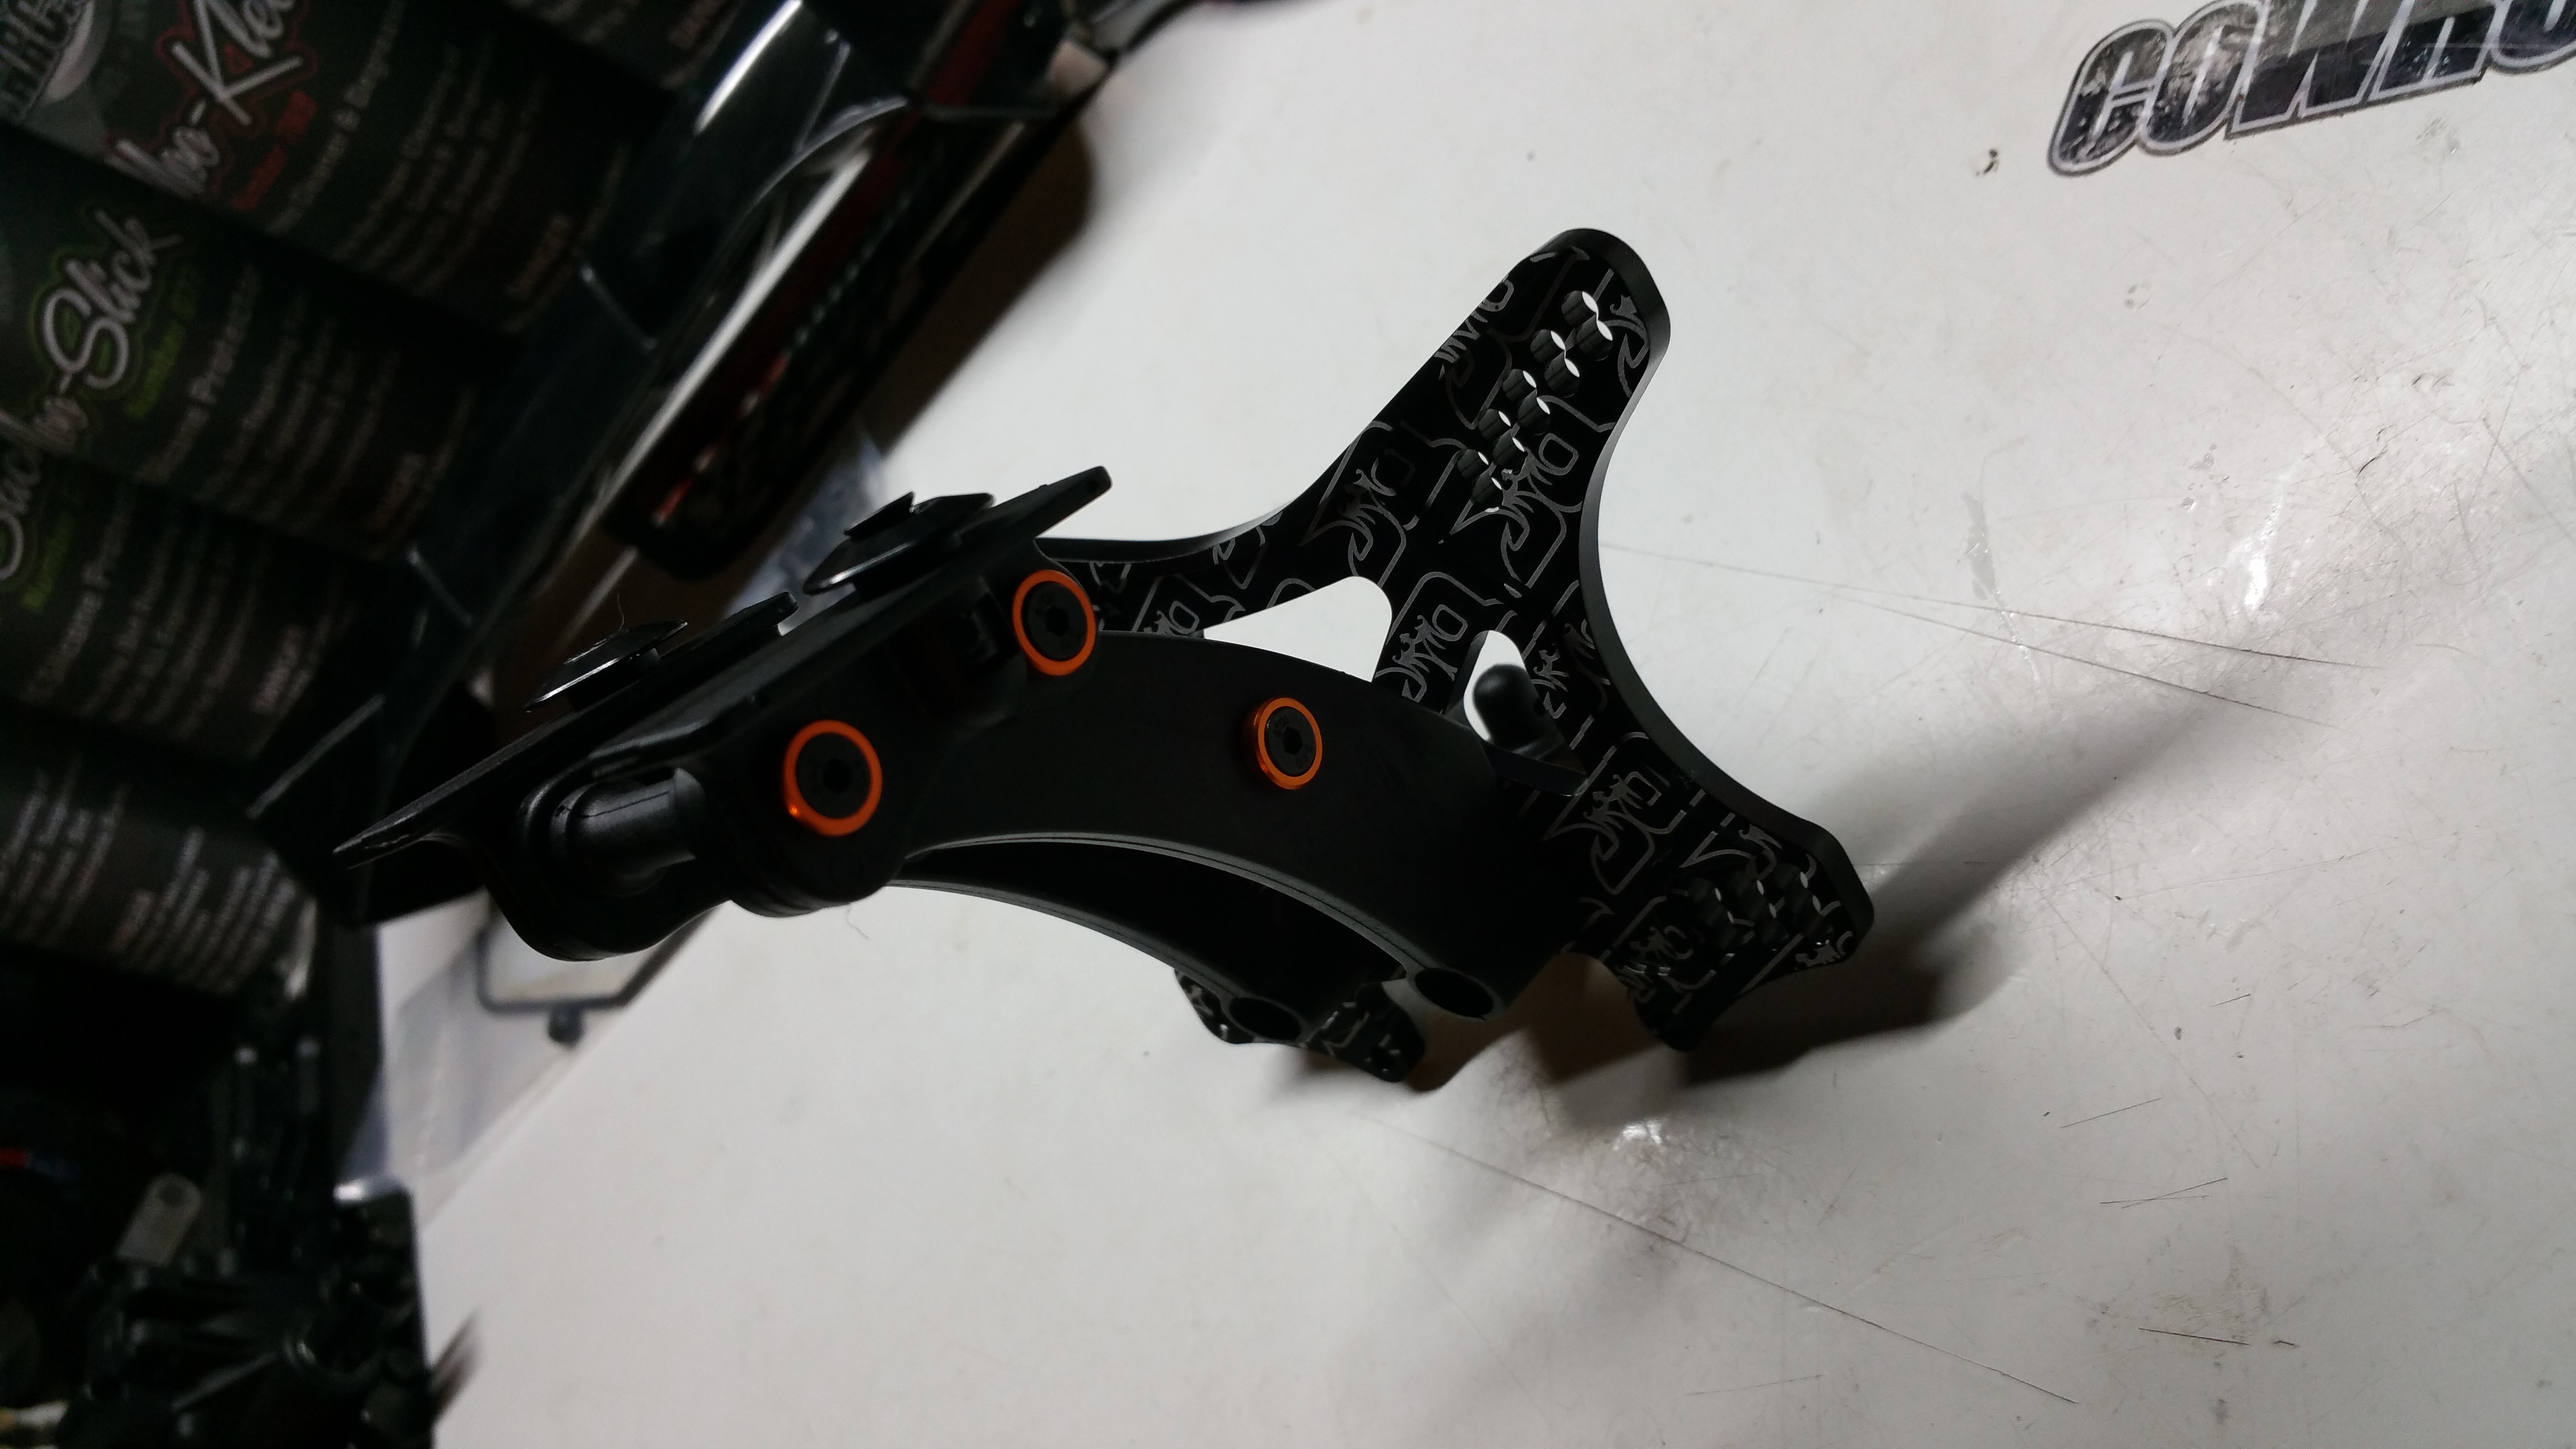
Rear shock Tower!
Note that there are 10 Shock positions and 9 Camber link positions.

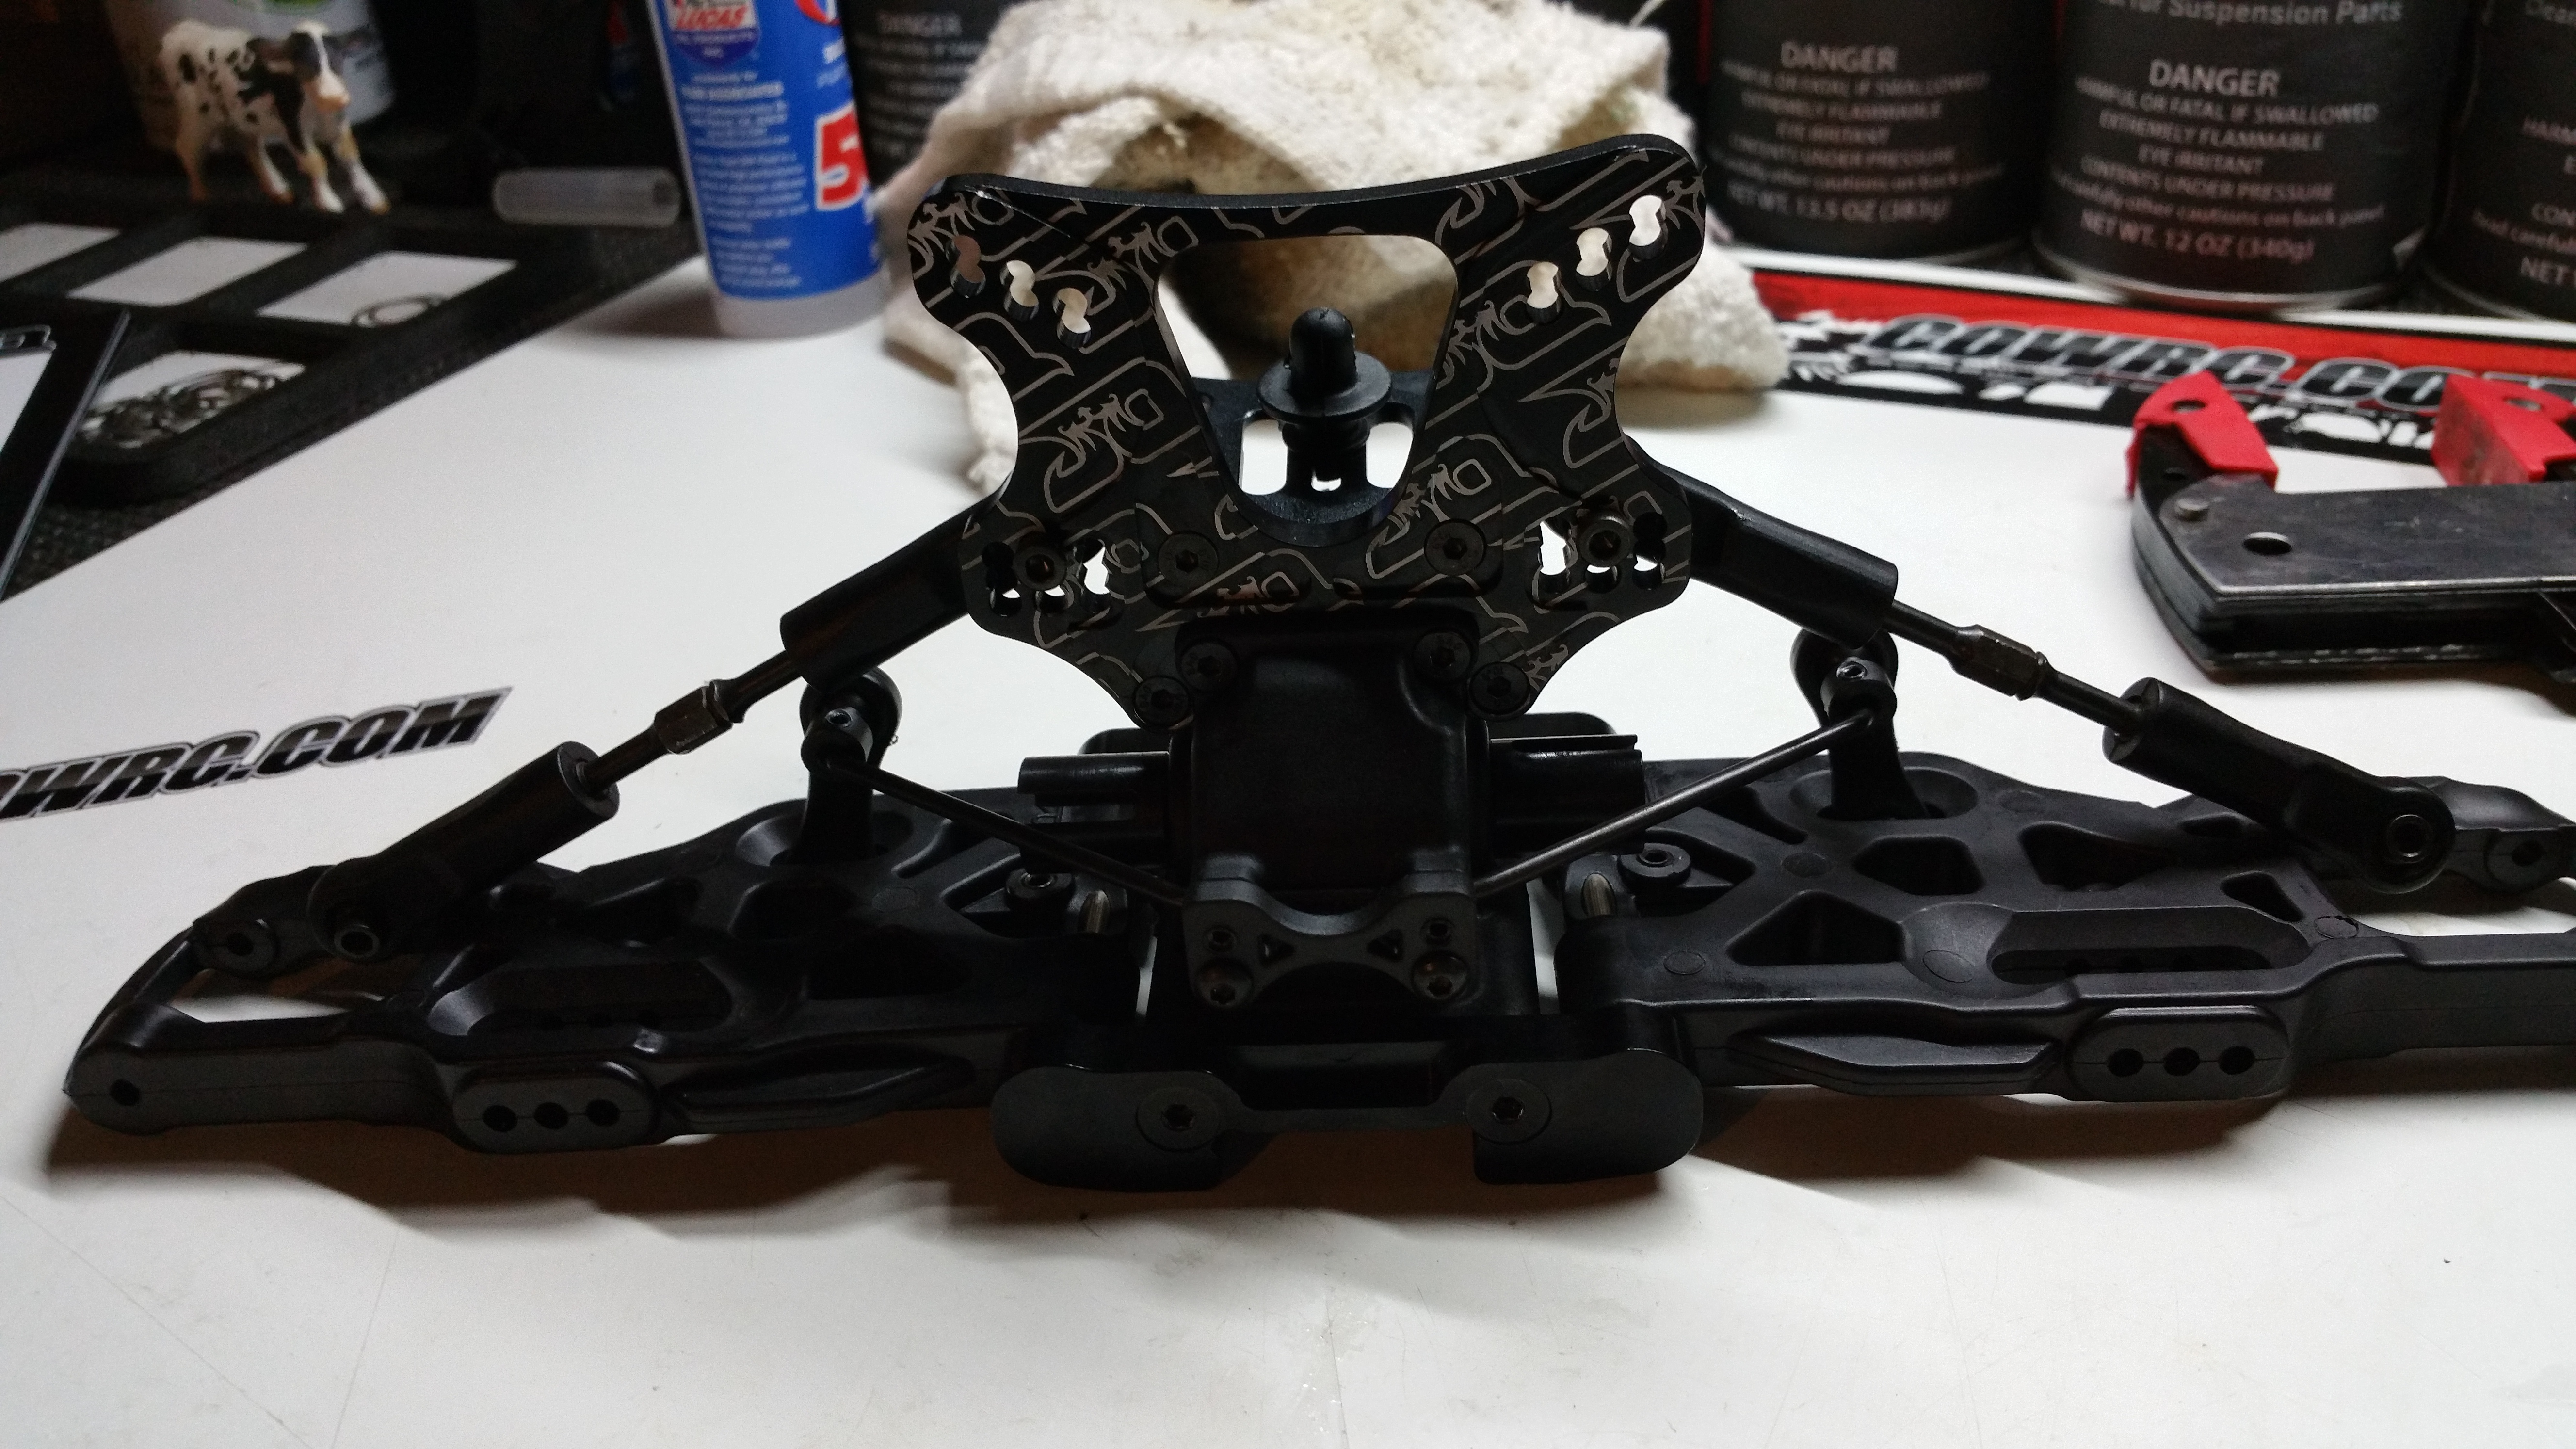
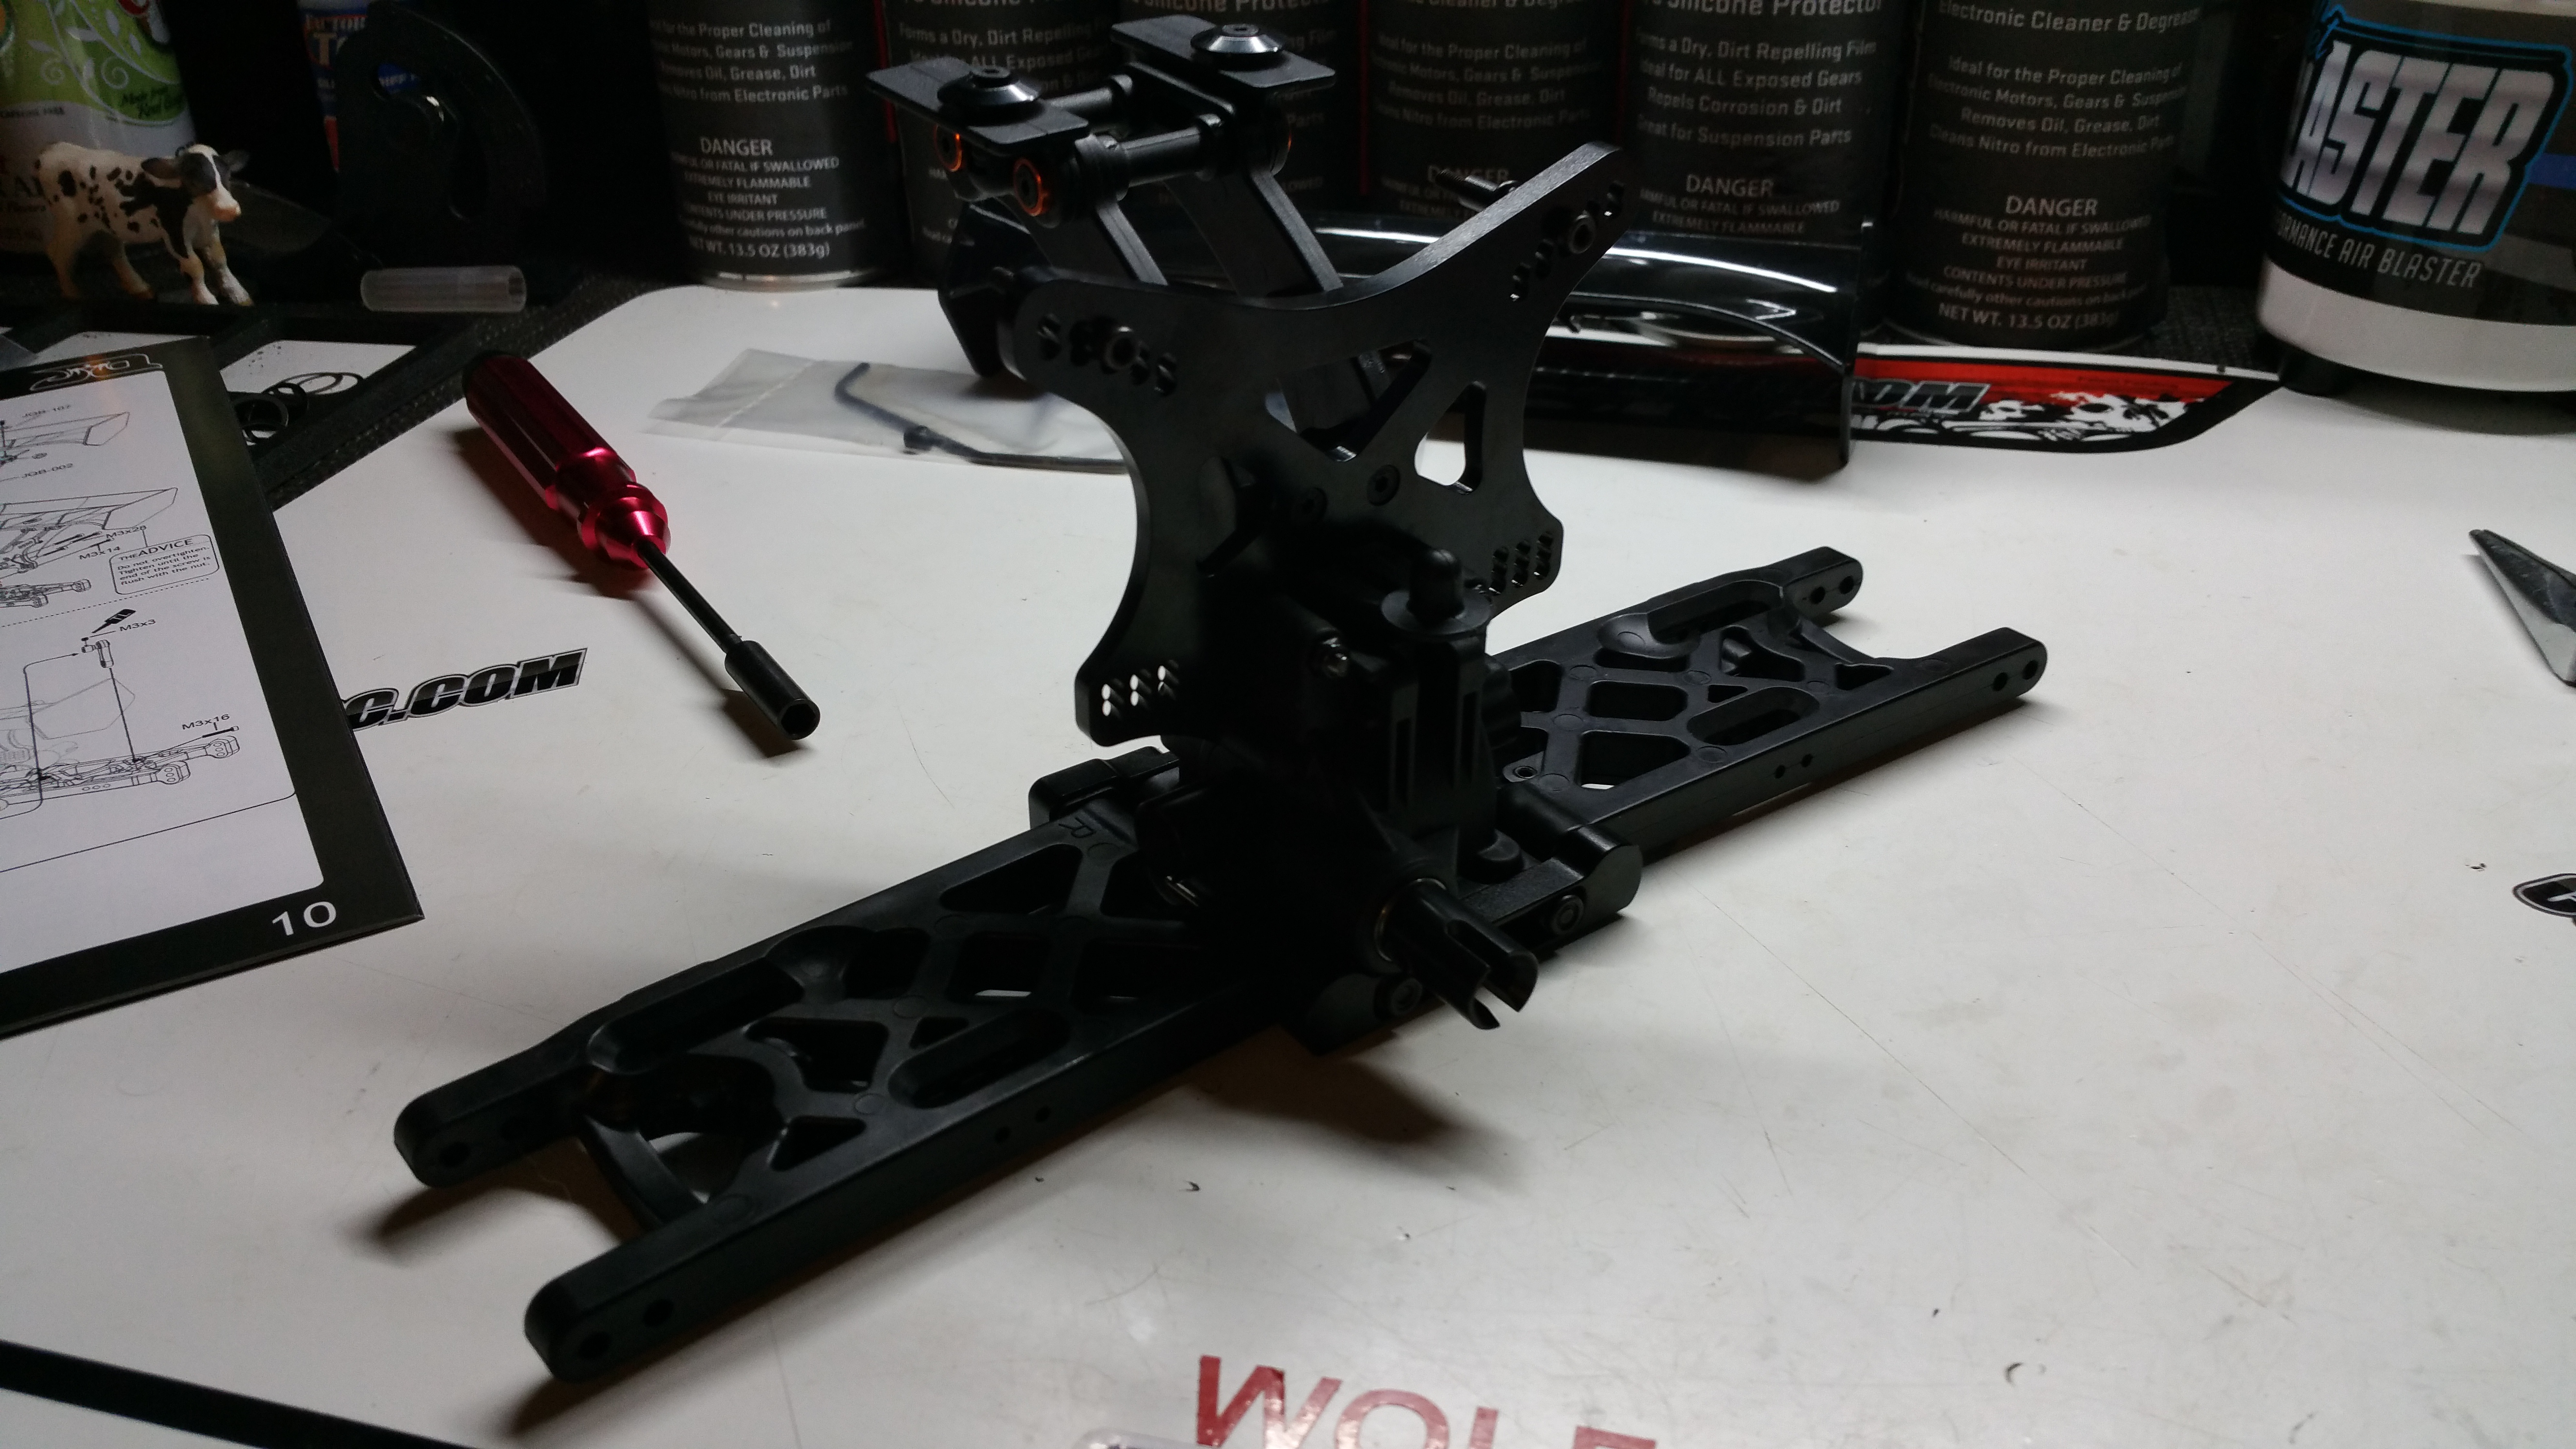
Wing mount attached to the rear shock tower!
Shock tower attached to the Diff case!
Rear sway Bar!
* Note the rear hinge pin retainer etching*
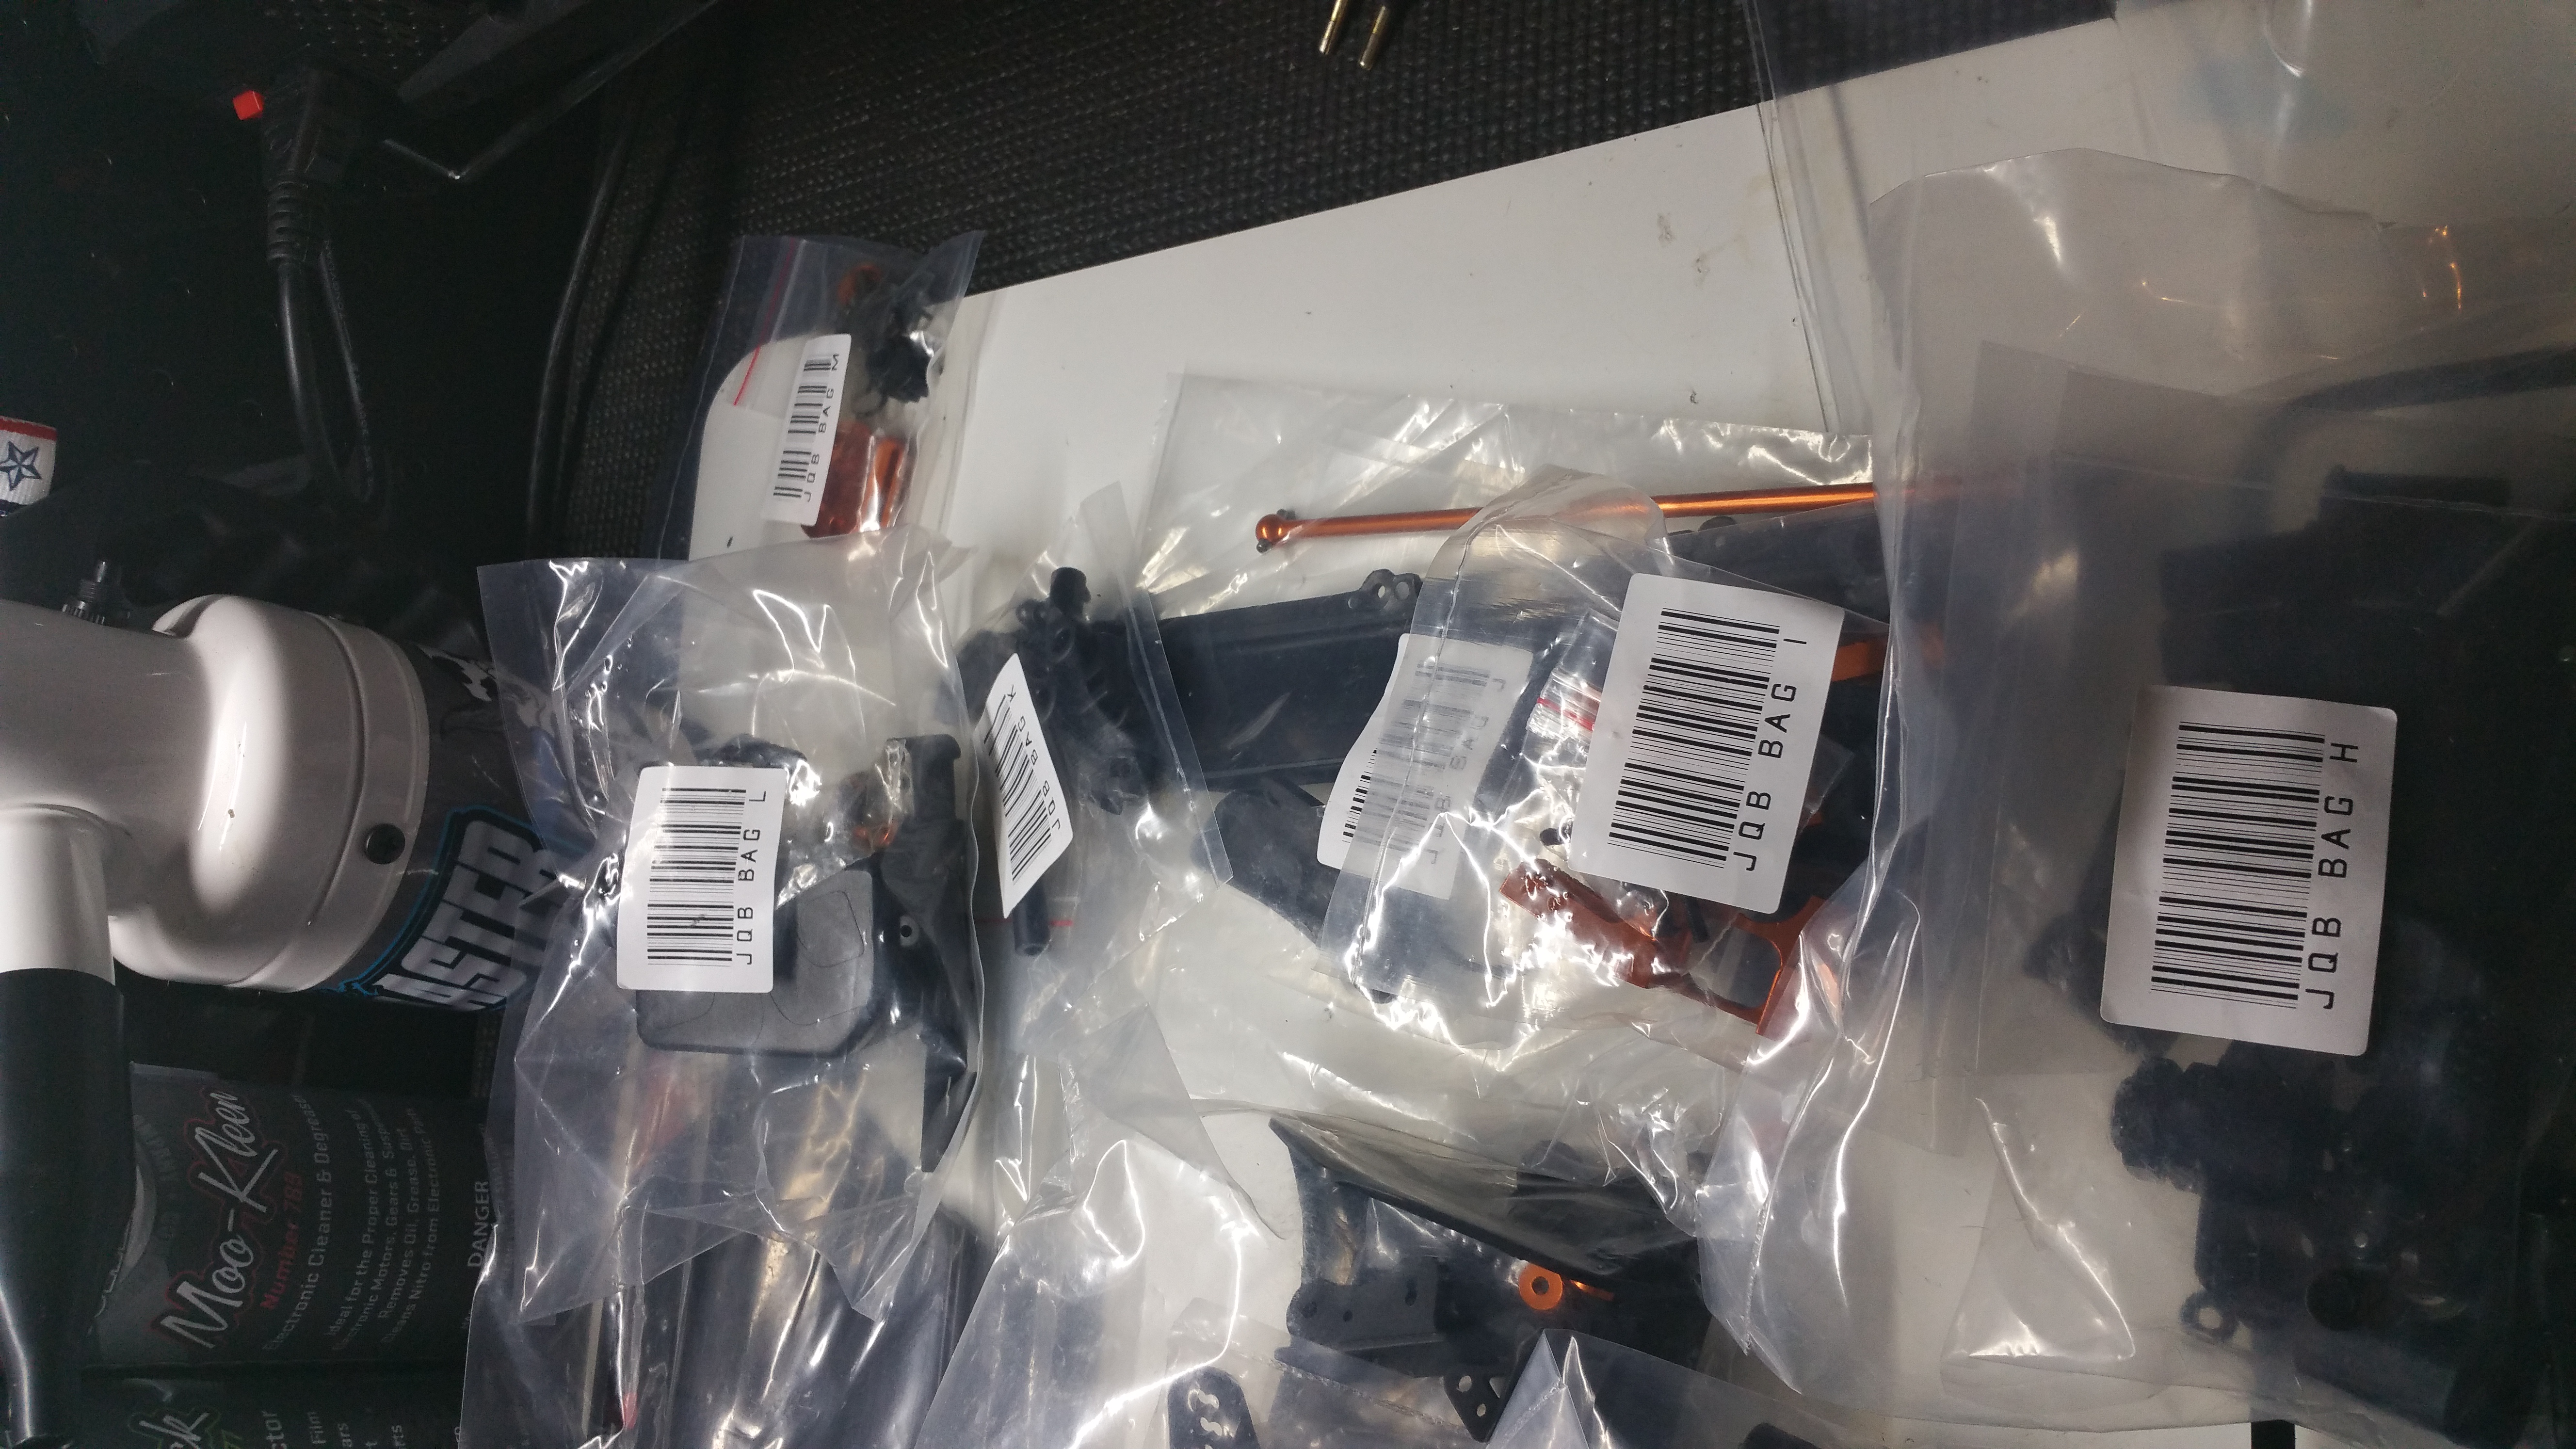
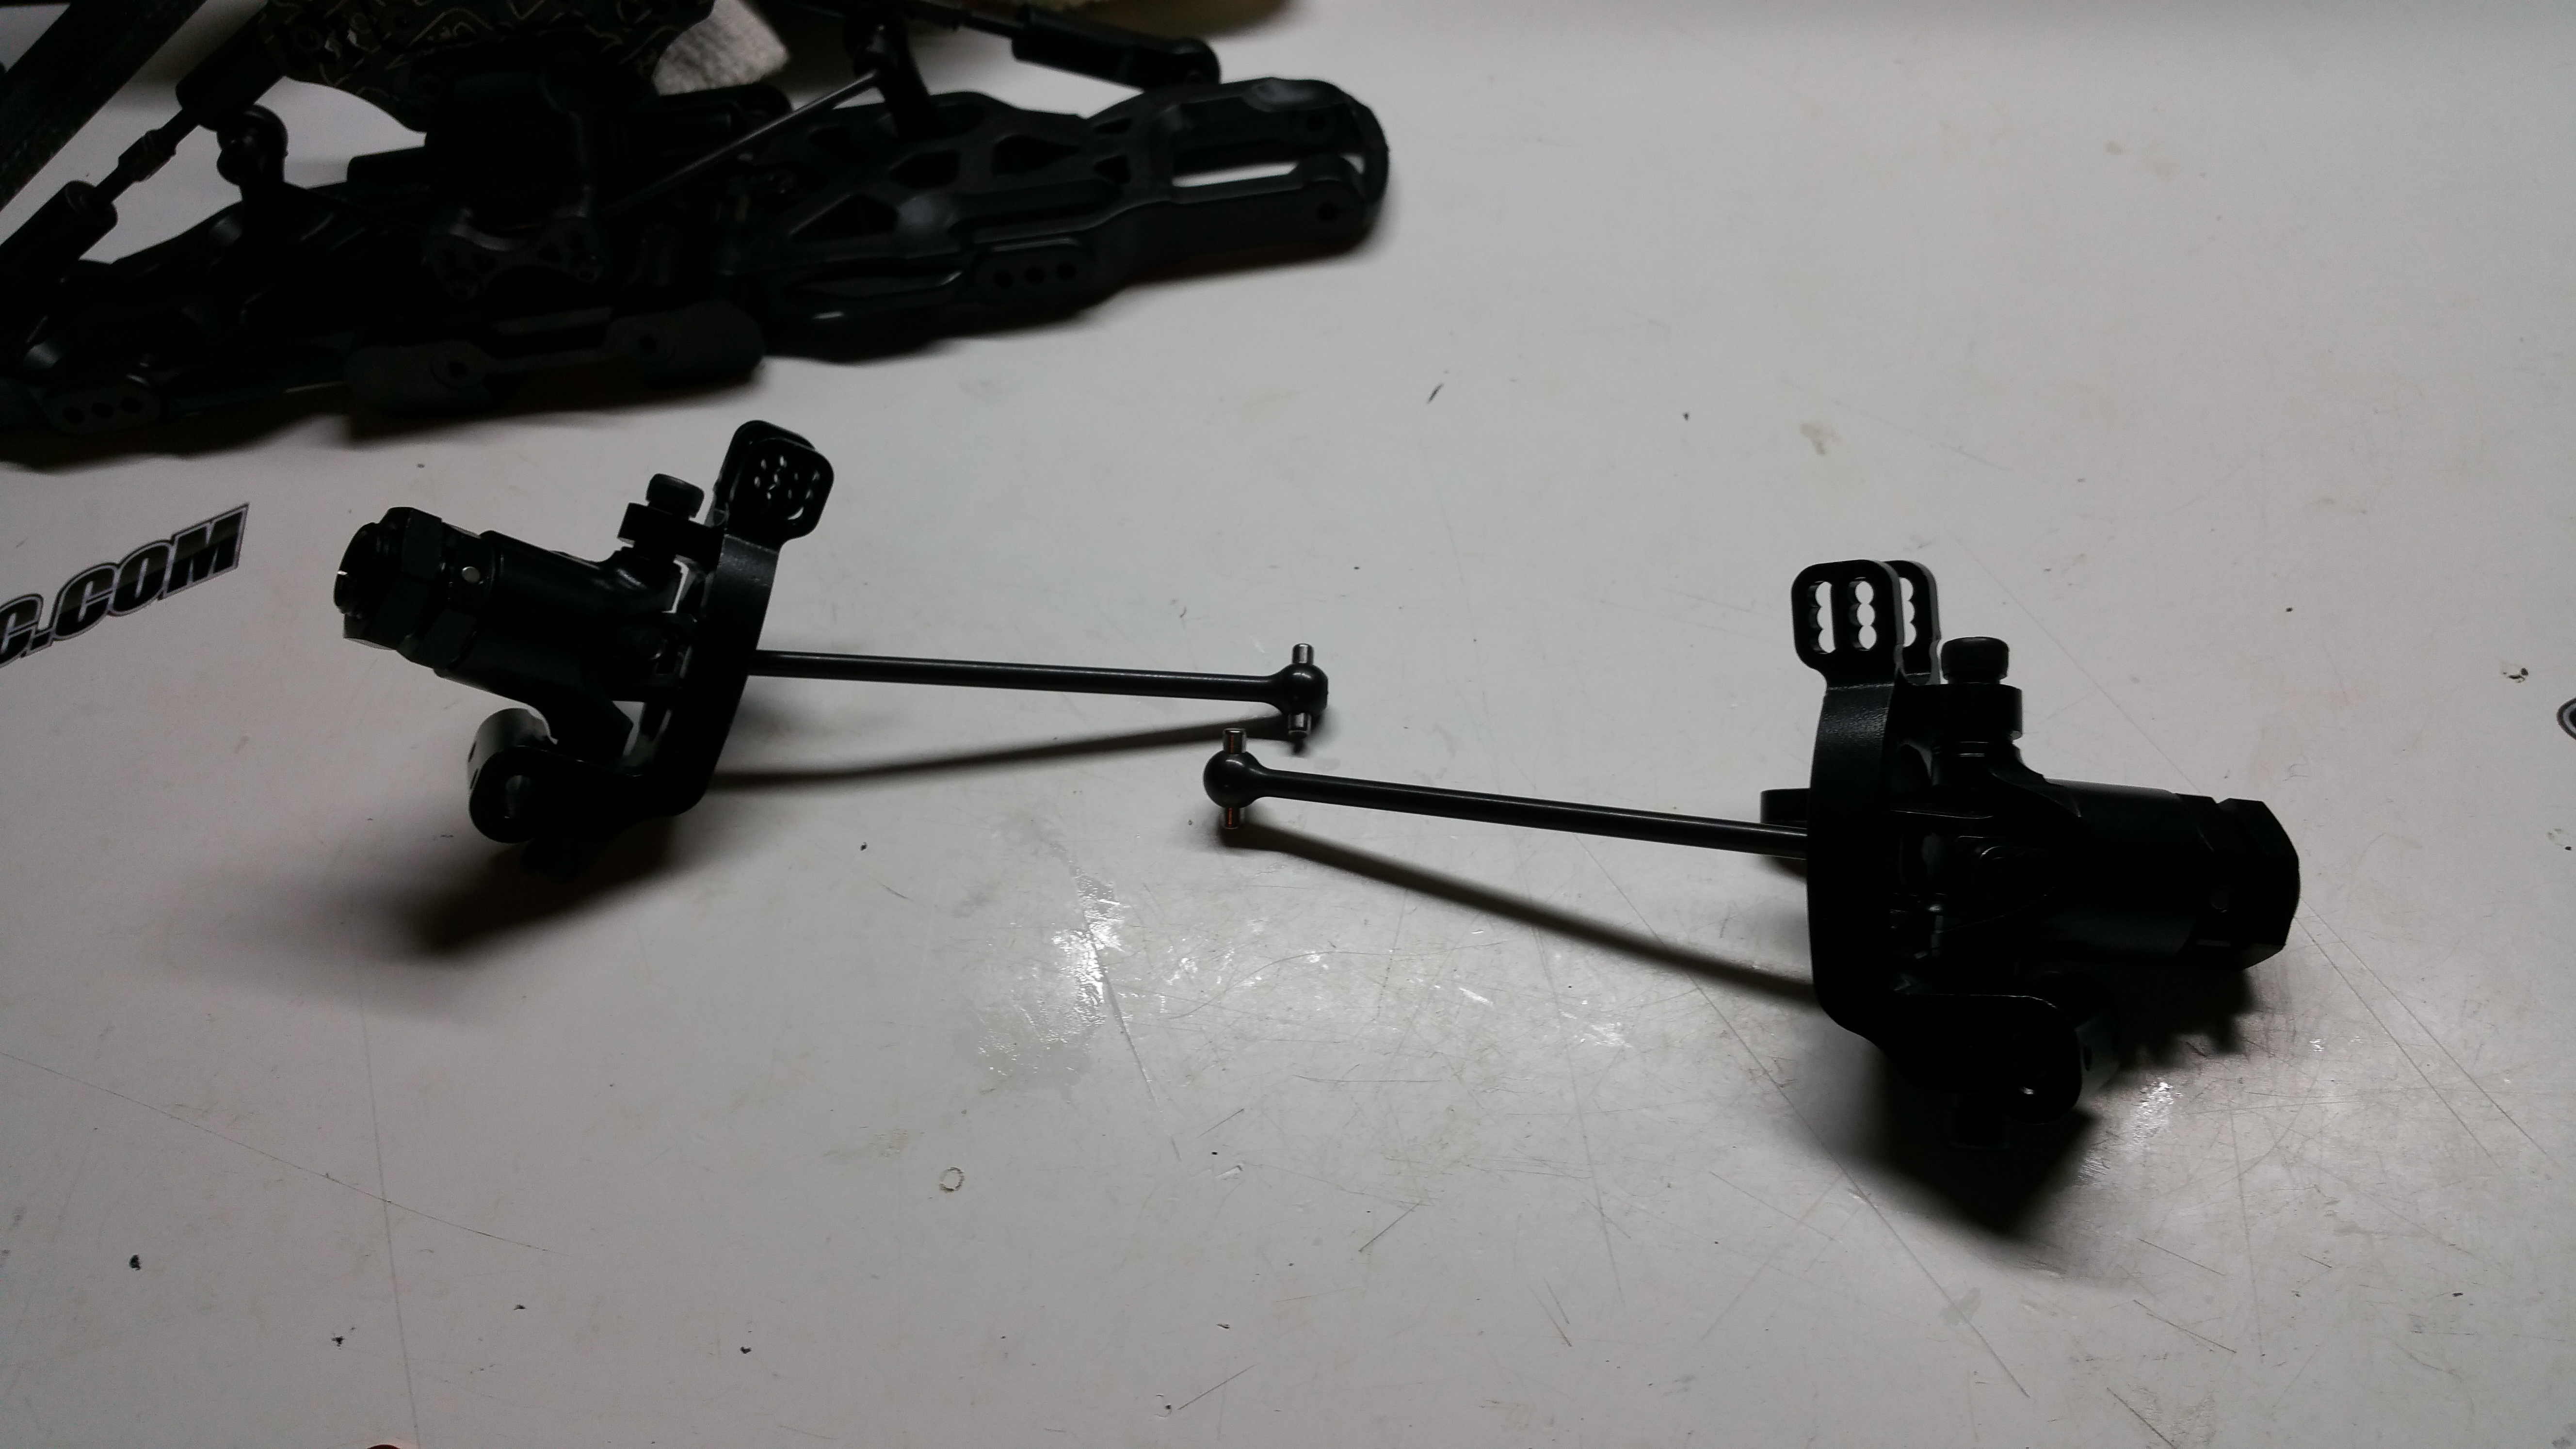
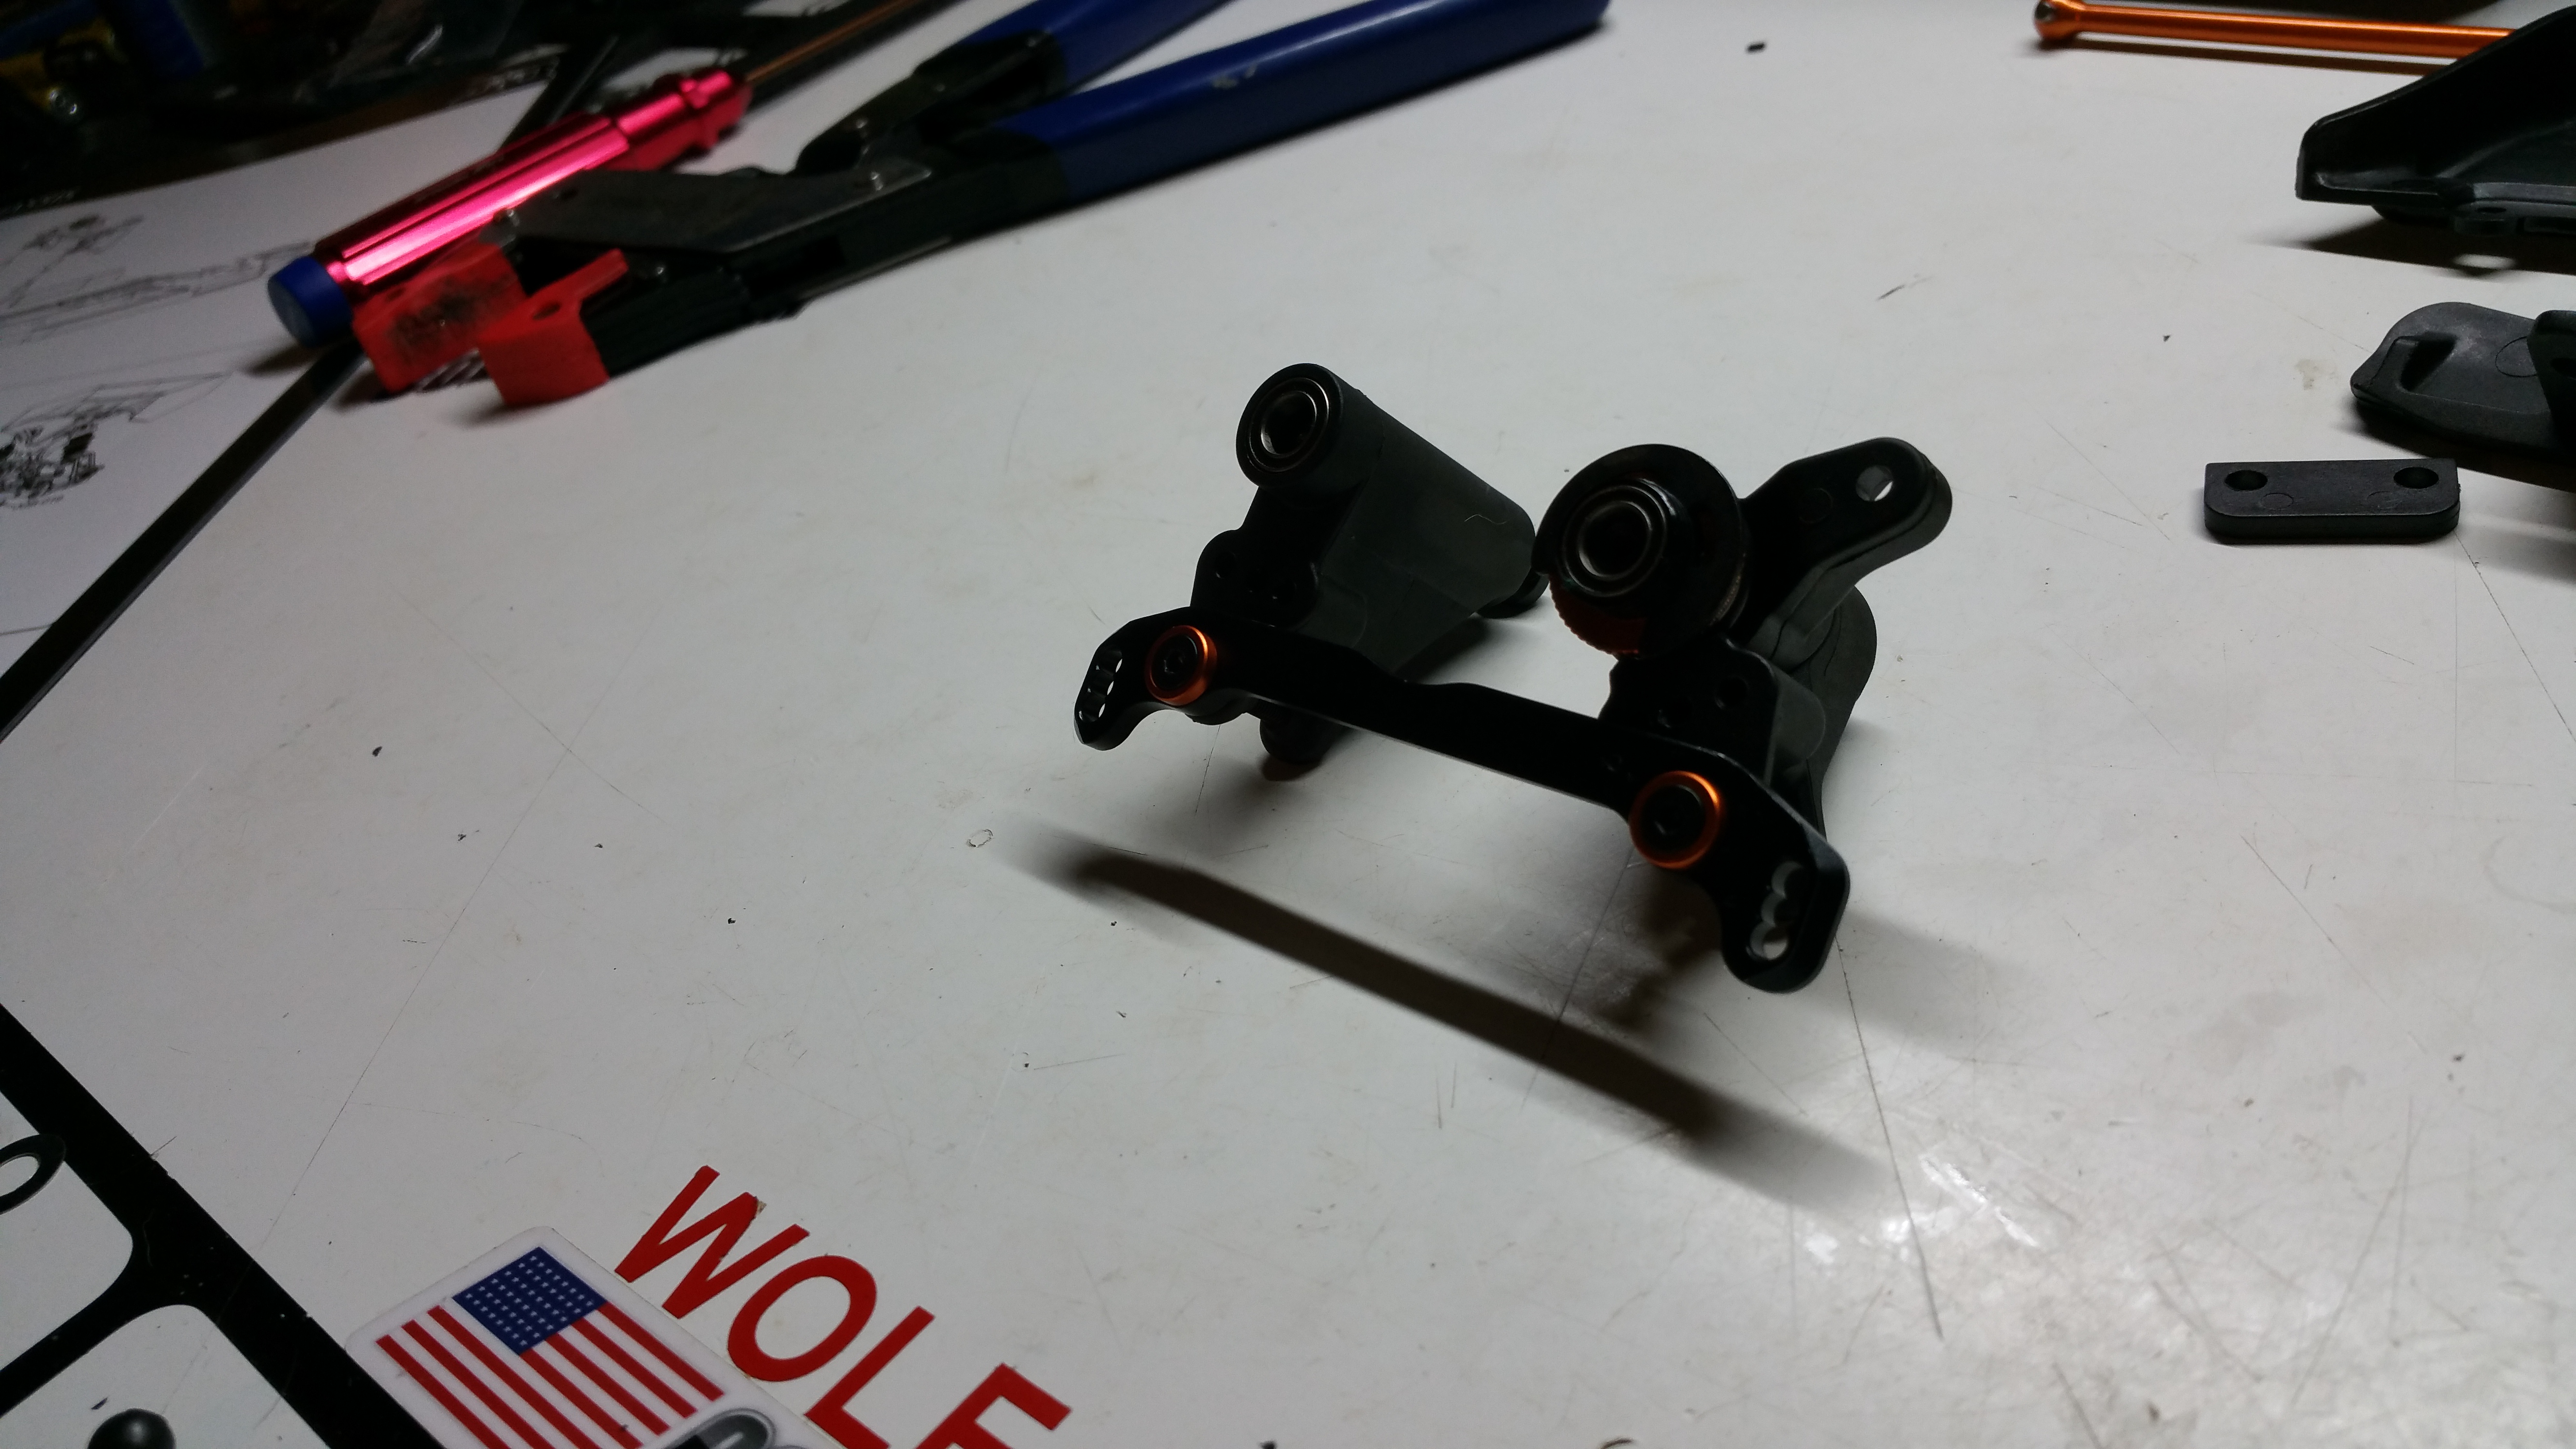
Bag H is just the Rear hubs!
Again, these come pre-assembled, and I always recommend rebuilding them to be sure that they are built correctly.
Note, these are Aluminum with 9 camber link positions.
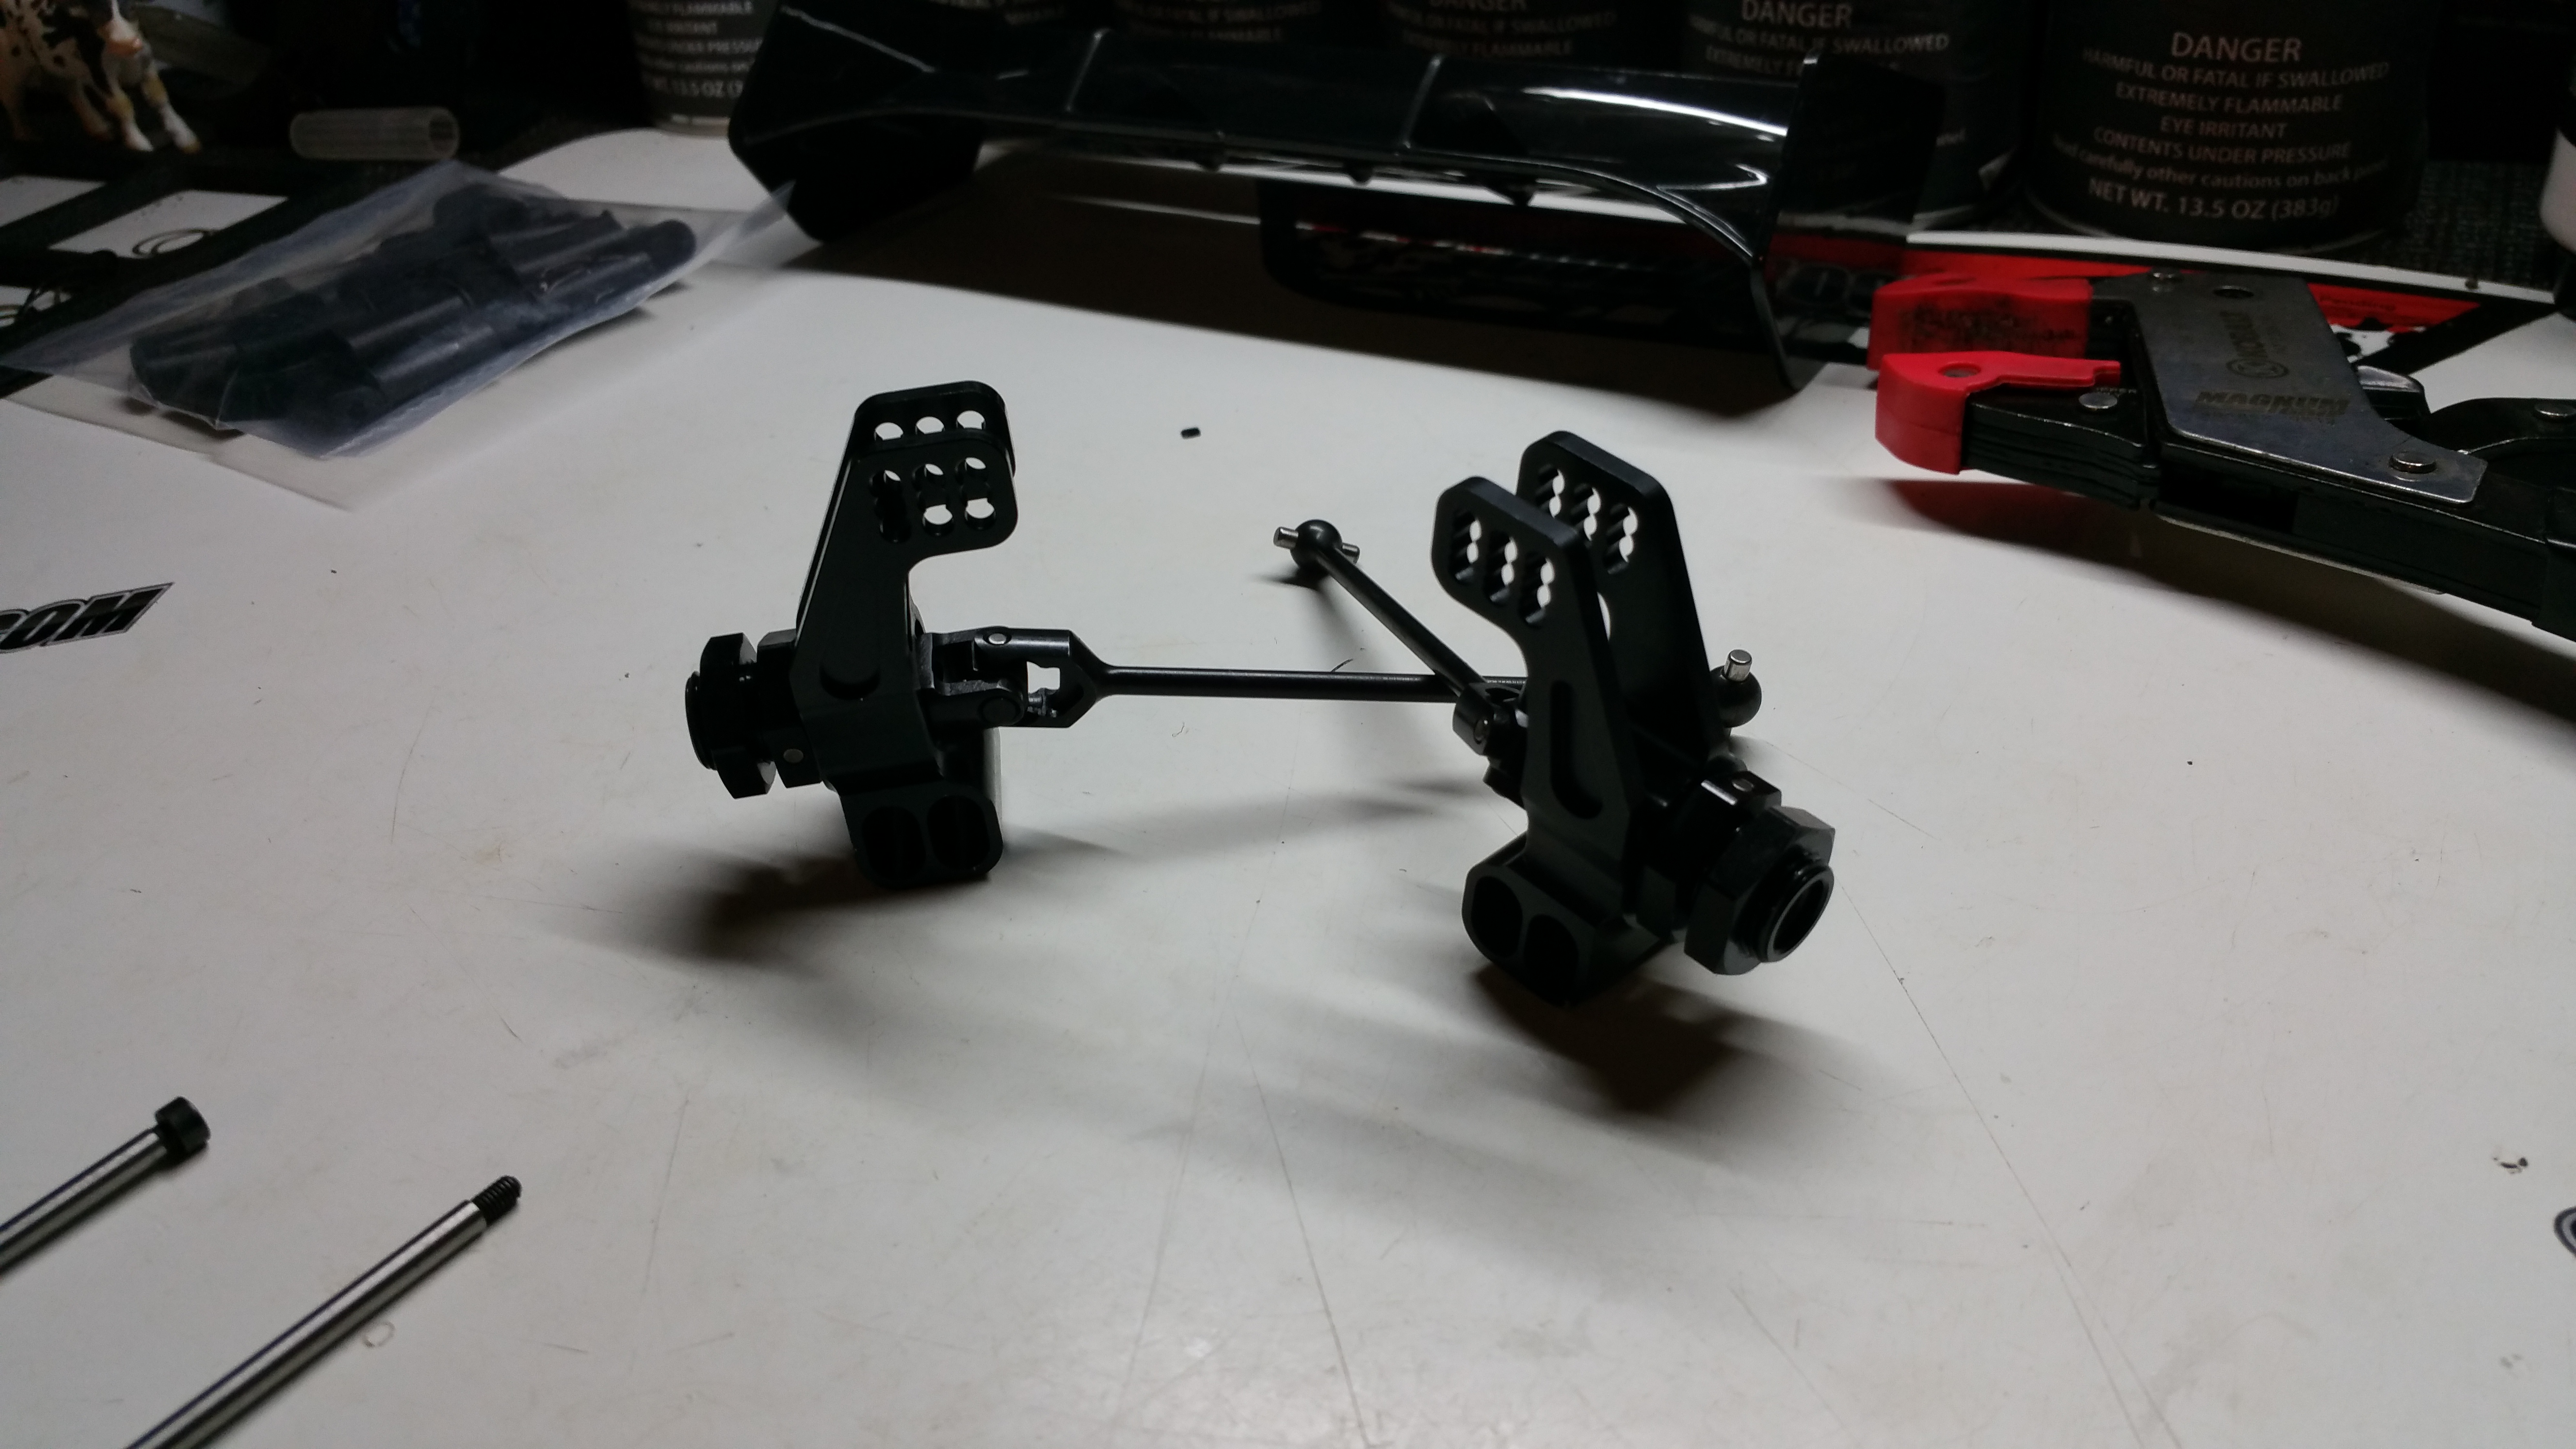
Attach the Rear hubs! Camber links!
This is where I had the only bump in my build, Note the rear left camber link has one bent rod end, it is supposed to be like that on the right turnbuckle as well, and this is being taken care of by Ilias @ JQRacing 🙂
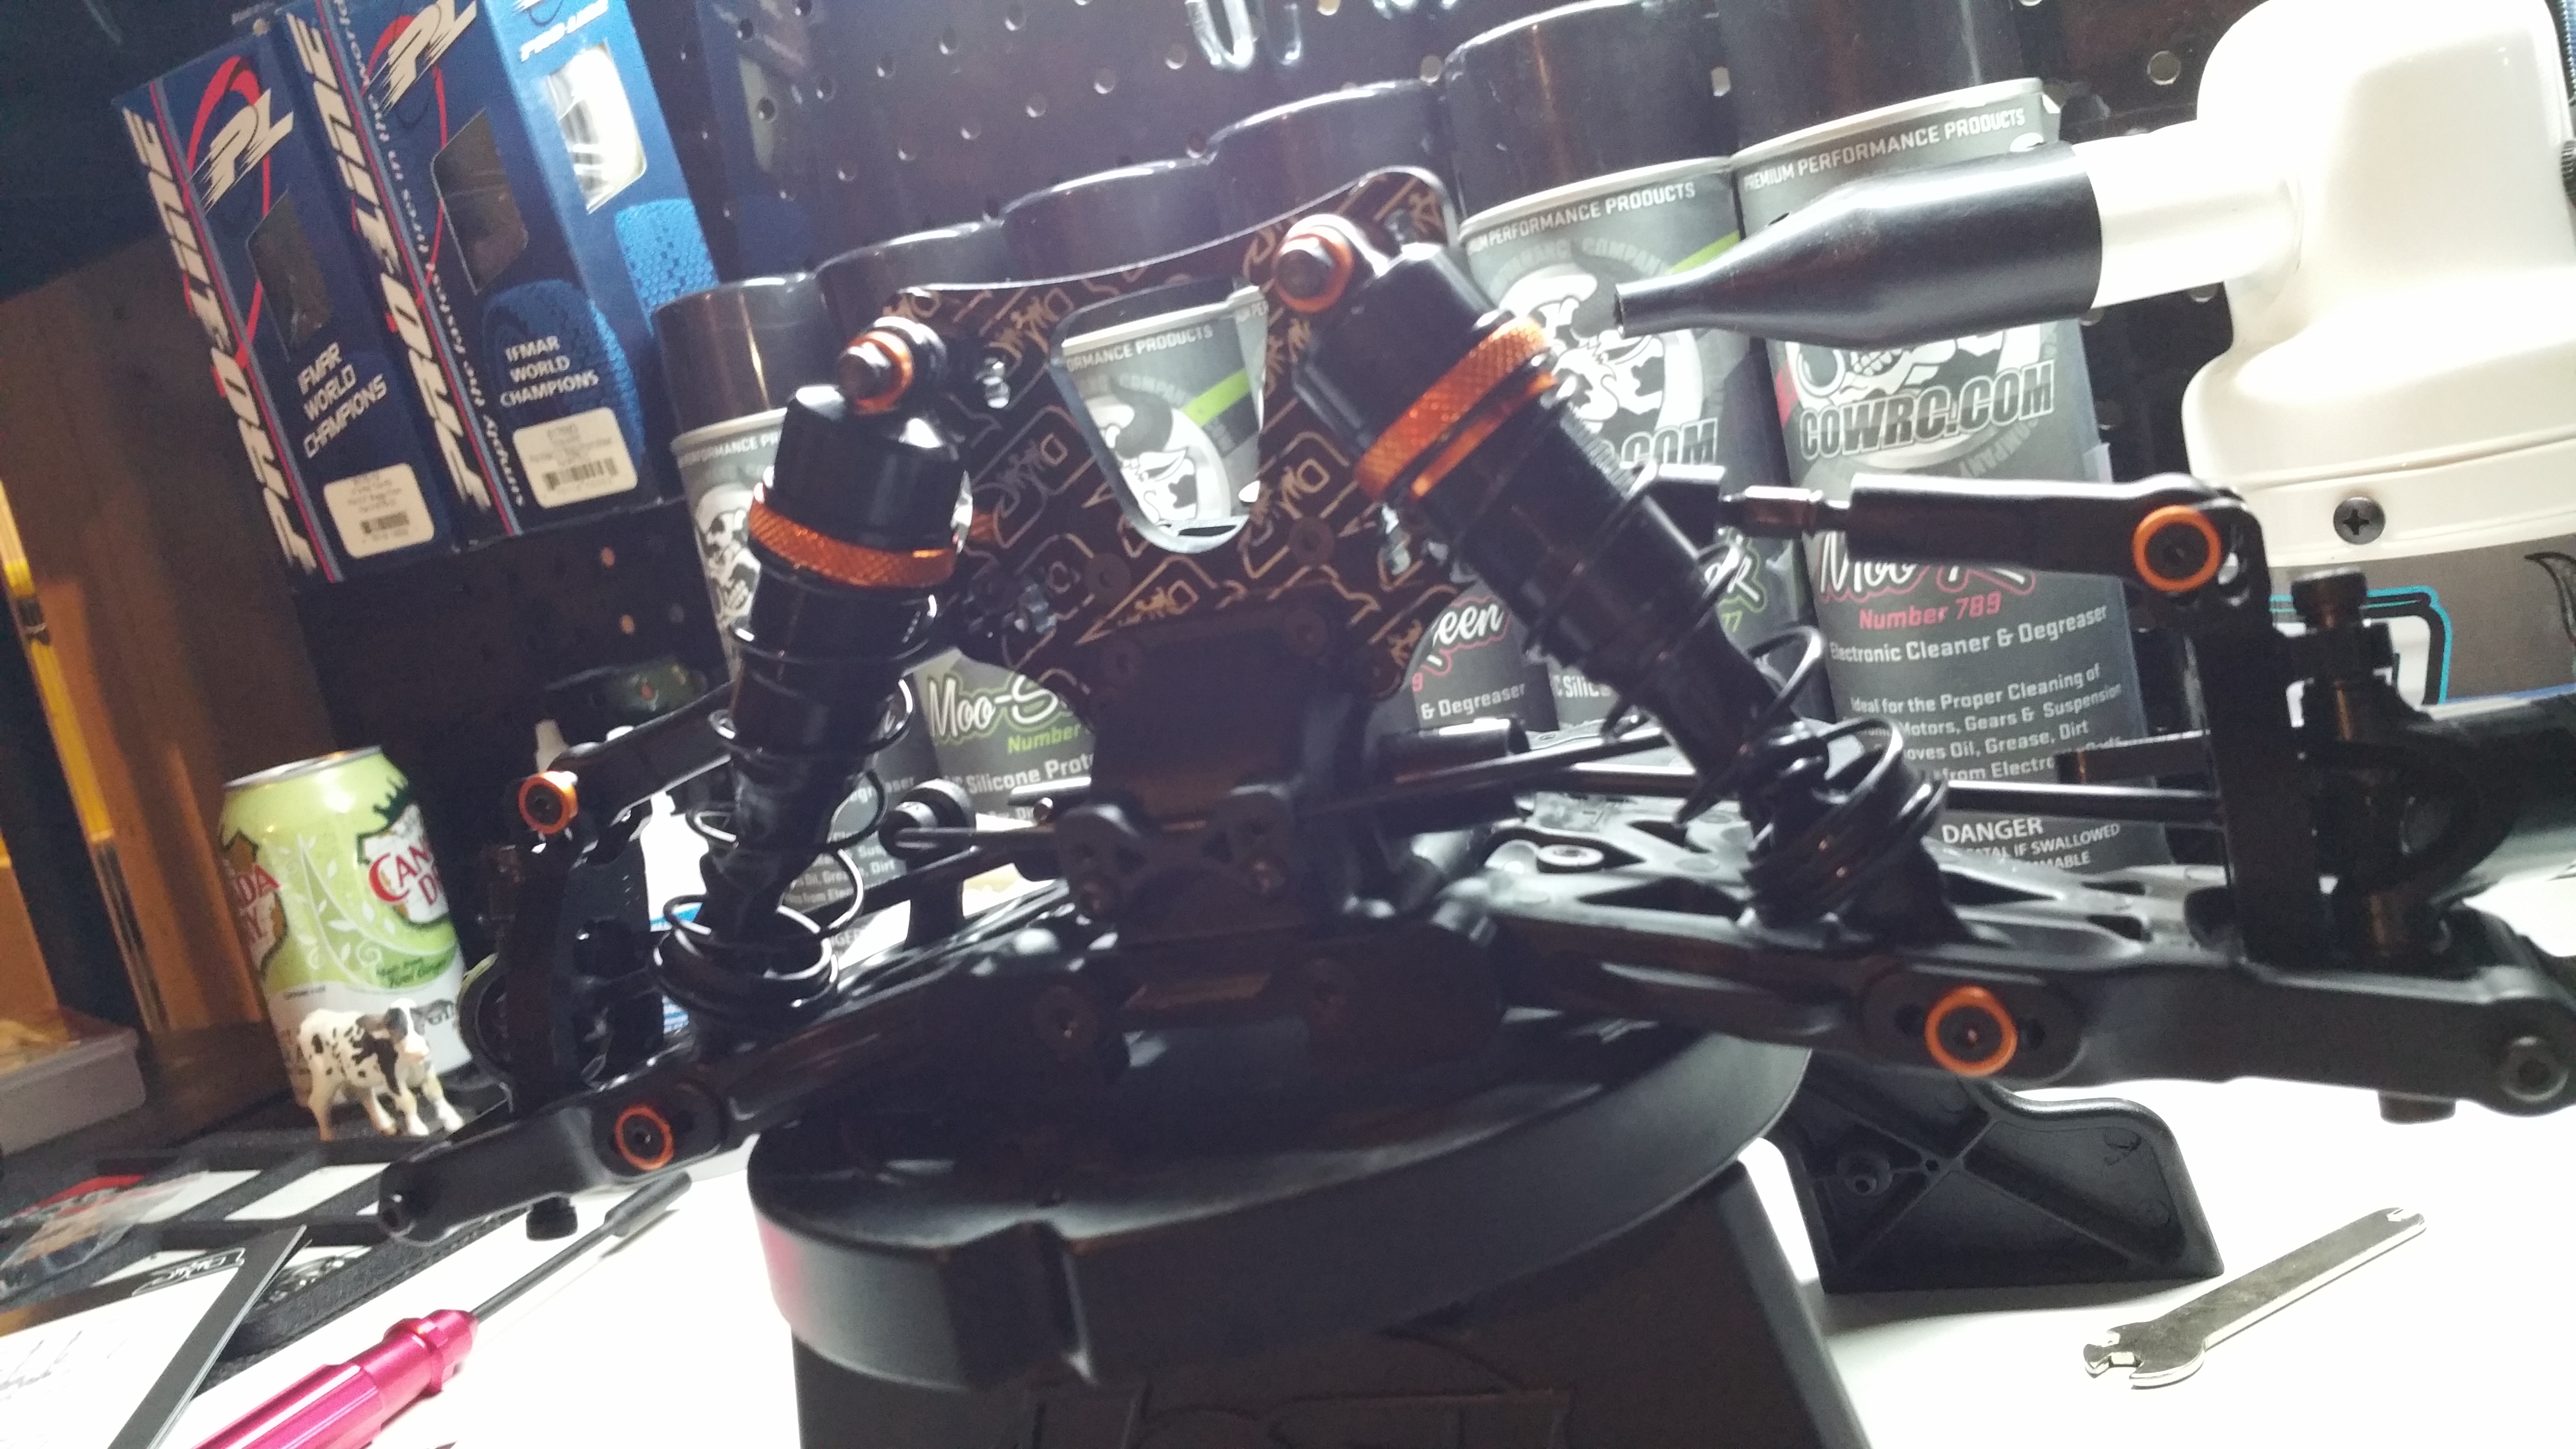
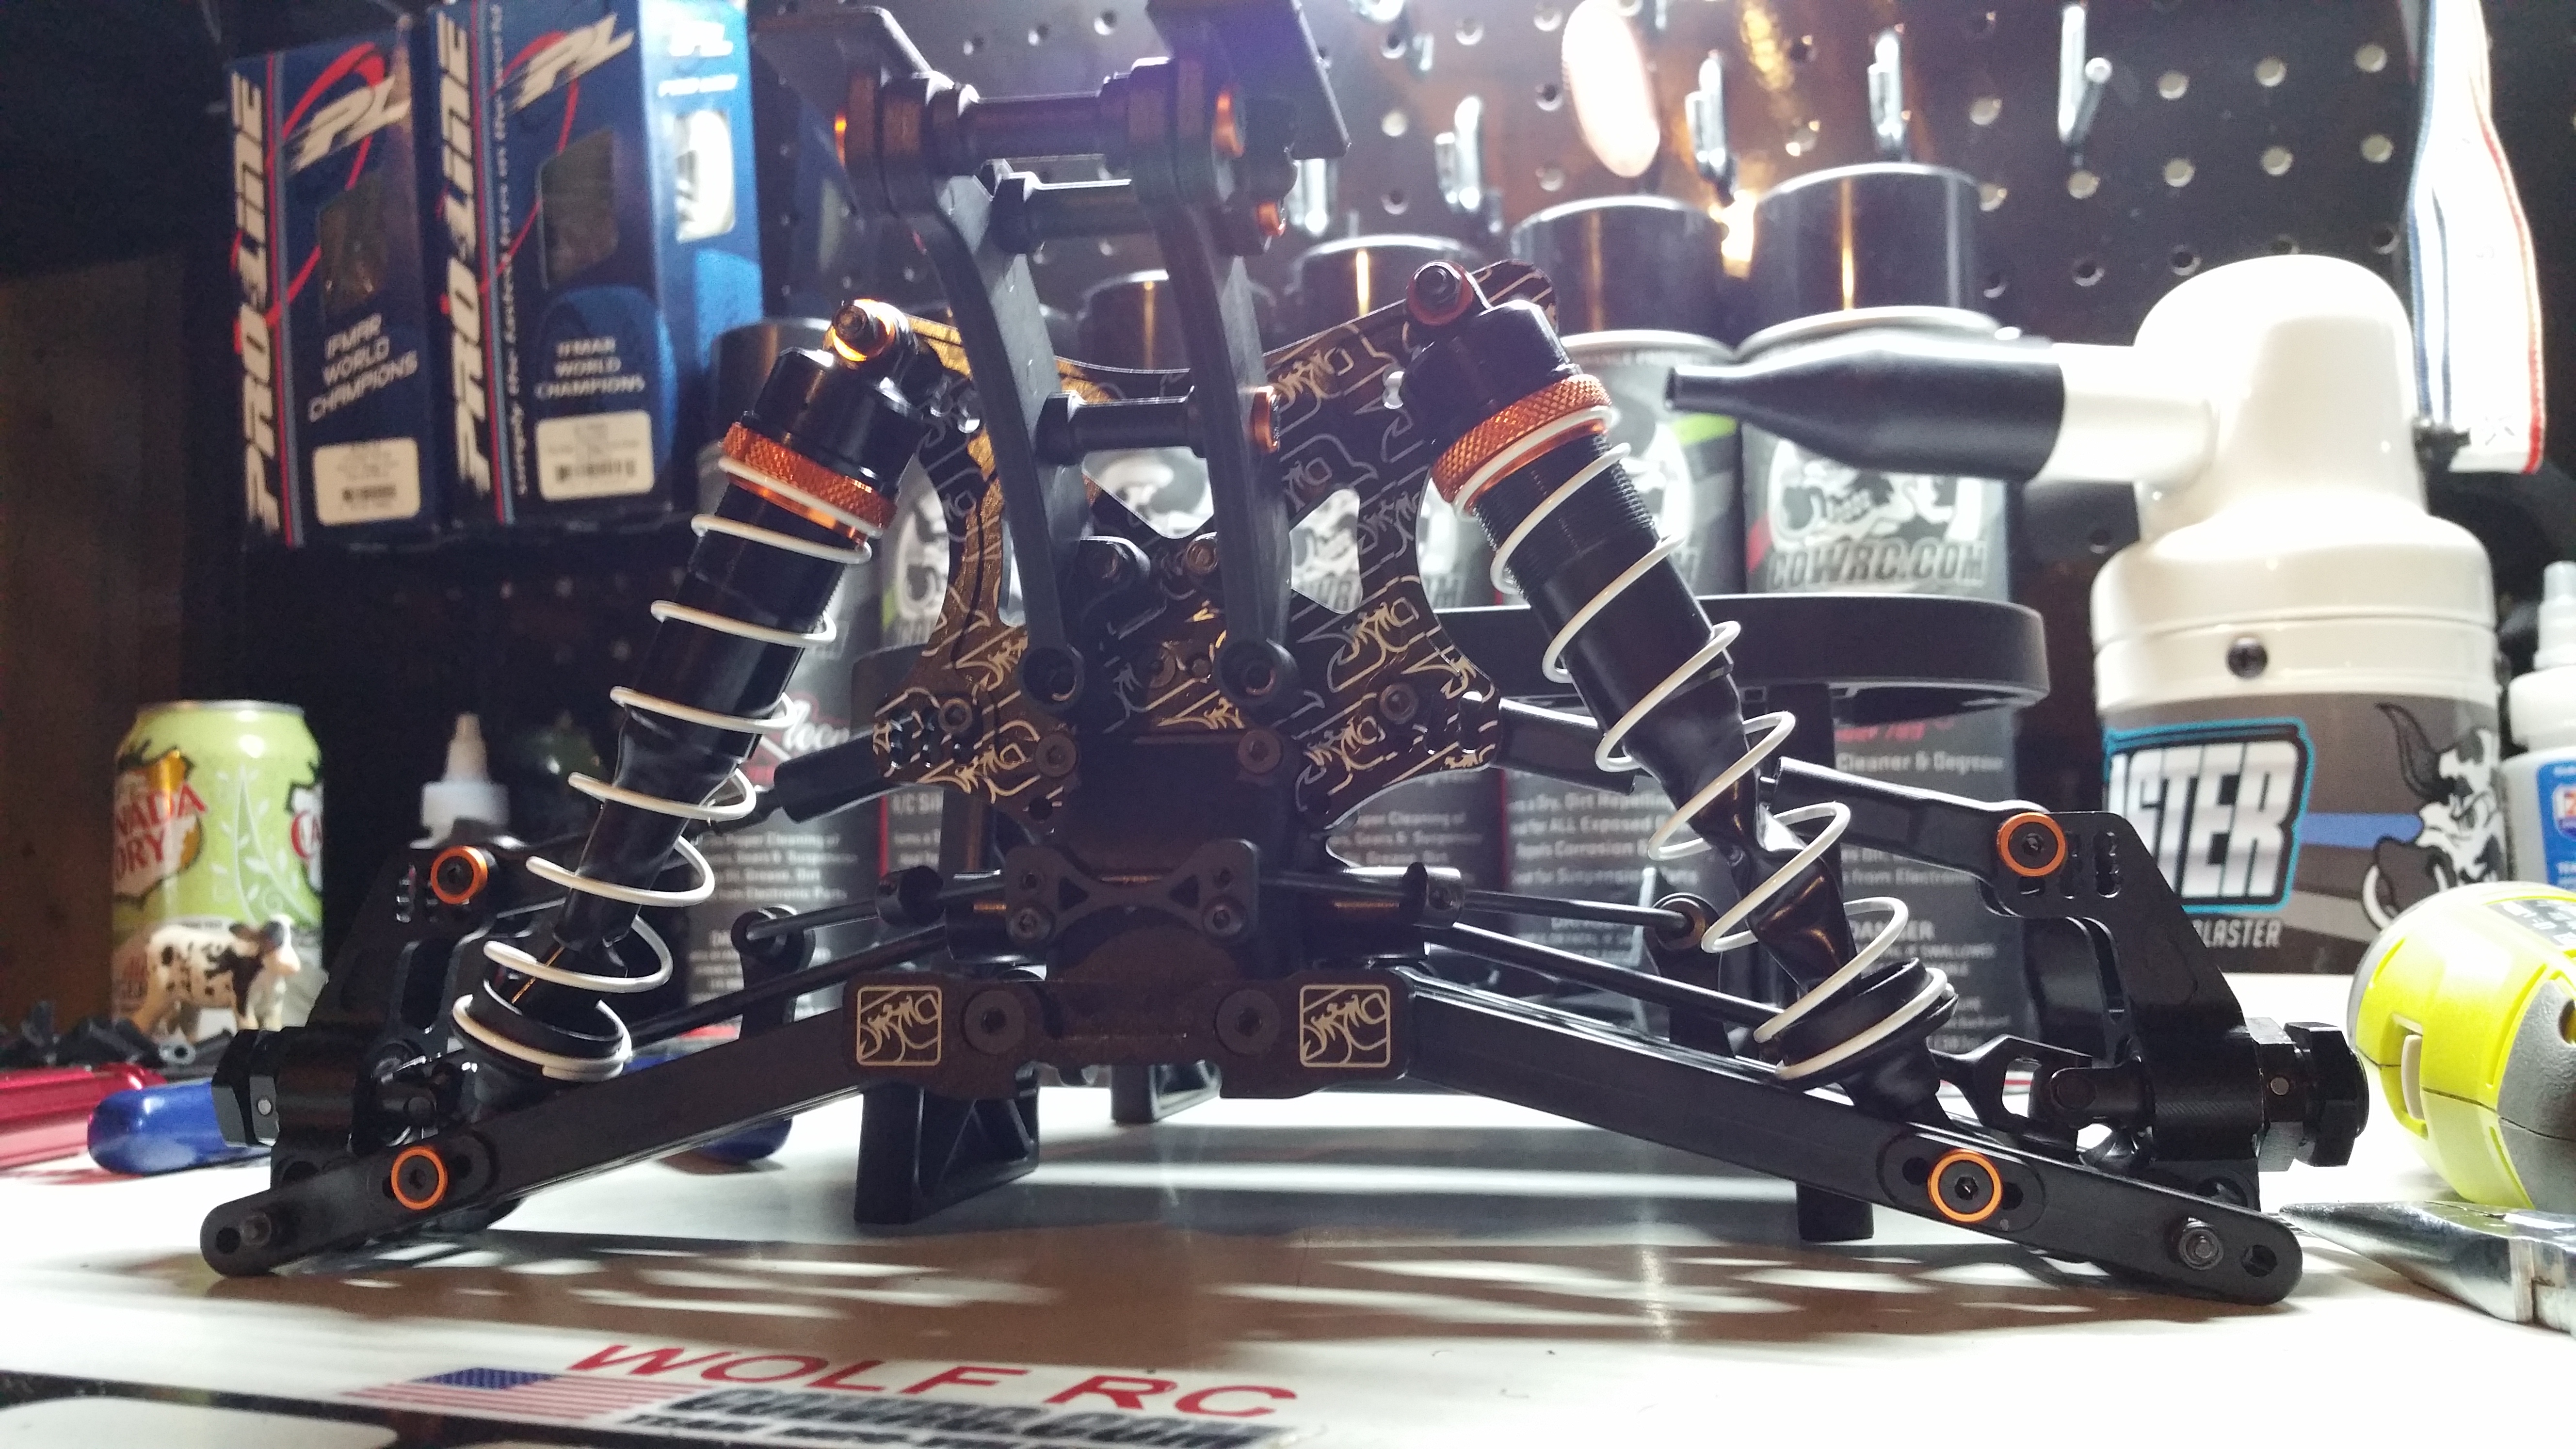
Rear shocks Installed!
Got Droop?
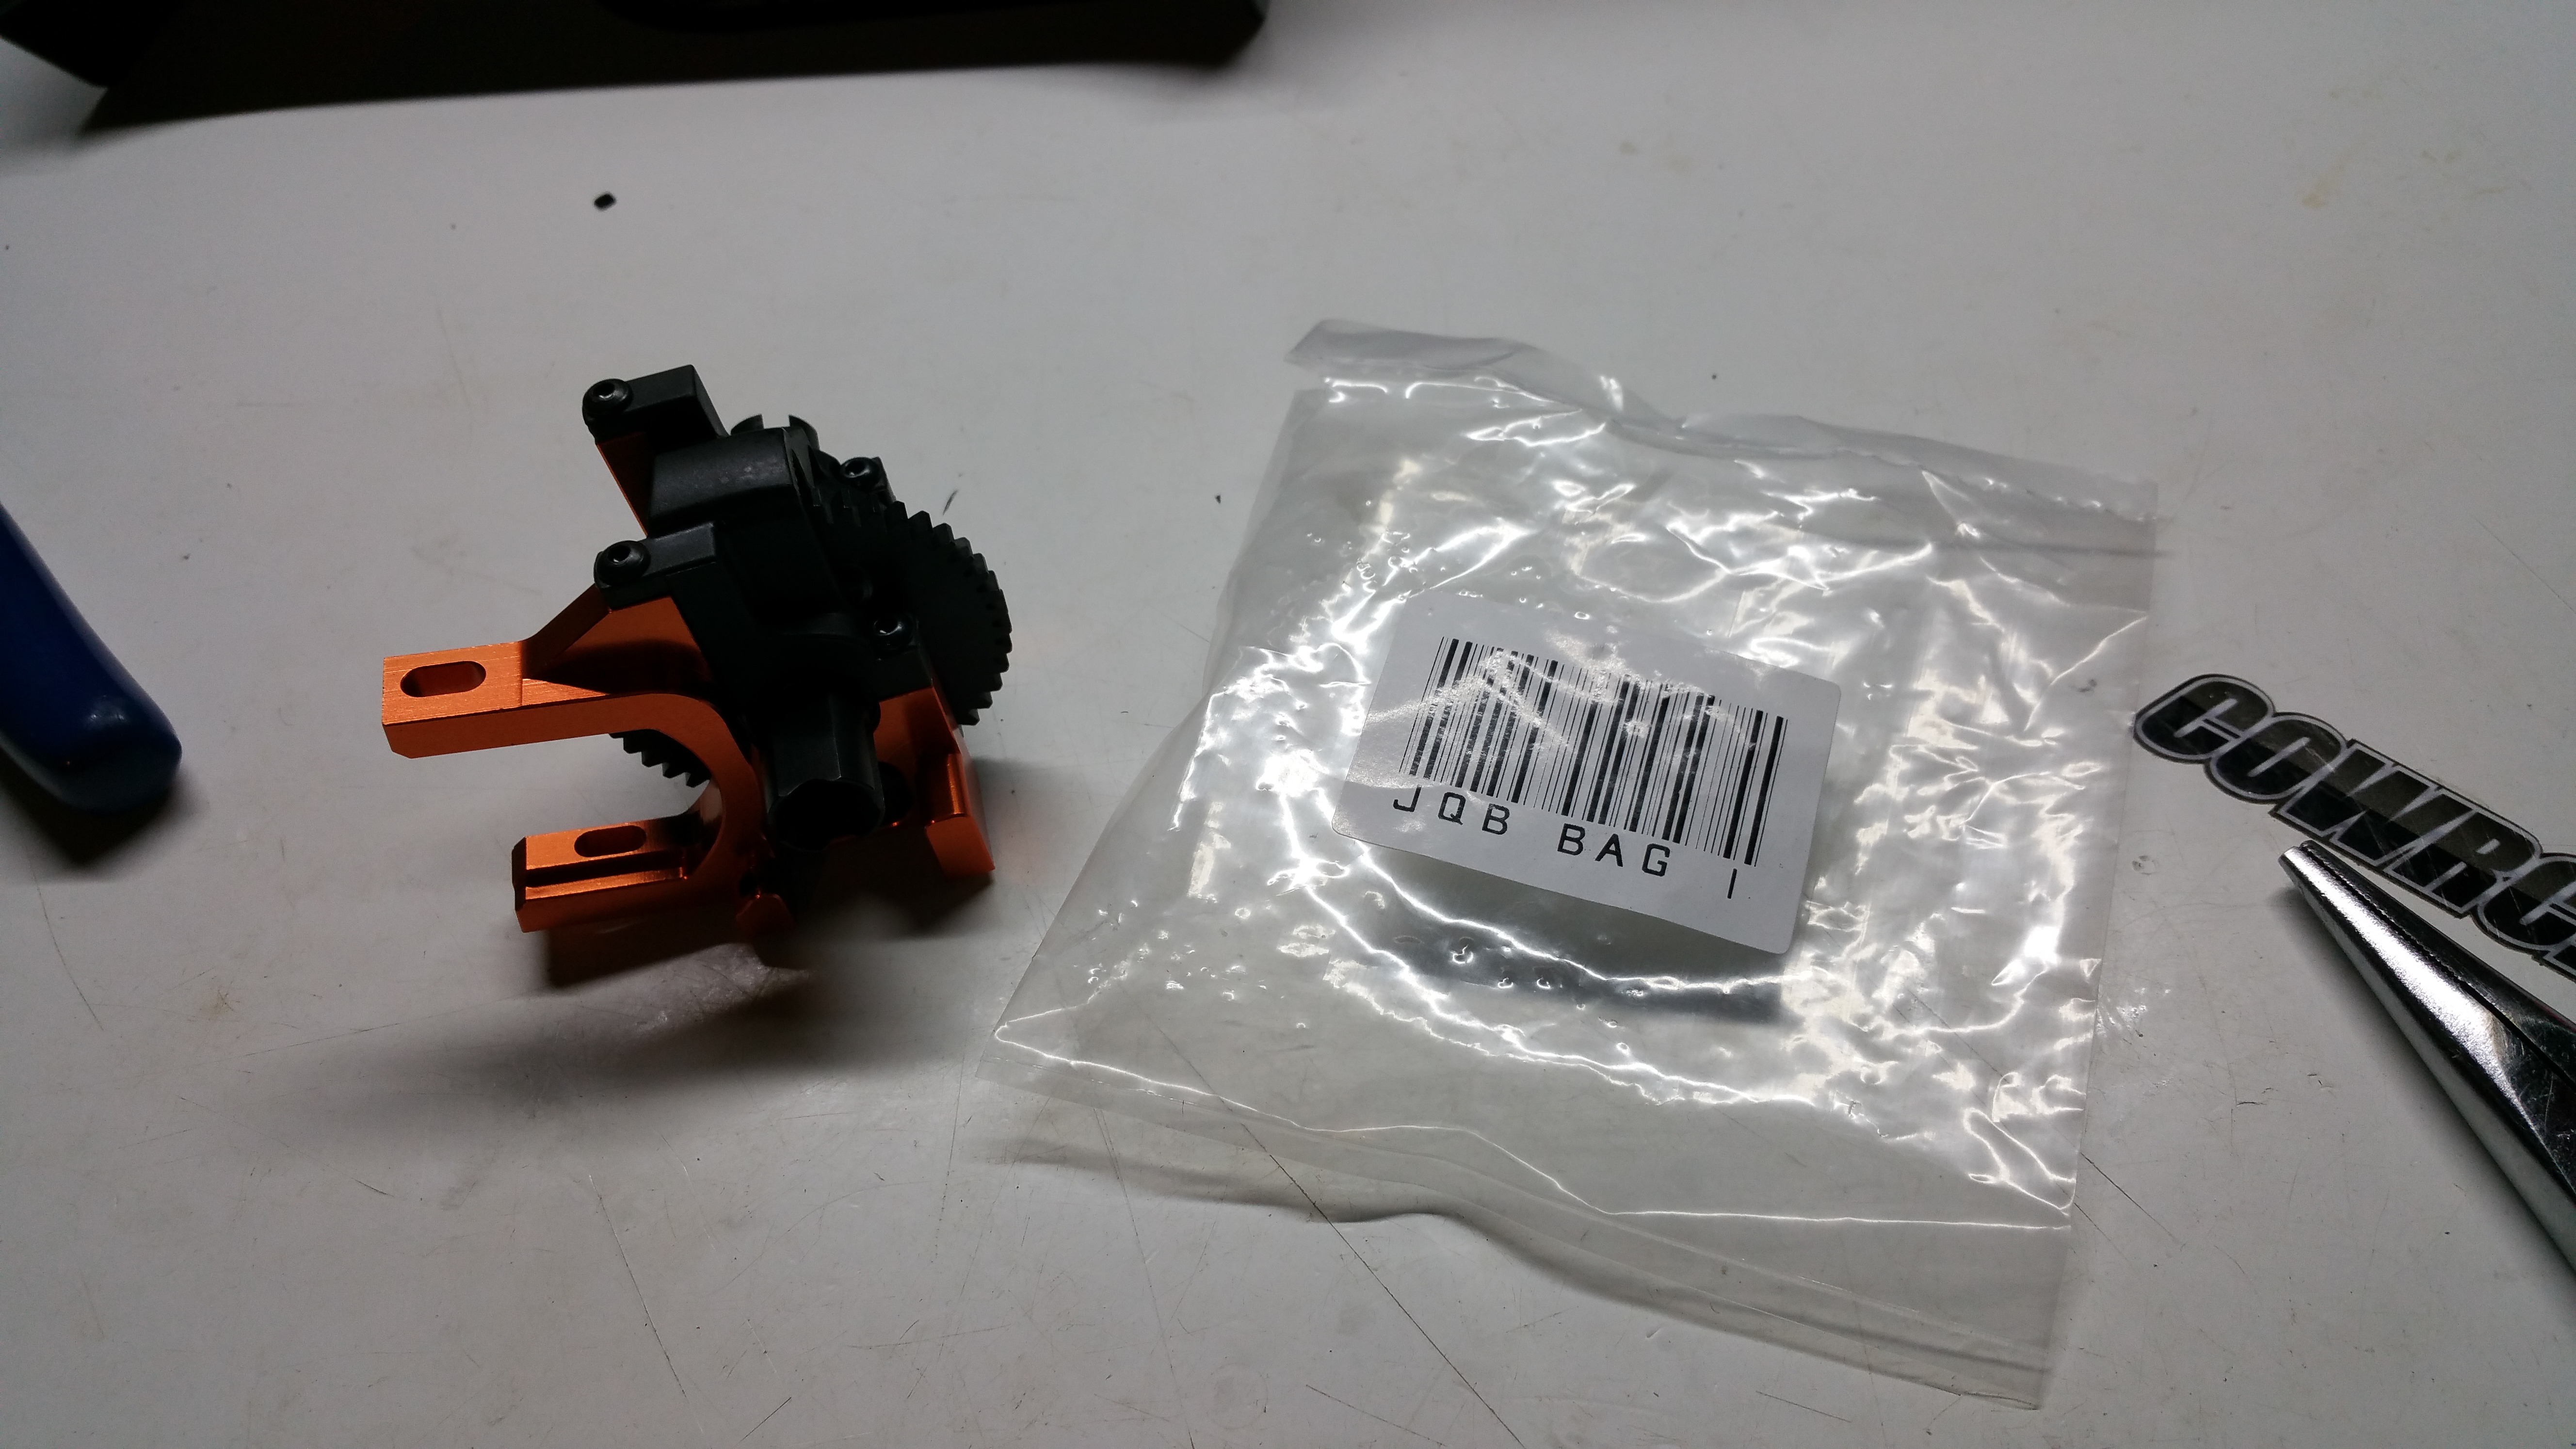
Moving on to Bag I. This is just the Center diff mount!
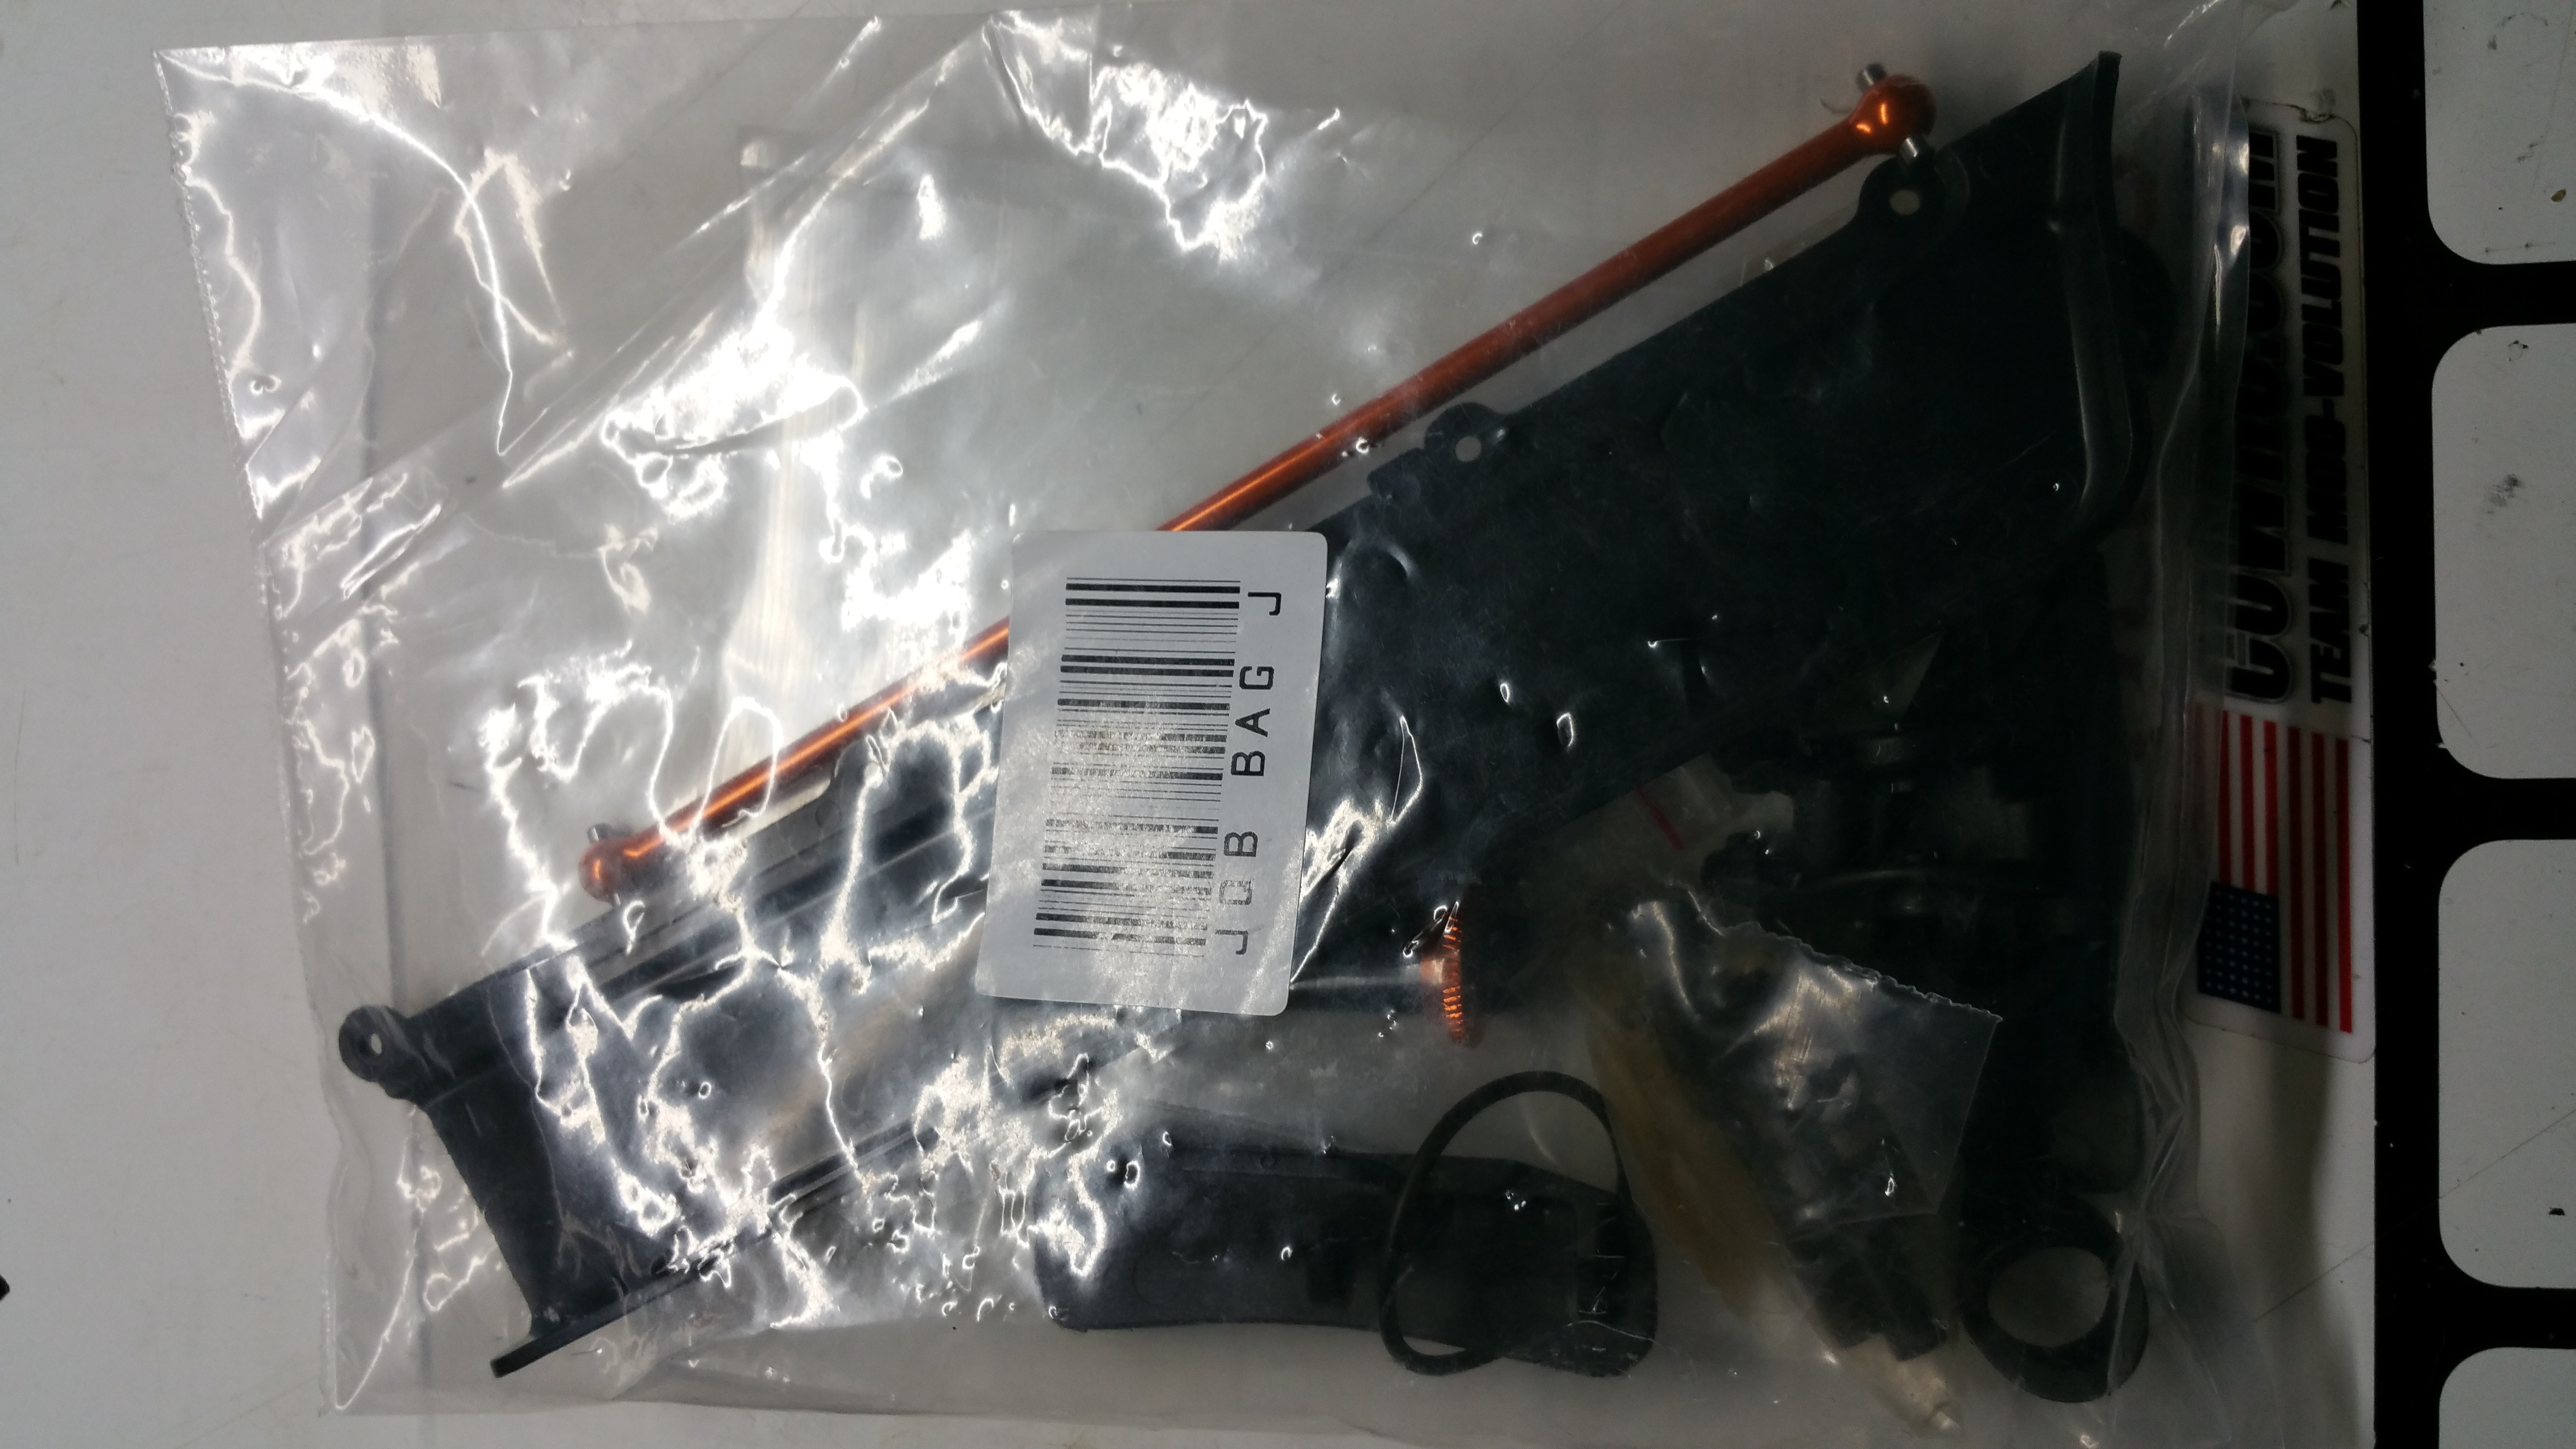
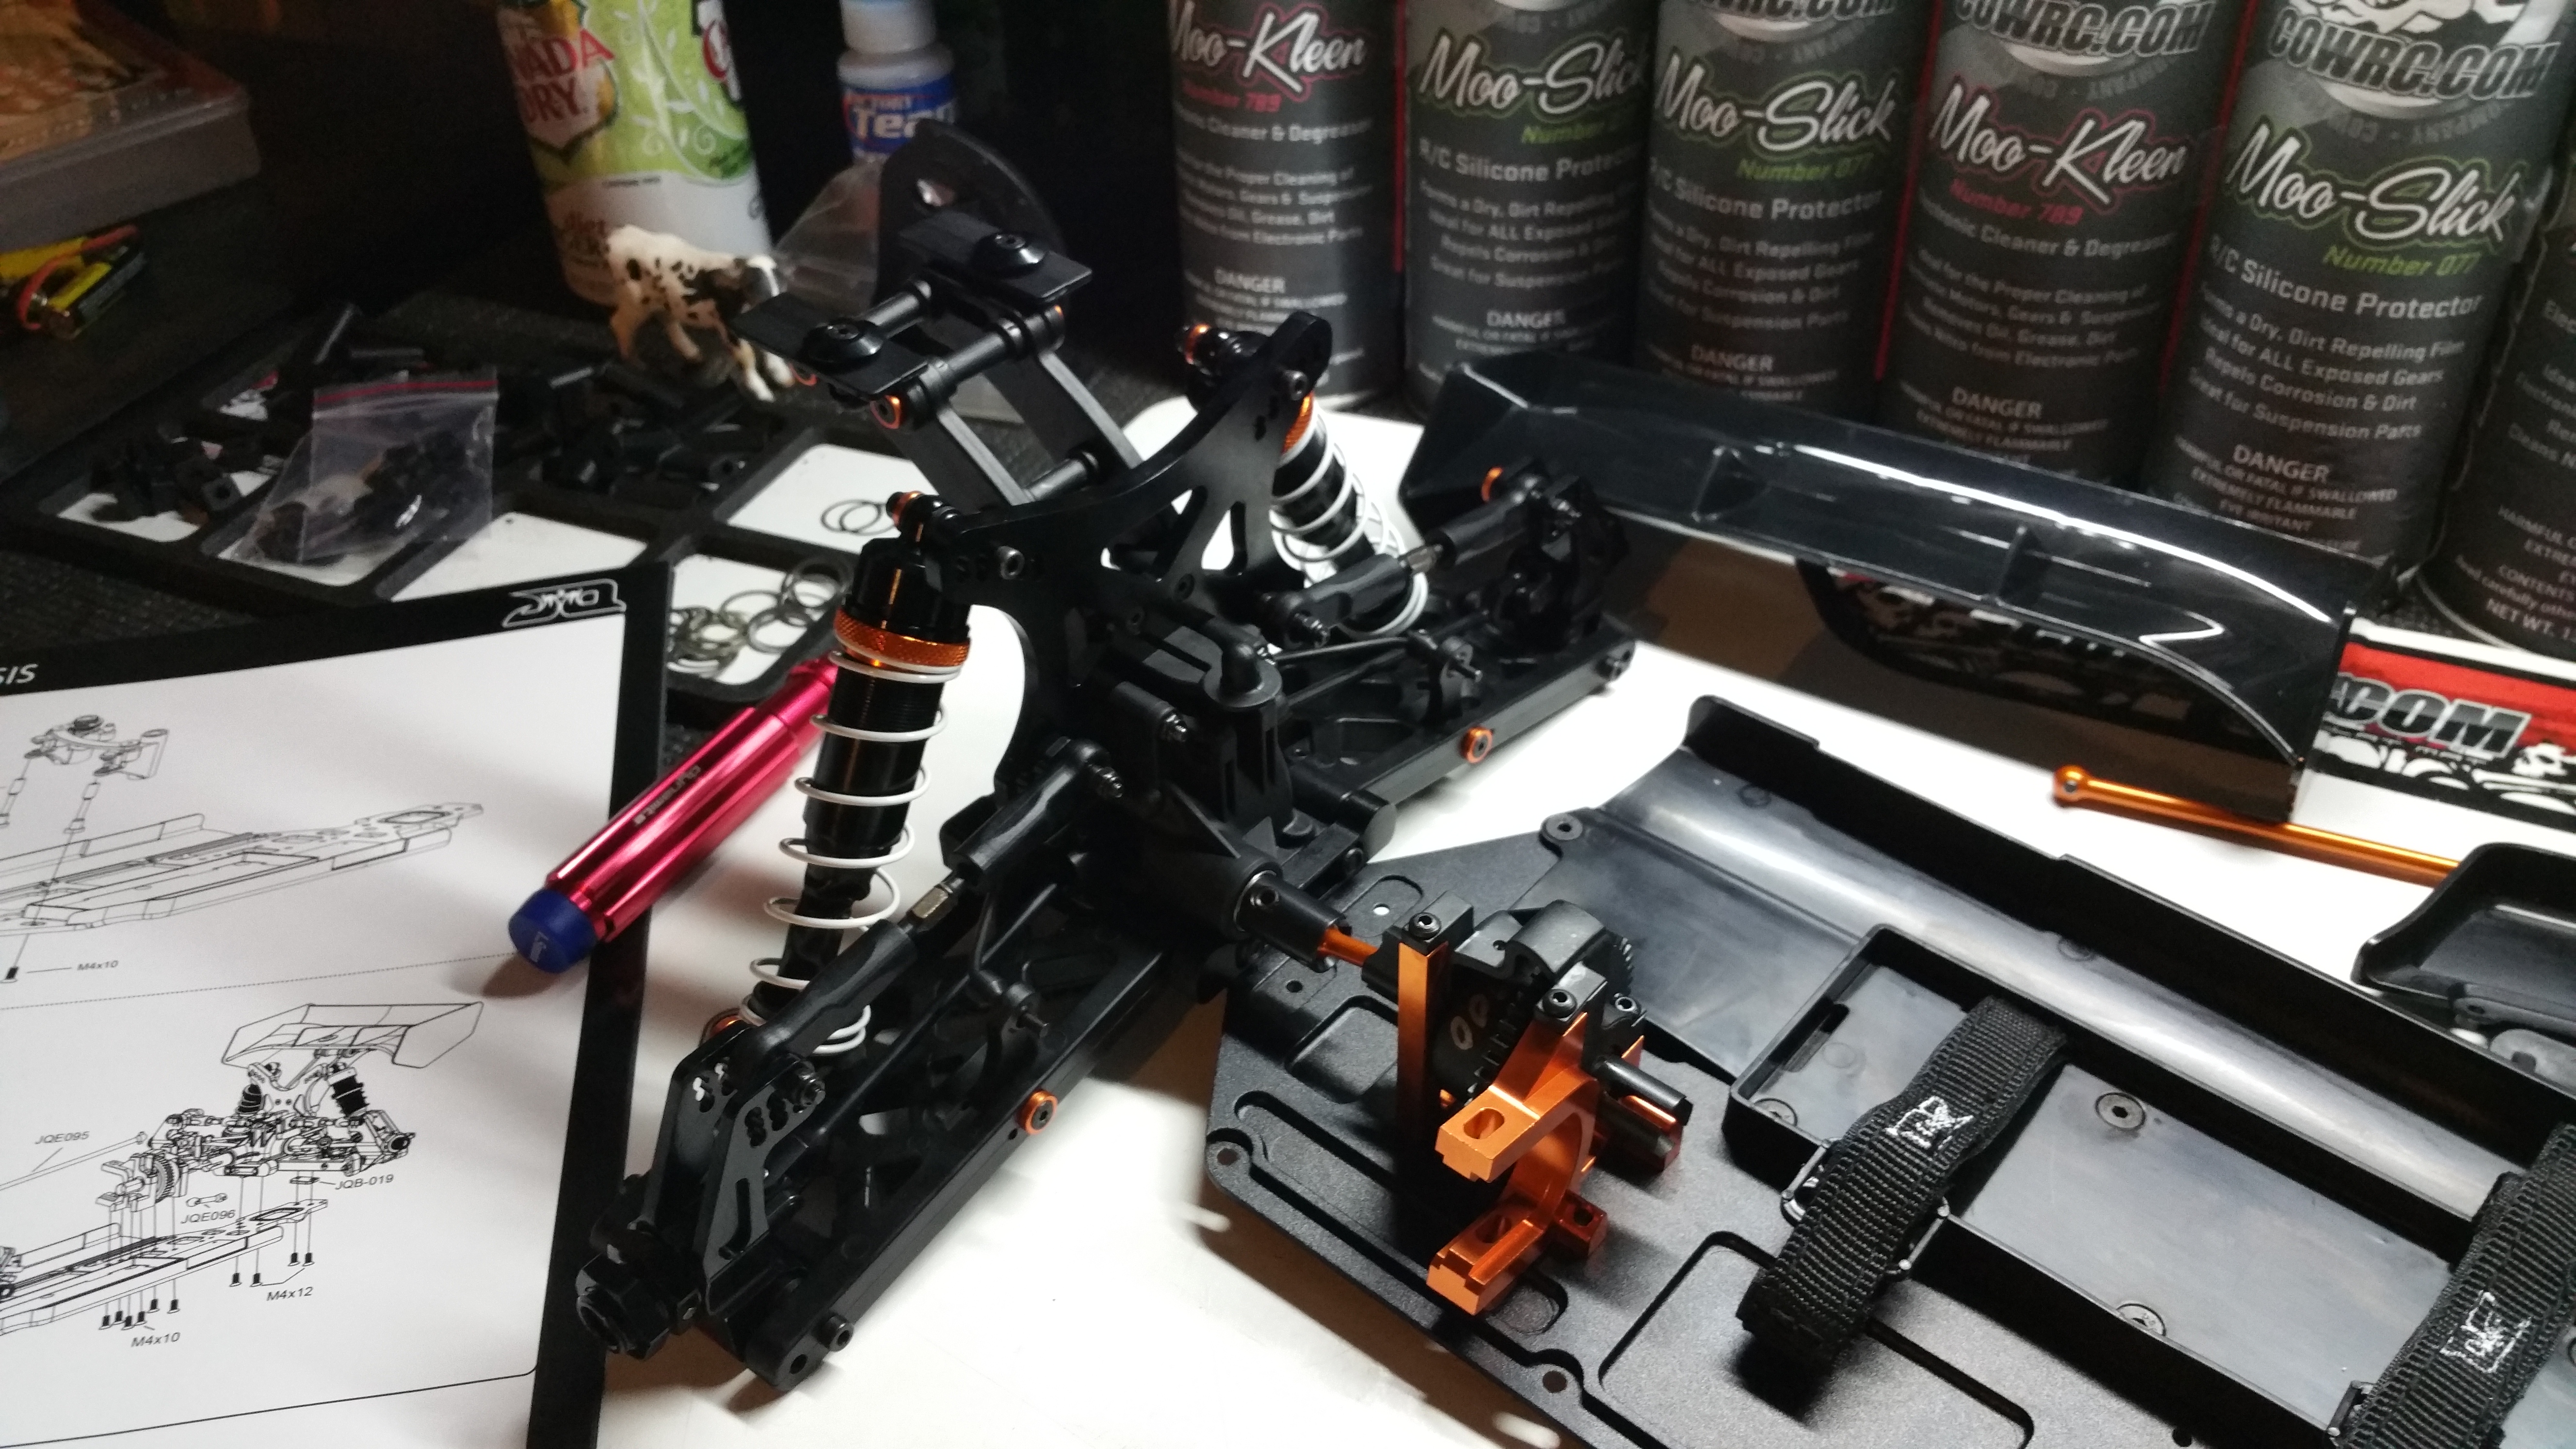
Bag J is where it all starts to come together!
Steering Rack!
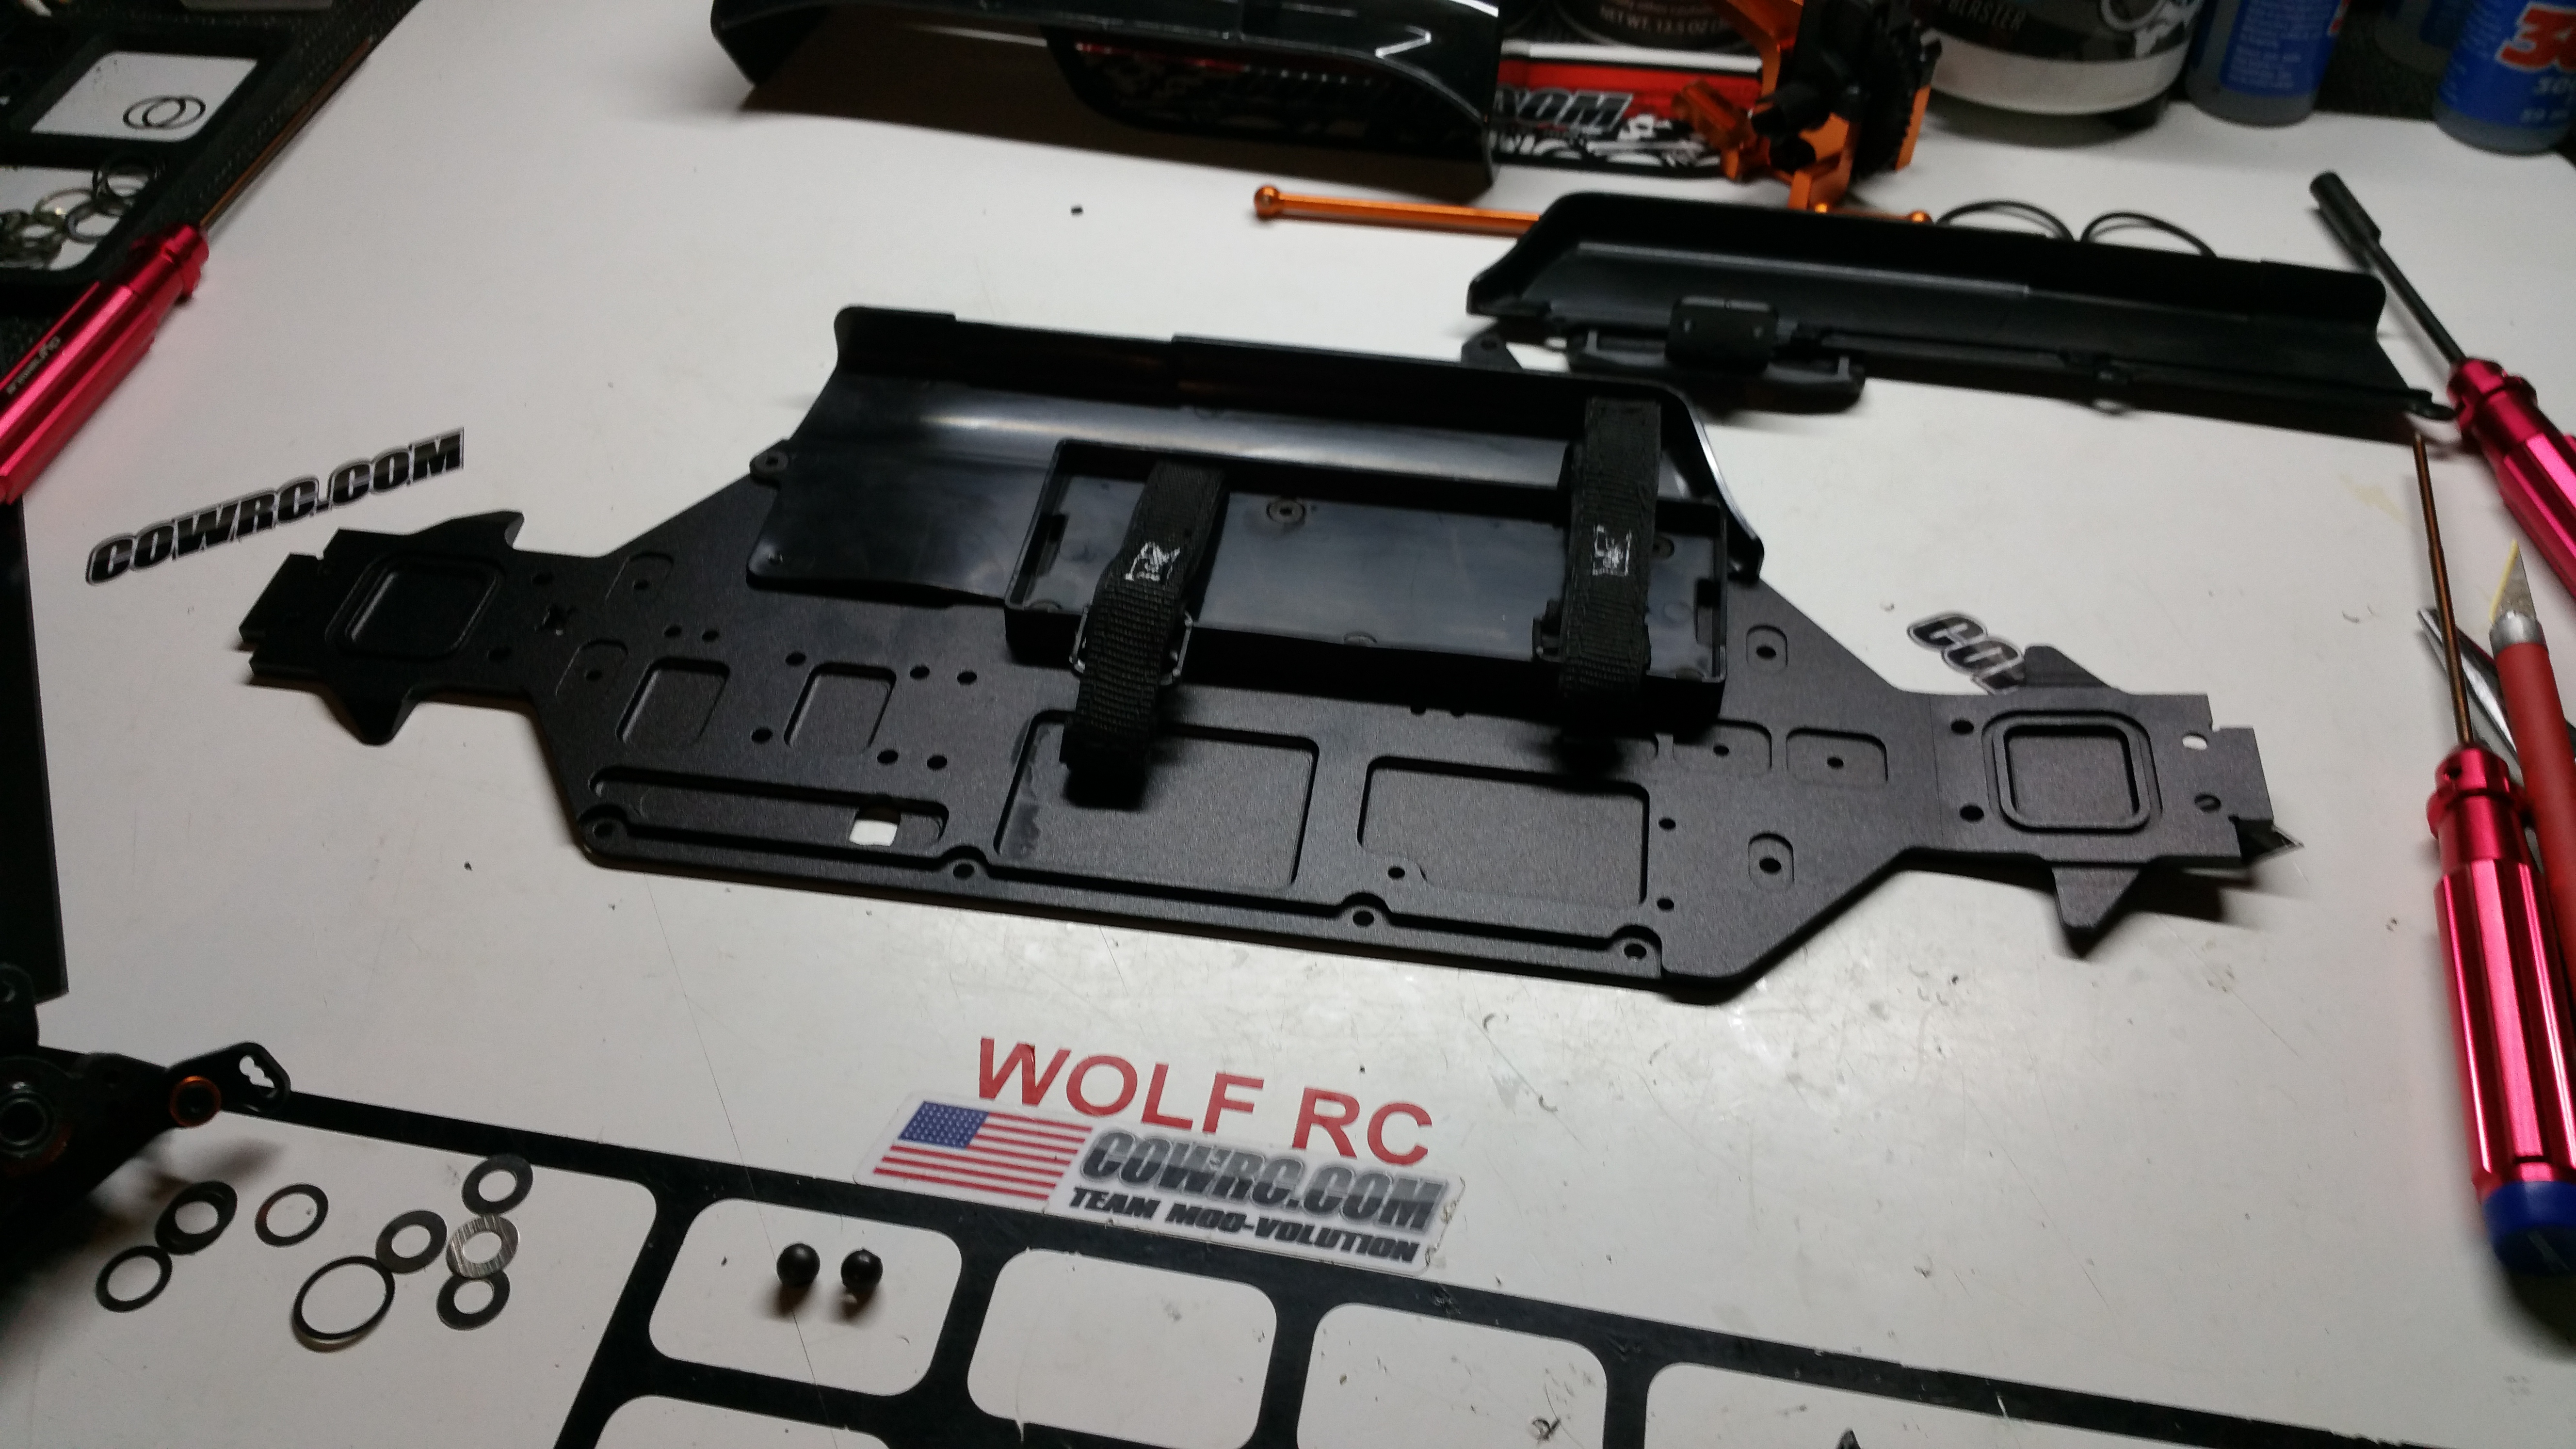
We are finally able to break out this beautiful chassis!
Note. The left sideguard is already pre-installed with the battery/esc tray.
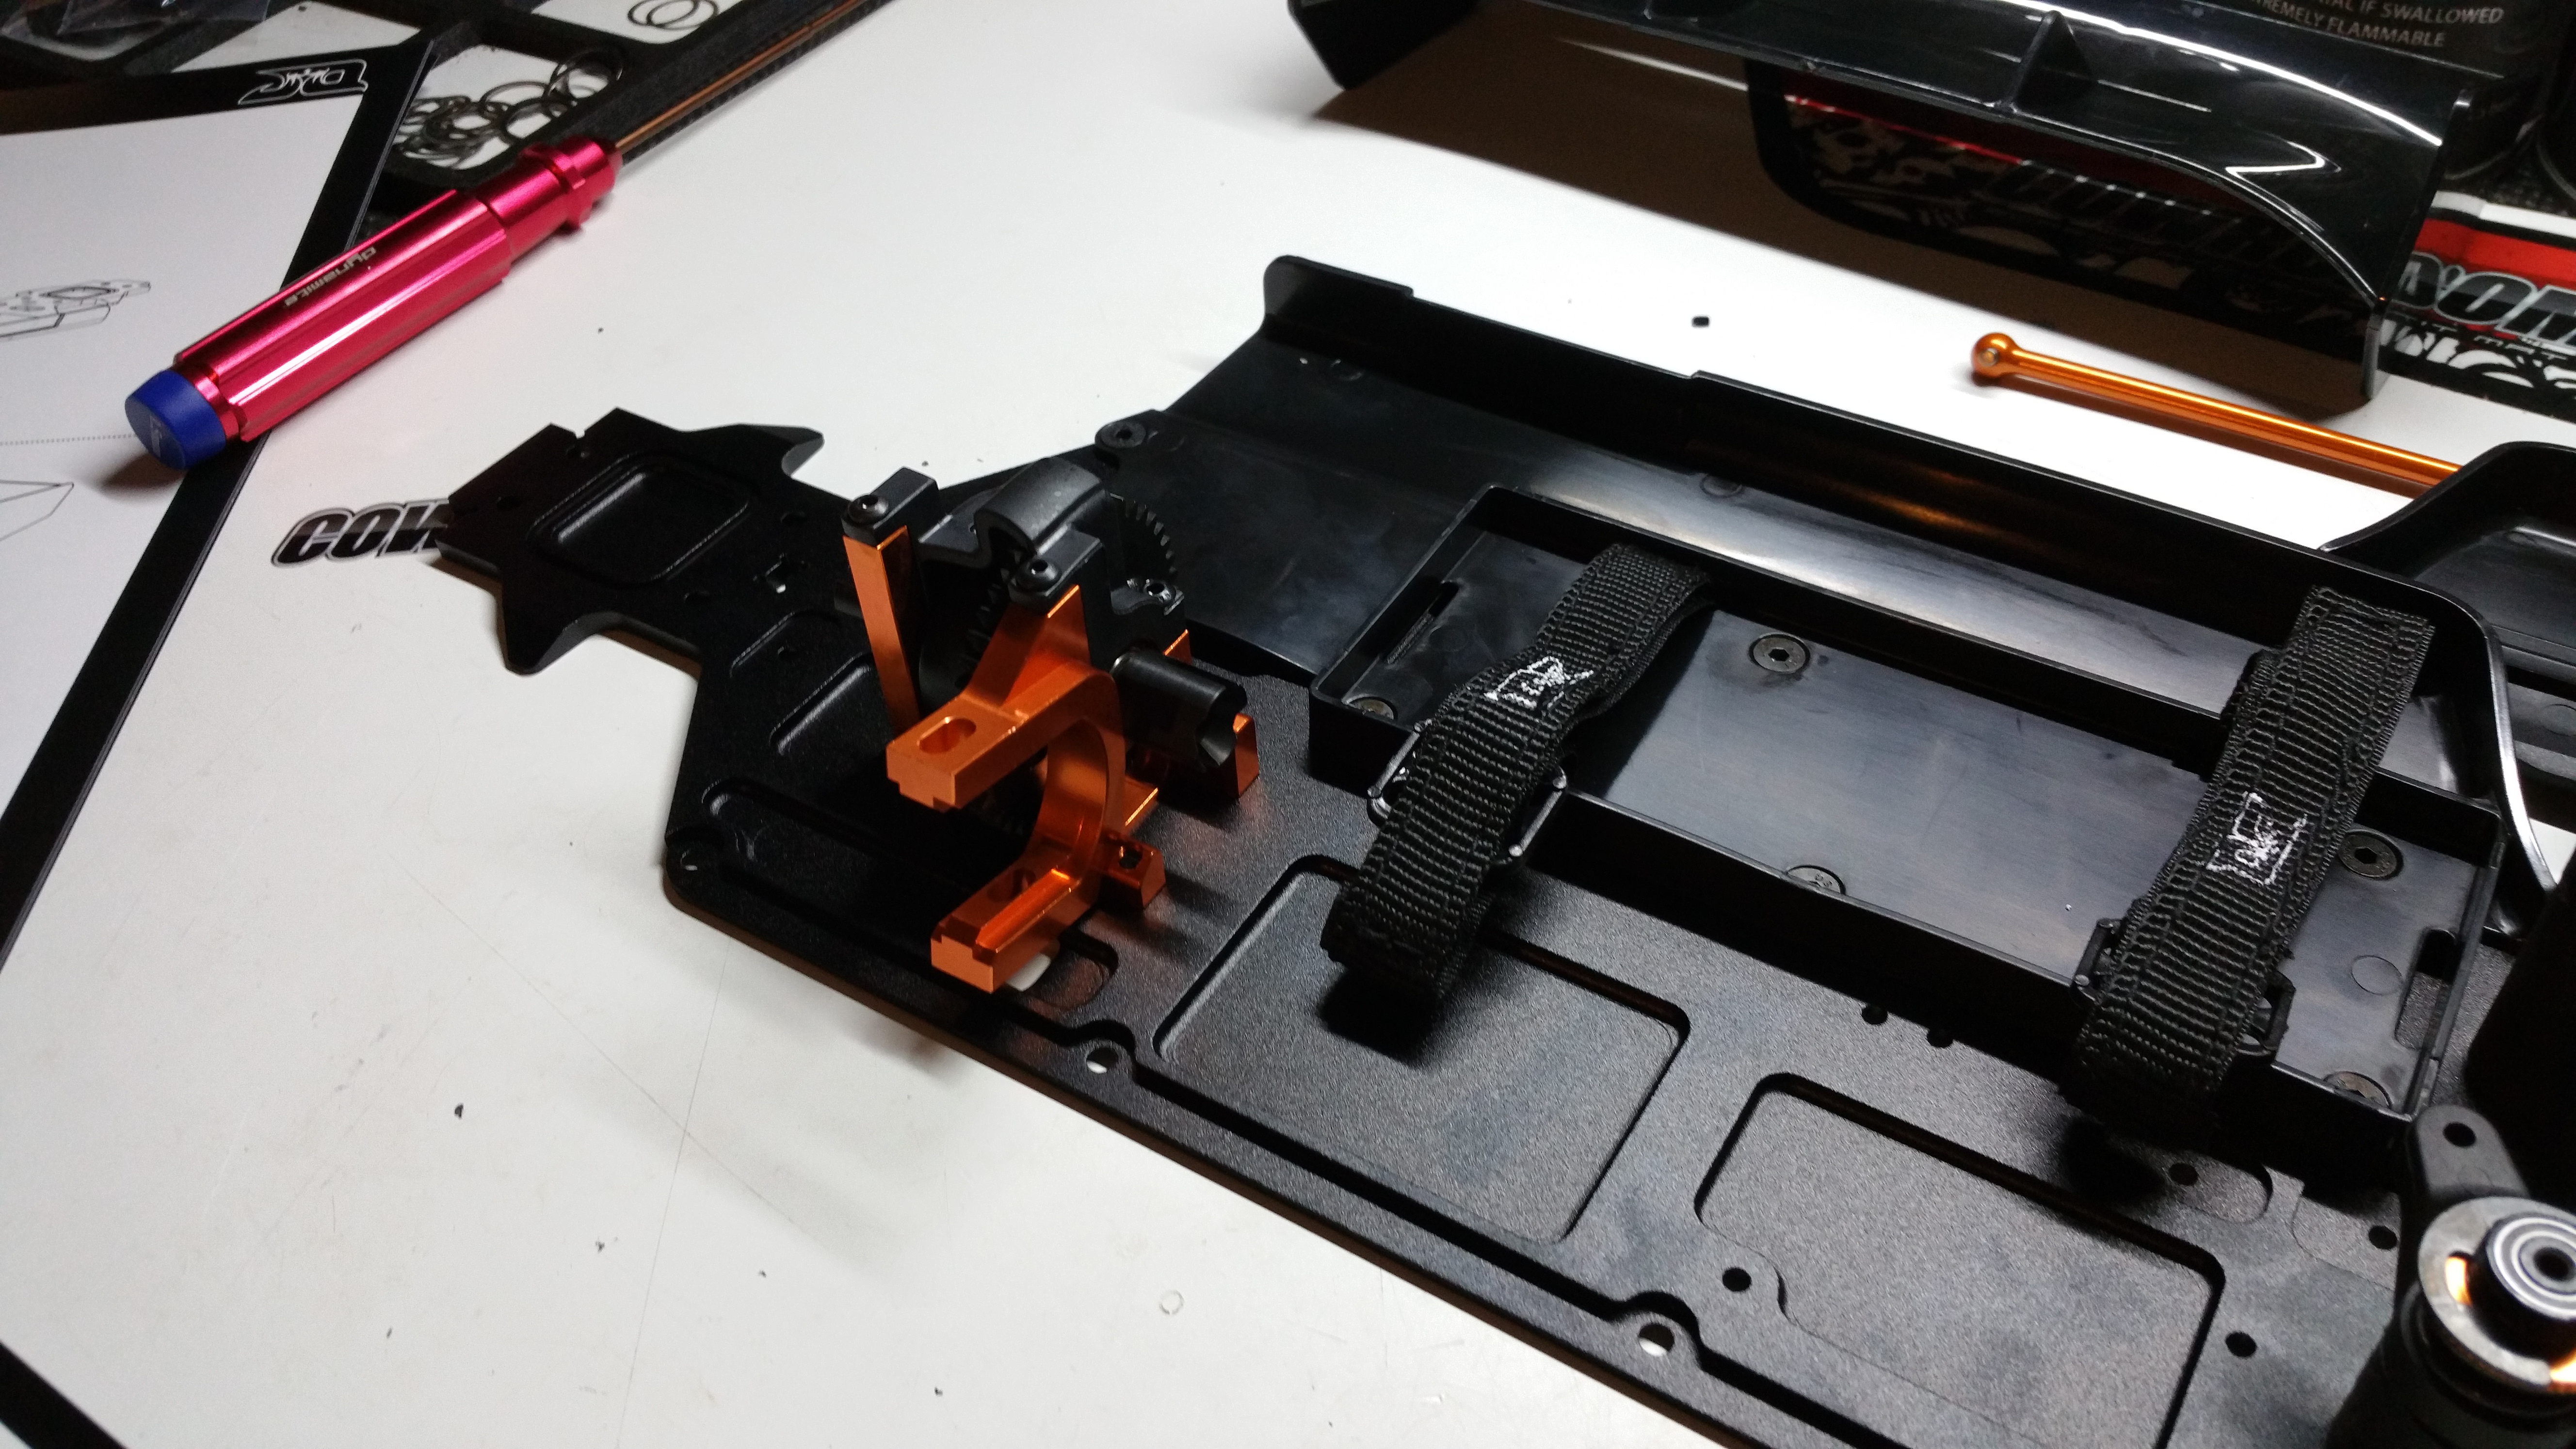
Steering rack installed!
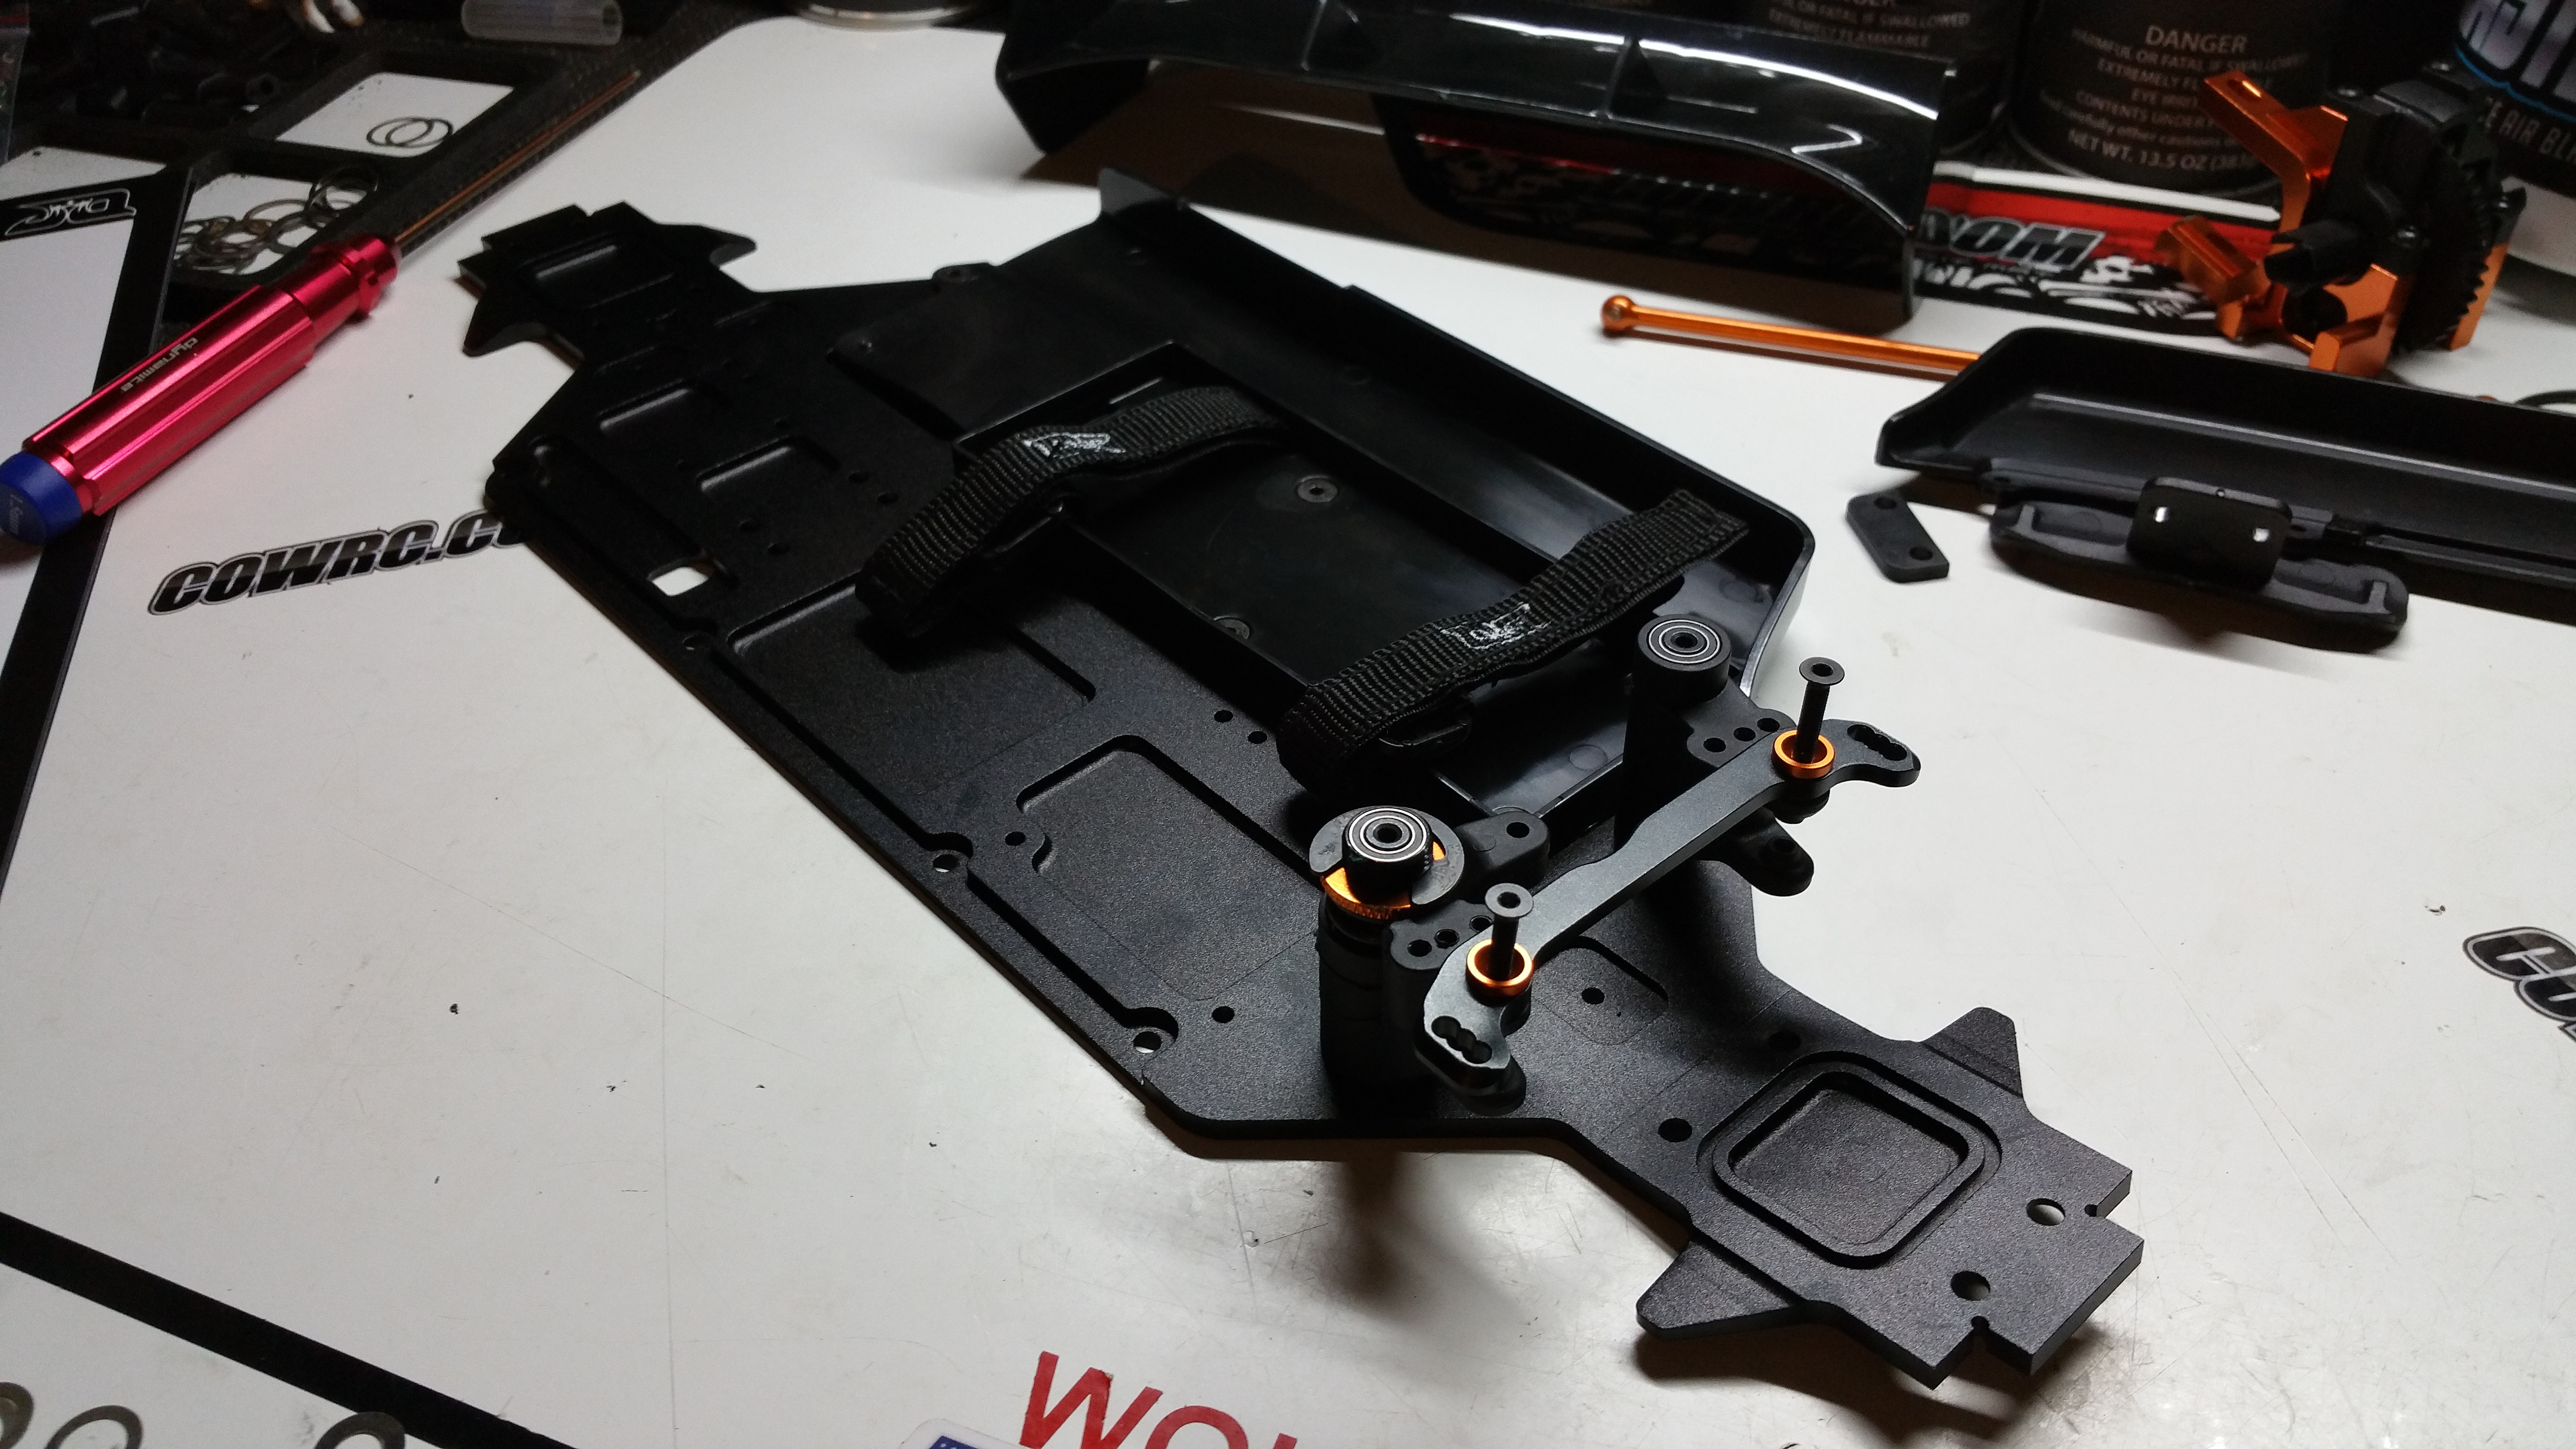
Center Diff installed!
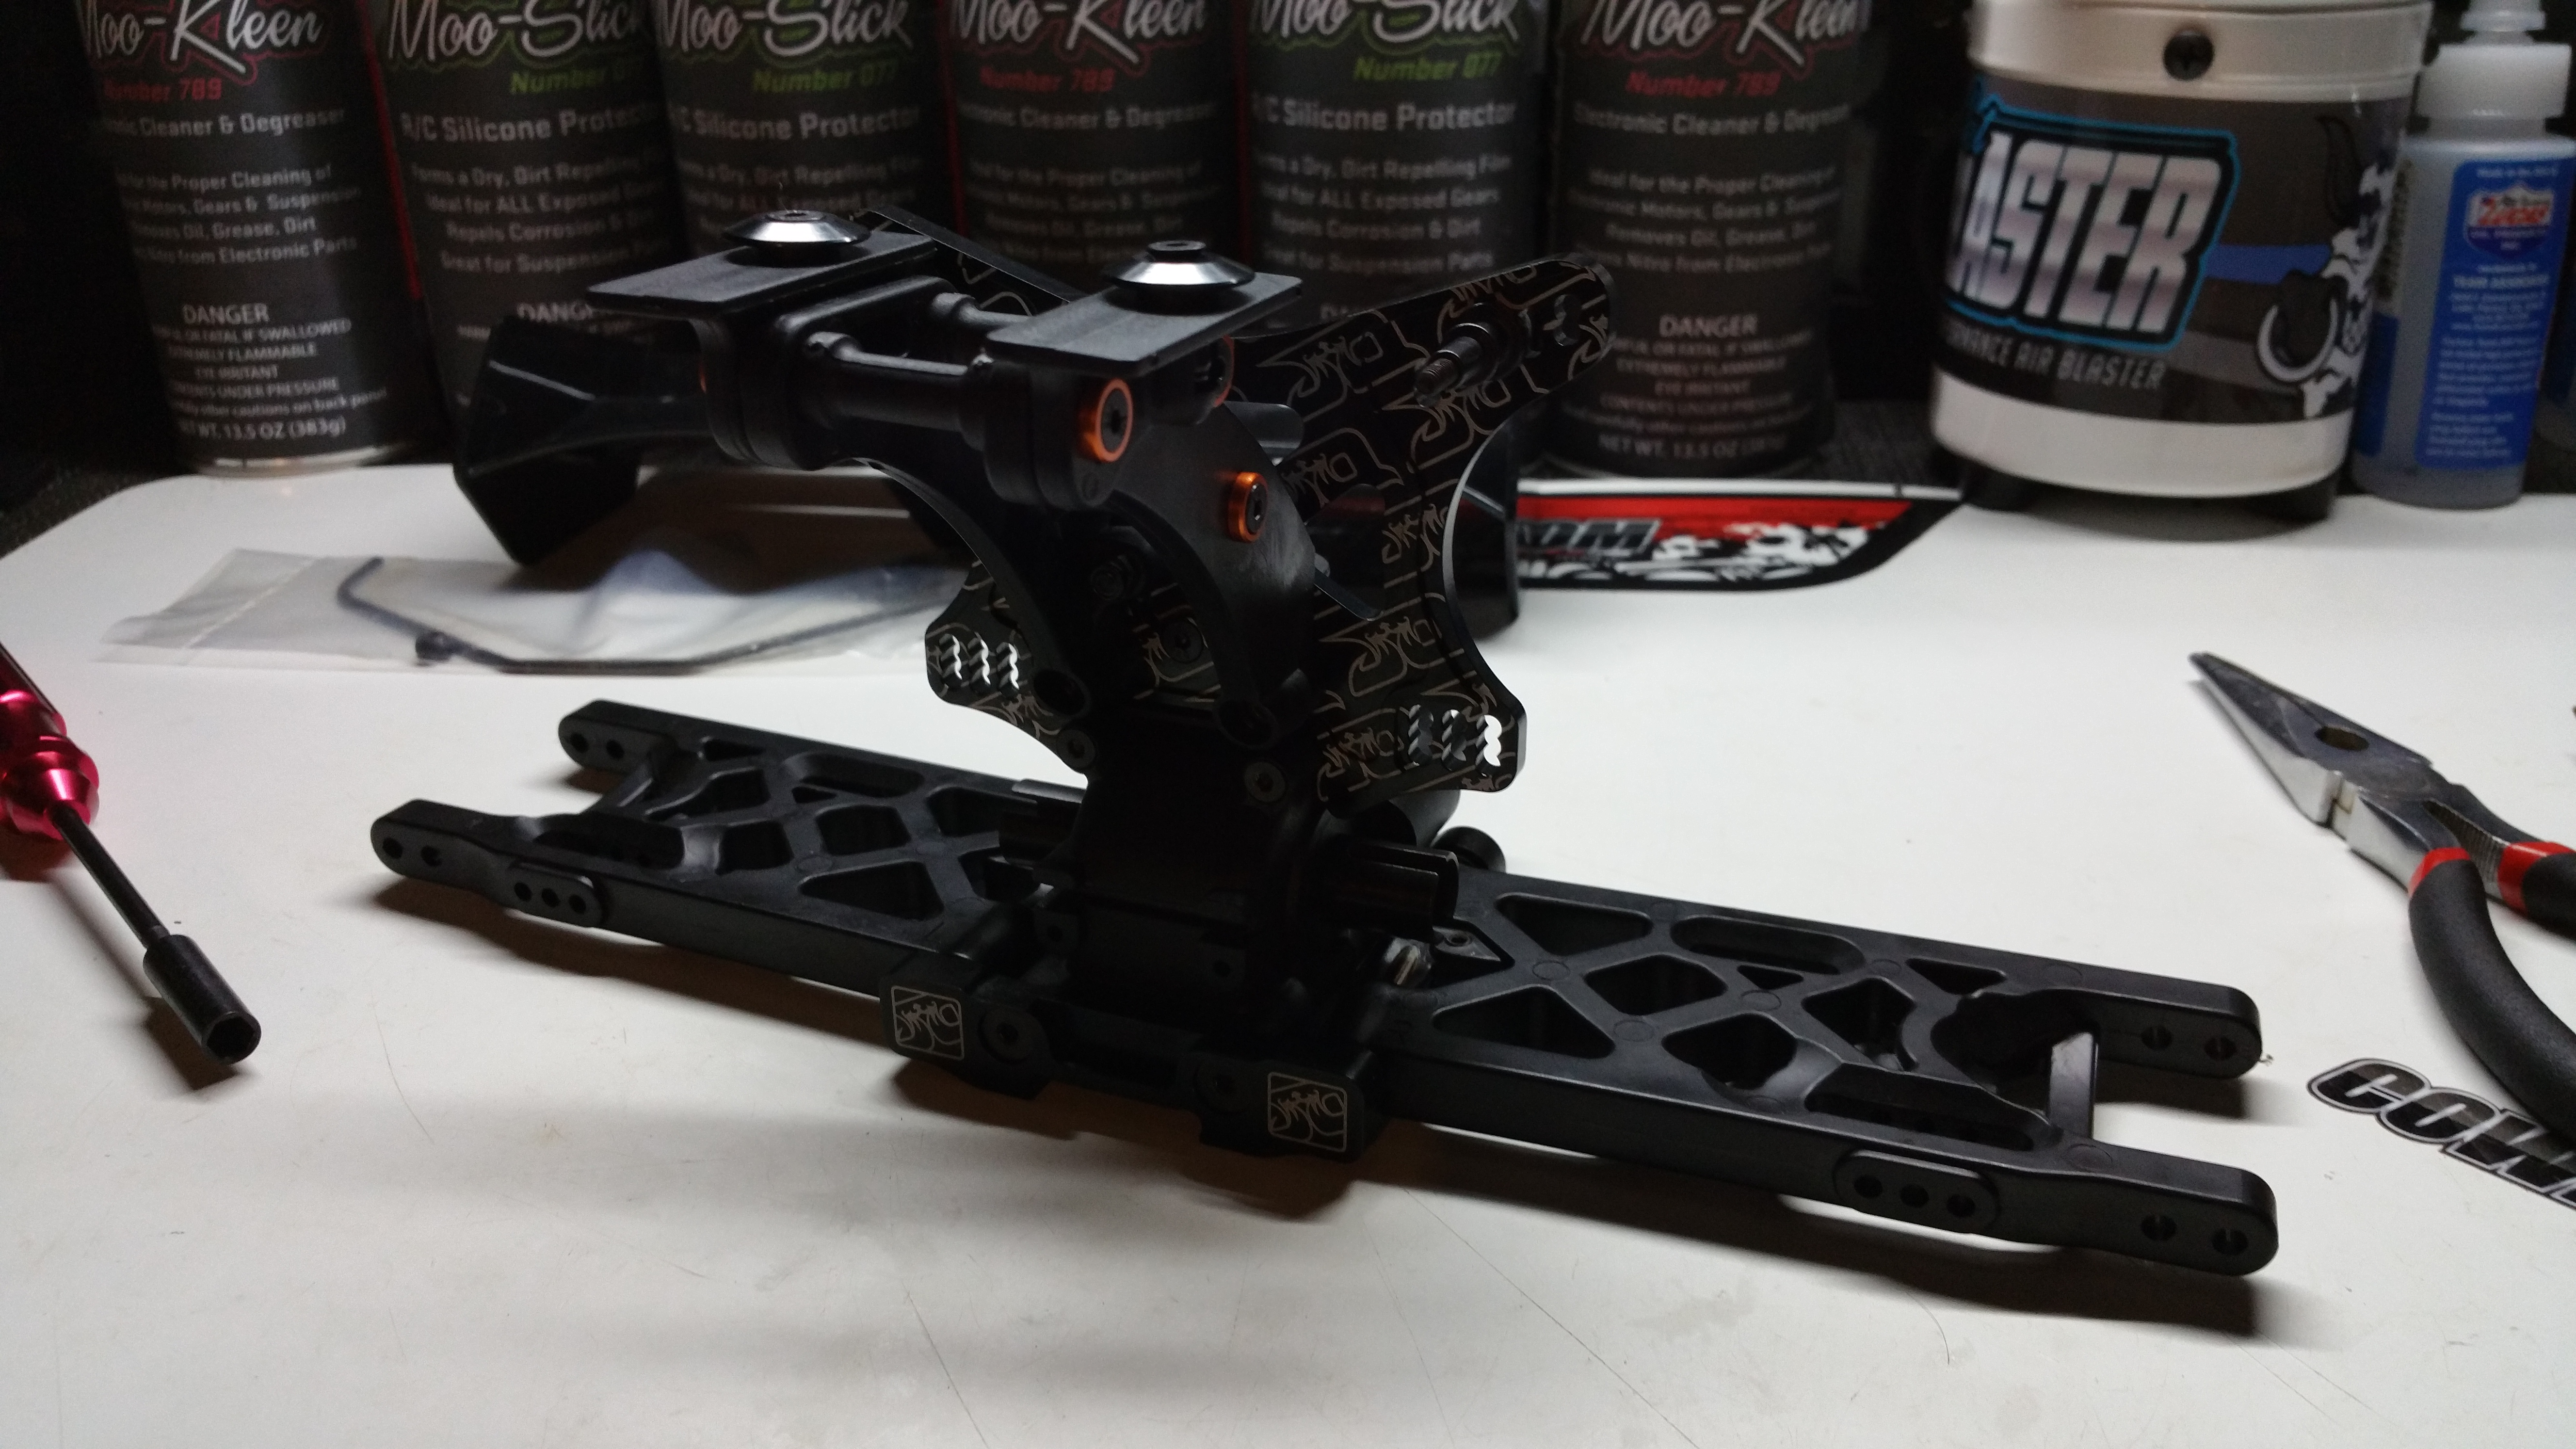
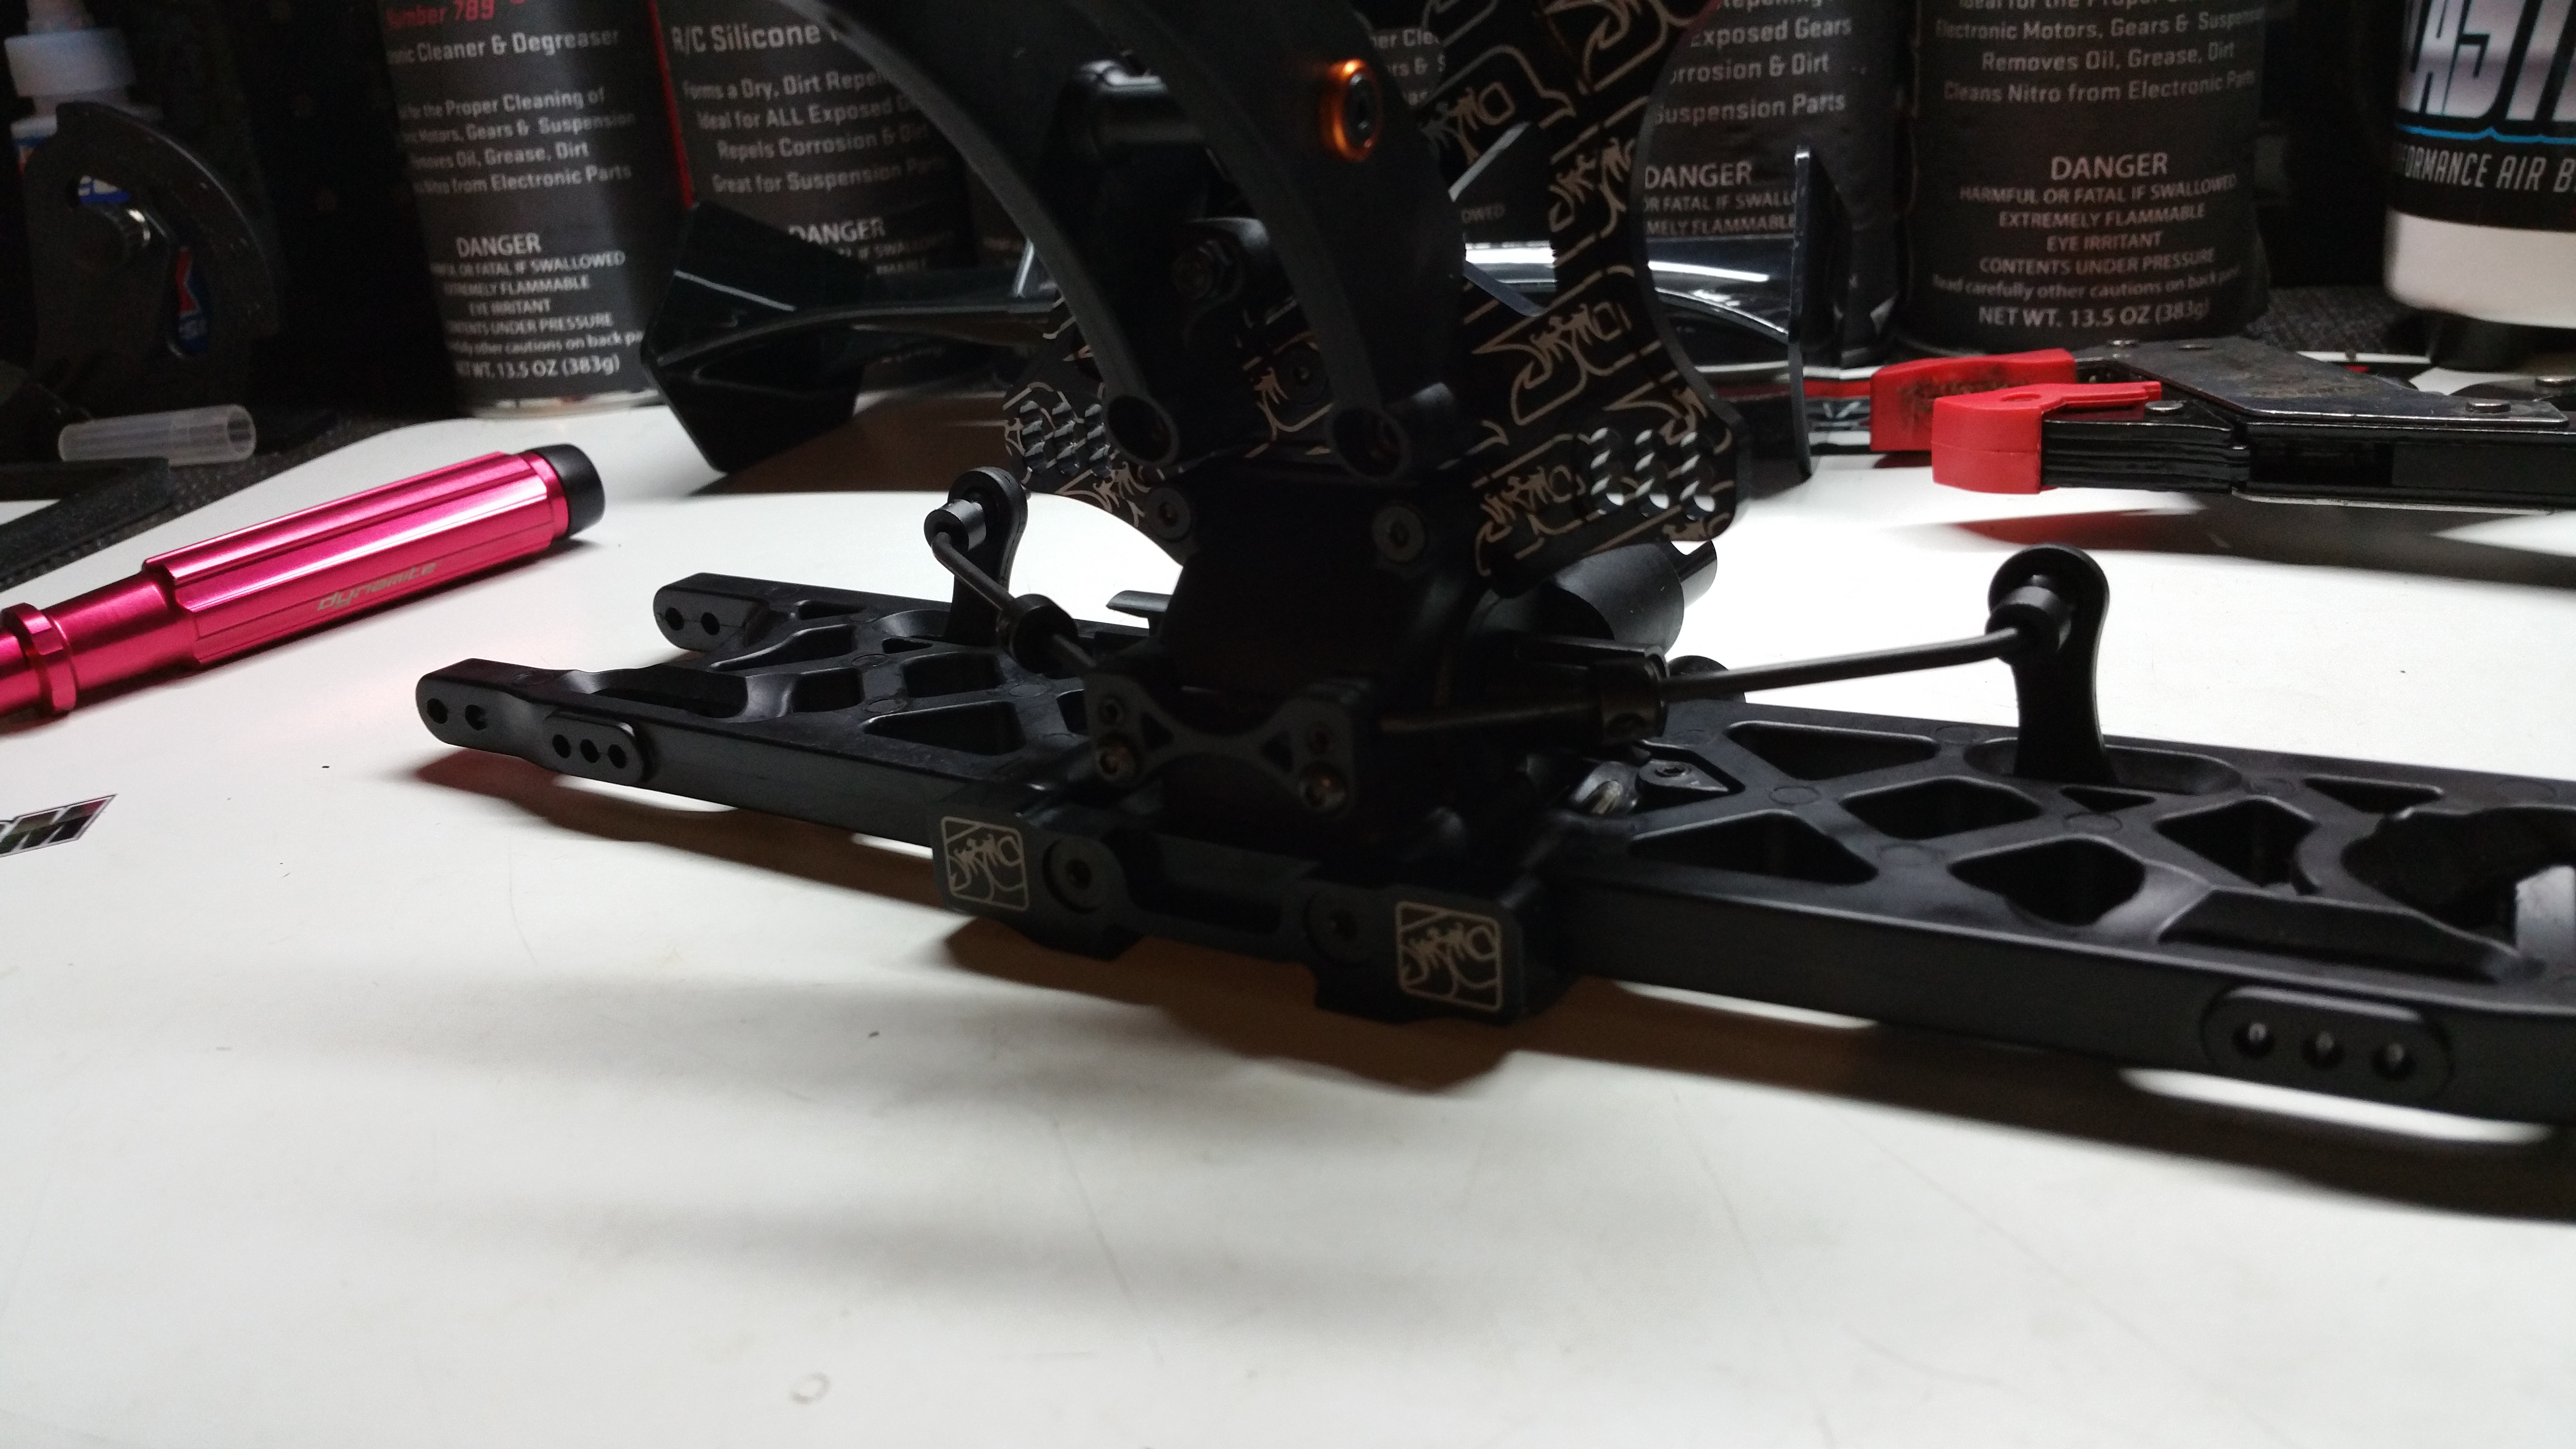
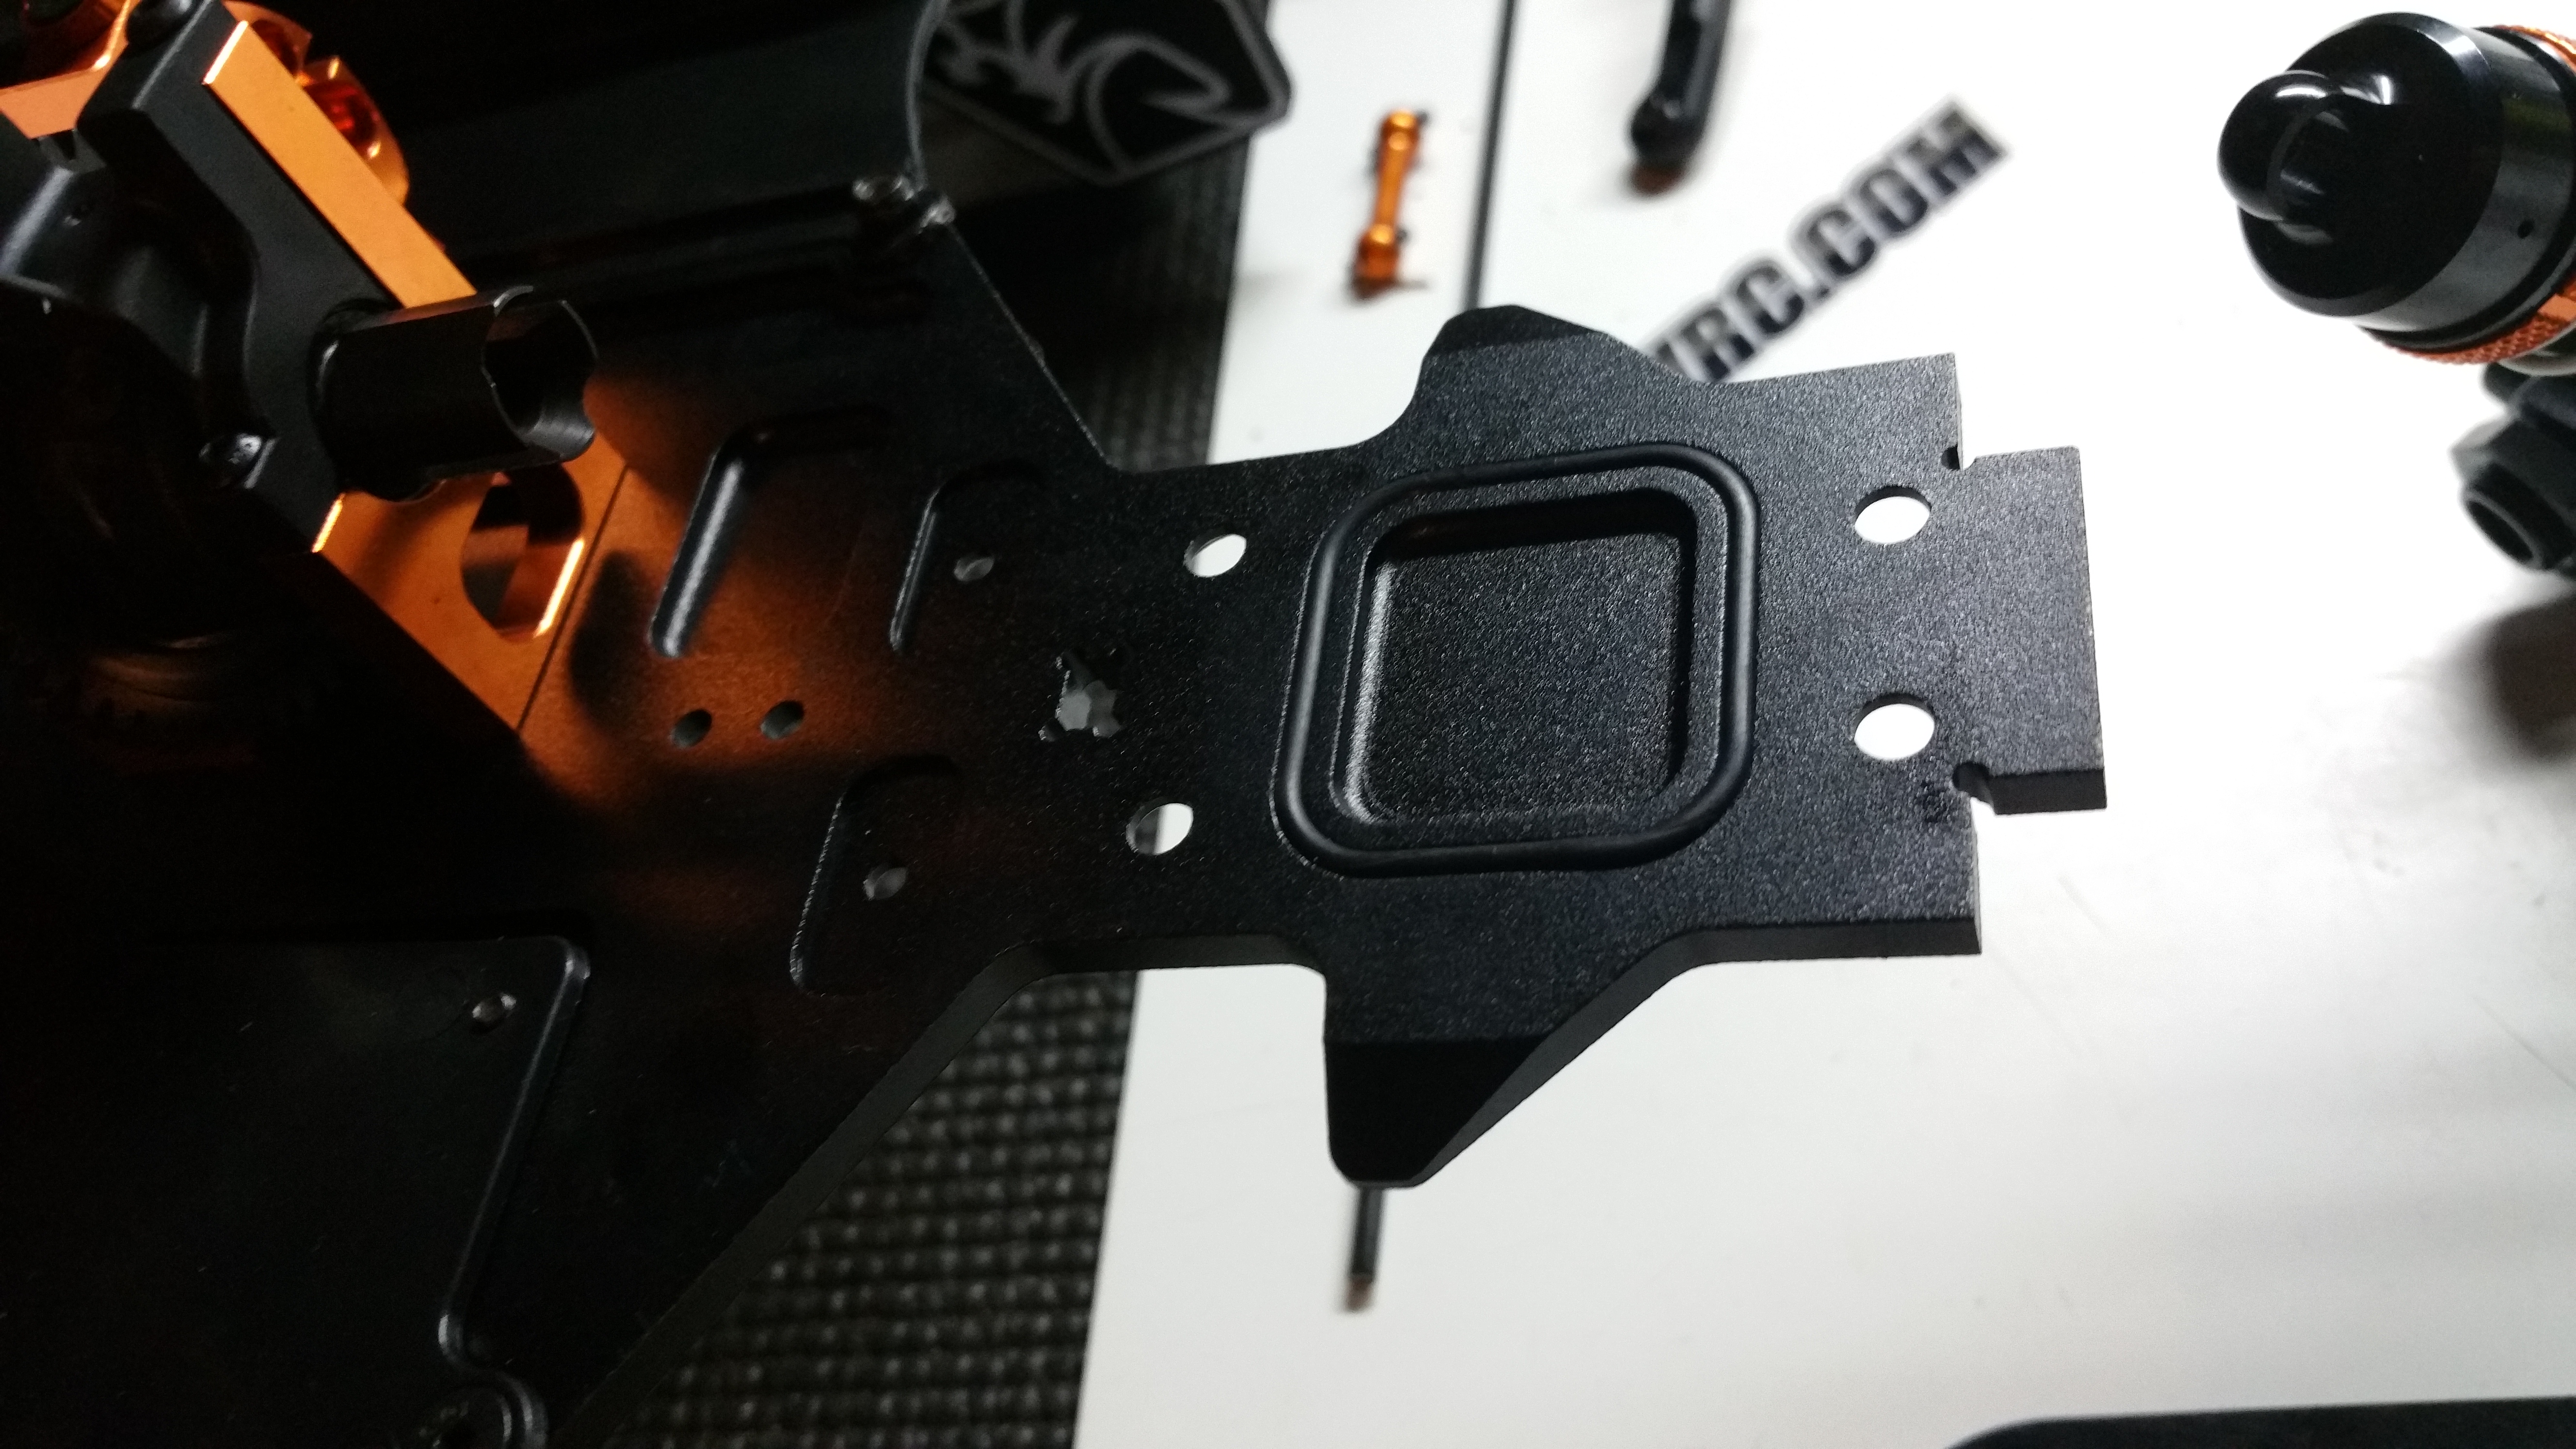
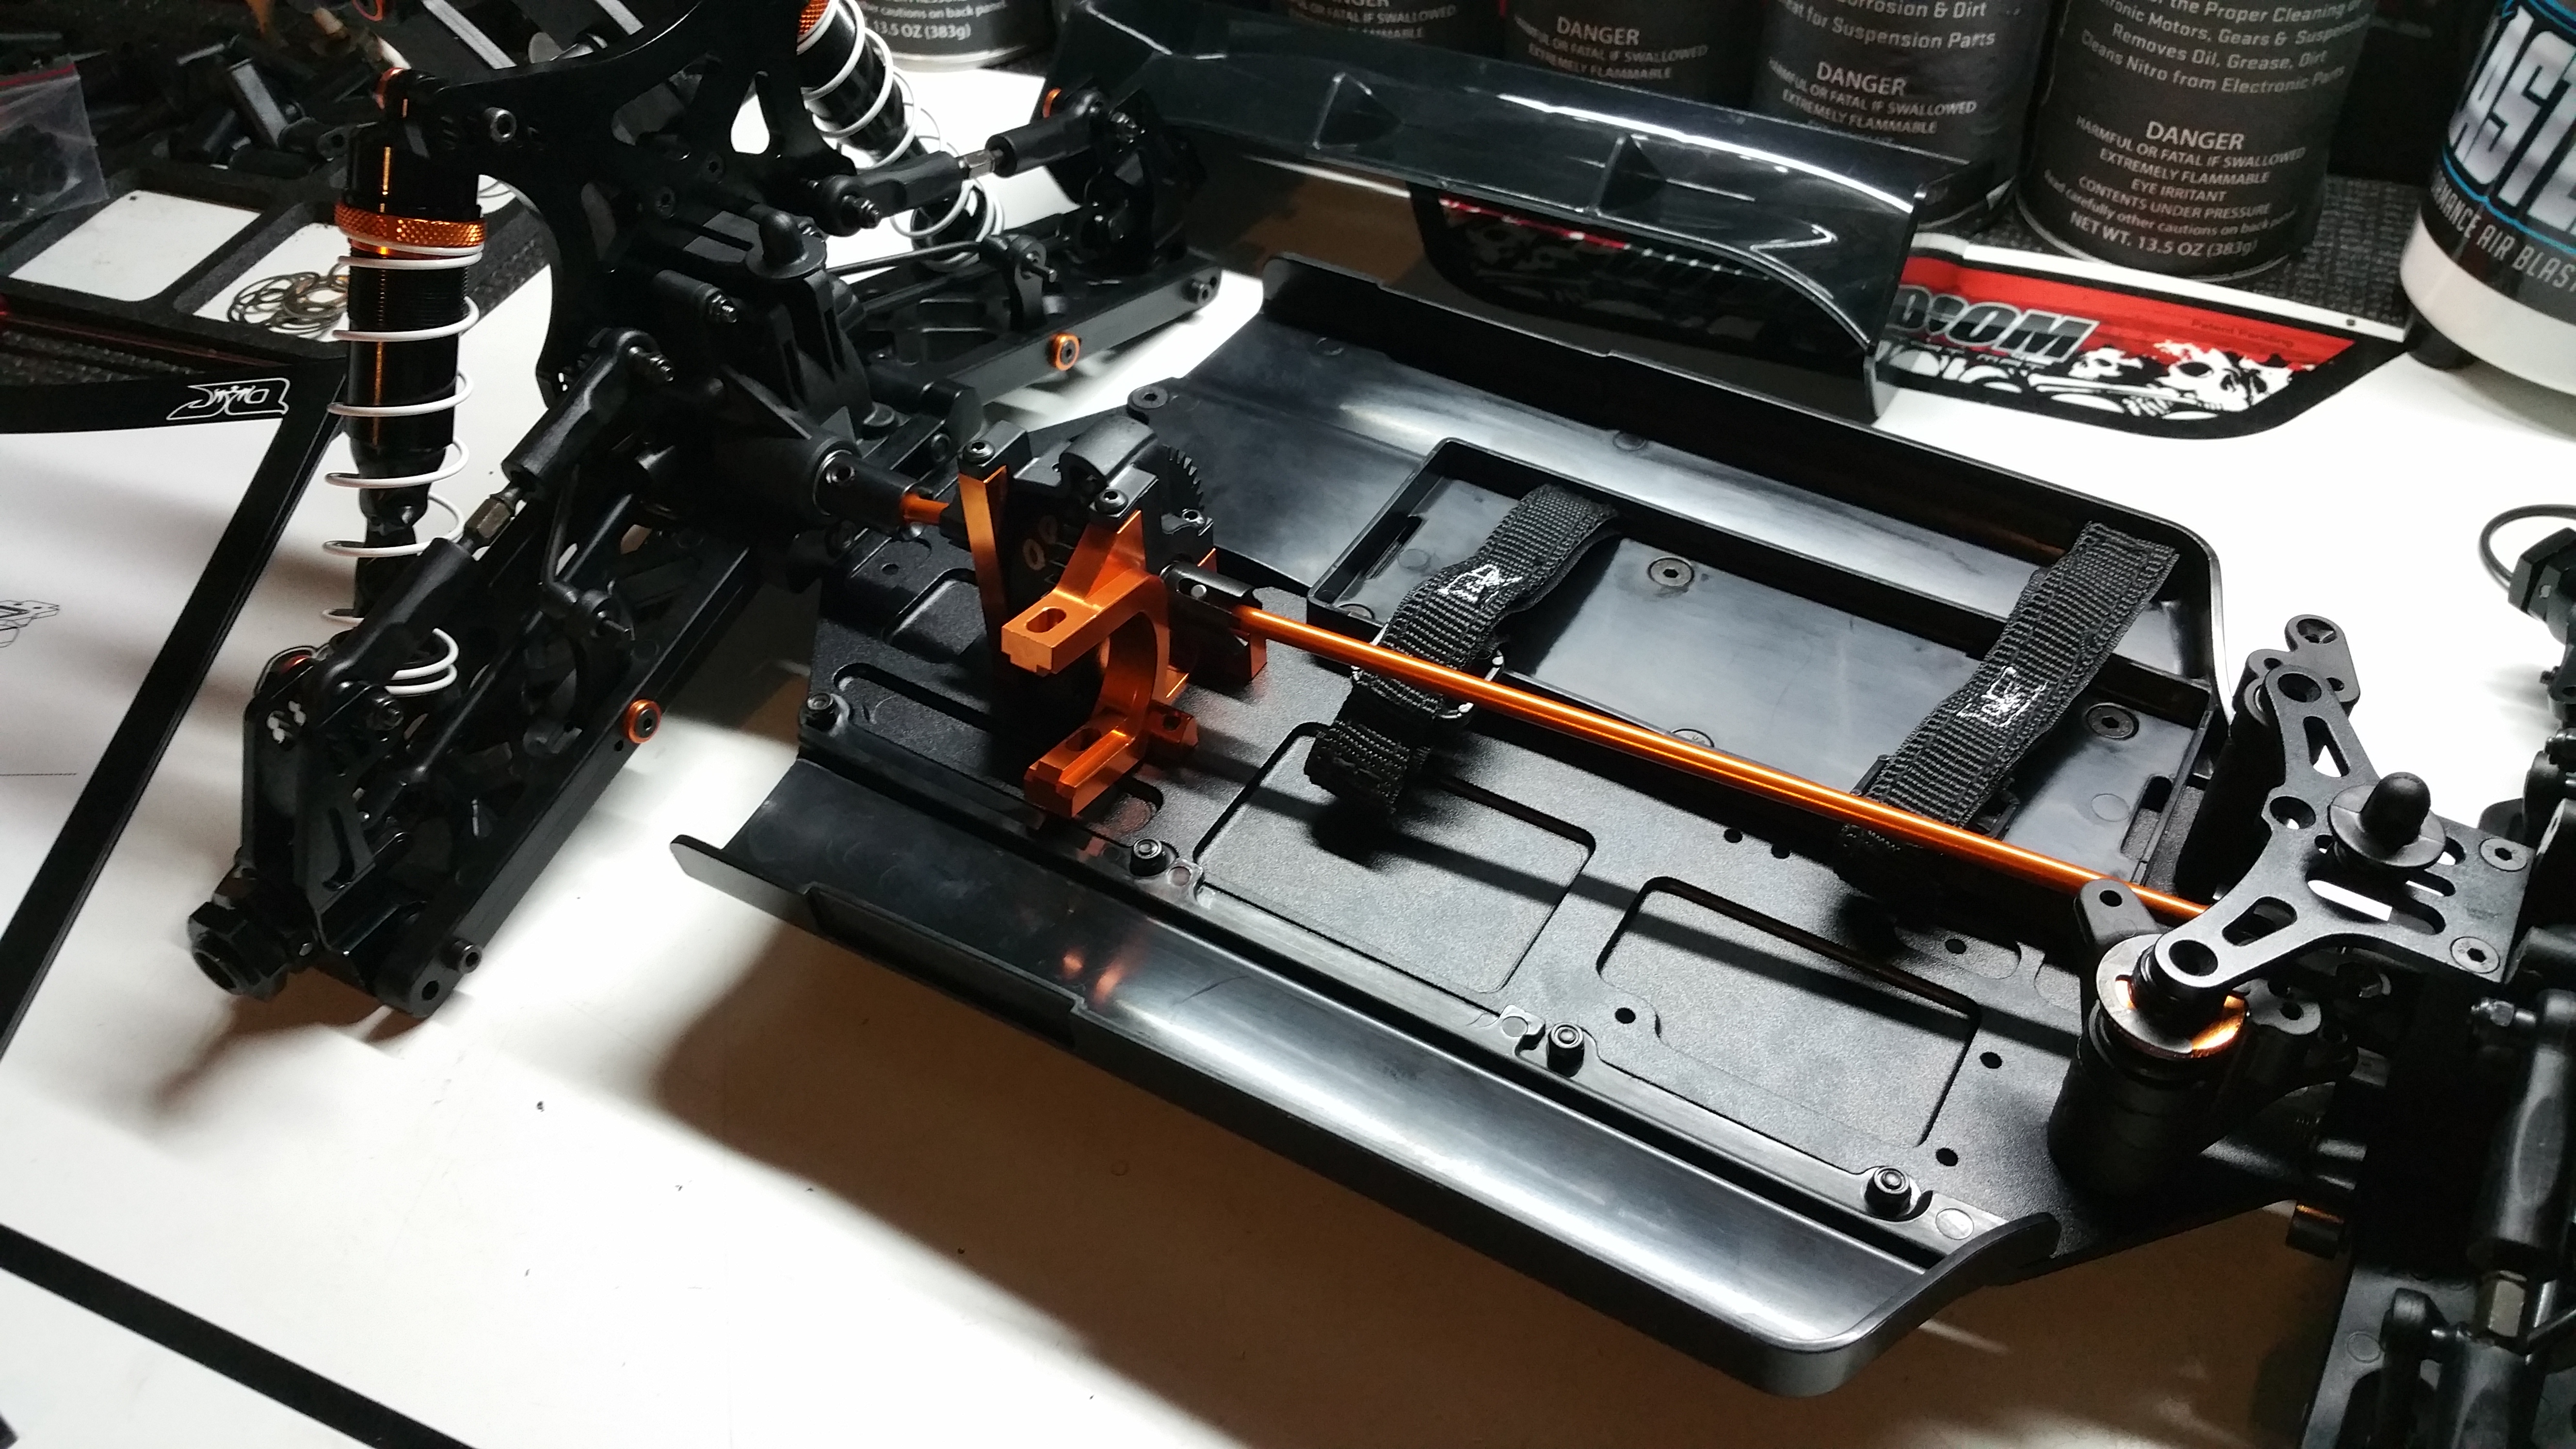
The rest of this step is moving to install the Front and Rear clips onto the car, one really interesting thing i would like to note about the car, is that there is a grooved part of the chassis around the diff area that you install an oring into, to keep anything that may get under the diff case out of the diff area! And any oil/grease that may leak out, doesn’t leave that area!
Rear Clip installed!
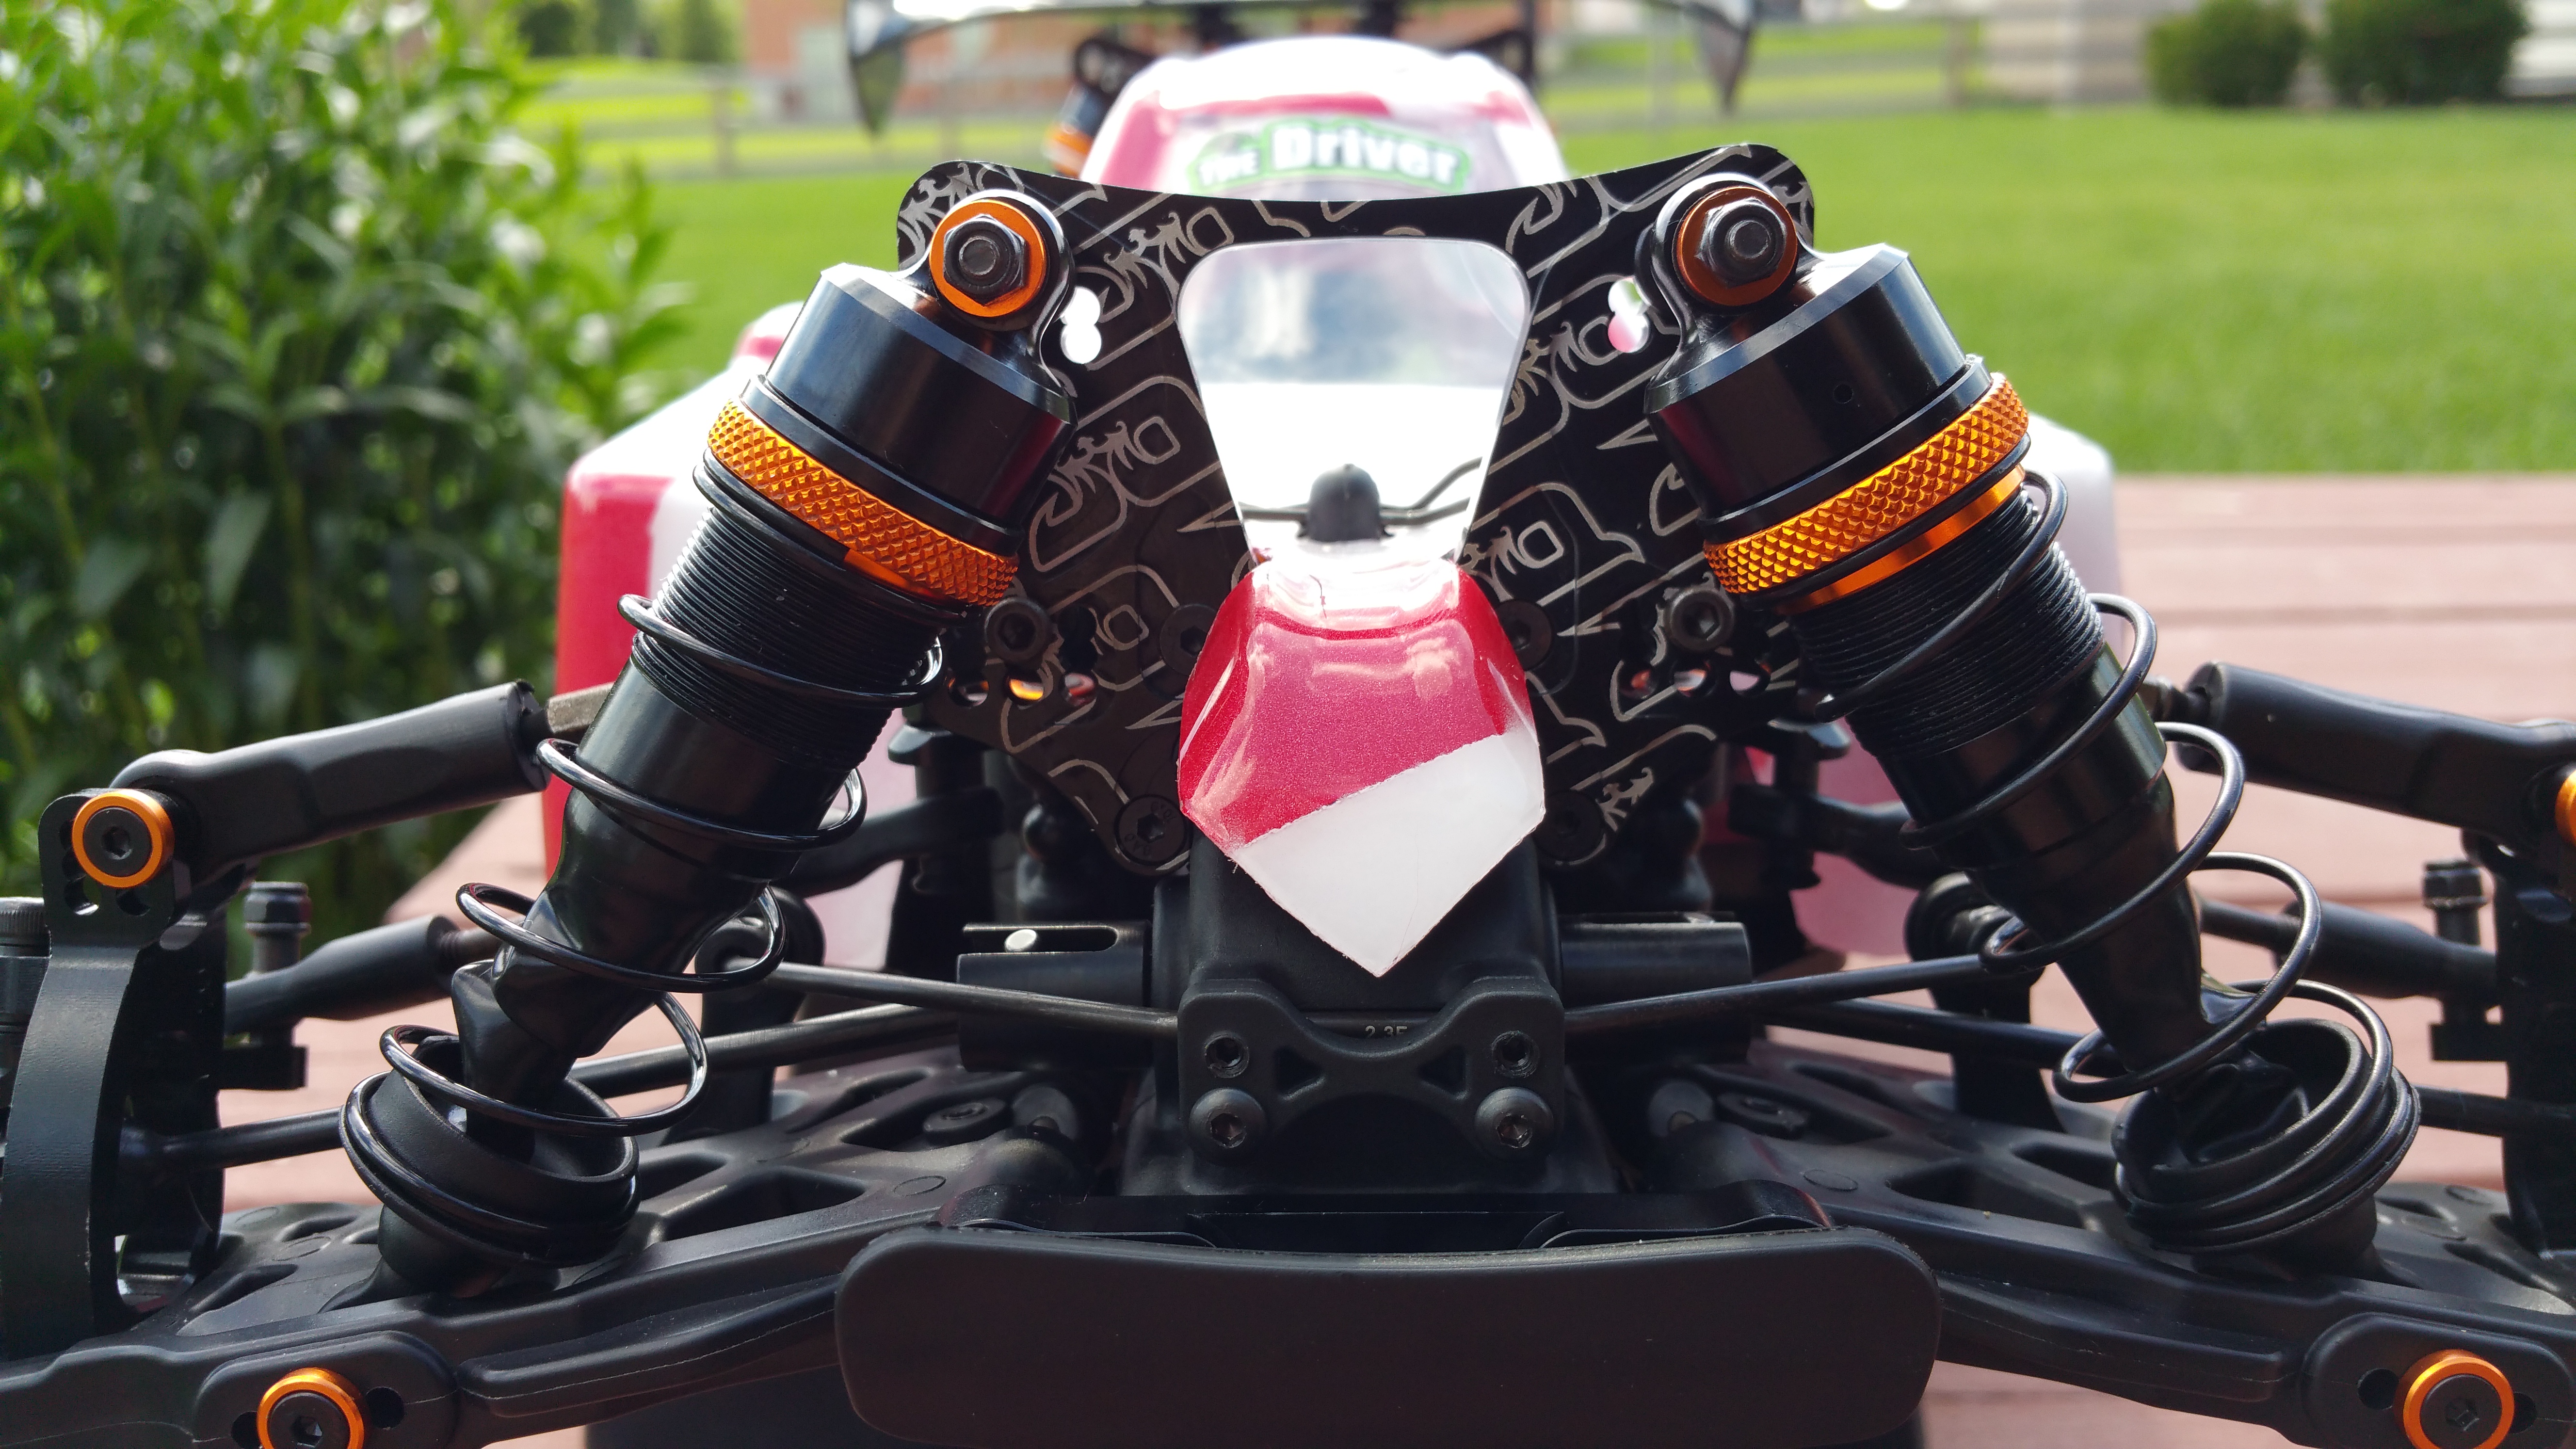
Front clip installed!
Note that awesome Orange anodized Driveshaft!
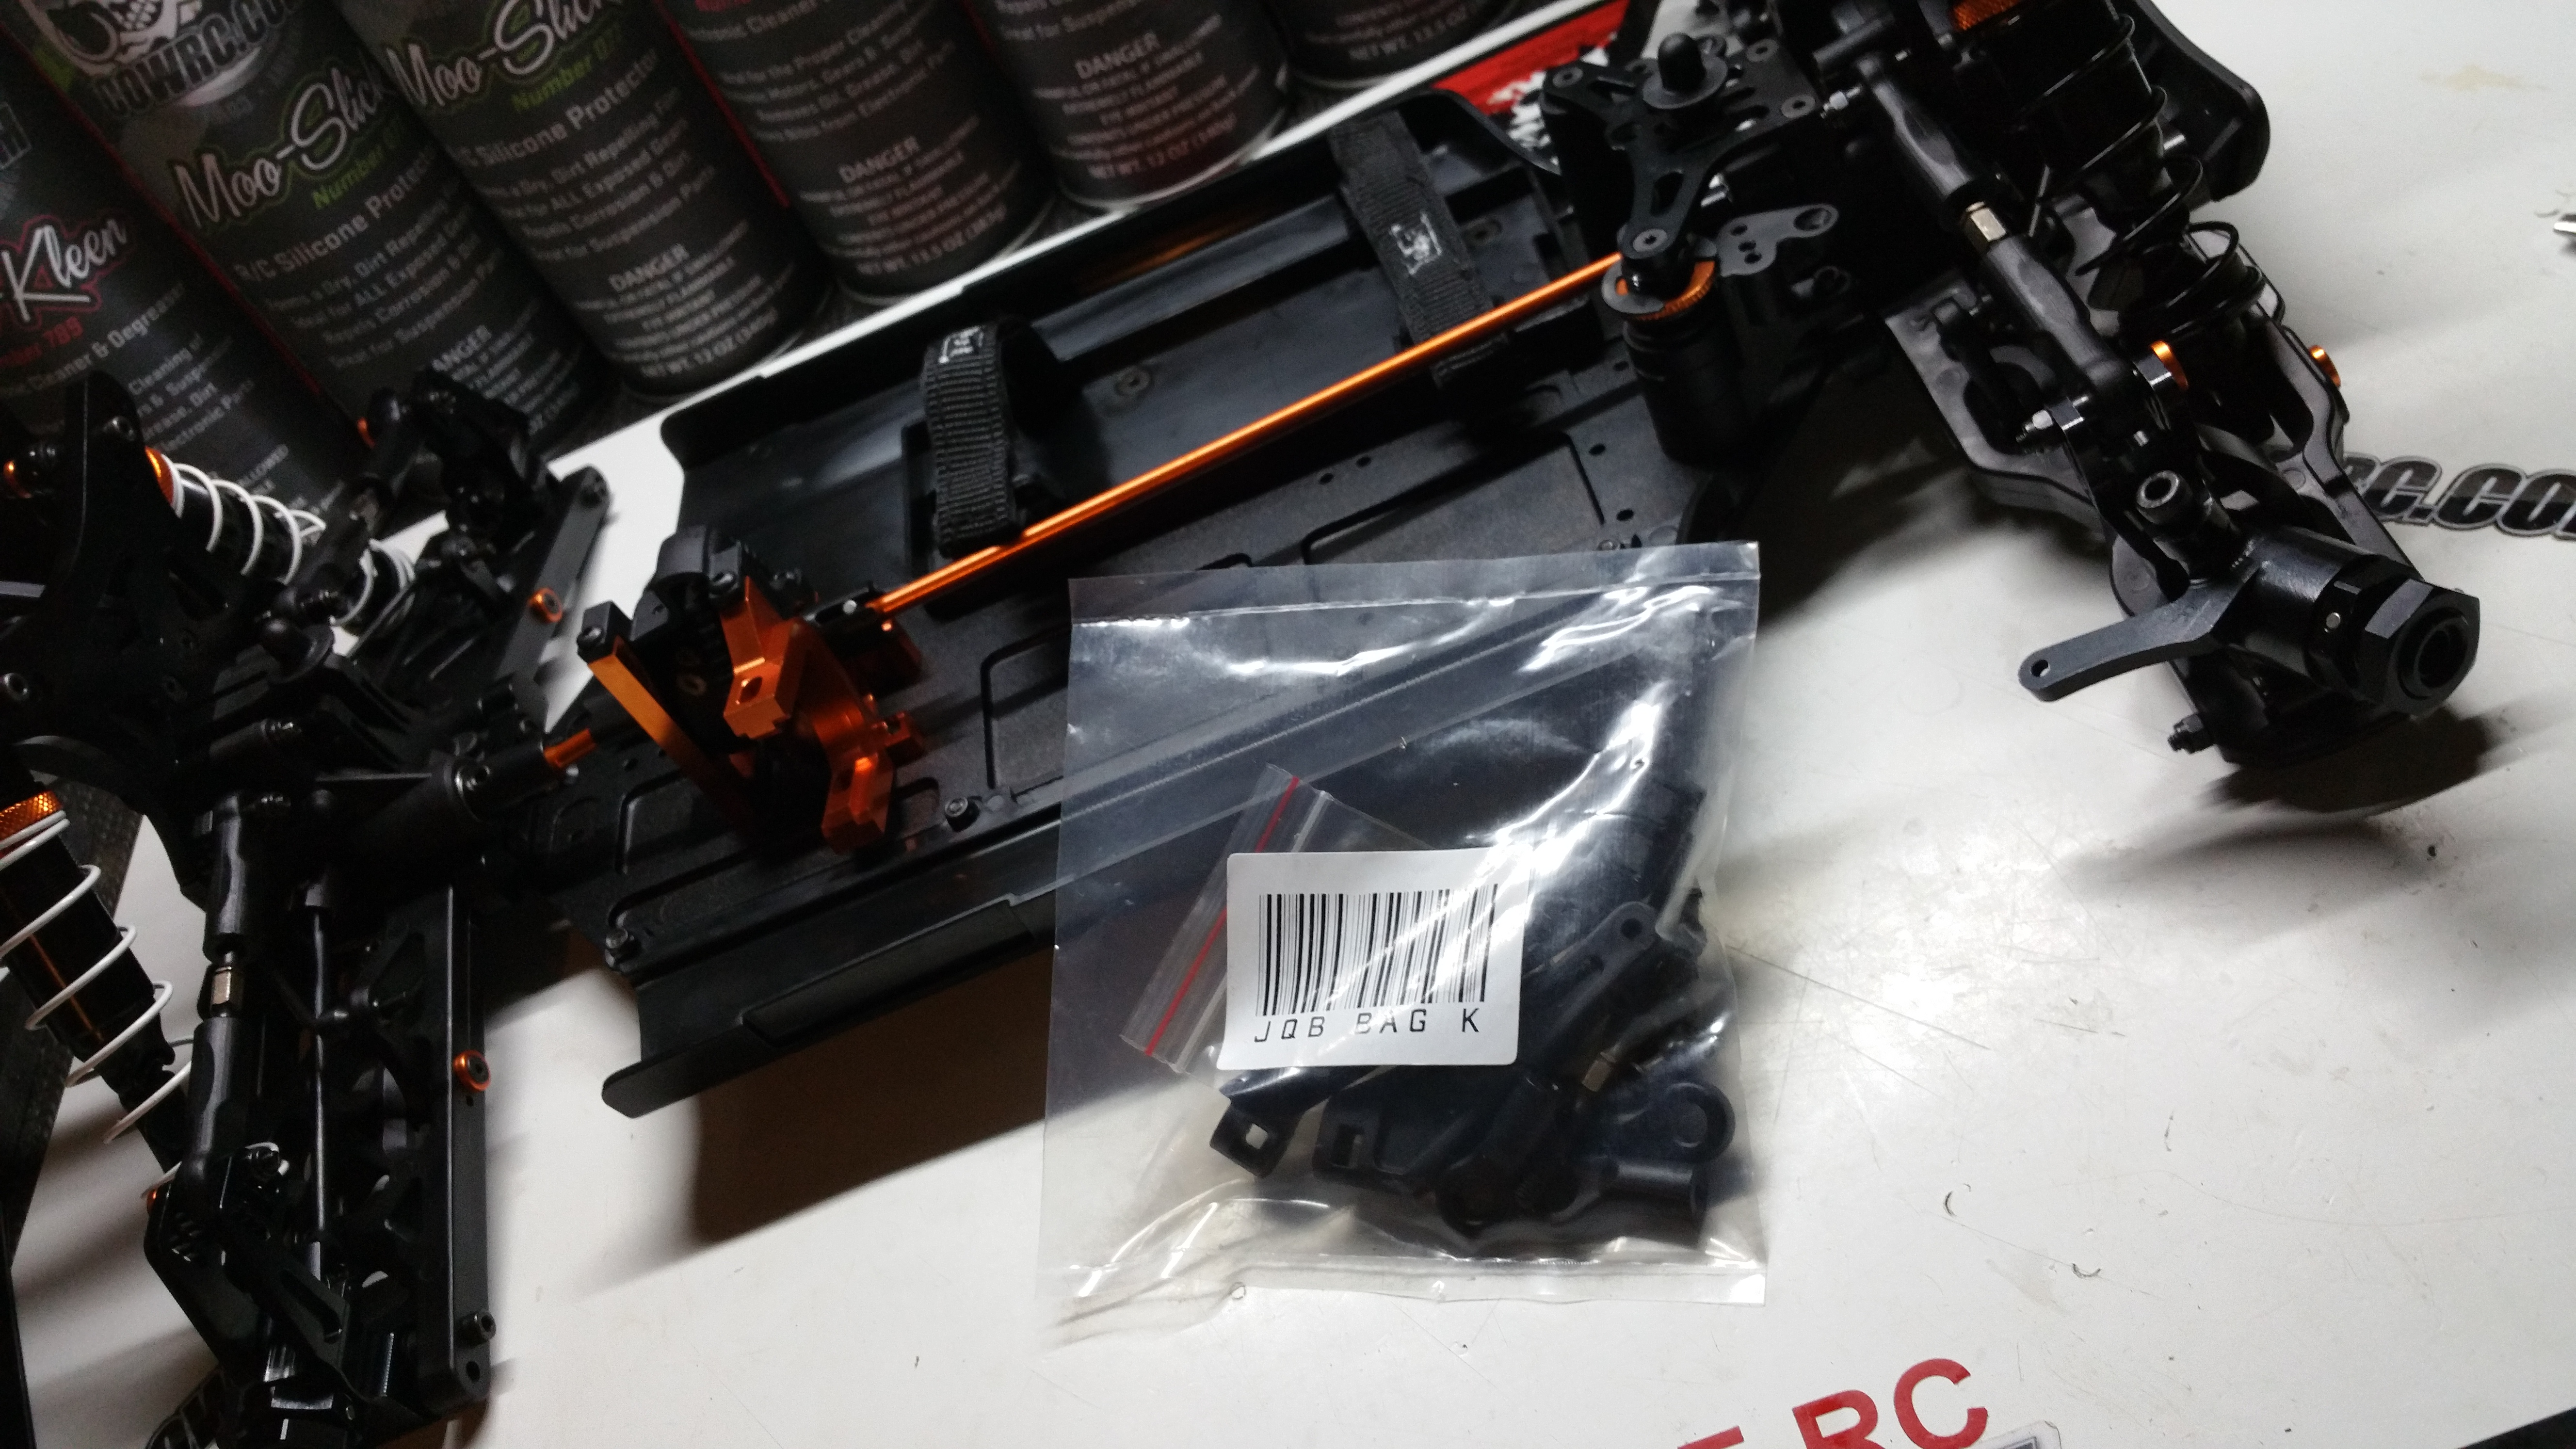
Bag K!
Just the Steering links here, nothing too exciting!
Bag L!
Servo mounts/Receiver box!
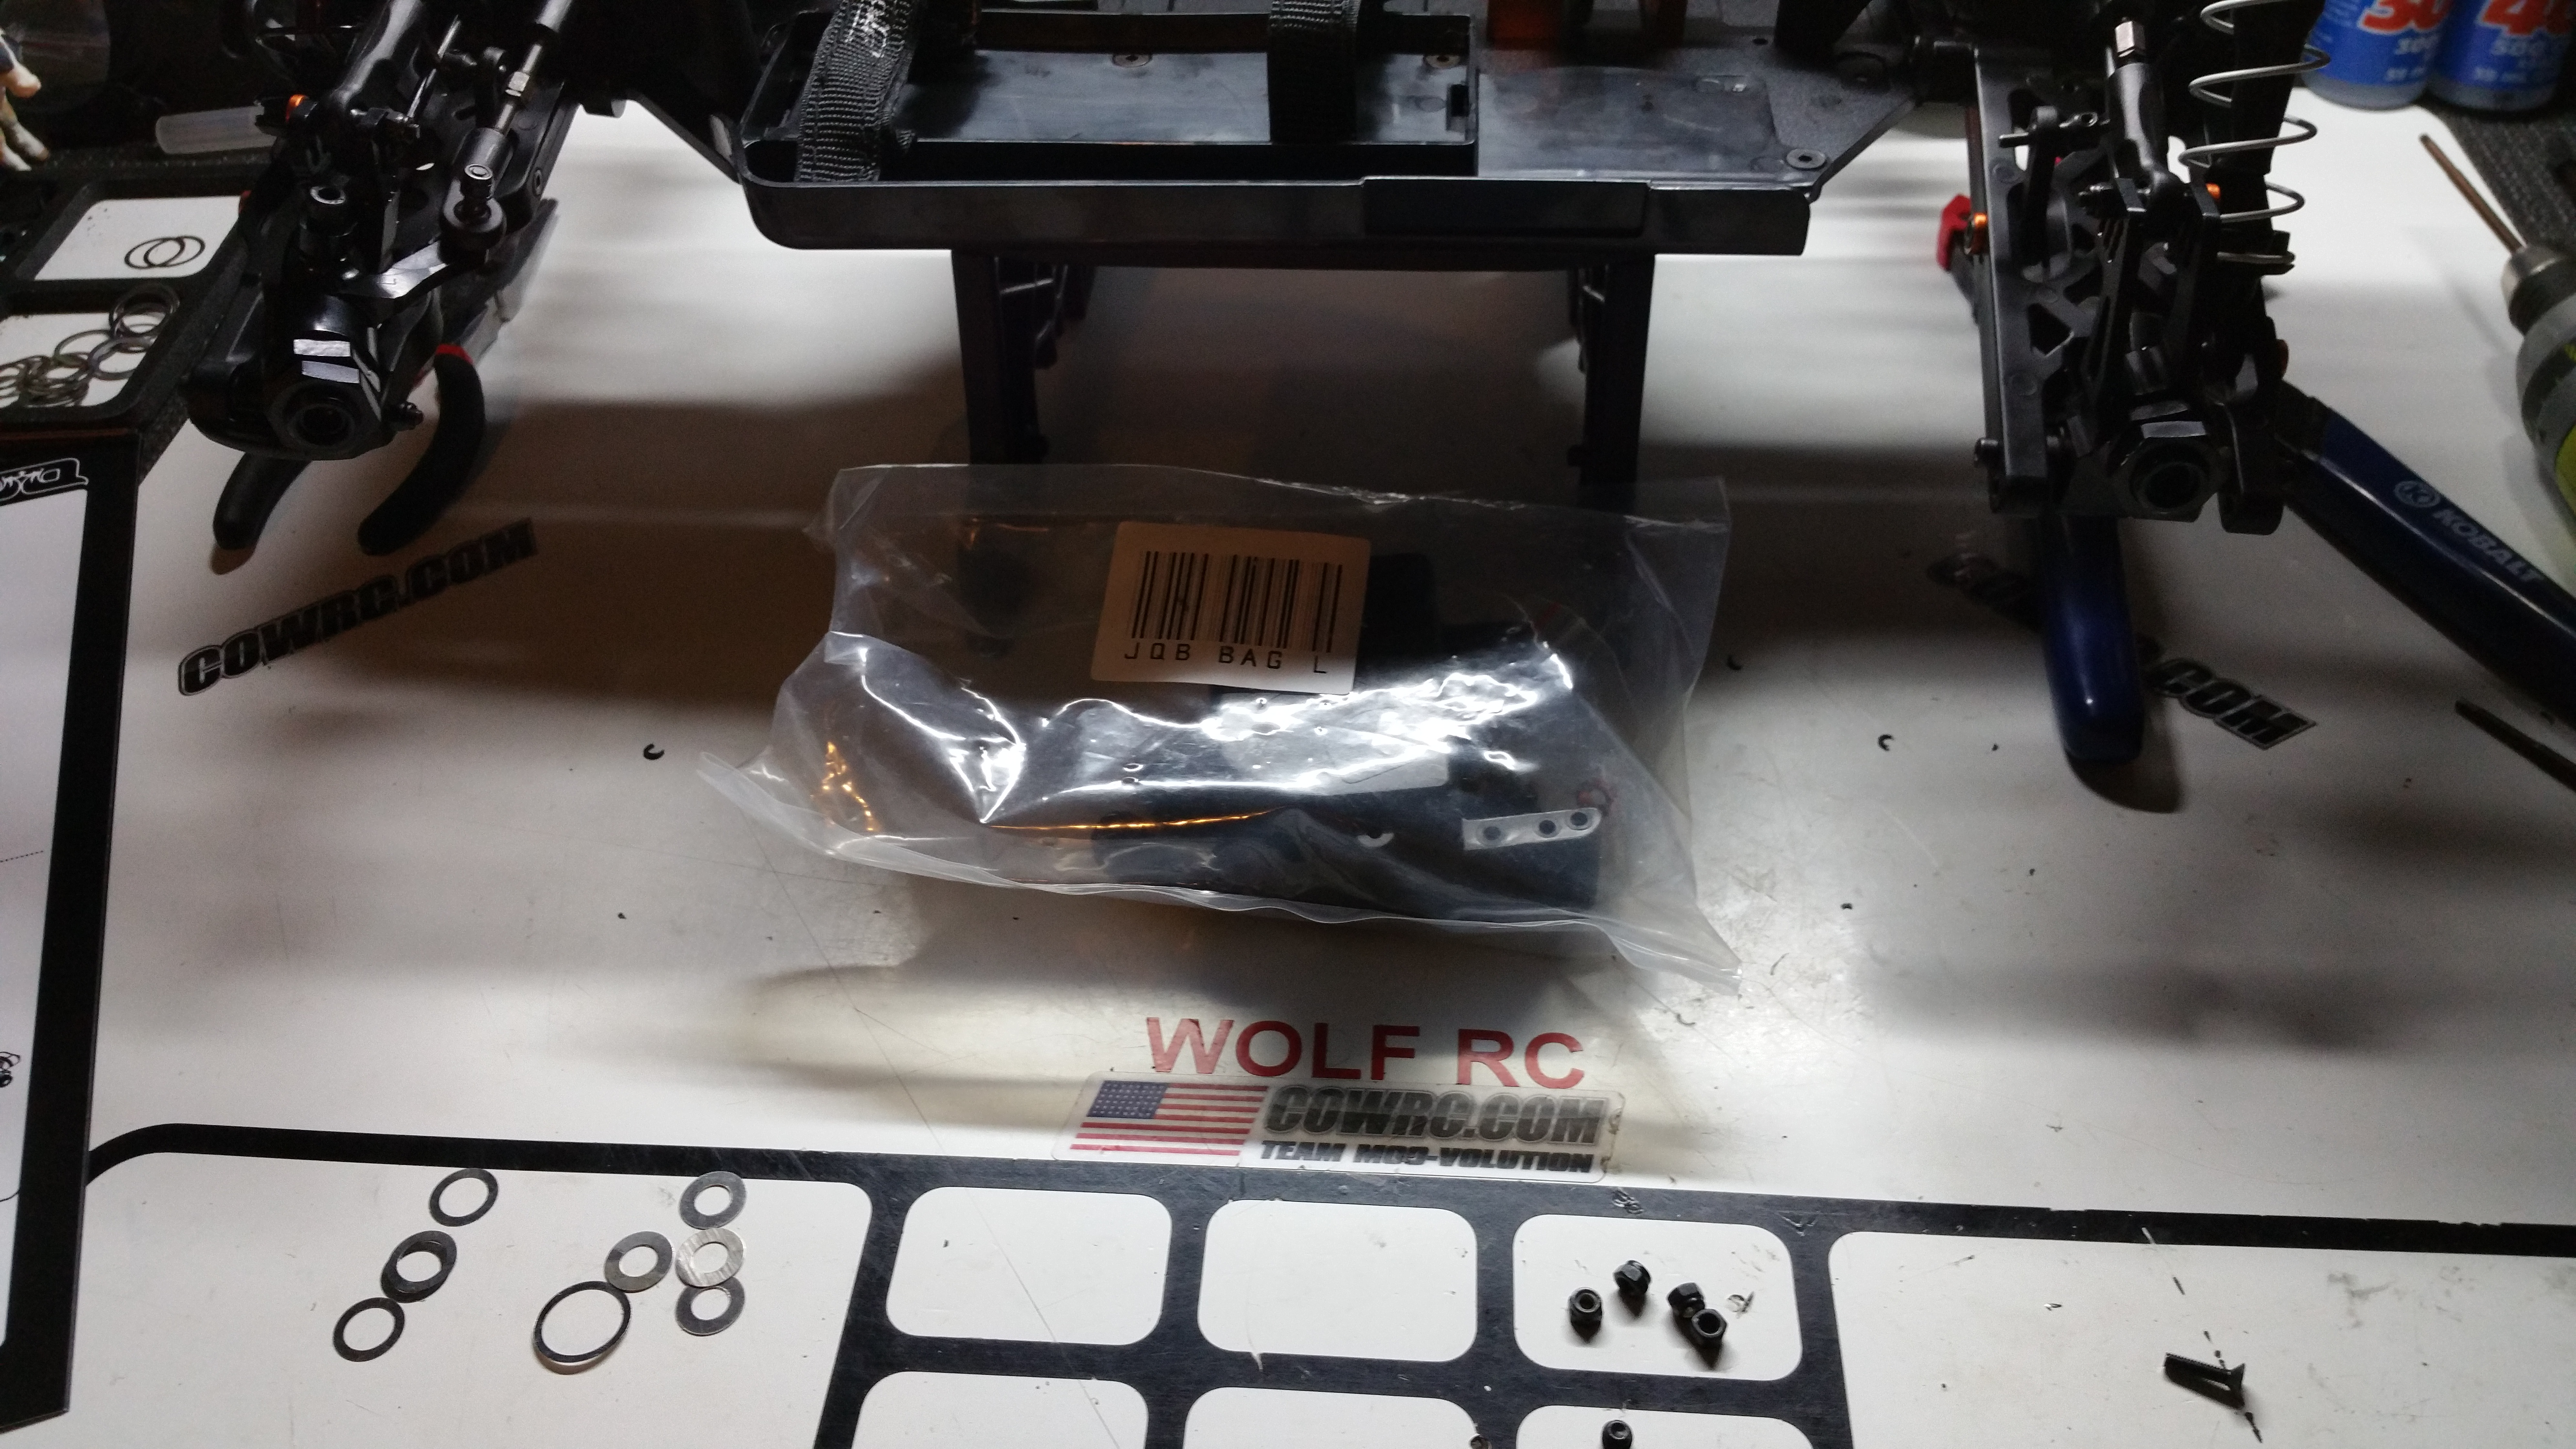
Installed!!
Again, Note the awesome orange washers that are included as standard!
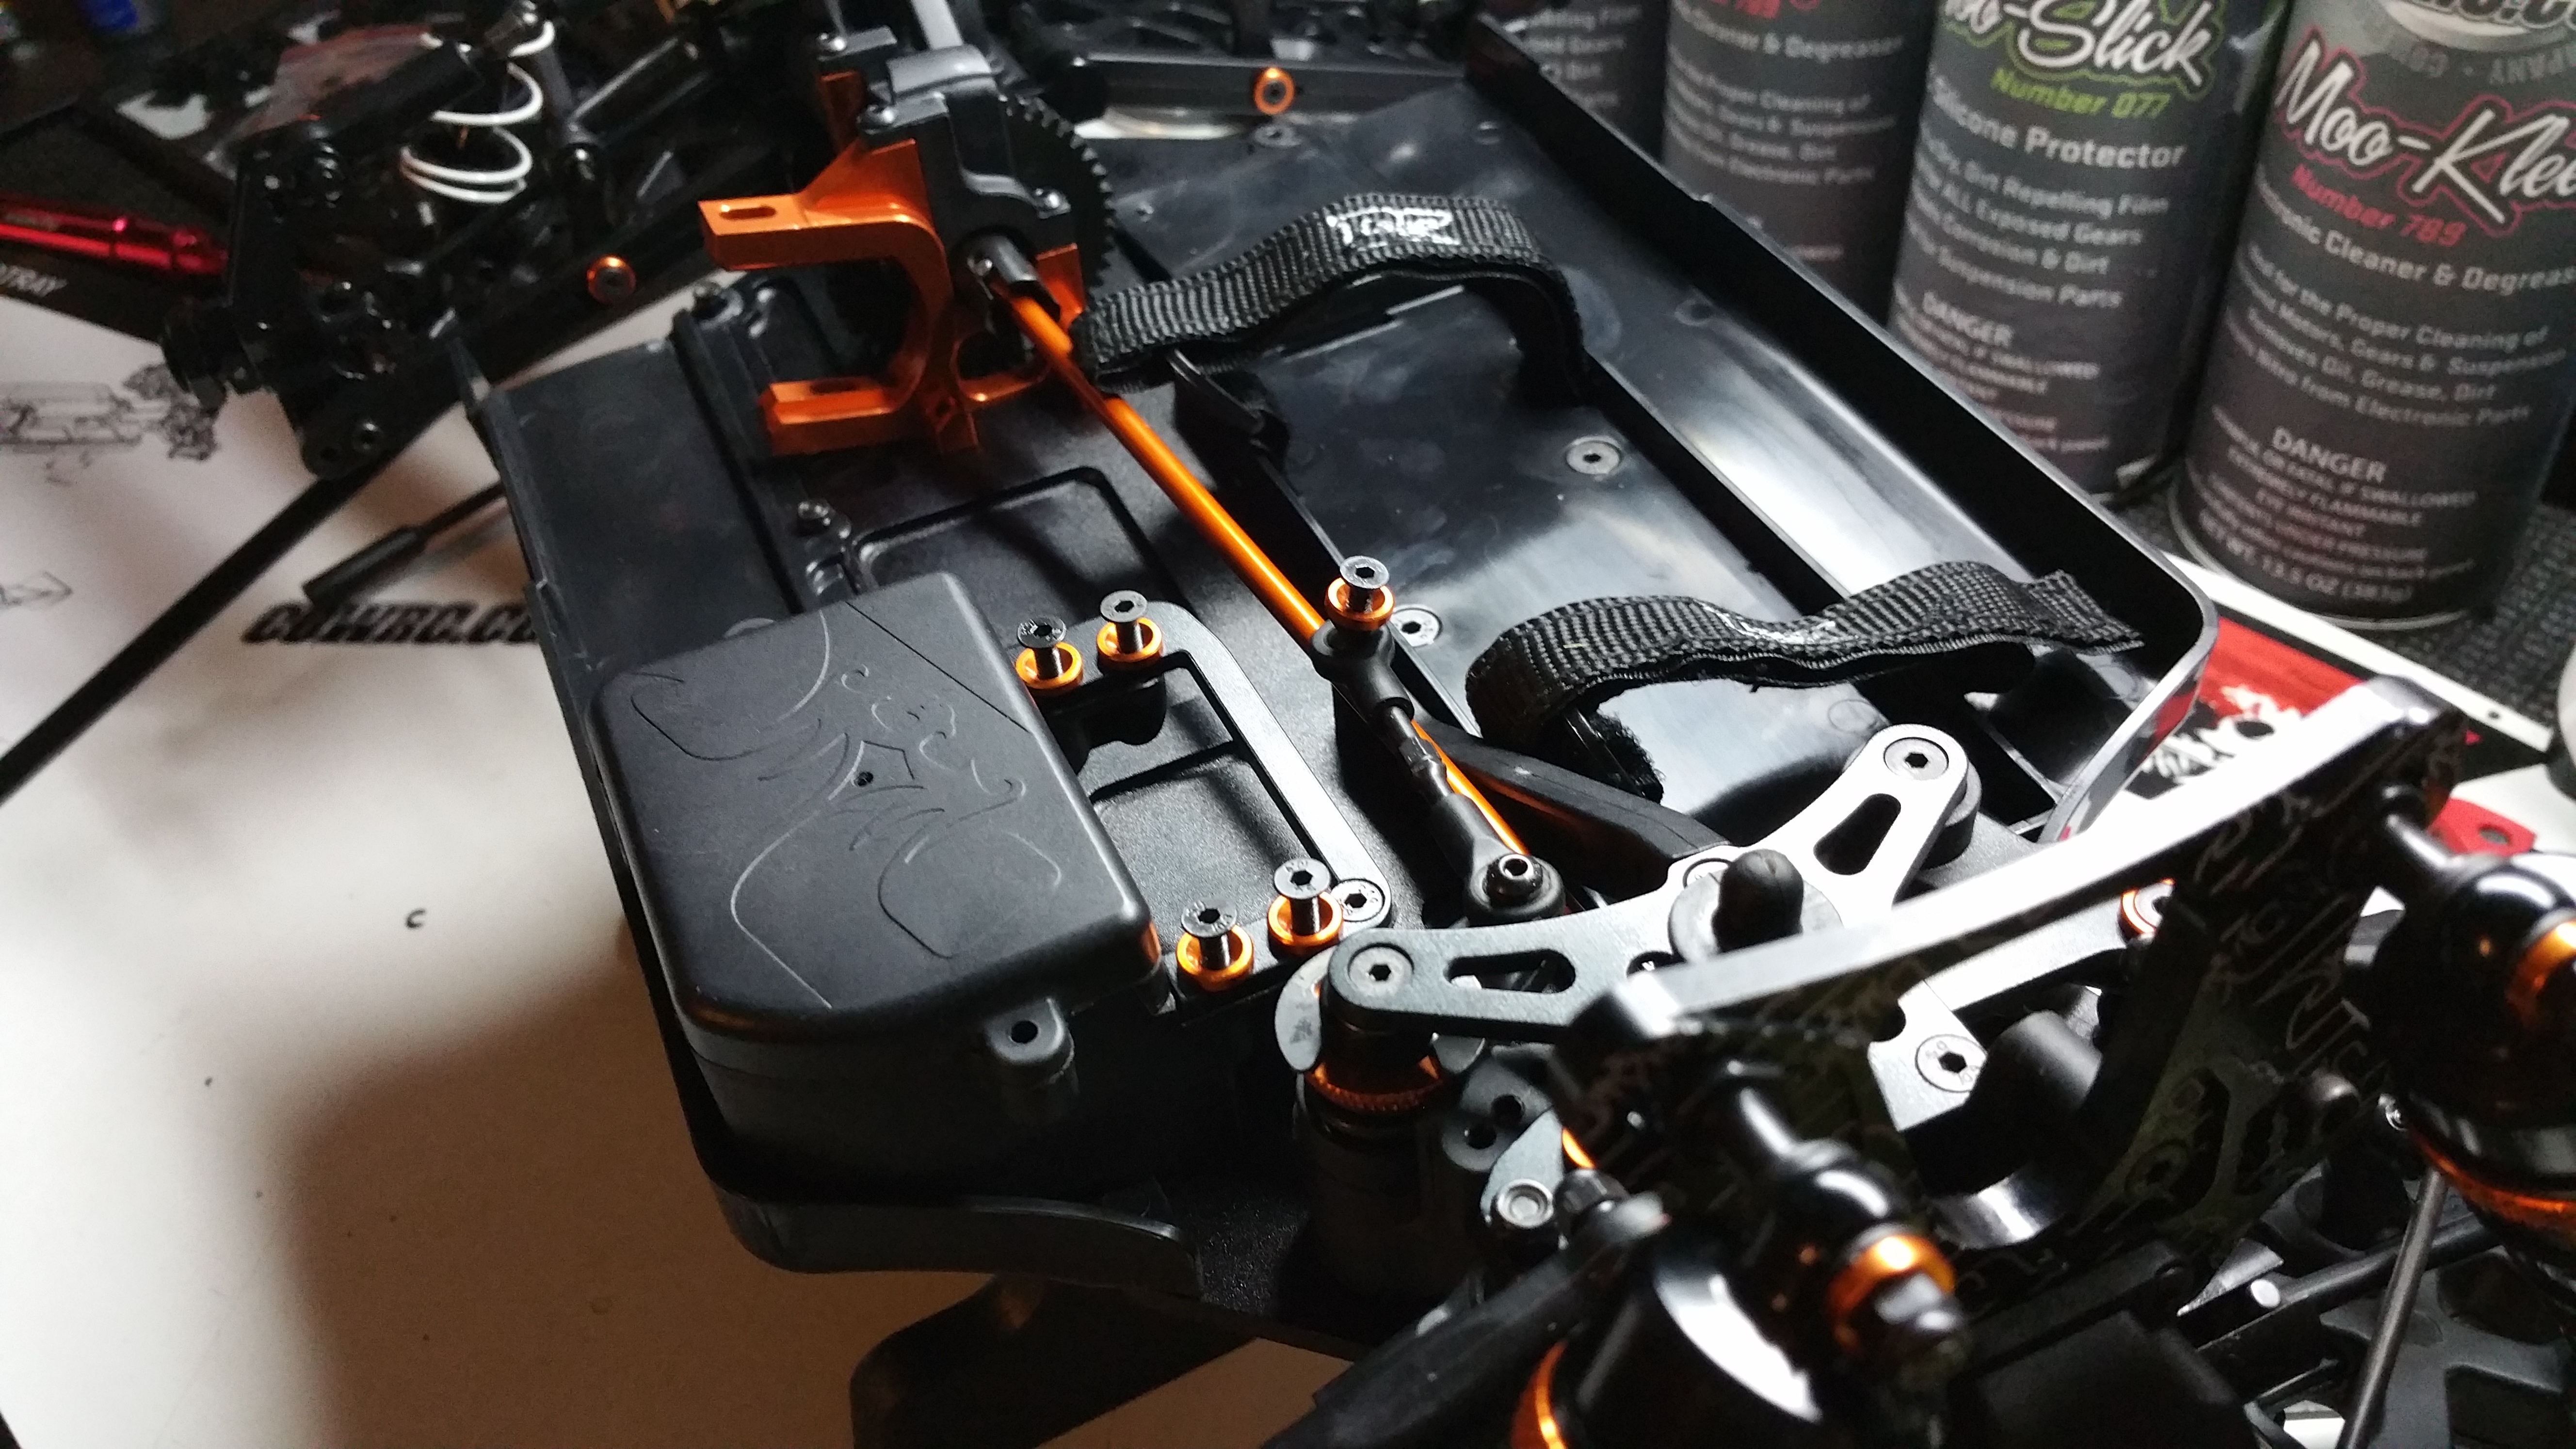
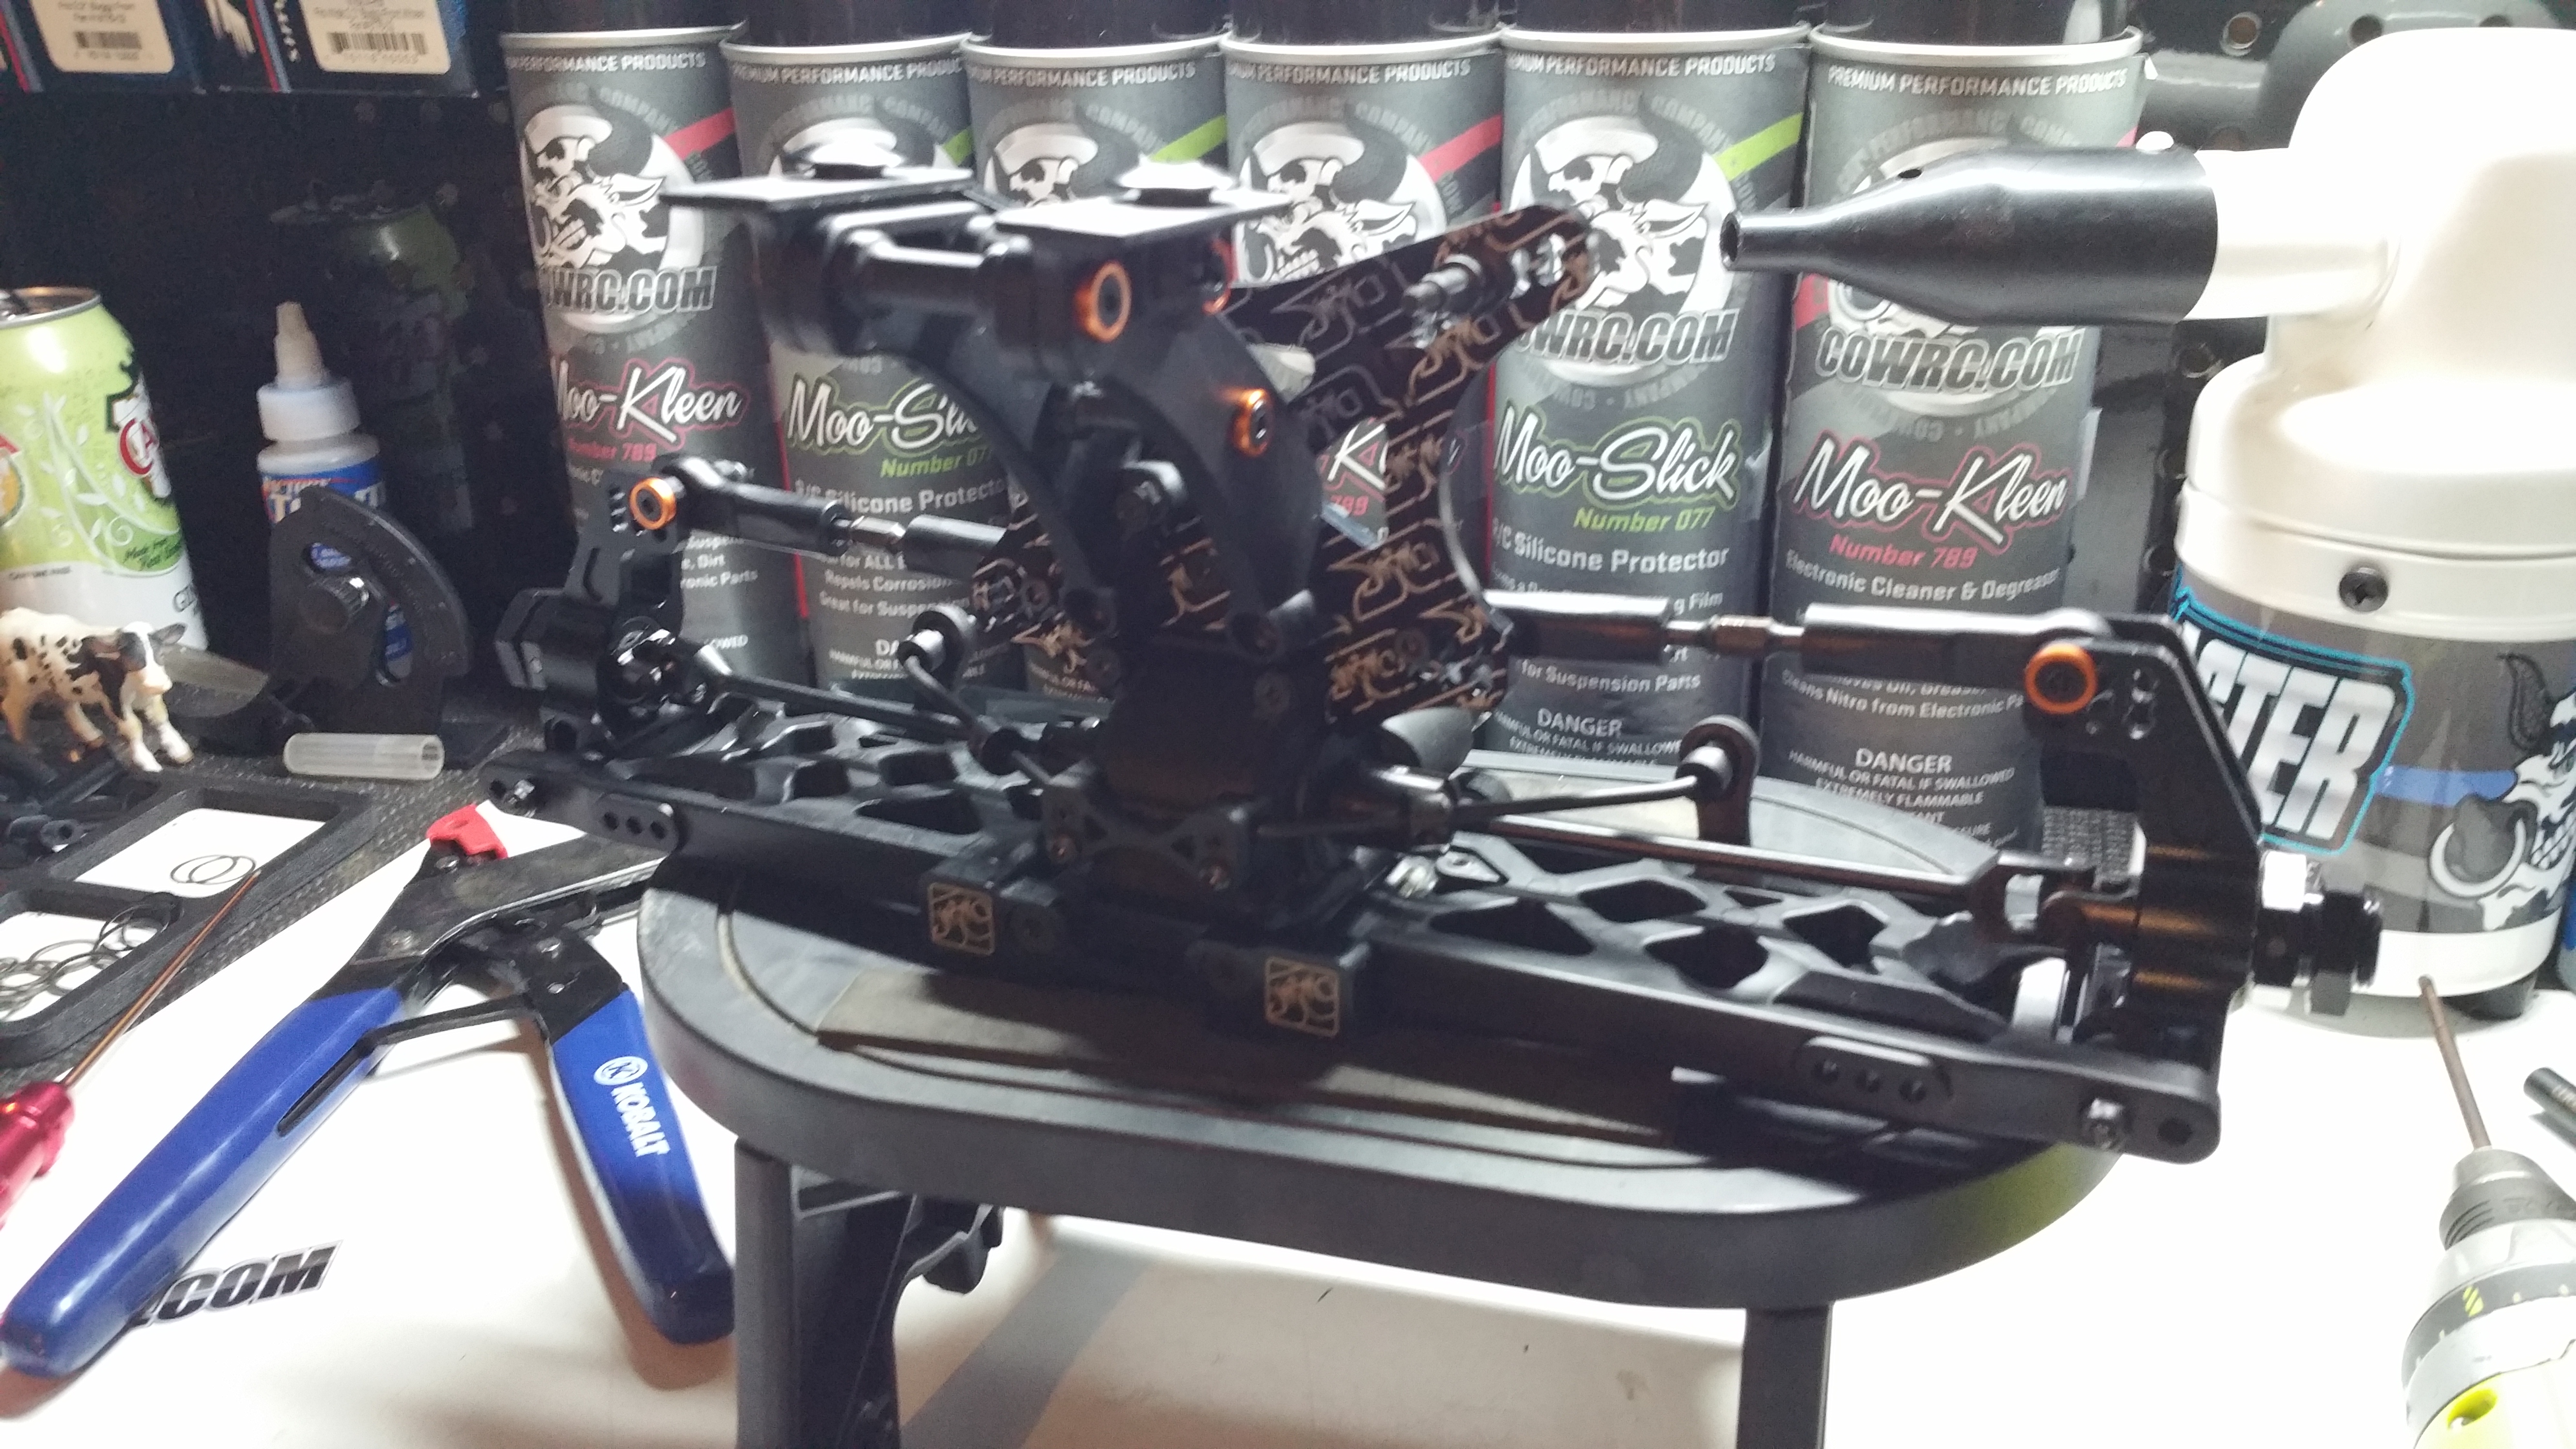
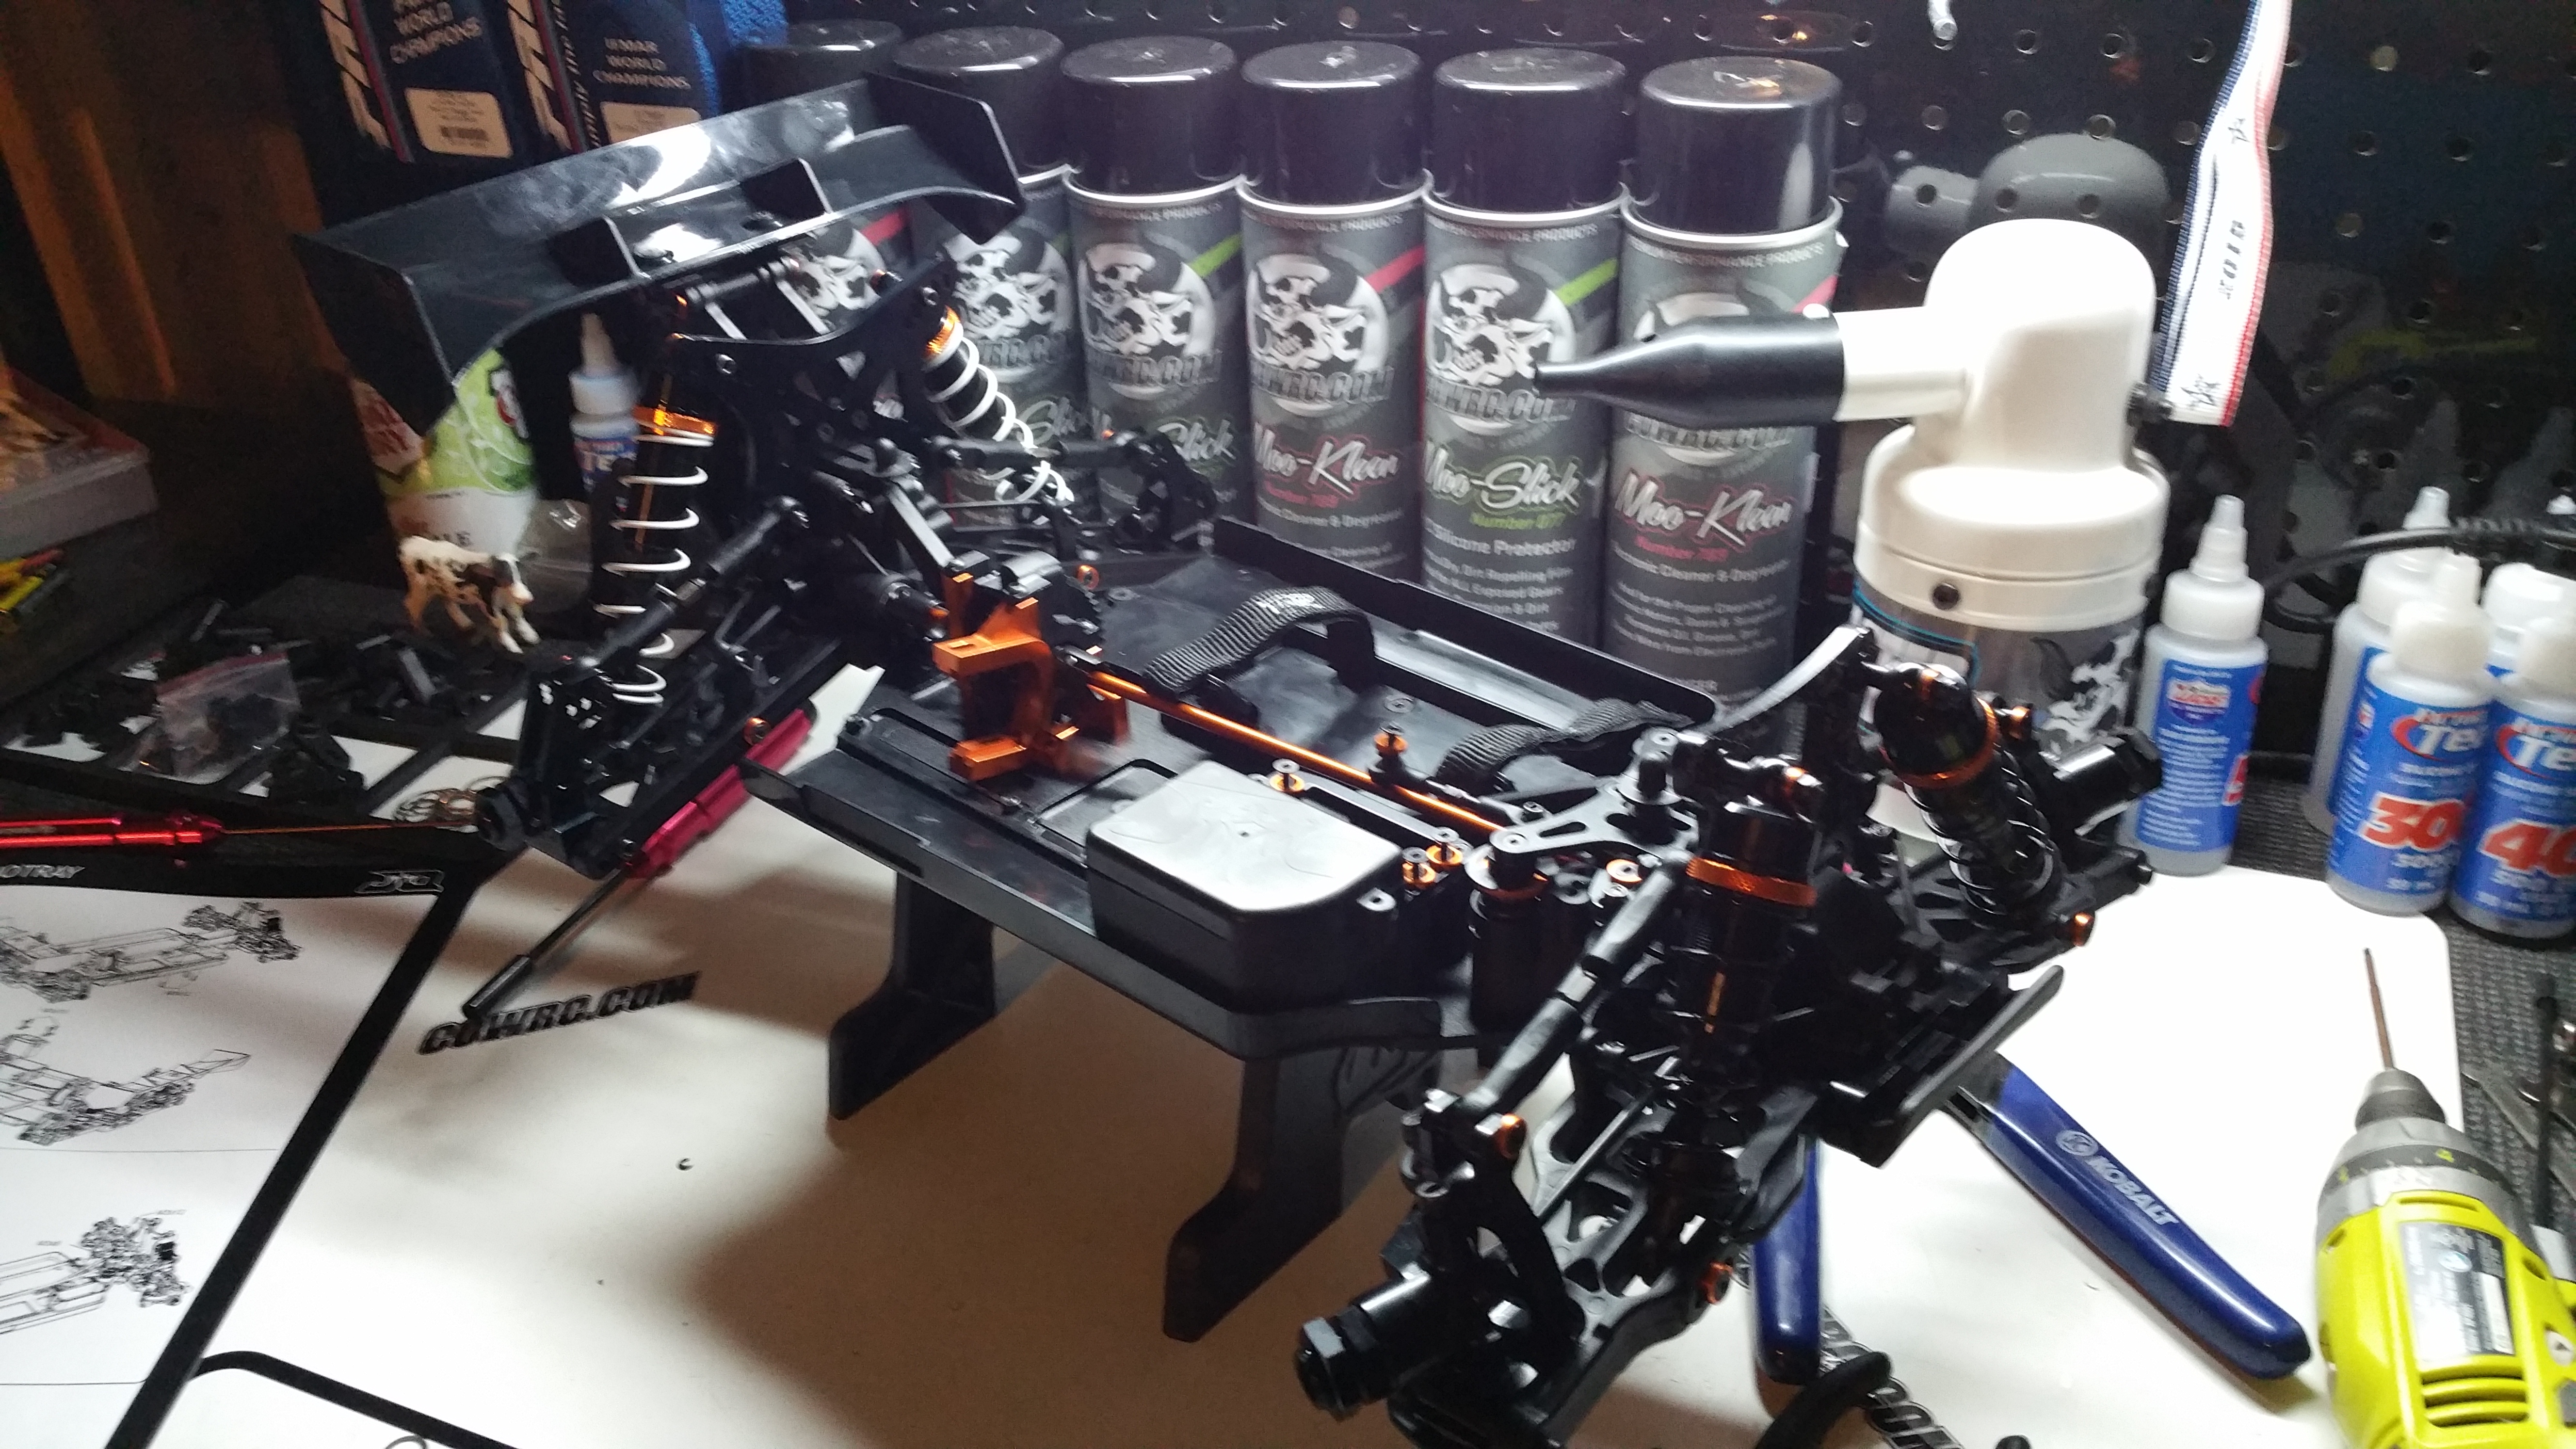
We’re starting to look like a buggy at the moment!
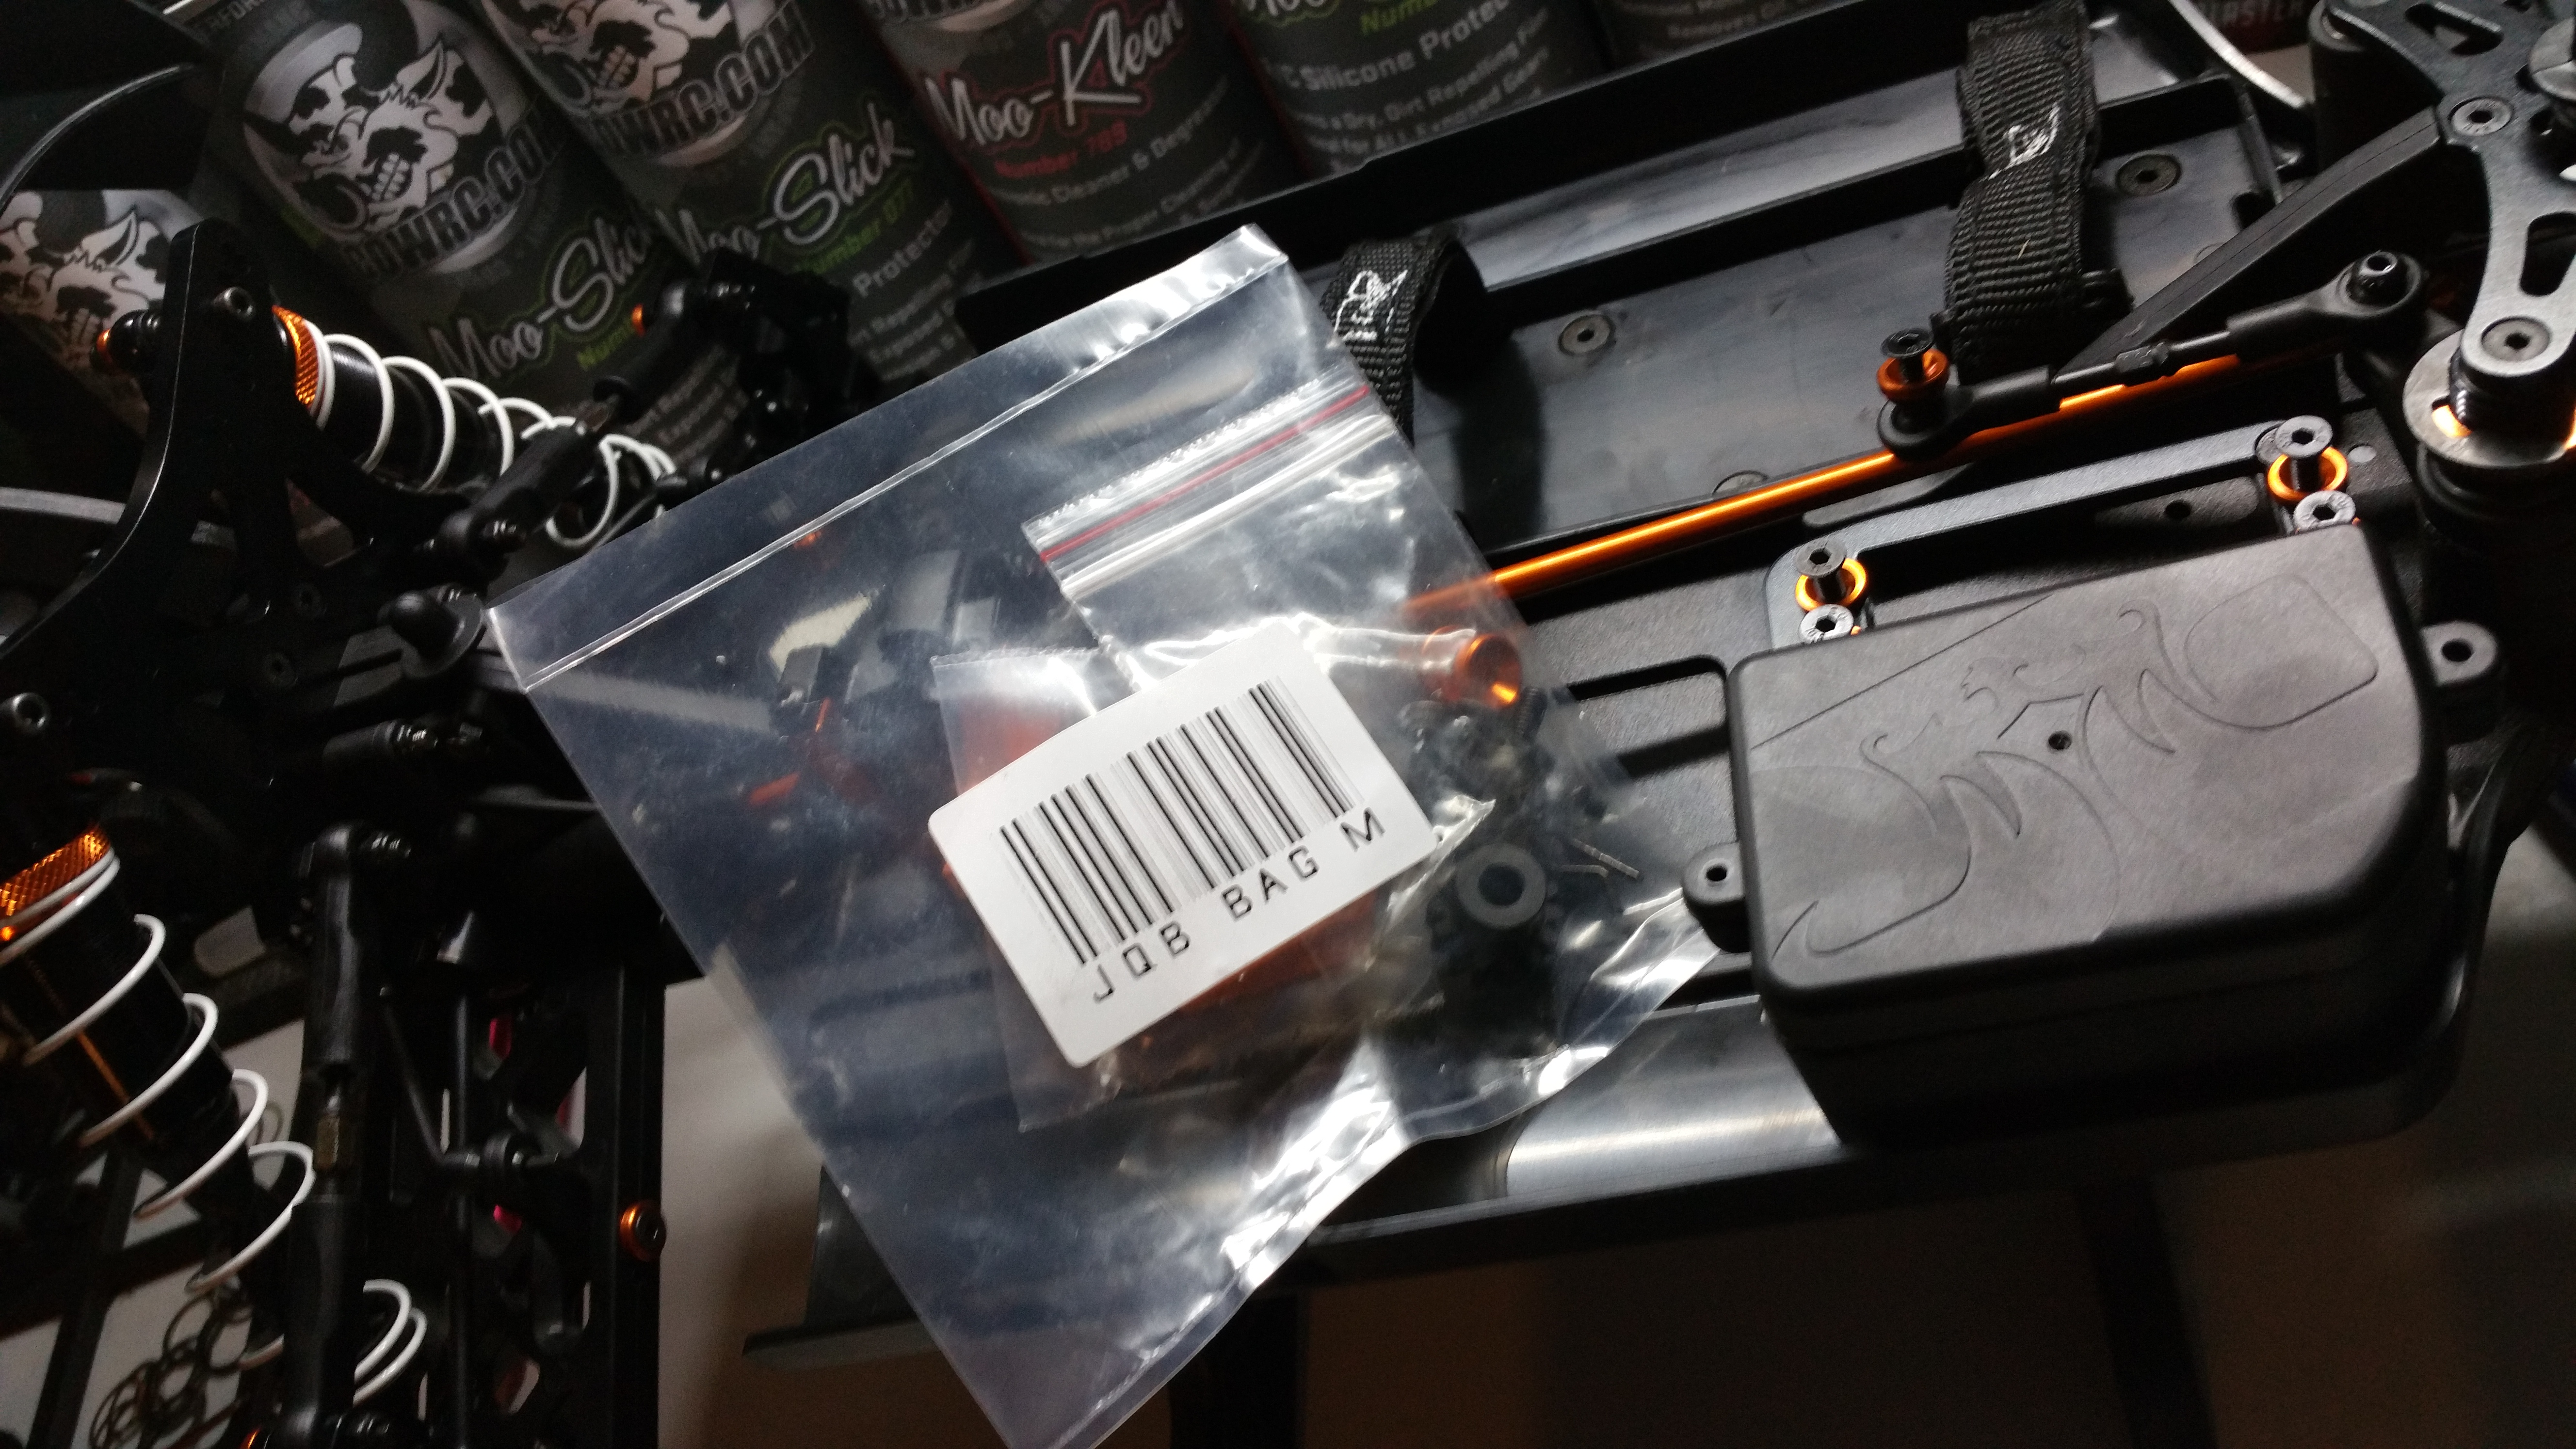
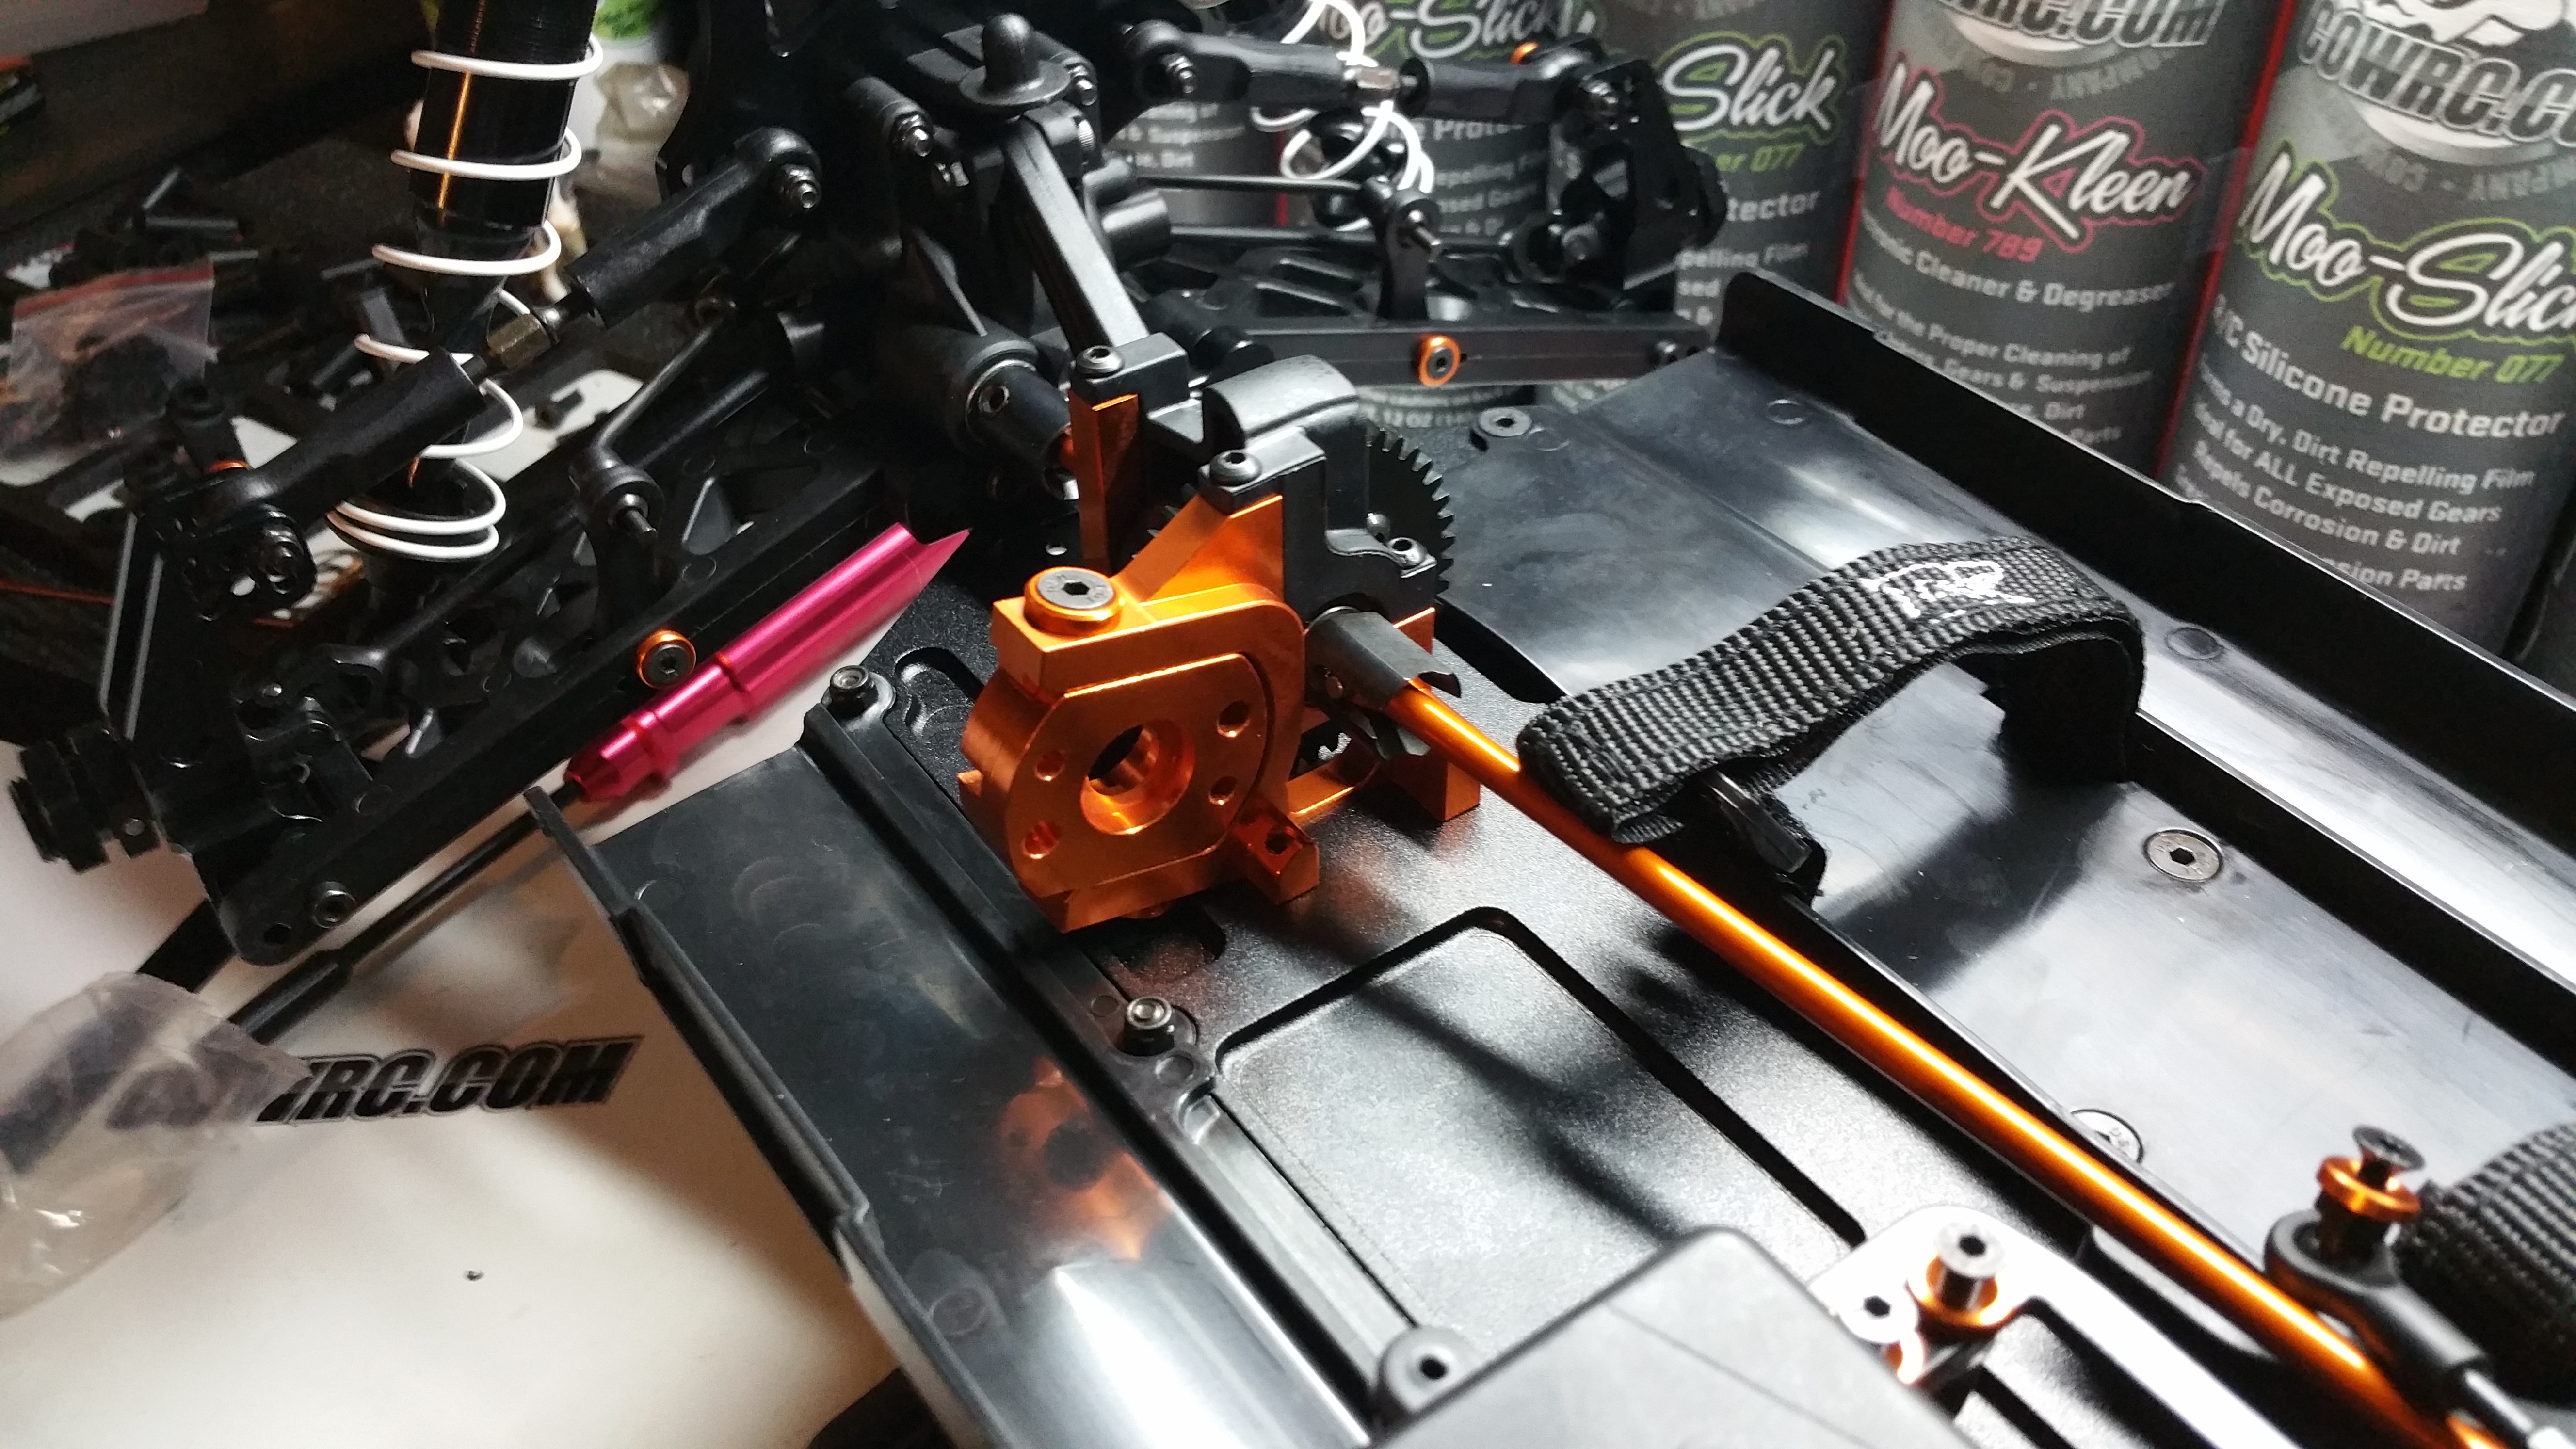
Bag M – Finishes off the little things, Motor mounting plate, Pinion gear, body clips!
Motor mounting Plate installed!
As my Motor is not here yet, figured id just keep it installed for now
Onto the Painted Body…
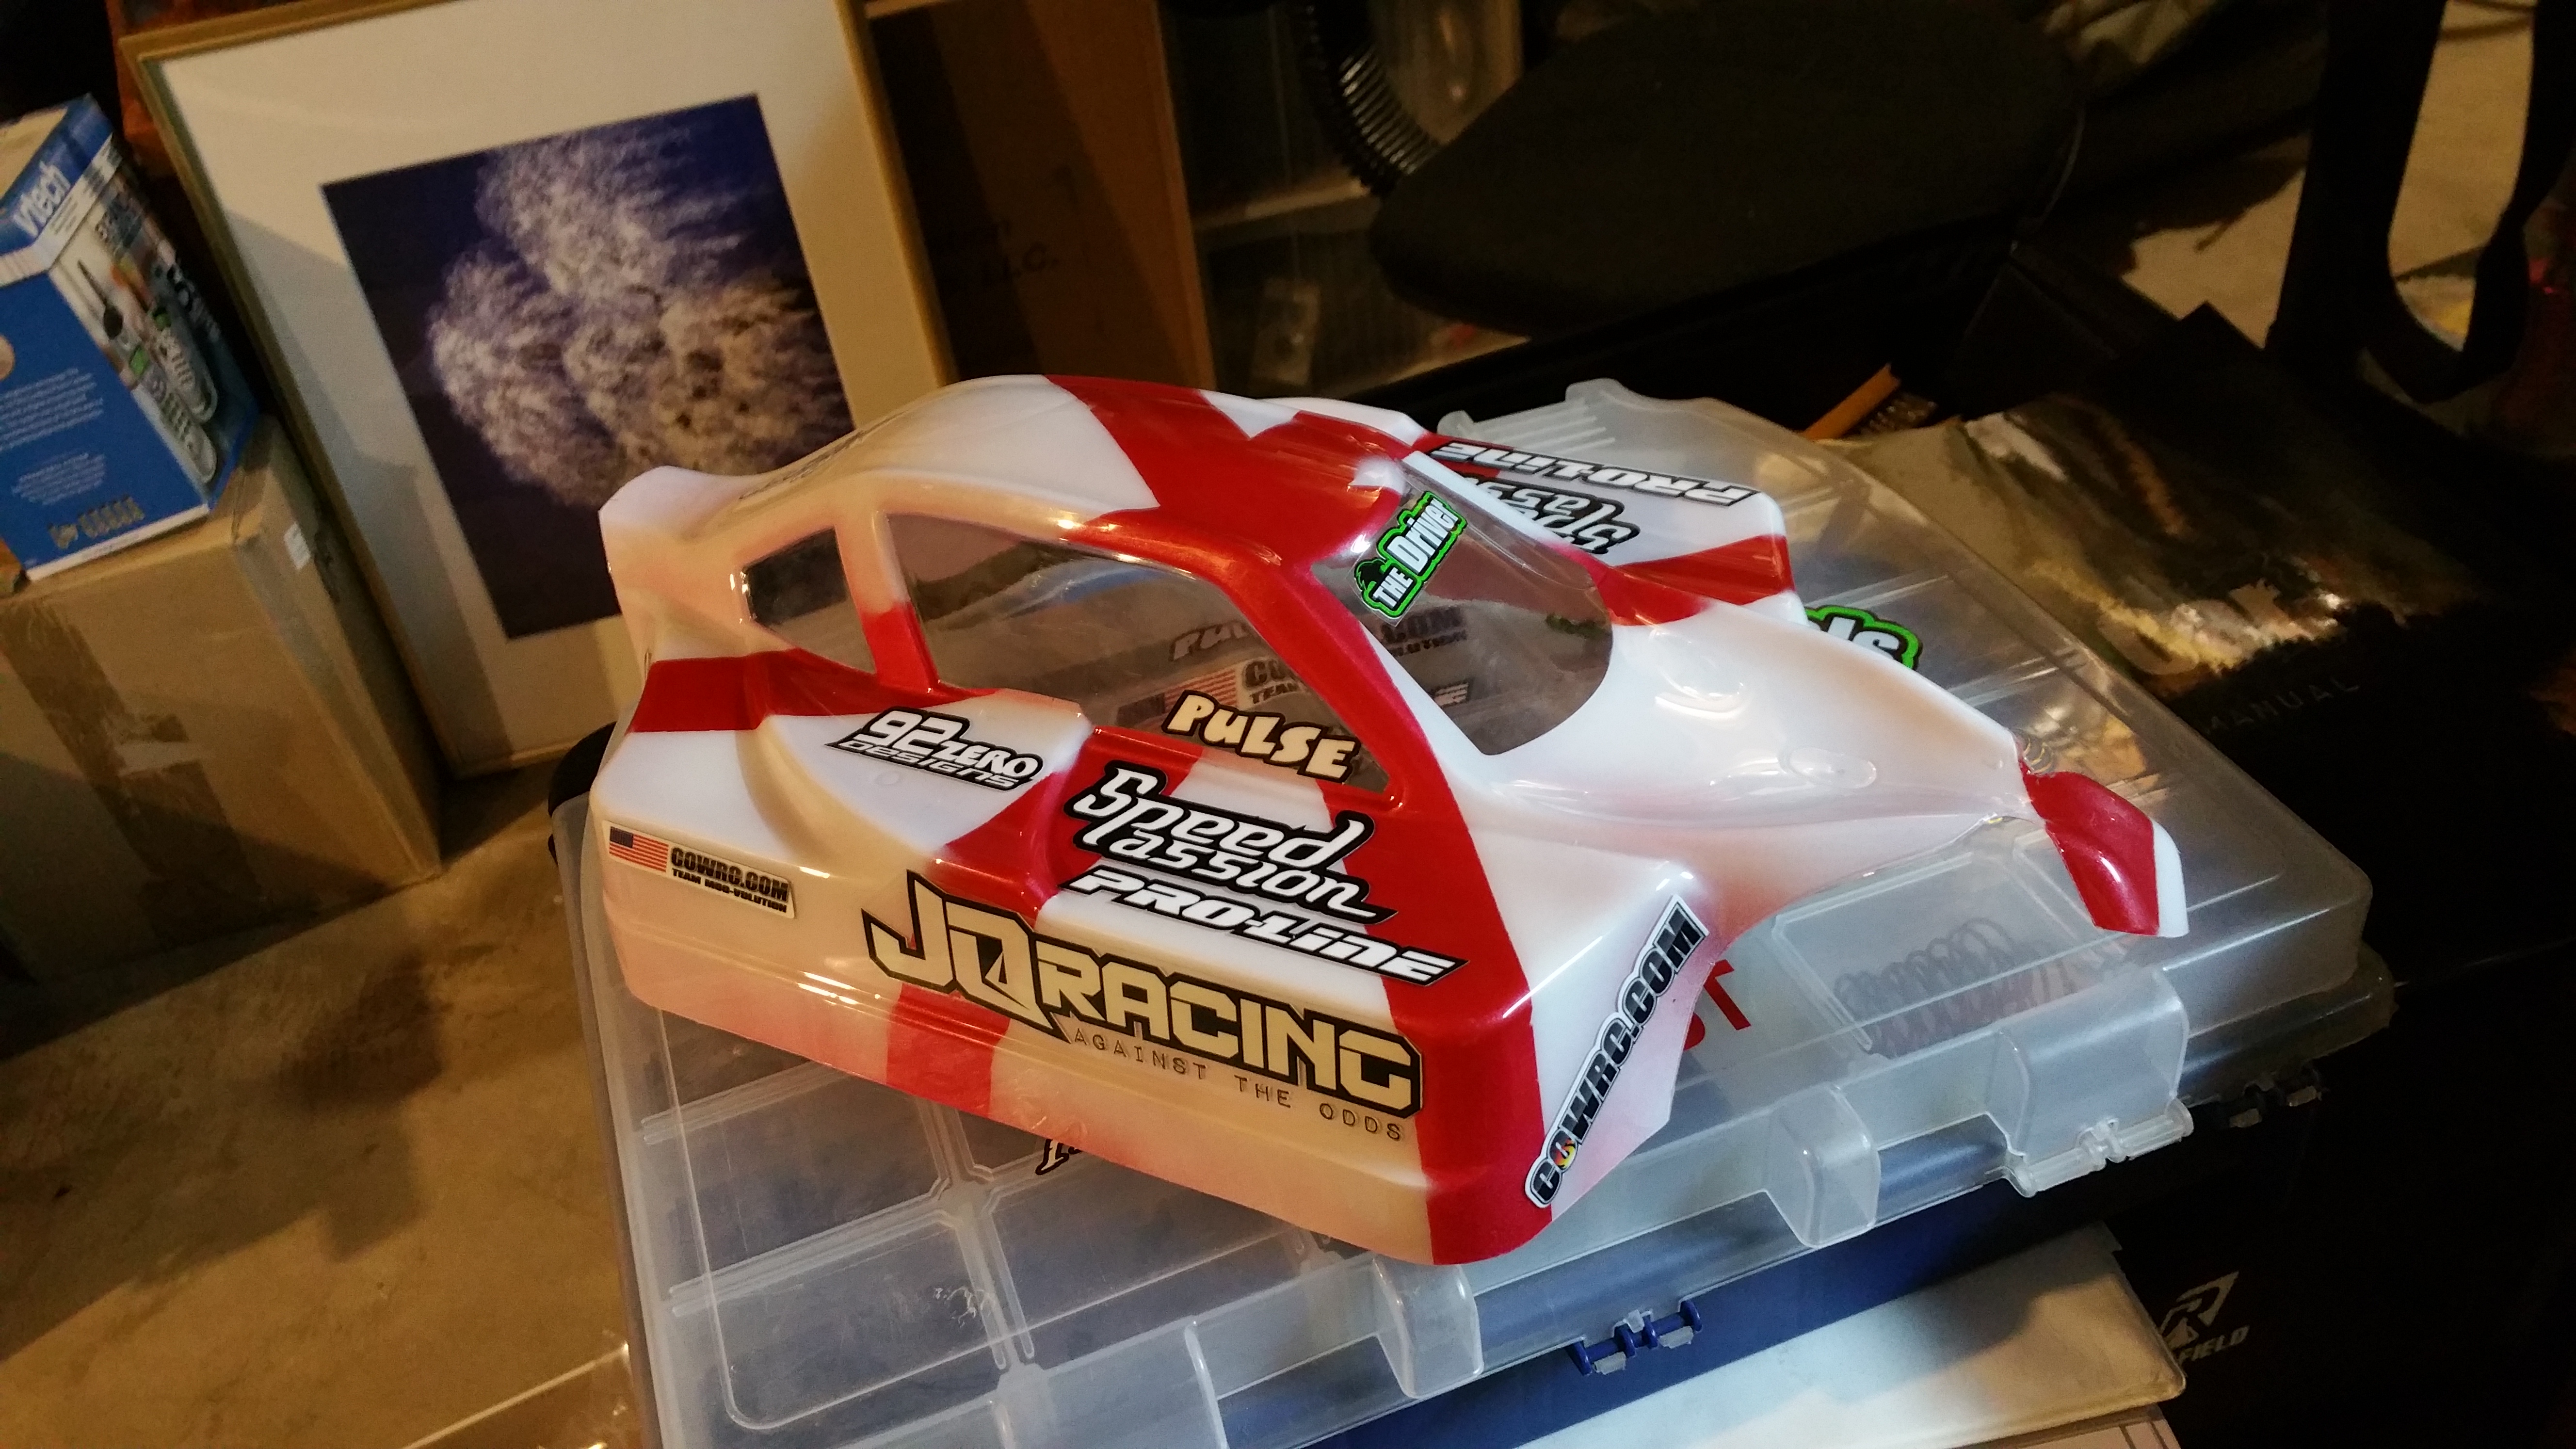

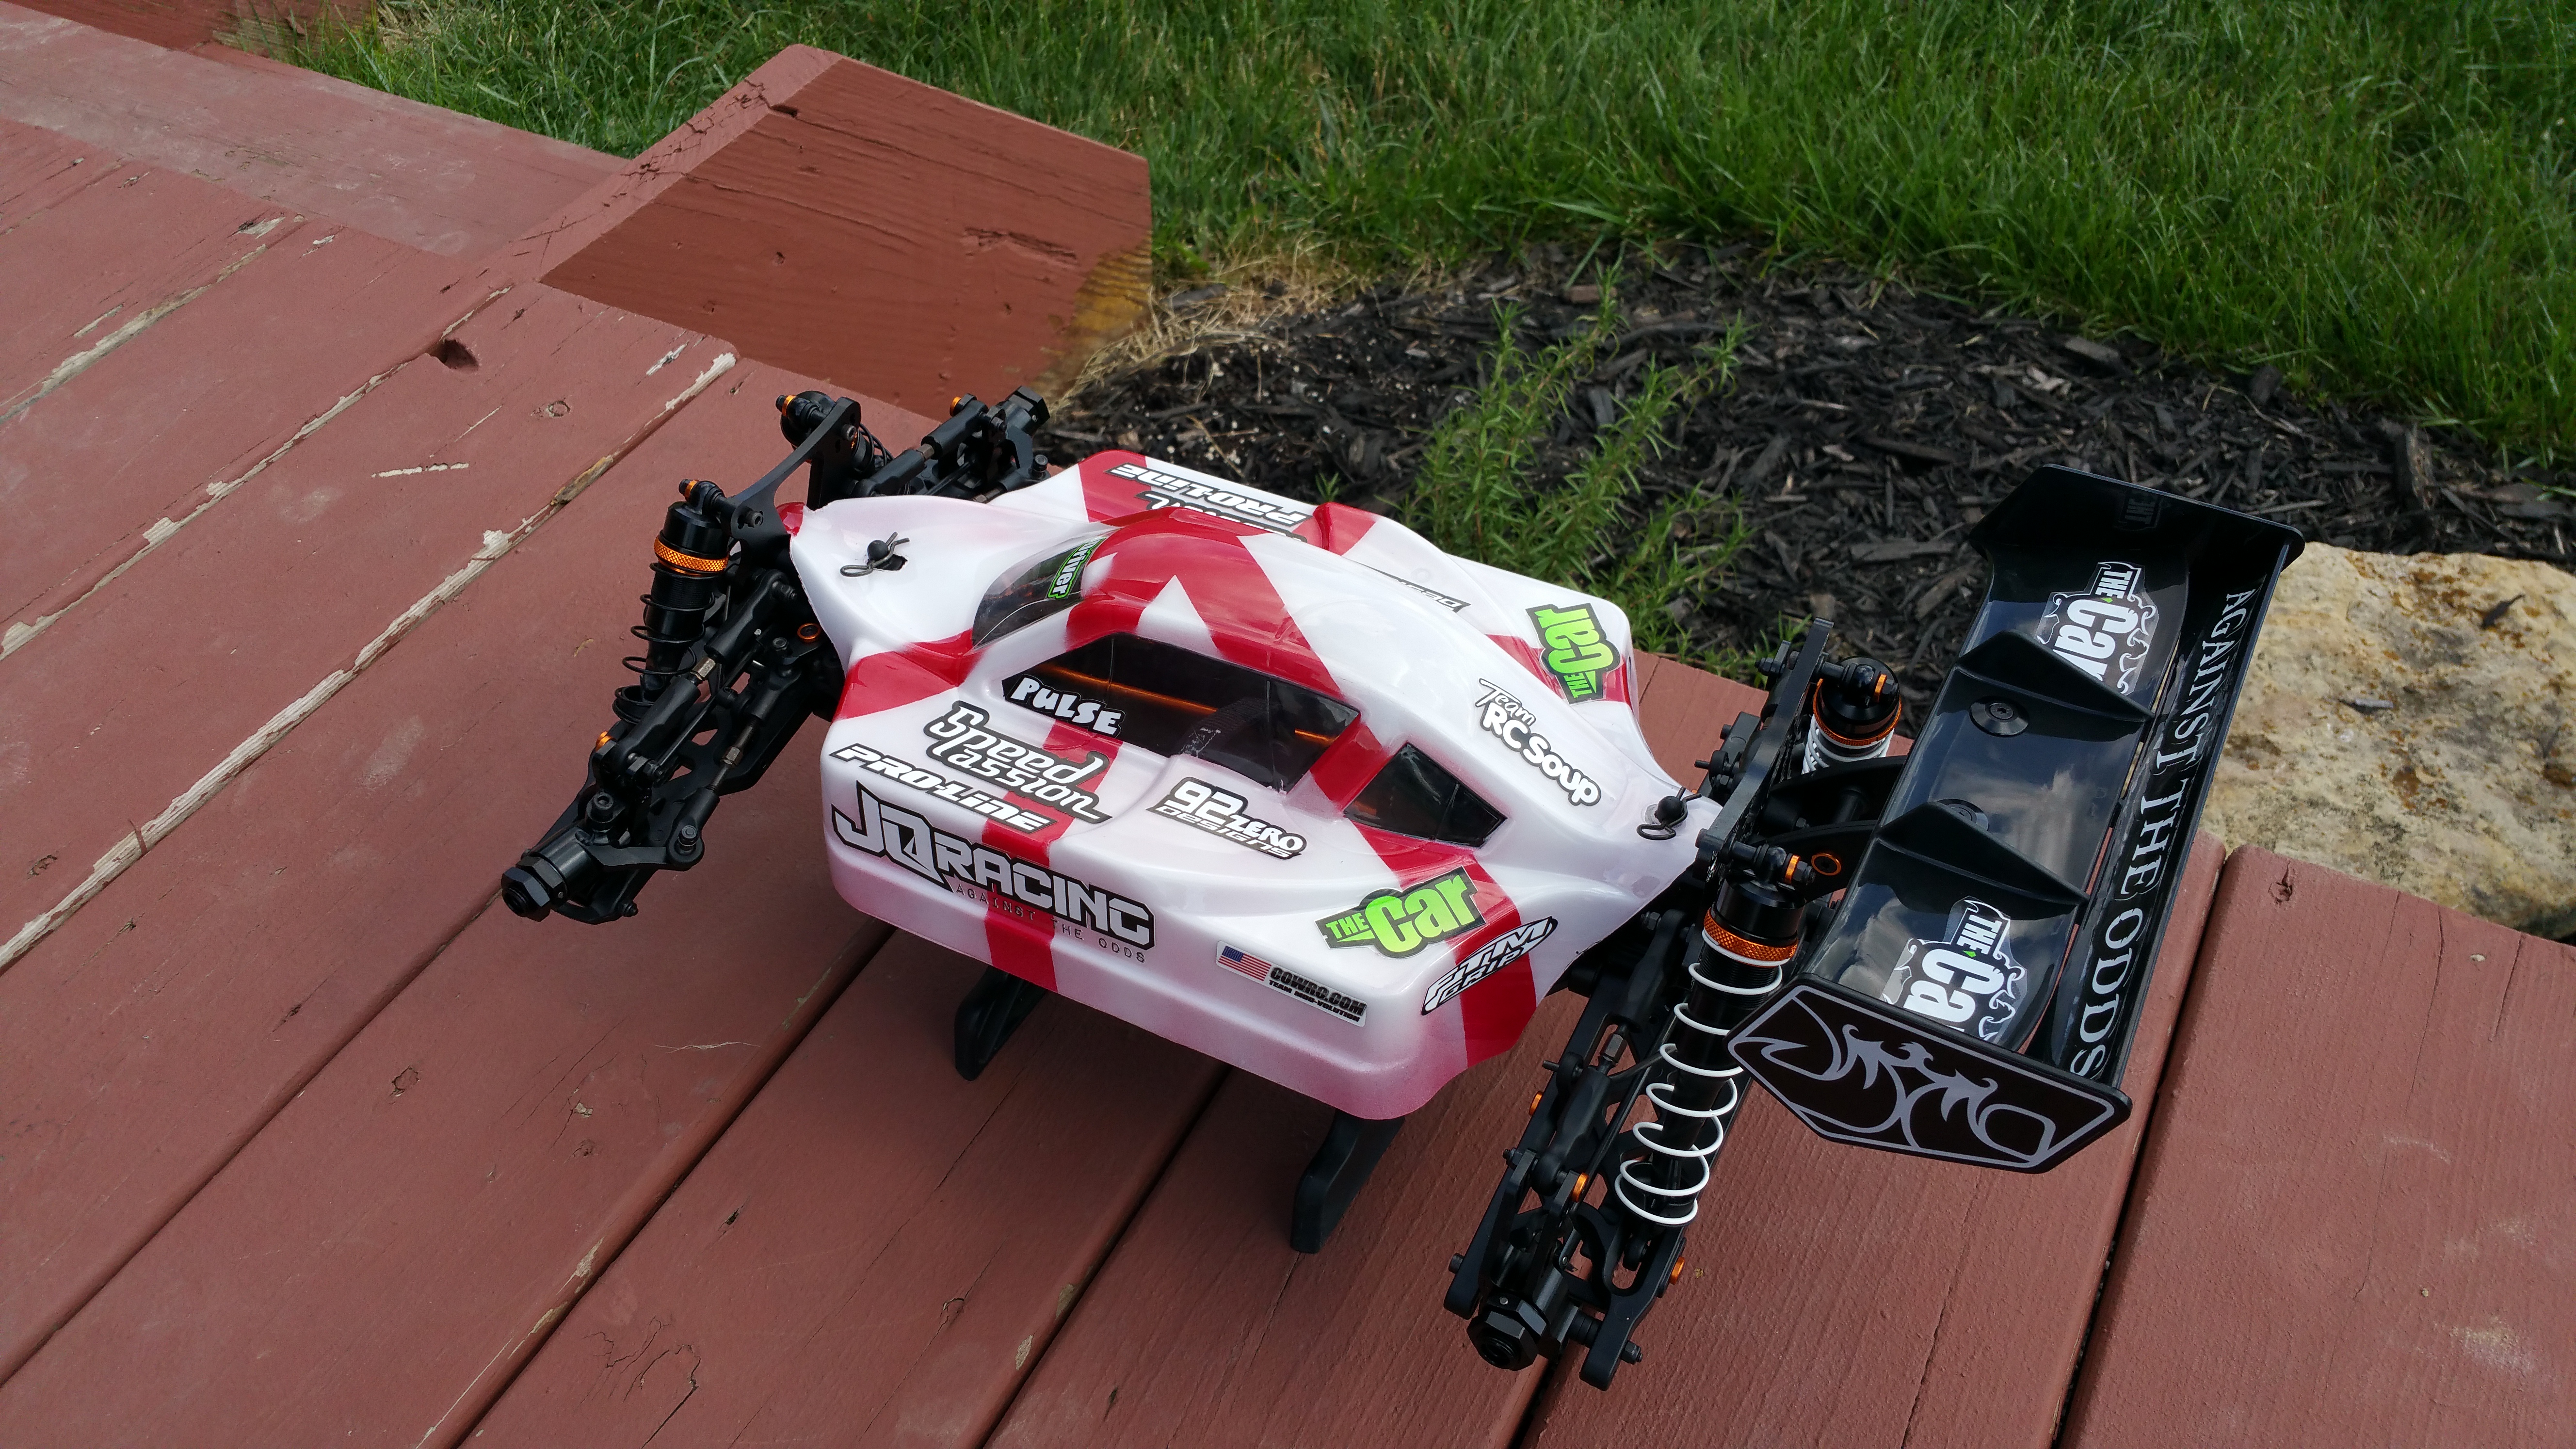
Body Installed!
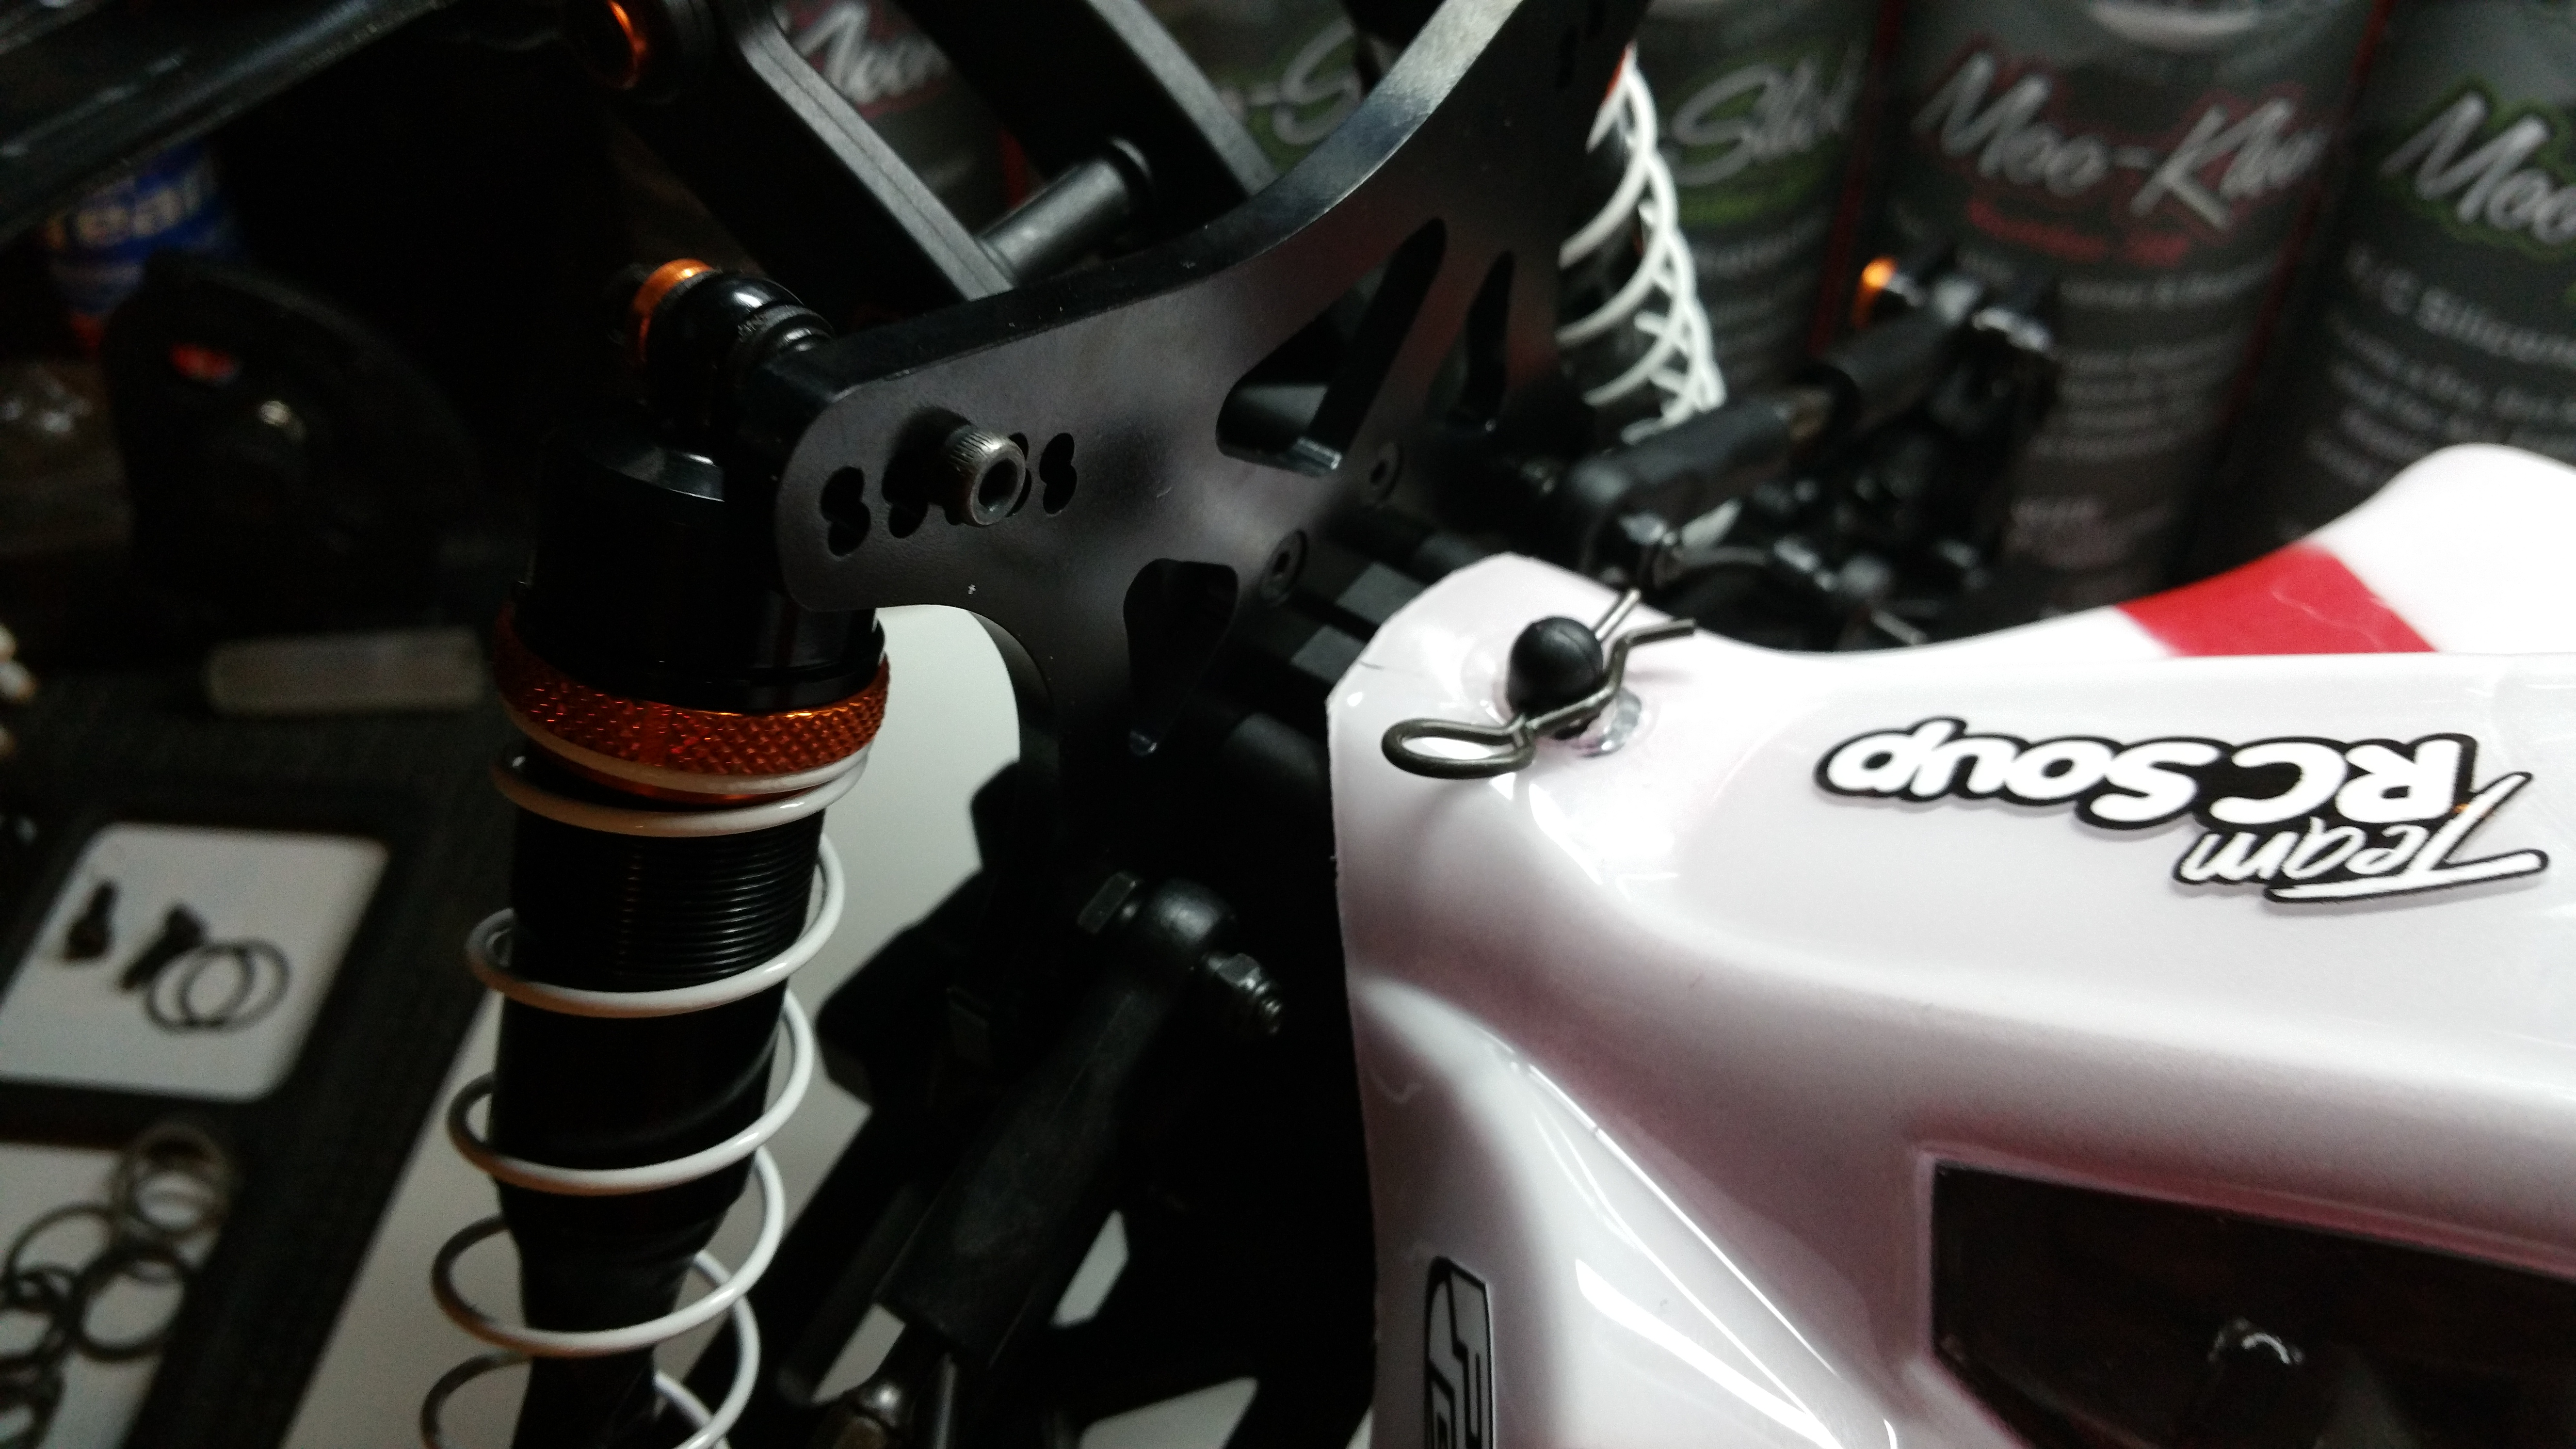
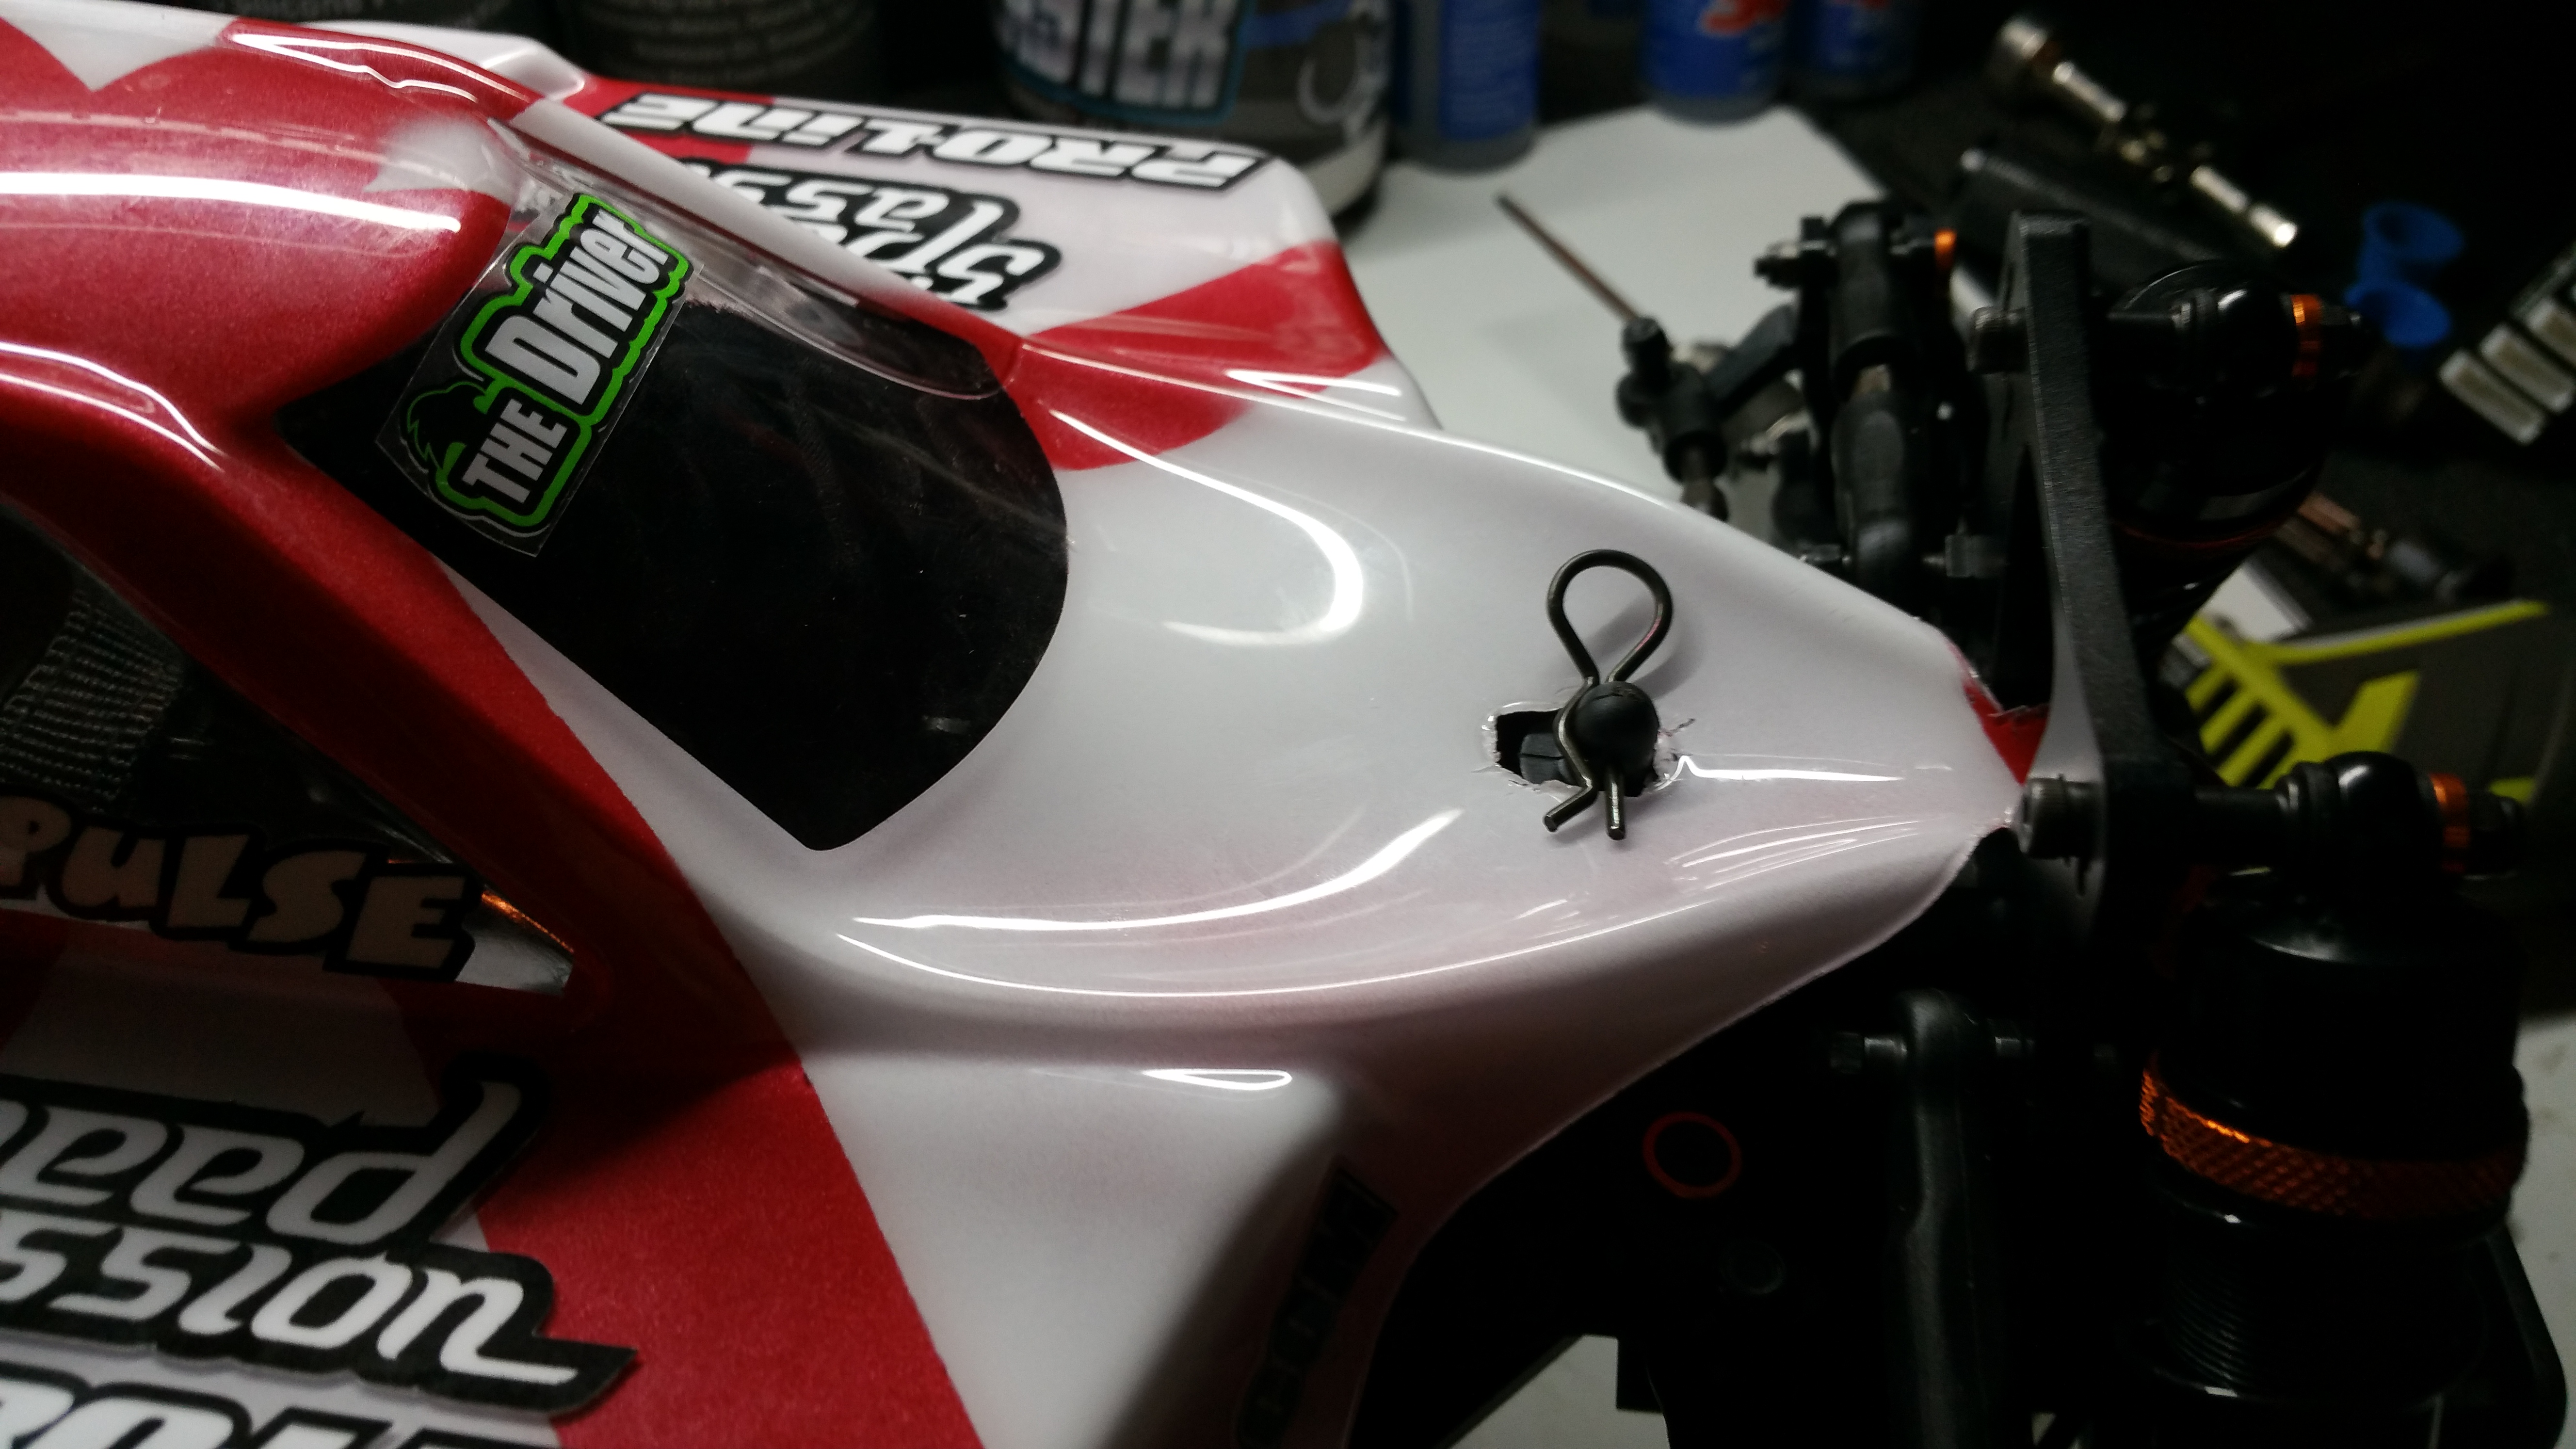
Its recommended to elongate the front or rear body holes to allow the body to flex with the chassis flex for reduced body damage.
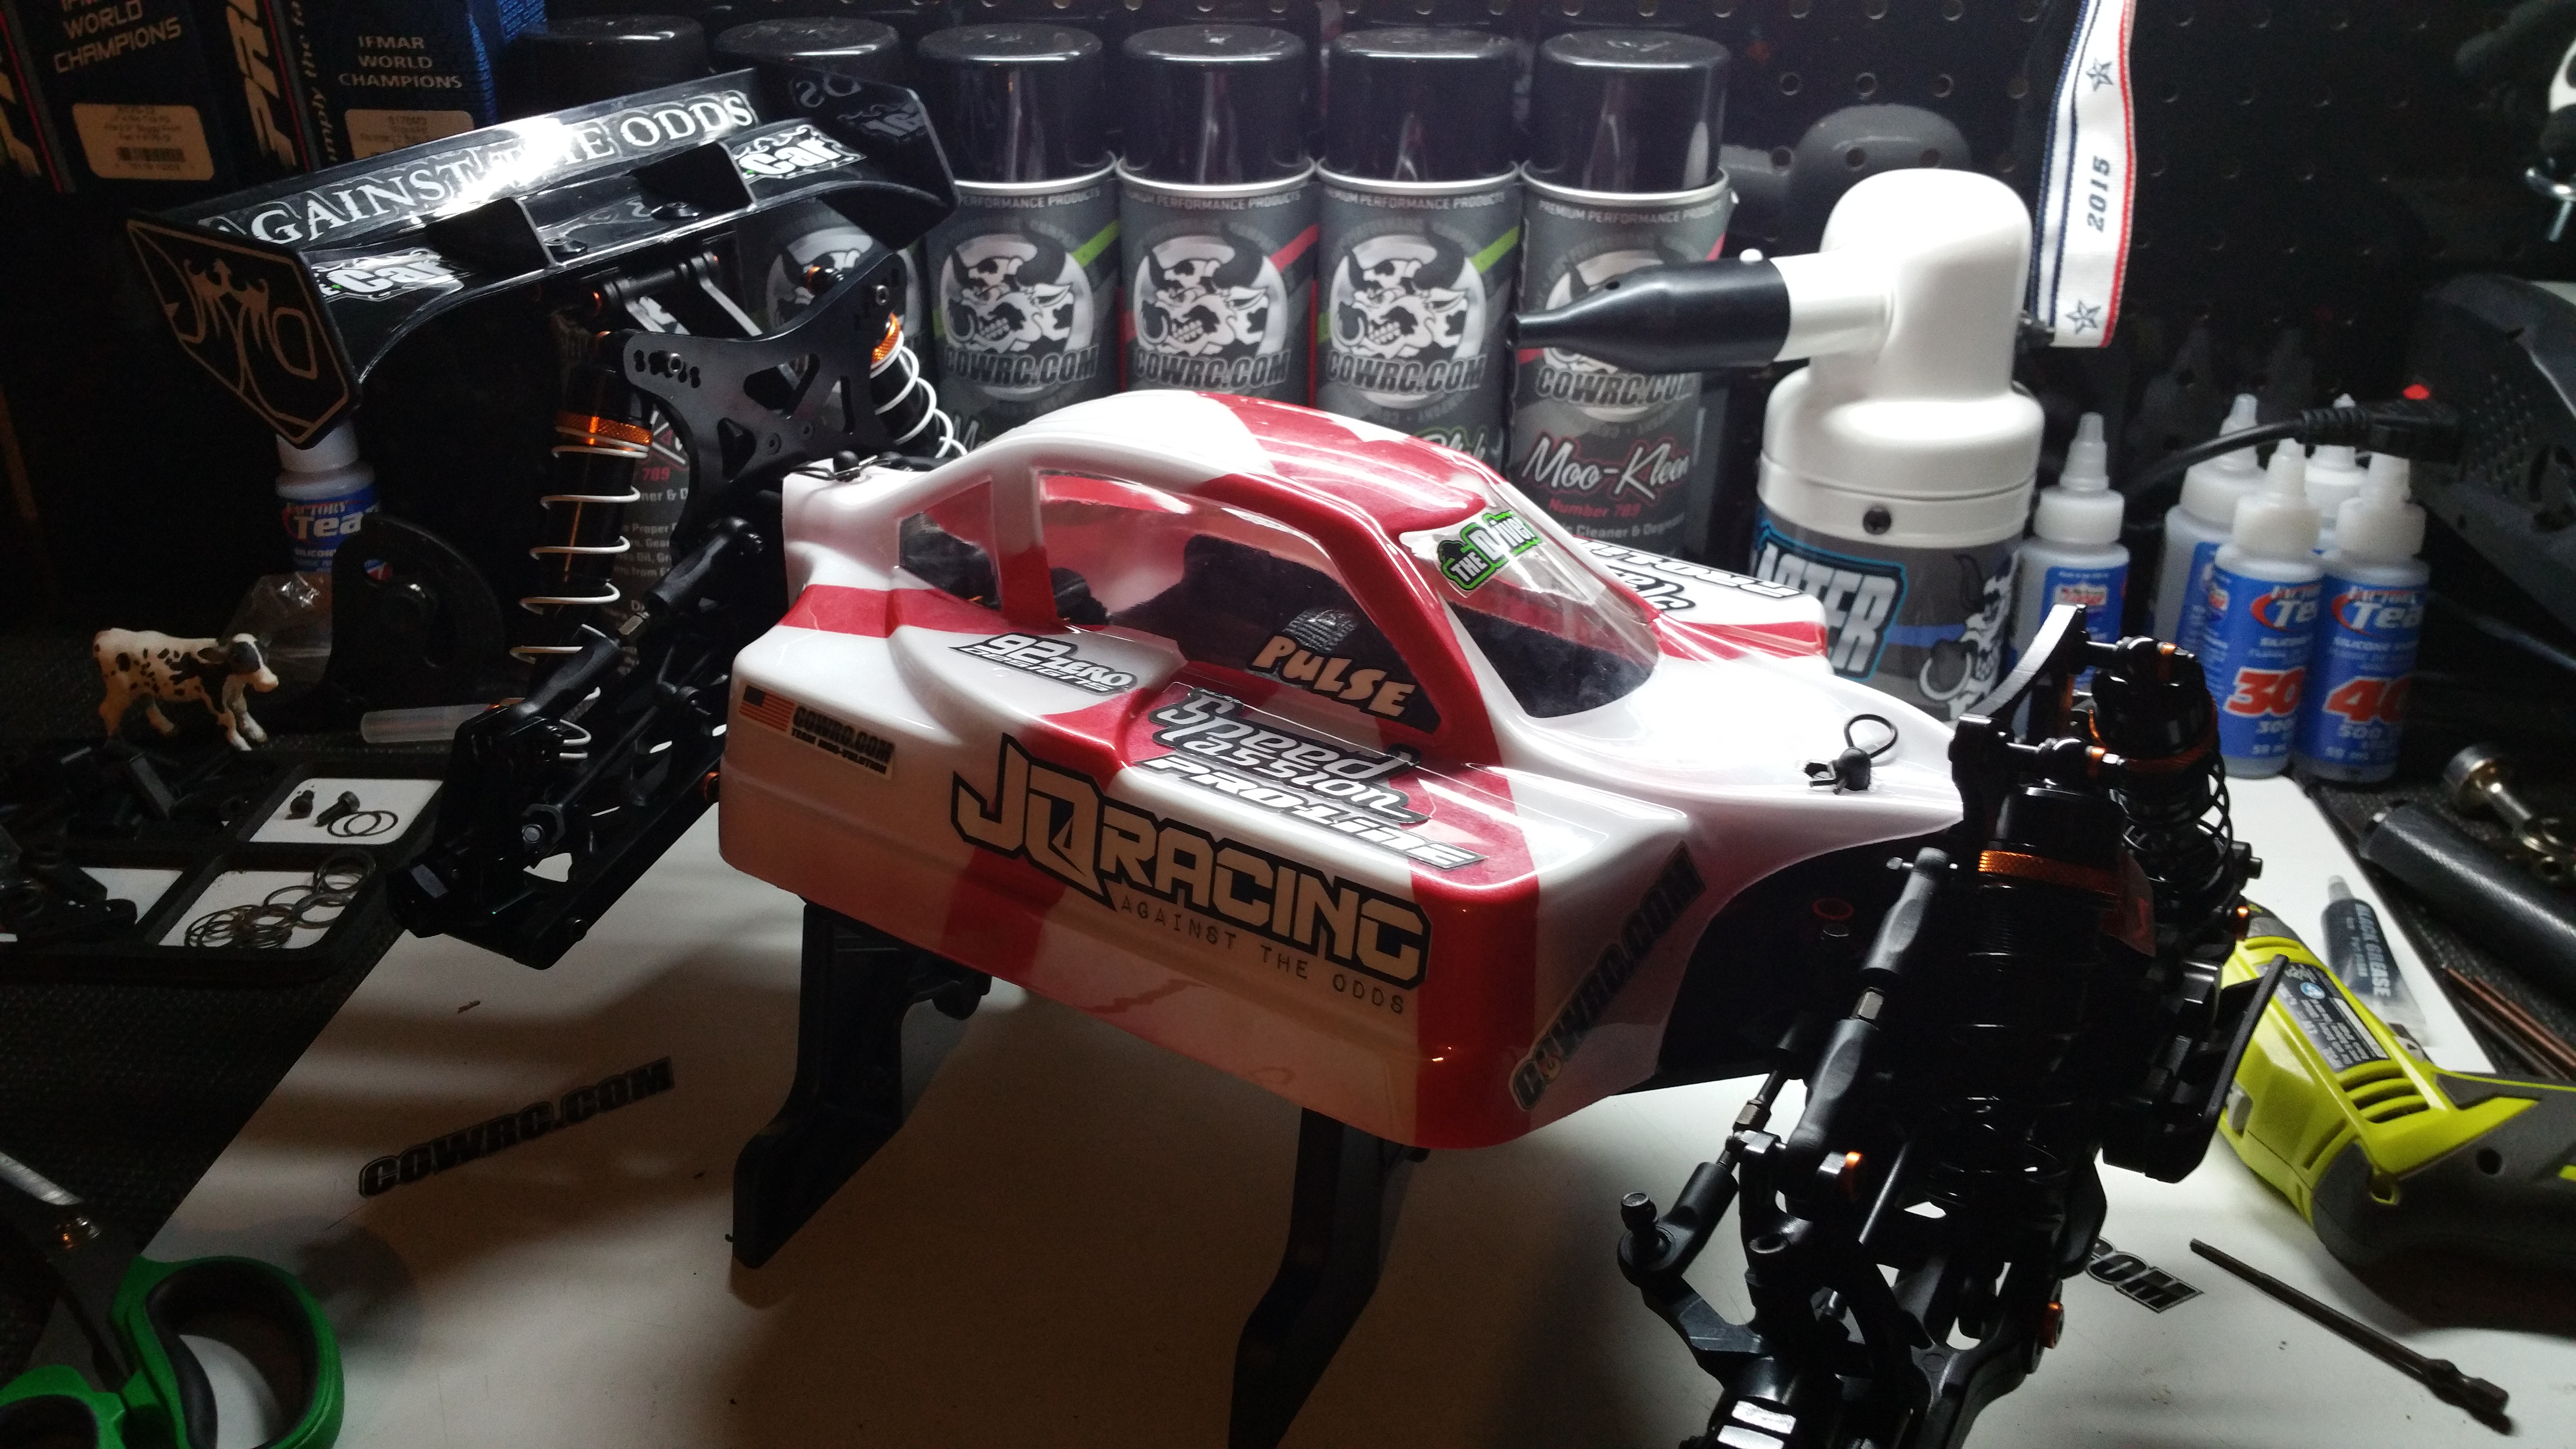
The Completed car! 😀
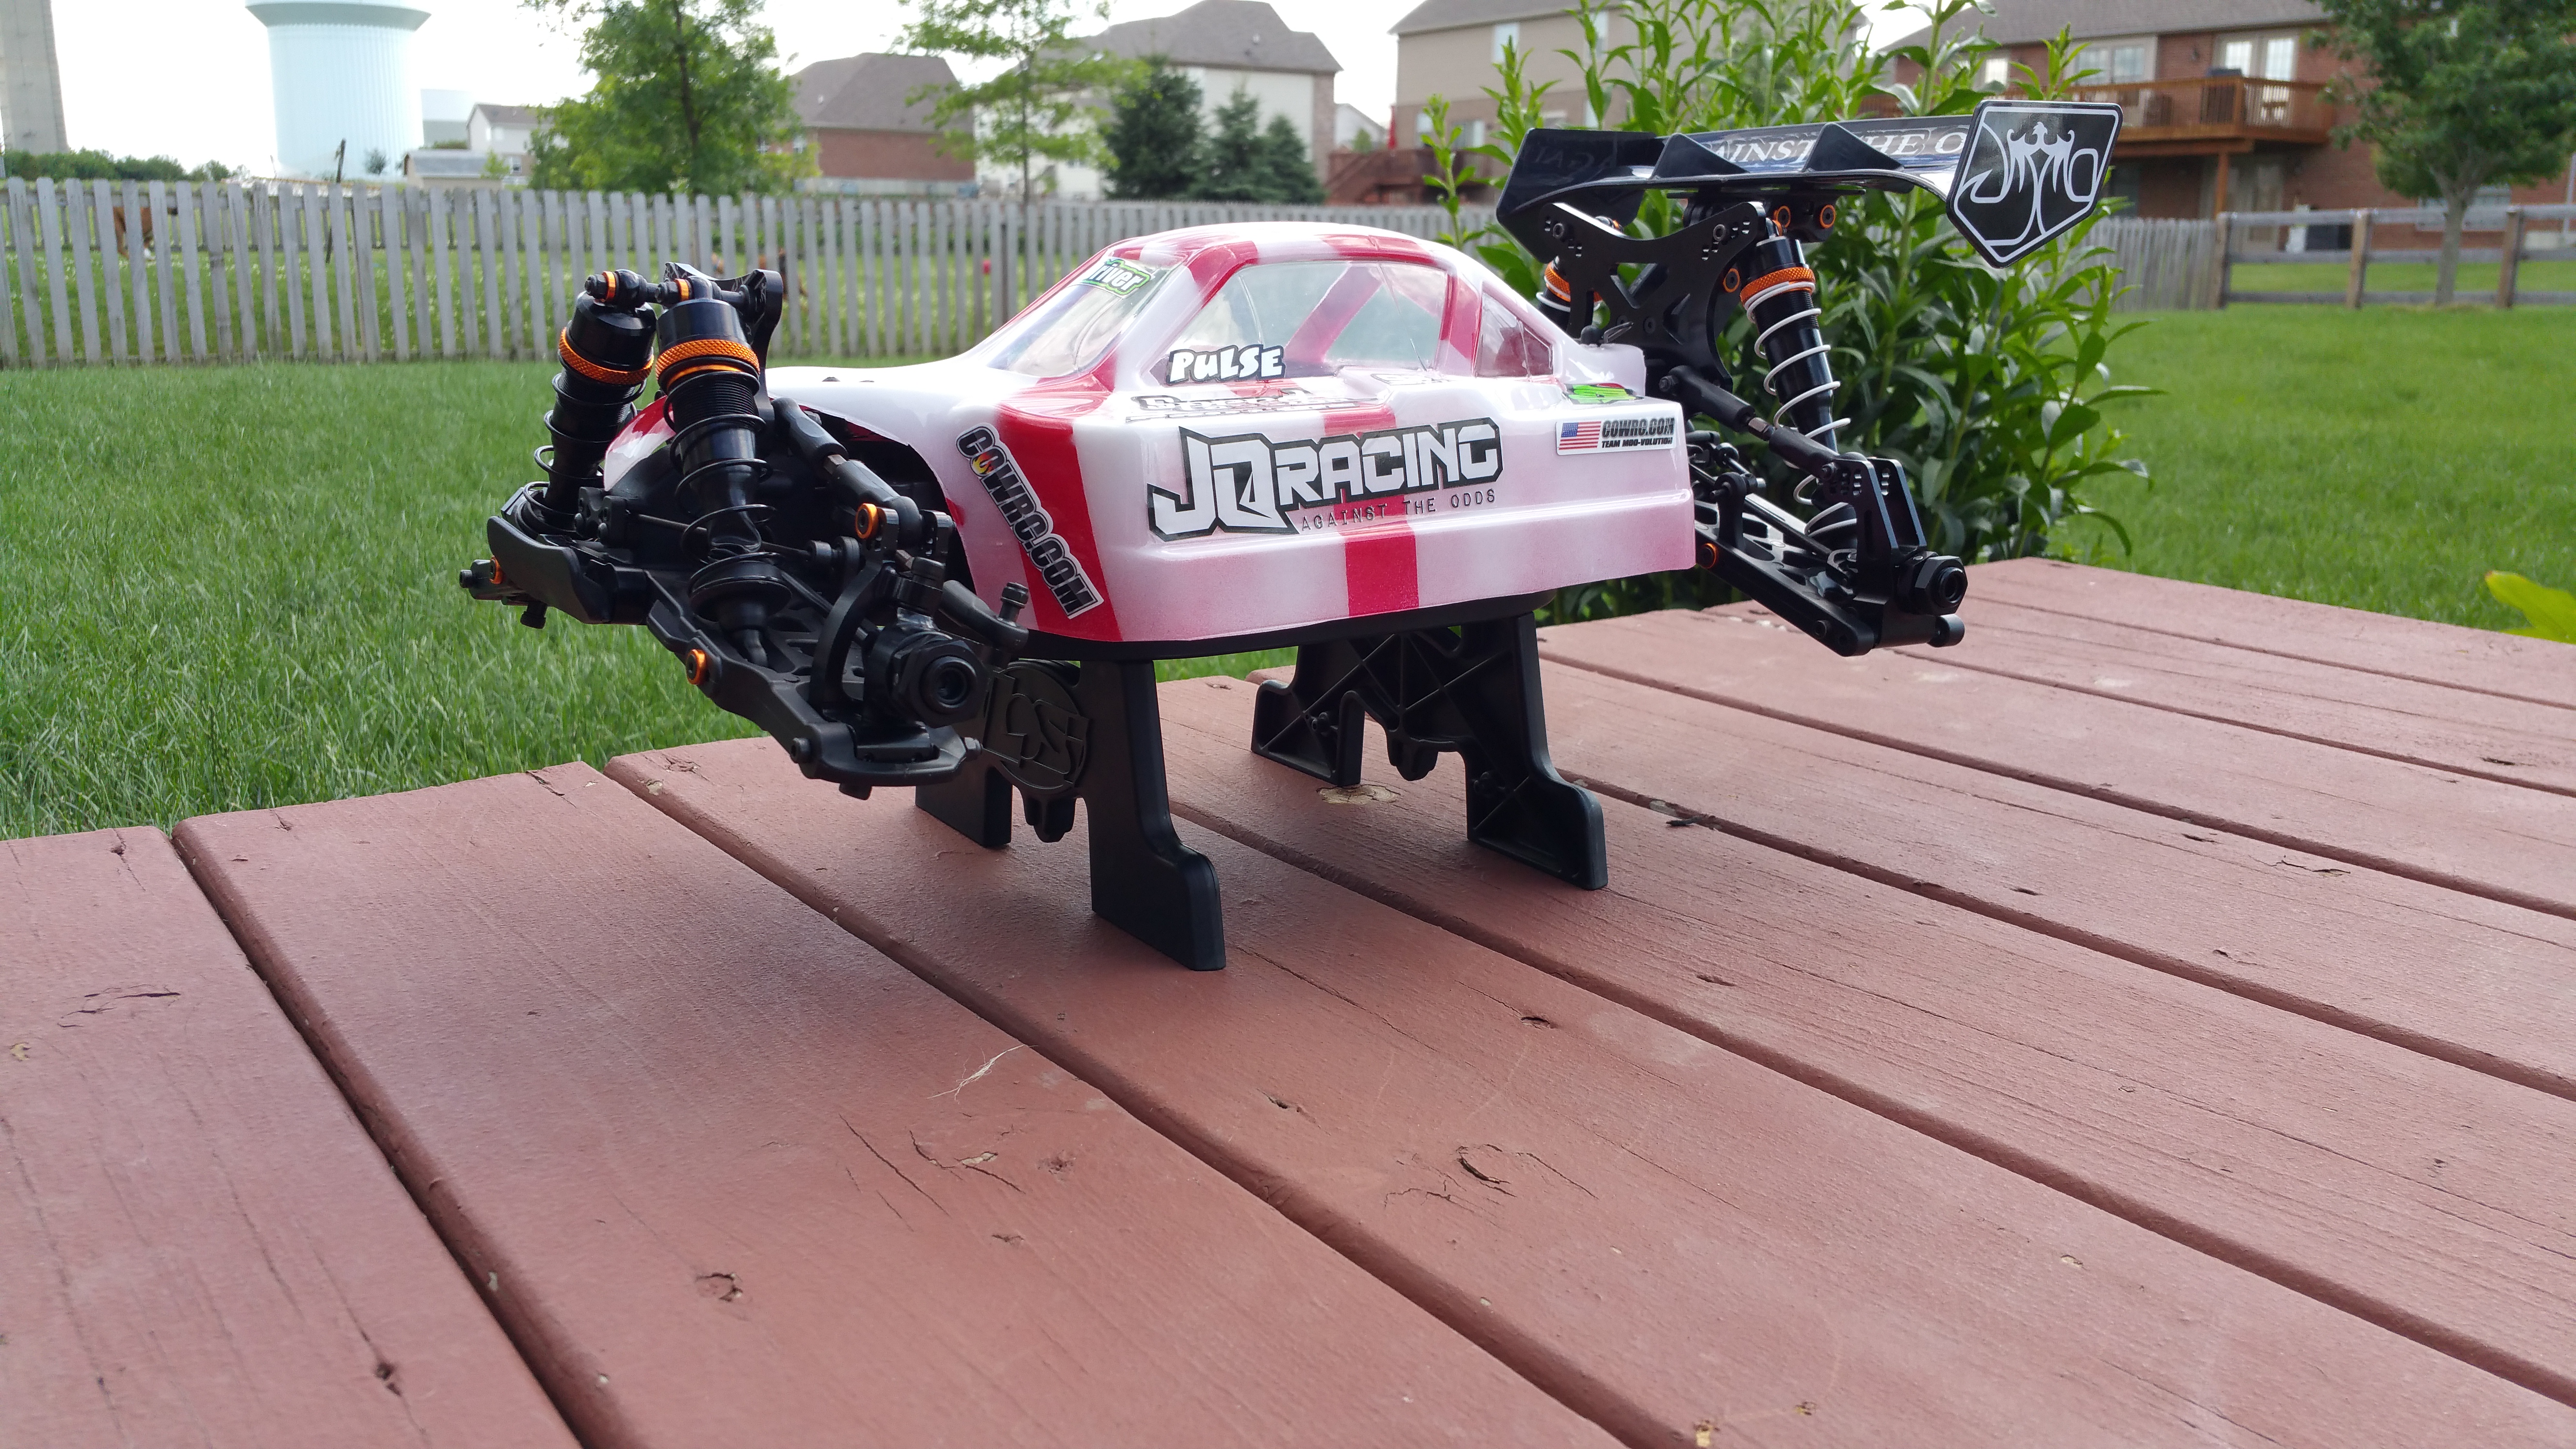
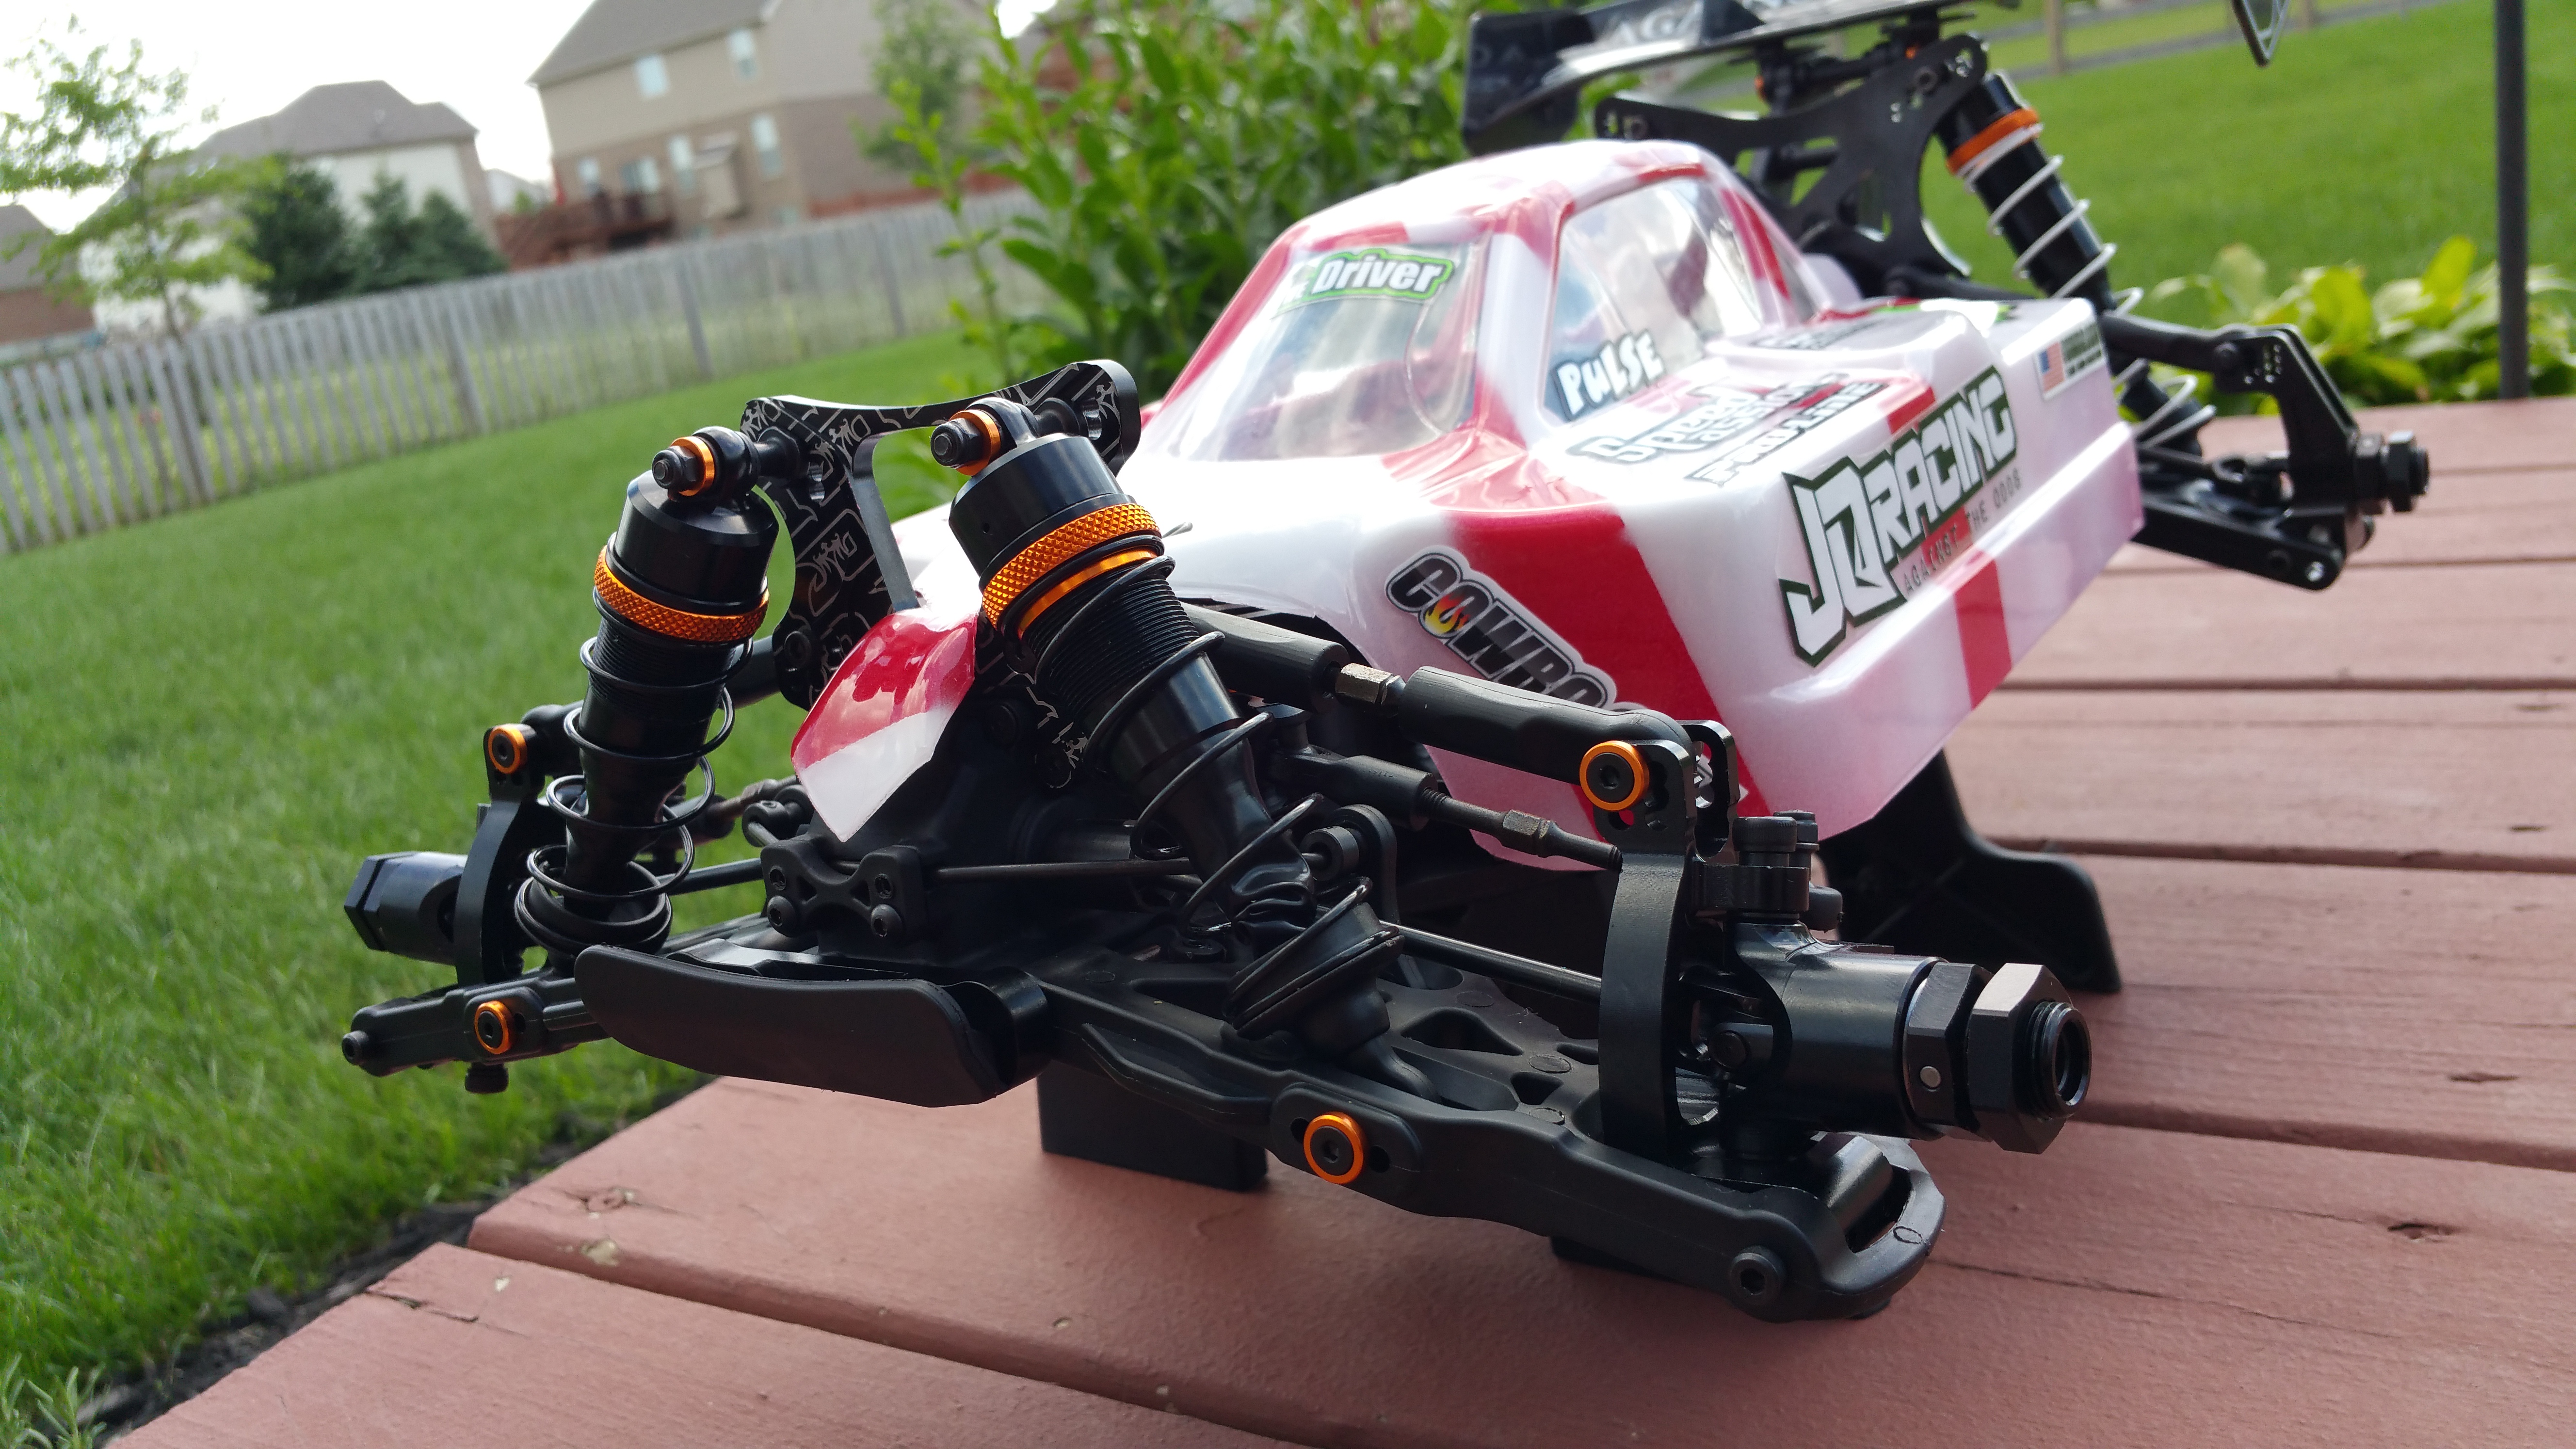
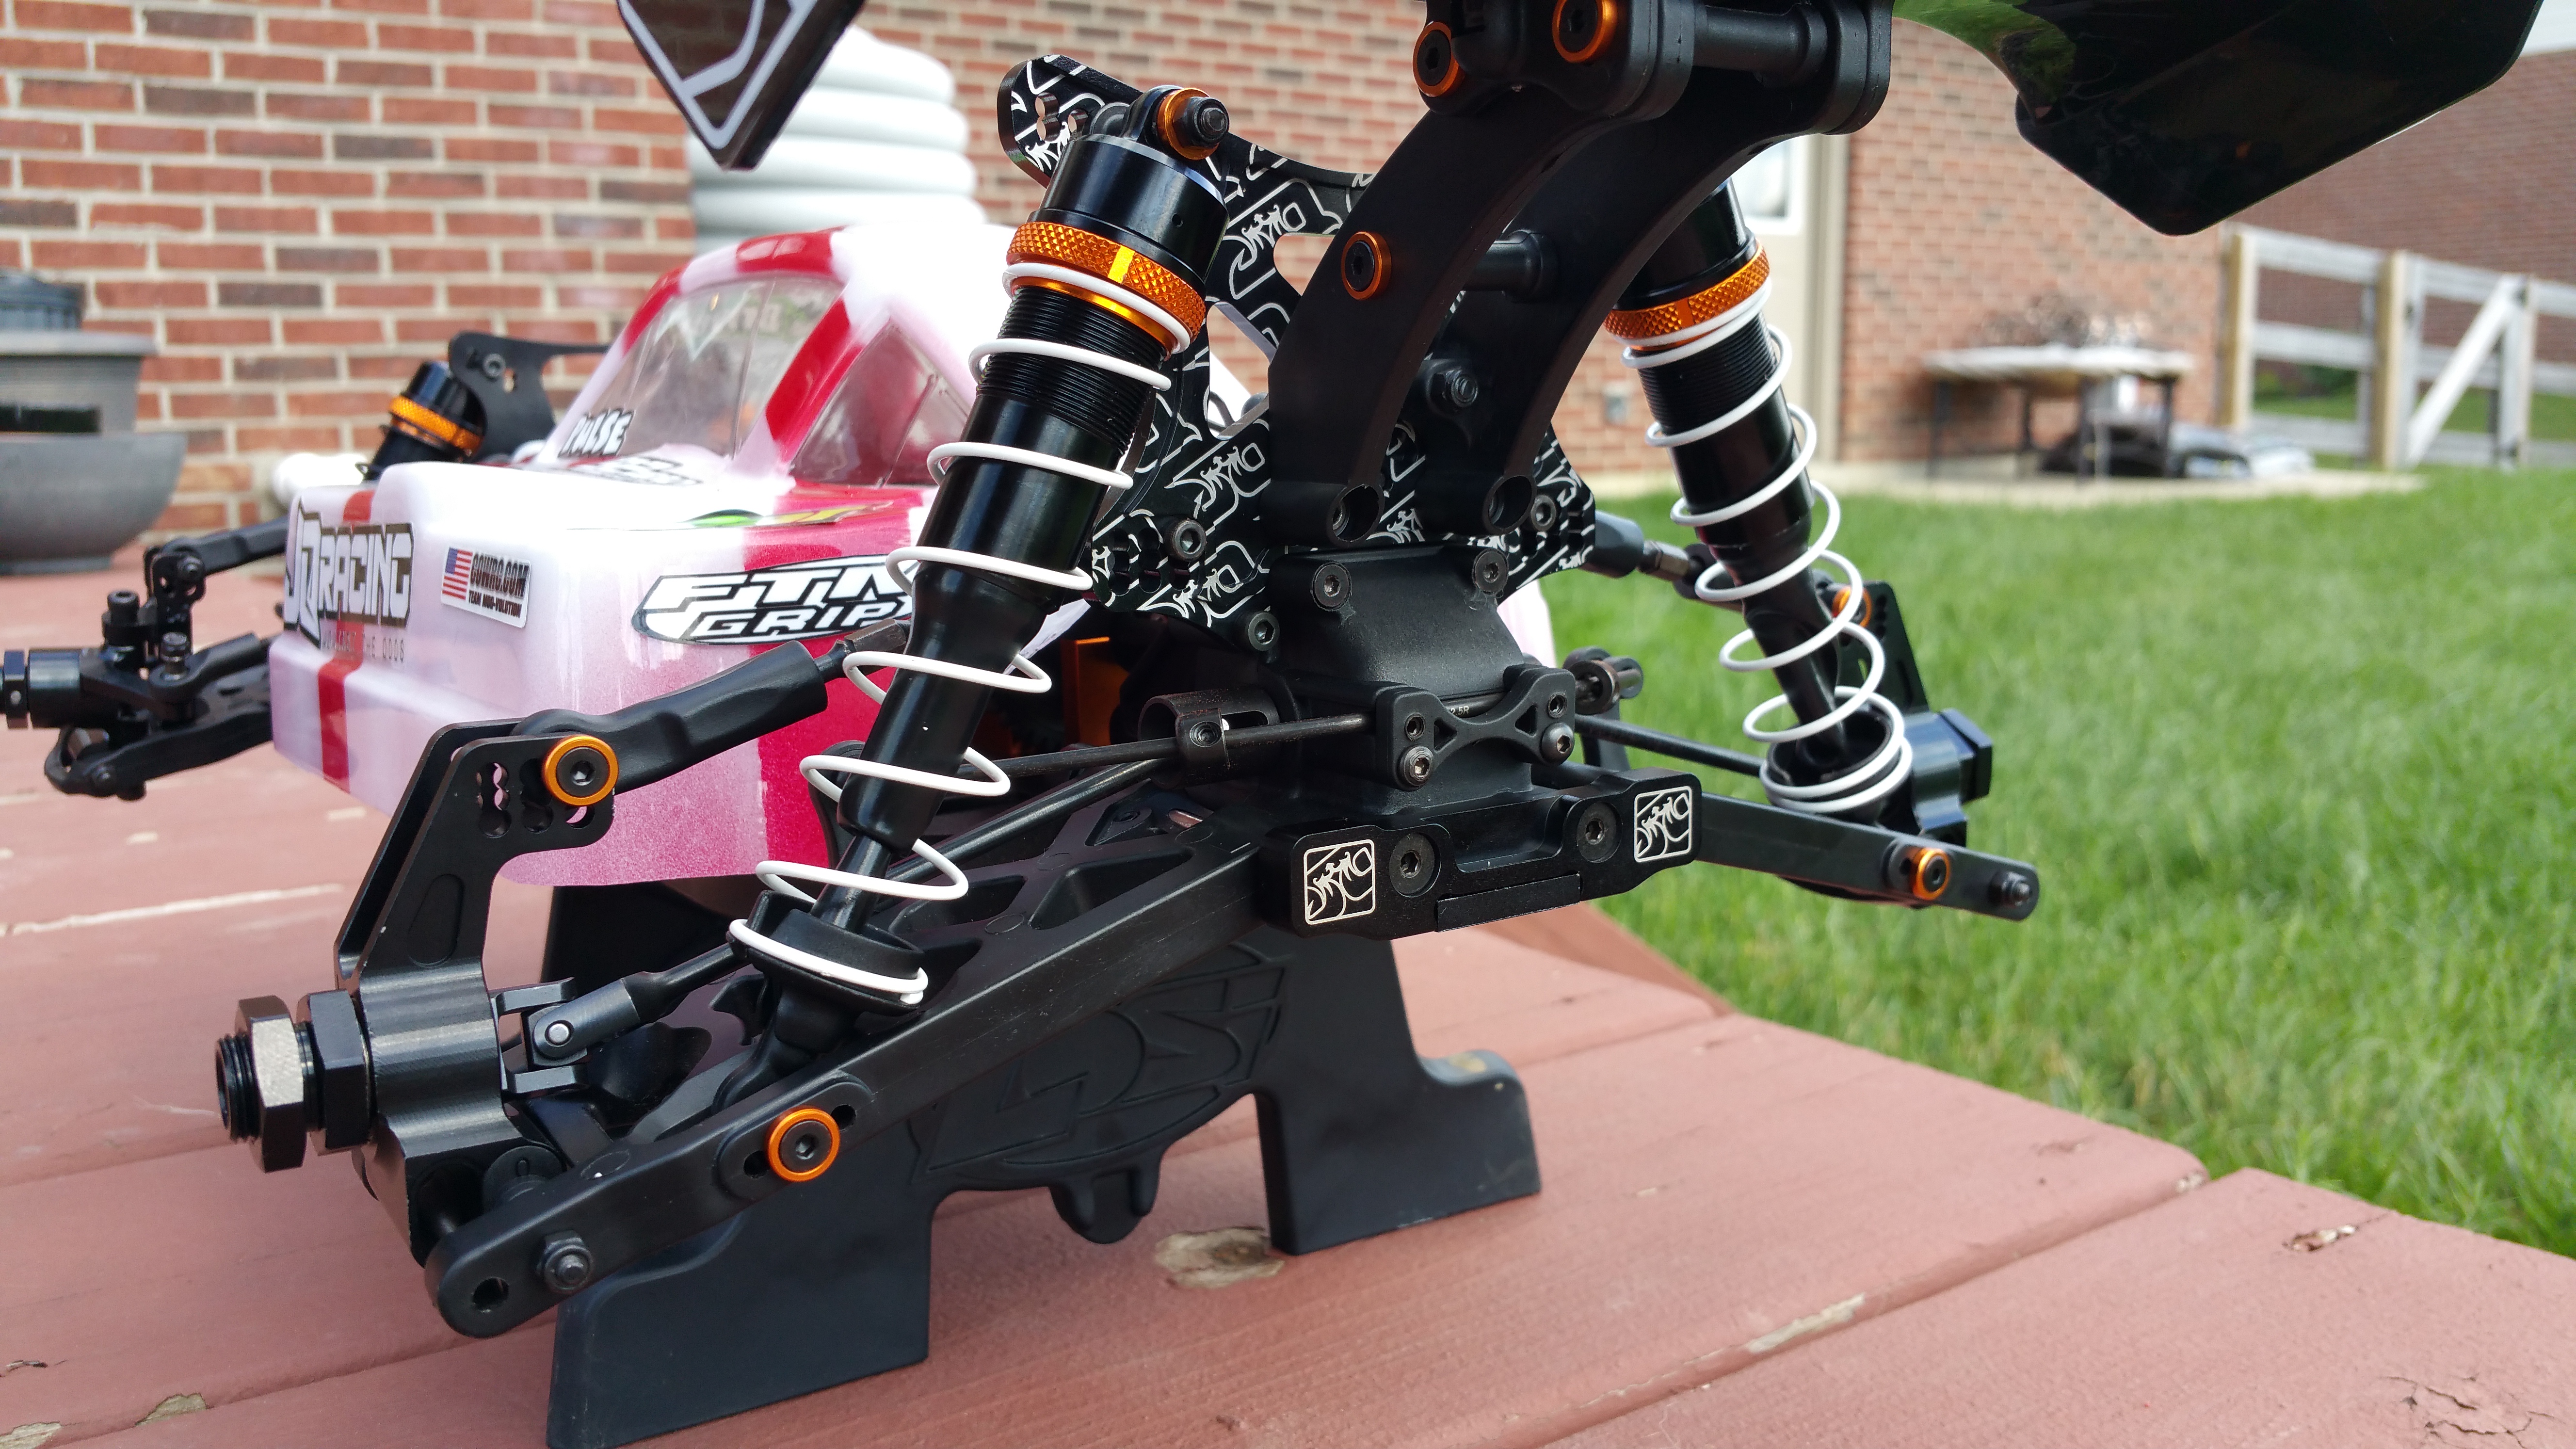
This kit was a breeze to build! Very smooth going!
Items that i will be using in my Build
Motor: Speed Passion Blaze 2100kv 1/8 Brushless Motor
ESC: Hobbywing SCT Pro 120 Amp 1/8 Brushless ESC (Will be using this until Speed Passion’s New 1/8 ESC is released)
Servo: Savox 1256TG
Pros:
Colored washer kit included
No Diff Shimming
Lots of tune-ablity
Price point is very Competitive with other 1/8 buggies on the market
Cons:
You could easily out-tune yourself.( Be sure to write down all changes you make and adjust to help or counter what you notice)
Specifications:
Vehicle: 1/8 Electric 4WD Buggy
Width: 307mm
Wheelbase: 324-328mm
Weight: 3500g
Battery Configuration: 2×2S or 4S
Internal Gear Ratio: 3.3:1
Needed To Complete:
2-Channel Radio System
Steering Servo
1/8 Scale Electronic Speed Control
1/8 Scale Brushless Motor
(2) 2S LiPo Battery Pack or (1) 4S LiPo Battery Pack
Wheels, Tires & Tire Glue
Shock Fluid
Differential Fluid
Polycarbonate Paint (for body)
Helpful Links
http://usa.jqracing.com/page/76 Download Page for Manuals / Setup Sheets / Guides
http://usa.jqracing.com/page/2/contact-us Contact Page for JQRacing If you have any issues
http://usa.jqracing.com JQRacing USA Page
http://www.rctech.net/forum/electric-off-road/872696-jq_racing-white-edition-ecar
RCTech Thread: JQRacing White Edition ECar
http://www.rctech.net/forum/nitro-off-road/766470-jq-products-white-edition
RCTech Thread: JQRacing White Edition Nitro Car ( Nitro Thread can be helpful on some tuning advice)
Any Questsions! Feel free to ask! im here to help :D!
Pulse / Dallas
 Posted in