So, the Team Associated SC10 also comes with bearings in the front wheels, as well as a pin-drive rear wheel. This means you need to add hexes to both ends to complete this conversion. The RTR and the Factory Team both come like this. The new RTR SC10RS (Race Spec) brushless truck has the new hex conversion already on it though. Associated probably saw the convenience of allowing people to swap tires/wheels between their SC10 4×4 and their 2WD. Smart move.
I used parts from the SC10RS for this conversion. There is no full kit, so you have to piece it together. Pro-Line did at one point make a inboard hub conversion, but it’s been discontinued now that it’s readily available from Associated direct.
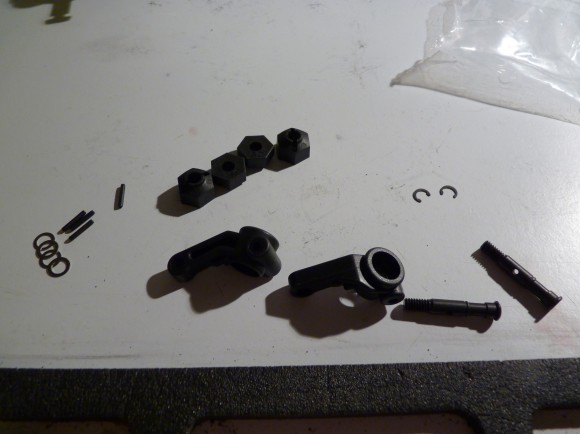
Here are the parts needed for the conversion:
9881 – Associated Front Axle Hex SC10
9880 – Associated Steering Block Hex SC10
9883 – Associated Wheel Hex Adapters SC10
4449 – Associated Aluminum 4-40 Locknut (these are TINY)
6952 – Associated Steel Locking Nut 8-32 (assuming you don’t have 2 spares)
Below, you’ll see the stock rear pin setup. I removed the pin before the pic. The blue spacer is there for the stock wheels. It needs to be removed for the hex conversion. Simply remove the pin, and use a small flat head screwdriver to pry the blue spacer off.
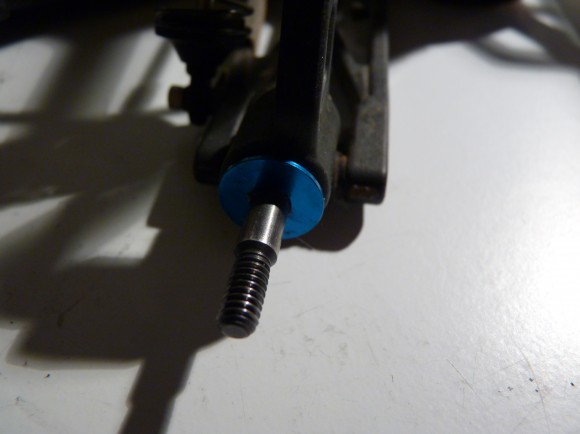
Then we install the included pins, and install the thicker pair of hexes onto the axle. Rears are done. Easy huh?
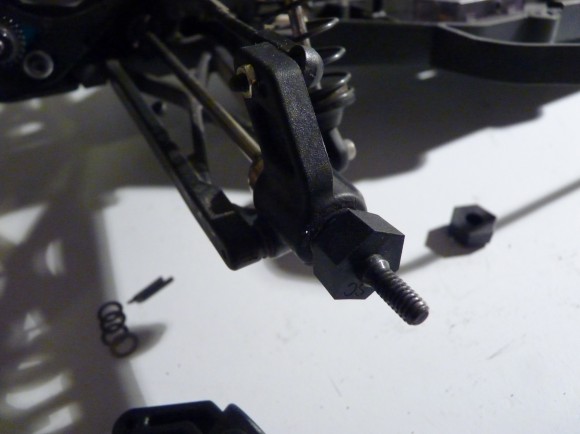
Now we have the fronts to contend with. This is the stock front setup. Here you can see the kingpin and it’s Trick Parts retaining screw. The bearings remain in the wheels when you take them off.
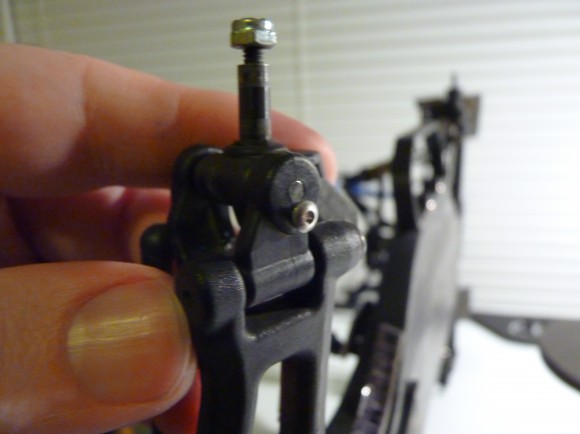
The stock setup includes spacers for the top and bottom of the steering hub. You won’t need these again, you’ll see why in a minute. To get to this point, just remove the retaining screw and the kingpin in the earlier photo.
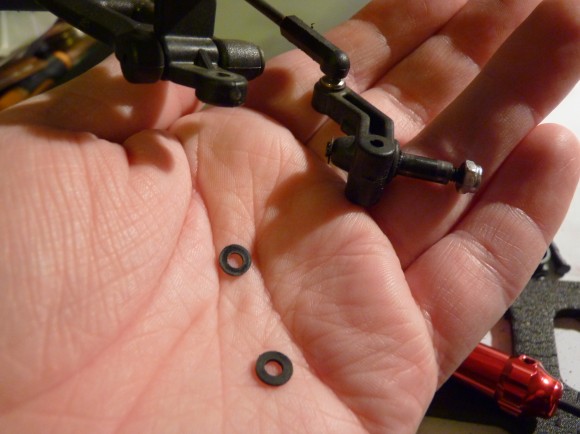
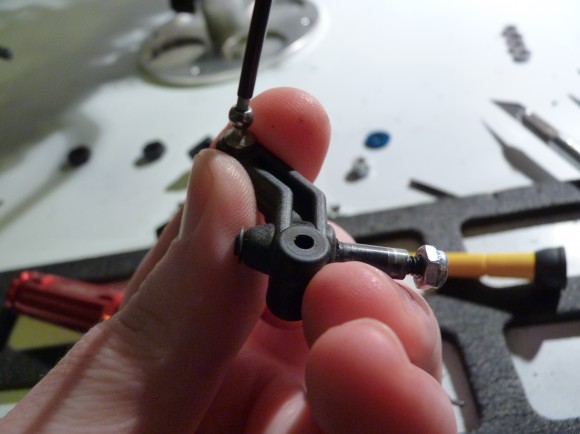
Now we remove the ball stud from the old hubs. This is the only part you’ll need to salvage.
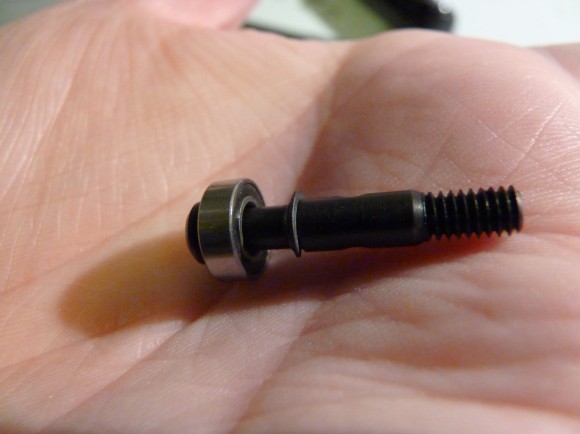
This is the replacement axle. First we install one of our old wheel bearings (would be a good time to clean them if it’s been a while.. check out this article if you’ve never done it), then a small C-clip.
Next we install the ball stud and slide the new axle in the new hub.
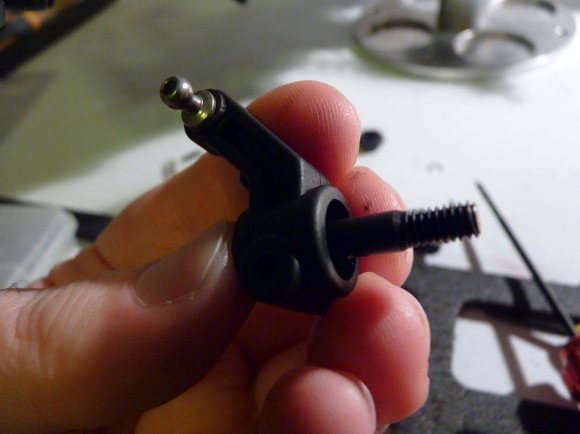
Note that the old hubs, the ball stud screwed right into the plastic. The new hubs have a recess for a small locknut (listed above). These are required because the studs don’t thread into the plastic like they did before.
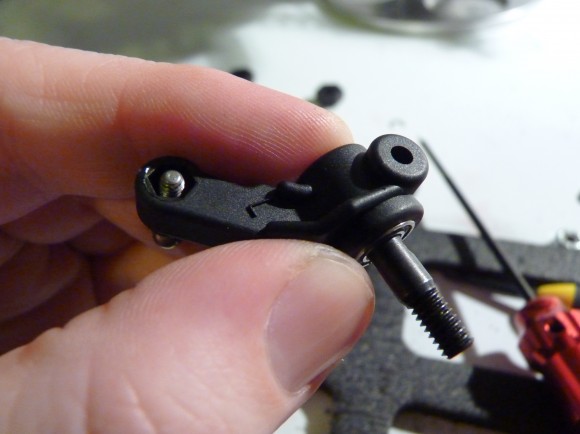
Old hub for reference.
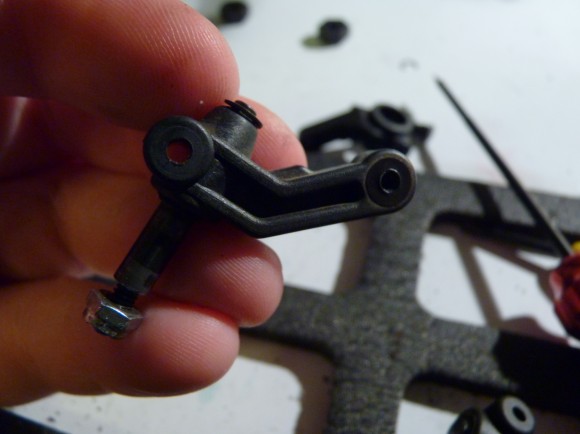
Then we install the other bearing and insert the pin.
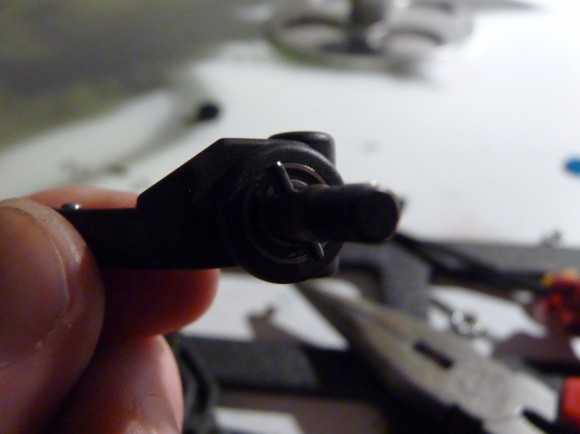
This is why you no longer need those spacers above. The new hubs are made to fit without them. They’re taller.
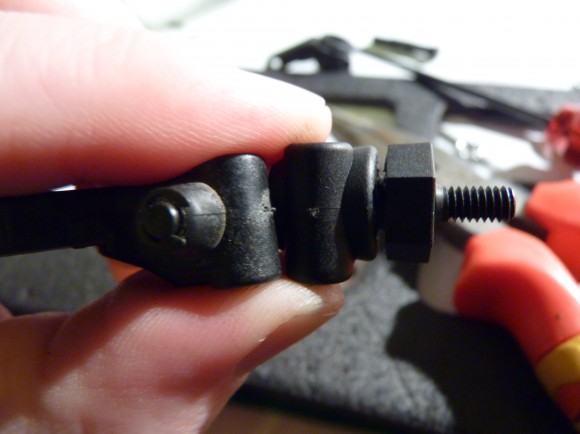
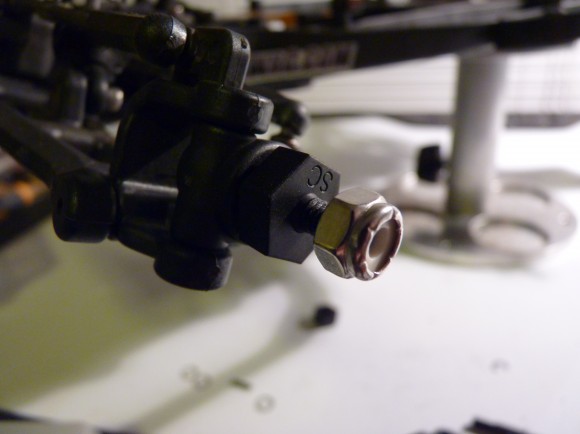
Now we have a completed hex conversion. Note that the hex conversion now also uses the same size locknut front and rear. This means you only need one size nut driver to remove all 4 tires (instead of 2 different ones previously). Another benefit to this.


 February 13th, 2012
  Matt
Matt  Posted in
  Tags:
Tags: