

 November 16th, 2014
  Matt
Matt The Axial Ram Power Wagon’s bumpers are lexan, and are a part of the body. They offer no protection at all. That being said, I went looking for an upgrade. Scalerfab happens to have a full size version of this truck, so they were quick to pick up the 1/10 version, and also quick to design/fabricate custom bumpers for it. To go with the bumpers, I also picked up a set of rock sliders. These are especially nice because they have trays built in, which will get used down the road on this project. Without further adieu….
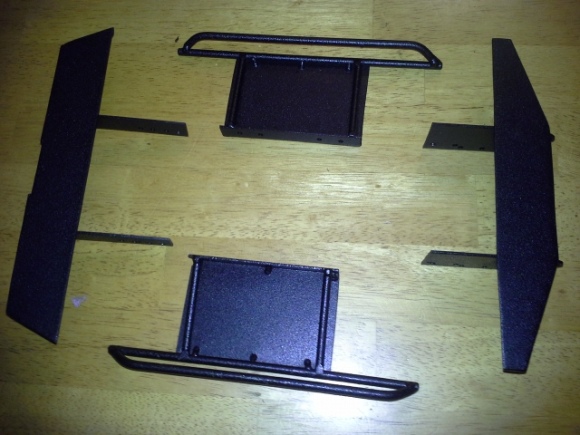
Here’s what we are installing today. Front and rear bumpers, and rock sliders. All are custom made out of steel, and painted black.
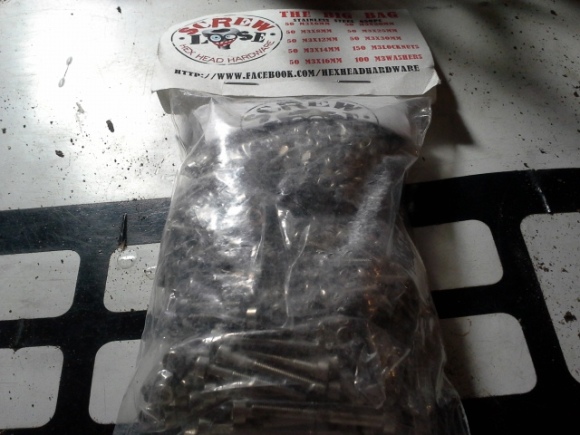
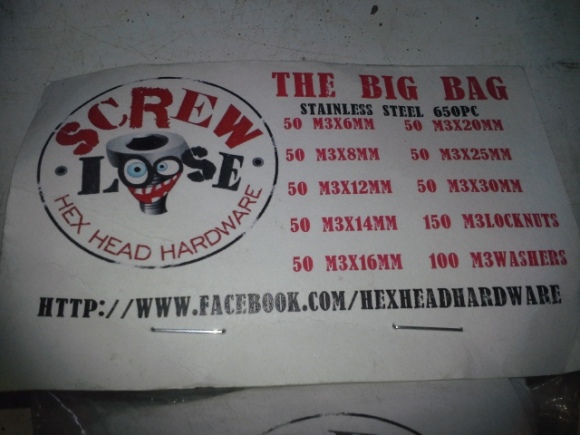
We’re going to reuse the stock hardware for the most part, but we will need a couple of extra screws. Screw Loose Hardware makes these nice packs. These are perfect for working on projects. Being stainless steel, they will never rust.
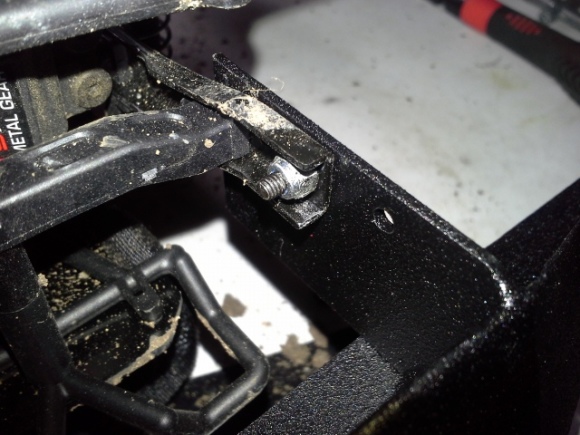
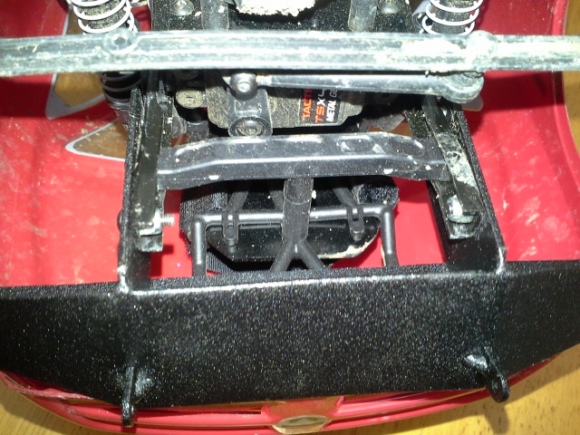
The Ram Power Wagon, having no bumper attached to the frame, just has a plastic brace filling the gap. we removed it to make room for the new bumper. The Scalerfab bumper has some adjustability to it. You can suck it in close to the body or push it out. I started by using the back mounts to see what it would look like. Here we reuse one of the stock screws to hold the bumper to the frame. 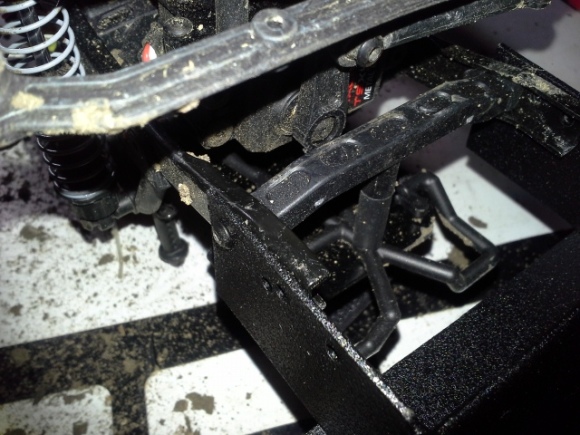
The second screw on each side needs to have a nut.
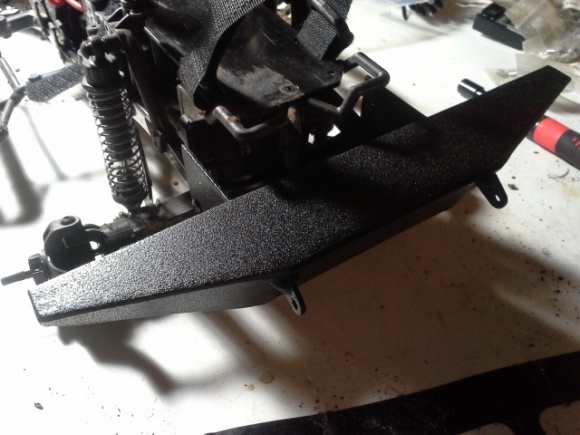
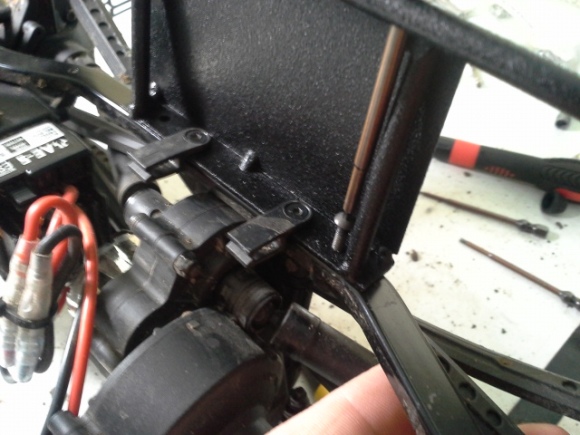
The back was pretty close to the front, you can see the various holes that allow you to determine your own mounting location to match your body.
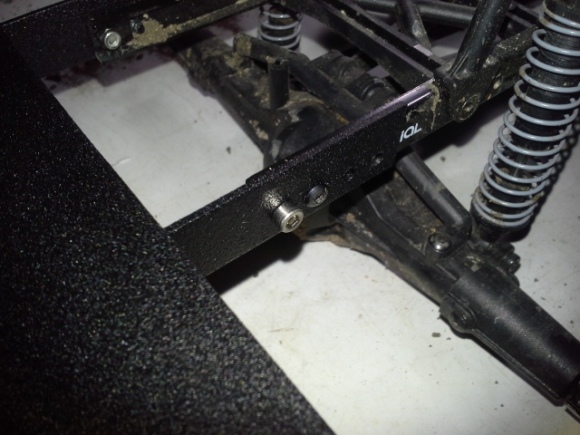
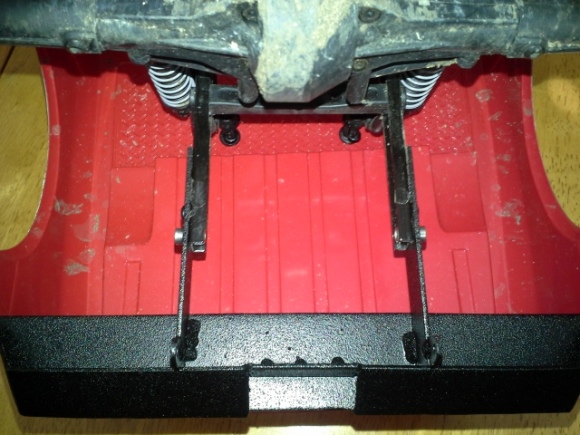
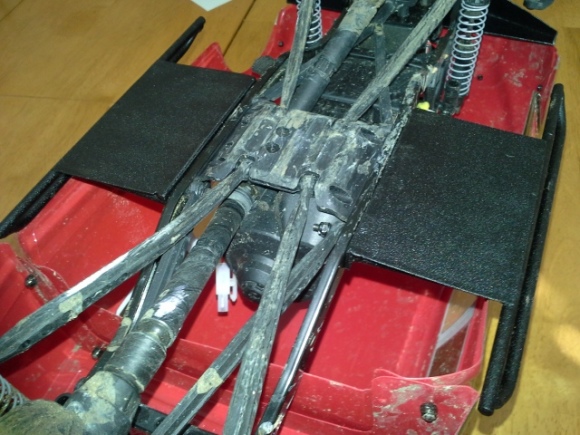
For the rock sliders, just pull out the 4 screws that hold the stockers in place. The front and rear screws go all the way through the frame and hold the links to the axles, and therefore have a nut on the back of the screw you’ll need to hold in order to remove the screw.
On the driver side, the inner two screws go through the slider, through the frame, and into the skidplate.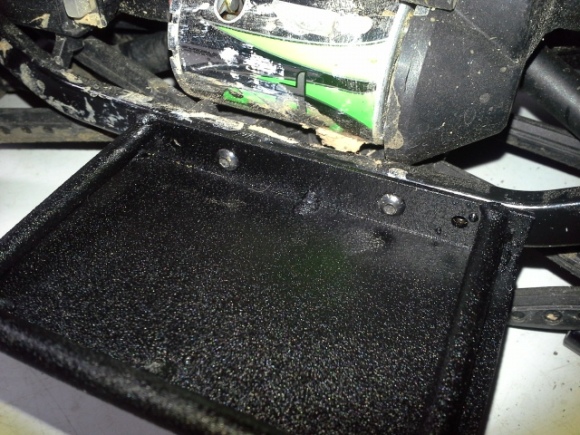
On the passenger side they hold these little wire guides. We might use these in the future so we are going to keep them in place. Look at the nice trays on the sliders. These are great locations to mount your receiver, ESC, maybe a BEC. We’ll likely relocate our ESC in a later article.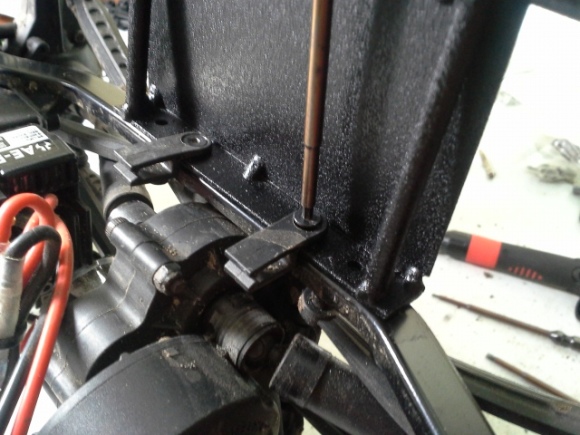
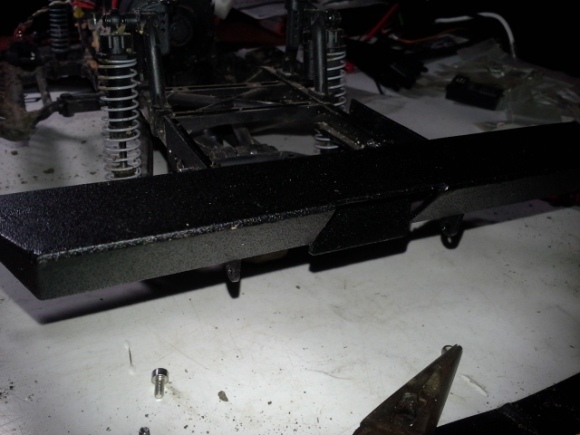
Here they are all mounted. 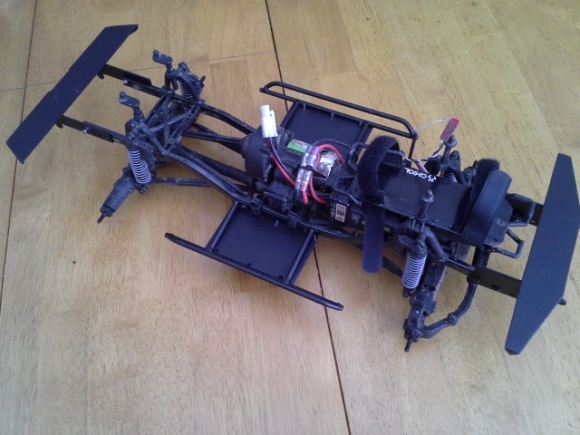
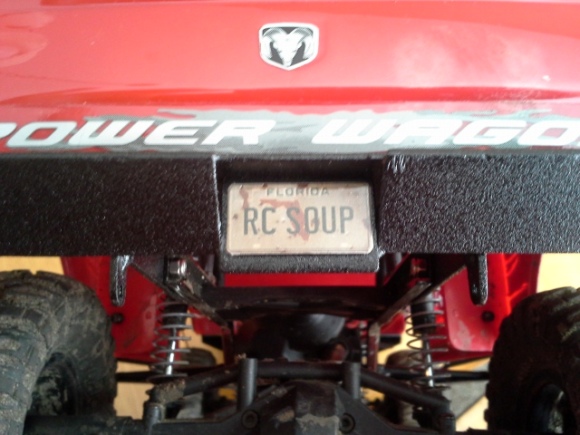
RC DMV makes some very cool, very scale license plates, course markers, and road signs. 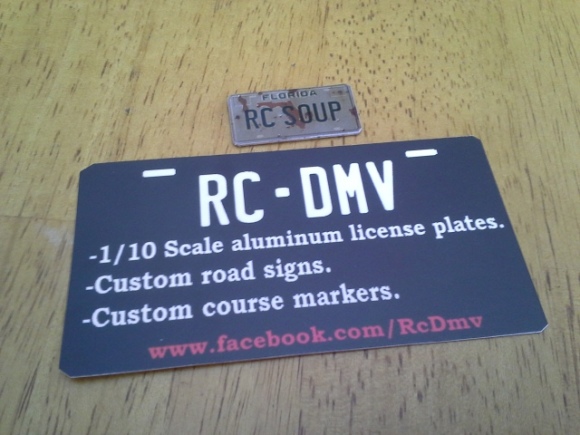
Used some clear double-sided tape to mount our plate on the recessed area provided by Scalerfab. They can create your bumper with or without this recess, you can select which option on their website when you order yours.
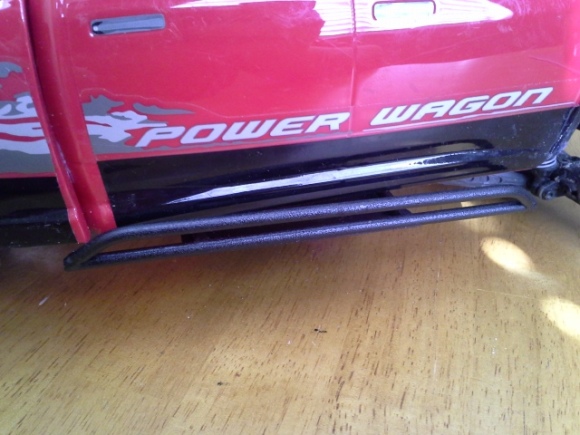
Here’s a few body-on shots First a side shot with the sliders.
Here’s what the front bumper looks like sucked all the way back. If you like, you can make it stick further out which would give room for a winch. We are going to do a servo winch on this truck, with a fairlead in the middle of the front bumper, so sucked in looked better to me.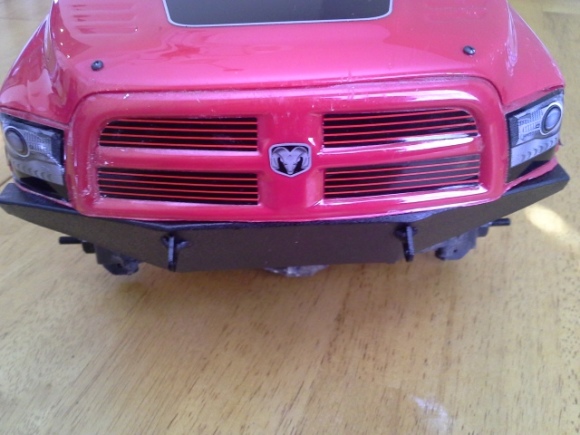
And finally the rear bumper. It sits so nicely, love the look of these bumpers. 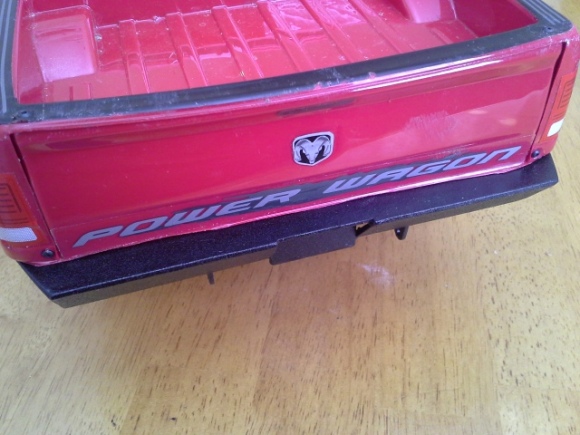
This is an otherwise stock truck, so there are lots of upgrades to come down the road. Stay tuned!
 Posted in
  Tags:
Tags: