

 February 1st, 2015
  Matt
Matt The ready-to-run Axial SCX10’s come with plastic suspension links. They are fine for a while, but inevitably you will find that they are too flexible.
There are a few options here. You can buy Axial upgrades, which are aluminum links. You can buy any number of aftermarket replacements, ranging from aluminum to titanium, or you can do what we are about to do, which is make your own.
Even if you choose to make your own, there are a few options on how to do it. We are going to show you how to make your own using threaded rod.
We started by removing the stock lower links.
We are going to use Traxxas rod ends for our links. These are for the Revo. Part number 5347.

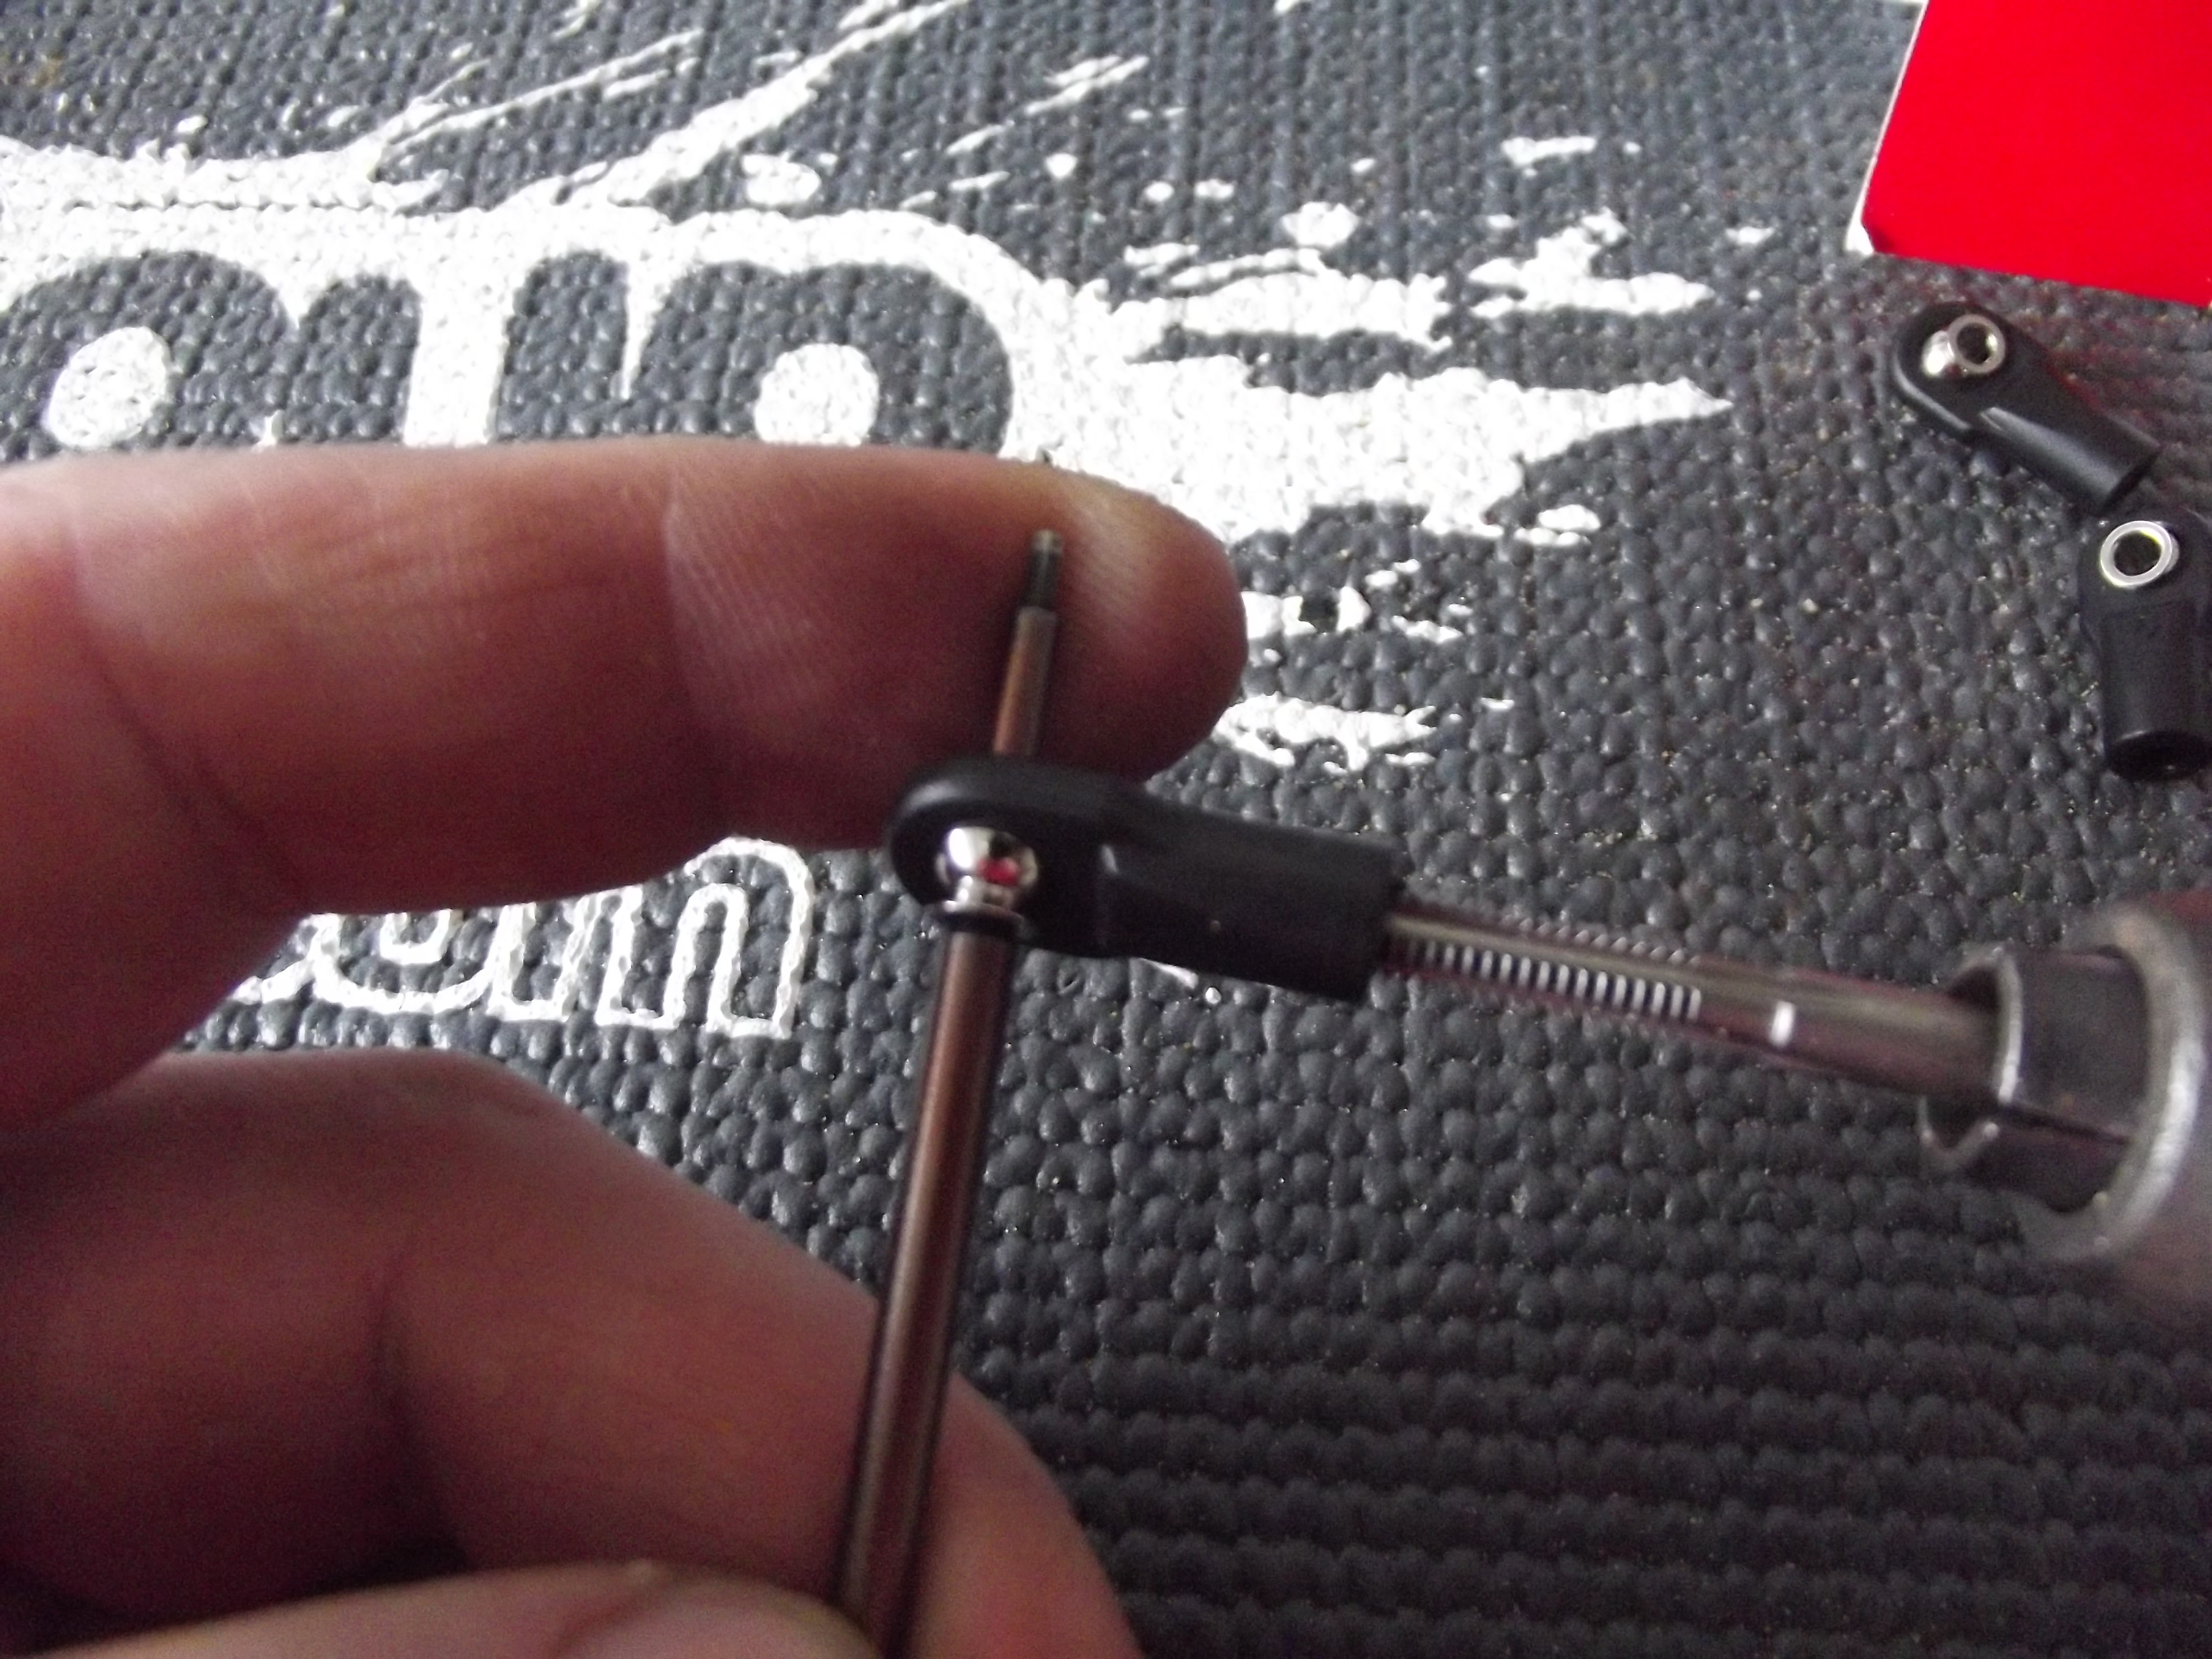
Now this next step isn’t mandatory, but it definitely makes getting the threaded rod into the ends easier. We are using an 8-32 tap to thread the rod ends.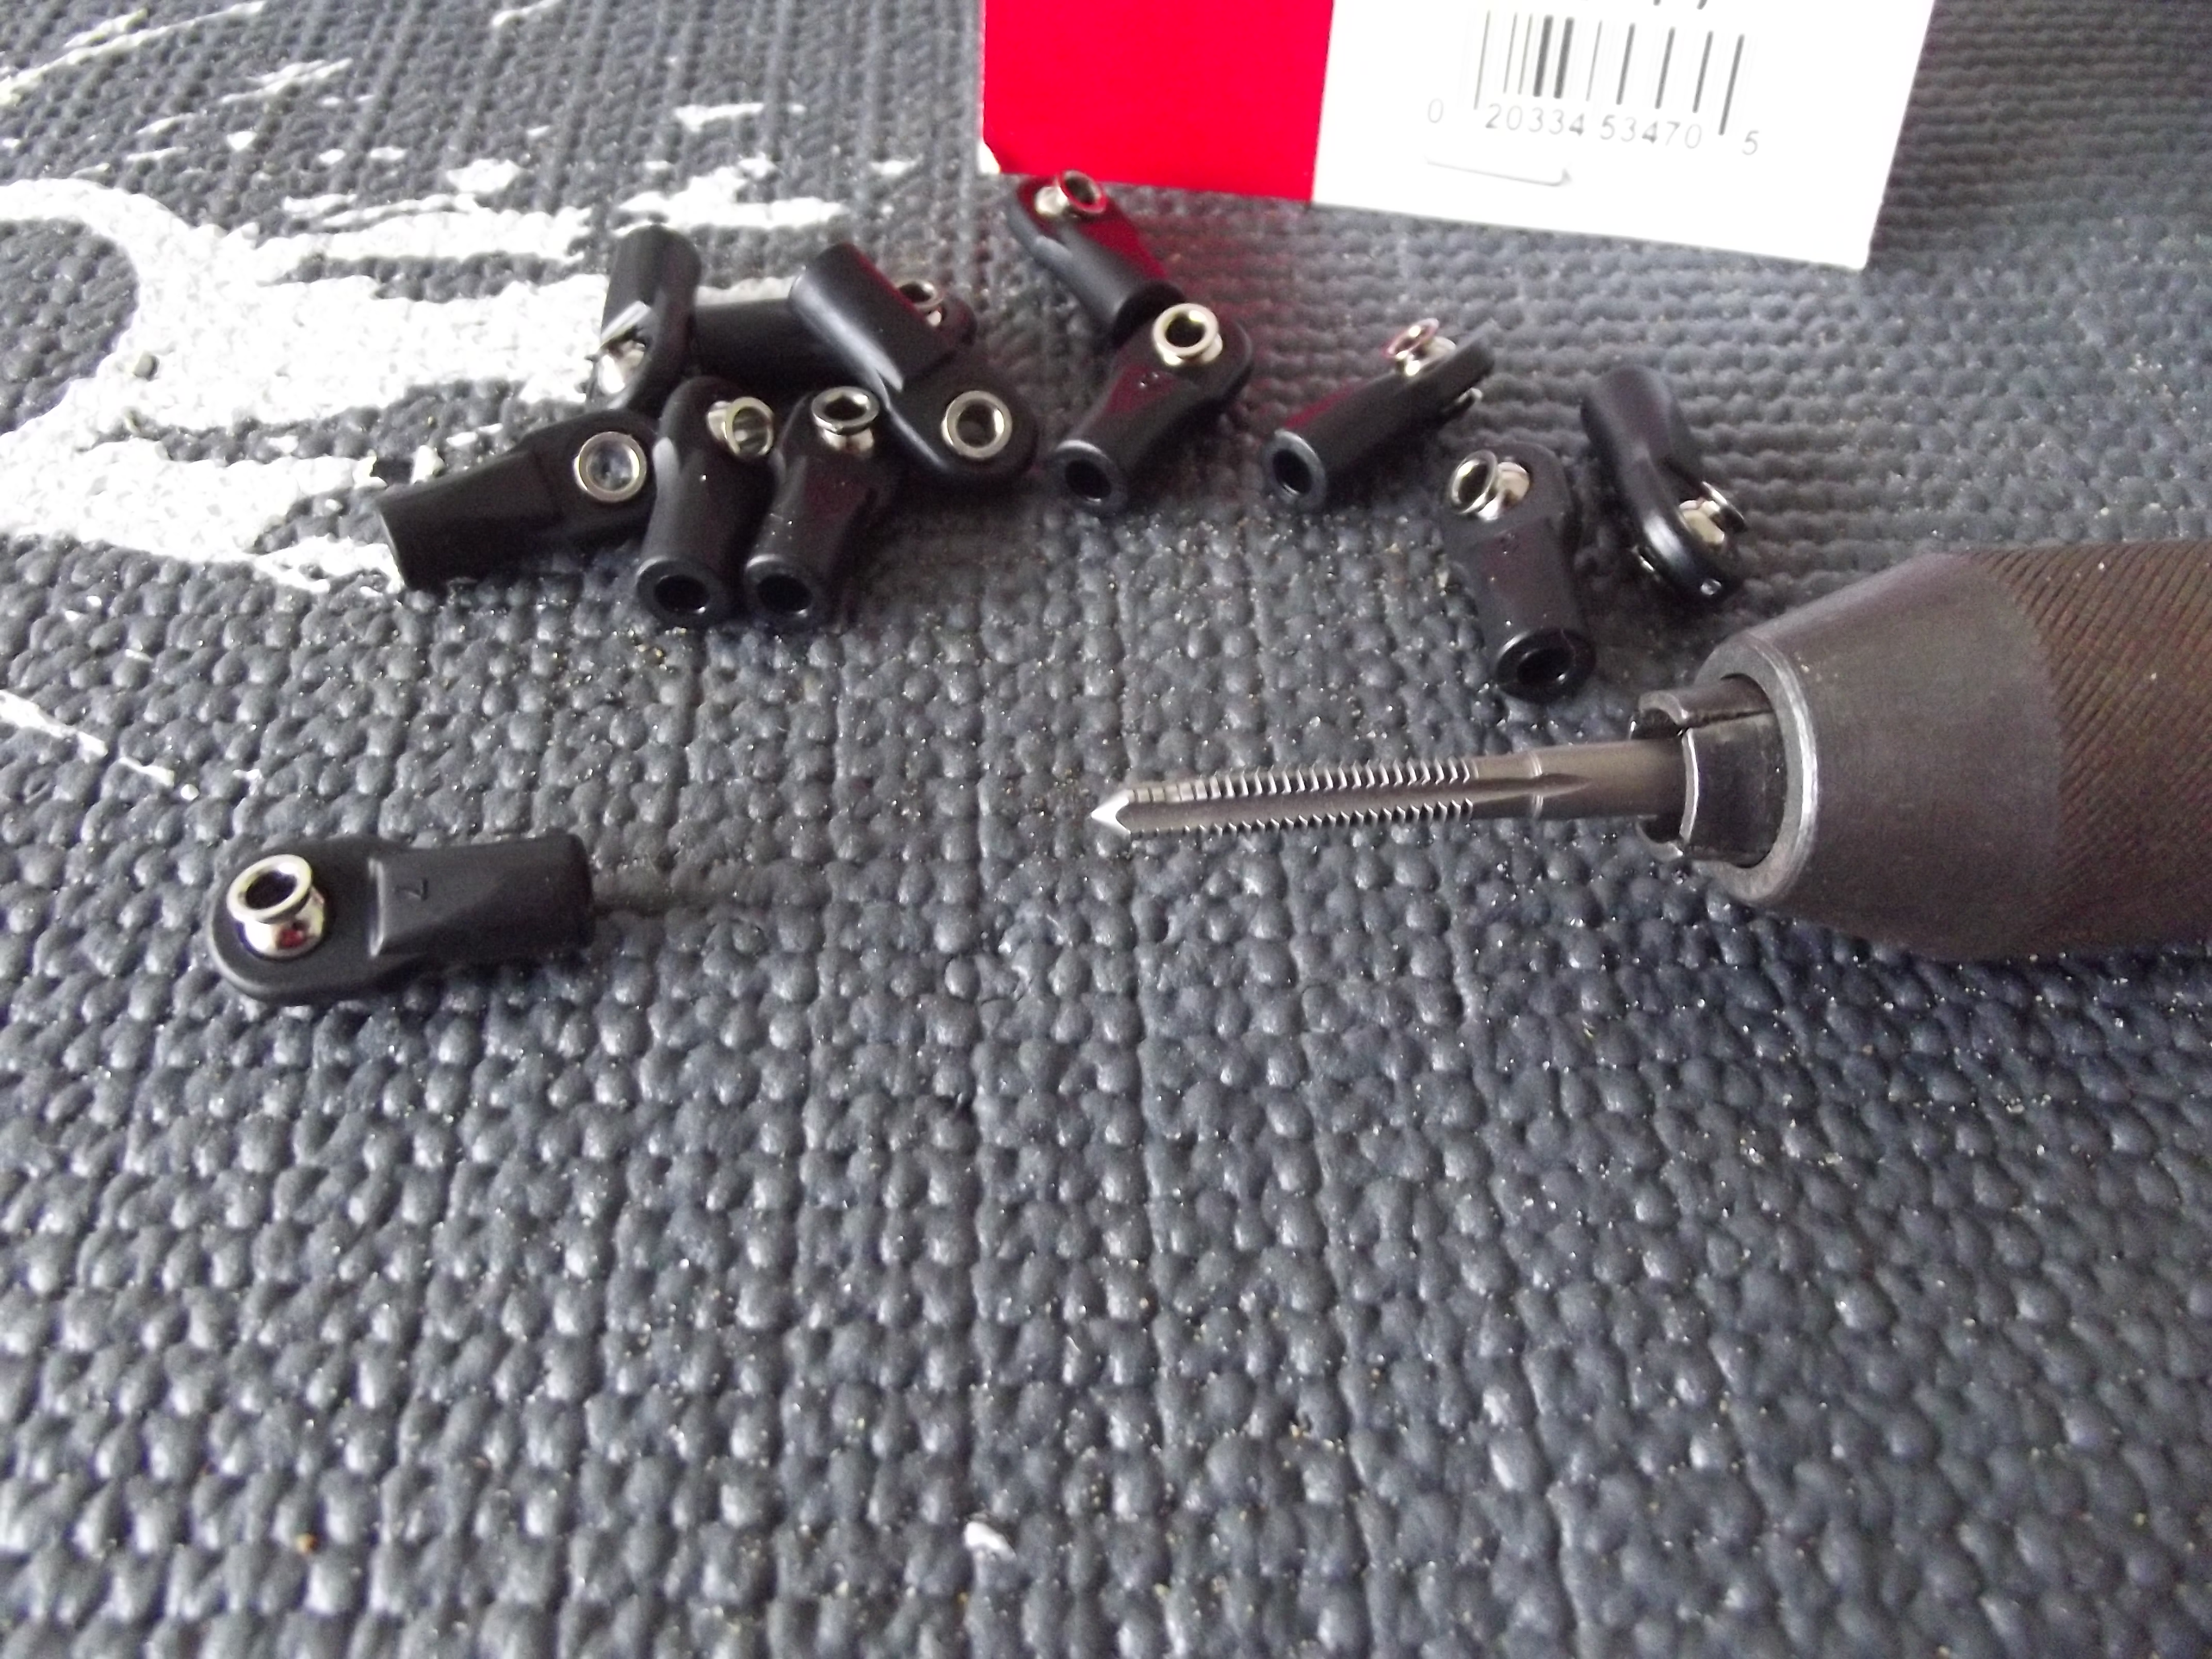 It makes it easier if you put a screwdriver or hex driver through the end link to stop it from twisting while you tap it.
Next we’ll preinstall the rod ends into the skidplate, and into the mounts in the axles.
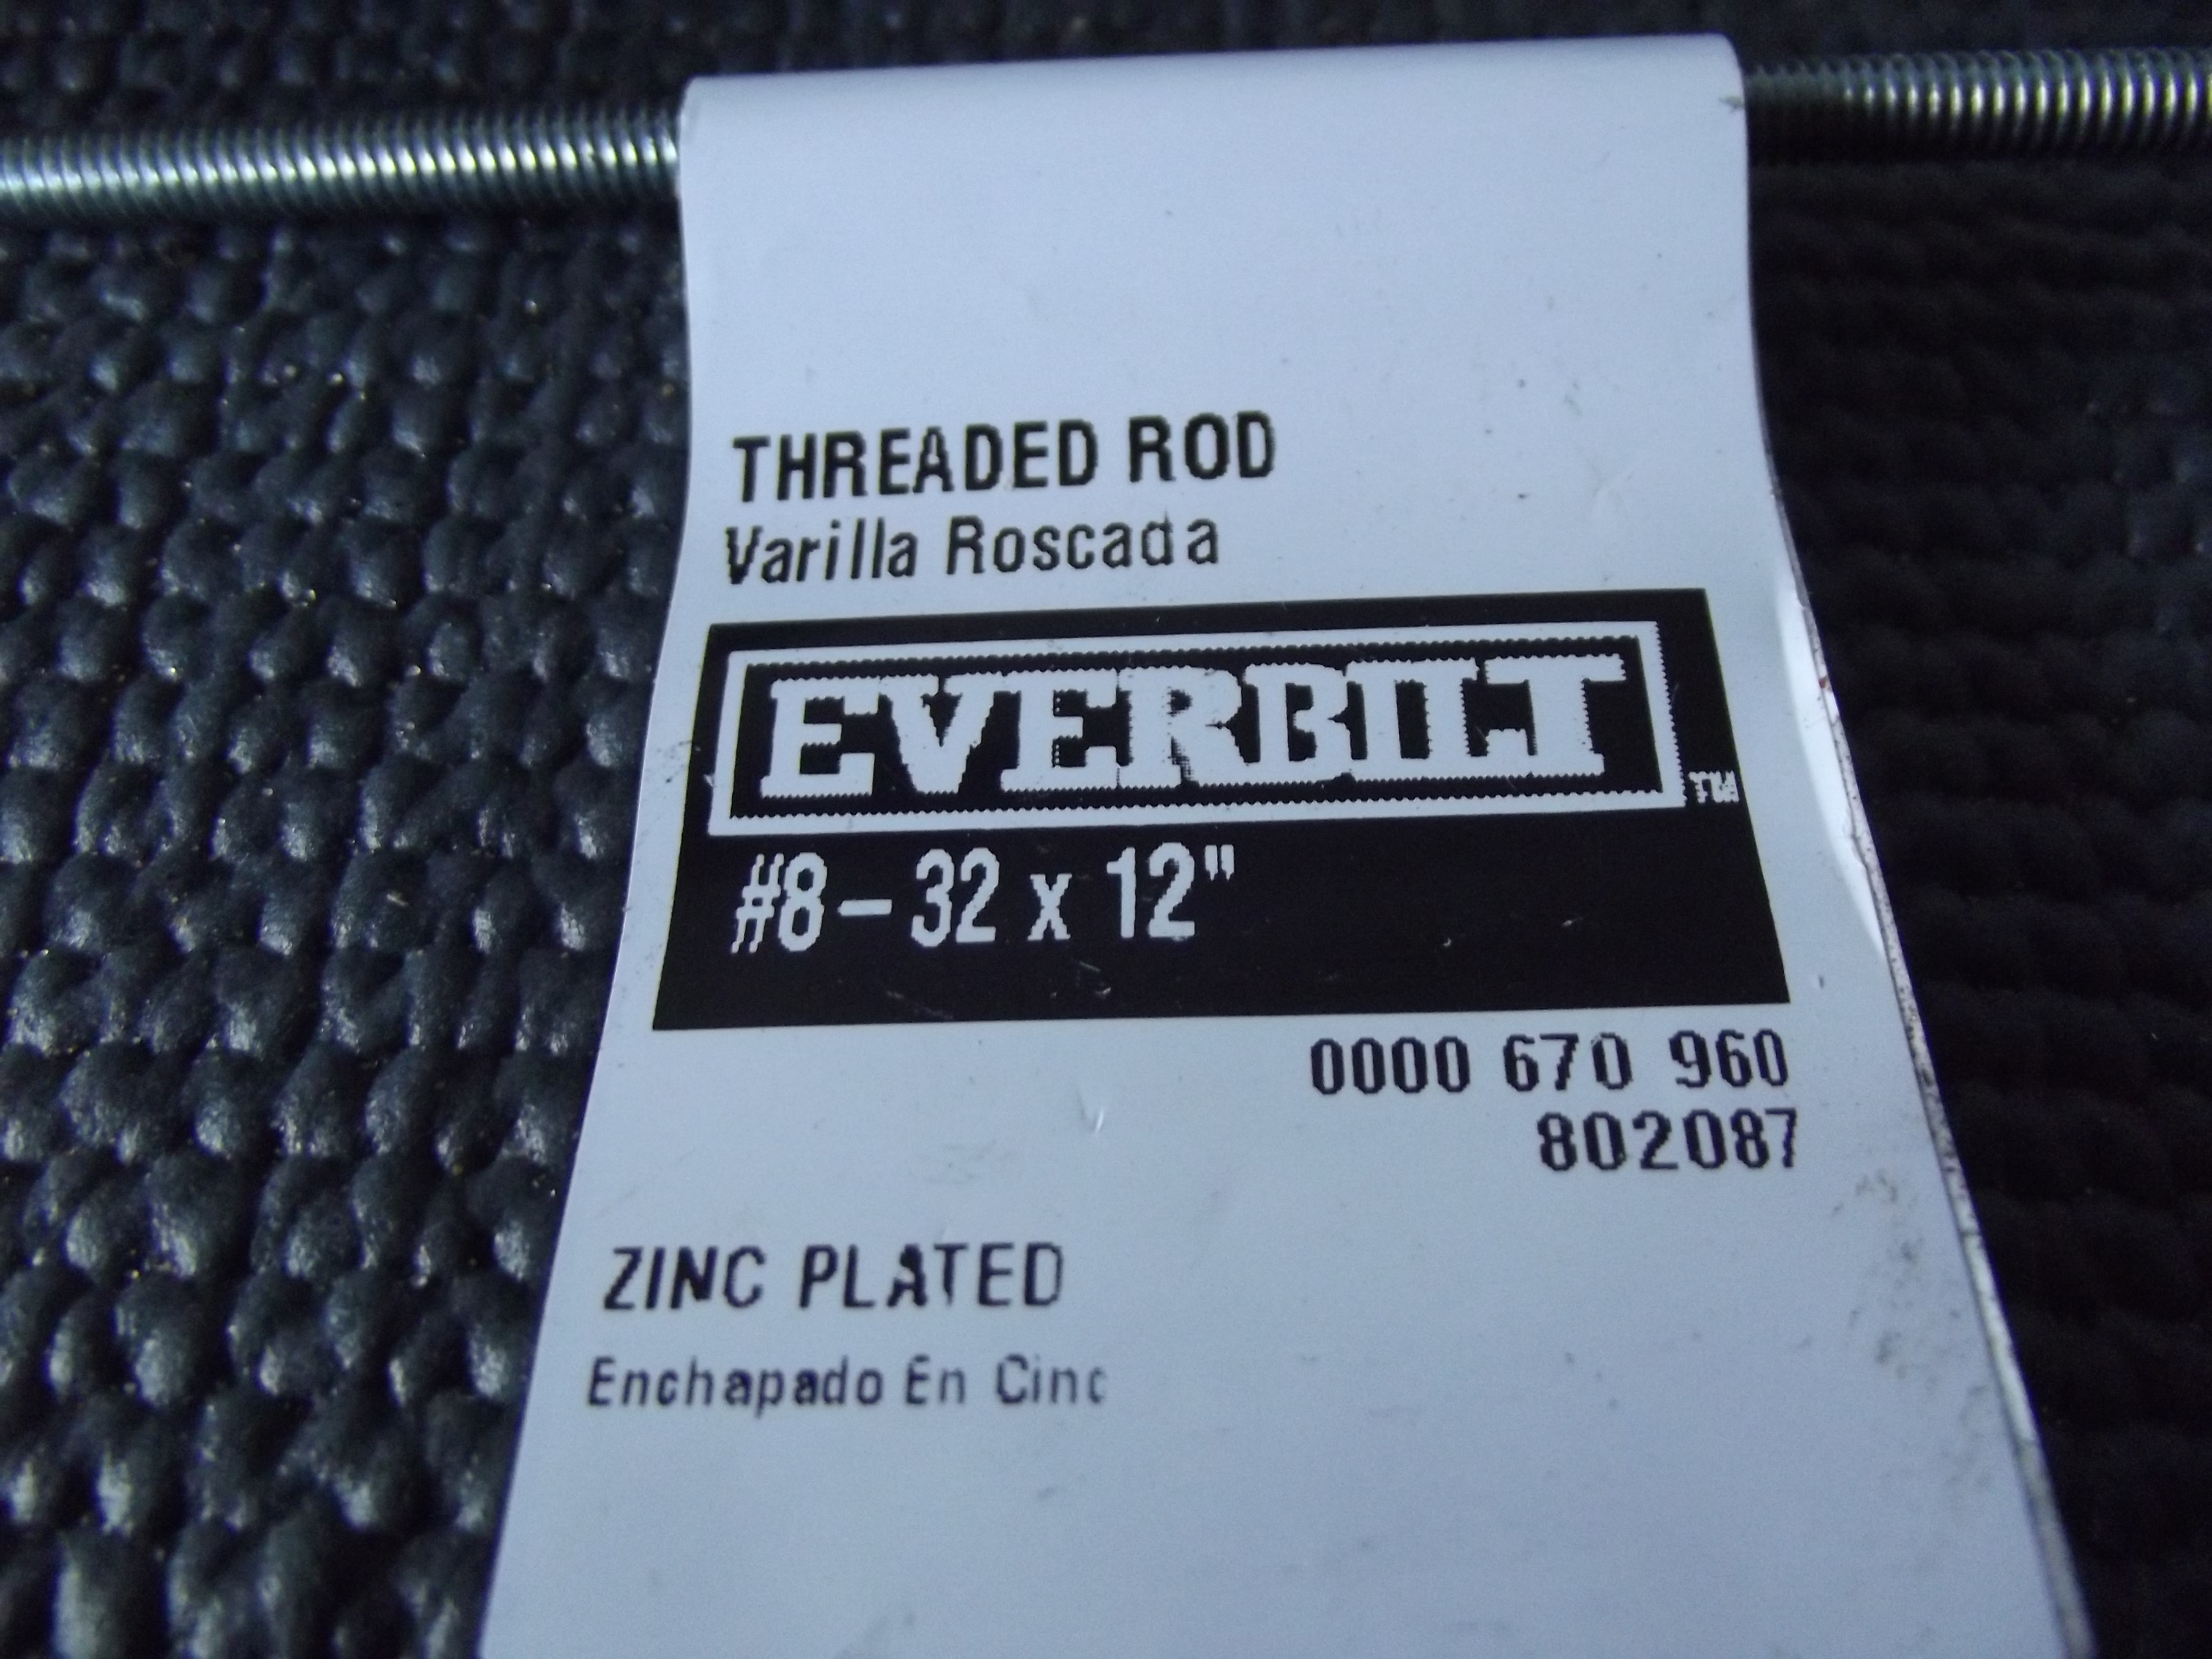
You’ll need a couple lengths of #8-32 threaded rod. We’ll be cutting it to length with a Dremel and cutoff wheel.
With both rod ends in place, thread one end of the threaded rod into one of the ends. Then hold it up to the other end, and set the axle where it’s going to sit. Leave it about 3/16″ too long and mark it with a marker. Then cut where you marked it. The 3/16″ you left extra will be the part that threads into the other link end. I like leaving an extra thread or two more on because you can always trim it if it is too long. If you cut it short you can’t add material back onto it. Here is the fist cut link, test fit in place.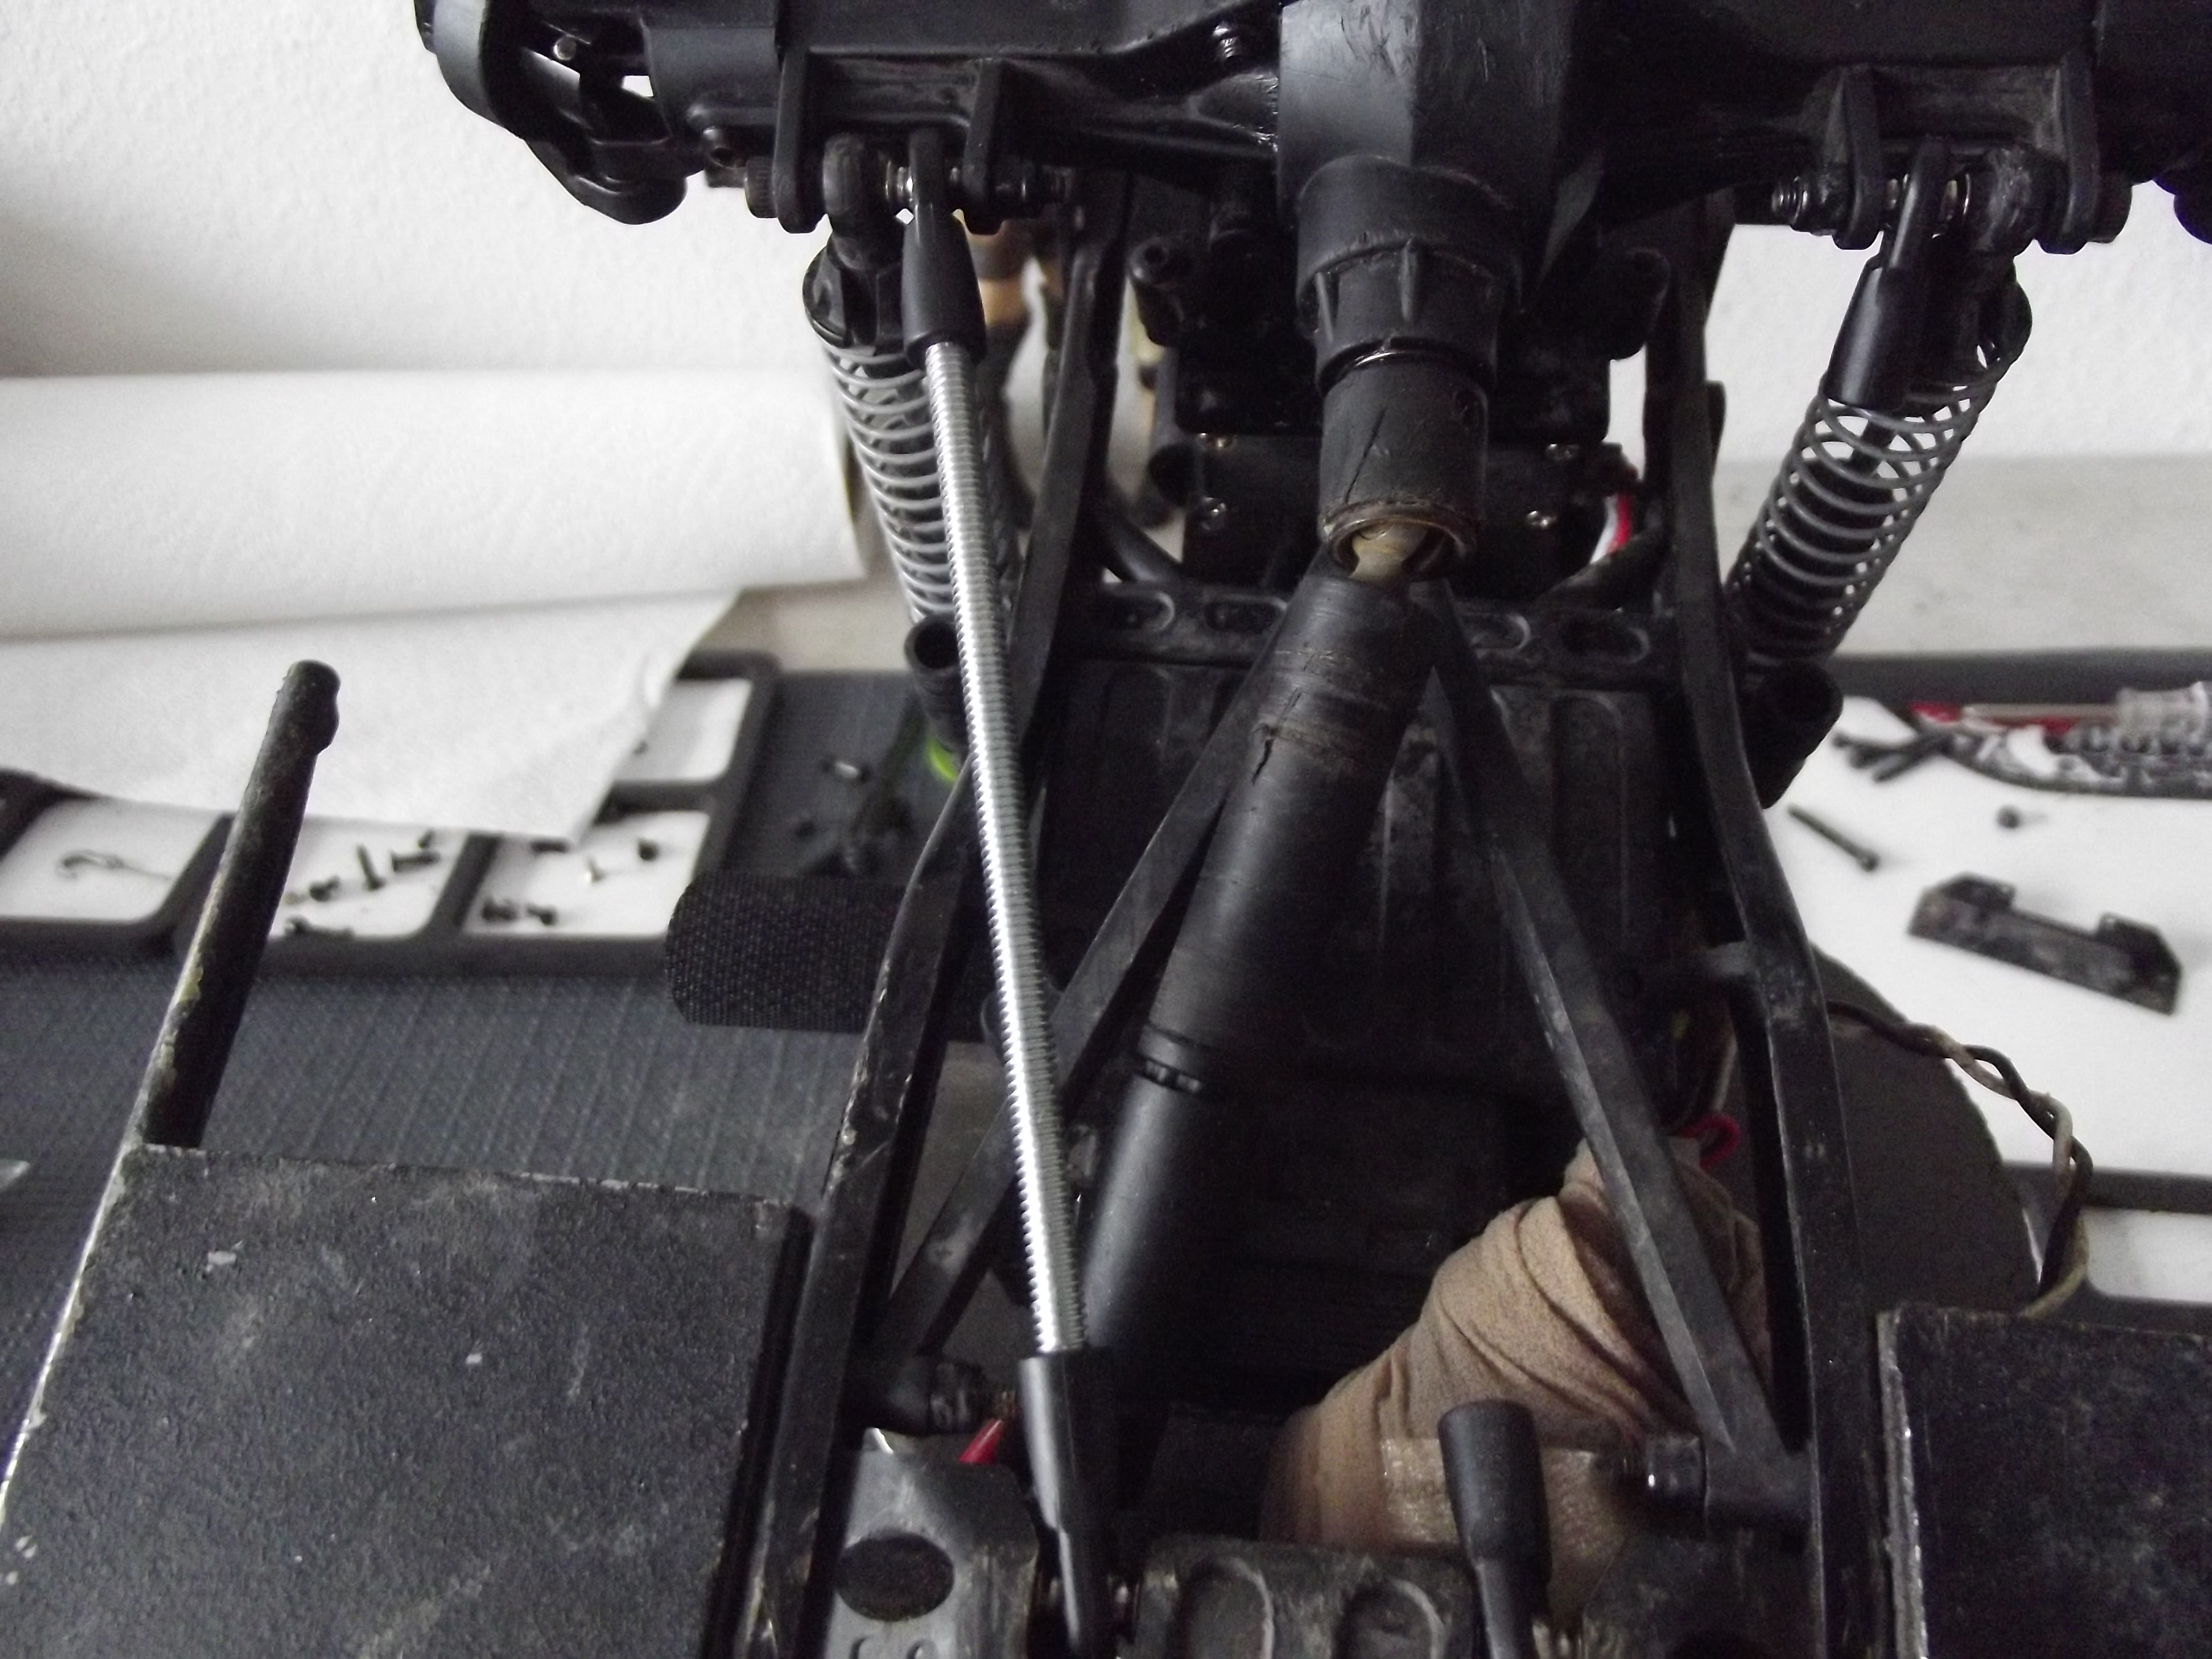
Now you can remove the link you made and use it to make the matching one for the other side.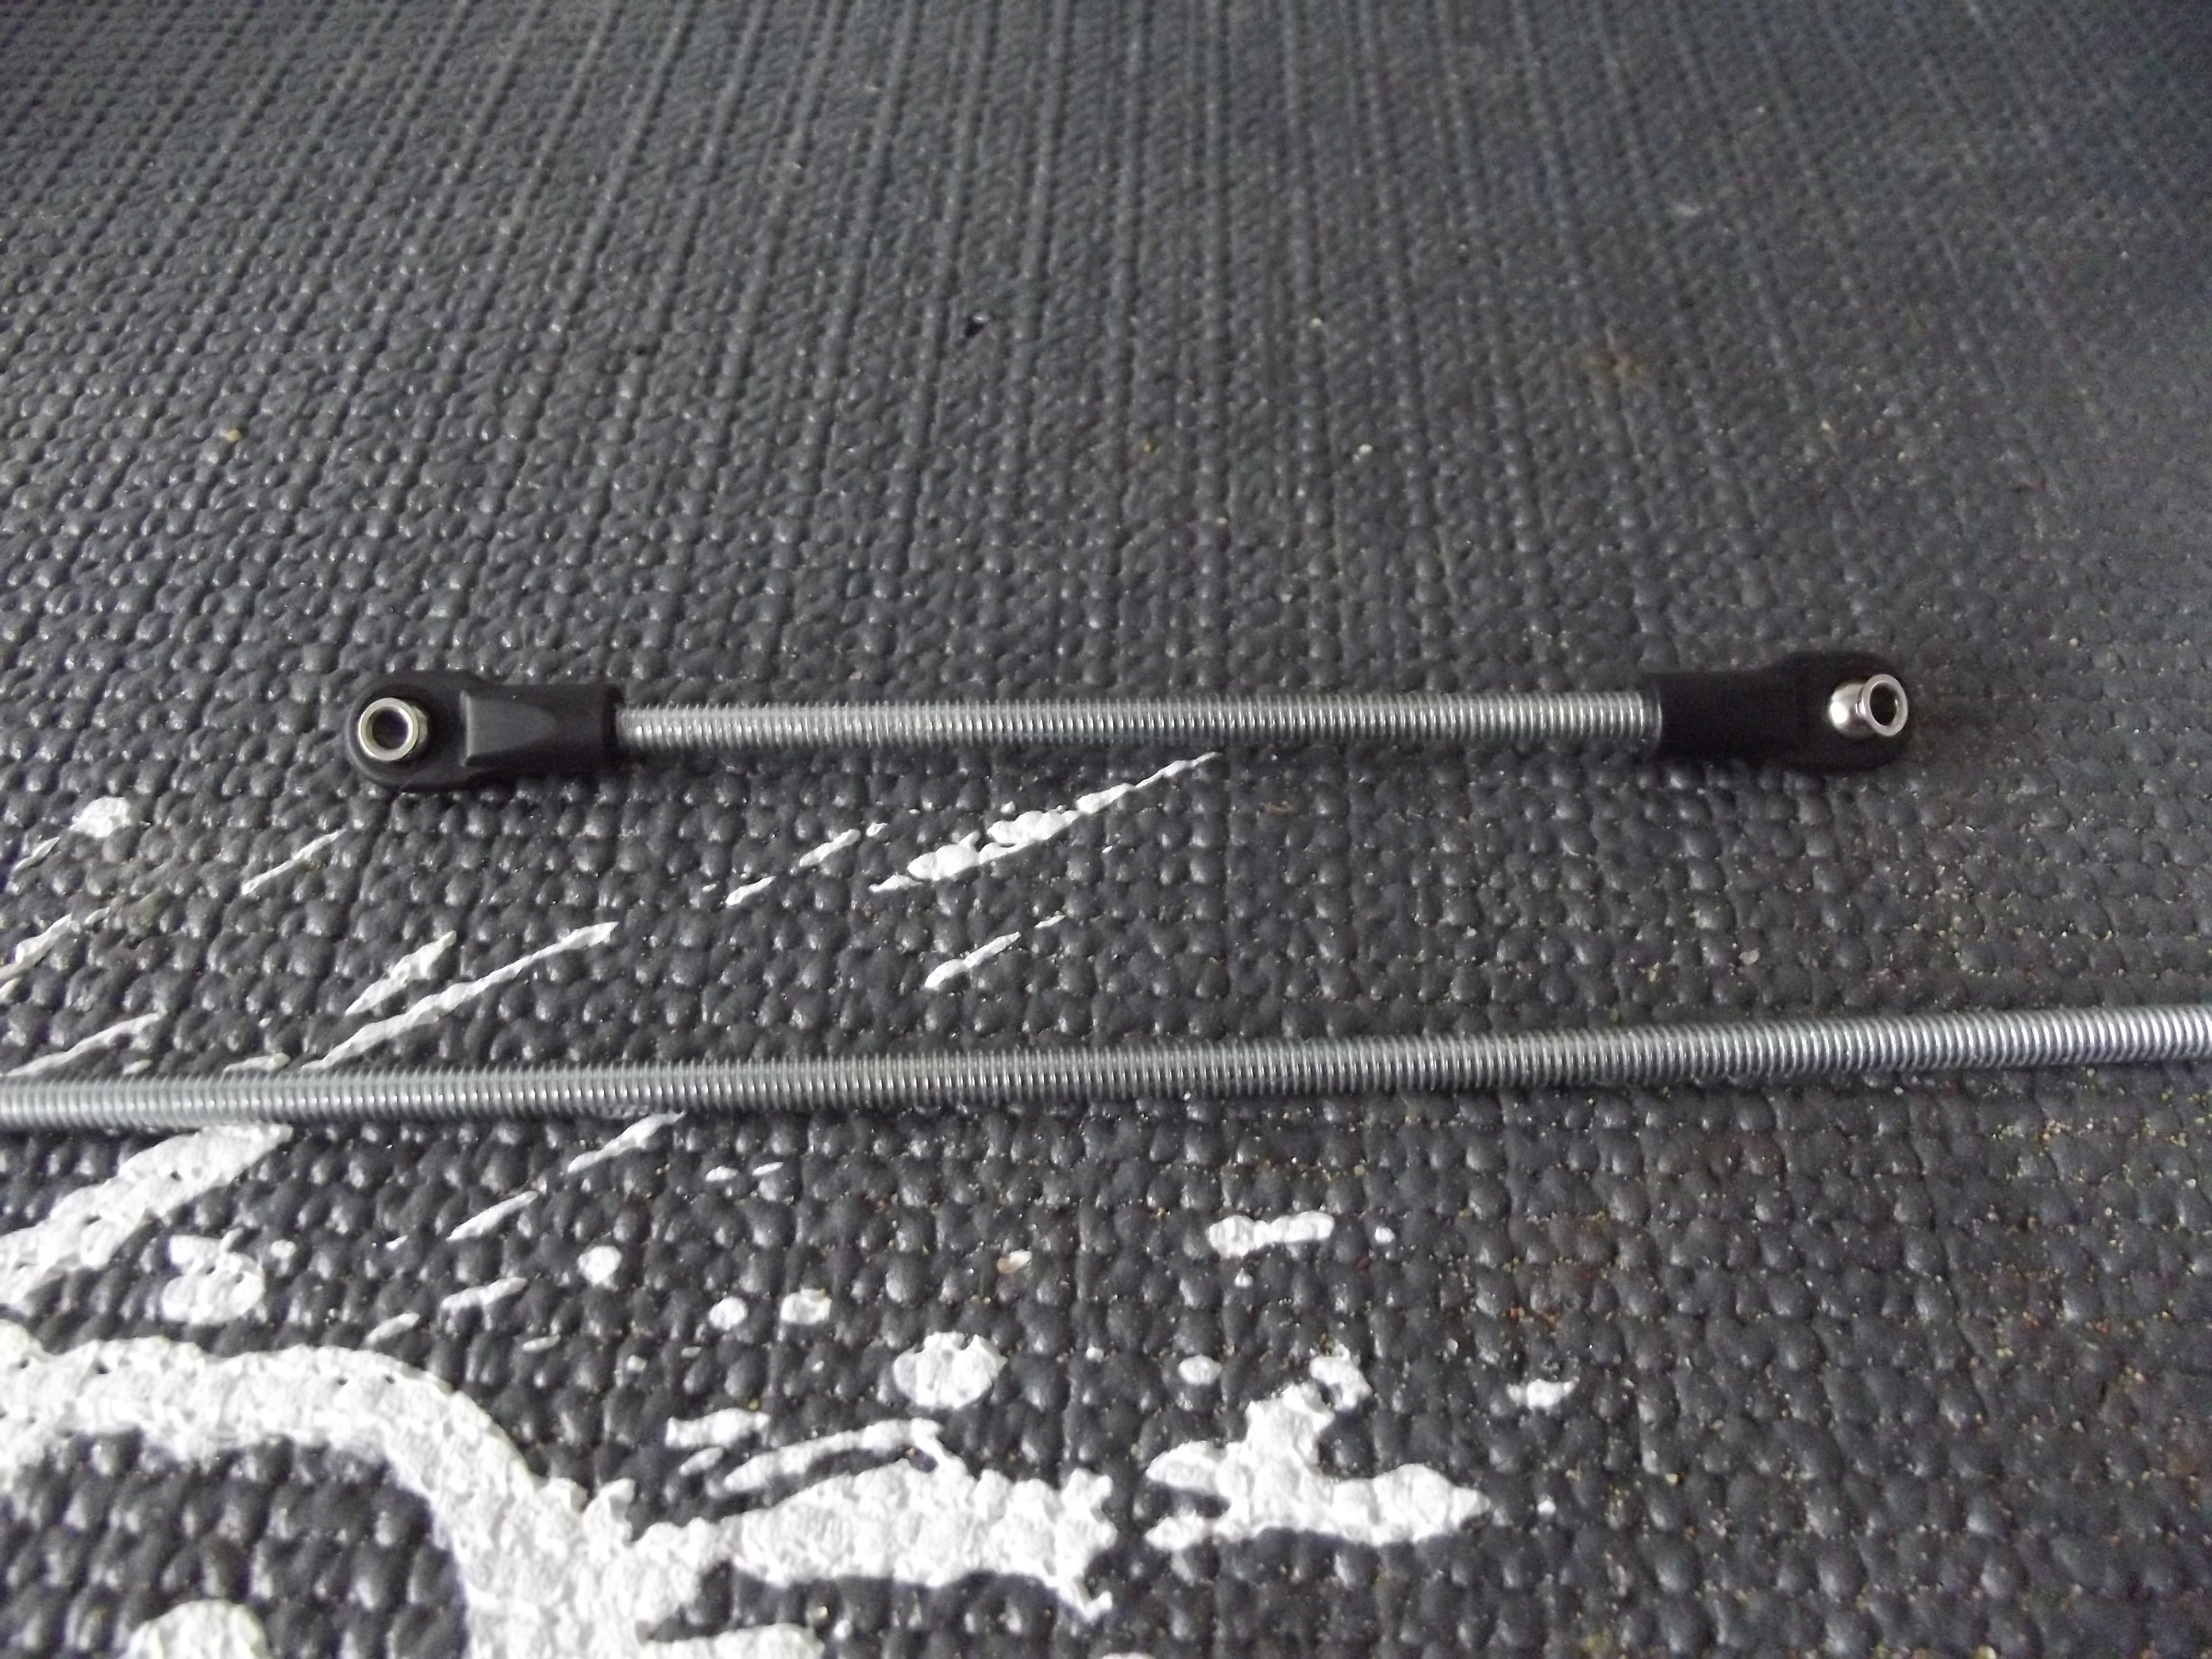
These are both of the front lower links. Make sure they are exactly the same length.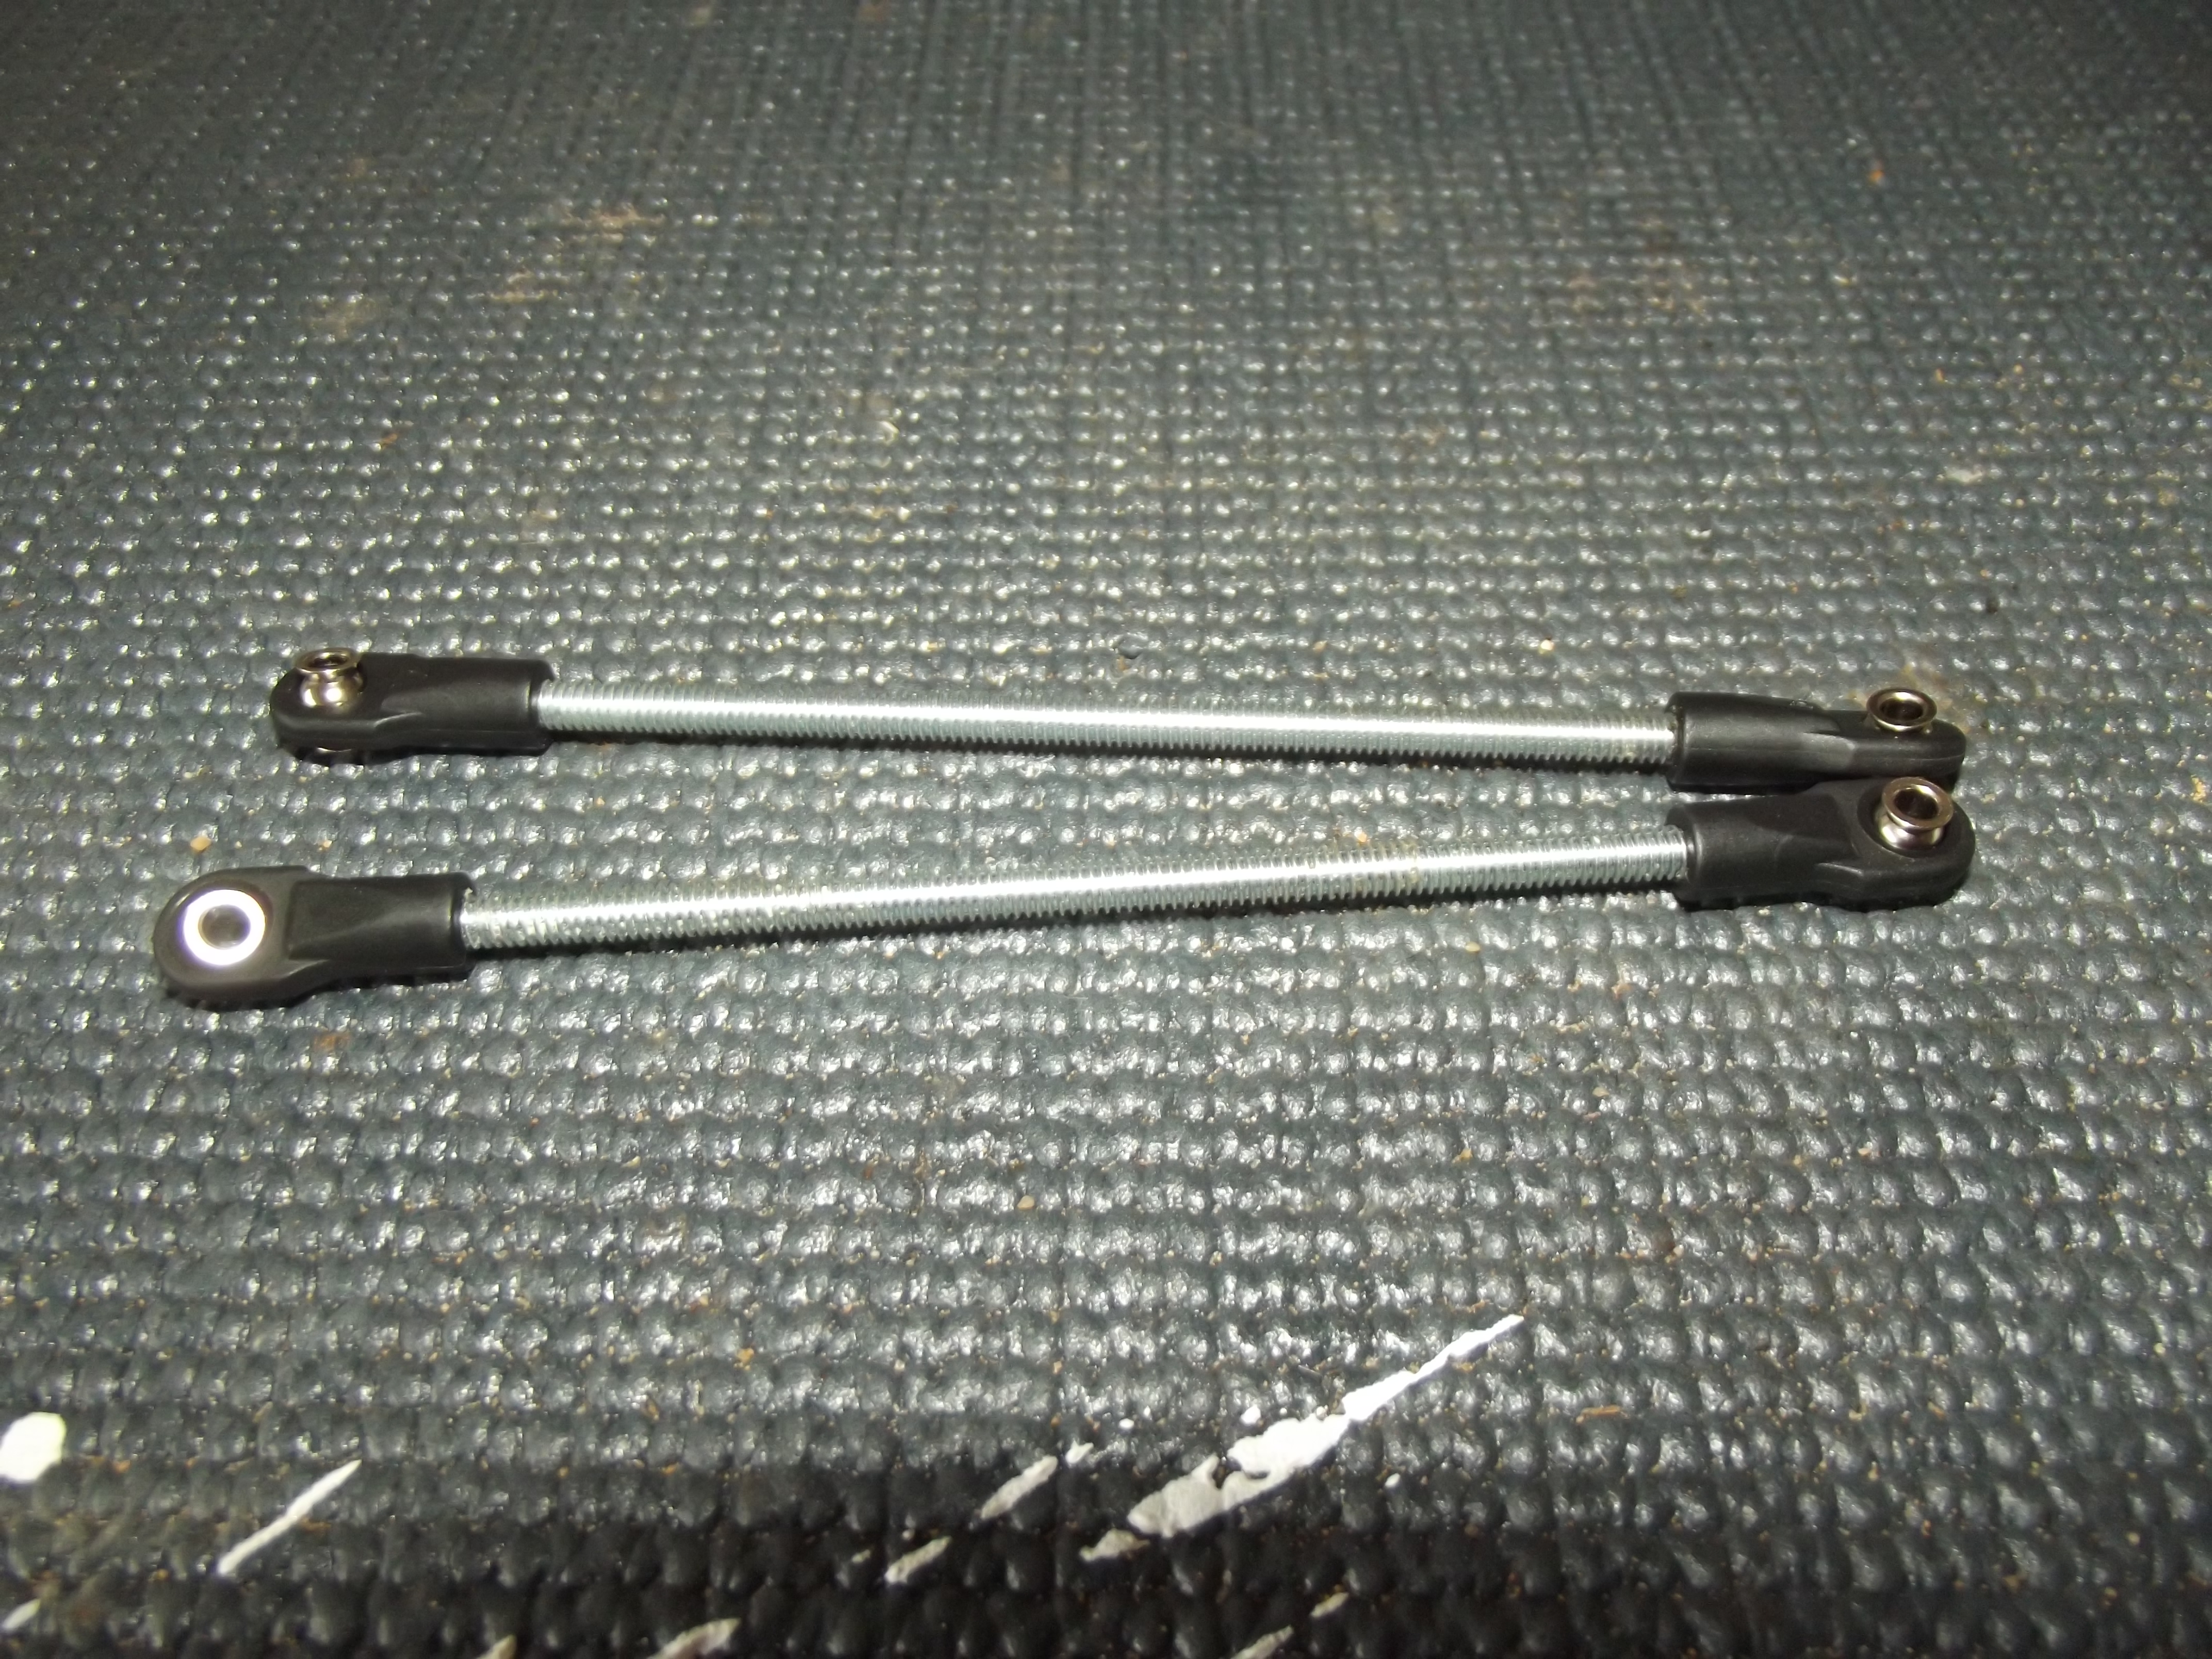
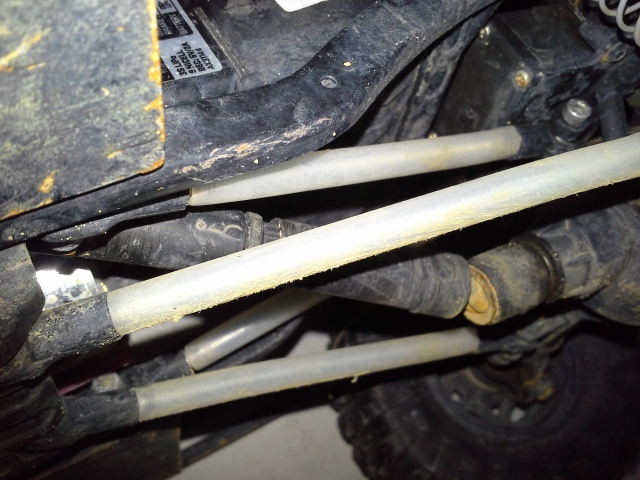
Next we’ll protect the threads from damage. There are several ways to do this. In this case, we used hard plastic tubing. This is the tubing you might use if you were running a water line to your fridge for an ice maker. We picked it up at the local hardware store.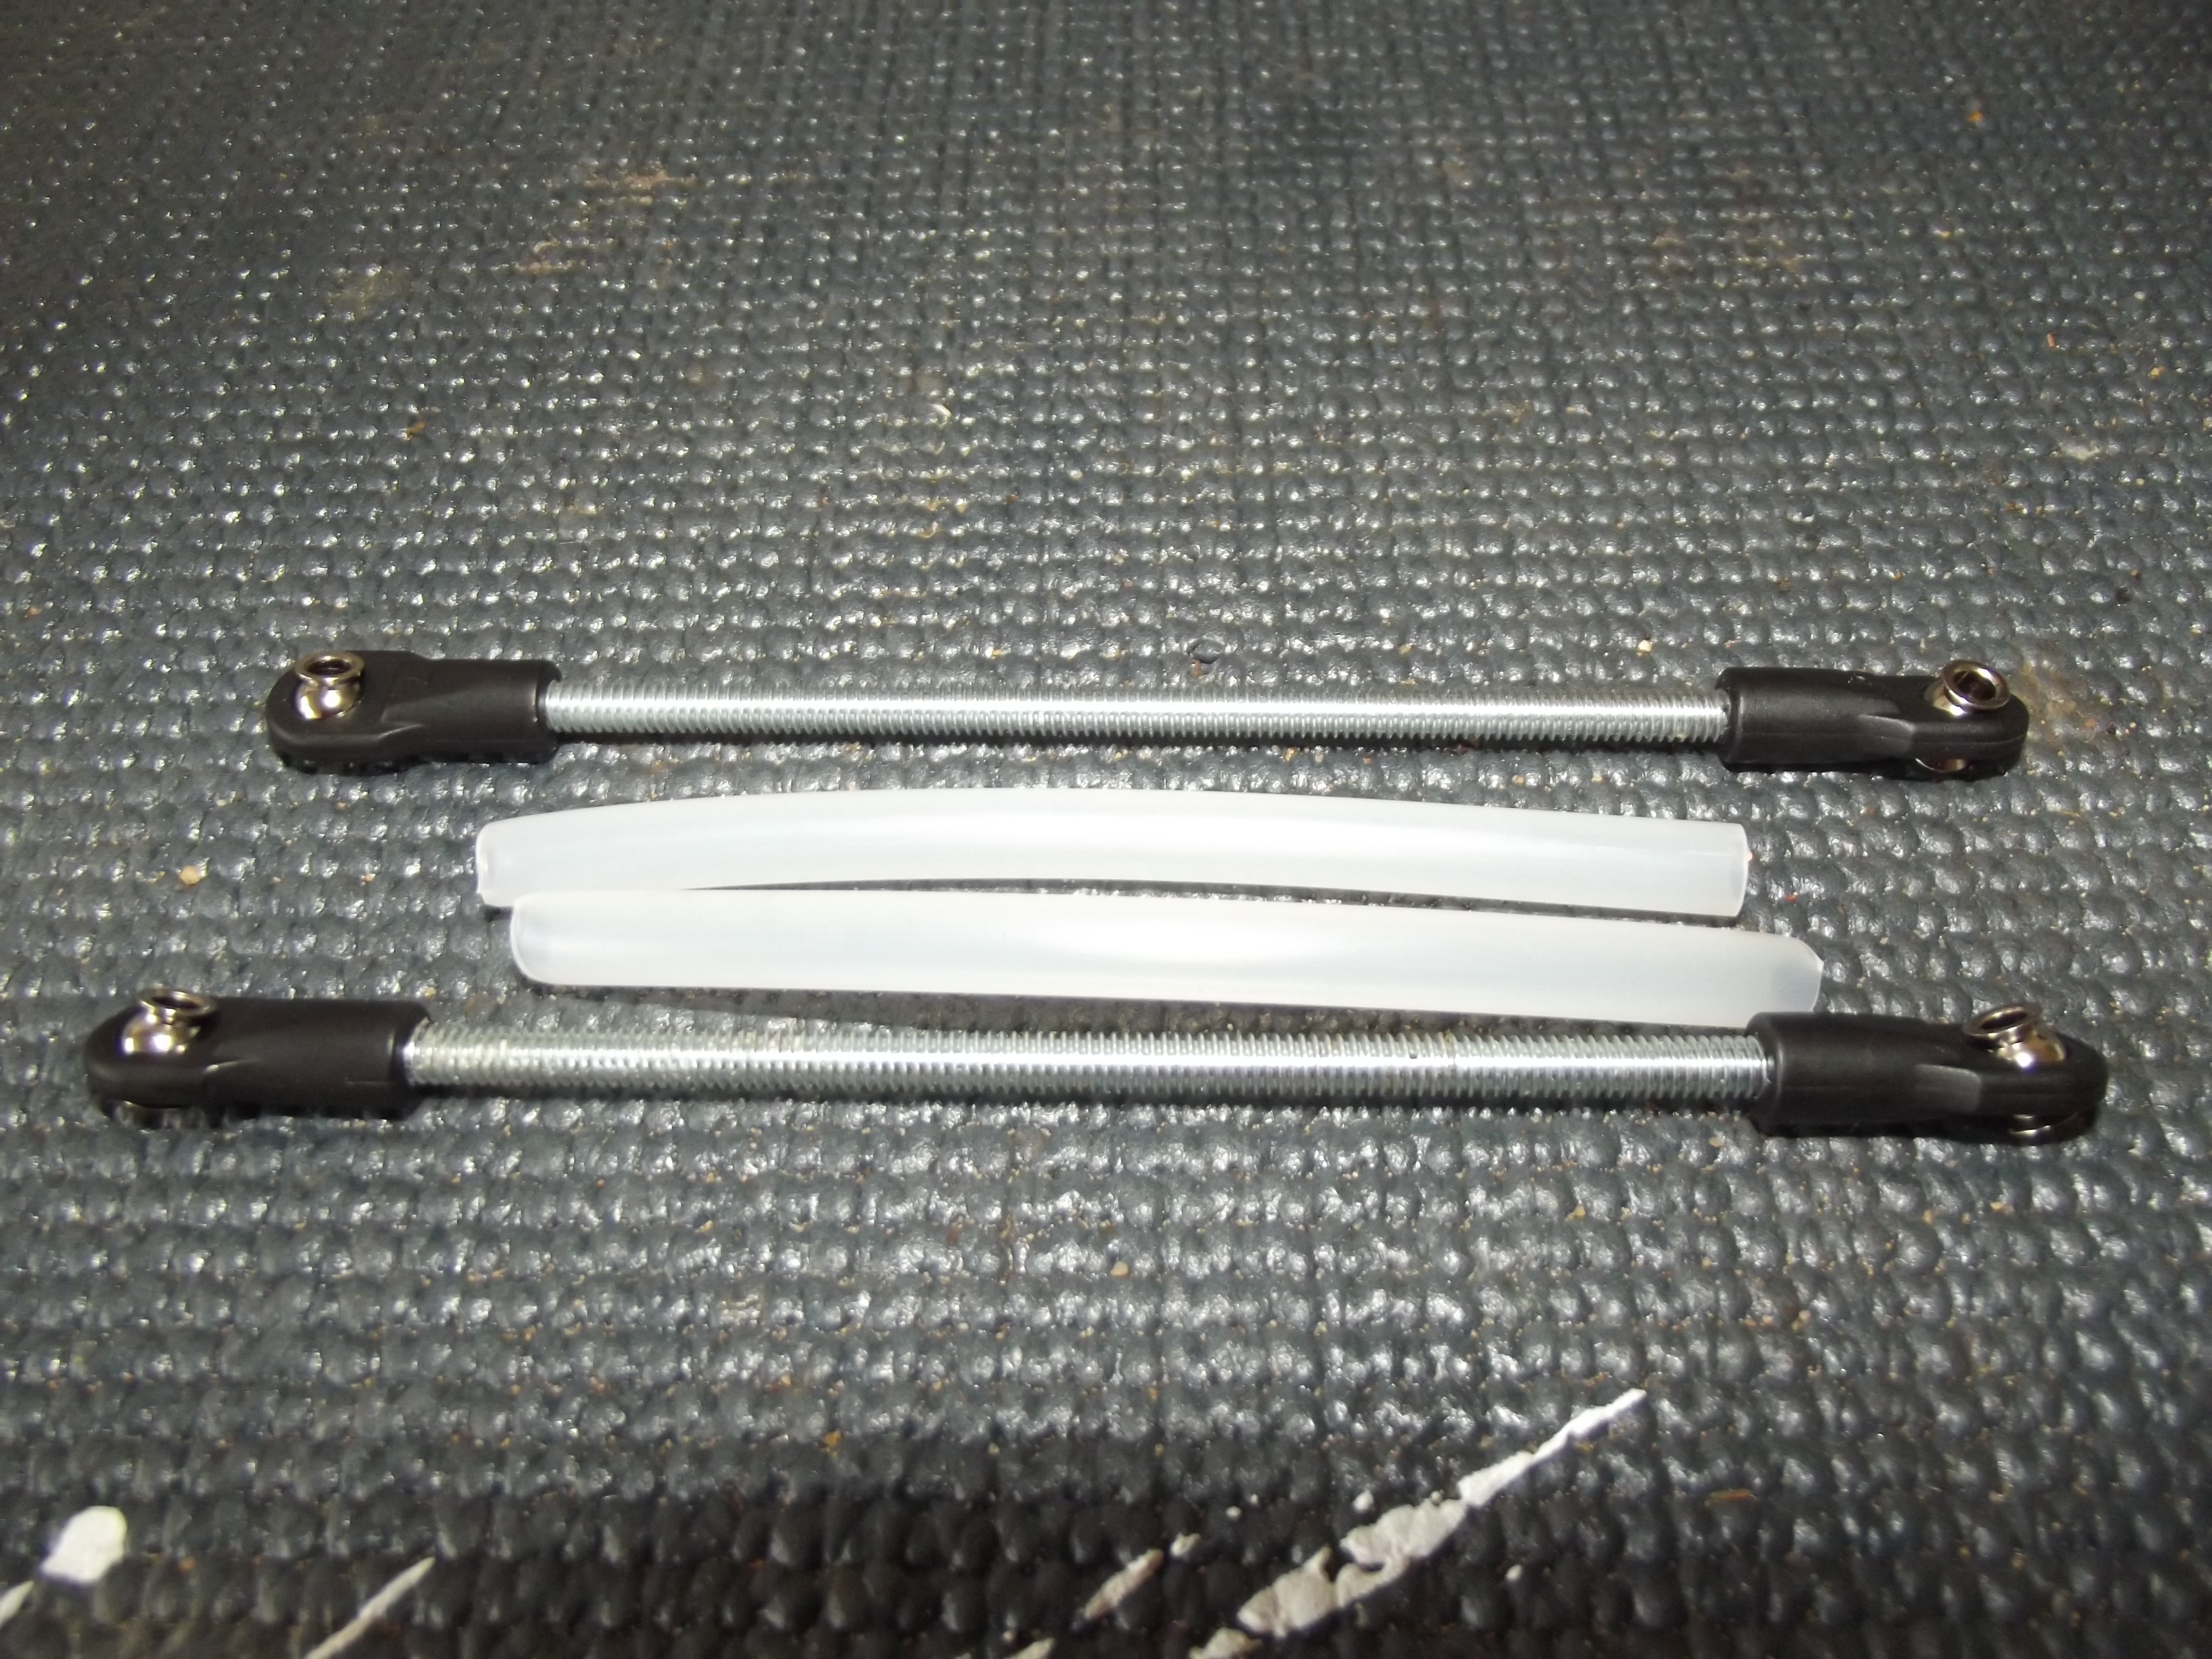
I marked the threads with a marker at the link end so I could screw it back on to the same length. Then I cut the tubing to the length needed to fit.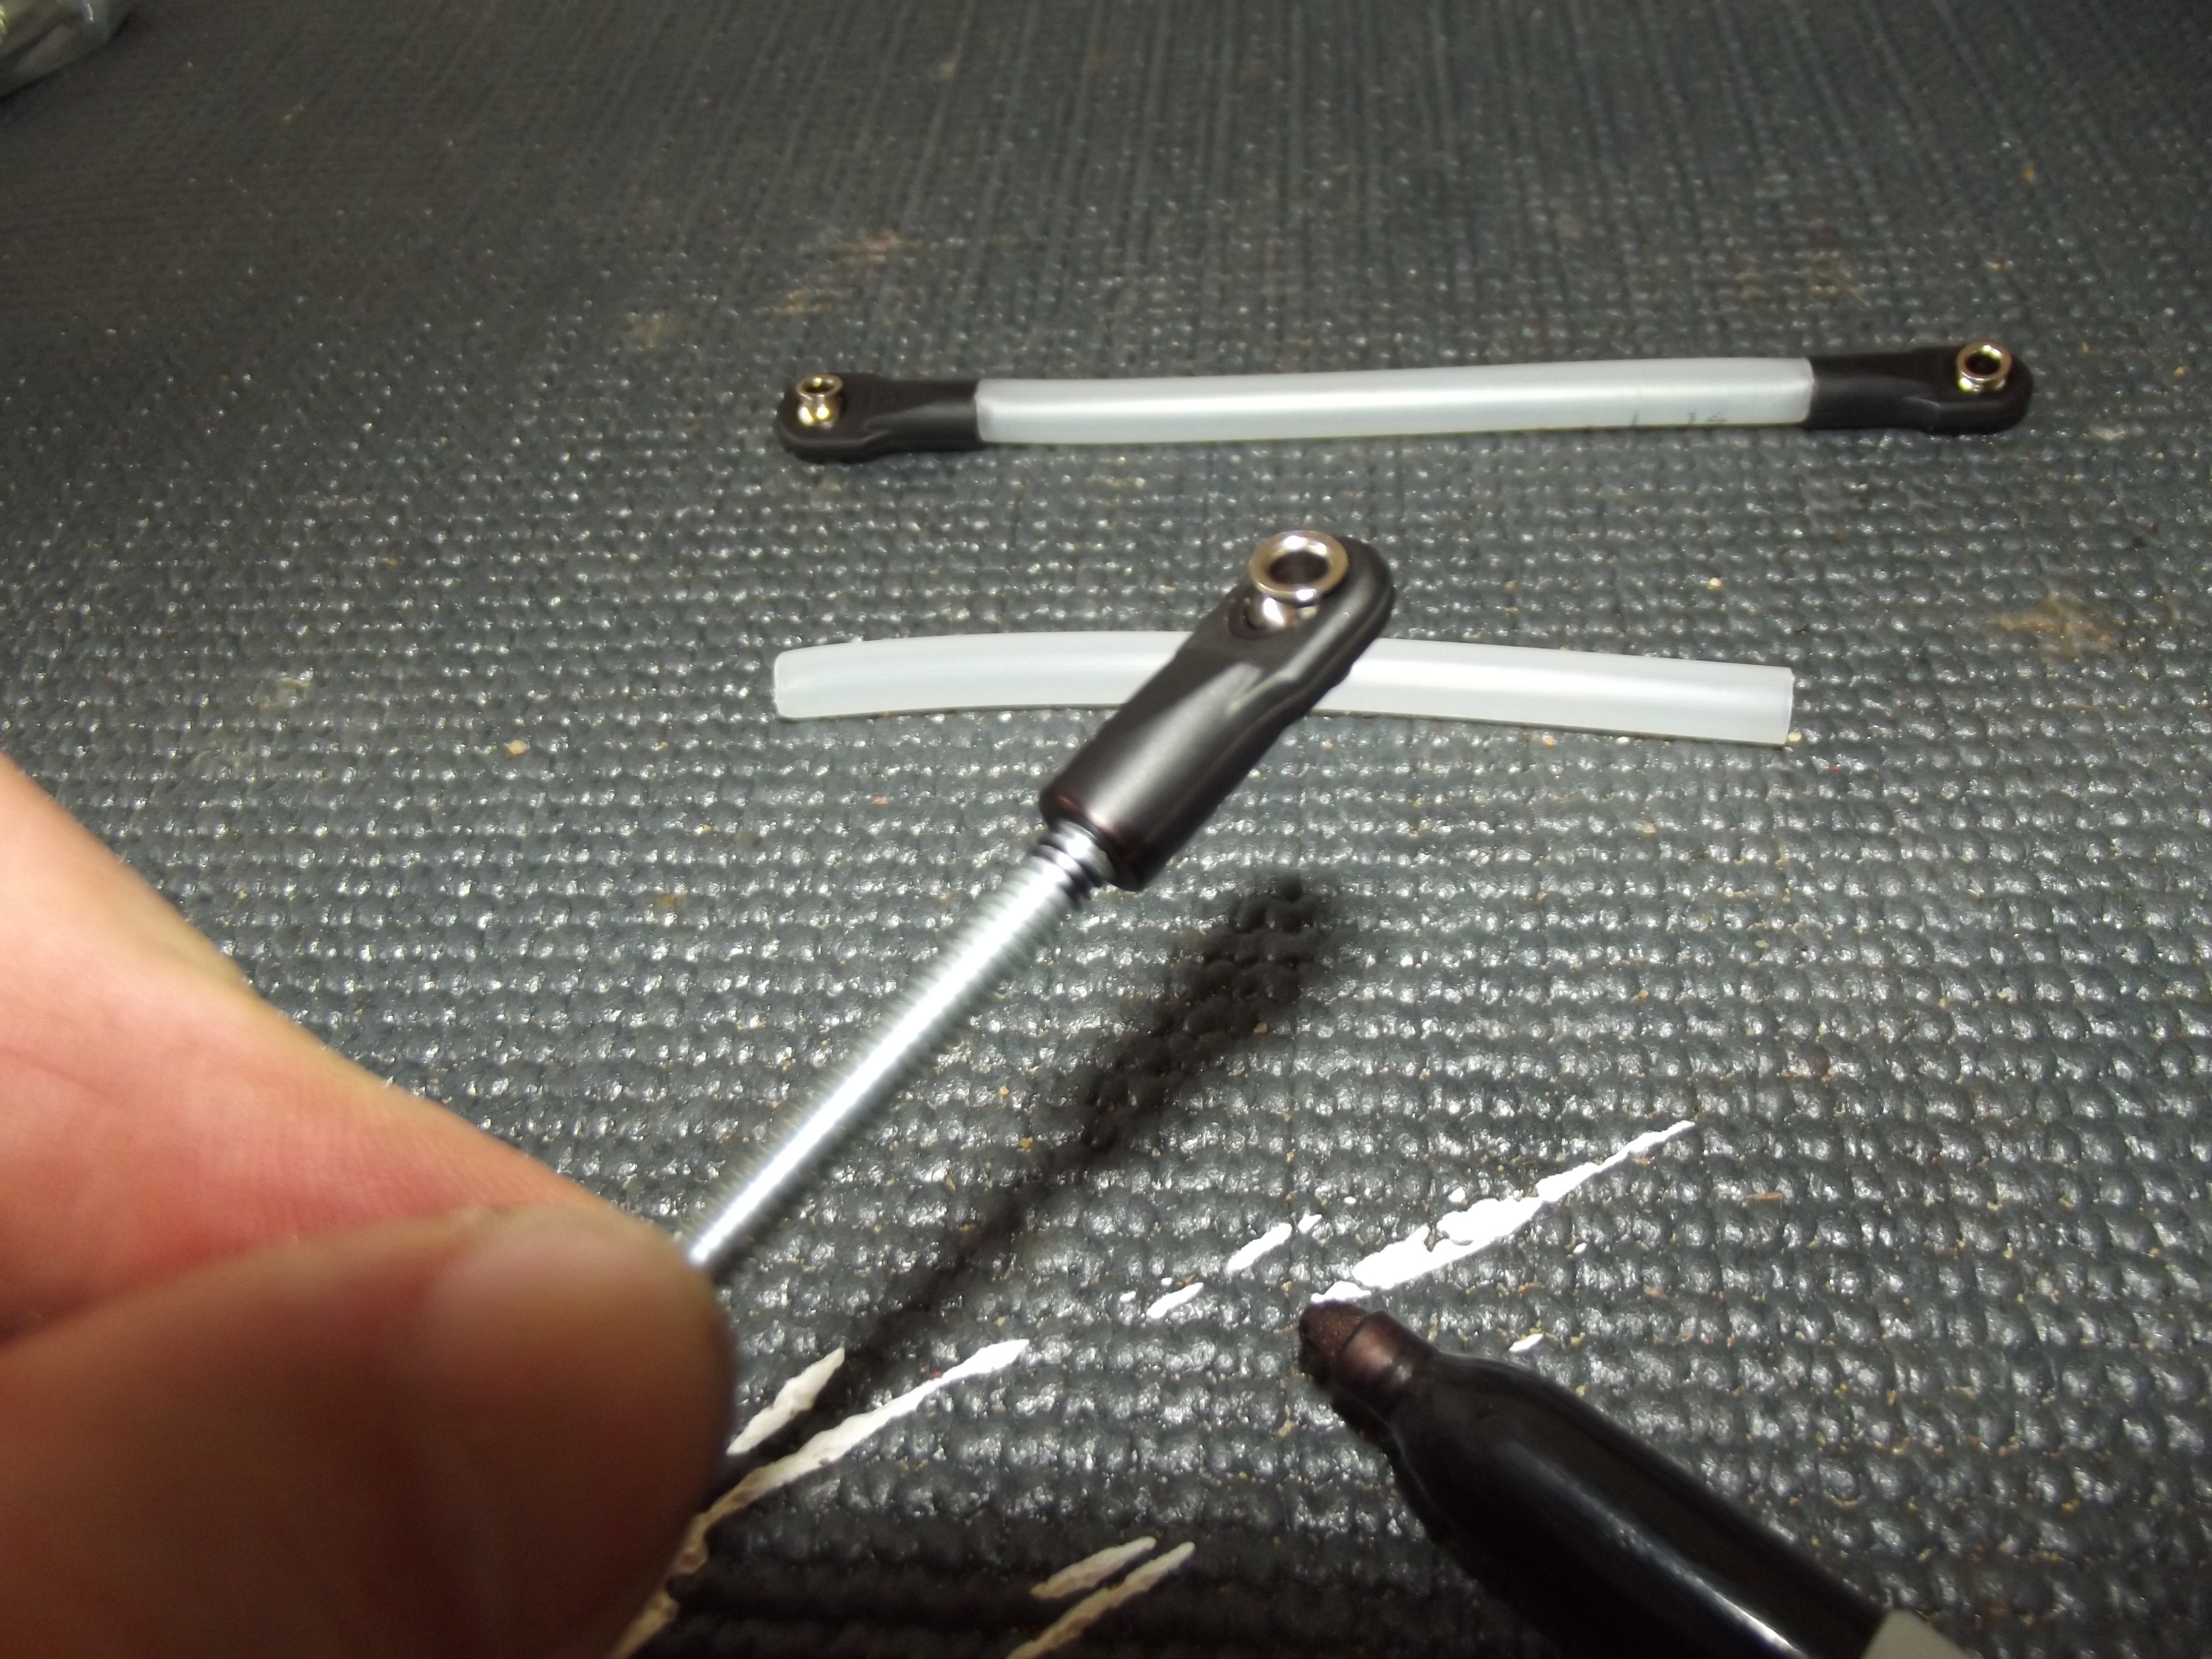
Remove one link end, and slide the tubing over the thread. The tubing we use is 1/4″ OD, 5/32″ ID.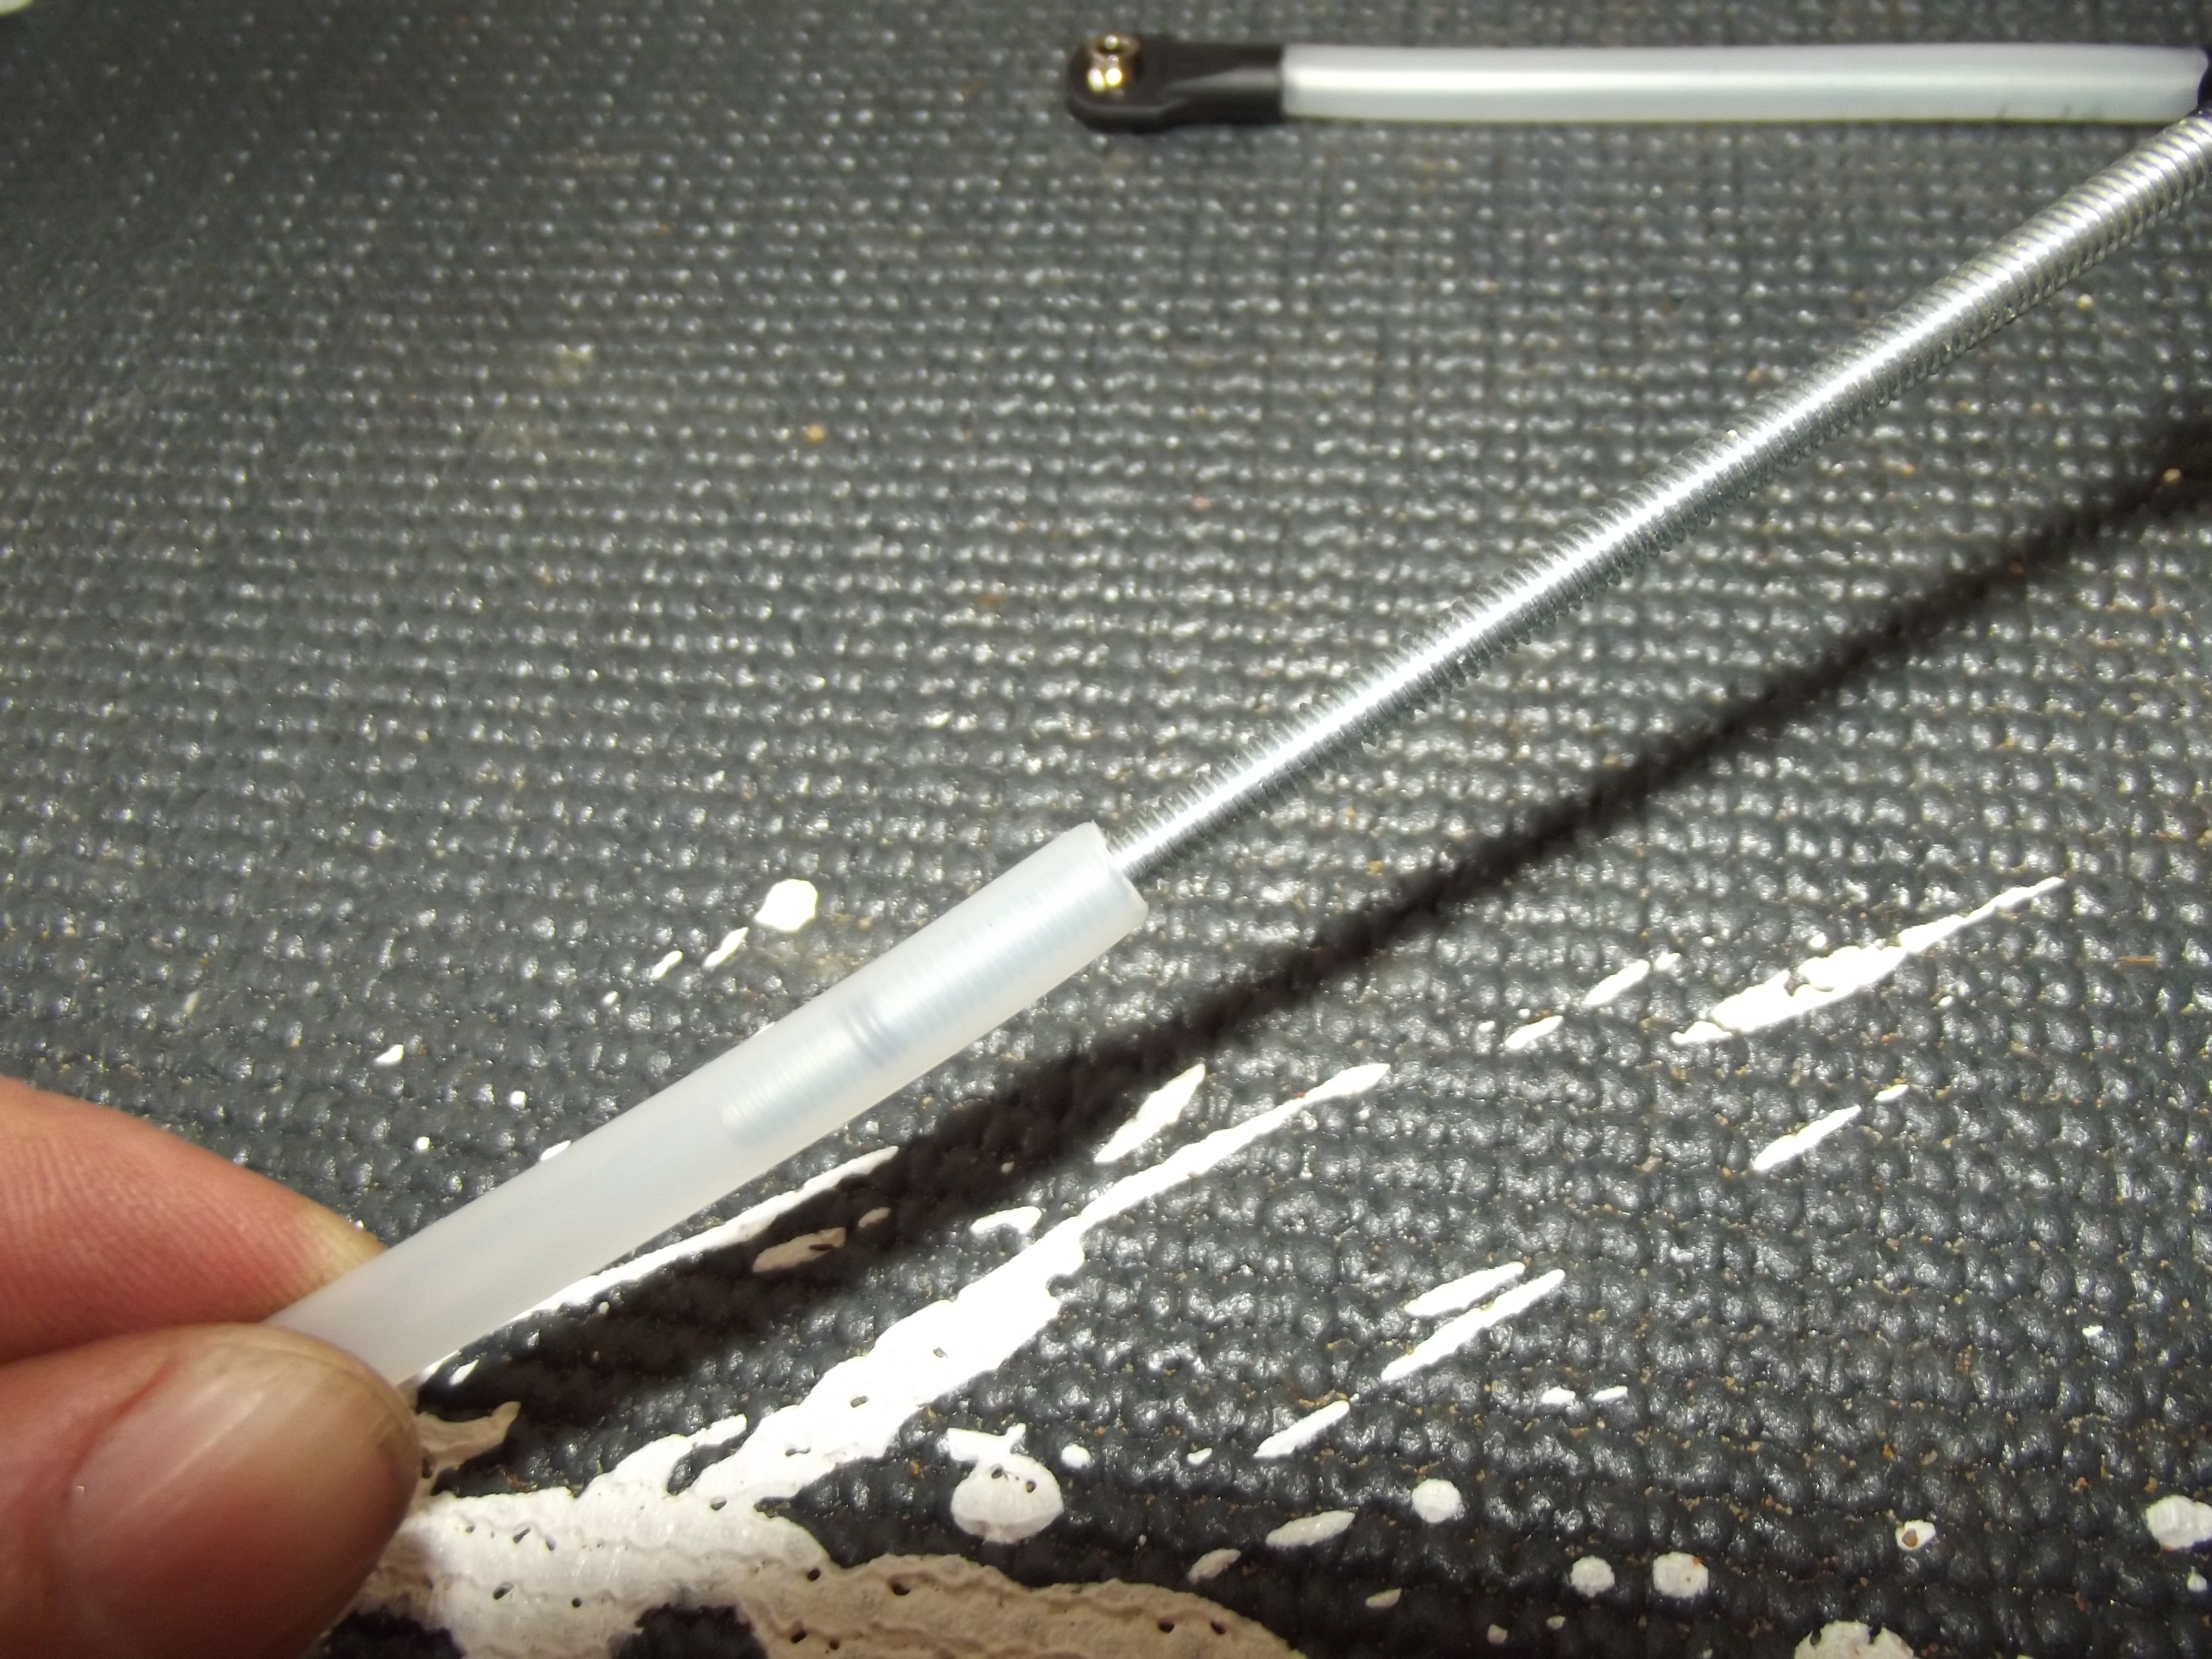
Here’s what they look like complete. The only tubing I could find was an opaque white. I’ve seen others use black tubing,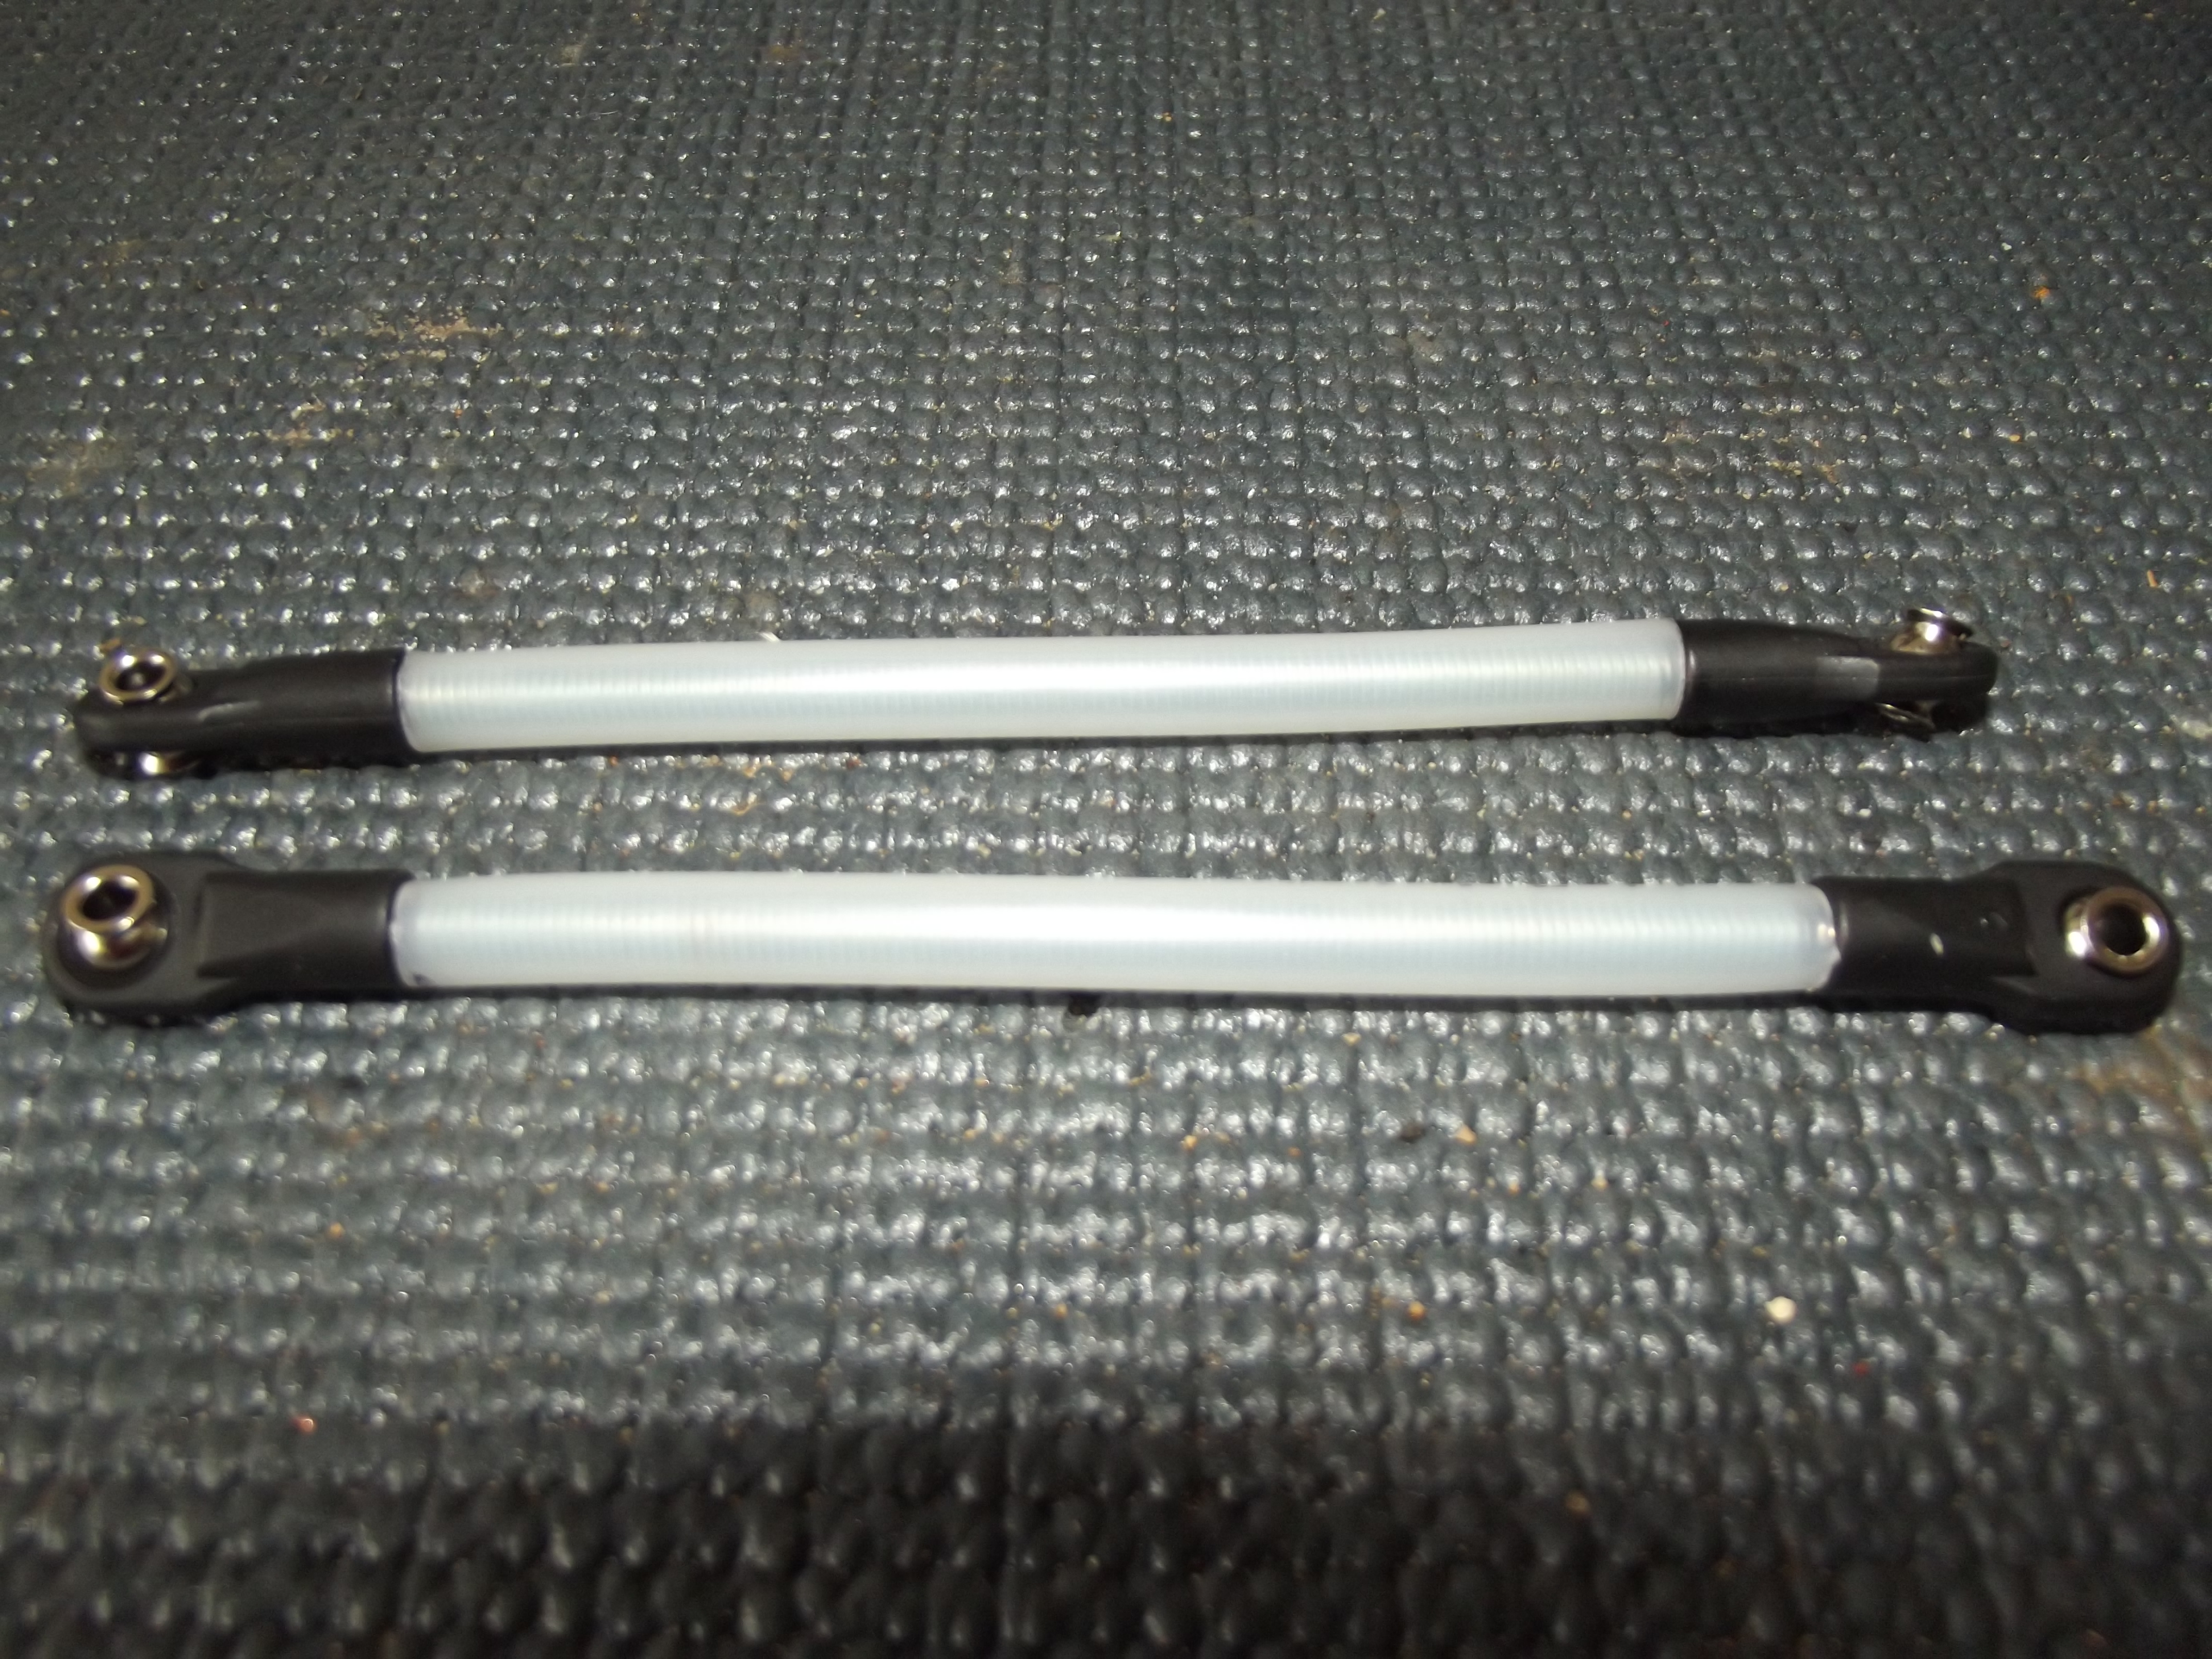
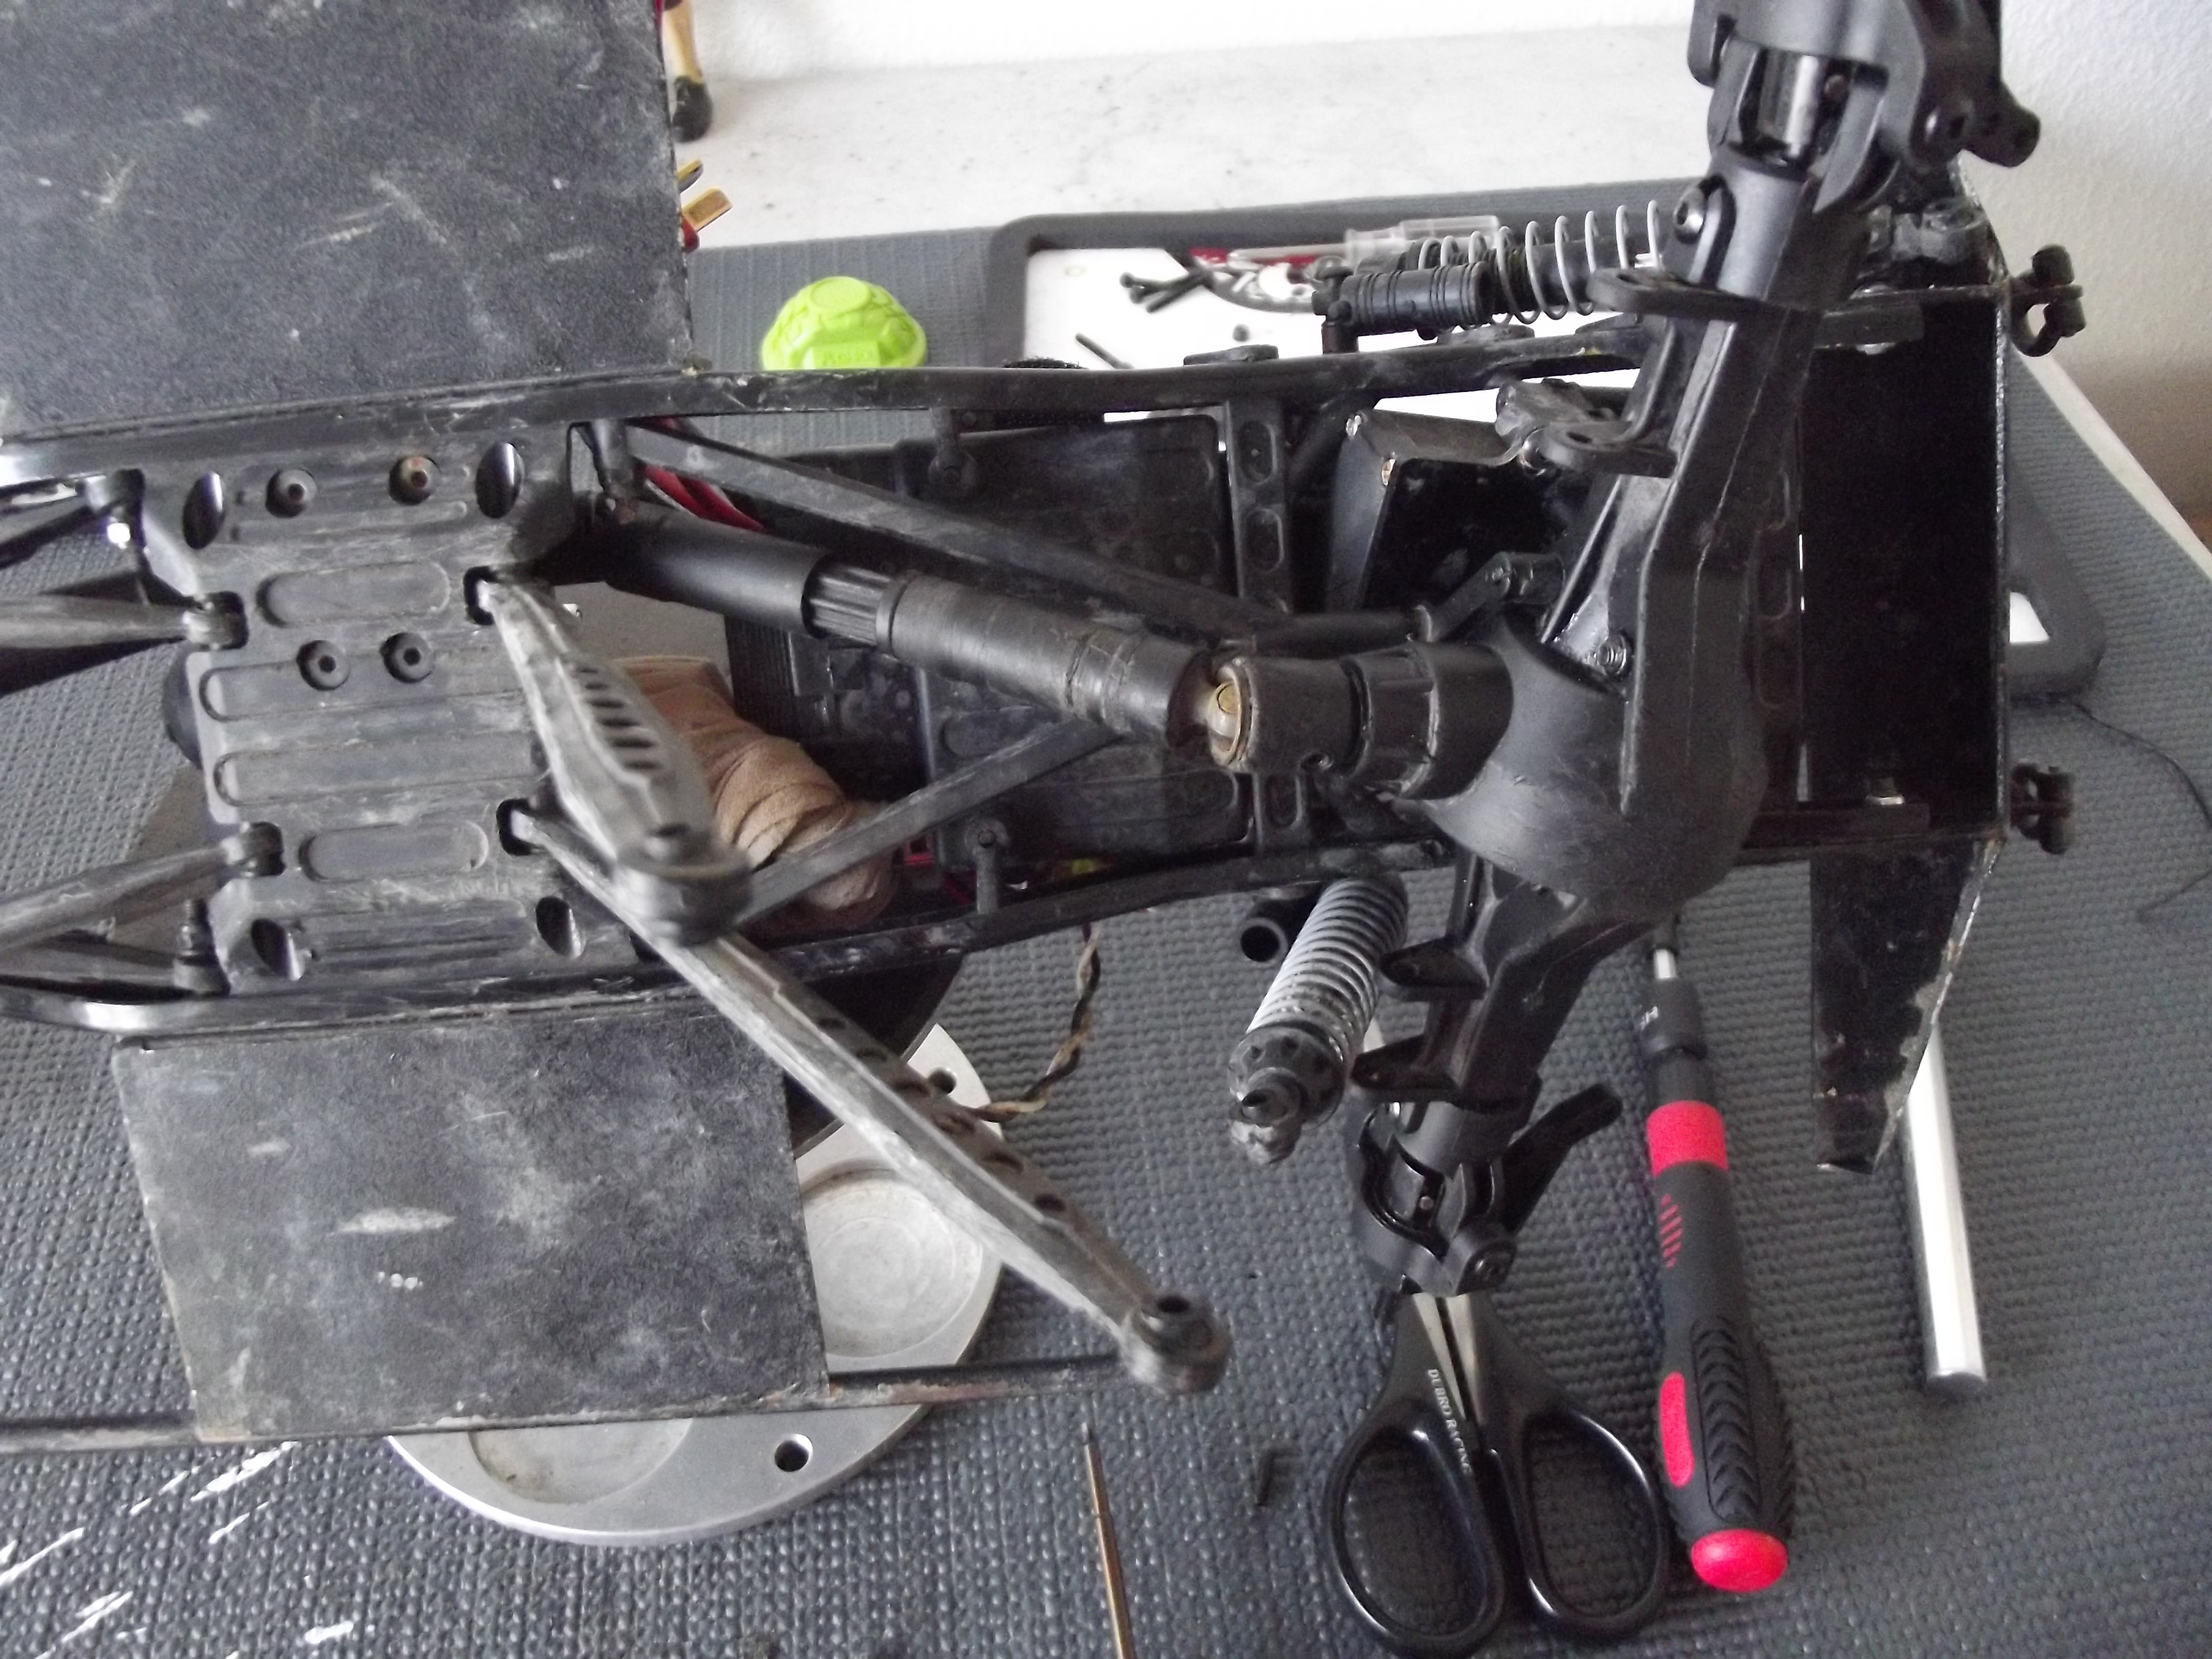
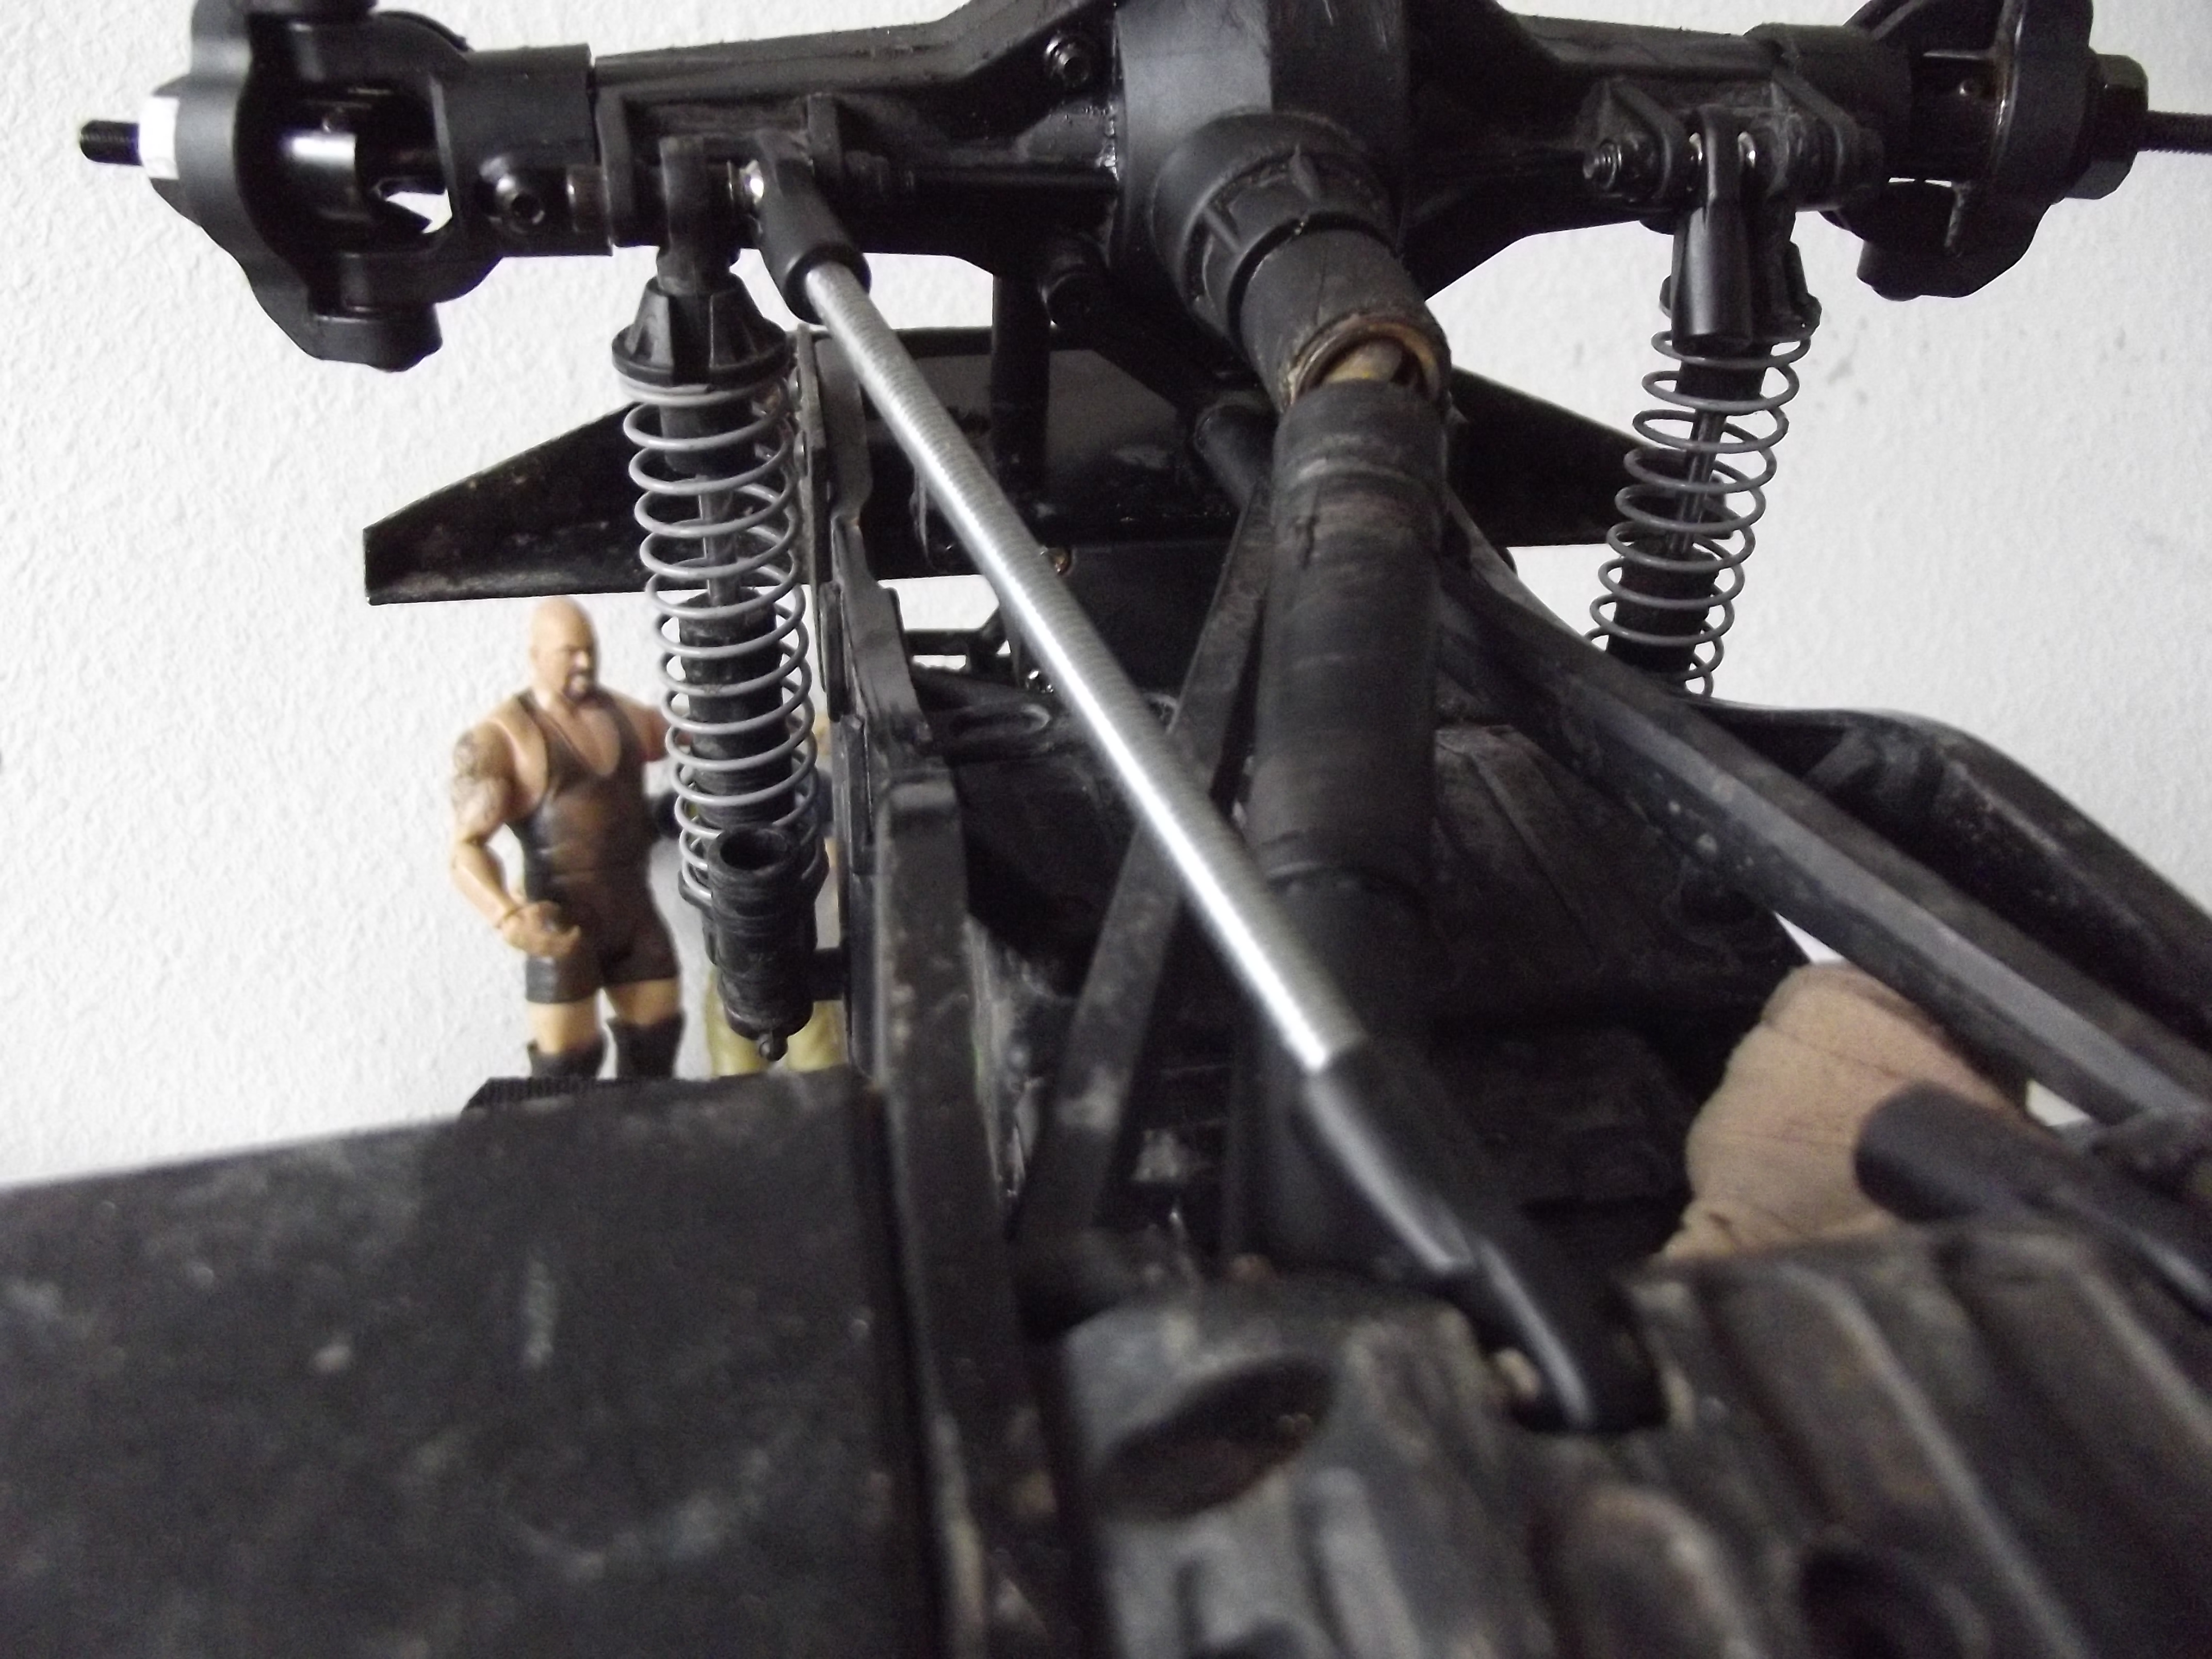
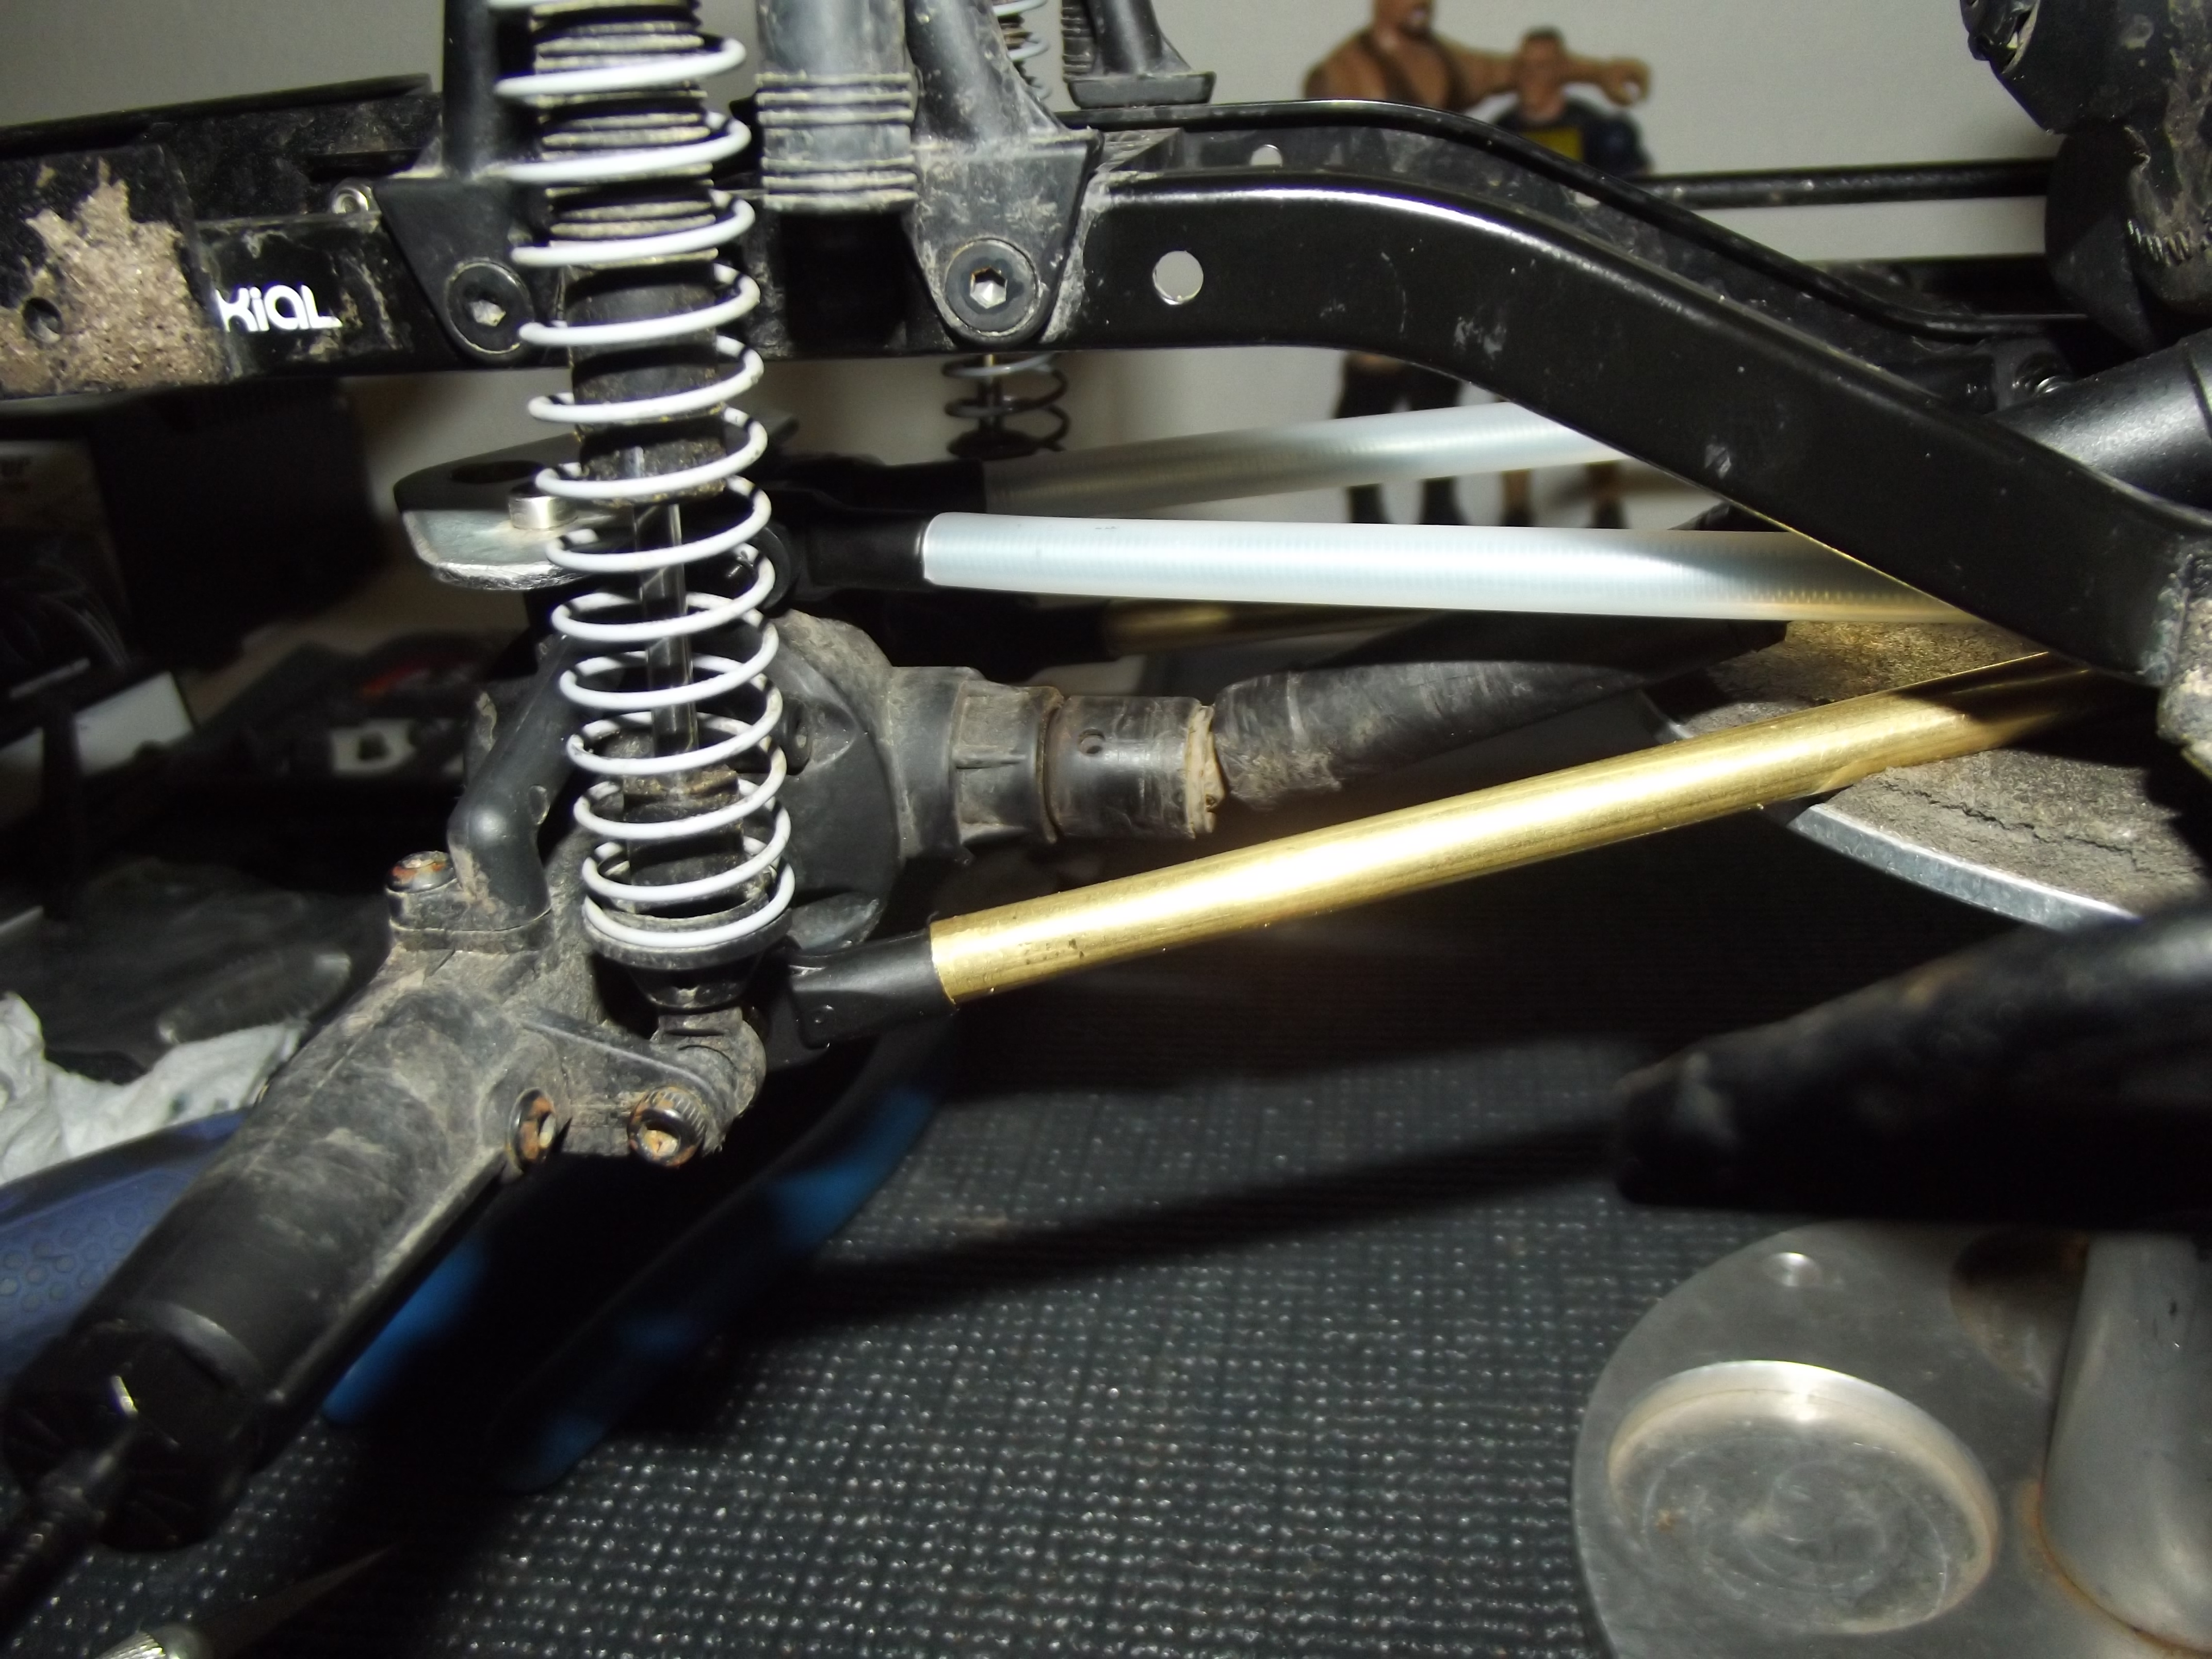
Mounted on the truck, make sure your axle lines up where you want it.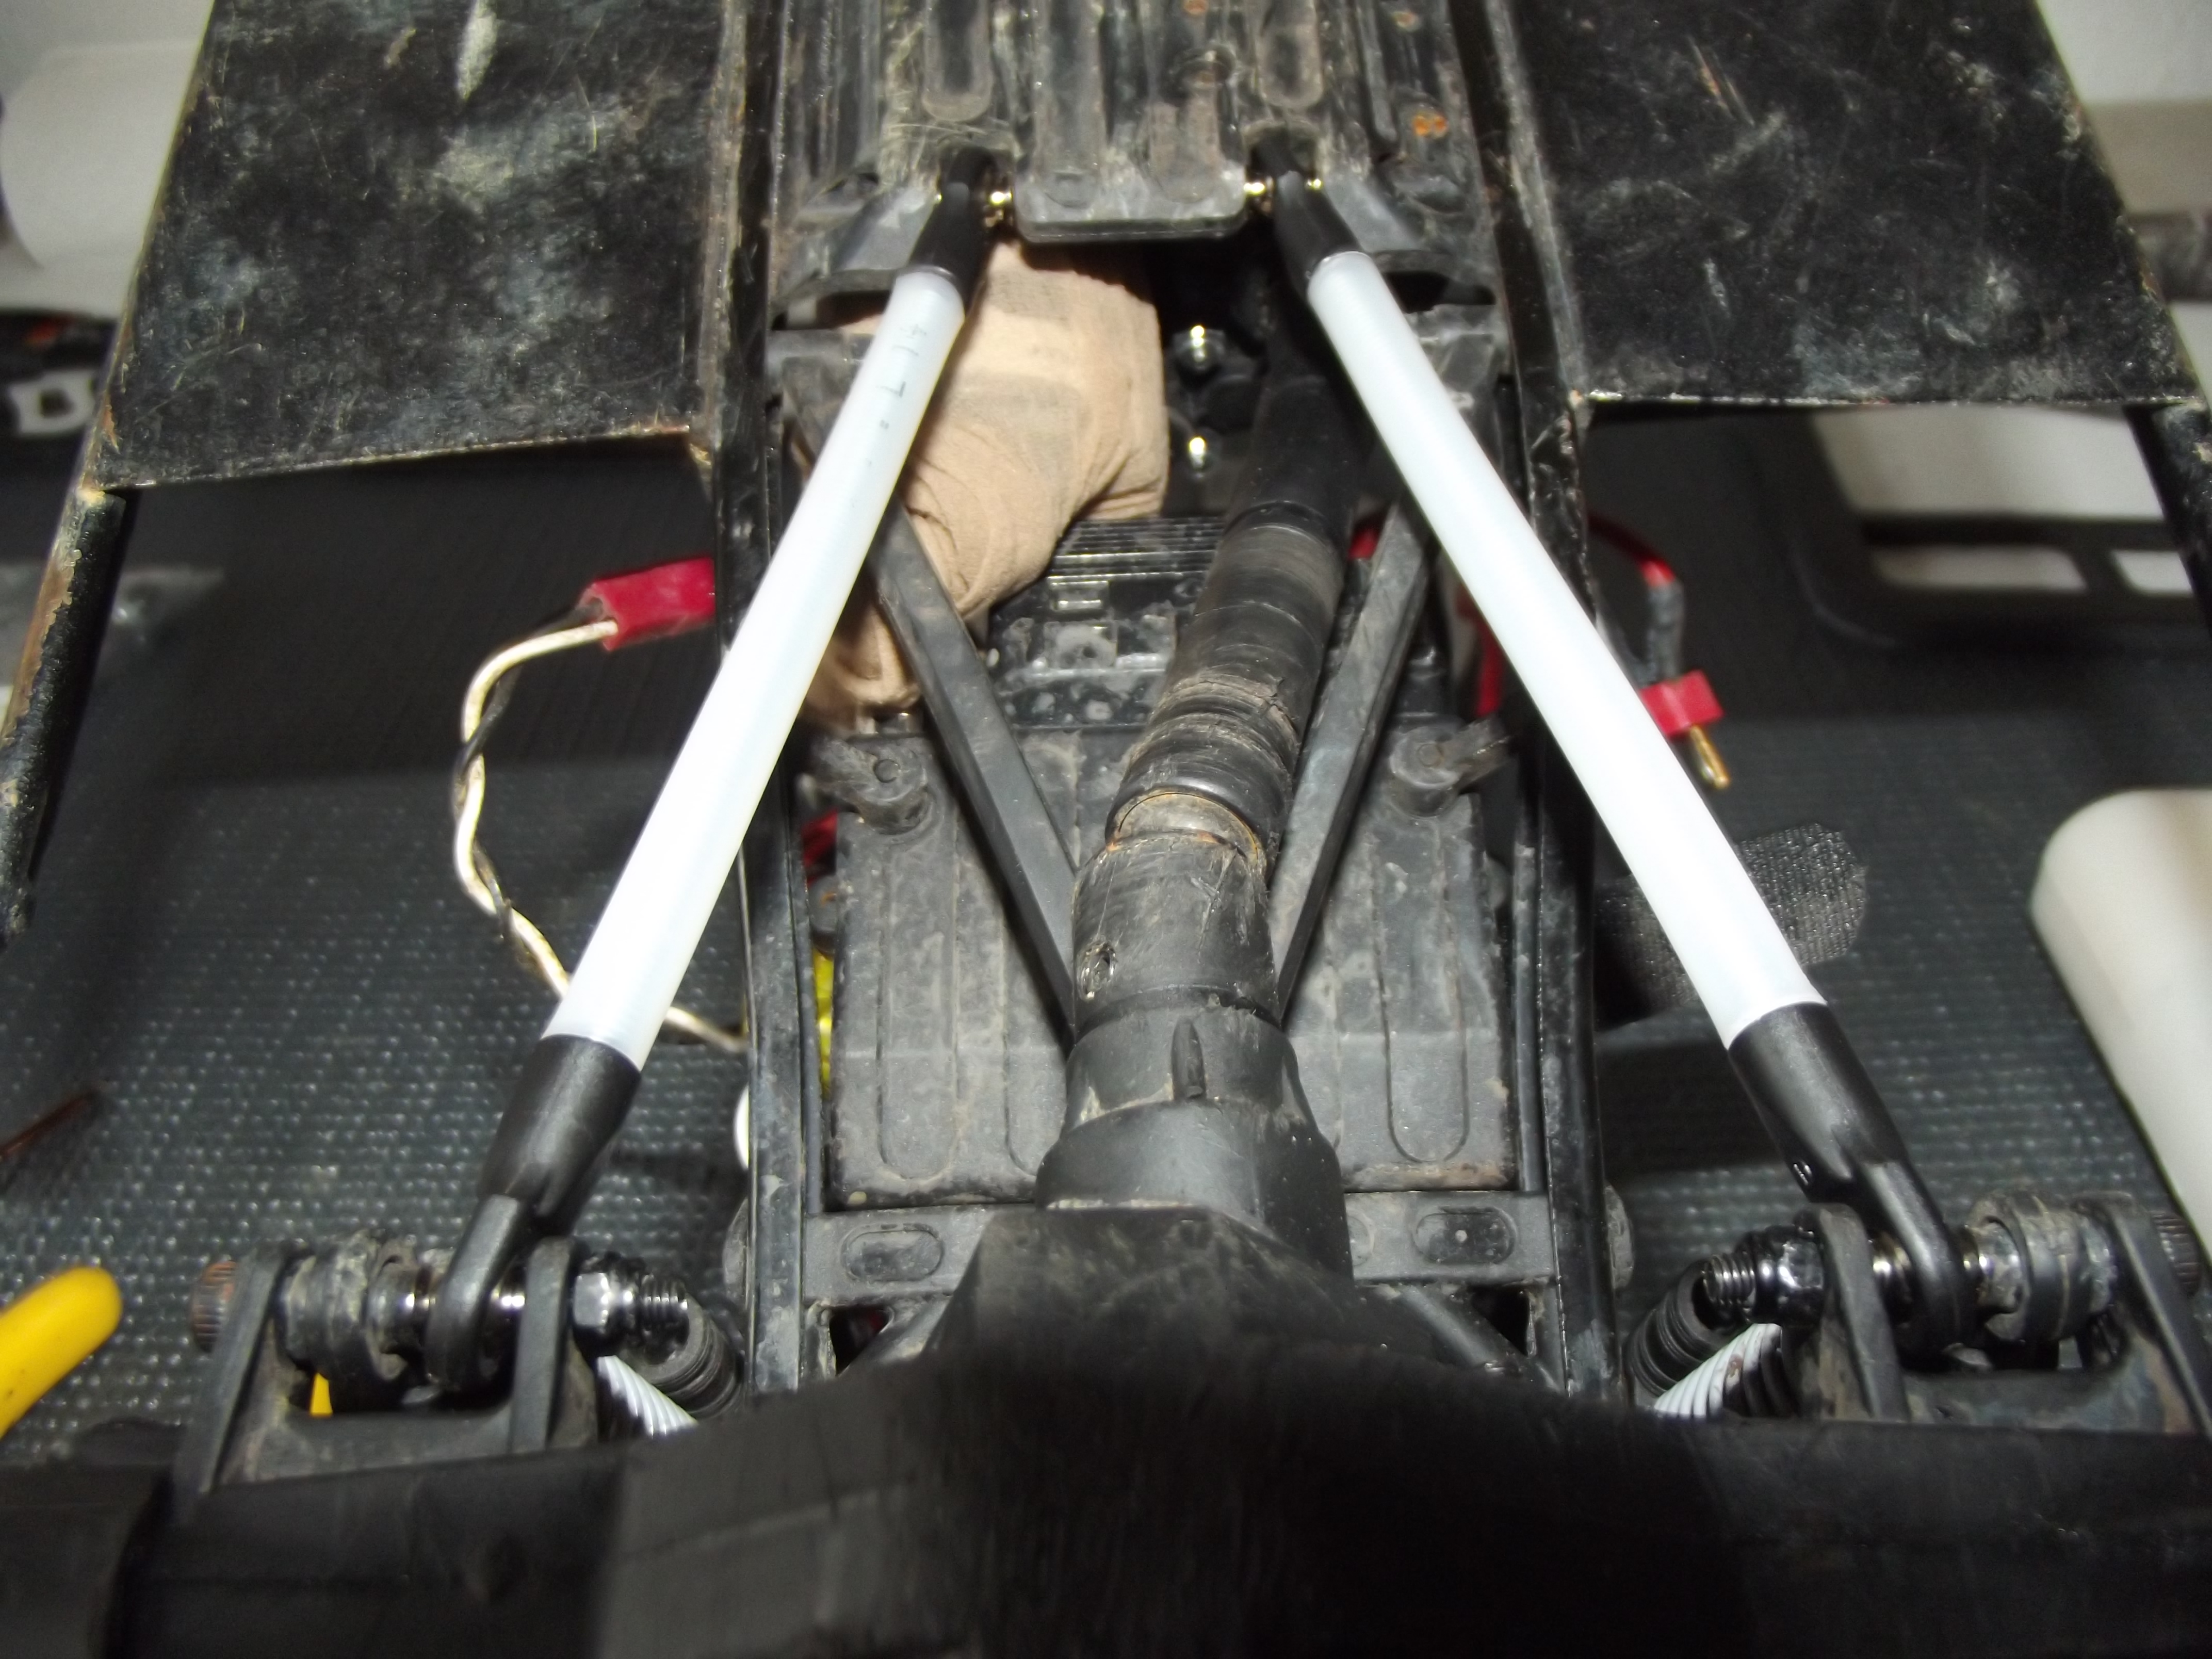
Also check your driveshaft angle. You don’t want it so extreme that it binds.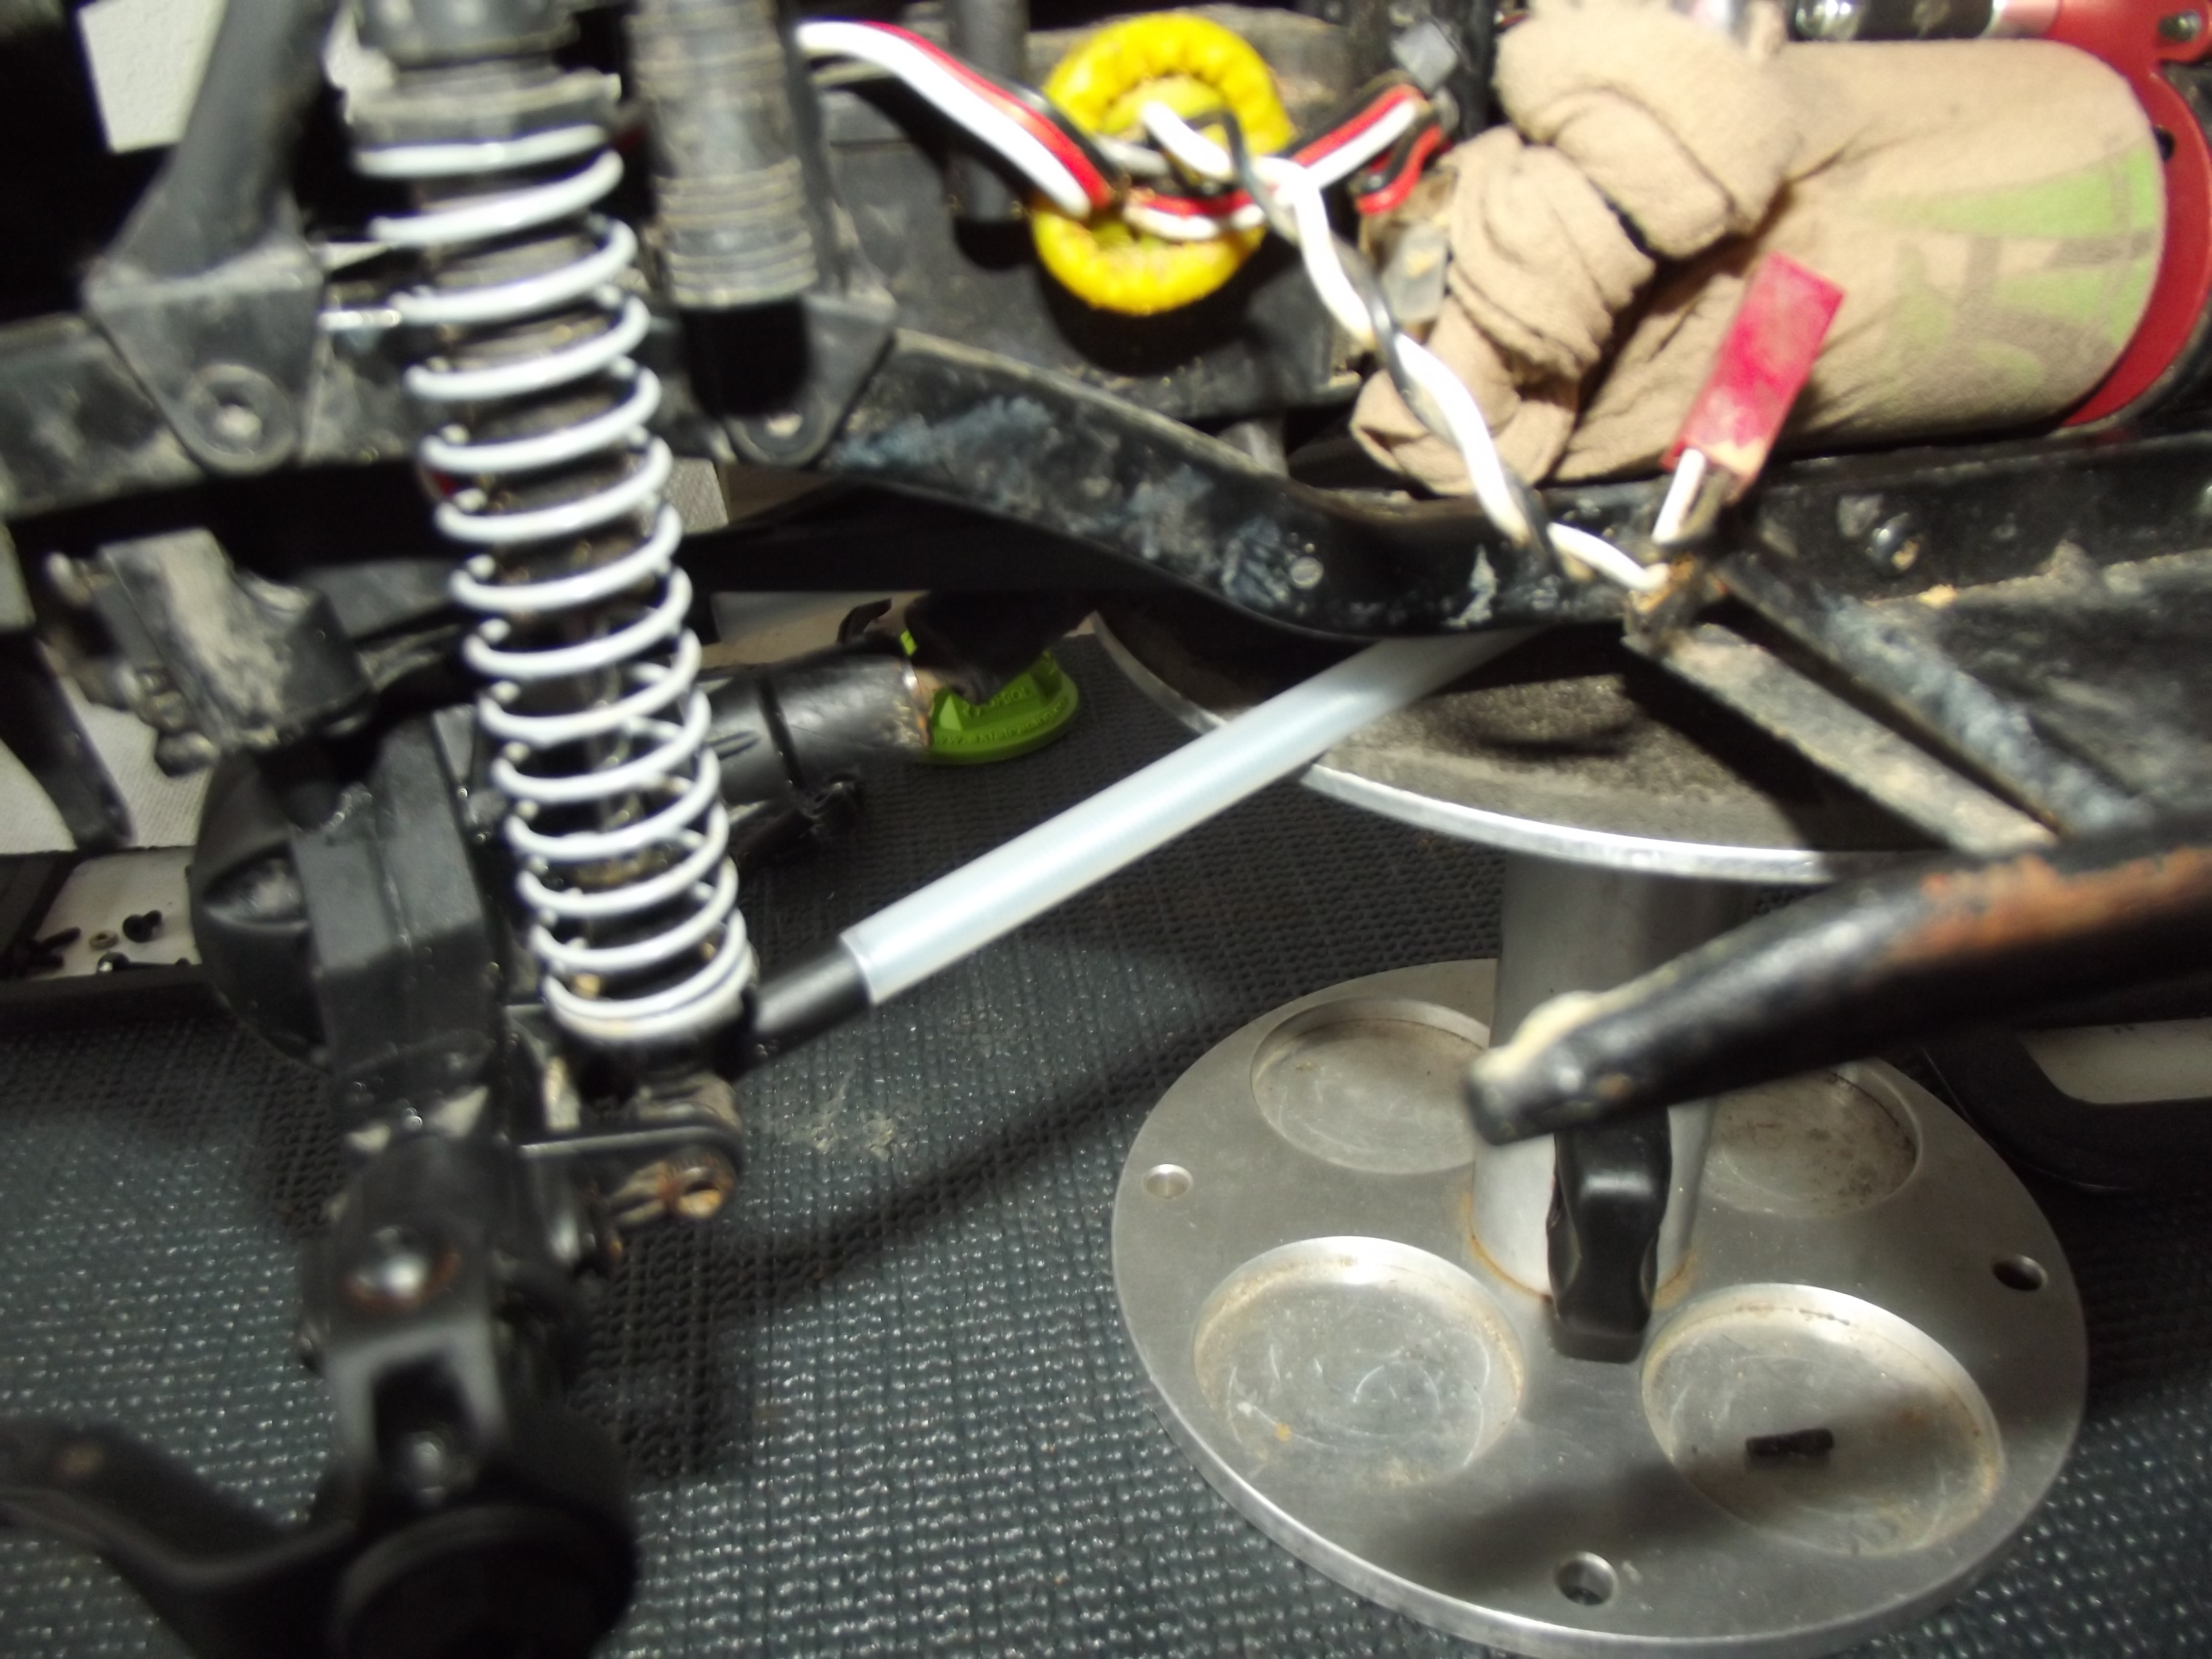
Another thing you can do to check your wheelbase is actually measure it. I checked both sides and we came out to the same length as stock, right at 12.3″. 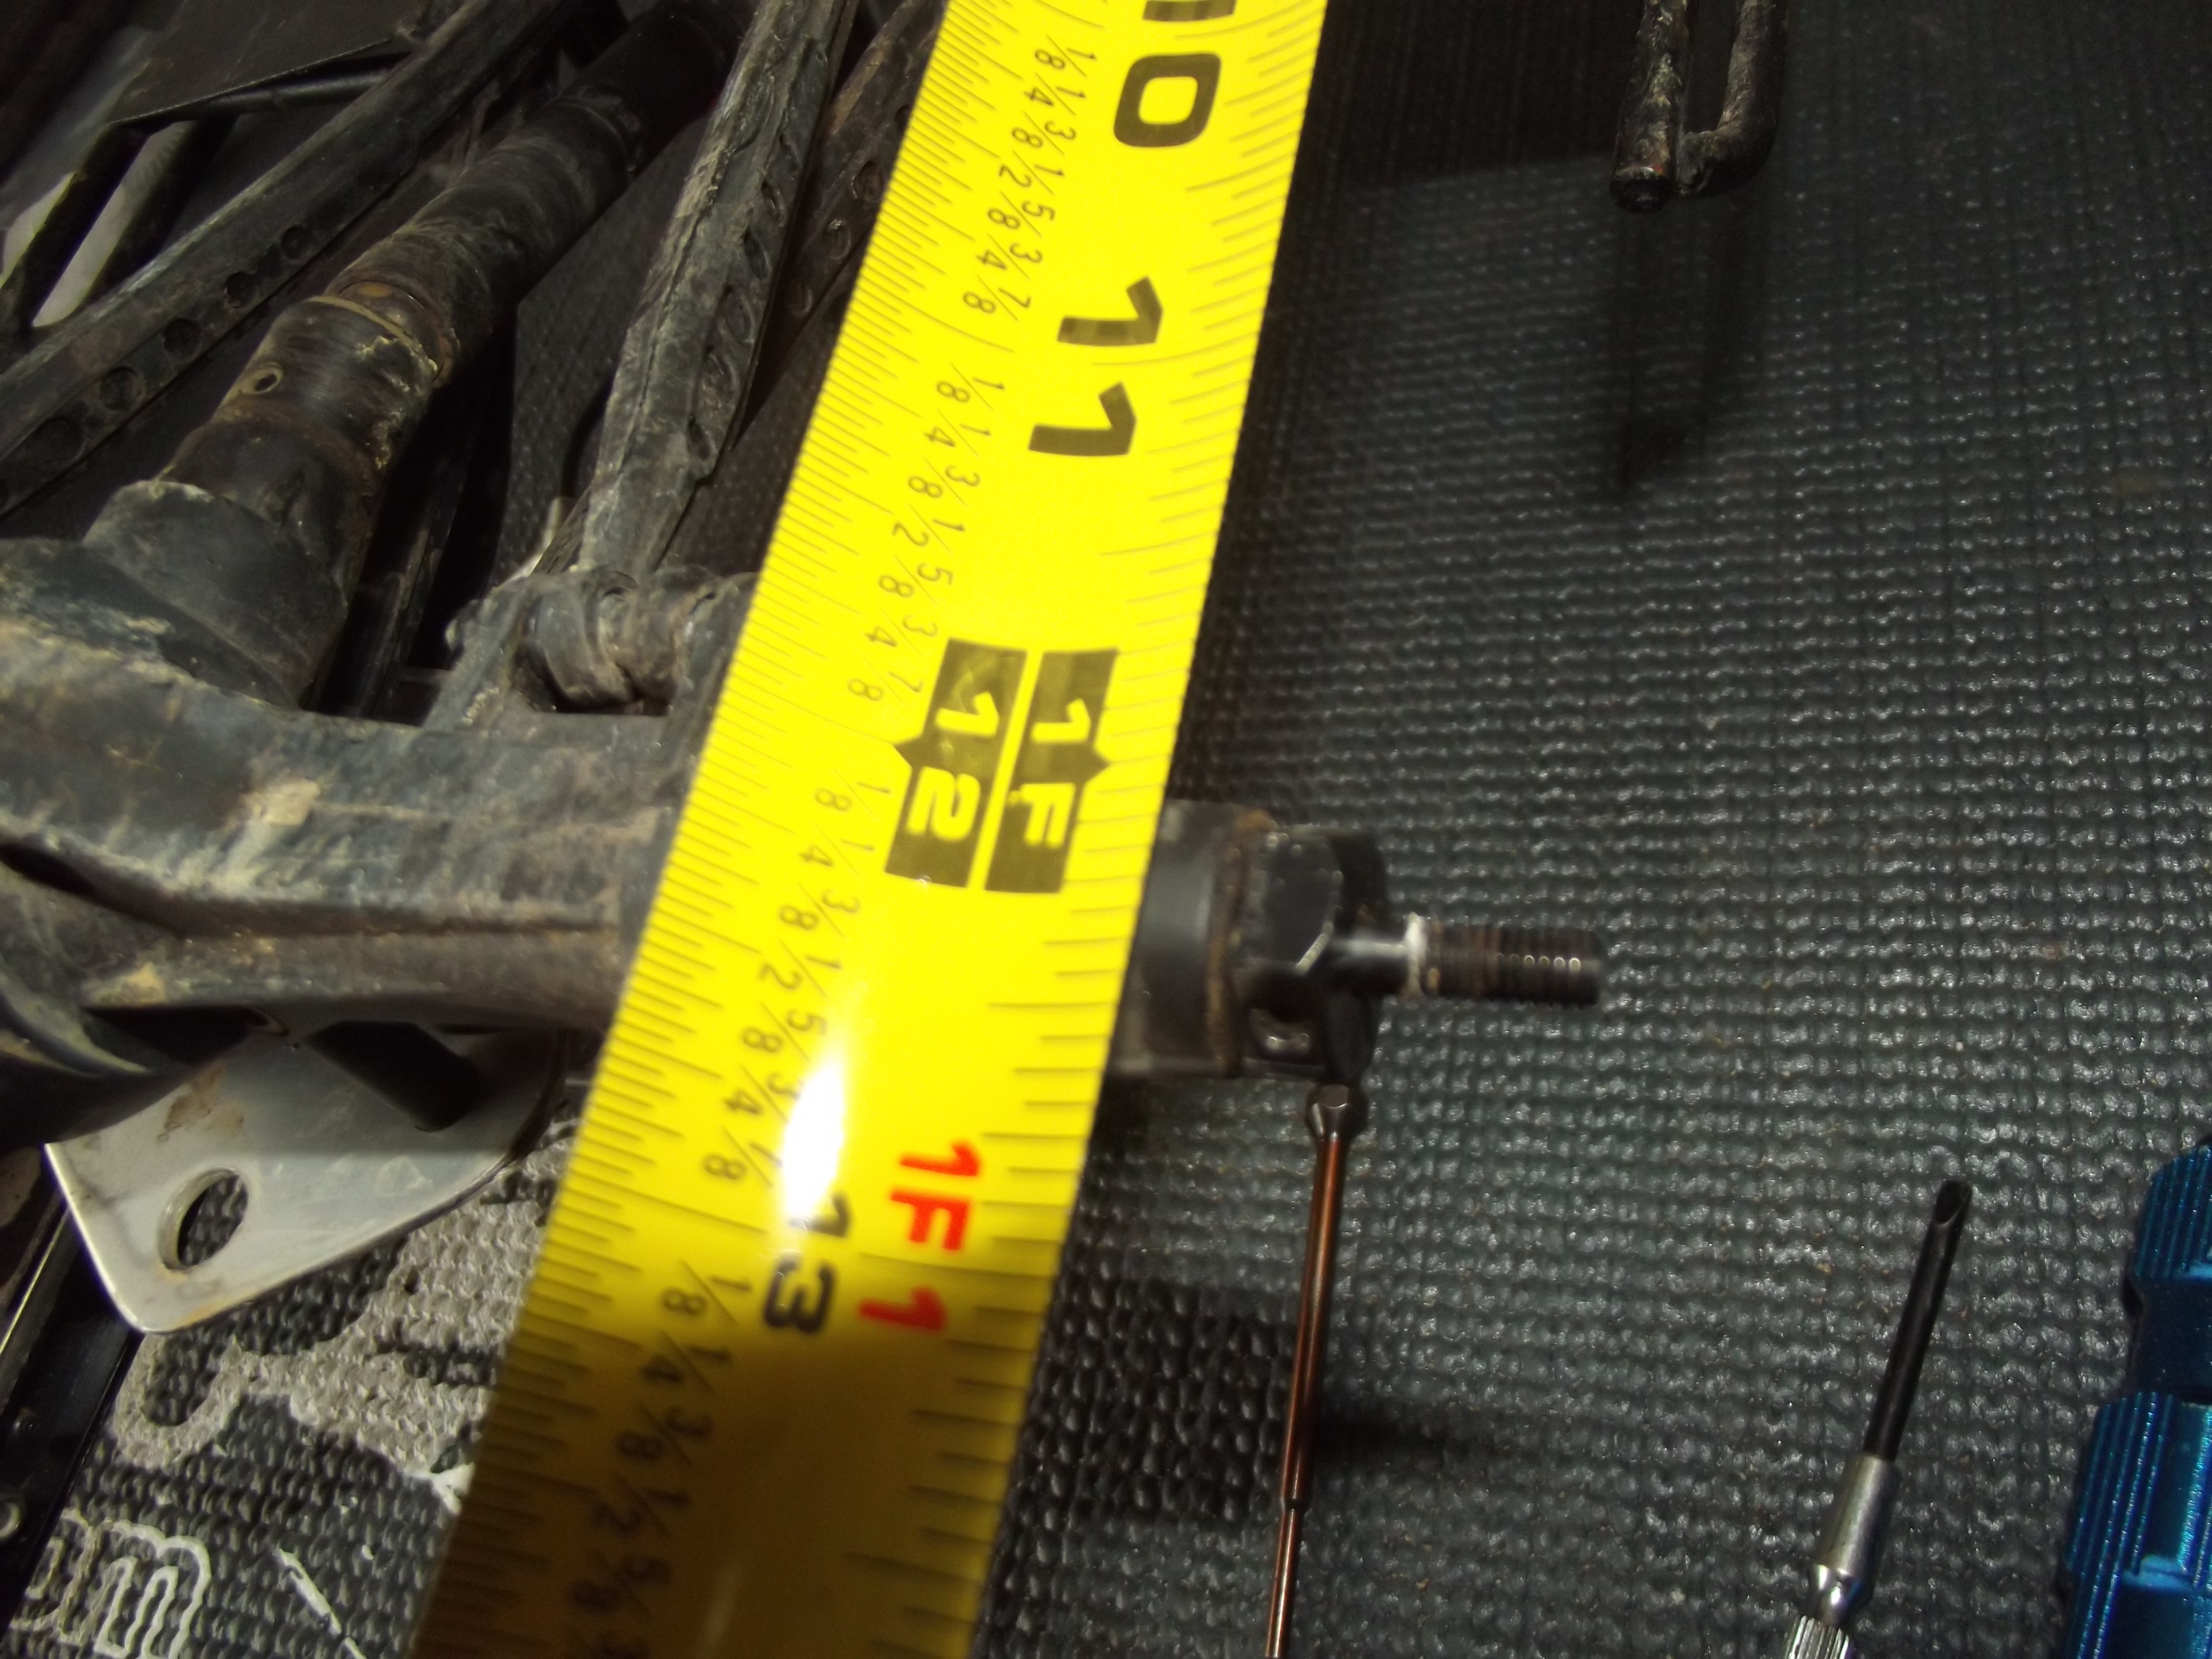 We repeat the same process to make the rear lower links. Again making sure they are both exactly the same length.
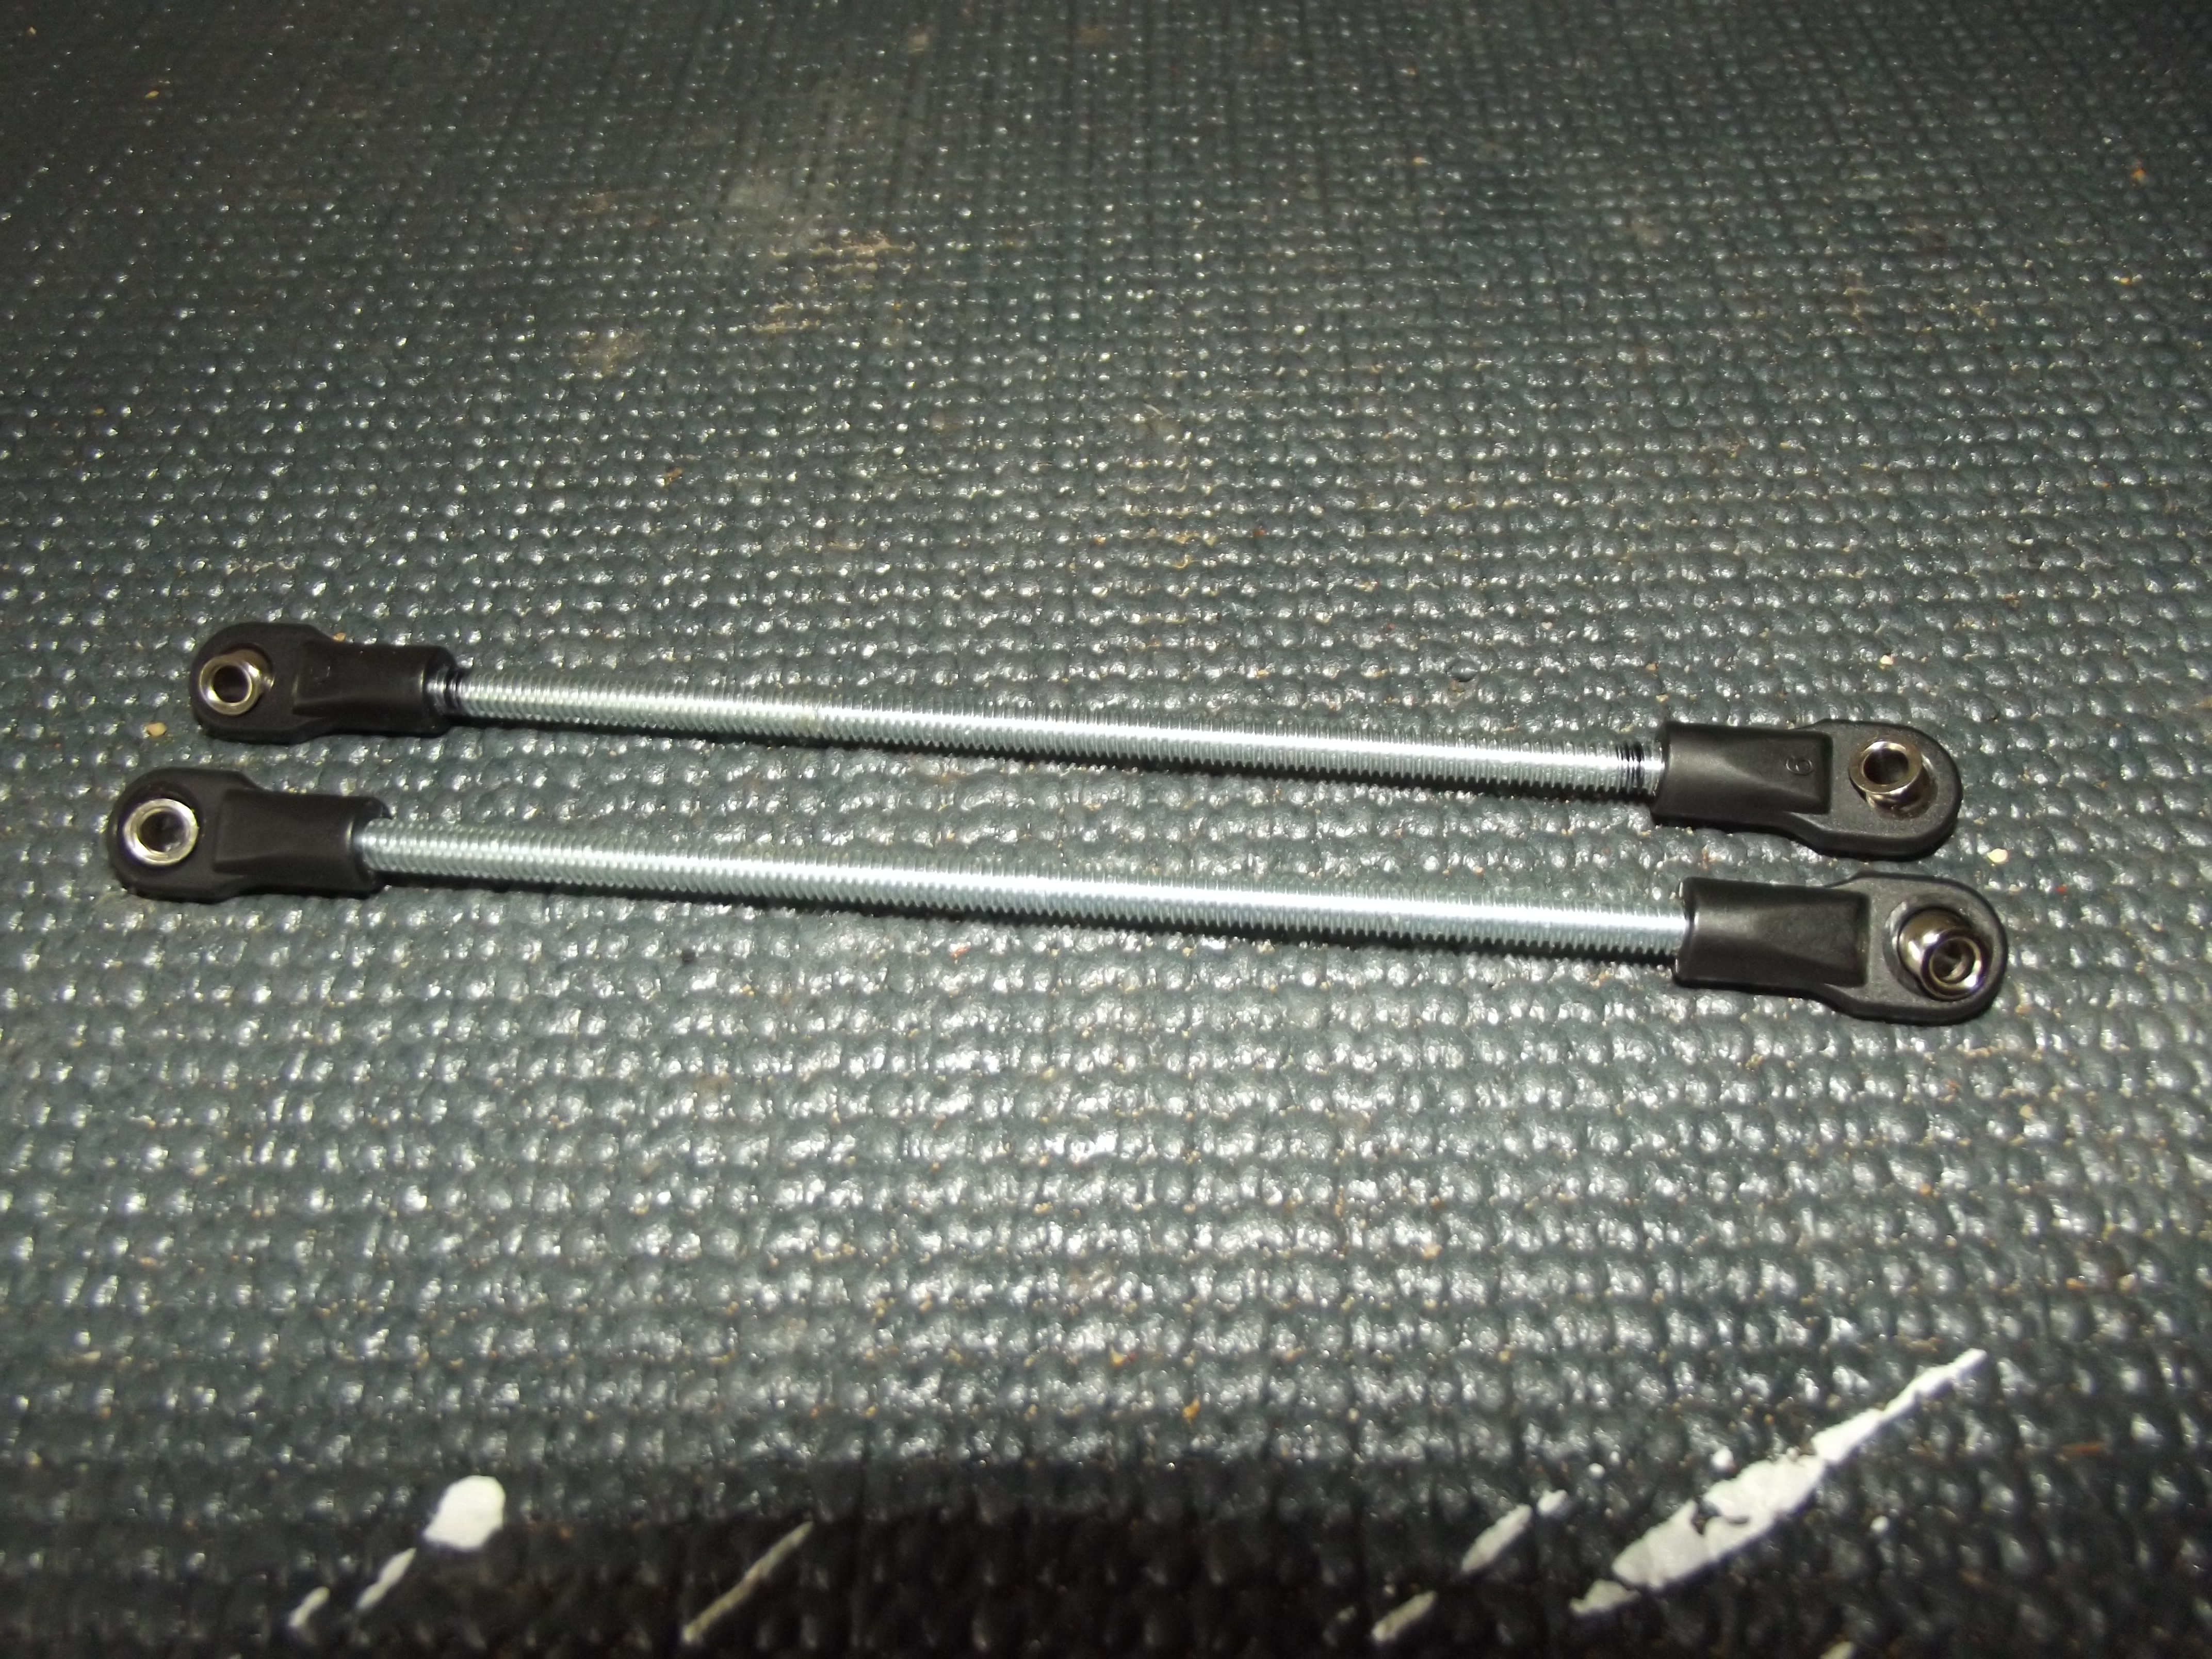
Another method to sleeve the links is to use metal tubing. You can get stainless steel tubing, aluminum tubing…Just look for 1/4″ tubing. 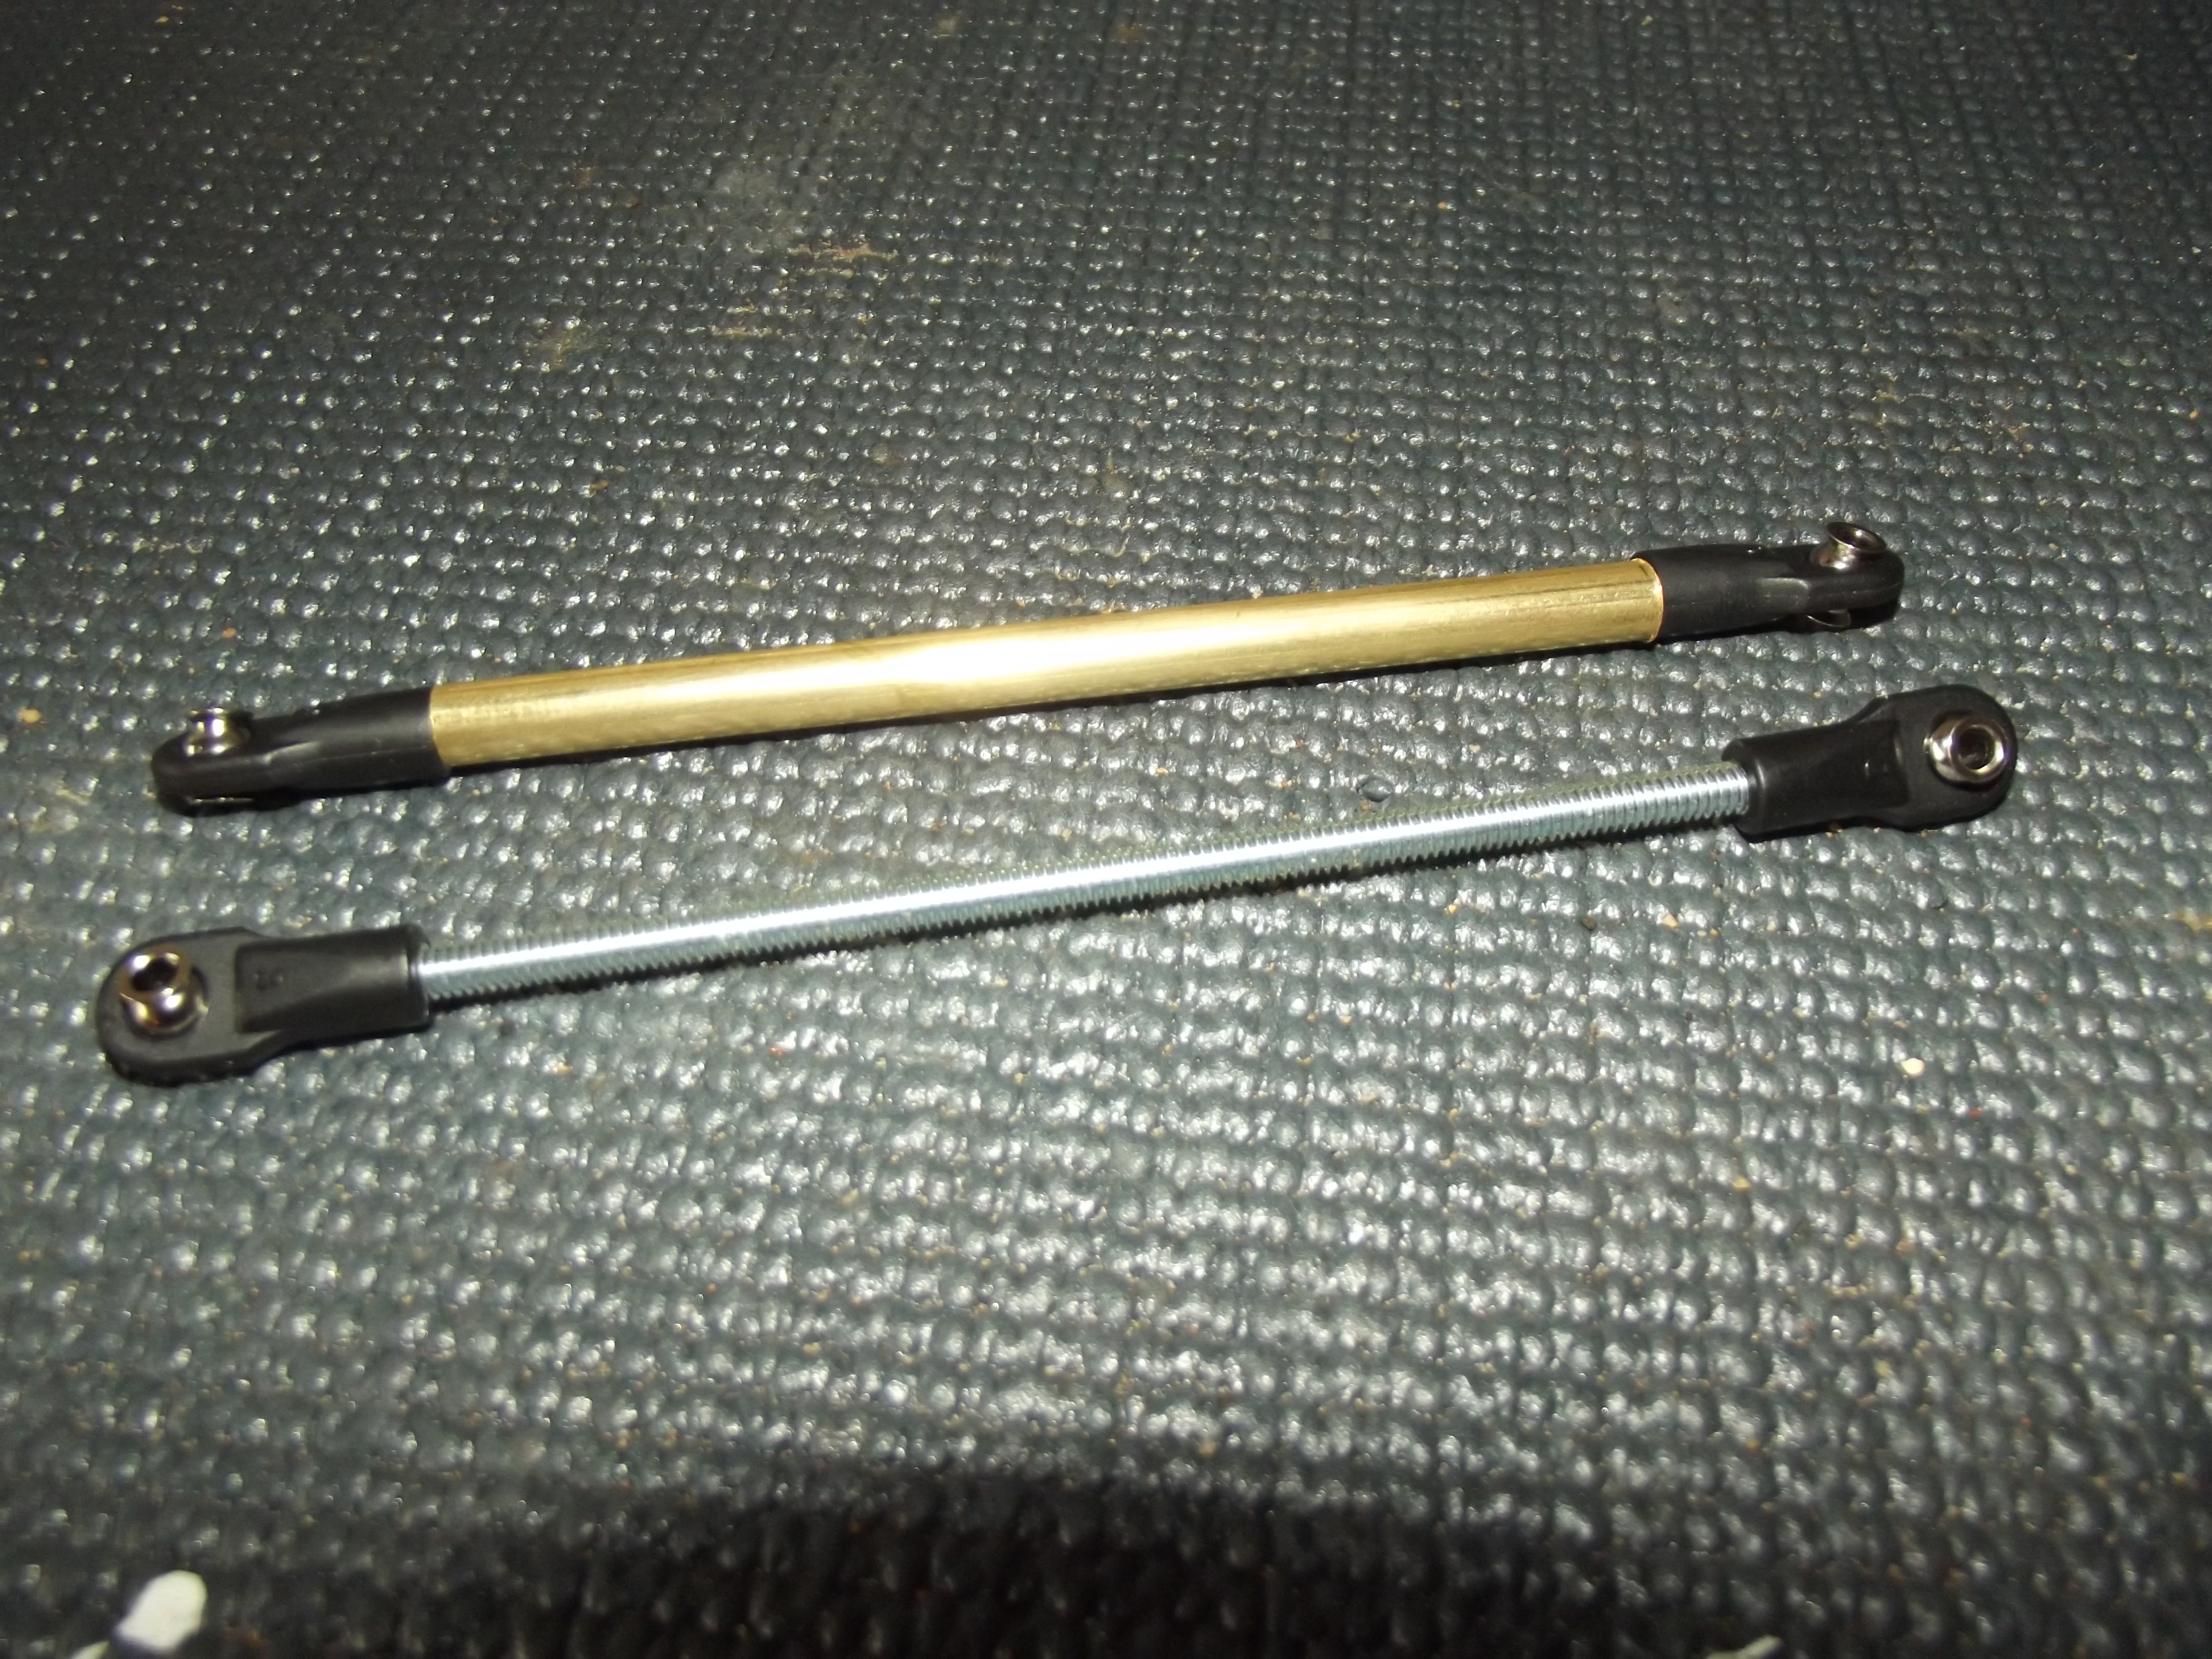
We’ve got both sets of lower links complete. Time to start on the uppers.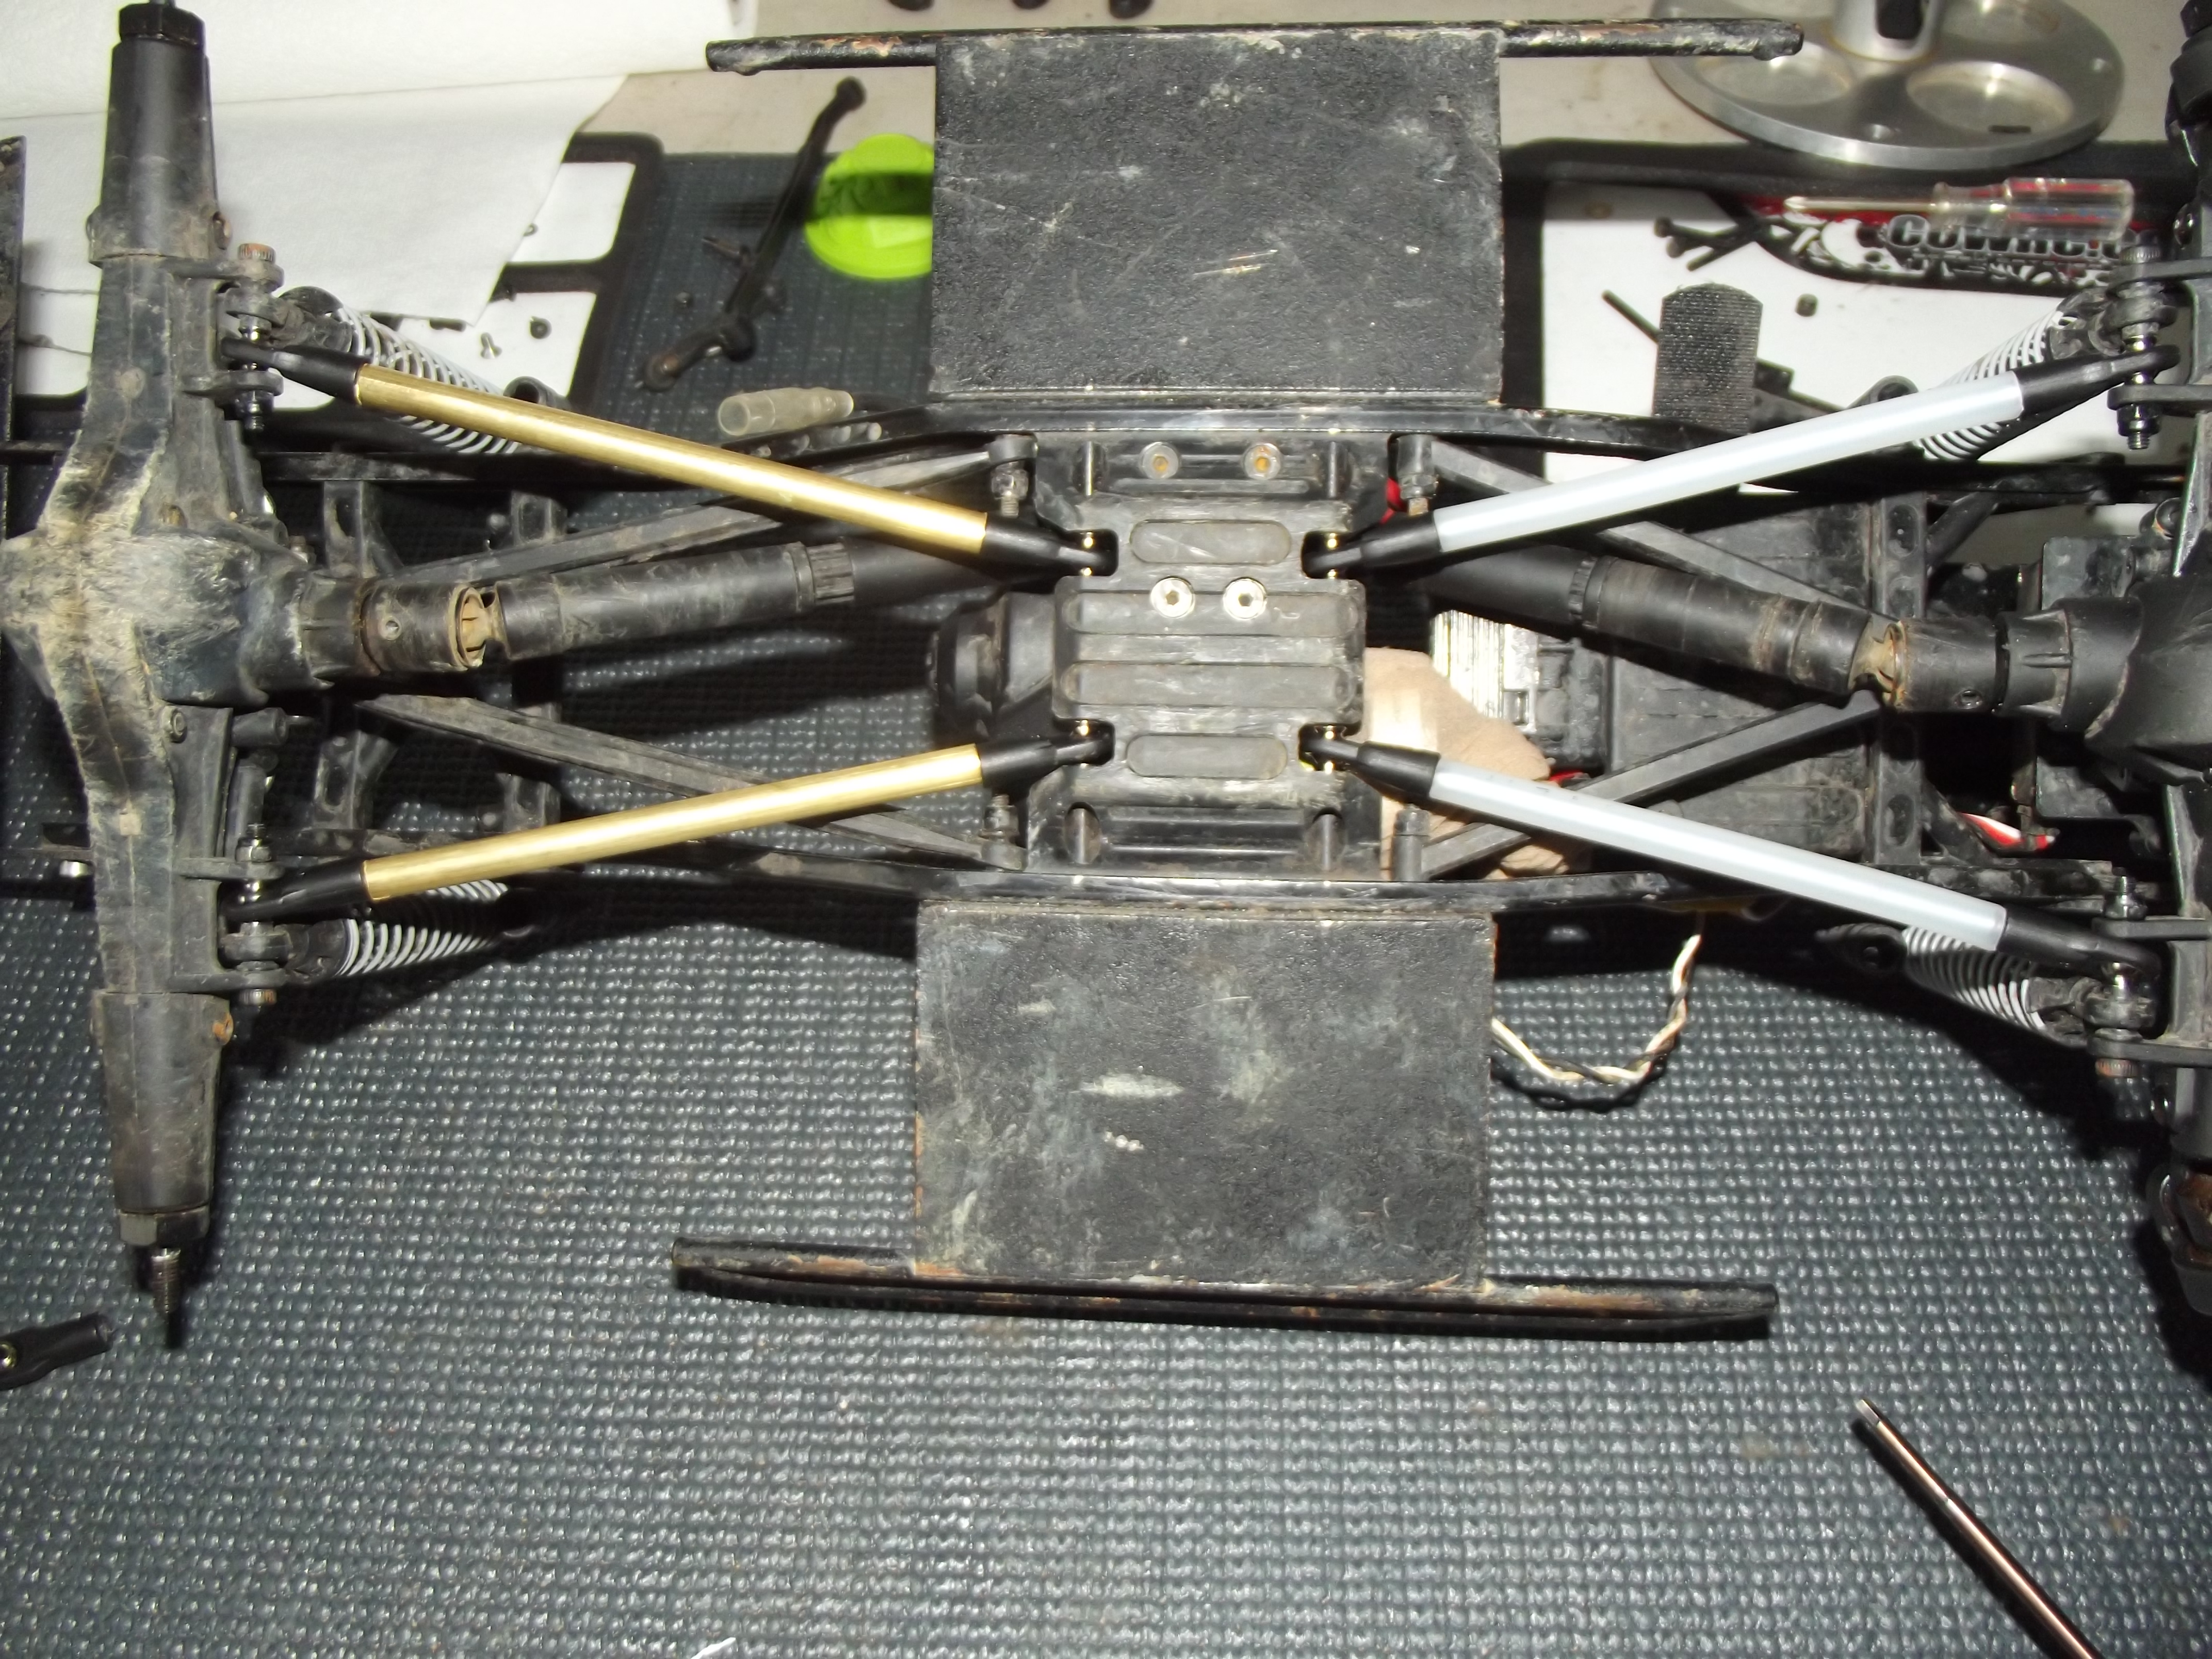 The method to make the uppers is the same as the lowers. The difference is instead of setting your wheelbase, the uppers play a big role in setting your driveshaft angle.
 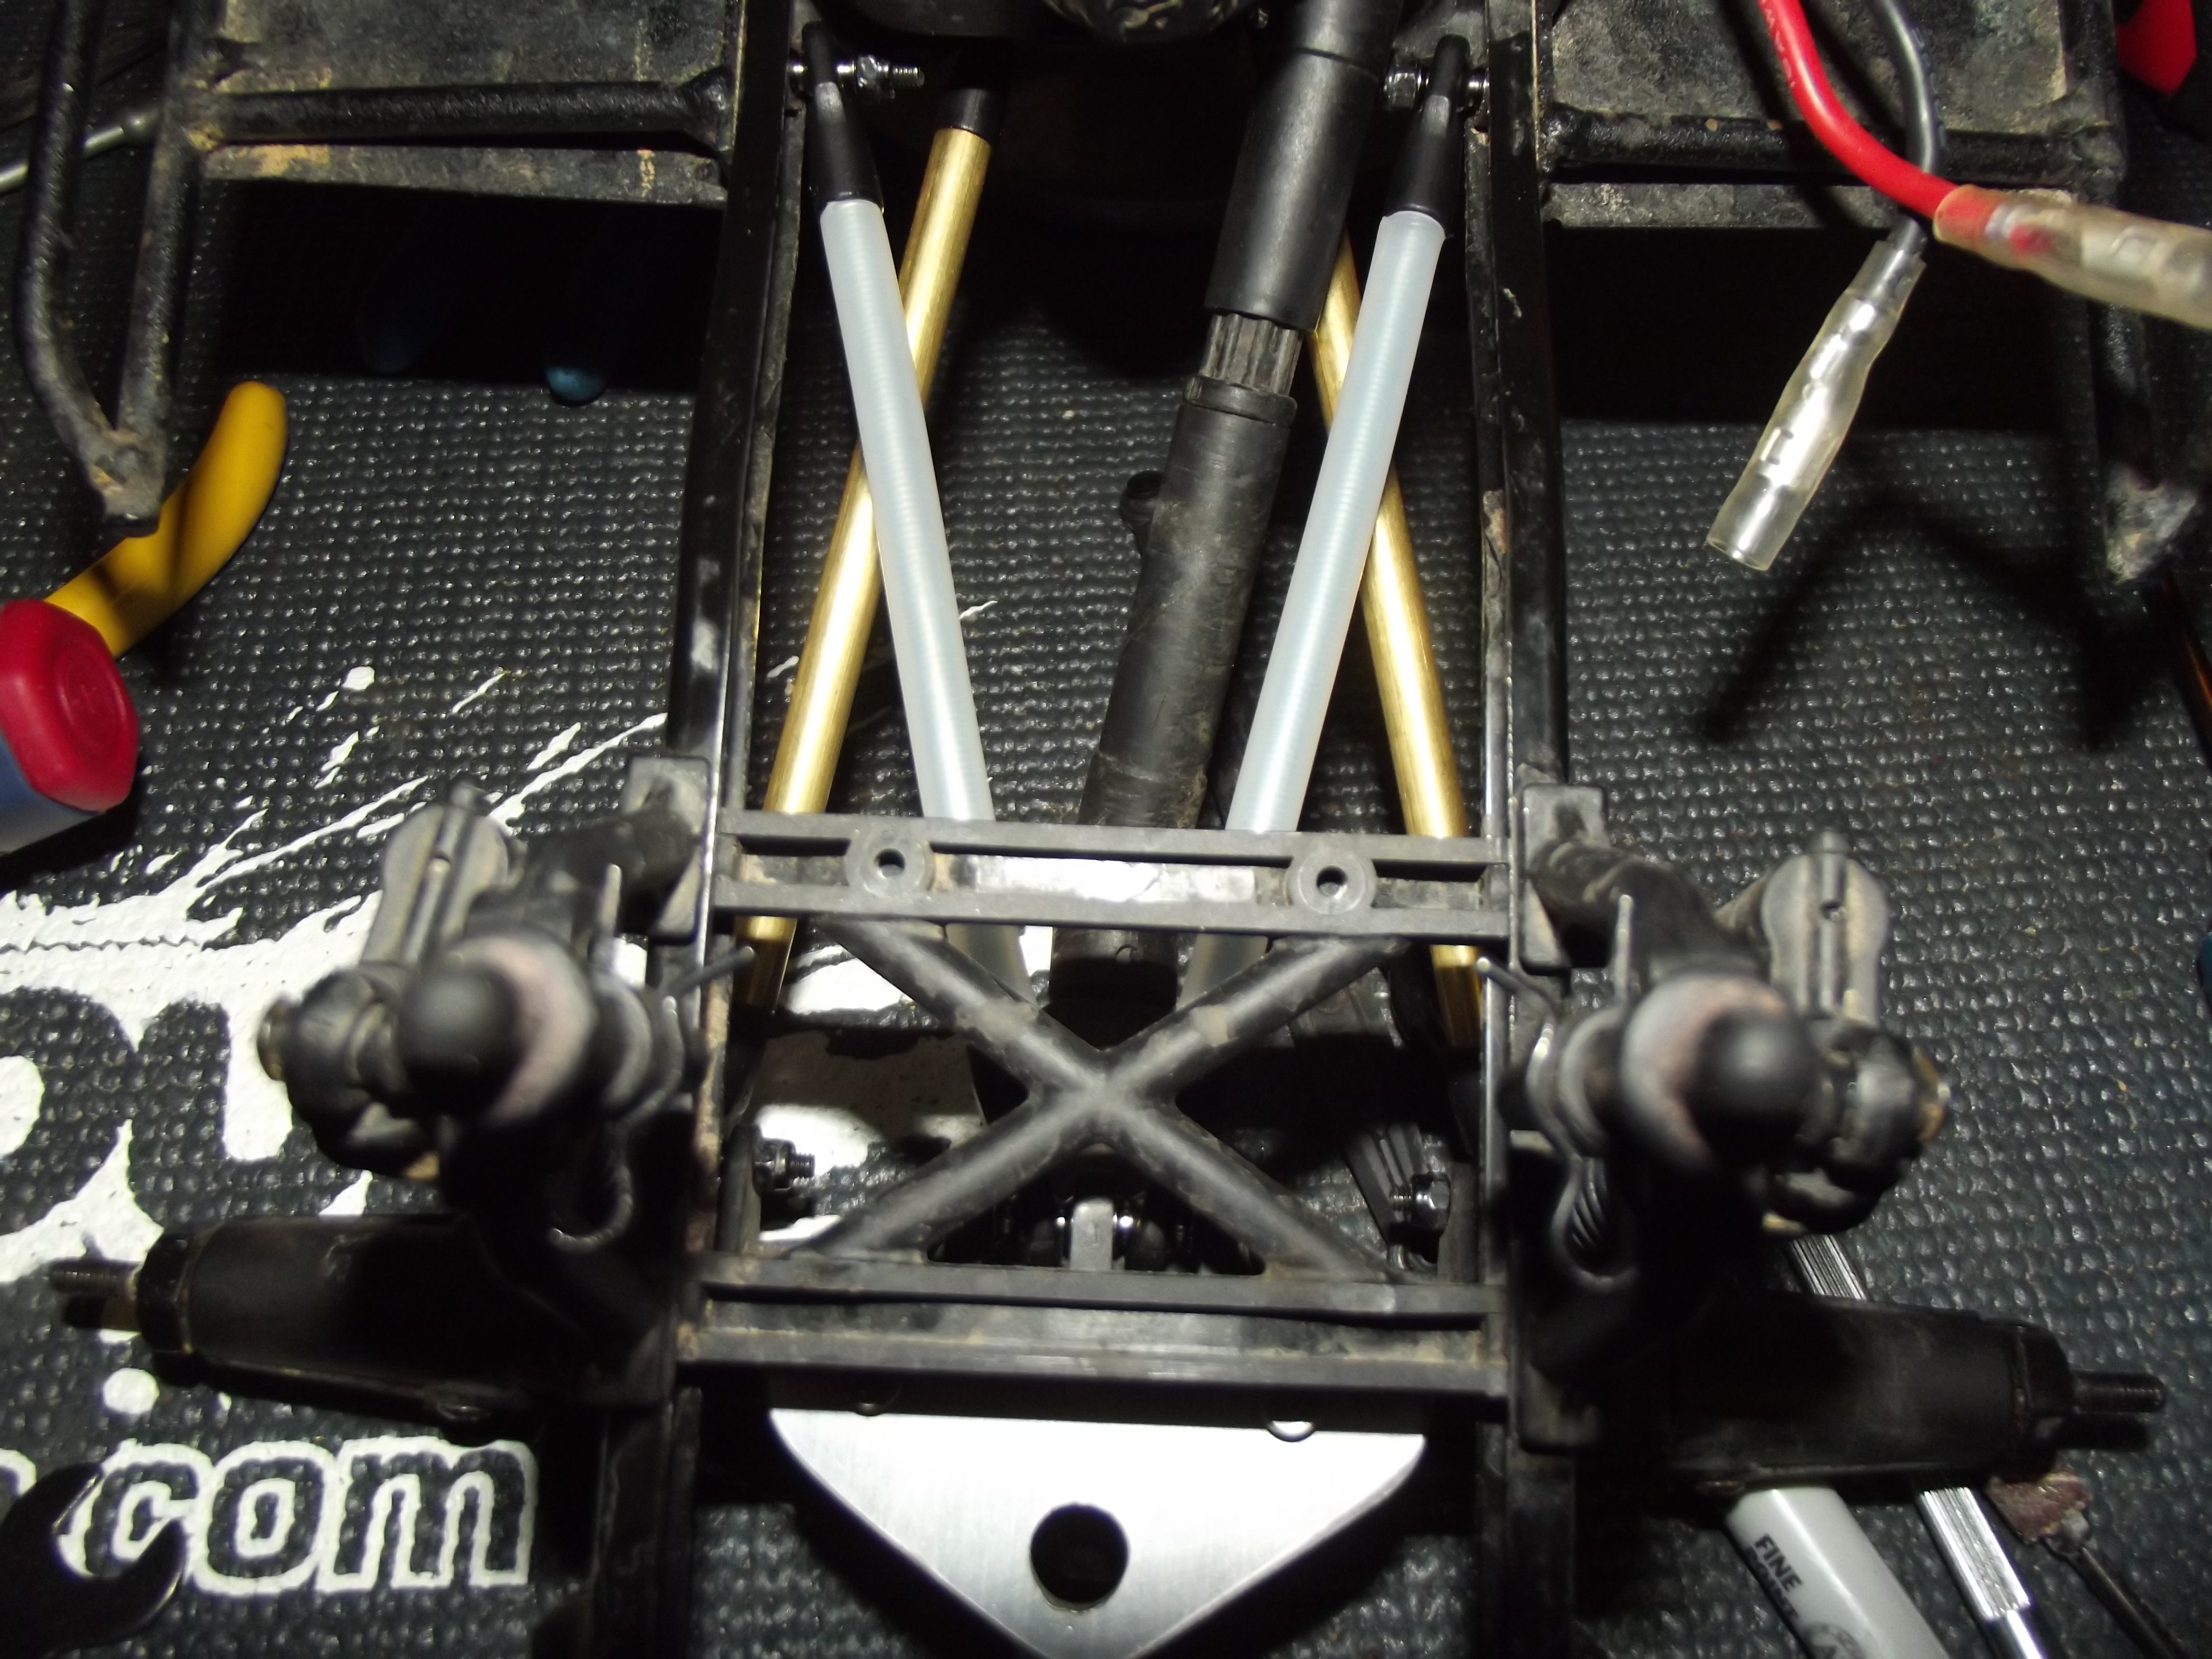 Adjust your upper link lengths to get the proper driveshaft angles. You can adjust lower lengths again slightly if needed to avoid binding.
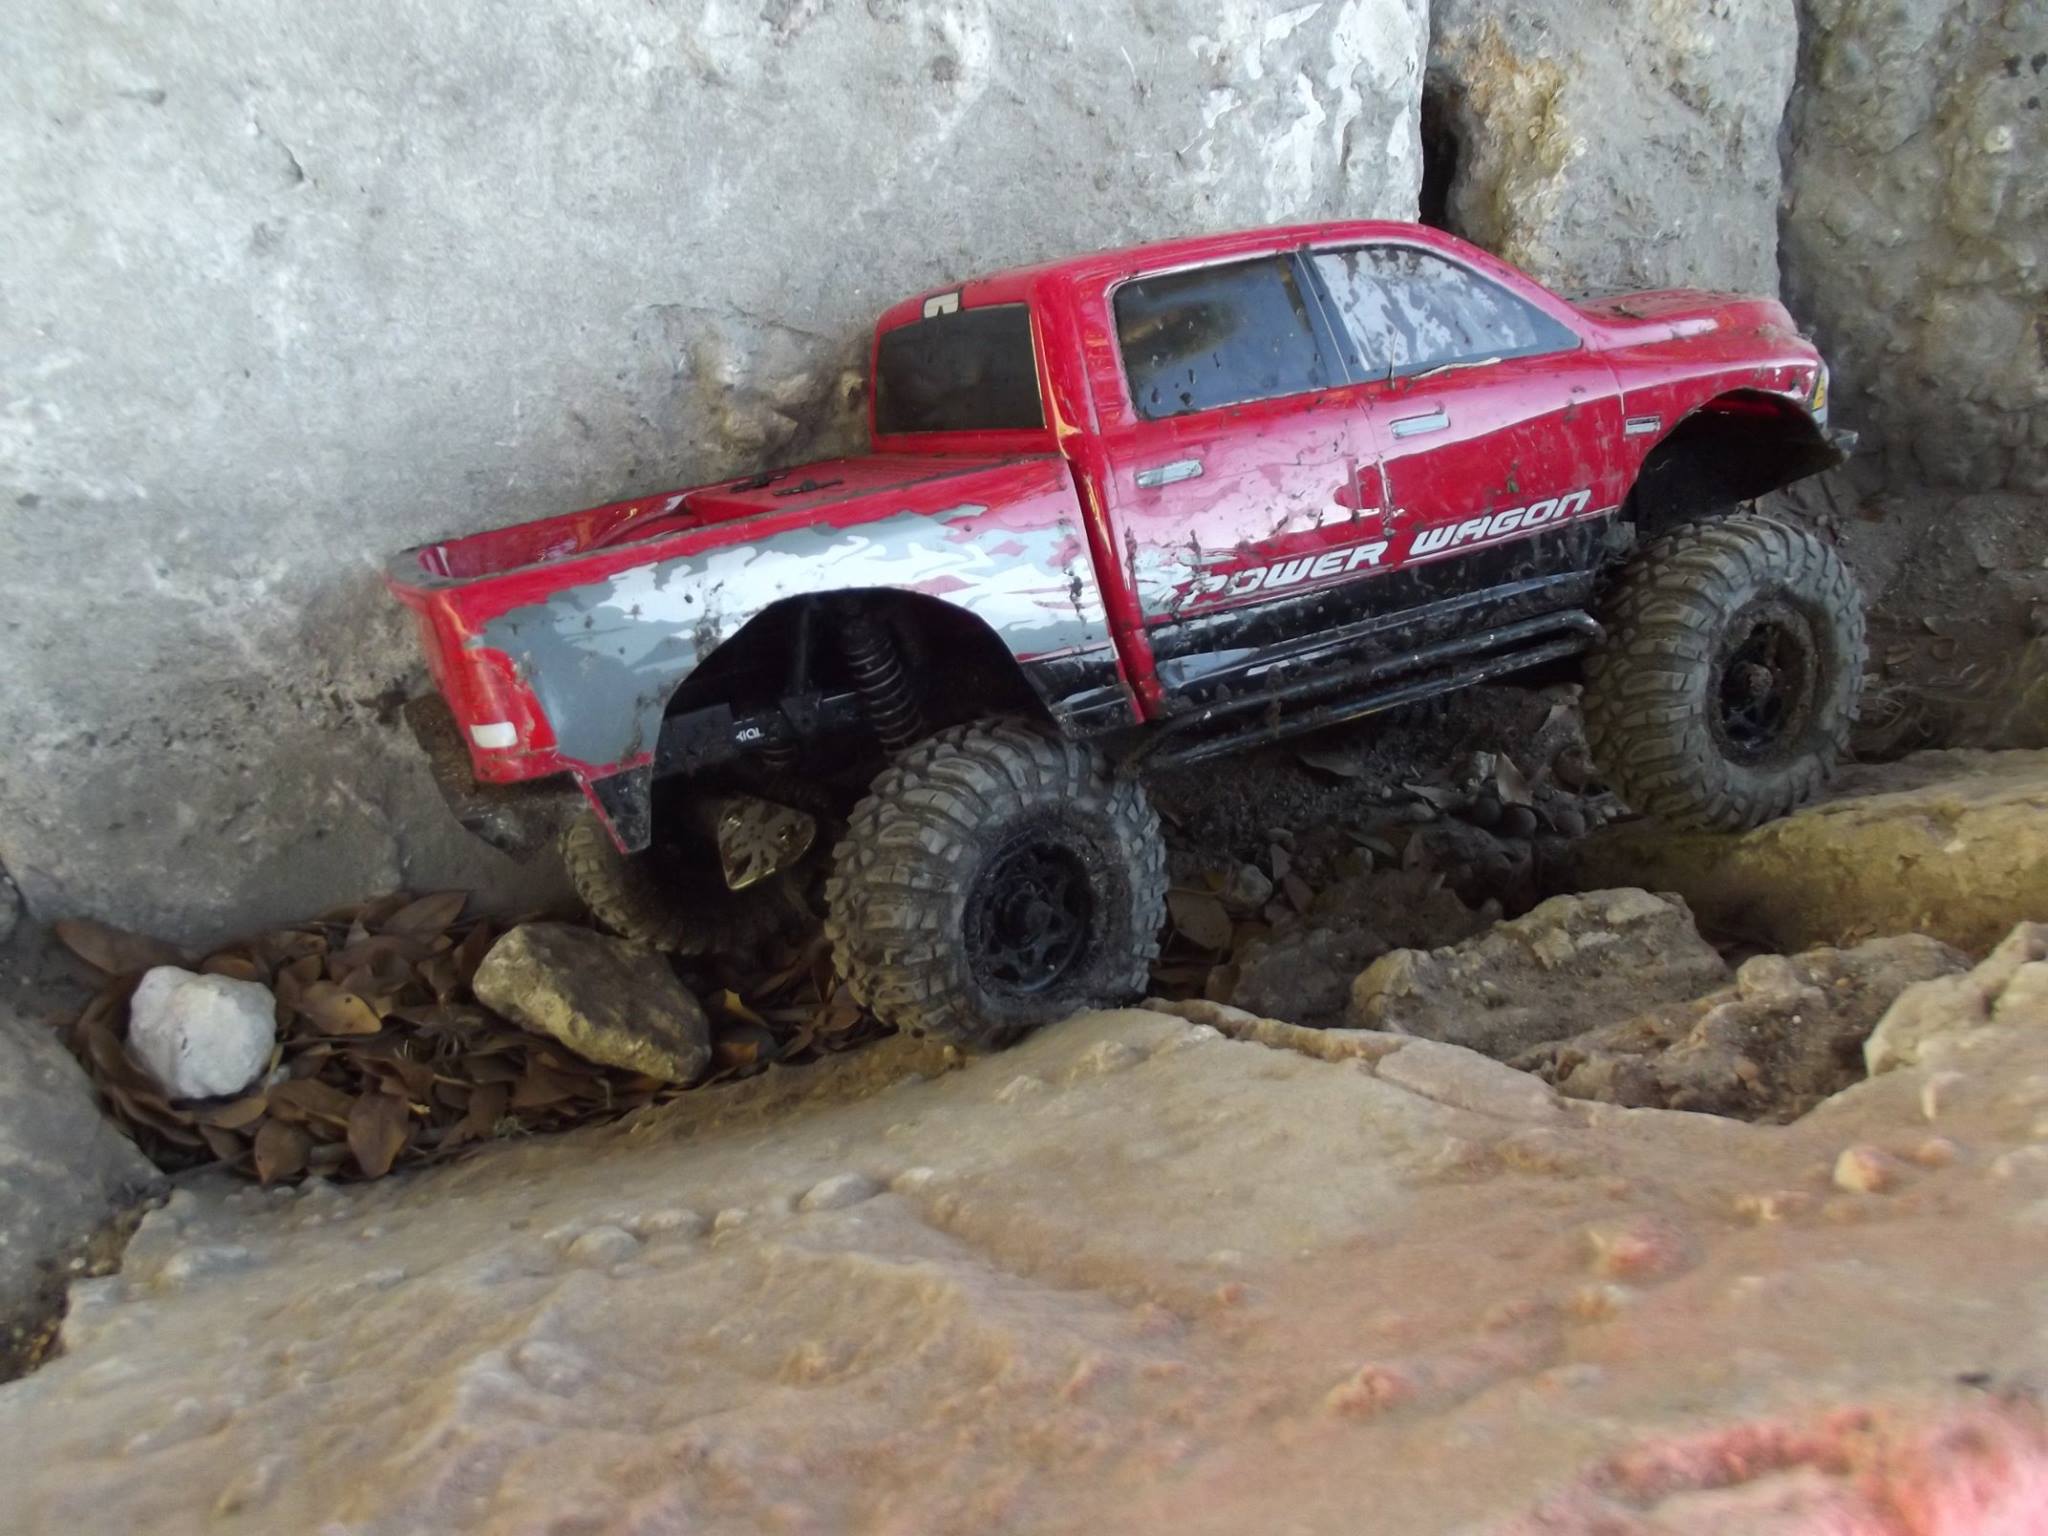
 The RTR Power Wagon came stock with a Y Link for the front upper link. This tied into both frame rails, and a single contact point on the axle. A 4 link offers better performance, though. Converting the front to a 4 link is pretty easy. In the bag of spare parts that came in the box with your ready-to-run, they include the 4 link mount that you can use on the front axle. The tree to look for is AX80043. You’ll also need a 3x25mm screw and a 3mm nut, as well as 2 3x6mm screws to hold the part to the front axle. Then you can build the front upper links in the same way you made the others. Pay attention to driveshaft angle once again.
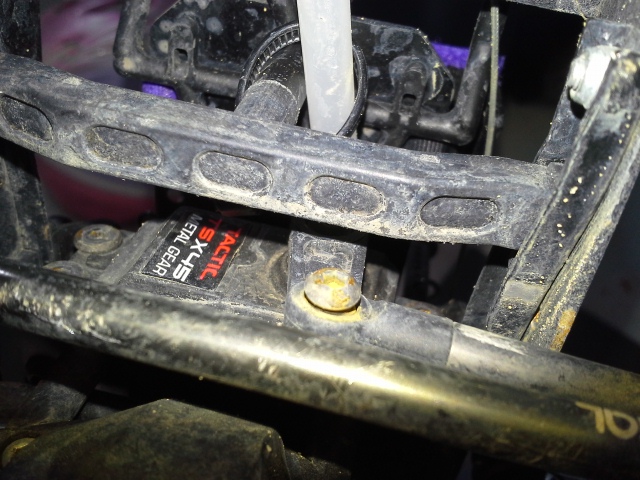
 Another thing to pay attention to with the front upper links length is the servo horn. Make sure the servo horn will not hit the cross brace in the frame.
 As we stated early on, this is just one of the ways to get metal links on the SCX10. The nice thing about this method is you can make them to any length you need. If you have a special body you want to put on your truck, you can use this method to make links the correct length to get a wheelbase to match your body.
Steering Linkage
While we were replacing the soft plastic suspension links, now was also the time we needed to replace the steering linkage as well. It was hindering our performance. You can custom make them the same way you did the suspension links, or you can buy a set from one of the aftermarket vendors. We chose to go with the Axial Racing upgrade set. Putting it together is pretty straightforward.
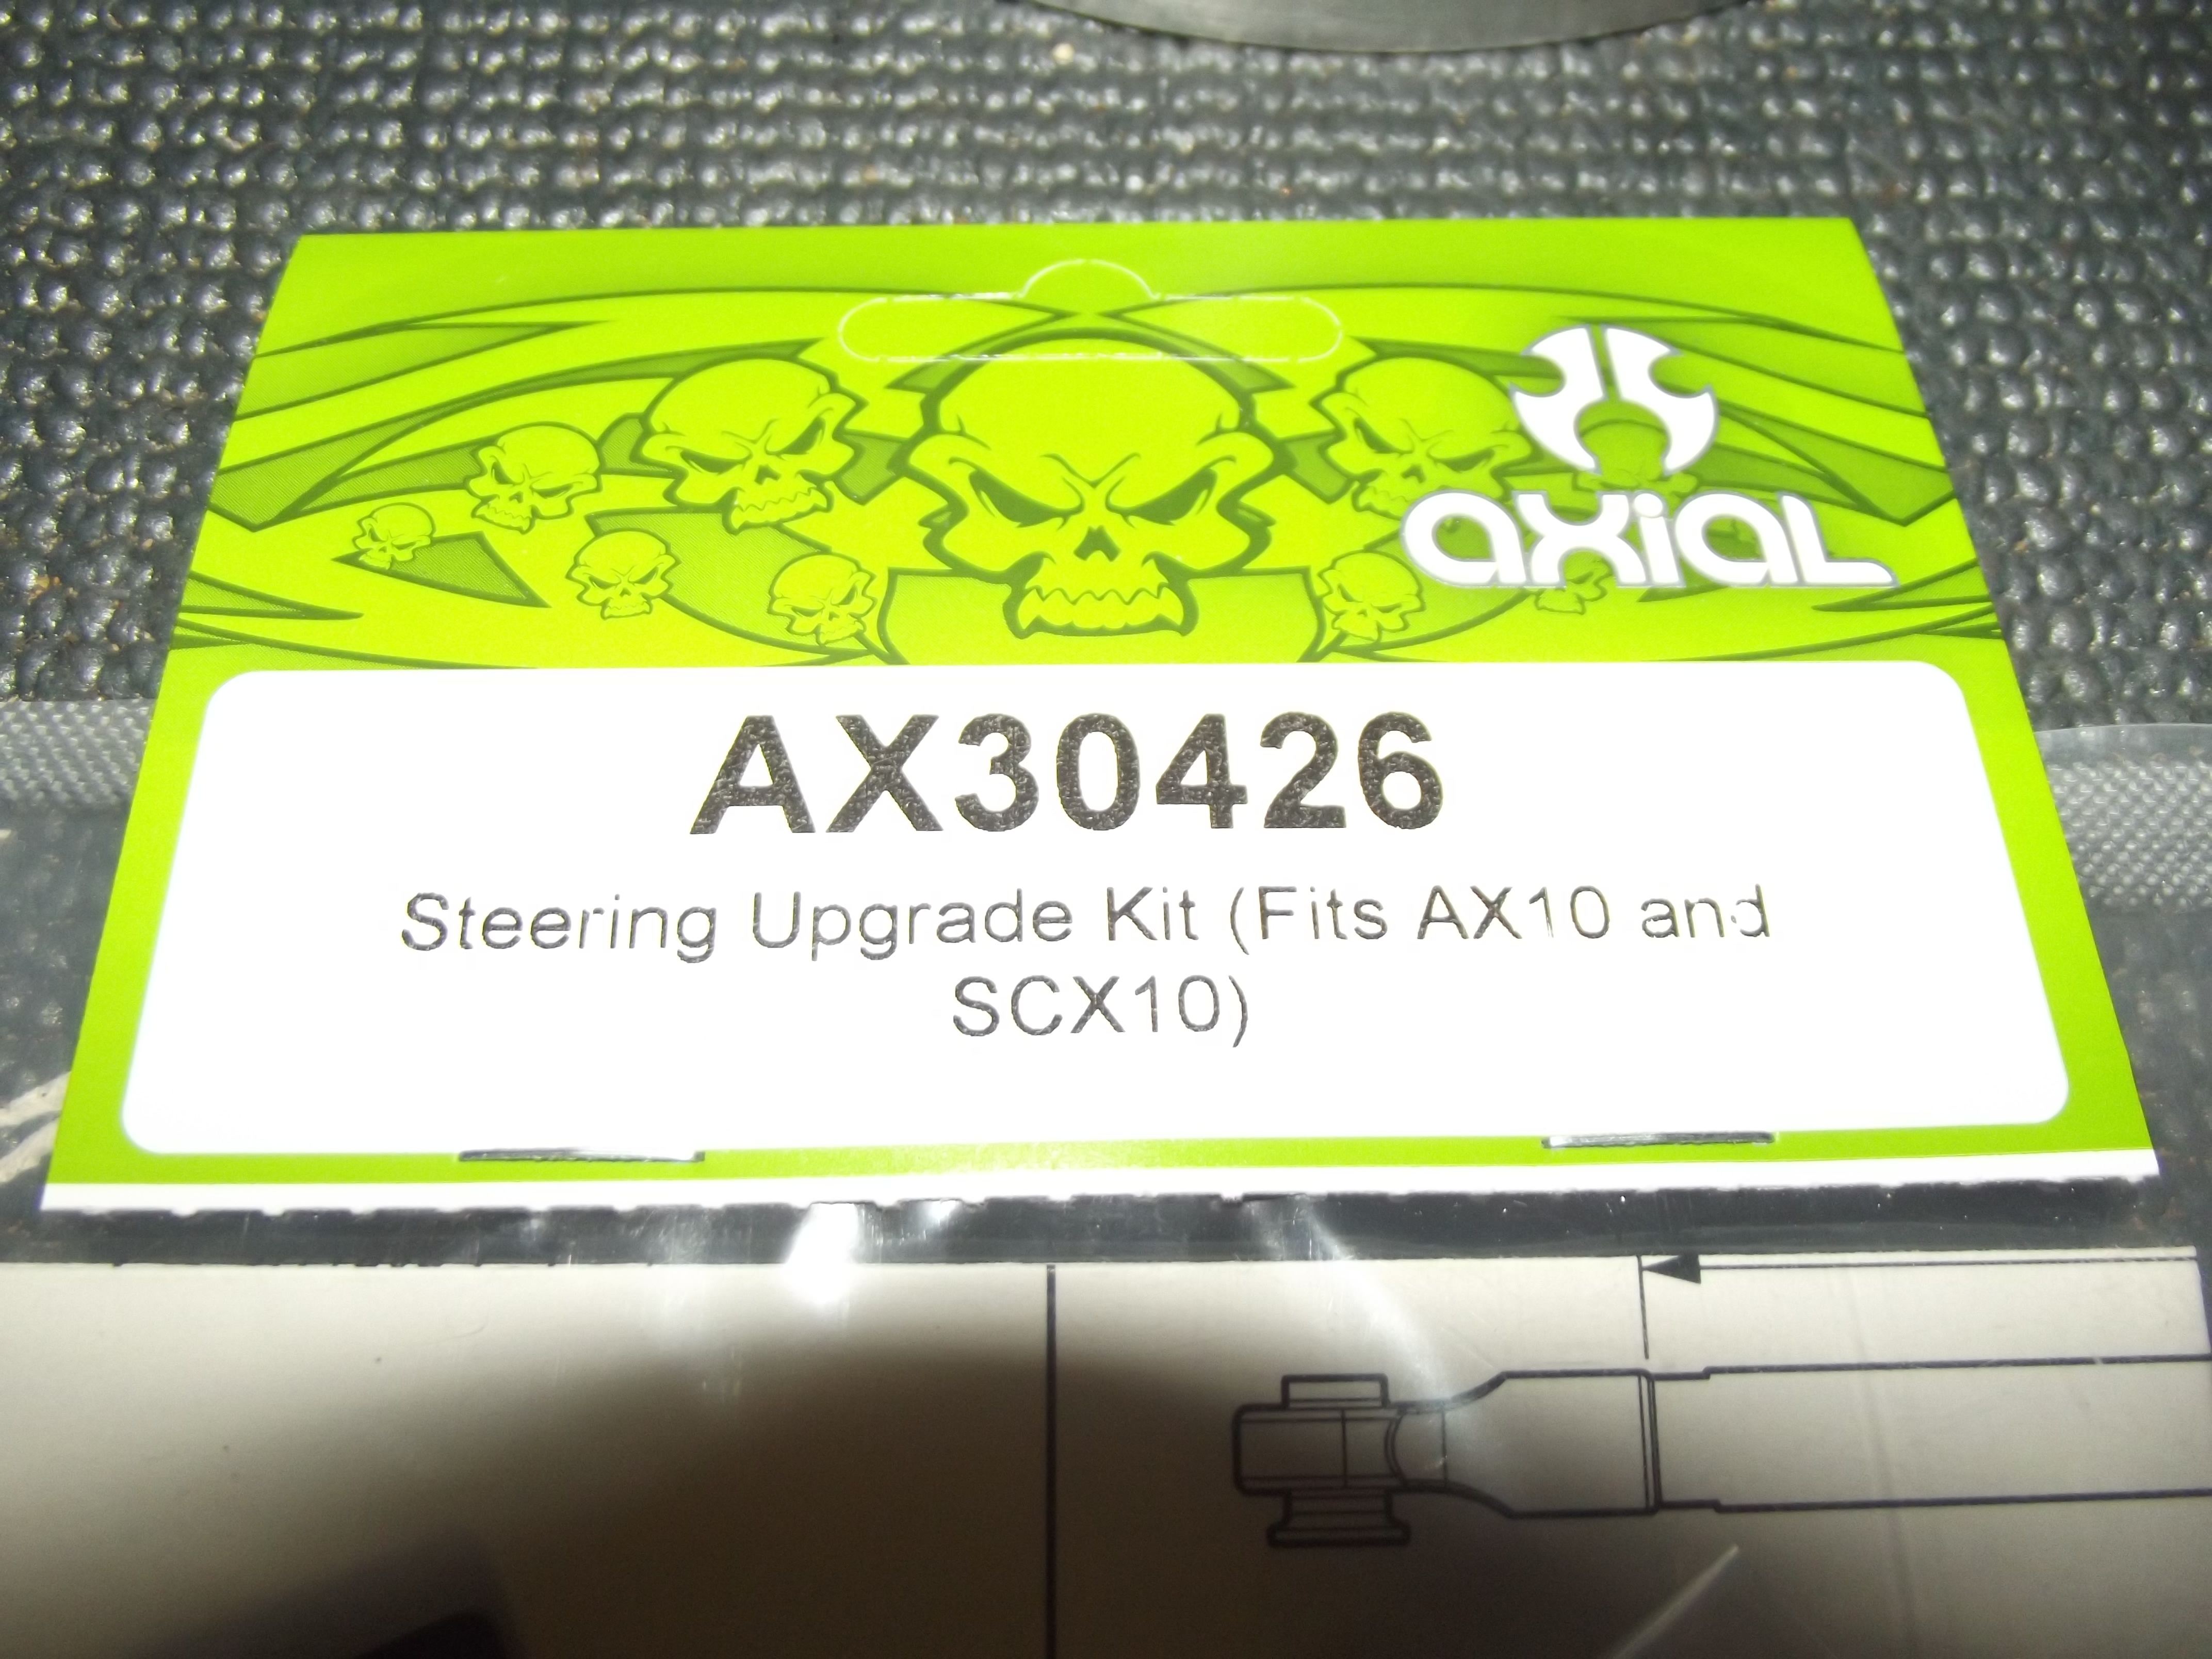
The kit comes with everything you need to complete the upgrade.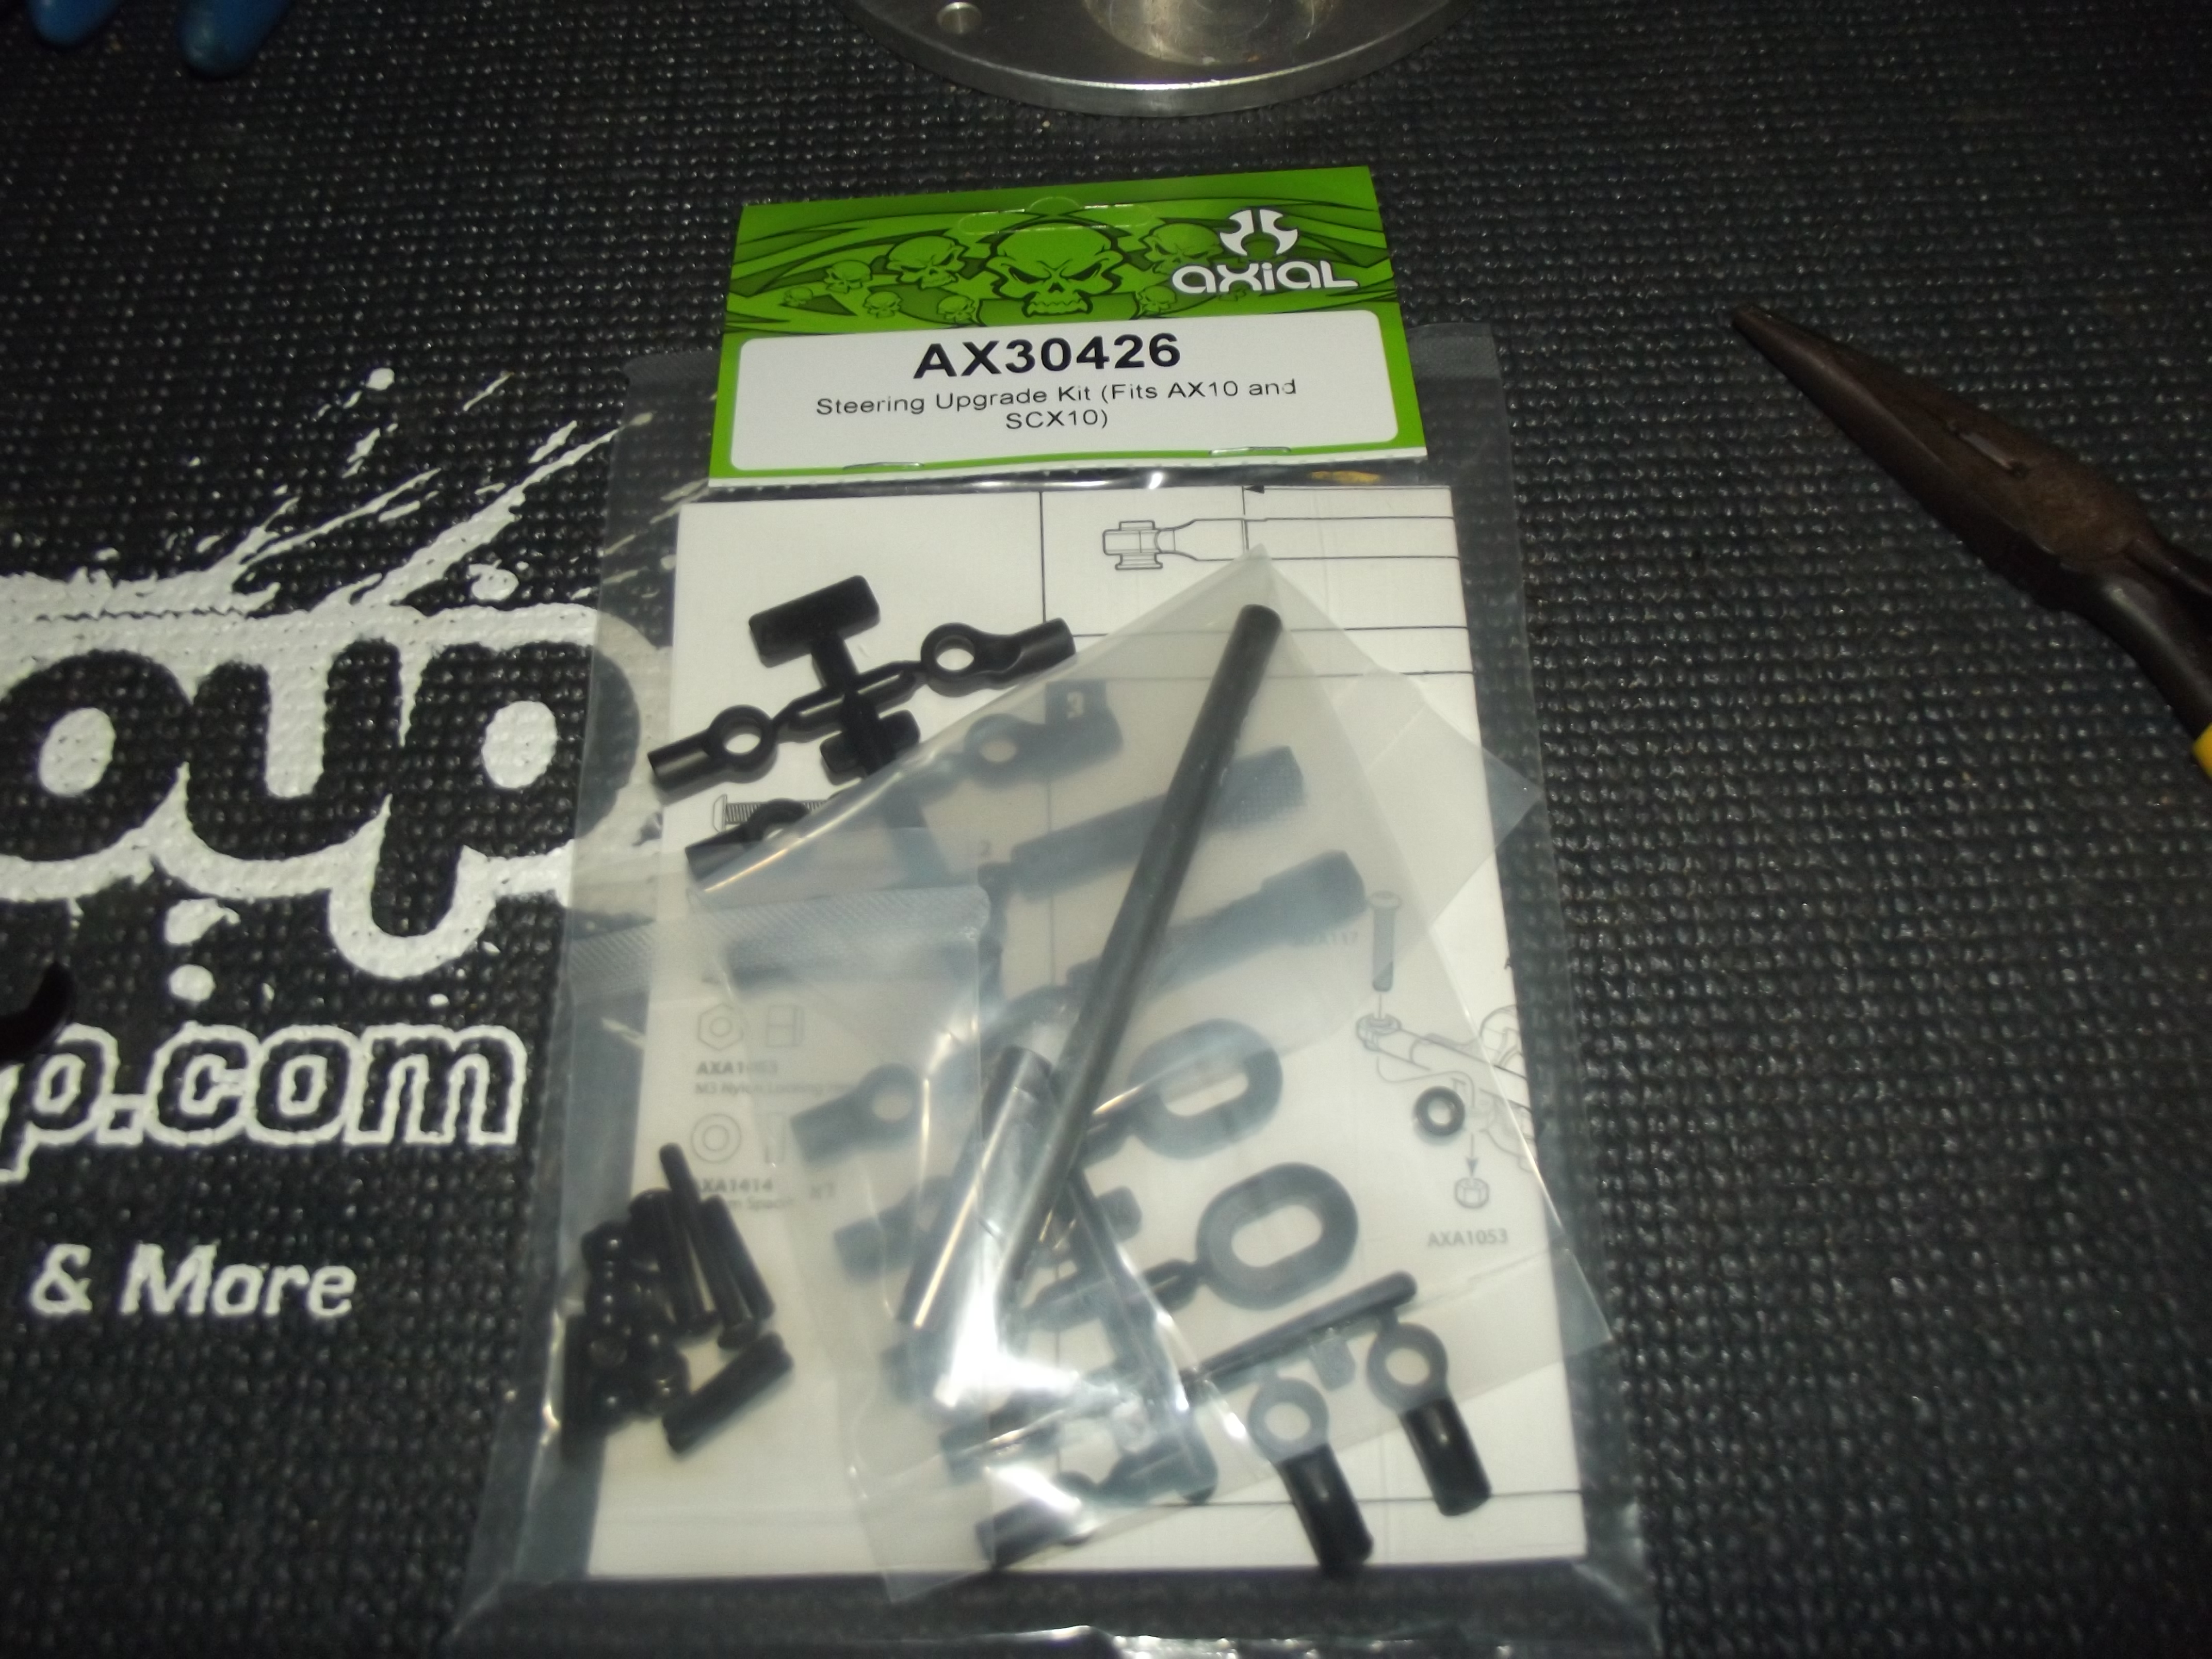
Following the instructions to make sure you use the proper ends on each one, we’ll assemble the two different links. 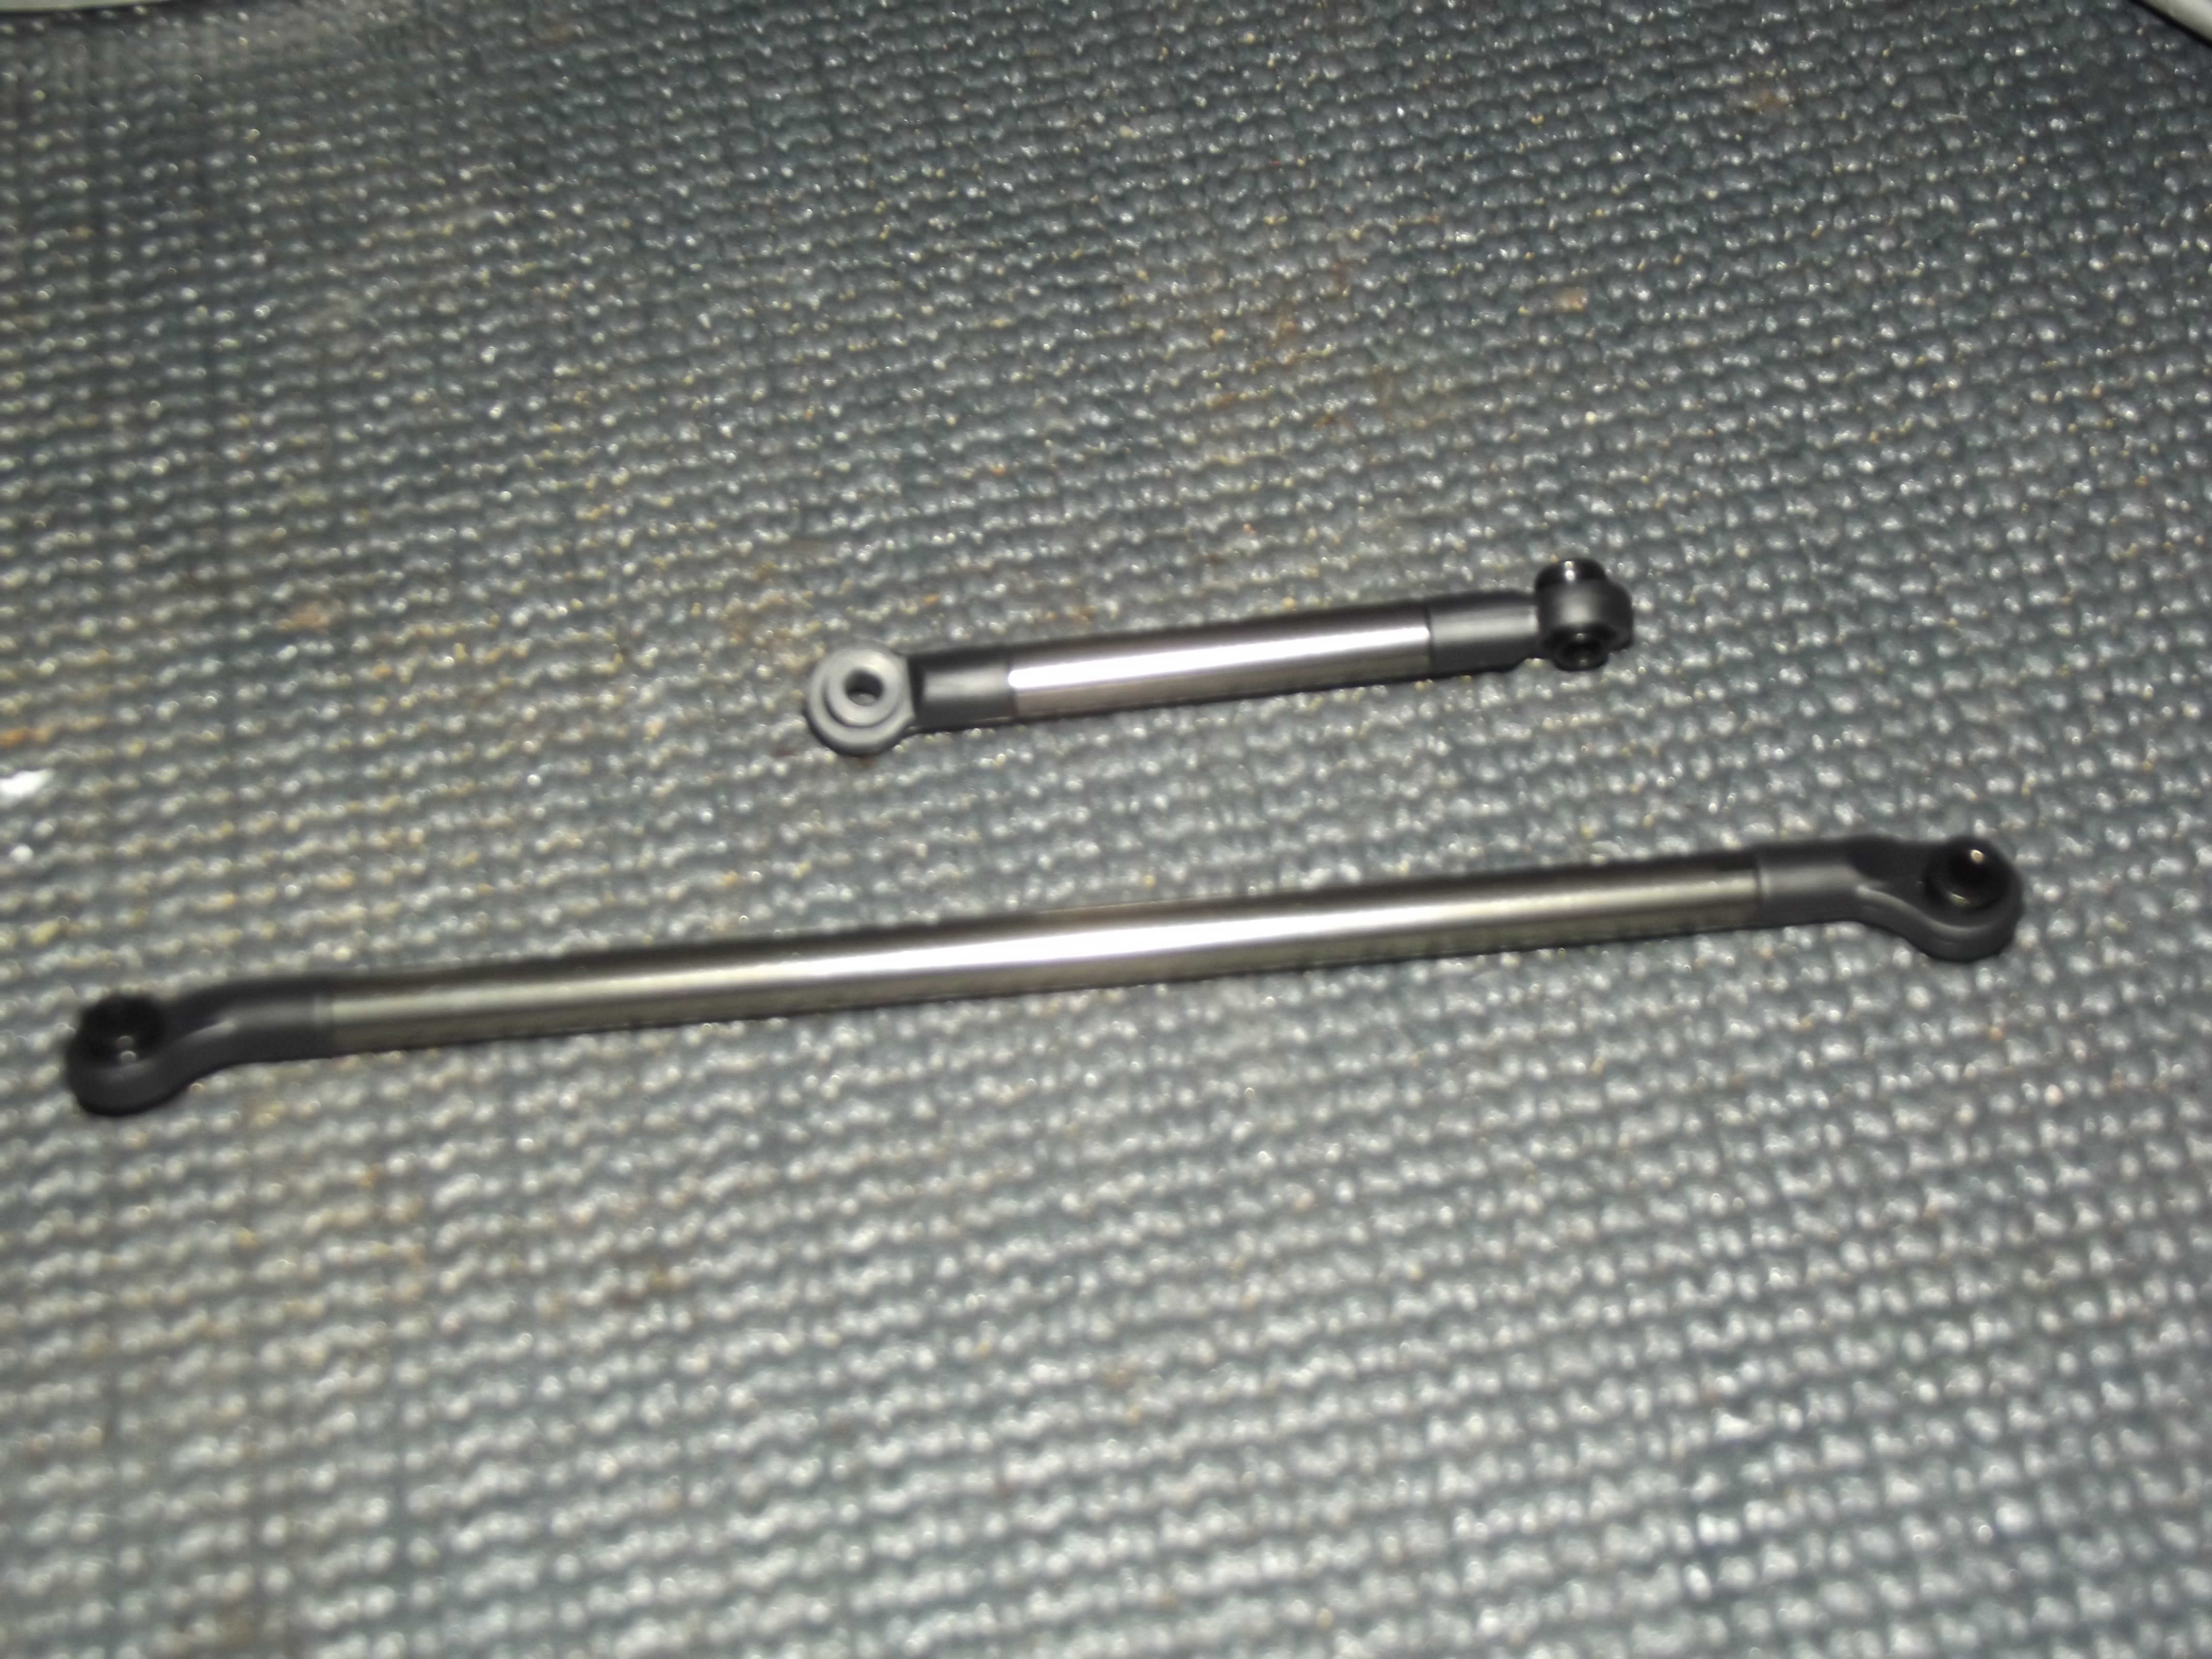
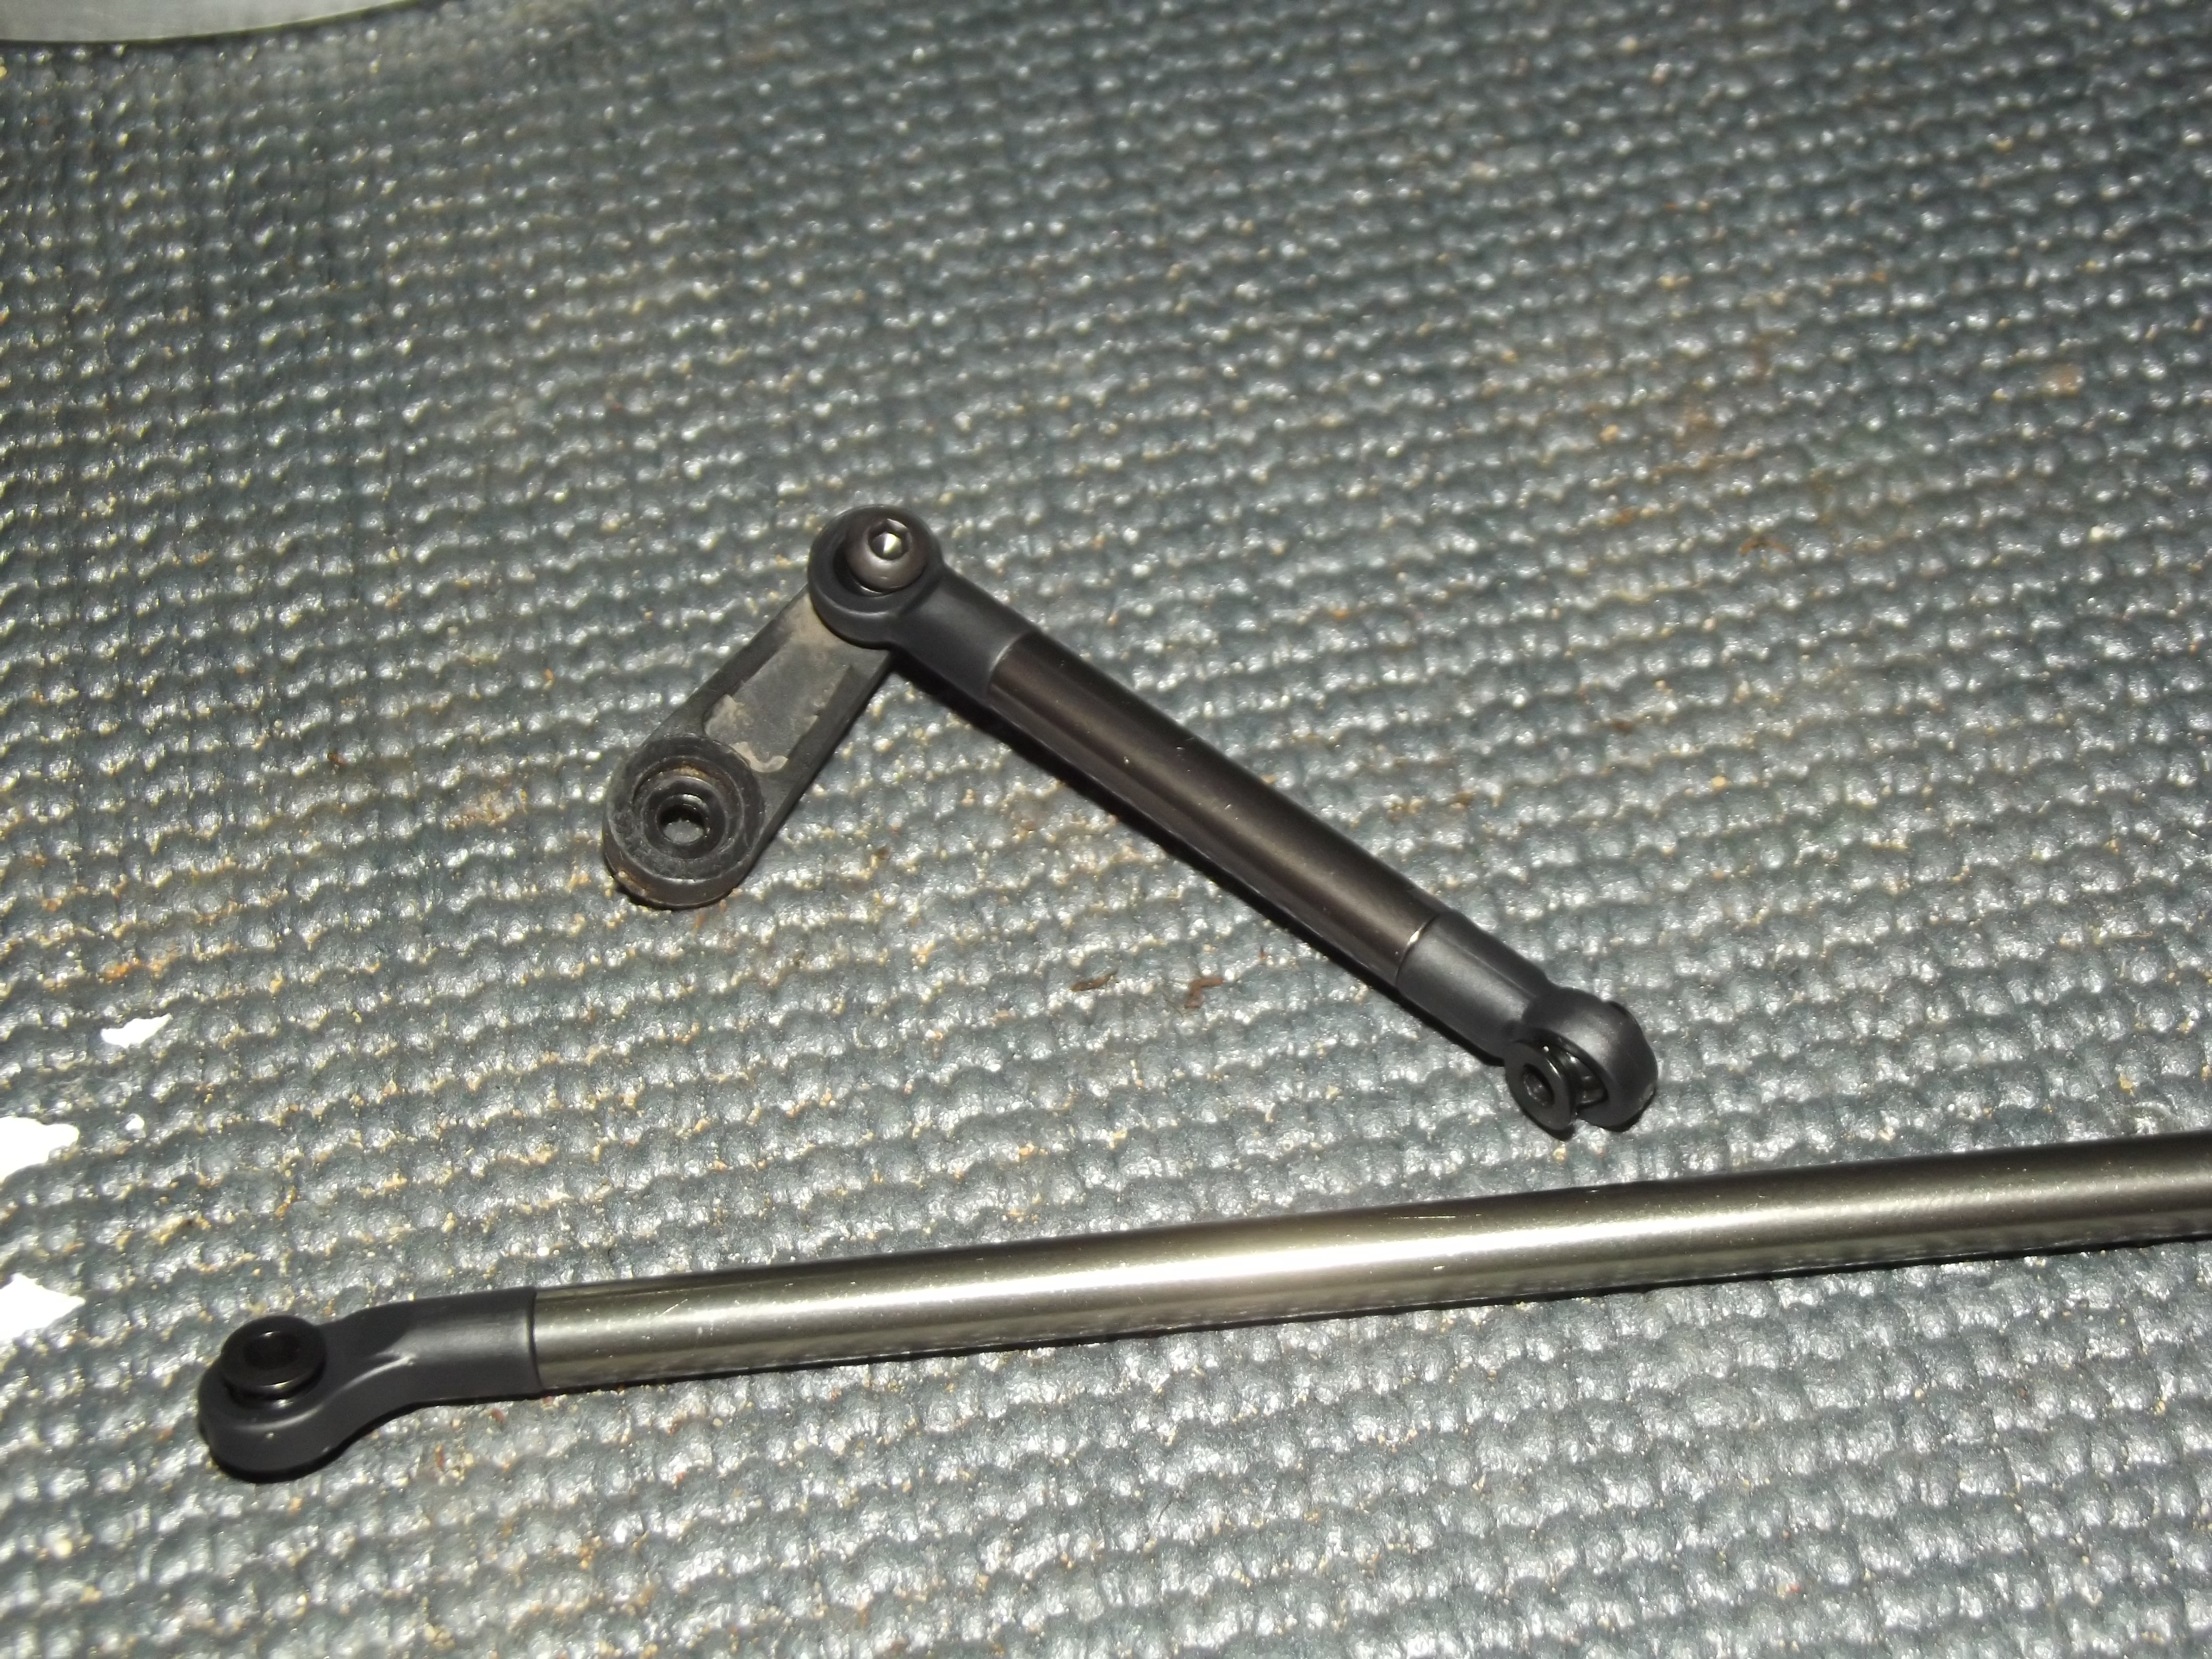 Now put the longer screw in the package through both links…
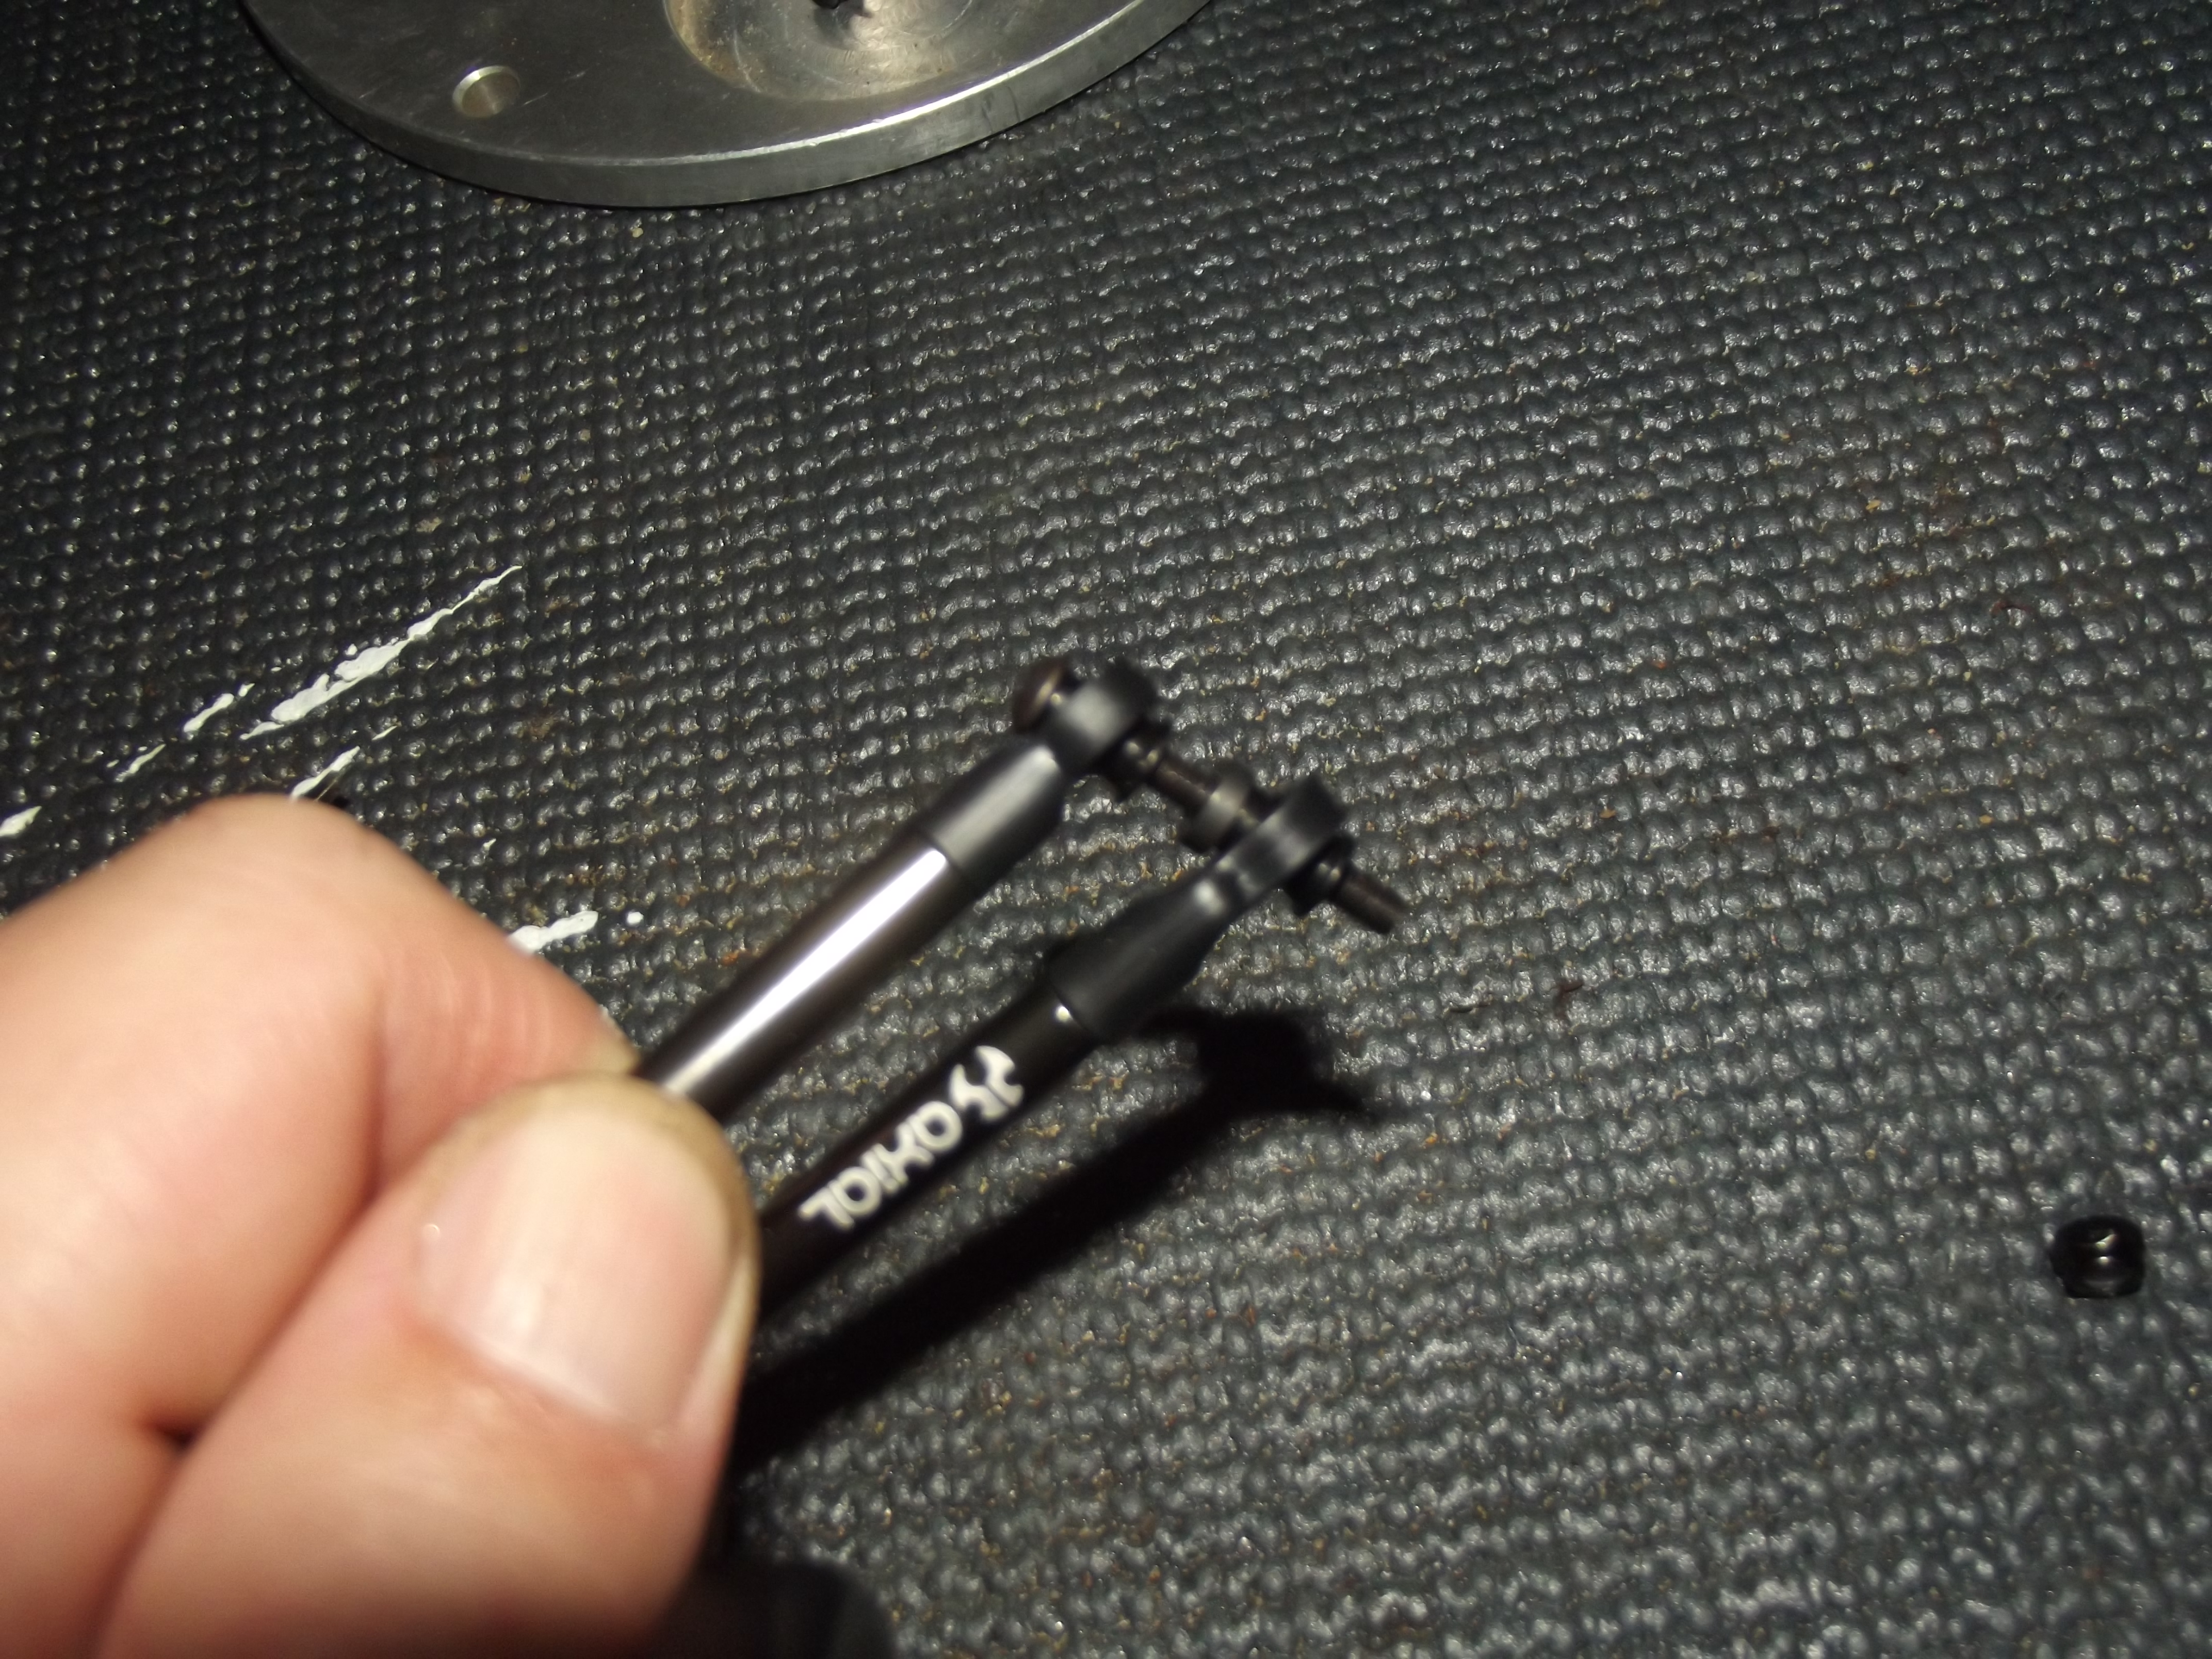
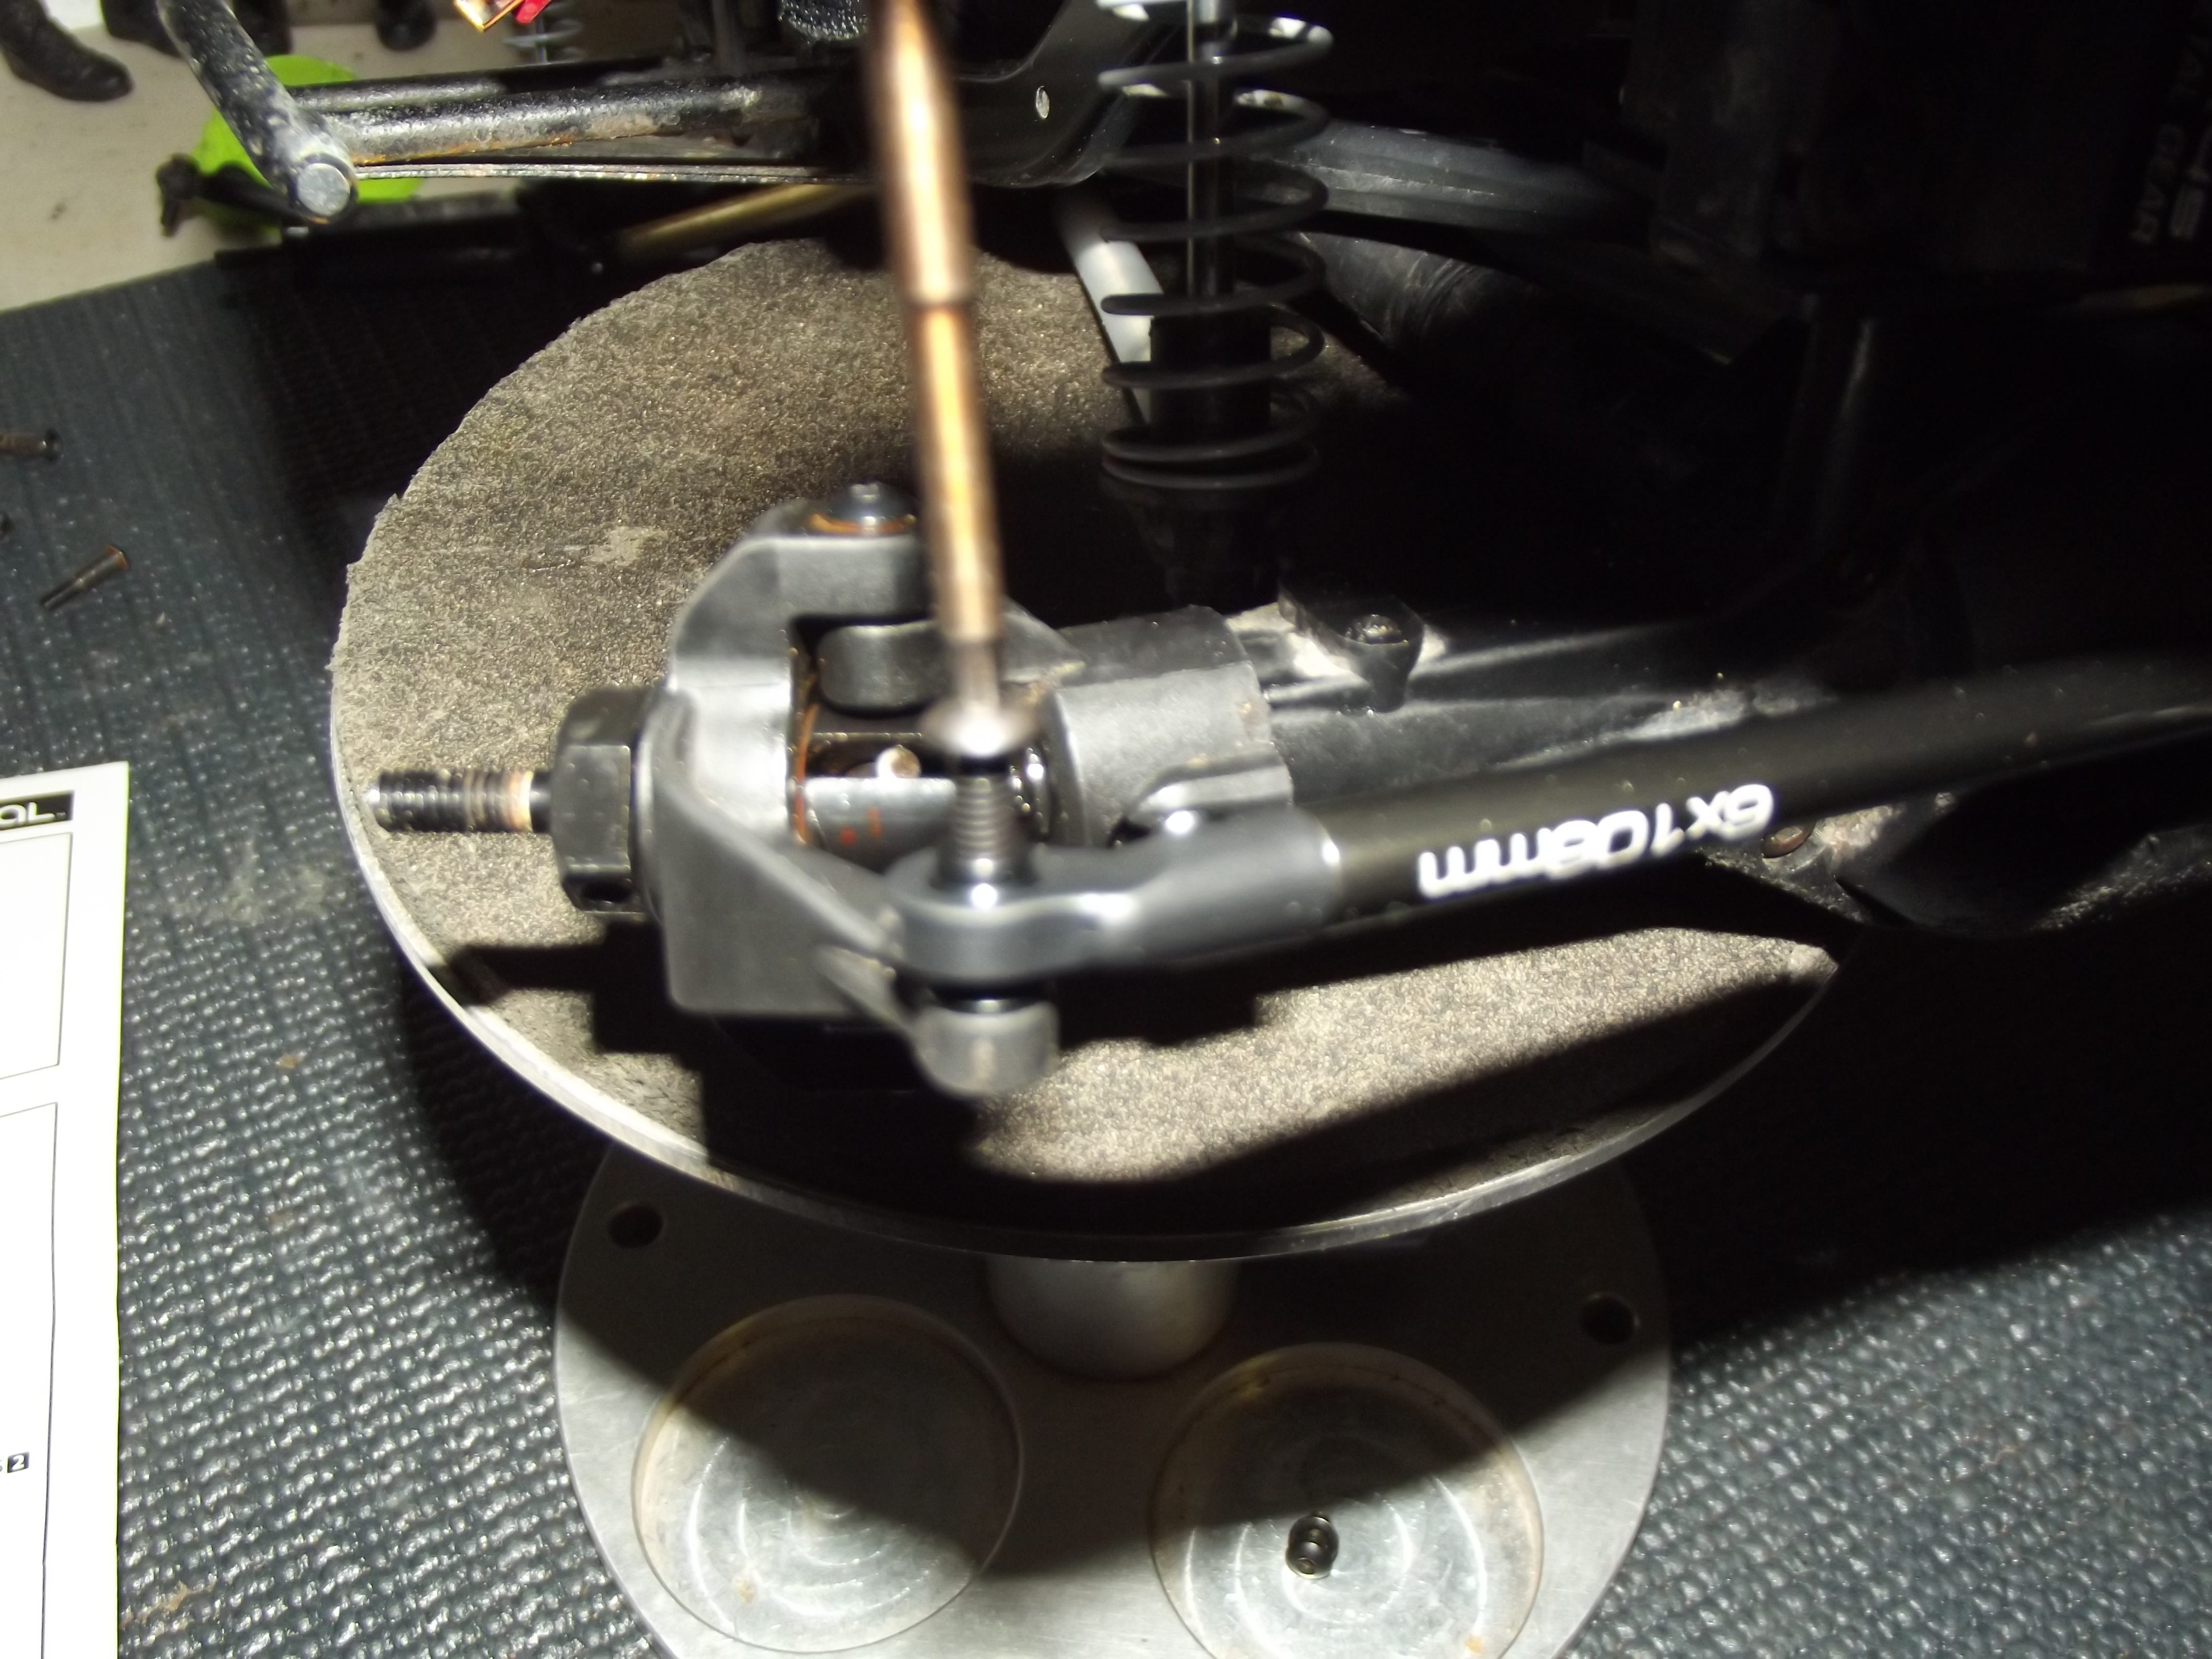
And then into the driver’s side steering knuckle. Then install a 3mm nut on the bottom. Don’t overtighten this nut, or you’ll bind the steering.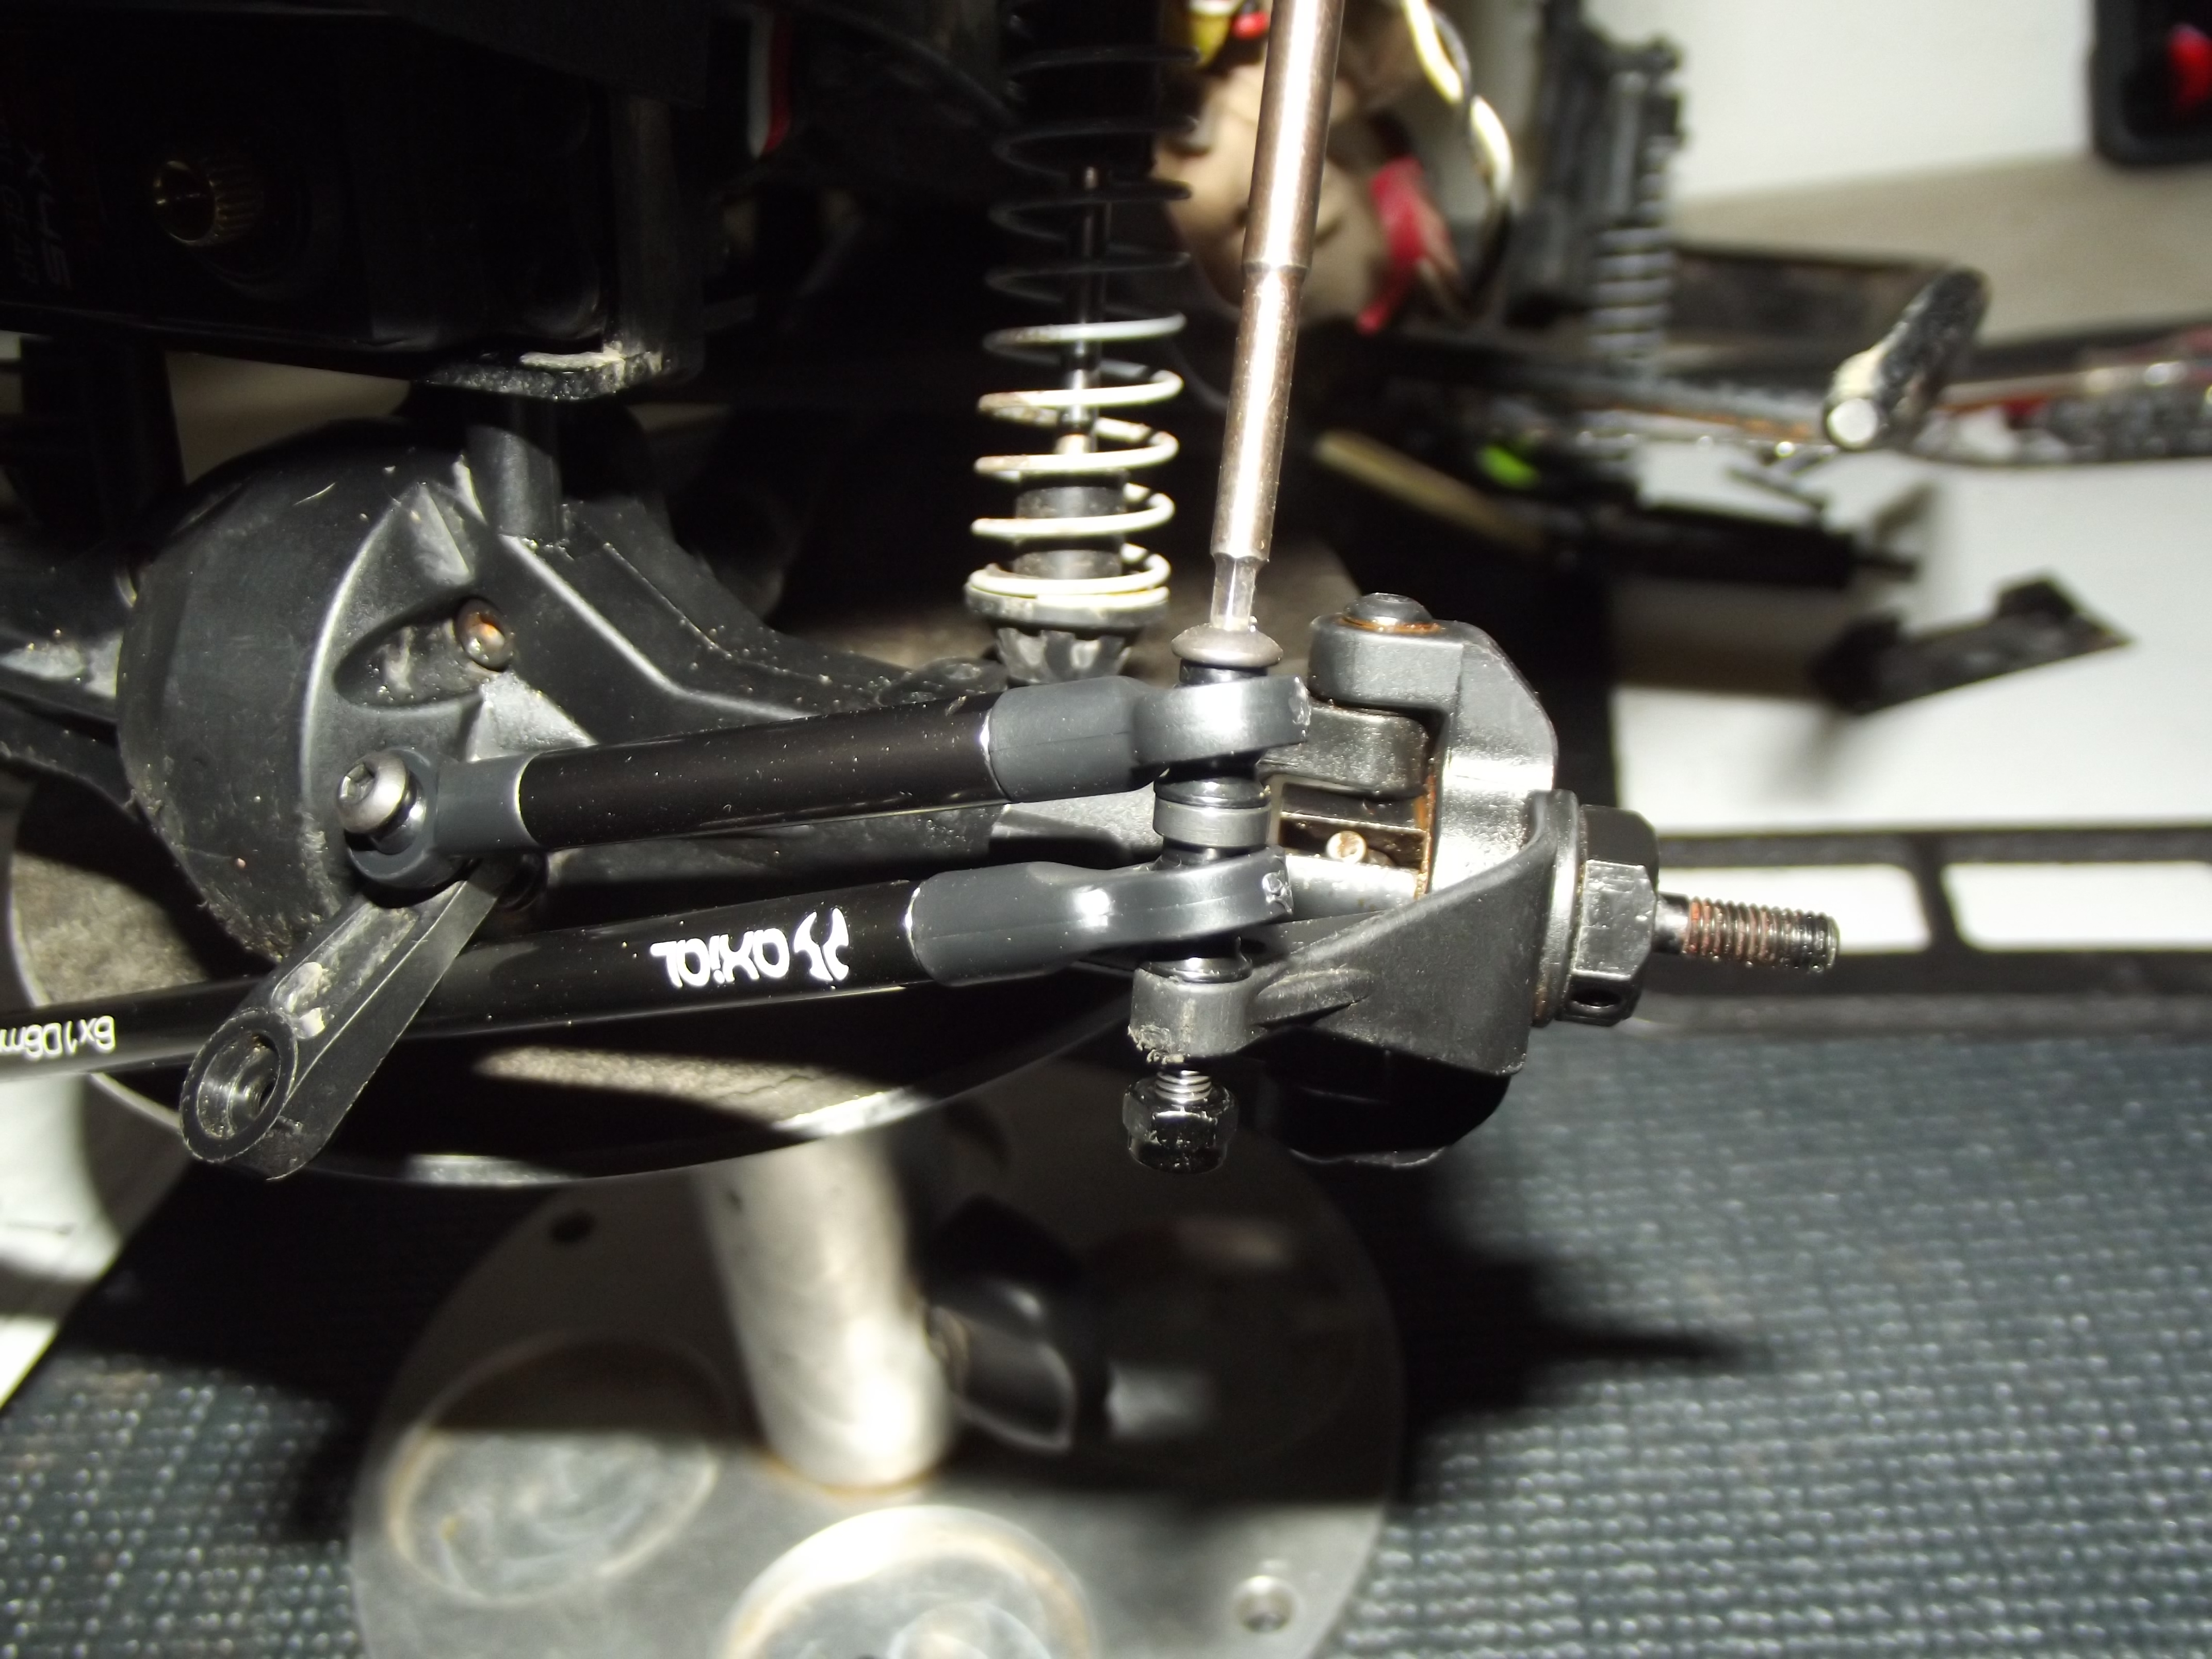
The other side of the long link gets attached to the passenger side steering knuckle.
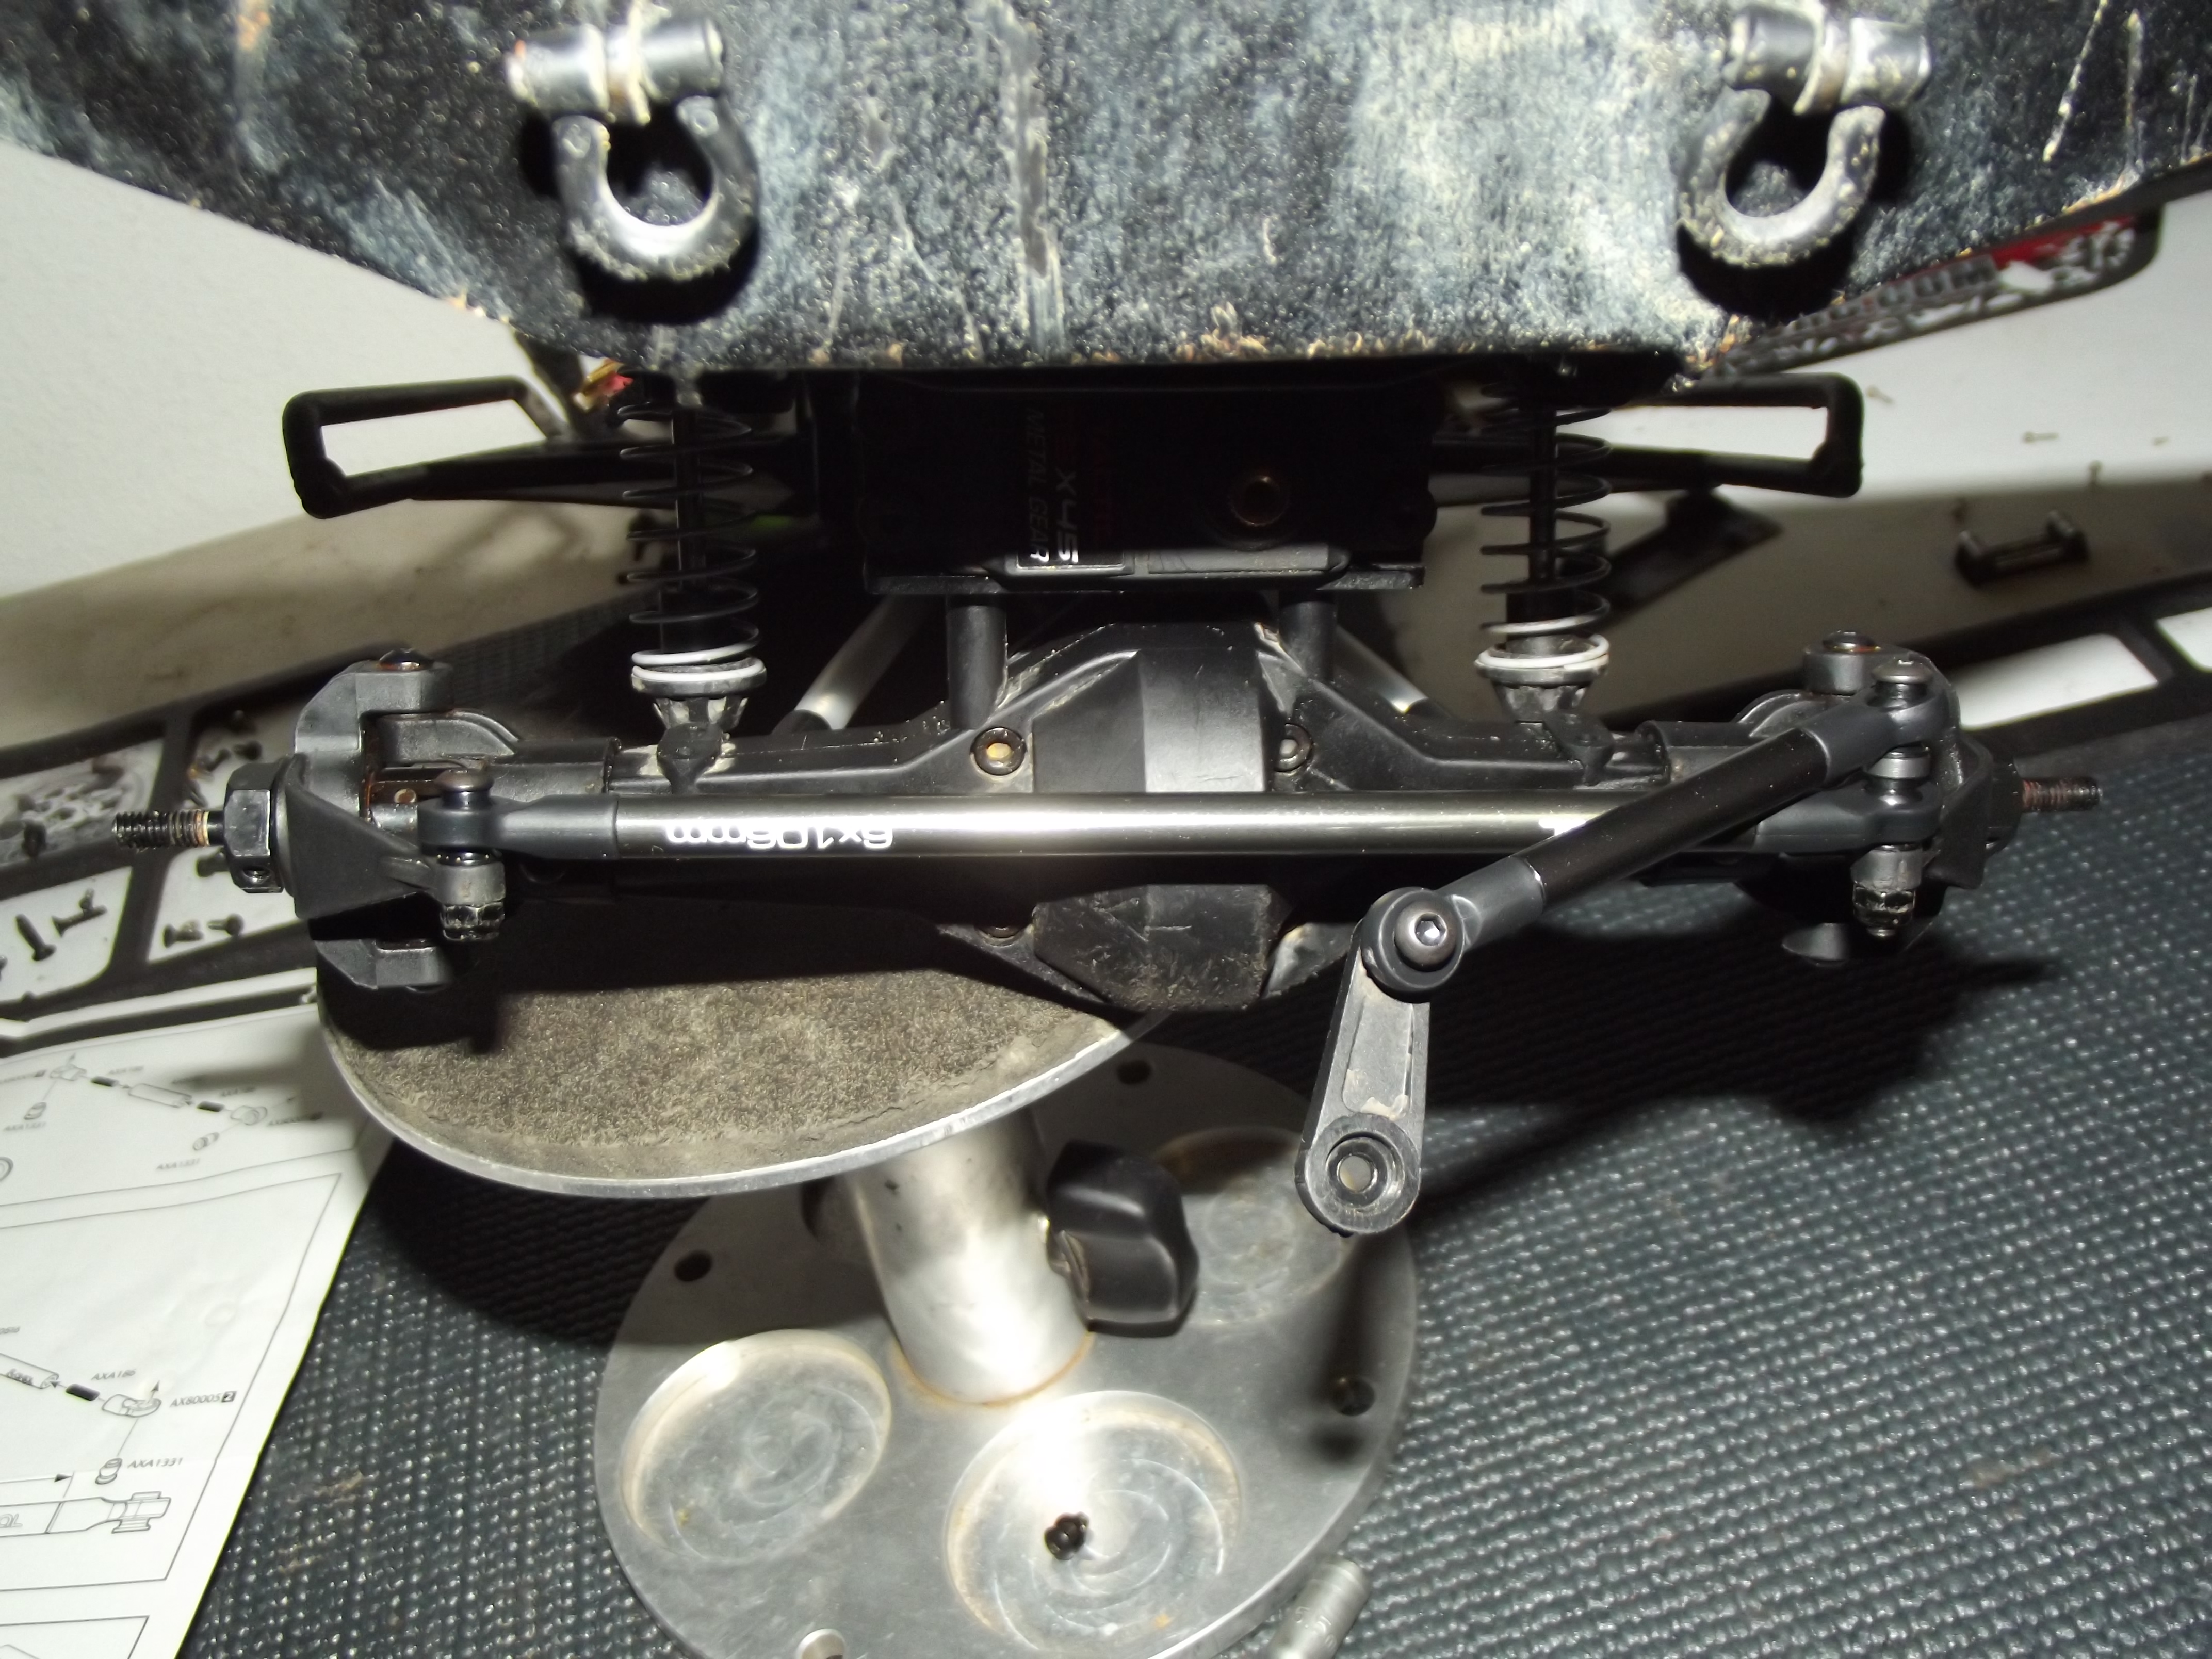
Before you attach your servo horn, turn on your radio, then the truck, and make sure the servo is centered. Then put your horn on with the knuckles as straight as you can get them. You’ll make final servo trim adjustments to get the wheels perfectly straight after you reinstall the tires.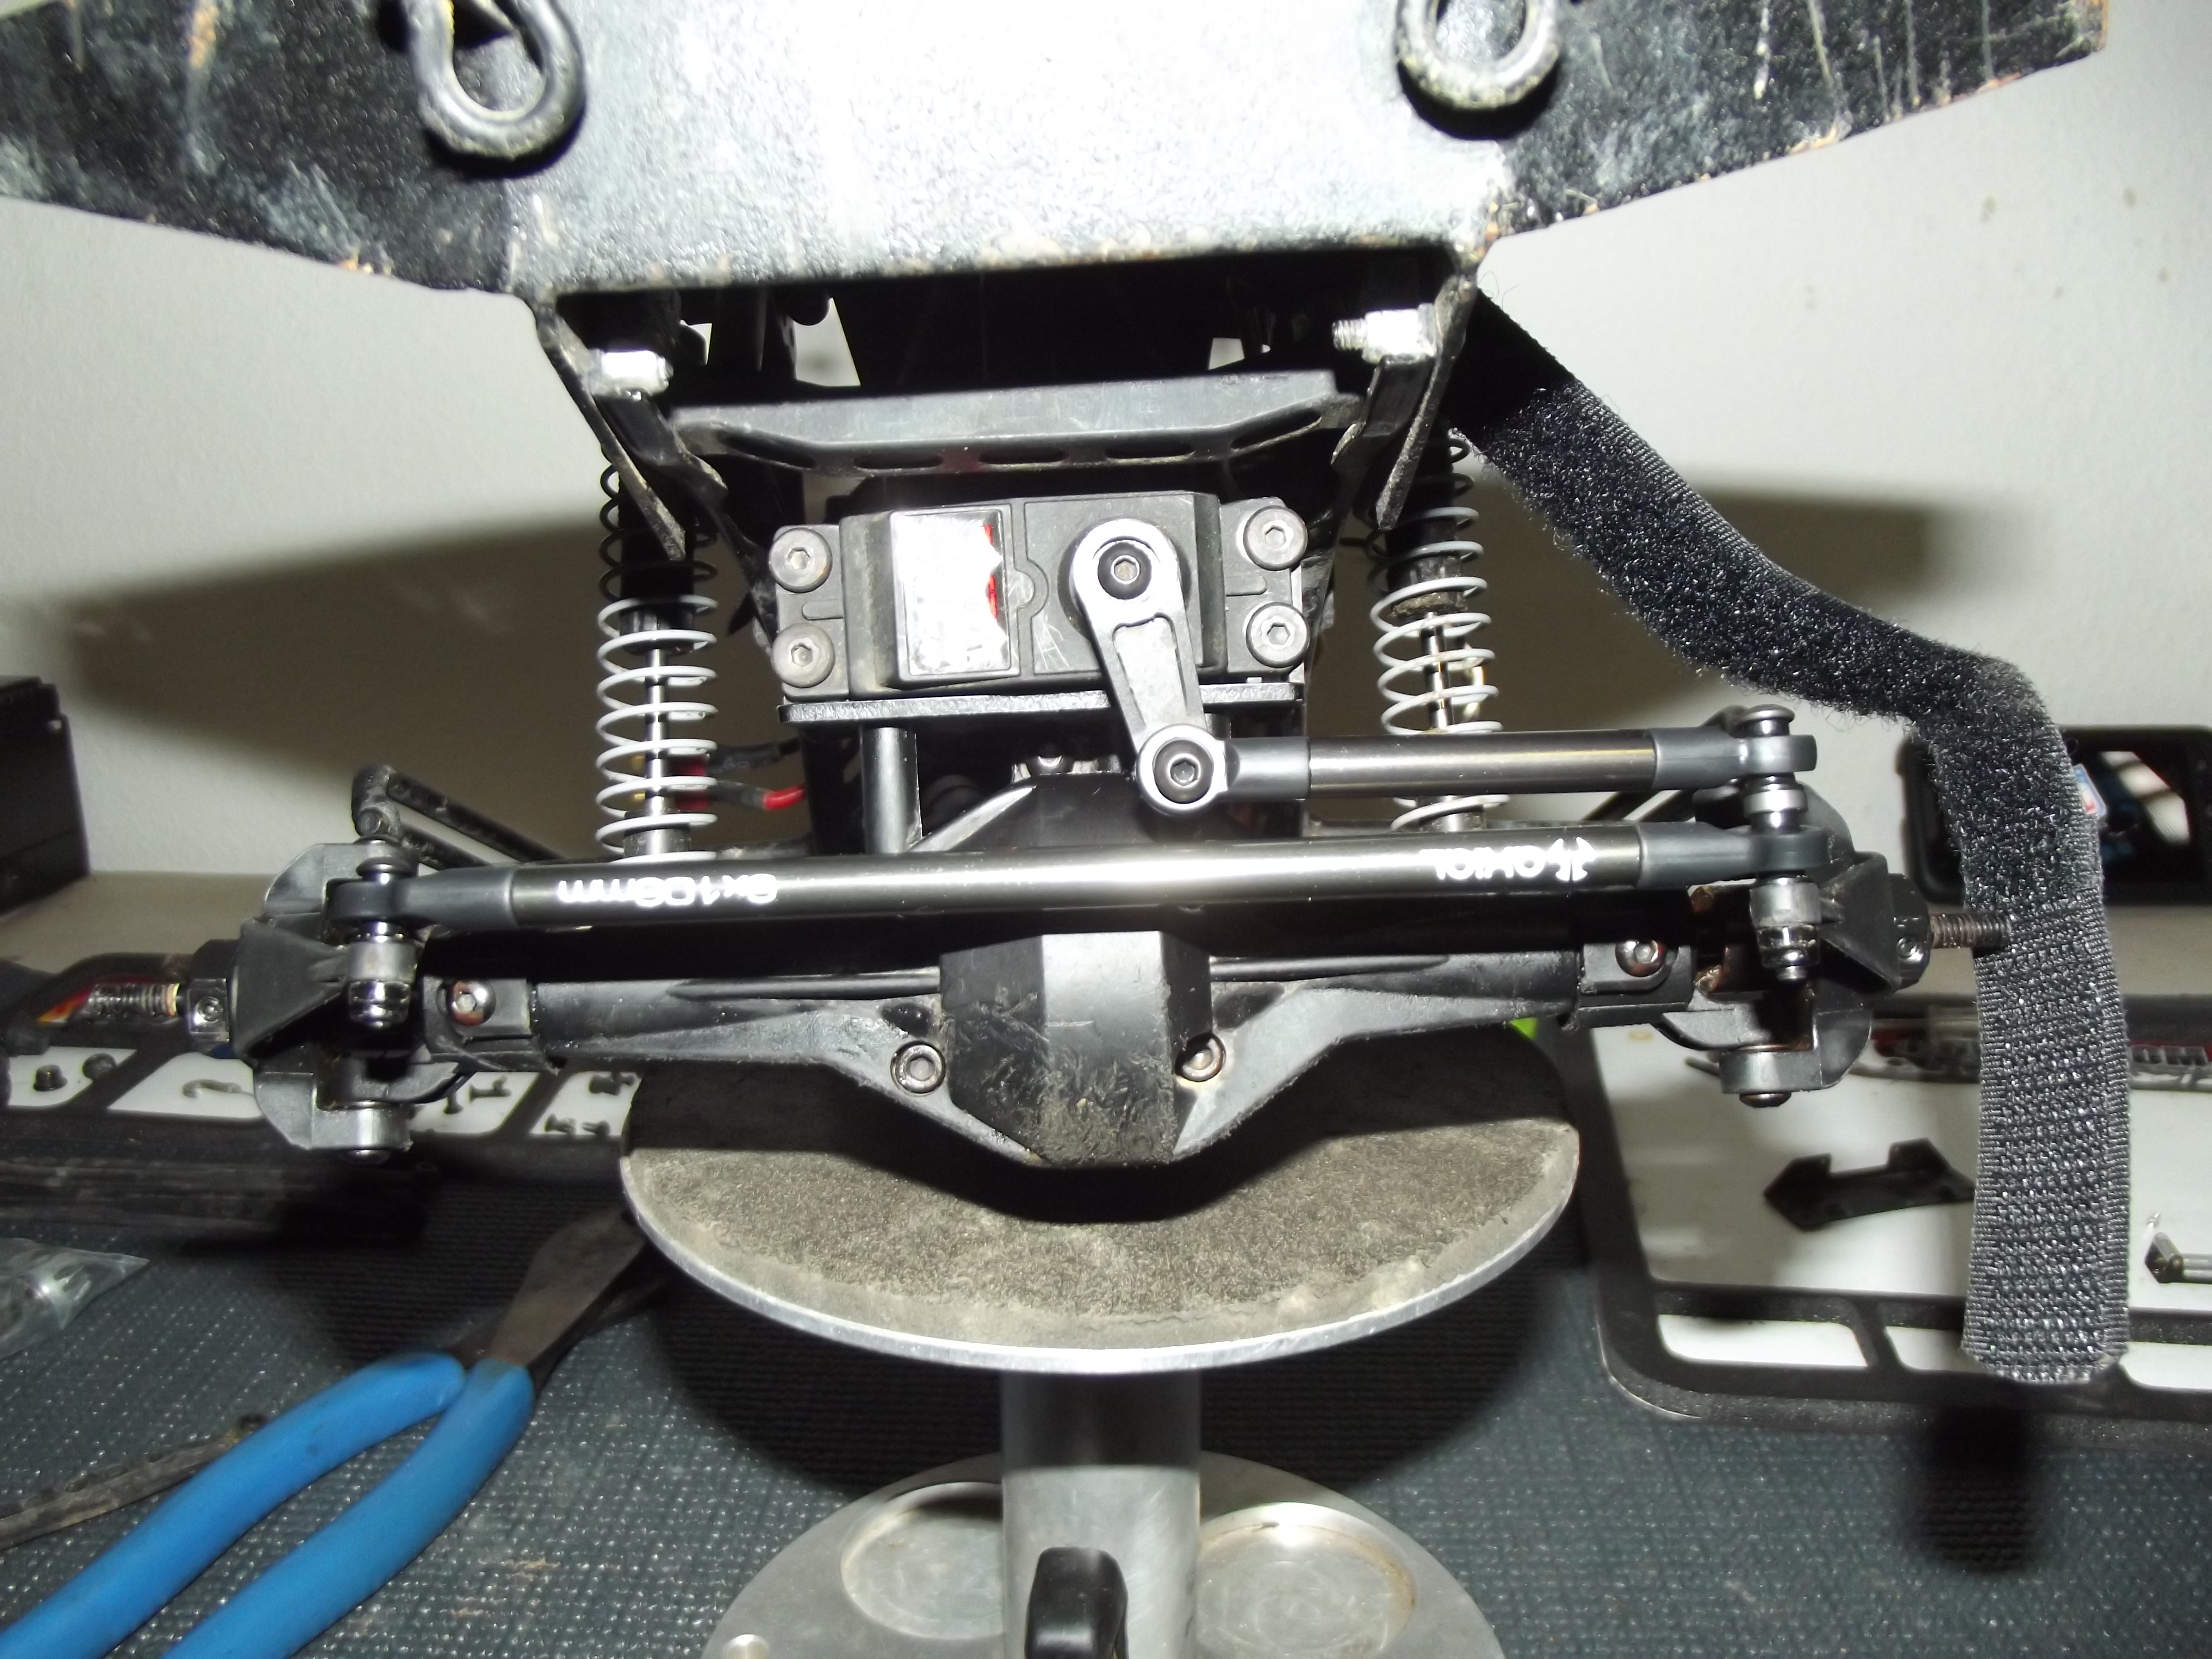
 Posted in
  Tags:
Tags: