

 February 26th, 2014
  Matt
Matt Here is an article from our friend Tyler up in Connecticut. He has some really good tips for making your new RTR last for a long time.
Ready-to-run vehicles are a mixed blessing for the world of RC. A lot of folks are intimidated by the thought of building their first remote control car, so being able to charge up the batteries and GO is great. Still, buying an already built vehicle means you aren’t forced to learn how it operates – which makes dealing with breakage tougher down the road. Remember the days when you couldn’t buy a ready to run vehicle? No? Well I do. Back in my day we didn’t have ESCs, we had mechanical speed controllers. We didn’t have ball bearings, we had plastic bushings – and we liked it! Now get off my lawn! <Ahem> Back to the matter at hand…
Regardless of whether you’re new to RC or an experienced veteran, we all have one thing in common: we want our vehicles to last as long as possible. Most manufacturers out-source their vehicle assembly, which means your kit probably isn’t being built by an experienced RC enthusiast. Here are a few things to check out before your maiden voyage to make sure you don’t run into issues because of build quality.
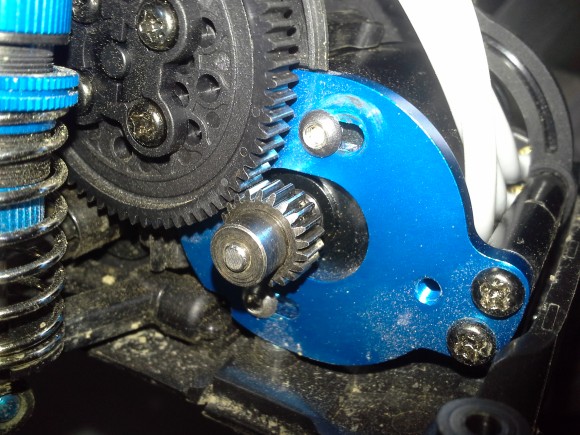
Gear Mesh
If the motor pinion/spur gear aren’t meshed together correctly you’ll have problems. Too loose and you could strip your spur gear, too tight and you could experience cogging or overheat your electronics. Both cases result in your new rig becoming a paperweight until you can get to your LHS or order the parts online. To avoid issues, remove the spur/pinion gear cover and test how much play is between the two gears. If you can find a point in the rotation of the spur gear where there’s NO play between itself and the pinion (or worse, you can feel it binding) you’ll need to re-set the mesh. The “paper method” is a good way of setting pinion mesh – just make sure to test your setup after by checking the mesh over the whole diameter of the spur (test it every ~60 degrees). The same goes if it feels like there is excess play between the pinion and spur.
Suspension
Almost every RC on the market comes with oil-filled coil-over shocks now, which provide superior performance to the old school pogo-stick un-dampened shocks. However, they also introduce another potential assembly issue: over/under filling. An under-filled shock won’t cause issues (other than a poorly handling vehicle), but an over-filled shock can create suspension bind and will self-destruct on a big-enough jump. With the truck propped up so the wheels are off the ground, disconnect the bottom of each shock and remove the springs: can you compress the shocks completely or do they bind? Do some shocks compress farther than others? If any of the preceding are true, you probably have a shock with too much oil in it. Remove the suspect shock, unscrew the cap a couple of turns, and slowly compress it. As the shock-shaft enters the body it will displace the excess oil, driving it out of the loosened cap. Once the shock moves freely, tighten the cap put it back together. It’s also a good idea while the shocks are off to see if the suspension arms move freely: if a hinge-screw is too tight it will cause binding.
Steering
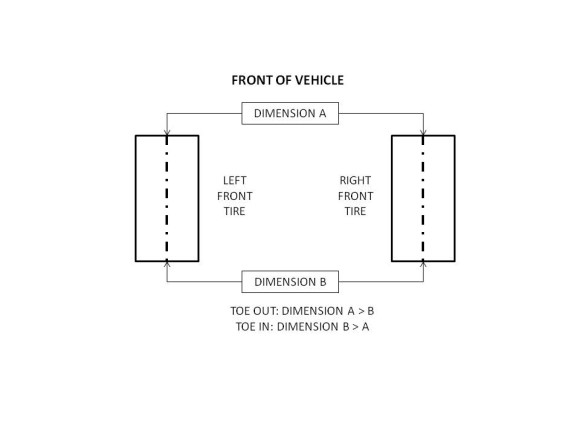
I can’t tell you how many RTR vehicles I’ve seen with the front wheels toed out, toed in, or otherwise messed up. What makes matters worse is when the radio included doesn’t have the steering trim centered out of the box. With the radio on and the vehicle on, set the steering trim to neutral: now go look at your front tires. If you want to be scientific about it, use a tape measure and note the distance between the centerline of the front tires on the leading edge and the trailing edge (see picture below). If you have adjustable (threaded) steering links you can setup the toe to your liking. I usually run a little bit of toe-in: 1/16th to 1/8th of an inch on my short course trucks.
Electronics
There’s not much to say about preventative maintenance on electronics. Make sure they’re secured (servo/ESC/motor mounting bolts) and make sure that wires aren’t being pinched or held against surfaces that could chafe through them.
Body
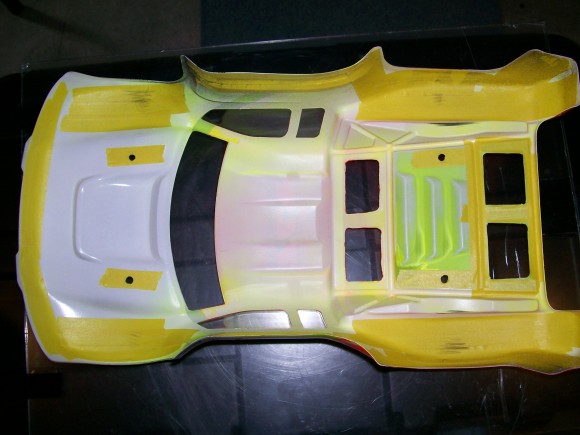
Since most bodies come pre-painted and cutout, all you need to do is apply stickers. Still, it’s a good idea to line key spots on the inside of the body with tape (fiberglass reinforced battery tape used by oval/touring car guys is best). Doing so will prevent wear from tire rub, roost, and chaffing on body posts. Pay special attention to fenders, body-mount locations, and any sharp bends – basically any spot prone to rubbing/cracking.
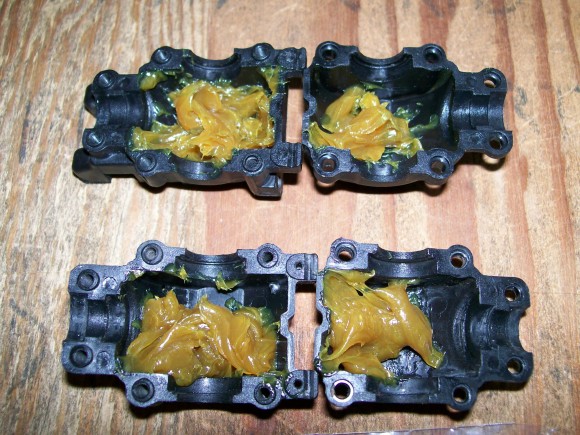
Gearbox
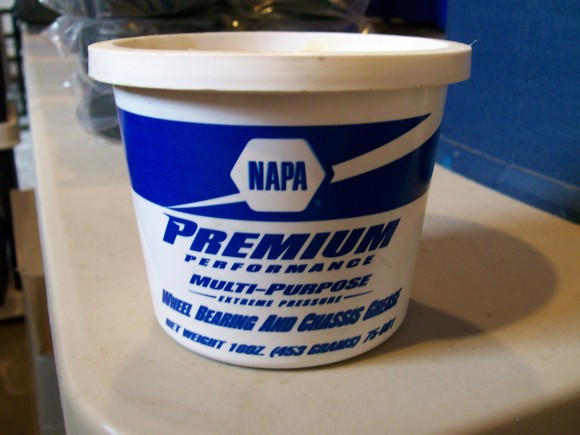
I’d consider this an advanced tip – but it’s something I’ve done with every vehicle I own: fill the gearbox with grease. Most vehicles come with little to no grease in the transmissions, so the gears wear at an accelerated rate – especially when subjected to brushless power. If you’re comfortable doing the work, remove the transmission (or diff housings) and fill them (~50%) with grease (I use automotive axle/bearing grease). For transmissions split vertically (most stadium and short-course trucks) you should expect some seepage out the transmission seam. However, some 4X4 platforms (Team C TS4) have horizontally split differential housings, which can hold a fair amount of grease without leaking overboard. After packing the housing (tranny or diff), run the truck on a stand (wheels off the ground) at part throttle (25%) for a minute to work the grease into the gears, then you’re ready to go. [Note: most manufacturers will tell you that this isn’t necessary and that their transmissions are meant to be run dry. That may be true, but I’ve experienced no gear failures and have seen a significant deceleration of part wear-out since I started doing this].
Continued Maintenance
Once you’re up and running, you’ll learn over time how to fix your rig as parts break and wear out. If you’re an aggressive basher you’ll learn even faster! Still, it’s a good idea to check the following between runs…
- Loose/lost screws
- Motor/ESC temperatures
- Transmission binding
- Wheel-bearing binding
- Wire chaffing/pinching
If you keep the preceding in mind, and obey the manufacturer’s instructions, your ready-to-run rig will last a long time and bring you years of fun!
 Posted in
  Tags:
Tags: