

 May 7th, 2014
  Kevin
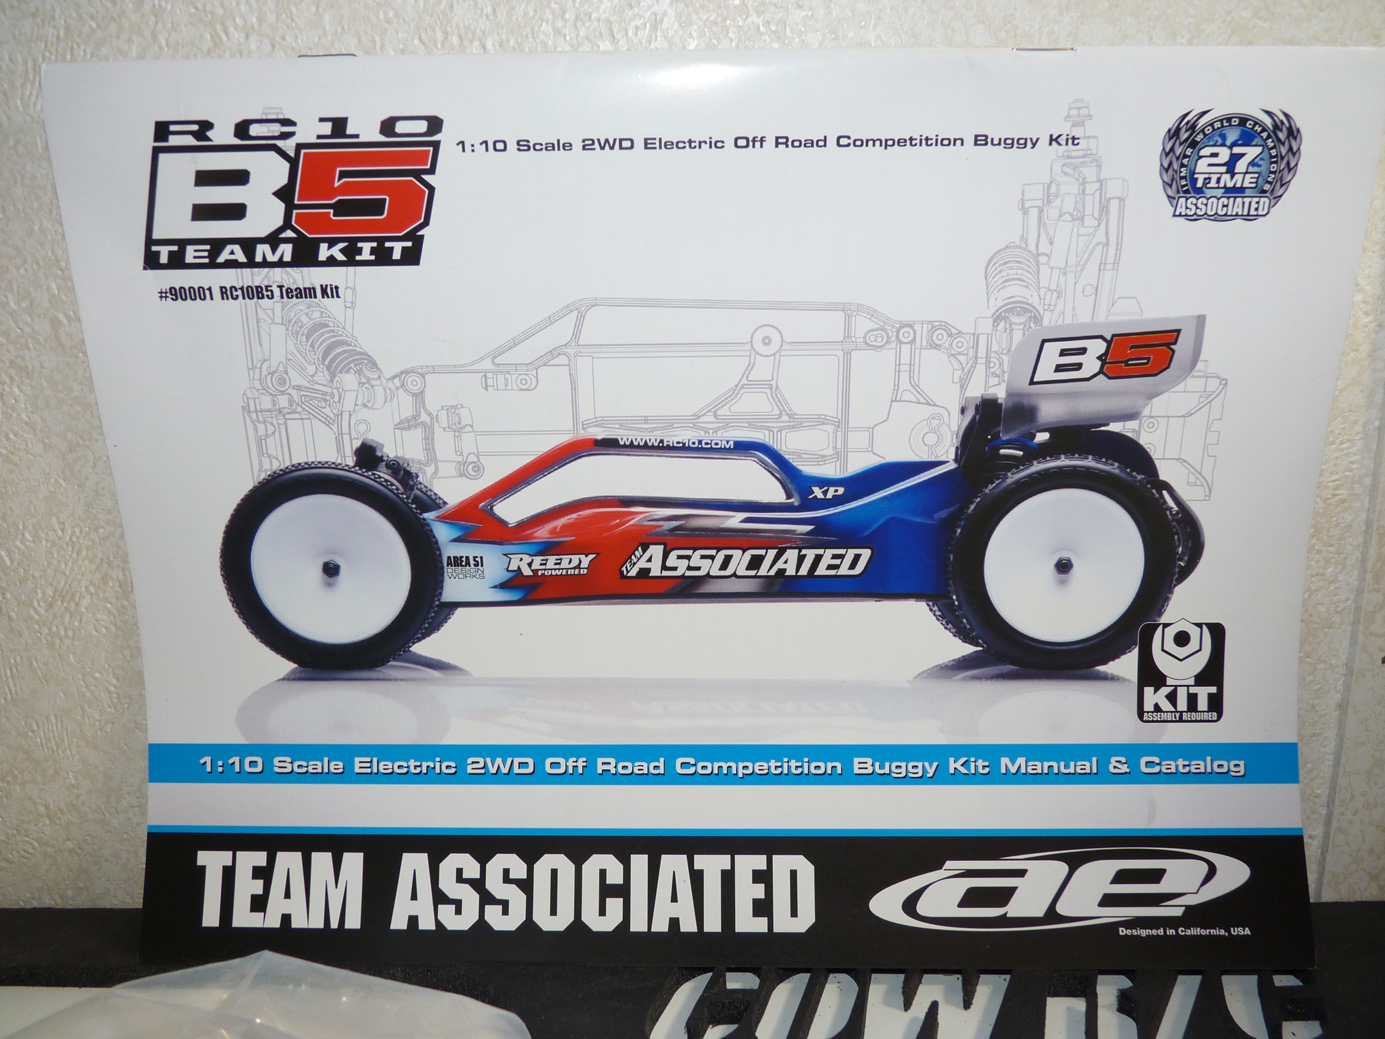
Kevin Team Associated has once again taken the r/c world by storm with their surprise release of the RC10B5 Rear Motor and RC10B5M Mid Motor 2wd Buggy kits. They were announced seemingly out of nowhere, with no team drivers competing with them at big events prior to the announcement of their release. I personally found this unusual, as we’ve in the past seen prototypes being run by top tier drivers. Not so much with these 2 new buggy kits. They were announced straight from the shadows with little to no public awareness that they’ve been in development. For me this seemed a little scary that we didn’t see drivers like Hartson, Maifield, and Cavalieri running these in the fall. Instead most of them were running the Centro C4.2 conversions.
Doubts aside, so far the impressions I’ve seen online have been nothing but positive regarding the new B5 kits (either the Rear or Mid motor version). I was given a special opportunity to build the following Rear Motor version of the kit by RC Soup friend Walter Pickering & Liquid RC. My indoor budget was tapped shortly after Motorama when these kits were released. Walter was gracious enough to send me his own personal kit to let me build it for the site and run it for a few races to get the feel for it. I couldn’t turn down an opportunity to build a new kit. Everyone can thank Walter for this bit of content on our site. Thanks bud!
So, it’s been a while since I built an Associated kit. Probably the SC104x4 when it first came out (I had one of the first preorders). I was curious if Associated had made any improvements to their manual or kit builds since then. I’d say they had. Everything was well packaged and the steps in the manual were very easy to follow. One especially nice part was that the steps each had their own hardware bags.. so when you were done with one step, you didn’t have a bunch of stuff left over to be used in future steps. This made for a very clean and efficient build.
Well, let’s get into it shall we?
To save shipping costs, Walter kept the box, and shipped me just the parts and manual. The body went out to Anthony Joseph (TJ Paint FX) for a custom paintjob, that would be drop shipped to me later. That said, I can’t speak for Associated’s packing job but the bags themselves were clearly marked.
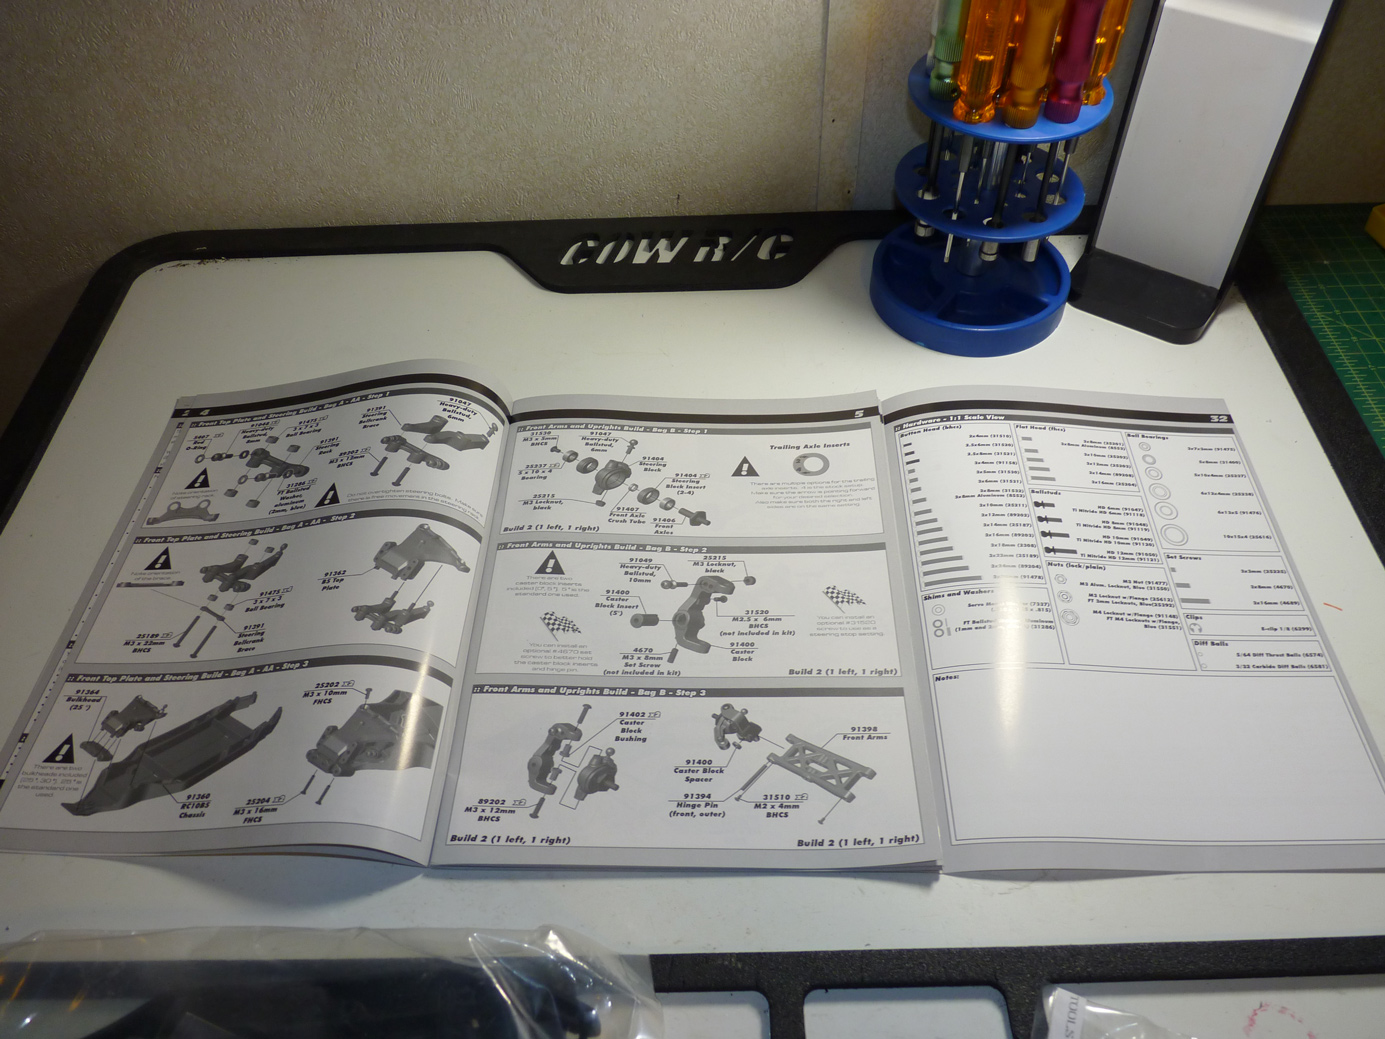
The RC10 B5 manual.
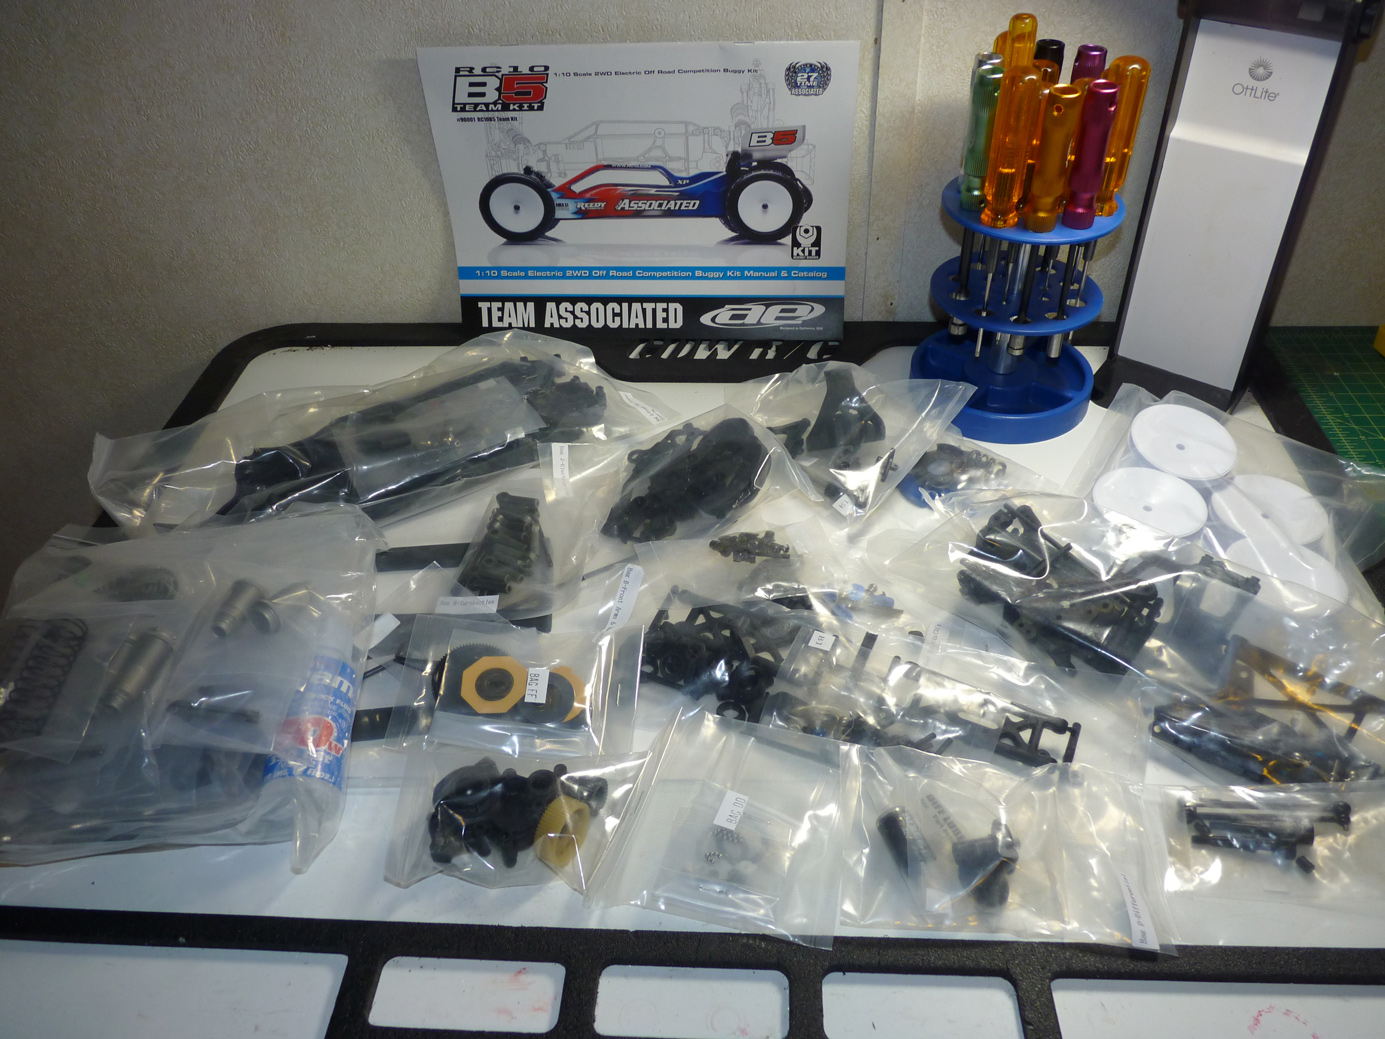
Parts are laid out. No tires come with this kit, which is good. It keeps the kit cost down and allows you to select something from your favorite tire manufacturer that works on your local racing surface. I’m using my Duratrax Tool Stand in this build. It’s SO convenient.
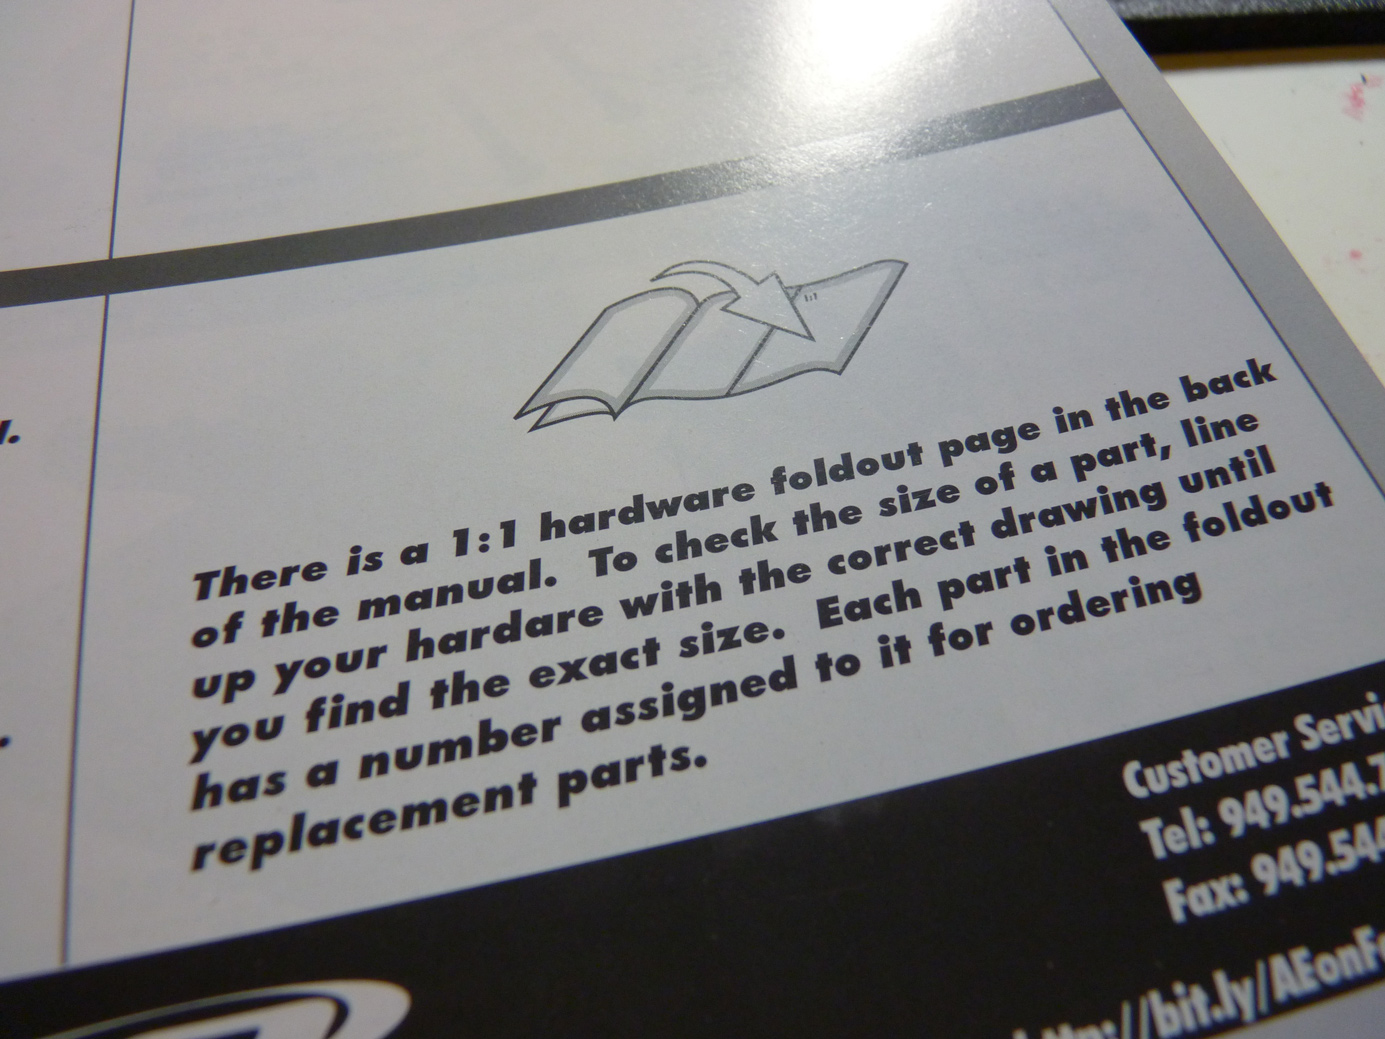
Here’s a neat little feature of the manual. 1:1 hardware guide in the back that folds out while you are on any page of the manual.
First step is the chassis and steering bellcrank.
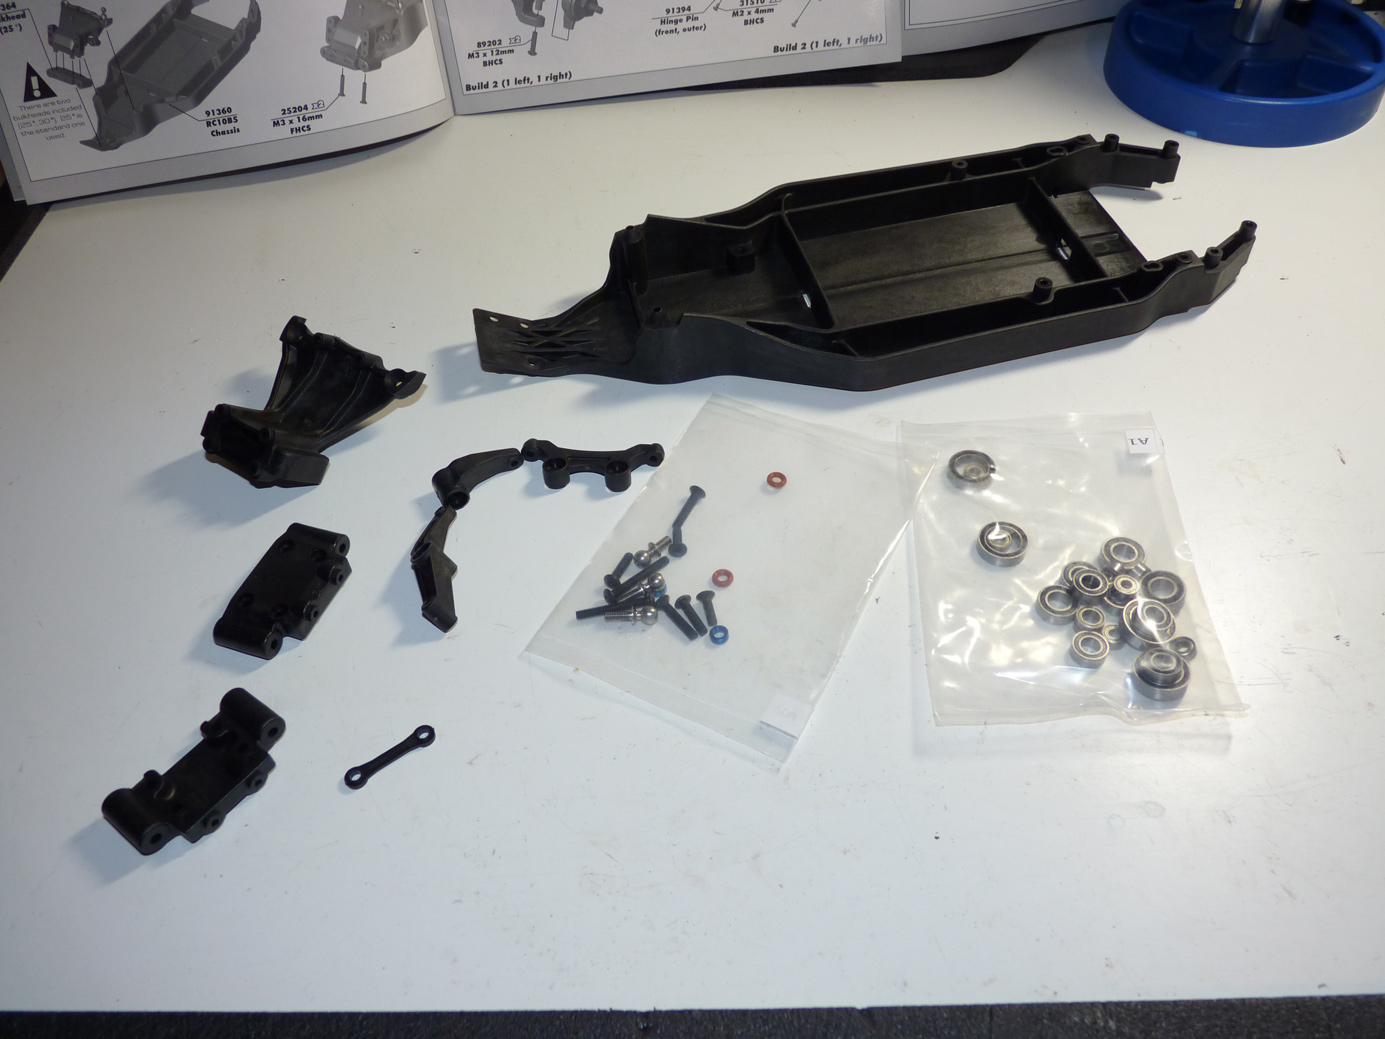
Shown above are the parts for Step 1.
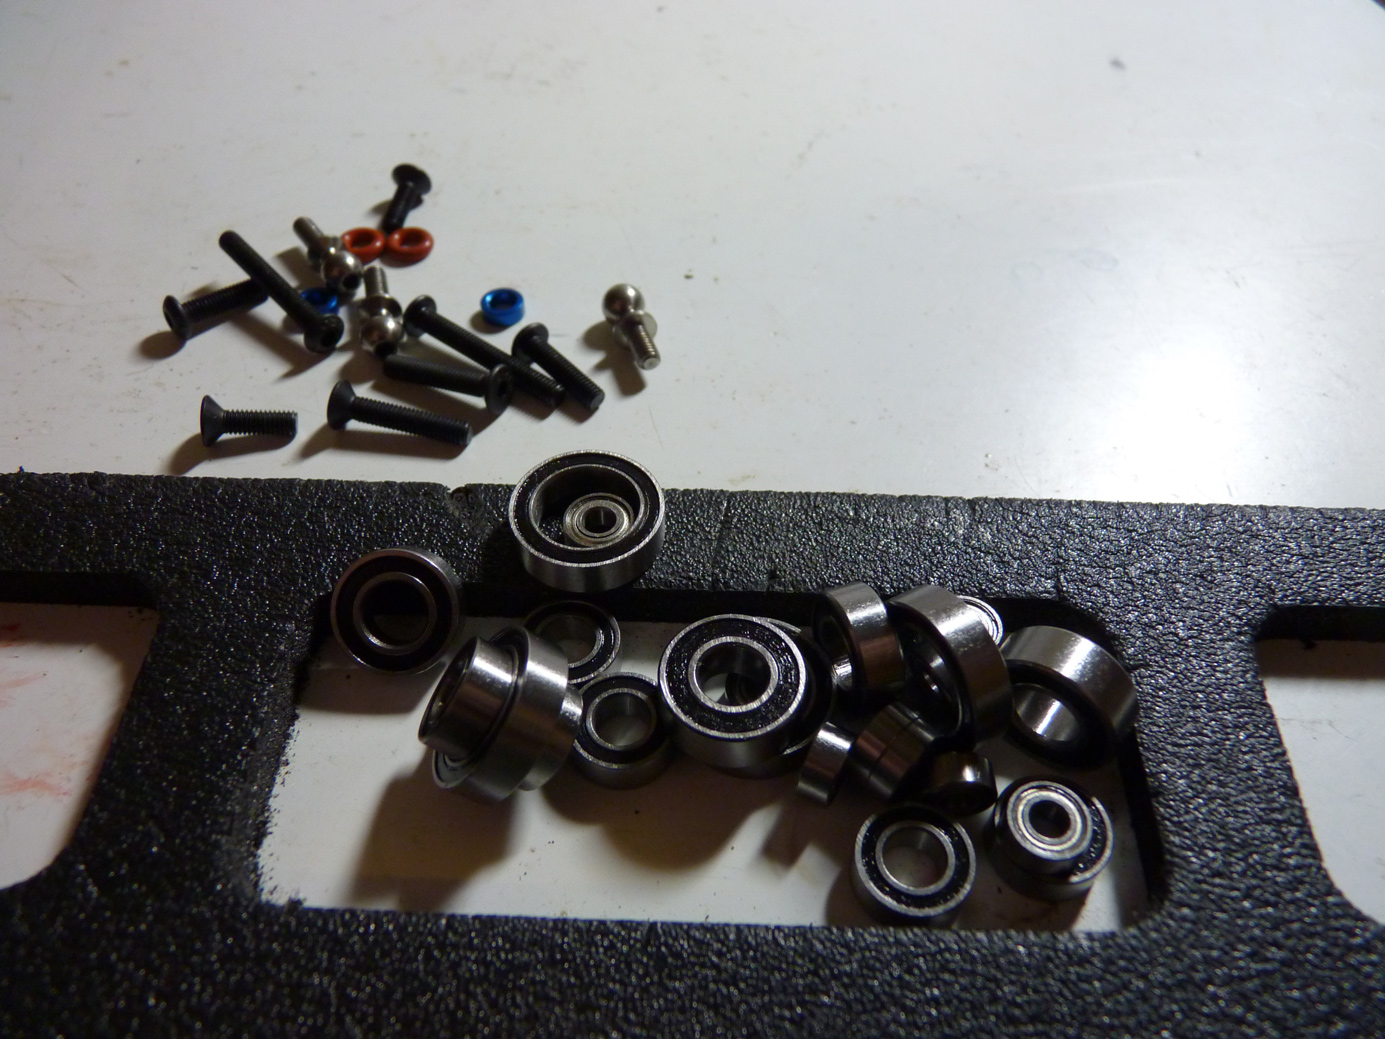
The B5 comes with a full set of ball bearings. Some are rubber sealed, some are metal.
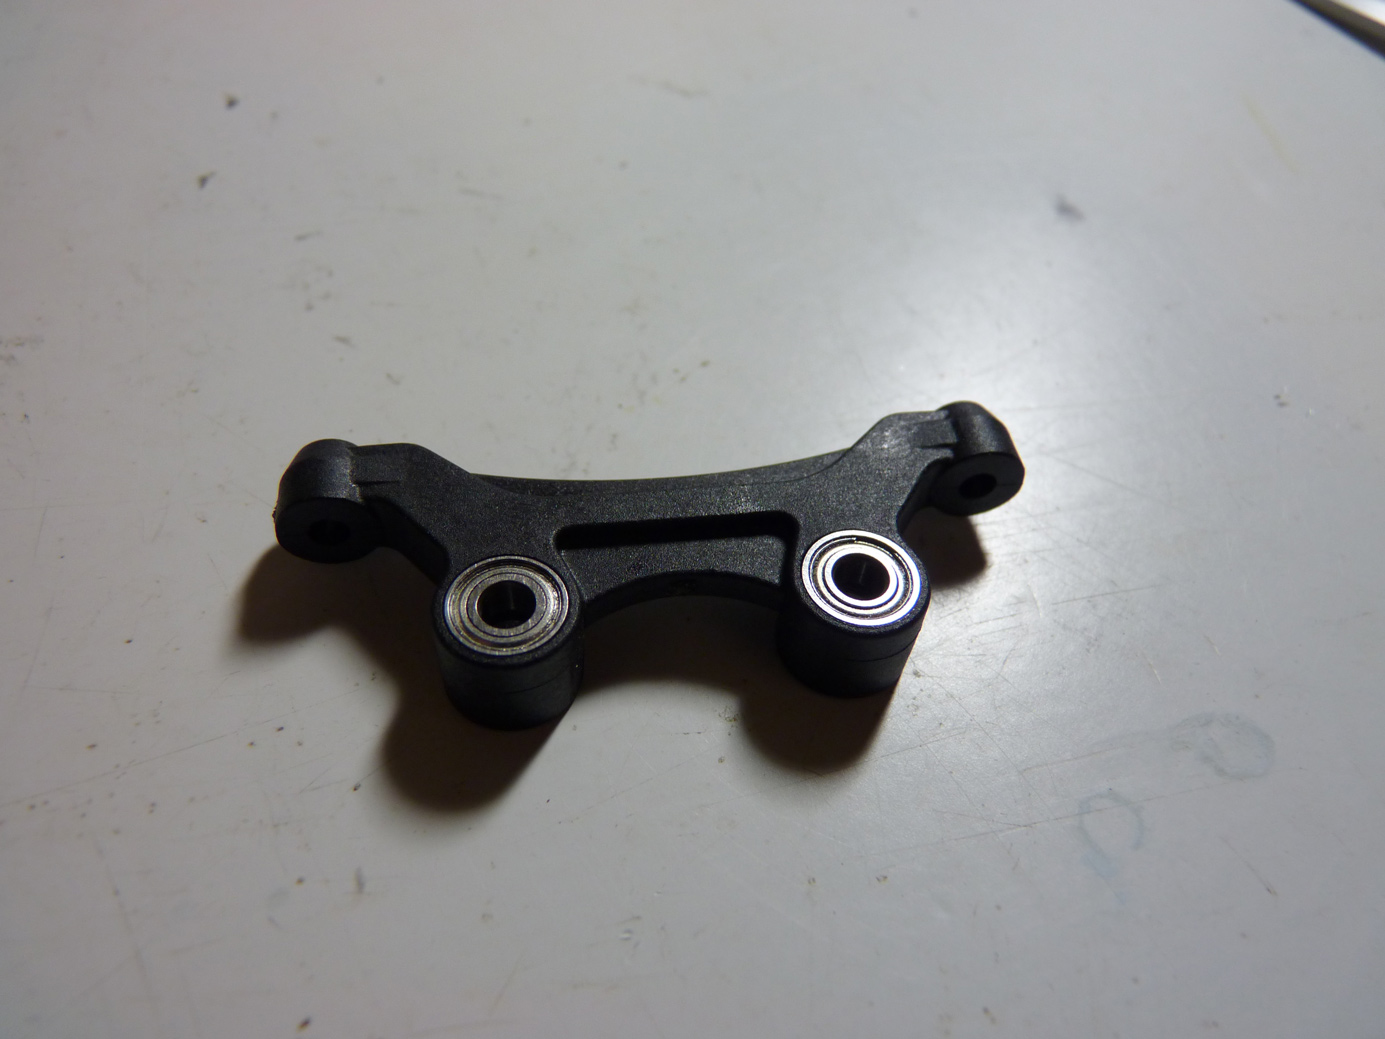
Step 1 is to assemble the bellcrank steering assembly. It will glide smooth with full bearings.
We install the bearings and heavy duty ballstuds and ballstud washers on the steering rack.
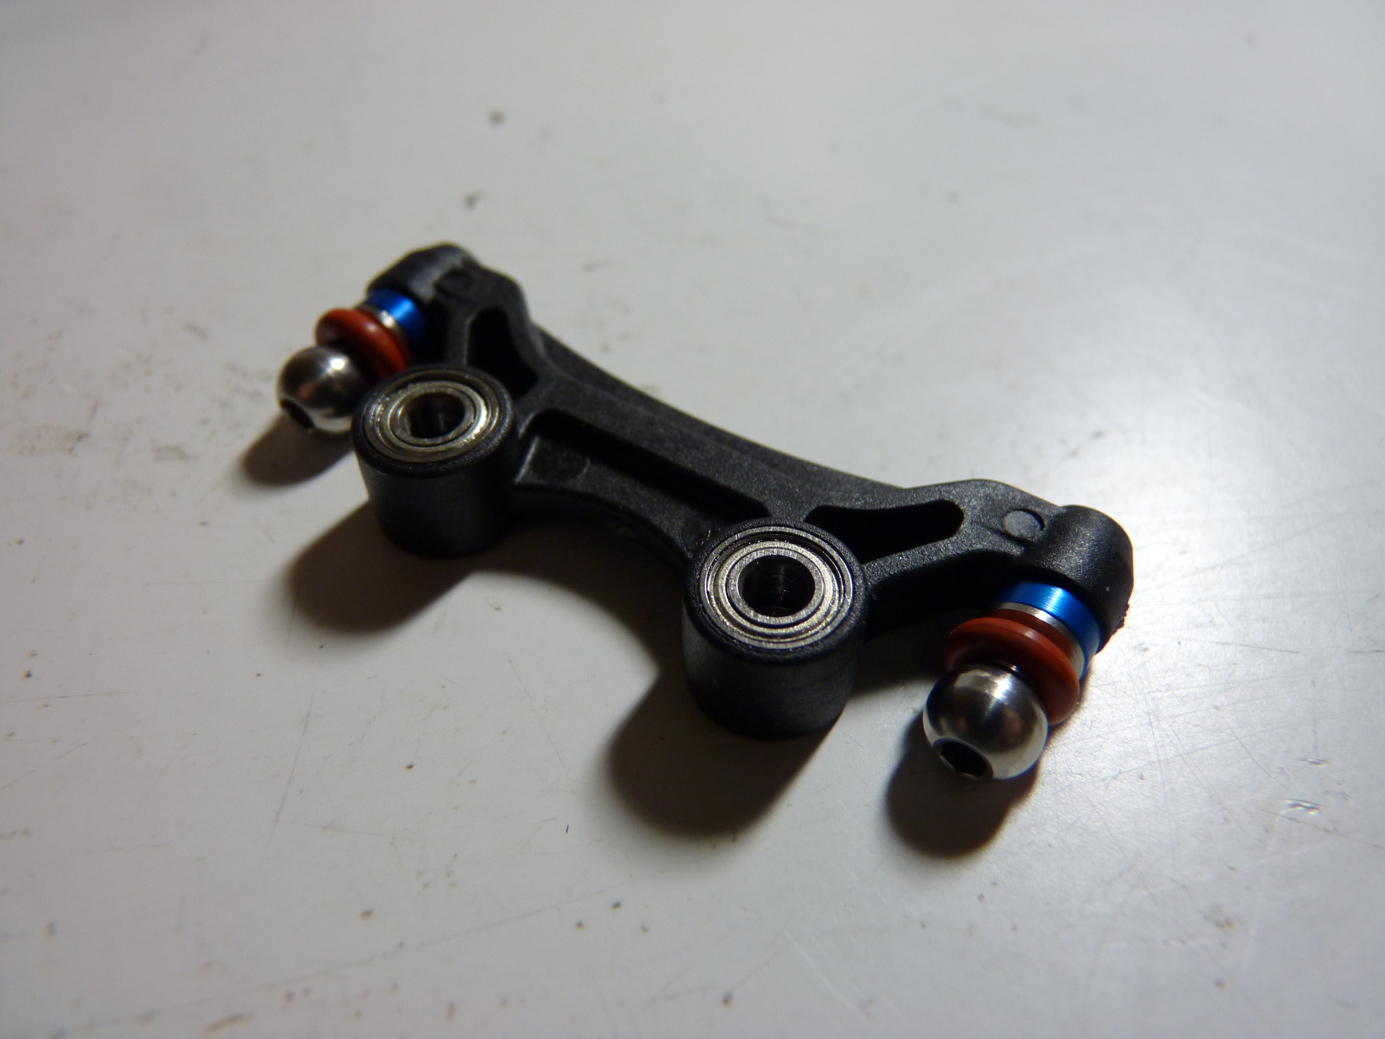
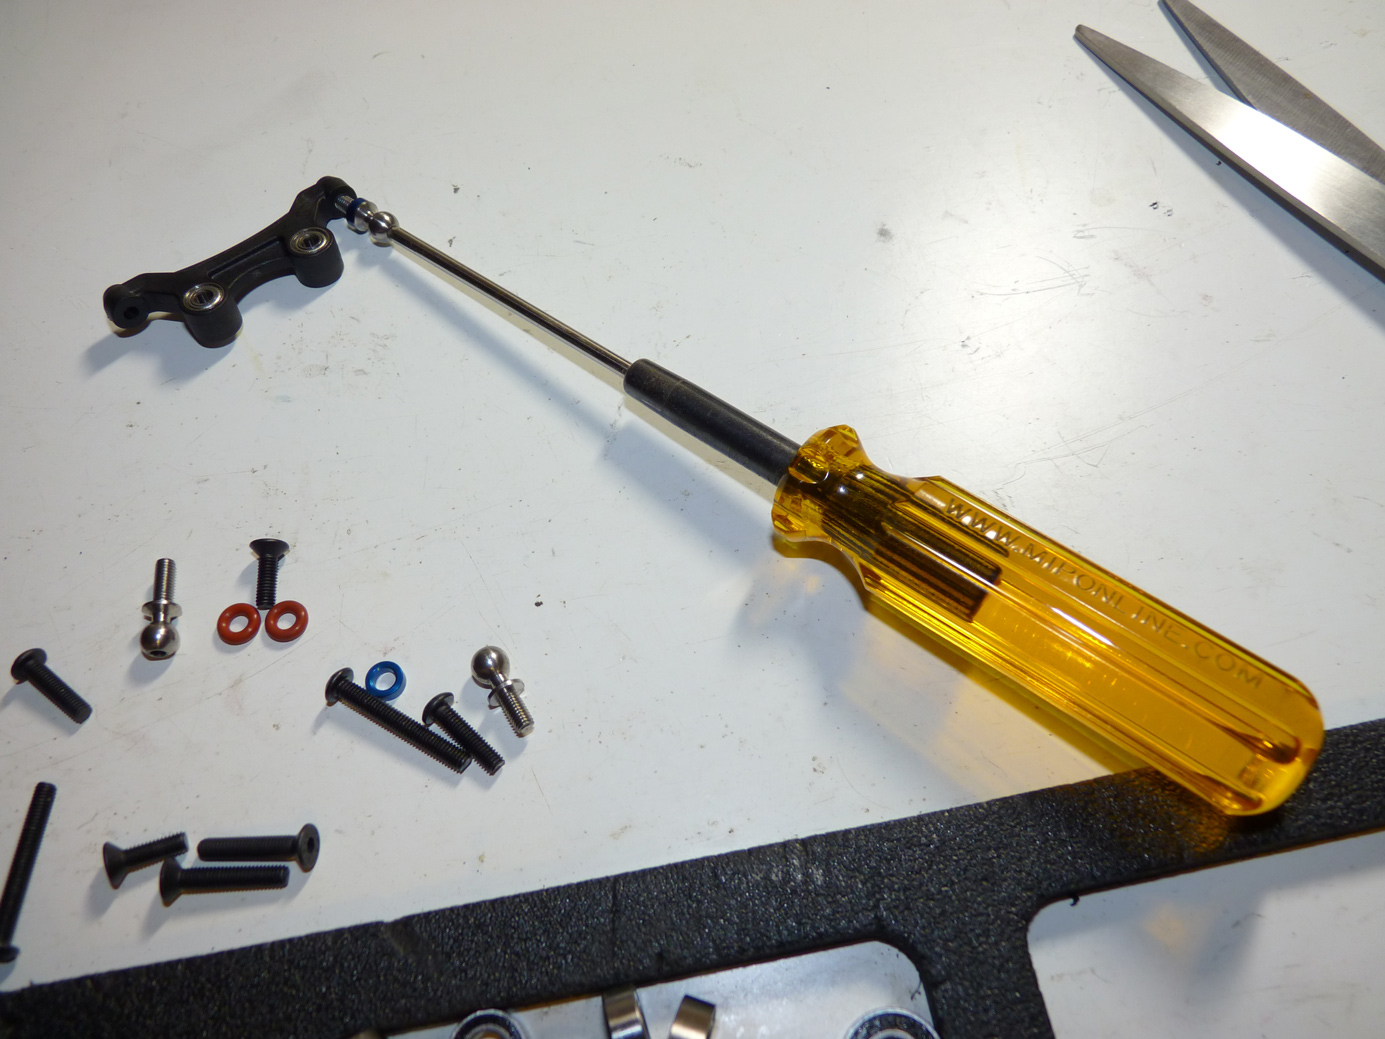
Then slide on some o-rings.
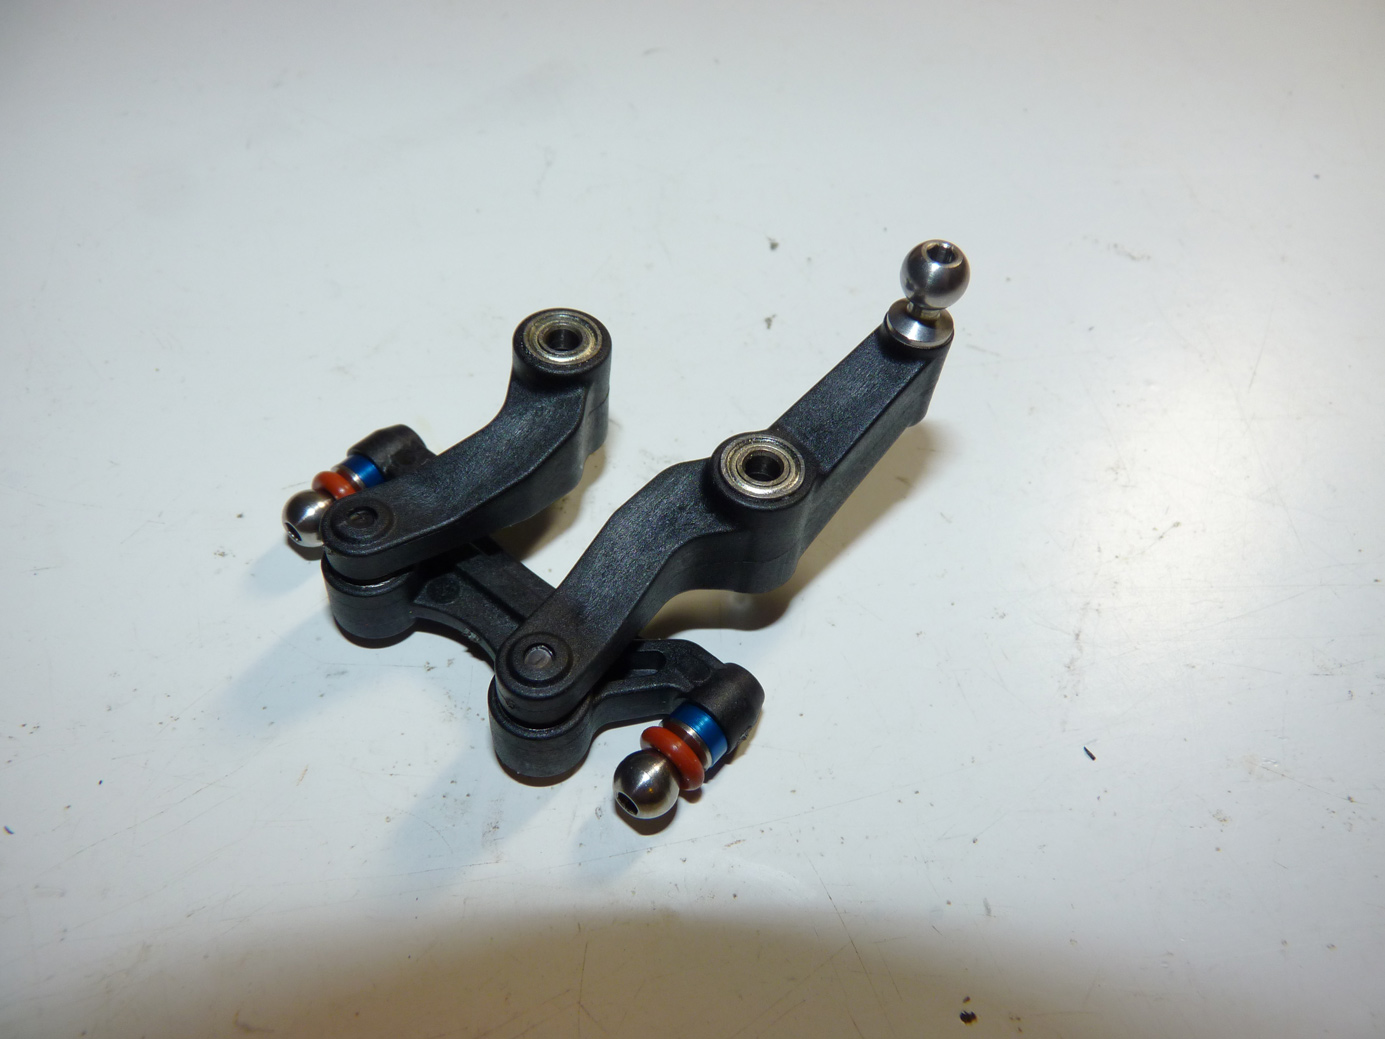
Next we attach the steering bellcranks to the steering racks. Do not overtighten steering bolts. Make sure there is free movement in the steering rack.
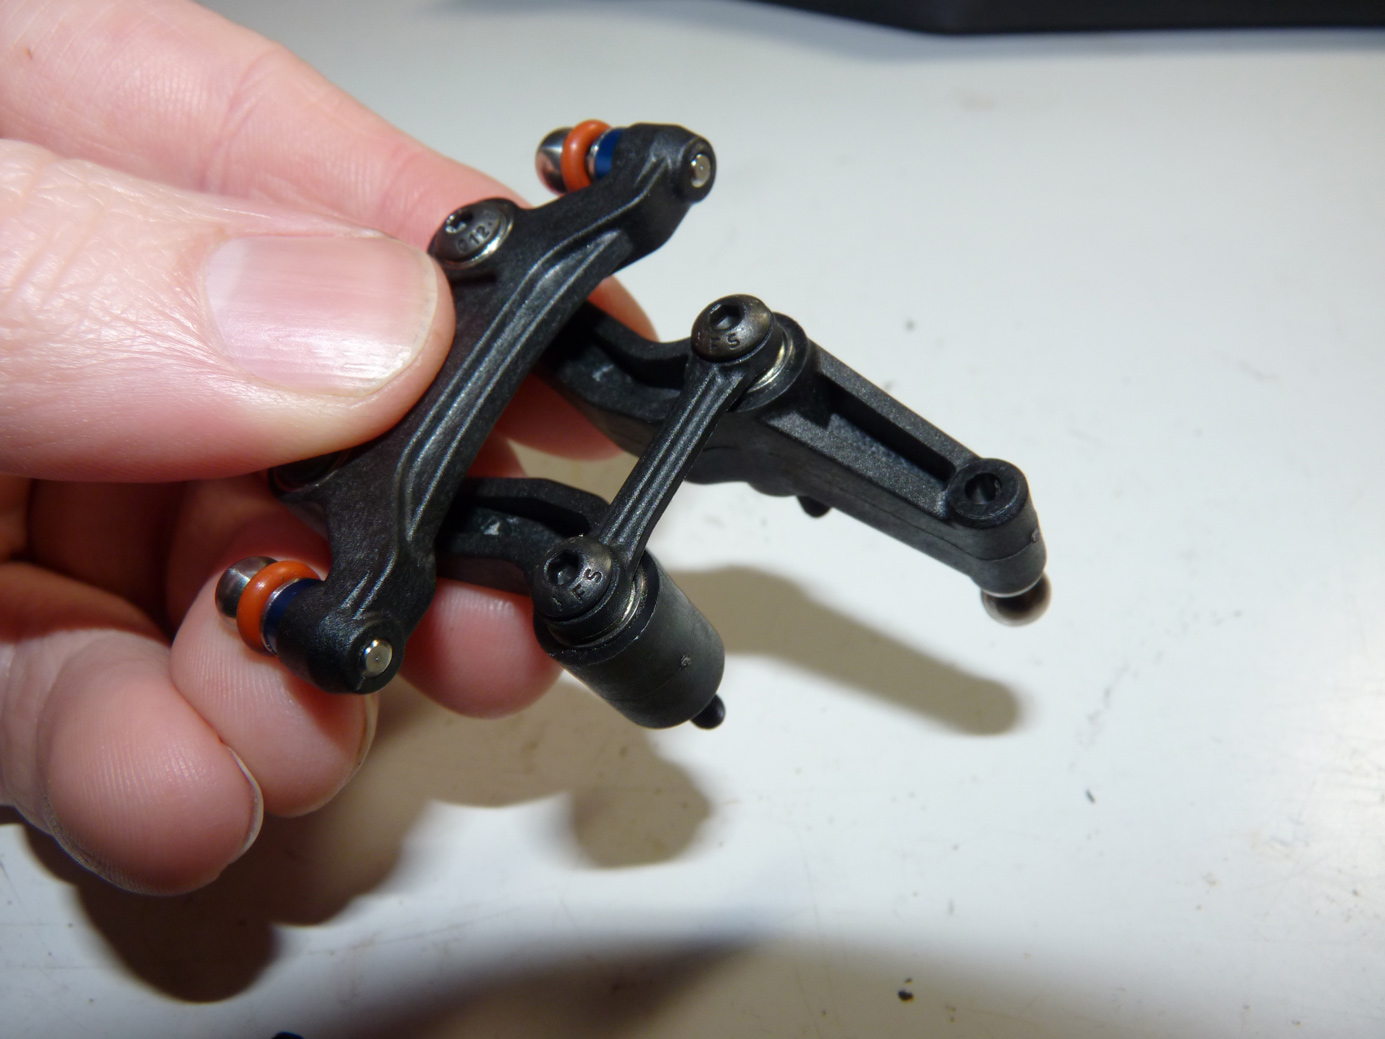
Now it’s time to install the steering bellcrank brace.
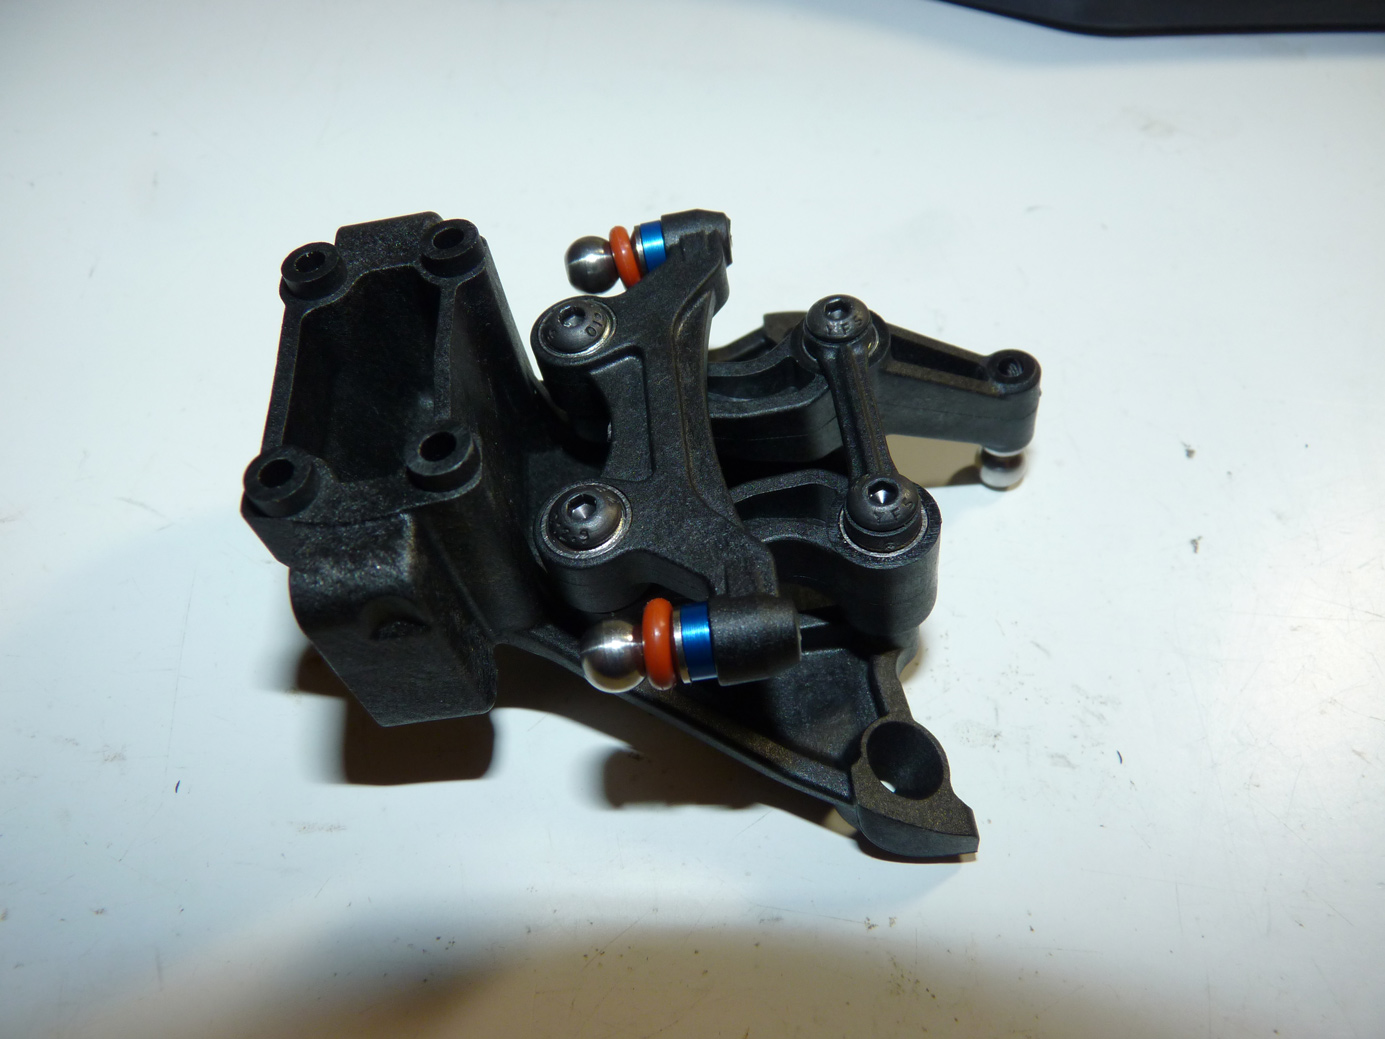
Now the whole assembly gets mounted up to the top plate.
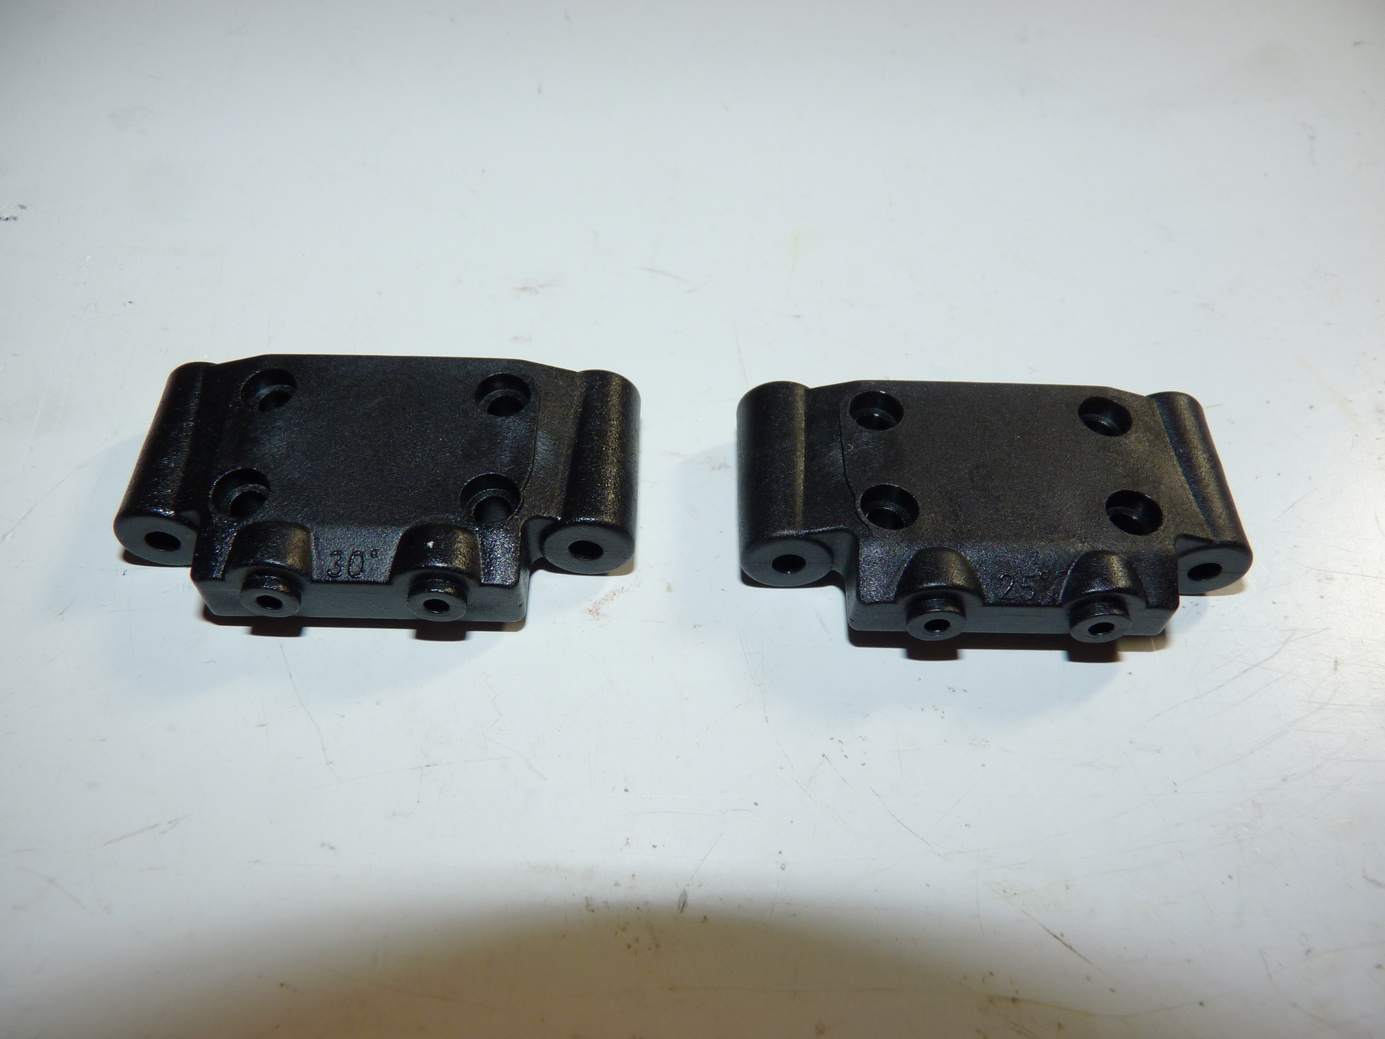
One cool feature about the B5 is that there are two bulkheads included (25° & 30°). The 25° is the standard setup one we’ll be using.
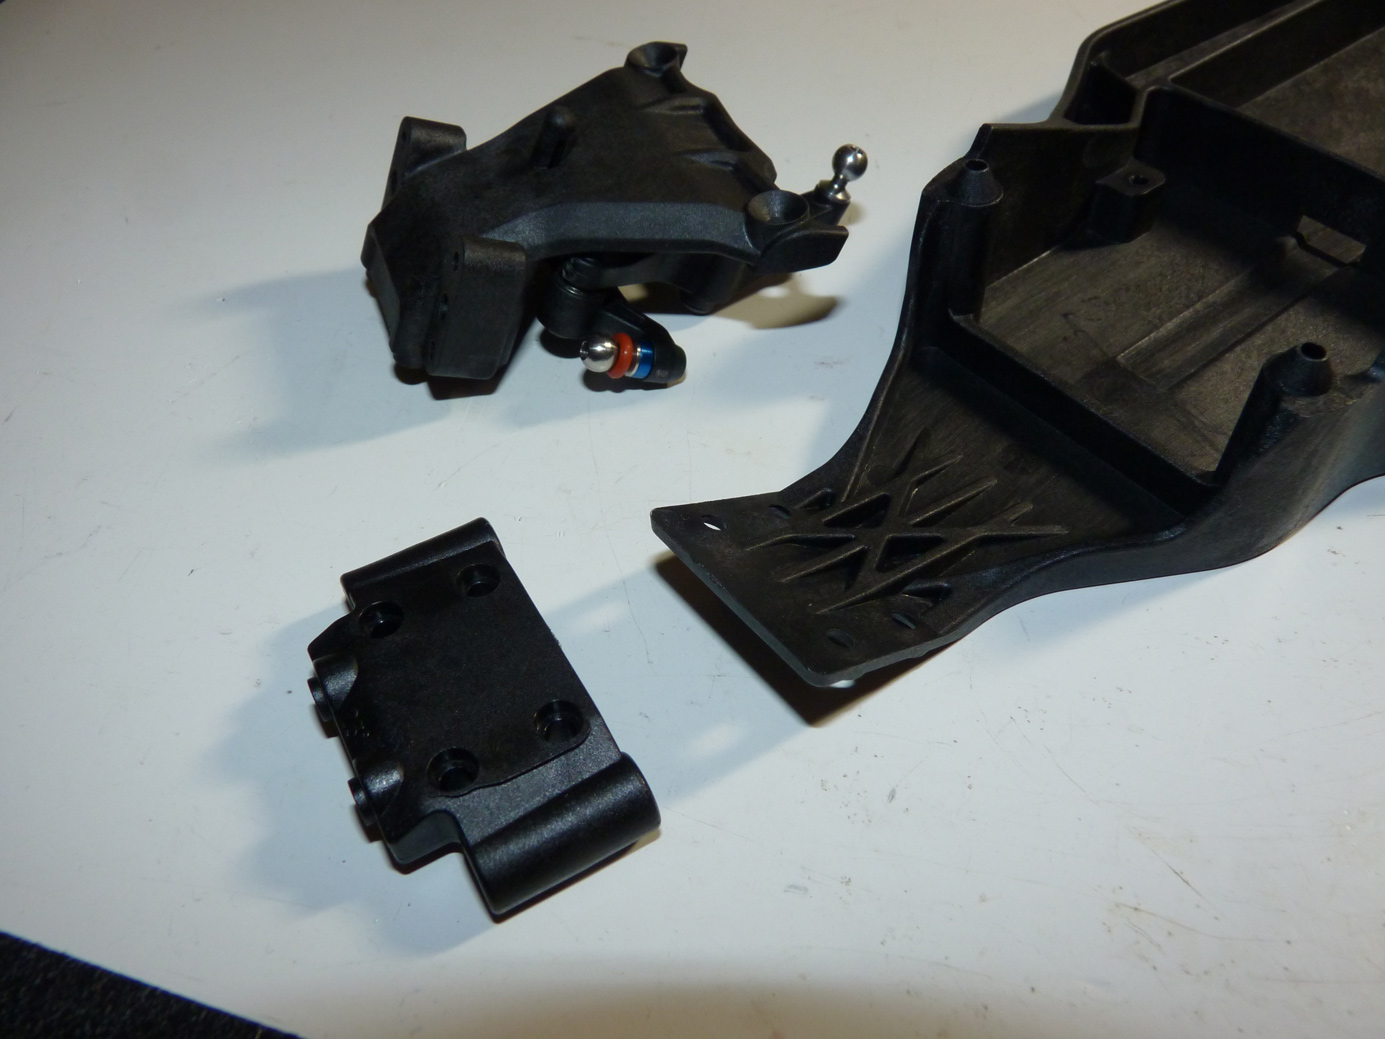
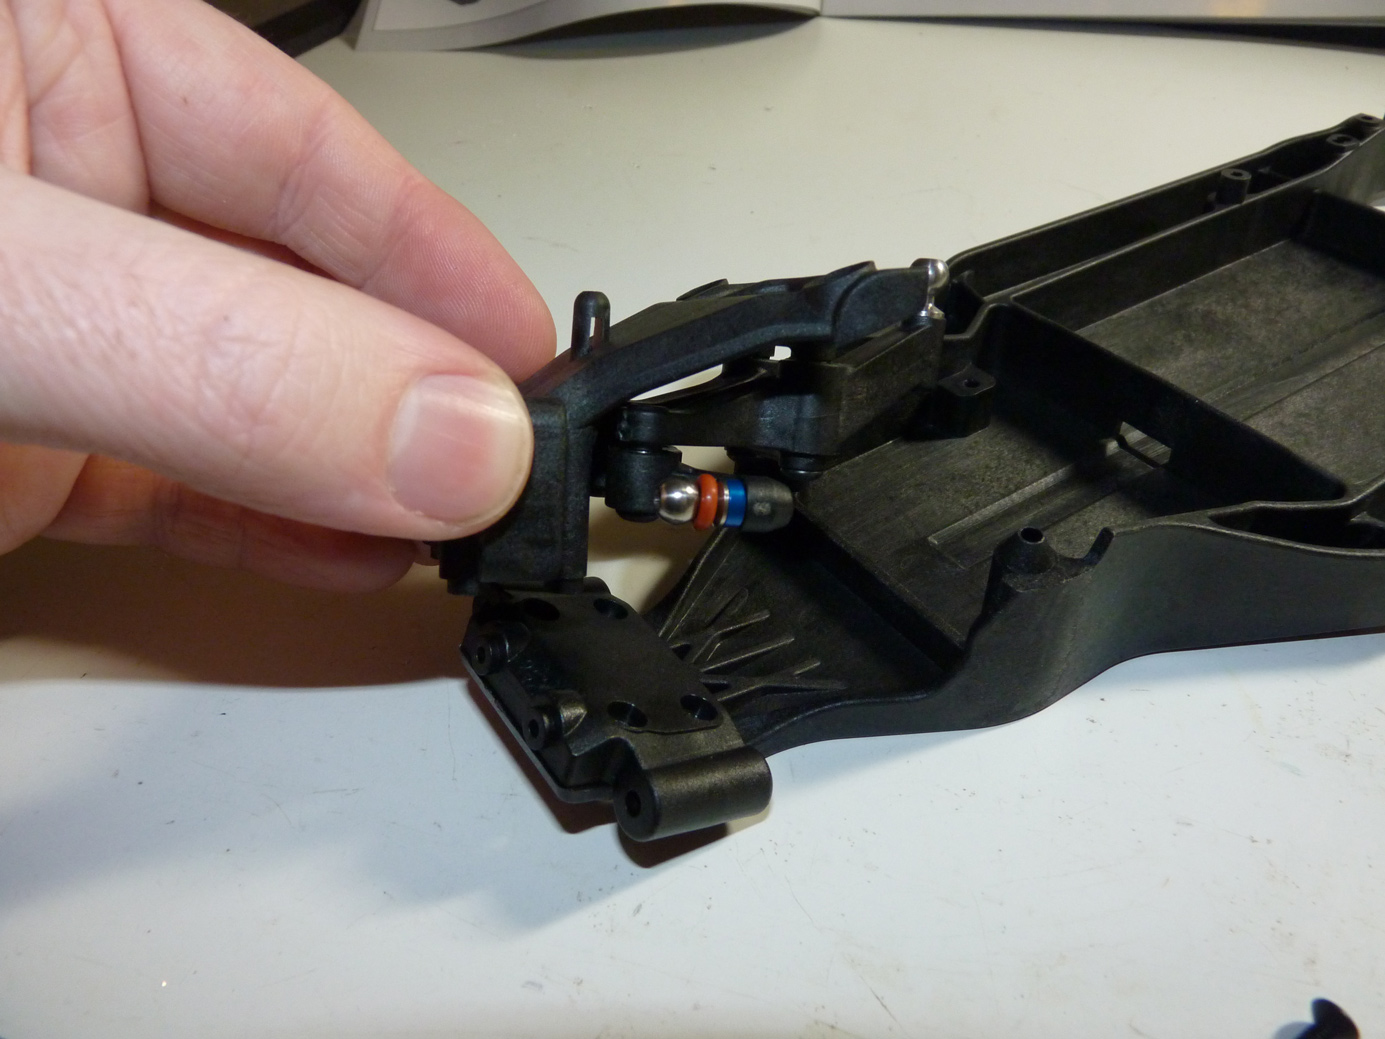
The next step is securing the completed steering assembly to the bulkhead and main chassis.

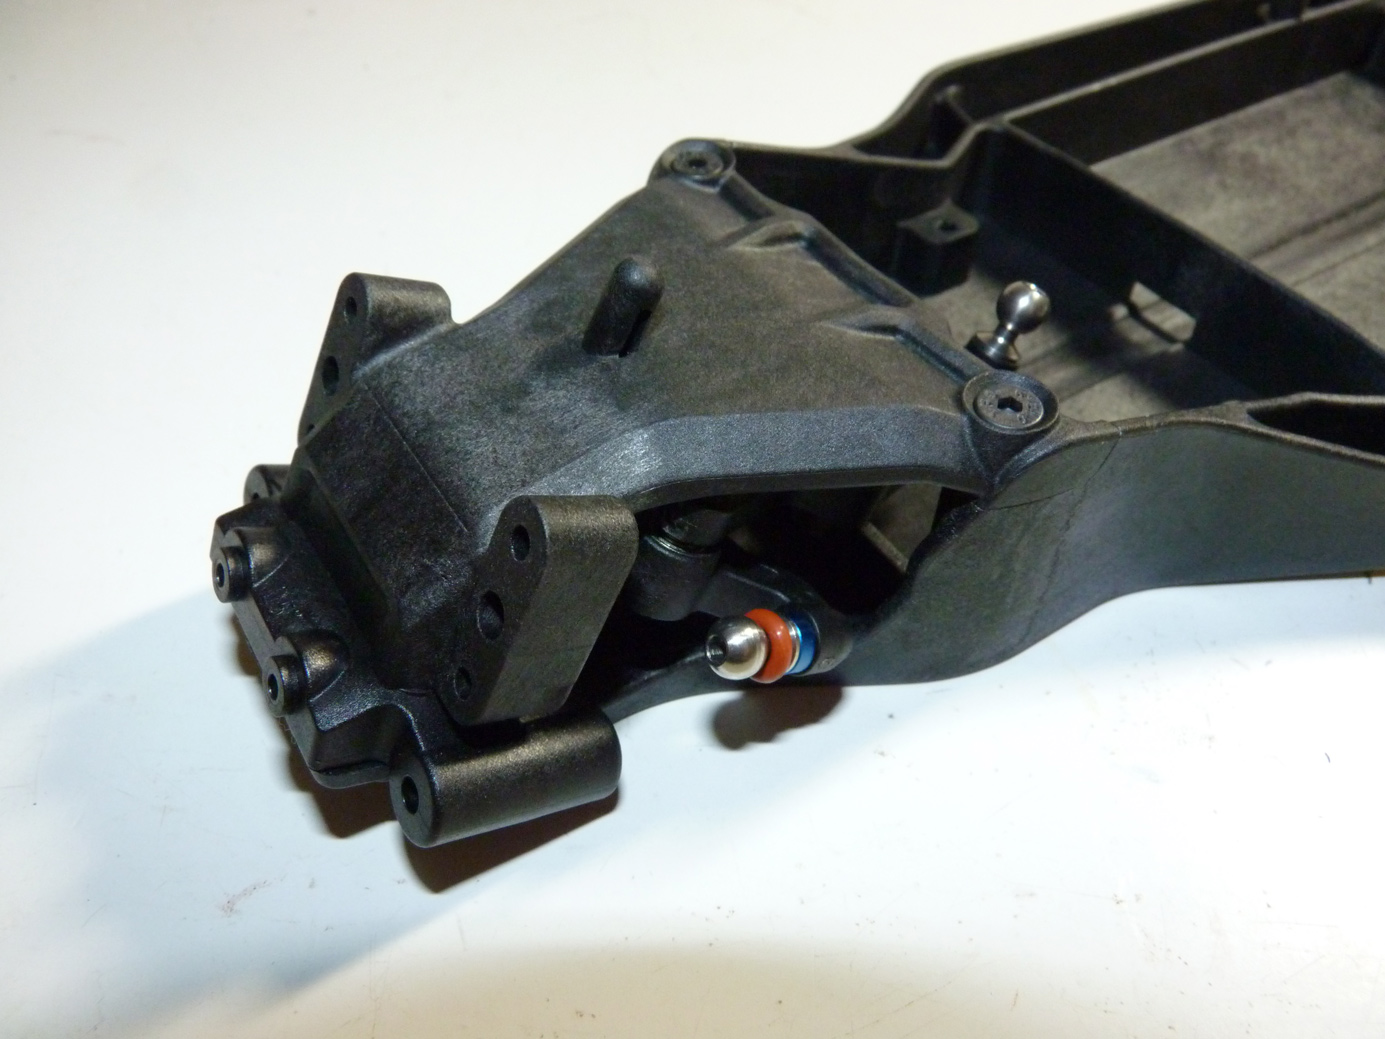
Done.
Use the page #’s below to scroll through the rest of the build!
 Posted in
  Tags:
Tags: