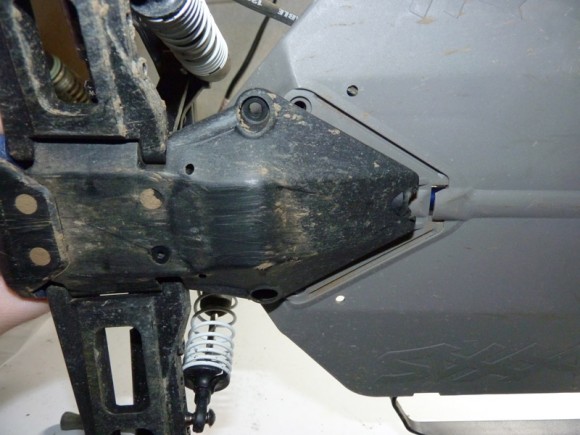
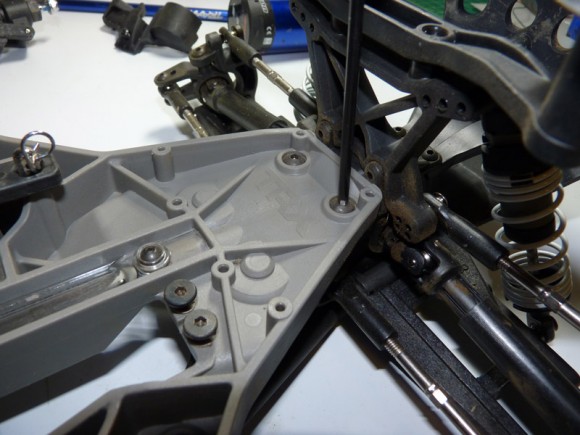
Now we can work on removing the rear end from the chassis. This is done with 2 large screws on the bottom skid plate, and the 2 large screws in front of the rear shock tower (under the gear cover, seen in pic above). Twist the rear of the truck a little to separate it from the chassis as it slips into a groove on the bottom.
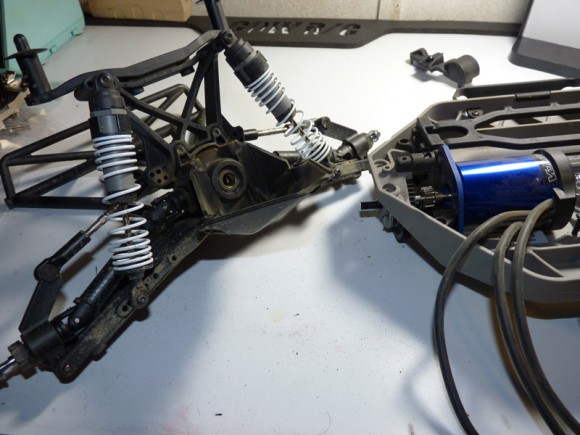
Rear end removed.
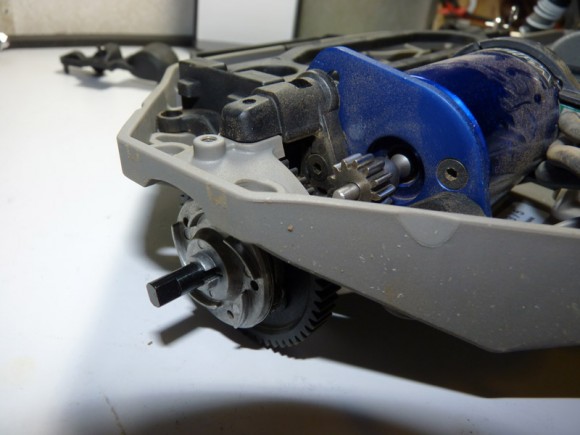
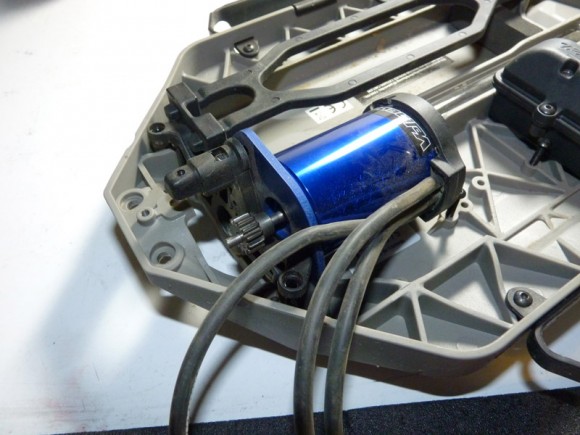
Here you’ll see the slipper/spur assembly and the motor mount/plate.
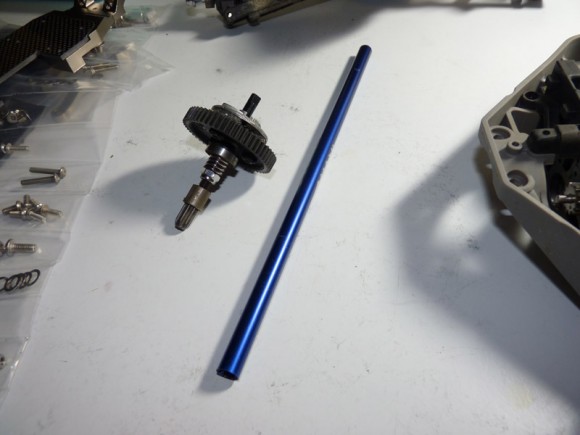
At this point we can slide out the slipper assembly and the center driveshaft. This is the only way to remove the motor mount.
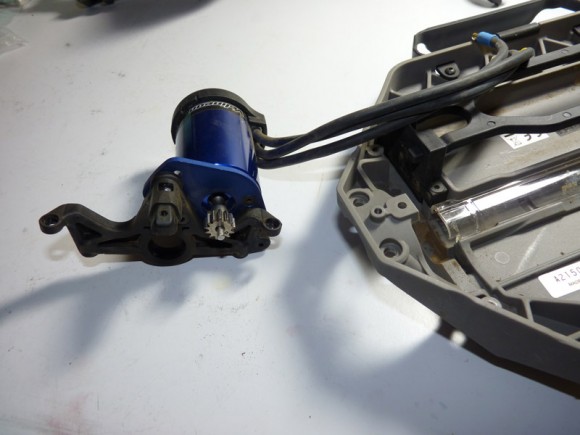
The motor mount is further secured by 2 more screws and also has a tricky press fitment that requires a gentle prying to remove.
Motor and mount removed.
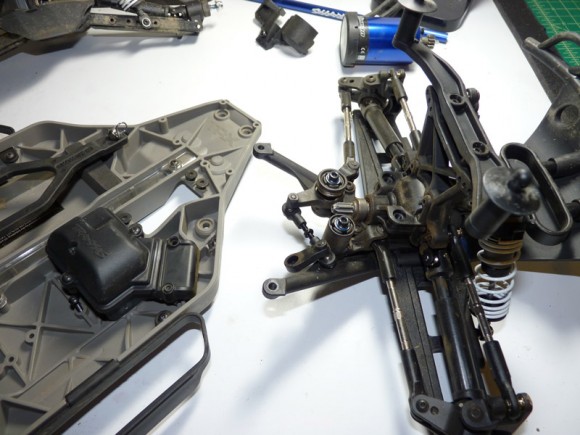
Now we’ll move on to the front end which is held on by the same 4 screws as the rear (two on top, two on bottom).
Front end removed.
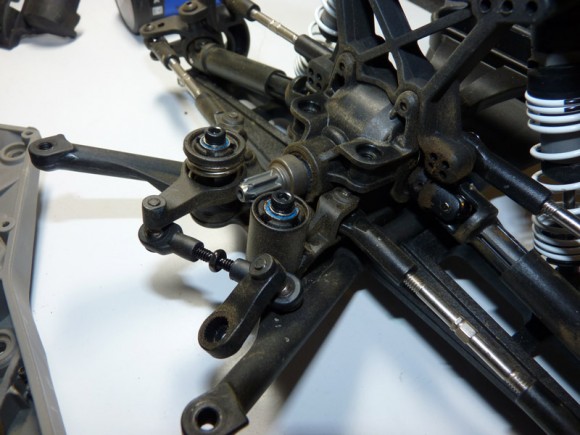
A close up of the front end/stock bellcrank system.
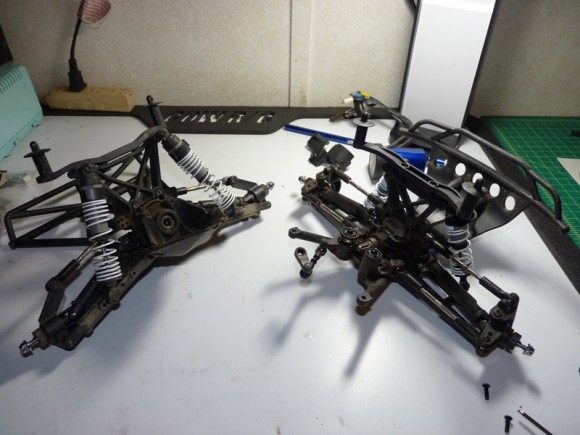
Here’s what you end up using for the conversion. Complete front and rear ends.
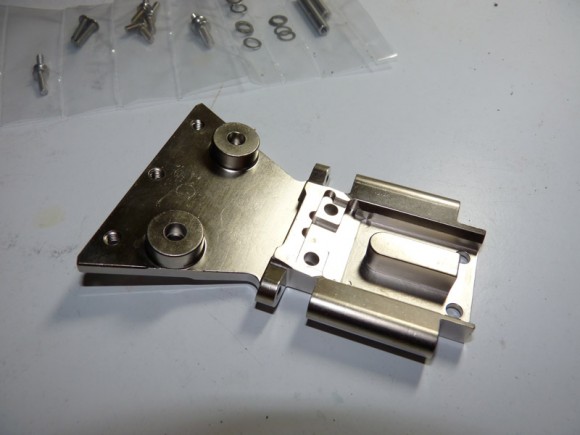
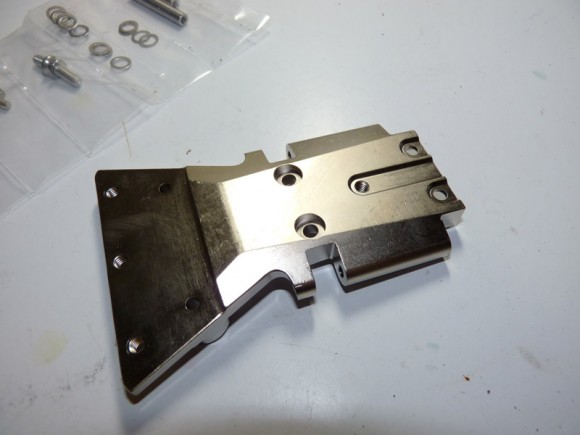
Remember how I mentioned the machining on these magnesium bulkheads was mind blowing? If you don’t believe me.. check out the pics below. This is the front bulkhead.
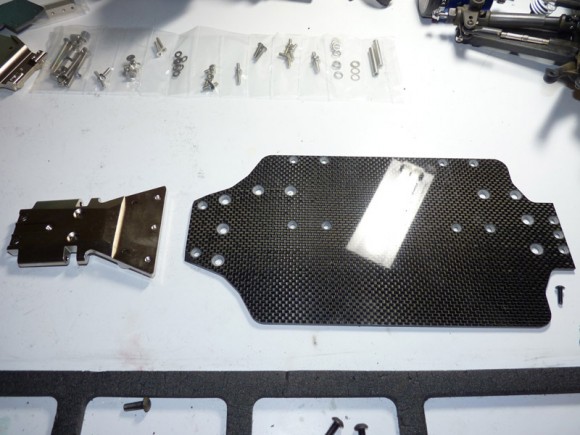
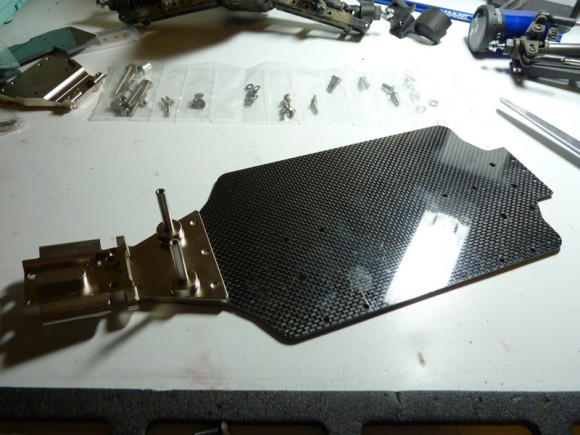
So the first step I decided was to assemble the front end. I started by grabbing the front bulkhead and the lower chassis plate.
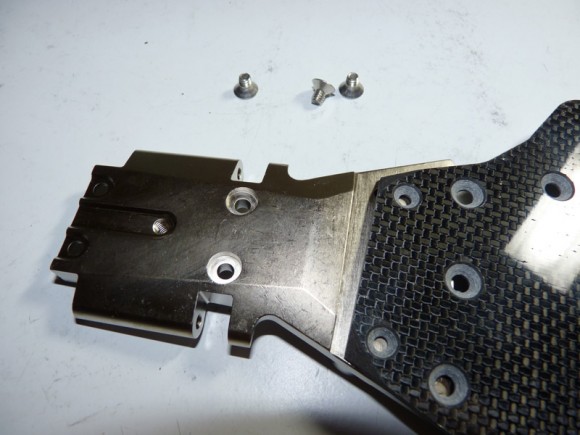
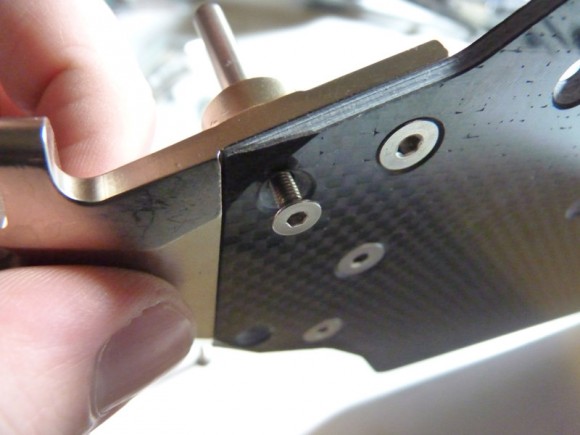
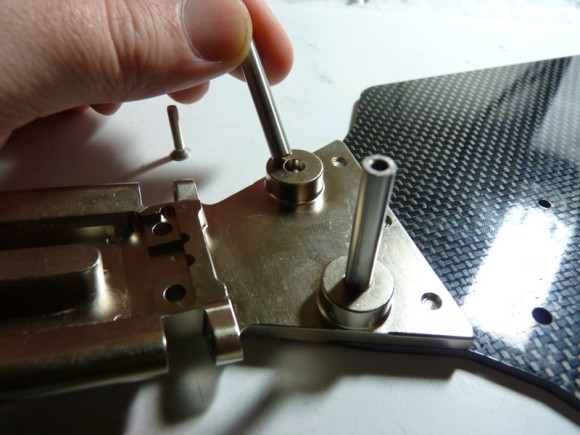
I then referred to the CAD drawing to see which screws I needed to attach the 2 parts. The bulkhead is connected to the lower chassis with 5 screws. Three of them are just for securing the bulkhead, and the other 2 pass through the bulkhead and thread into new bellcrank posts (since the old ones are part of the lower chassis brace/bulkhead).
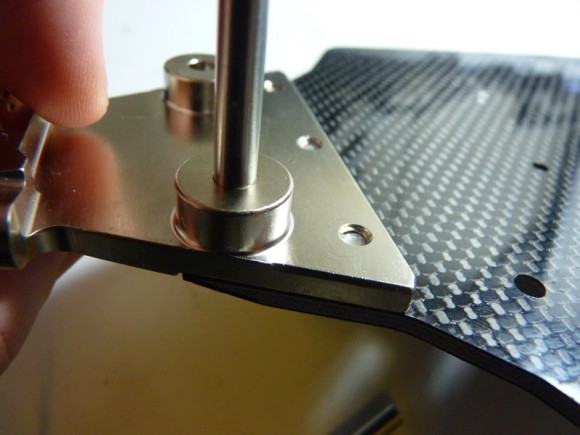
New bellcrank posts.
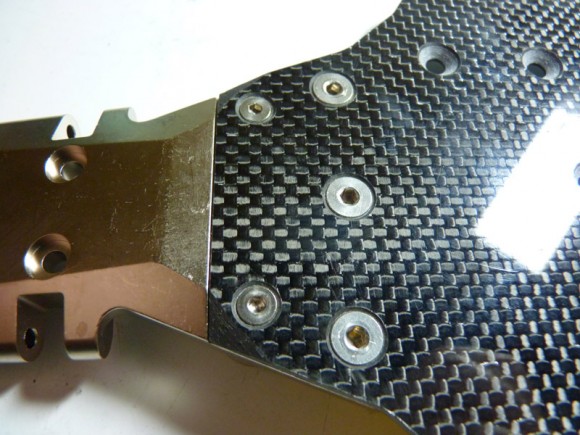
Perfect fitment into the recessions in the bulkhead I might add. The fit and finish of this kit is amazing. Check out the pic above and notice how the carbon fiber is ground down to match the angles on the bulkhead.
Bulkhead successfully attached to lower chassis.
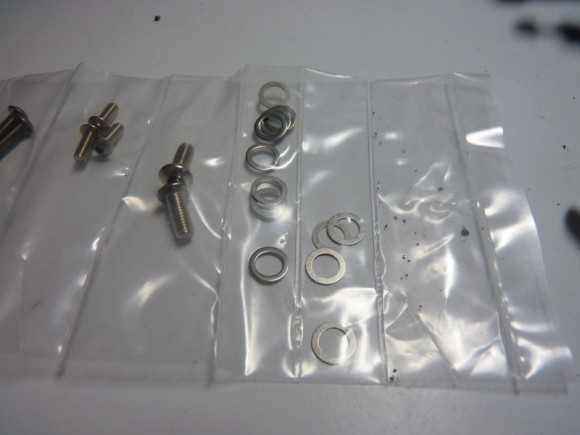
Close up of the hardware bag. Particularly the shims included for proper bump steering angles. We’ll install these in a minute.


 May 27th, 2012
  Kevin
Kevin 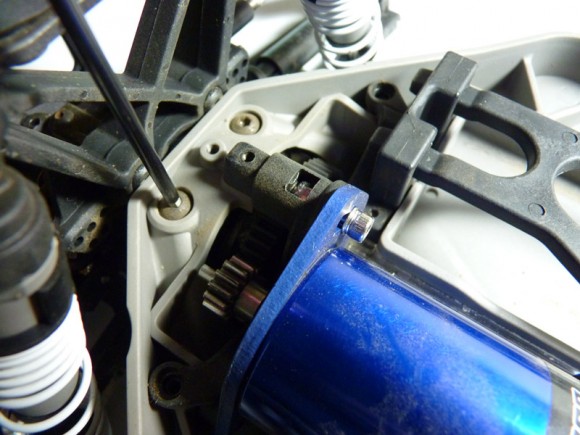
 Posted in
  Tags:
Tags:
[…] to follow.. the RCE build! Check it! http://www.rcsoup.com/2012/05/team-r…er-conversion/ __________________ http://www.rcsoup.com – R/C Reviews, News, and Tips <<- PM Me if you'd like […]
[…] […]
Sweet build Kevin, cant wait to see how it performs against the other two chassis’s, thanks for all of the pics.
[…] LCG Comparison – very cool read!!! Thanks, Toast. Here is the RCE Build […]
[…] […]