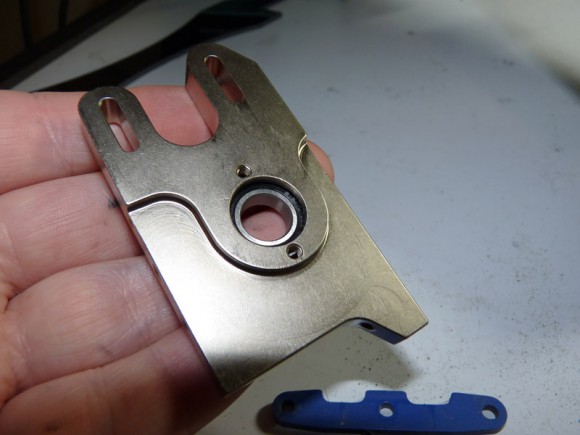
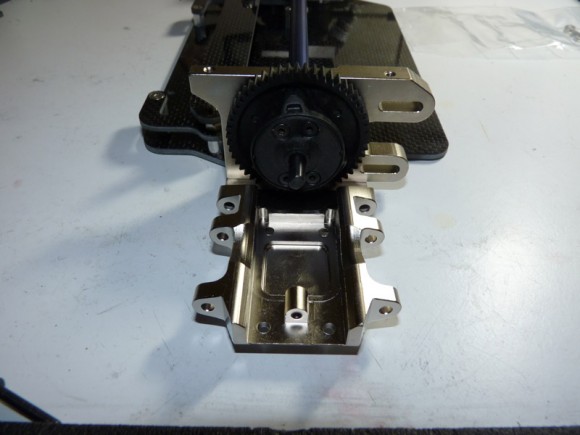
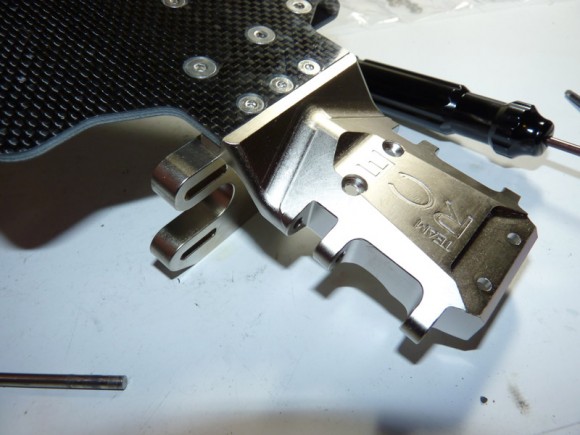
Here is the motor mount. It comes with an oversized bearing for the diff to ride on. The mount is THICK in the area the motor mounts! This requires long motor screws (at least 3x12mm). Keep this in mind as the kit does not come with them. Luckily Matt had something in his parts collection because I didn’t have any.
In the sealed baggy with the motor mount is a shim. We install this over the front diff so that it doesn’t ride up against the bearing.
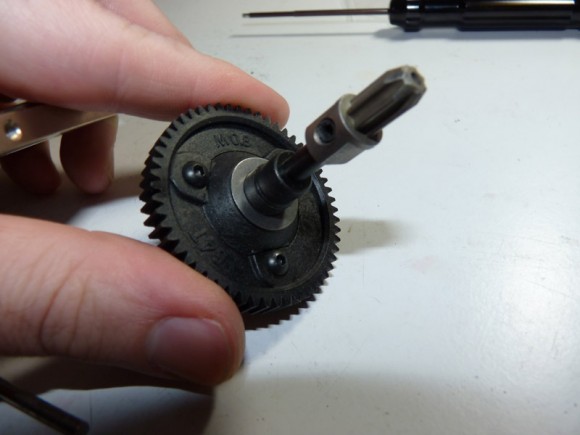
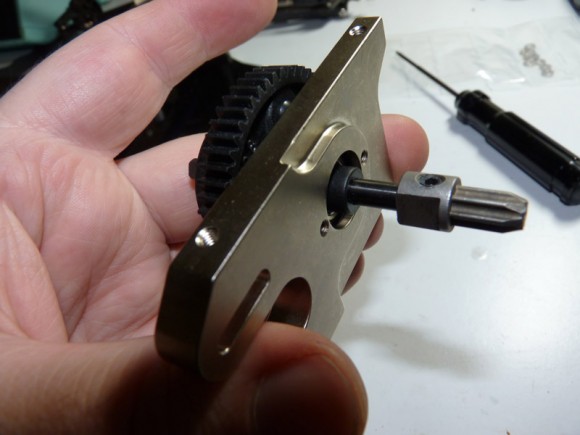
Slide the diff/spur (or slipper if that’s what you choose to continue using) into the motor mount/diff housing.
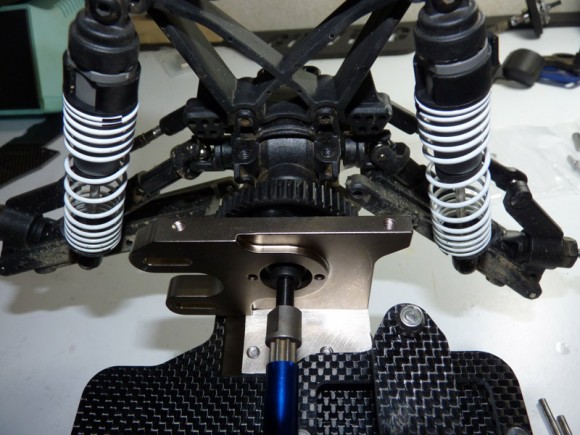
We can then install it onto the chassis with the center driveshaft. The stock spur is too big to remove the diff from the plate while mounted, this is the reason for installing it to the plate first. With a smaller spur you might be able to squeeze it in and out easier.
Install the 3 screws to the motor plate and you’re good to go.
I’m really not a big fan of the splined shaft design. I have a feeling I will be upgrading to the Tekno Big Bone conversion soon after the shootout.
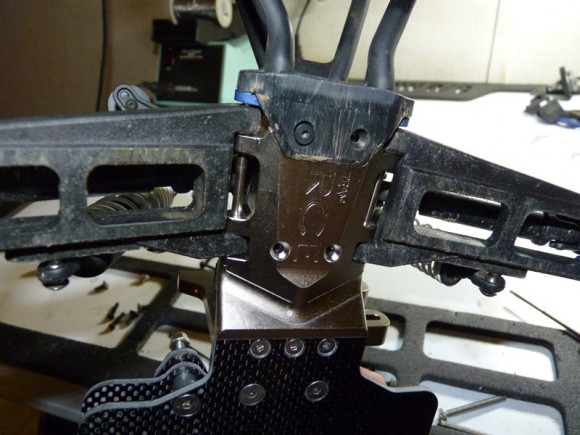
Now we repeat what we did for the front end and reinstall the rear end. Basic.. just put the diff case in place and then slide the hinge pins through the arms. Install the hinge pin brace and the rear bumper.
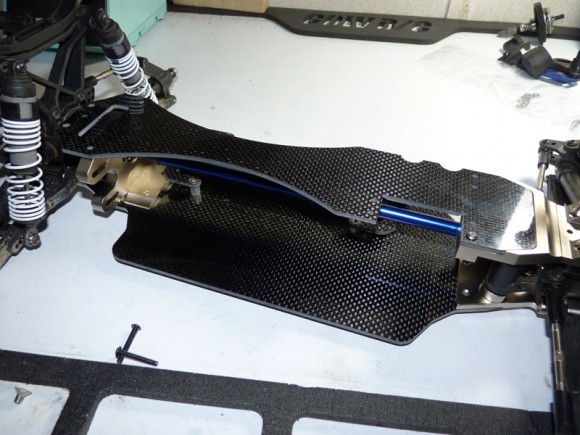
Now that both ends are done, it’s time to focus on the center. I laid the upper chassis deck on top for mockup purposes to see what I needed to do next.
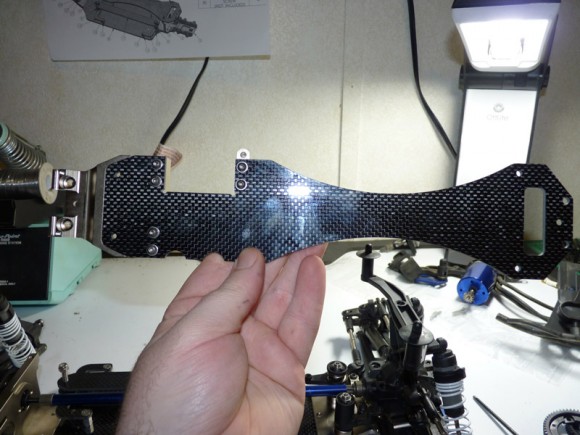
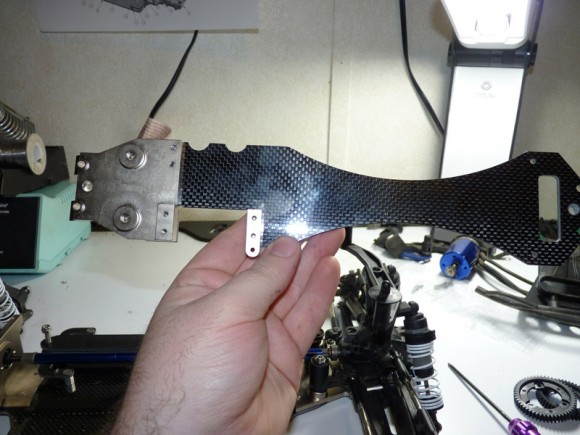
I decided to install the servo/antenna mount to the upper deck. The servo installs from the bottom (so it’s important we don’t mount the upper chassis until we install the servo).
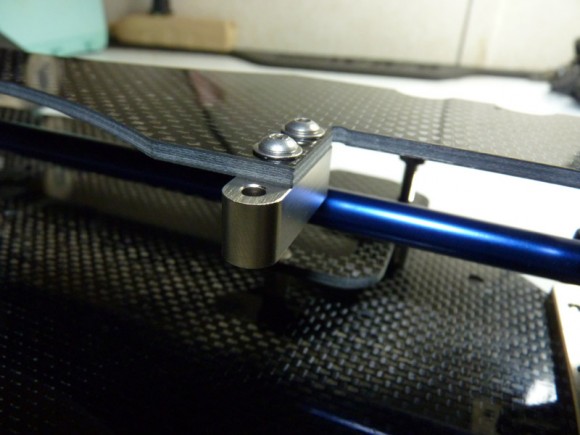
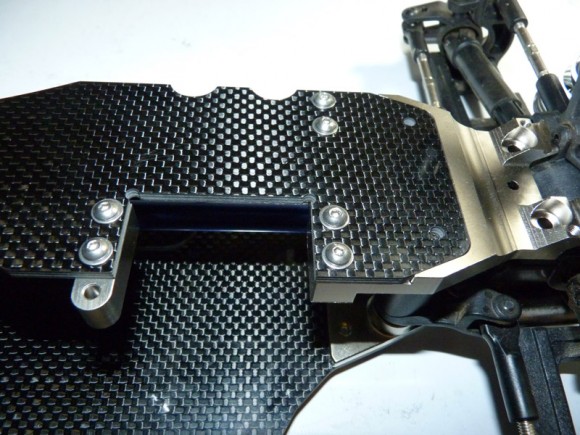
I then mounted the upper chassis plate to the top plate adapter. Don’t install the bellcrank or diff case screws yet (we still need to remove the top plate to mount the servo). Look how great the fitment is of the top plate to the top plate adapter. I really can’t say enough about the fit and finish of this kit.
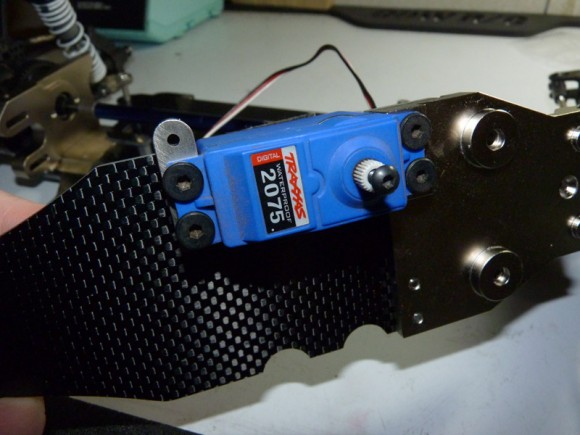
Here you can see what we attached to the top plate without actually mounting it to this point.
Now we mount the servo using the screws that came with the stock slash. Pretty easy. I left the horn and steering link off for now because there is something we need to do to optimize steering first. If you do that step first, installing the horn now would probably be easier.
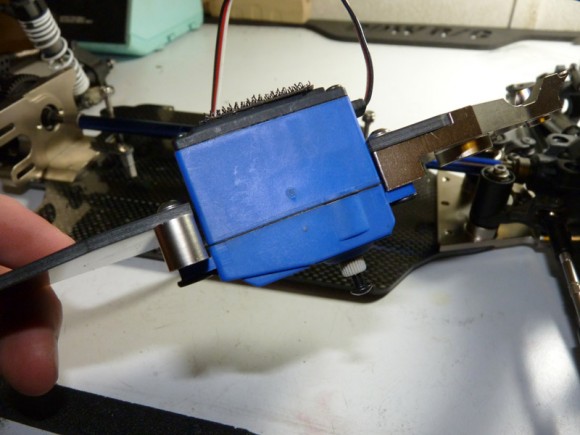
Side view.
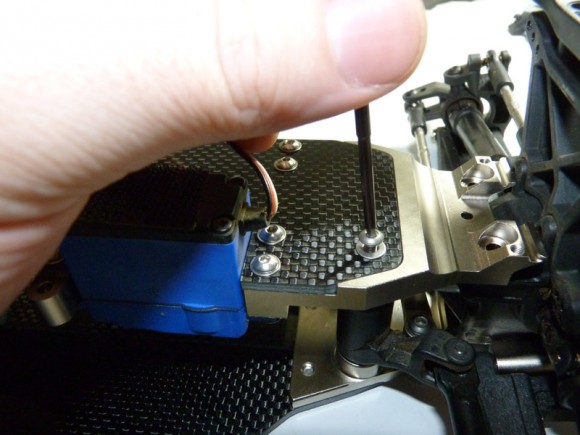
Now we’re ready to install the top chassis plate to the rest of the truck. I started with the bellcrank screws. Be sure those shims stayed in place if you played with the truck, removing the top plate adapter, etc like I did. You can also install the 2 screws into the diff casing.
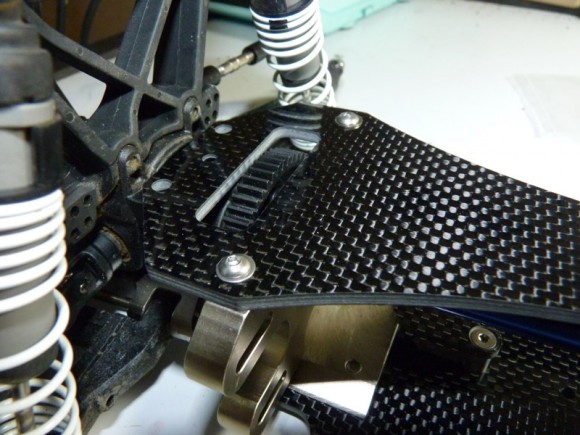
Then we install the 2 screws in the motor/center diff mount and the rear diff case.


 May 27th, 2012
  Kevin
Kevin 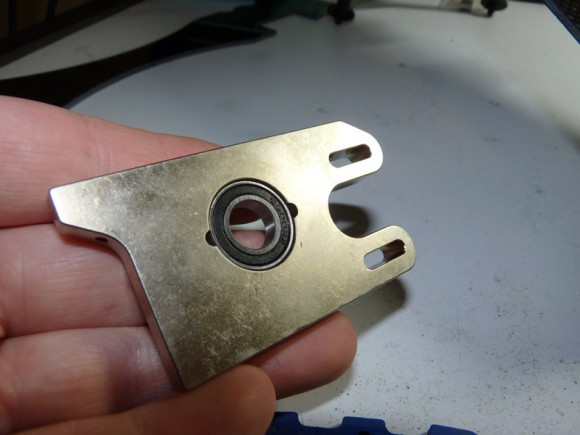
 Posted in
  Tags:
Tags:
[…] to follow.. the RCE build! Check it! http://www.rcsoup.com/2012/05/team-r…er-conversion/ __________________ http://www.rcsoup.com – R/C Reviews, News, and Tips <<- PM Me if you'd like […]
[…] […]
Sweet build Kevin, cant wait to see how it performs against the other two chassis’s, thanks for all of the pics.
[…] LCG Comparison – very cool read!!! Thanks, Toast. Here is the RCE Build […]
[…] […]