

 October 19th, 2012
  Geo
Geo 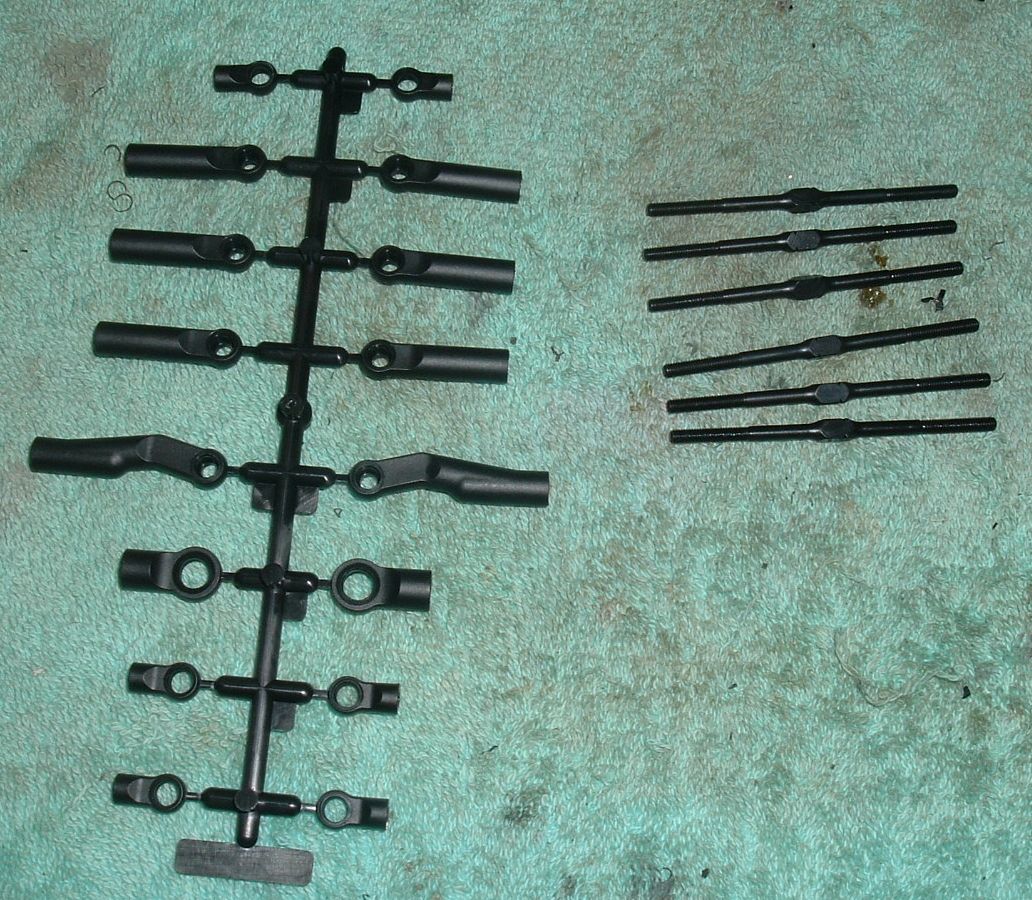
Onto the tie rods, oh how I hate putting tie rods together.
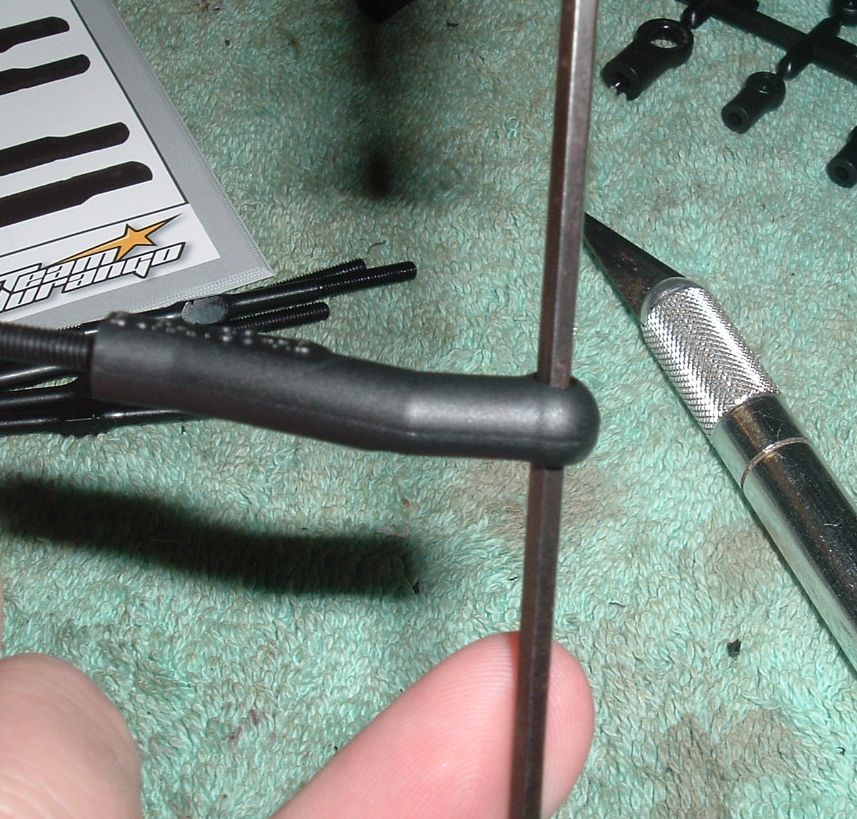
These one were pretty easy as there is a hole that goes through the ball cup. Just slide a allen wrench through the hole and thread away. There is a 1:1 guide to compare the length you need. There is also WRITING here! There are different ways to put on the ball cups depending on what motor configuration you run. Why they could tell you that and not the critical part about the diff I will never know.
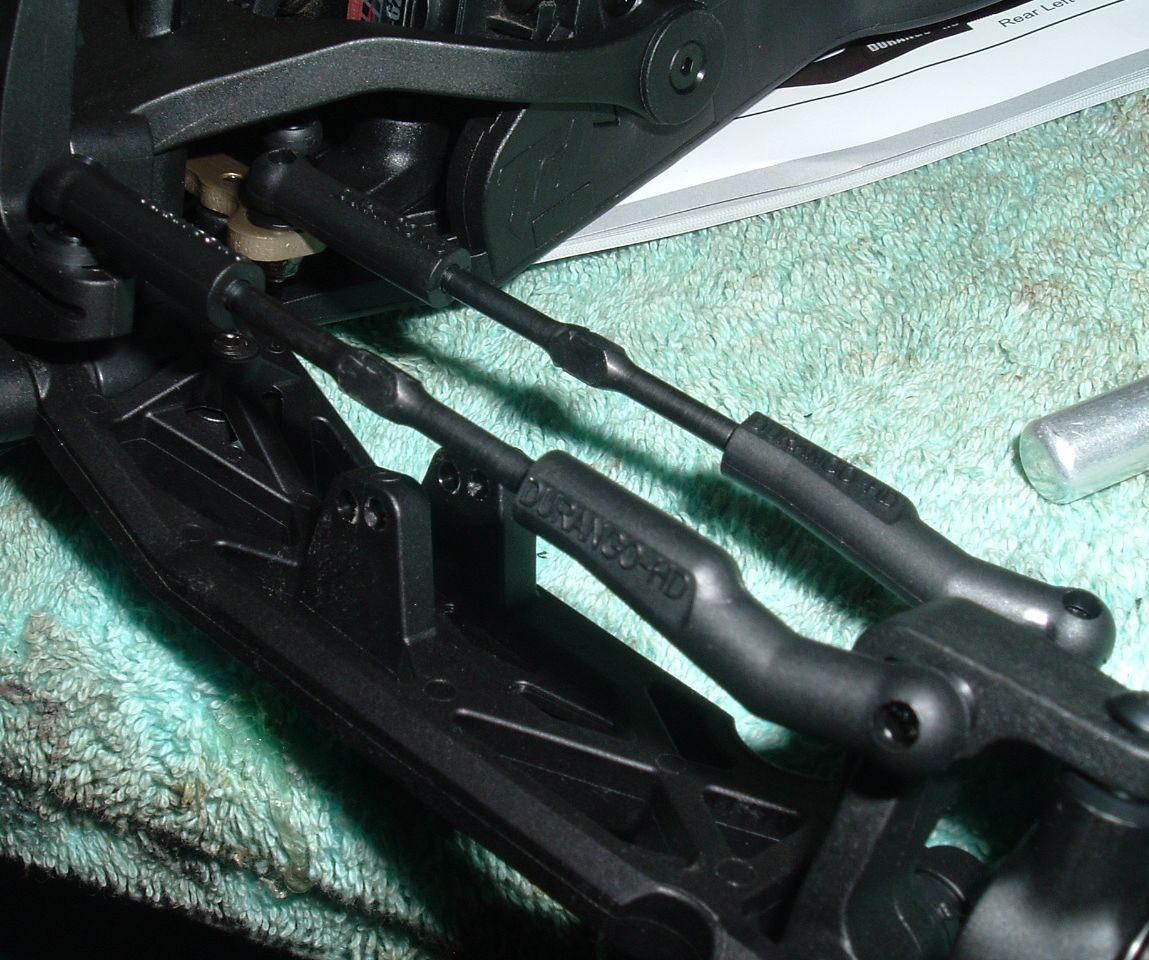
Tie-rods installed.
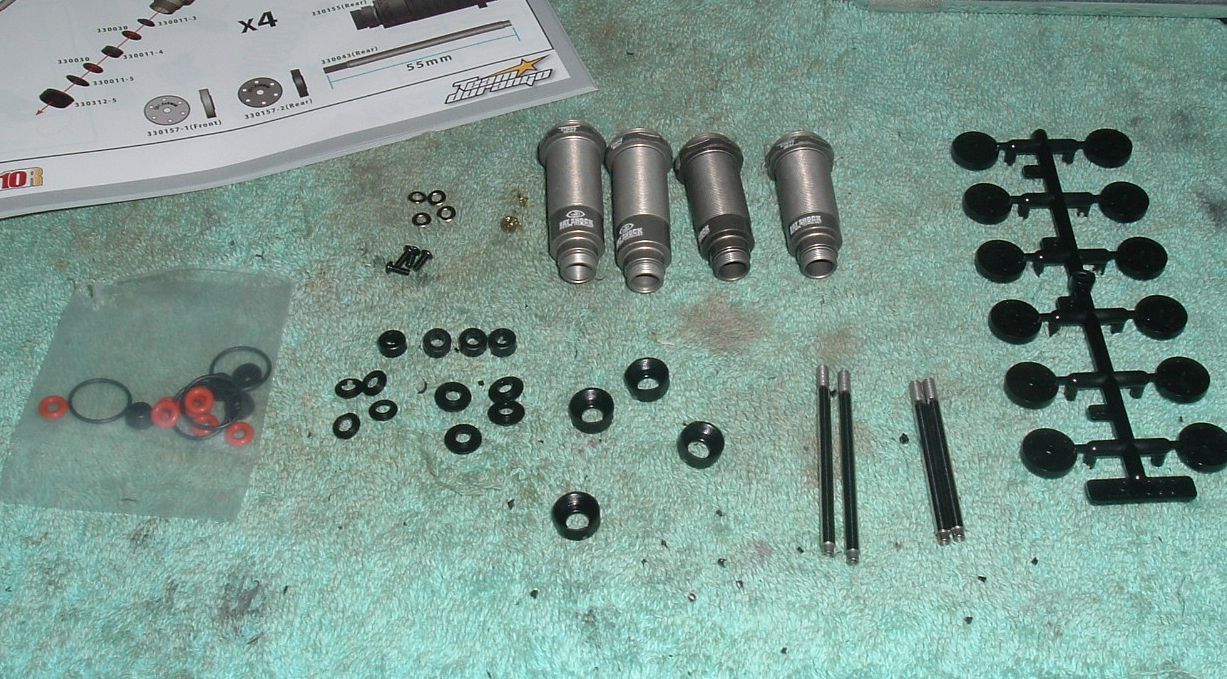
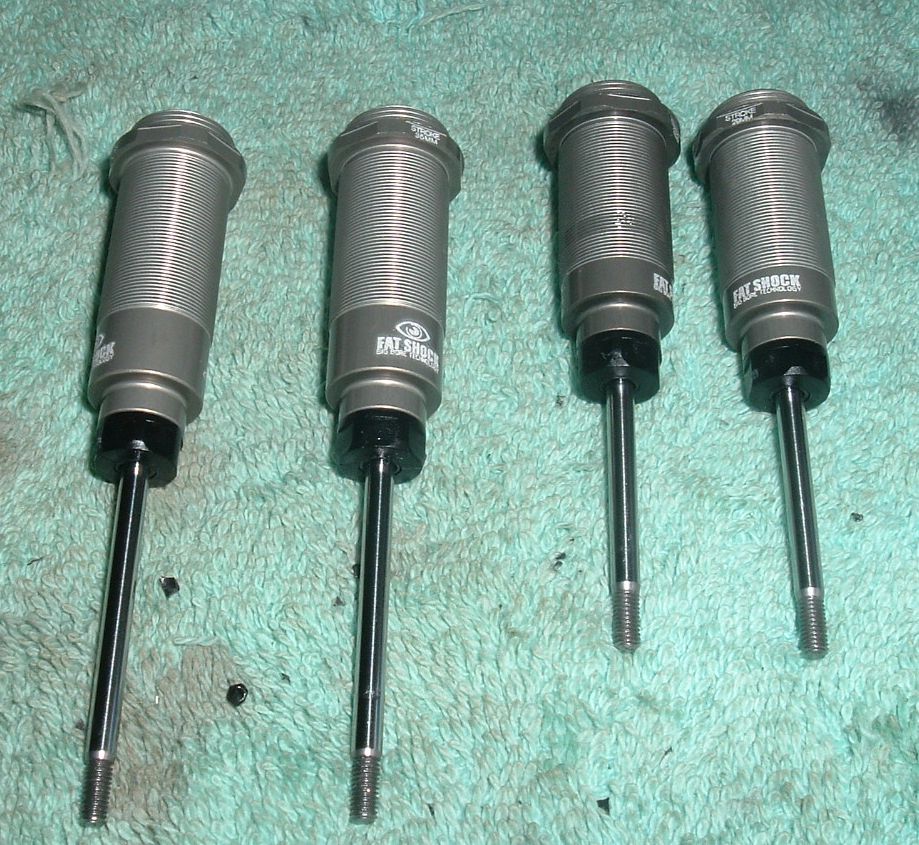
Onto the shocks
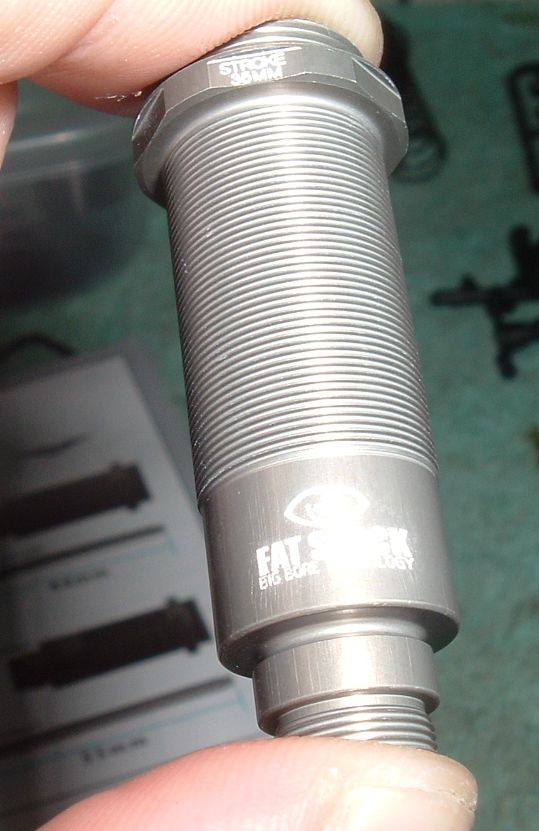
Threaded big bores FTW!
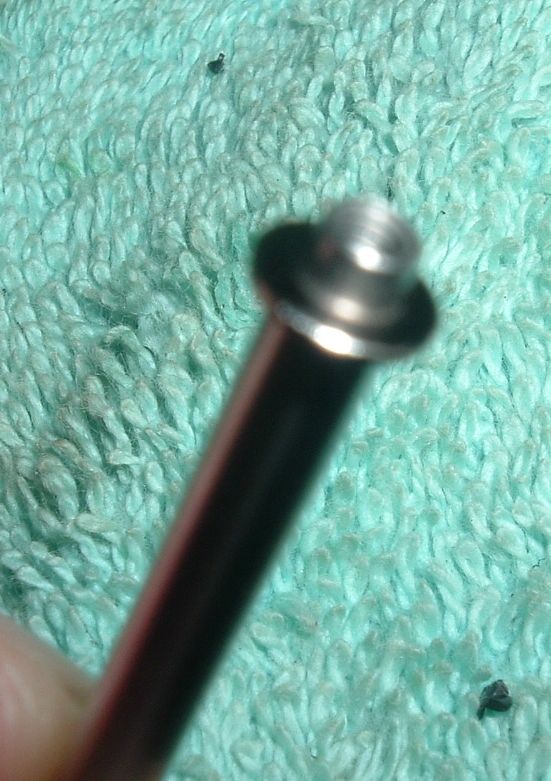
This is the shock shaft. There is a tiny washer that goes on under the piston. Then the piston is secured in place with a small screw. It wouldn’t be a bad idea to put some blue loctite on that screw.
Assembled shock shafts.
Now we move onto the lower seals. Above is a pic of the seals and their order.

Here are all the seals on the shock shaft. Use a little shock oil to help seat the seals.
Here you can see the fronts next to the rear shocks.
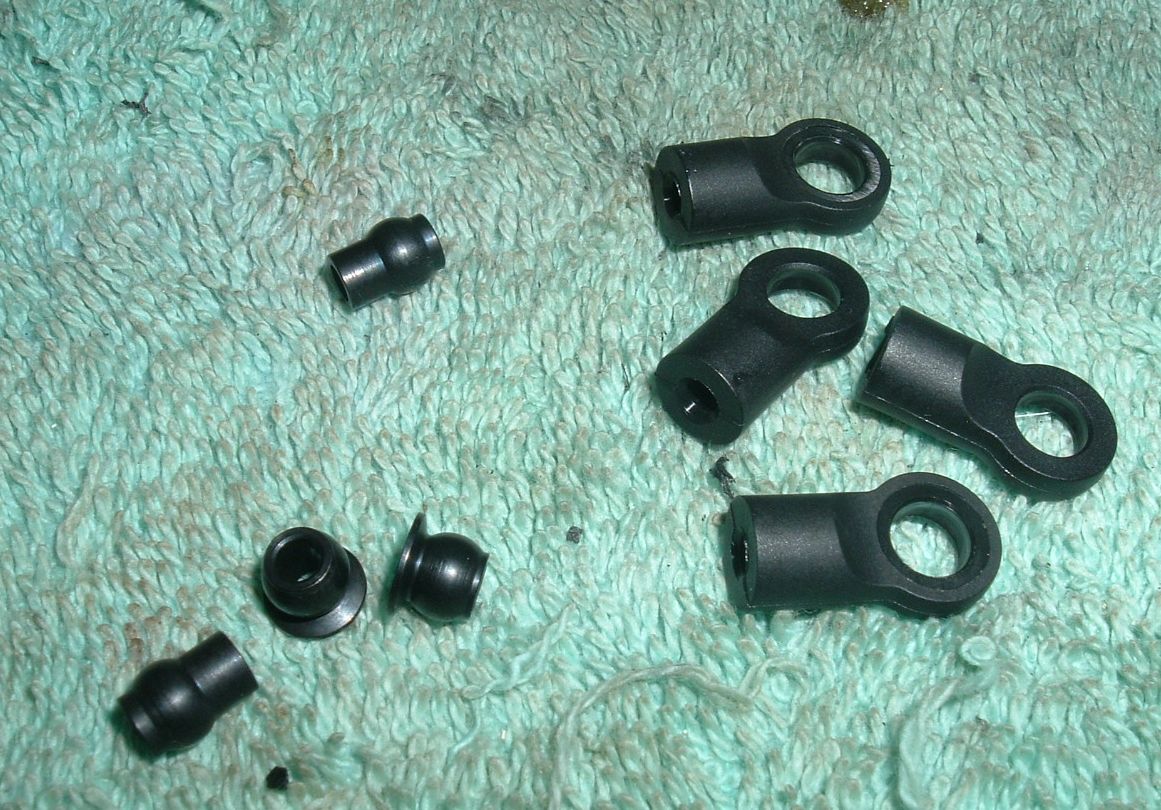
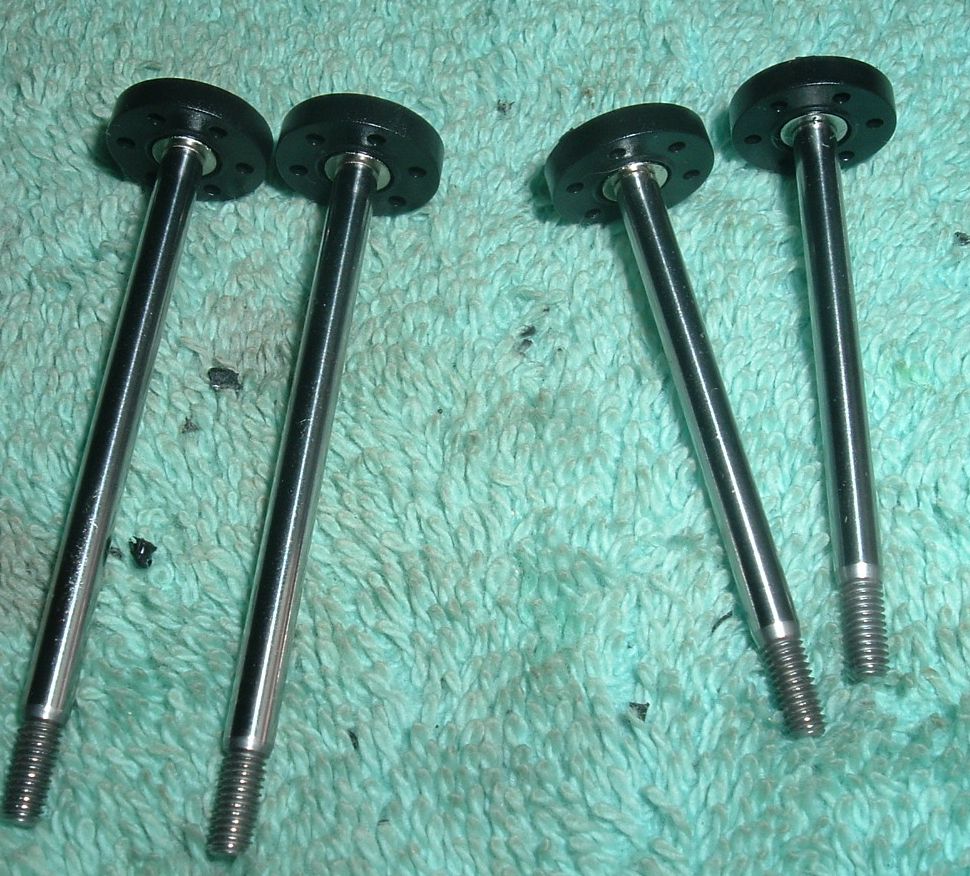
Lower shock ends.
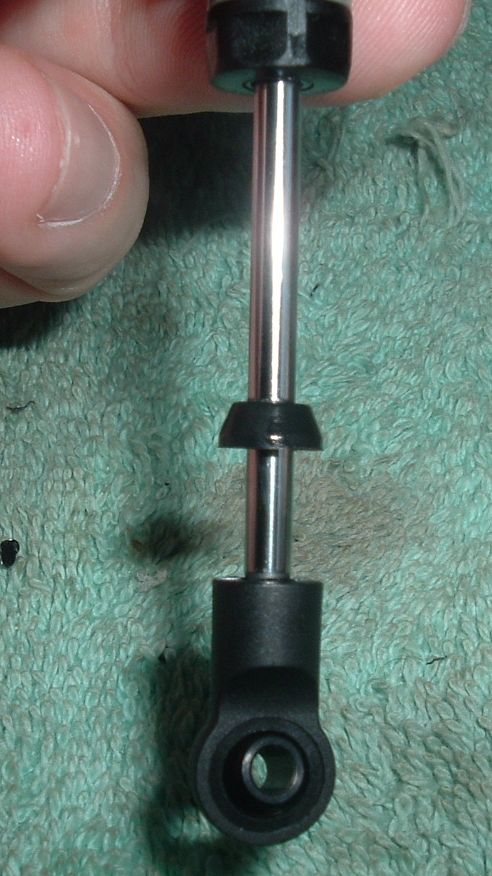
Pay attention here. The kit comes with 4 small rubber stops that are not in the instructions. these go on the shock shafts before the shock ends.
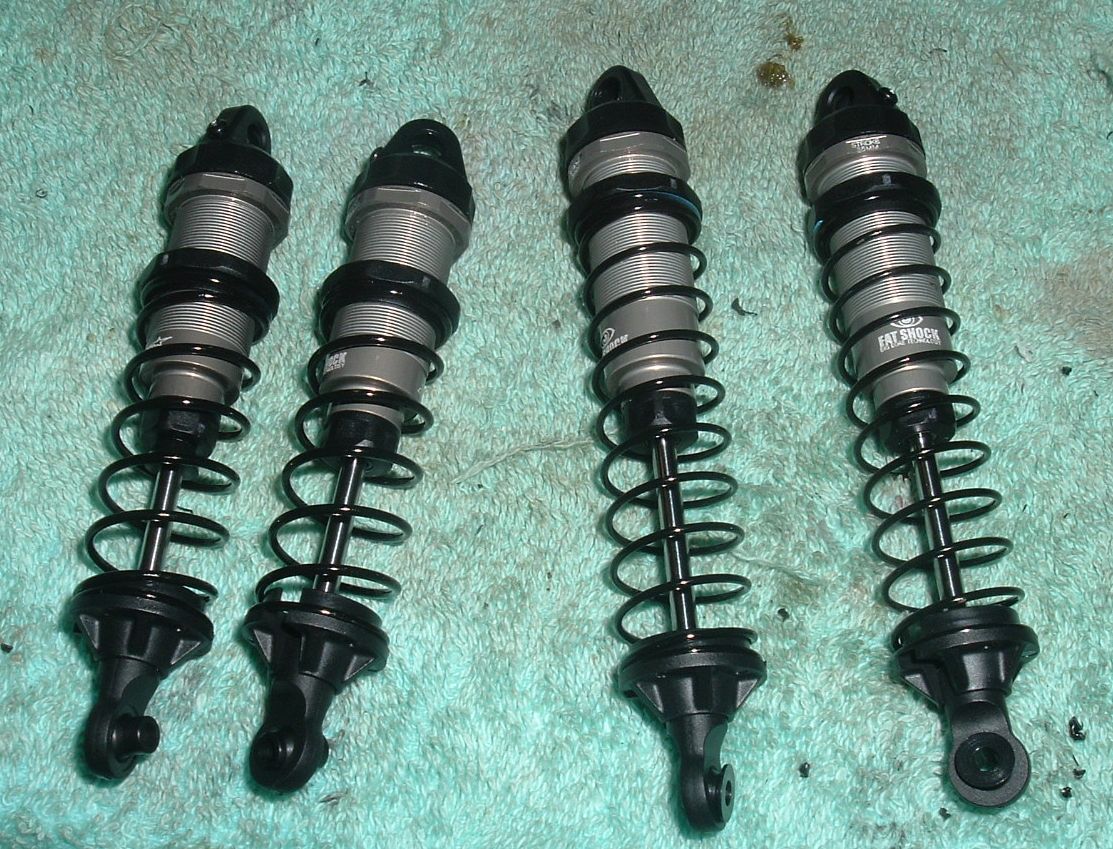
The assembled shocks. These shocks are buttery smooth. As in, smooth like butter. Not that margarine crap either.
 Posted in
  Tags:
Tags:
[…] also guys, check out my build up of the kit on RCSOUP : http://www.rcsoup.com/2012/10/team-d…-kit-build-up/ […]