

 October 19th, 2012
  Geo
Geo 
Ready for the servo
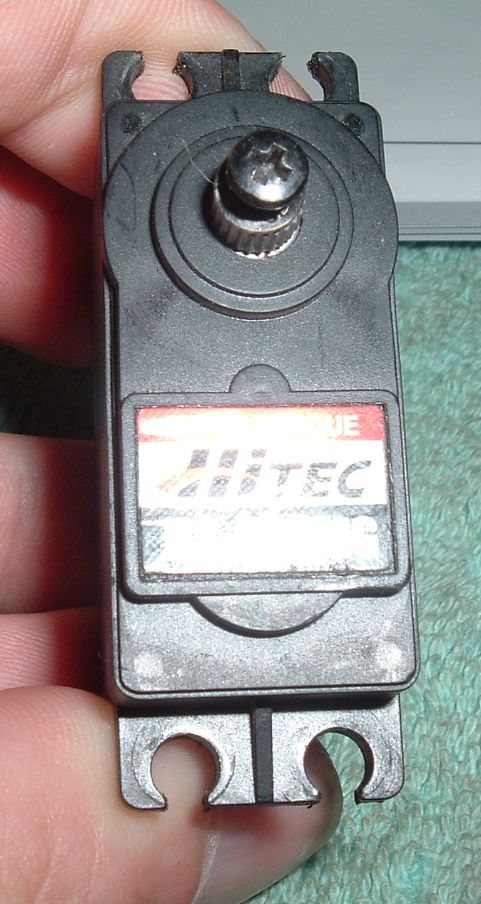
I went with a Hitec 625mg metal gear servo. It has an operating speed of 0.15 at 6 volts and the torque is rated at 94oz at 6 volts. This should work well. If not I have a Spektrum servo I can put in that will have no trouble with the job.
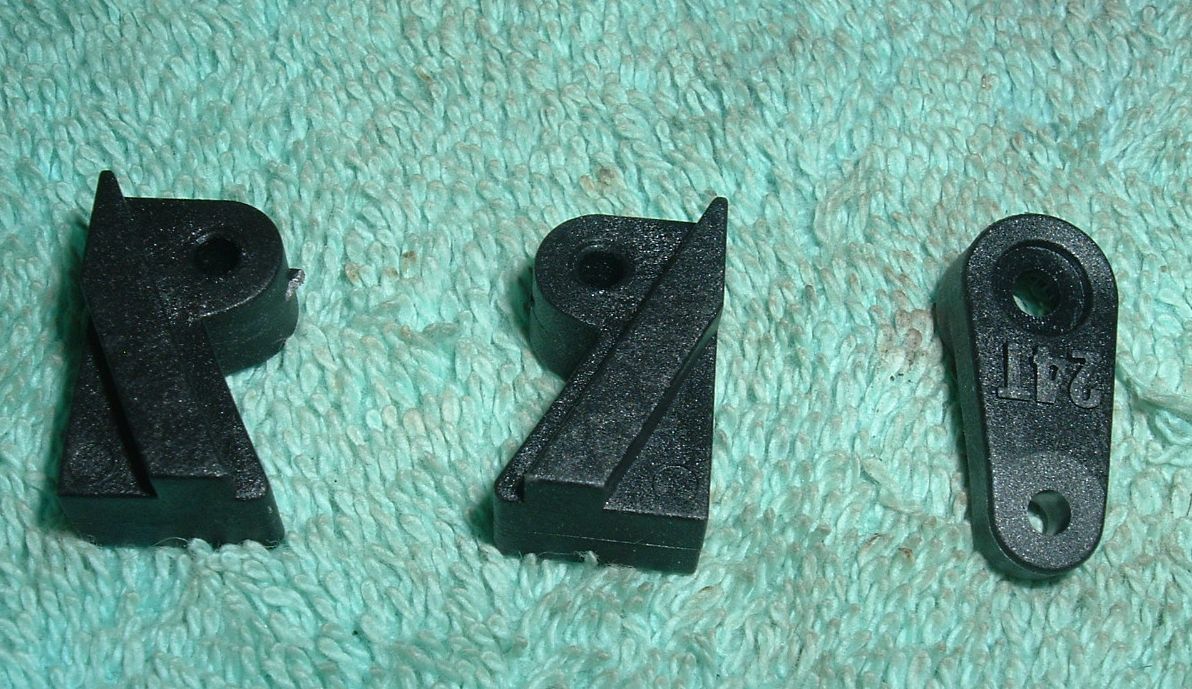
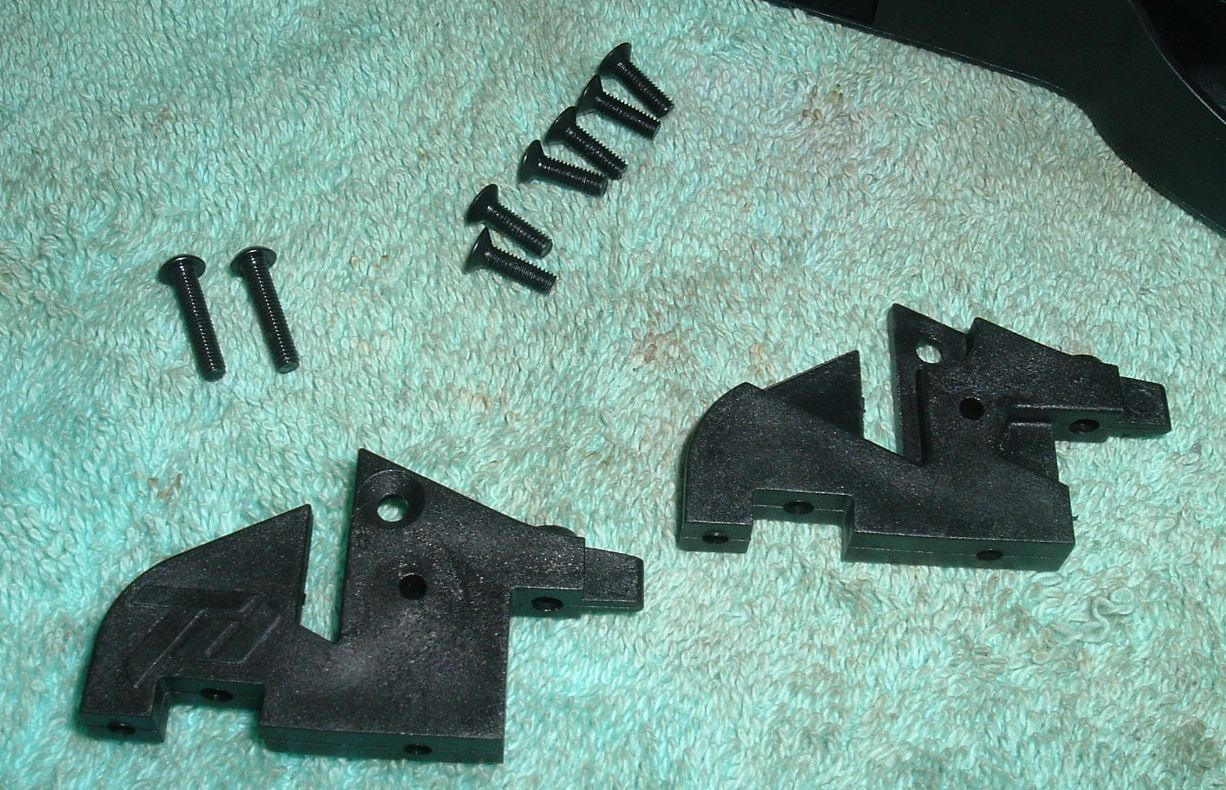
The pieces above are the servo mounts and horn. notice the groove on the sides of the mounts. They come into play in the next step.
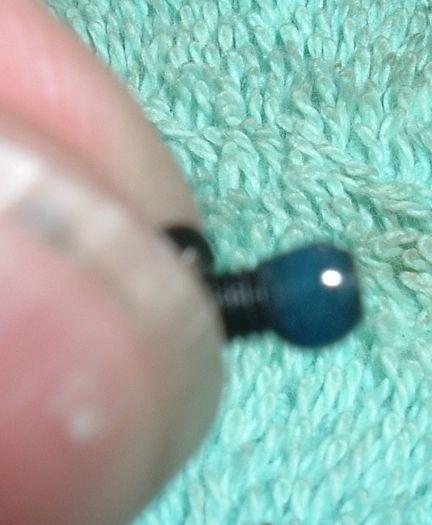
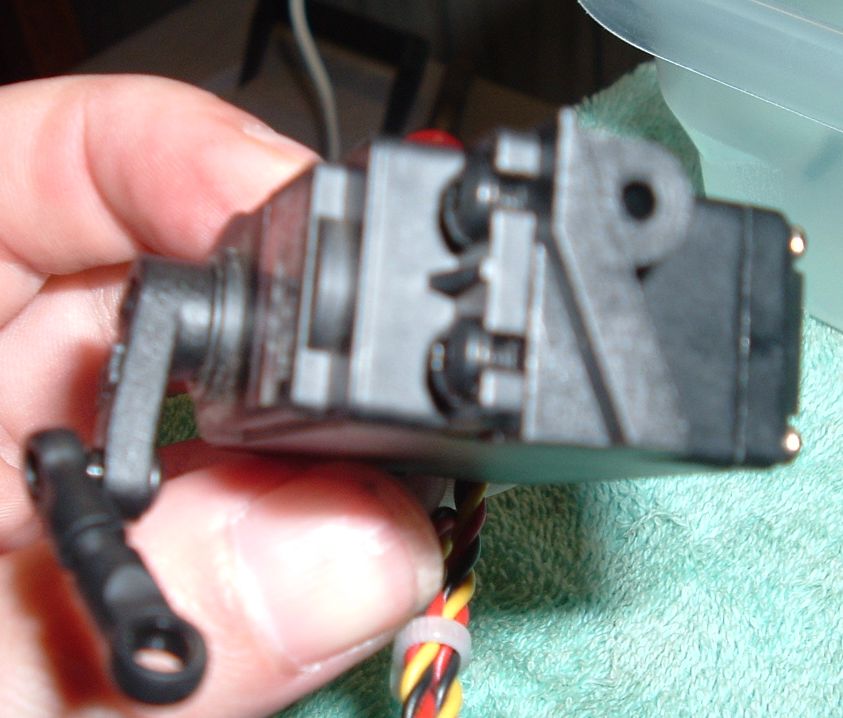
Sorry for the blurry pic but remember to use loctite on all screws that go into metal. This one is for the servo horn and ball. Just a dab will do ya!
The ball (on the left side of pic) is a hex head so holding onto it so you can tighten the screw is easy.
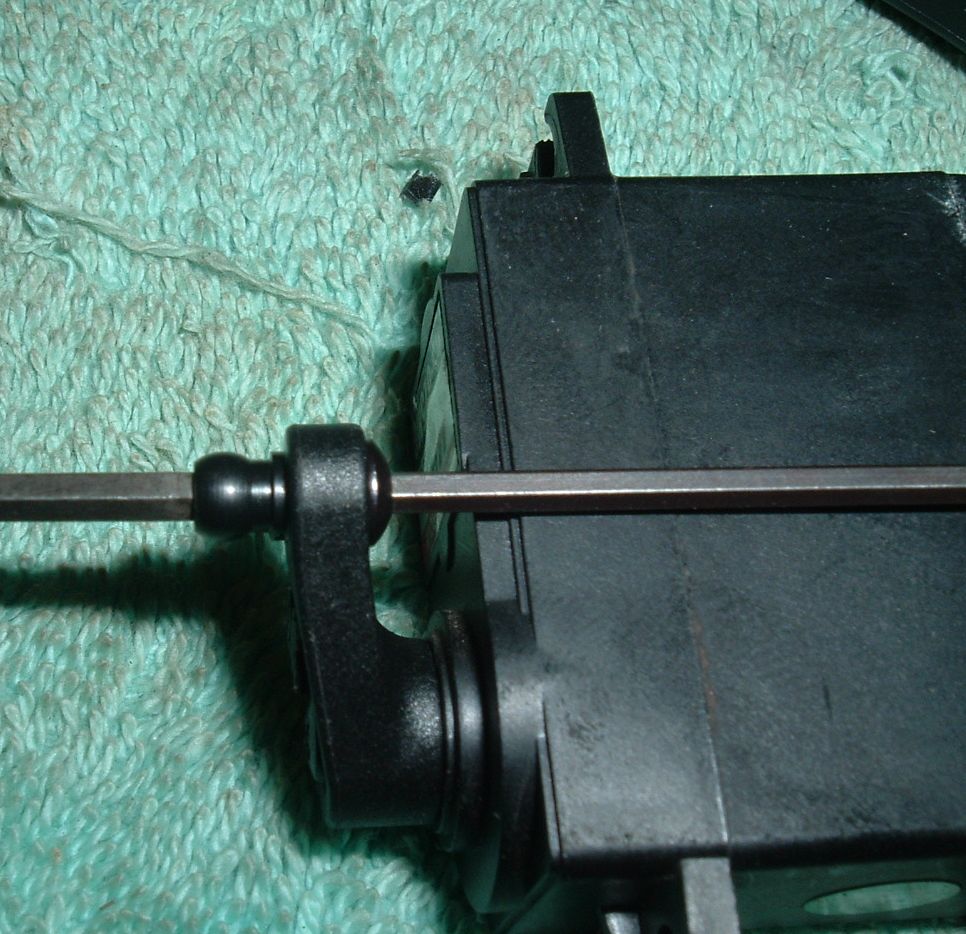
A pic of the horn ,mounts and tie rods installed onto the servo.
Step four parts. I will call them the front chassis side plates.
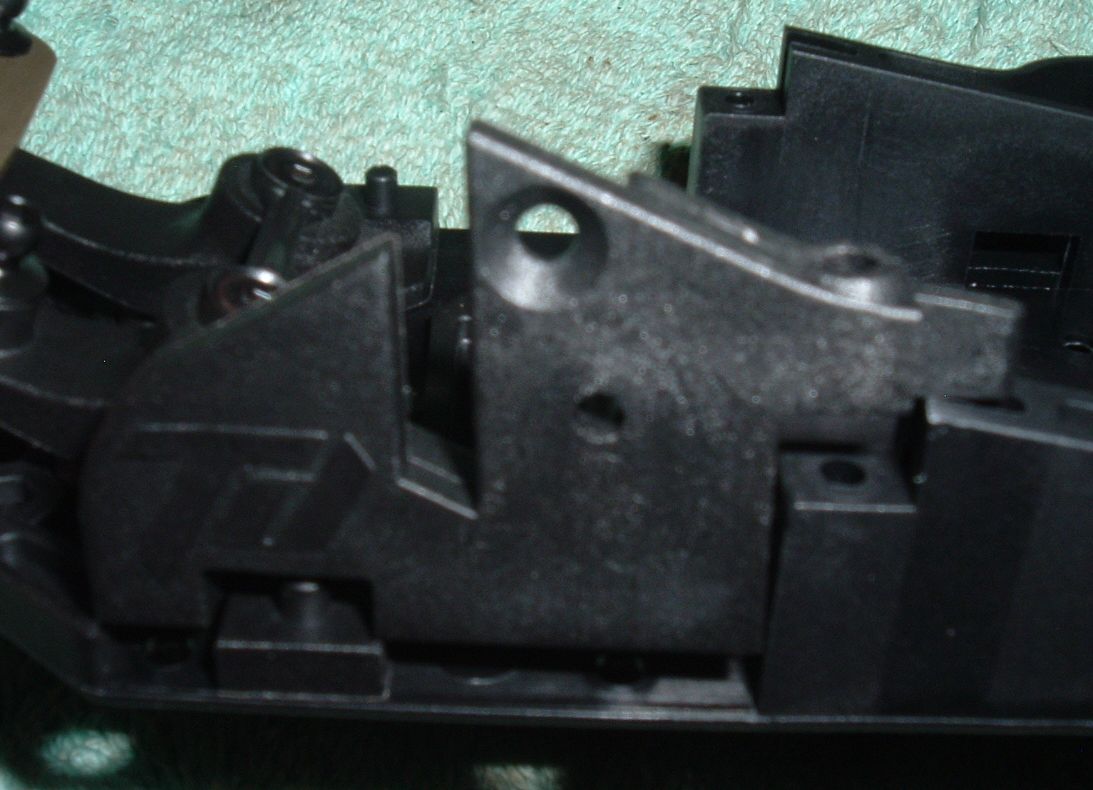
These parts are made in a way that everything is like a puzzle. The side plates are keyed in a way where they match up to portions on the chassis to strengthen the assembly as a whole.
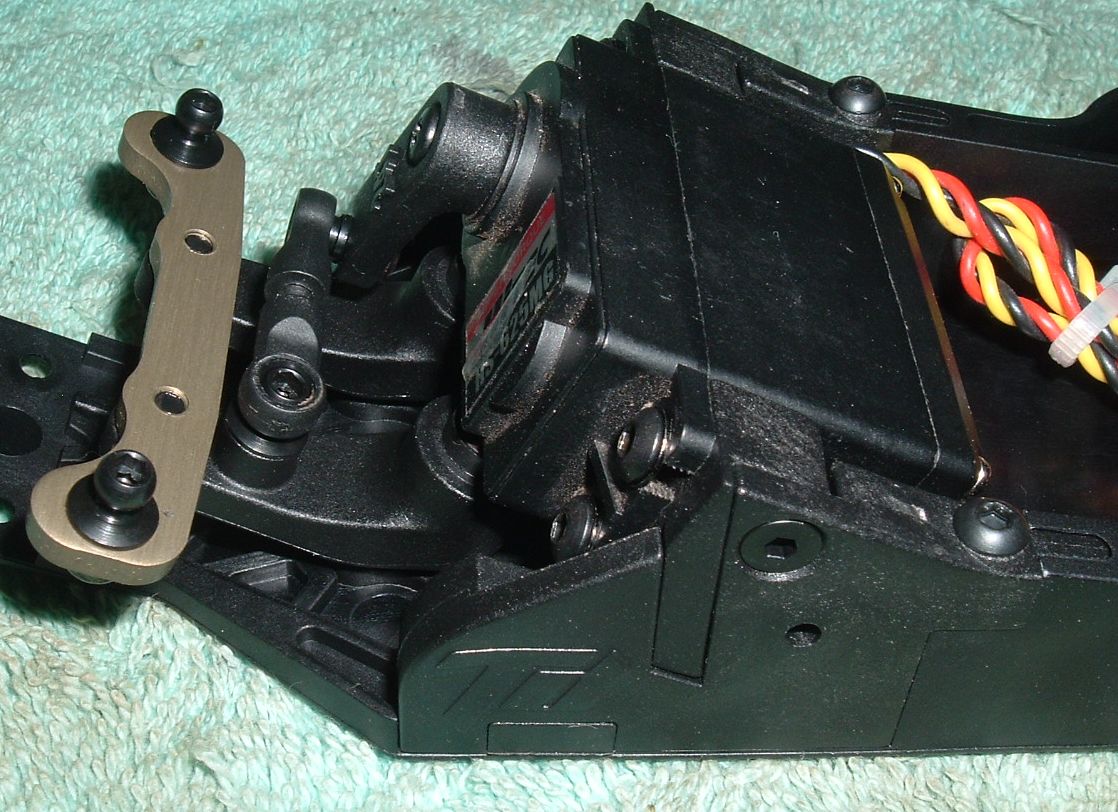
Remember I told you to pay attention to the slots on the servo mounts? Here you can see that they slide into the open slots in the side chassis pieces making this portion of the front end pretty stout. The servo is held in place by two screws on either side of the chassis that screw through the side plates and into the mounts. It should be easy to change servos if ever needed (unlike my LAST truck).
 Posted in
  Tags:
Tags:
[…] also guys, check out my build up of the kit on RCSOUP : http://www.rcsoup.com/2012/10/team-d…-kit-build-up/ […]