

 October 19th, 2012
  Geo
Geo Over the summer I ran pro4 short course and found that the requirements of that class were high, not just for driving but for equipment. I easily found myself discouraged and exhausted from racing the class and chasing the gremlins I had with the 4wd trucks and electronics. I decided to go back to 2wd racing. For a little while I researched a couple of different vehicles. I didn’t want something I already had and I wanted something that was unique. The Team Durango DESC210R fit that bill. The next thing I knew I had one ordered up. Read on to follow the build process.
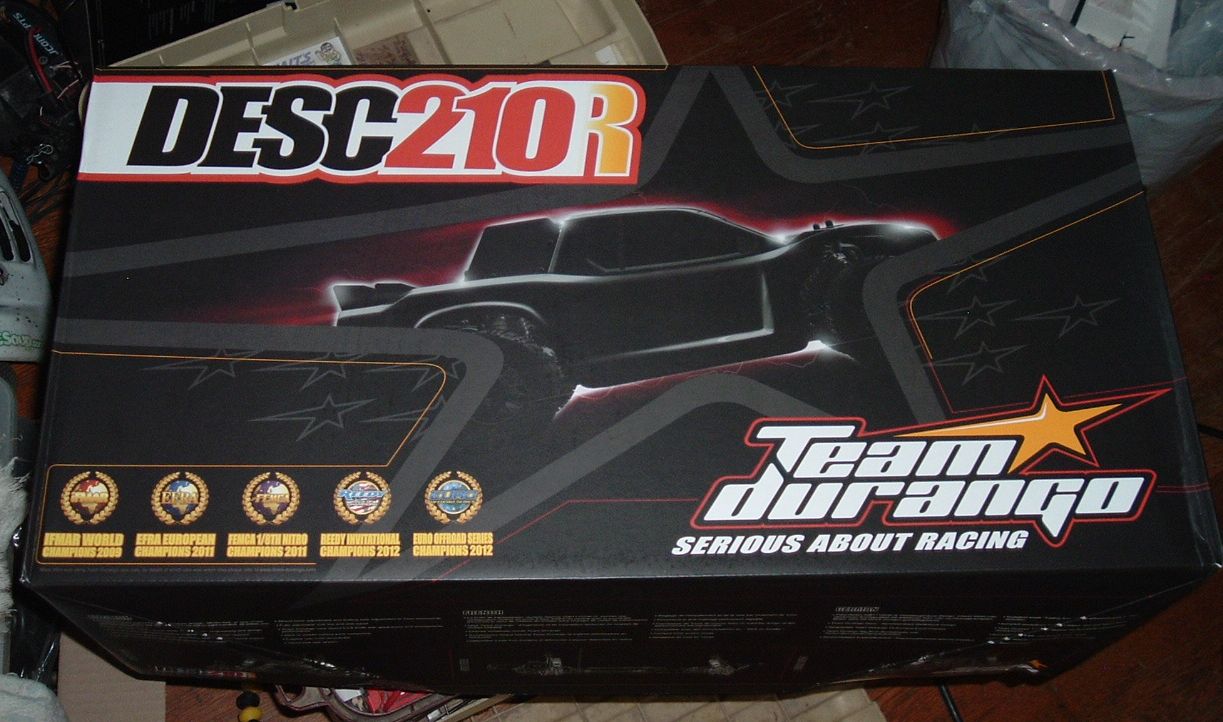
The box art for the Durango DESC210R is pretty cool. In the lower left you can see all the titles Team Durango has won.
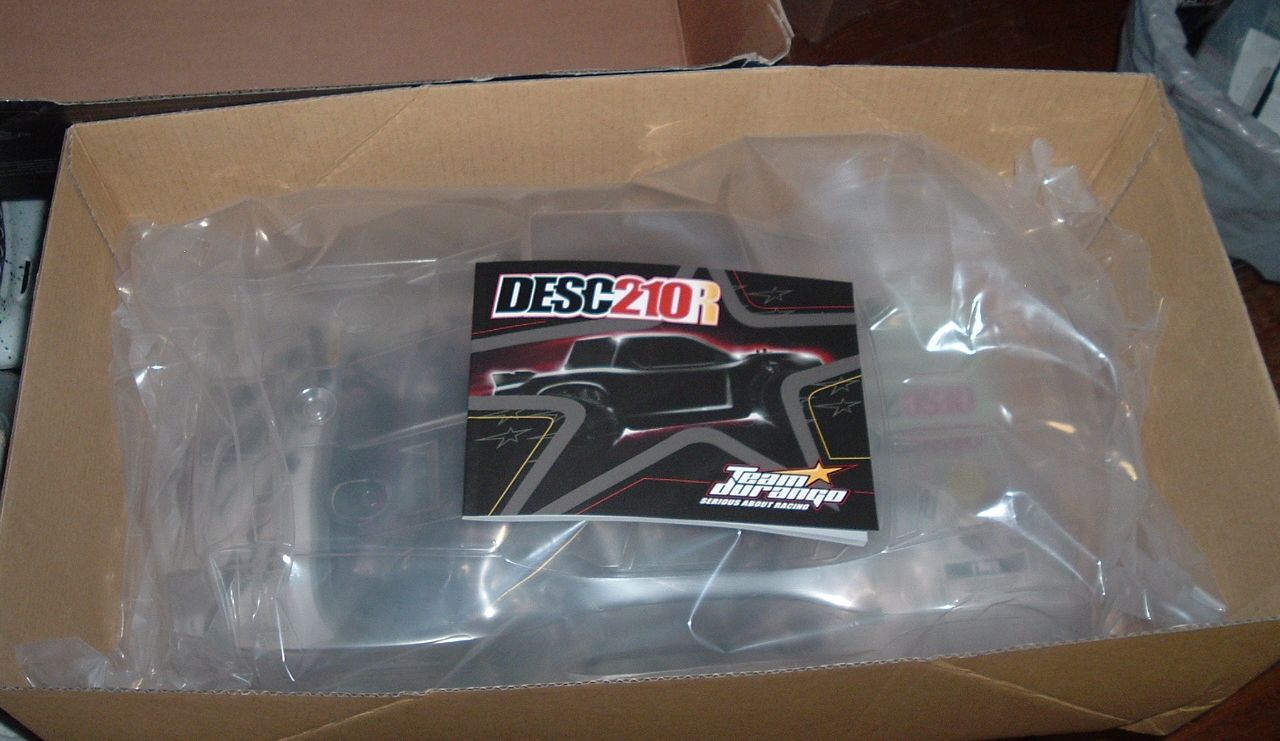
Upon opening the box you find a nicely packaged kit.
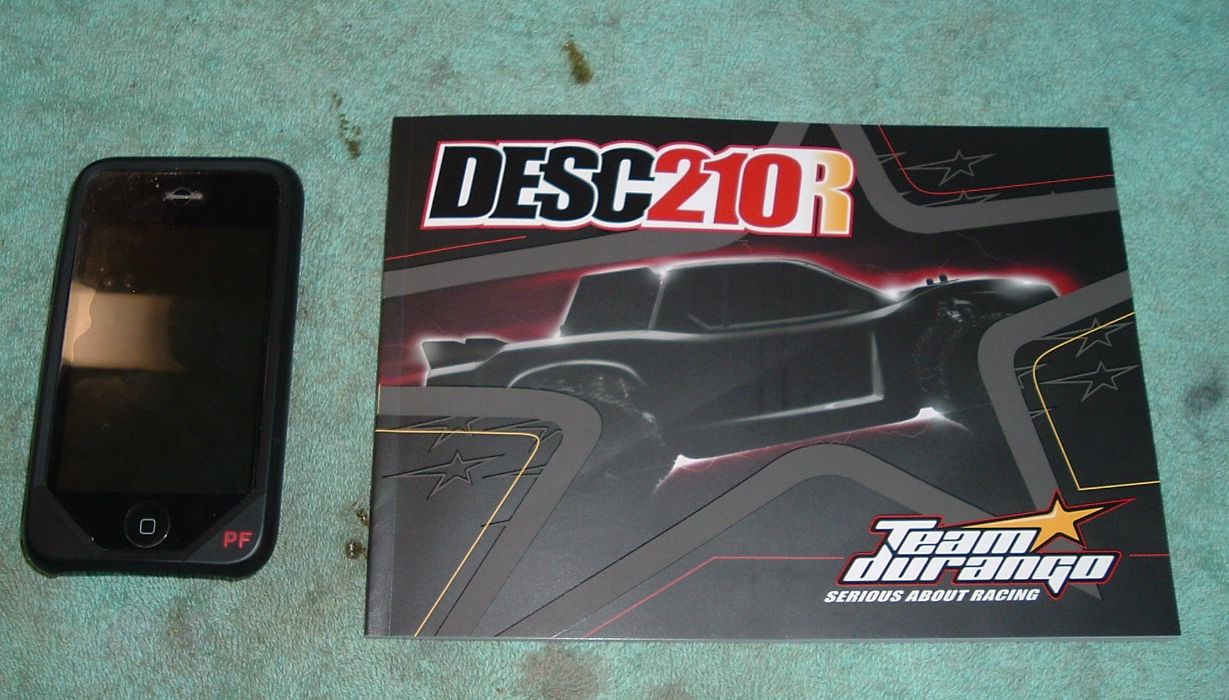
This is the instruction booklet. It’s on the smaller side of manuals I’ve had over the 20+ years of rc I’ve been into. This I found odd at first but as I started building it became apparent why I think it was made this way… more room on your work bench!
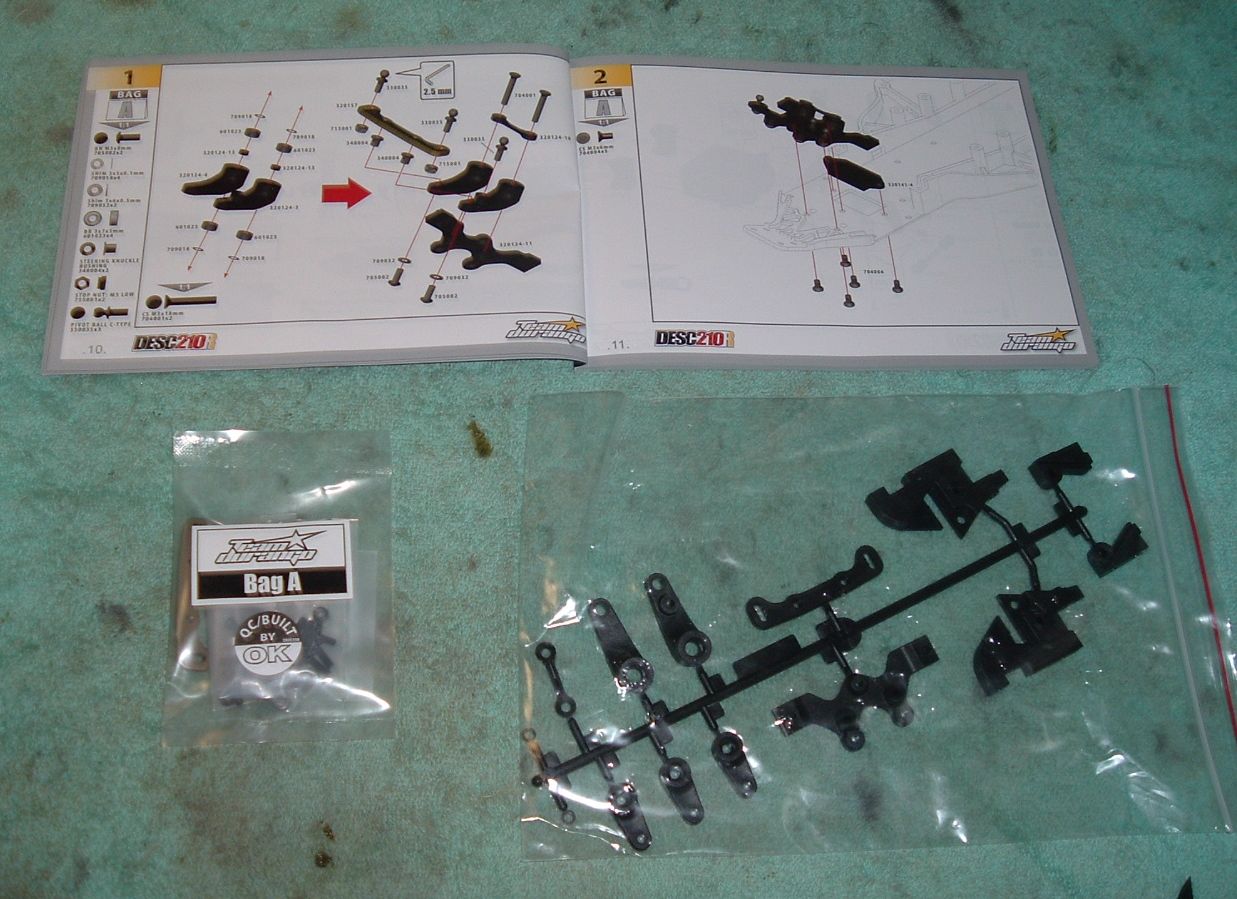
Here we go! The first step. For each step you find a corresponding hardware bag. That bag contains all the metal parts needed for the step and or steps to assemble that portion of the truck, what ever it may be. The bags are marked clearly as you can see in the pics. The plastic parts you need for each step aren’t marked nearly as well. All the plastic parts come in one big bag. Some are separated into smaller bags but not all. You have to search the part trees for the parts and part numbers. Also look closely at the instruction book page… There are no written instructions for any steps. It’s pretty much an exploded view of how that section goes together. Most steps are not too confusing but there are a few where written instructions would of been very helpful (more on this later).
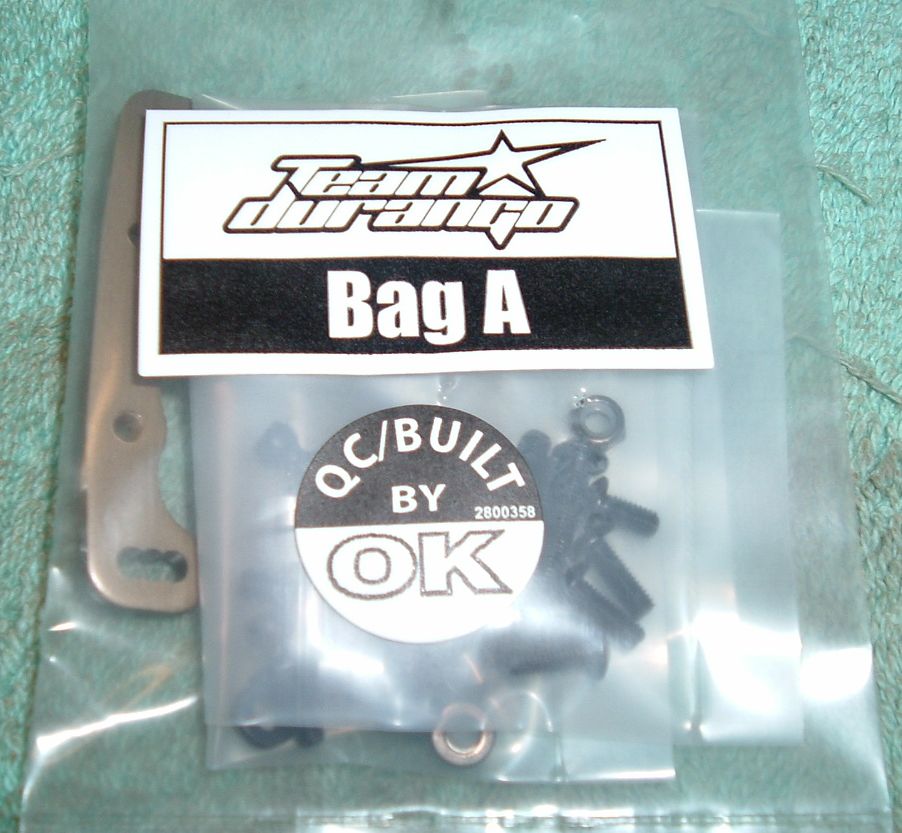
Here you can see the bags and how they are marked.
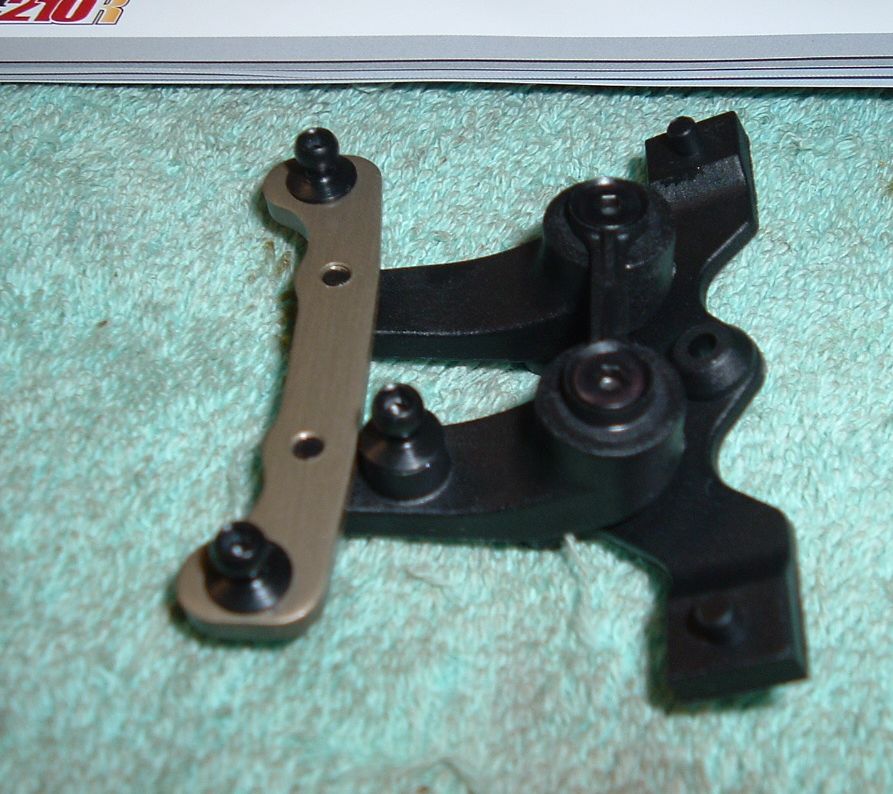
In step one you put together the steering rack. It’s pretty straight forward but I did manage to put the ackerman bar on backwards. Make sure yours is facing the opposite way mine is in the pics, (insert pirate laugh HAR HAR HAR). The rack rides on full bearings and the ackerman plate is made of aluminum.
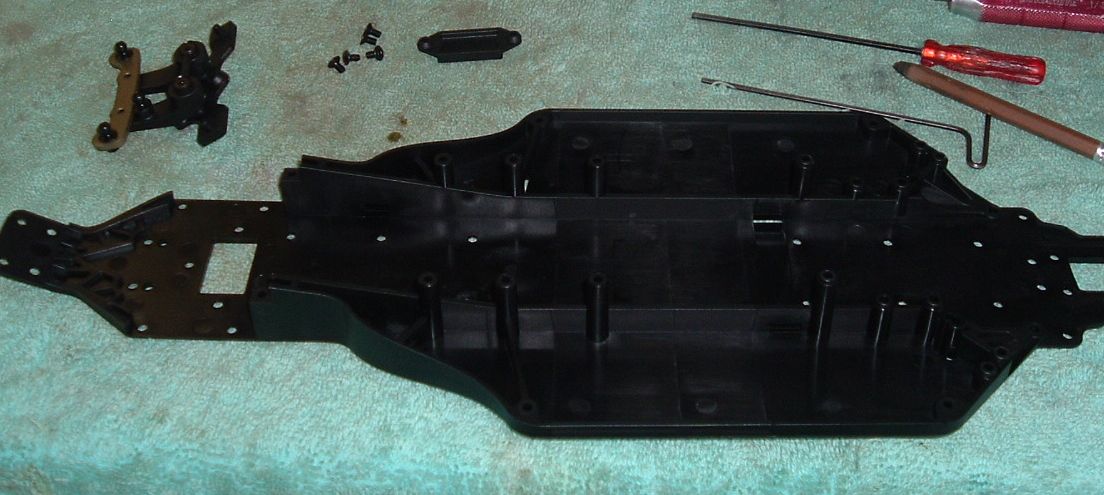
The steering is ready for the chassis. Notice the rectangle shaped hole in the front of the chassis? That is for optional weight for tuning the truck even more. A nice touch!
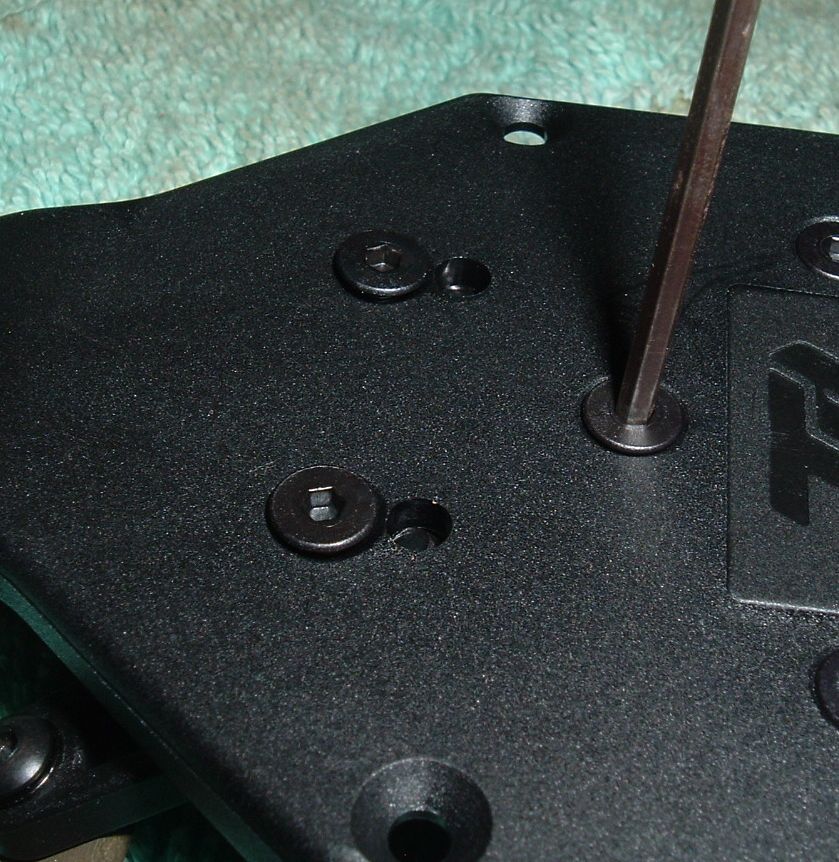
Here you can see the metric hardware used through out the kit. I have read on the internet that some people have had problems with easily breaking screws or stripping out heads so be careful. I myself didn’t have too many problems with any screws. I did notice some of the heads were shallow. This is where good tools come in handy.
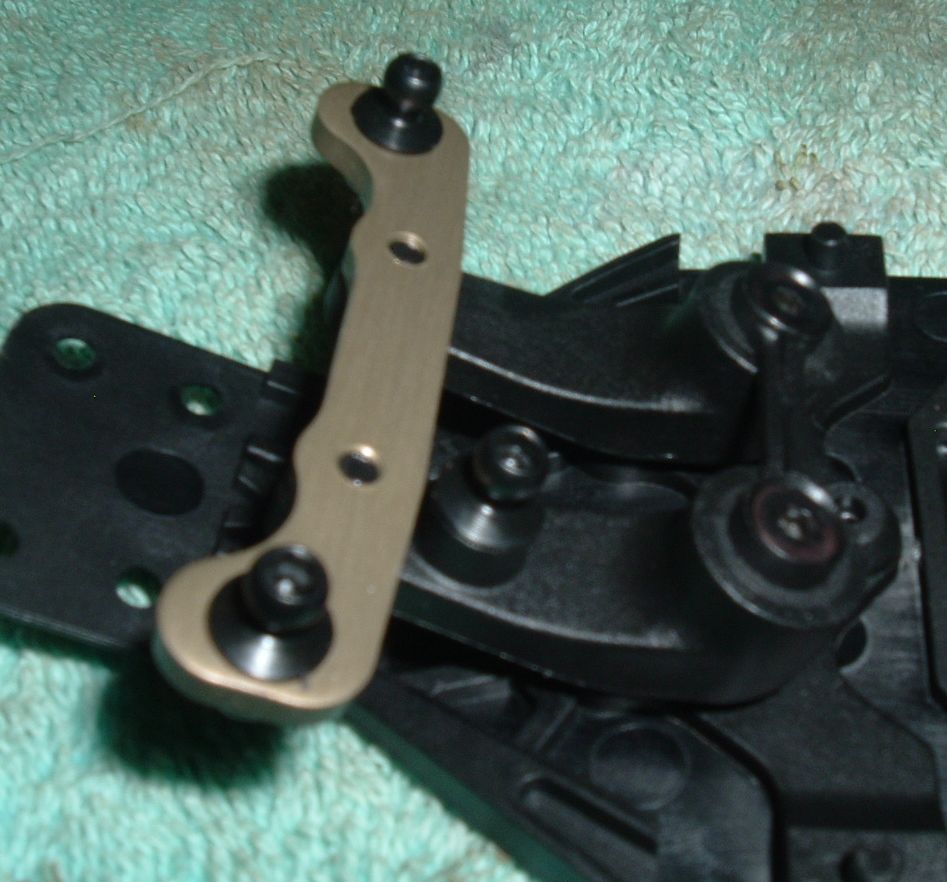
Steering rack in (yes the ackerman bar is still backwards, I didn’t notice till after the car was built that I had it in wrong). Take note, no steering servo saver!
 Posted in
  Tags:
Tags:
[…] also guys, check out my build up of the kit on RCSOUP : http://www.rcsoup.com/2012/10/team-d…-kit-build-up/ […]