

 November 4th, 2012
  Jim
Jim Hello RC Soup fans. Here is a build project for all of our oval racing fans out there. I picked up a new RJ Speed Legends Coupe kit from one of our local hobby shops, Buddyboys RC.
I will be racing this kit in the Legends Class for fall/winter 2012/2013 indoor carpet season.
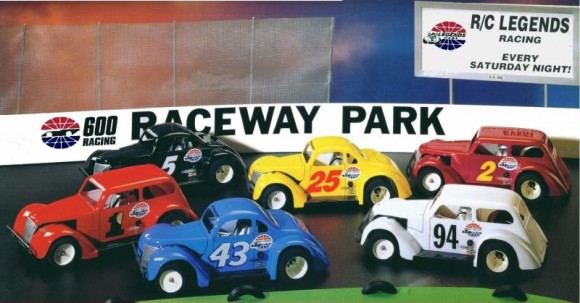
The RJ Speed Legend is a tried and true kit that was designed by Rick Jordan and launched by Bolink/RJ Speed in 1994. Inspired by the 5/8 scale Legend cars that started racing at Charlotte Speedway in 1994, this kit has been a proven winner since its inception. I’ve seen a couple of older Legend cars at our local track and there isn’t a whole lot of difference between the new version and the near 20 year old version. One of our local RC hotshoes Rick Elwood is always the car to beat. His car happens to be an original 19 year old Bolink Legend. Personally I think that is one of the reasons this particular kit and class of racing has remained so popular over the years and will continue for many more. They are reasonable to buy, simple to build and maintain and keeping controlled rules so the level of racing remains even among all competitors. Most importantly the fun factor remains very high.
I will note before we start the build, for those of you that like to or are considering racing oval with a Legend car the rules may vary slightly from club to club so you should check out your local track rules so you know you are “legal” wherever you are looking to race. Up here in upstate NY, Buddyboys RC and Walt’s Hobby follow the exact same rules so Legend’s car owners can race at either track with no changes between tracks. That is a very good thing :-). Our rules are simple and straightforward, any Legend’s kit (Coupe kit#2010 or Sedan kit#2011). Yellow stripe spec tires (included in kit), 4 cell NiMH 3800 battery (built and assembled by both Buddyboys and Walt’s Hobby), stock 81 tooth 48 pitch spur from the kit, stock pinion (either 21 or 22 tooth 48 pitch steel, kit comes with 21 tooth pinion), any brushed ESC, any servo and either a Duratrax Top Photon2 20t brushed motor, Electrix (ECX) 20t brushed motor or Tamiya Silver can brushed motor. Wheel bearings are allowed as an upgrade to the kit oilite bushings. Adjustable tie rods and ballcups are also allowed.
Onward and upward. Here we go with the Legend Coupe build…
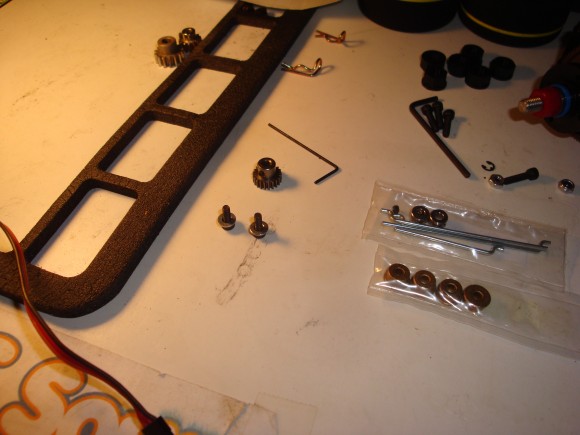
First off, I took the kit pieces out of the RJ Speed box and inventoried everything, making sure I had everything I needed.
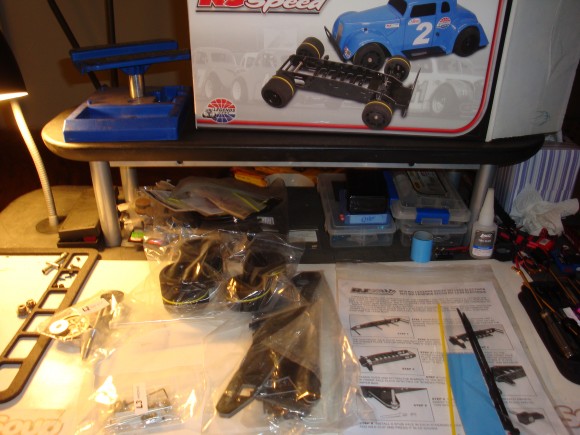
Then I sorted everything into groups so I’d have everything in order once I started to assemble. I’ll note here, RJ Speed’s assembly directions are first rate and very easy to follow
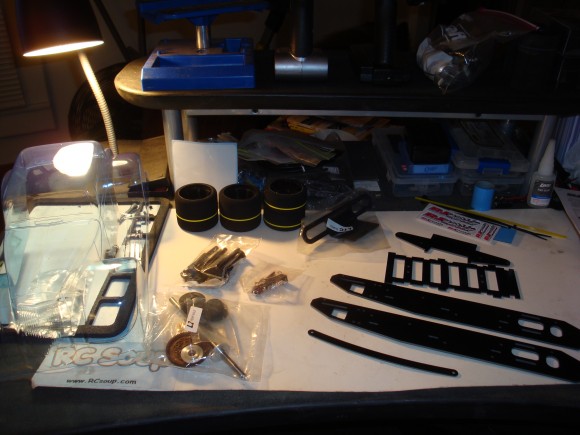
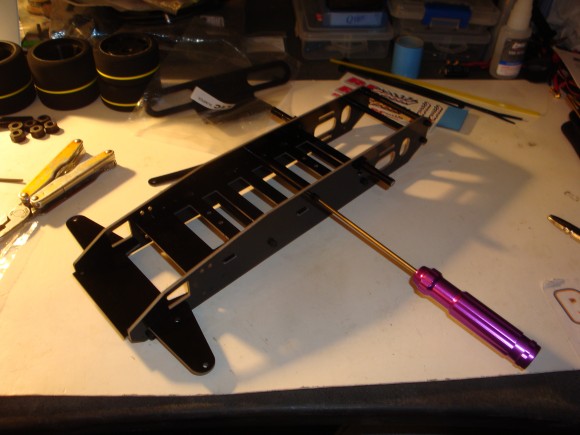
I then began the build by assembling the actual chassis side rails. These went together very easily with no issues with fitment.
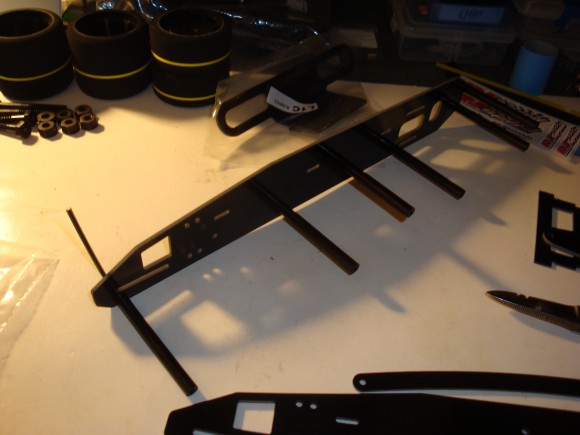
Then I put the 2 side chassis rails together w/ the tube spacers and cap screws. Easy easy easy.
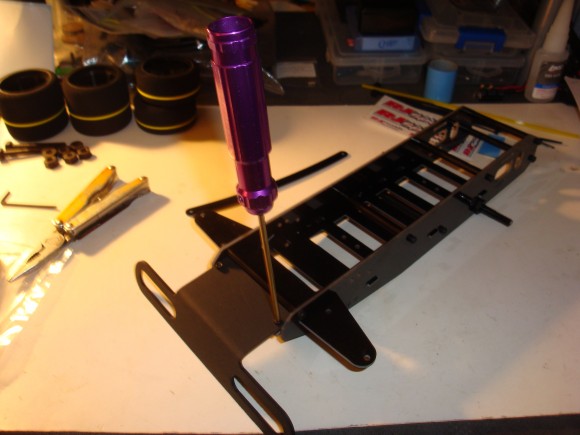
Next up was the front bumper. This is a must have and is required by racing rules. If you do not have a bumper on the car, you will not be allowed to race. 2 cap screws and done. You will also notice I installed the rear body posts at this time. These go right into the pre-drilled holes on each chassis side rail right in front of the motor slots.
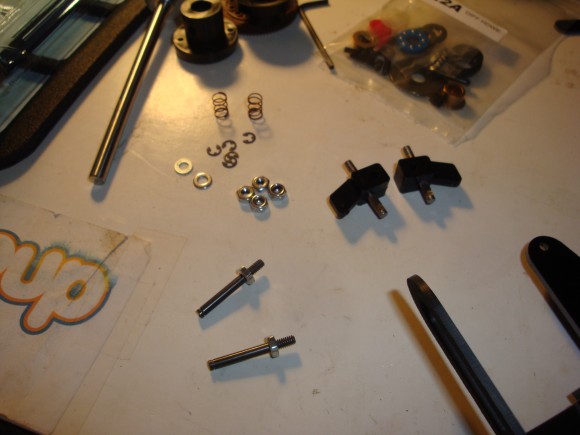
Next up was putting together the kingpin, steering knuckle and spring assemblies for both left and right front corners.
I then installed these on the solid front plate. This is the kit front axle plate. Allowed is an upgrade of a 3 piece axle plate made and sold by RJ Speed only. This would allow a front axle plate repair without splitting the chassis halves. I purchased the 3 piece upgrade after assembling the car and will keep as spare if and when I need it (hopefully not!)
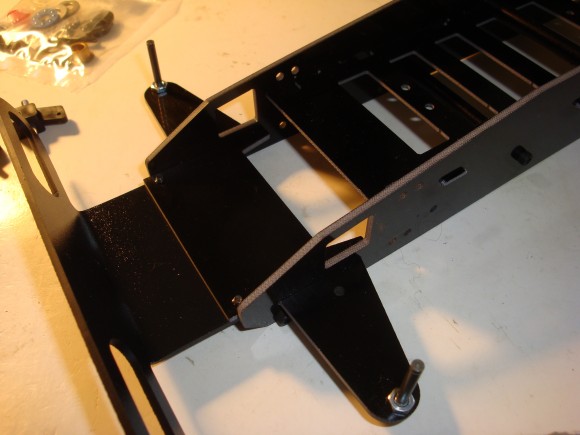
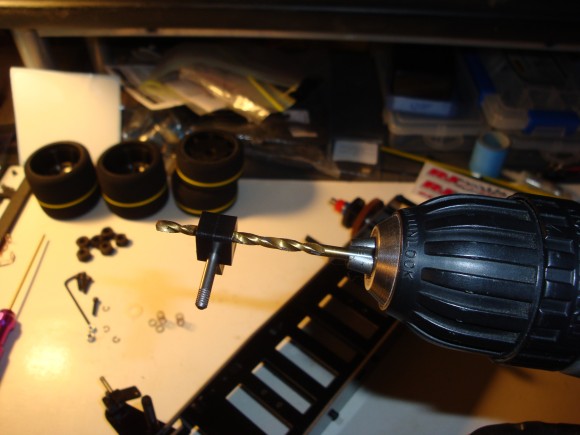
Now I add the steering knuckles and kingpins. A secret here, you want these to slide up and down easily on the kingpins BUT not too sloppy. I drilled out the knuckles very carefully since the ones in my kit were an extremely tight fit before the modification with the handy drill. I also put a drop of venerable Banana Lube on each kingpin as I slid the knuckles in place..
Then I added the kit springs, spacer and kingpin brace..
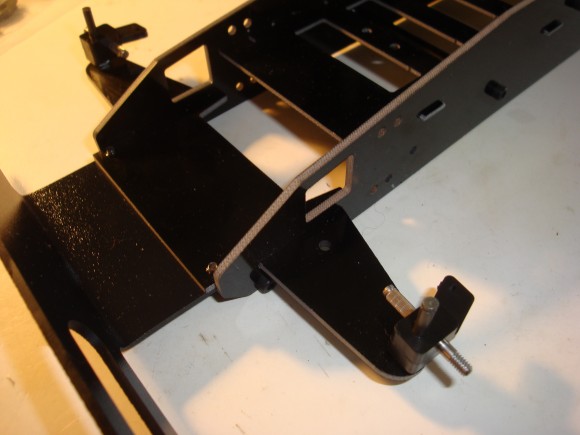
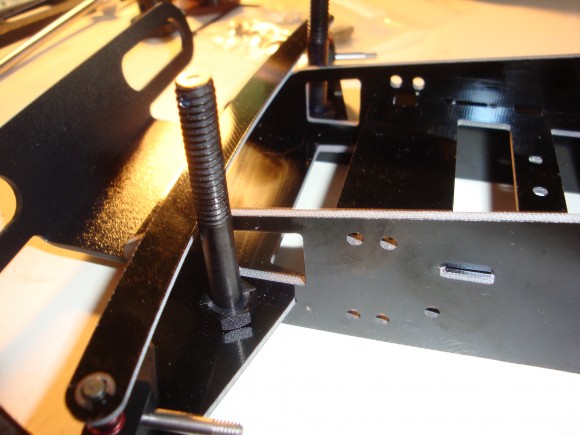
Next up are the front body posts. They have a large adjustable hex nut on them to adjust the body height. Don’t worry about them just yet. We’ll get to that shortly.
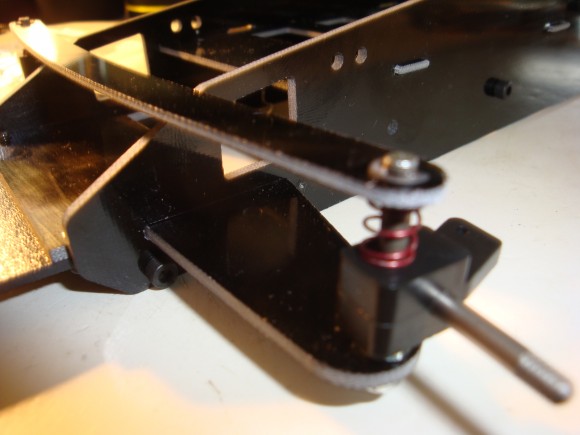
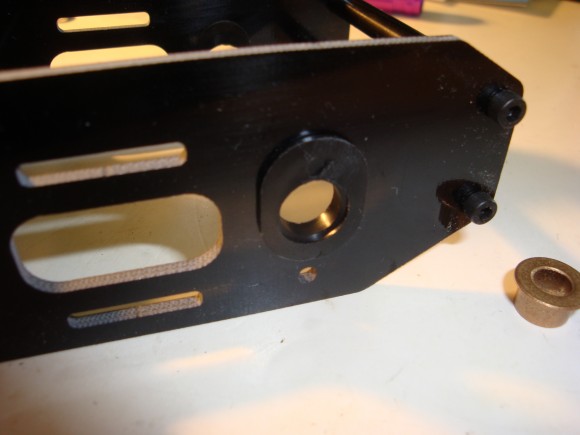
Now I install the press in rear ride height spacers and oilite axle bushings (kit provided). These push right into the precut slots in the chassis rails. Make sure you have them in the correct orientation as that will decide the rear axle height..
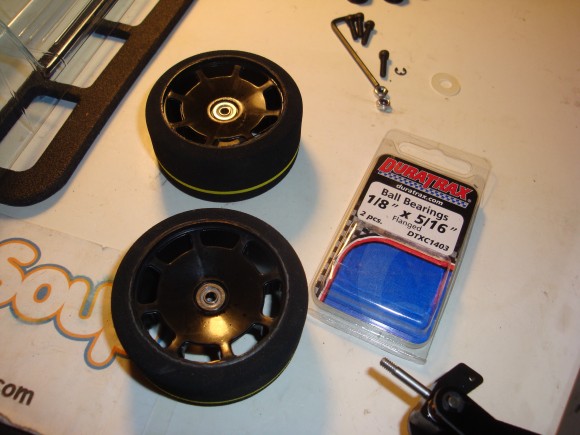
Now I added wheel bearings (legal upgrade) to the front wheels. These are an inexpensive upgrade. I used Duratrax DTXC1403 flanged bearings. They will allow a little less rolling resistance, especially in a racing environment. You want everything to be as smooth and free as possible for maximum speed with as little load on the battery and motor as possible..
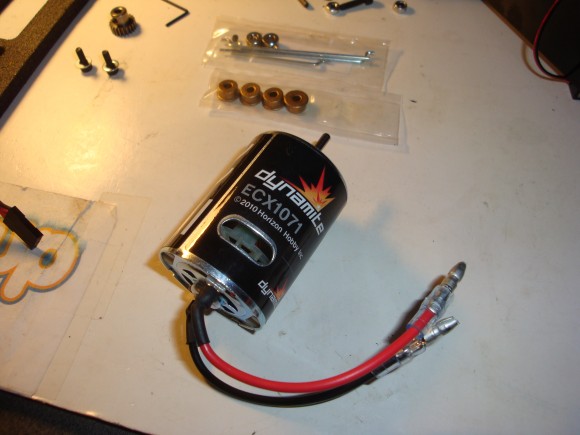
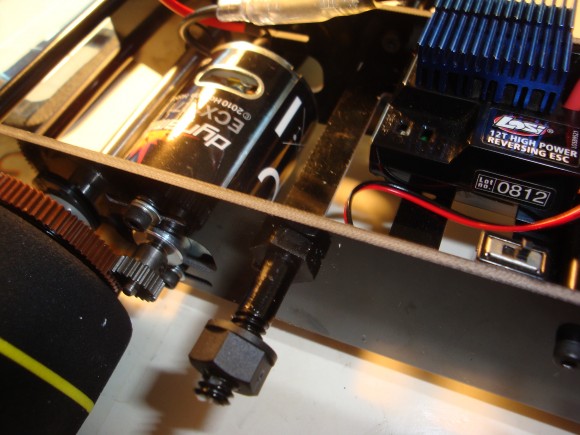
Now its time to install the motor and pinion. I chose a new ECX (Electrix RC) 20t brushed motor.
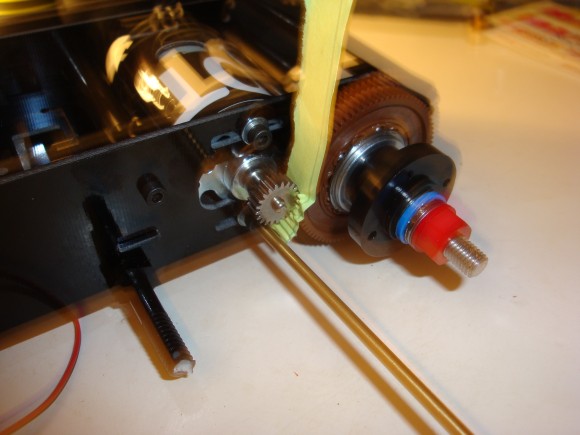
Now I installed the motor into the chassis frame rail. There are pre routed slots so you can adjust your pinion mesh. I am using the kit 21 tooth pinion but do expect to need to upgrade to a 22 tooth for racing on carpet. Need for speed!
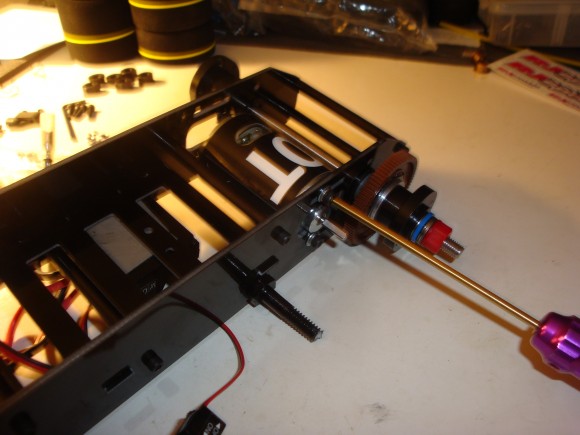
Now I’m installing the pinion and setting gear mesh. I use a piece of sticky note paper cut into a strip. It usually gets me the proper gear mesh. Not too tight to bind up the motor, but not too loose to chew up spur teeth and strip them off. You will also note, like a dummy I forgot to take pics of the slipper assembly. It is a very simple design and goes together very easily. You will find the directions are very easy to follow. I had it built and ready for install in just a few minutes. Be sure to add some diff grease to the ball bearings! Don’t worry, its all in the directions.
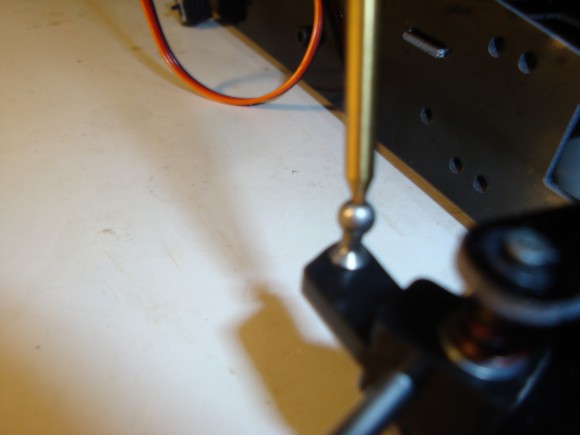
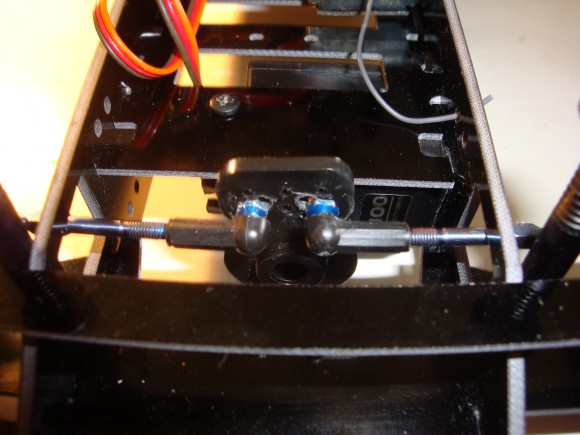
Now its time for steering. I chose to upgrade to Team Associated ball studs/ballcups and adjustable tie rods. These make trackside adjustments simple and quick (for toe in/out) and were only a few dollars extra at the hobby shop. I’ll also mention RJ Speed now offers a simple steering linkage kit RJ Speed P/N 5250 as well.
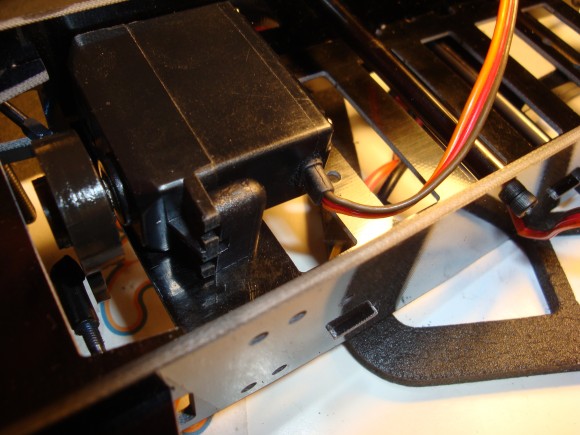
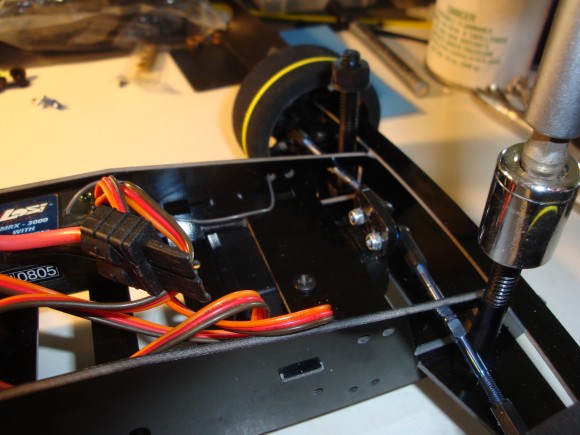
Next up was the servo installation. This was a little tricky and required some custom mods to the servo. Everyone has their personal preference but this is how I decided to make this work. First I took a spare Futaba S100 servo I had in my pitbox (you don’t need a “fast” servo for carpet oval). I cut off the mounting ears on one side and dremeled it nice and smooth.
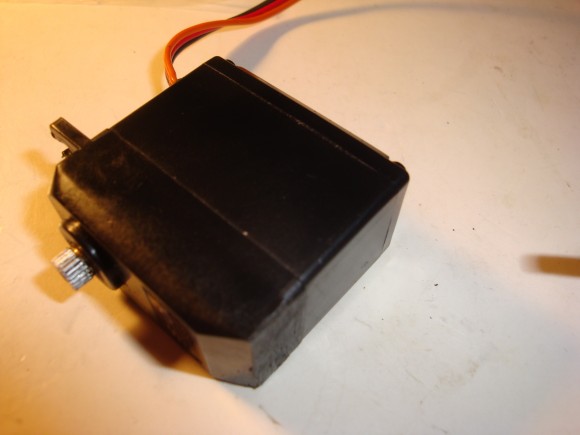
Then I installed QTY-1 Team Associated servo mount on the inboard side. This required lining it up on the center chassis/battery tray and drilling 1 hole to permit the AE servo mount. What this will accomplish is some rigidity w/ the steering. I also added servo tape to the face of the servo where it attaches to the chassis/battery plate. I also added some servo tape to the outboard side so it was attached to the chassis side rail.
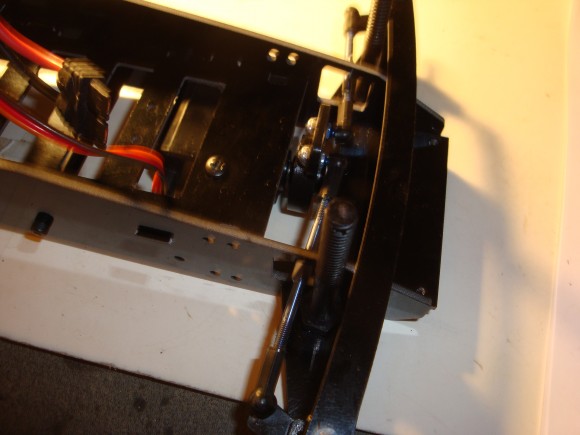
I then added the servo saver. One tip here, take the front bumper off and don’t struggle! It’s only a couple of screws and it made it much easier to center up and install the servo saver.
I am now adding my choice of speed controller. I had a spare, brand new Losi brushed ECS from a 1/10 Slider kit from a couple years ago. It fit nicely w/ a little servo tape. I located it as far back as I could and as far left as I could. This is important for oval racing. You want to get as much weight to left as far as possible. You would be surprised what an ounce or 2 can do to handling in the corners.
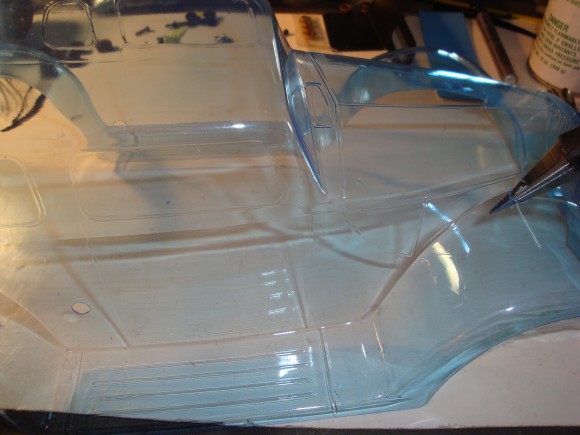
Now its time to trim up the Legend Coupe body. With some patience with my Duratrax curved body scissors it was trimmed out in no time. I also used my cordless dremel w/ a small sanding drum to smooth out the wheel wells and fender lips. I also round any sharp corners so there is no chance of snagging carpet or cutting the hands or fingers of a turn marshal. I also used my body reamer to open up the body mount holes. The hole locations are a snap. They have molded dots where each body post will go. Simple and easy…
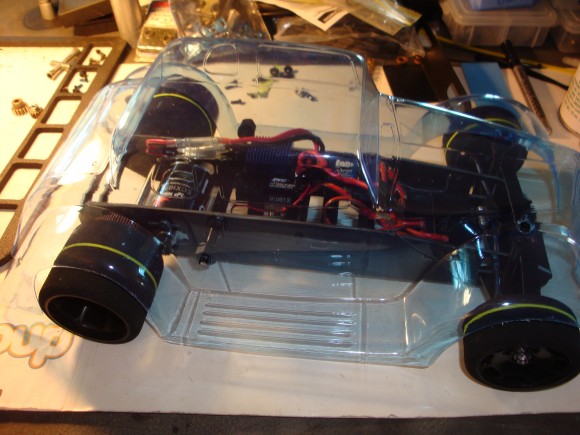
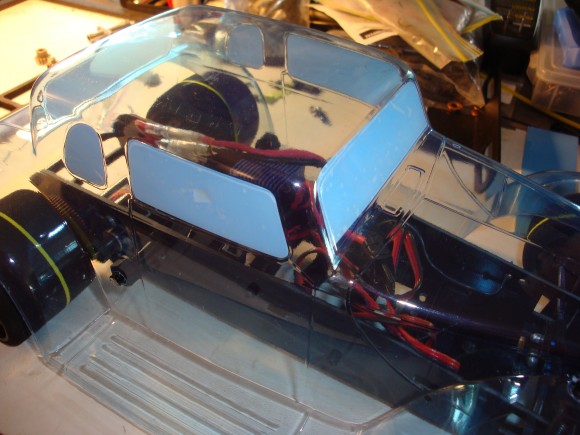
Now I have to adjust the hex nuts on the body posts so the body has the correct height on the chassis and from the ground.
A quick test fit and its now ready for applying the window paint masks and a simple paint job of Pactra Competition Orange.
Ready for the track! (Sorry for the slightly fuzzy picture) 🙁
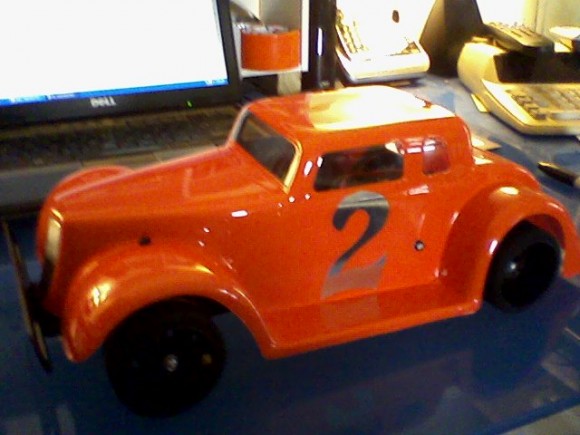
Total build time (not including paint) was approximately 60 minutes.
Overall I give this kit an RC Soup 5 spoon rating for a few reasons. It’s affordable racing fun. The kit is under $100. Brushed speed controllers are cheap and numerous. Almost everyone has at least one kicking around their pitbox. The “legal” brushed motors are all under $20. RJ Speed parts are inexpensive and easy to get. Controlled rules keep competition level so everyone really has to “drive” the car and as I mentioned earlier, it keeps the fun factor very high.
If you want to have some inexpensive carpet oval racing fun, pick one of these RJ Speed Legend kits up and go for it.
Update:
My personal racing experience update to this Legend build…
I raced this car several times at my local carpet oval with some success. I was able to garner one A Main win and a couple 2nd and 3rd place A Main finishes as well. I have to say this was some of the most fun I’ve had in carpet oval in the 3 years I’ve been involved. Pure fun. Period.
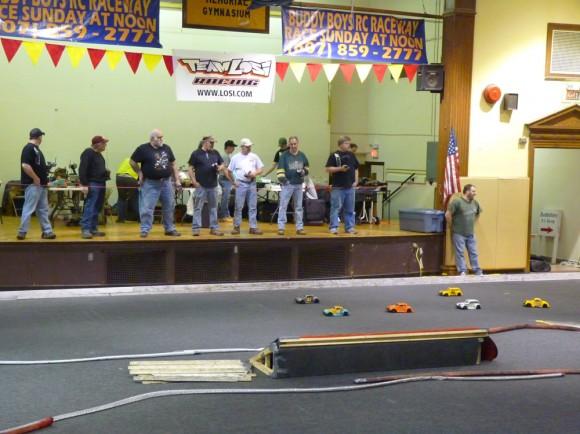
For all of you carpet oval fans in the southeast, RJ Speed is co-sponsoring a Legends/RJ Speed Nationals in South Florida on October 5th, 2013. The Snowbirds mega RC racing event will also feature the Legends class in 2014 as well.
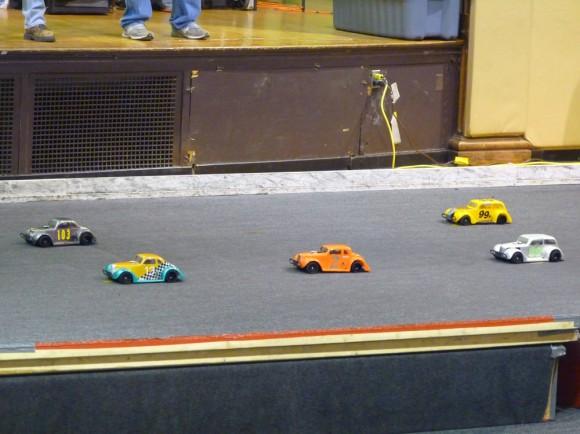
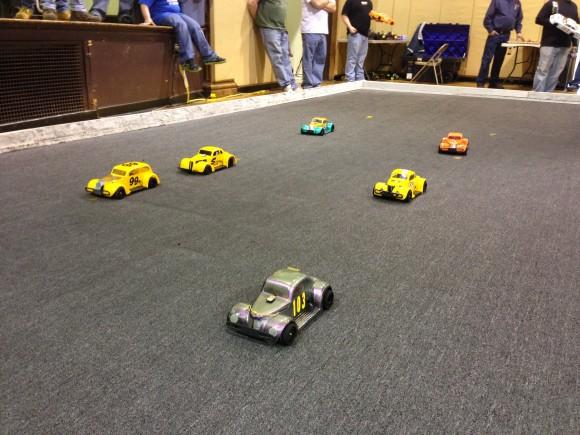
As an additional interesting side note, this particular Legend was piloted by RC Legend Steve Pemberton at the Buddyboys RC Northeast Nationals in March 2013. He didn’t get an A Main win but the fun factor was very high. Here is a video of that A Main race. Enjoy!
[youtube]https://www.youtube.com/watch?v=Z4jWuRfbeAw[/youtube]
Here are some pictures RC Soup’er Kevin took at the Northeast Nationals Legends class as well…

 Posted in
  Tags:
Tags: