

 August 29th, 2013
  Jarodd
 When Kevin started talking about racing a “vintage” R/C race I was interested. The Vintage Off-Road Nationals race is an annual event, now held at the Bethel Raceway Arena in Bethel, CT. All cars and trucks must be made before 1994. I thought it would be fun to find the old cars and trucks, fix them up, and see what they would do on the track again. I started racing at CRC Raceway back in the early 90’s. My first car was a gold tub RC10 buggy with a six gear transmission. Thankfully they allow modern electronics. No brushed motors here!
First I had to find some decent rollers. I tried the usual places with no luck. People either wanted a bunch of money for junk or real money for a shelf queen. I wanted something that needed some work, but would be mostly a freshen-up. I got lucky enough to find this RC10T on Craigslist. $35 shipped!
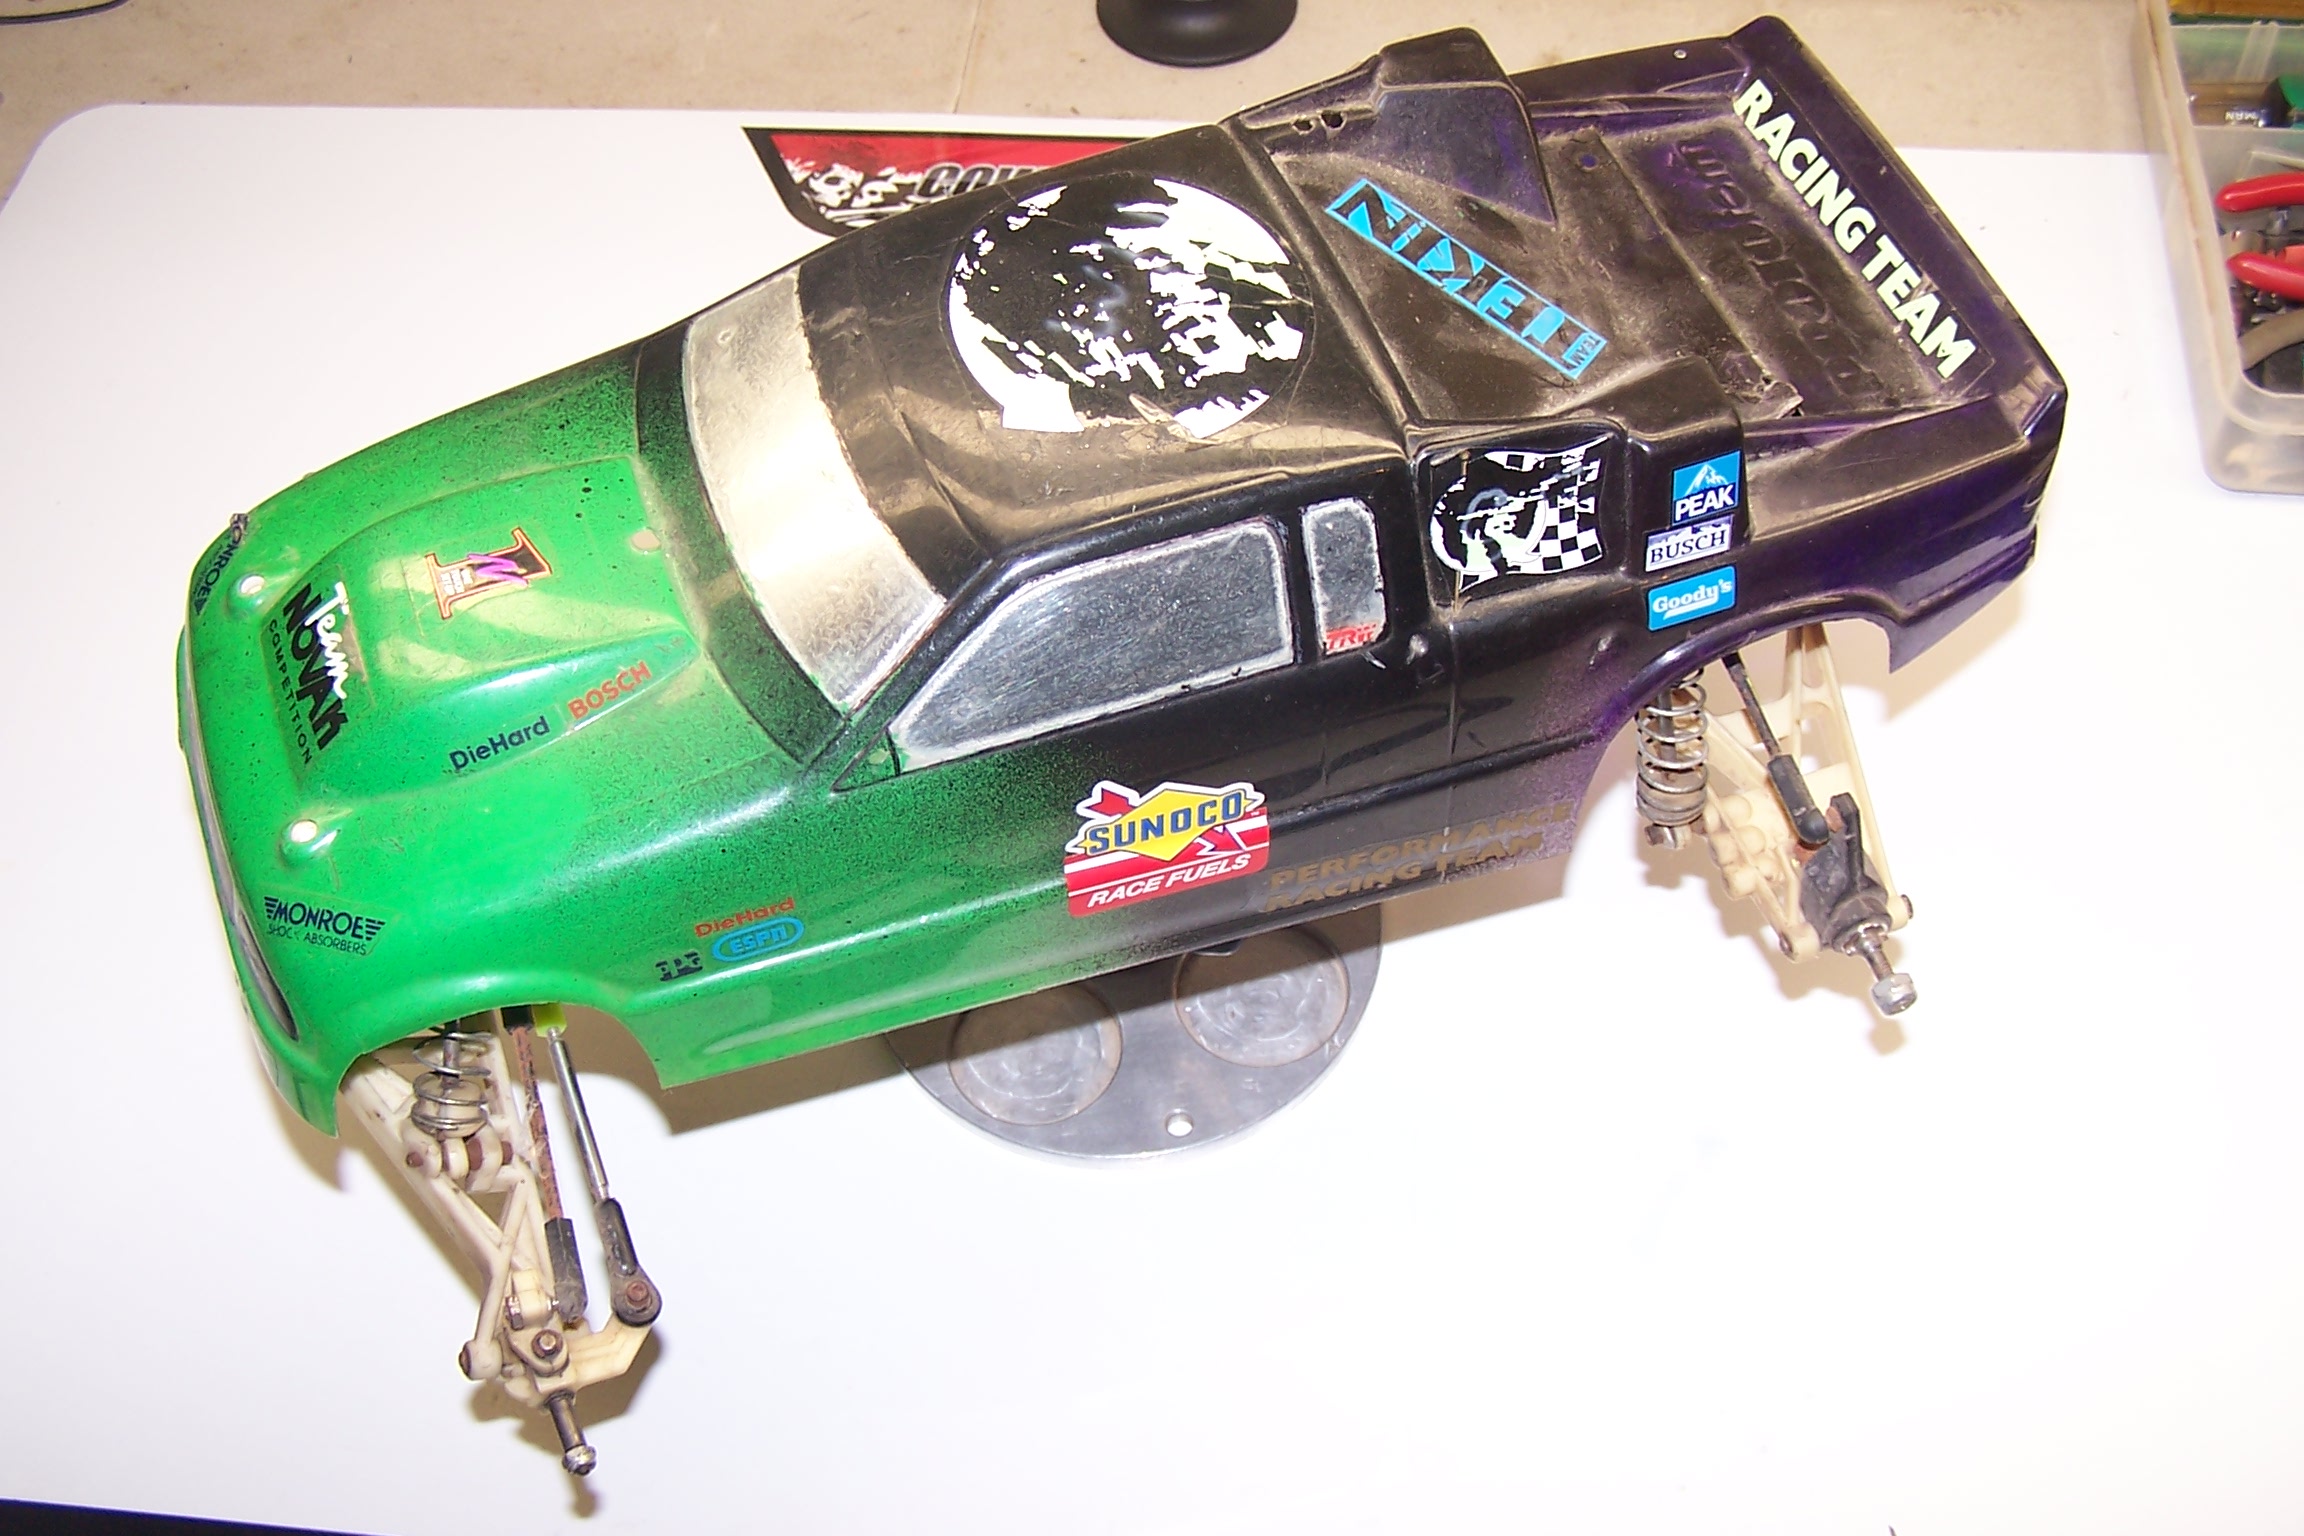
The first thing I did was trash the body. It was beat up. If it was in better shape I would have kept it. Original RC10T bodies are hard to find, but T2 bodies fit just as nice and have the same basic look.
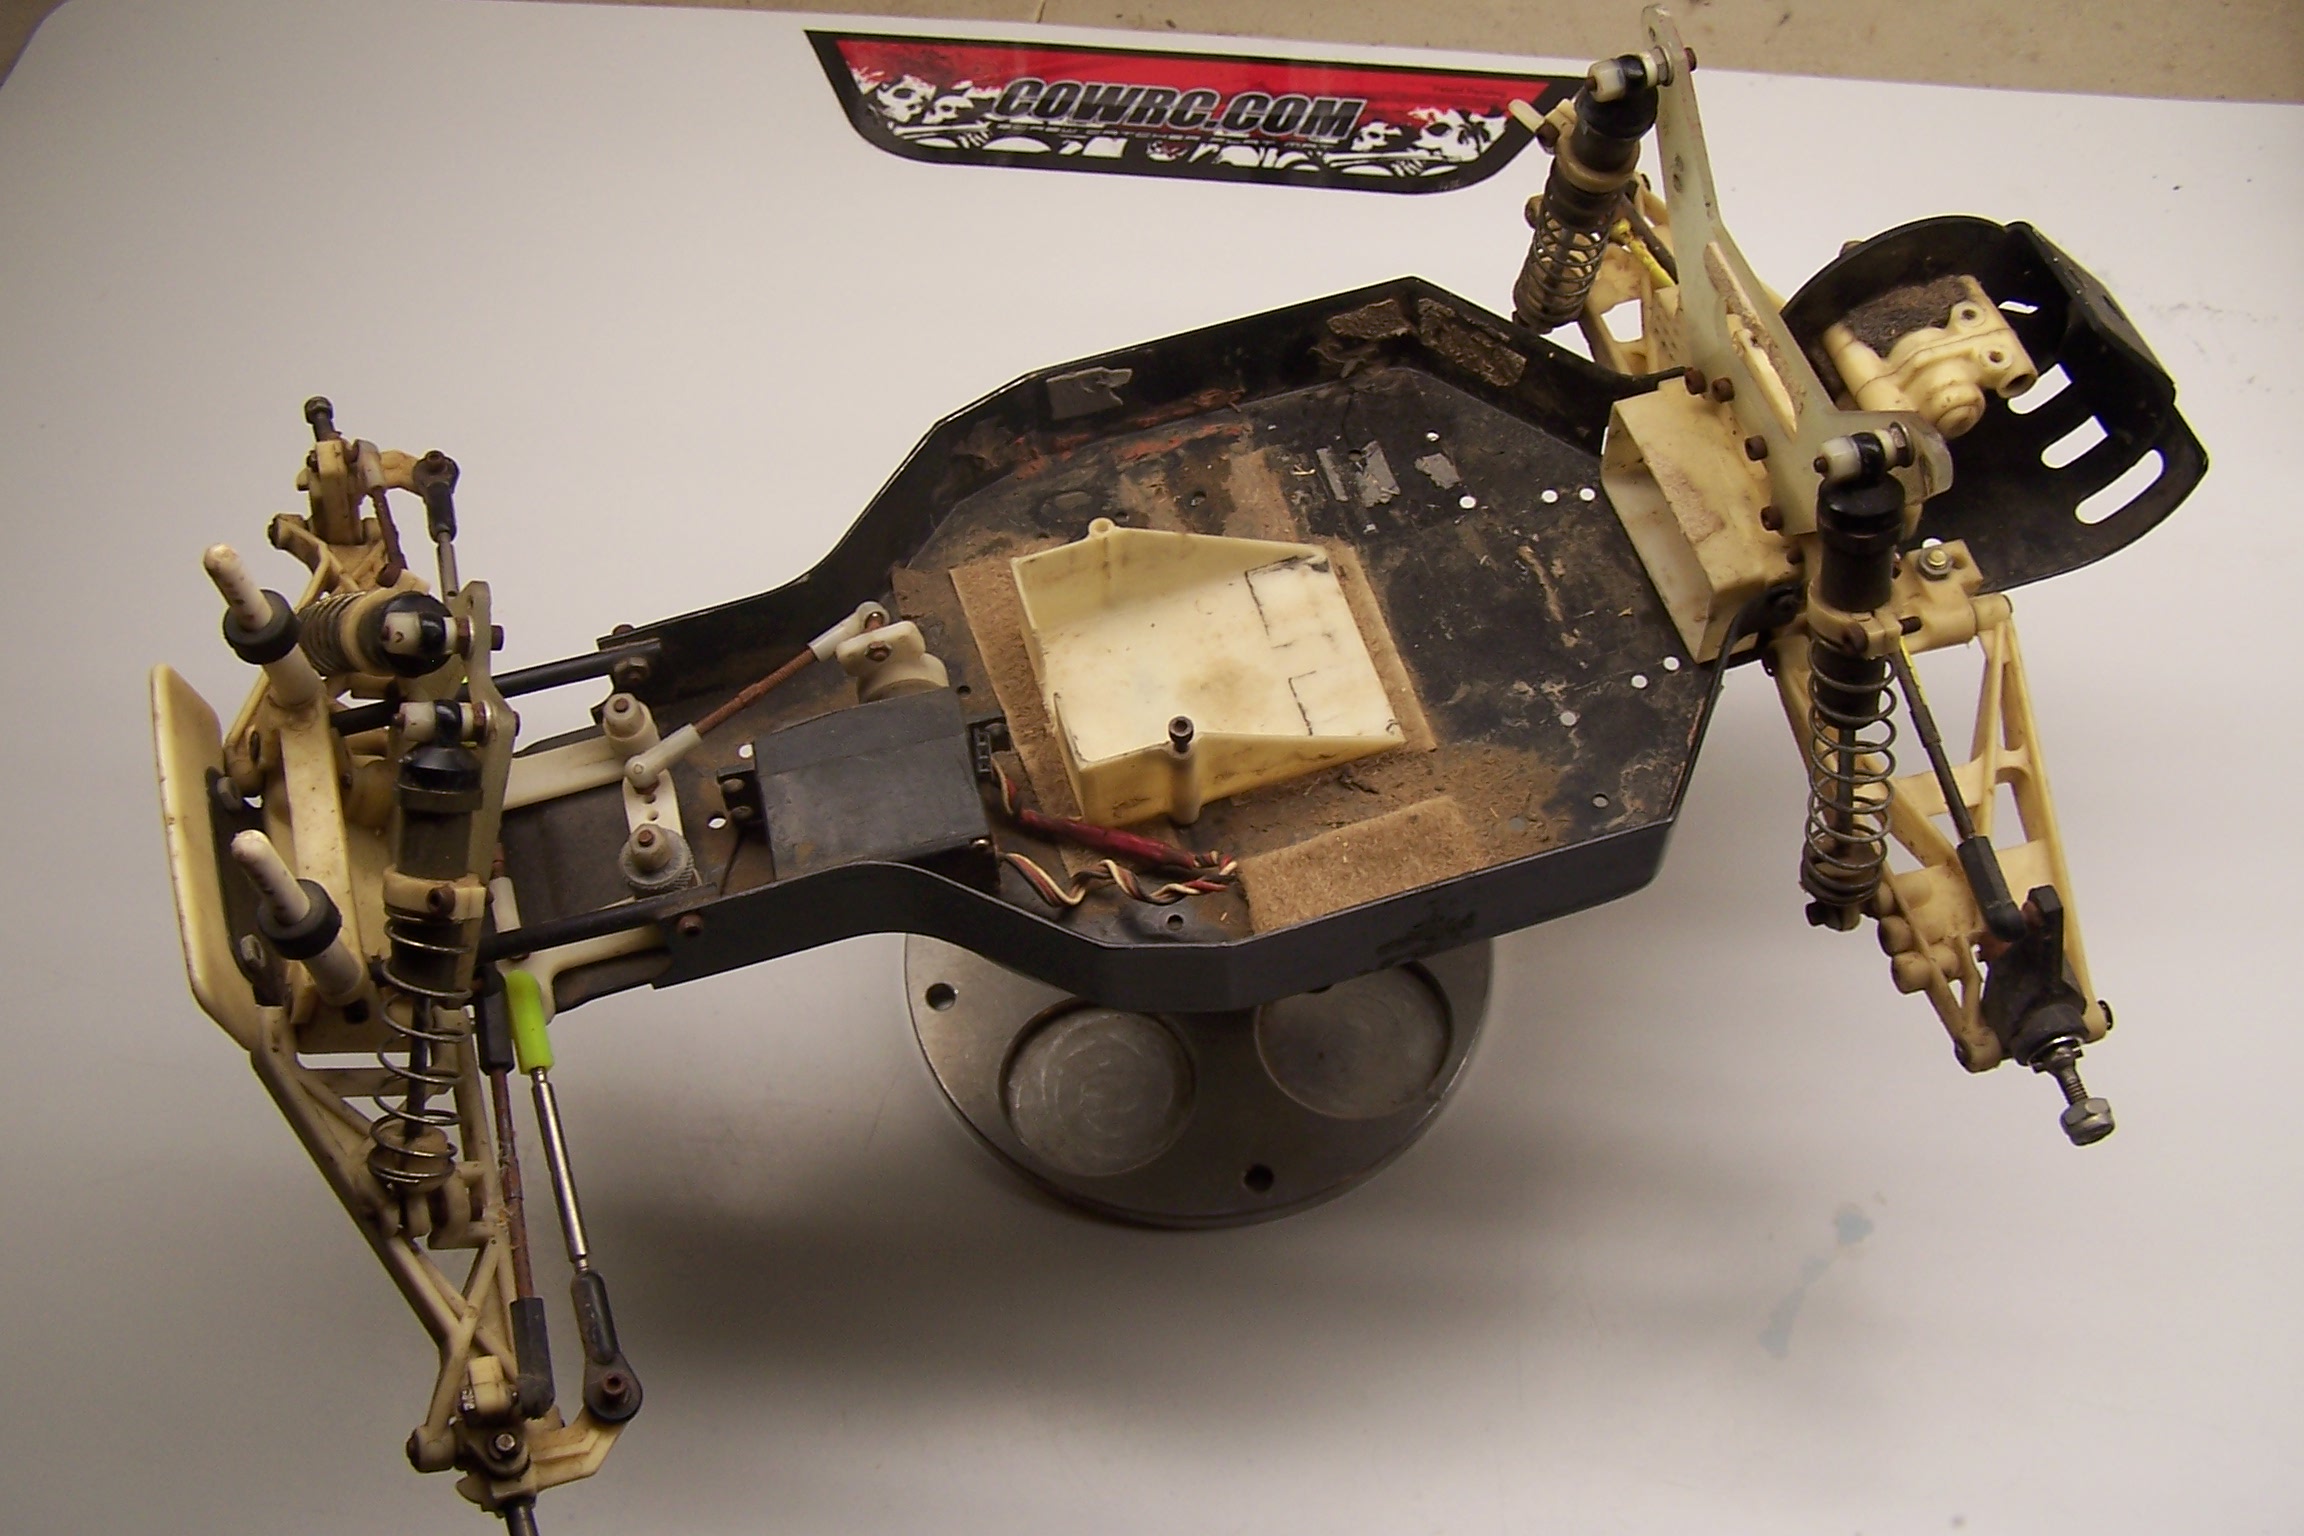
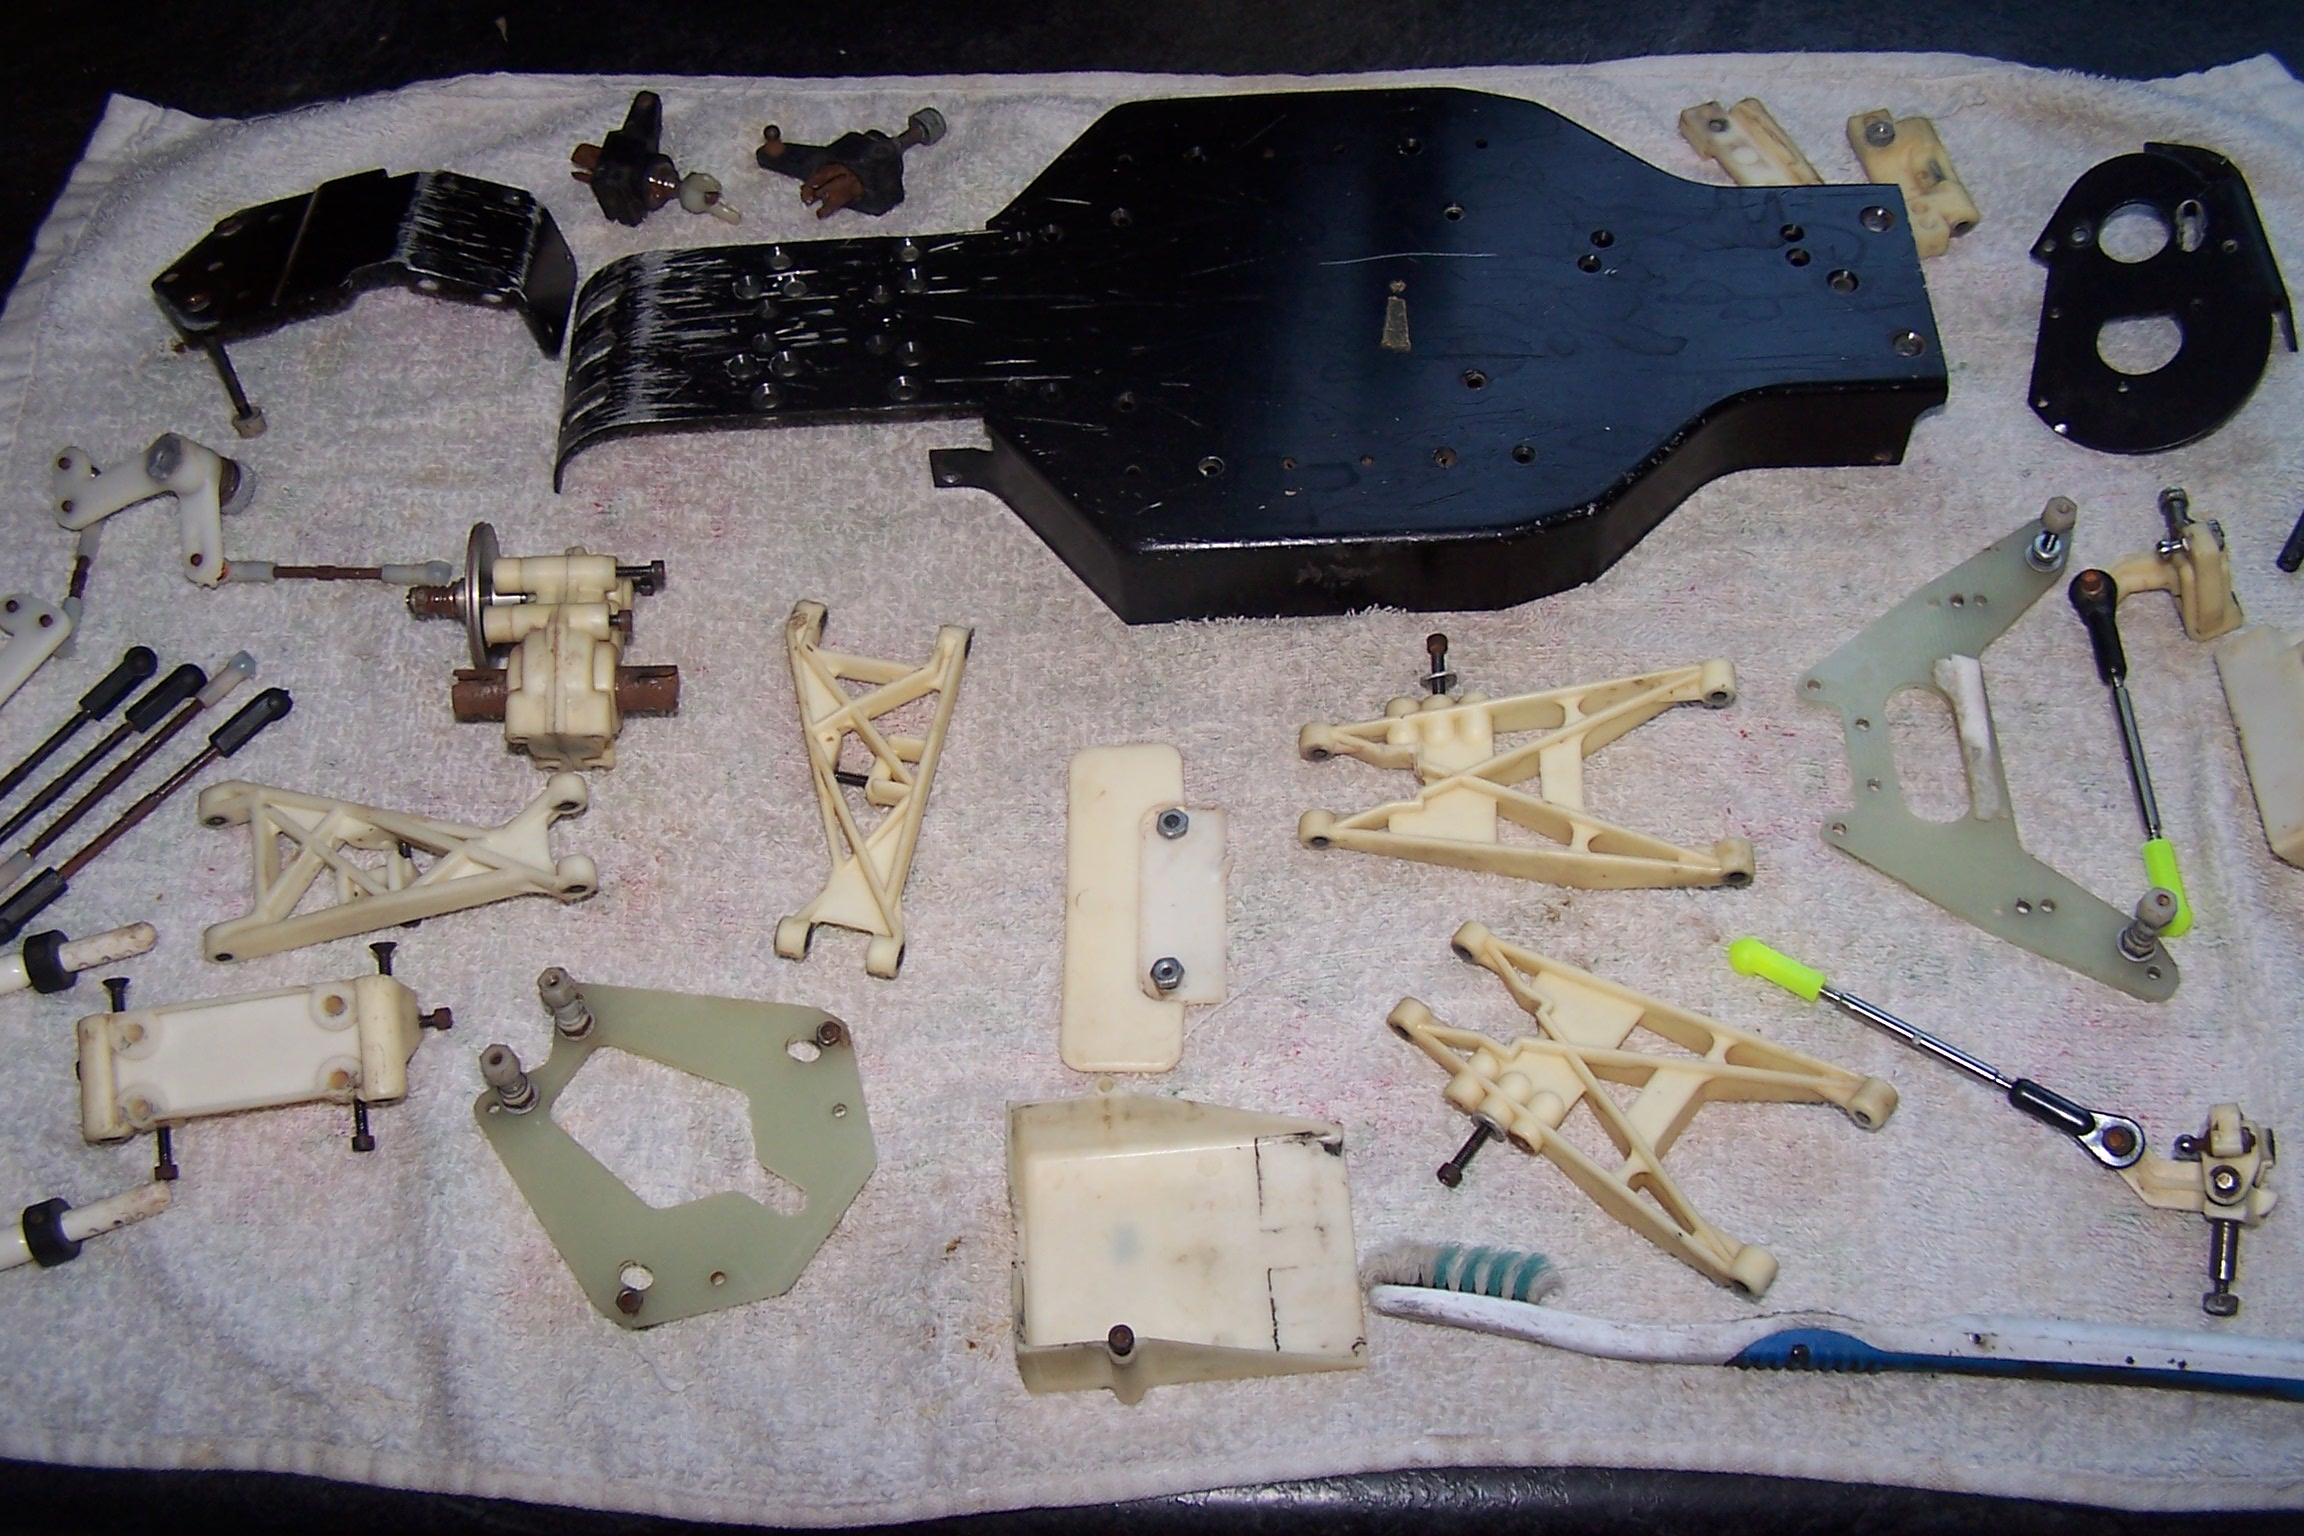
The truck was overall in good shape. Mostly cleaning to do and upgrades. Many years of dirt, two sided tape residue, and rust.
You can definitely tell it has been sitting for many years.
The outdrives were a little rusty, but that is easily cleaned up.
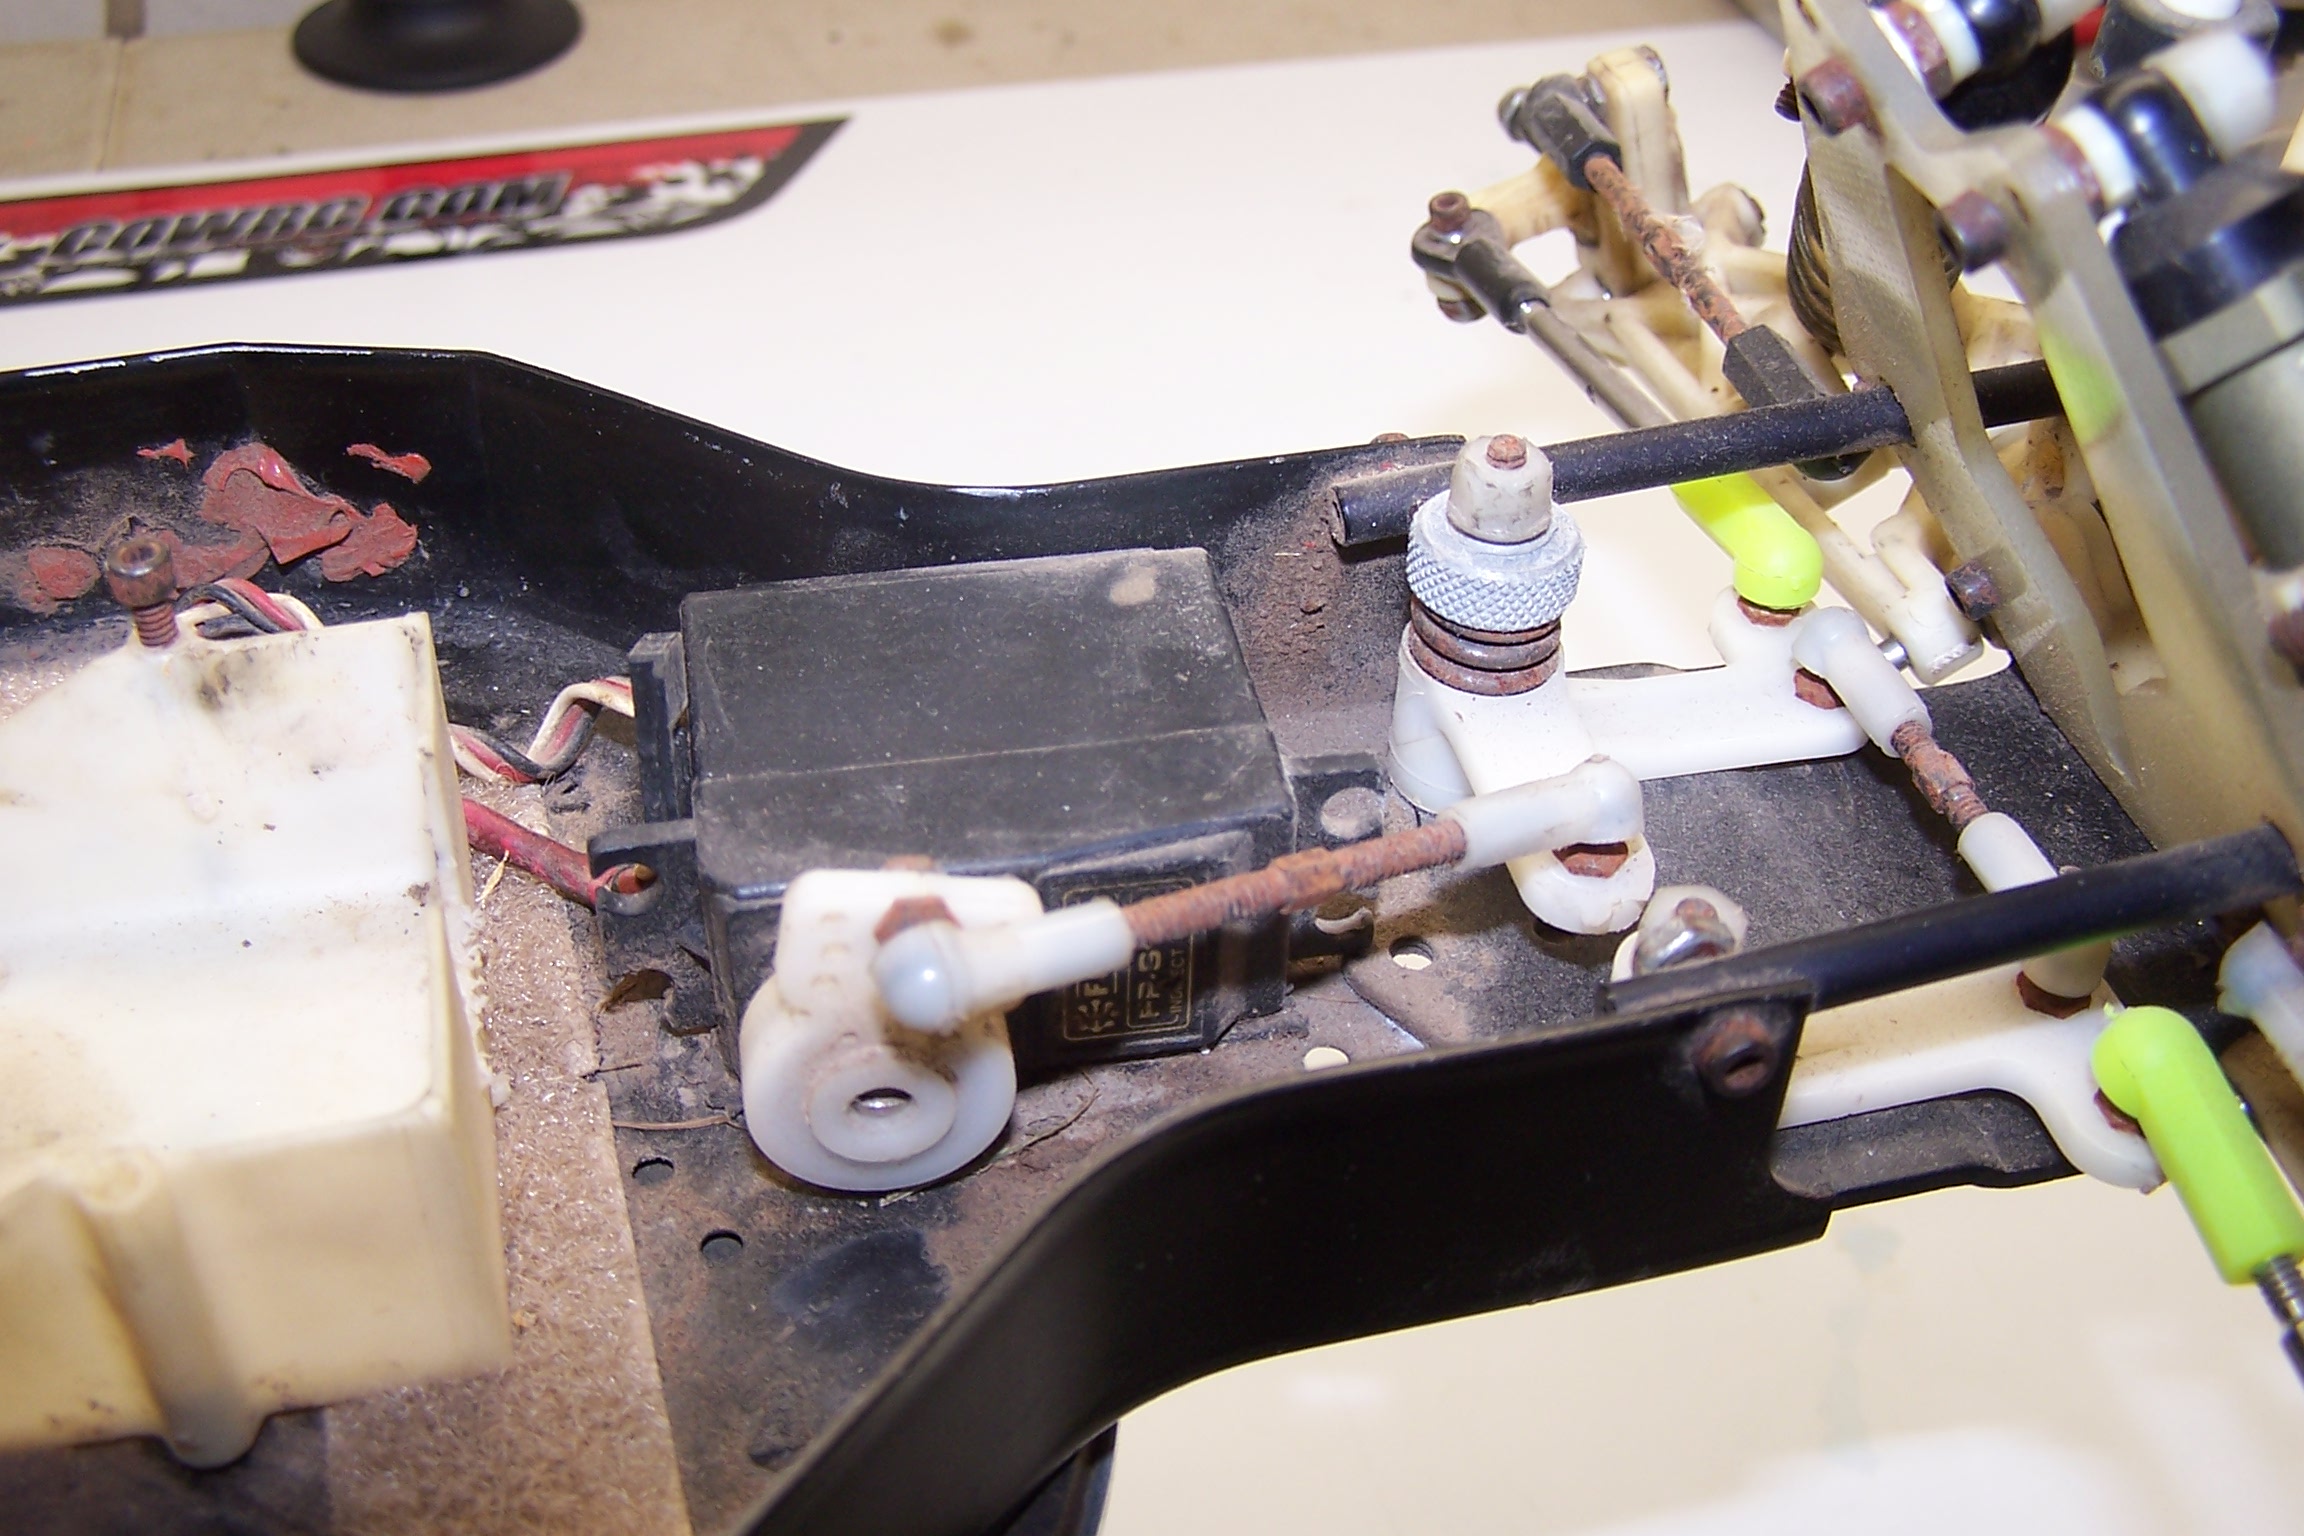
The servo is very old and stuck. It went in the trash.
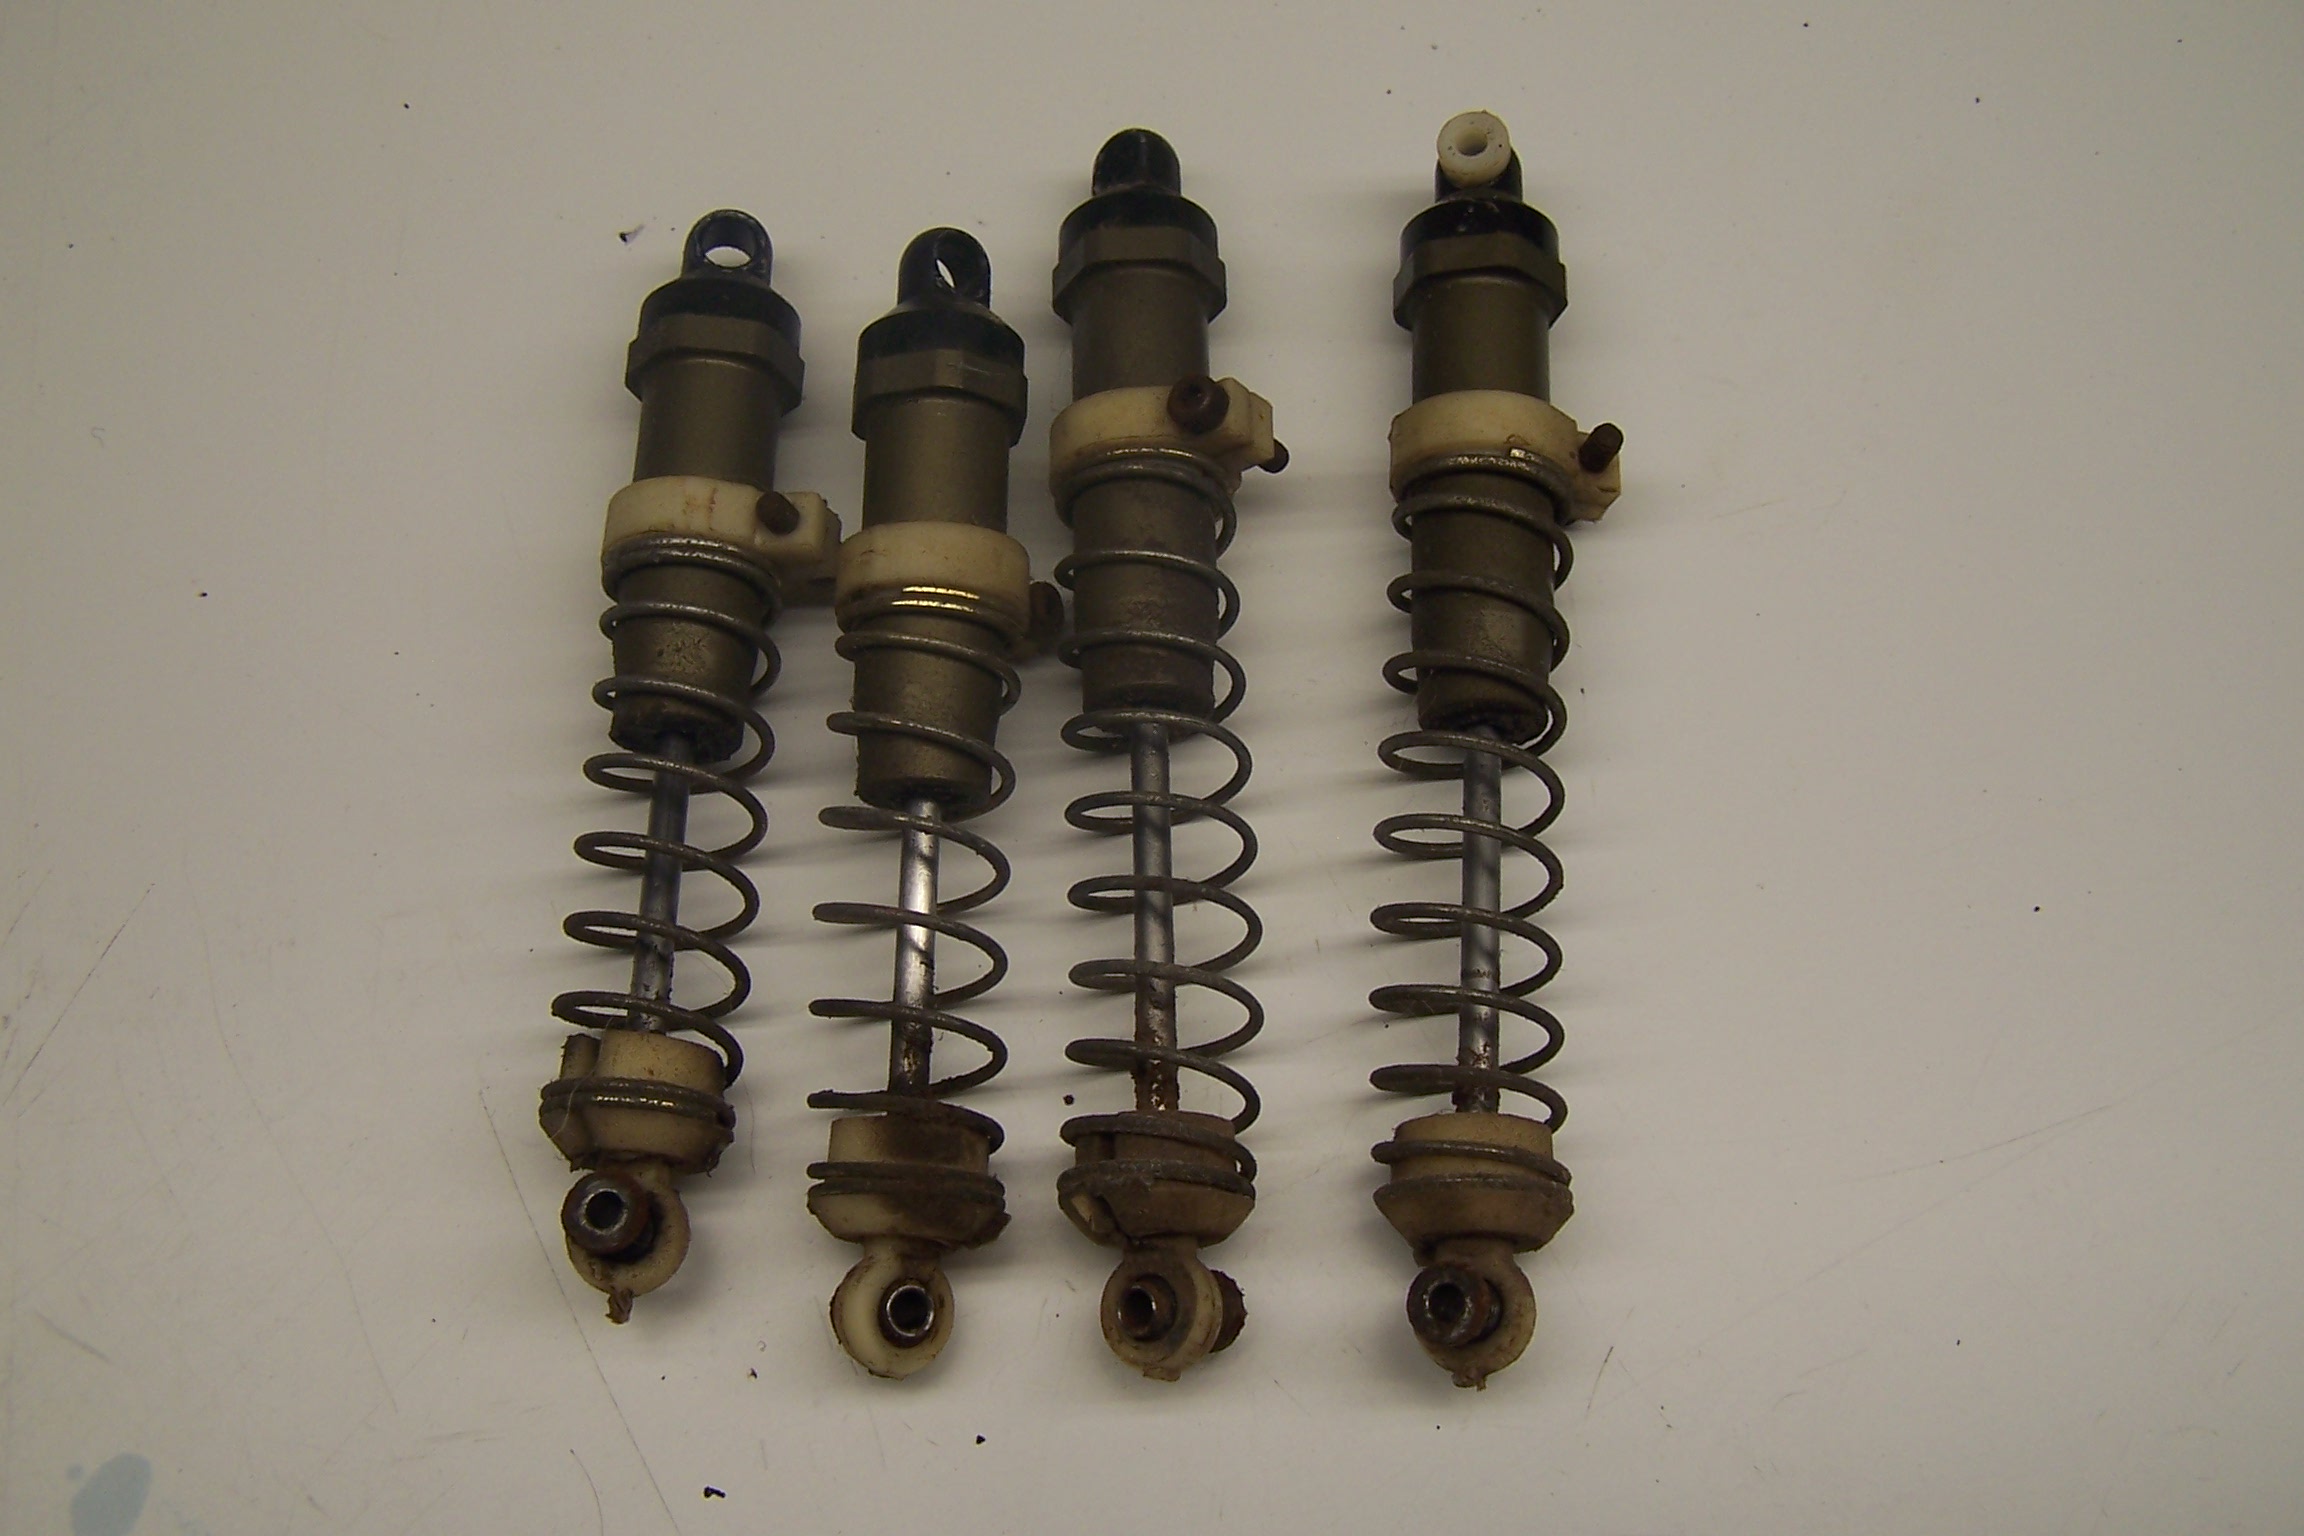
The shocks were a little greasy, but were smooth and probably just needed a rebuild kit. I like the newer style threaded bodies. I will use some shocks from an SC10. It is allowed by the rules.
Teardown begins. Yellow painted dogbones.
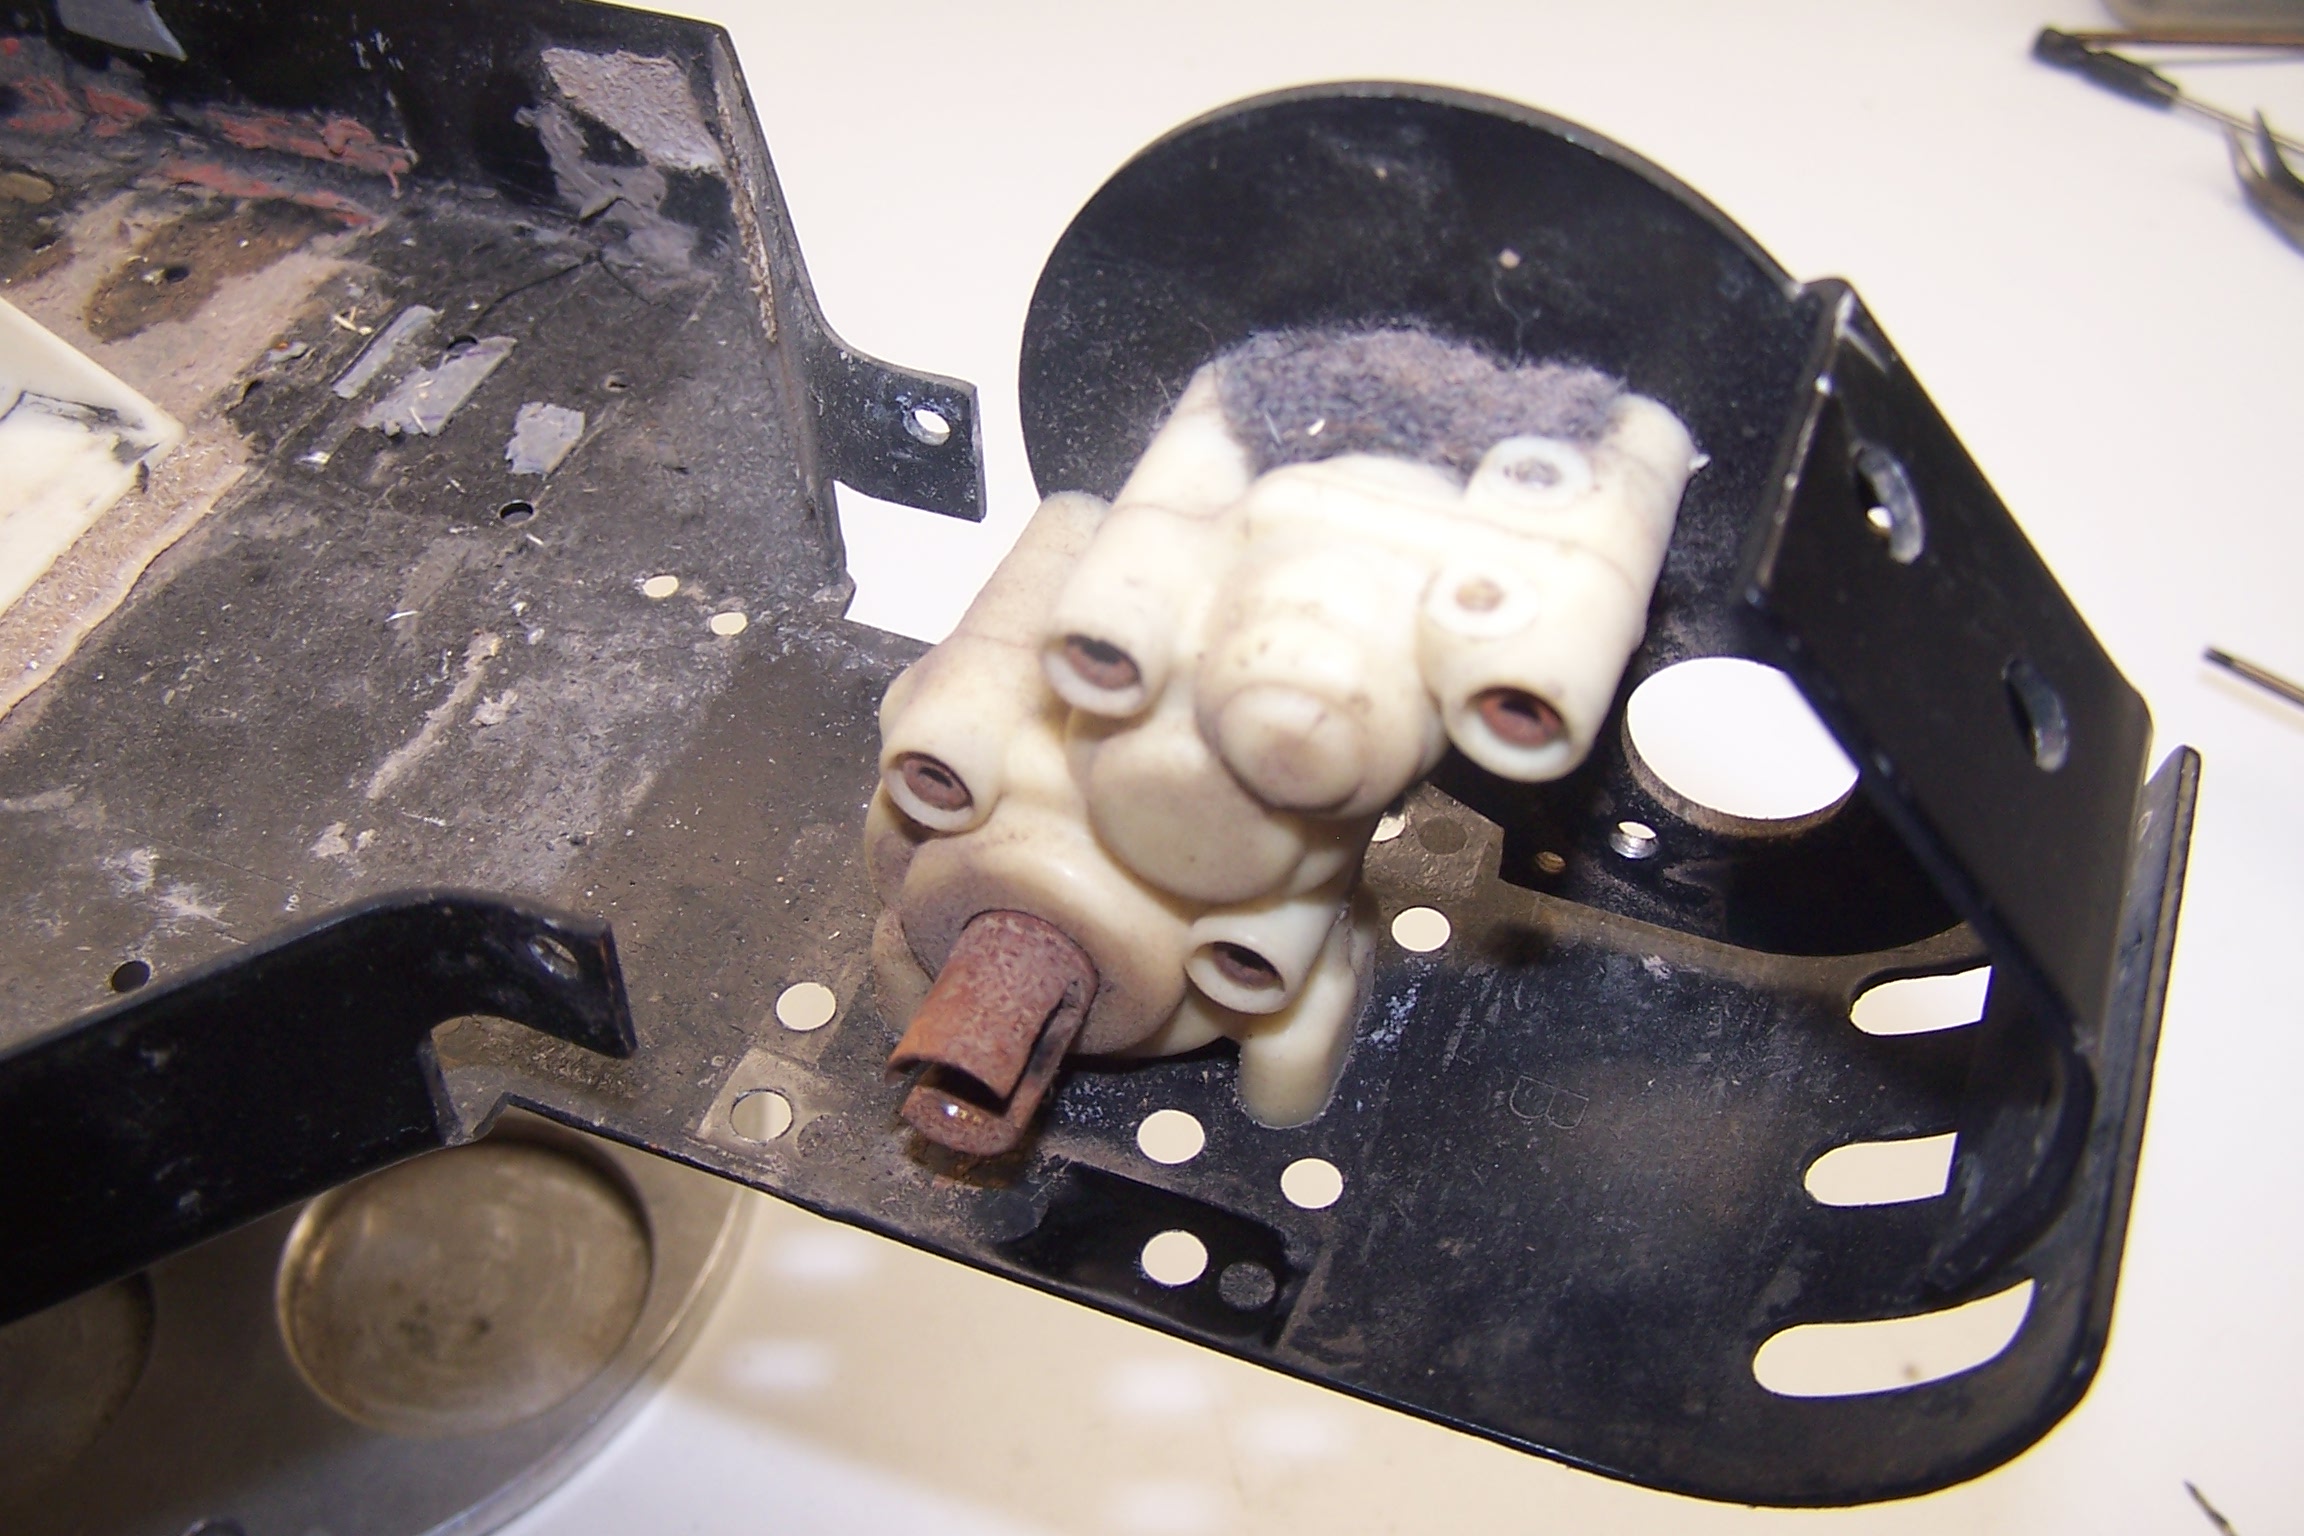
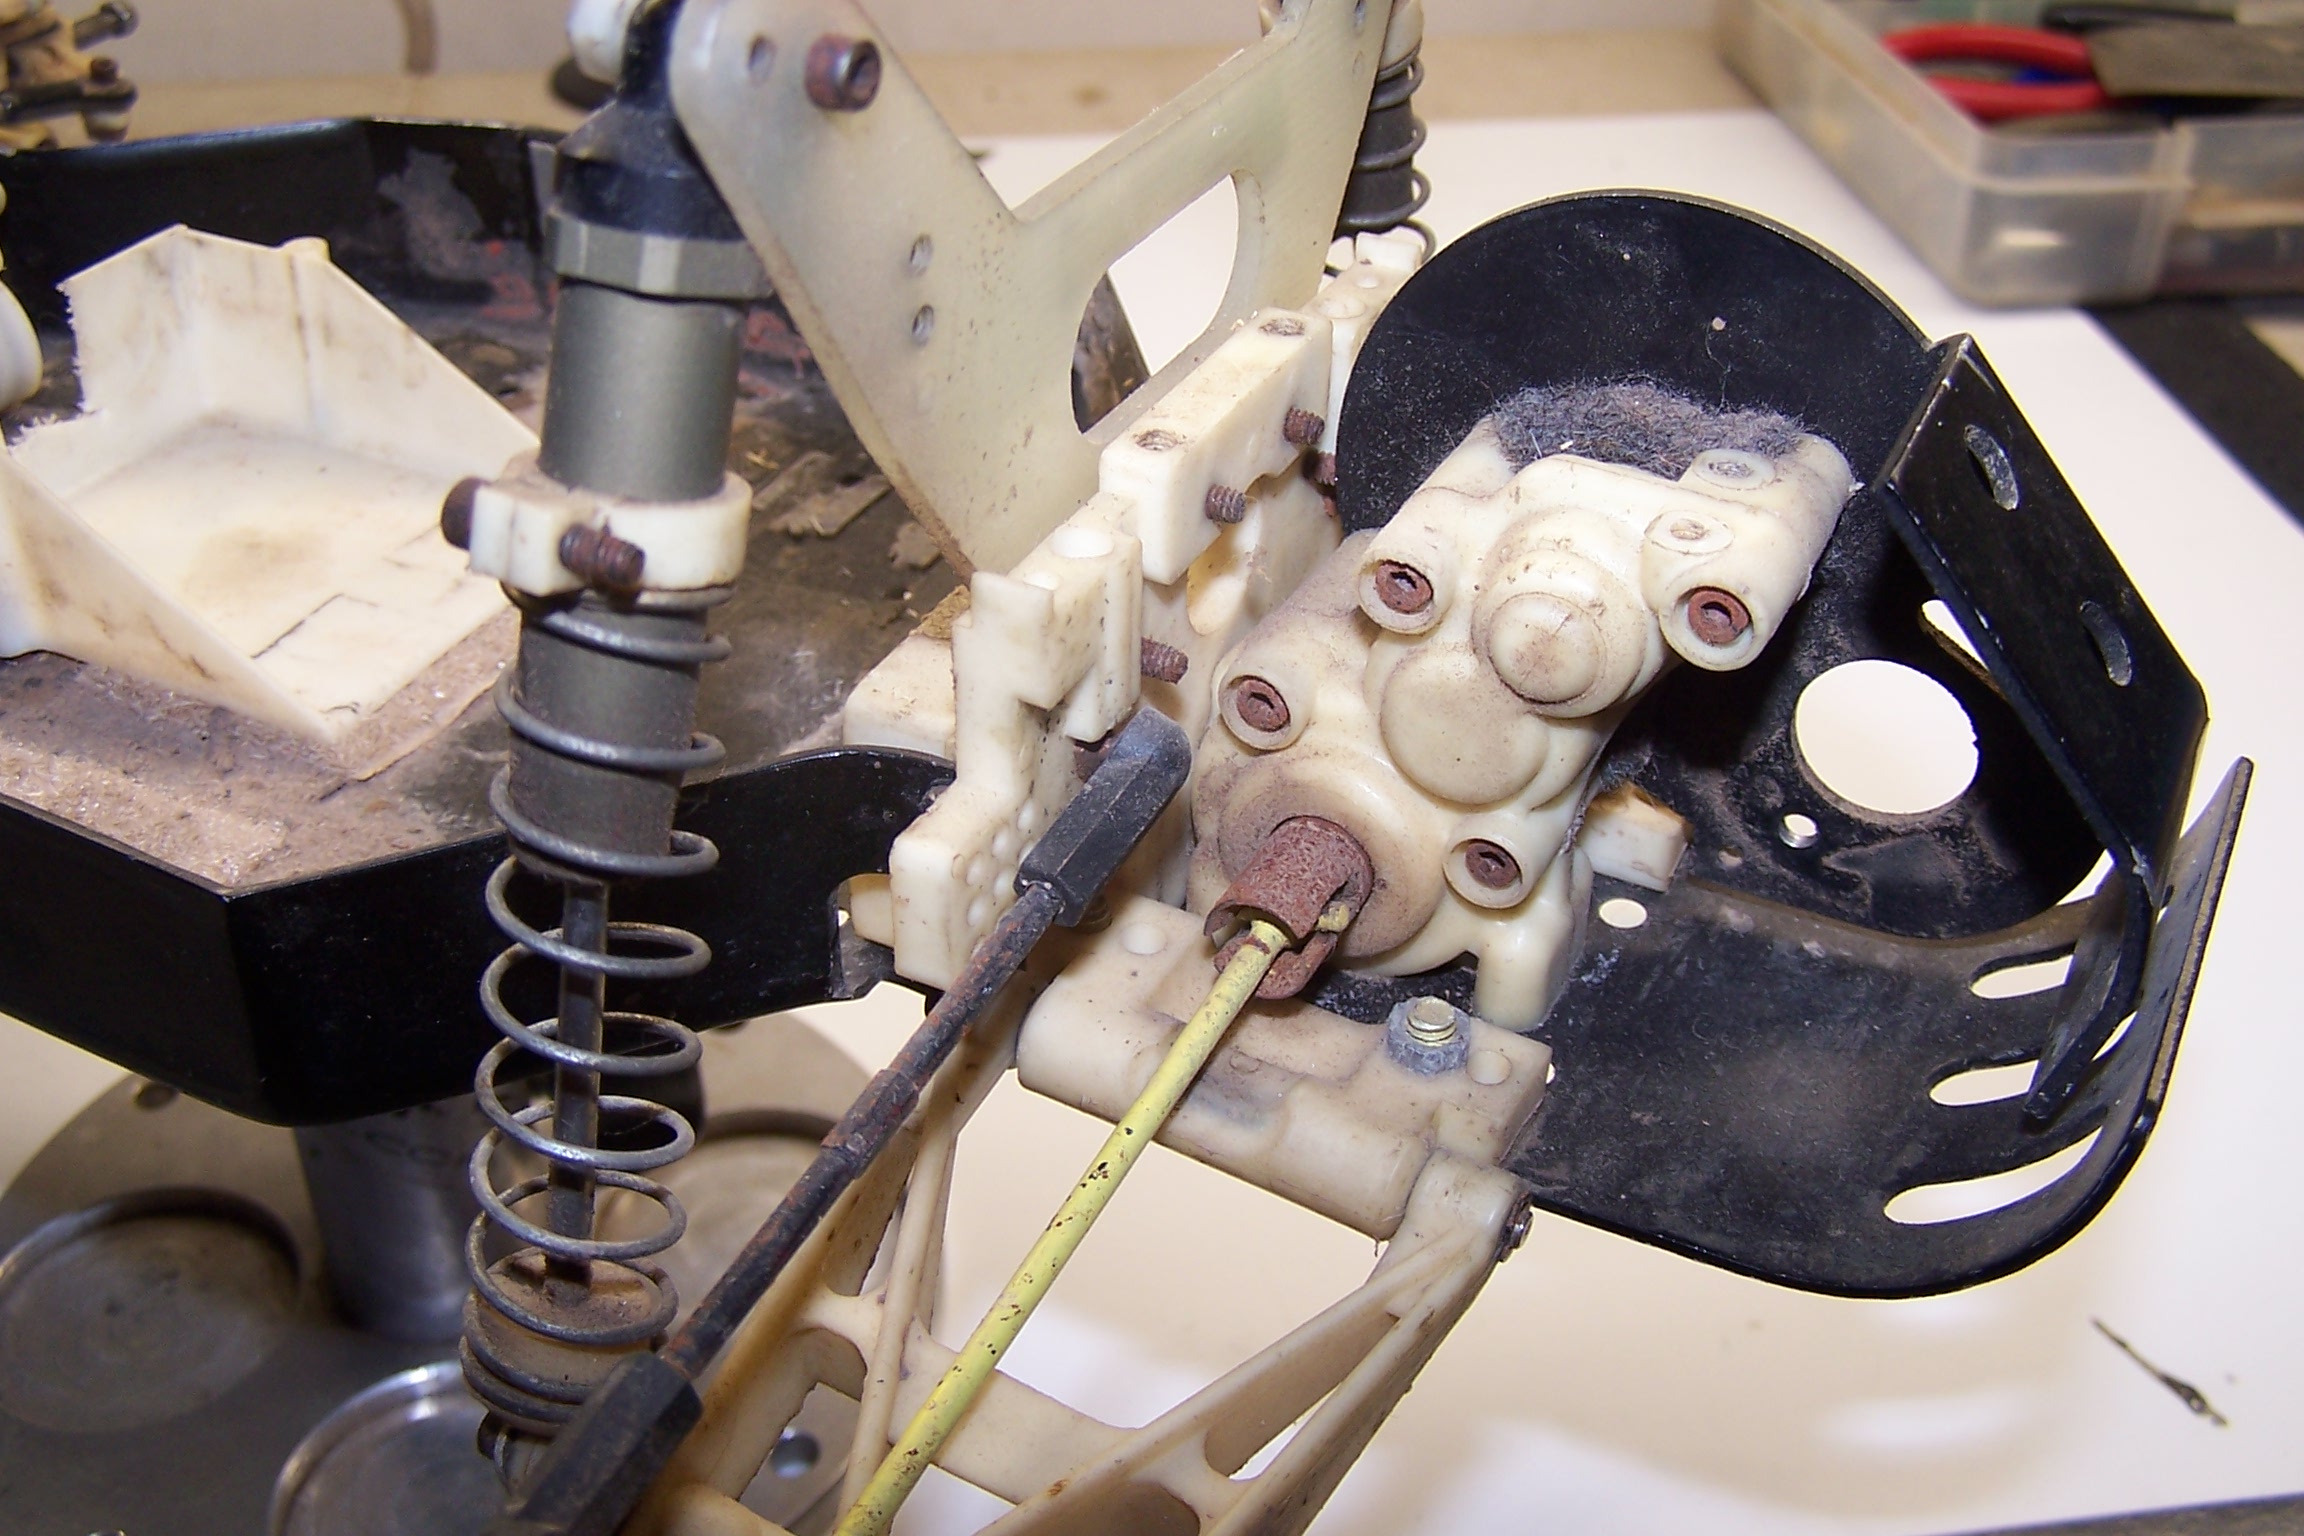
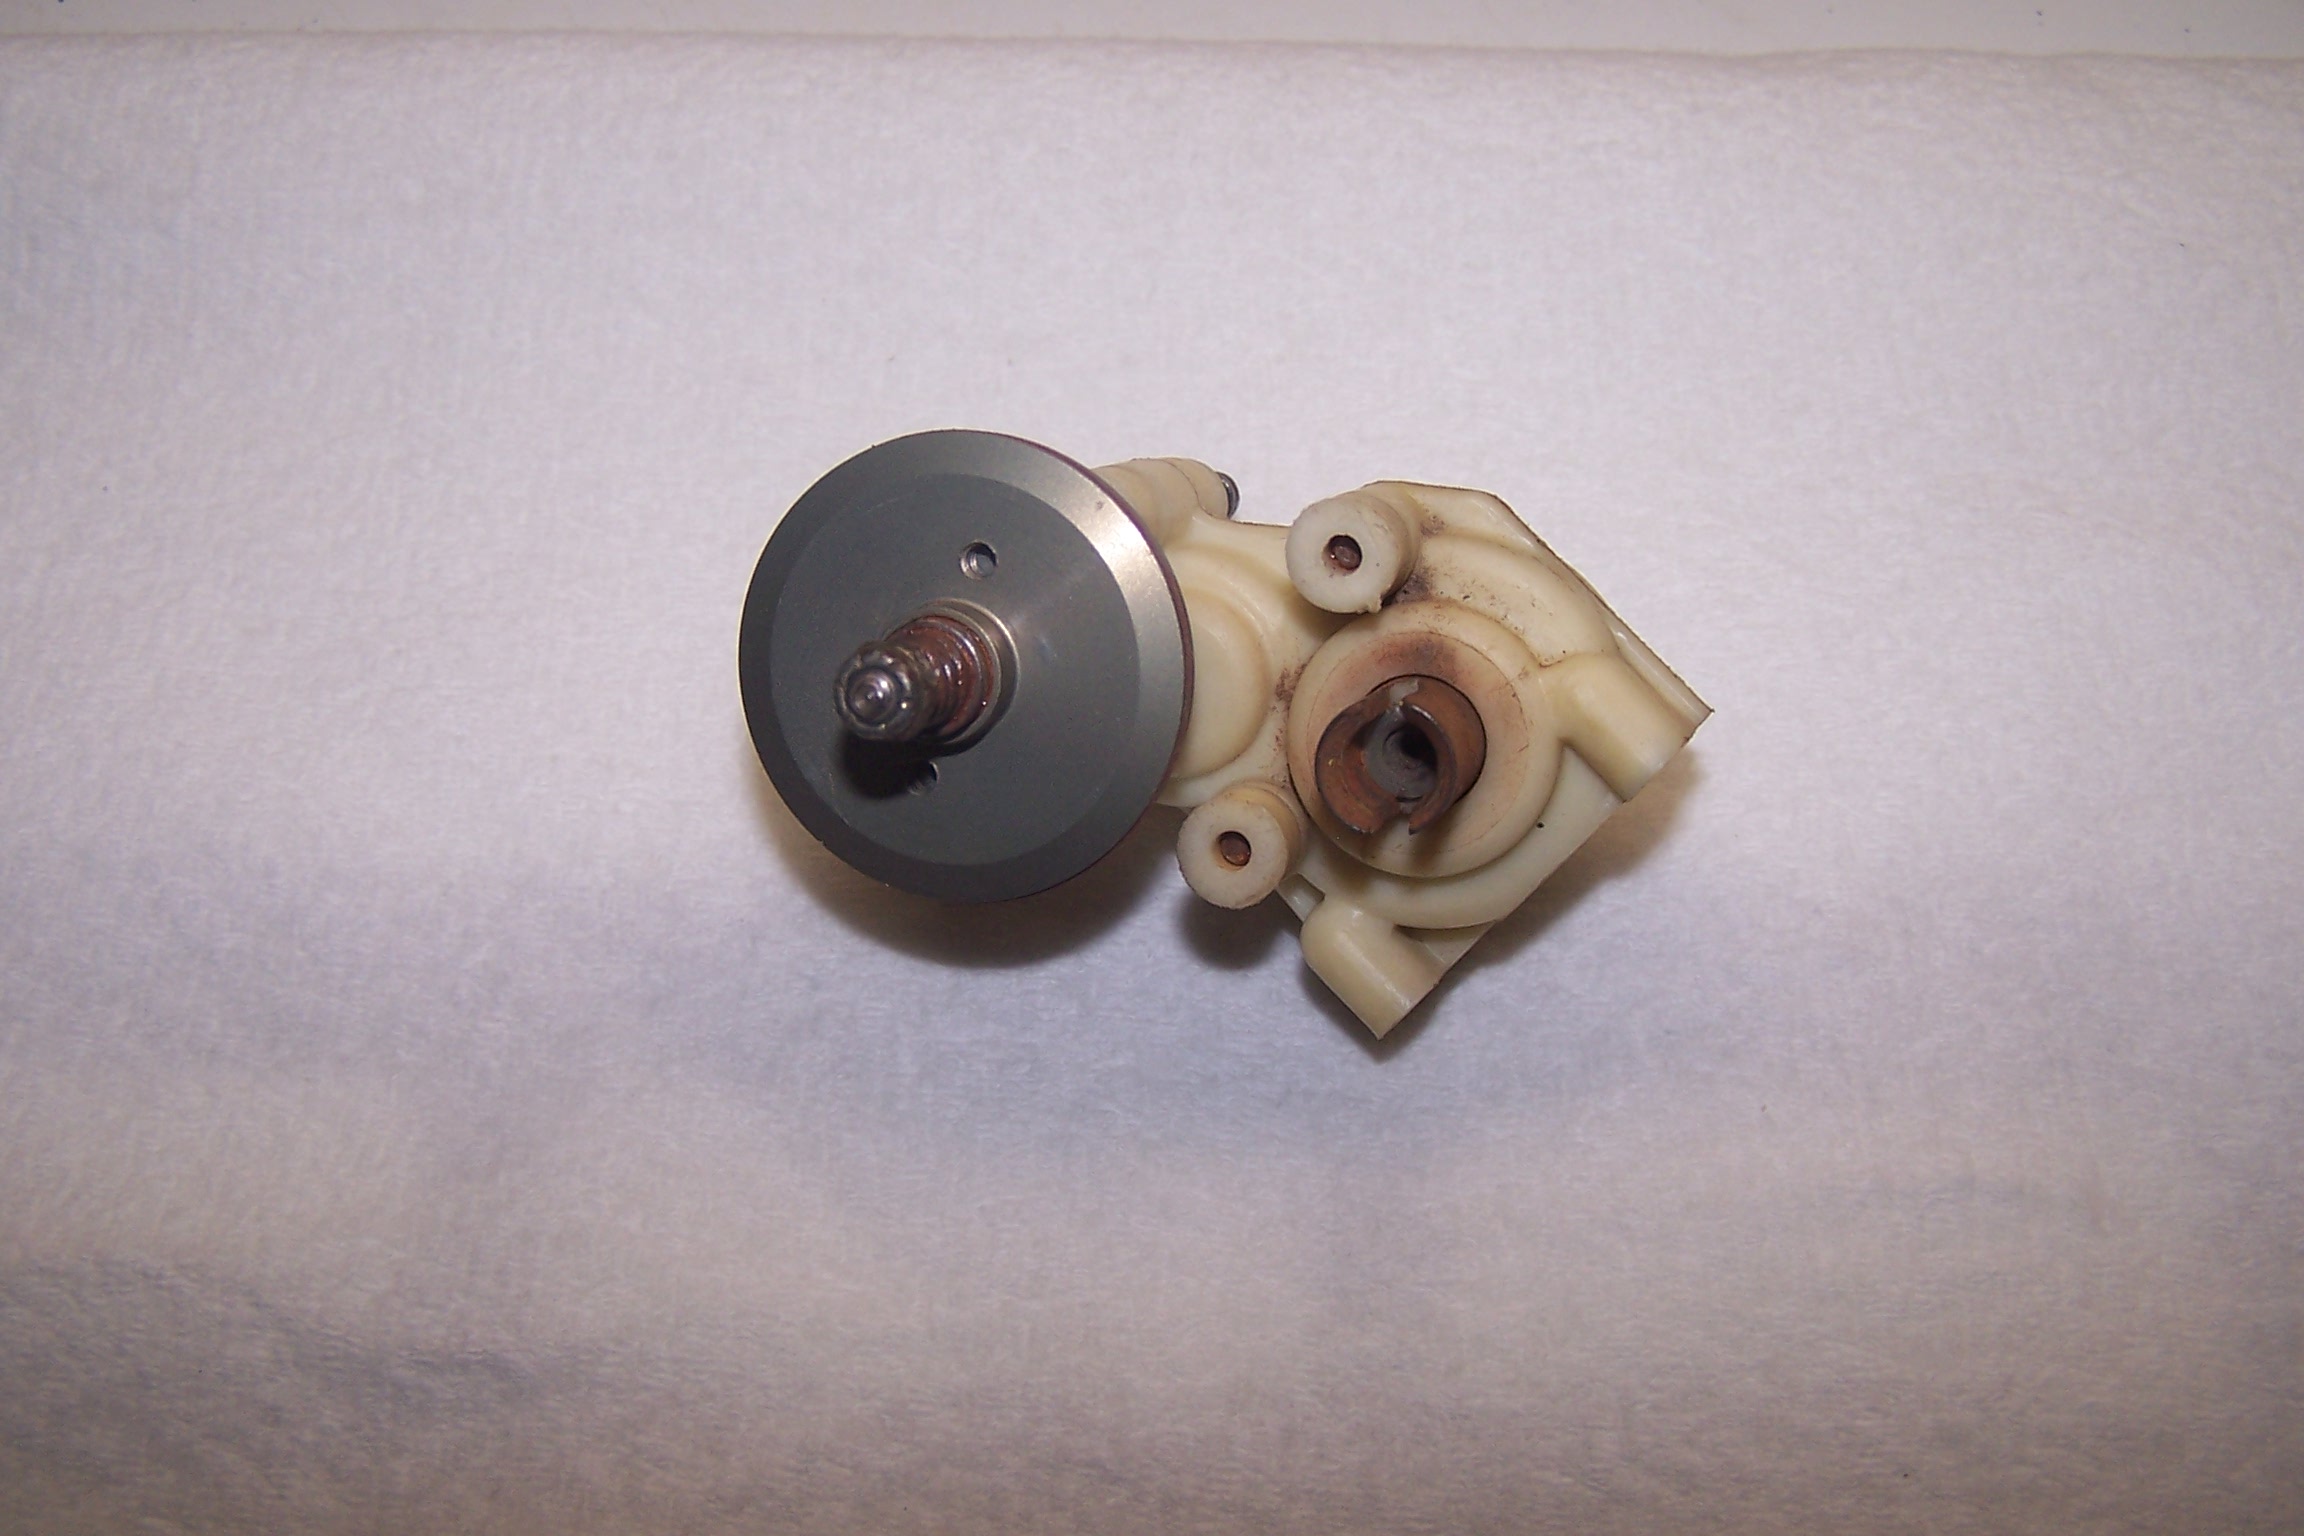
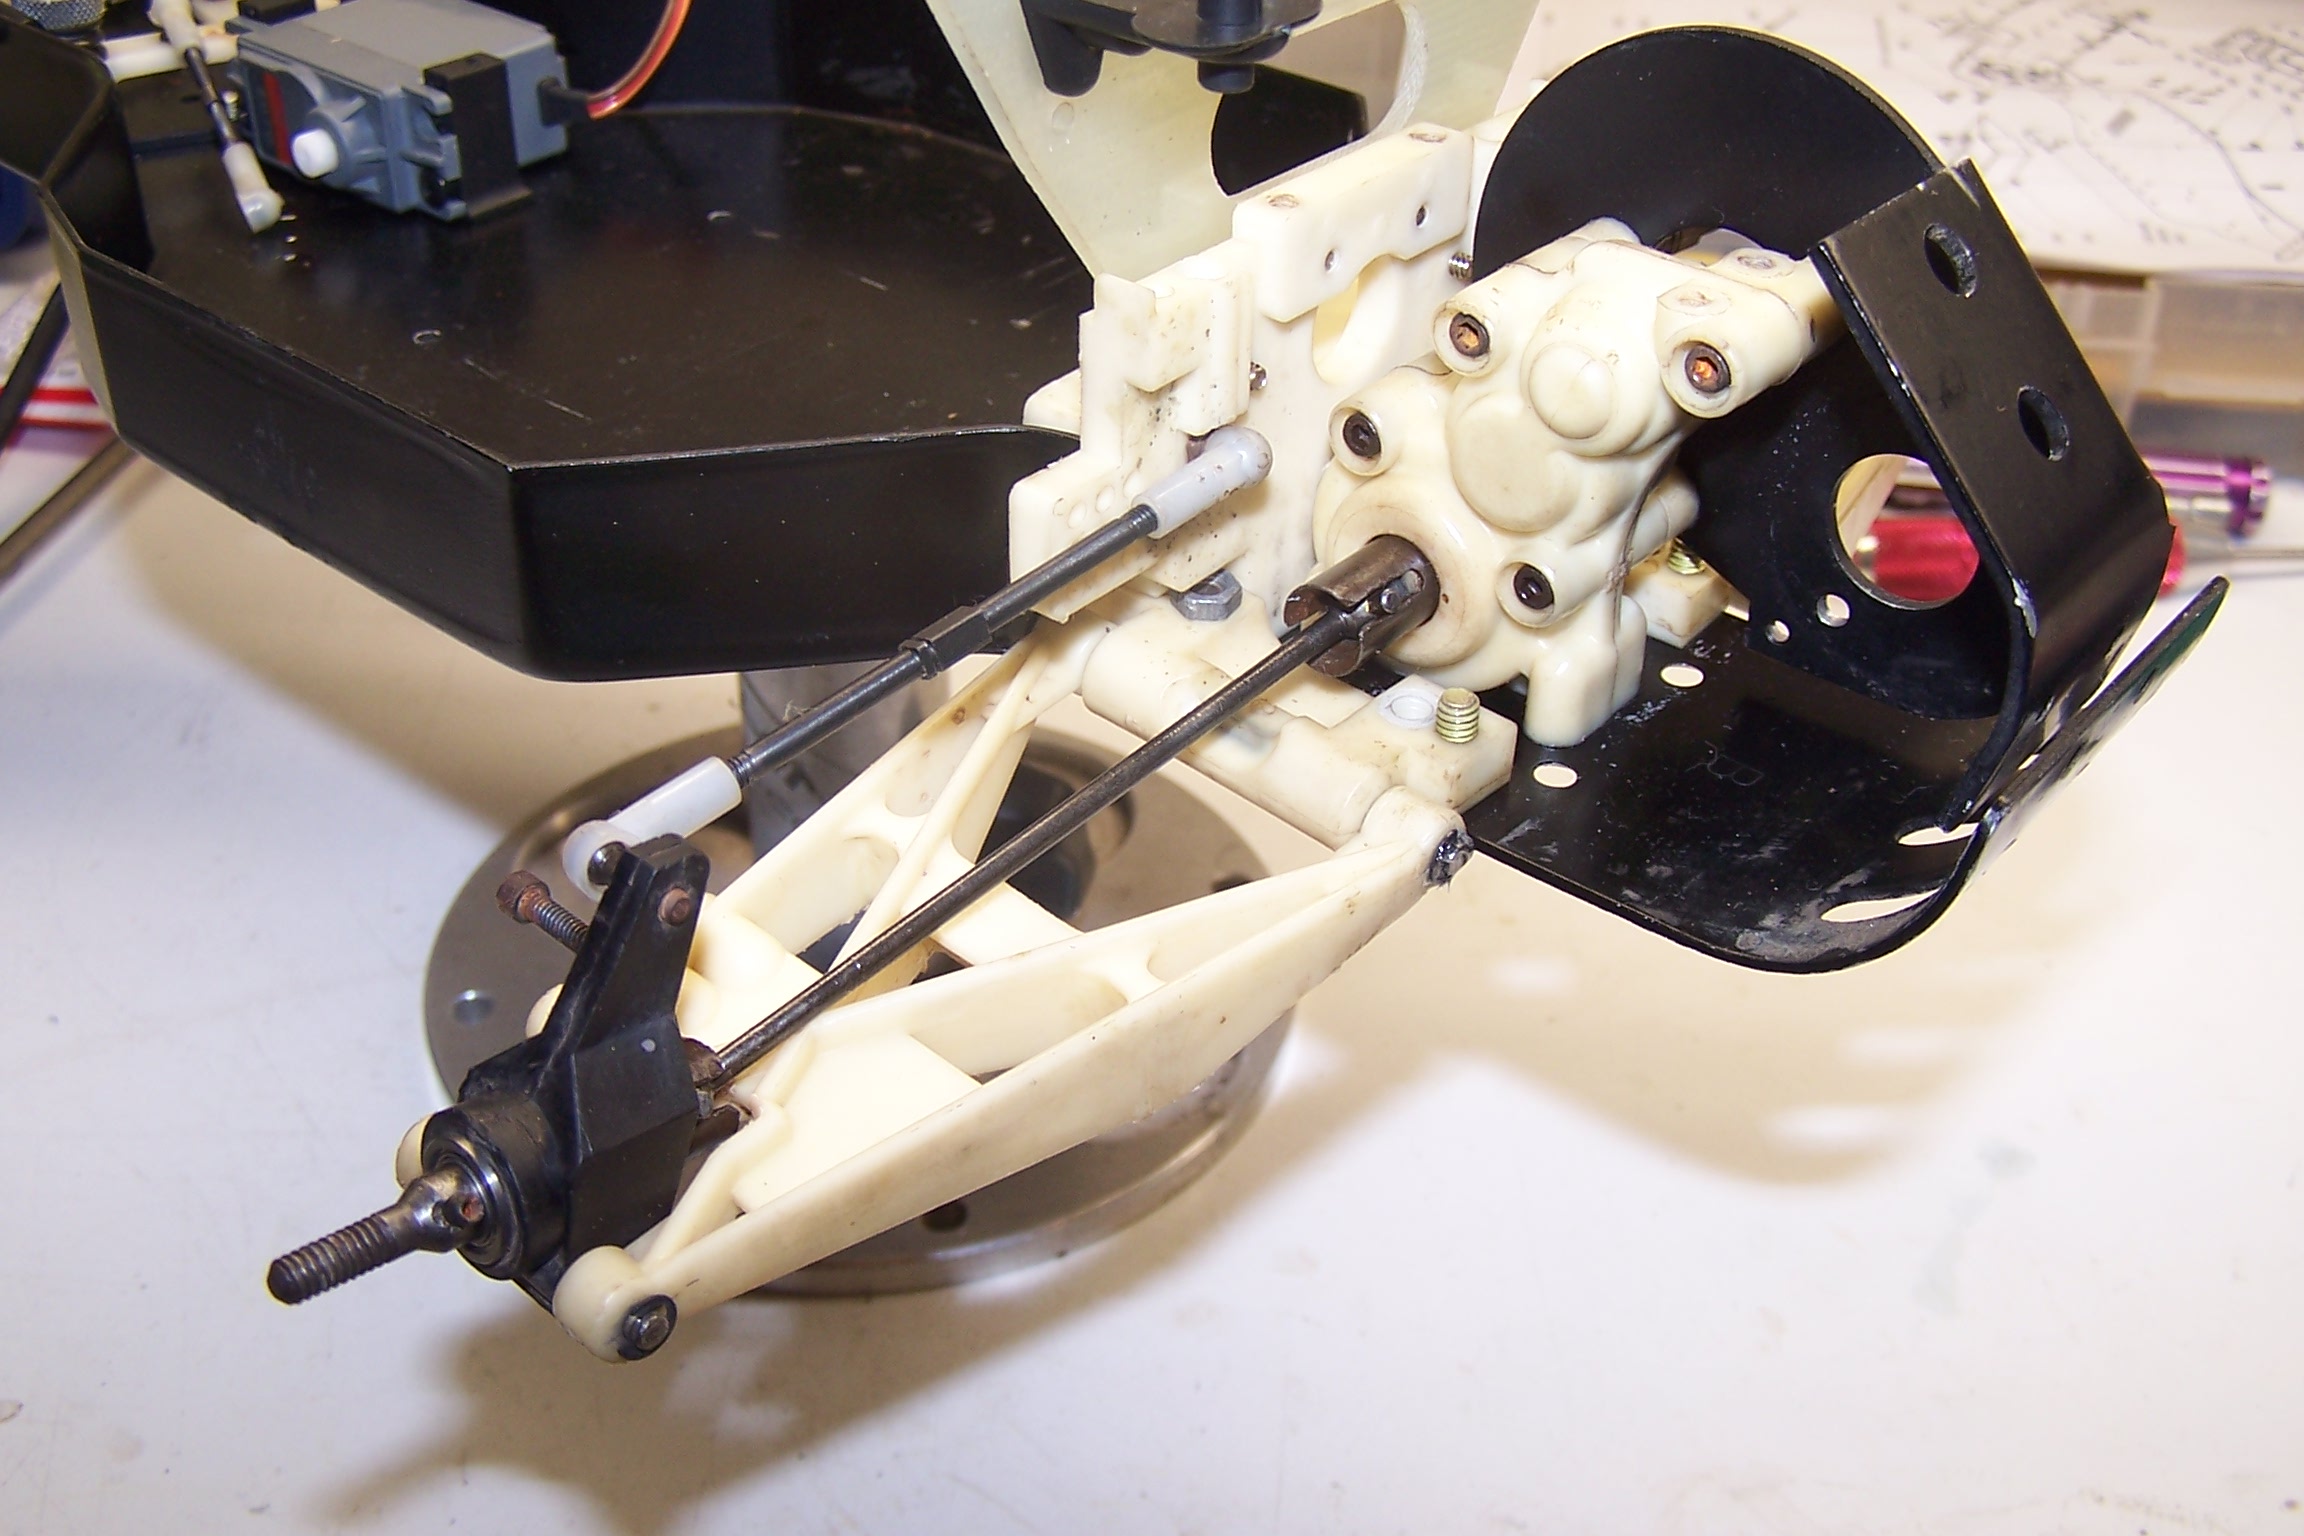
The Stealth transmission before its extraction. This transmission was state of the art when it first came out. Not much has changed in 20 years.

More on the transmission later in this article.
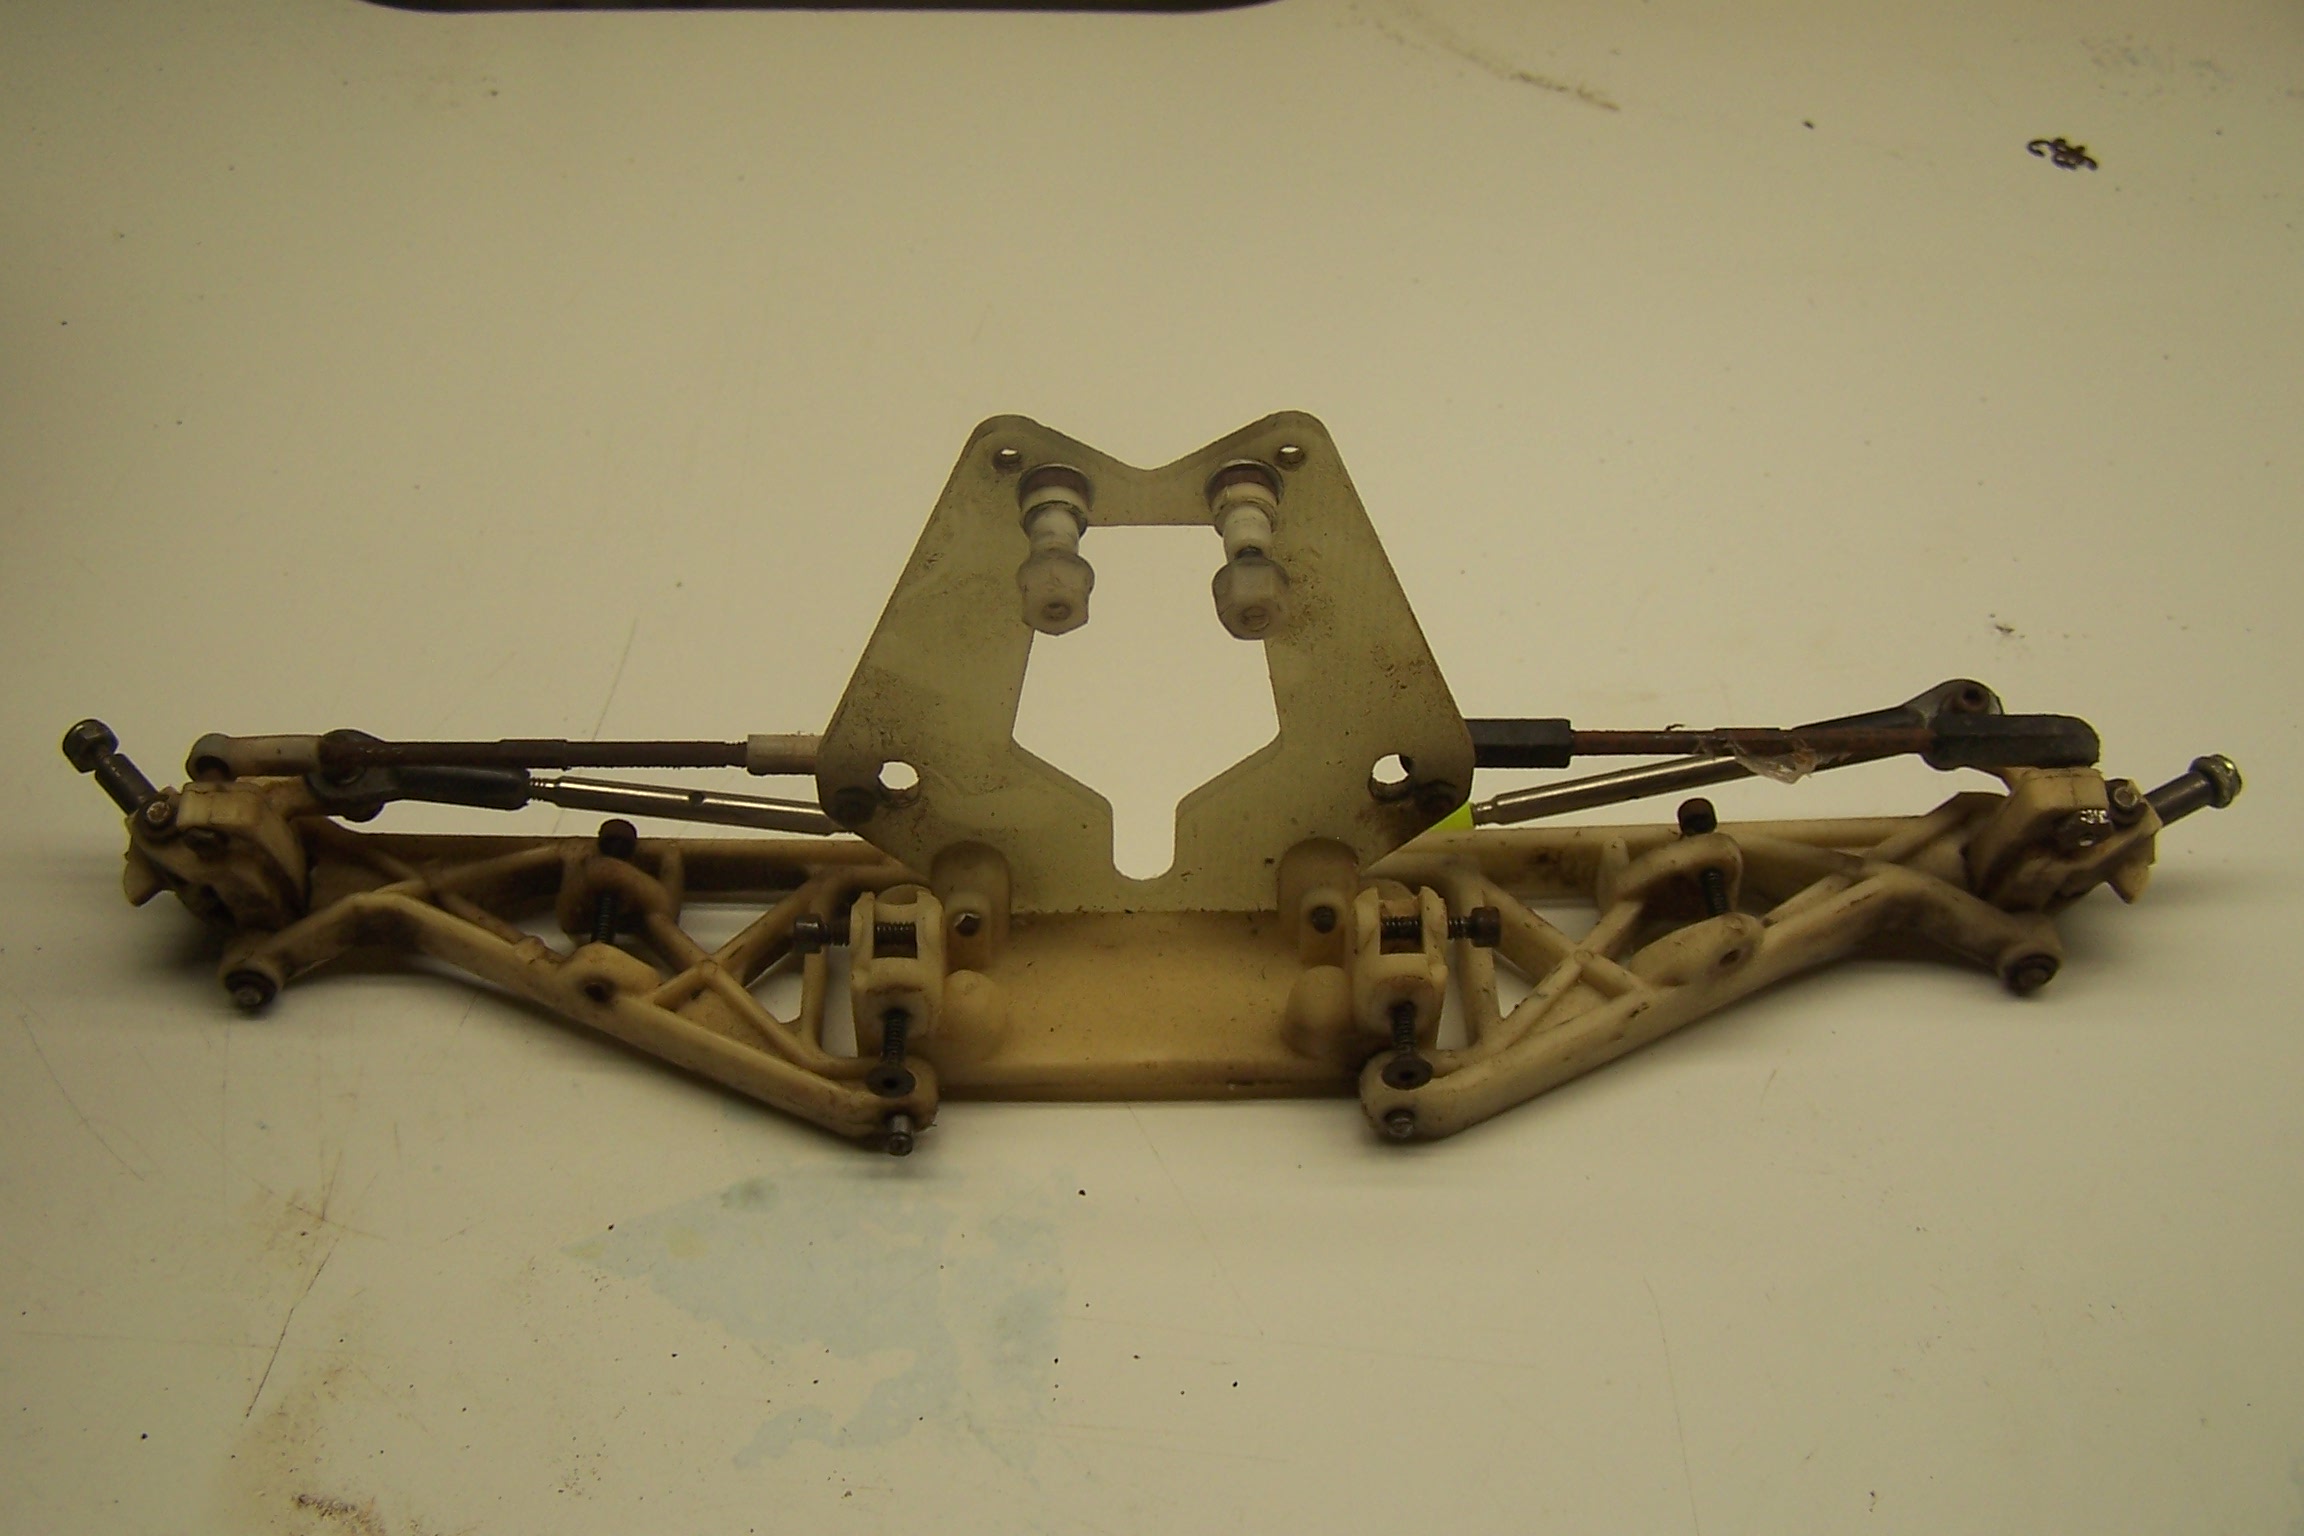
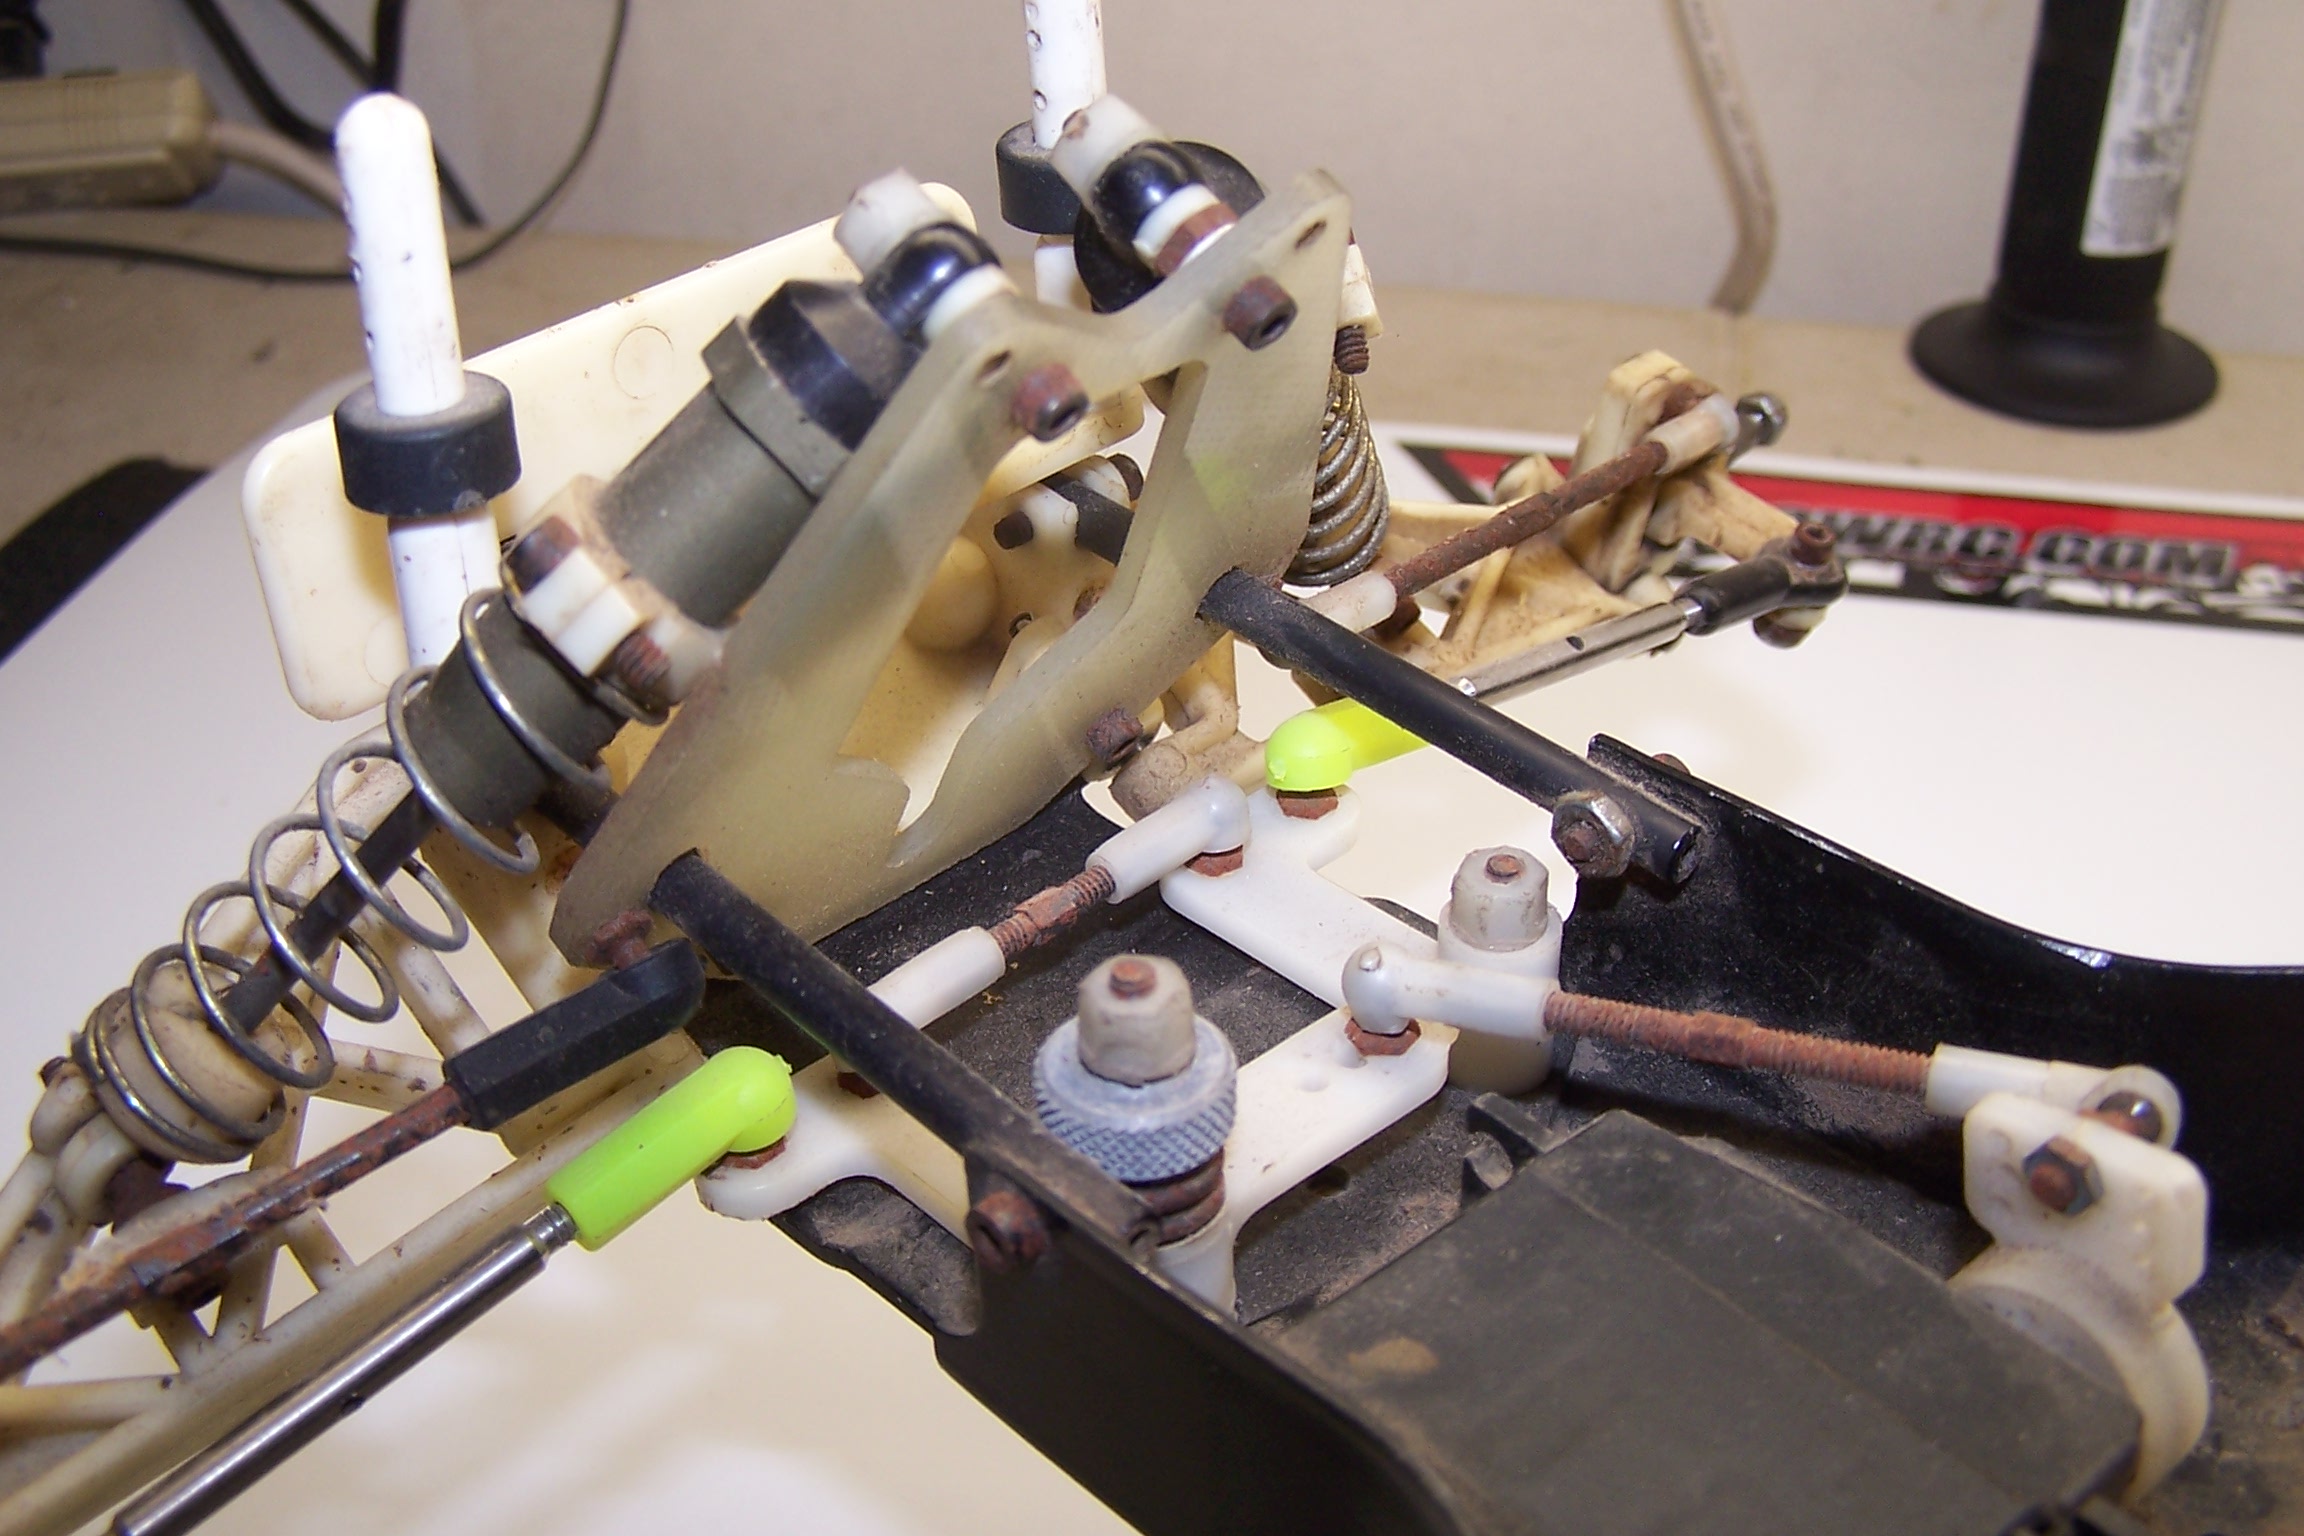
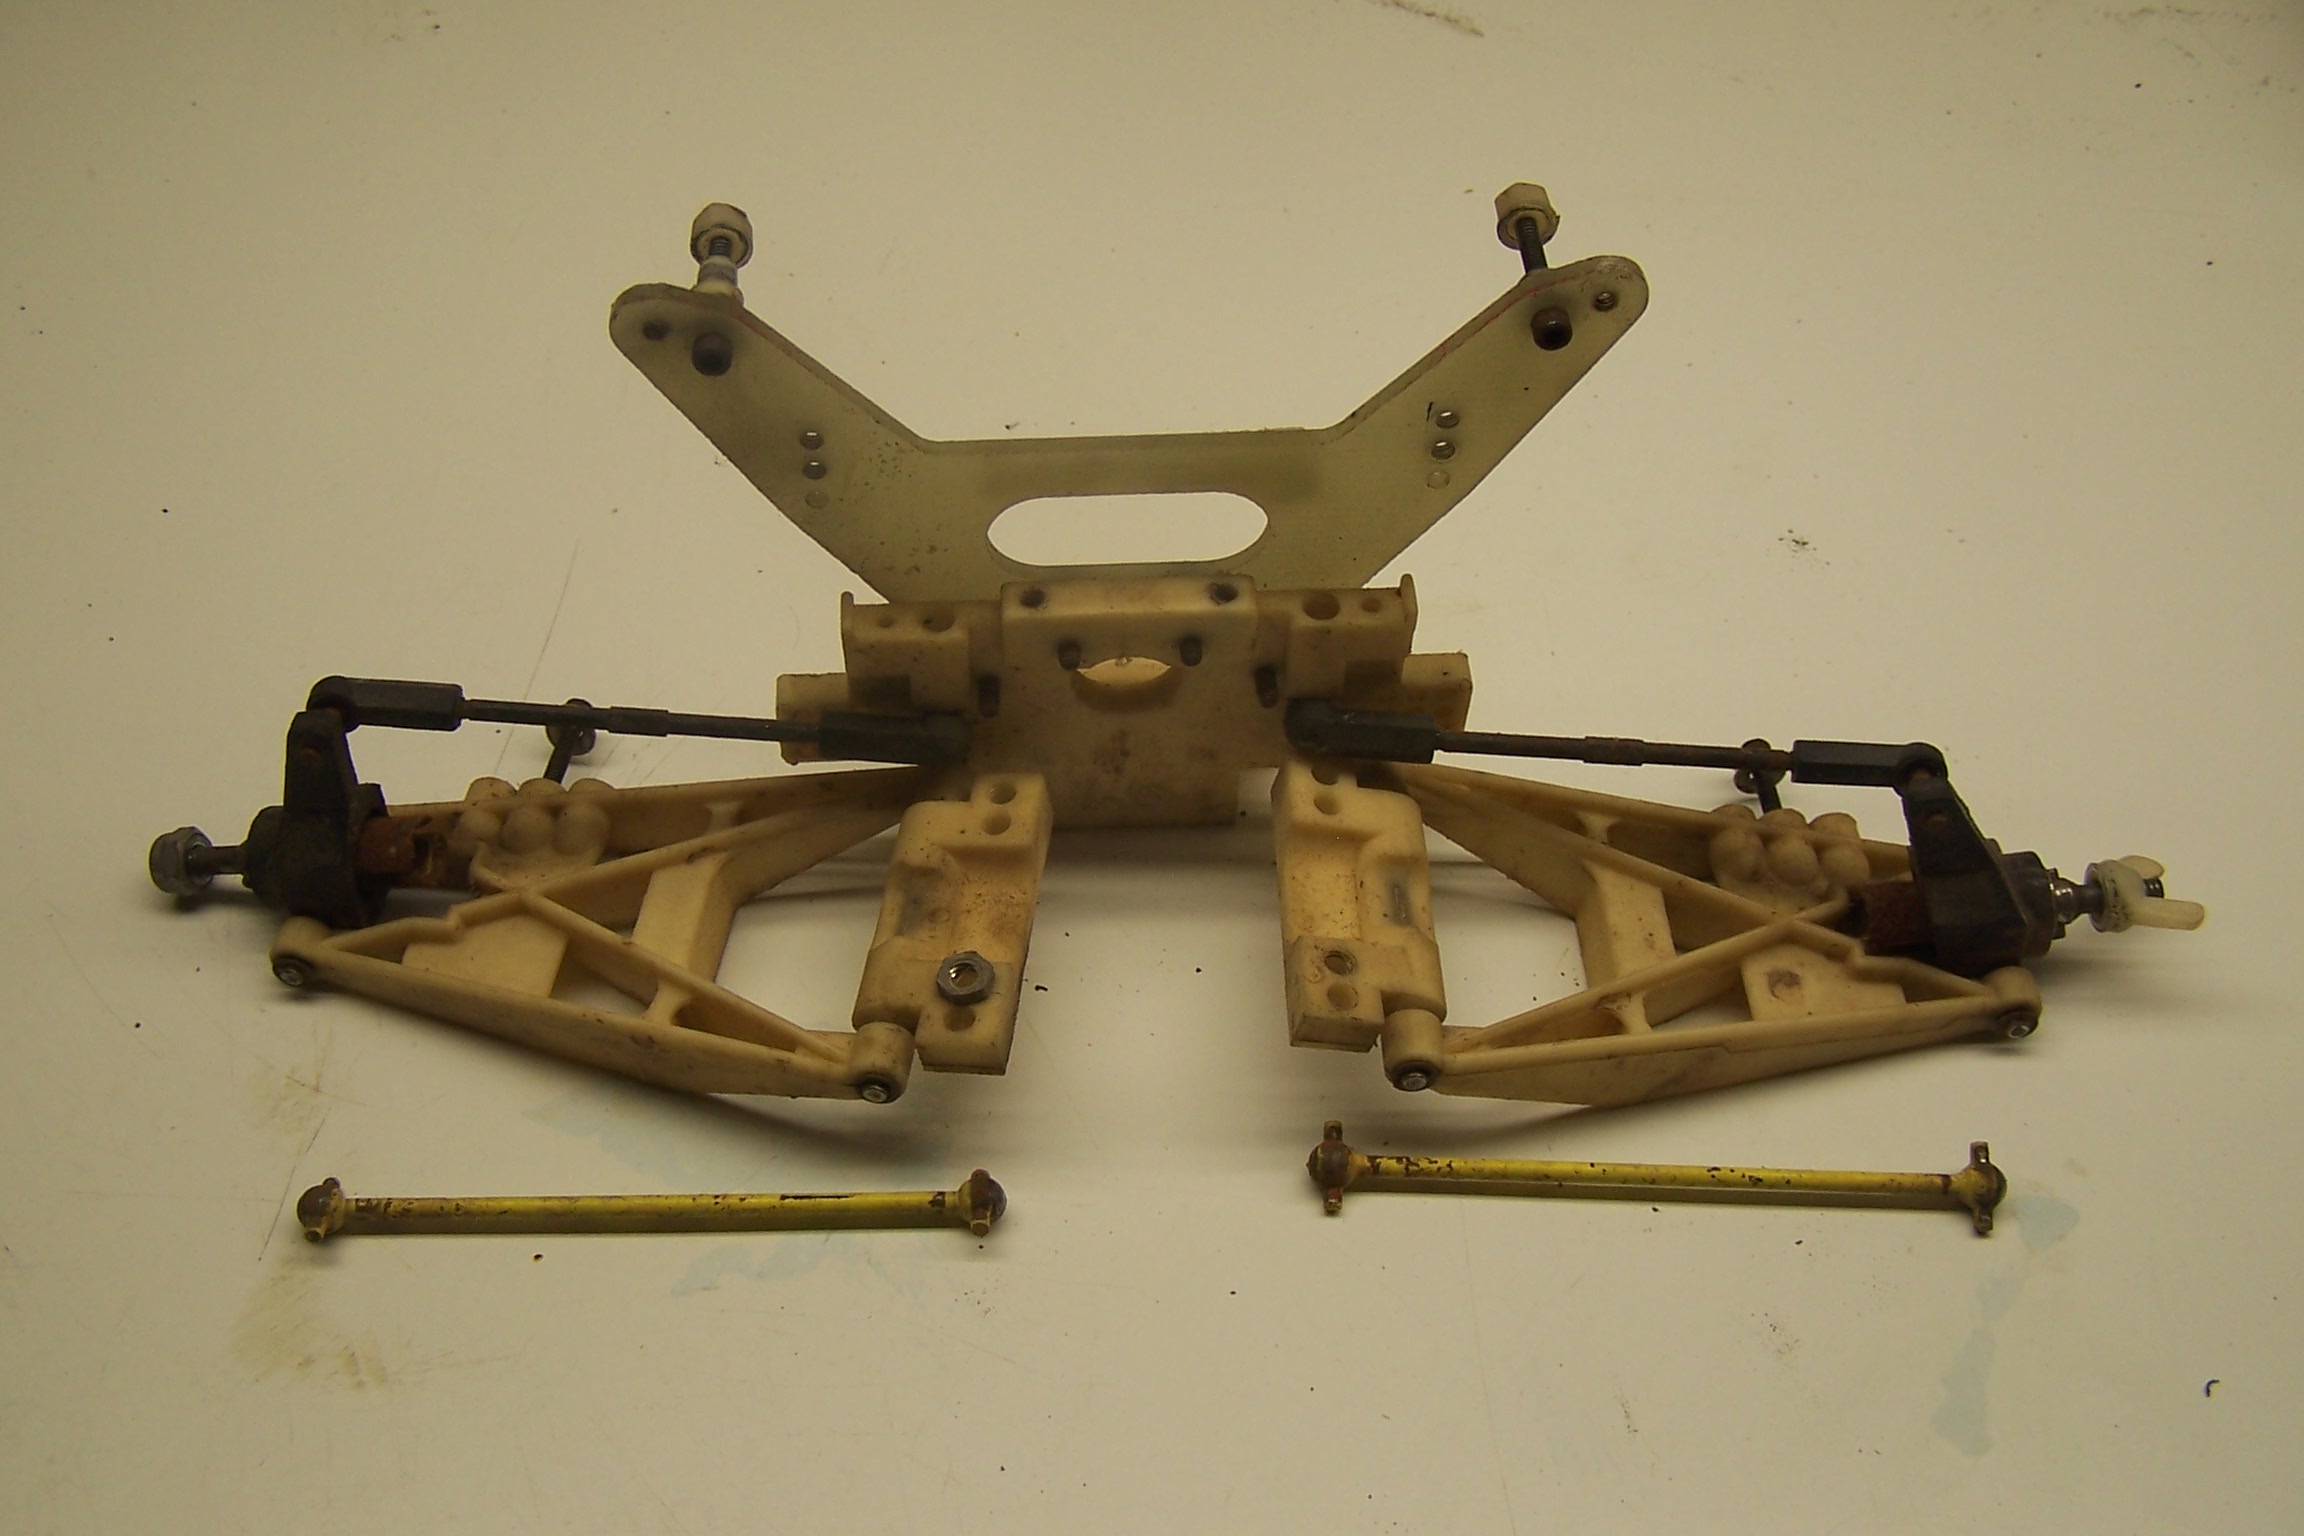
The front end was complete and just needed to be cleaned up.
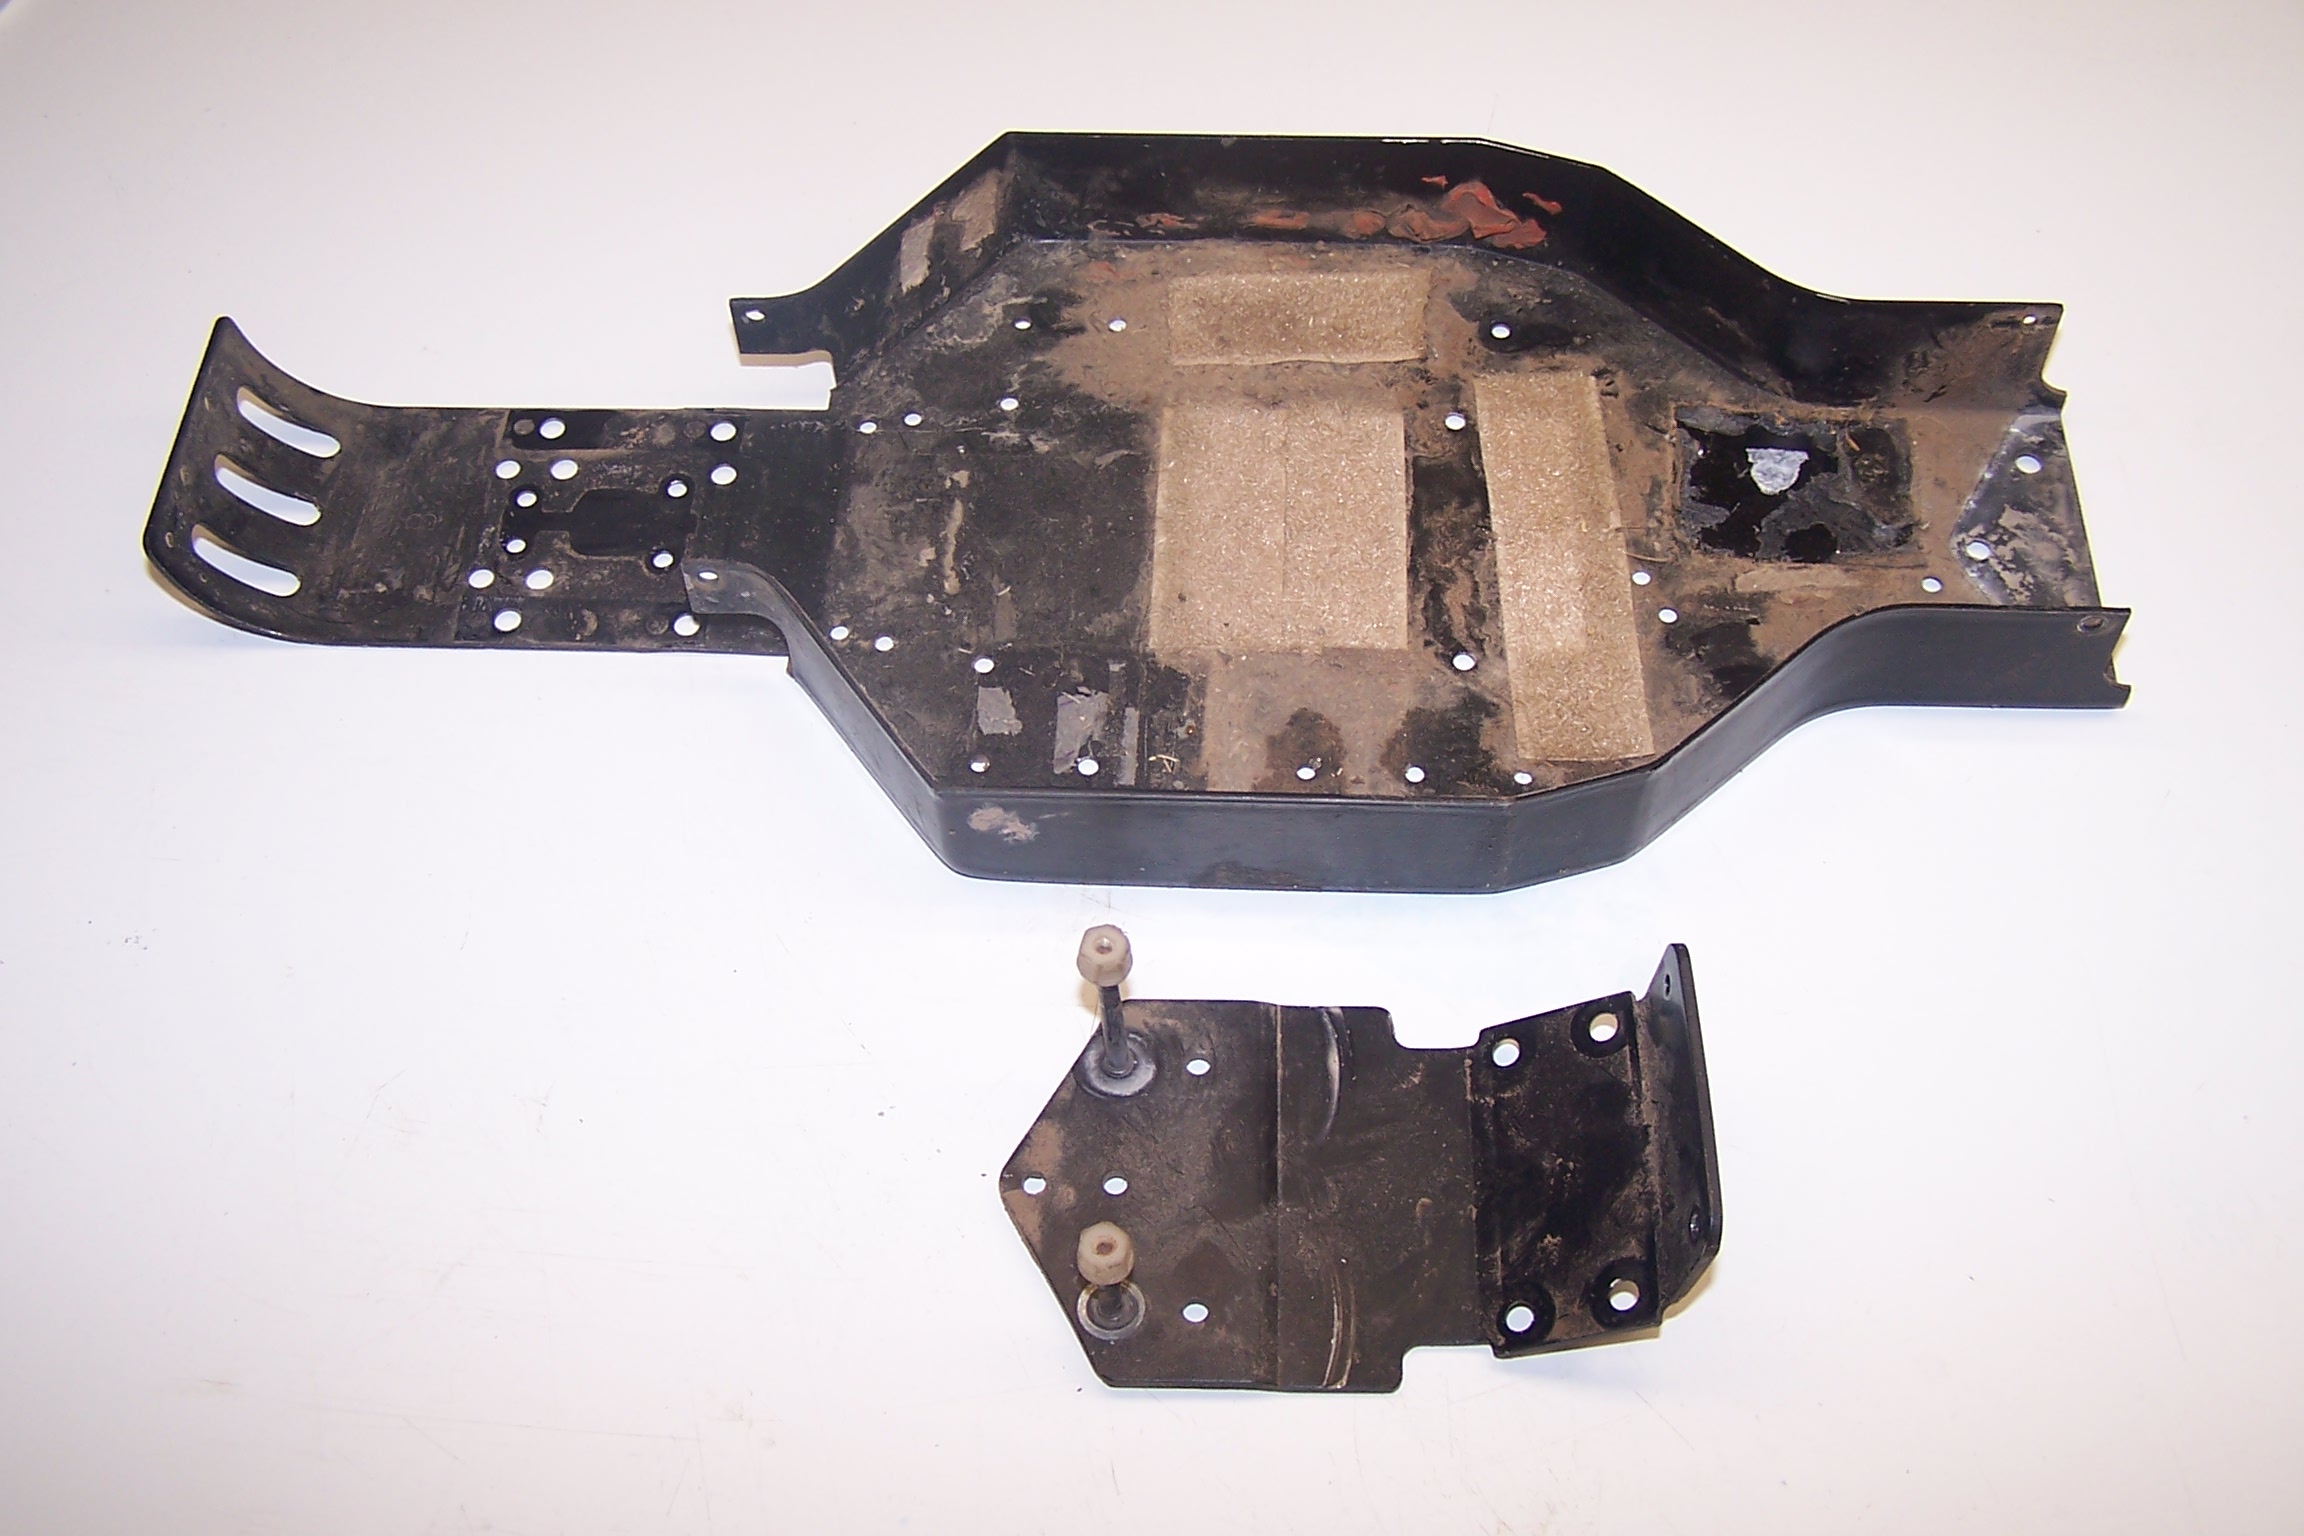
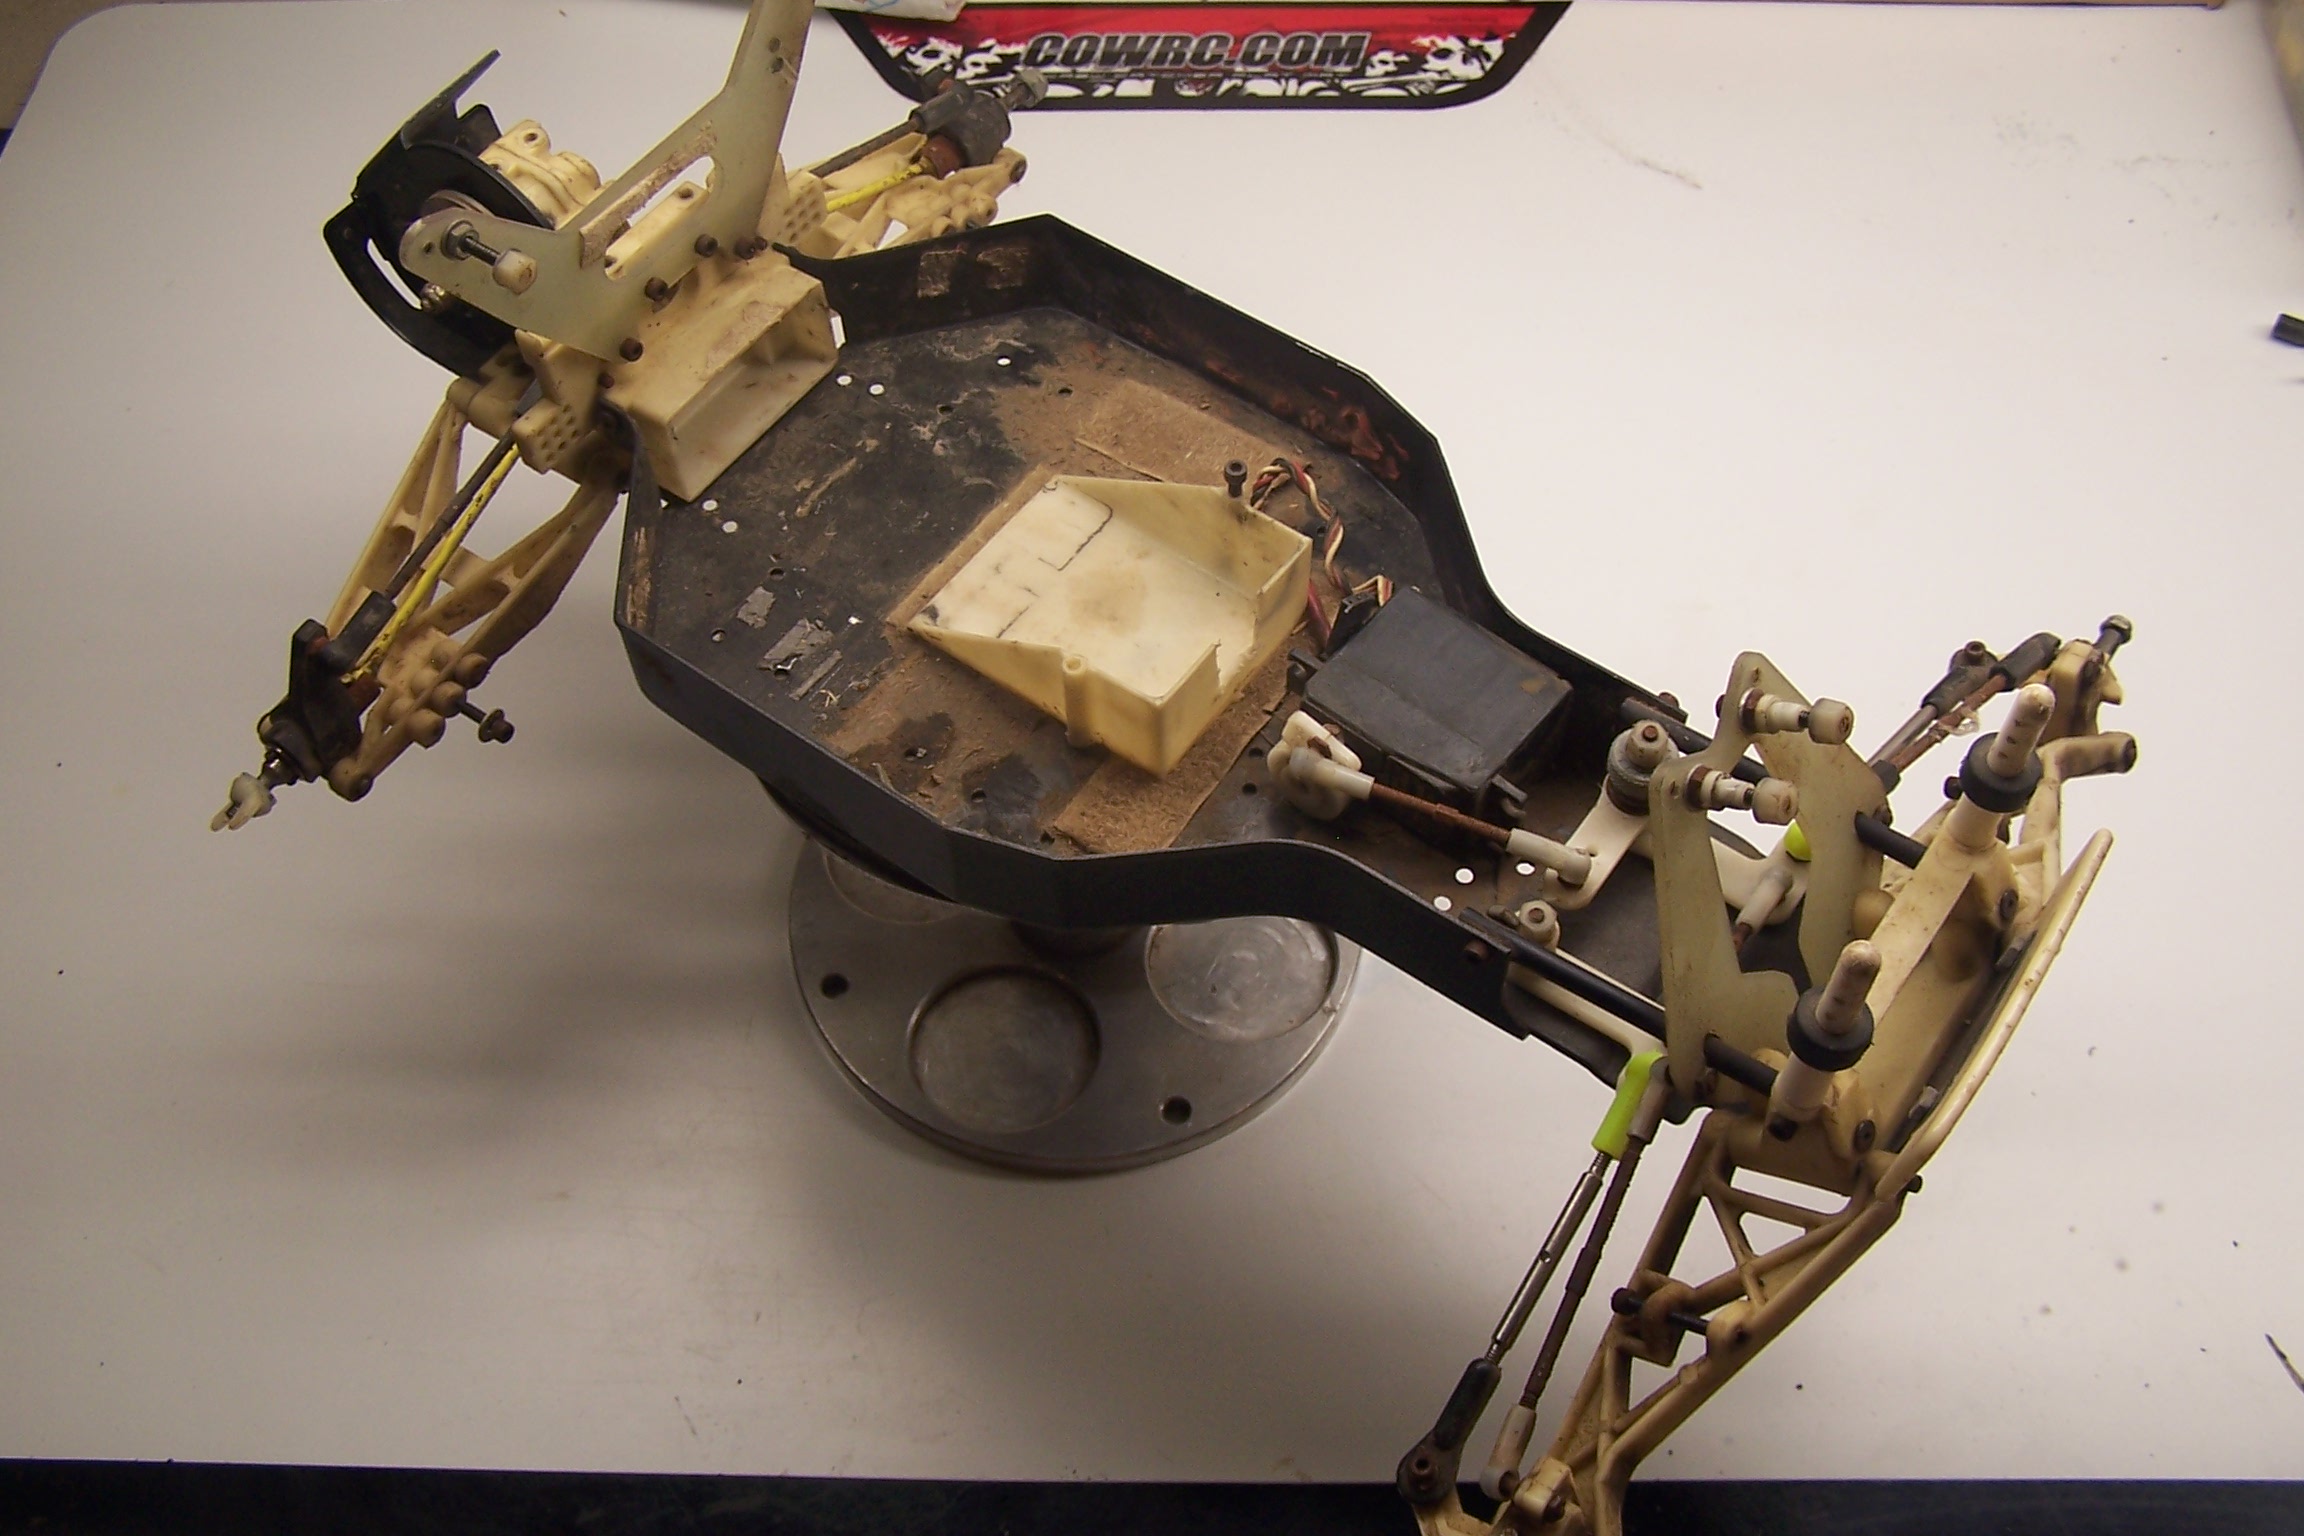
The chassis needed the most attention. The rear was bent up a little and it was filthy.
Sad that a full R/C car can be reduced to this.
Post cleaning process drying. Kalgard Degreaser, water, and some patience. The plastic cleaned up nicely.
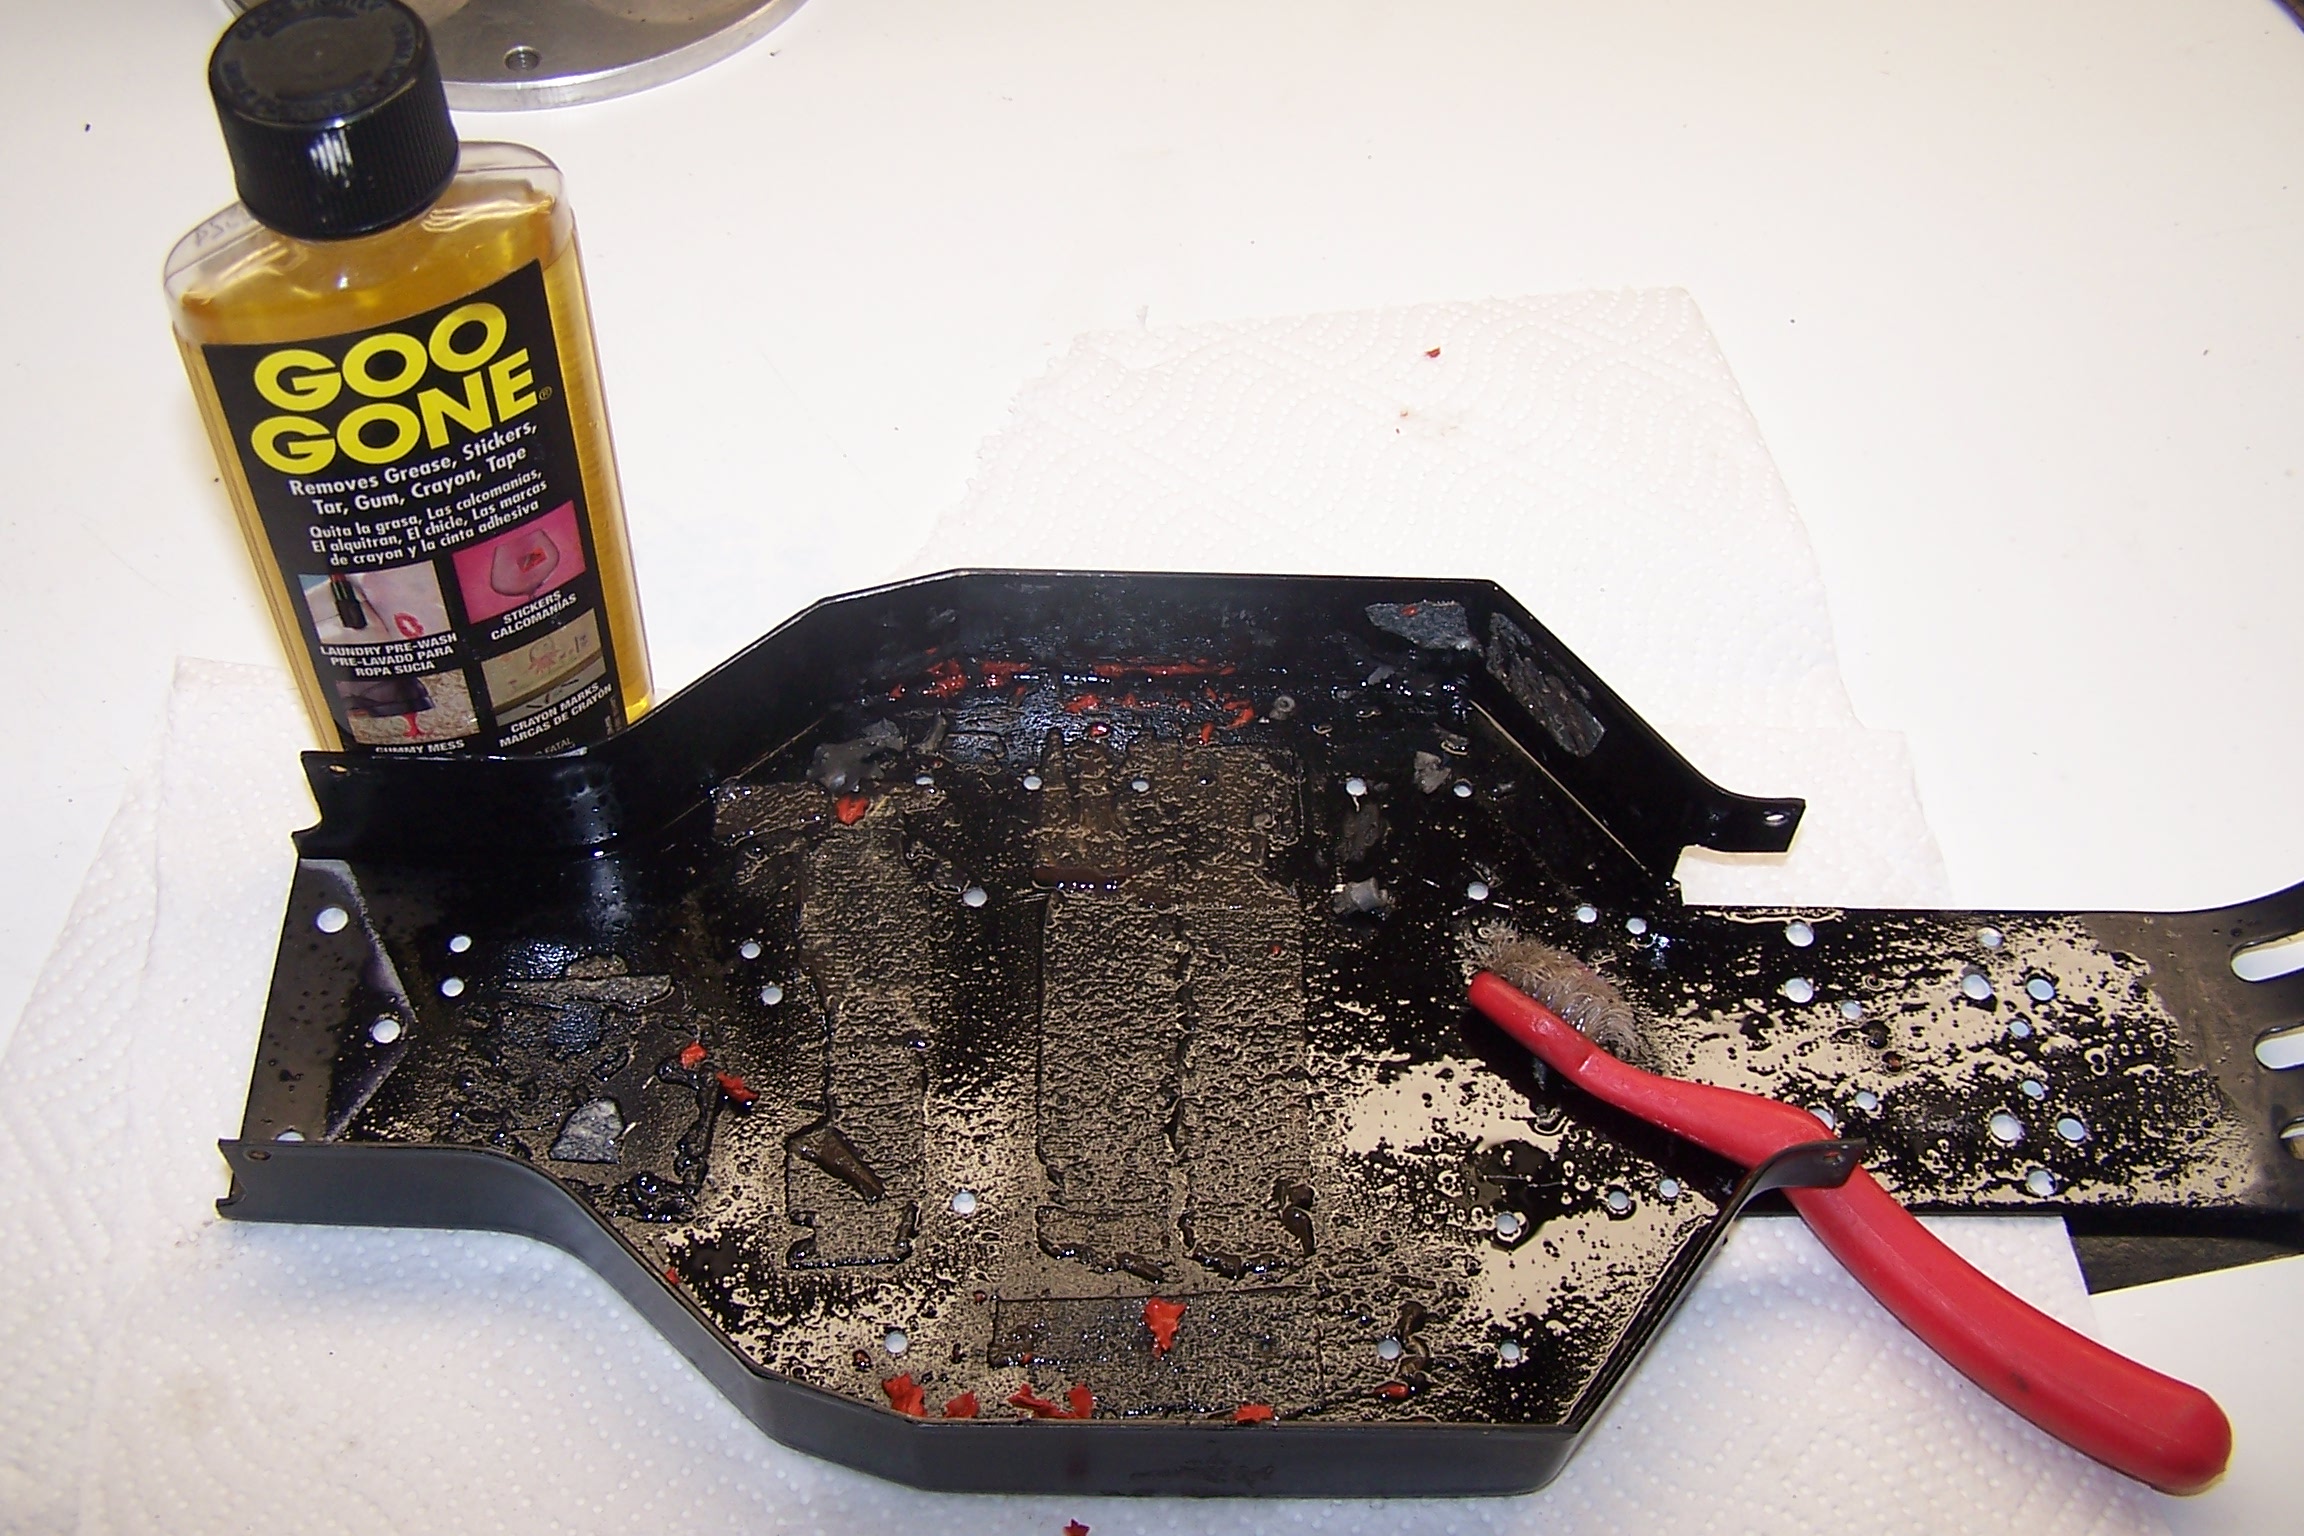
The chassis needed a bunch more attention. Many soakings of Goo Gone and a toothbrush. The old servo tape residue finally came clean.
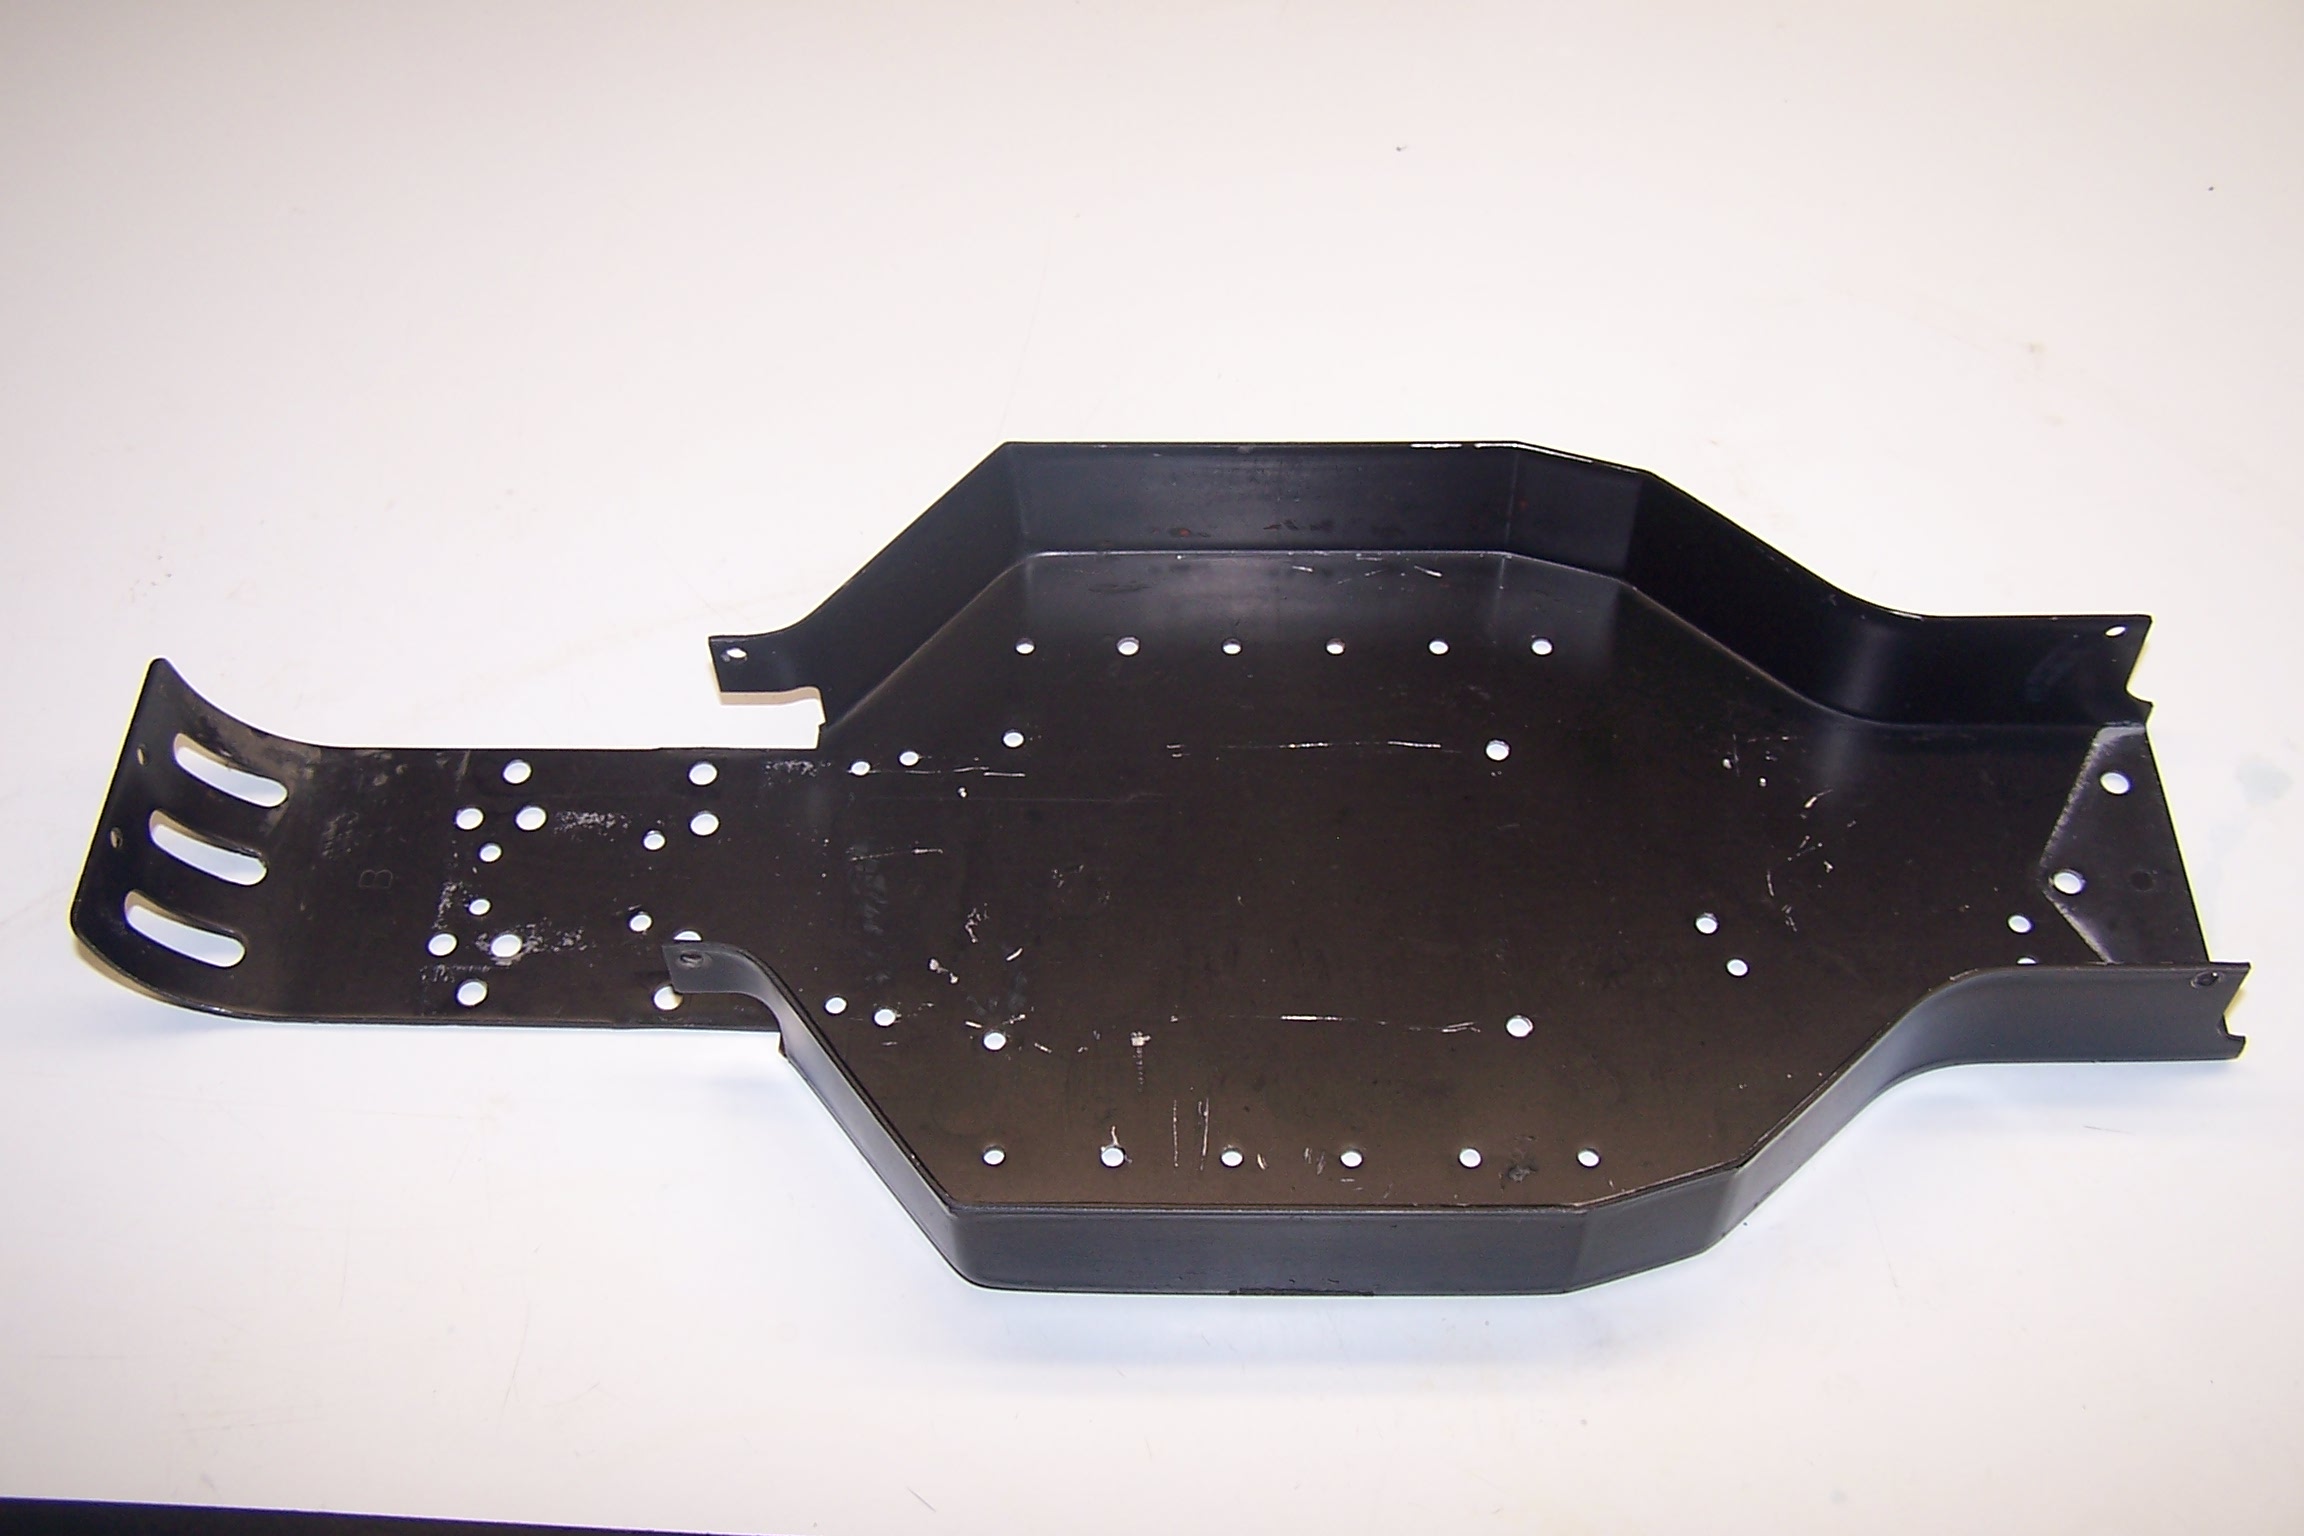
Fresh and ready for rebuild.
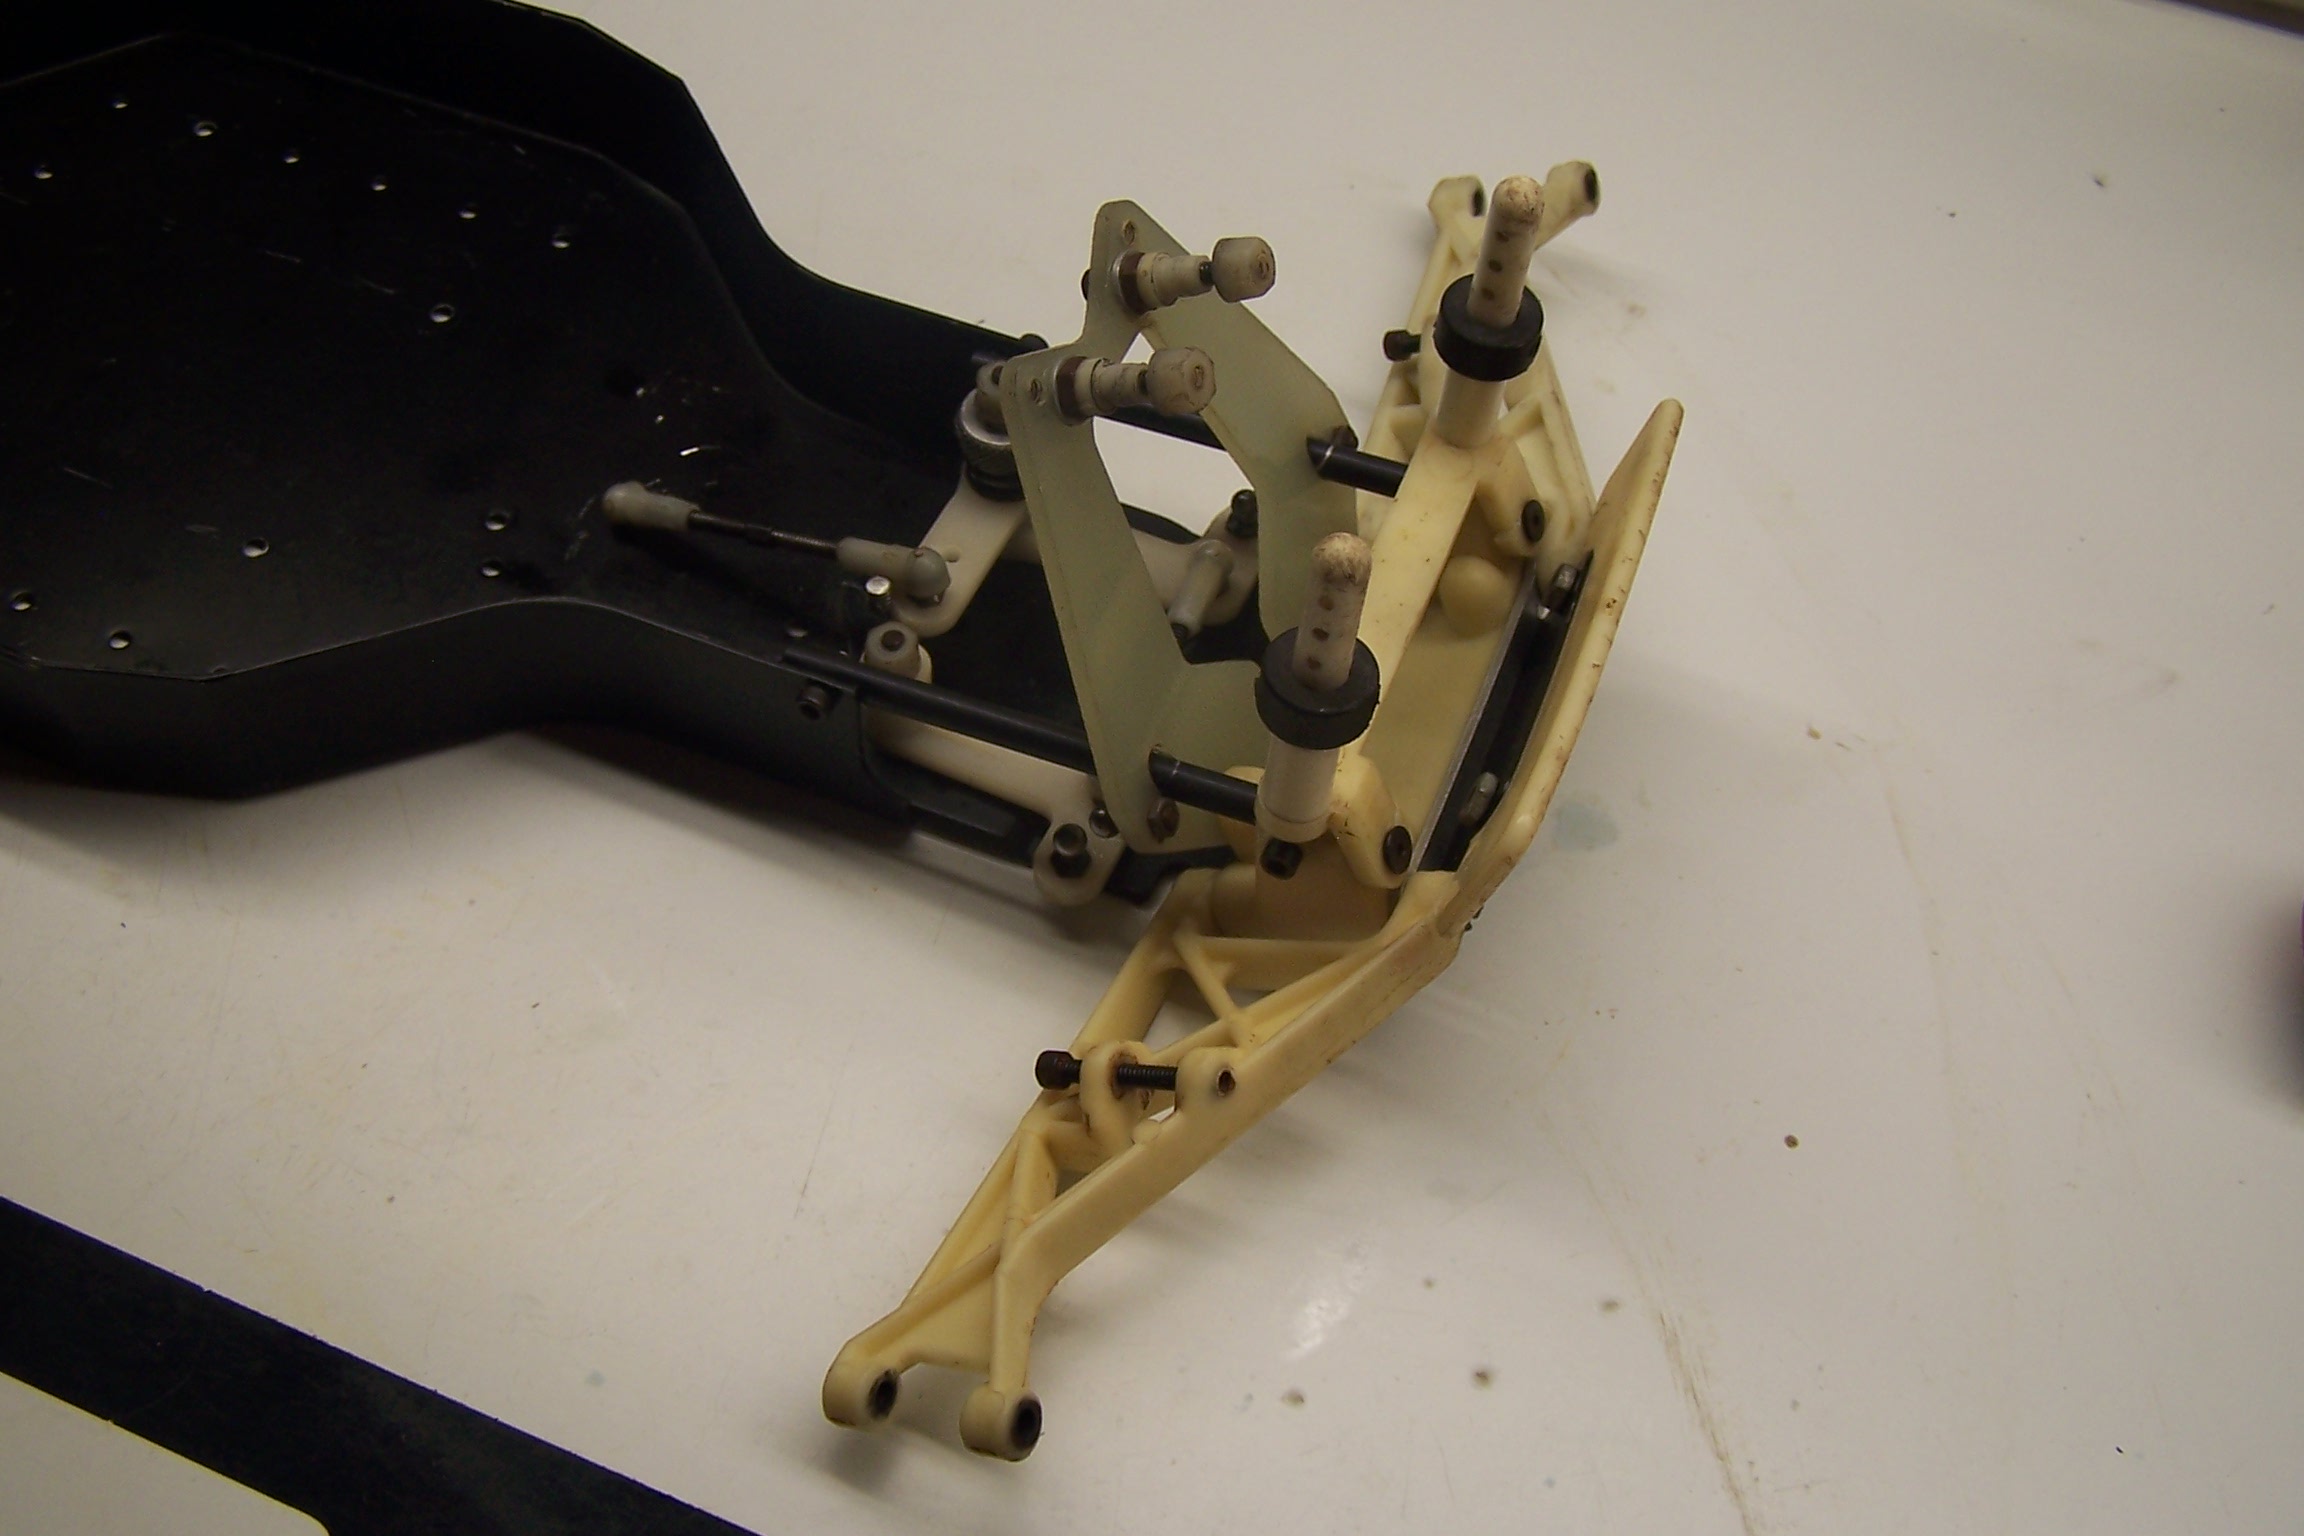
The front end was first. Not much to do here. Just making sure the hinge pins were straight, No cracks in the arms, and lubing the steering system.
The transmission uses the old style slipper where the outer slipper plate is screwed to the spur gear.
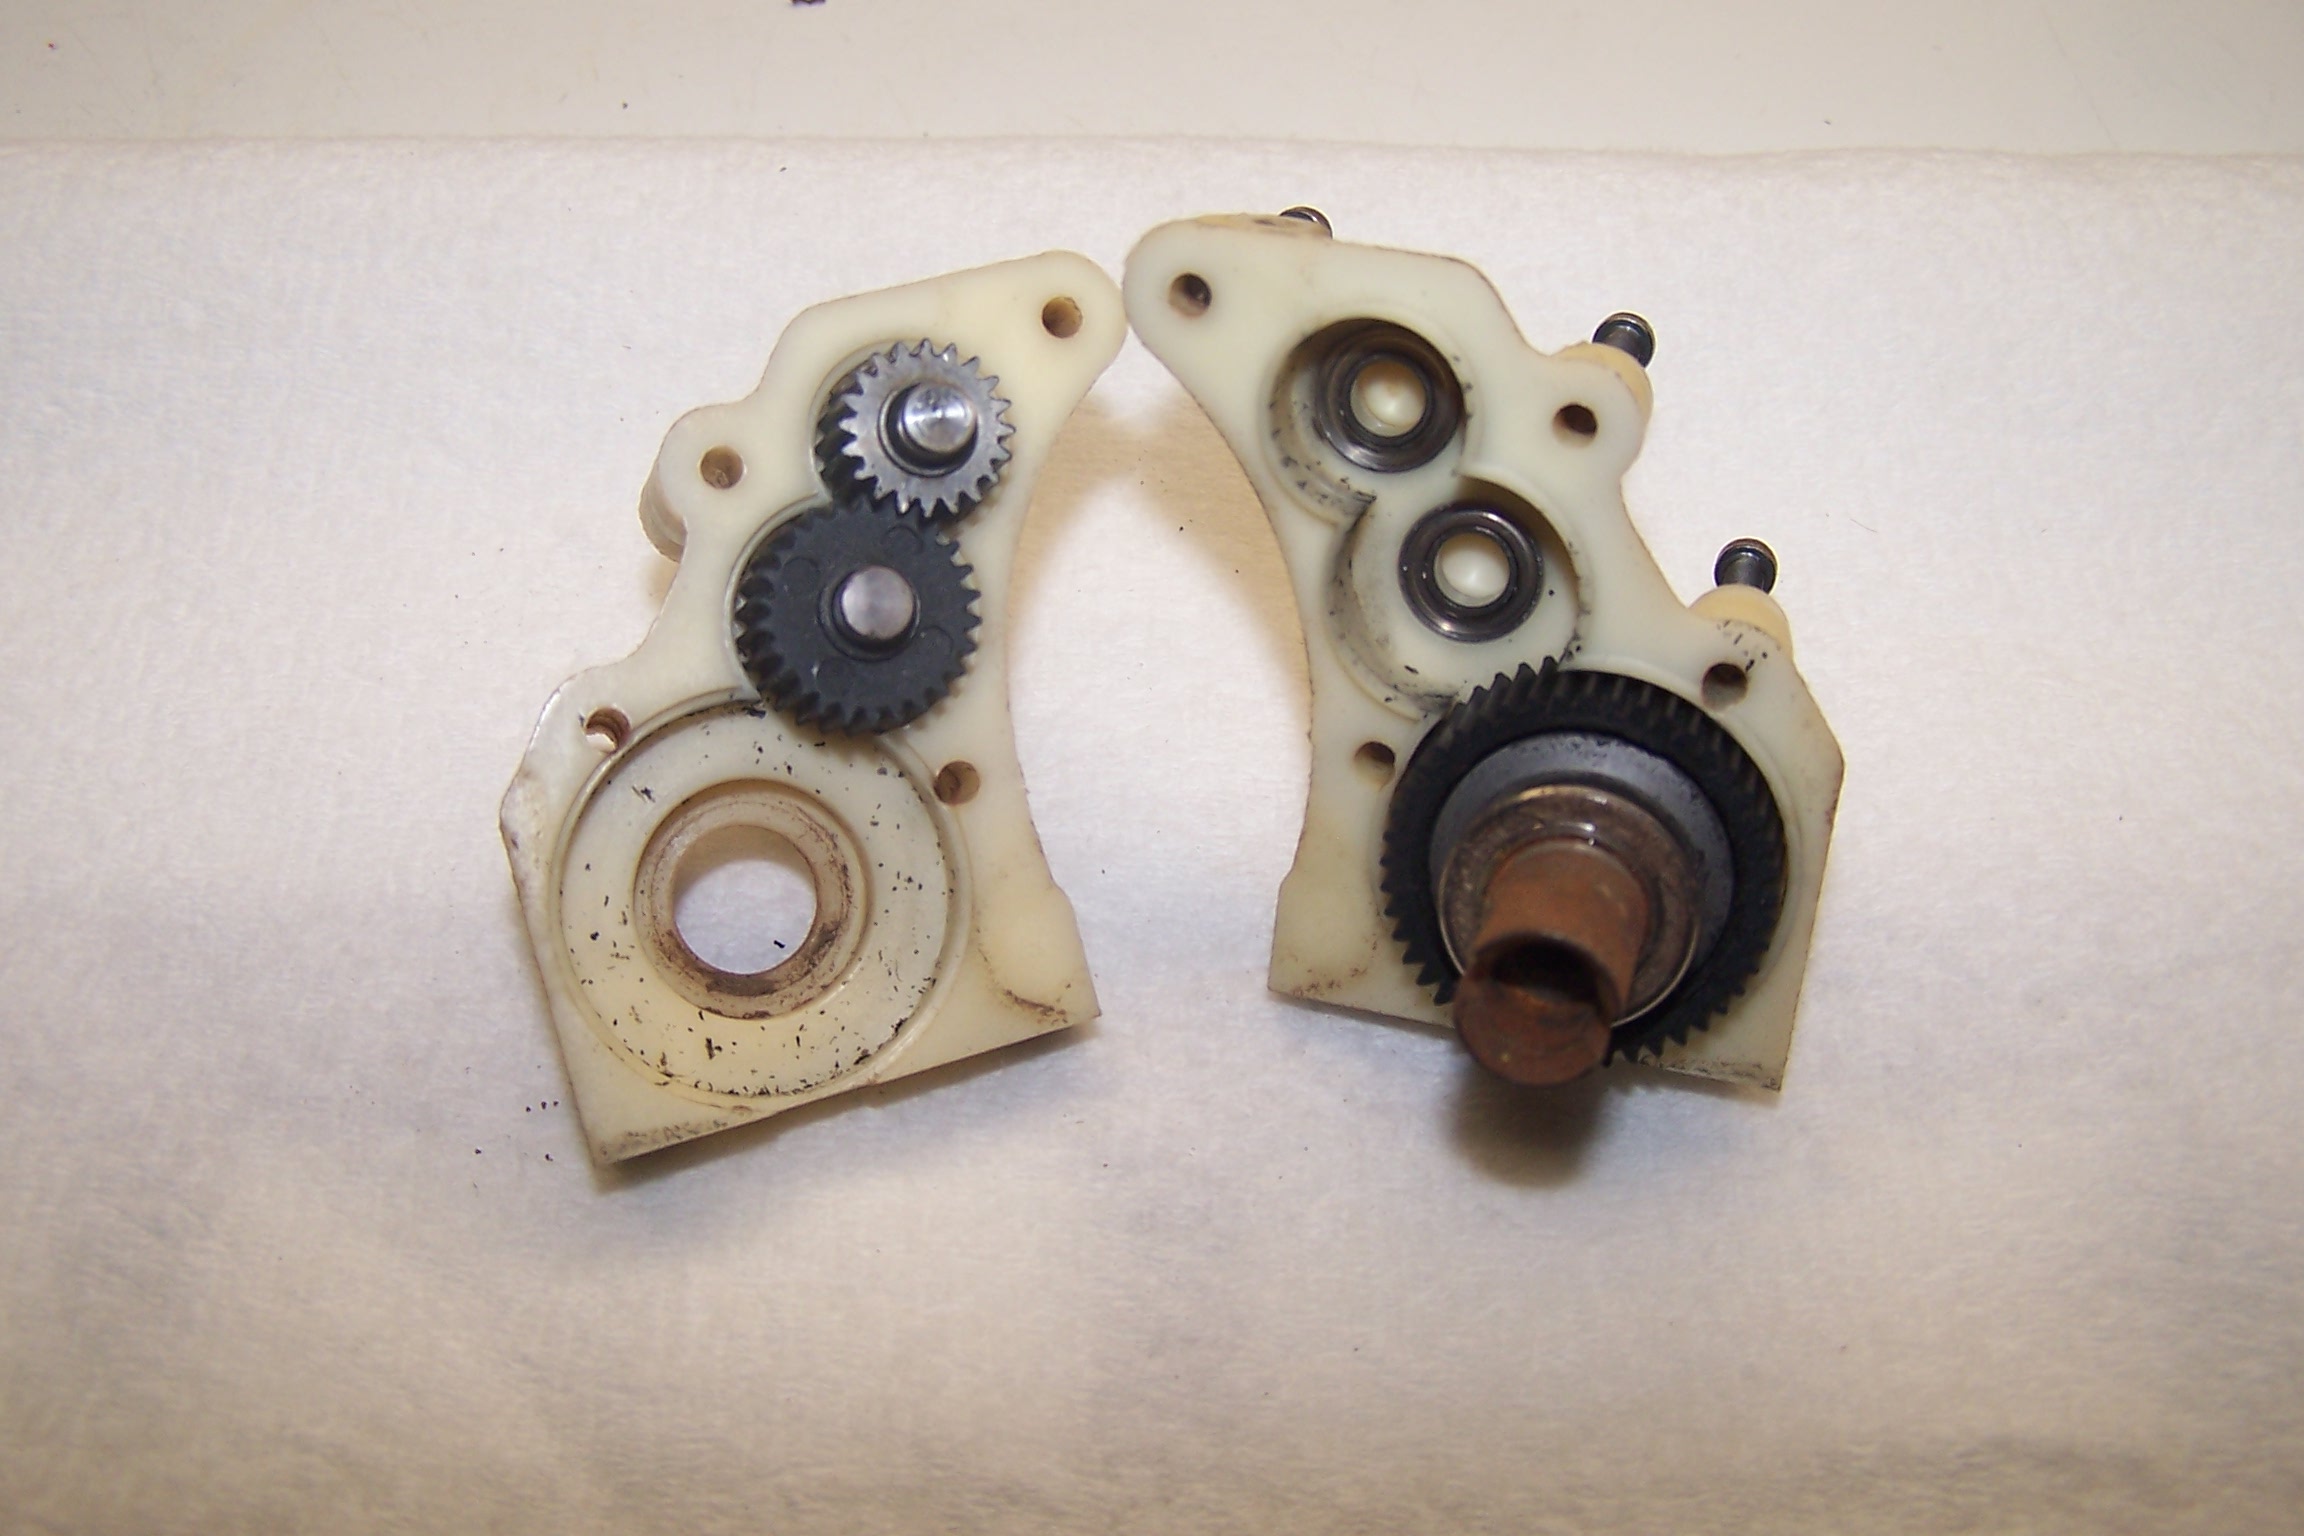
The gears were in great shape. The case already has bearings so I just cleaned them and made sure they were free.
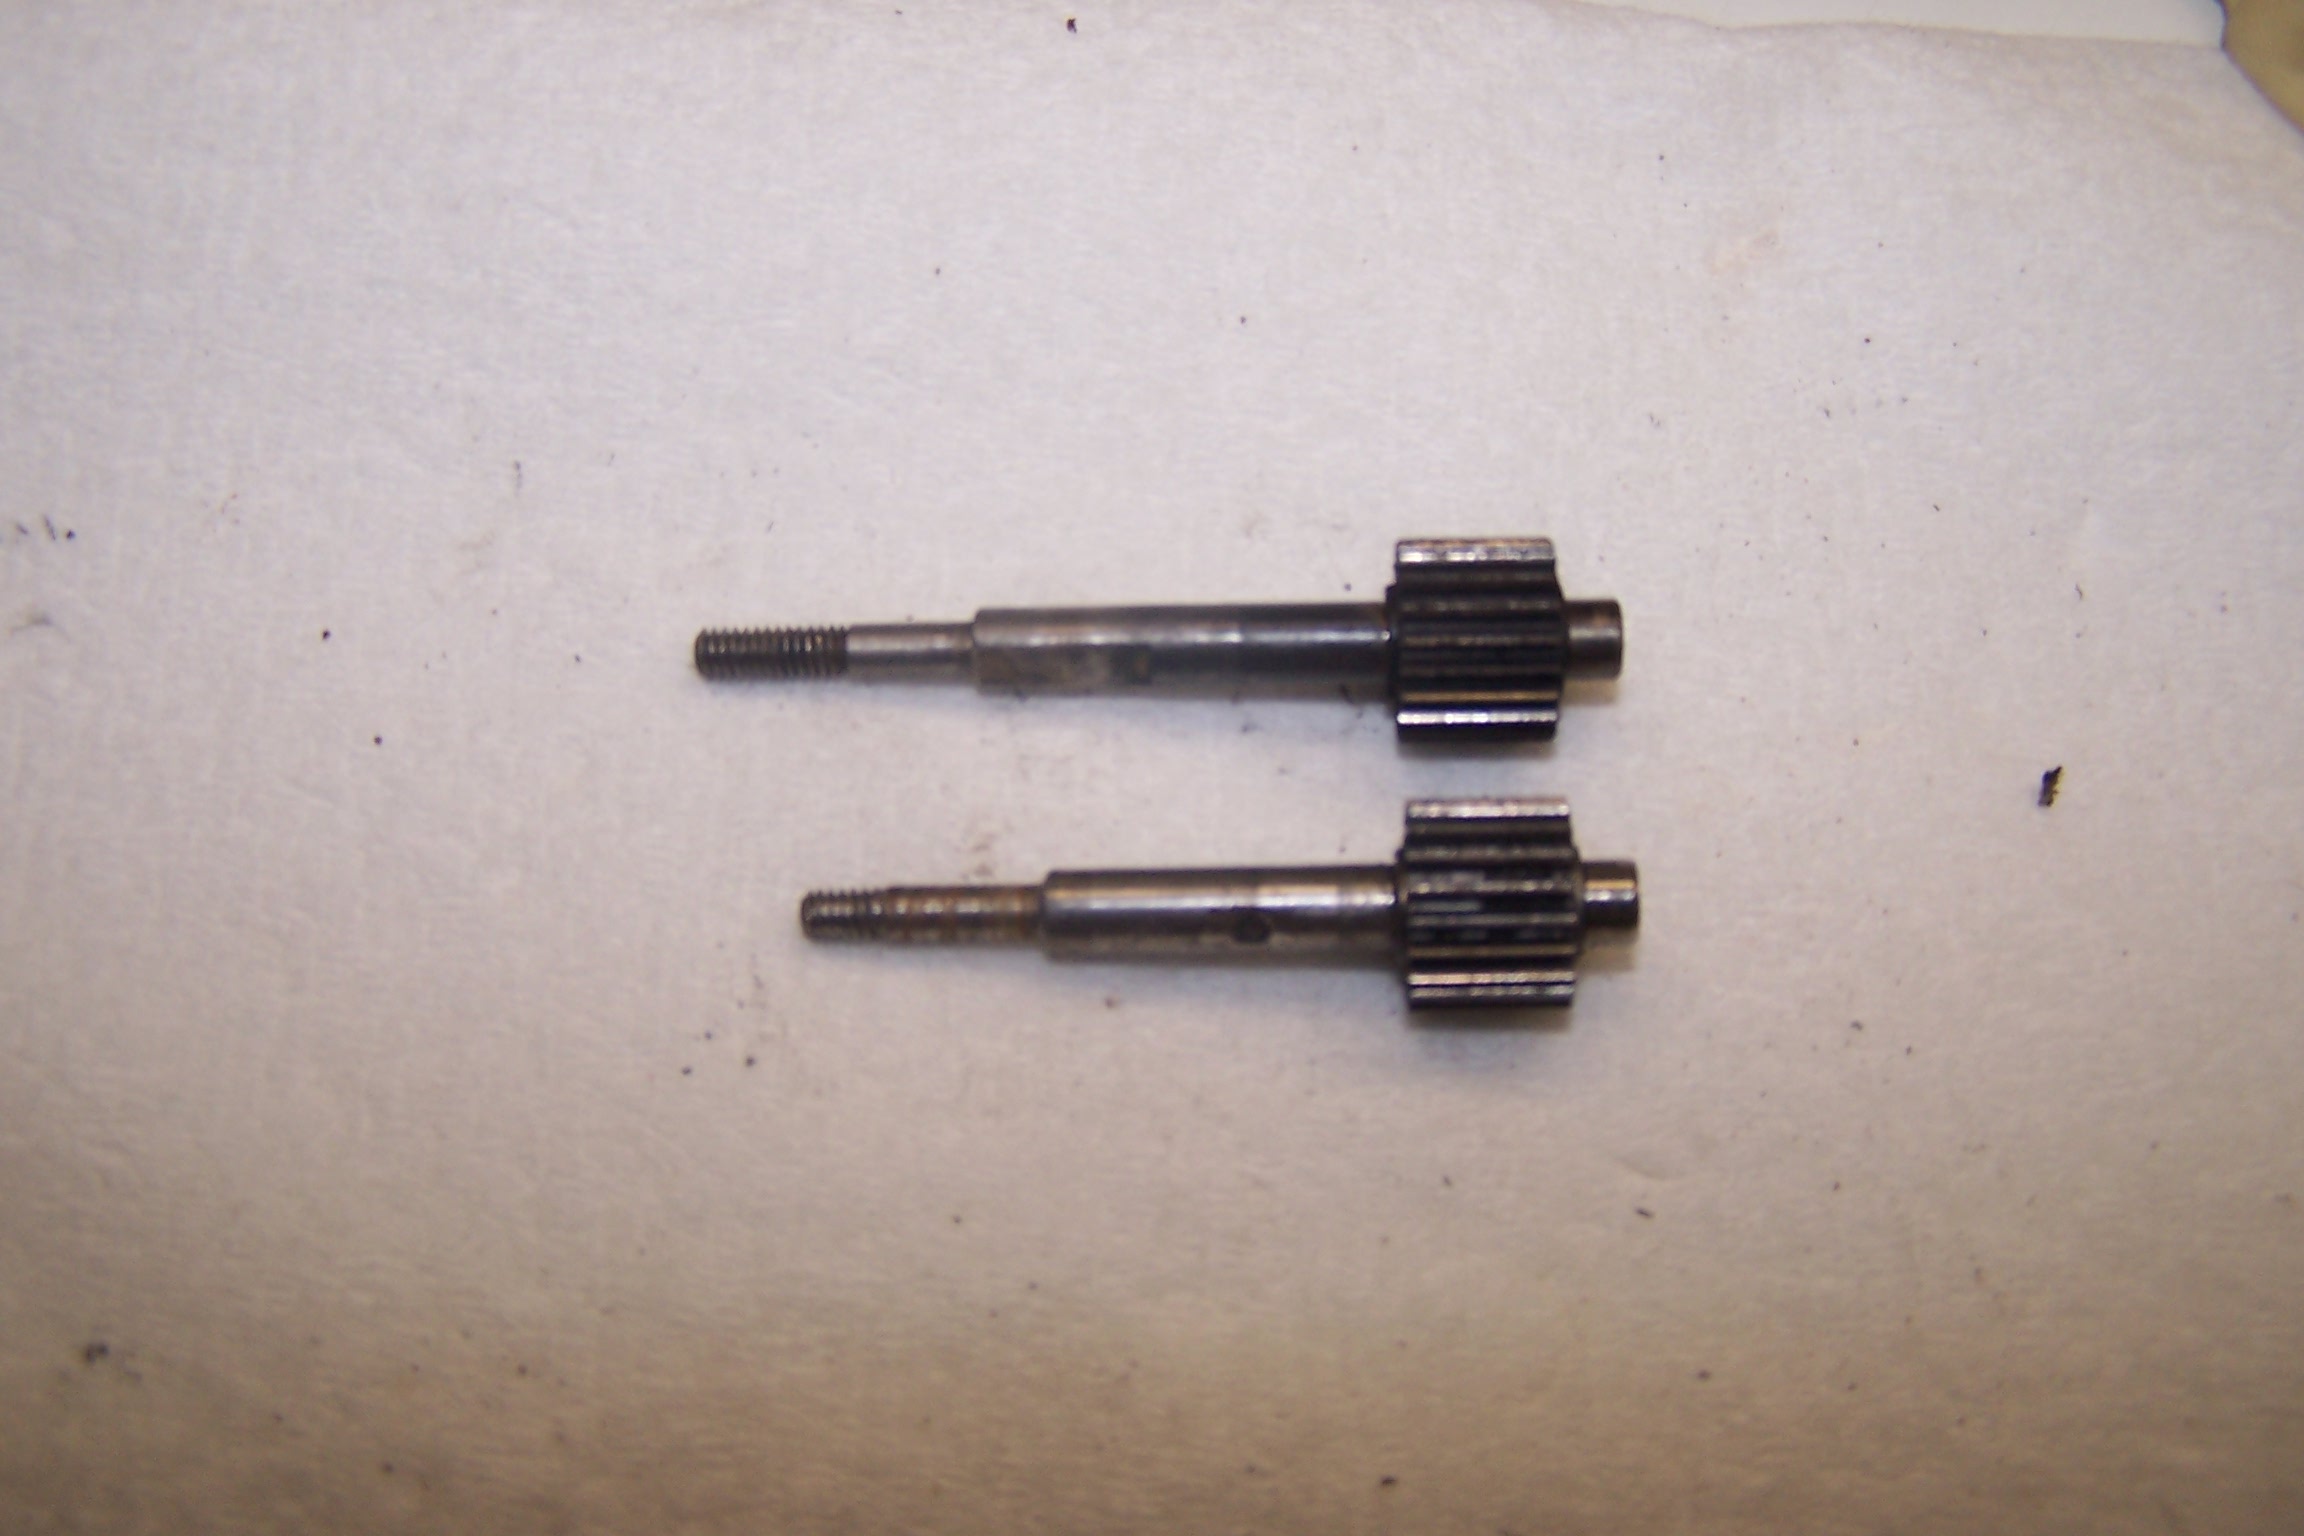
The top shaft from the old RC10T was replaced with a top shaft from modern cars. SC10, T4, etc. This allows you to use the modern slipper assembly. No modifications required.
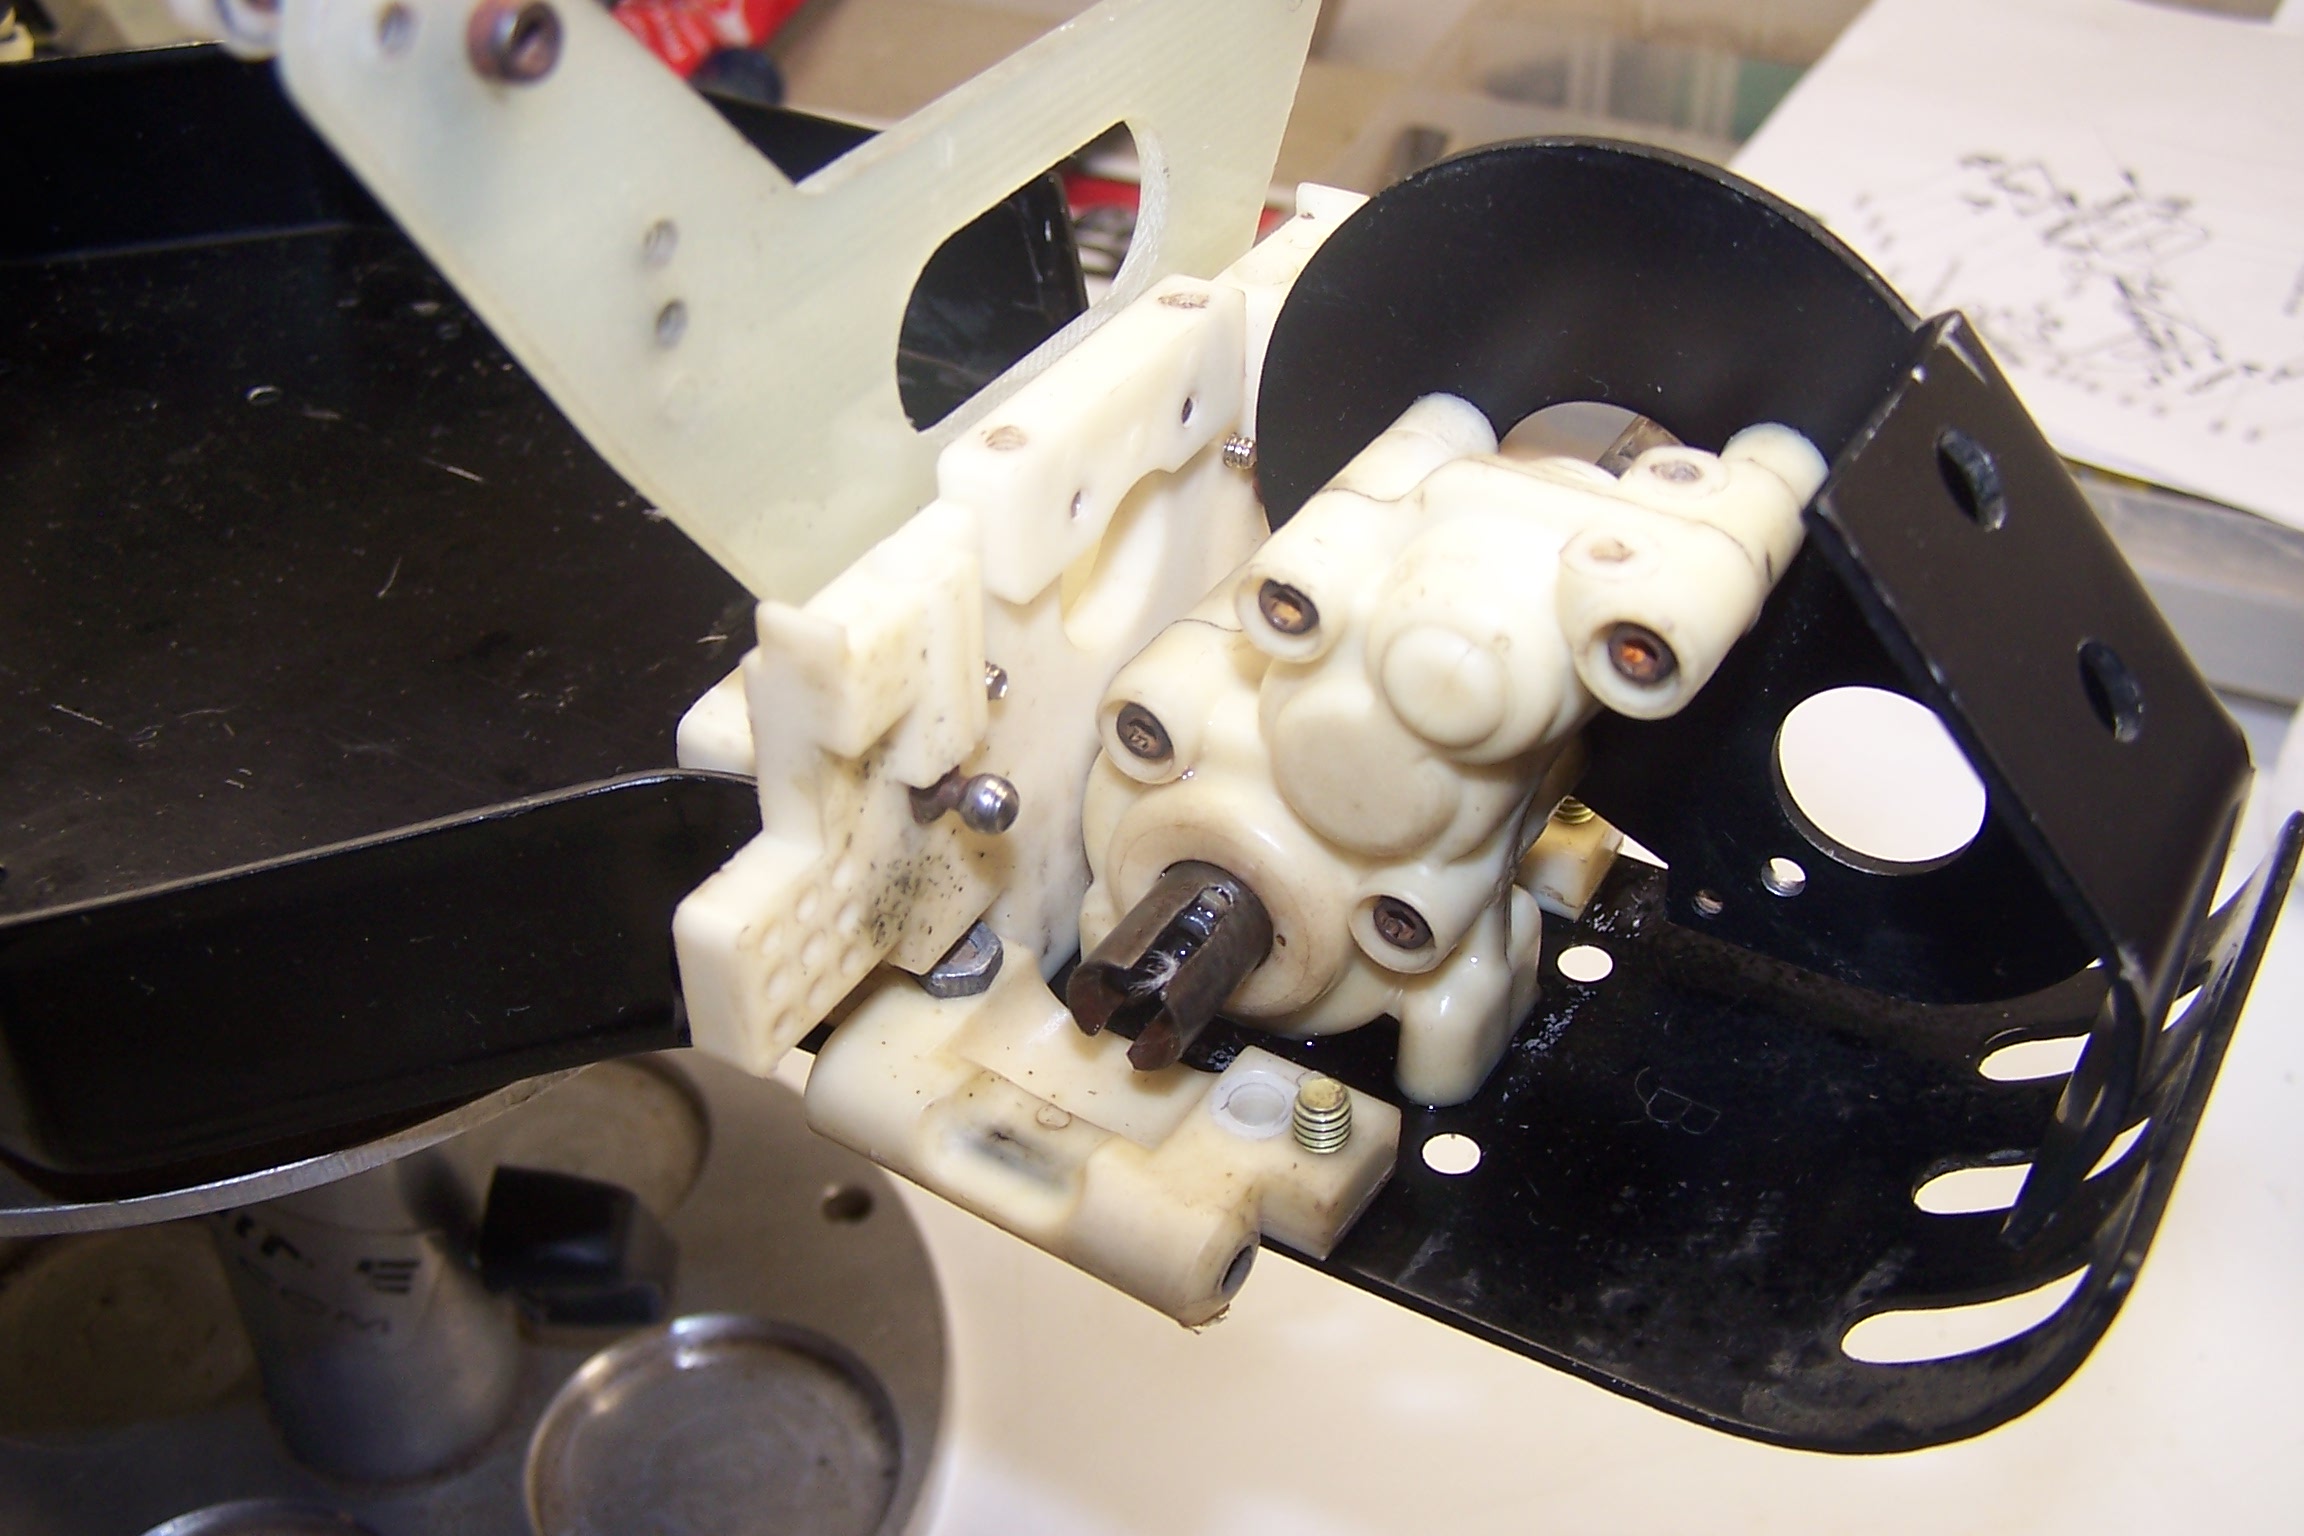
The transmission, rear bulkhead, and arm mounts are bolted back in place.

This shows the modern top shaft.
Rear hub bearings were replaced. The dogbones were replaced and links installed. If there were any rusty parts they were wire brushed and coated with Kalgard 30-30 to eliminate any future rust.
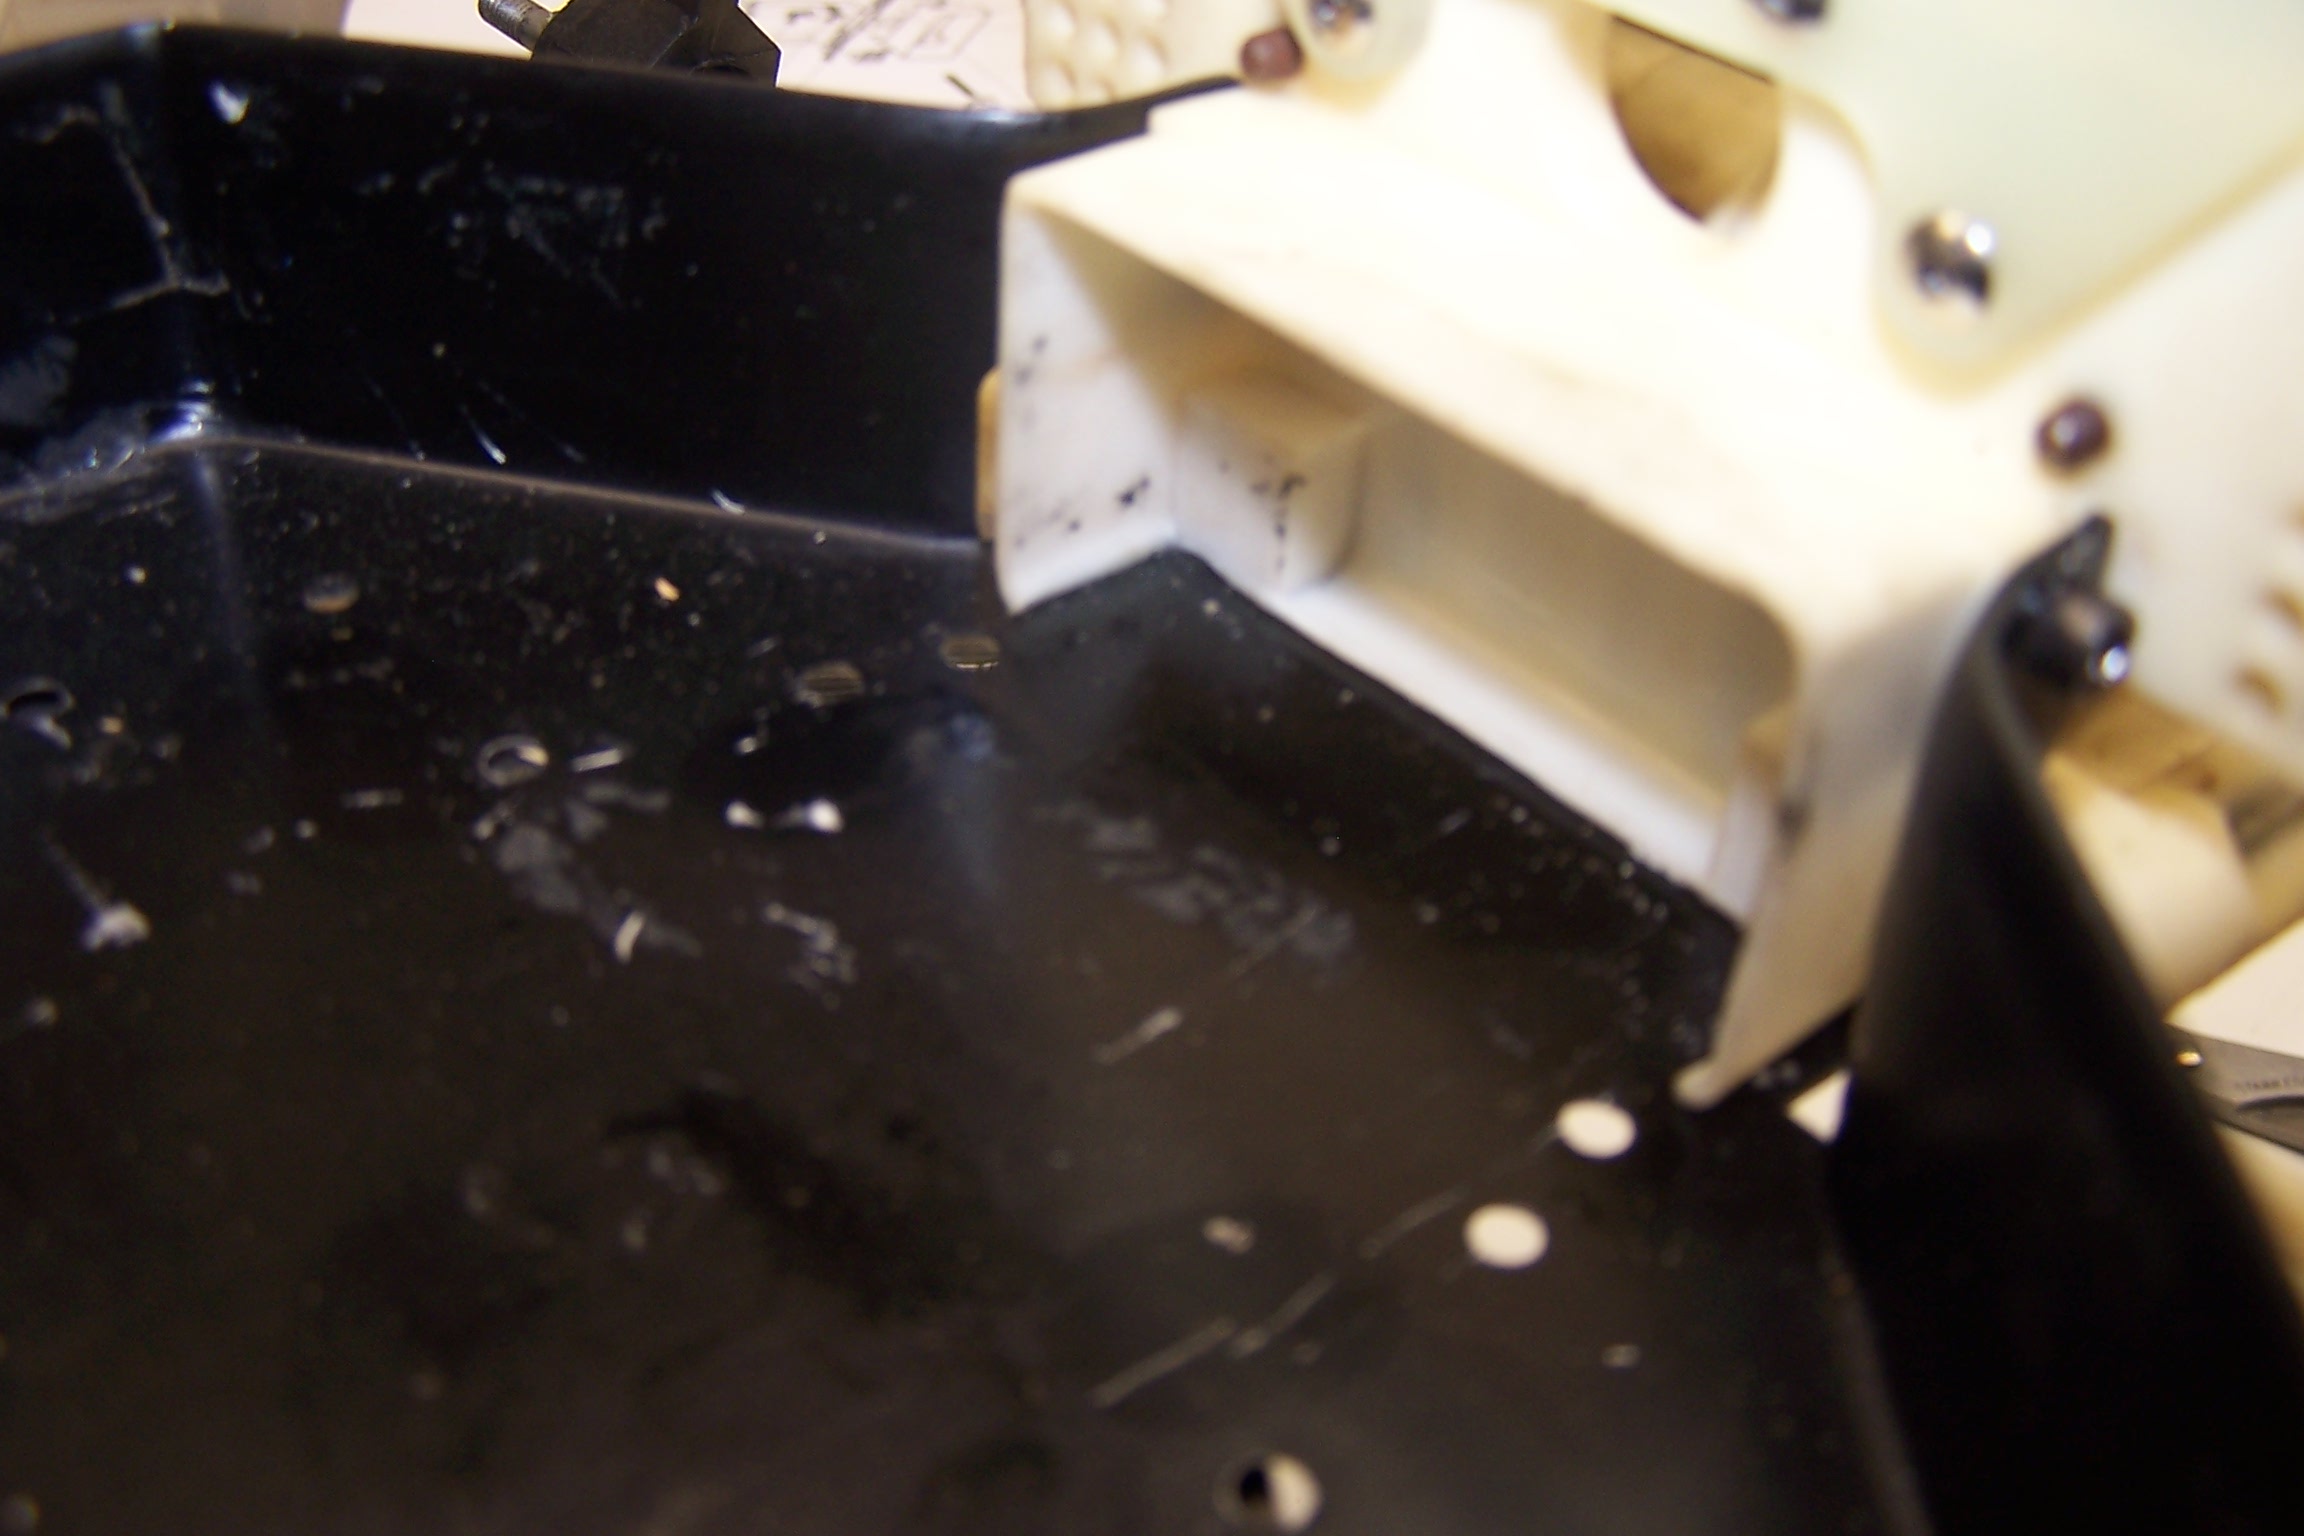
To be able to use modern Lipo batteries the bottom of the rear battery box needs to be removed, A simple Dremel operation and you are good to go.
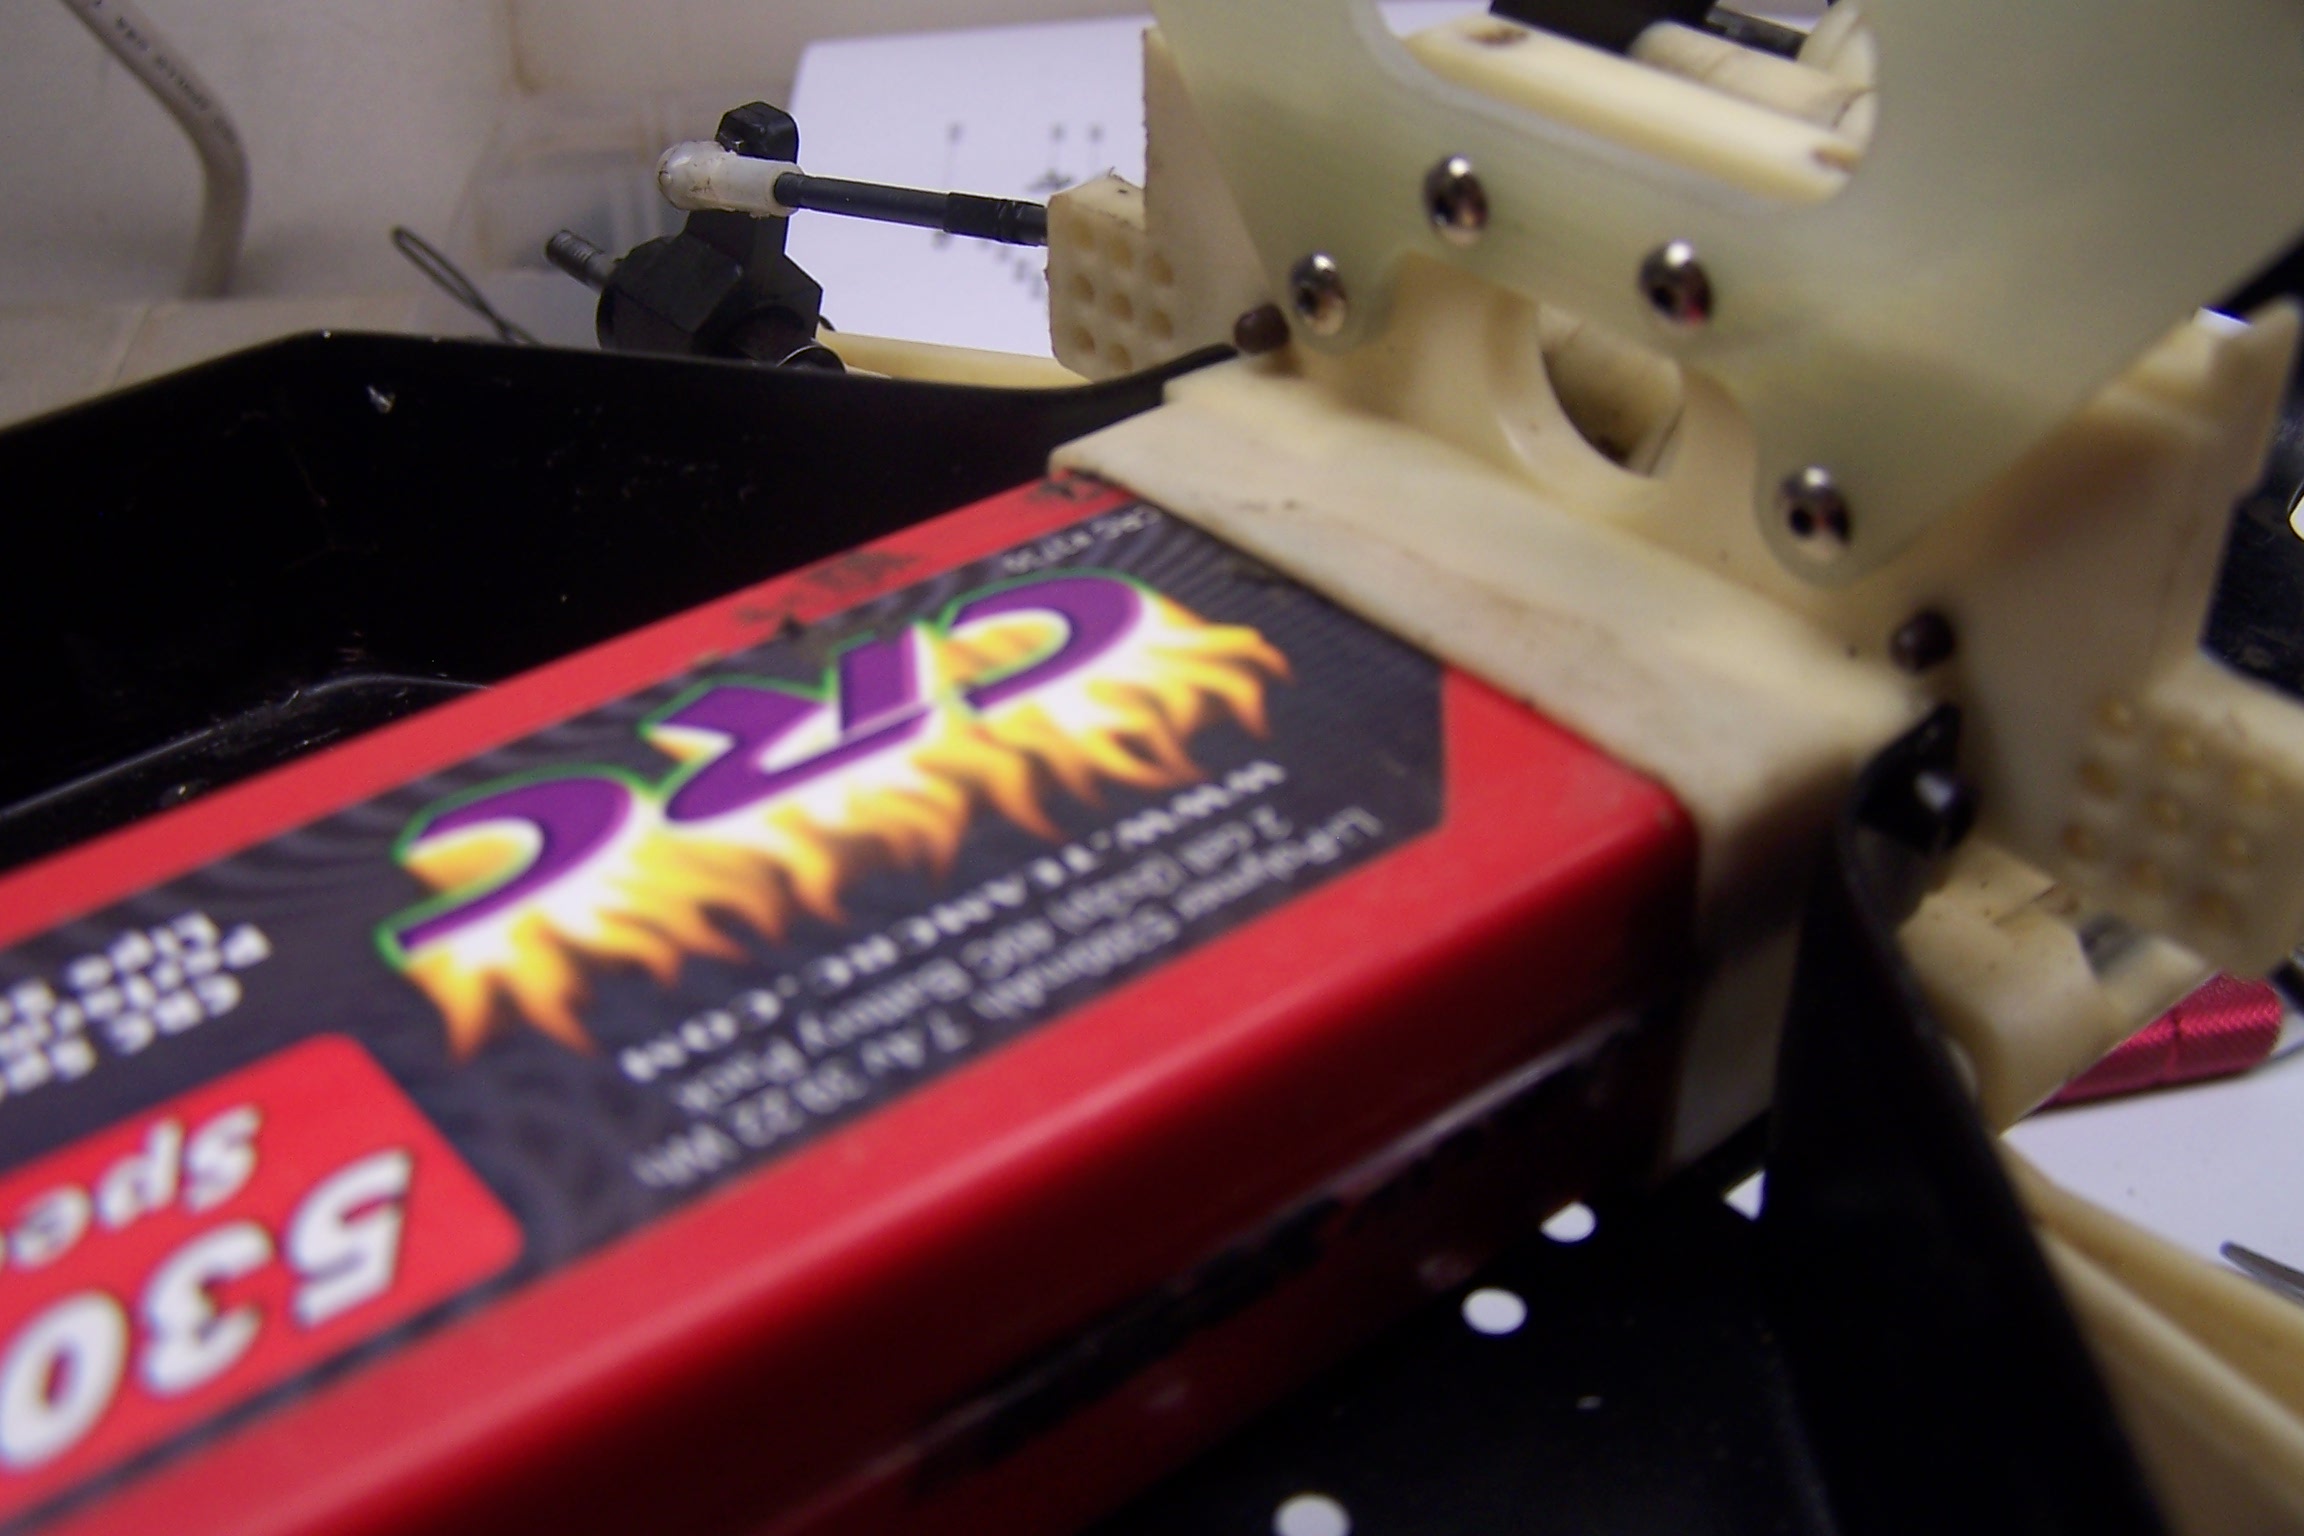
Lipo battery installed. Nice and snug.
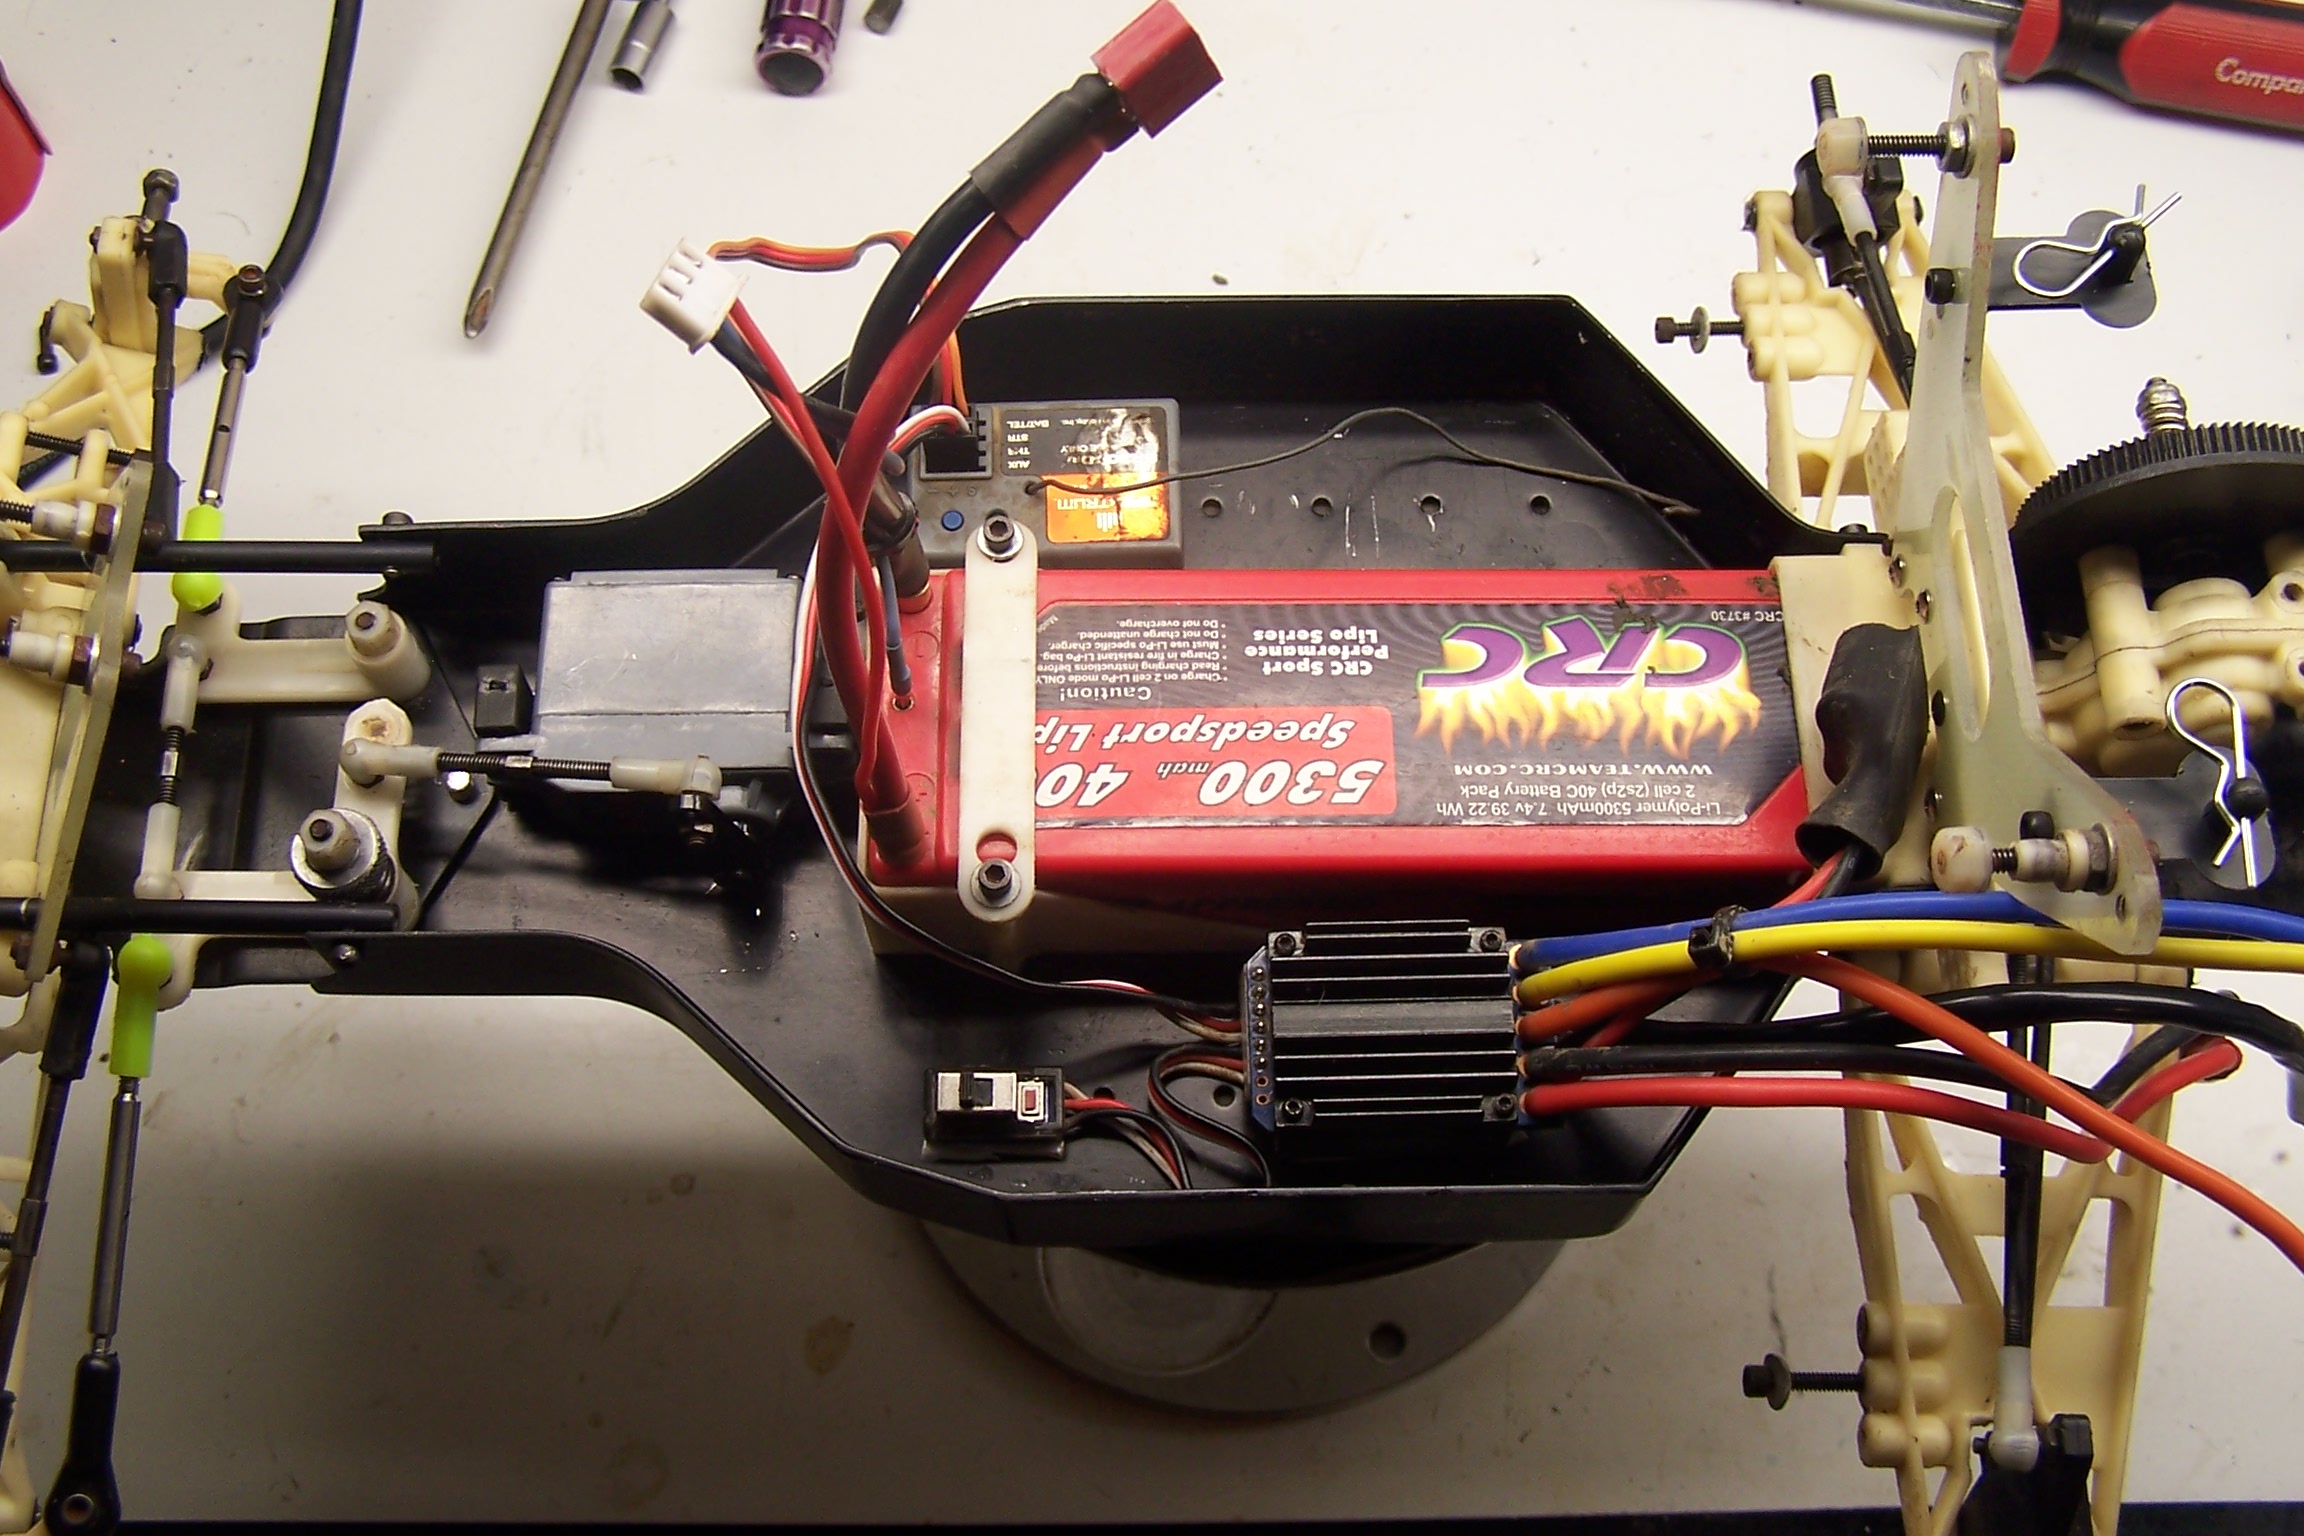
The front battery box had to be moved forward slightly. ESC and Servo installed. I used the RPM universal servo mounts to mount the steering servo in its stock location.
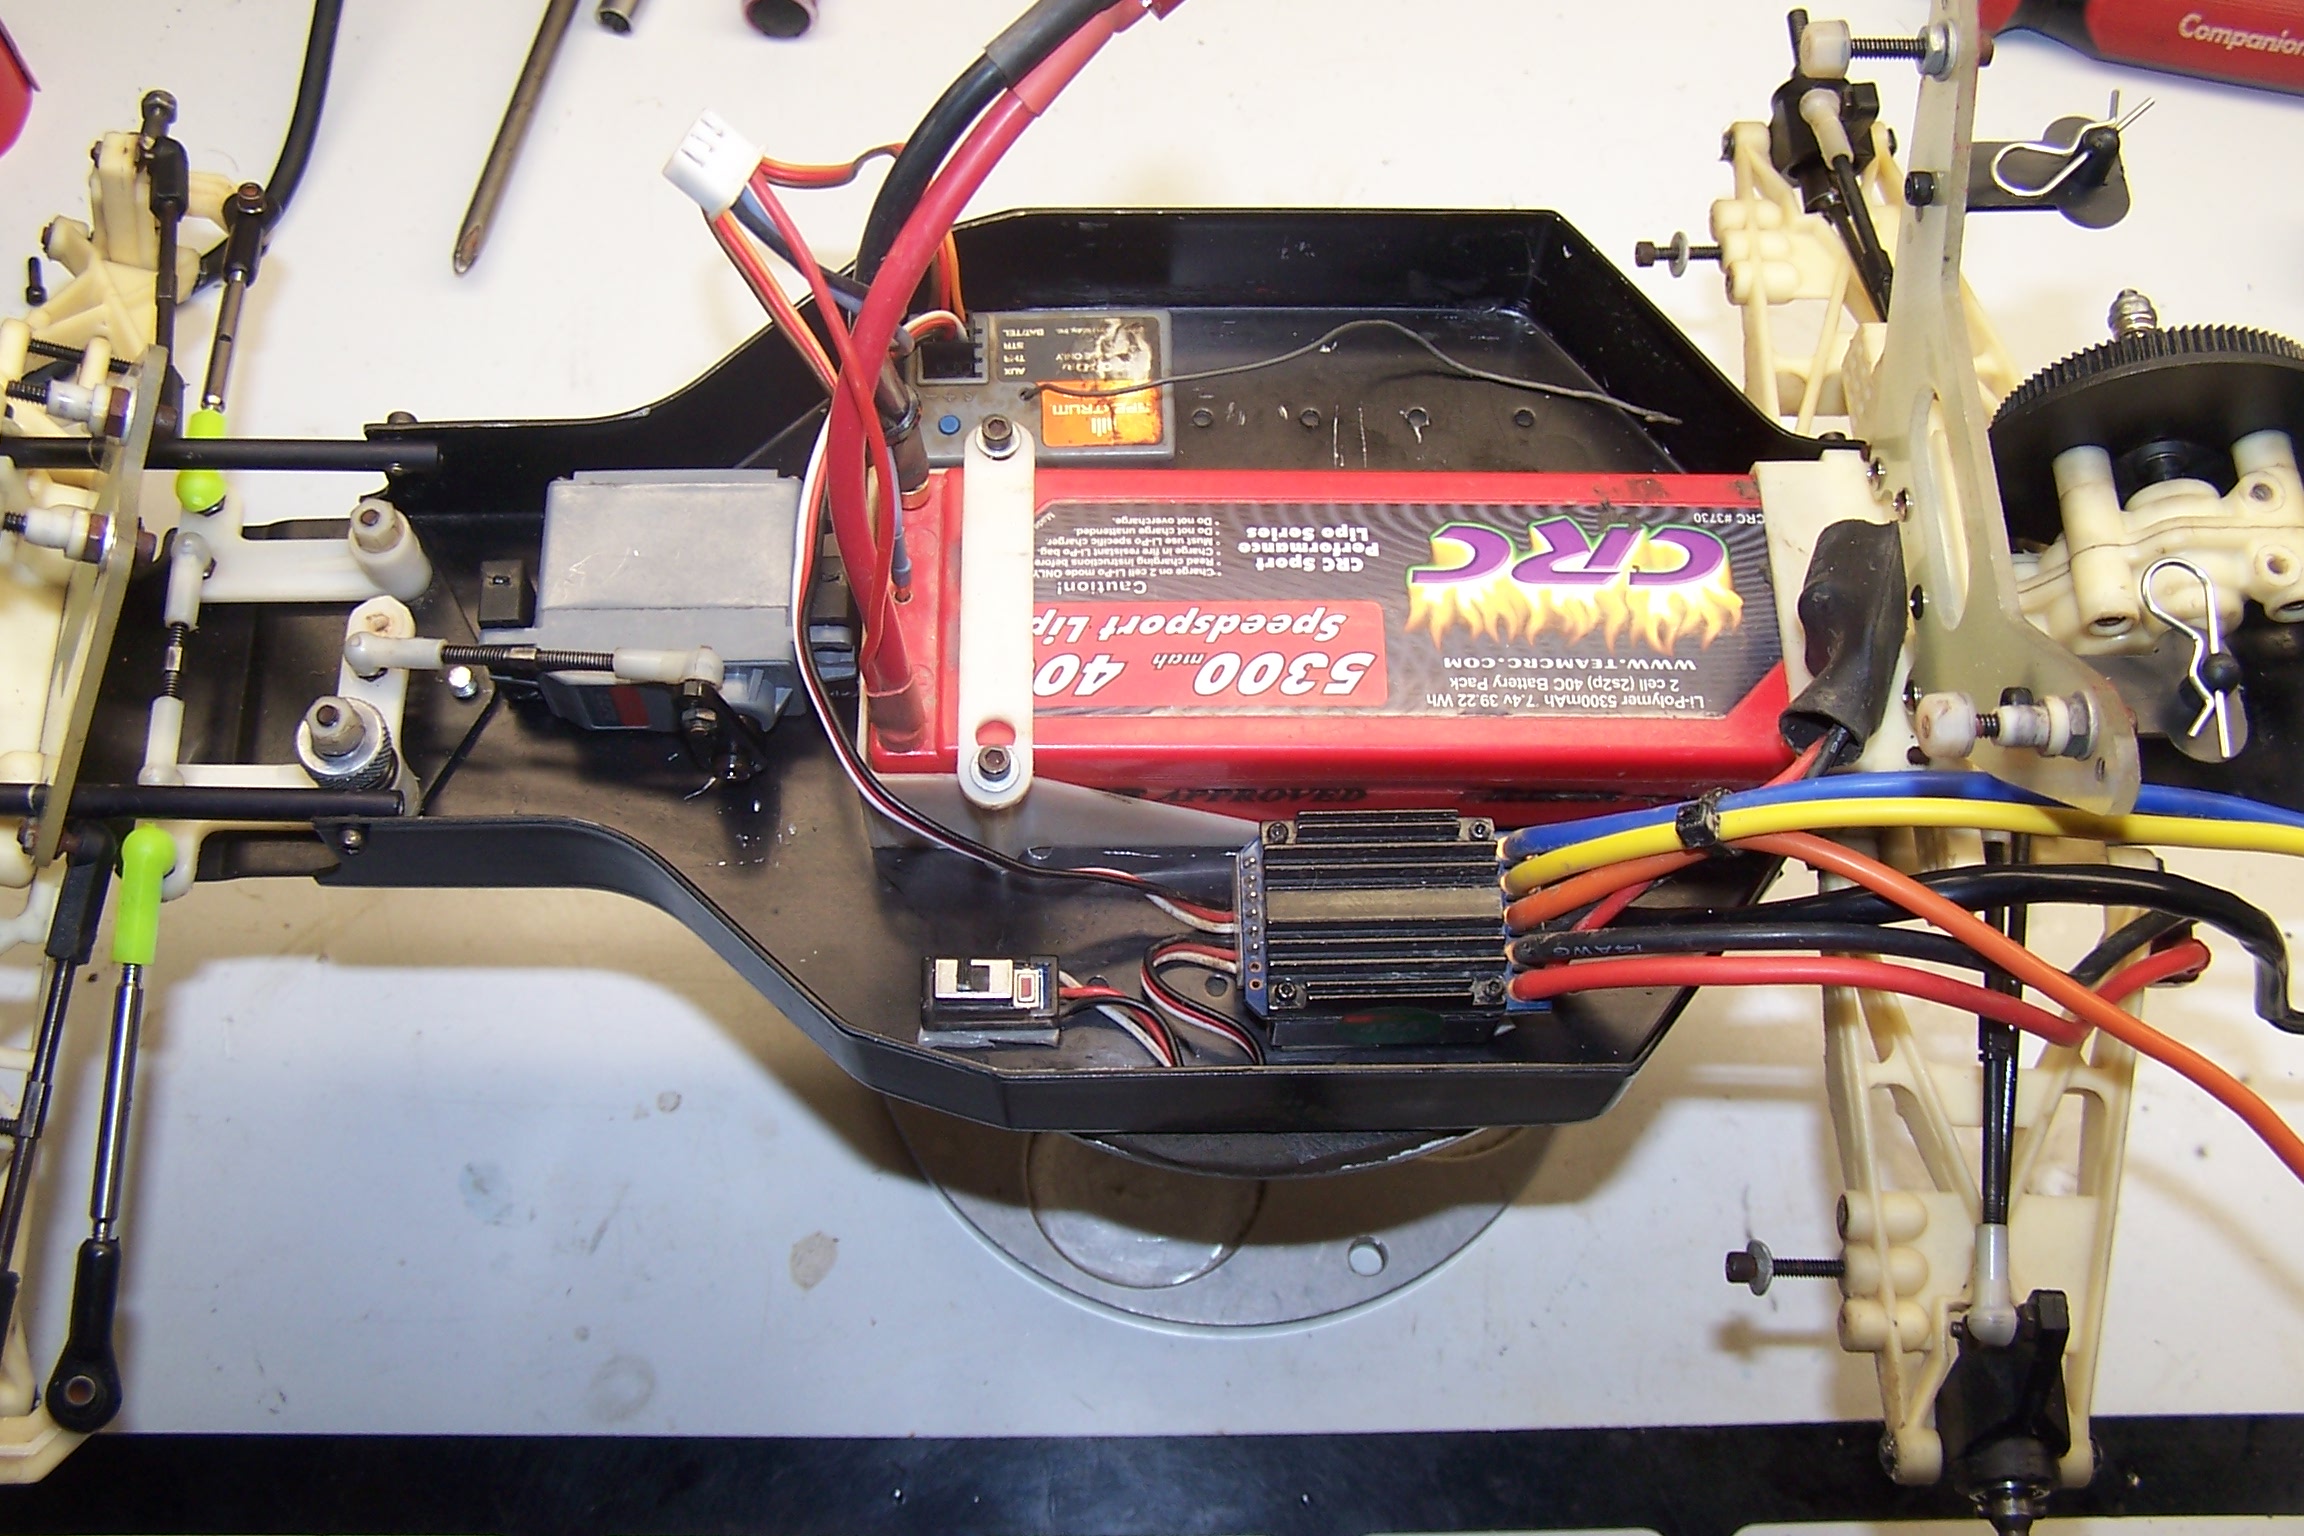
Because modern servos are much stronger than the older ones I went with an aluminum steering servo arm.
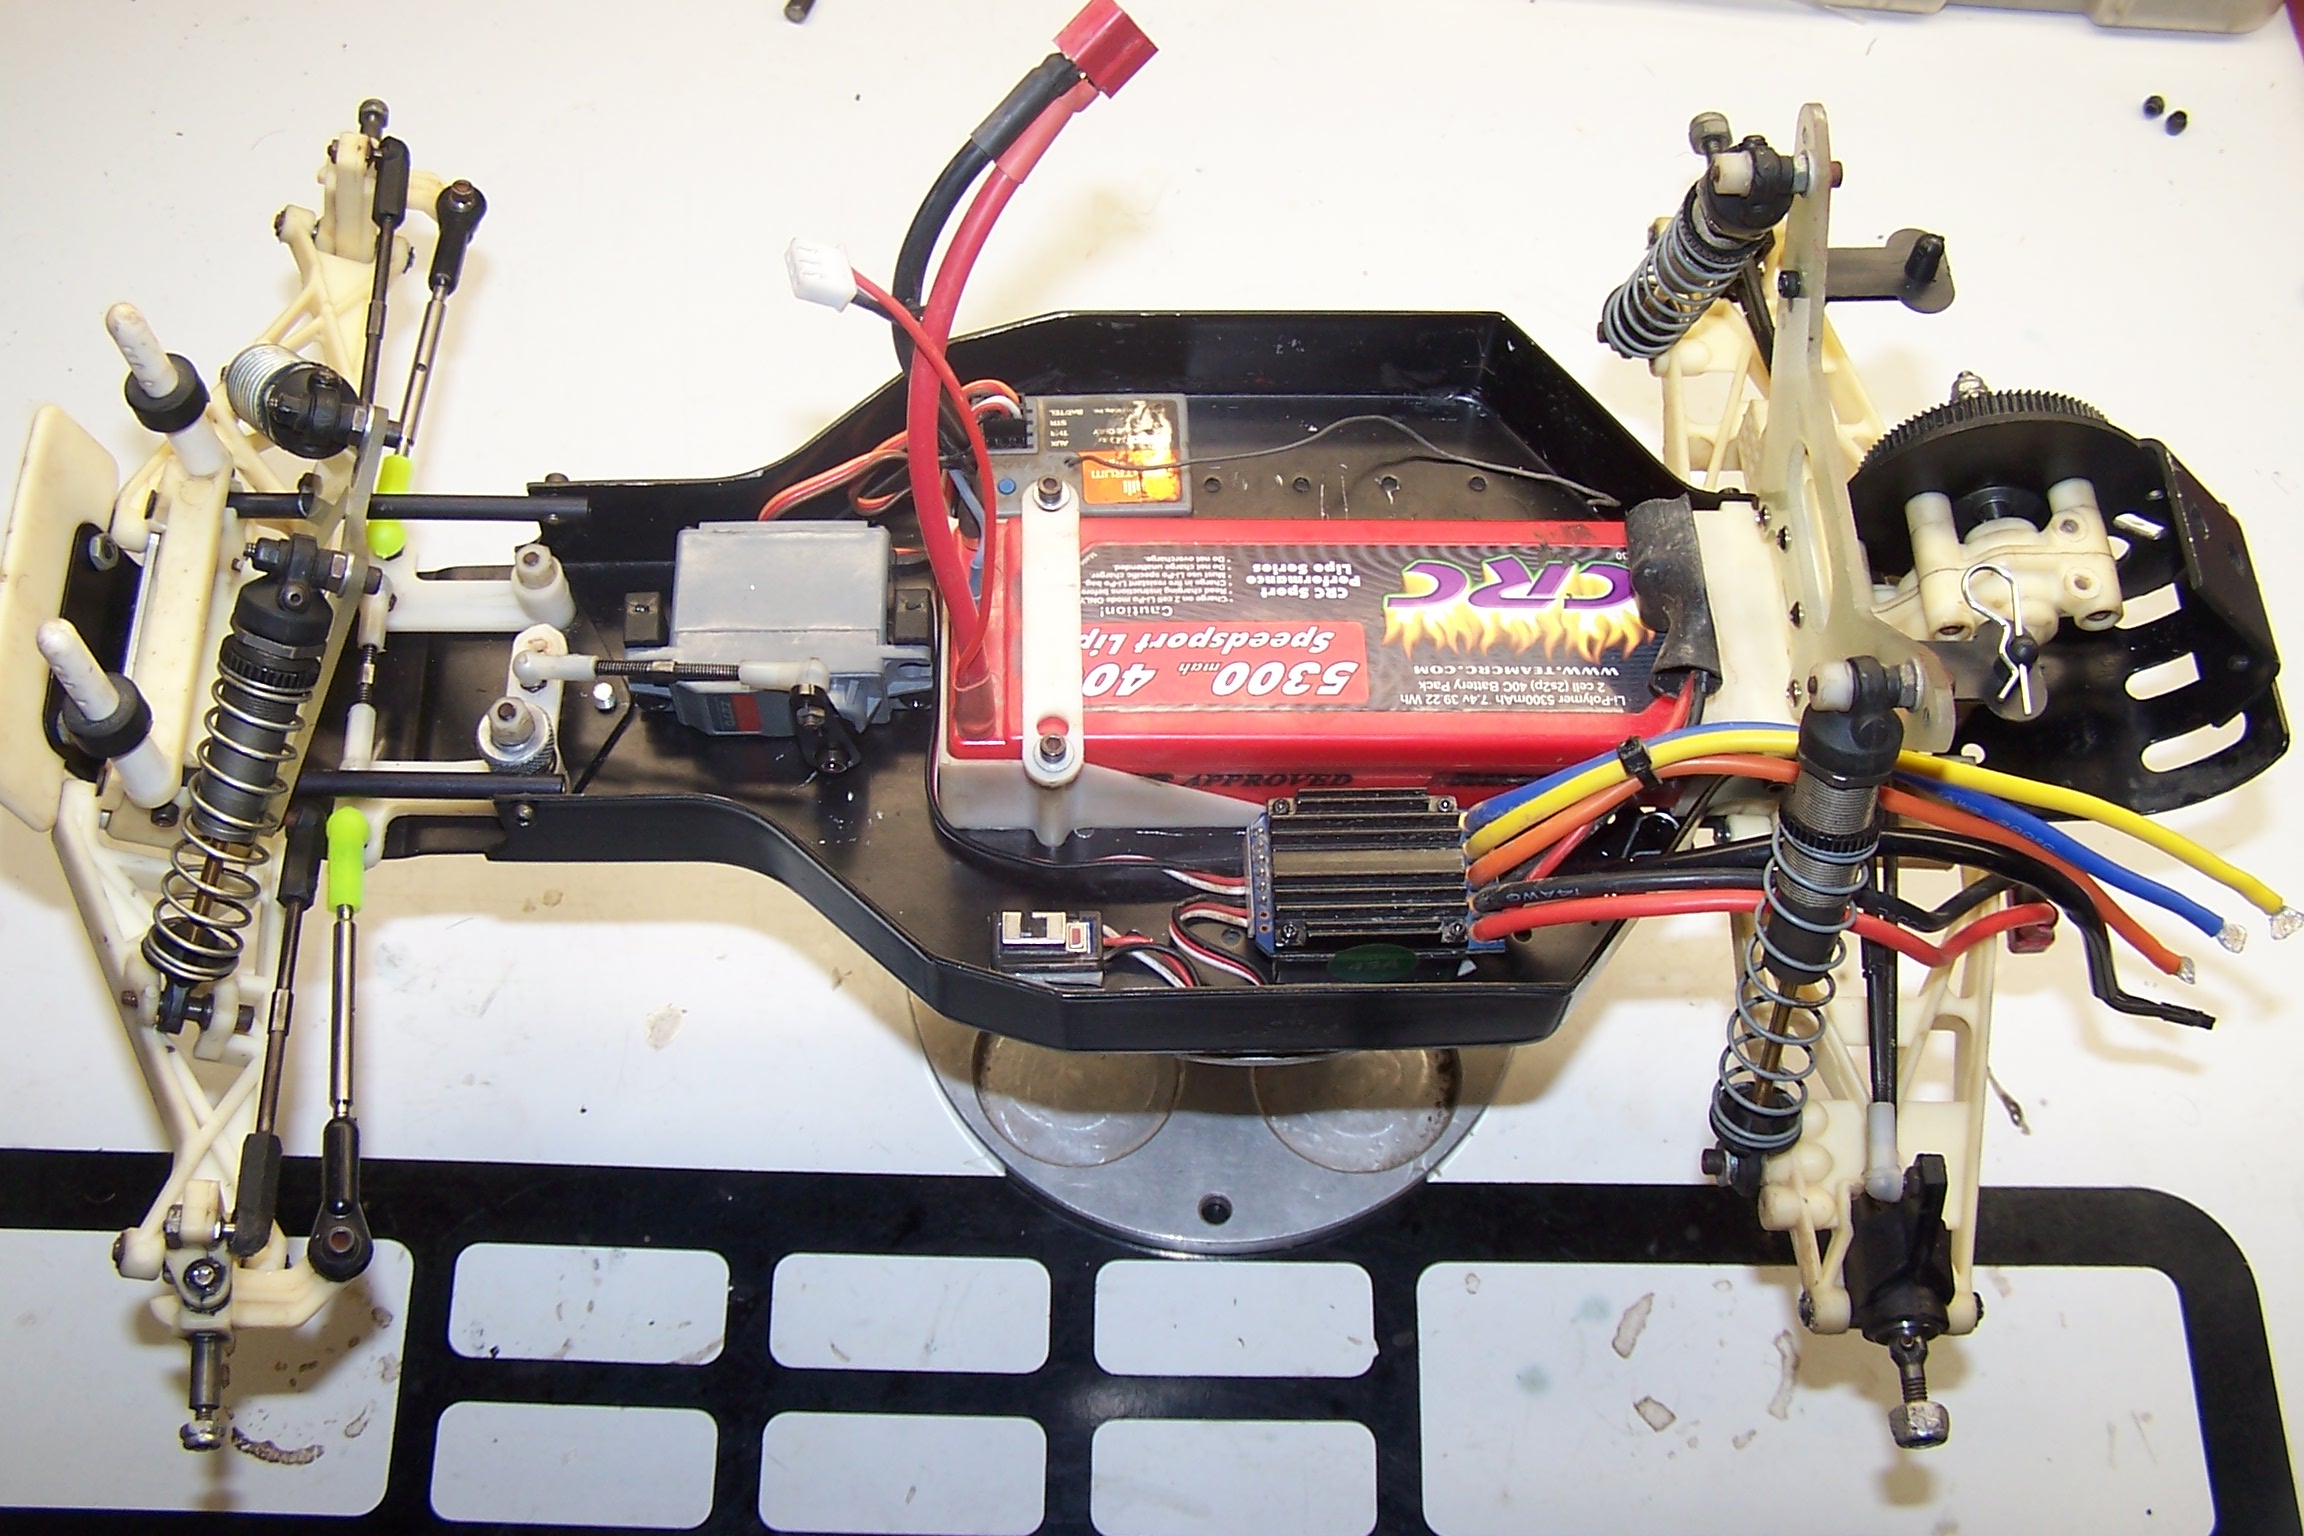
The shocks were taken from an SC10. The were cleaned and rebuilt.
For tires, we decided to use some from Pro-Line Racing. They were the best back in the day, and are still on top. We’re using Edge fronts and Holeshot rears.
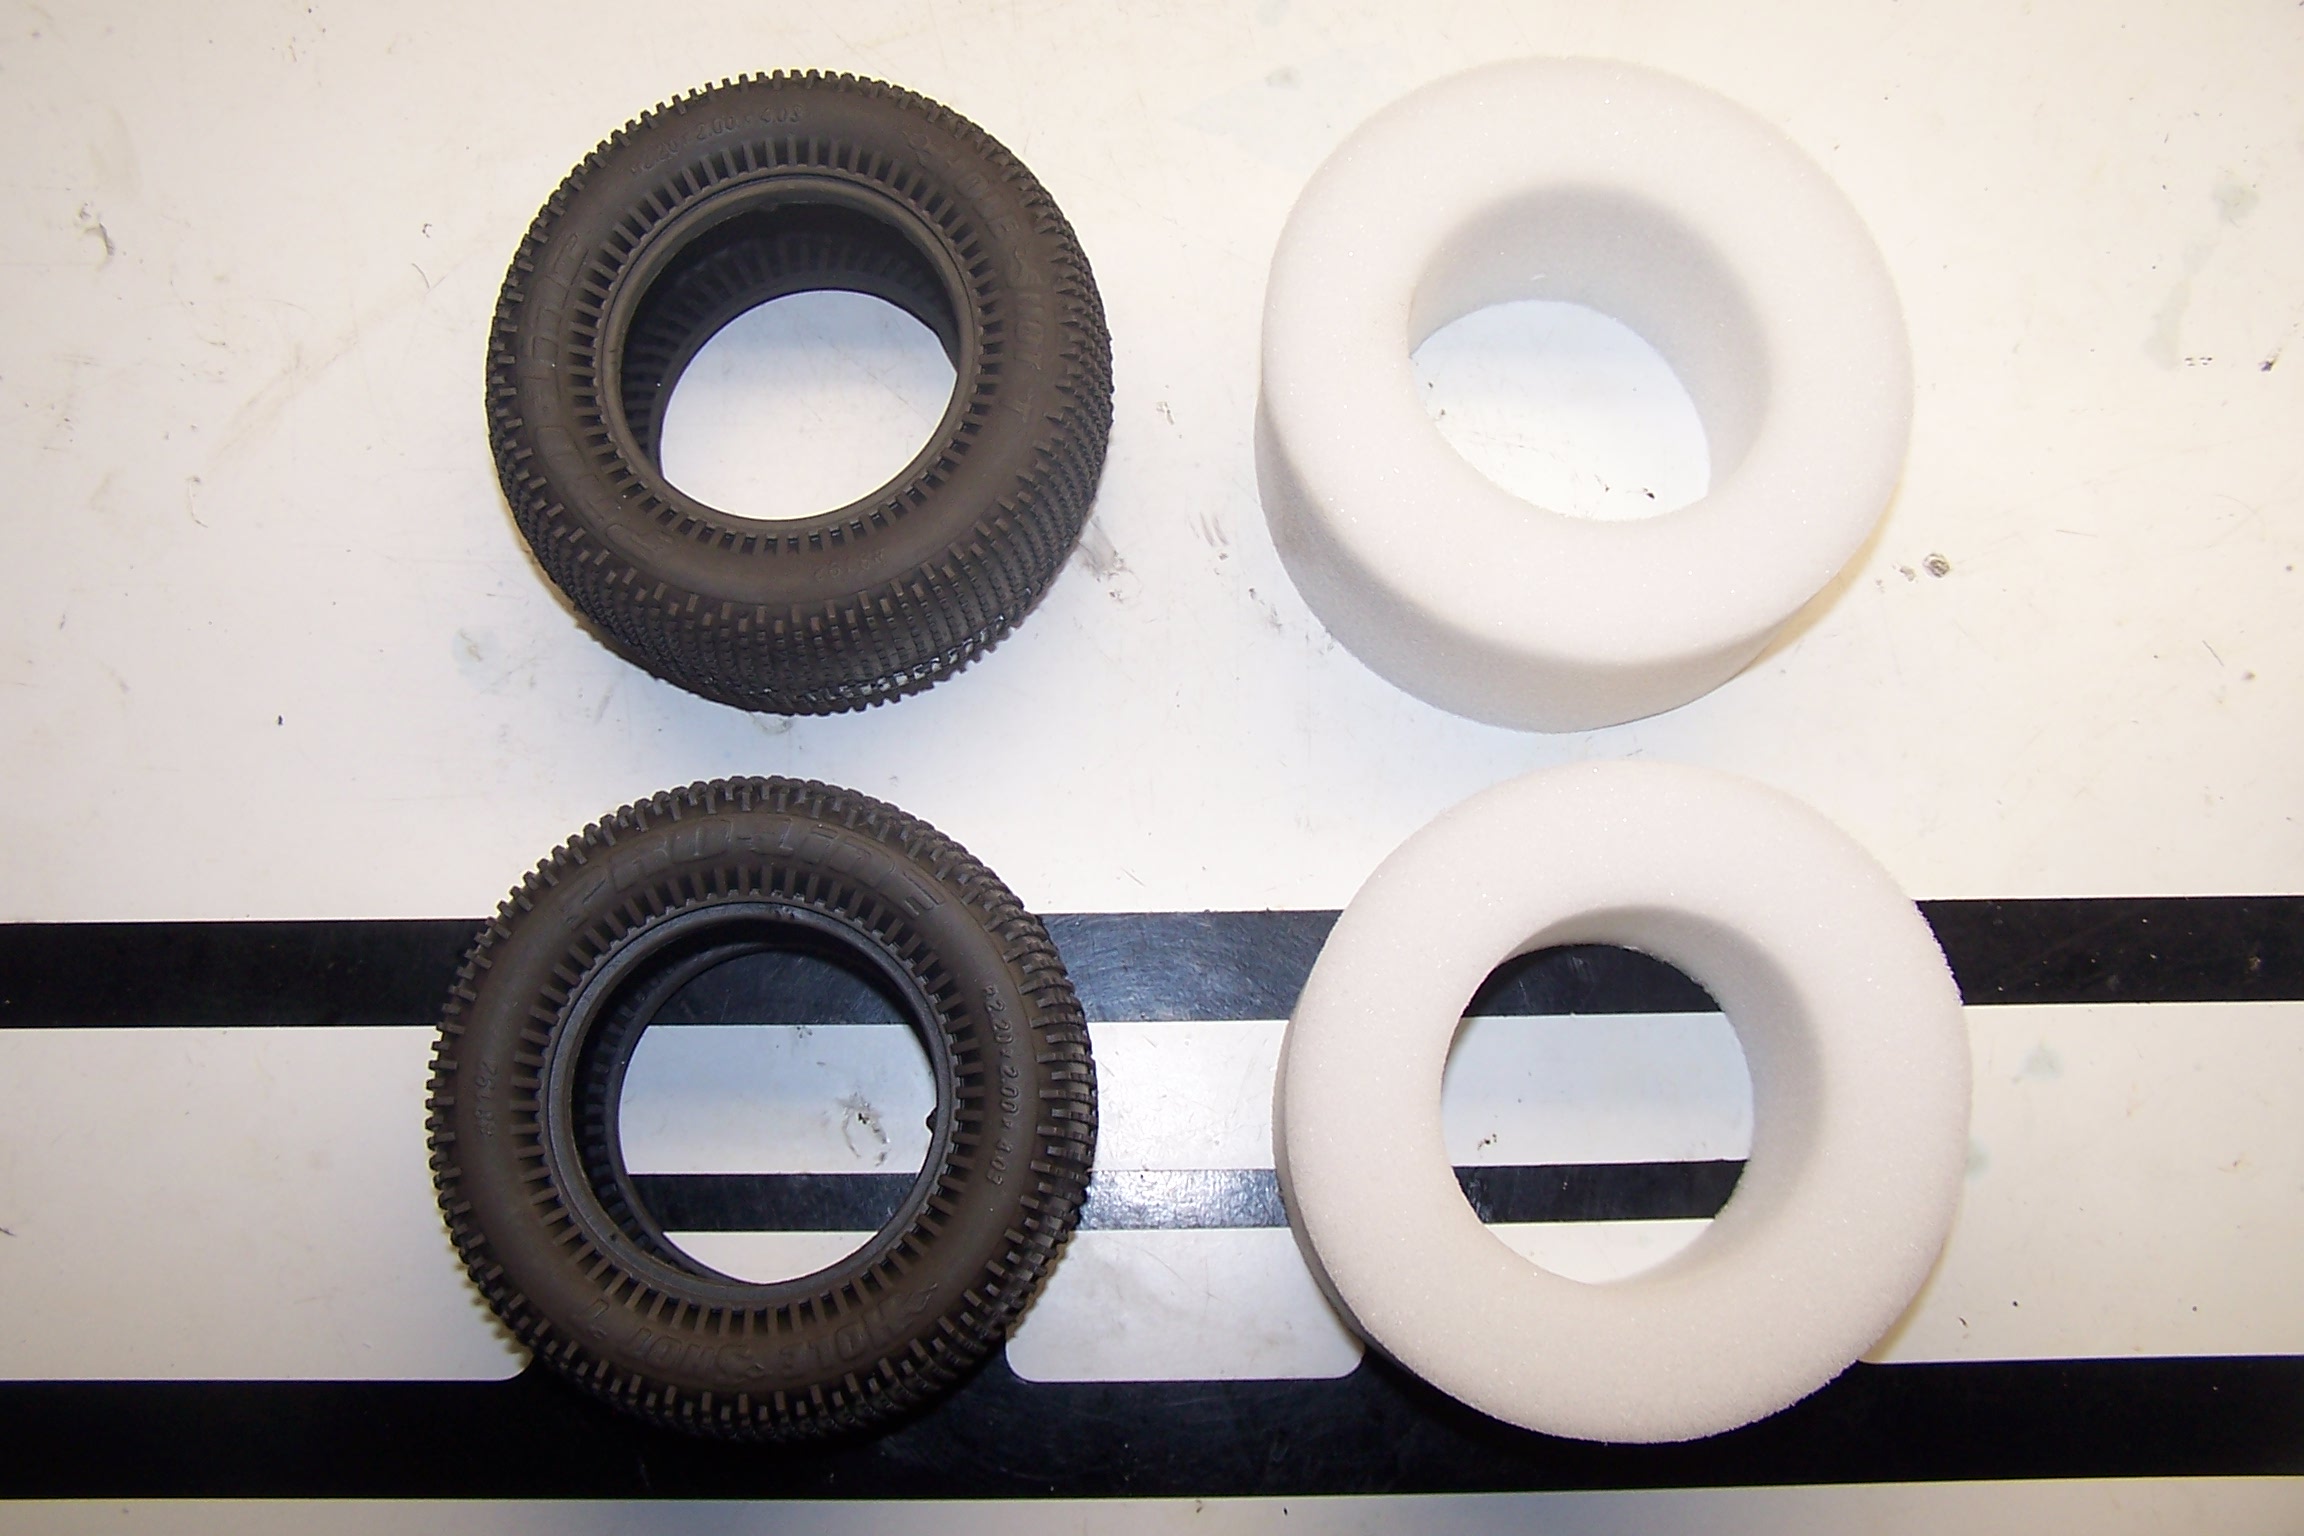
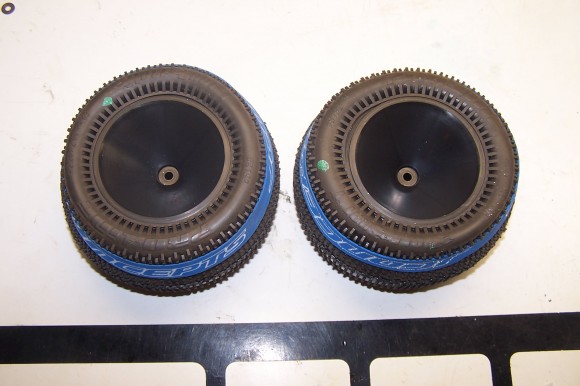
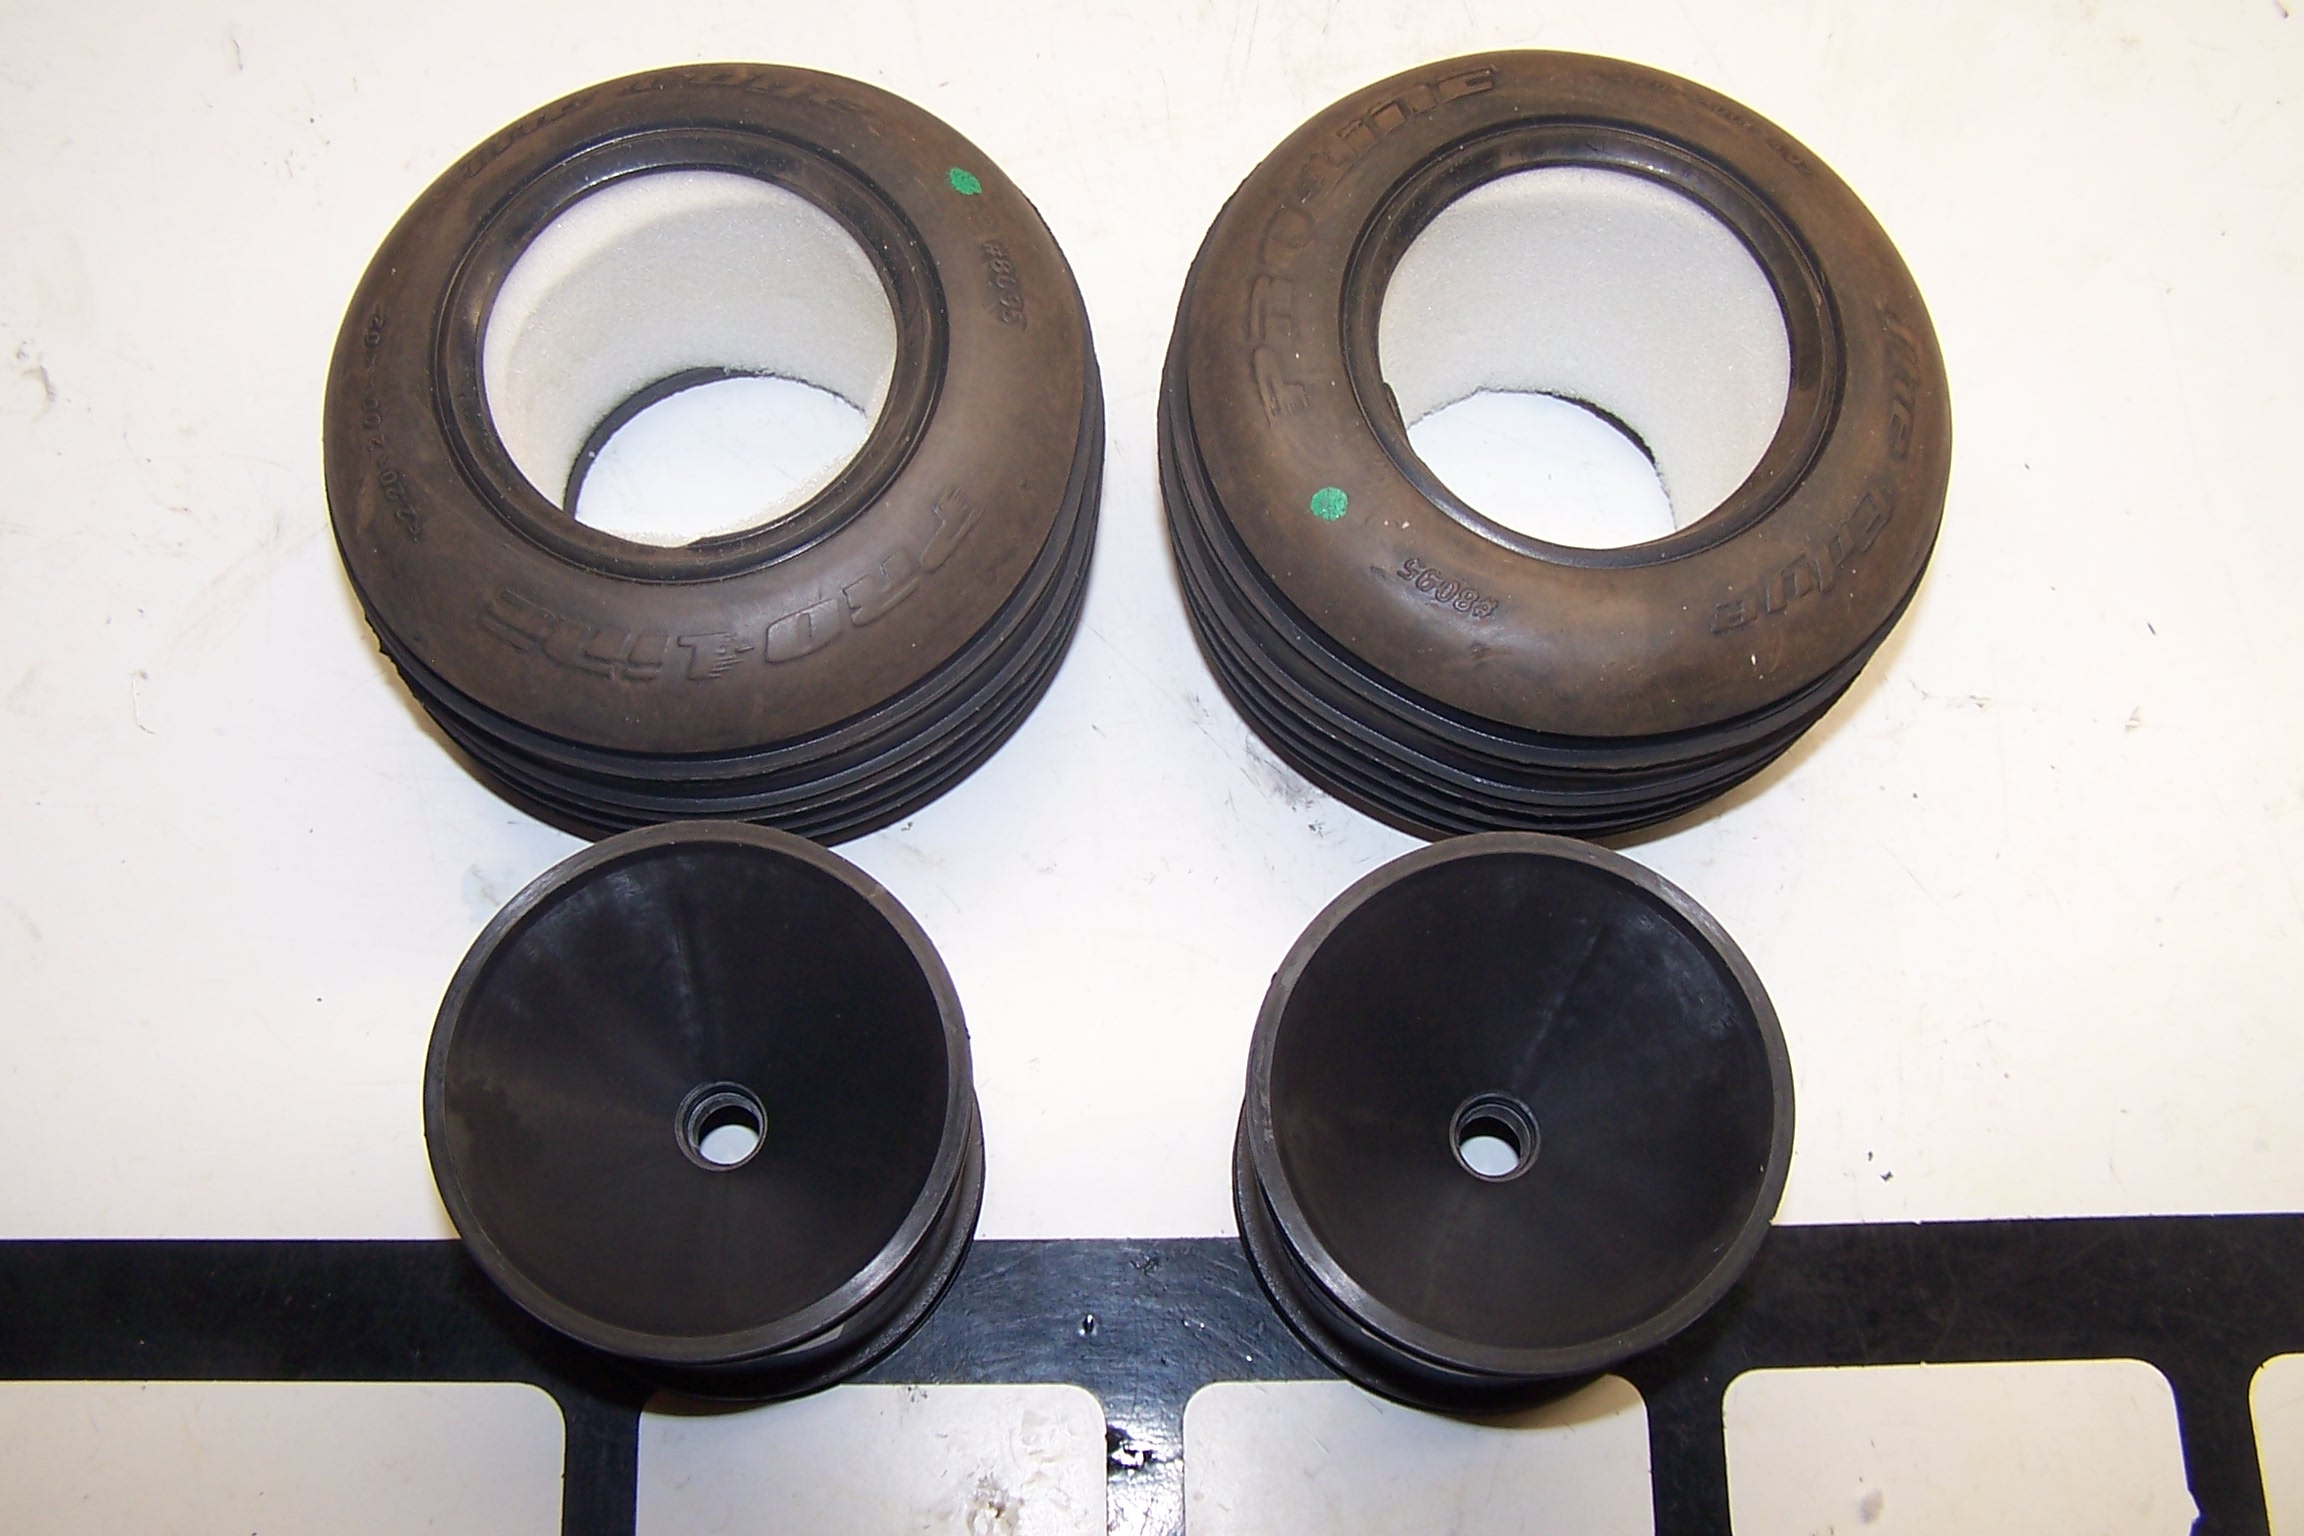
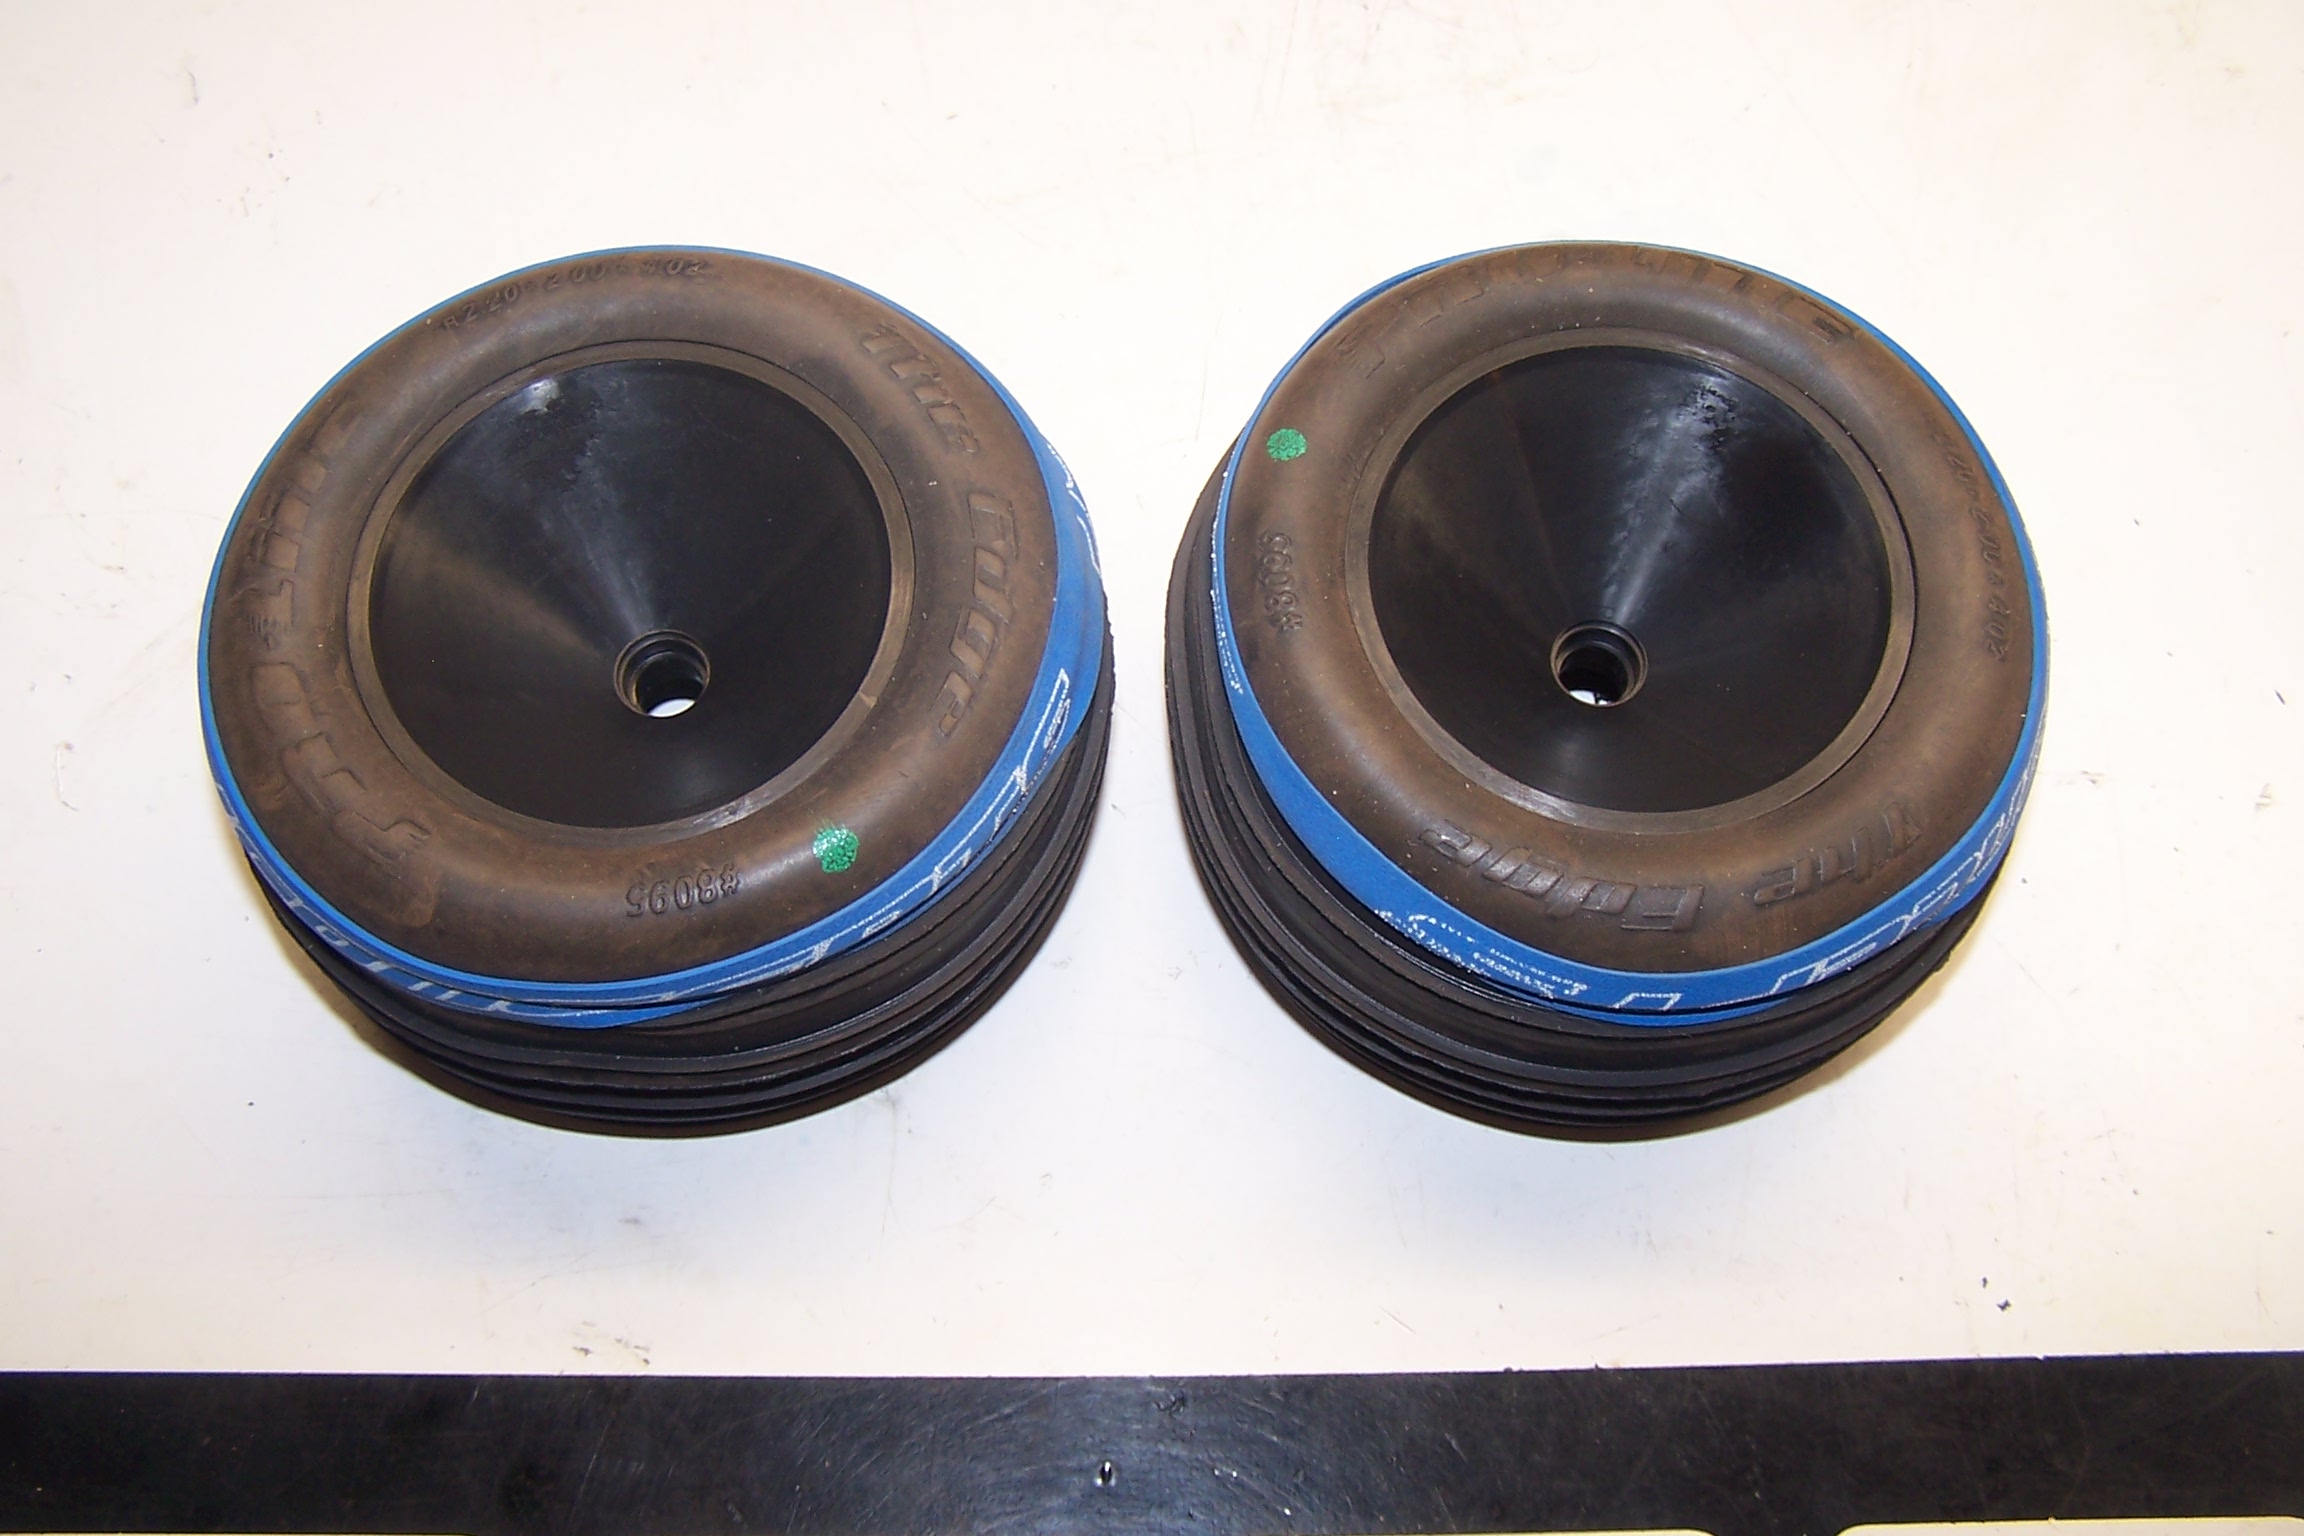
The track is typically hard, but with a little loose dirt. We went with M3 compound. They should hook up great. Wheels are stock RC10T2 wheels that bolt right up.
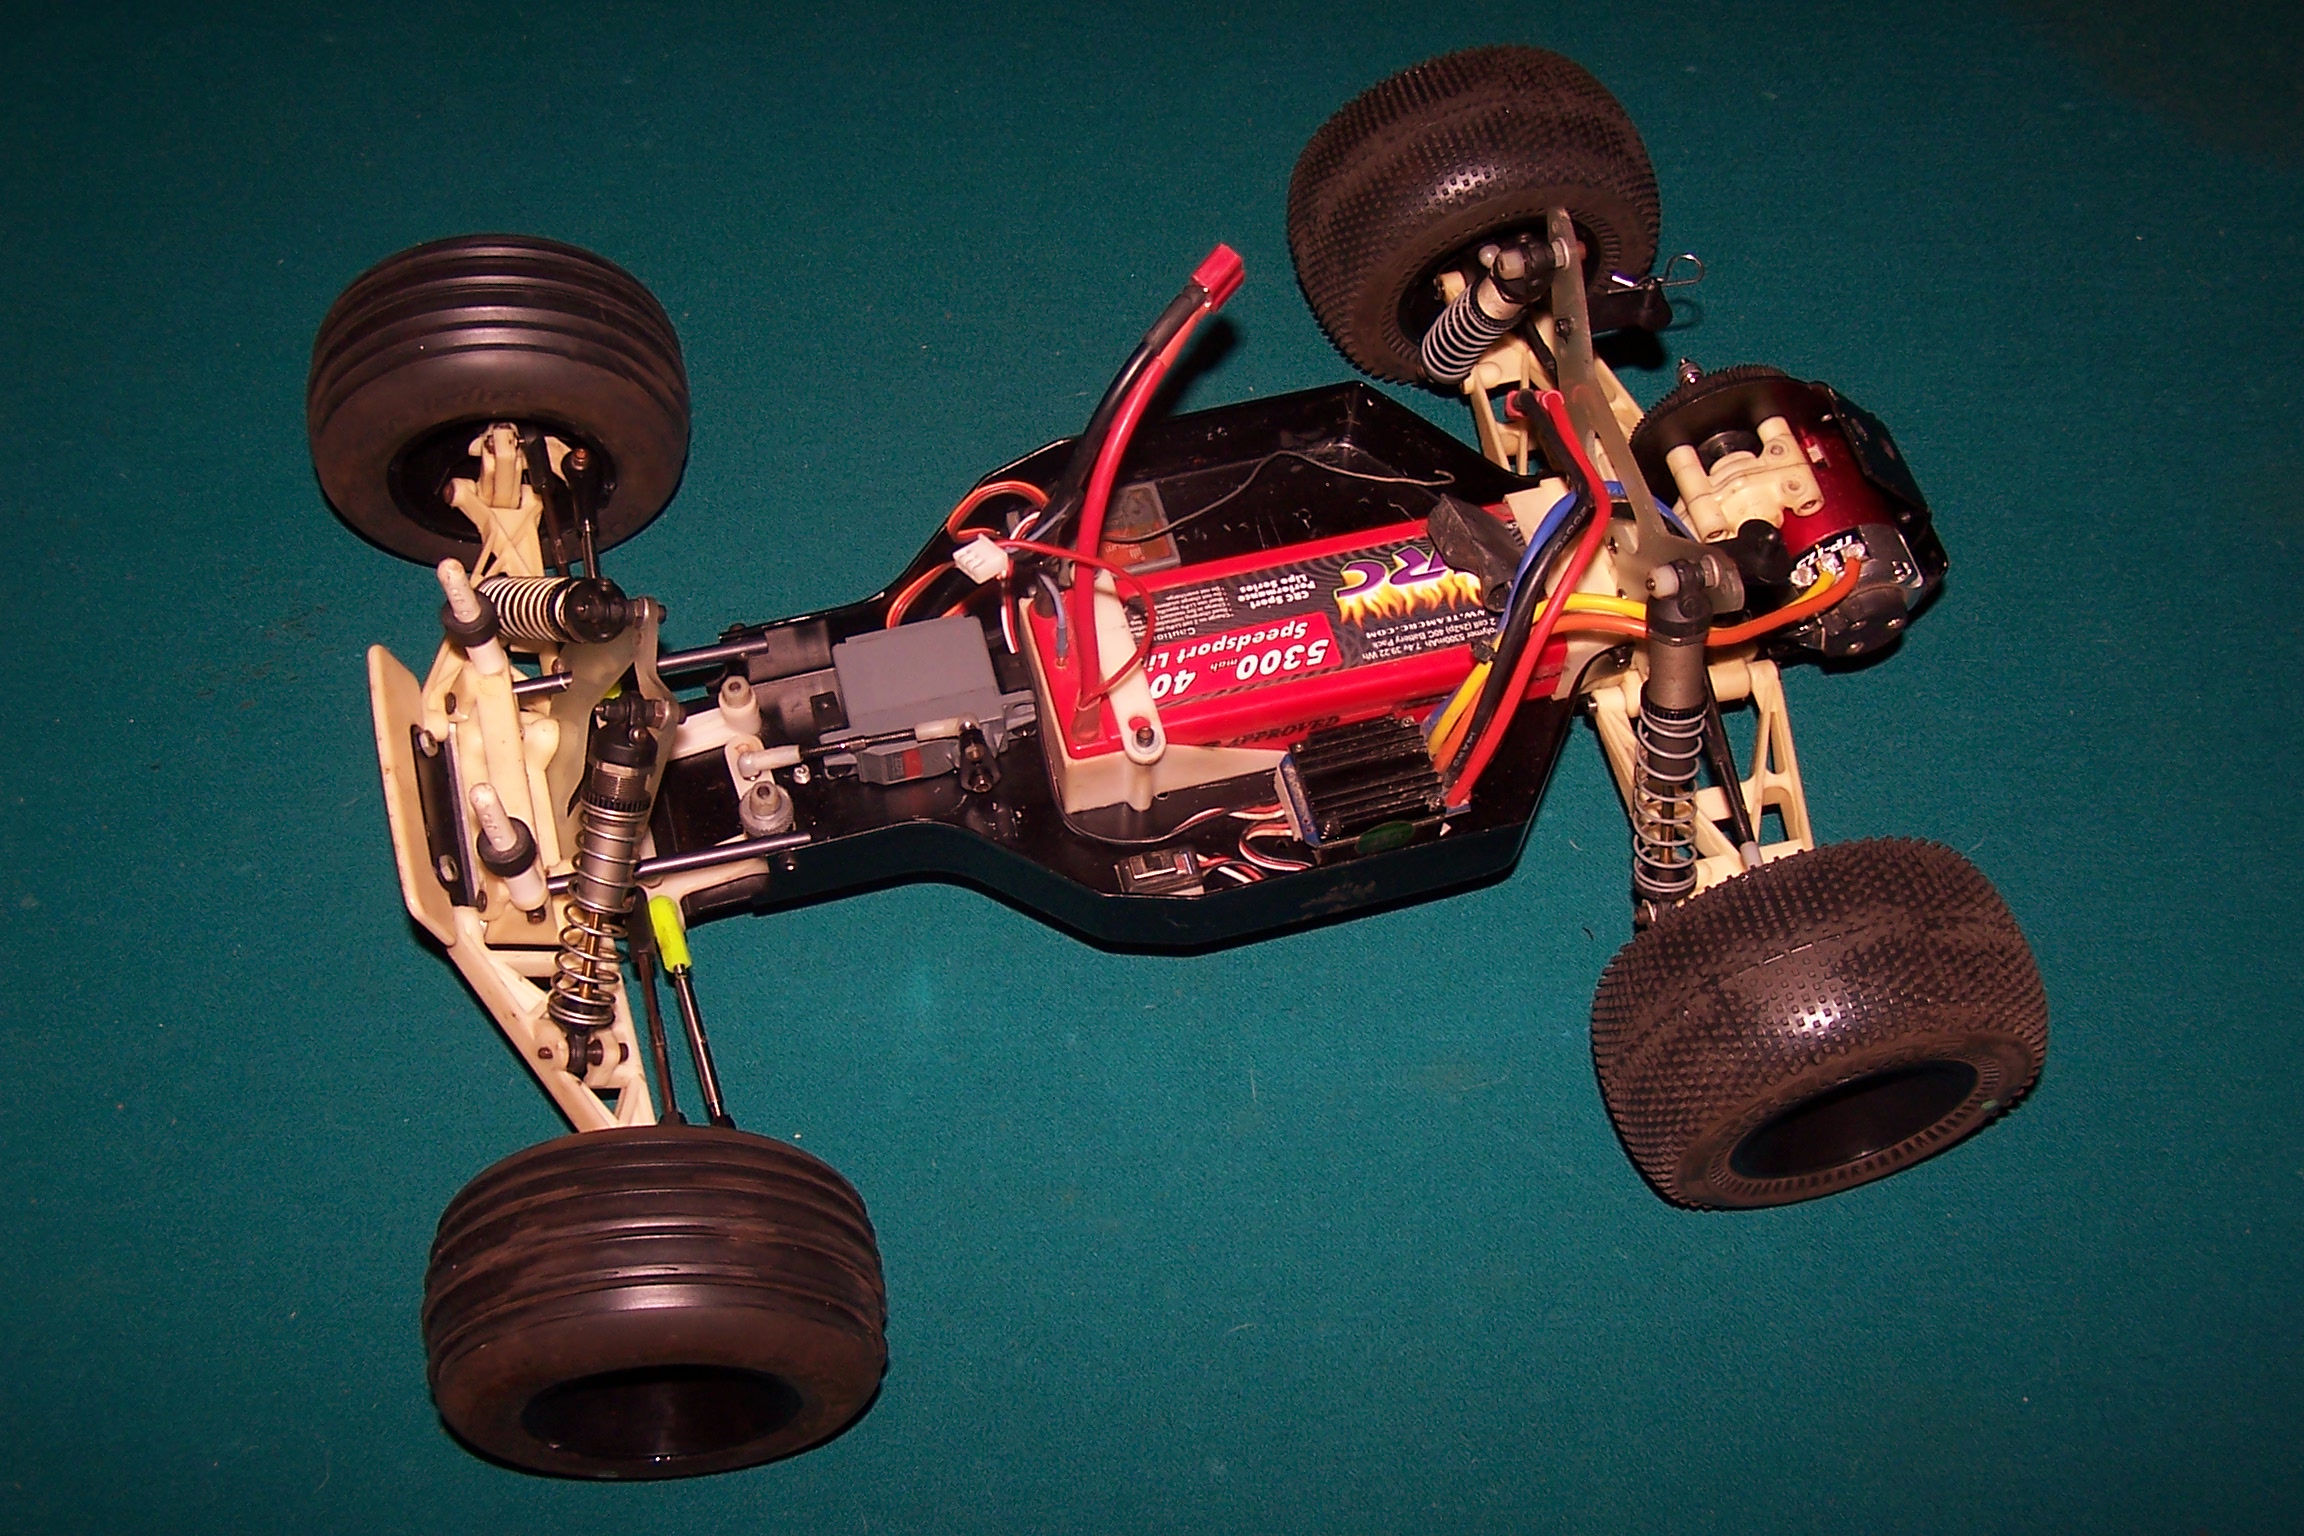
Truck is pretty much done. A few things to do once we hit the track. Set the slipper and get the gearing correct.
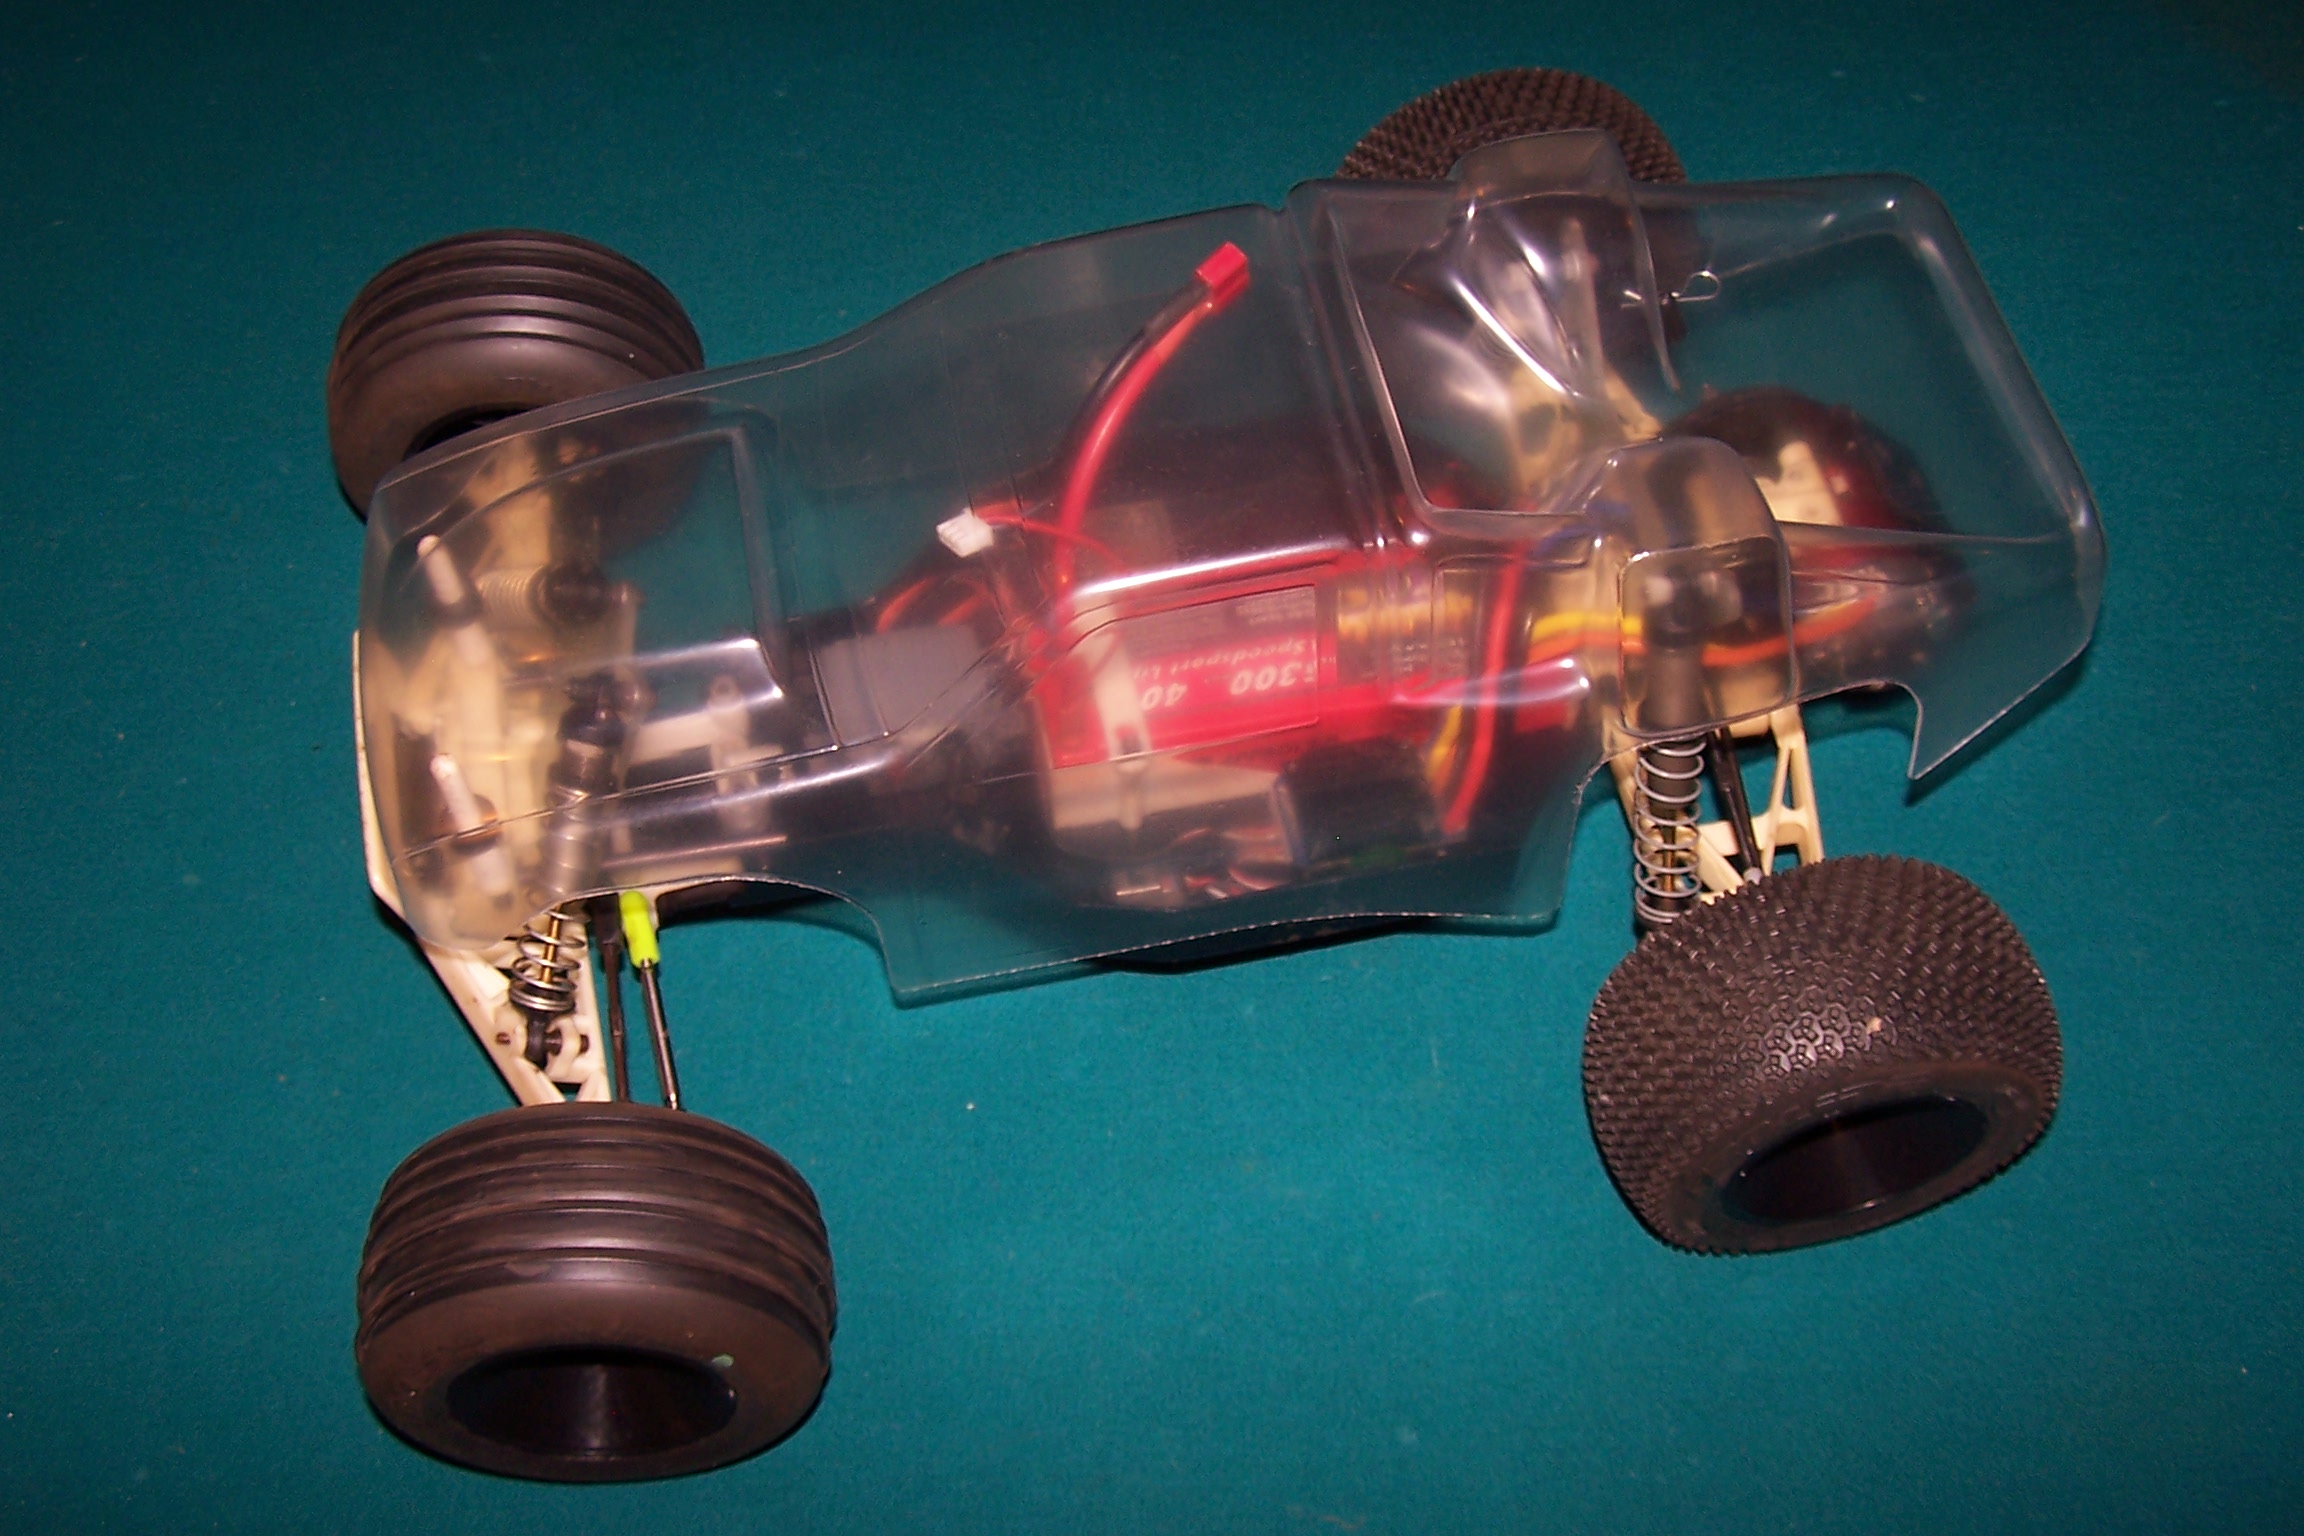
The Proline RC10T2 body fits well and looks like it belongs on the truck. This truck will be raced by my 9 year old son Mason while I restore another RC10T and a gold tub RC10 for the race. Pretty funny that the truck is more than twice as old as the driver.
Check back to RCSoup.com and follow all of the builds on the “Road to the Vintage Nats“.
 Posted in
  Tags:
Tags:
Thanks for this. This is a great post. You’ve inspired me to dust of my old RC10T. I’ve always been tentative to use it in recent years for fear of getting the right parts if something breaks. Everything is different now so it’s hard to find parts that will fit it just right.
[…] Here are some highlights but be sure to check out the complete details here. […]
[…] my second installment to the “Road to Vintage Nationals“. I previously freshened up an RC10T. I need to run a second class so I decided to run a Gold Tub RC10. This is just like the one I […]