

 January 24th, 2014
  Geo
Geo
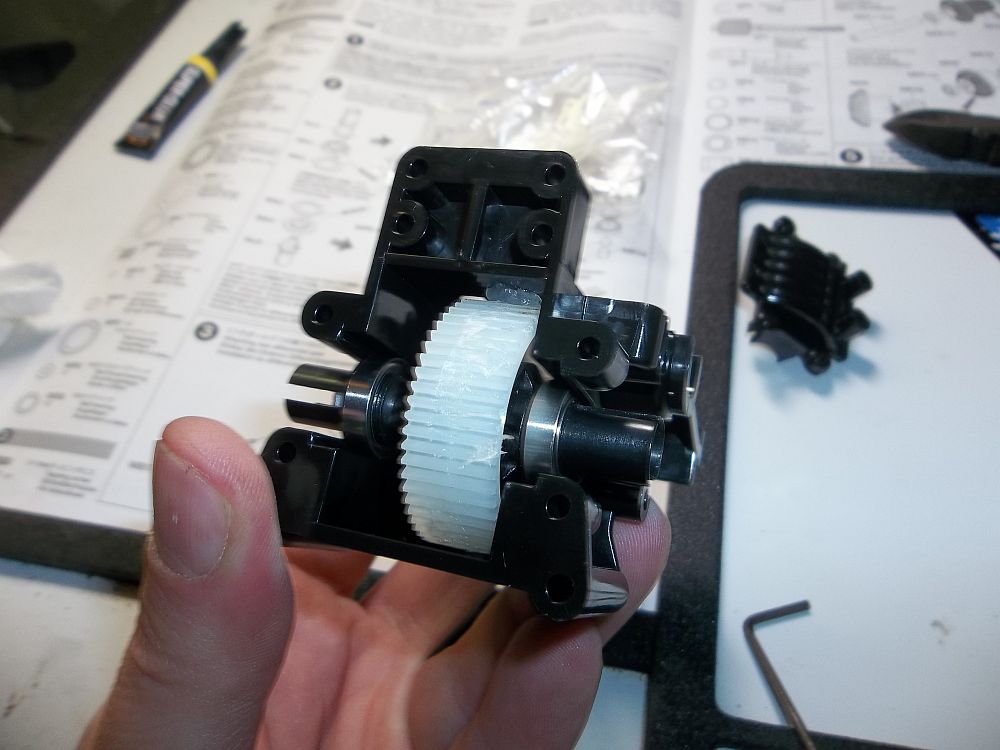
Now we put the completed diff assembly in the rear gearbox.
Cap it off with the cover.
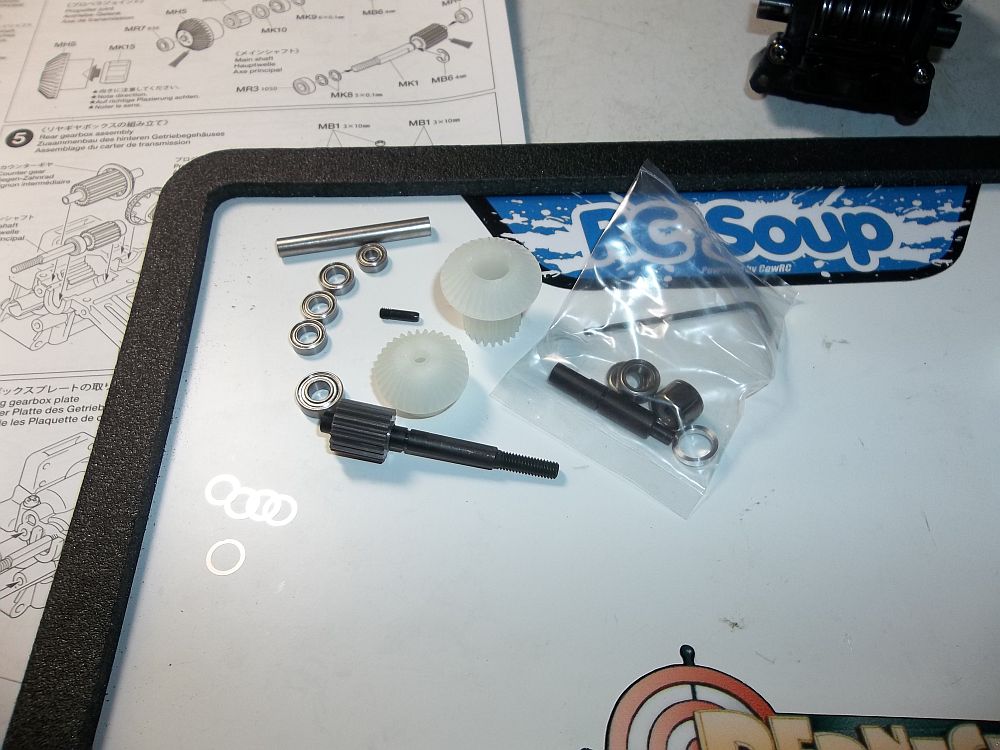
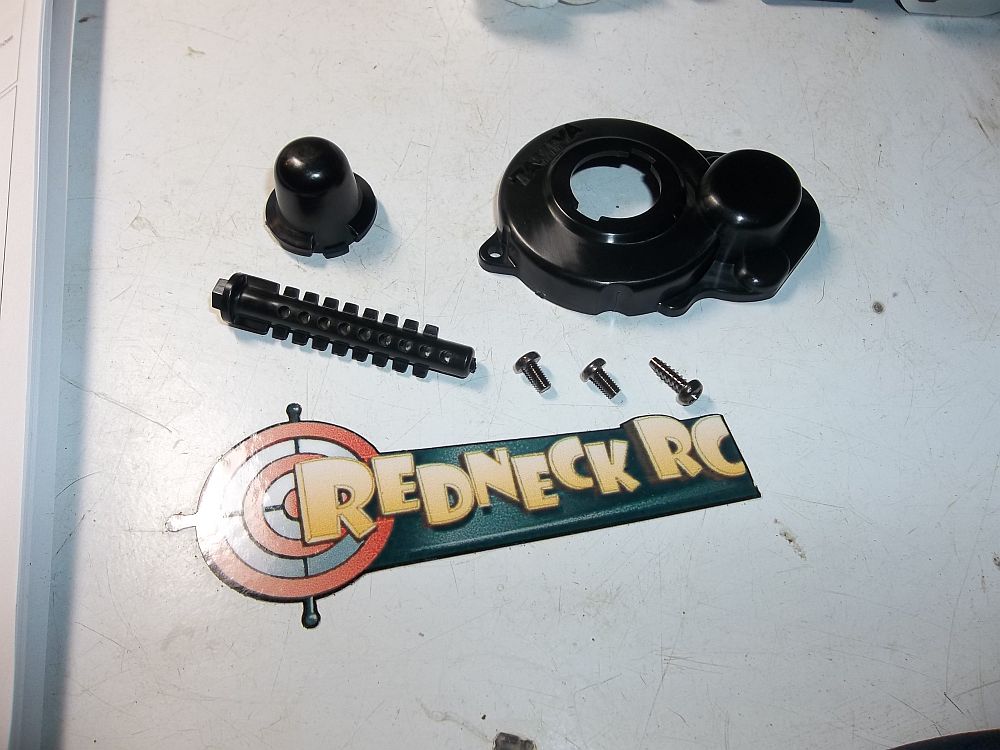
Here are the parts needed for the rear transmission. whats that in the bag? It is a center one way!
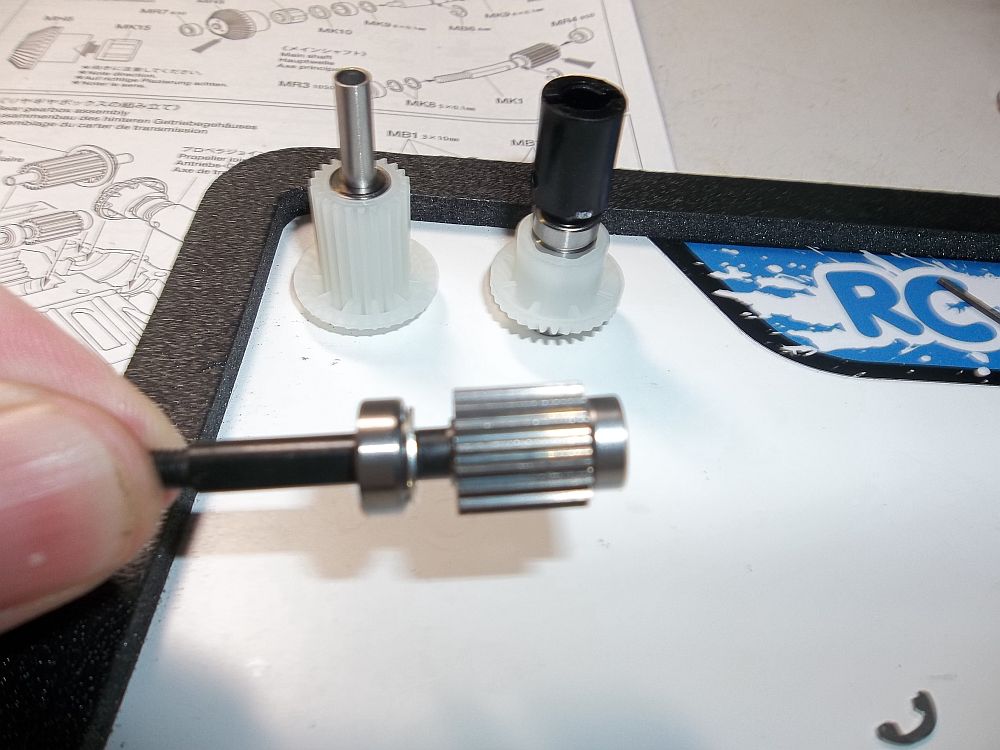
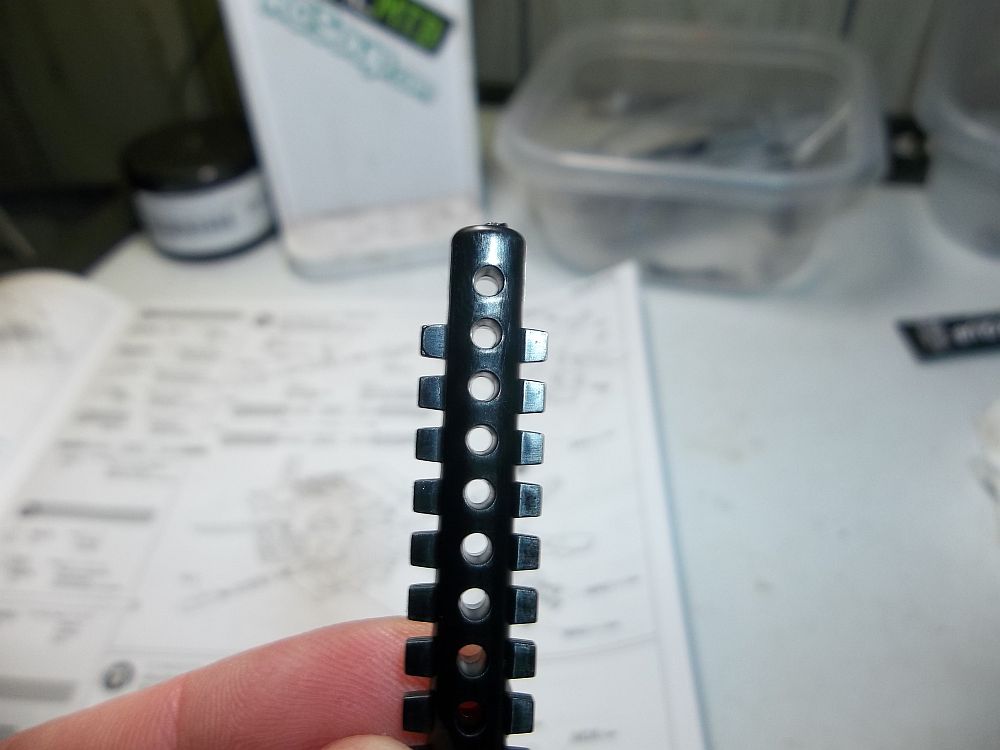
Here we place the gear and bearings on the shaft.

Next we place the one-way on its shaft. Note direction and placement of spacers.
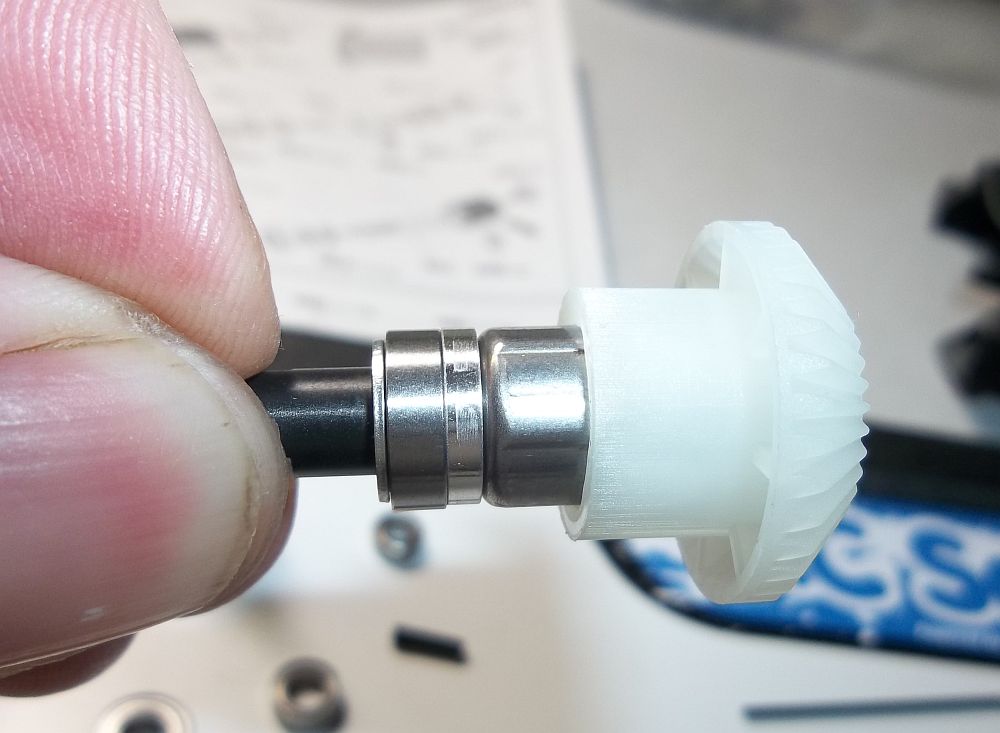
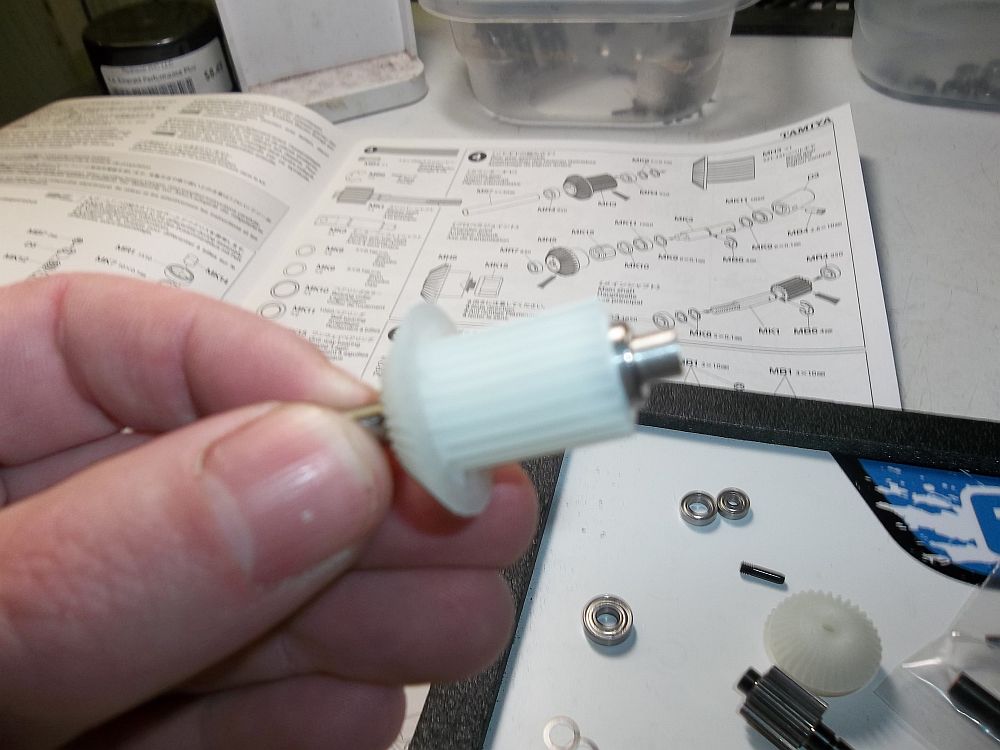
A close up of the one-way assembly with gear.
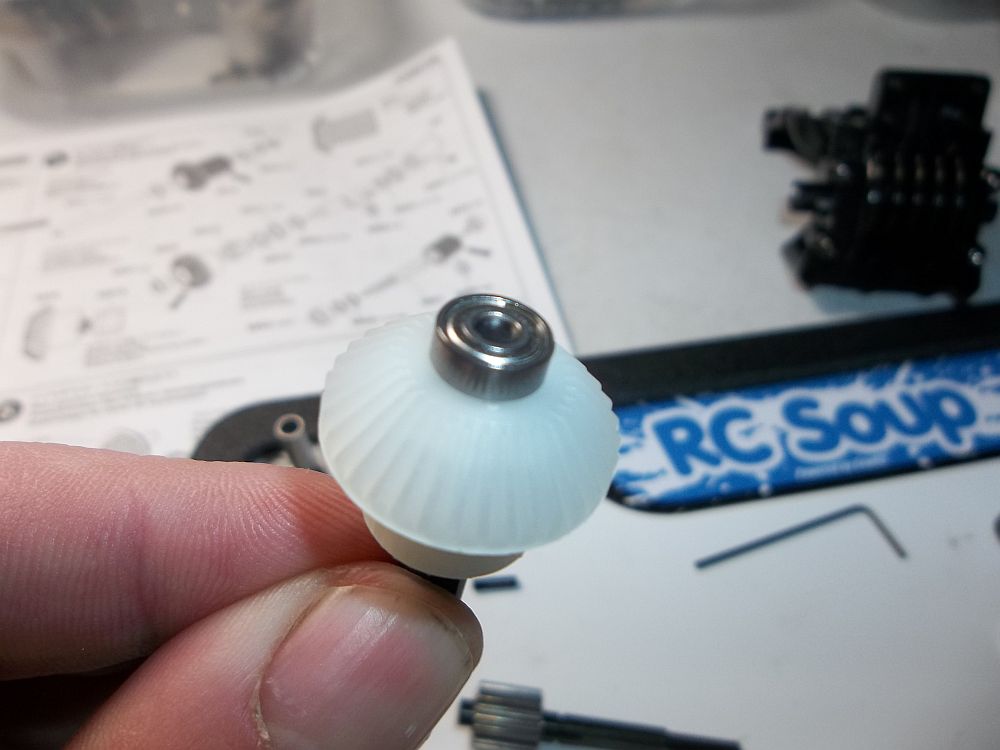
One more bearing on the other side.
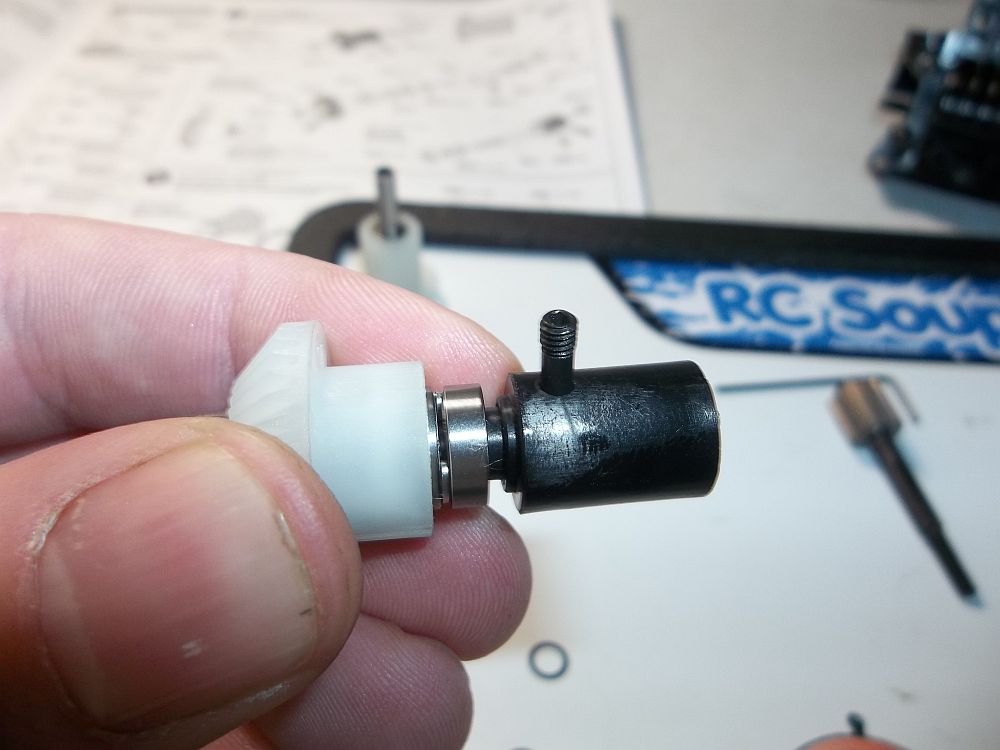
Then we attach the drive cup with a set screw. I am not a fan of the outdrive being plastic.

Oooops, be careful with the E-clips. I broked one.
This is where the E-clip goes on the lay shaft.
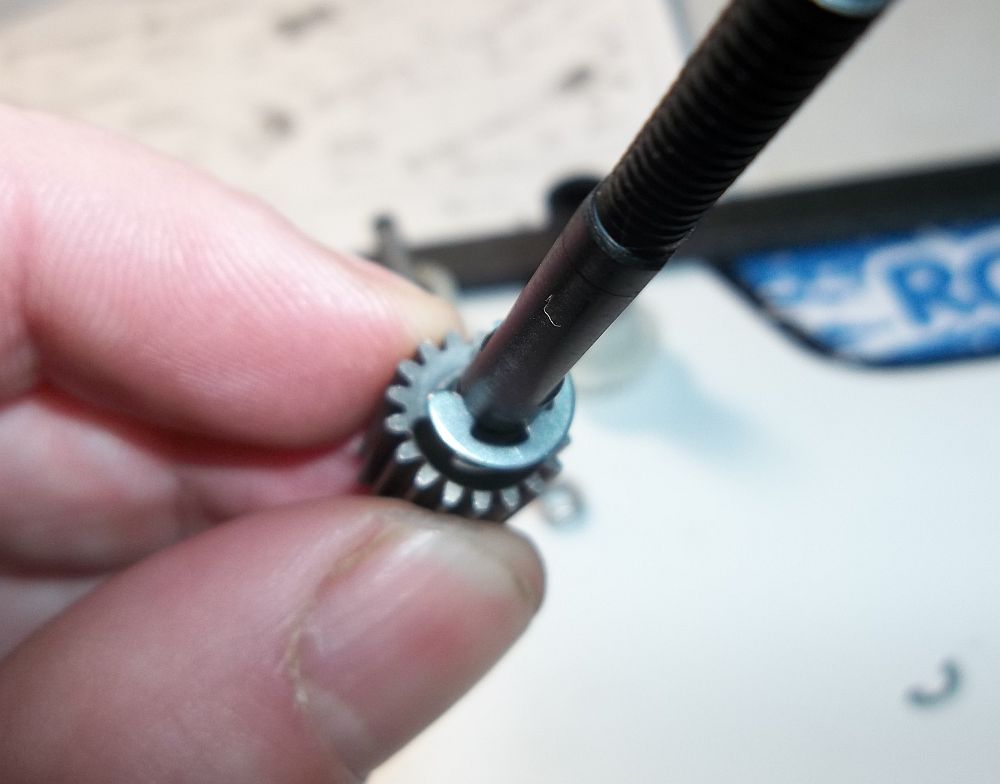
A couple of bearings…
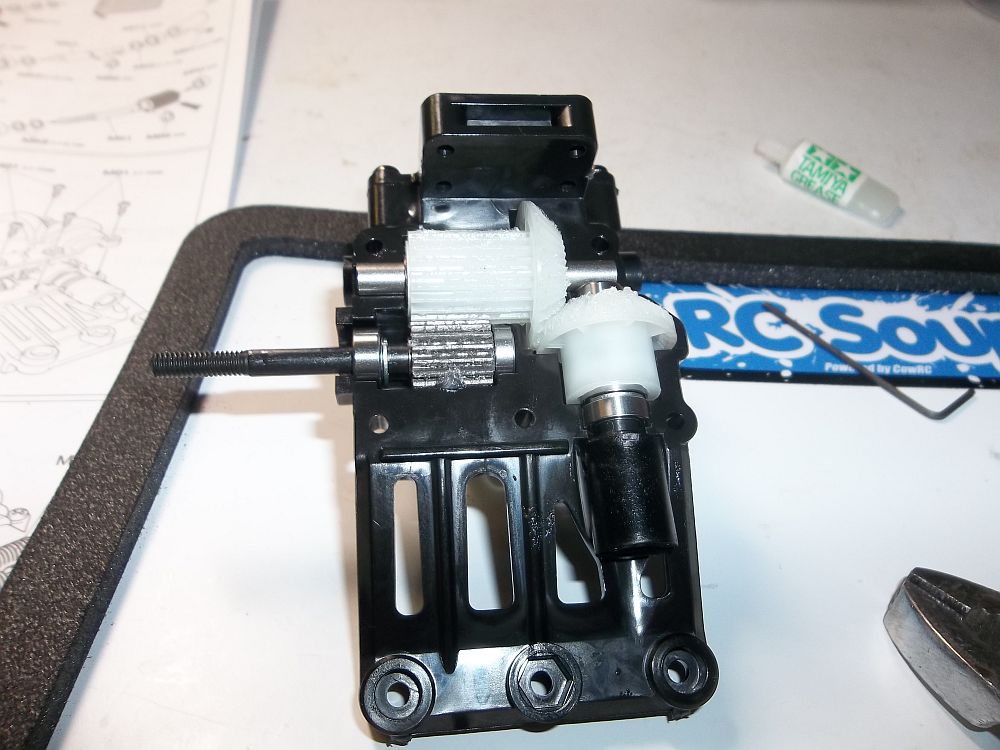
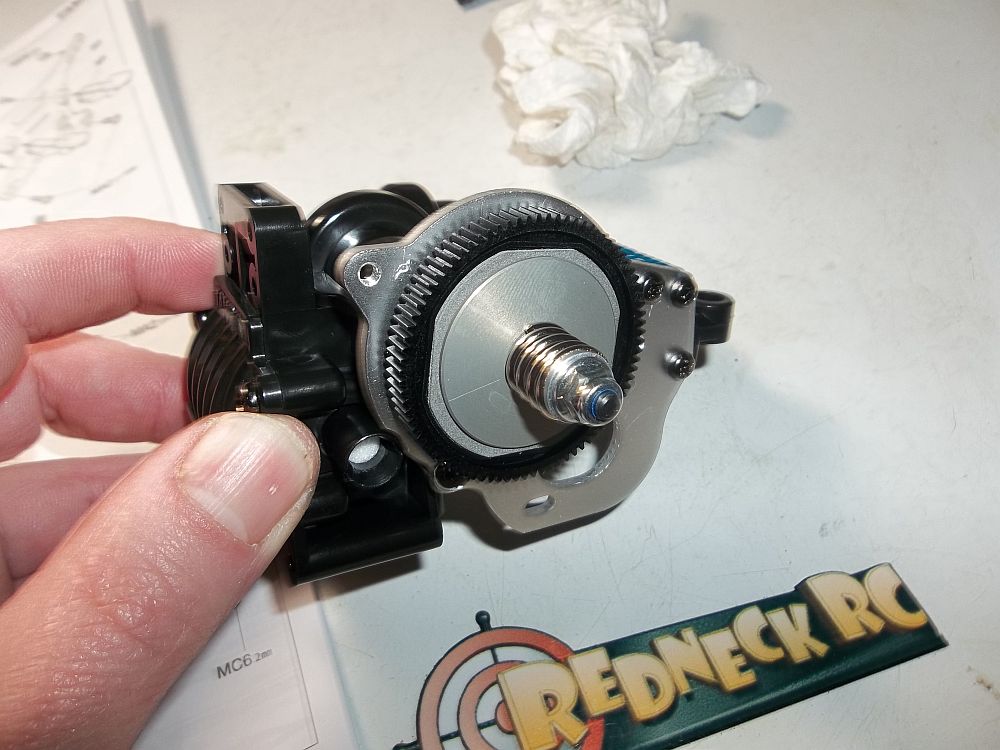
Now we can put it in the gearbox/tranny. I read online that the top shaft gear wears if not heavily greased so keep that in mind.
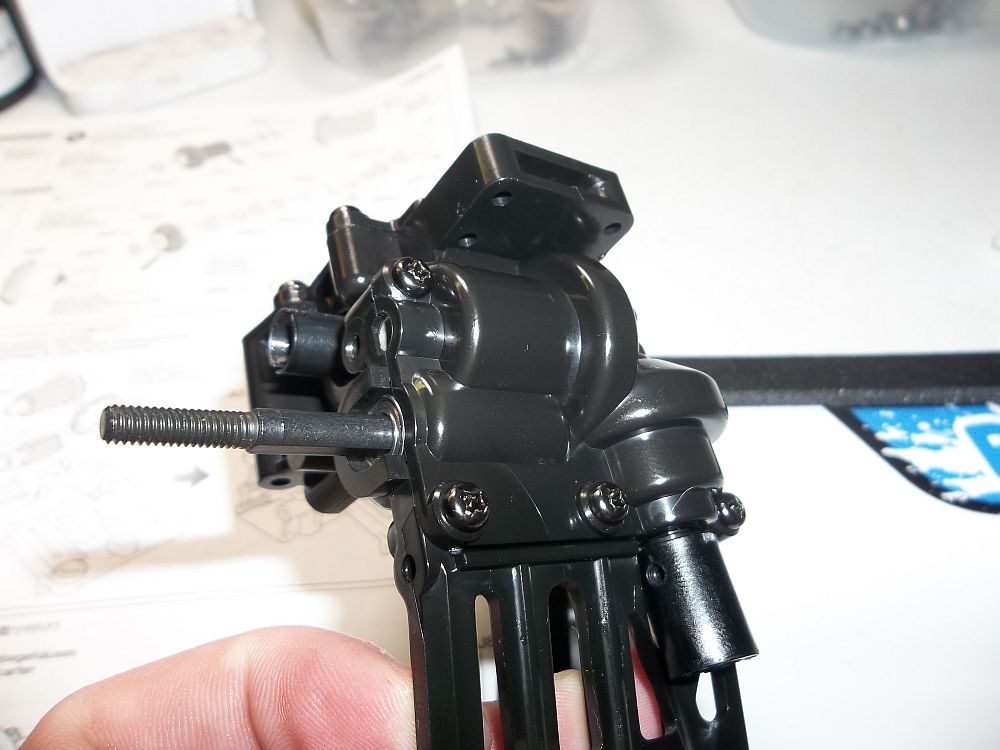
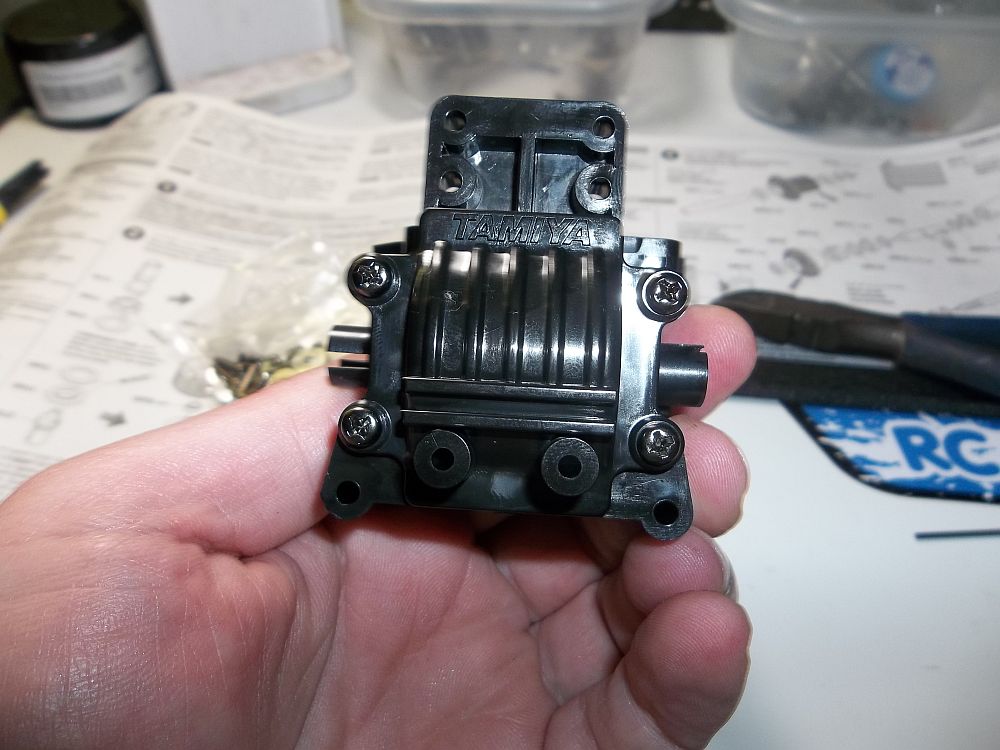
All sealed up.
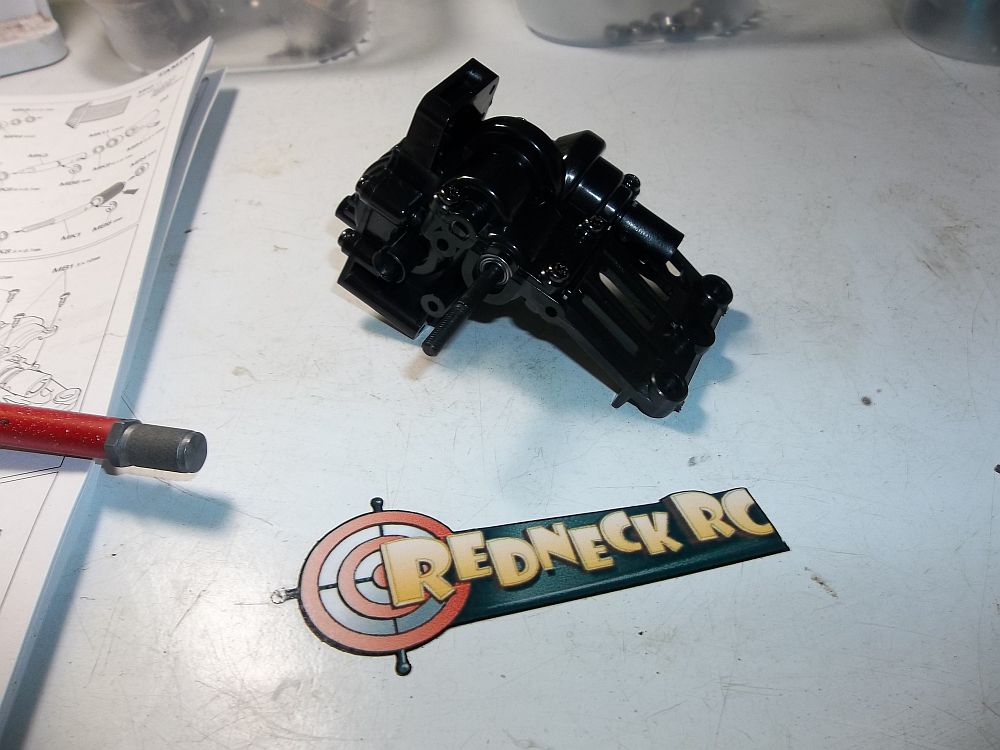
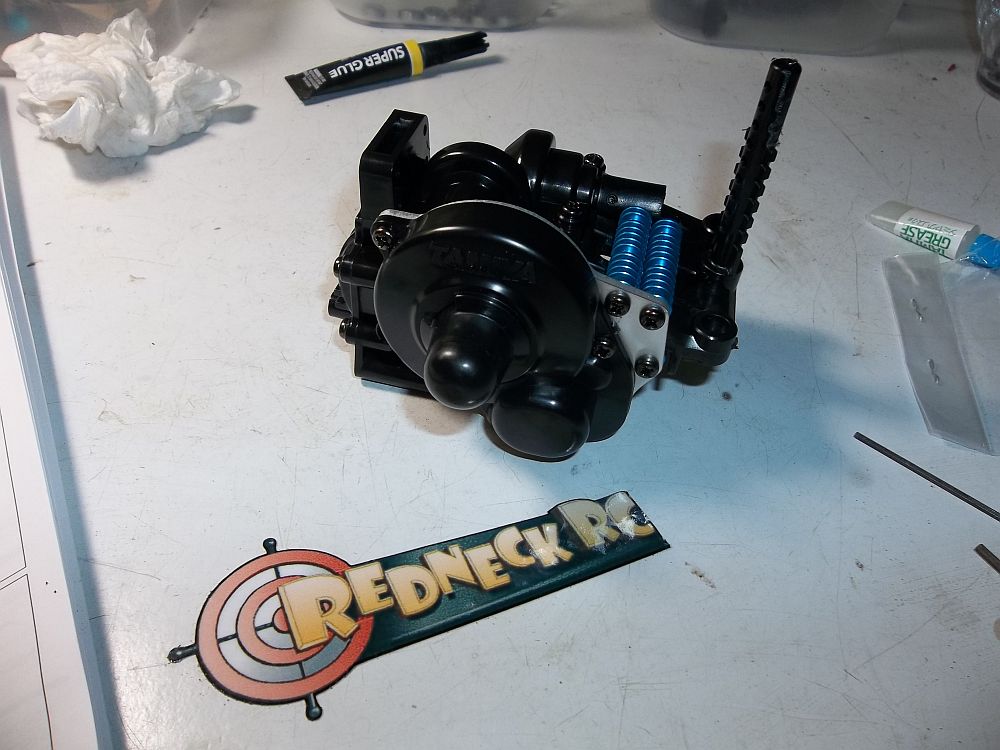
The rear transmission.
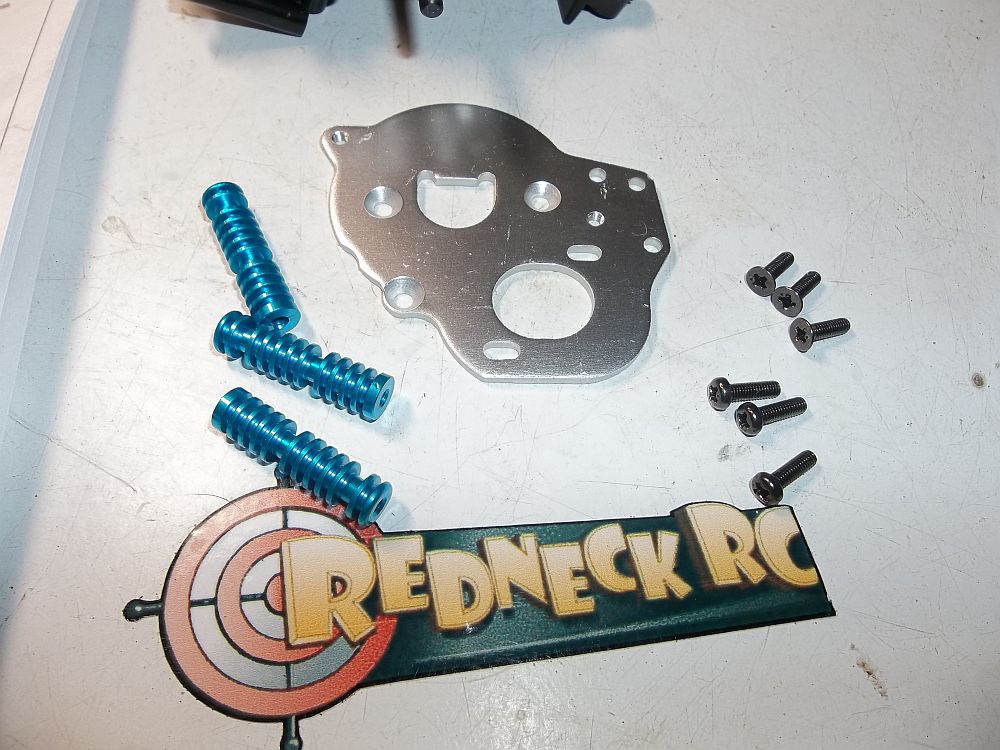
A little bling for the motor plate. This should keep motor temps down a bit.
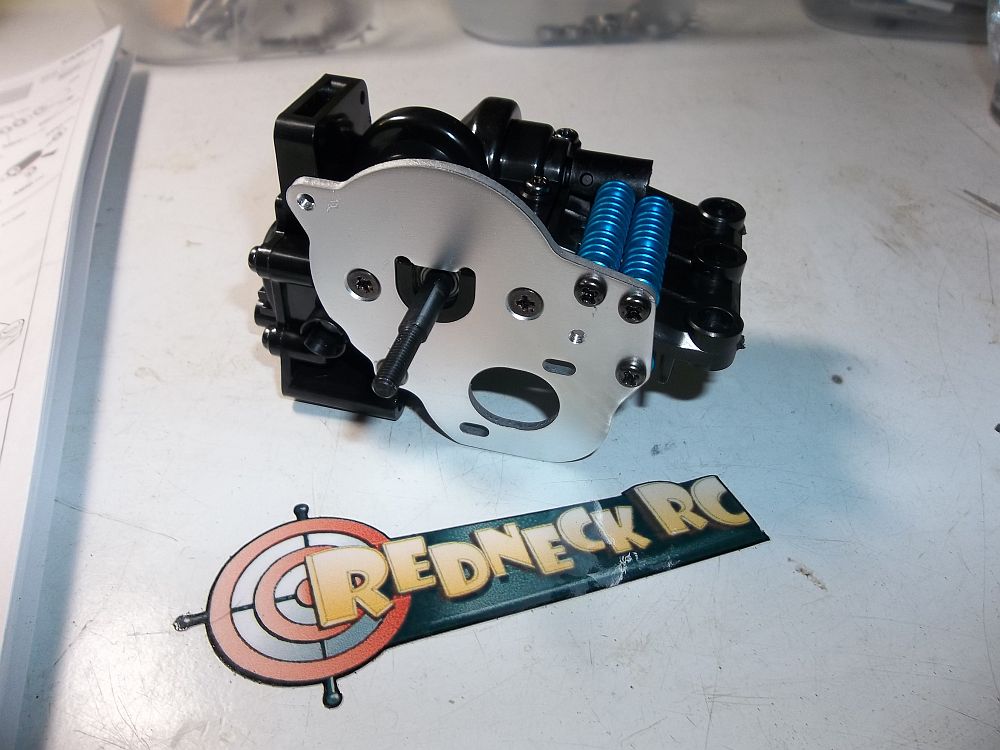
Here we have the motor plate installed and you can see two of the heat sinks.
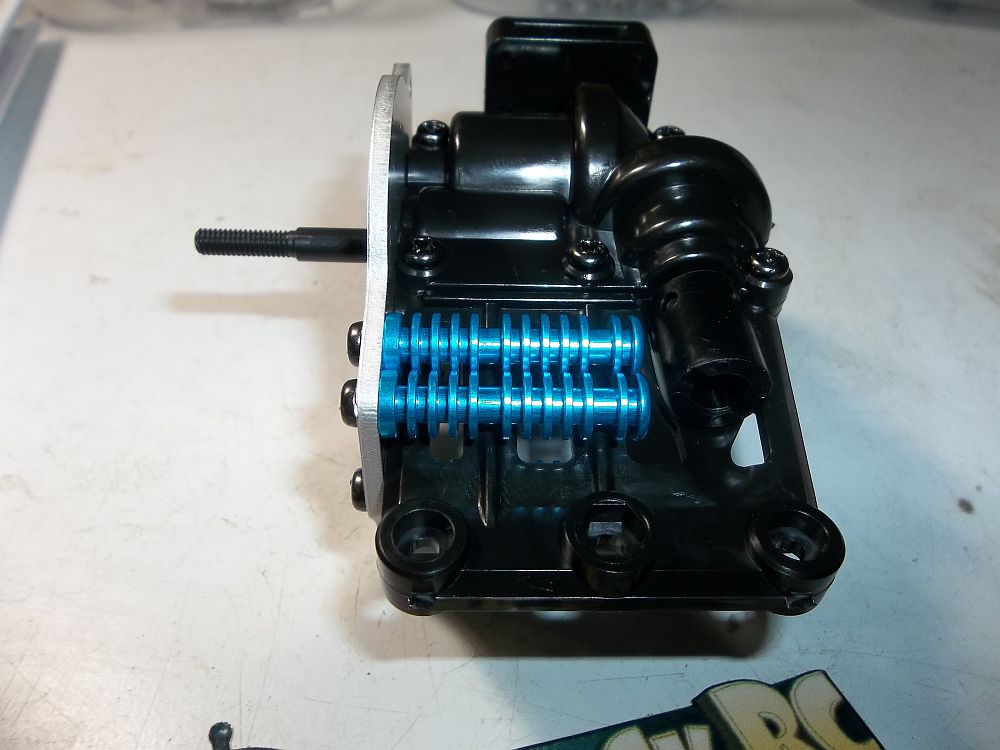
A better angle.
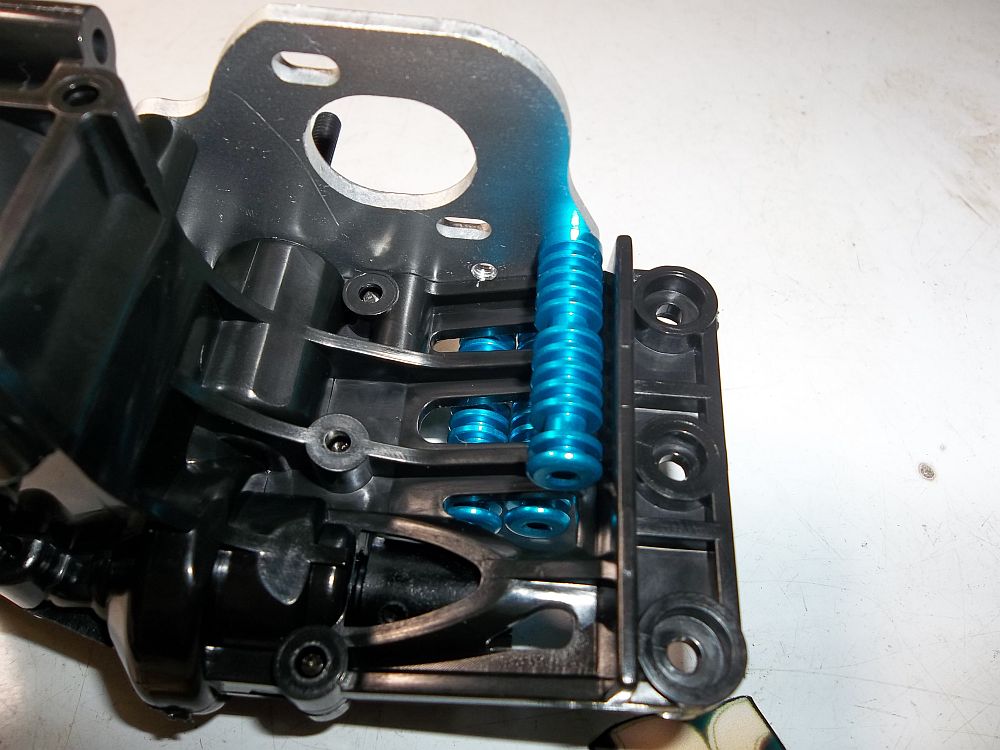
The third one is underneath.
Next we install the slipper clutch. Follow the instructions and you should have no problem. On a side note I read on the Tamiyaclub forums that you can use a Team Associated B4 spur gear. That way you can use 48 pitch gears instead of trying to find metric gears to match the stock spur and pinion.
Gear cover and body mount.
Here is a close up of the body mount. You just clip off the tabs on the side to where you want the body to sit.
Here I have the gear cover and body mount attached.
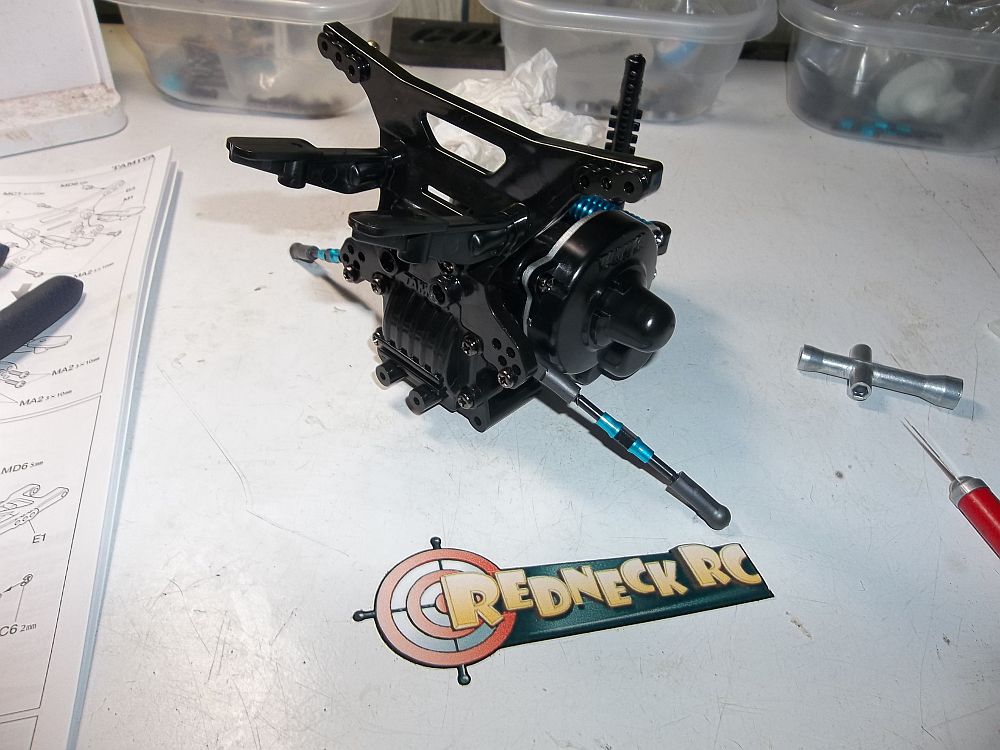
Next mount the shock tower and wing mount along with the rear tie rods.
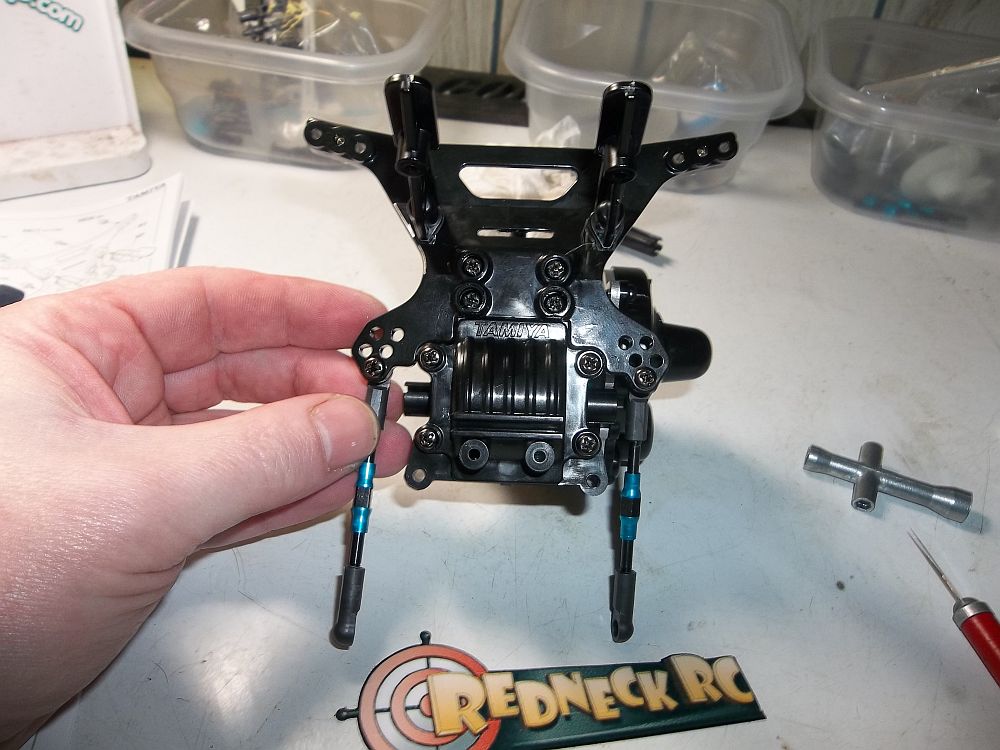
Plenty of adjustments here.
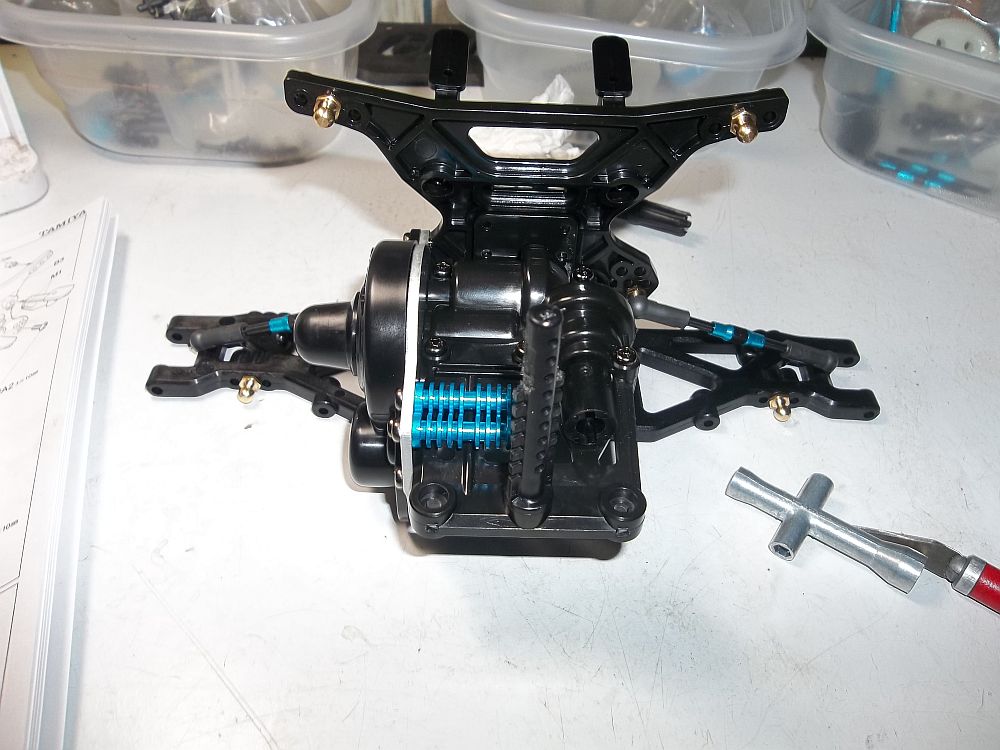
Next up we install the rear arms and ball studs that the shocks mount to.
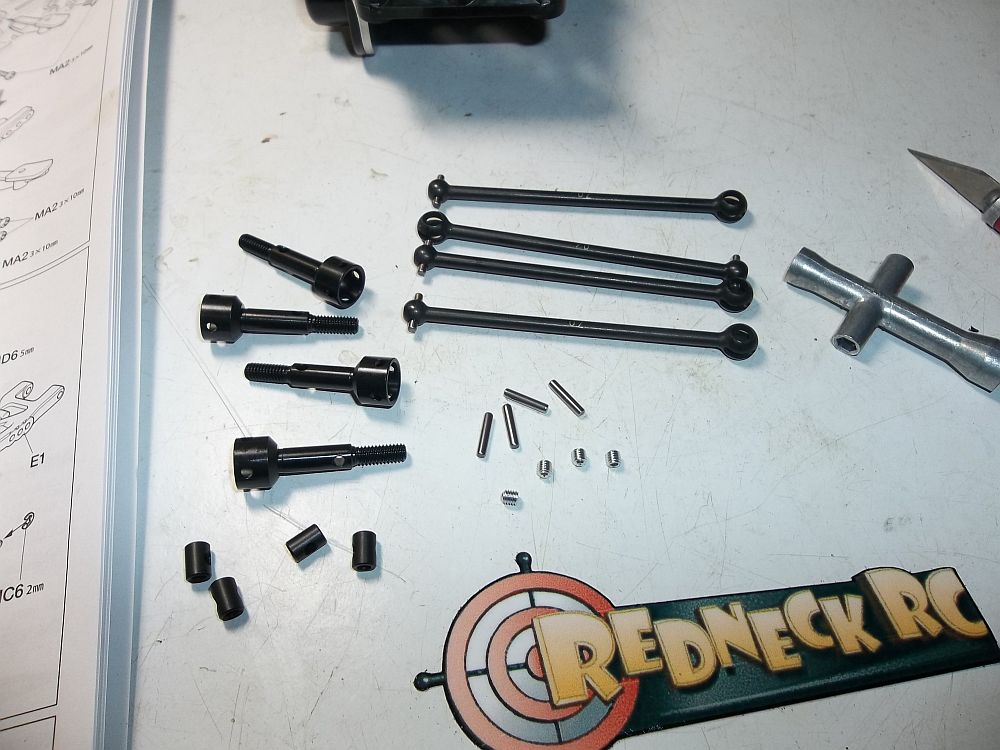
Time to build the CVD’s.
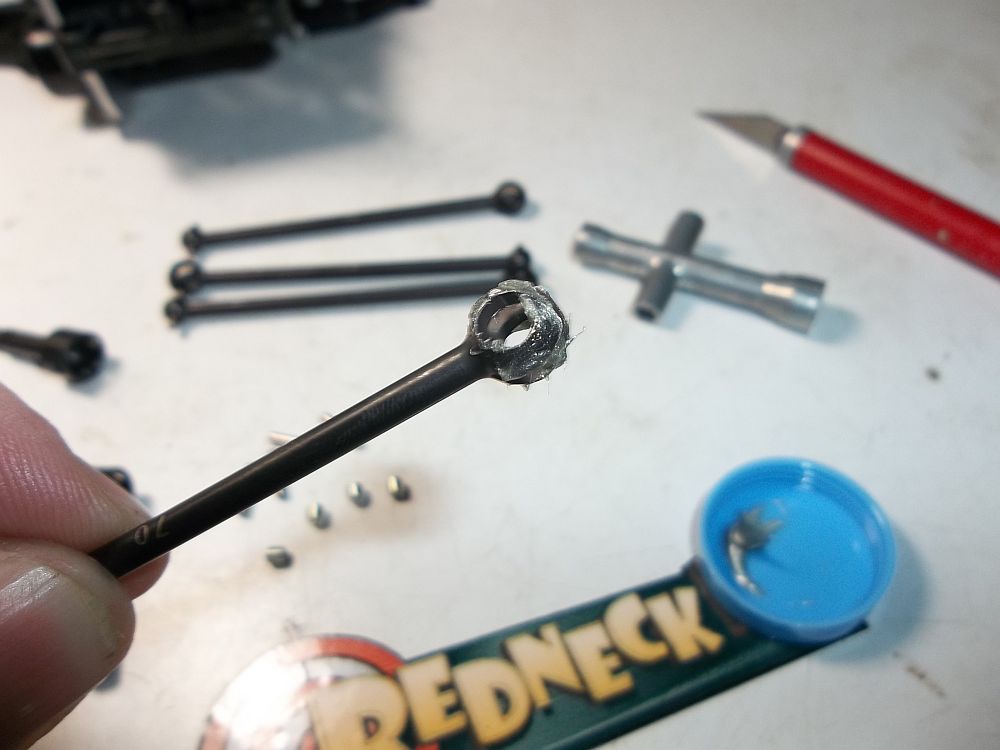
Make sure to put lots of anti wear grease on the moving parts.
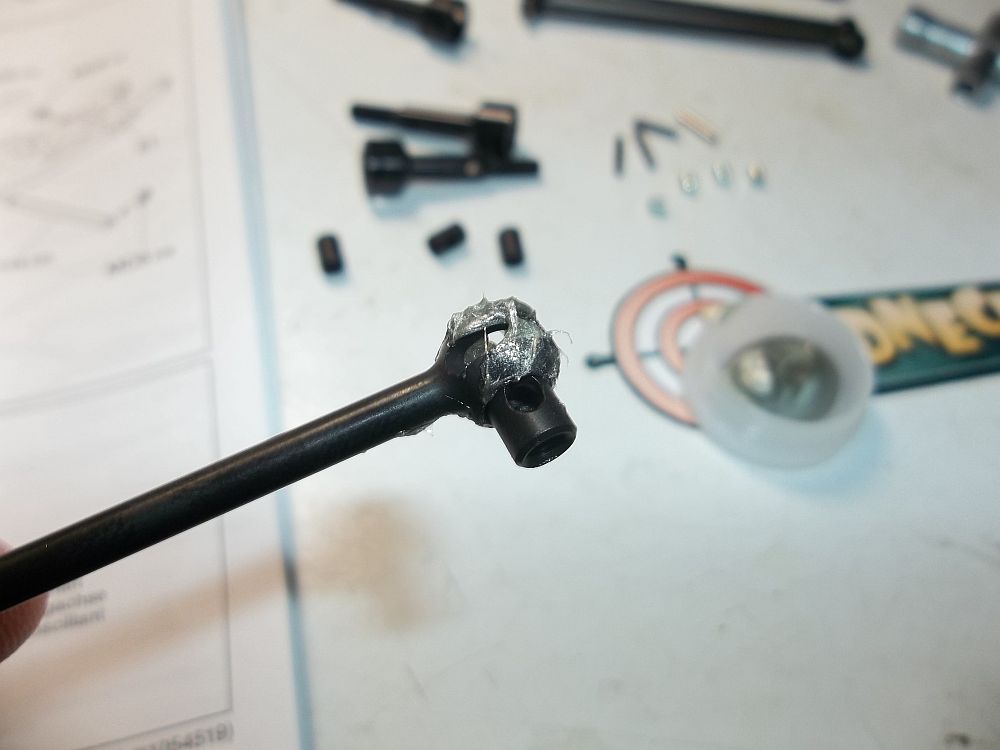
Slide the barrel into the end of the CVD.

Now the drive pin.
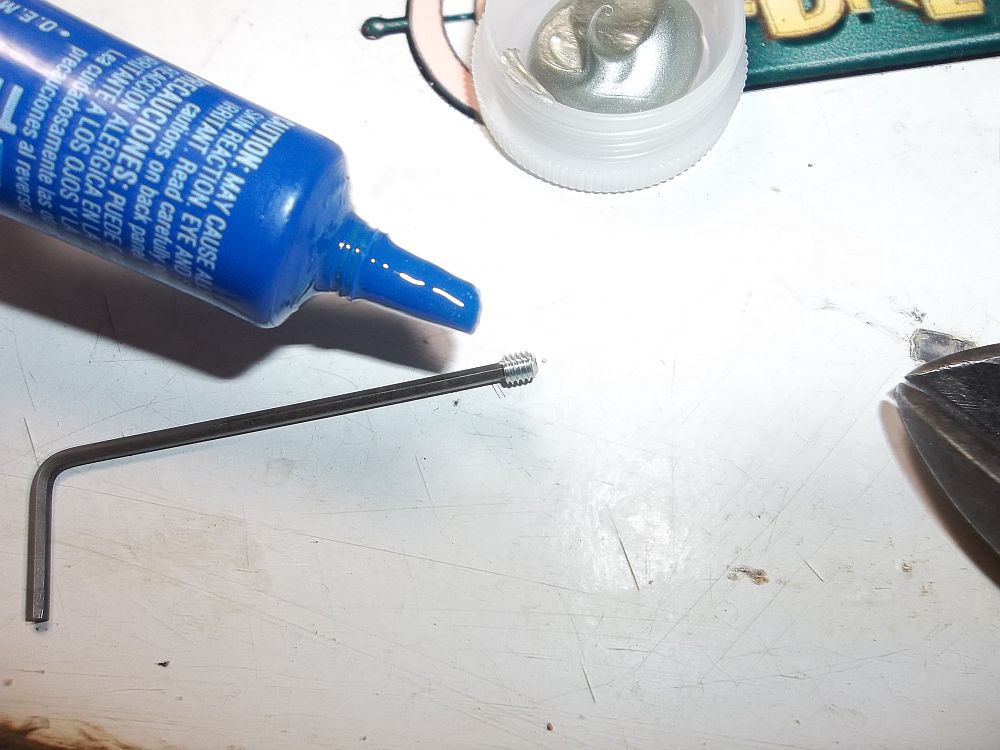
Secure it with a set screw and make sure to use locktight.
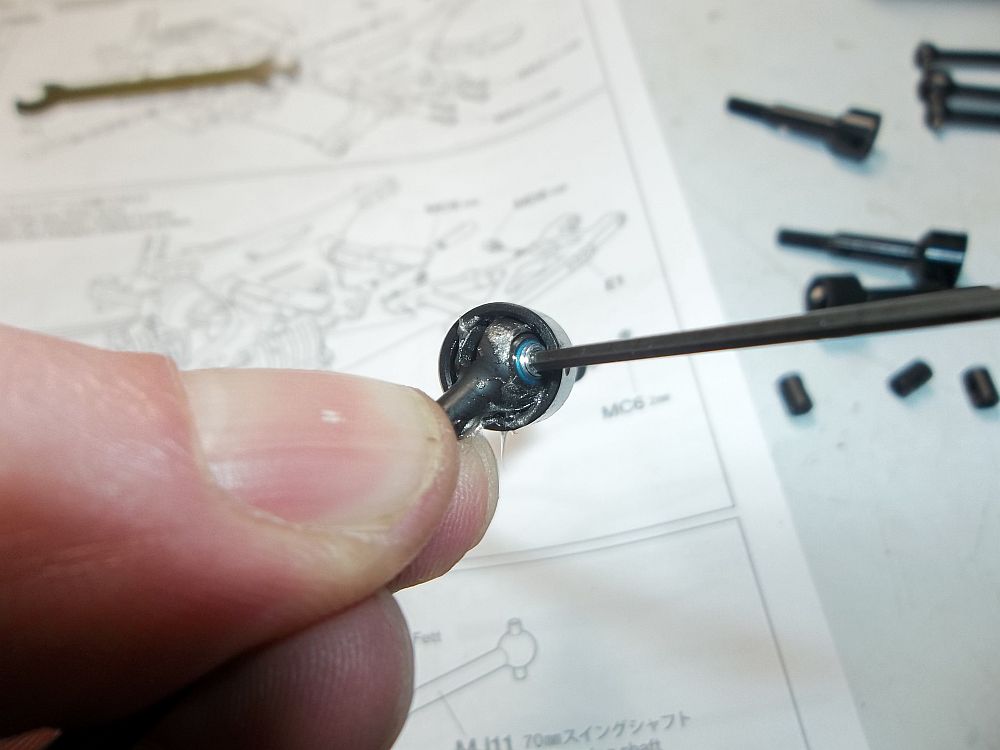
Tighten all the way down.
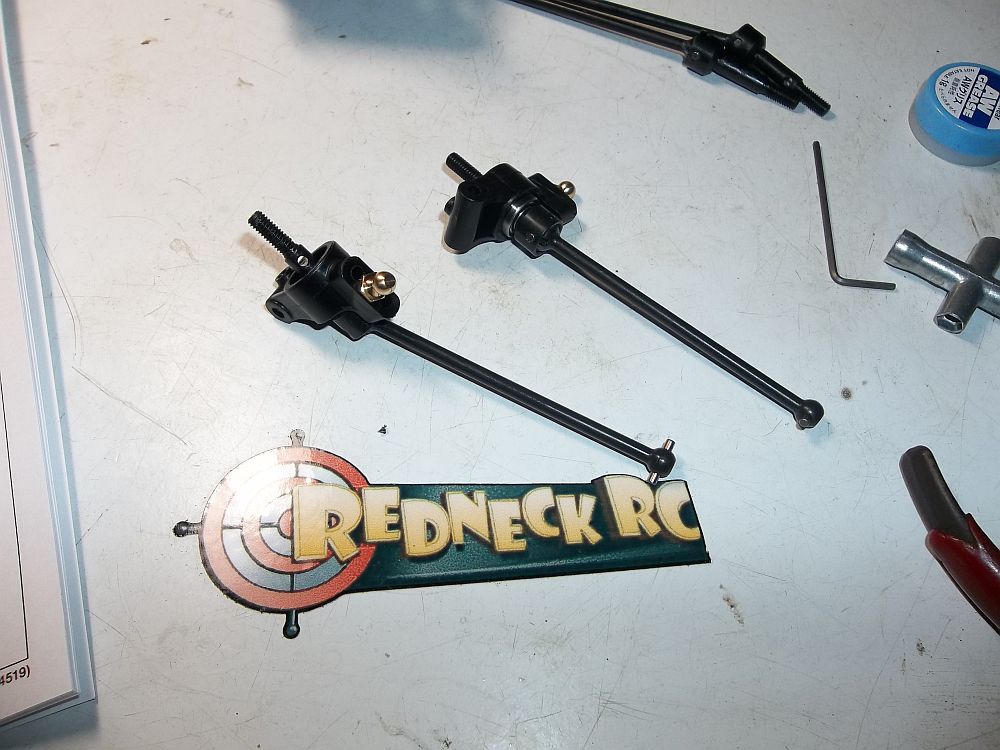
Here we have both rear CVD’s and hubs completed.
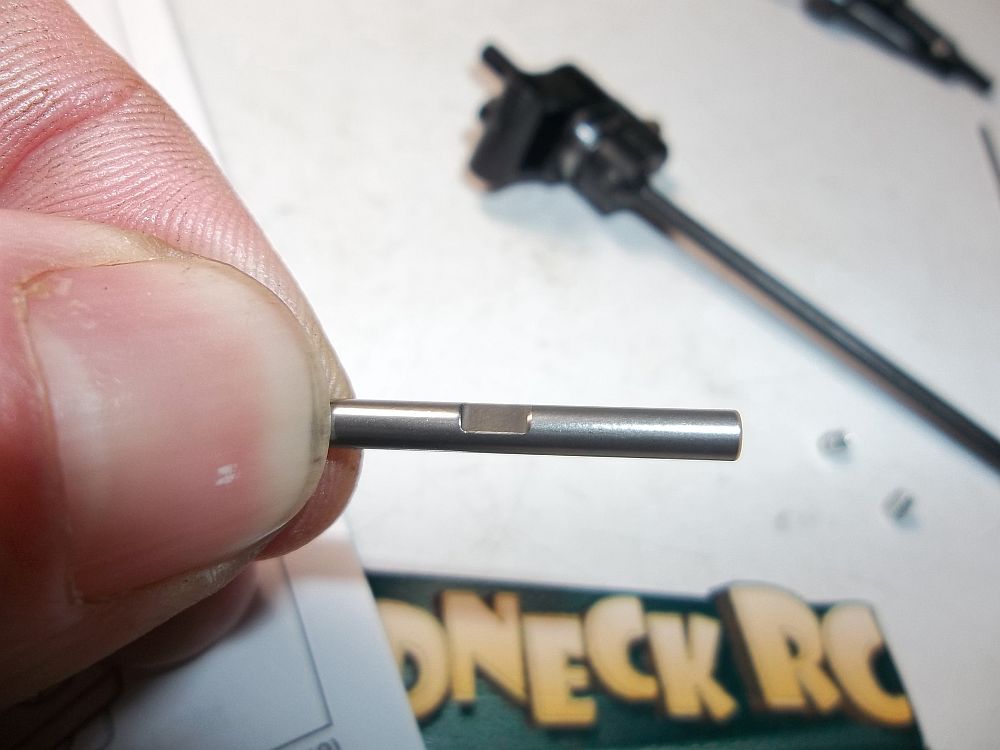
This is the outer rear hinge pin. Notice the notch.
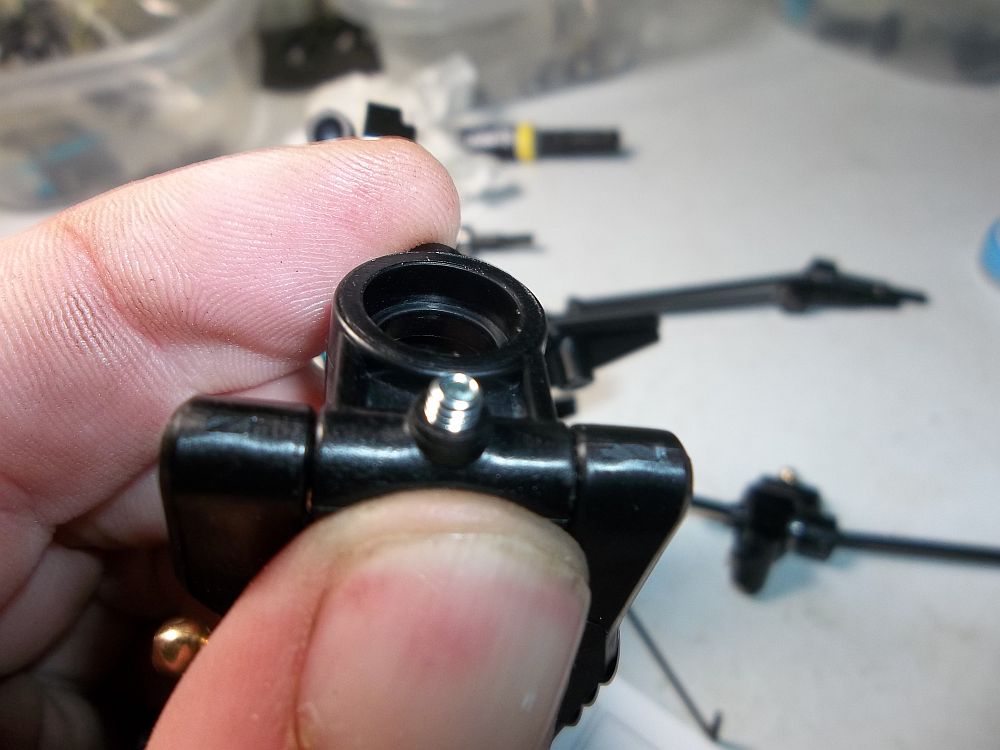
Make sure to line that notch up with this set screw. It is what holds it in.
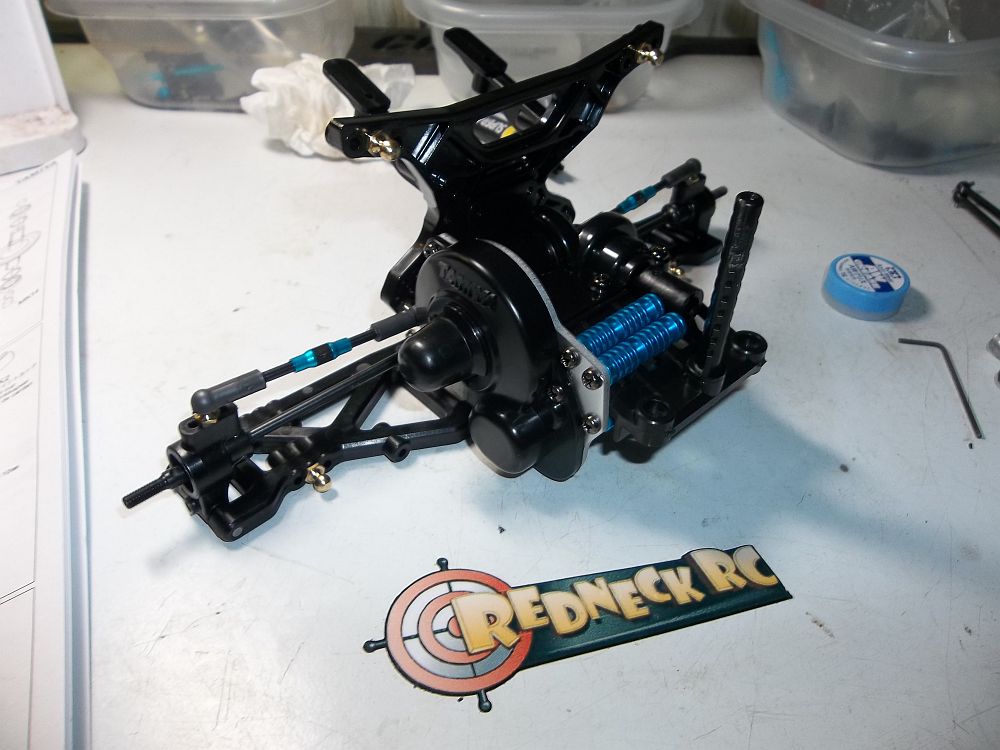
Snap on the tie rods and there you have it. The rear end with arms.
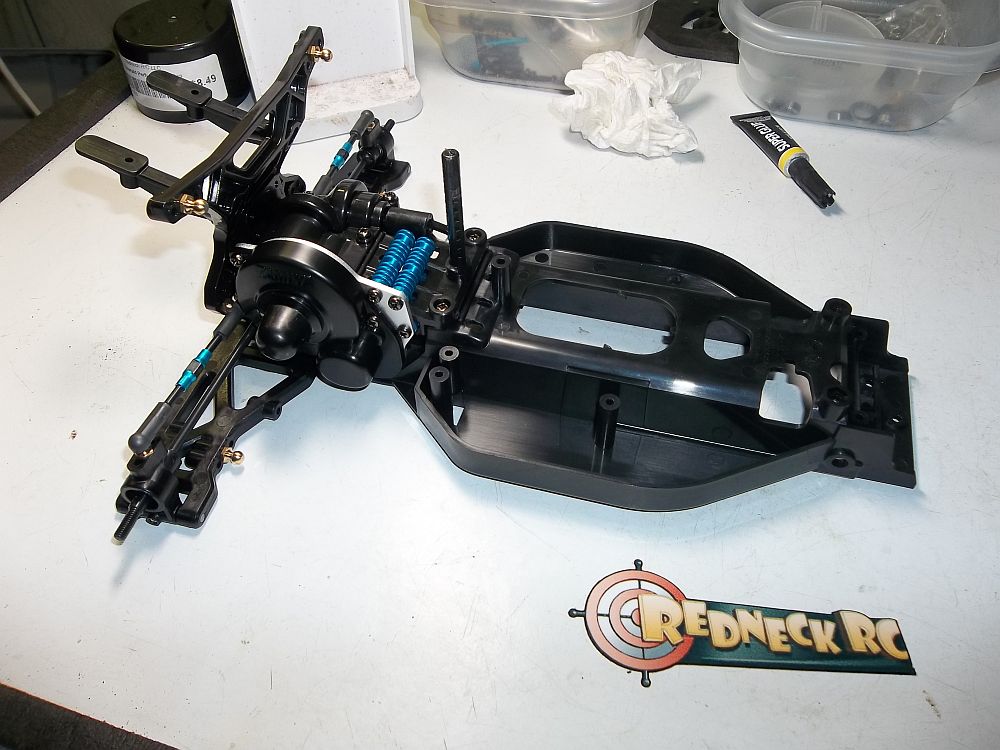
Another shot with the chassis installed.
Click the Page numbers below to go to the next page!
 Posted in
  Tags:
Tags:
I’m looking forward to part 2. I’m a Tamiya fan (because of how much fun they are to build) and would love to see how this matches up with the big guys.
Bin the Tamiya shock oil and use racing quality oil.
plus use green slime when you build those shocks.
You will need Tungsten Carbide balls in that rear dif !!!!