

 January 24th, 2014
  Geo
Geo 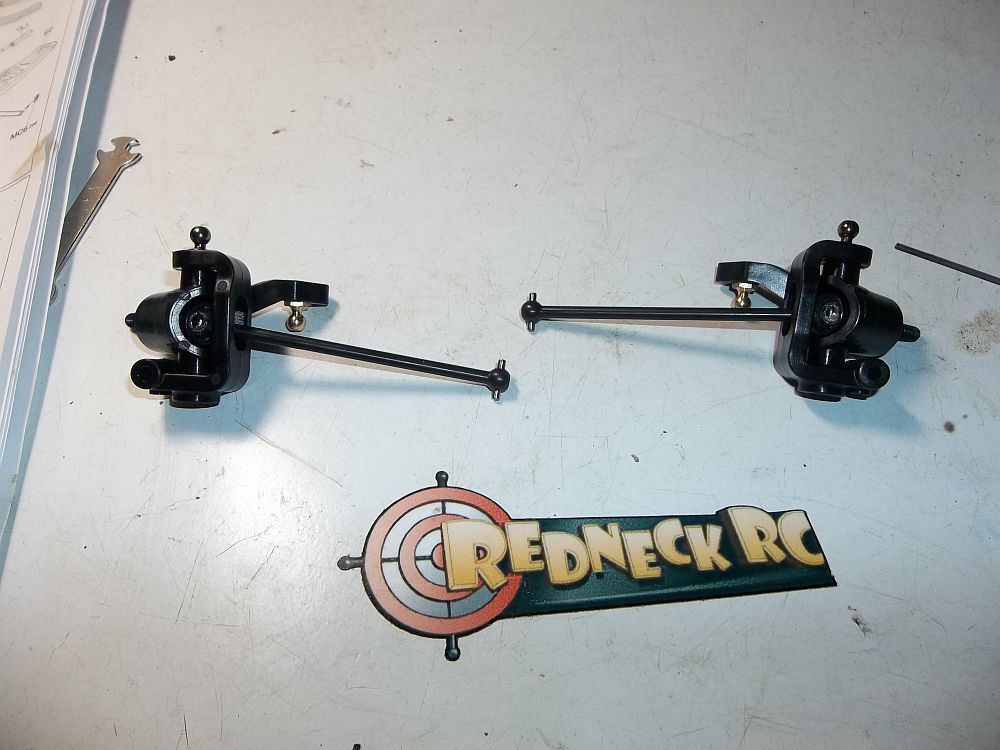
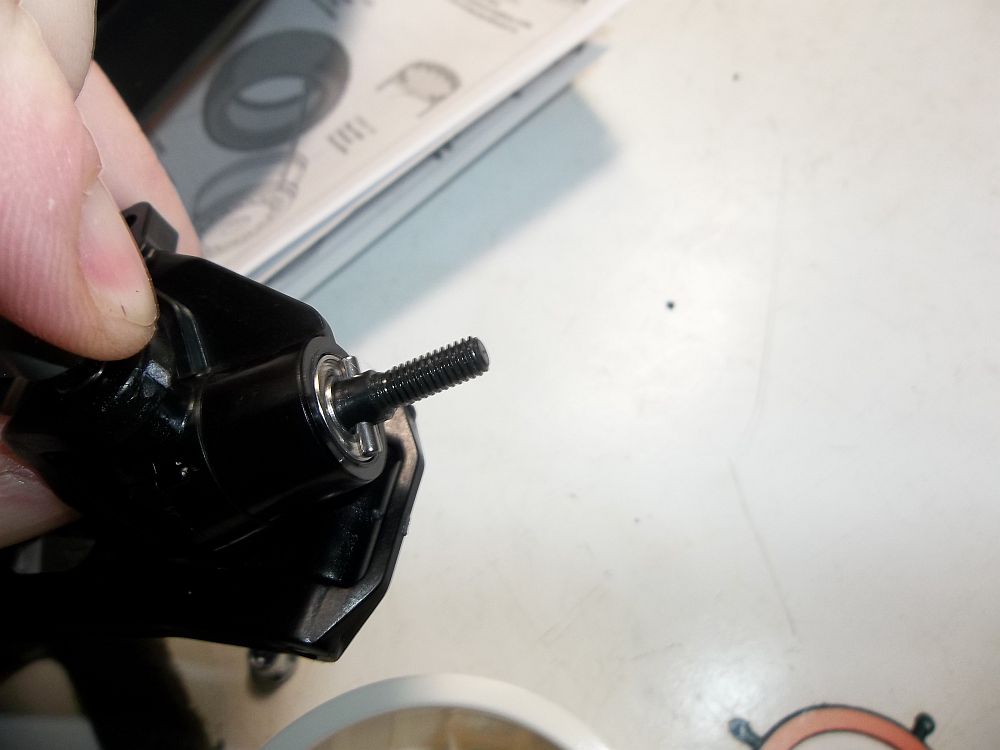
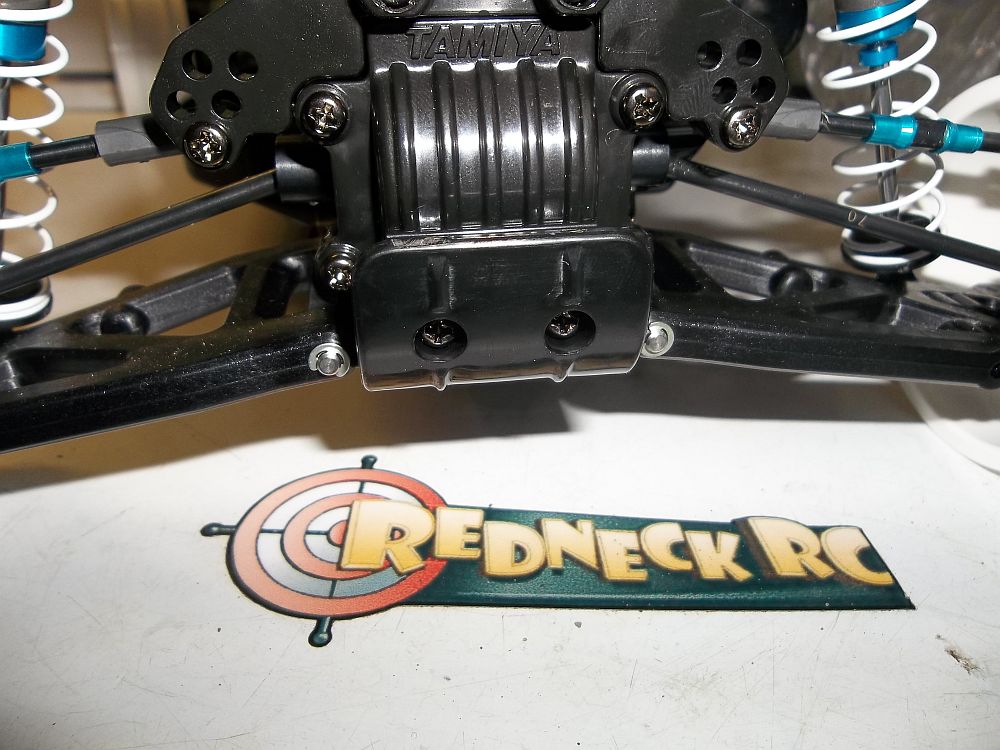
Now assemble the front CVD’s just like you did for the rear. Slide them into the front steering spindle then the C hub.
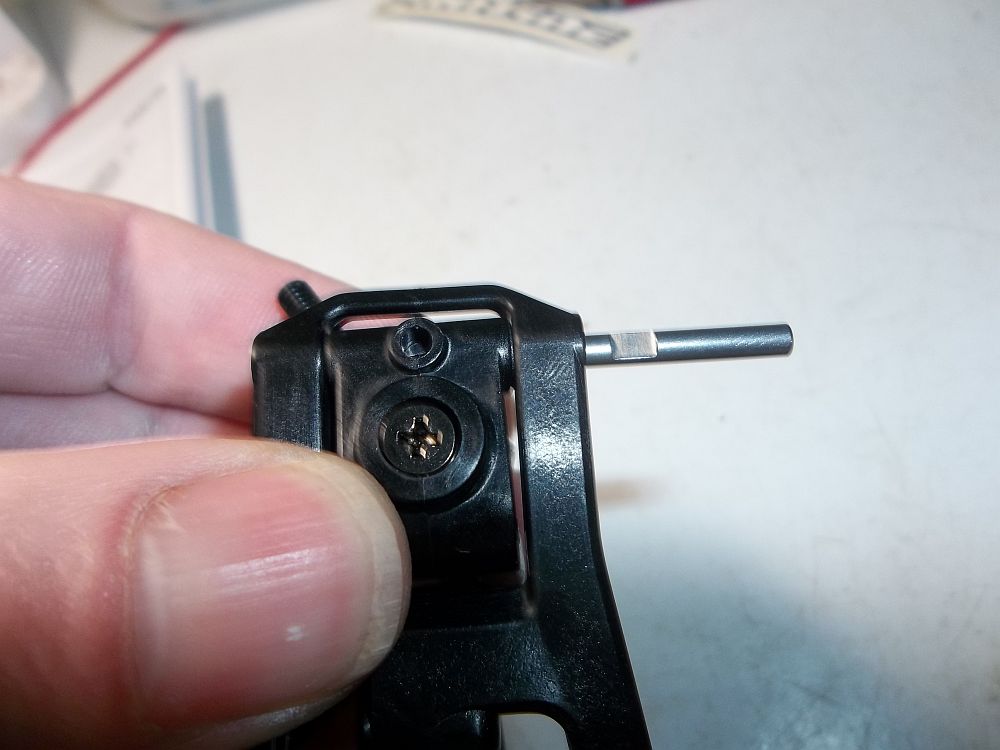
The front uses the same type of outer hinge pin as the rear. Make sure to line up the set screw and that notch.
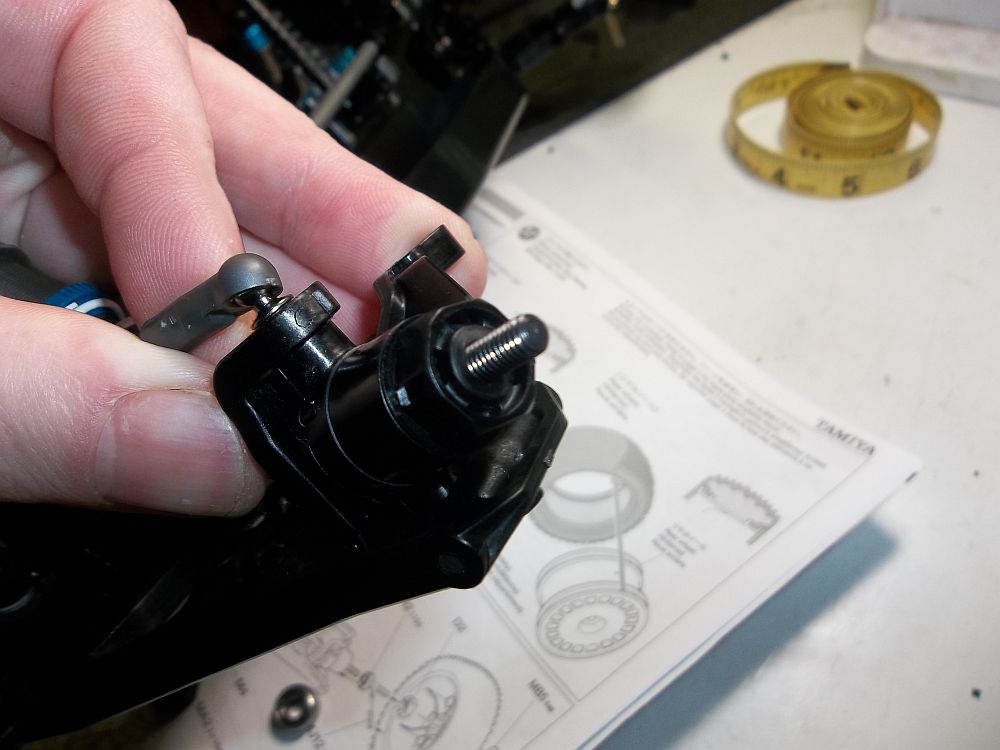
Looking good.
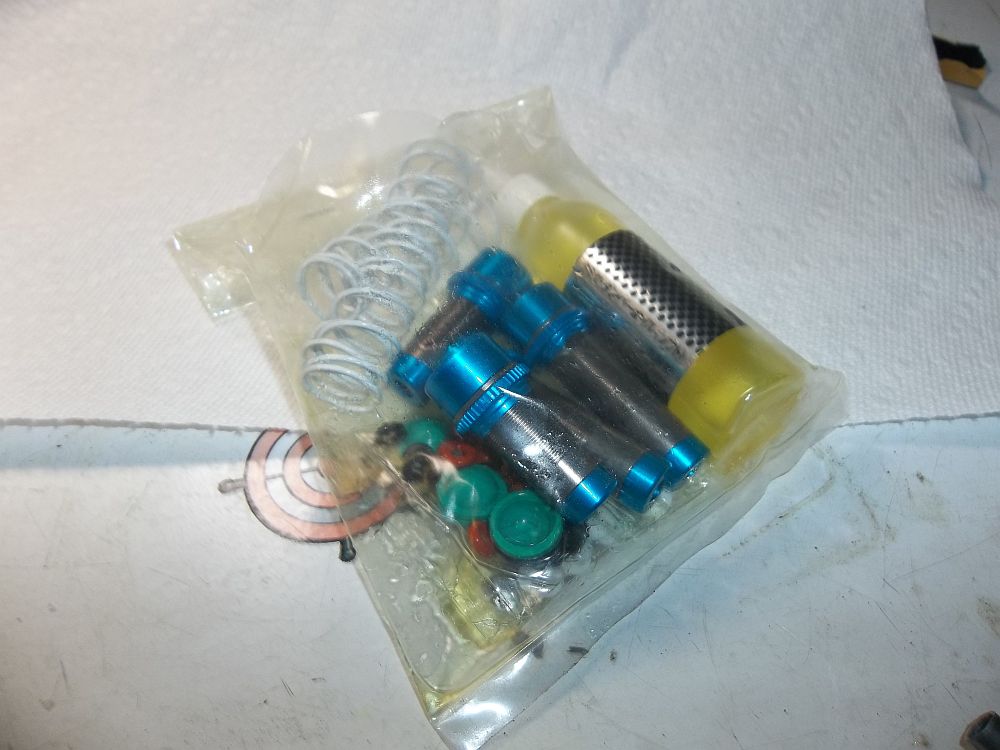
Shock build time. Before we get to that remember all the oil that leaked out? This made for a sticky mess.
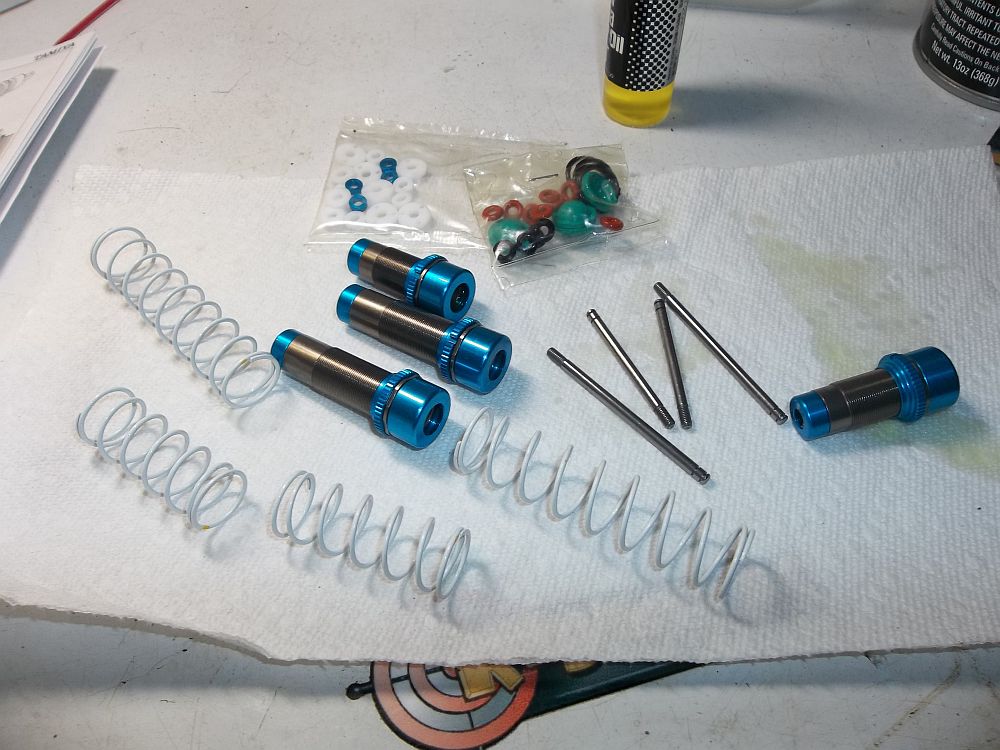
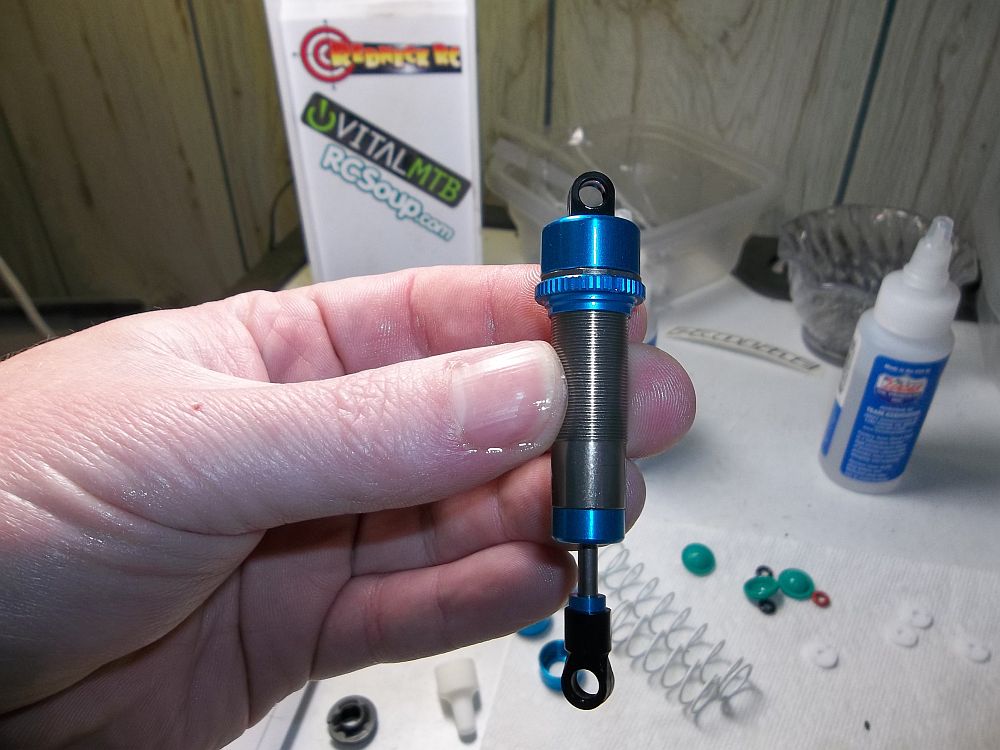
After i cleaned up all the parts with some parts cleaner everything is good to go. The shocks are nice!
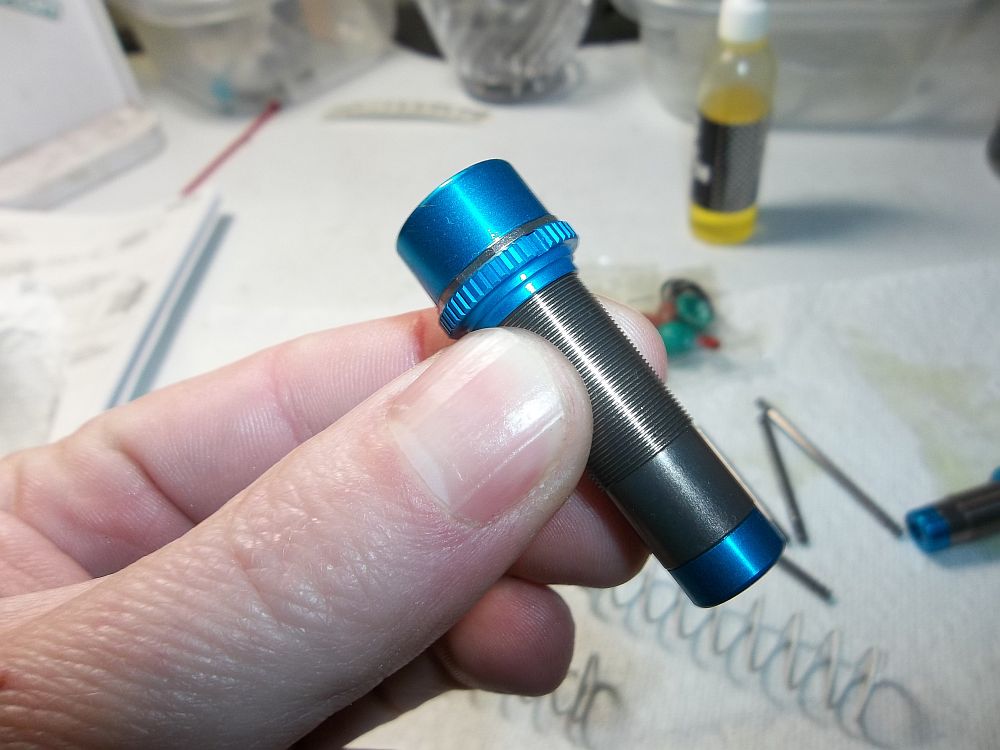
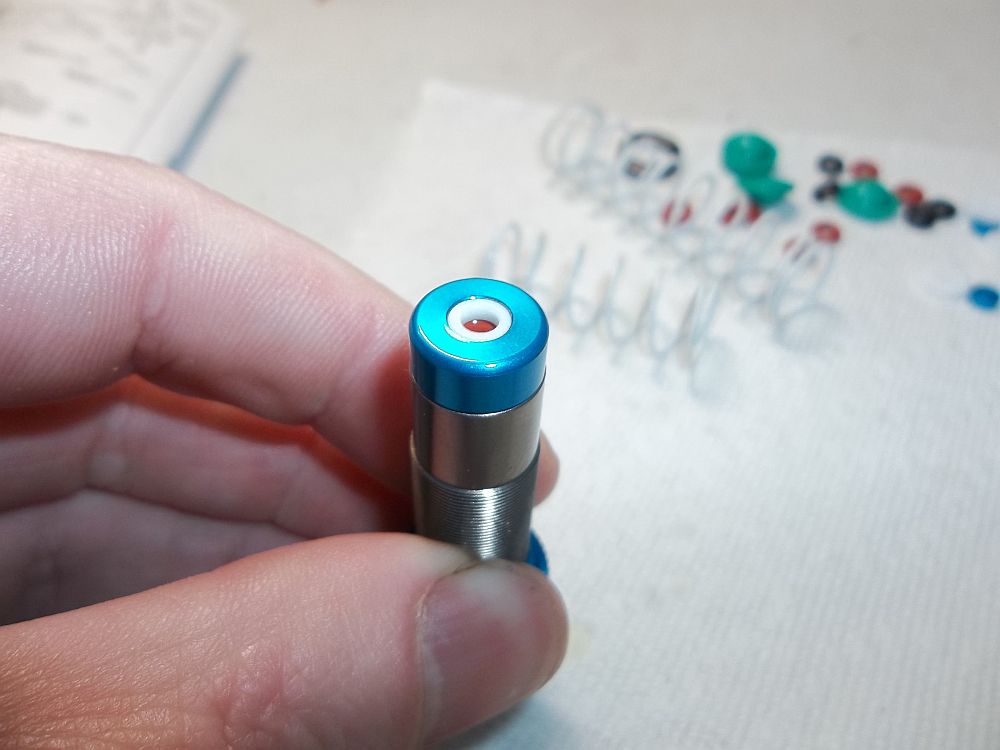
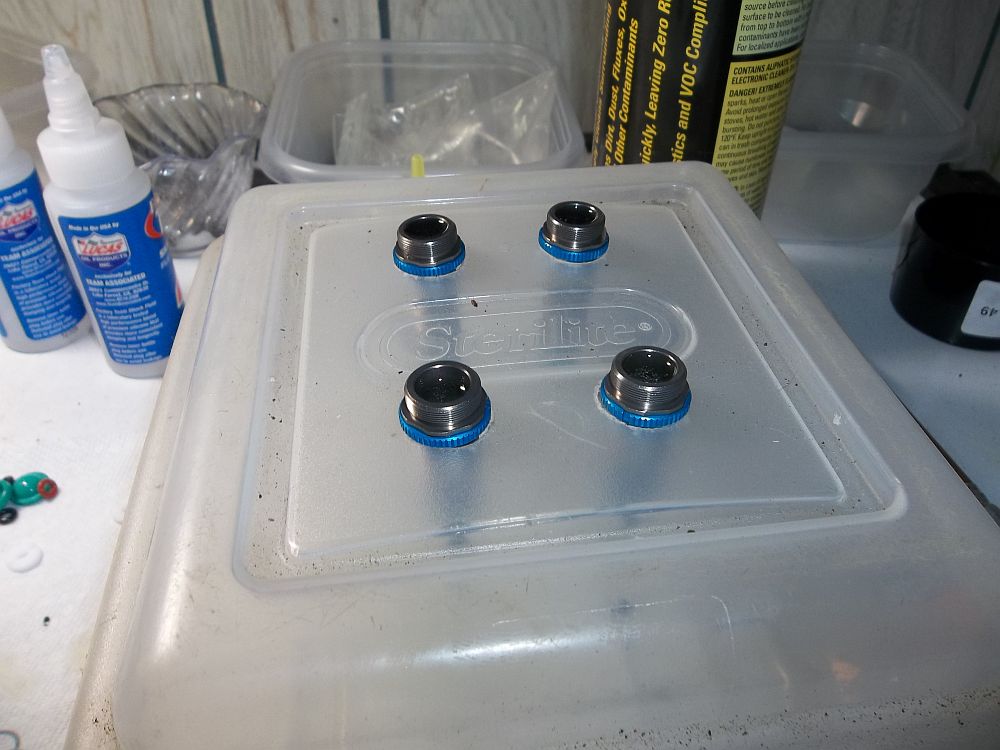
They may be small bores but they are aluminum and threaded.
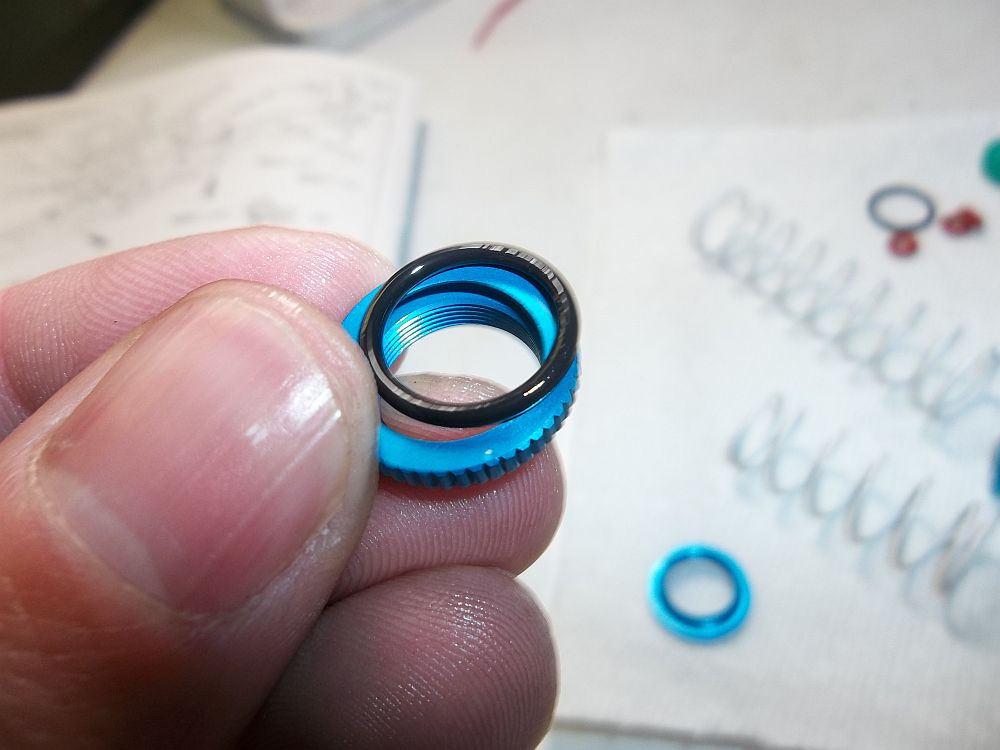
The adjustment collar has an o-ring in it so the collar doesn’t turn on its own.
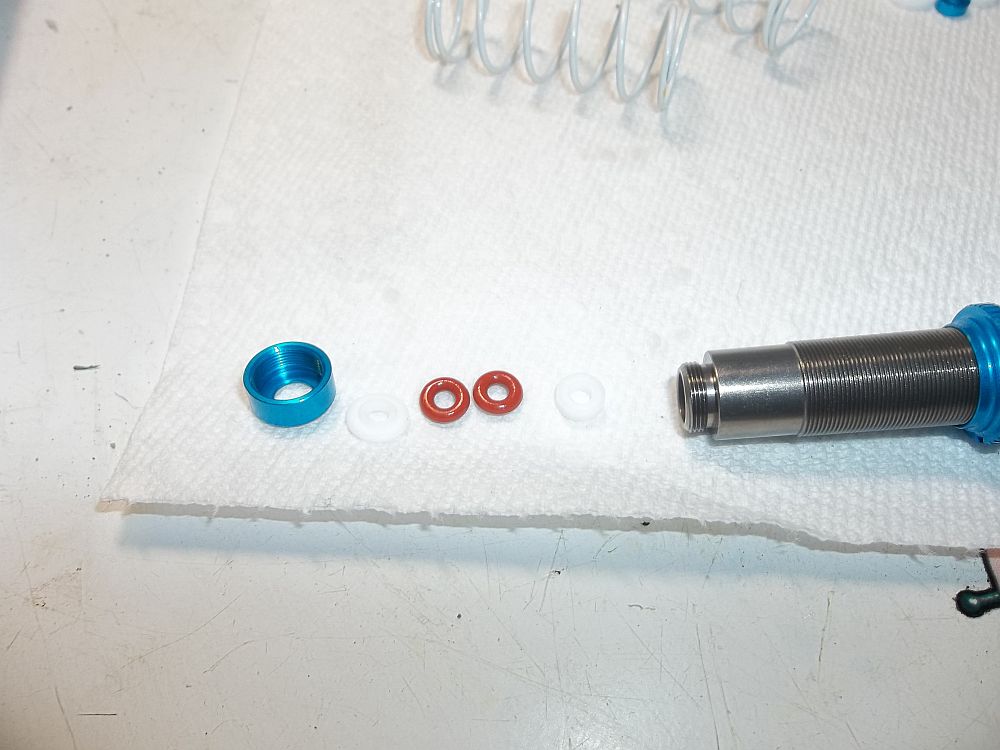
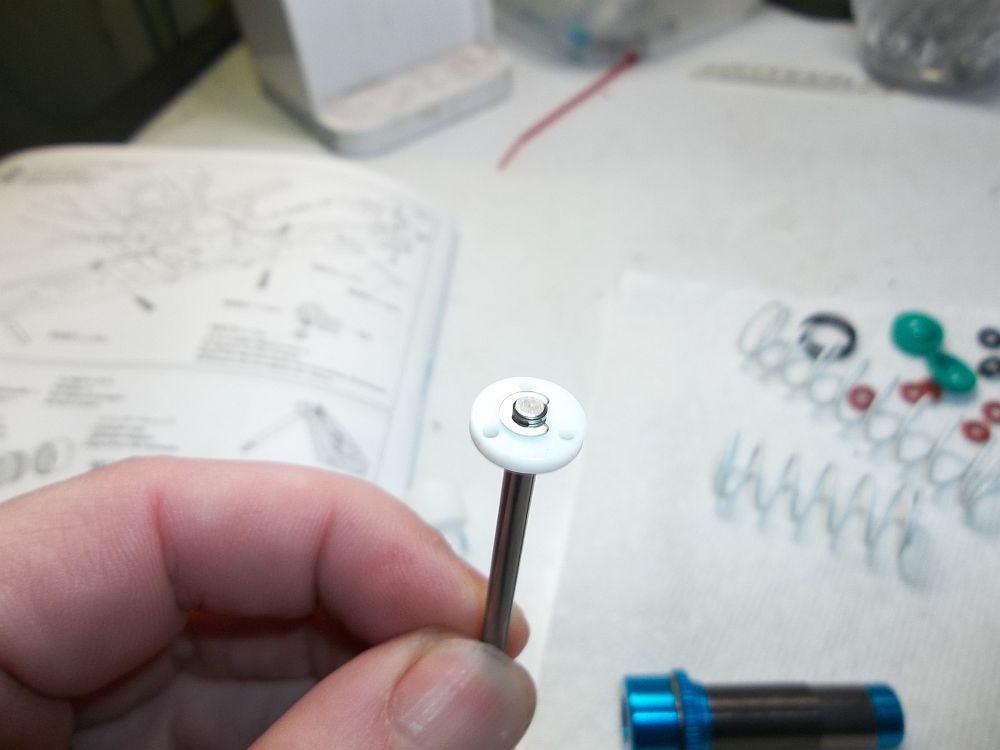
The innards of the lower cartridge. If you look close you can see the two little white spacers.

I used what was left of the stock oil to lube the o-rings.

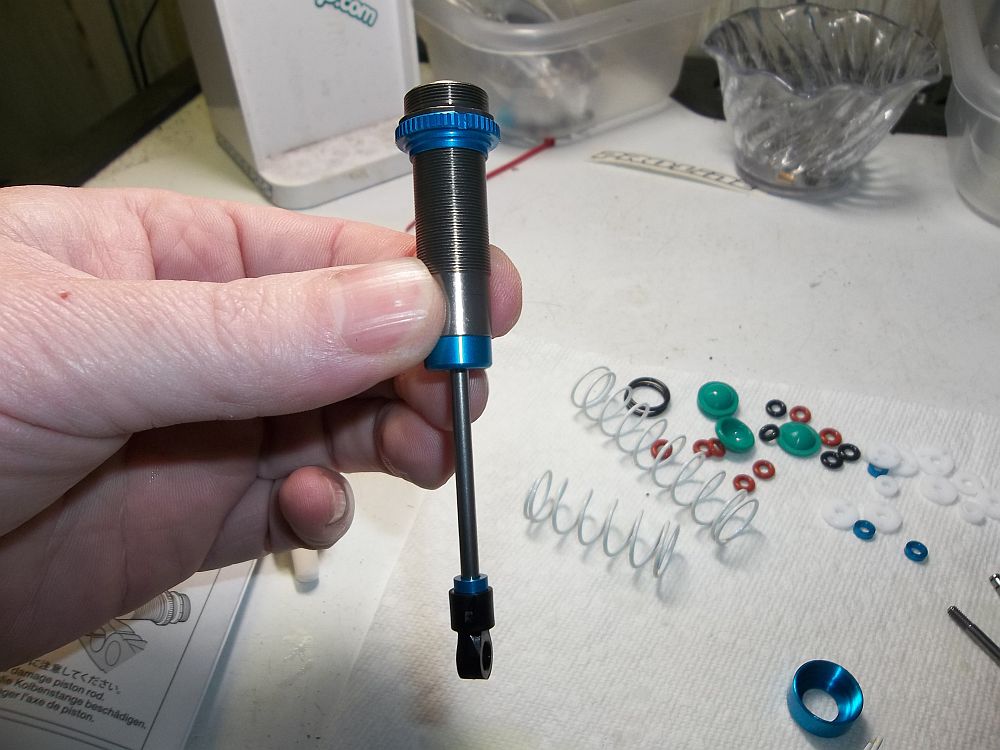
Slide everything in the bottom of the shock…
Then secure with the blue cap.
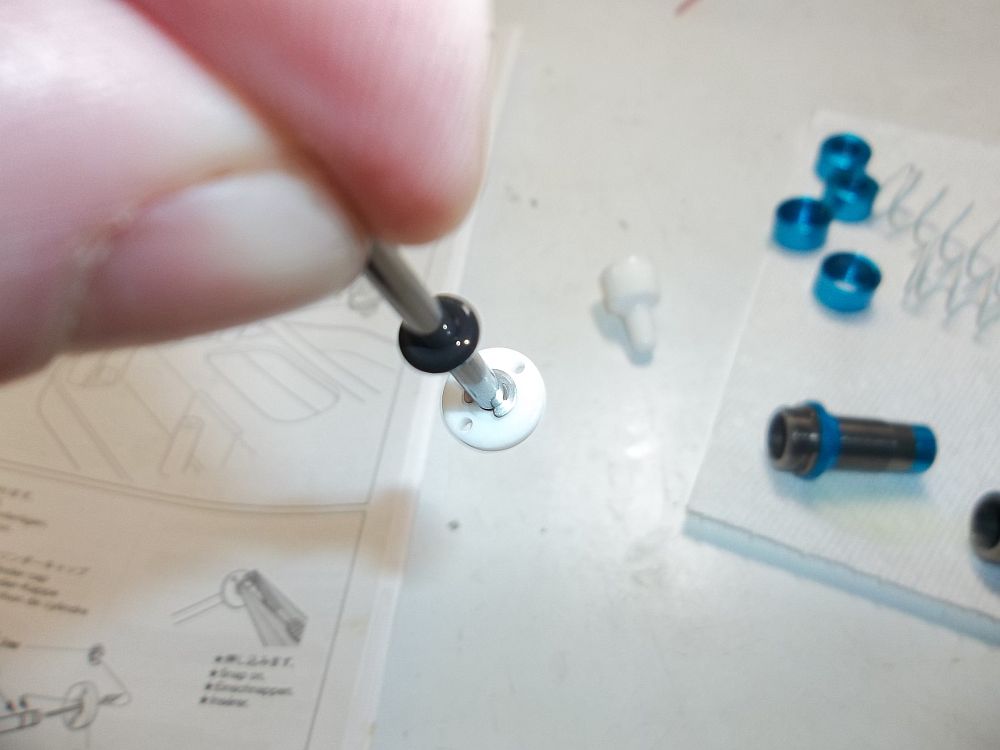
Now for the pistons. These are the typical 1/10 style set up with E-clips.
Piston and shaft are pushed into the shock and the lower shock end is screwed on the shaft. Notice the blue spacer. This is a rear shock.
For the fronts a inner travel limiter is used.
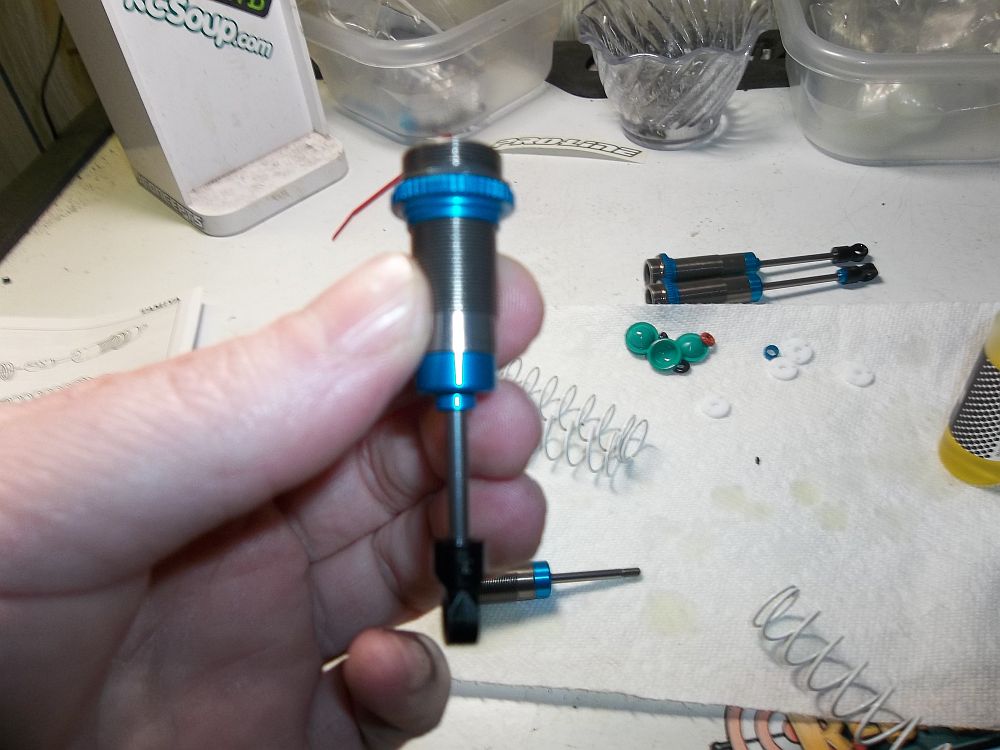
Installation is the same method as rear shock.

I chose Team Associated’s shock oil to use in these shocks. I went with 45wt for the front and 40wt for the rear.
My little shock stand. This allows the shocks to sit upright and allows the air bubbles to rise out of the oil.

These shocks use a rubber diaphragm.
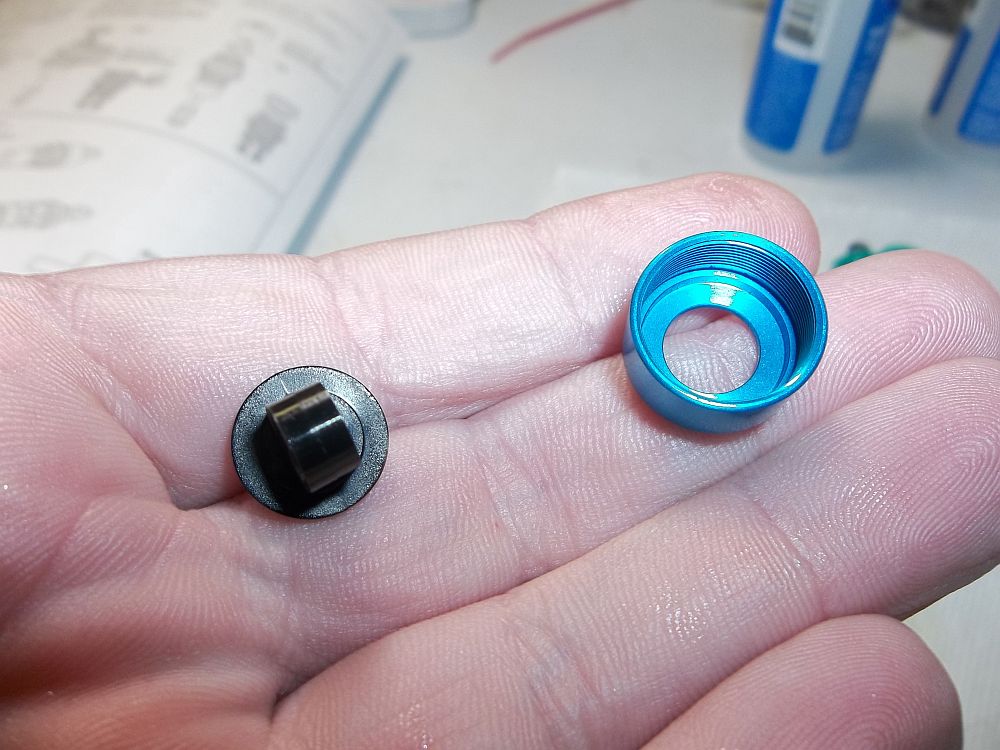
The shock cap is two pieces. I am not a big fan of this design.
The plastic portion slides up the inside of the cap.
Here we have a filled and bled shock. Follow the instructions on how to bleed the shocks.

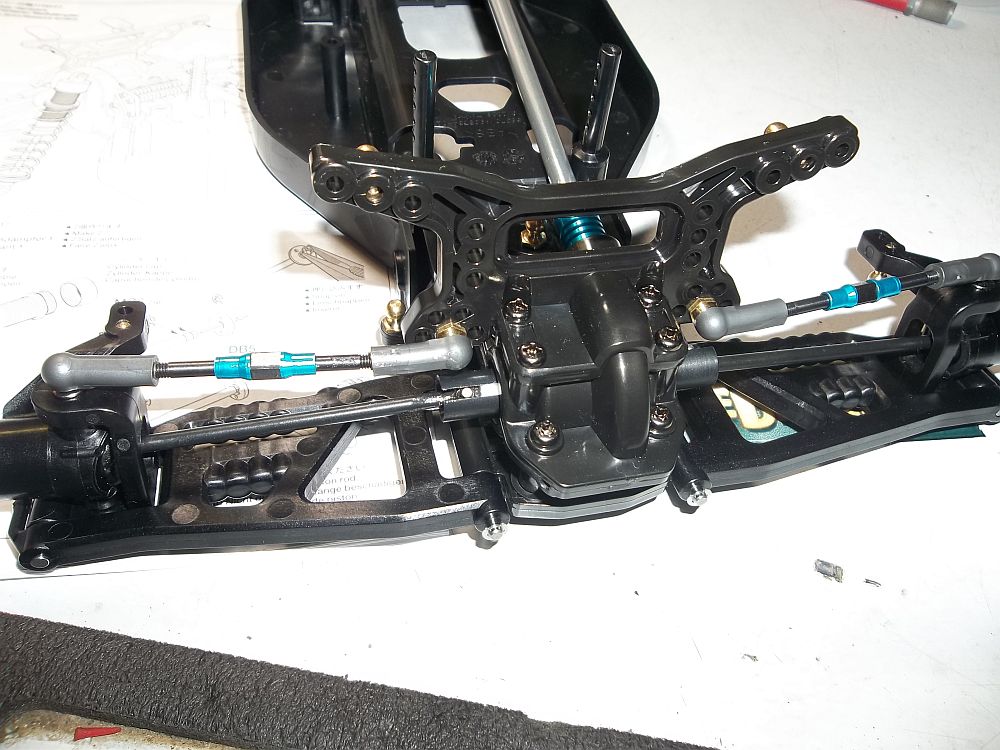
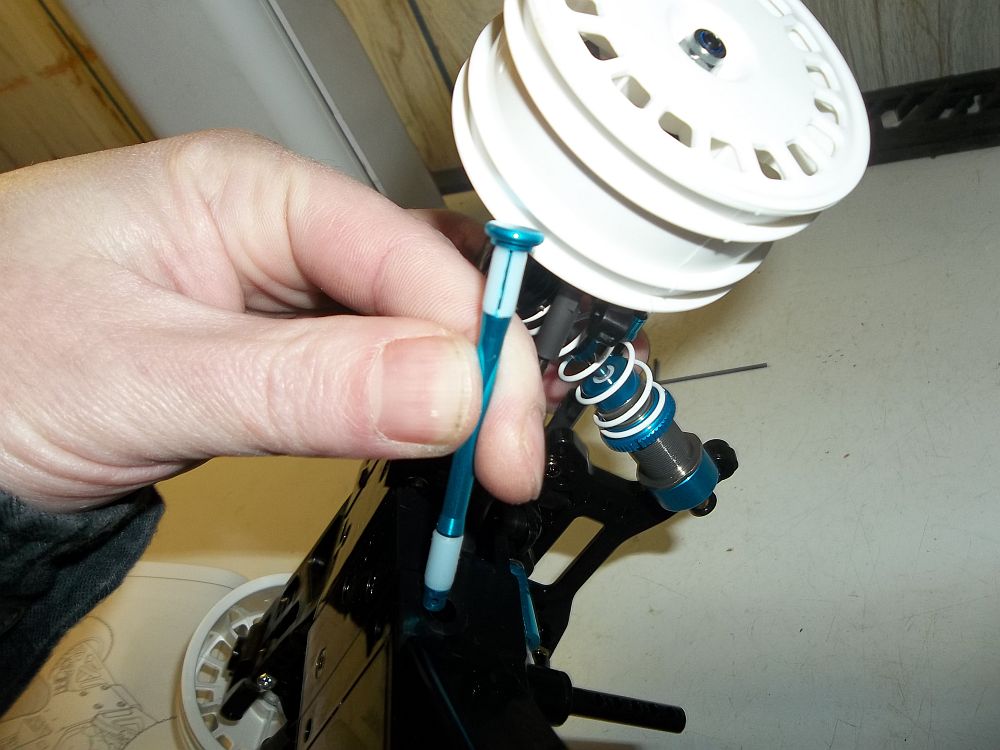
Now its time to install these shocks onto the car.

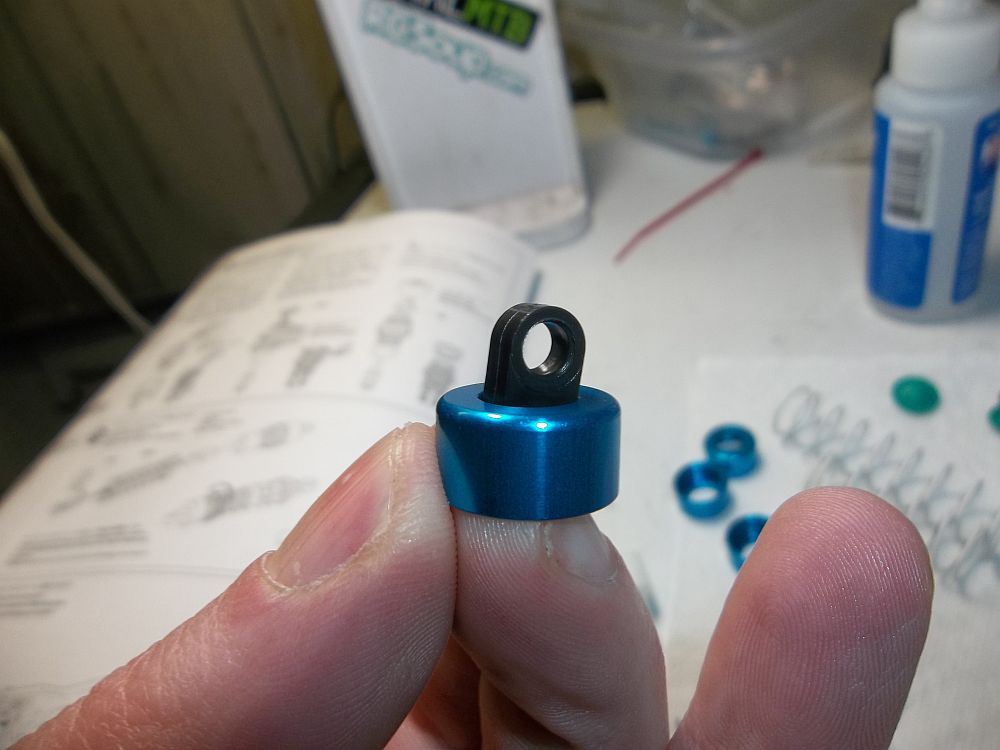
The tops just snap onto the ball studs. I hope they don’t pop off easily.
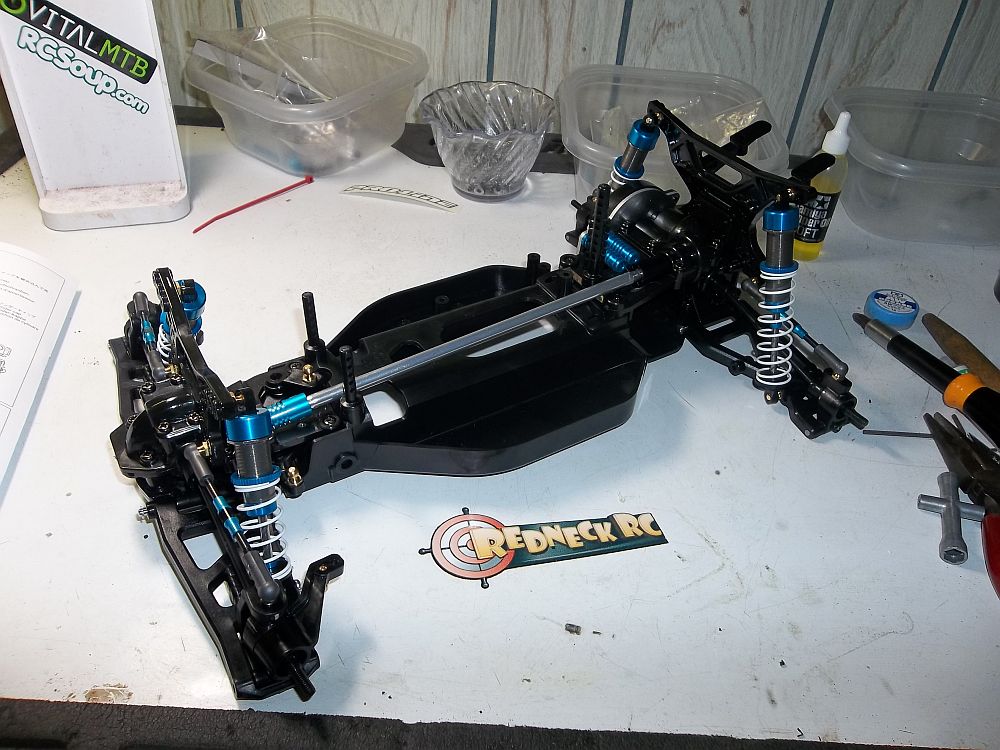
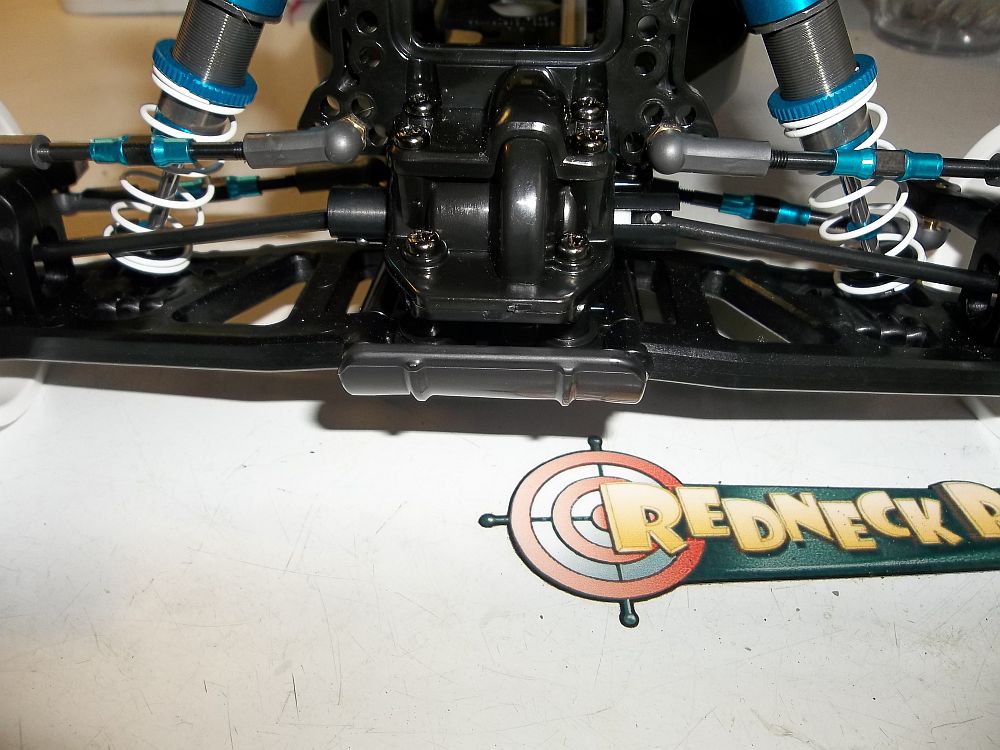
Here is a shot of the car with all the shocks mounted.
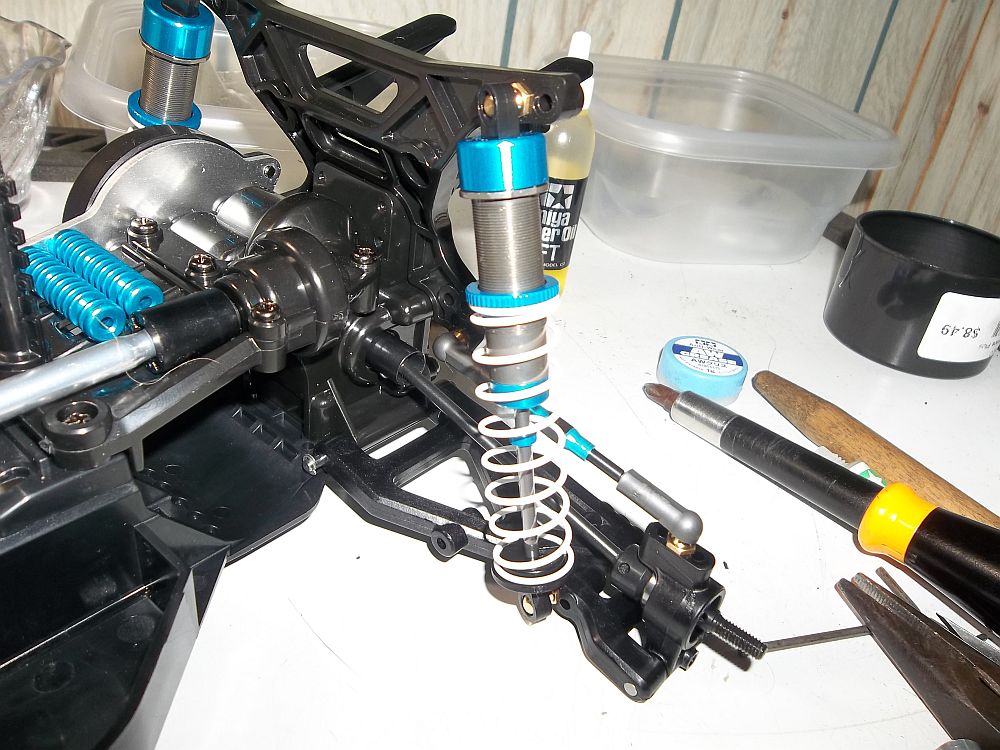
A close up of the rears.
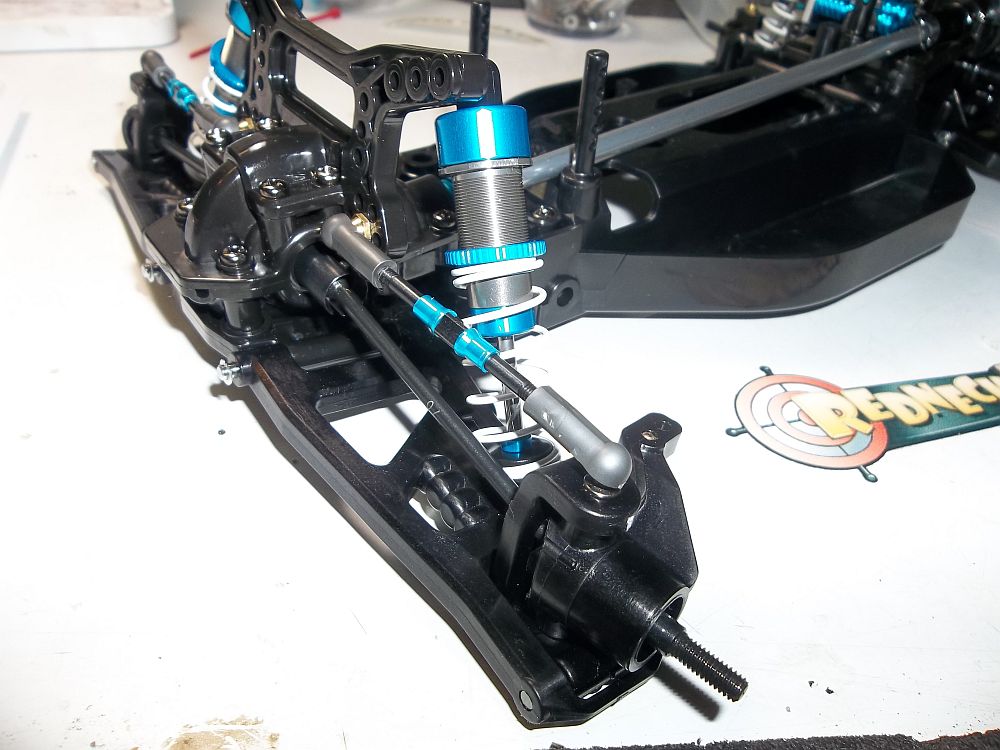
And the fronts.
Now its time to put the wheel hexes on. We start with the axles drive pin.
Its hard to see but this is the plastic drive hex. I wonder if the ones from the Tamiya Avante re-release will fit?? Those were aluminum.
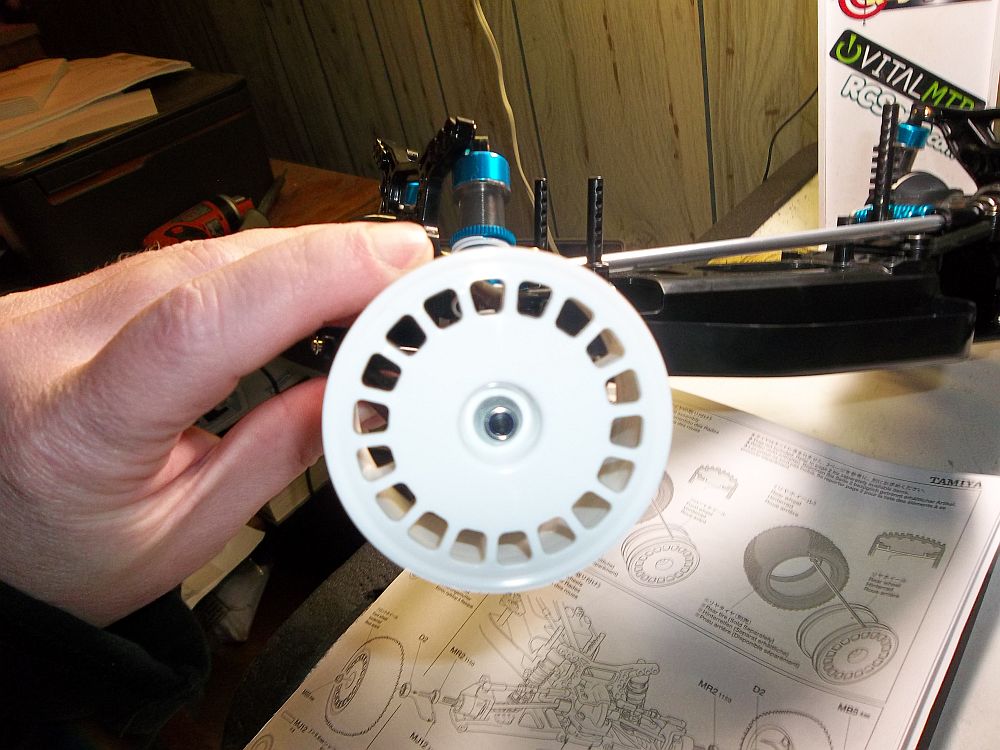
The wheels look pretty good.
Here is the front bumper.
And the rear.

One unique feature of this car is that the battery goes in from the bottom. This is the door and the pin that secures it.
The pin just slides in from one side.
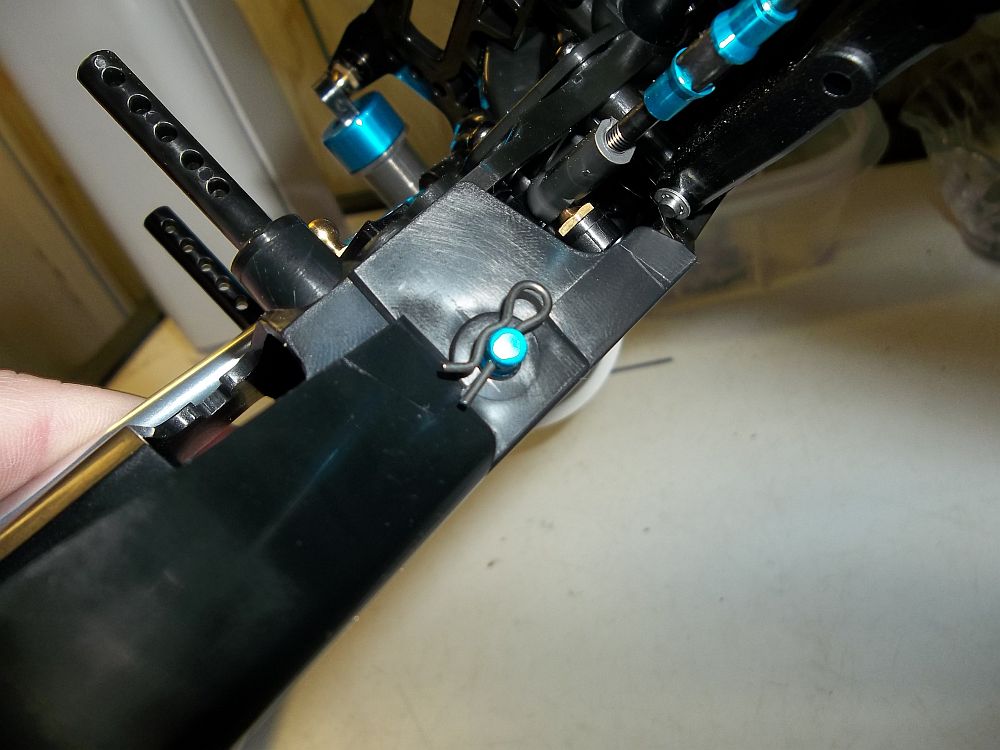
And is held in place by a small body pin.

Here we have the clear body. Time to cut it out.
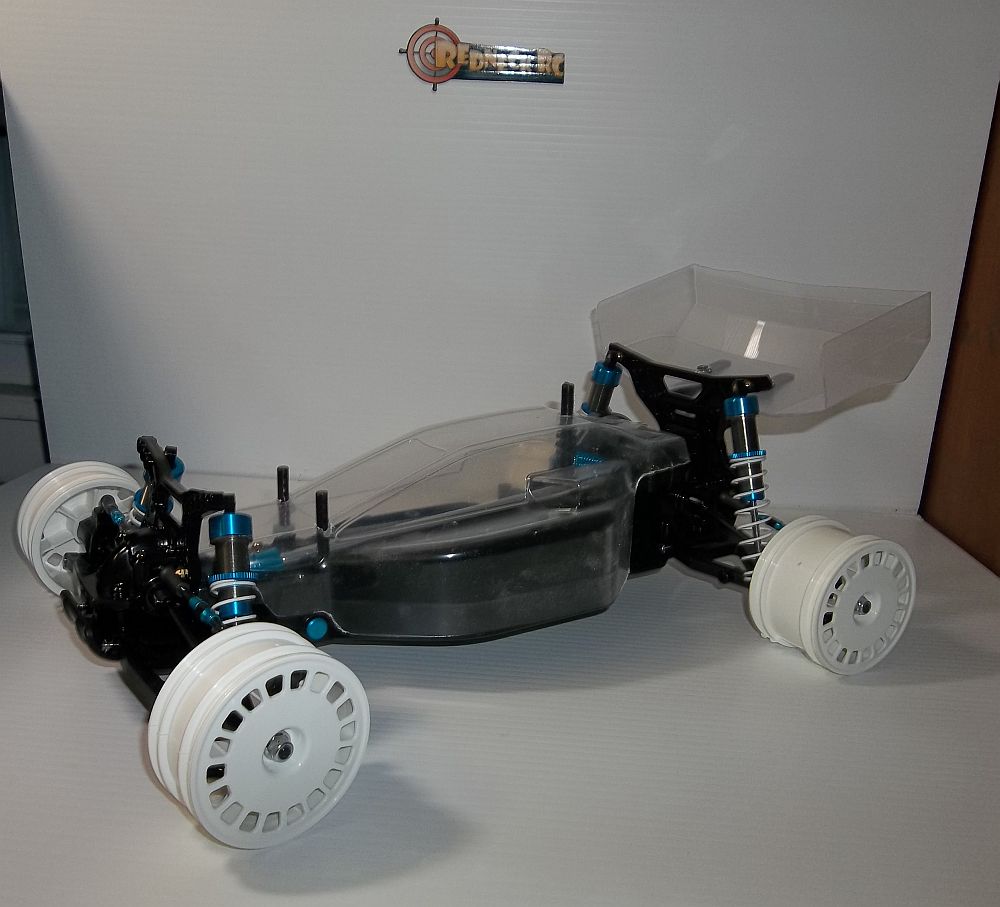
So there we have it. Part 1 of the build series “Can It Compete?” The build went on without any hitches. Tamiya makes some of the best cars to put together. No trimming needed or “slight” mods to make things work. Their instructions are top notch. Once again I would like to give Calvin Hall at REDNECK RACEWAY AND HOBBY a big THANK YOU for sponsoring this series.
Keep an eye out for Part 2 of the build series. There we will be putting in the electronics and maybe some hop ups 😉
 Posted in
  Tags:
Tags:
I’m looking forward to part 2. I’m a Tamiya fan (because of how much fun they are to build) and would love to see how this matches up with the big guys.
Bin the Tamiya shock oil and use racing quality oil.
plus use green slime when you build those shocks.
You will need Tungsten Carbide balls in that rear dif !!!!