

 February 9th, 2014
  Kevin
Kevin So after 2 years of running nothing but the stock body on my Team Associated SC10, I figured it was time to try one of the newest designs out there. The Pro-Line EVO SC body not only is stylish, but functional. It has a TON of ventilation holes that can be cutout to remove the parachuting effect you get with an un-vented body. This will hopefully lead to a better handling short course truck, and better jumping ability.
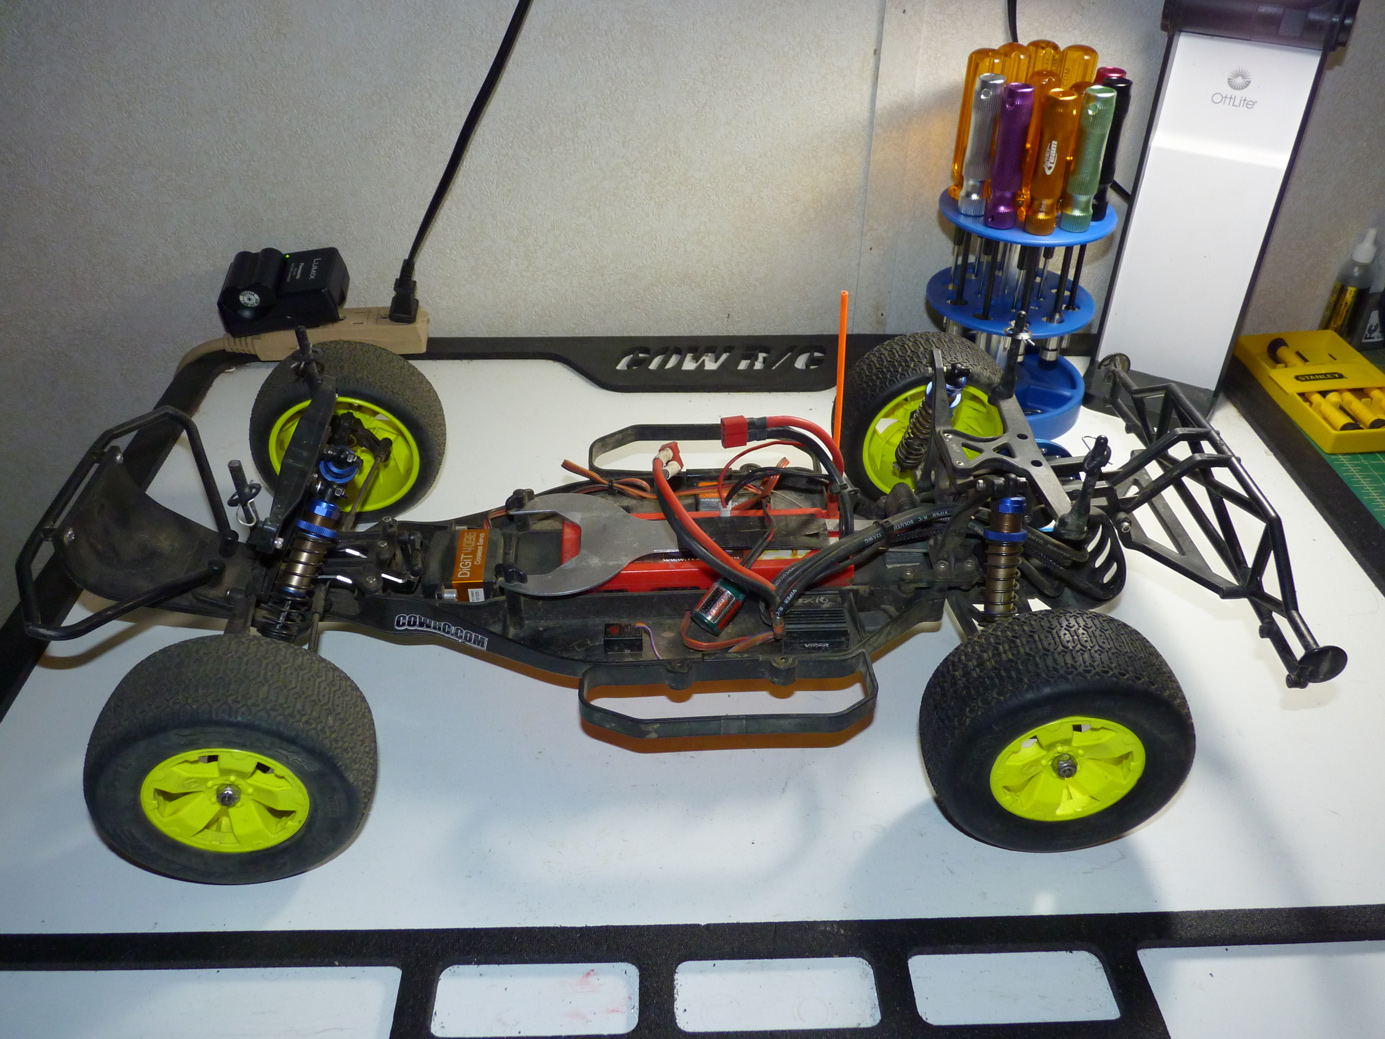
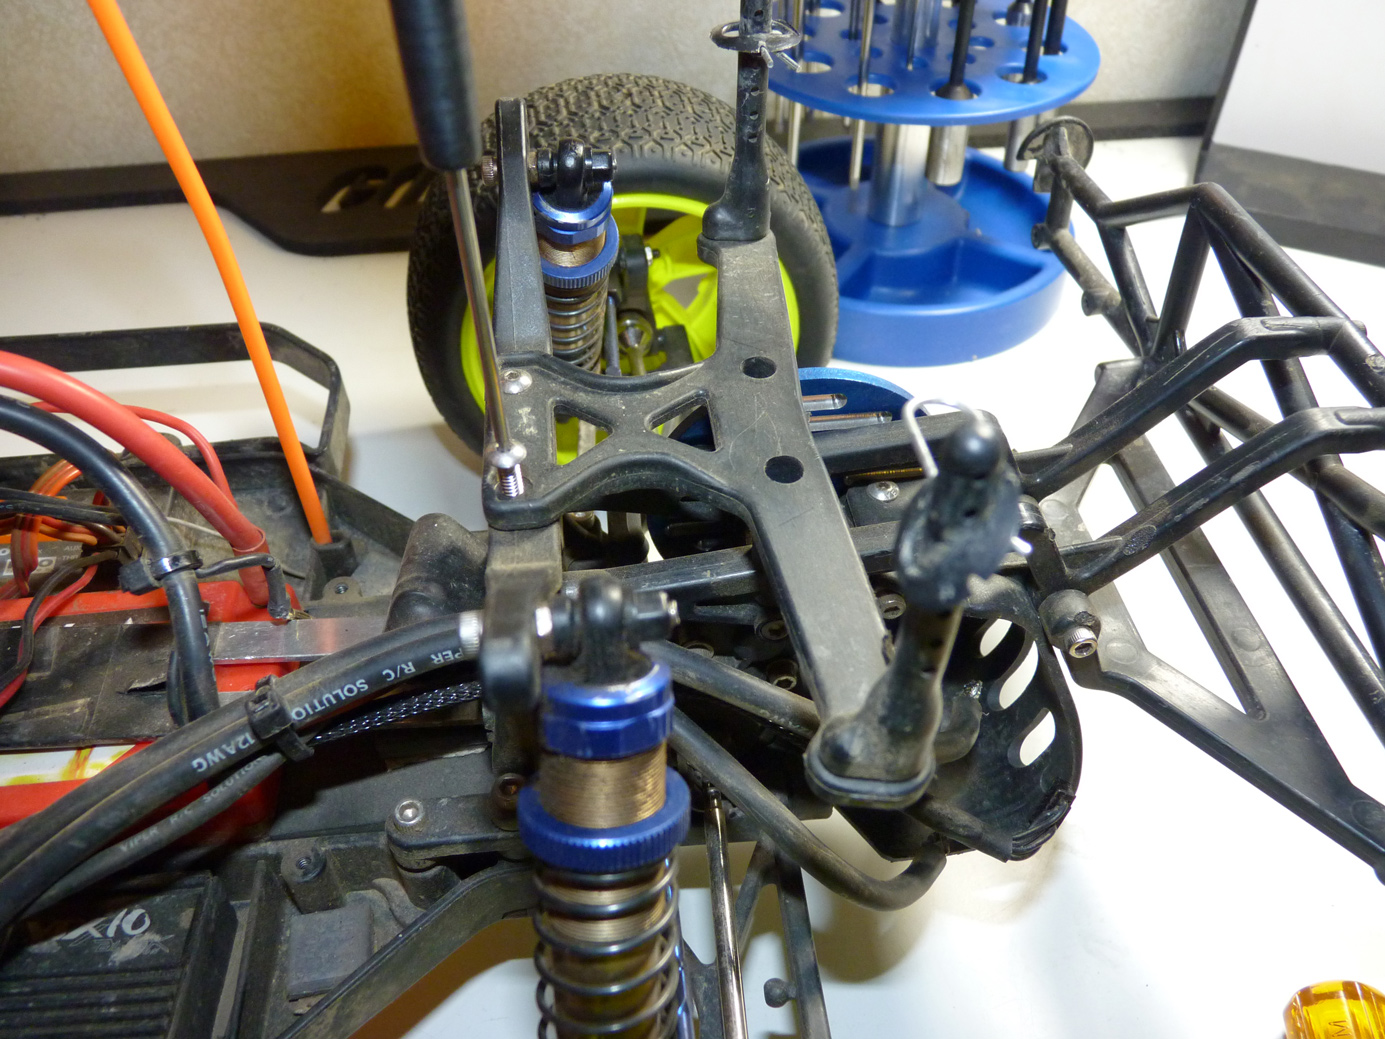
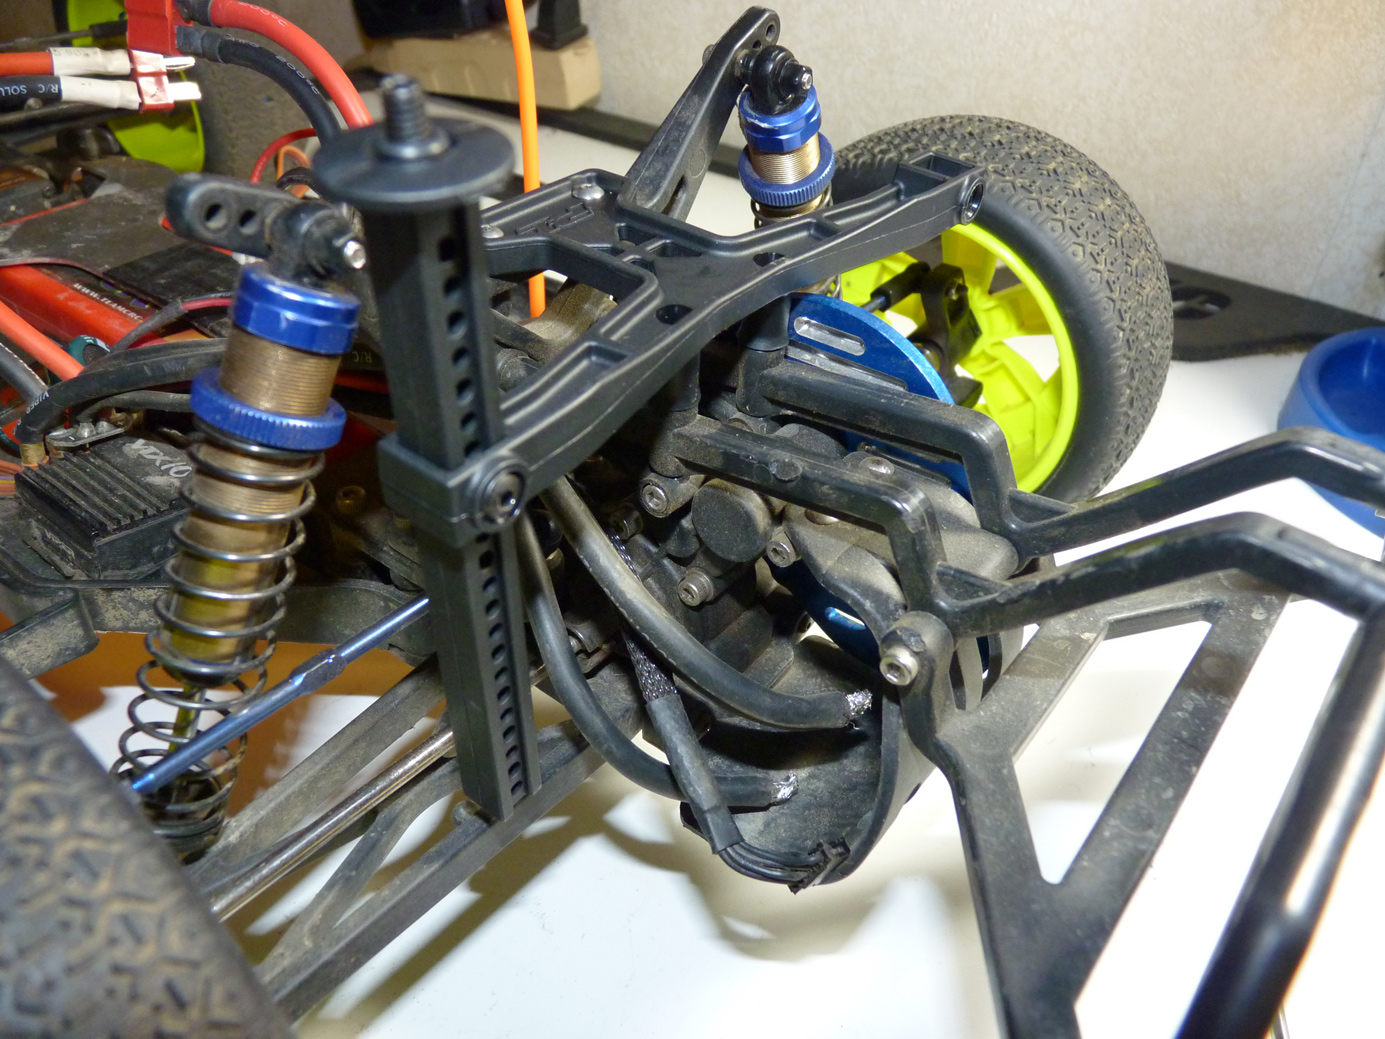
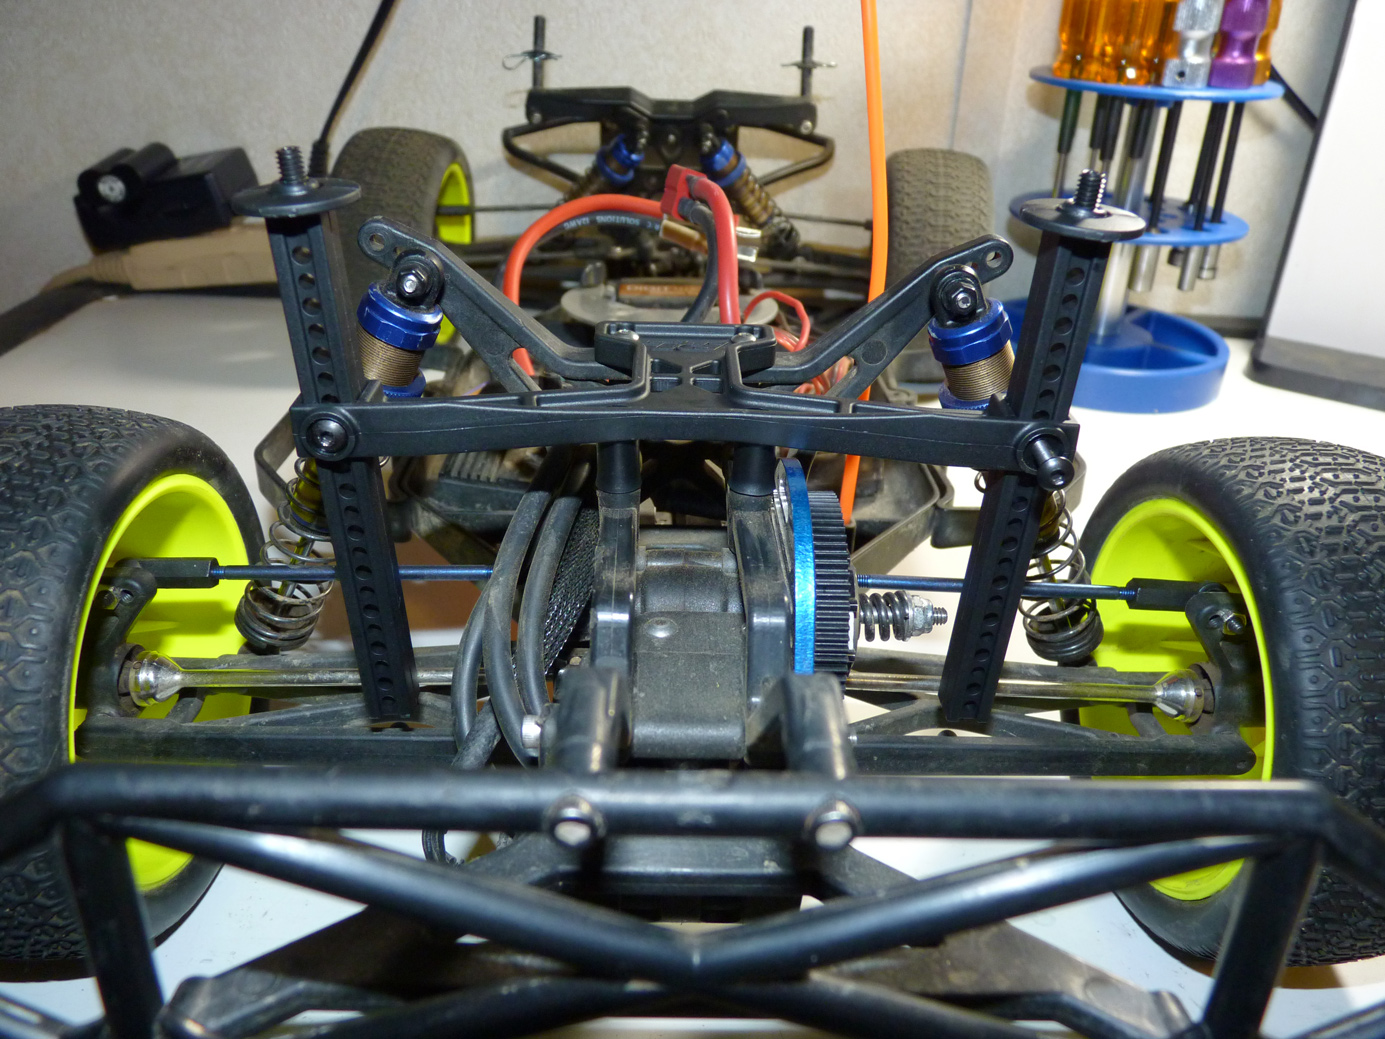
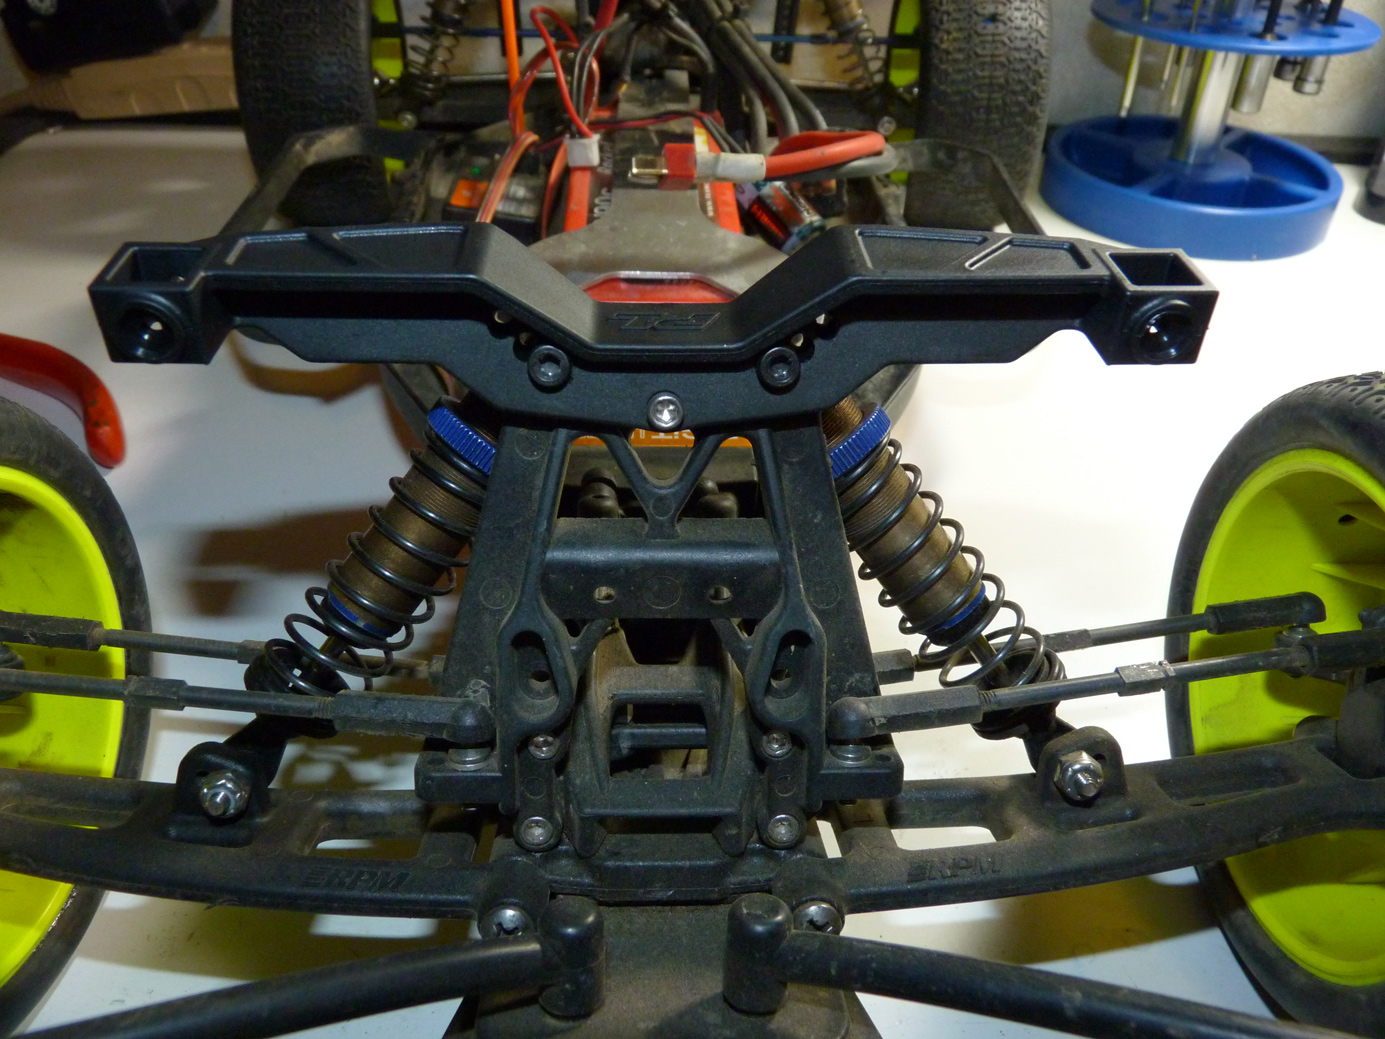
Before we get into that, let’s look at this truck. It started off as one of the original sc10 kits (non-Factory Team), and has been upgraded over the years. While we’re doing the body, I thought it would be a great time to swap out the body mounts for Pro-Lines Extended Front and Rear Body Mounts (6071-00). These basically replace the stock “body clip” style mounts with Pro-Lines awesome new thumb screw mounts. They hold the body on more securely with no slop and require much smaller holes to be drilled into the body. They also don’t dig in under your fingernails like body clips can.. OUCH!
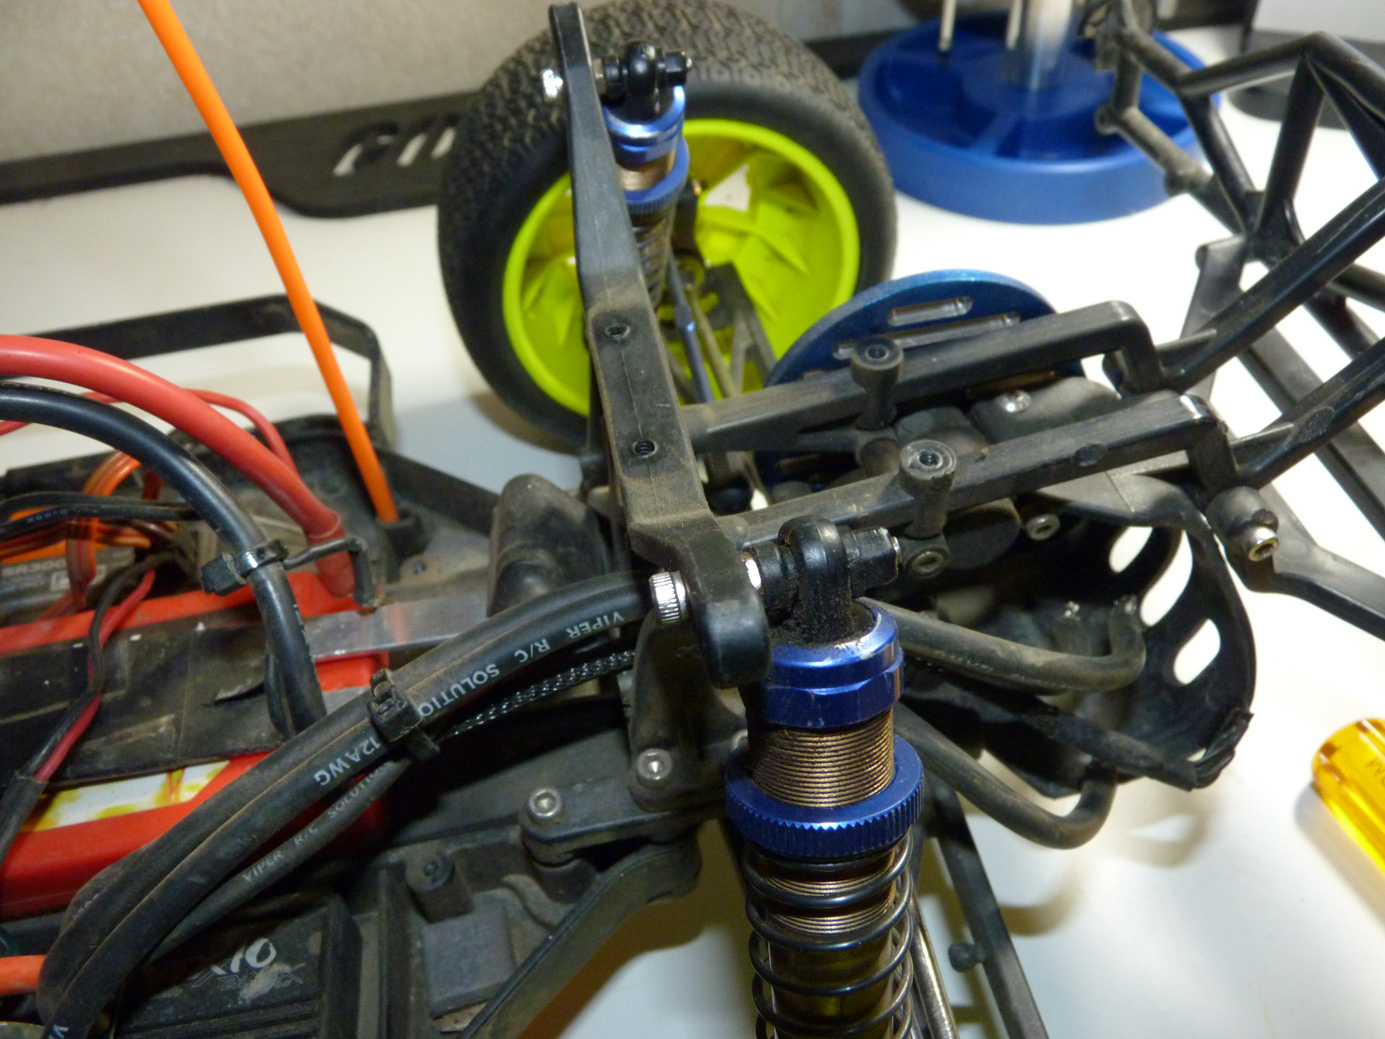
Let’s get started. Here’s my SC10.
Below is the Pro-Line body mount kit.
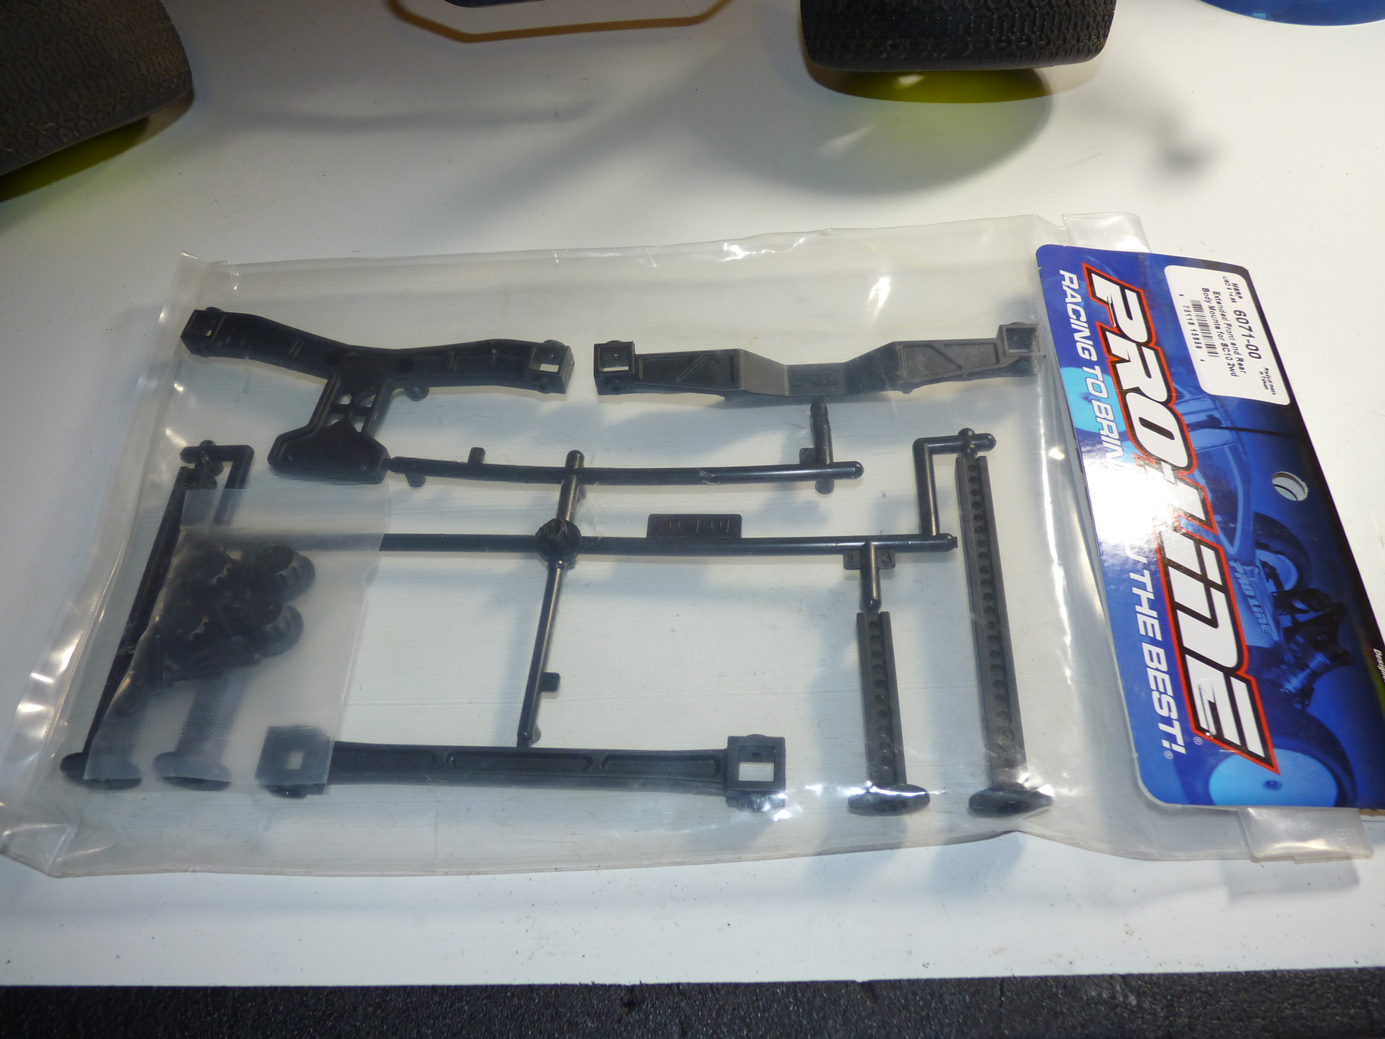
It’s part # 6071-00, with a MSRP of $14.95. Under $20 for low hassle body mounting? Sign me up!

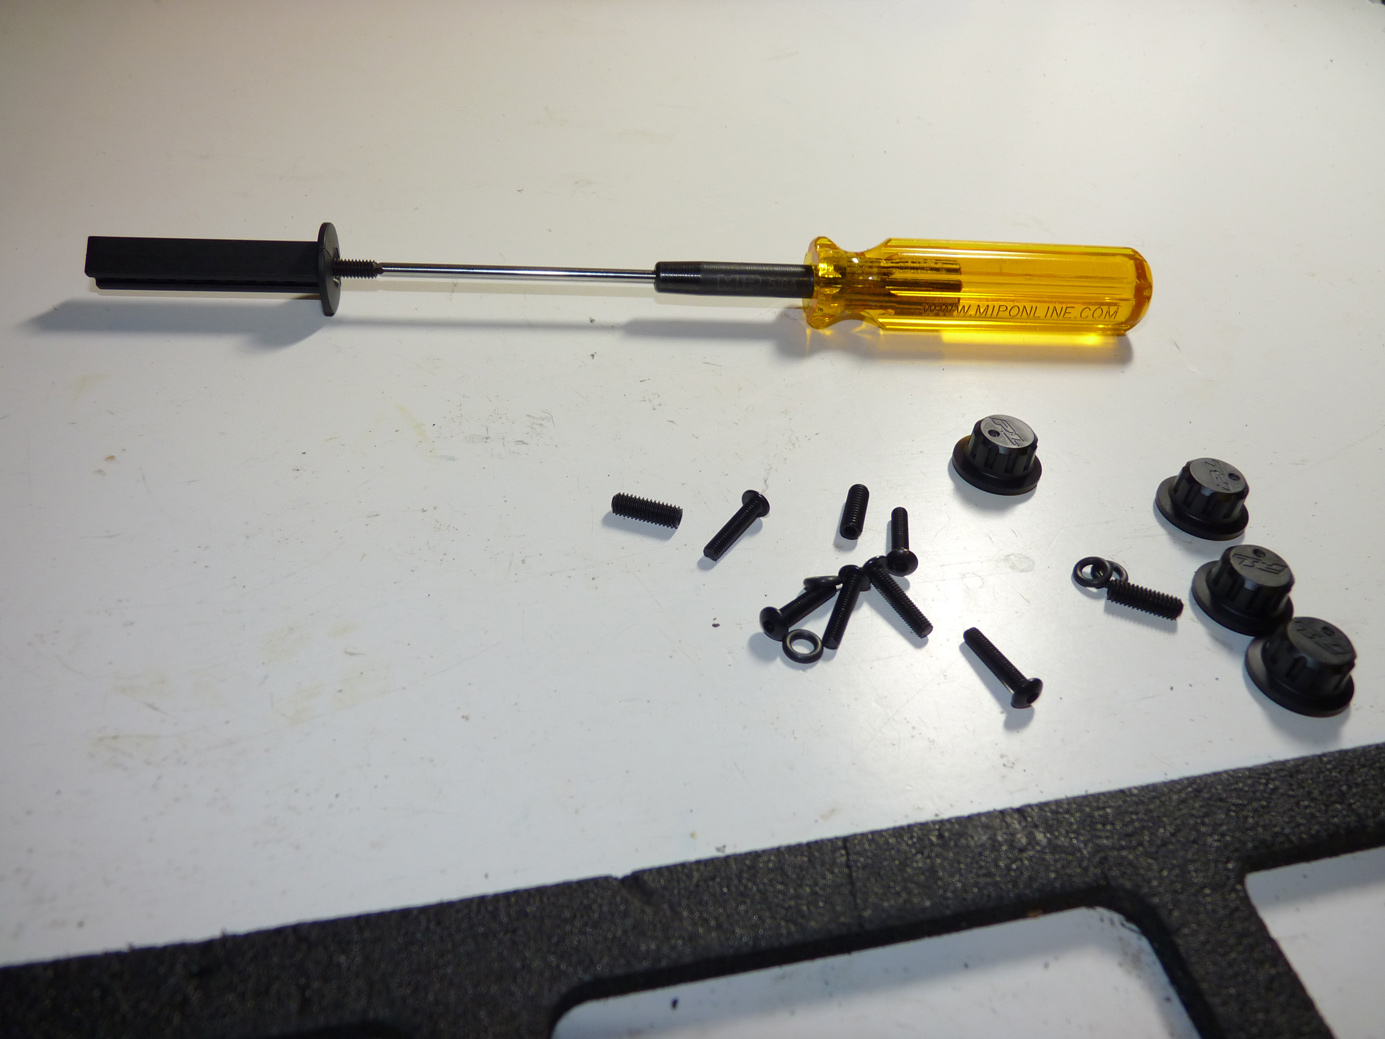
Below is the contents of the kit.
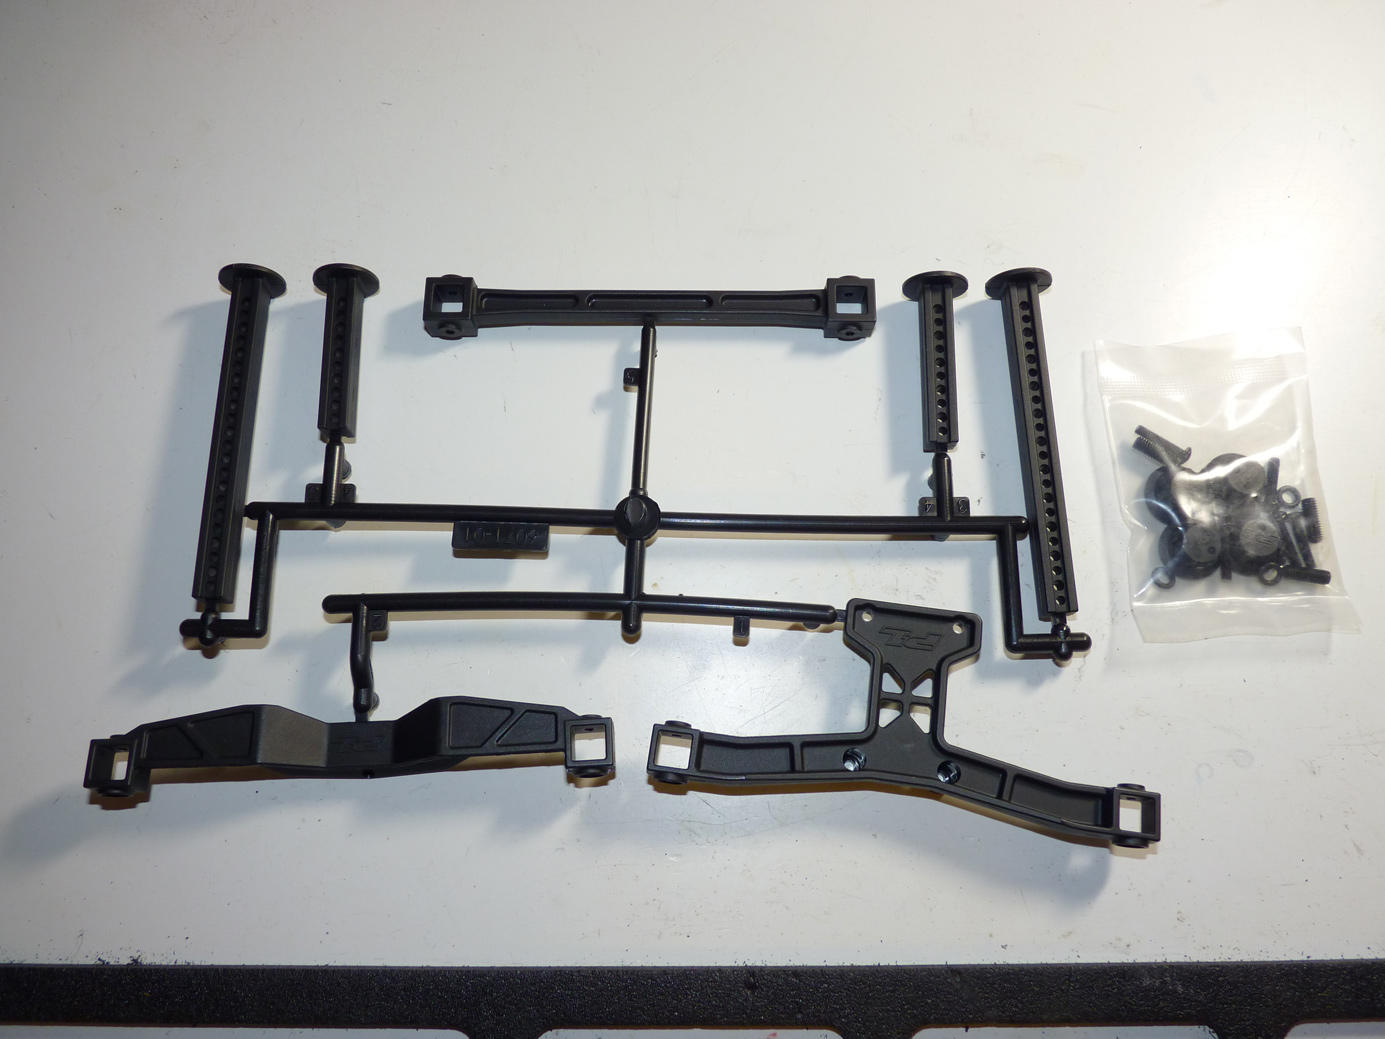
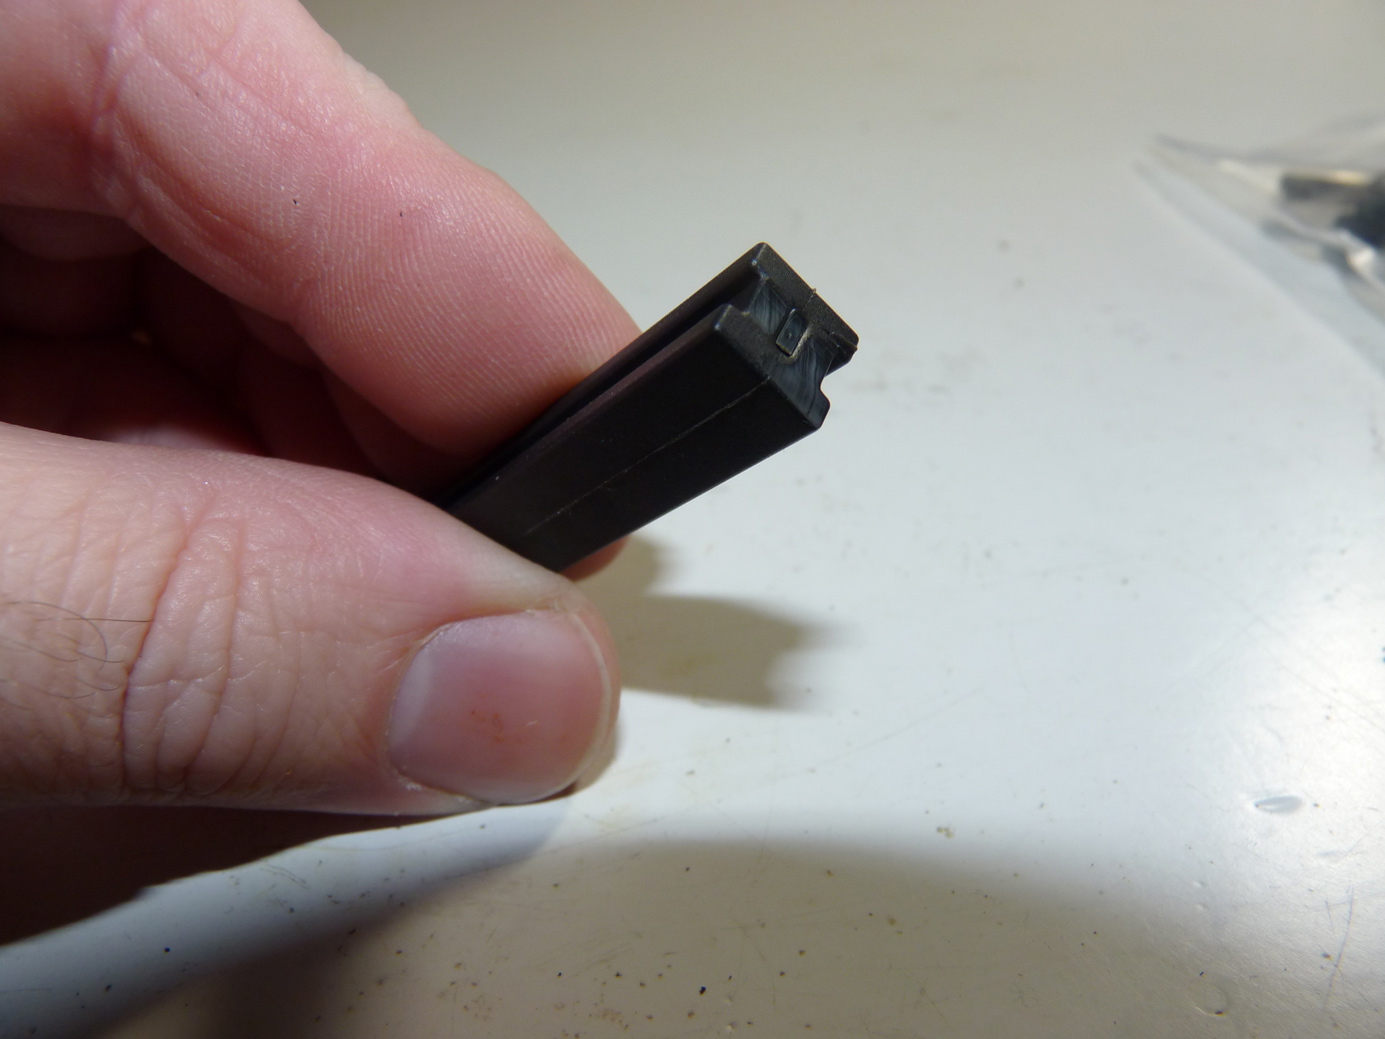
I removed them from the molded parts tree.
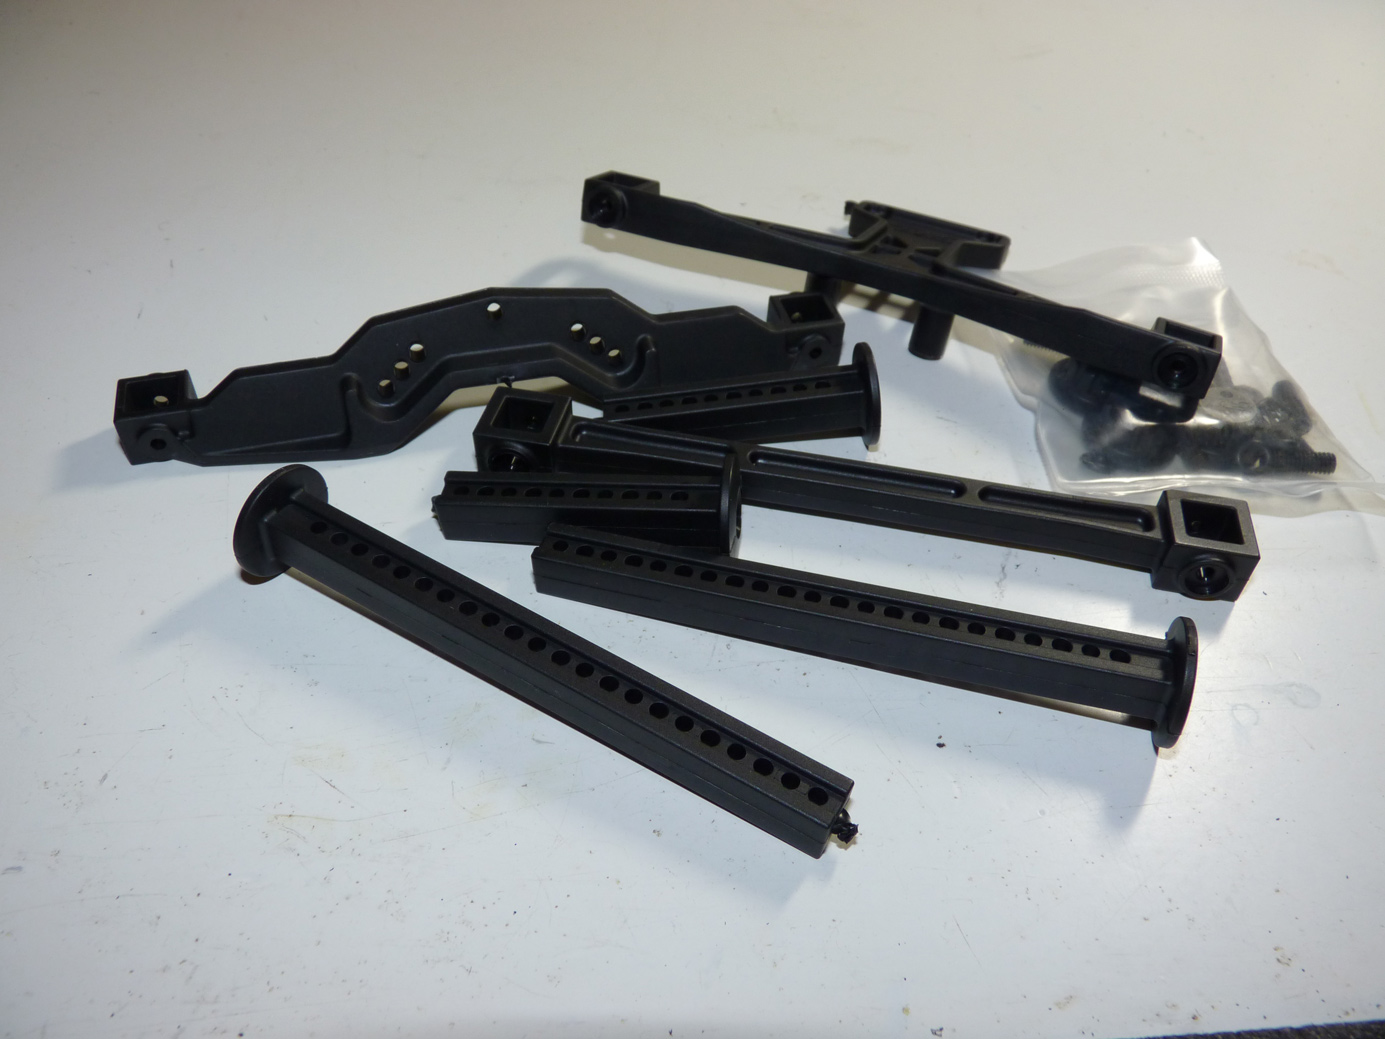
Then cleaned up the burrs with a hobby knife.
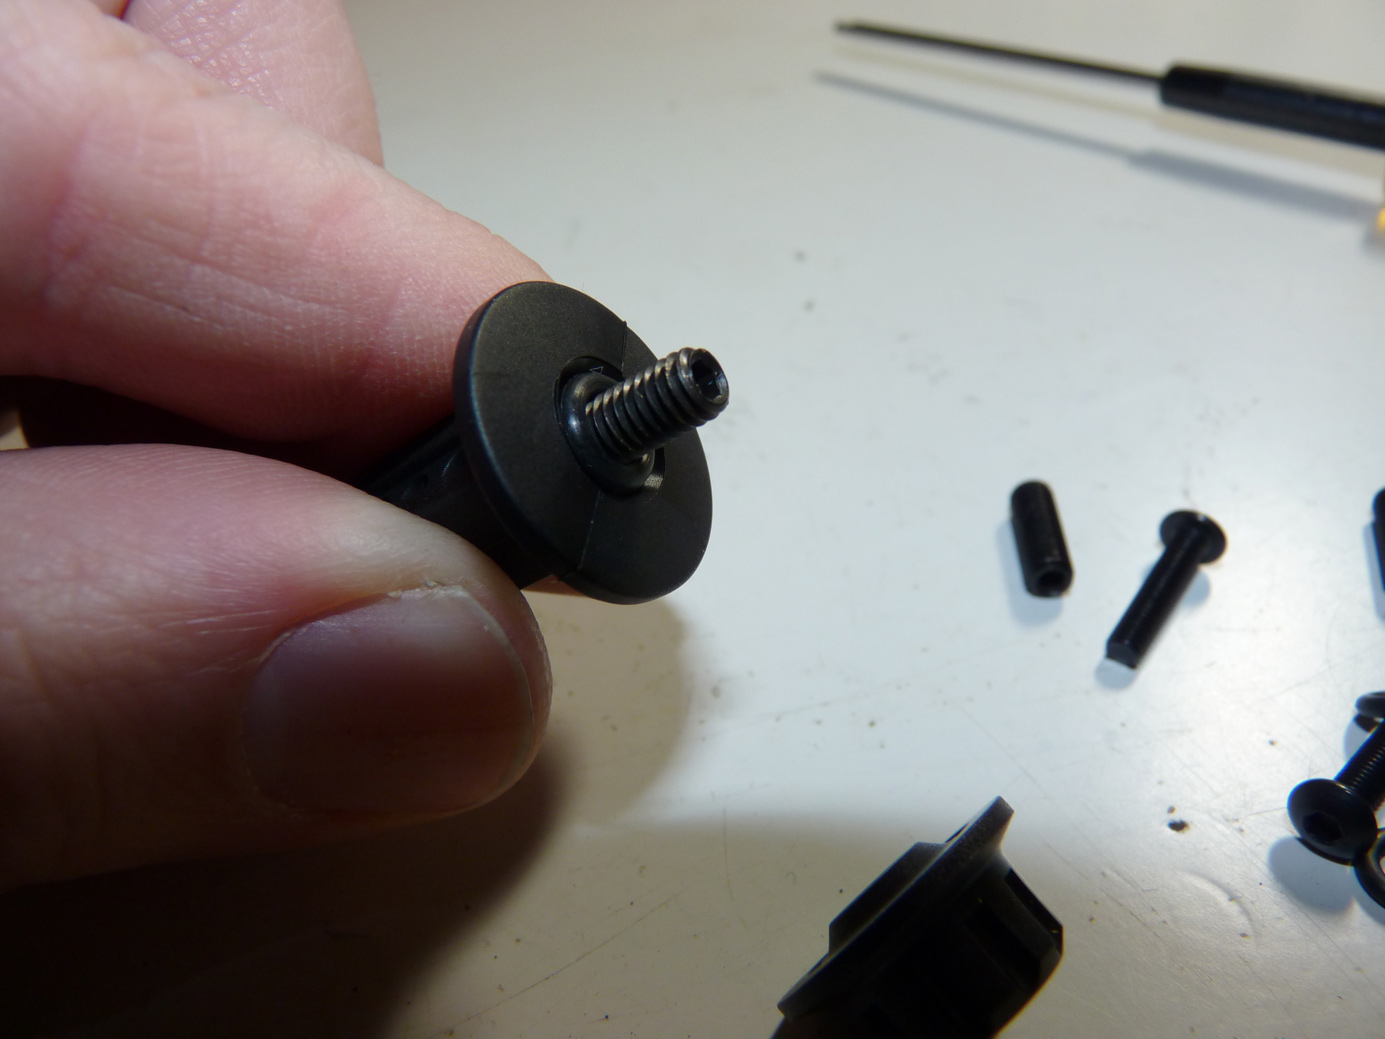
Next we install the grub screws into the body posts.
Then slide an O-ring over them. This is what provides a “seal” for the thumb screw when tightening and prevents it from backing off easily.
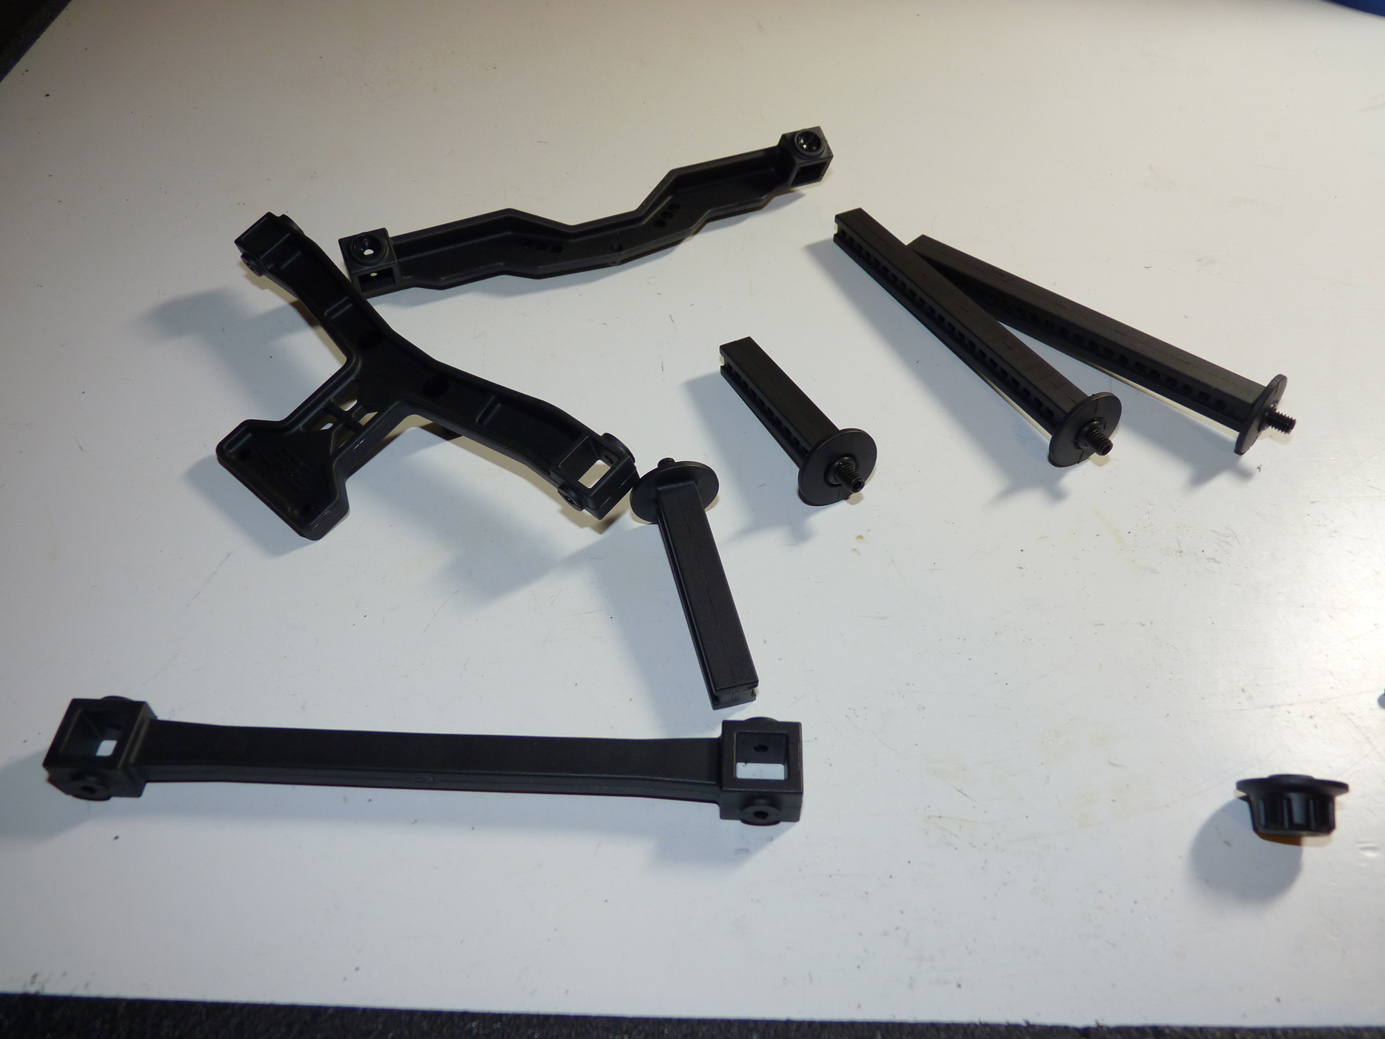
Ready for install!
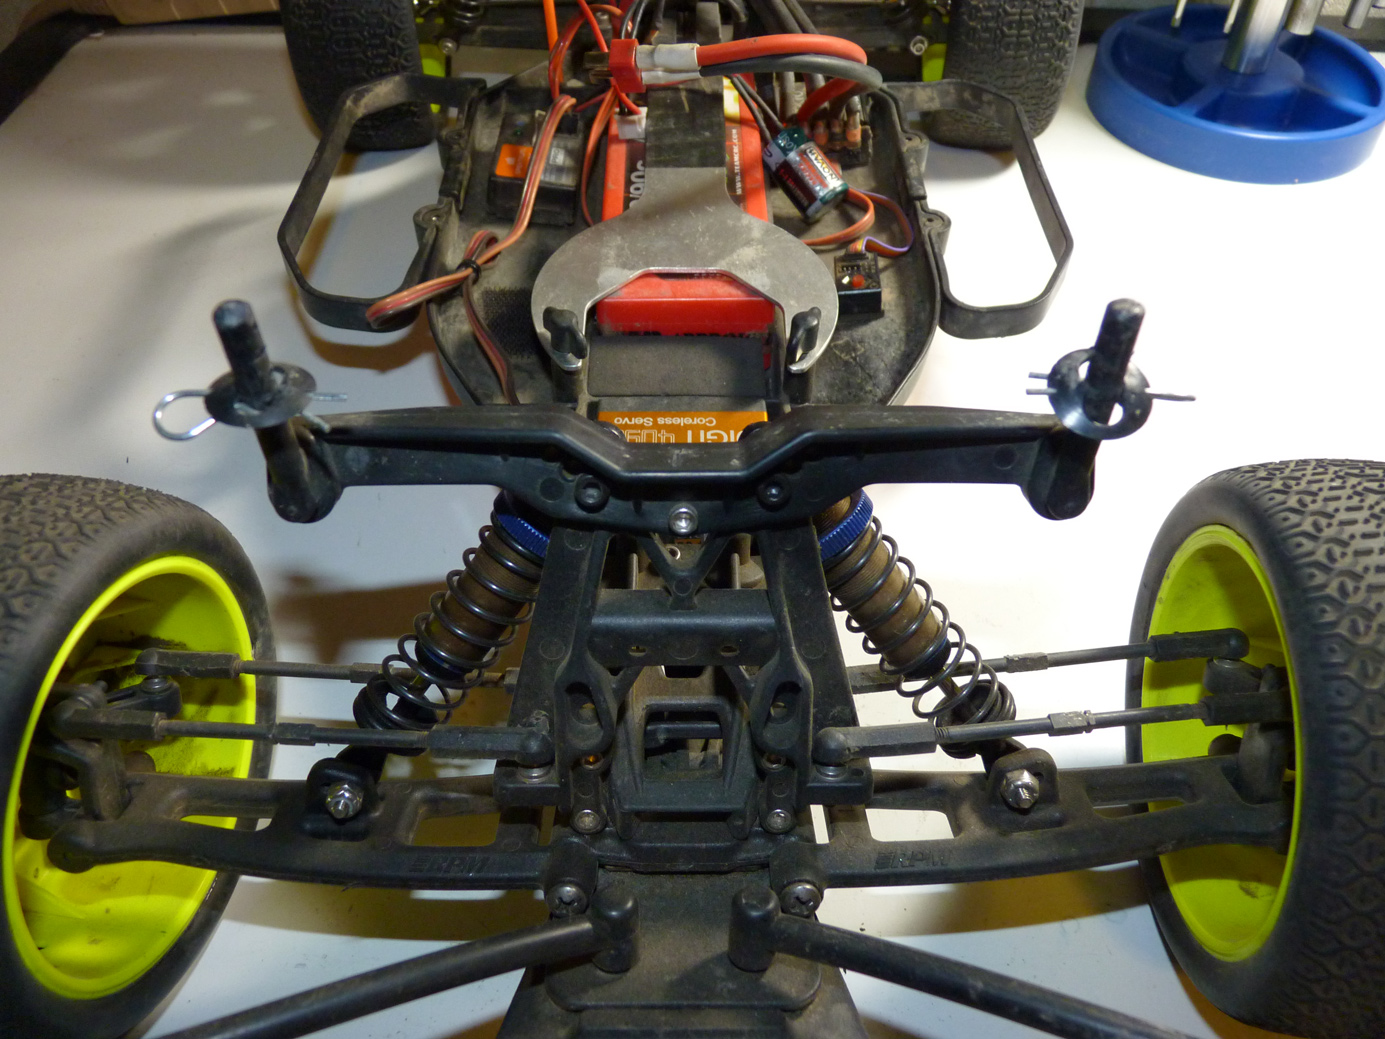
We’ll start with the back. We simply remove the 4 screws holding the stock body mount on.
Voila.
Then we drop on the nice new Pro-Line one.
Here I advise you get a rough idea of where your stock body mount was set at. This will help you get the height right when you install the new mount.
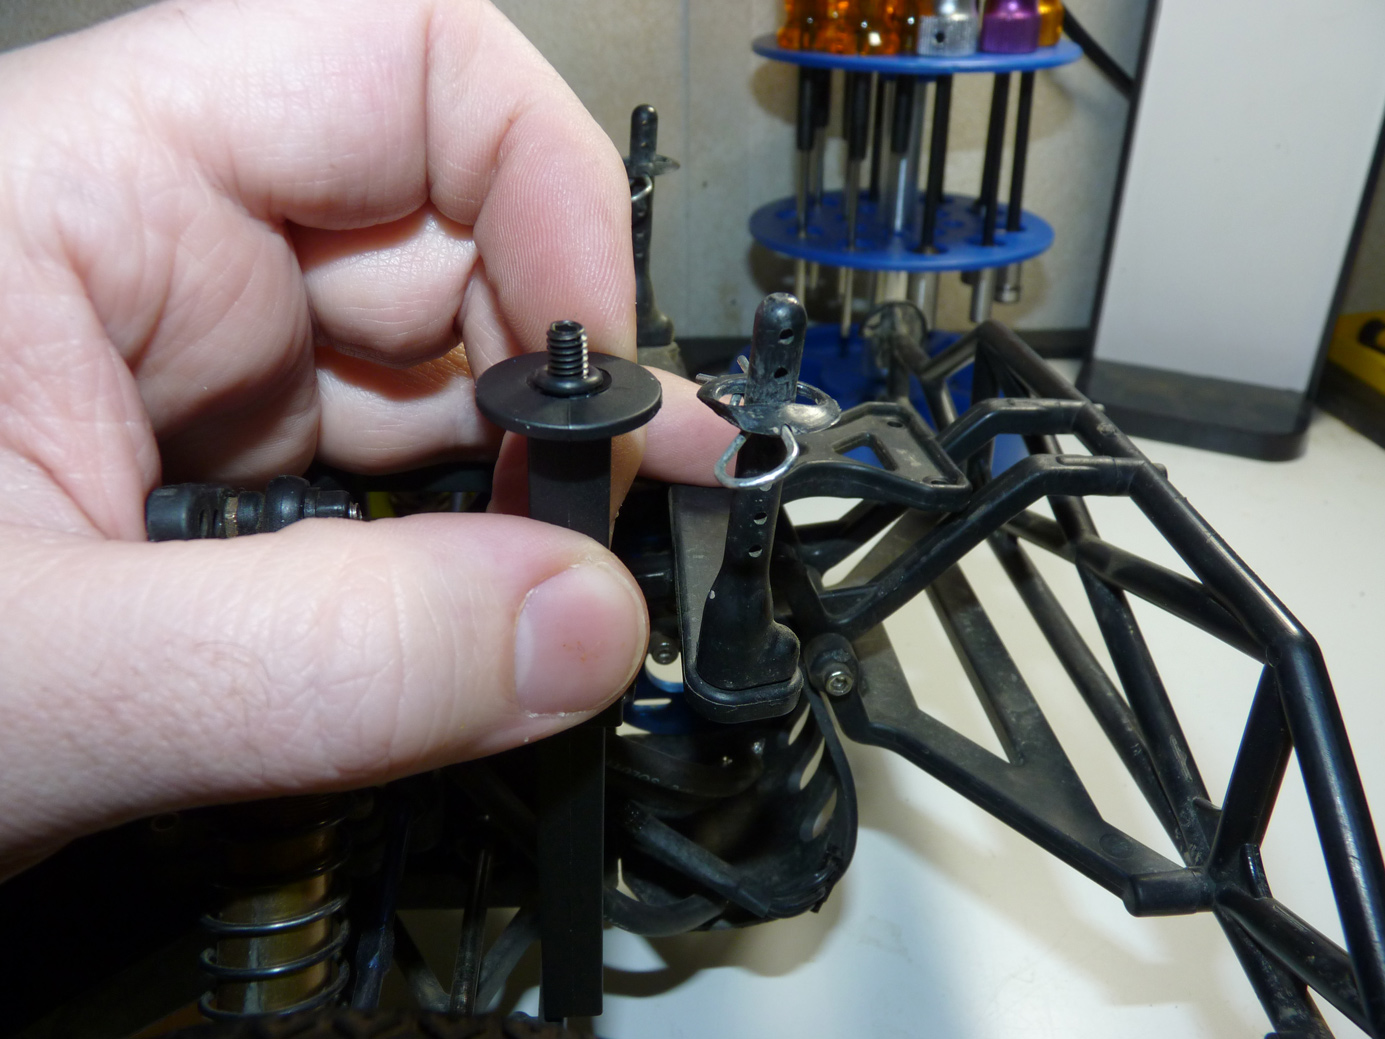
Drop the mount in, and insert the screw into the corresponding screw hole that gets you nearest to where the old mount was.
These are going to need to be trimmed with a Dremel cut-off wheel.
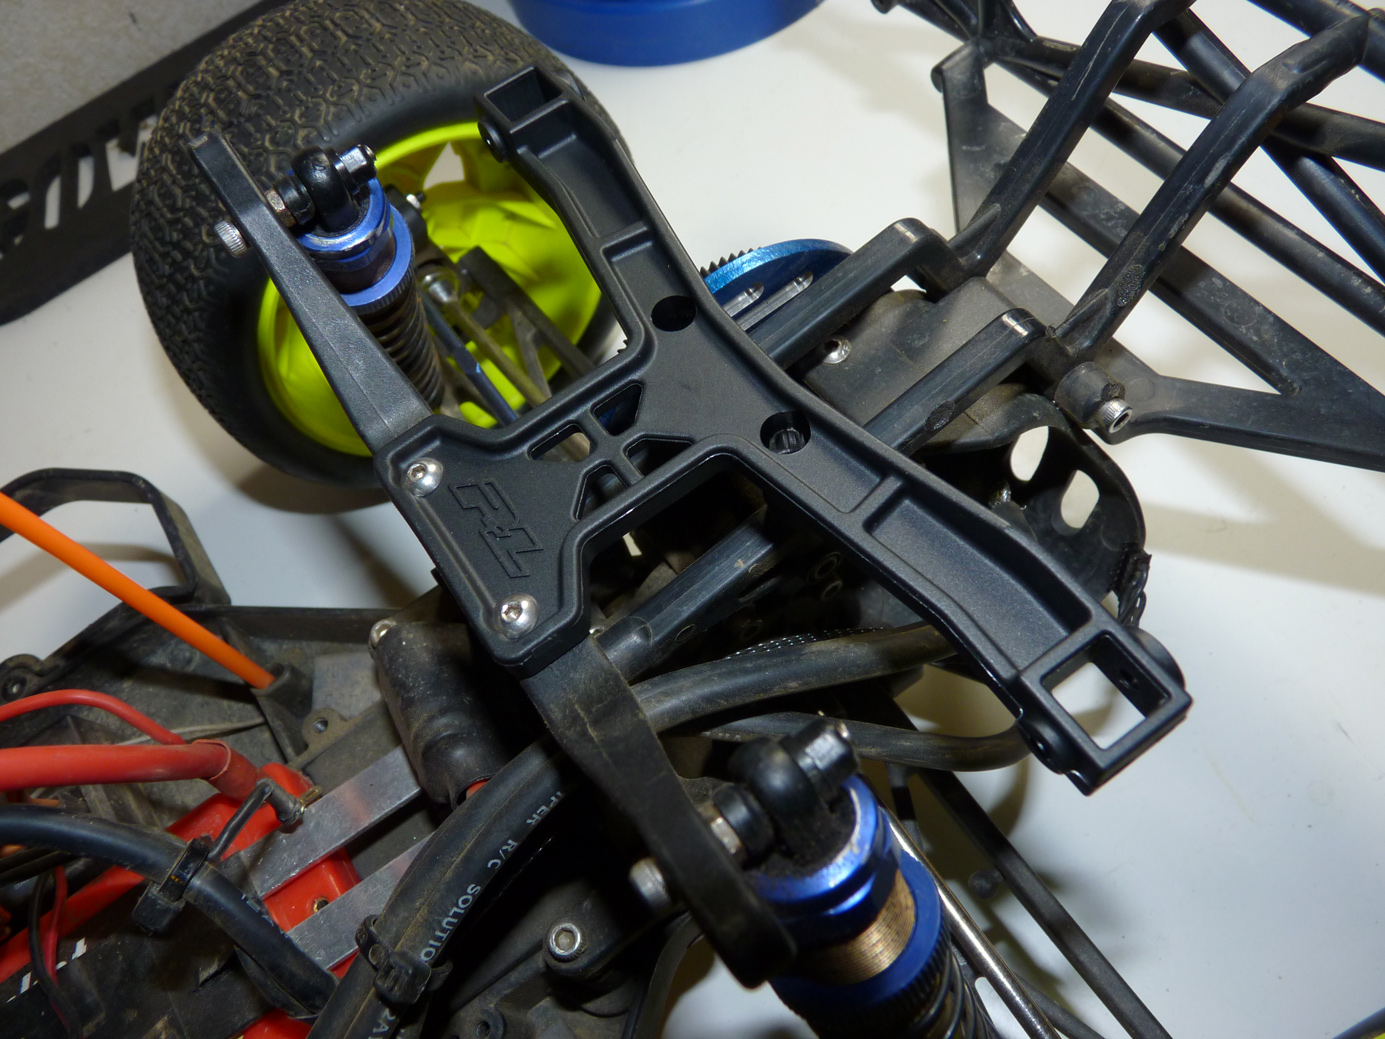
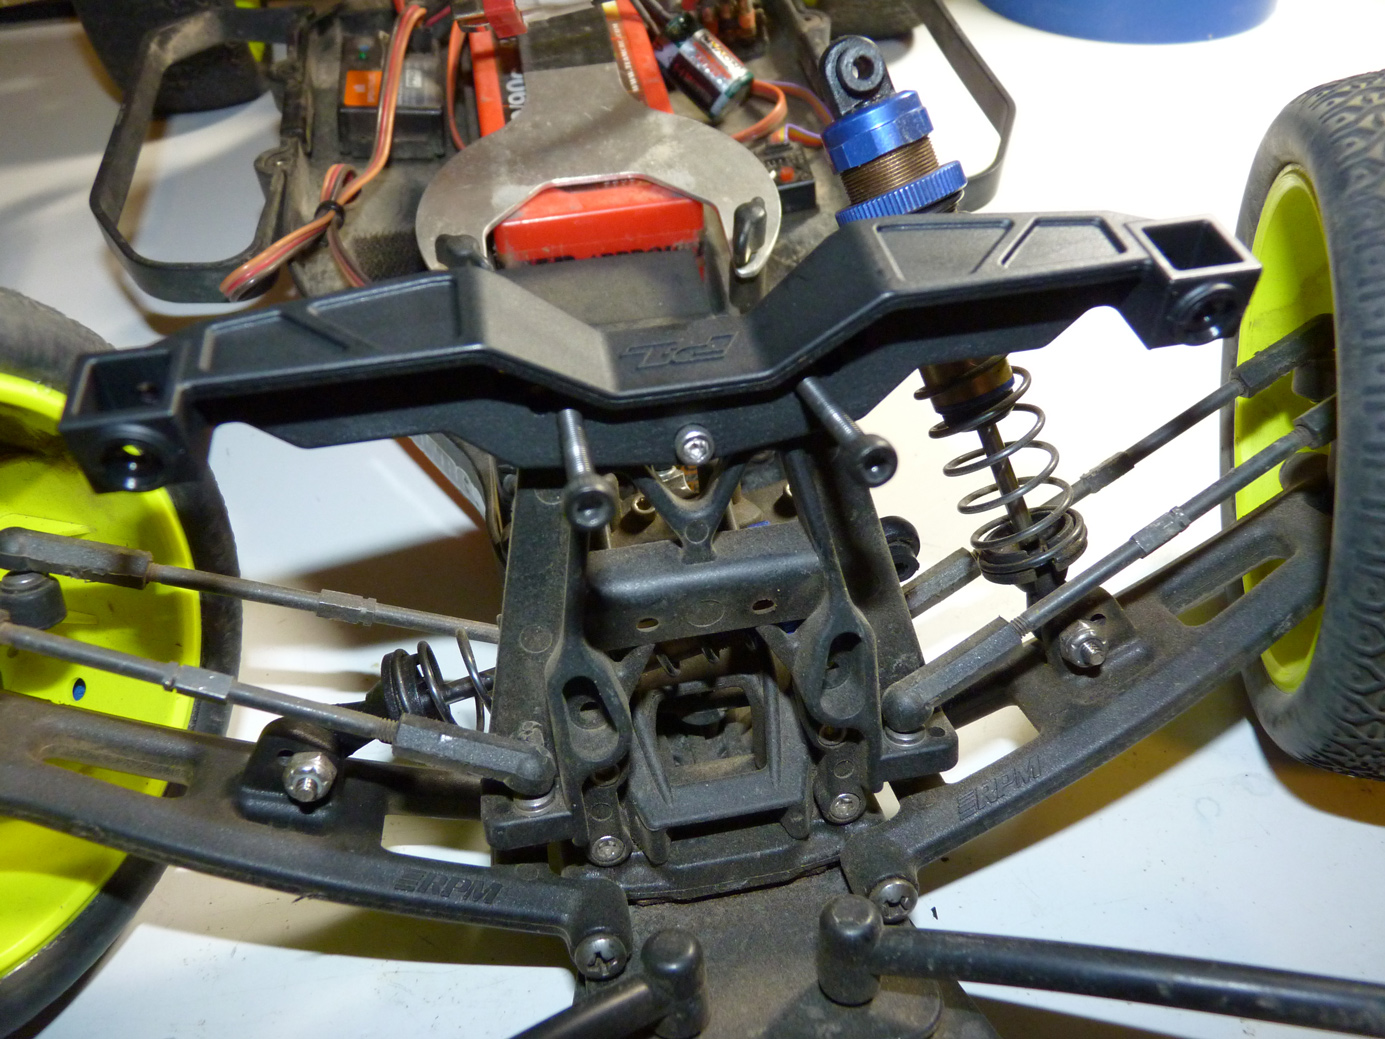
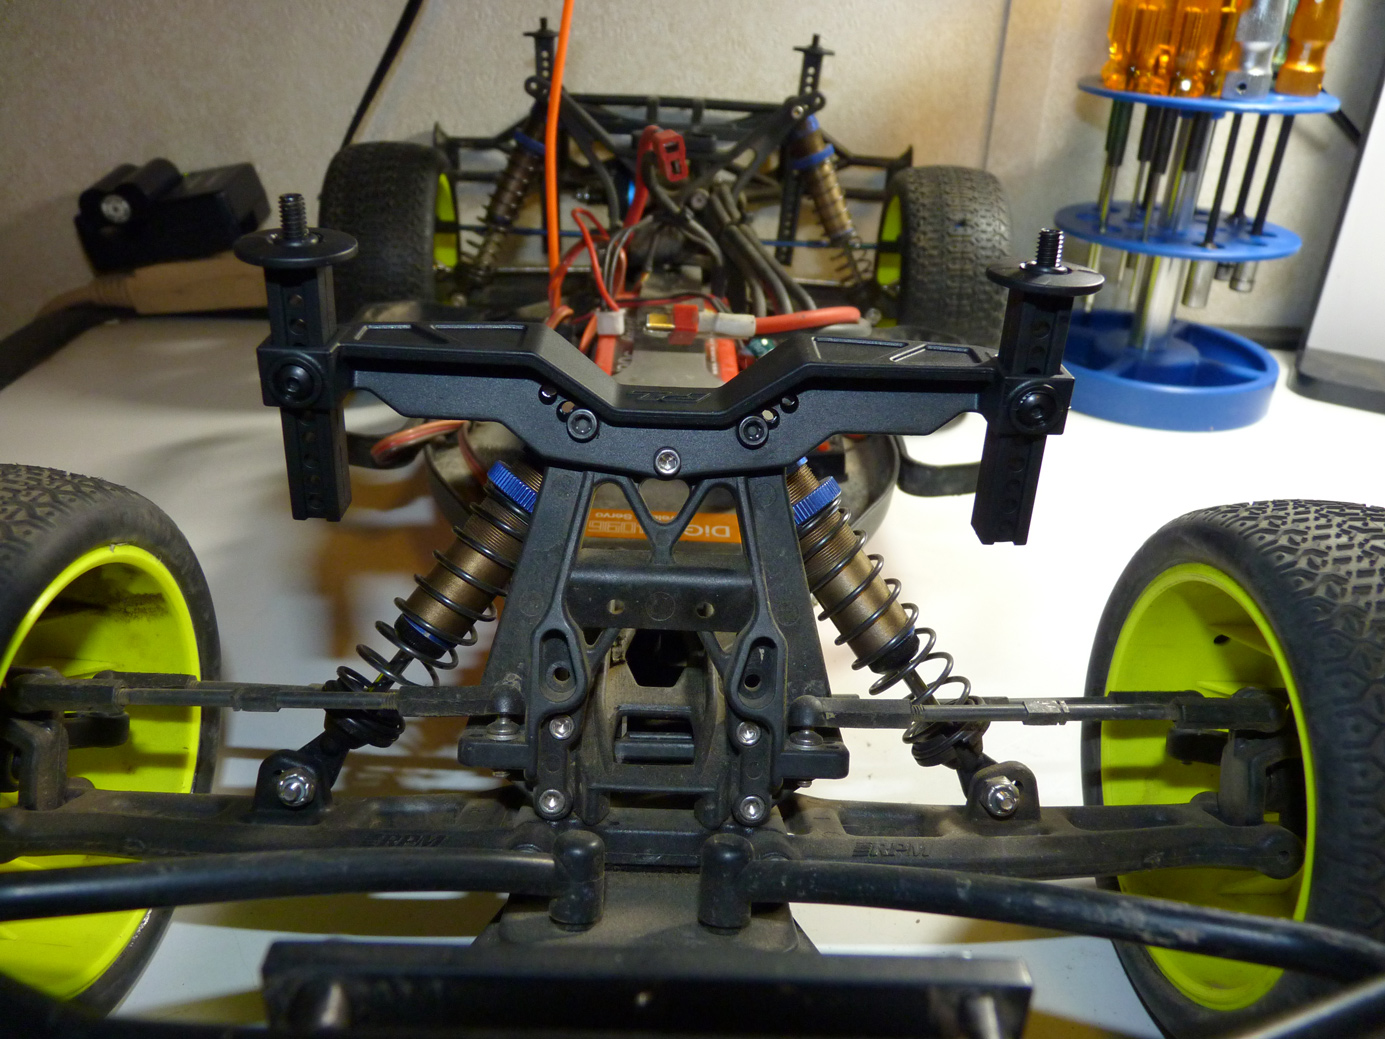
Now we tackle the front mount.
This one only has 3 screws, but also has the shock mounts run through it. Shocks will need to be removed at the top to get the body mount off.

Then we install the new one.
Lookin’ good!
There we go.
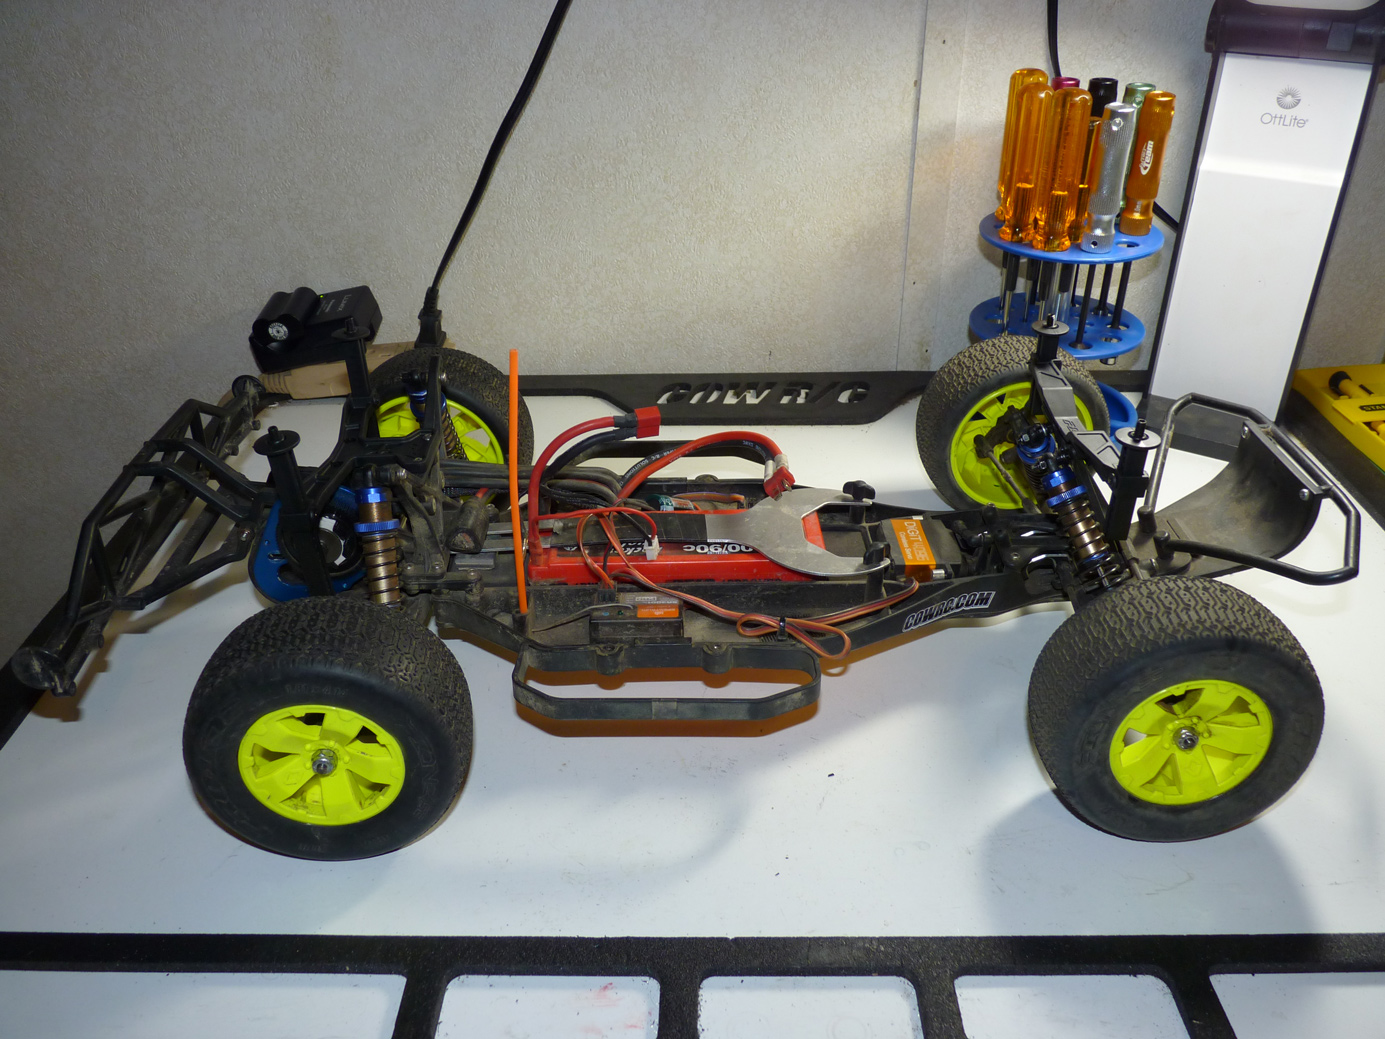
New body mounts are installed. No more lost body pins! Rejoice!
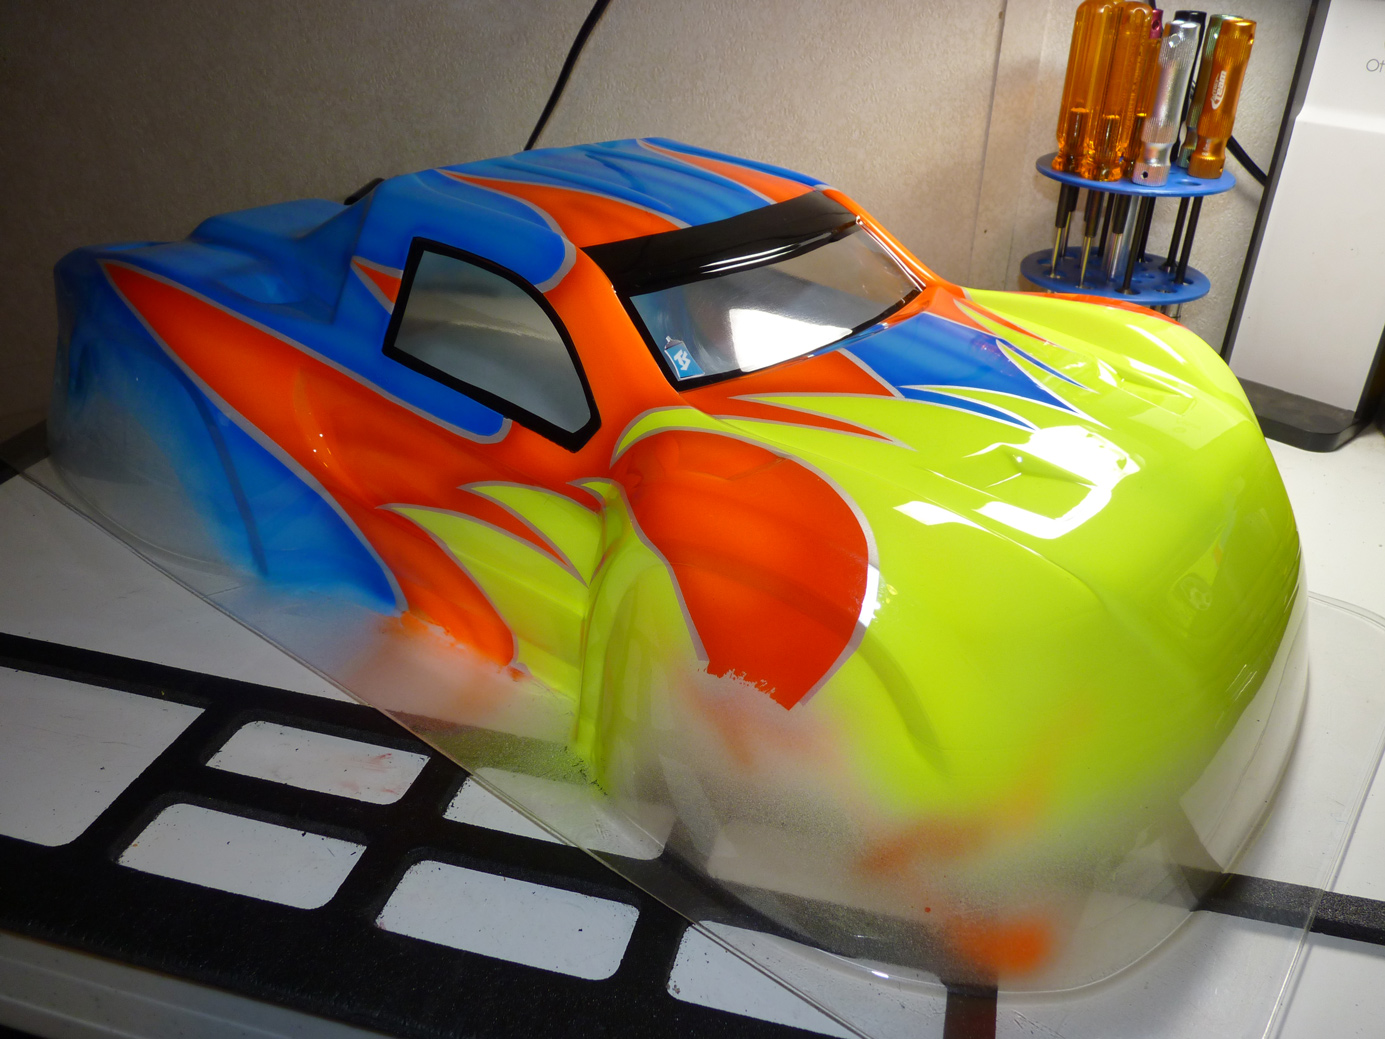
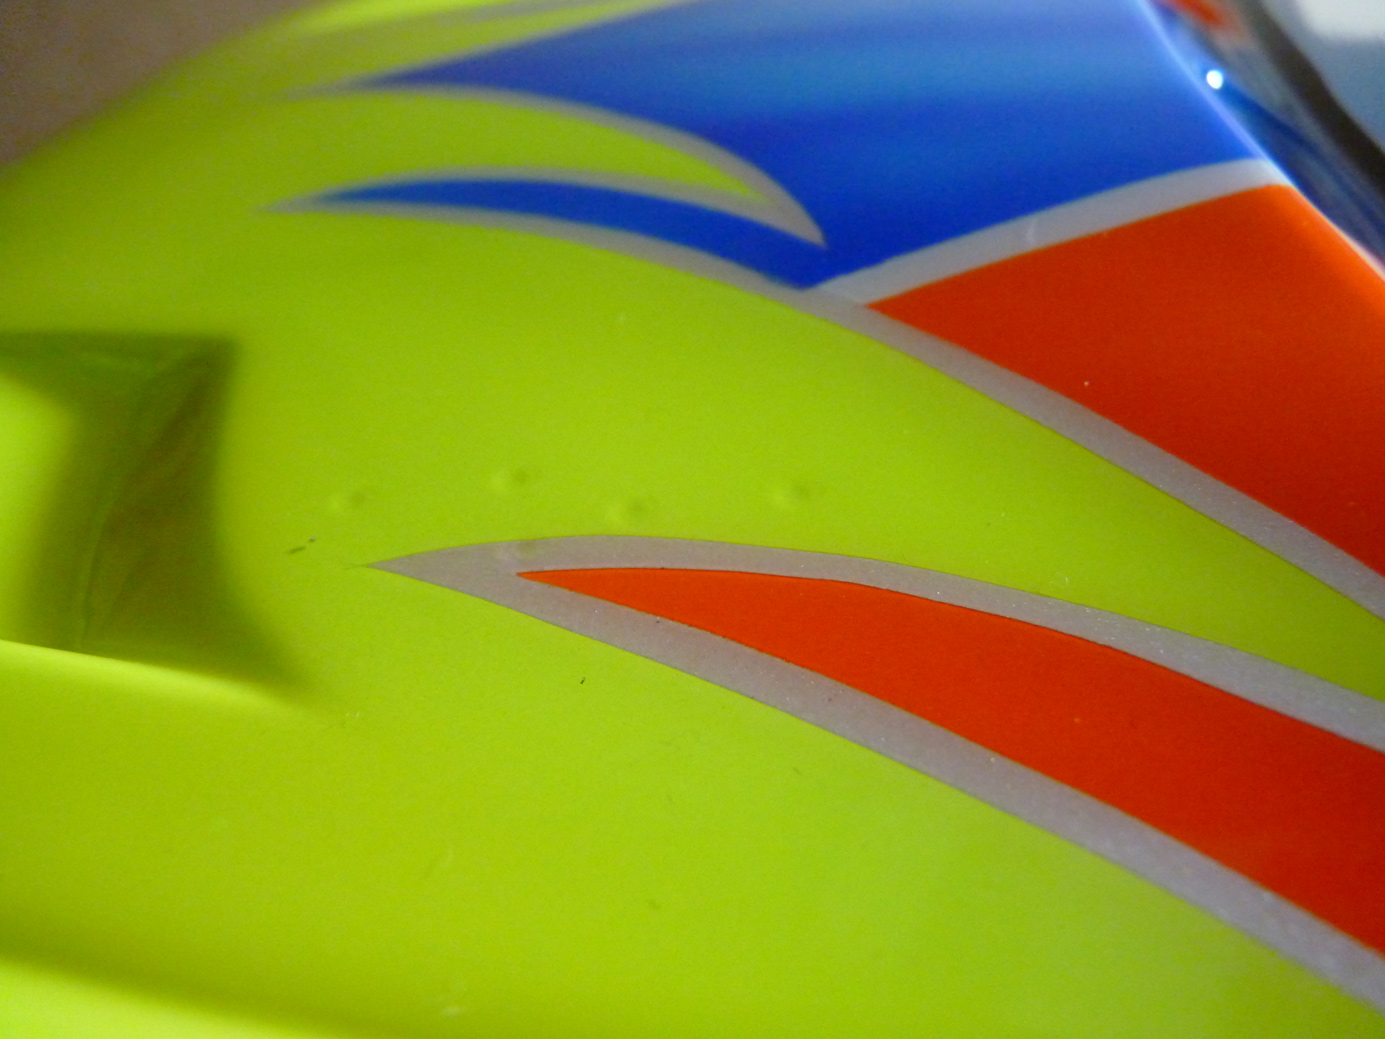
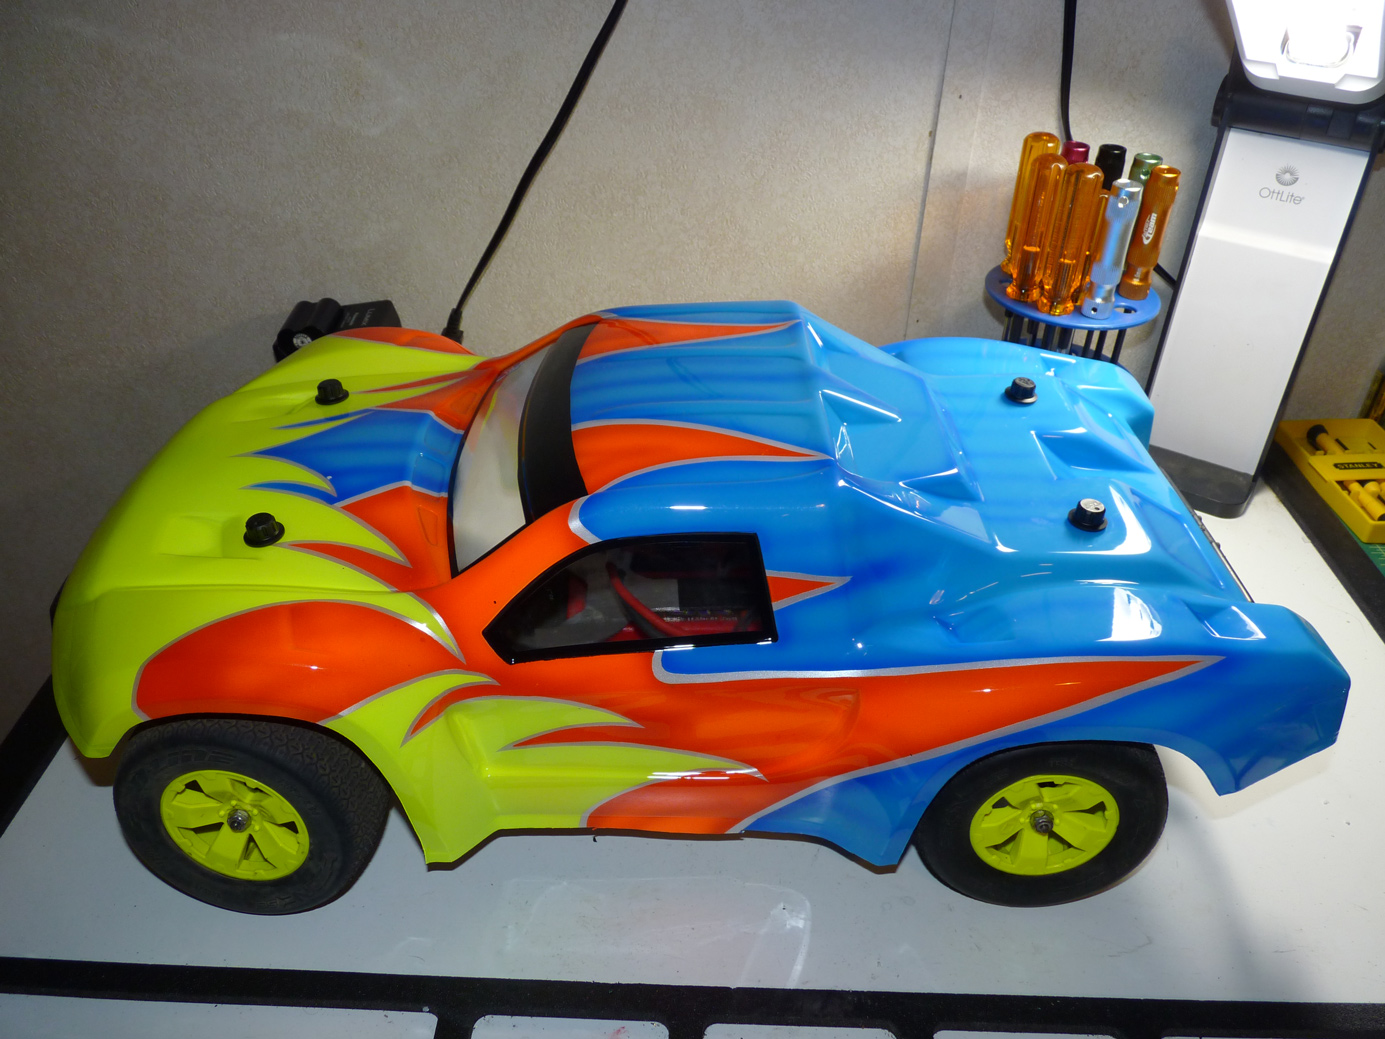
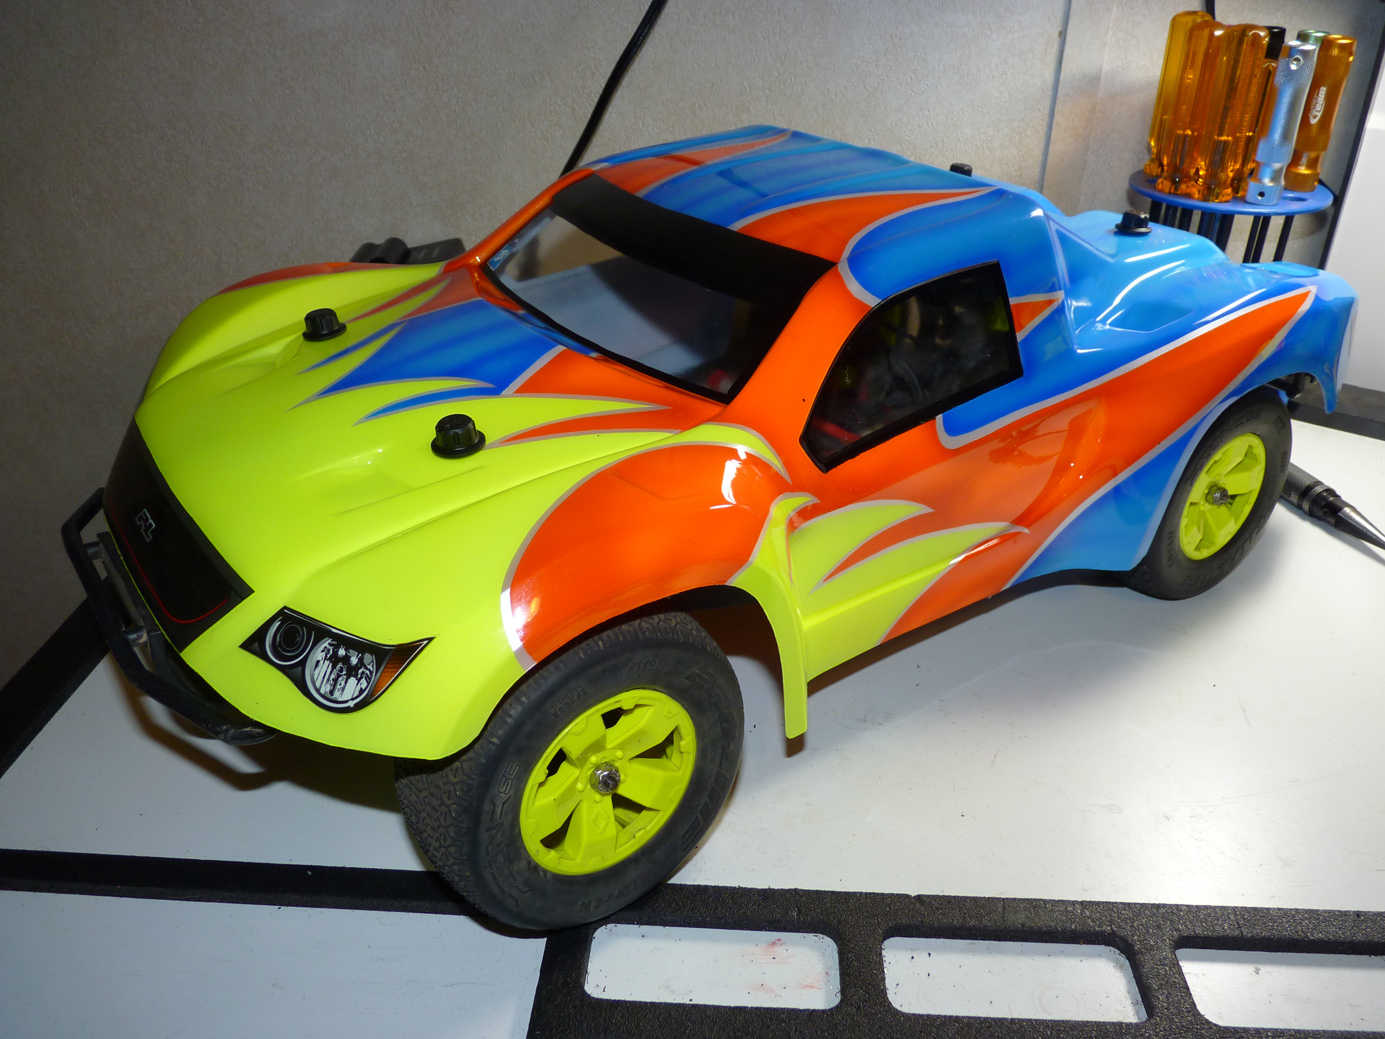
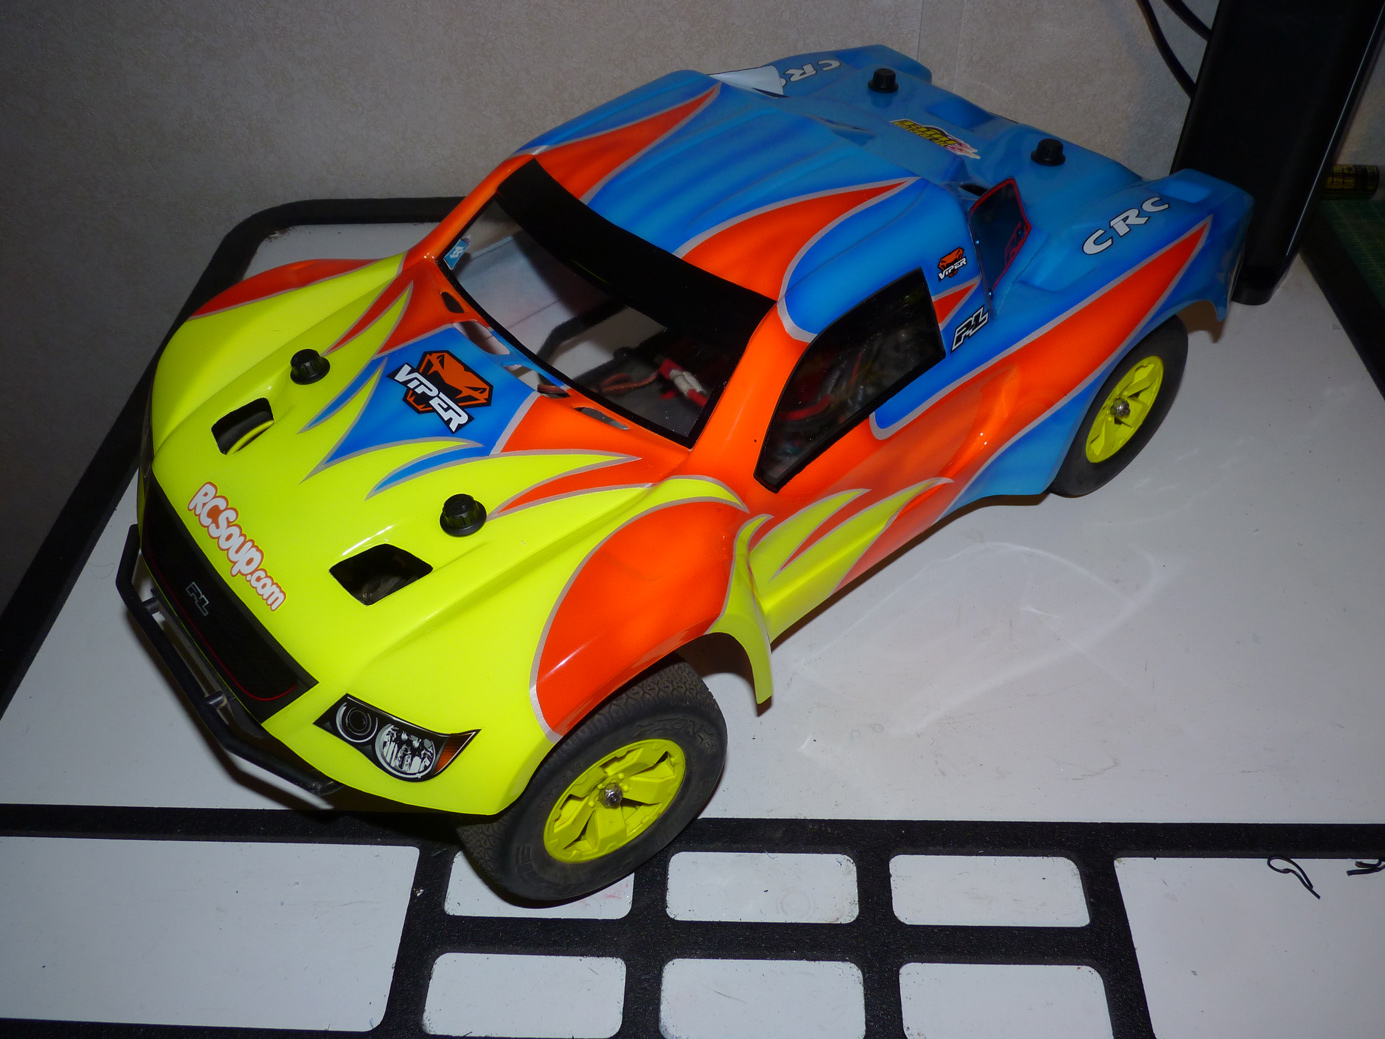
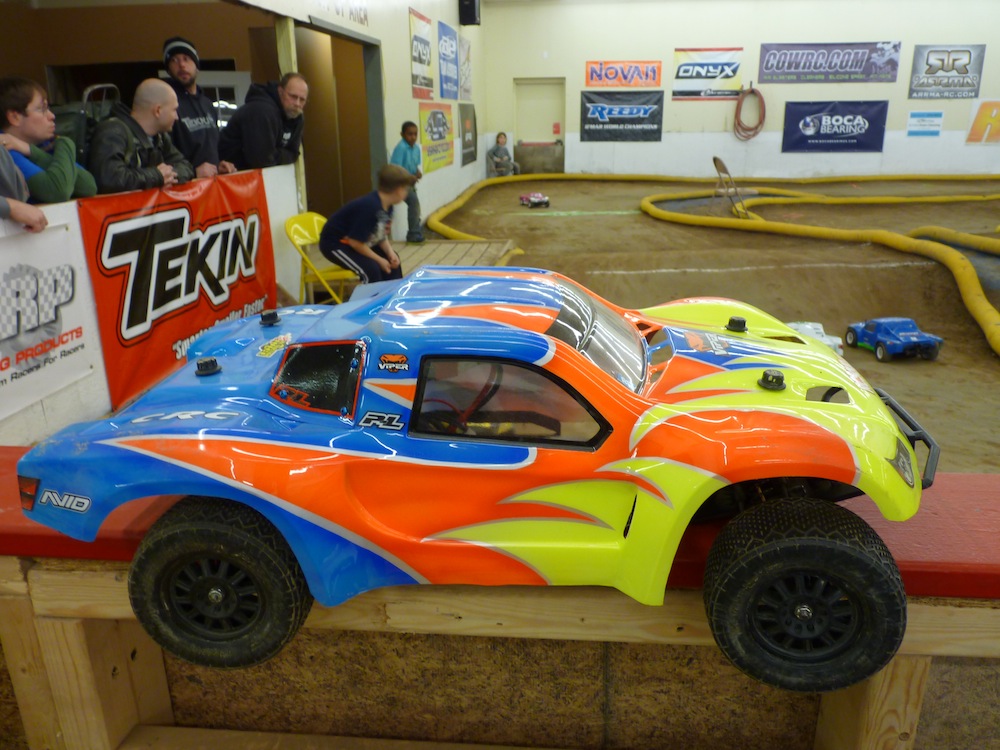
Now the fun part! Check out the sick paint job on the Pro-Line EVO SC body (3413-00) that Tom’s Custom Paint Werks laid down! Lovin’ it!
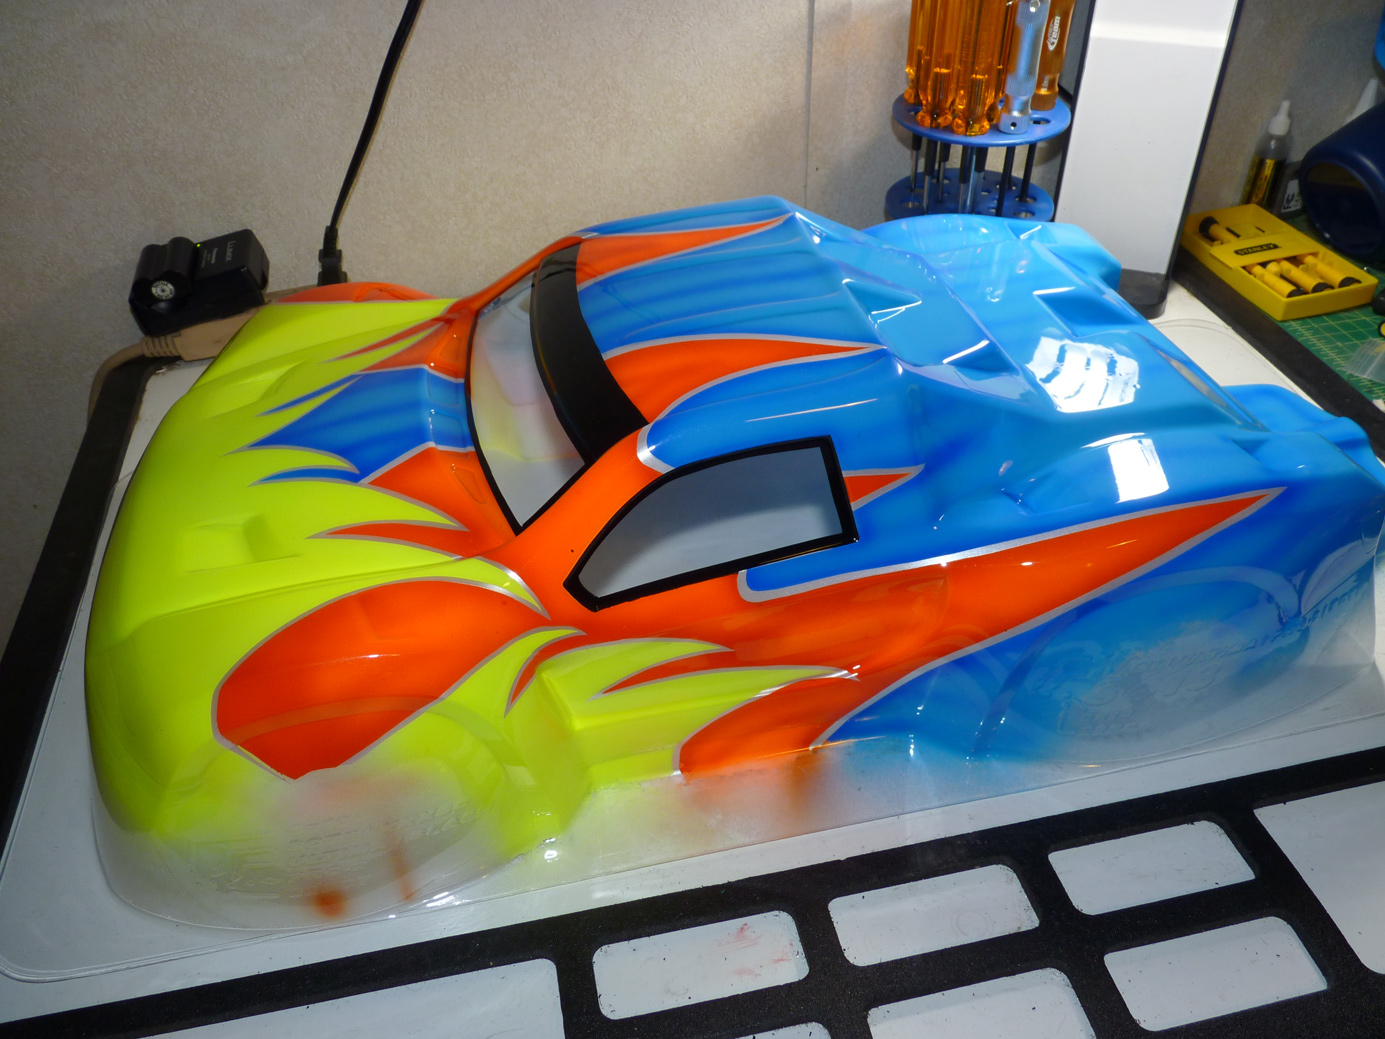
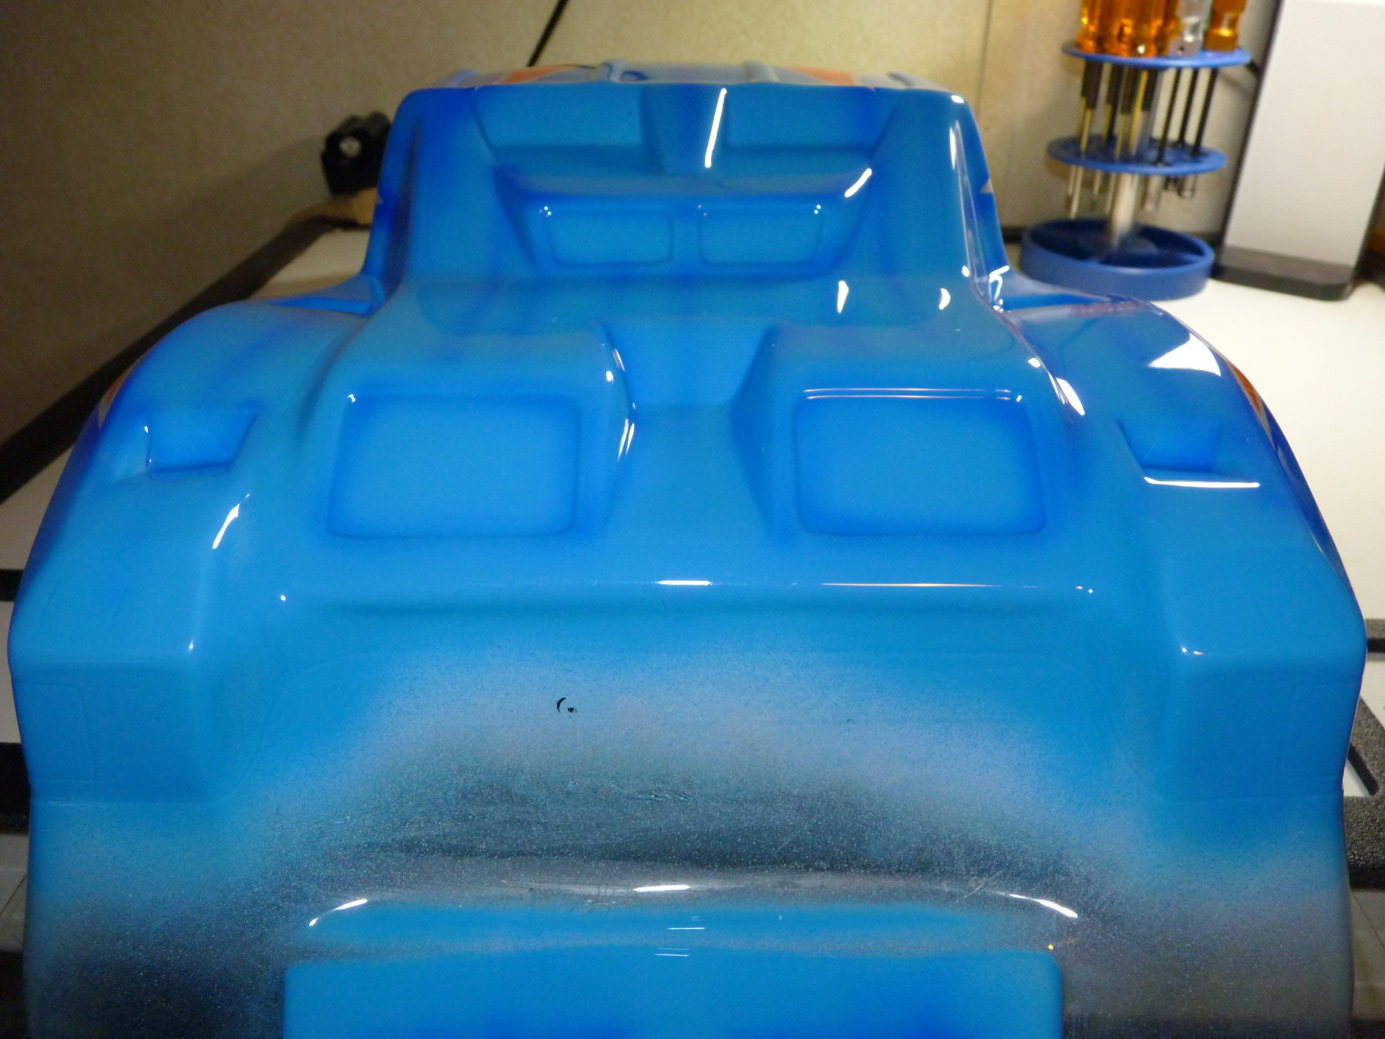
Note, this is not the newly offered pre-cut version. If you can swing the extra $10 for the pre-cut, it would save you quite a bit of time trimming.
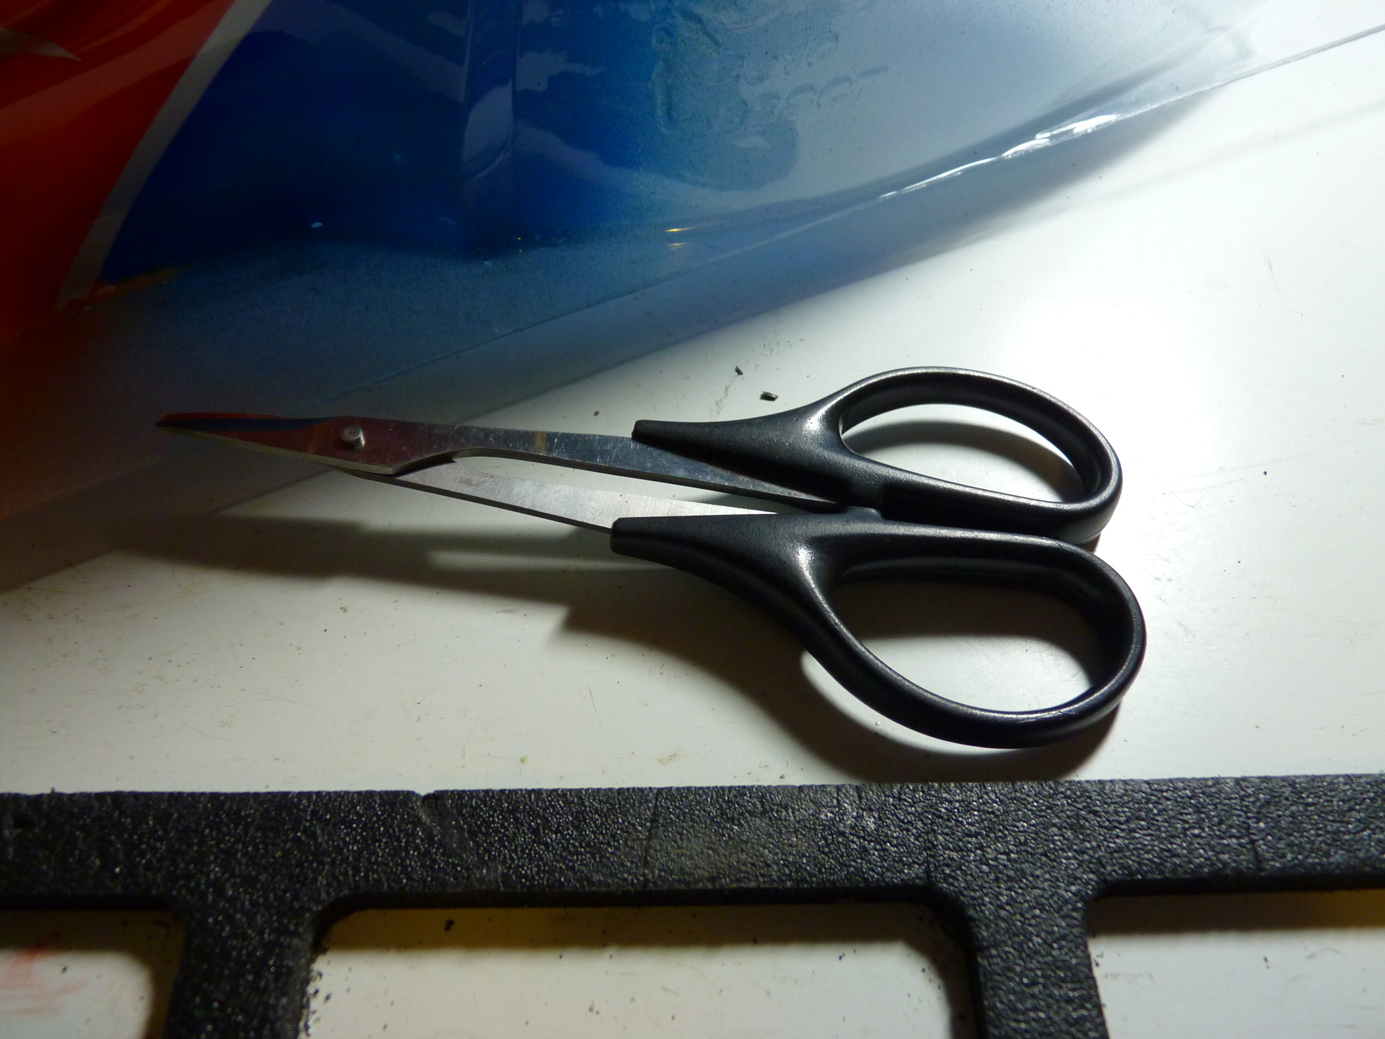
Now it’s time to cut it out. If you don’t have a pair of curved lexan body scissors, go out and buy some. They are WELL worth the investment.
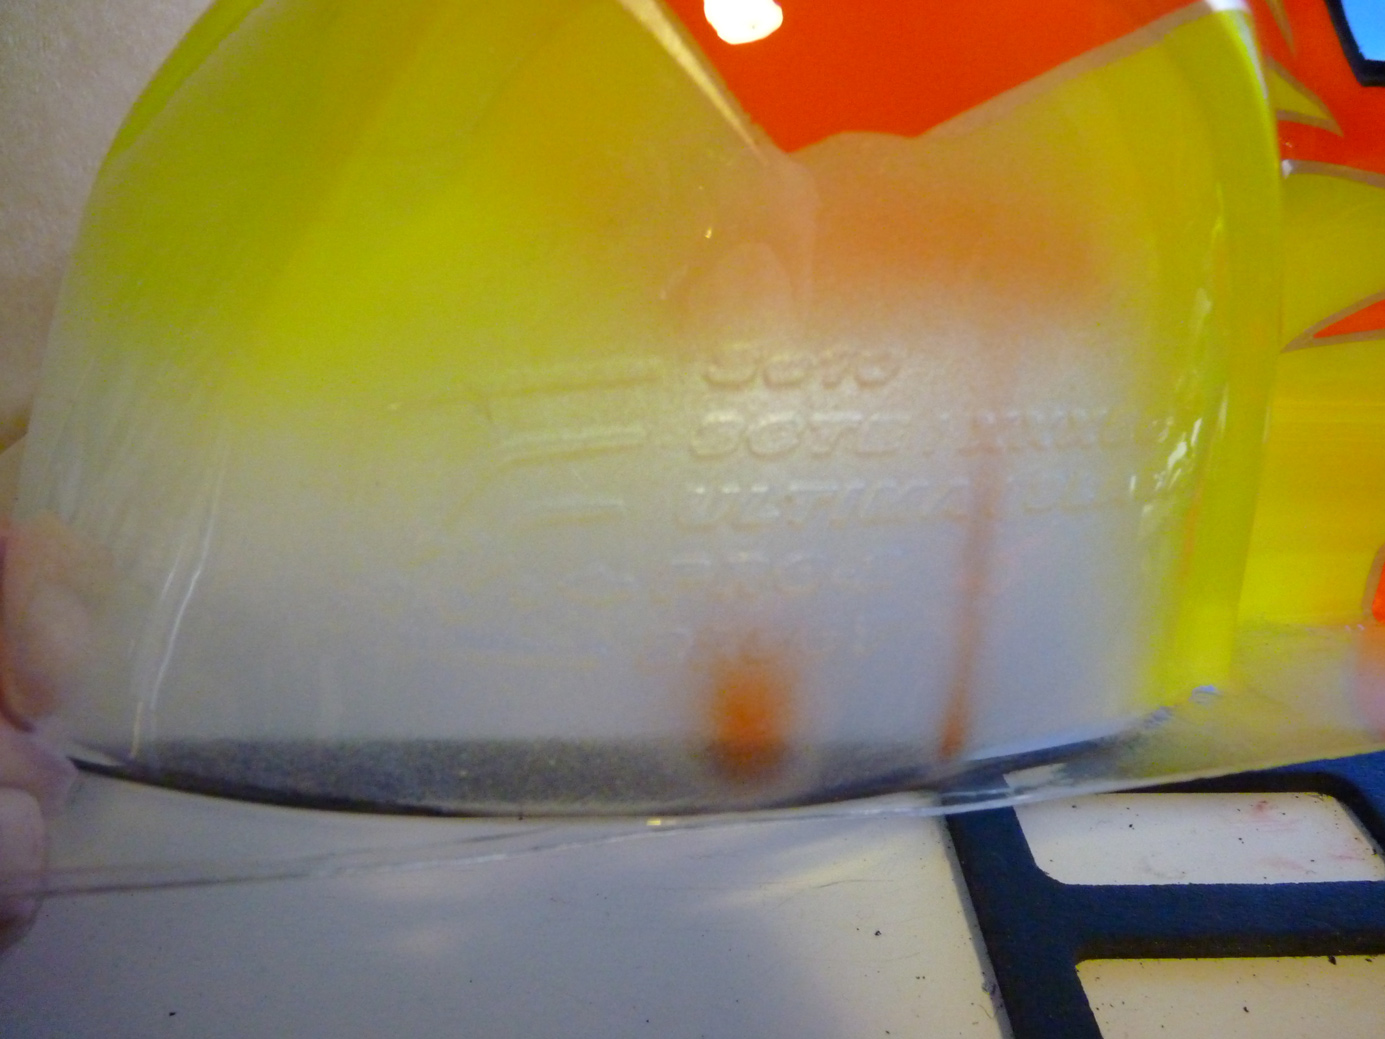
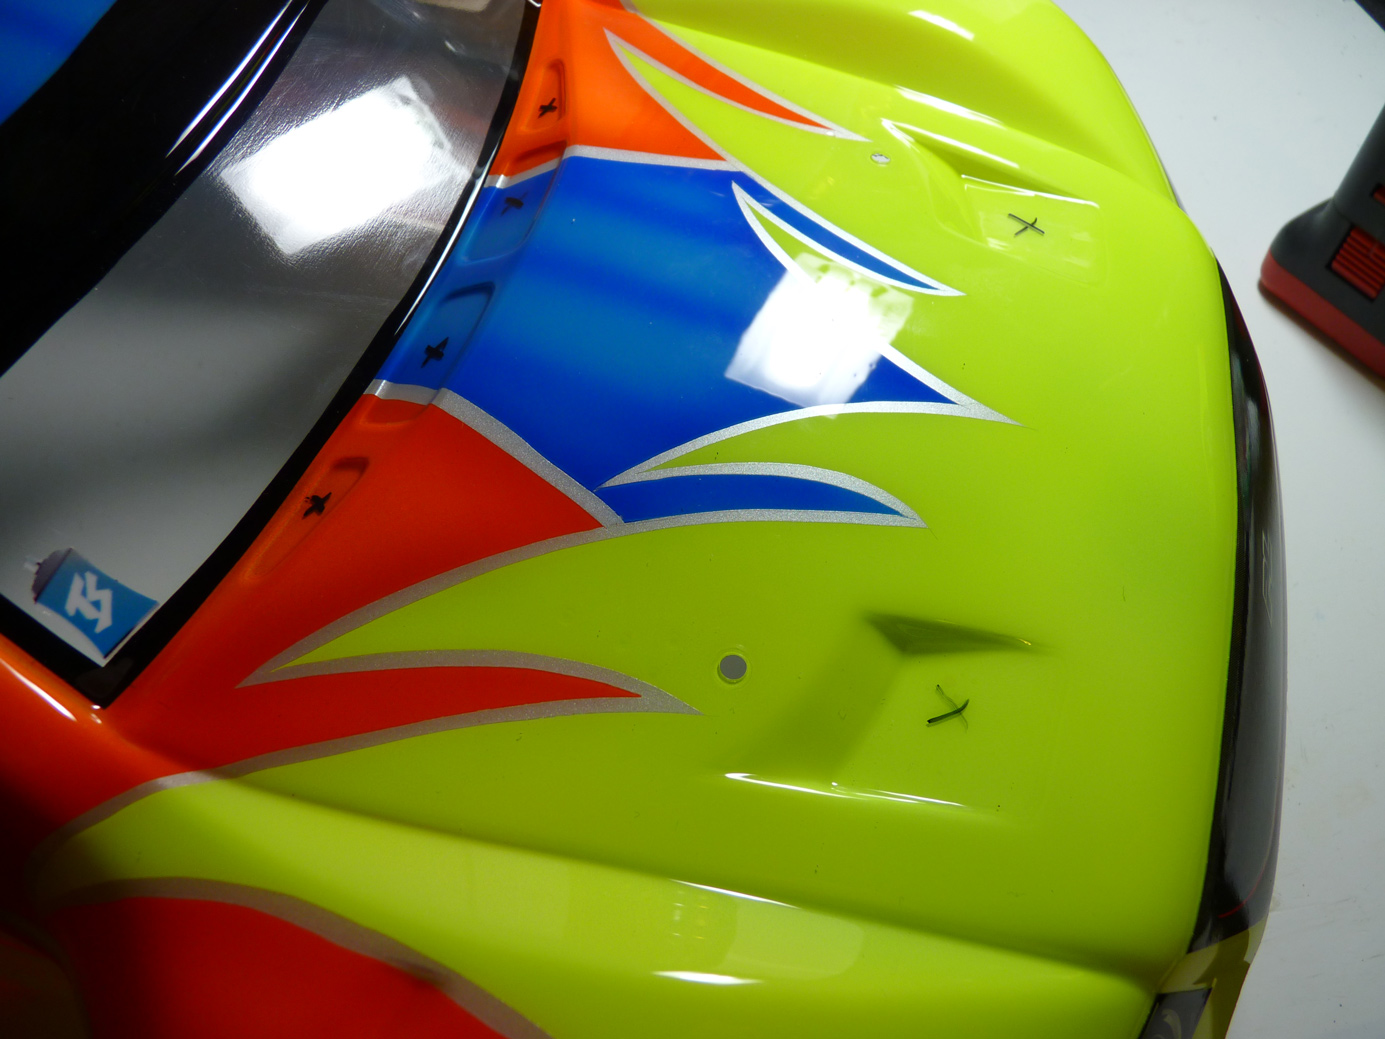
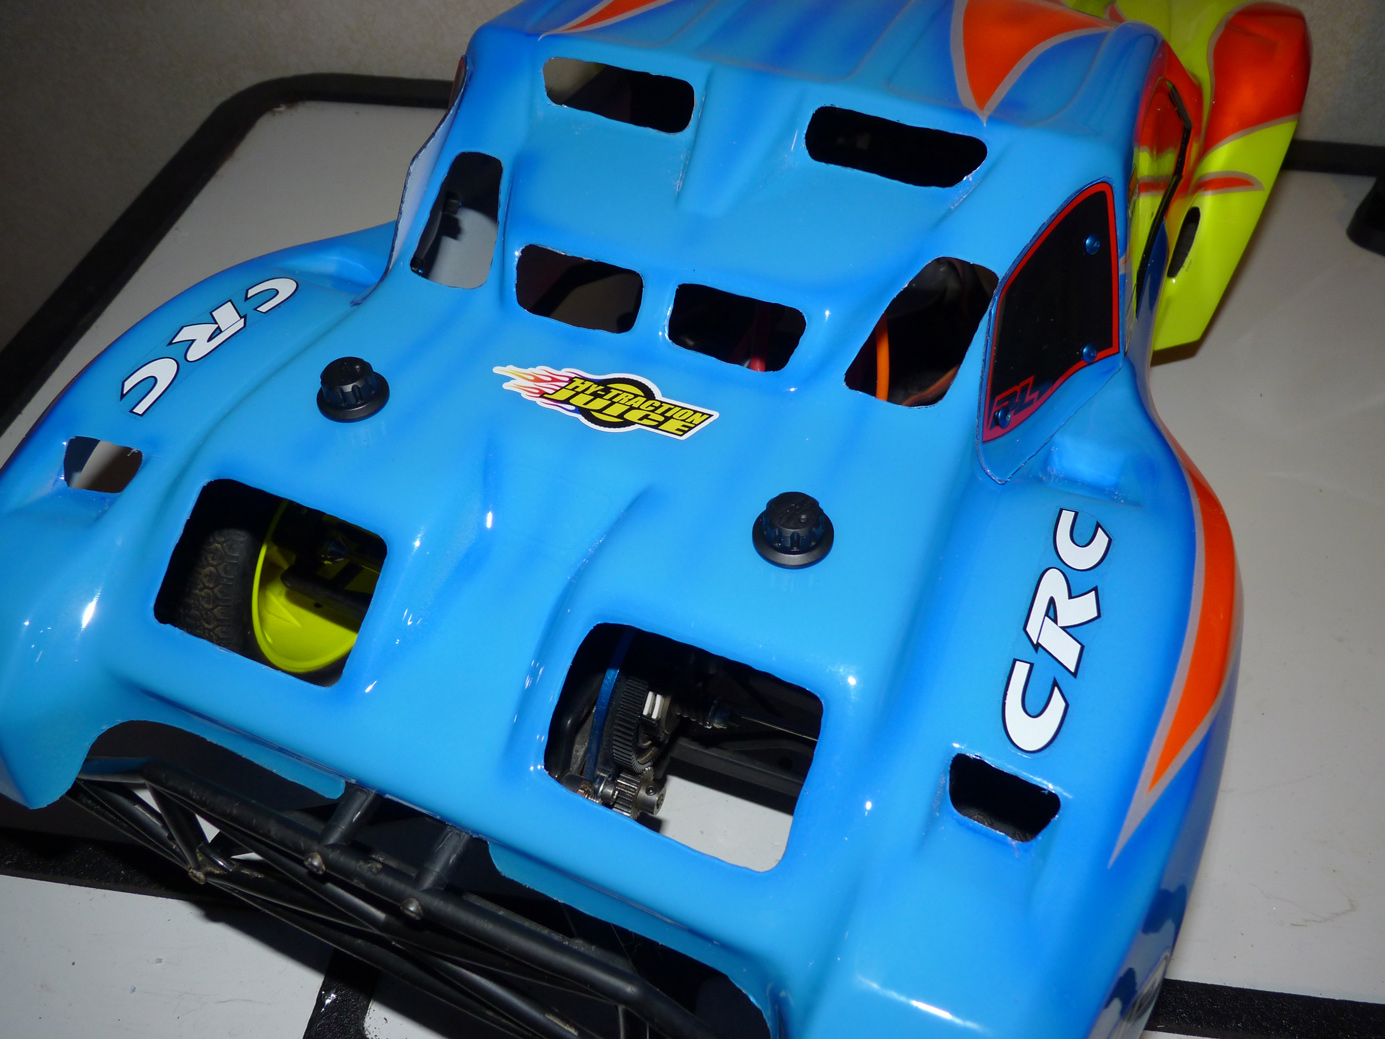
 The EVO SC body is cool in that it offers multiple dimple marks on the hood/rear for easy drilling. There is a drill guide molded into the scrap material in the wheel well. It’s hard to see here but it’s relatively easy to follow.
An example of the multiple mounting dimple marks.
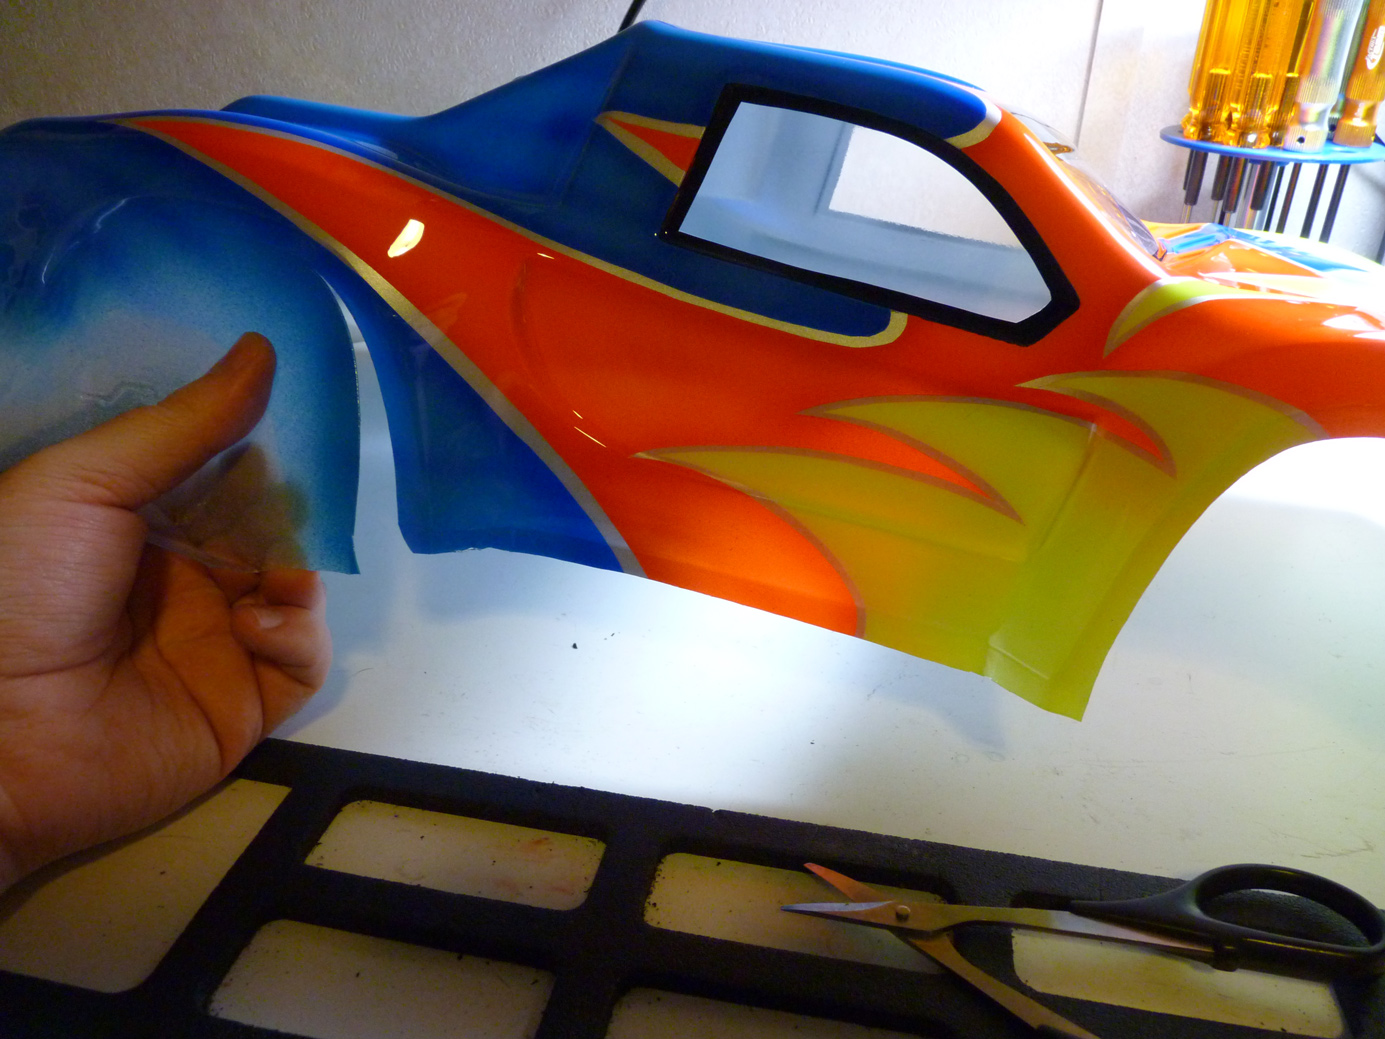
The first thing I do normally when cutting out a body is to cut out the fender wells and rough trim the sides and front/rear areas.

Front.
Side.
These are the number panels that bolt to the side of the body.
I rough cut them to get an idea of how they mount.
Then I trimmed them down the rest of the way.
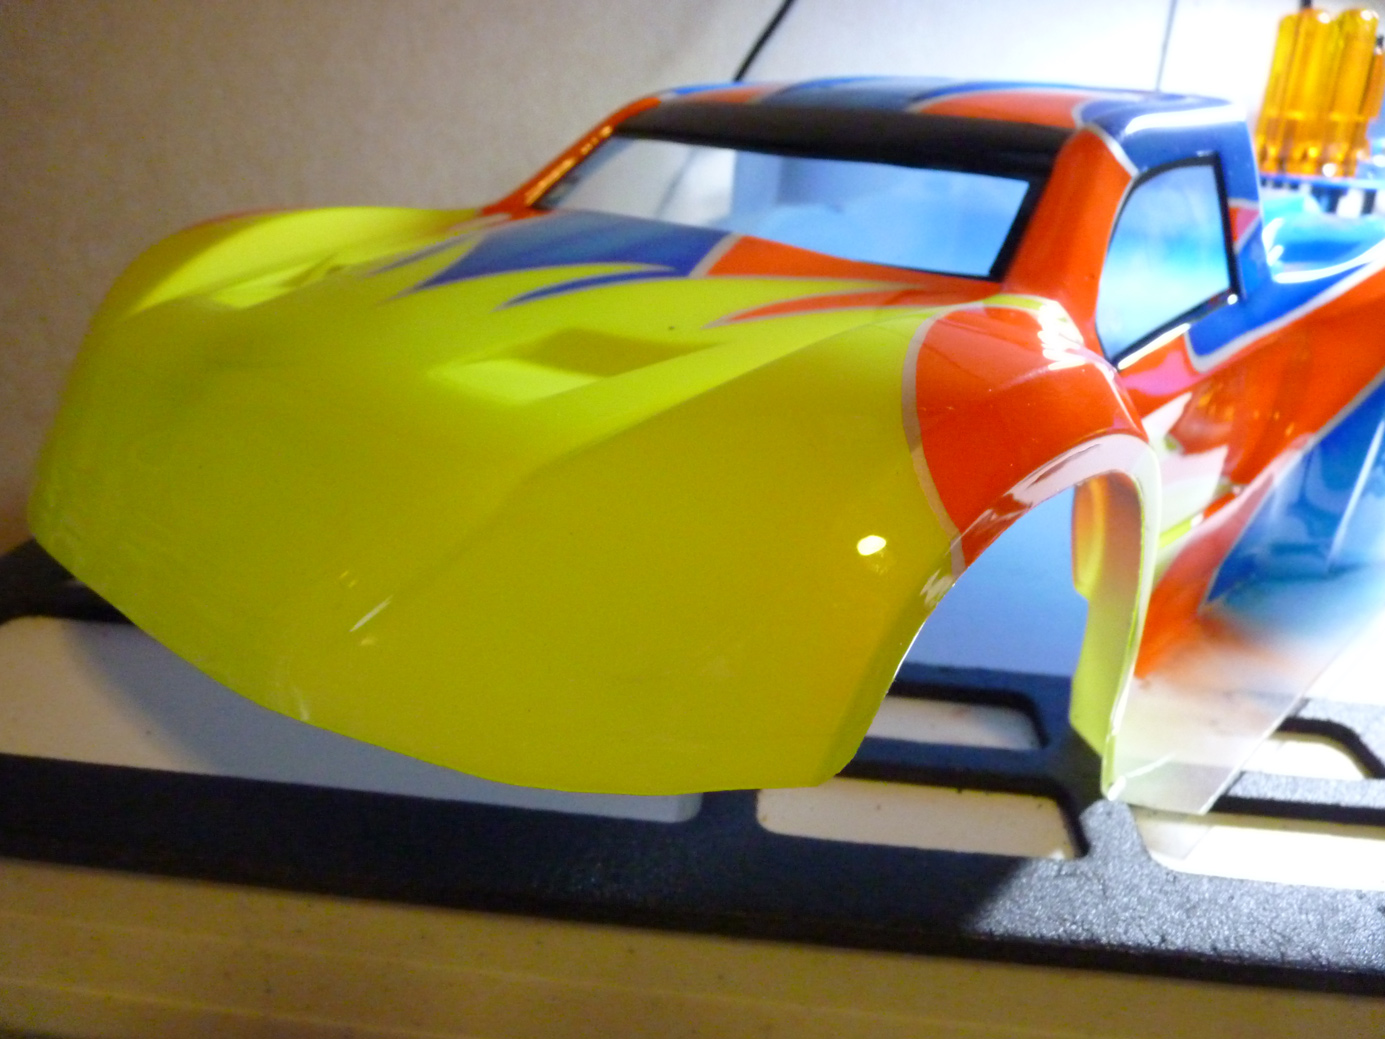
Next I set the body on the car to get a rough idea of what it will look like.
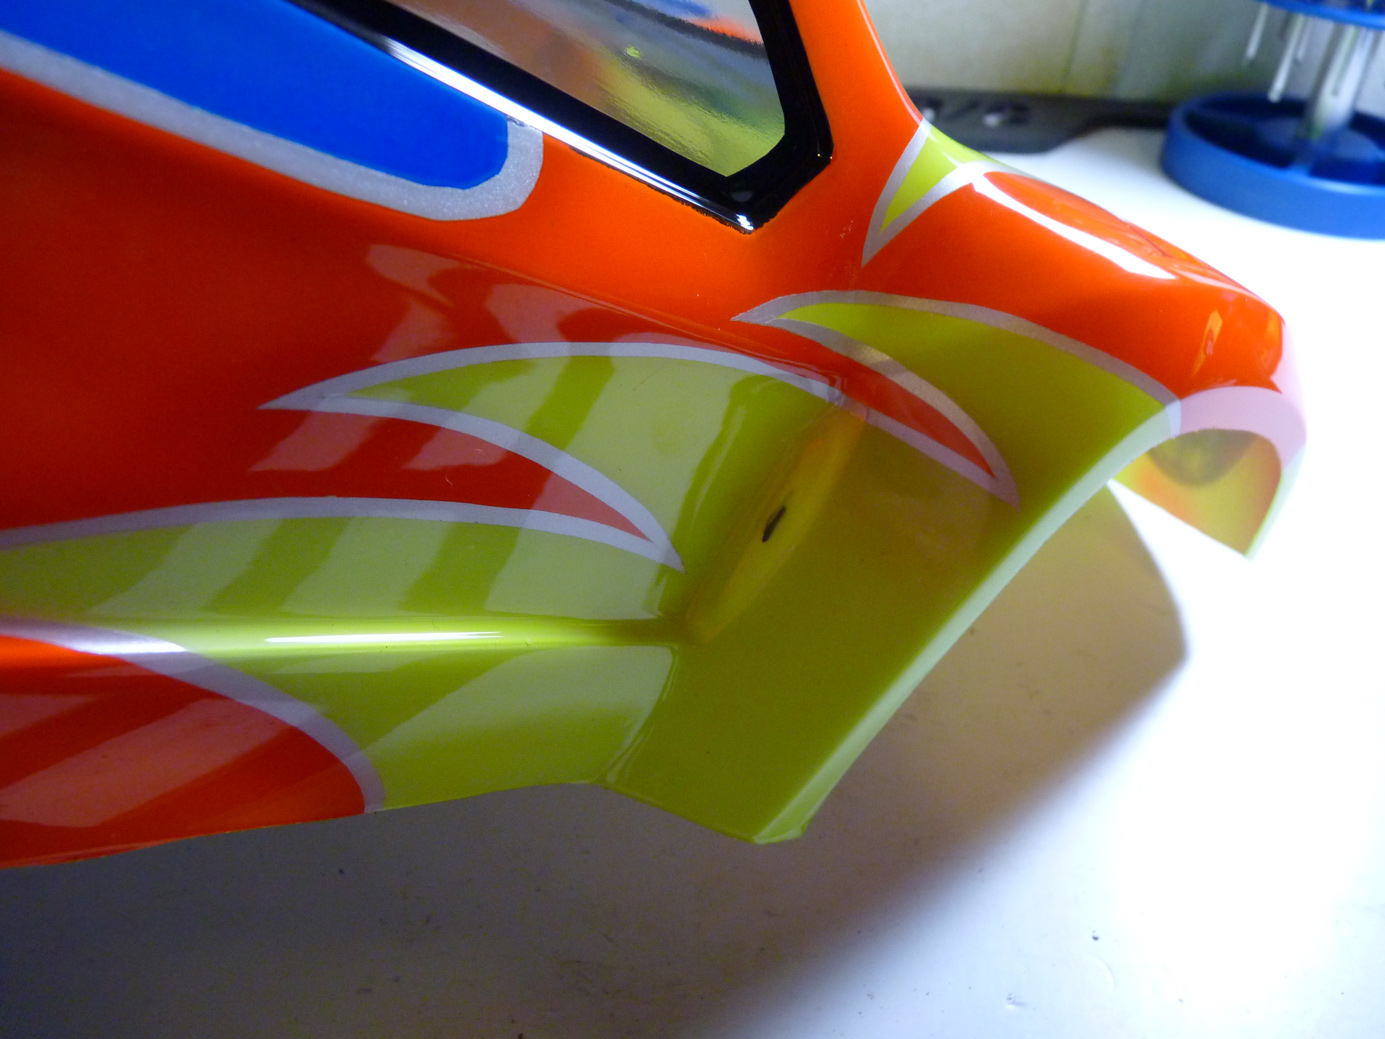
Then using a body reamer I popped holes in it for the designated SC10 locations. Fit like a charm.
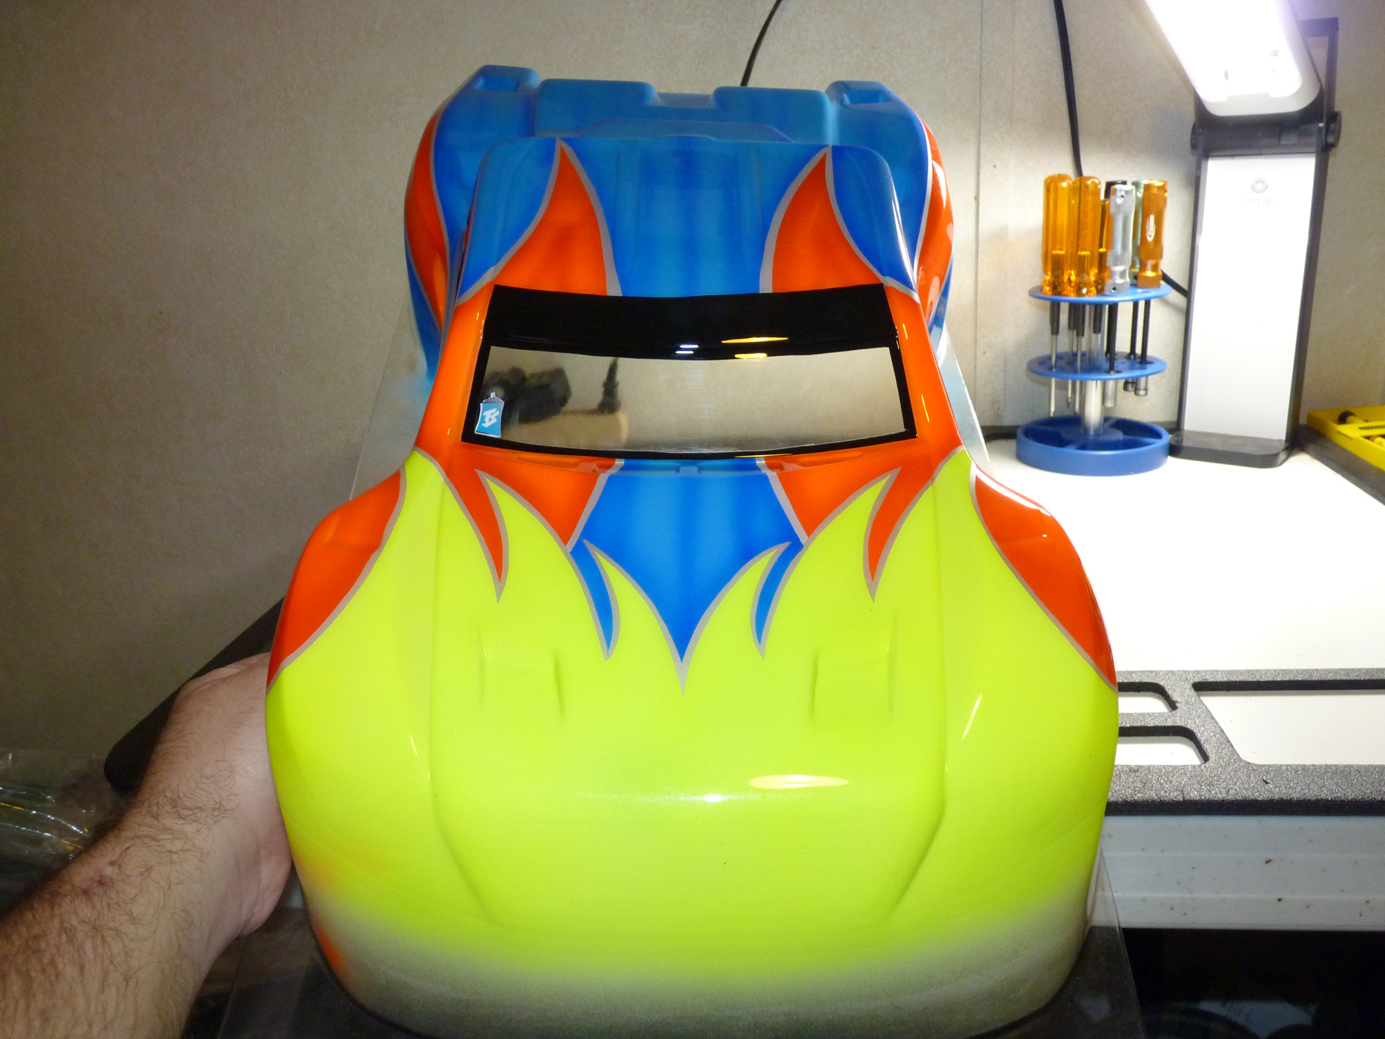
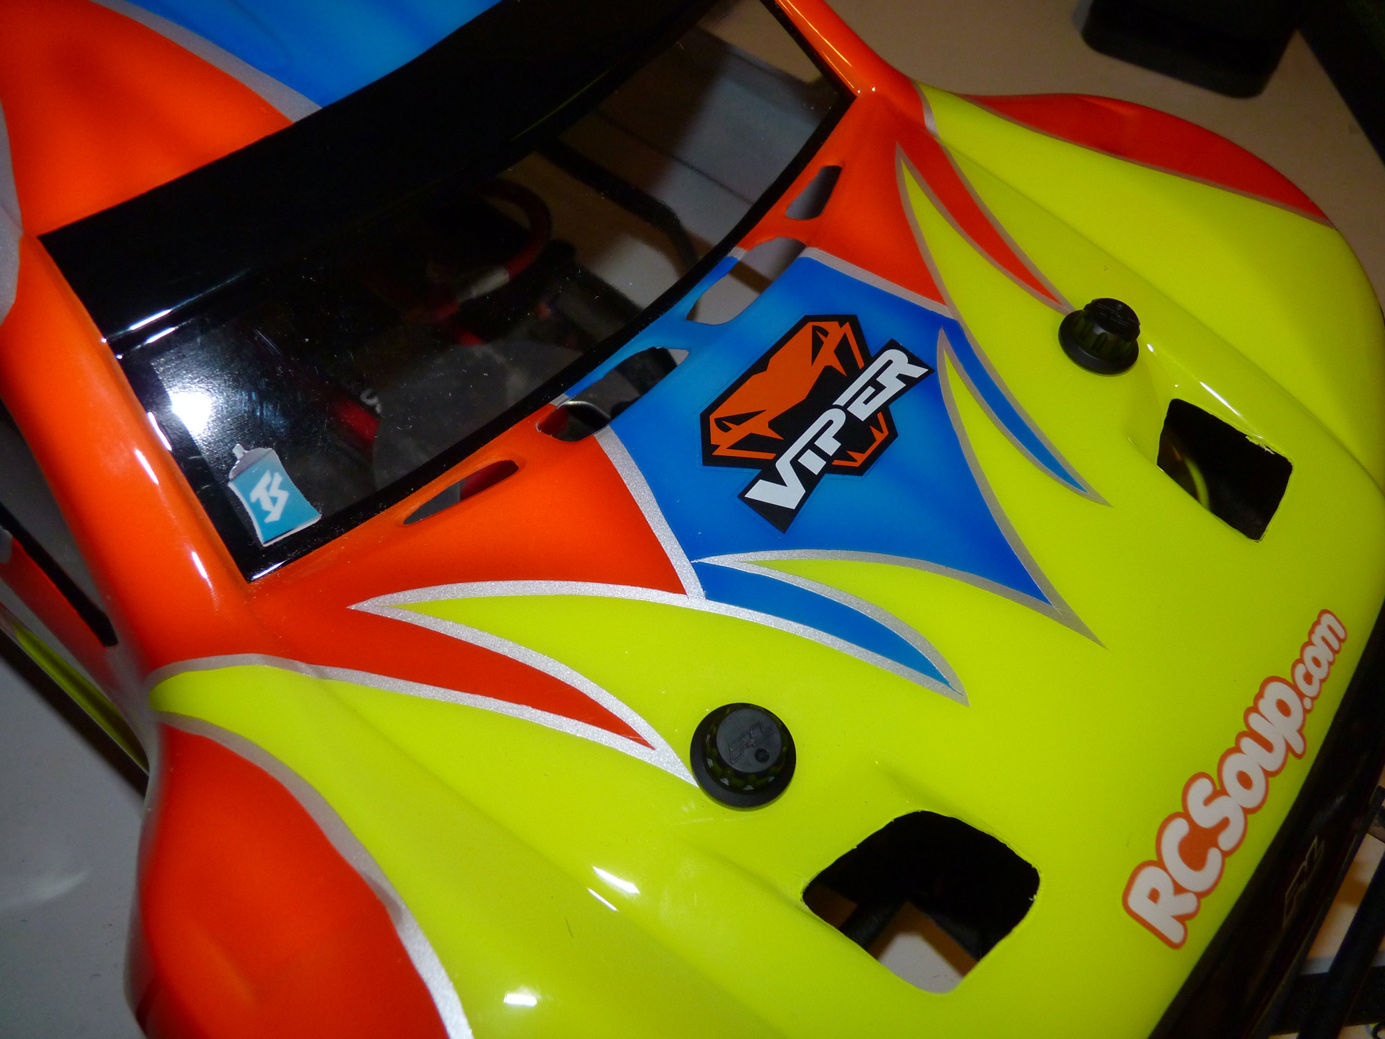
Usually I wait until the end to decal a body, but the flood of yellow was bothering me so I at least installed the grille decals.
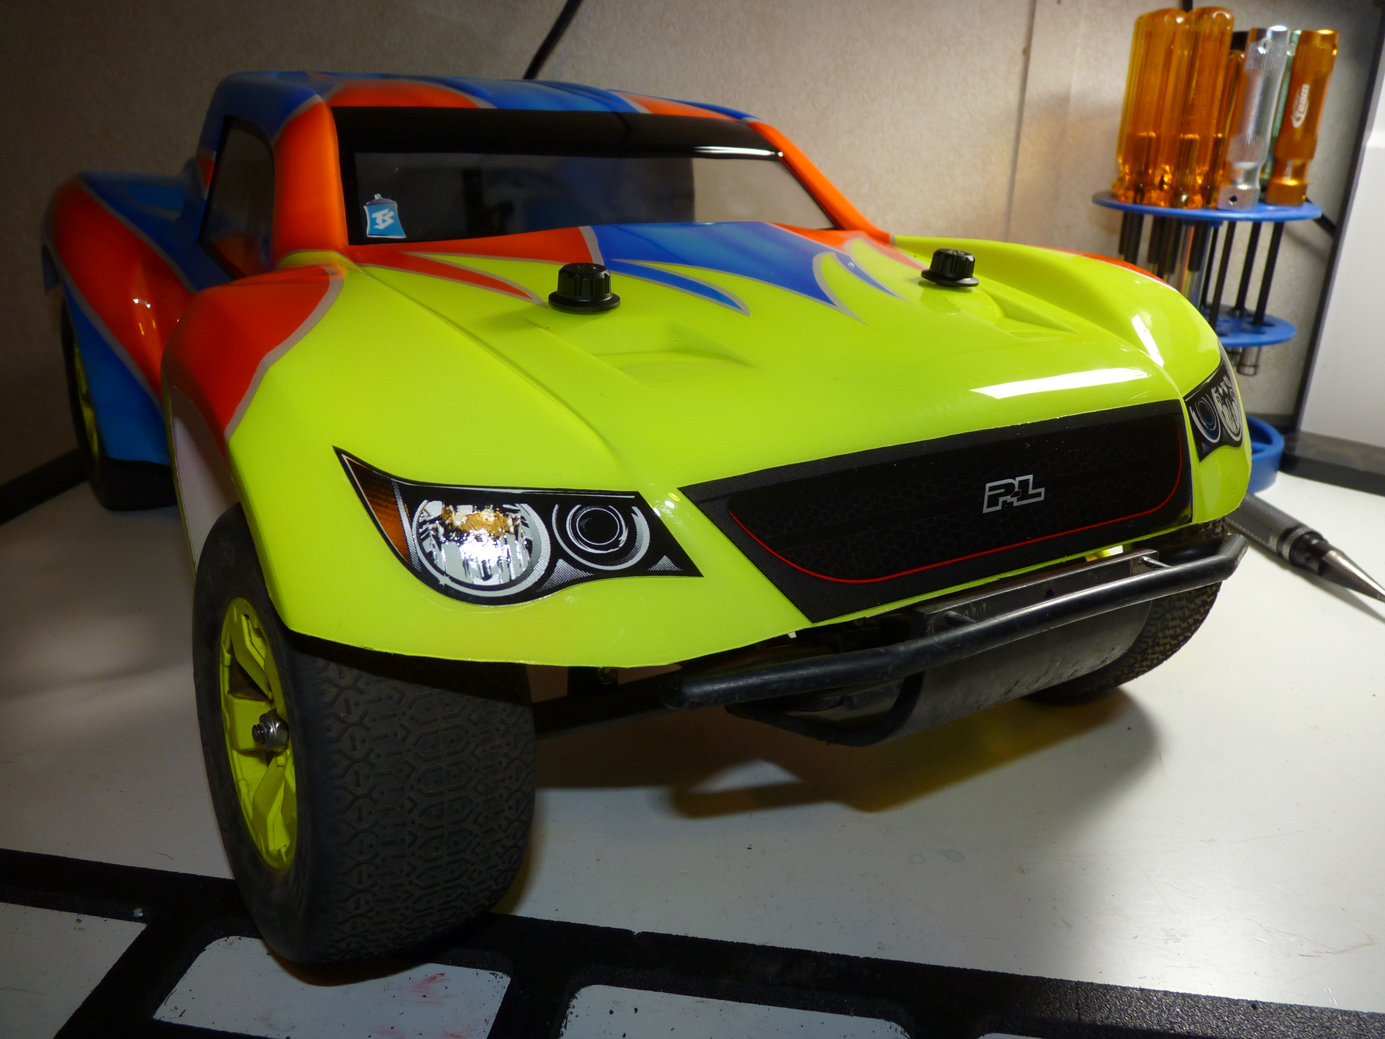
People aren’t going to miss this truck on the track, that’s for sure.
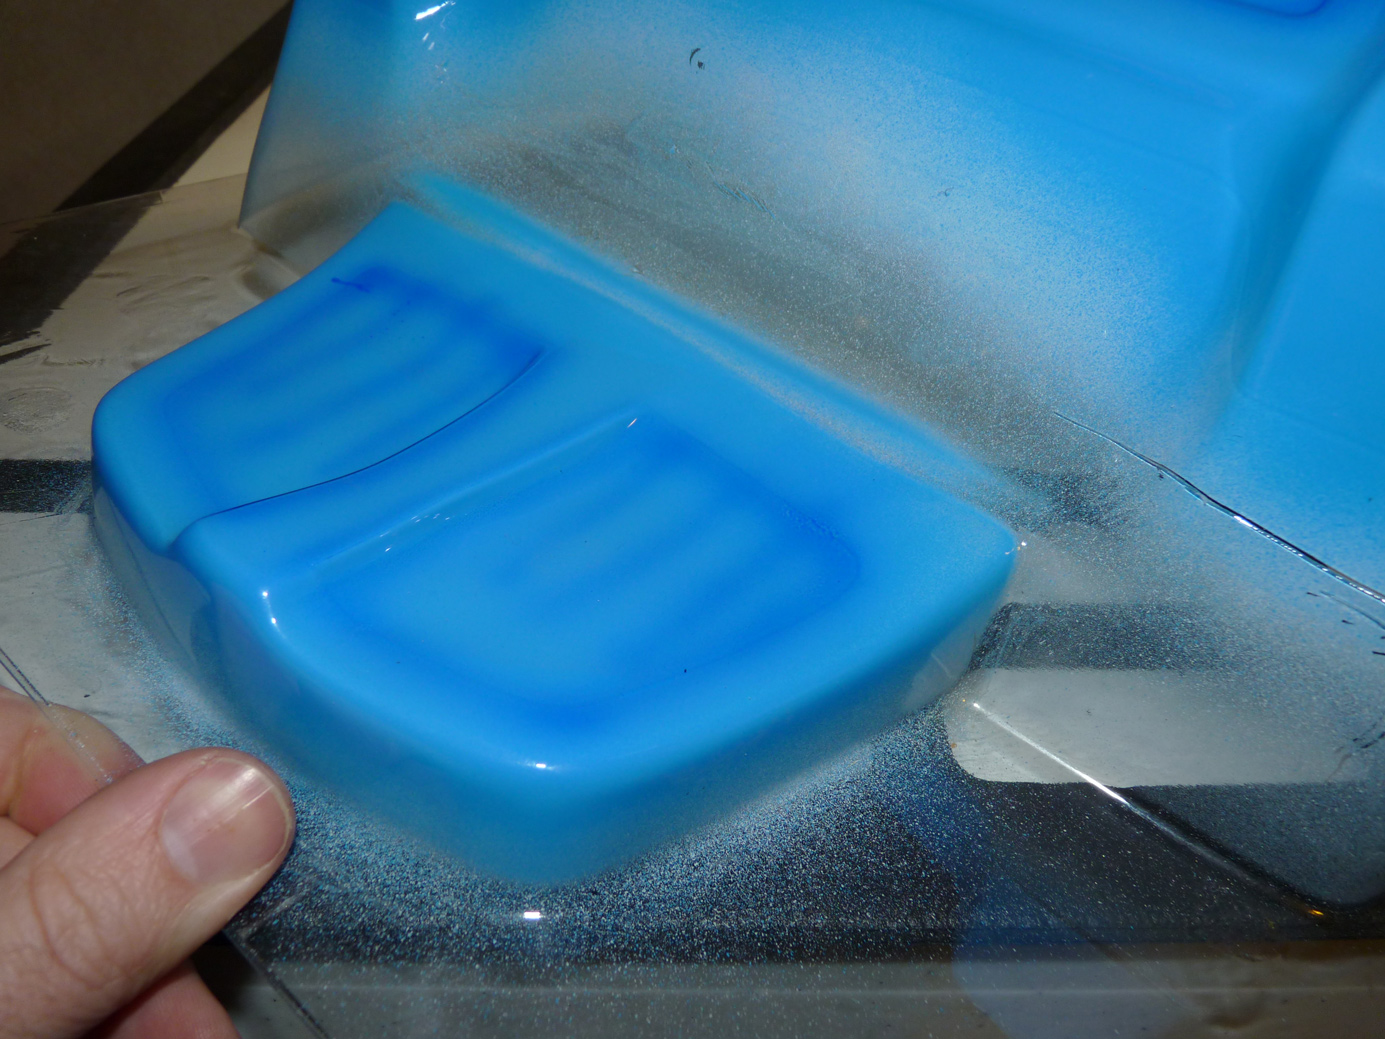
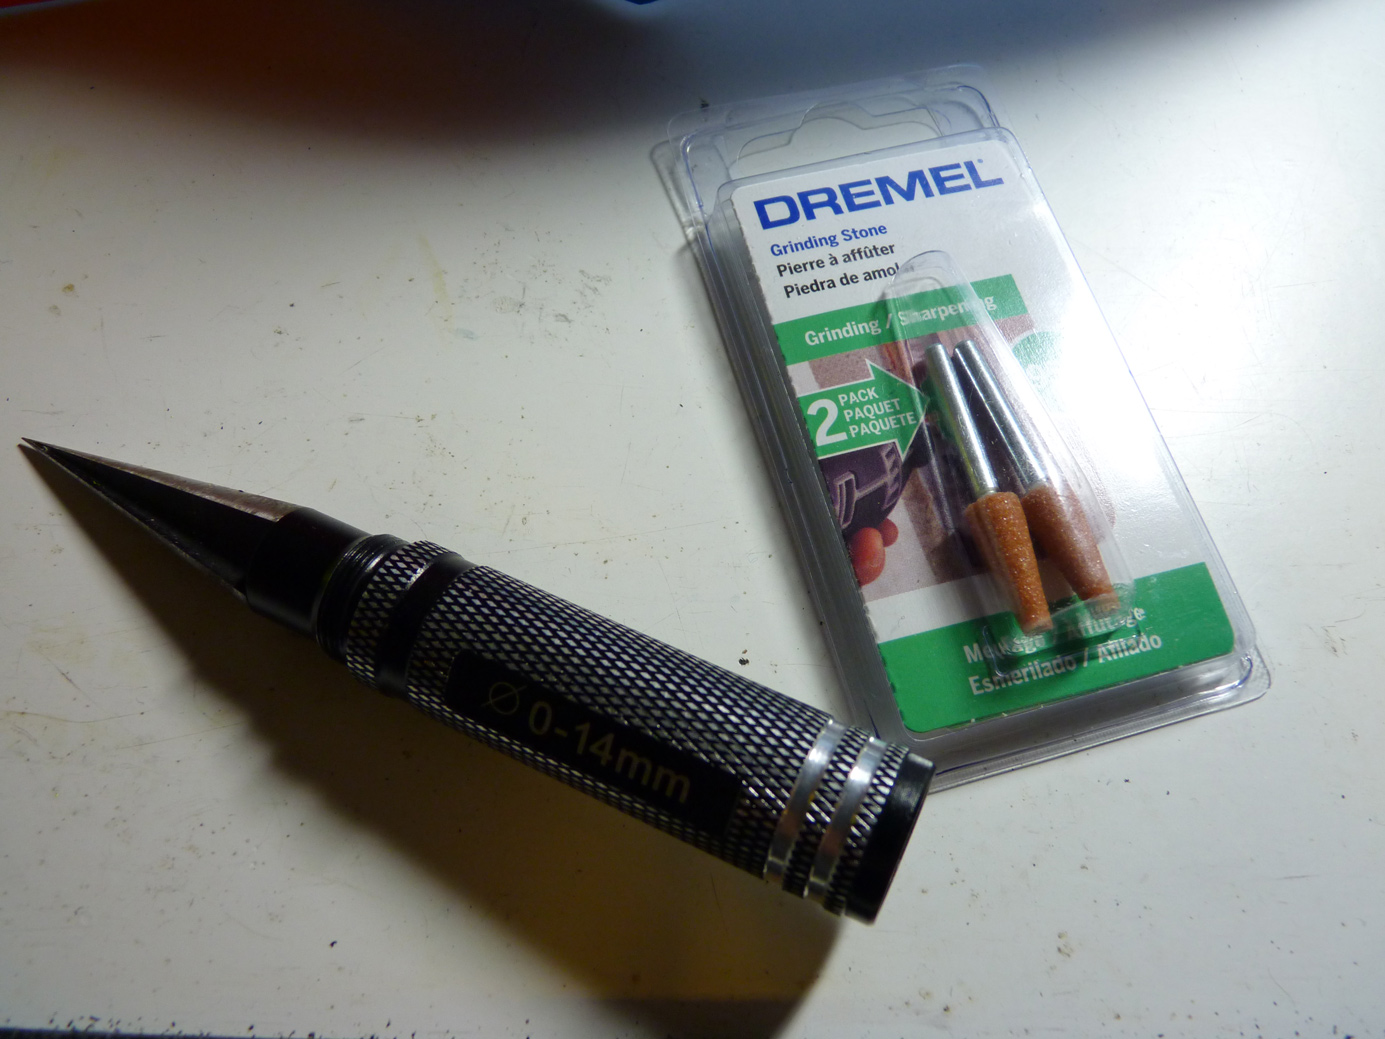
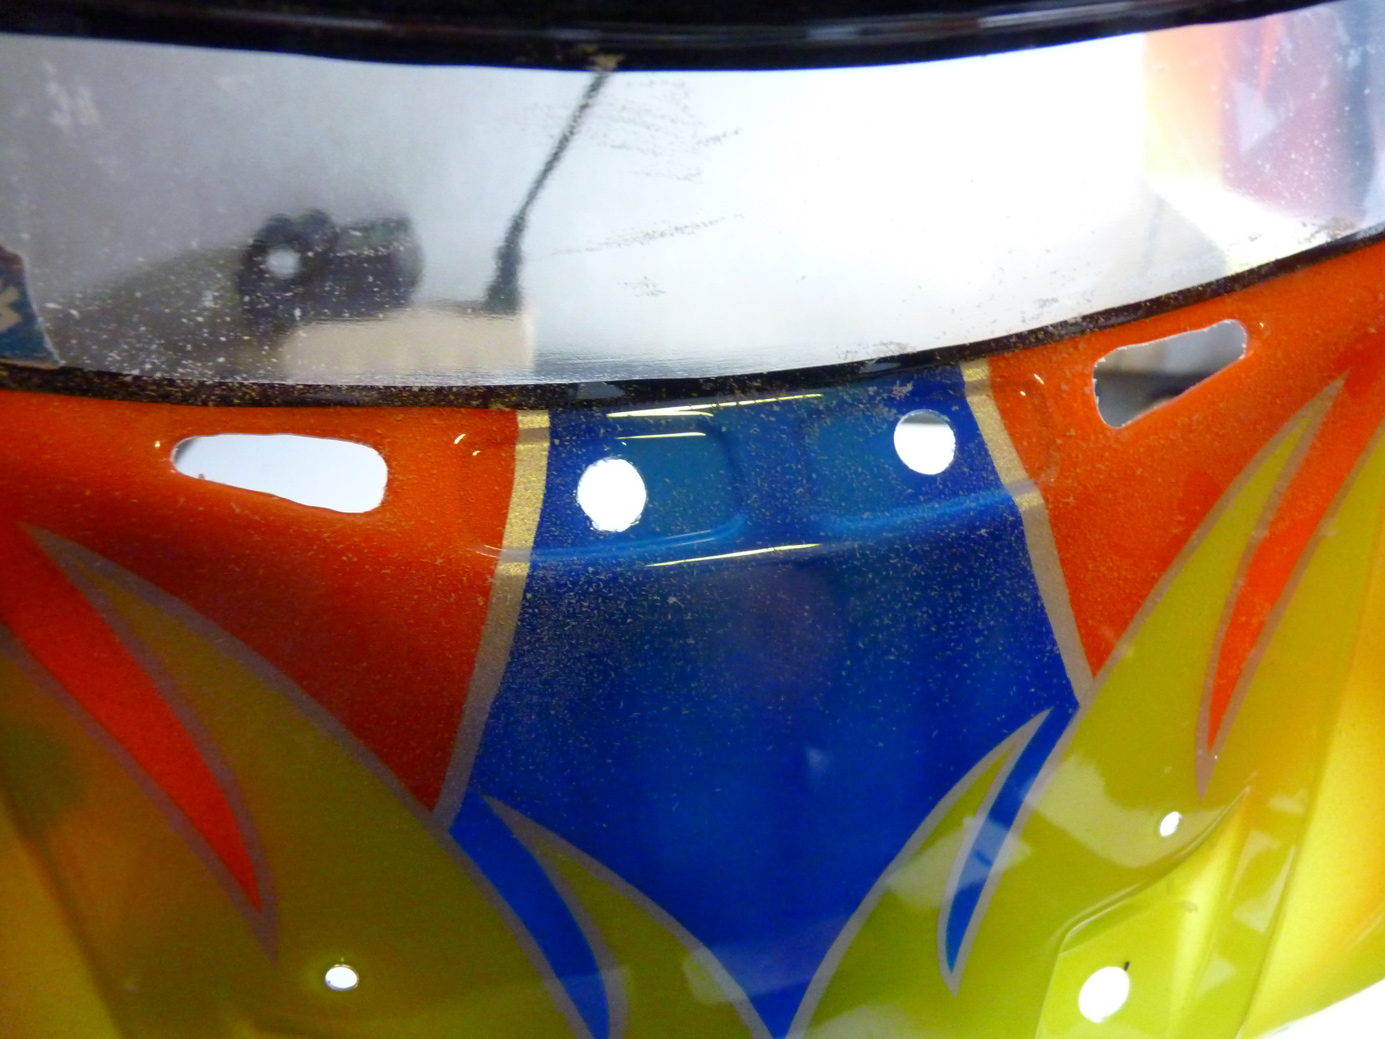
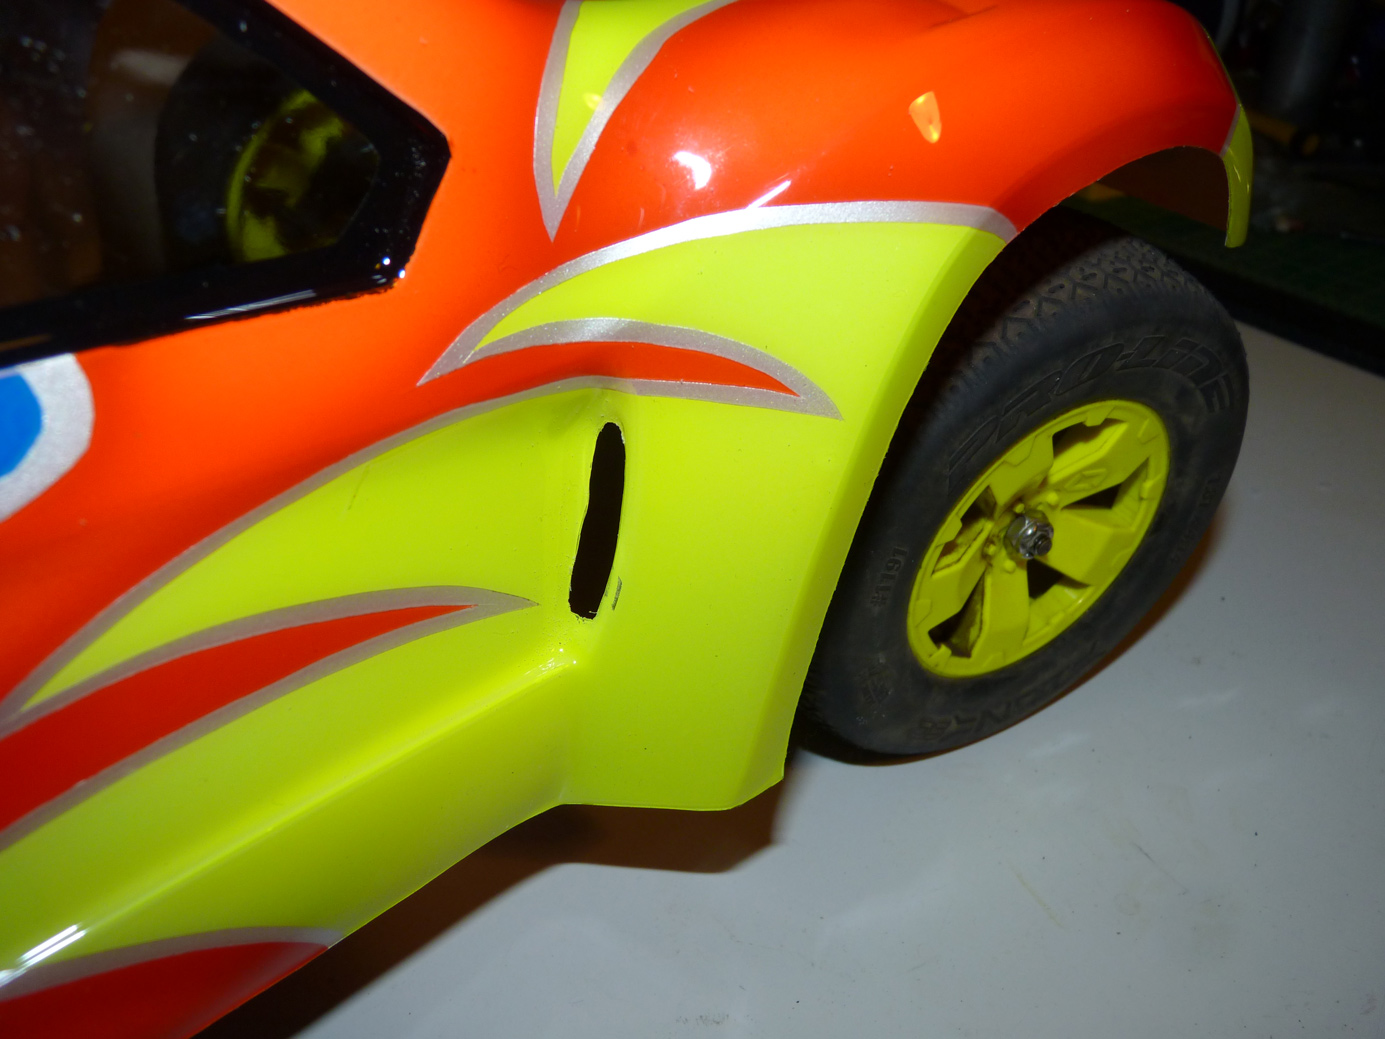
Now it’s time to cut out the vent holes. I used a body reamer to start the holes, and then a Dremel with grinding stone bits to finish them off.
First I planned my cutouts. I marked them with a sharpie.
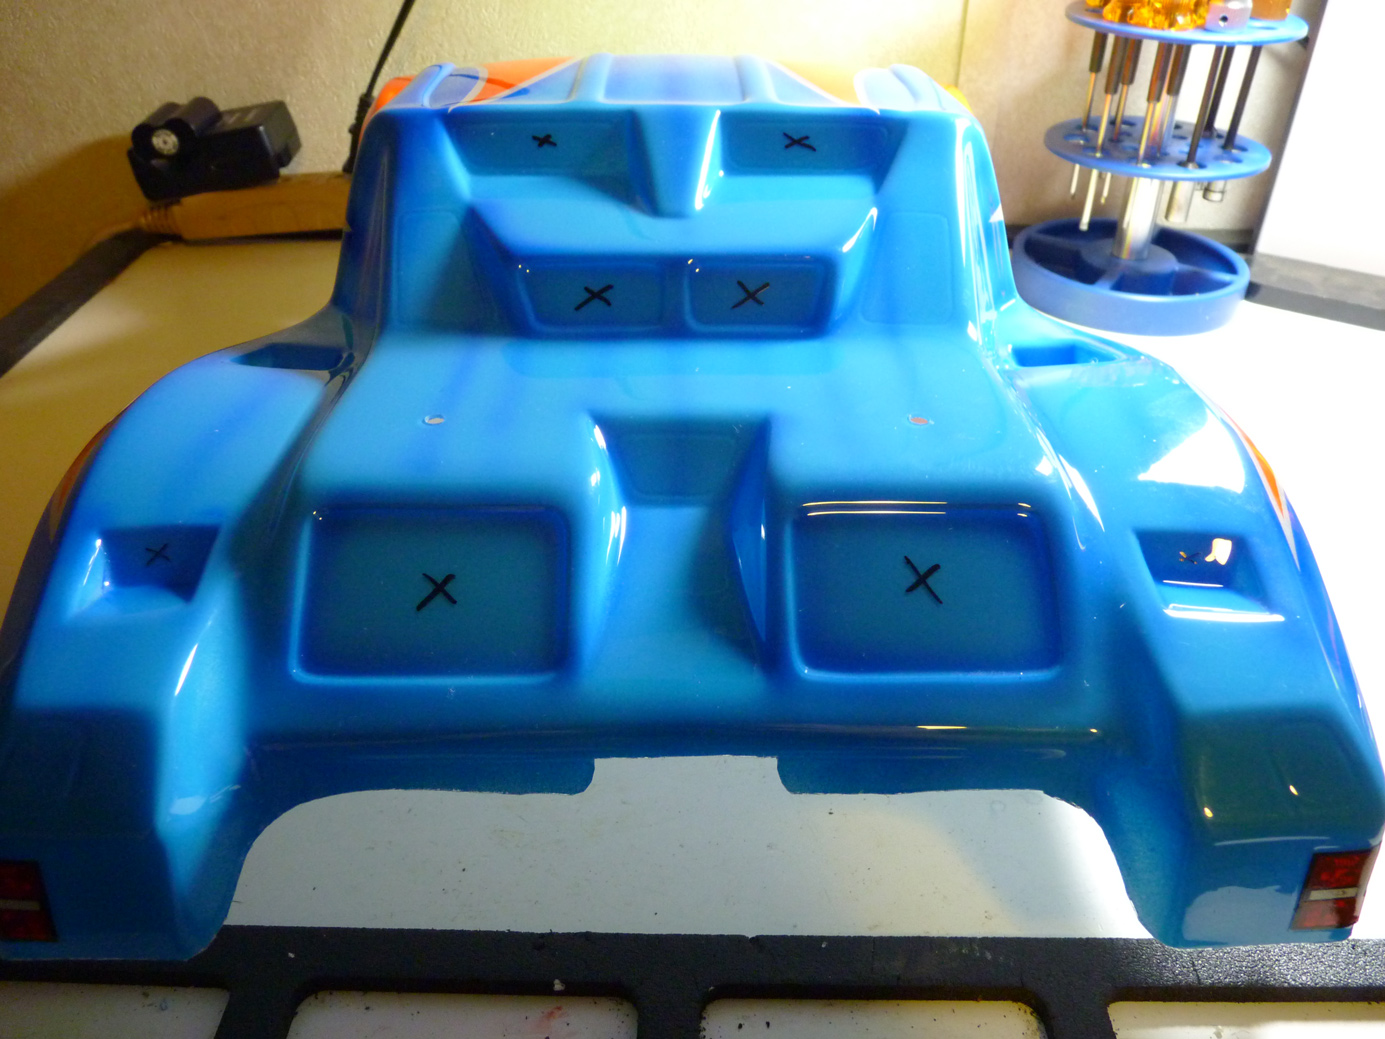
First I started with a plain reamed hole near one of the corners of a vent.
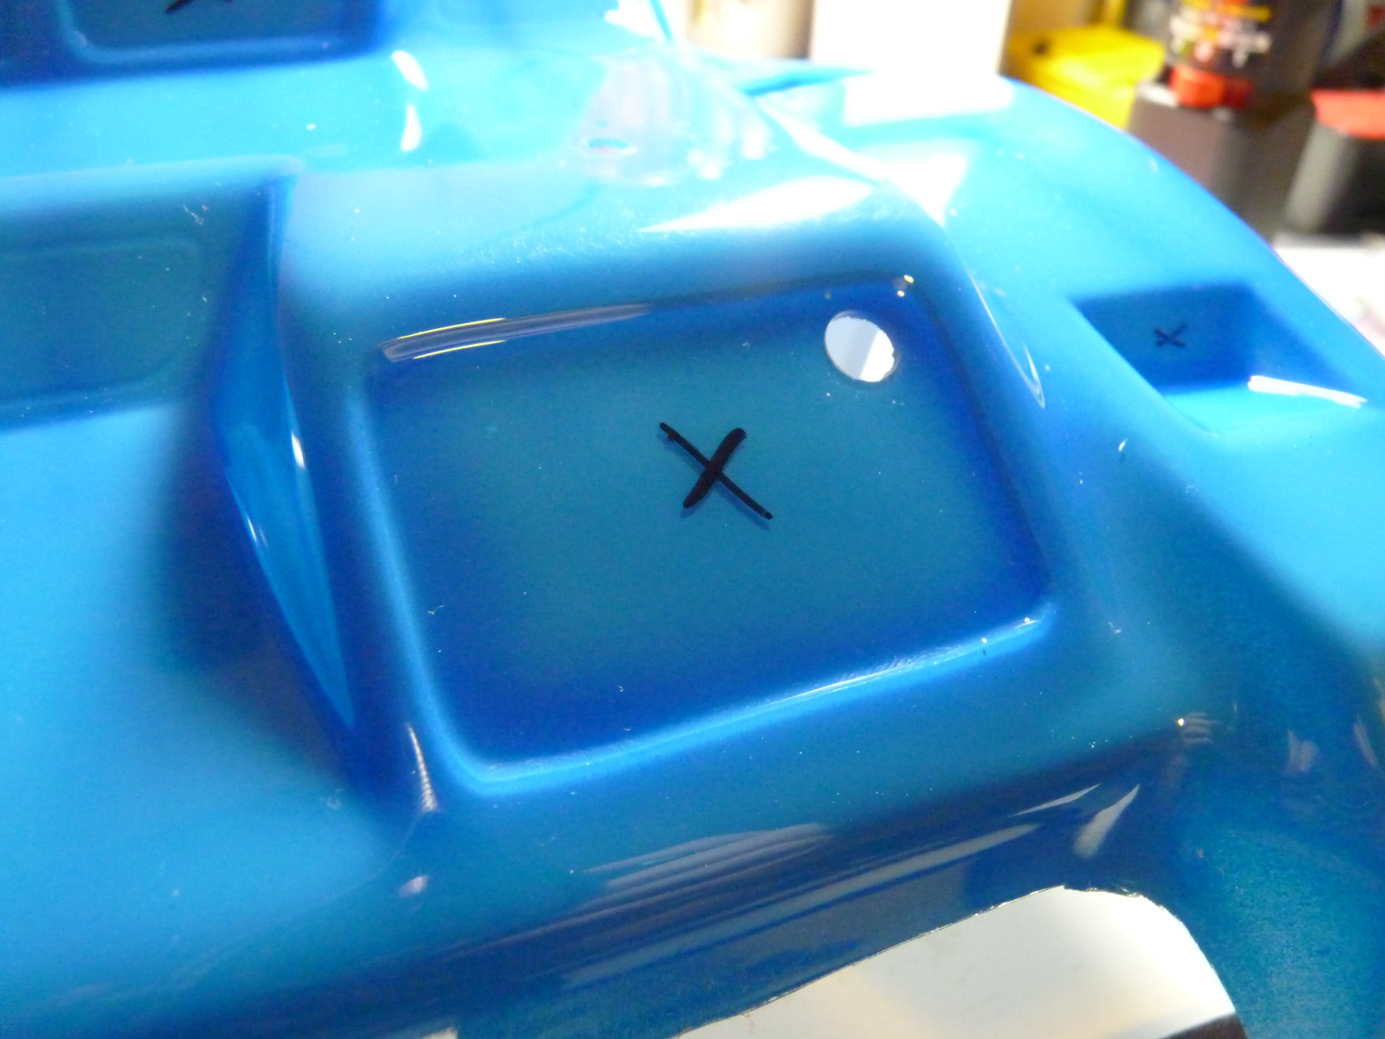
I then used the Dremel and grinding stone bit to cut it out the rest of the way. A fair warning, the grinding stone on lexan is quite possibly one of the most annoying noises ever. I’d try to do this when nobody else is around, or your 4 year old isn’t trying to sleep in the next room.. Just sayin’.. haha.
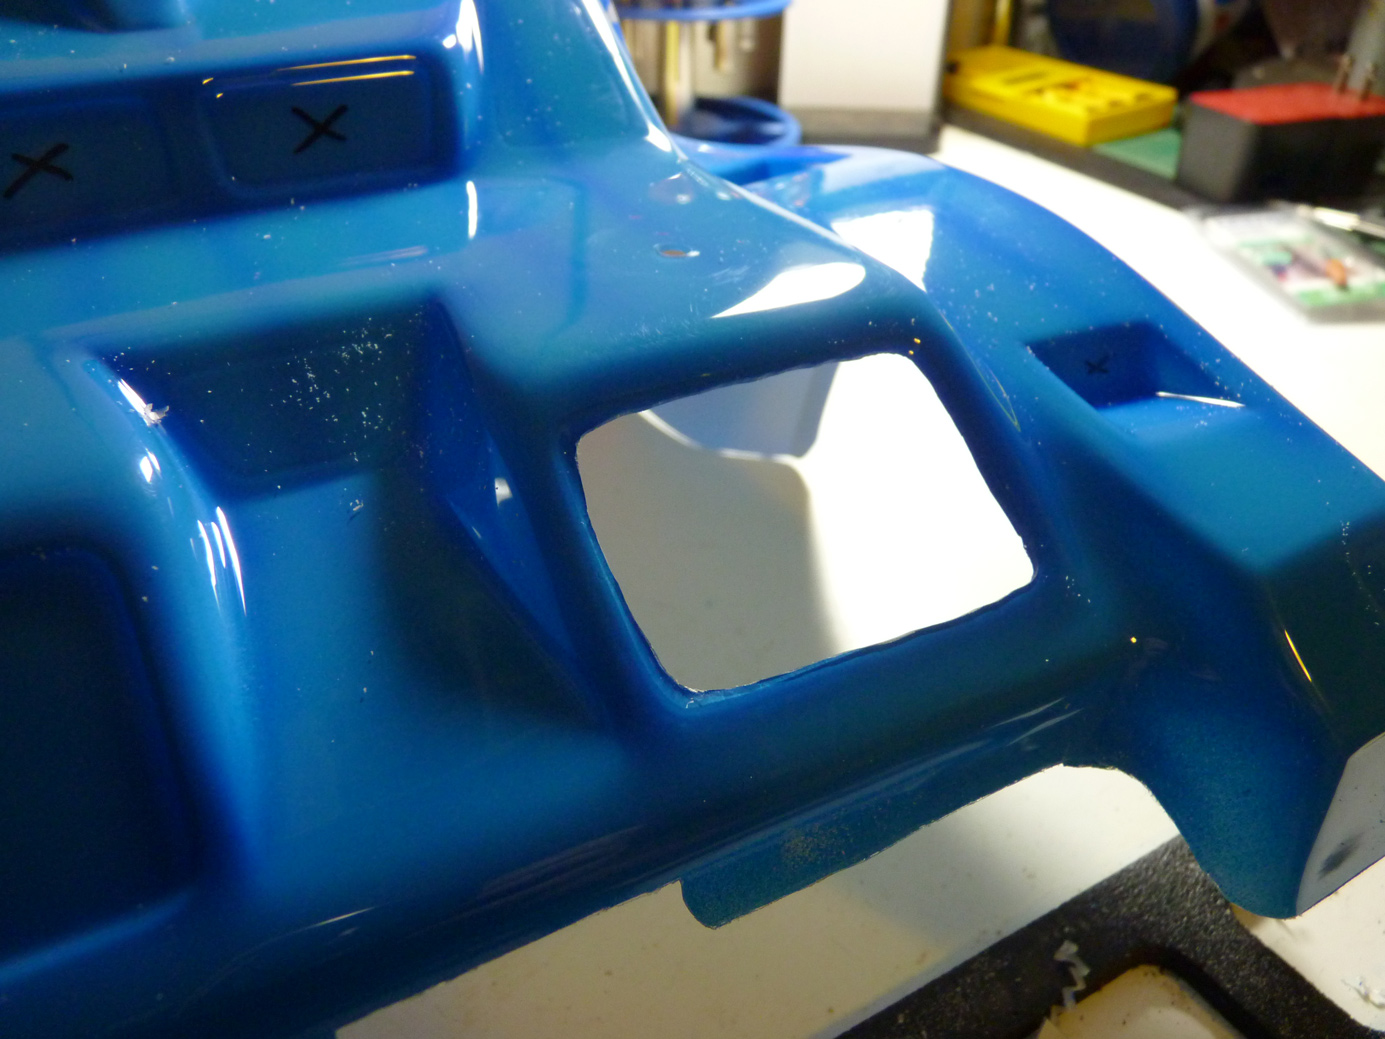
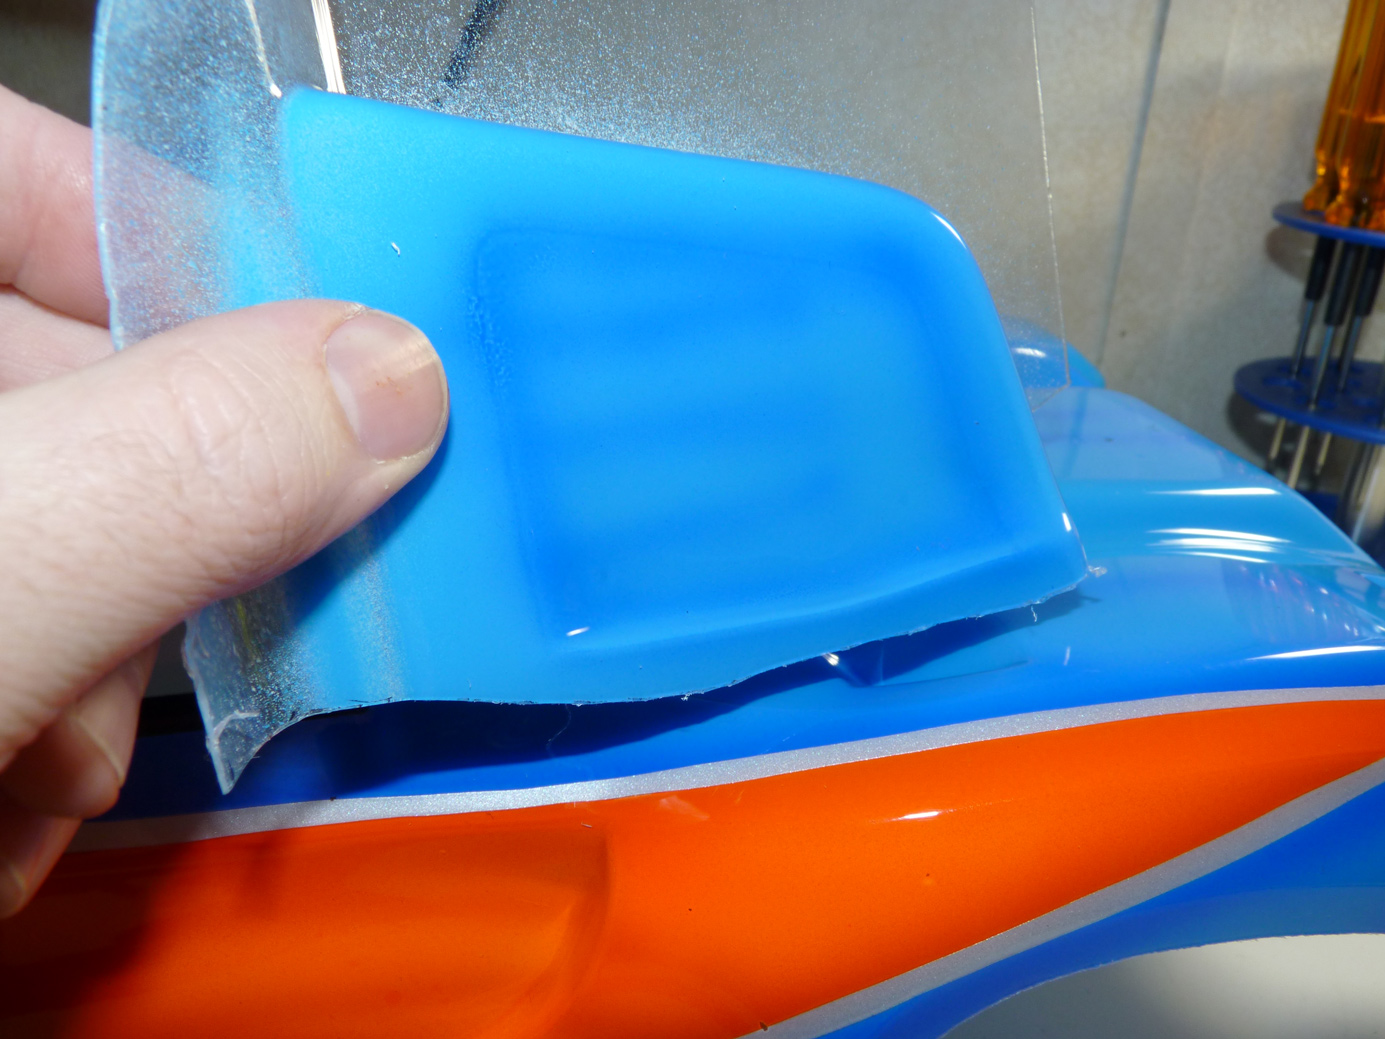
Next you’ll see various stages of completion cutting out the rest of the vent areas. It’s a bit time consuming an a steady hand is crucial.
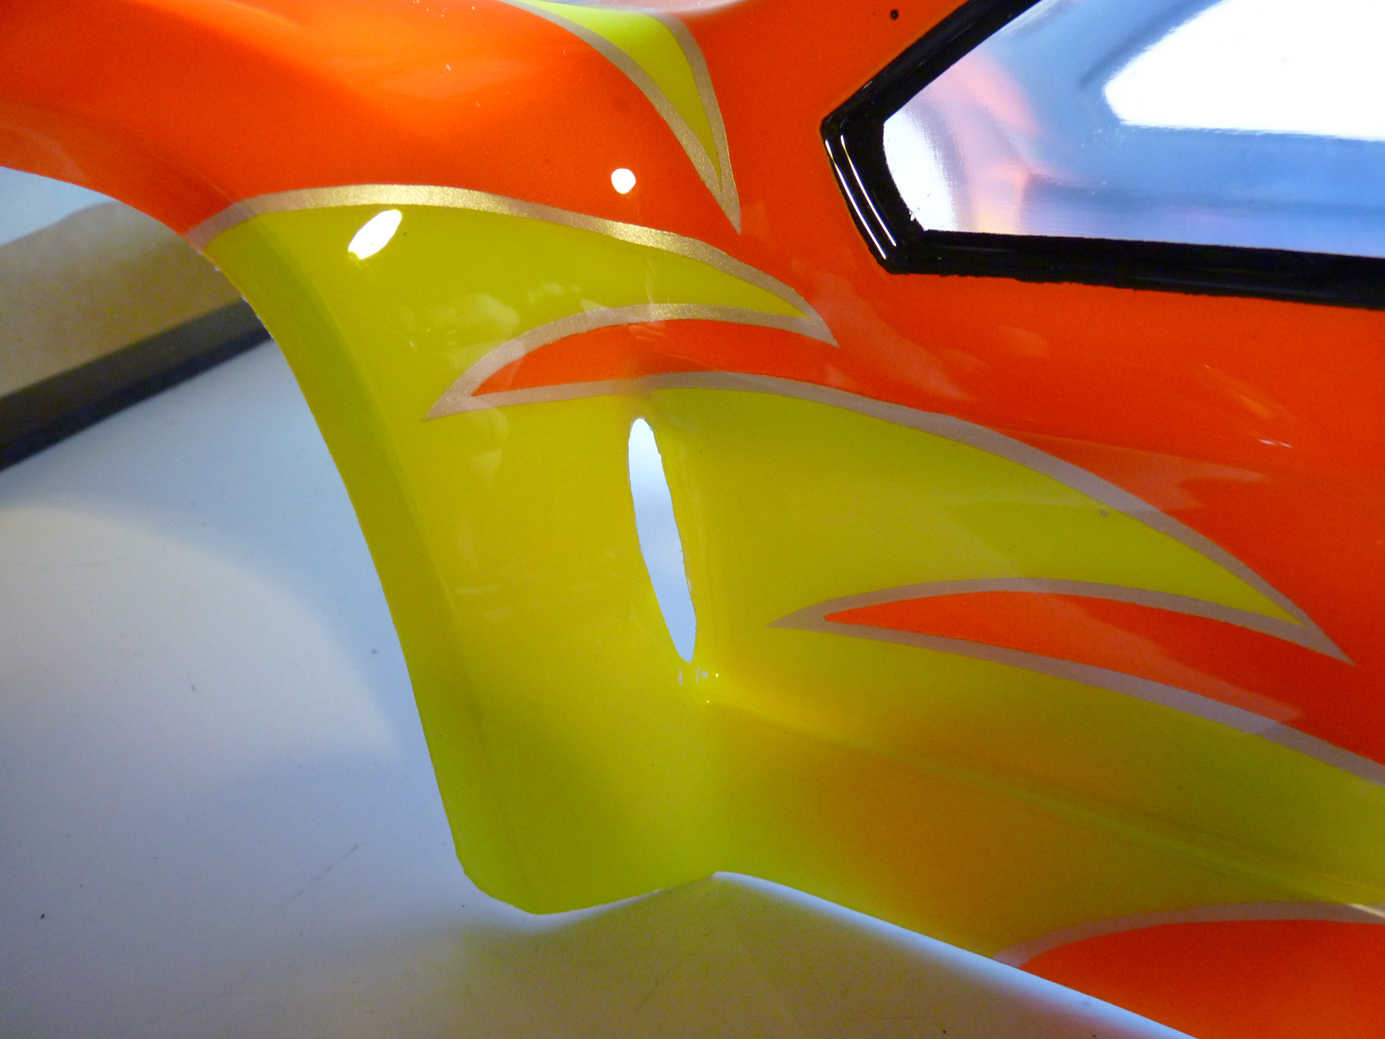
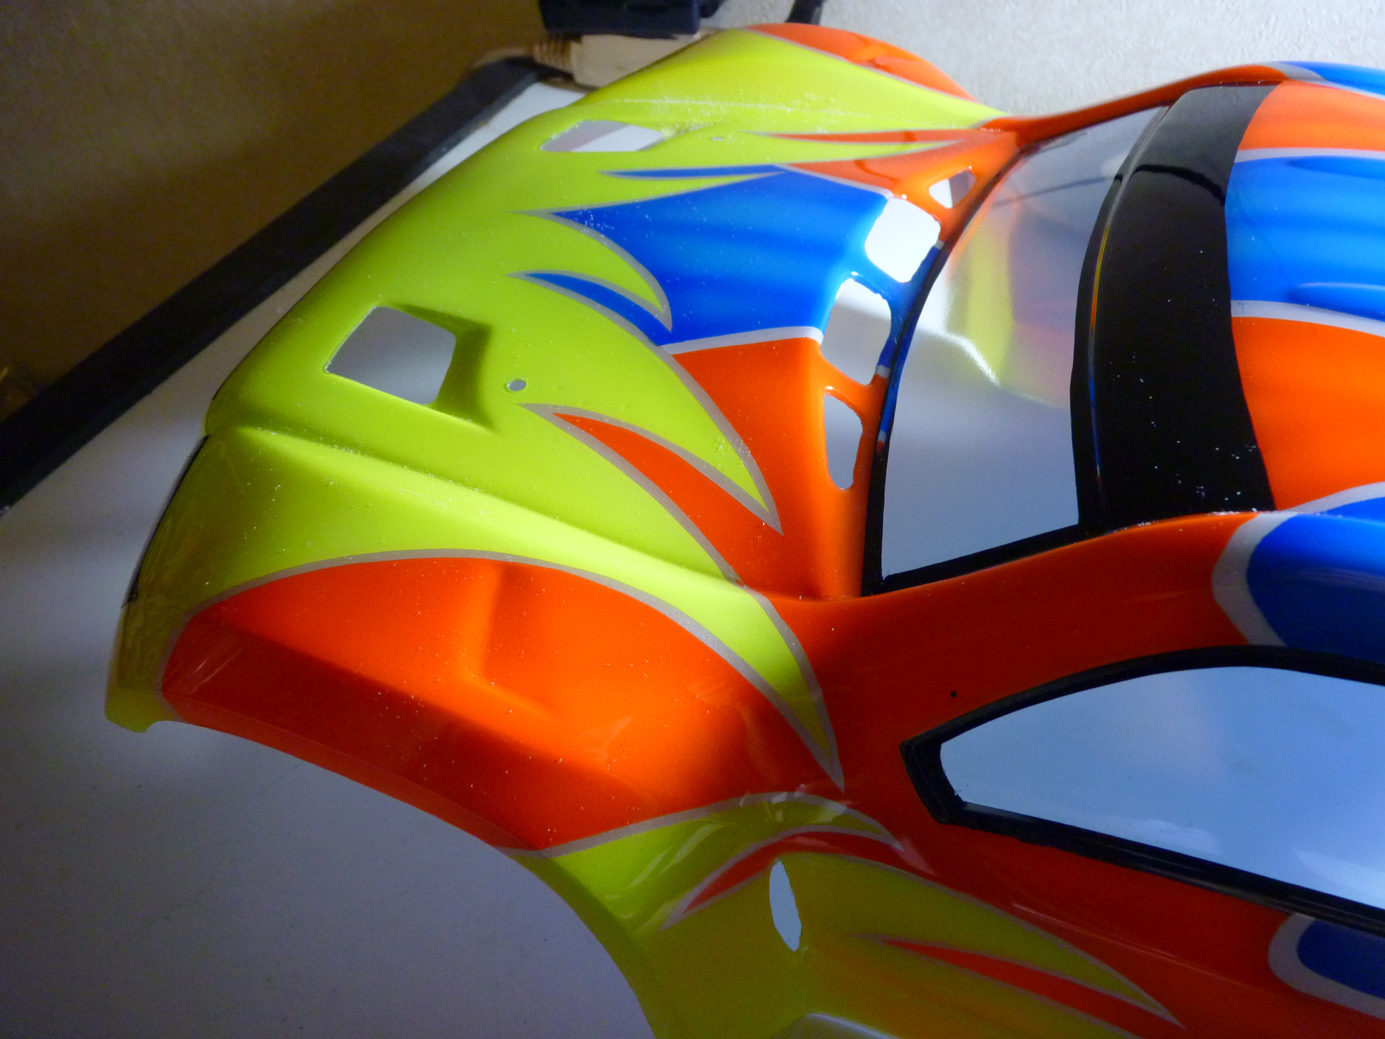
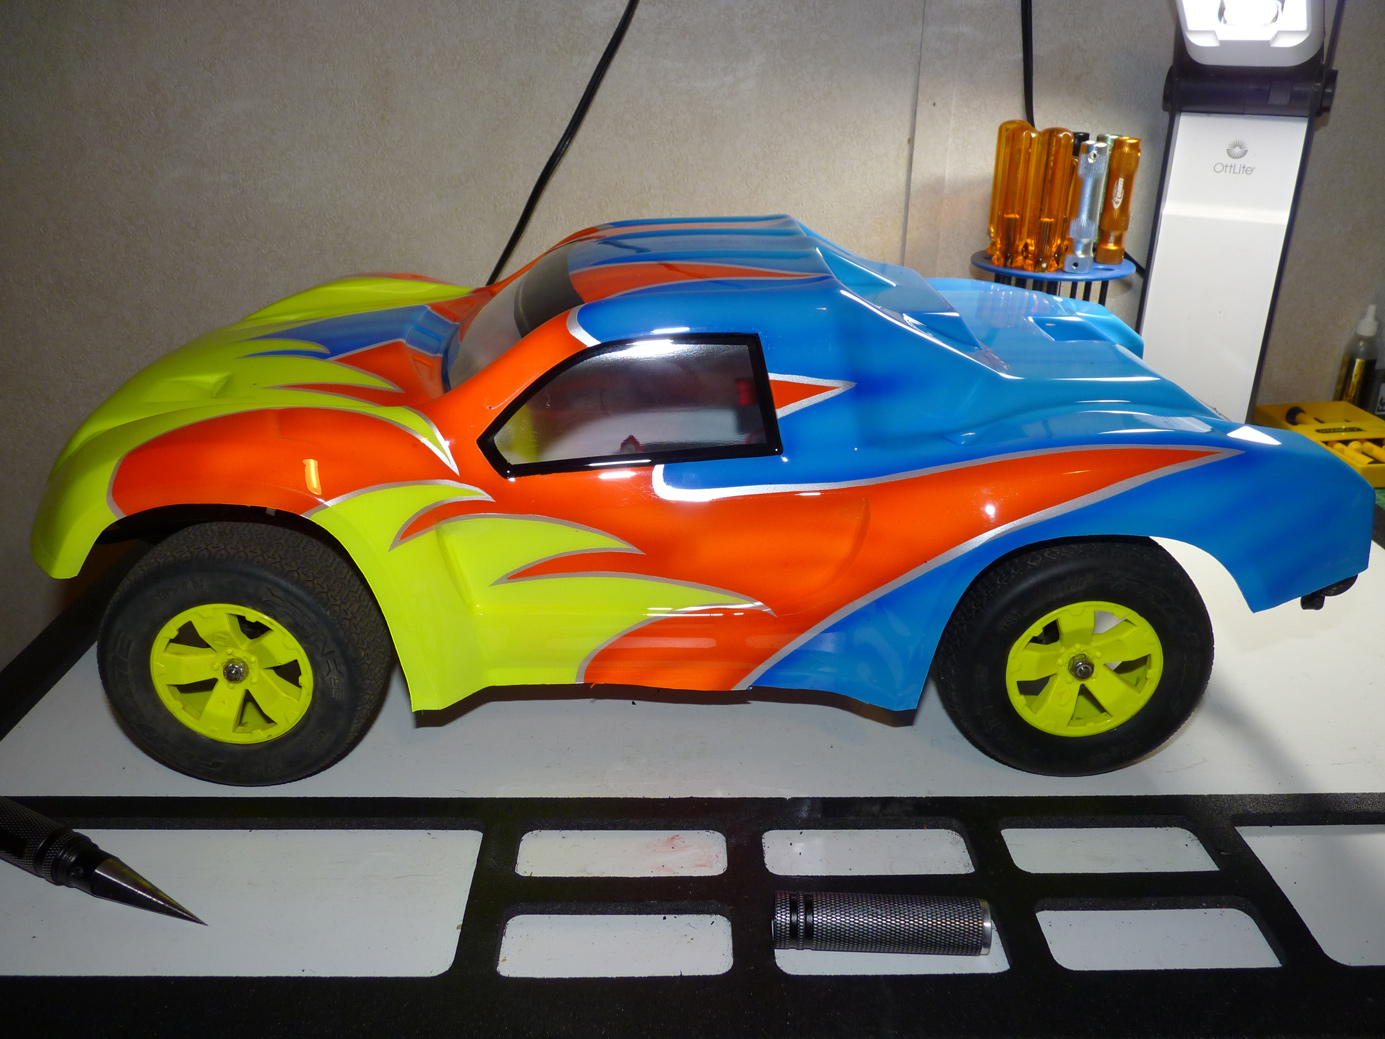
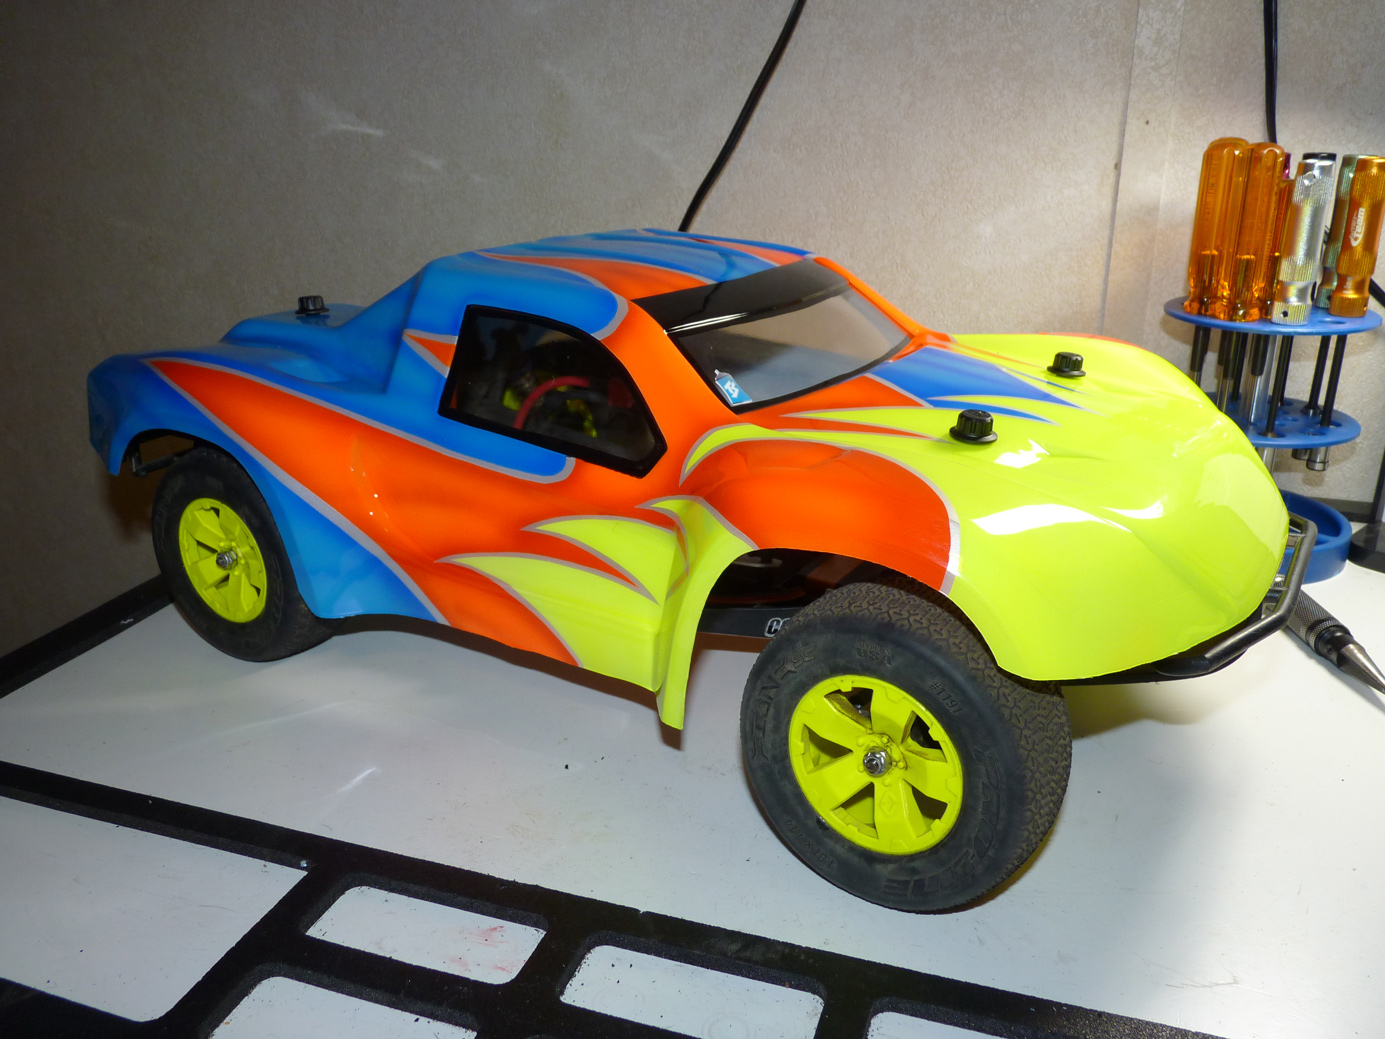
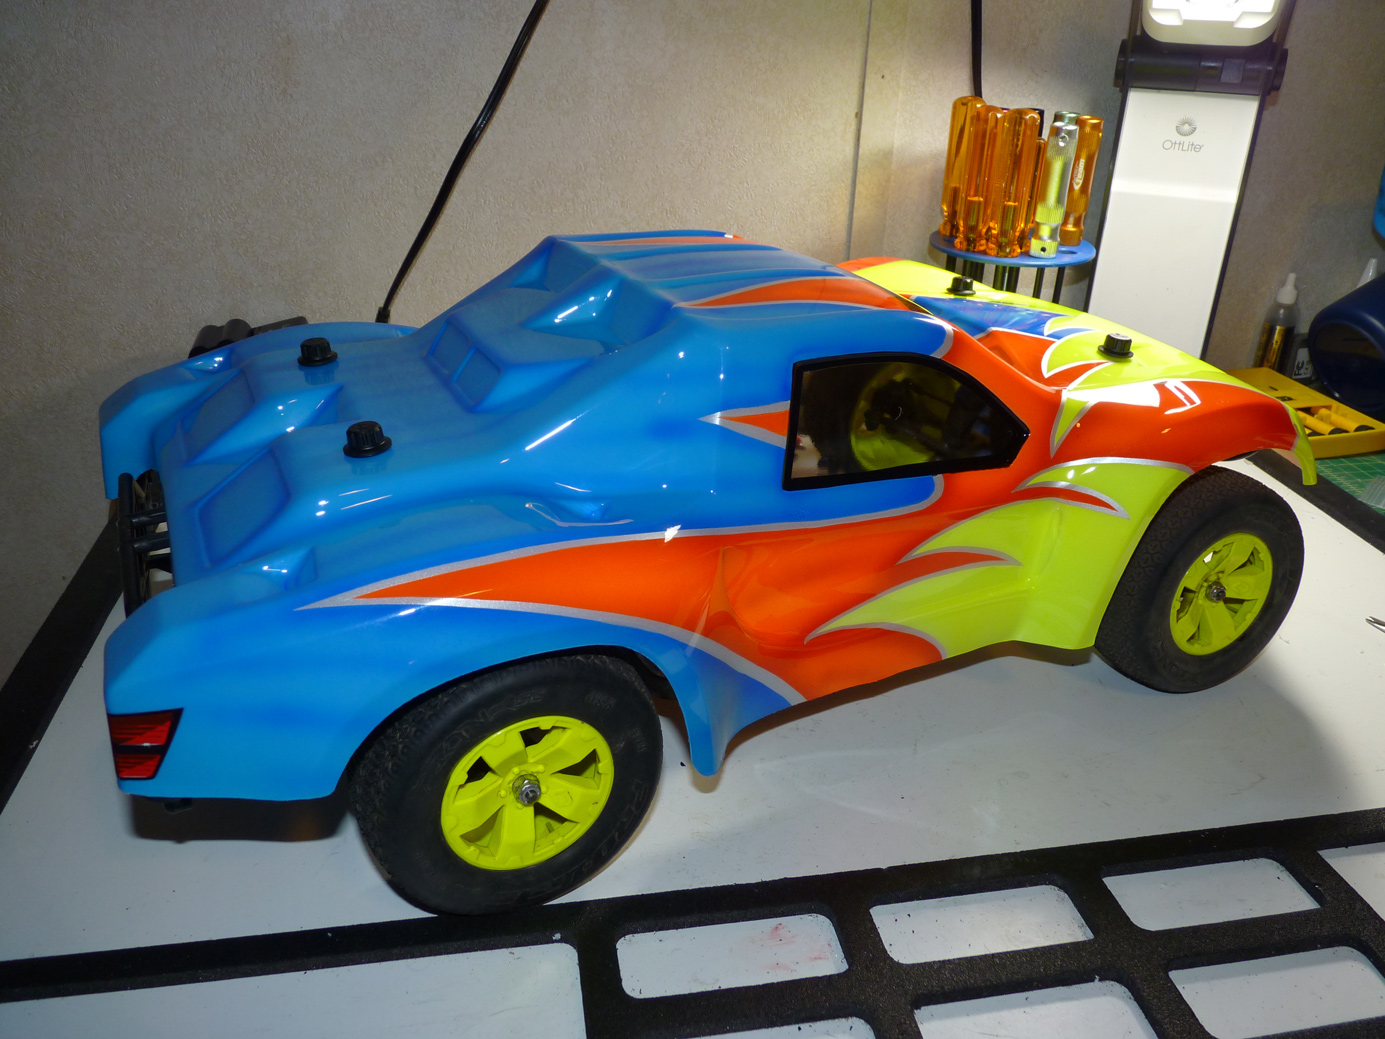
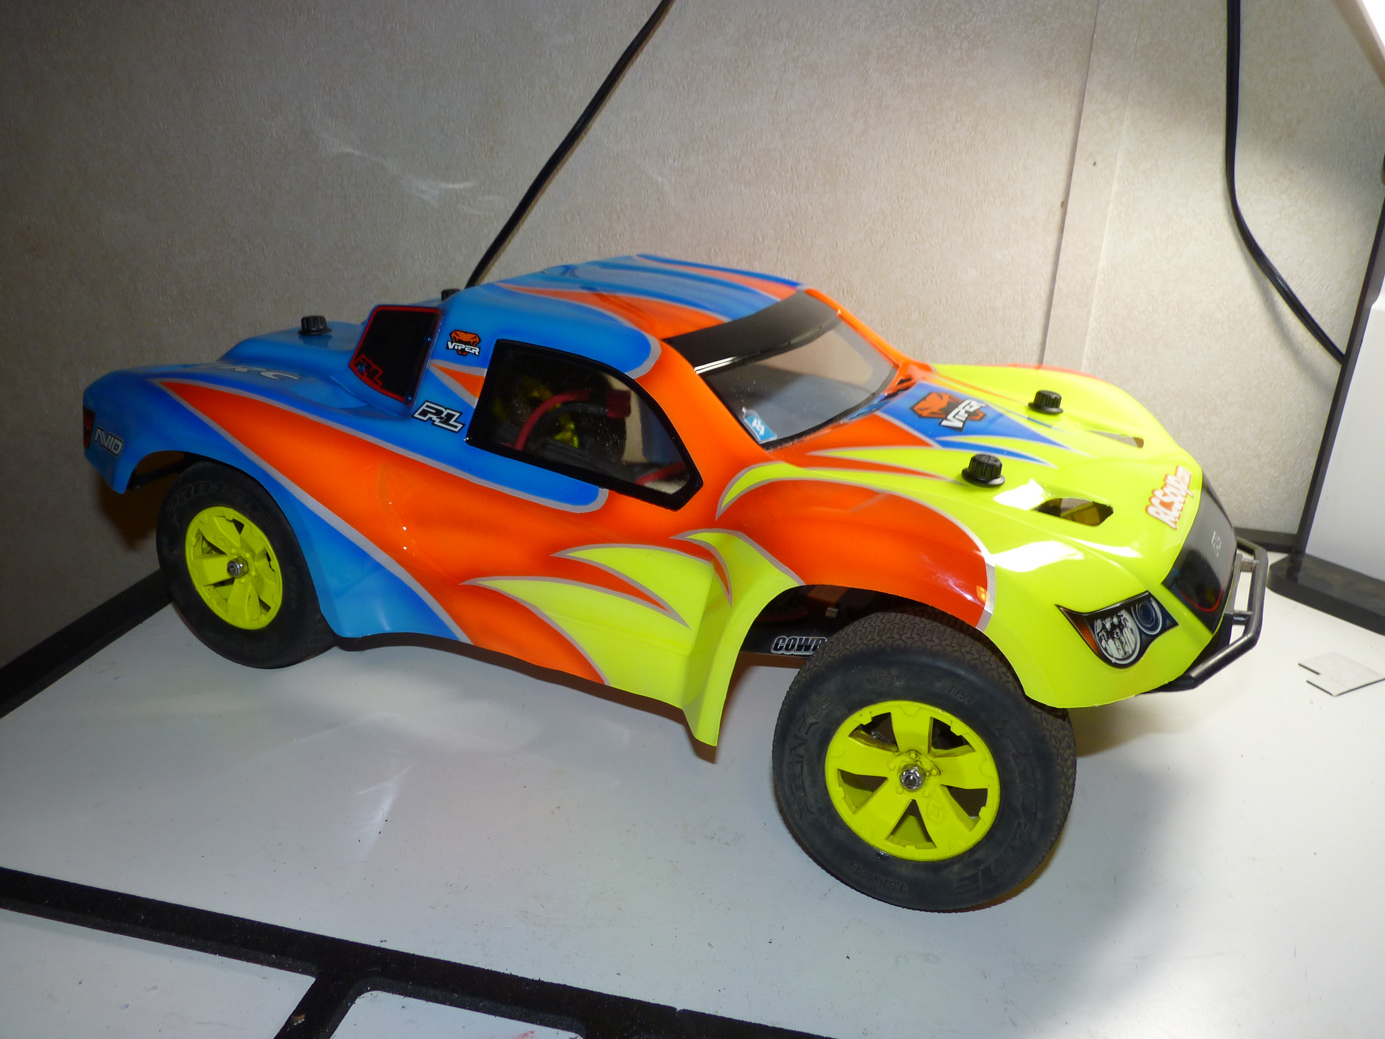
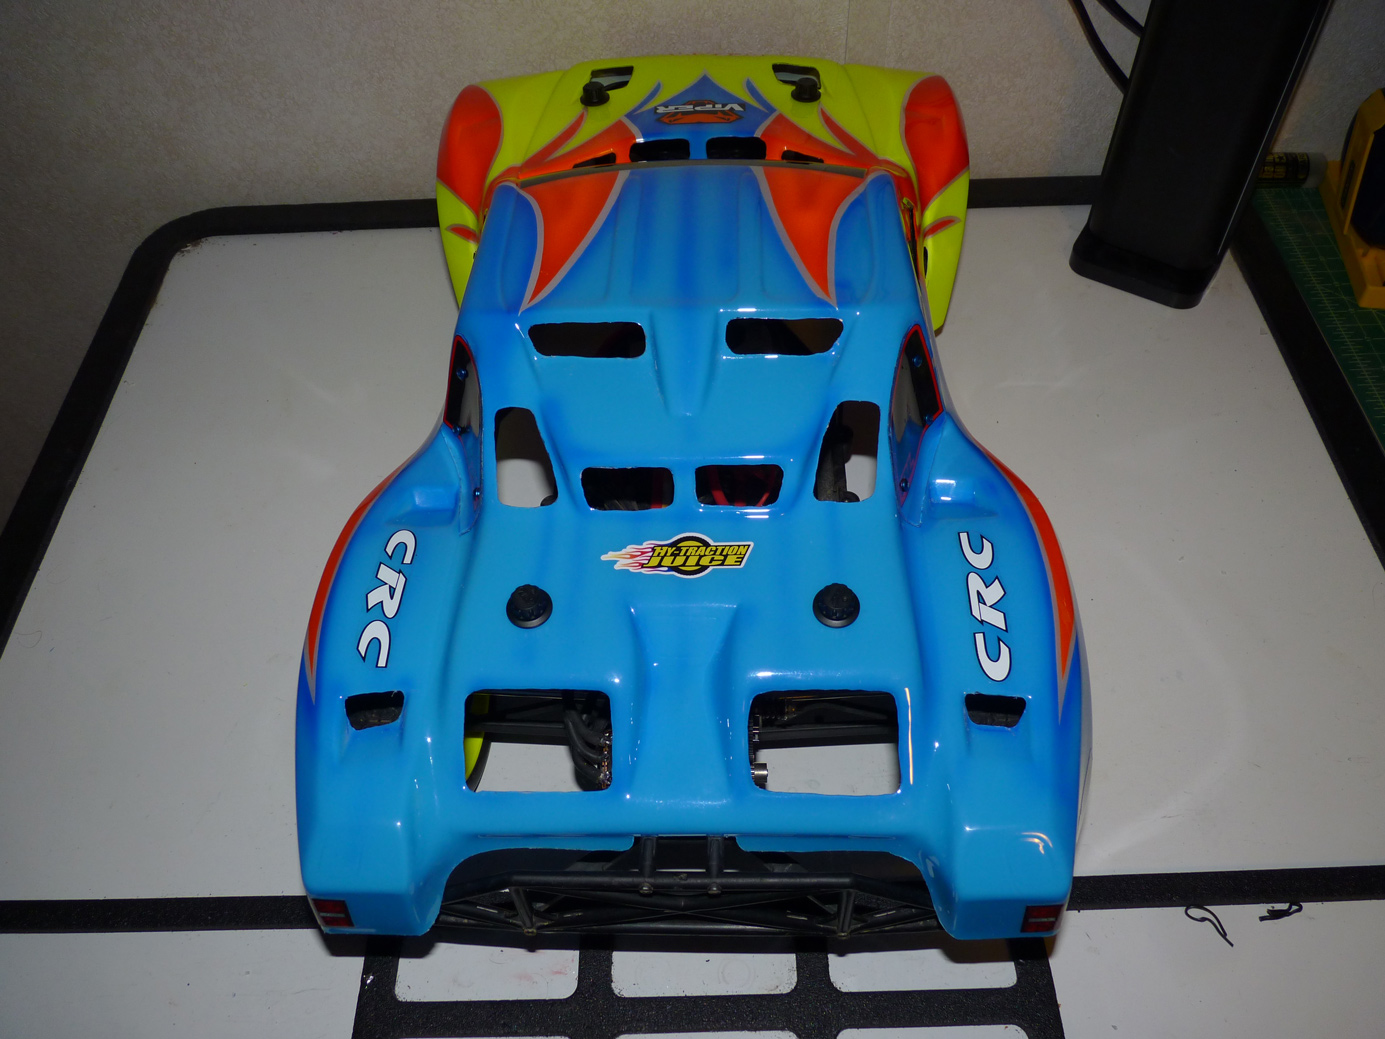
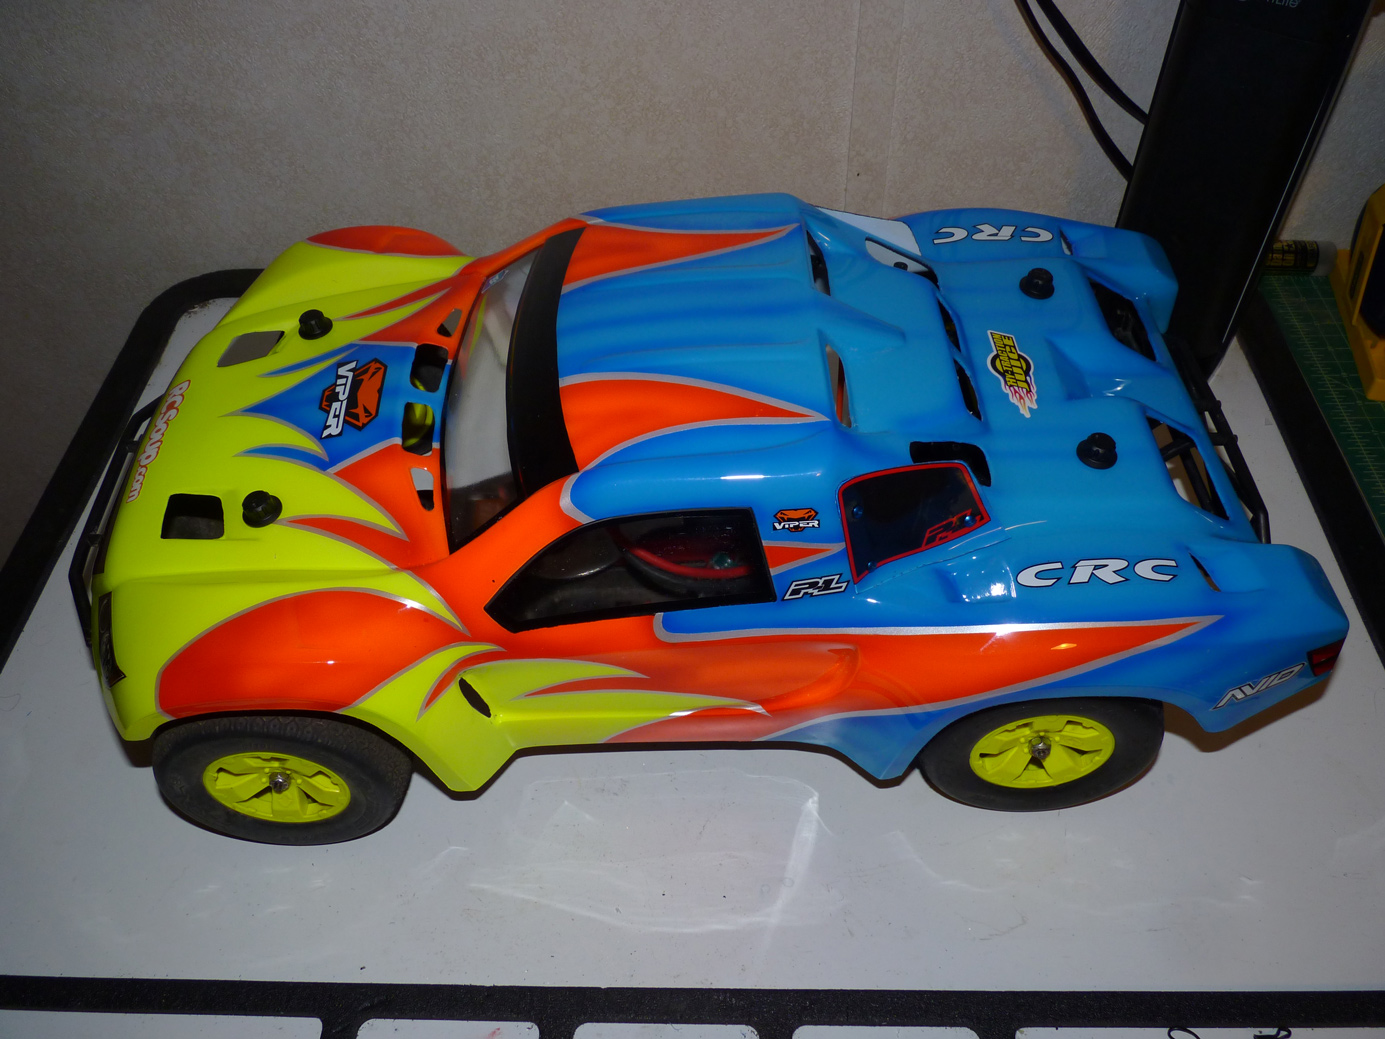
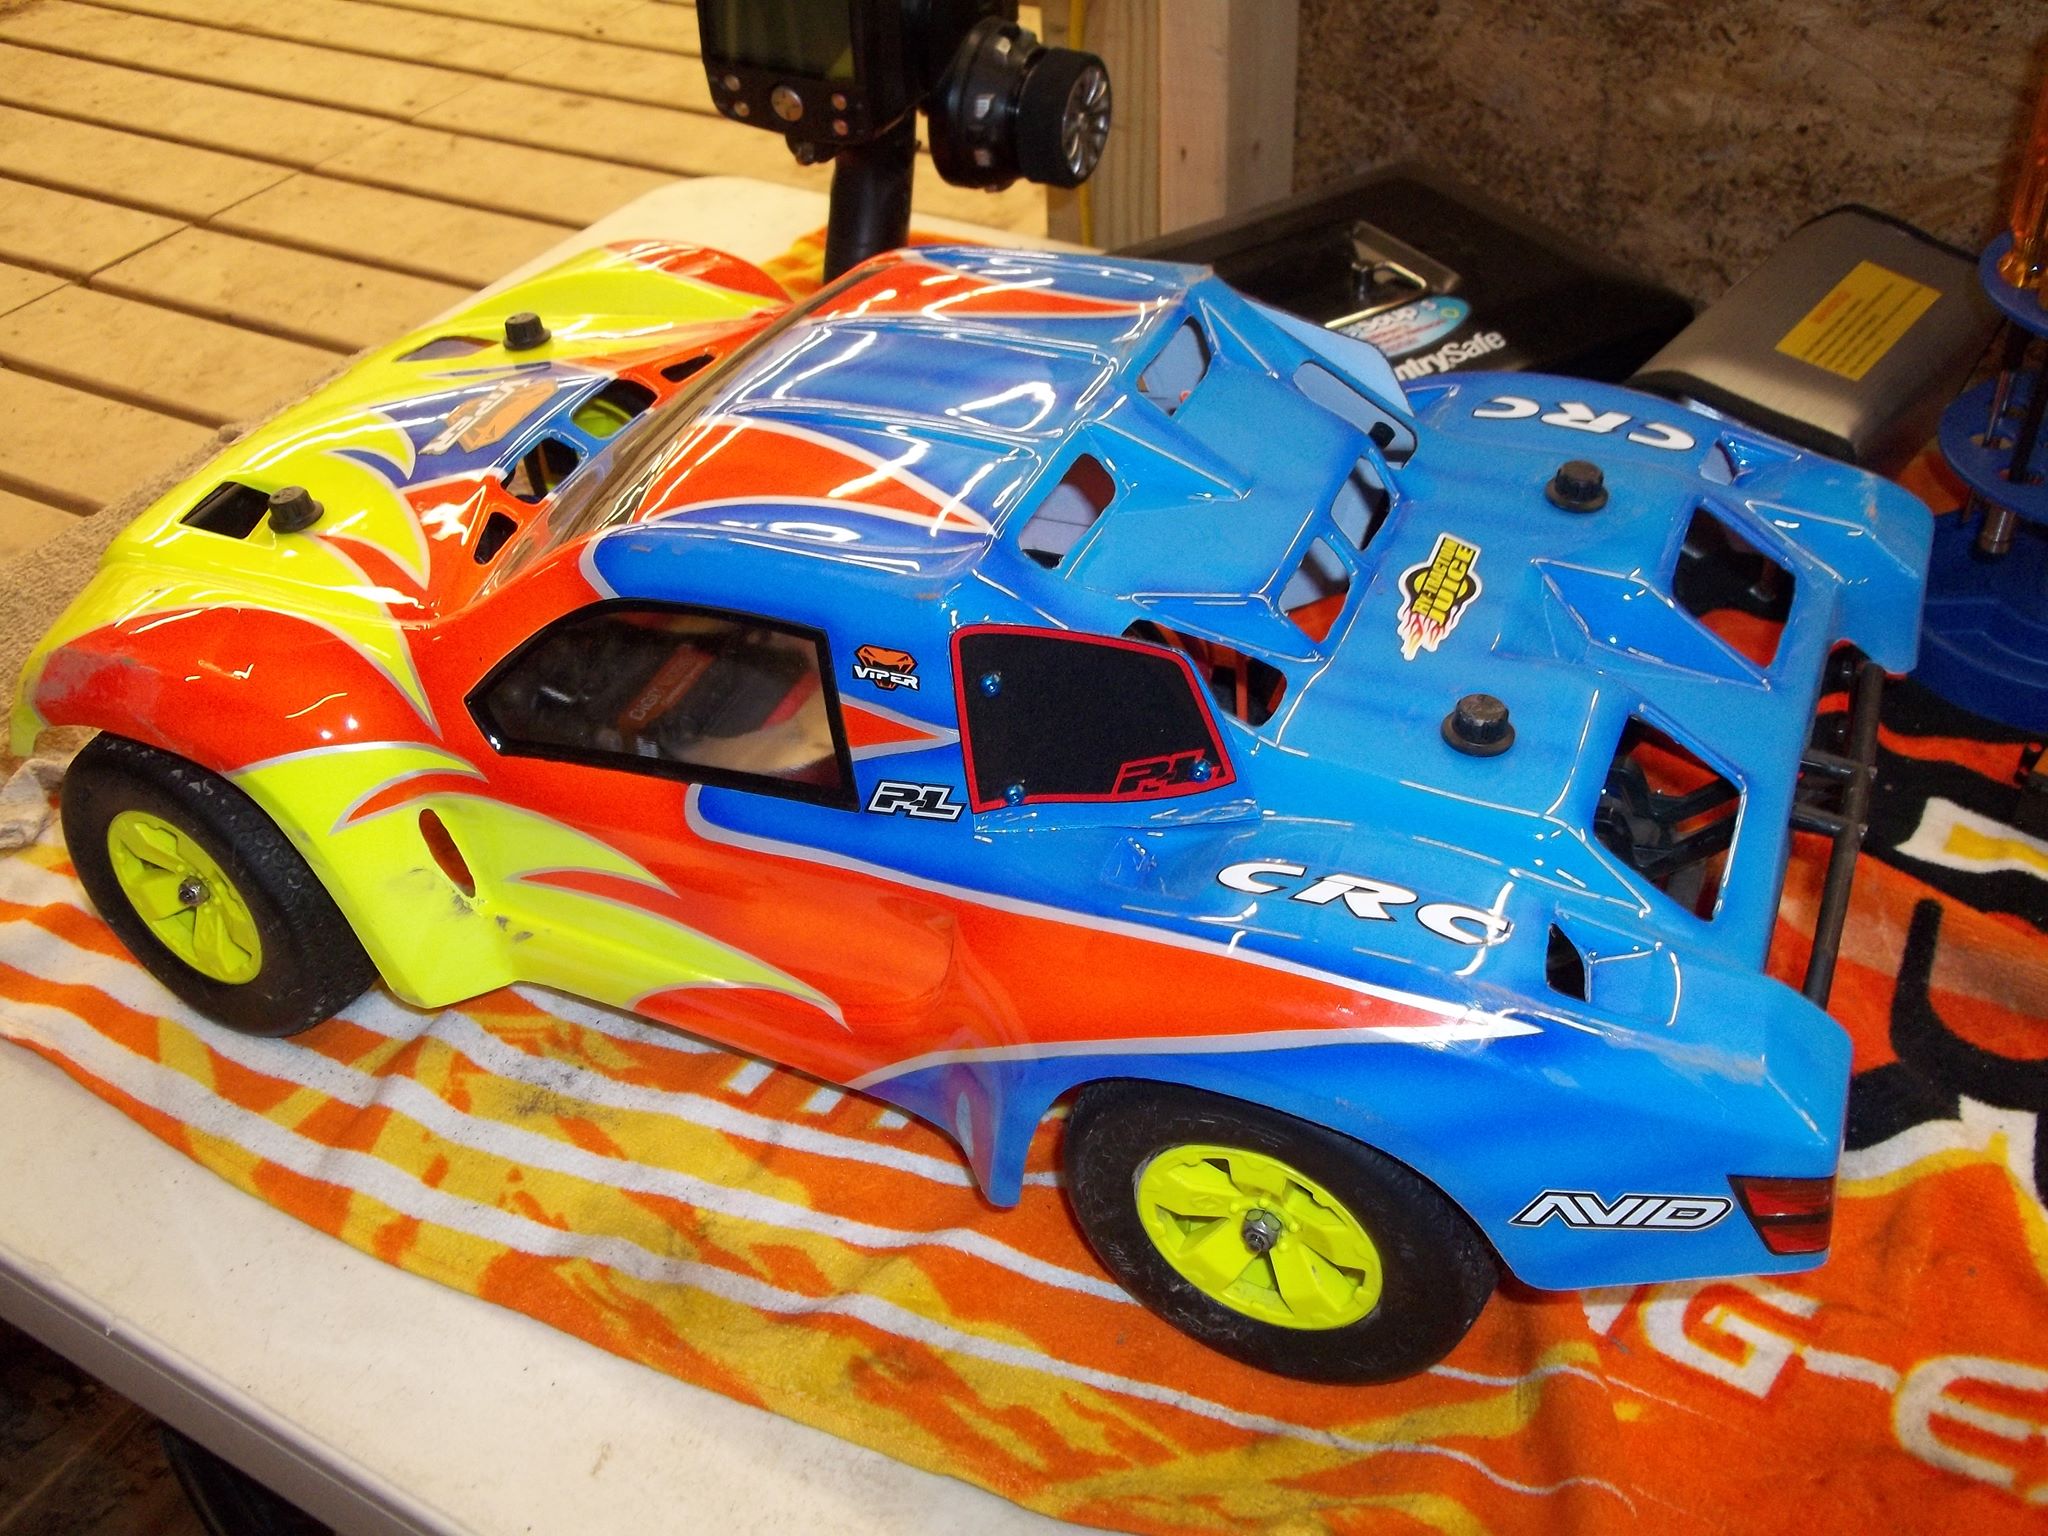
Done and stickered! I can’t stress enough how much I love this body now. The design in general, the vents, the paint.. it’s flat out awesome.
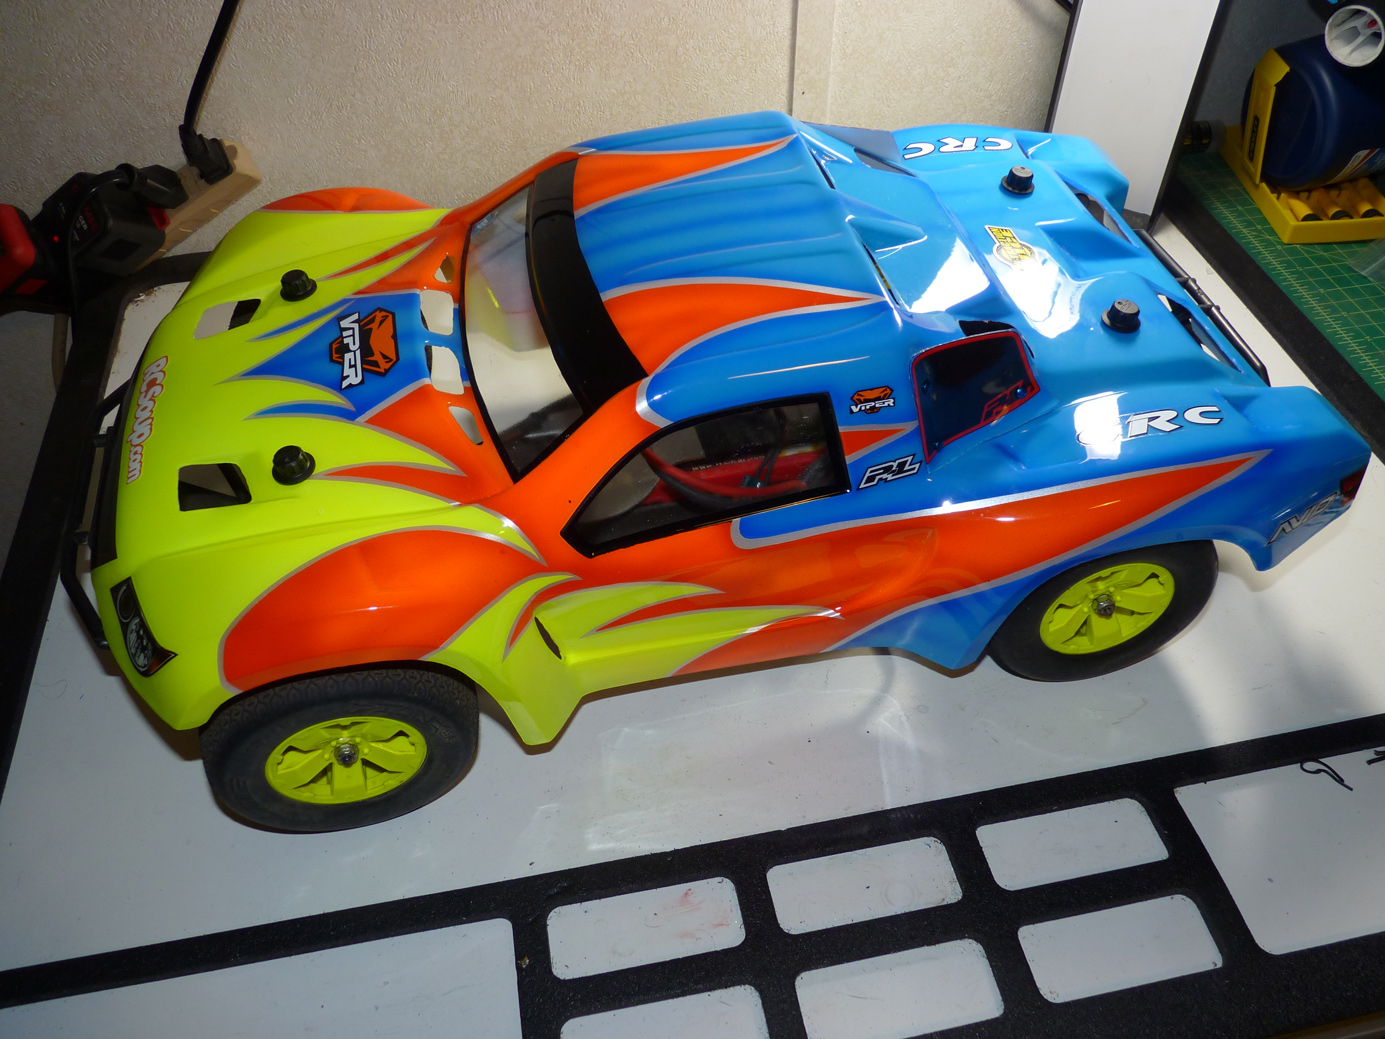
A few different angles.
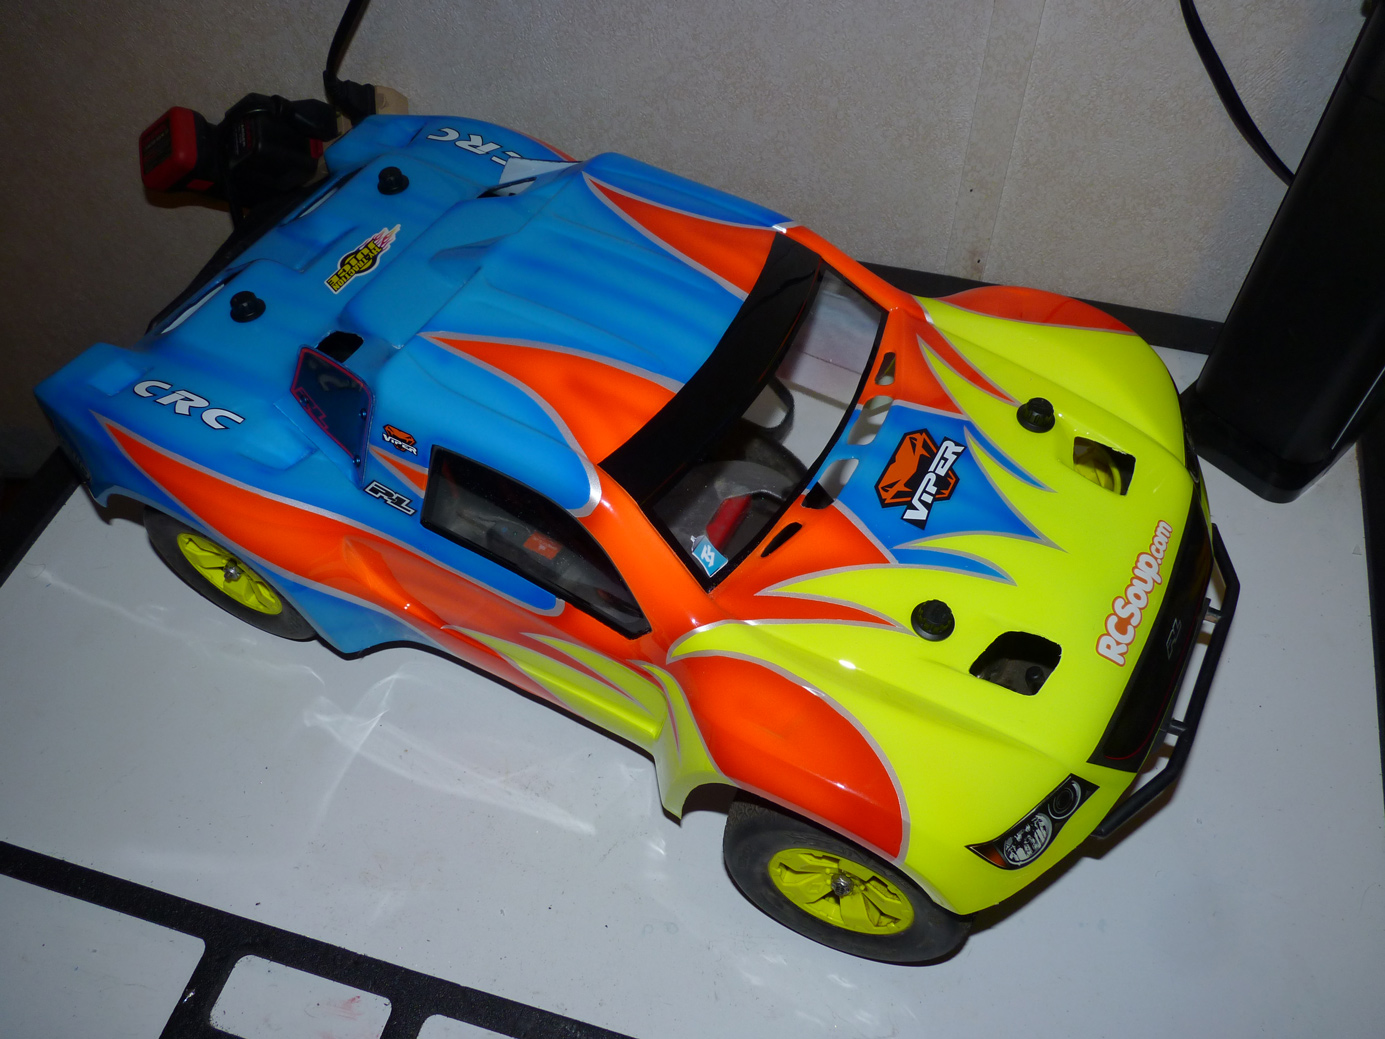
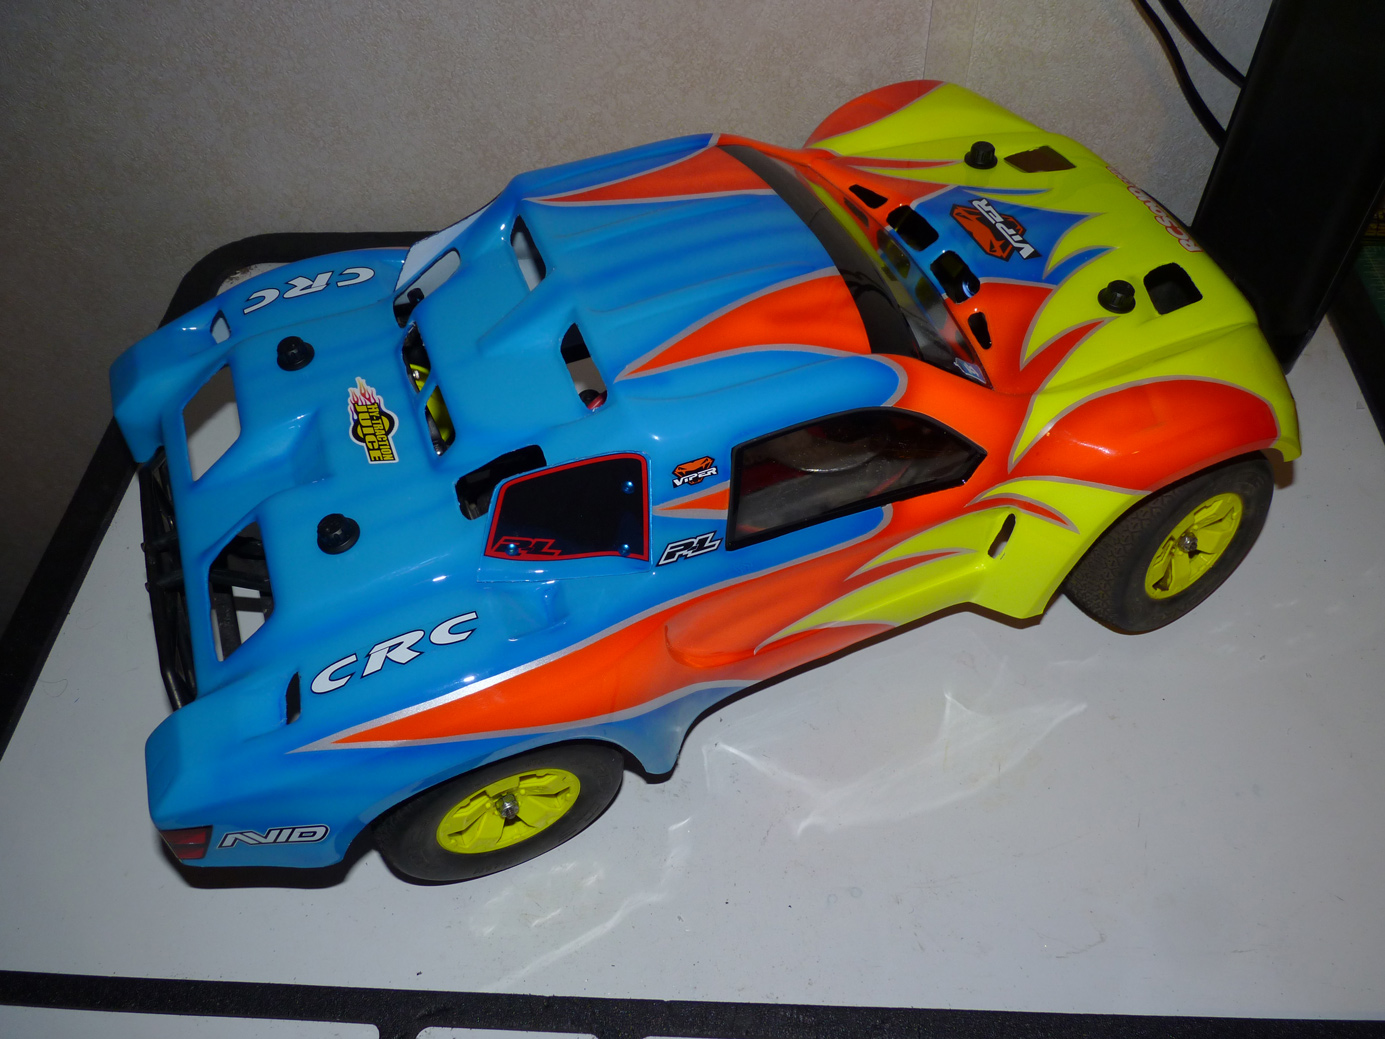
Look at all those vents! There’s still some I didn’t cut out!
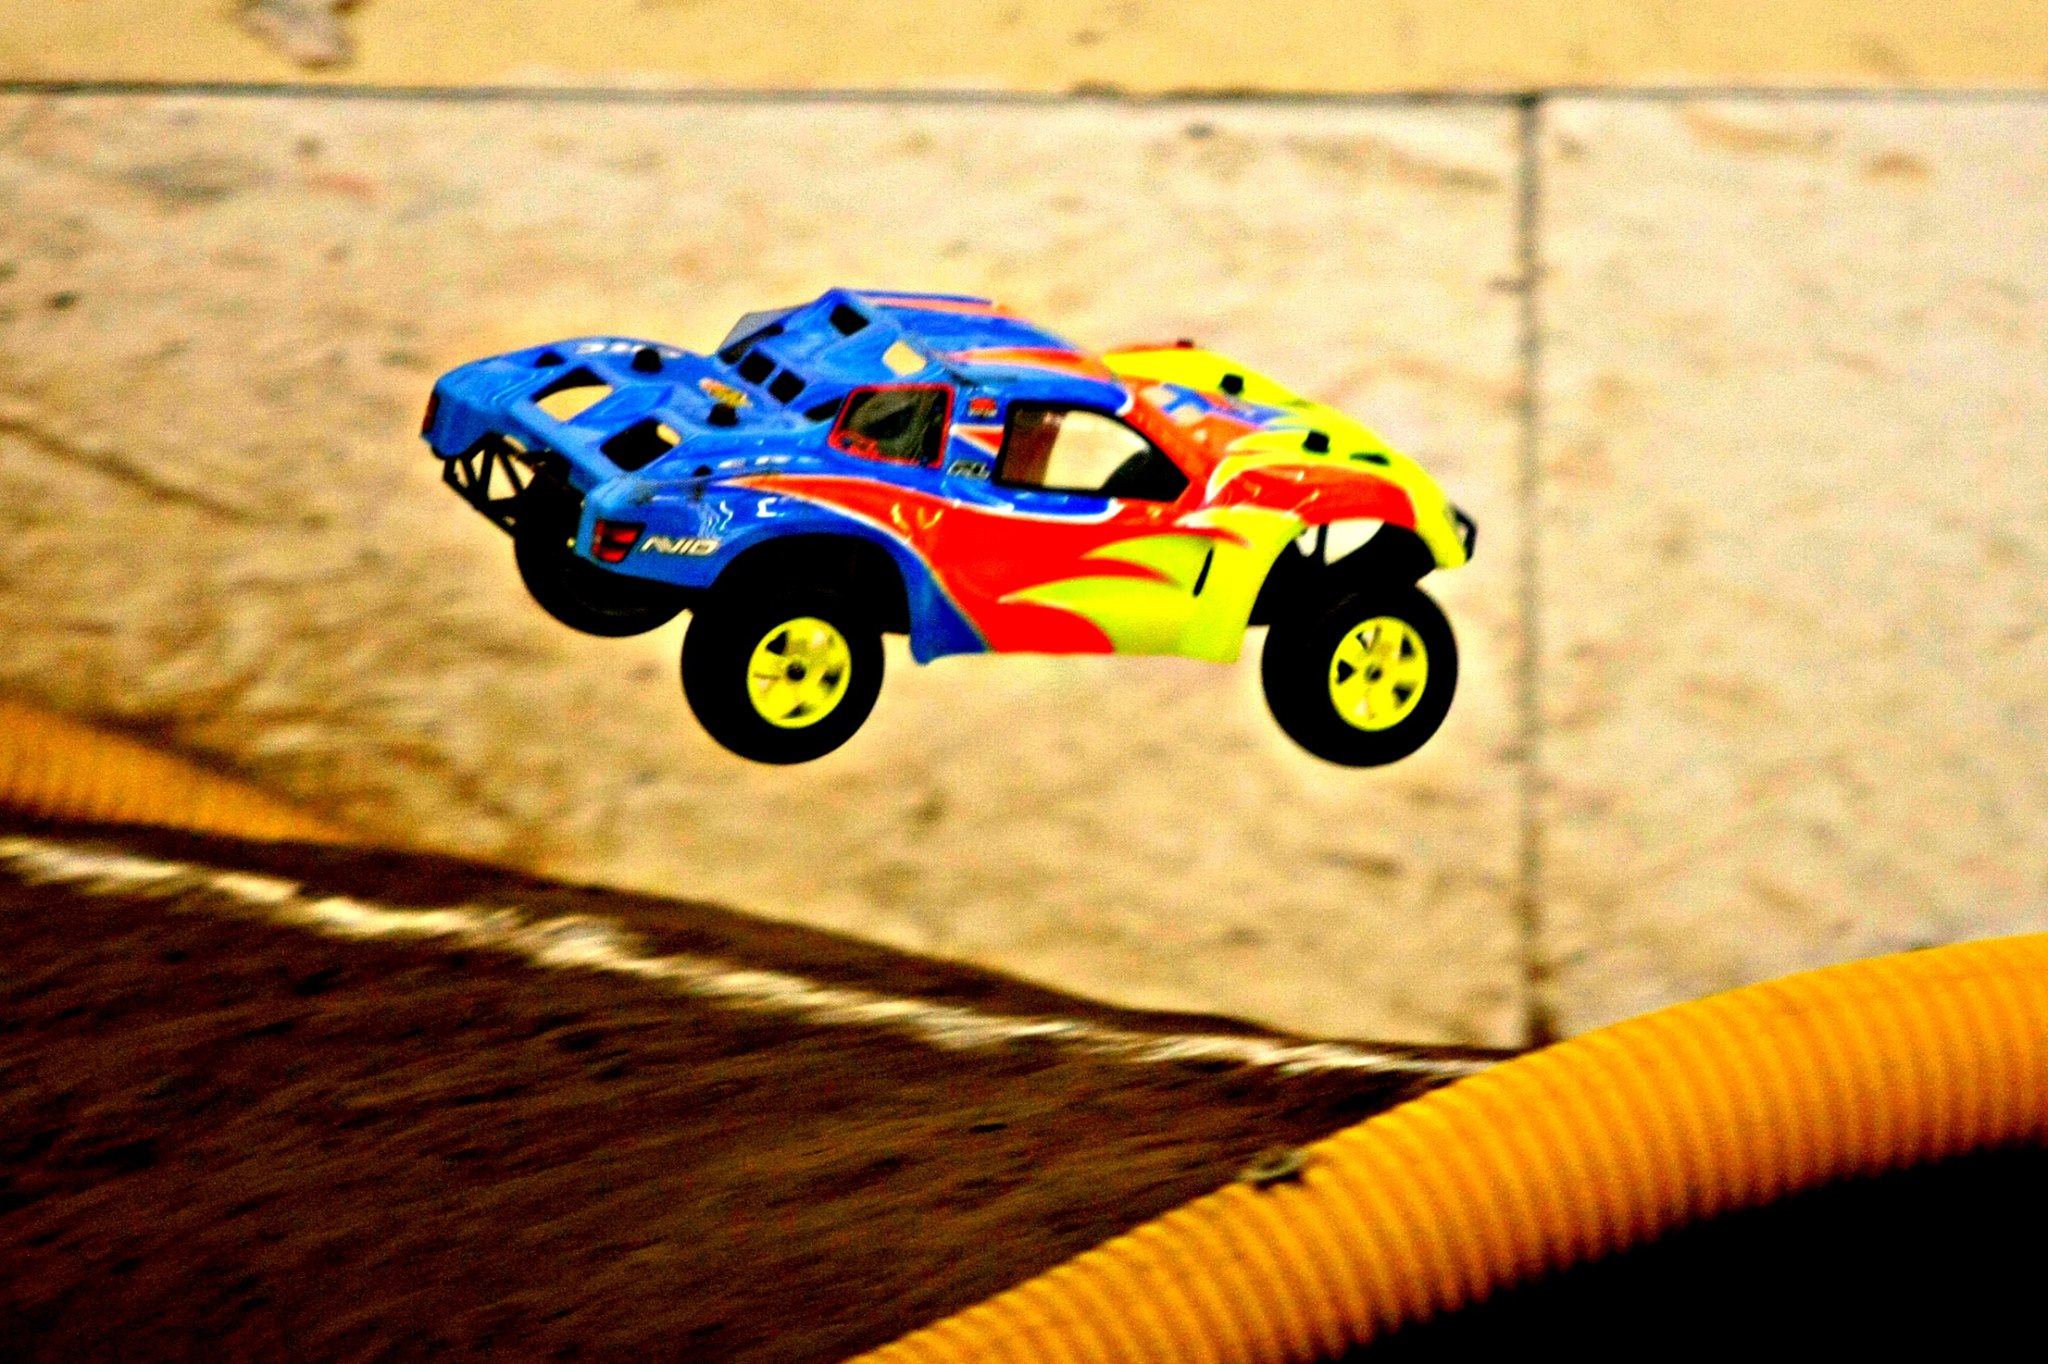
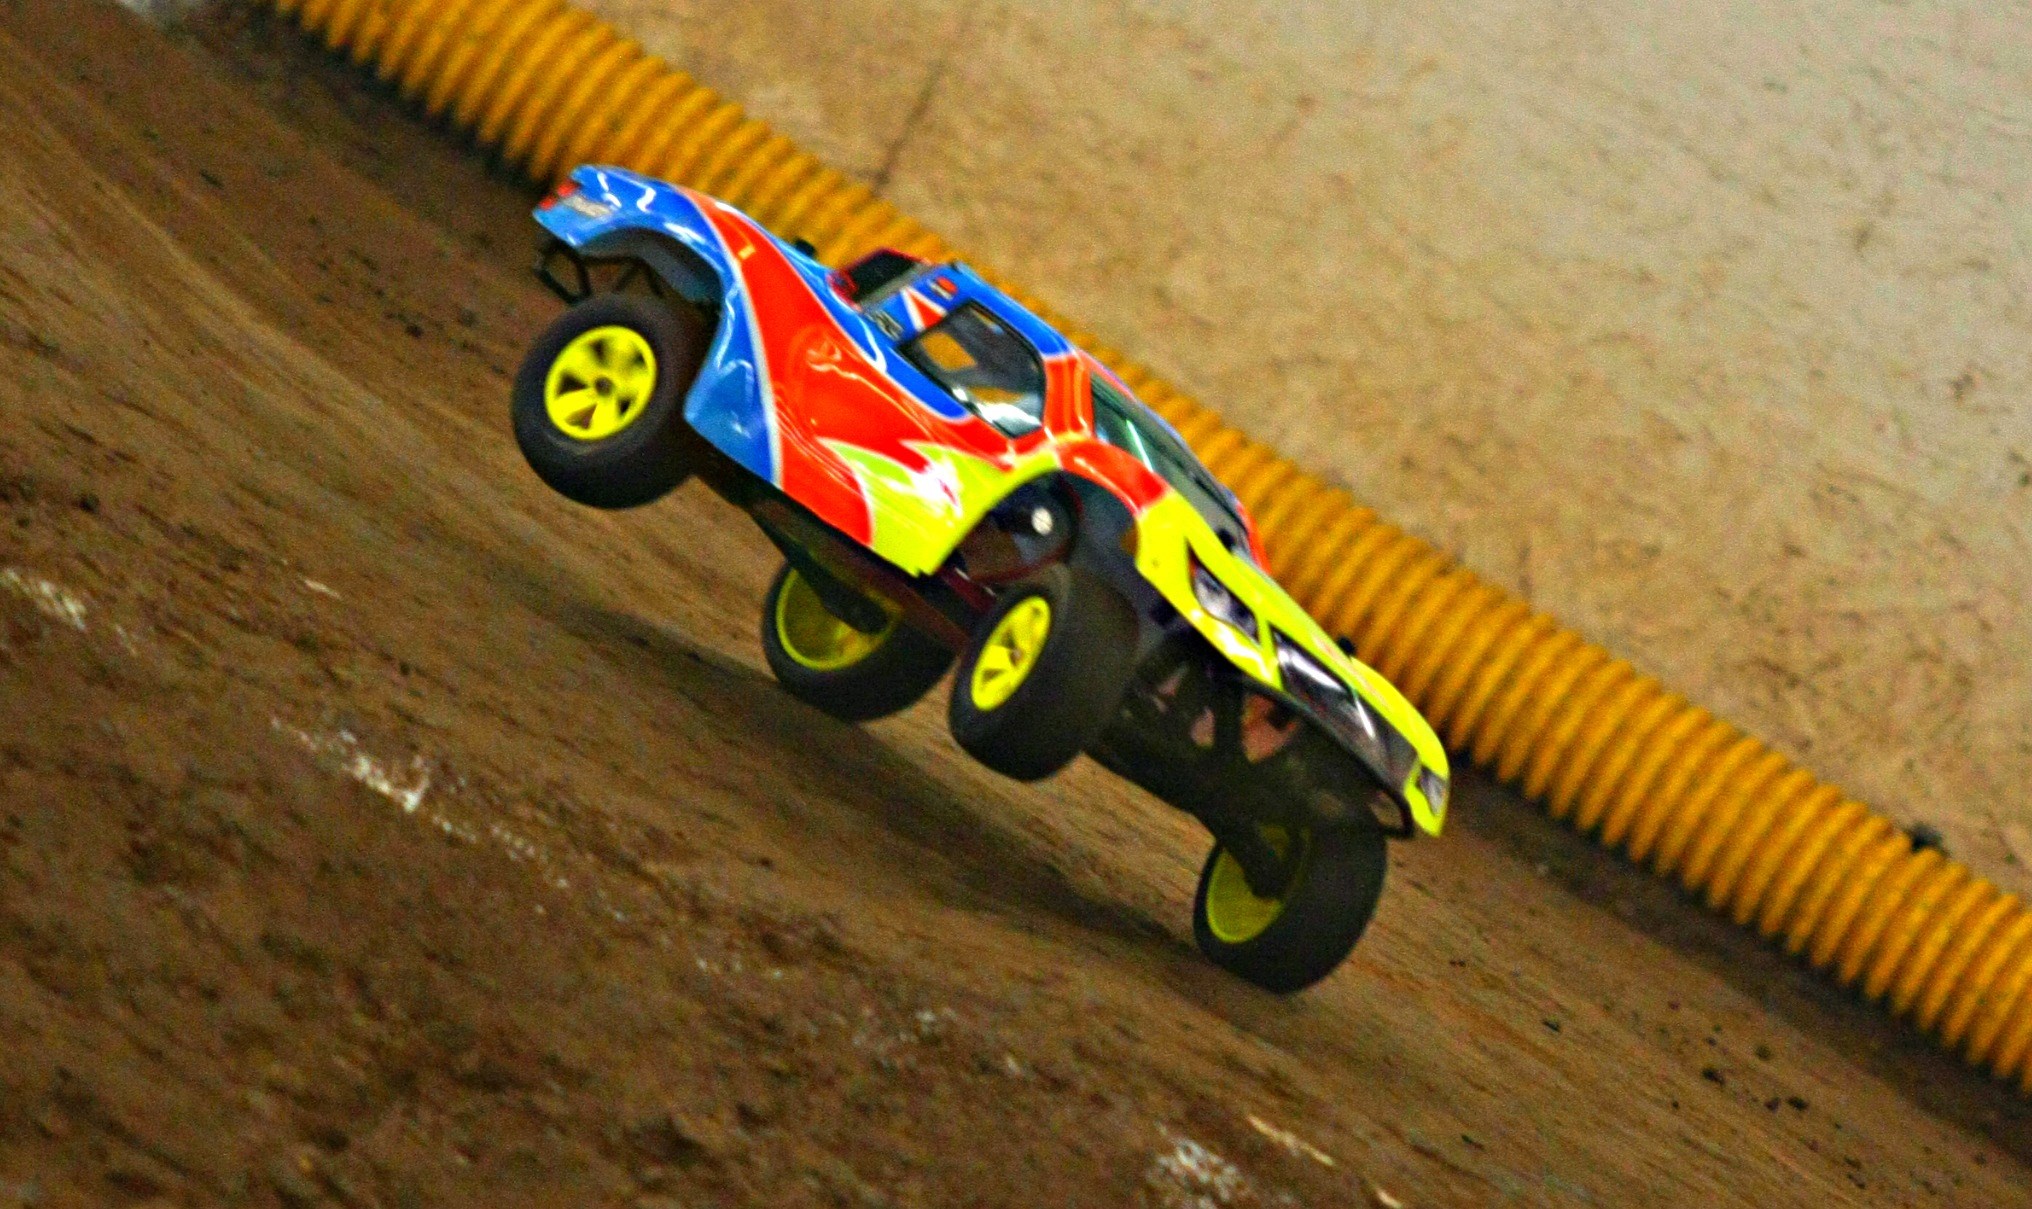
Okay, so the body LOOKS cool.. but.. does it perform?
After 3 bigger events on this truck with the new body, I feel I’ve gotten a feel for it. I ran it at Redneck’s Stocking Stuffer Classic, Full Throttle’s Off-Road Freeze, and our SOUPer Bowl Shakedown @ Redneck.
Compared to what I was using, I have to say I definitely notice a difference. It parachutes less (even indoors it’s noticeable), and seems to have more predictable handling. I’m not saying it’s a huge difference in handling (at least for my level of driving), but I do think it’s an improvement.

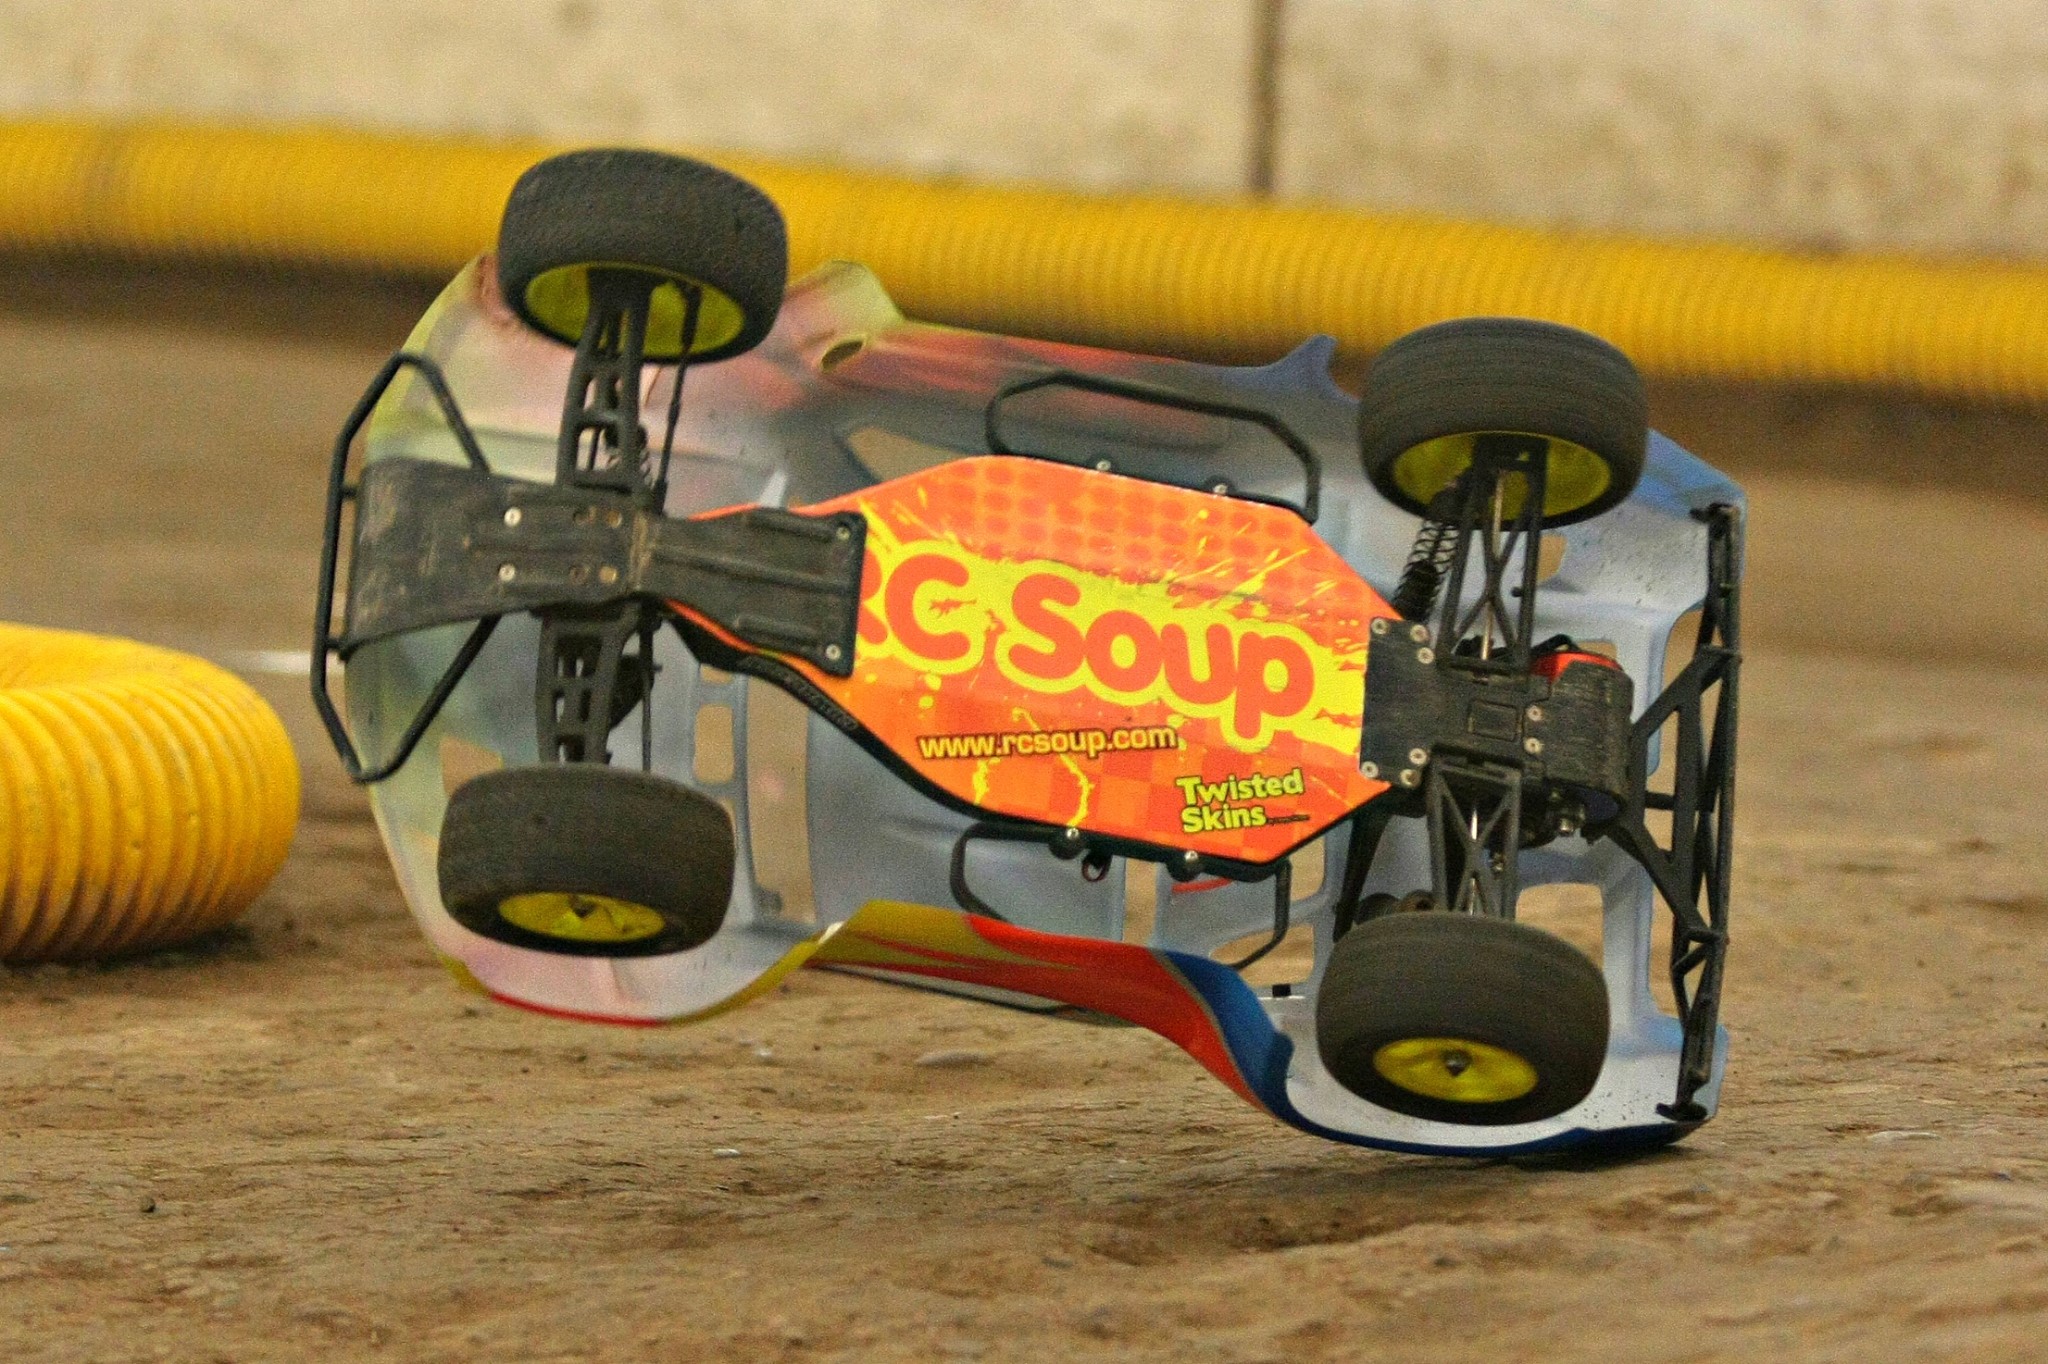
Some action shots below. I have to give our friend Thomas Fiske a shoutout for the pics. Check out his Facebook page @ Fiske RC Photography.
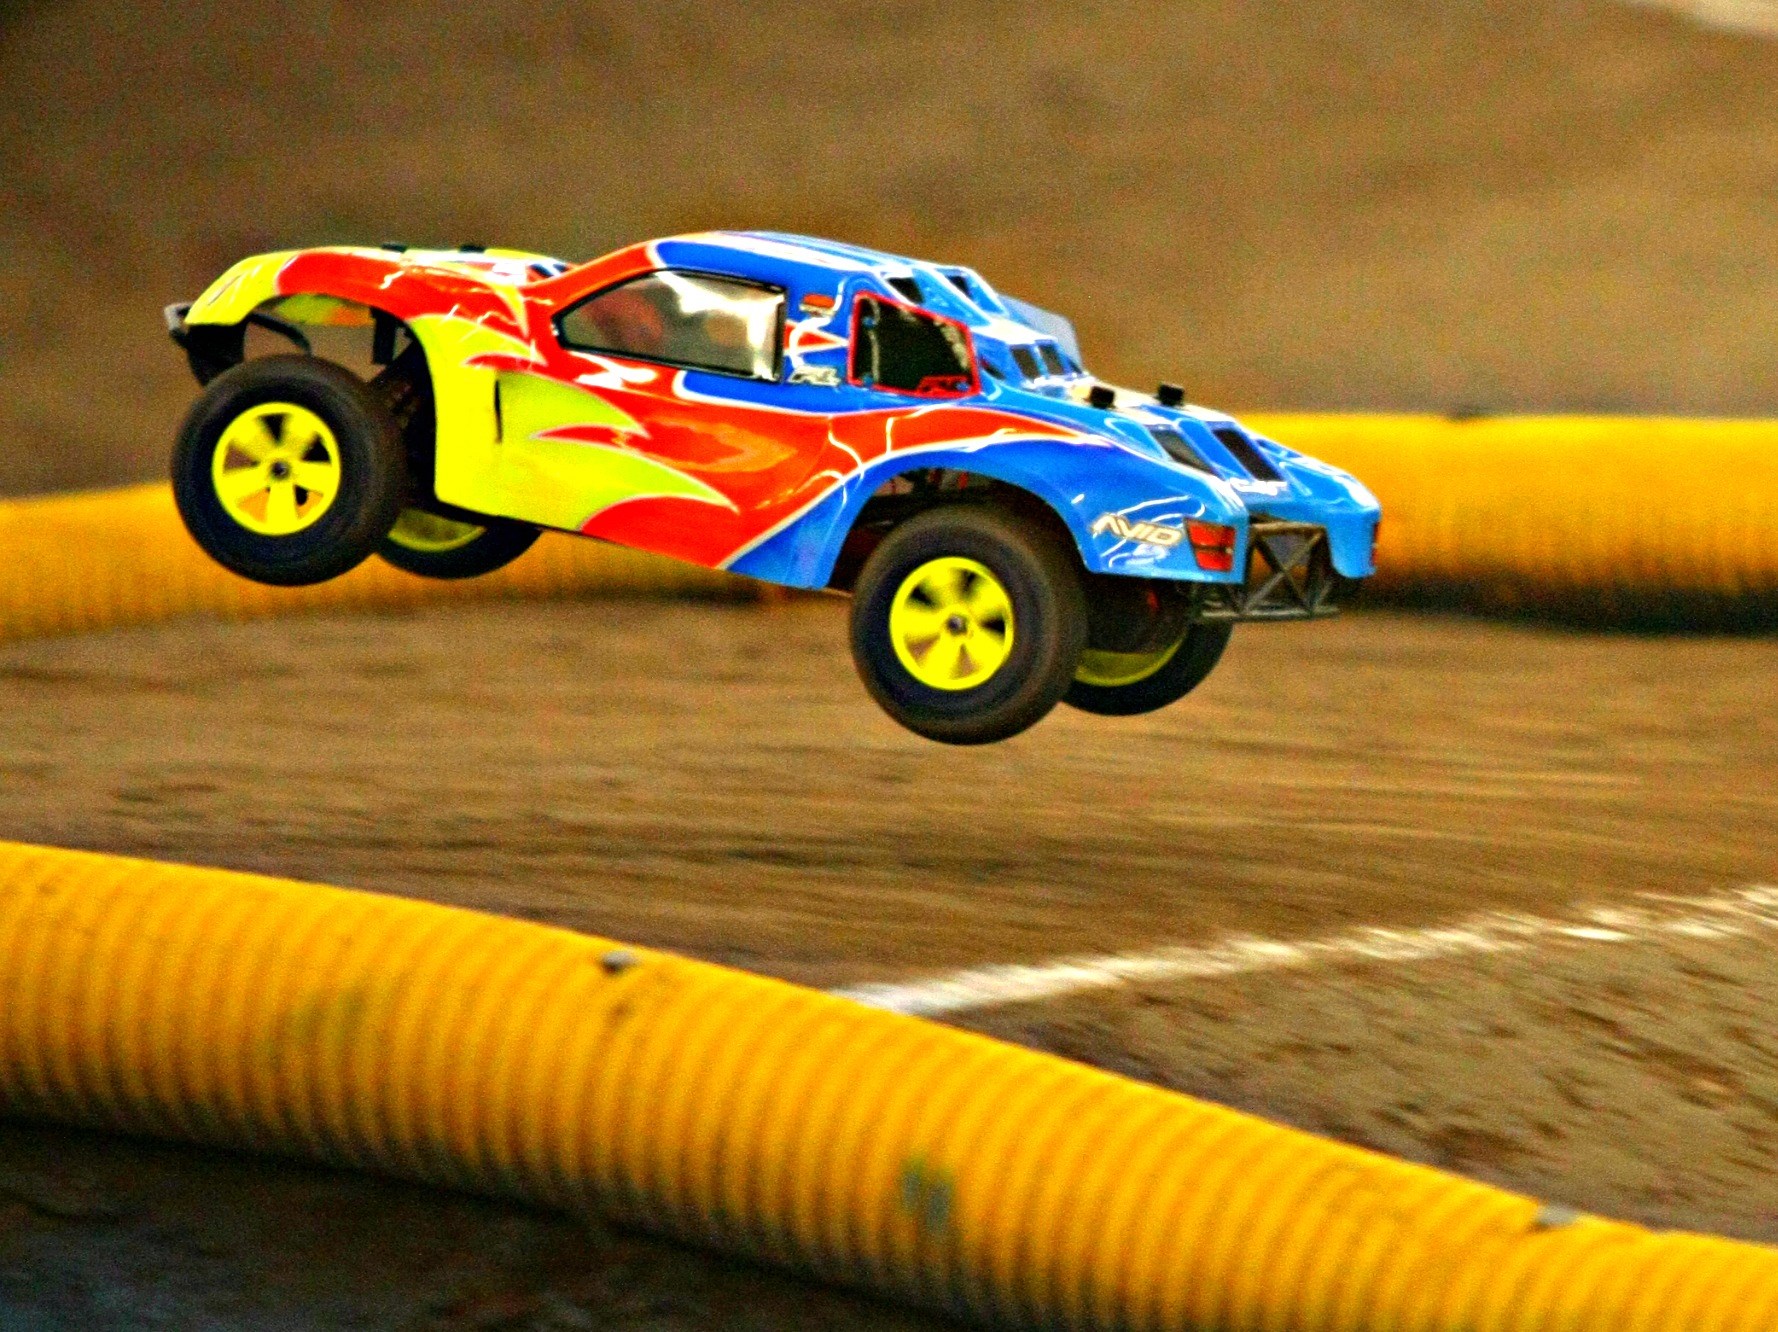
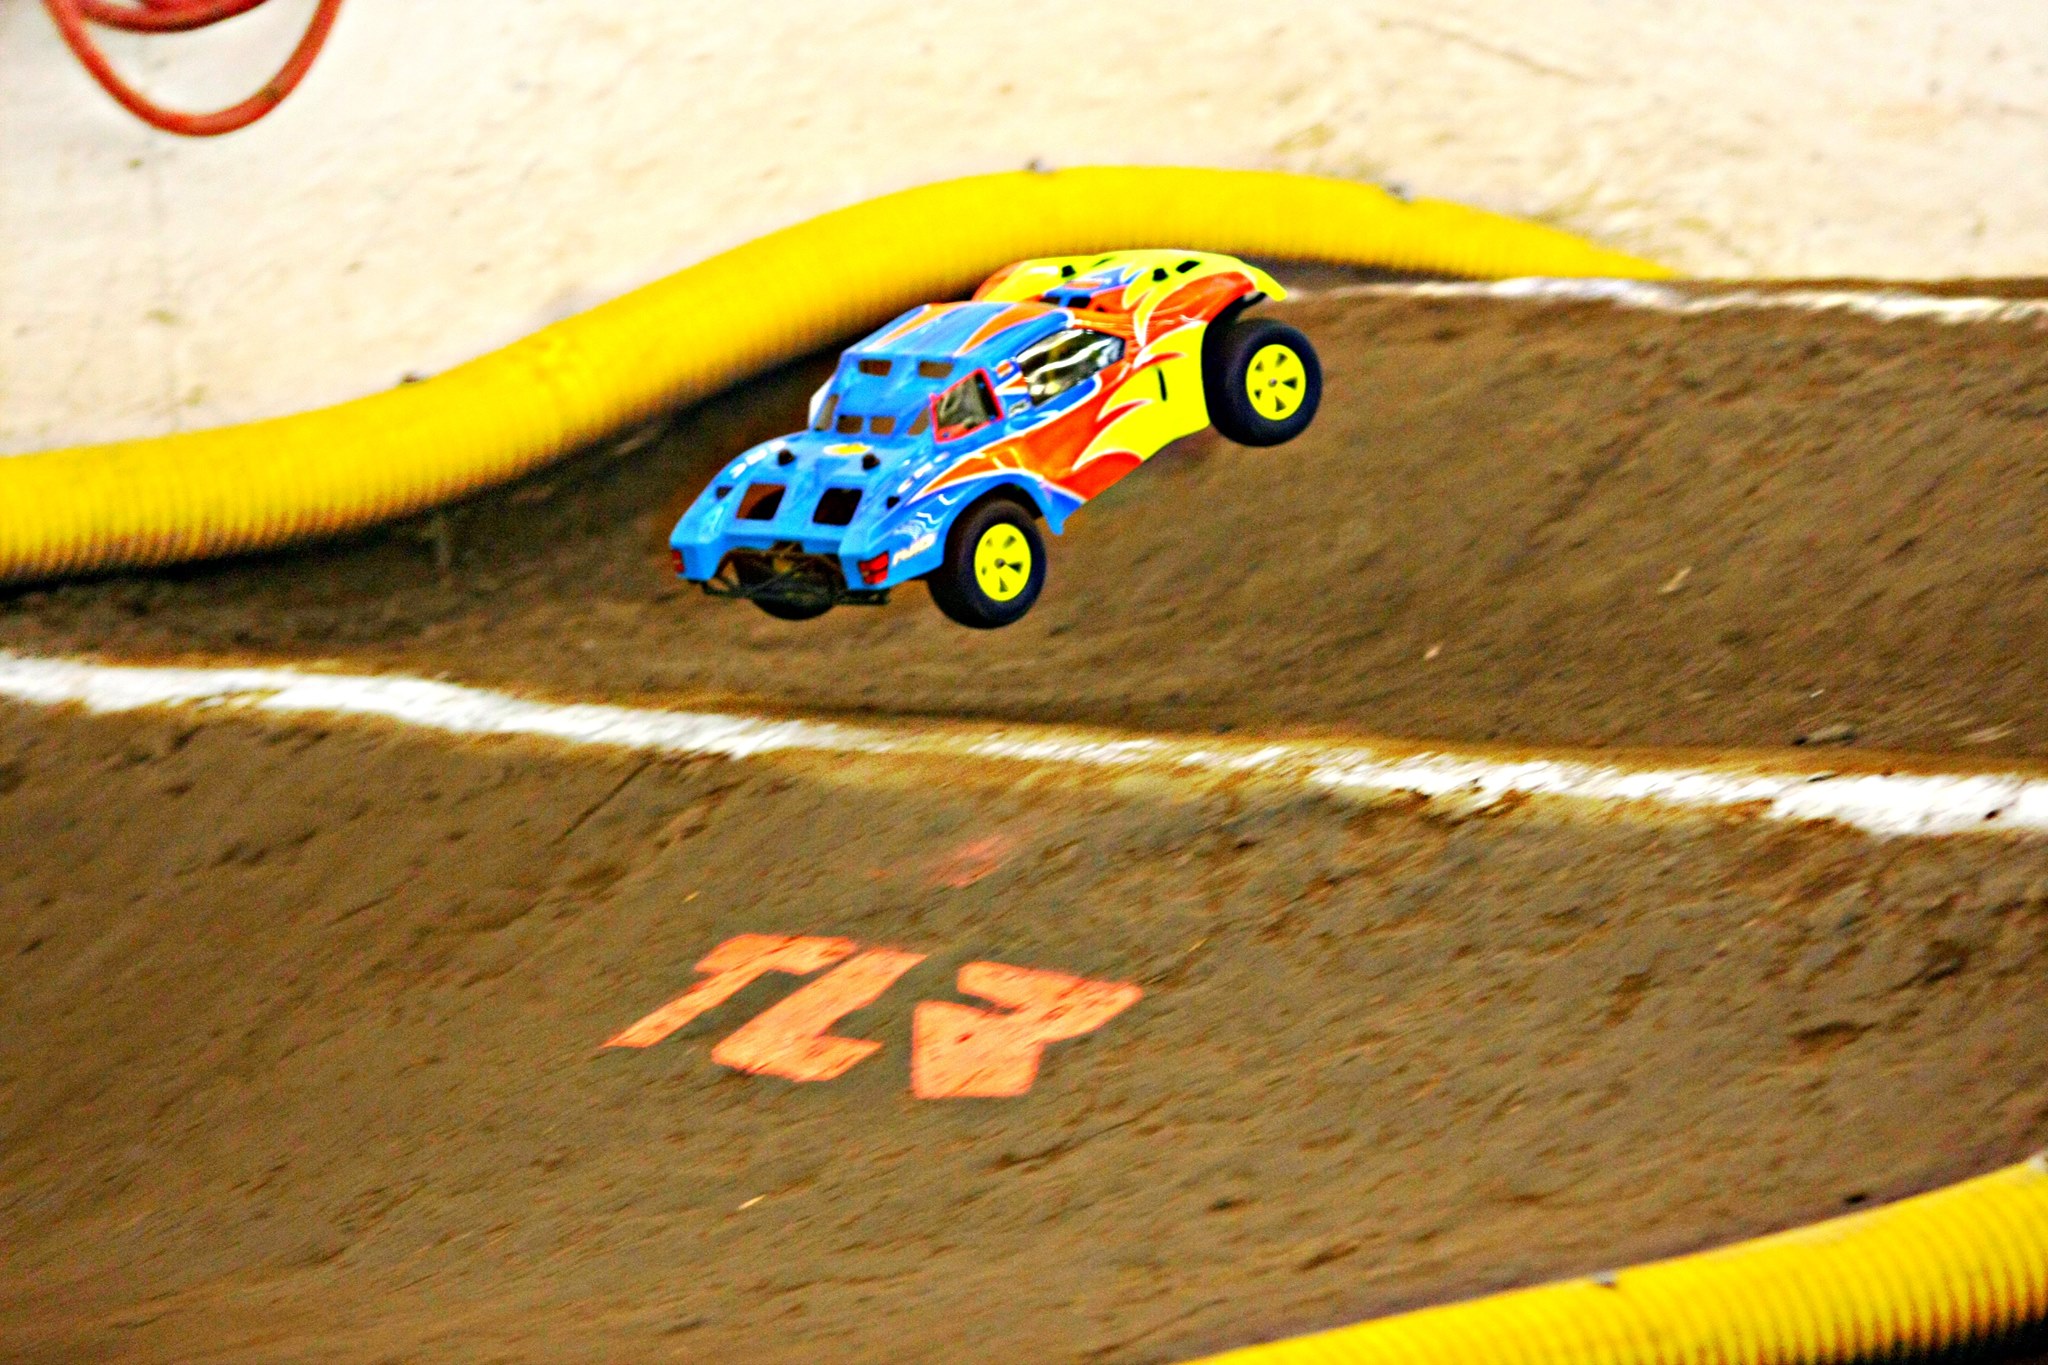
Overall, I have to say the EVO SC body is probably my favorite thing I’ve done to the SC10 in a while. It handles the big jumps a bit better, and combined with Tom’s paint, it looks absolutely amazing out on the track.. Well.. at least when I can keep it on all 4 wheels (ha ha)..
RCSoup Skin by Twisted Skins
Do yourself a favor and hit up your local hobby shop for the EVO SC body. You won’t regret it. The body mounts are also a must have in my opinion.
 Posted in
  Tags:
Tags: