

 March 26th, 2014
  Geo
Geo Here we are ready to go ahead and start part two in the series “Can it Compete?” In part two we will be talking about electronics and how we installed them in our Tamiya DF-03 MS. Lets get started shall we?
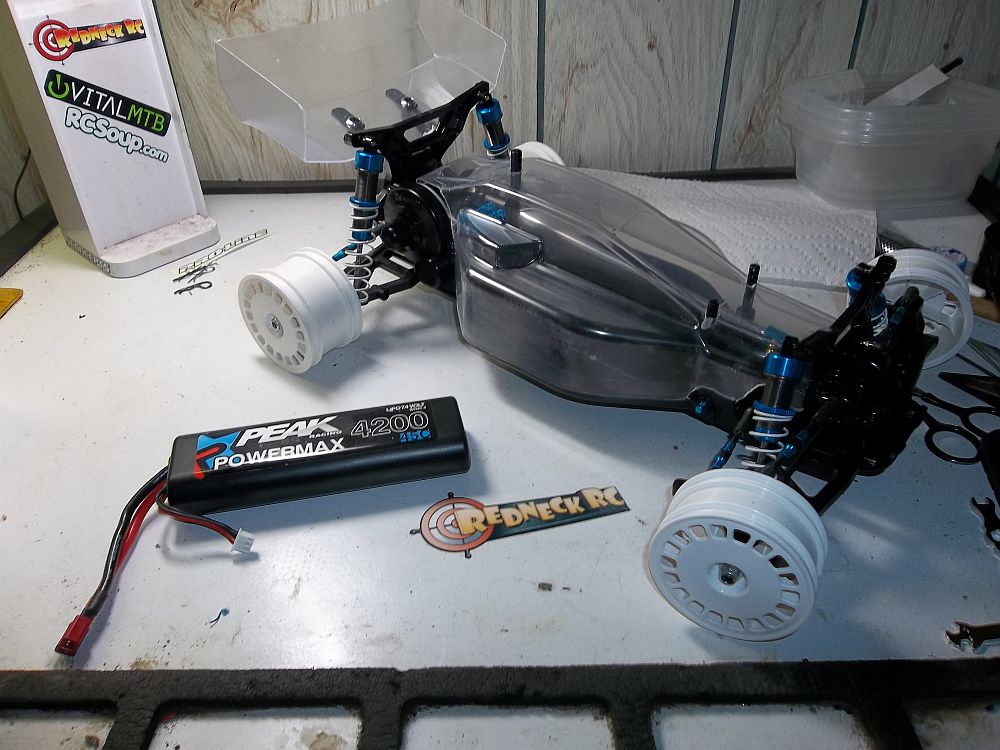
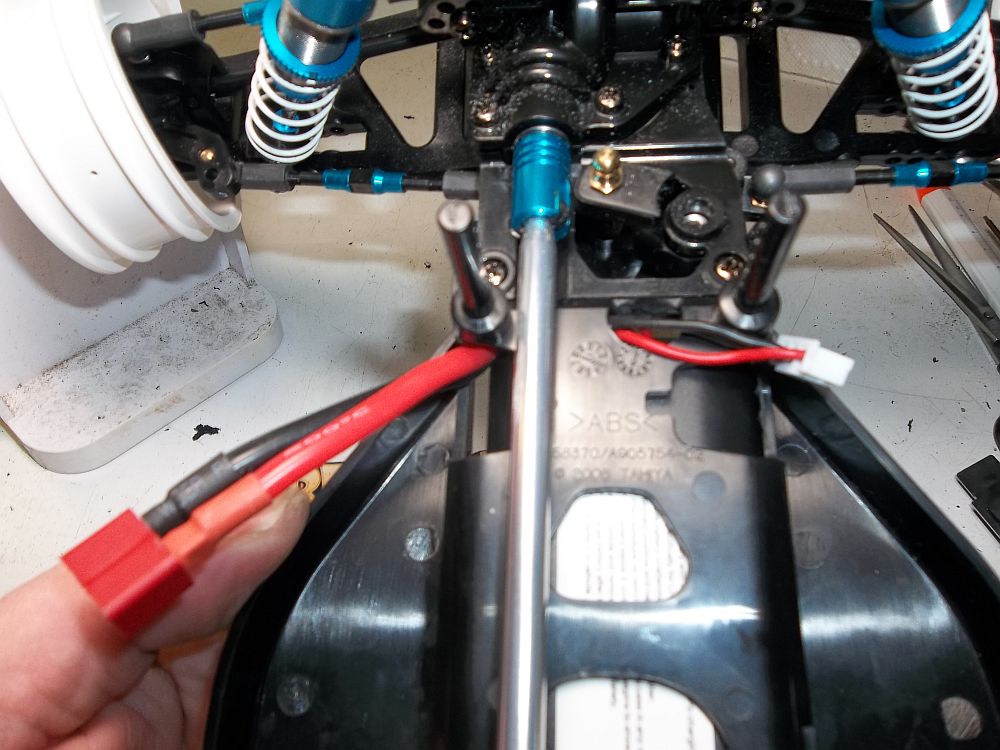
Above pictured is the DF-03 roller and a Peak Powermax 2s 45c stick lipo. I chose this lipo for its shape and C rating. My standard race lipos did not fit so I searched for a lipo in stick configuration. I found a number of different companies that offered lipos in this style but none of them beside the Peak lipo had a C rating above 25. For a 4wd car I was thinking that I wanted something with a little more snap so I went with the Peak.
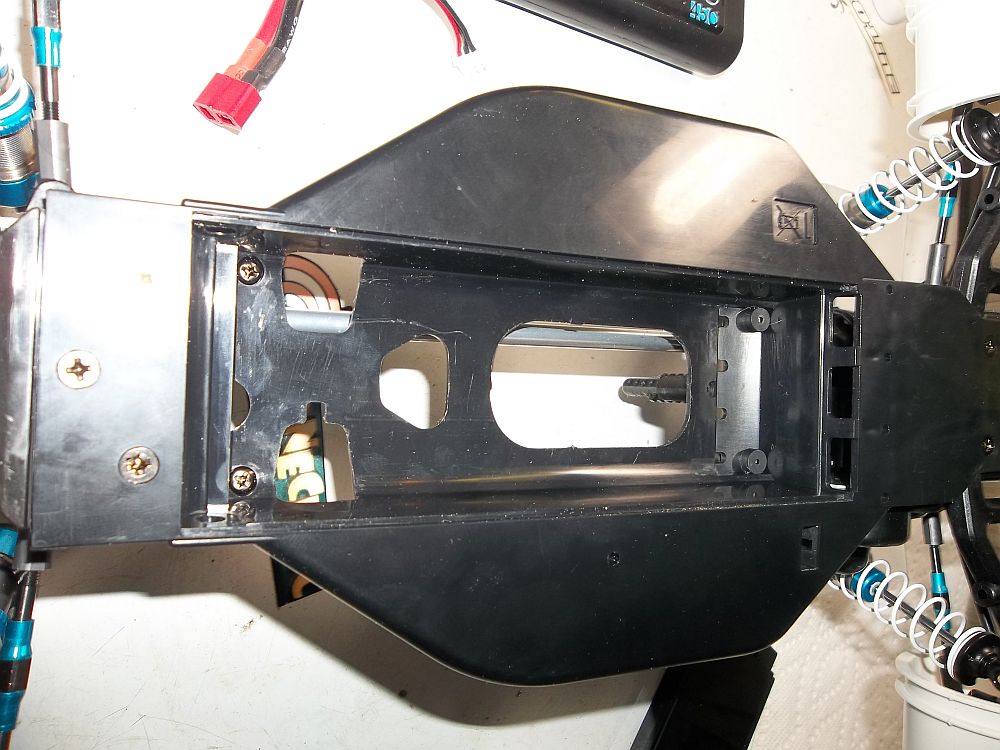
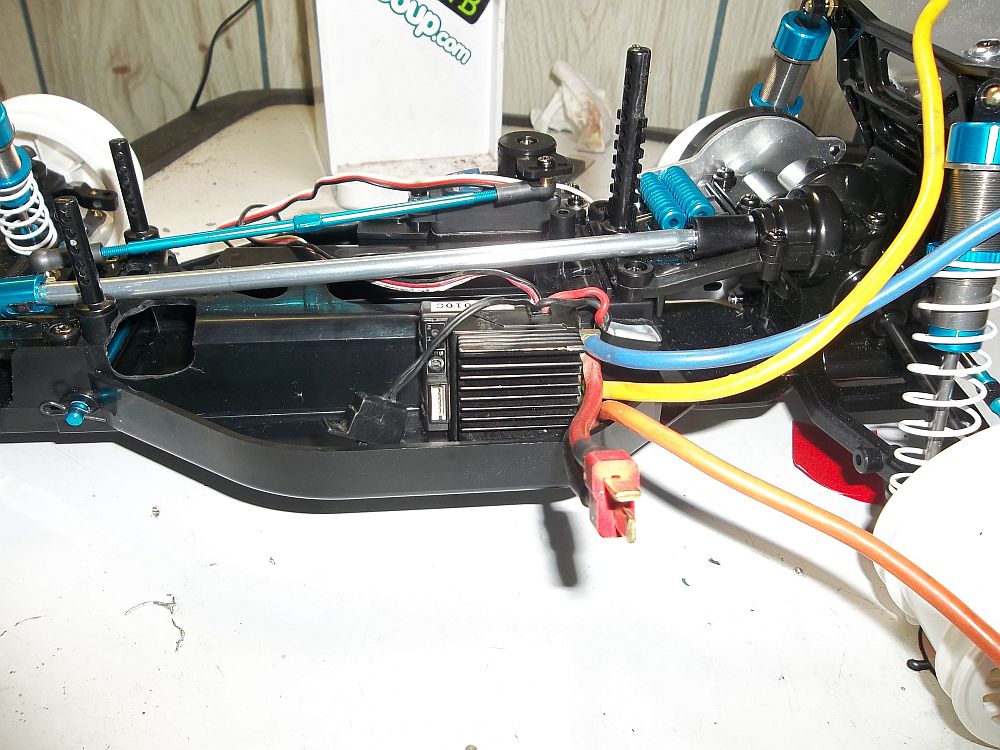
Now the pack itself fits into the underside of the DF-03’s chassis and the battery “box” is domed at the top. The chassis has cut outs to allow for wires and what not. Refer to the picture above for more info.
With that said I was not happy with how the wires were coming out of the holes provided. This was due in part to the way the leads exited the battery, directly from the middle of the front of the pack. As you can see above the wires were slightly pinched by the chassis.
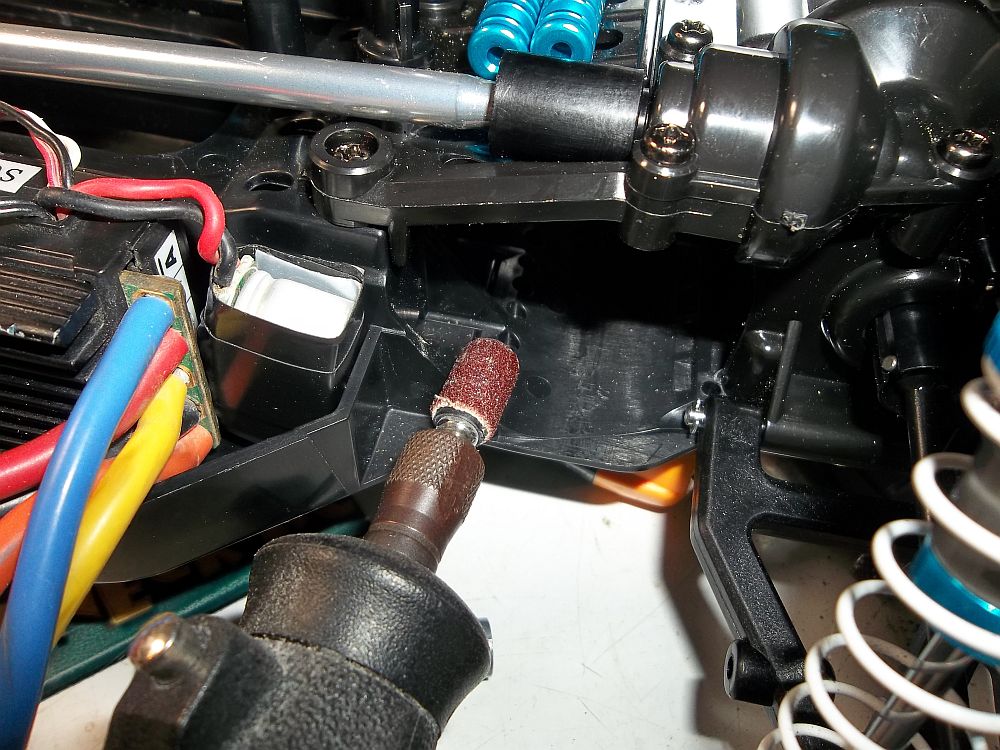
What do we do in this sort of situation? We break out the dremel! A must have tool.
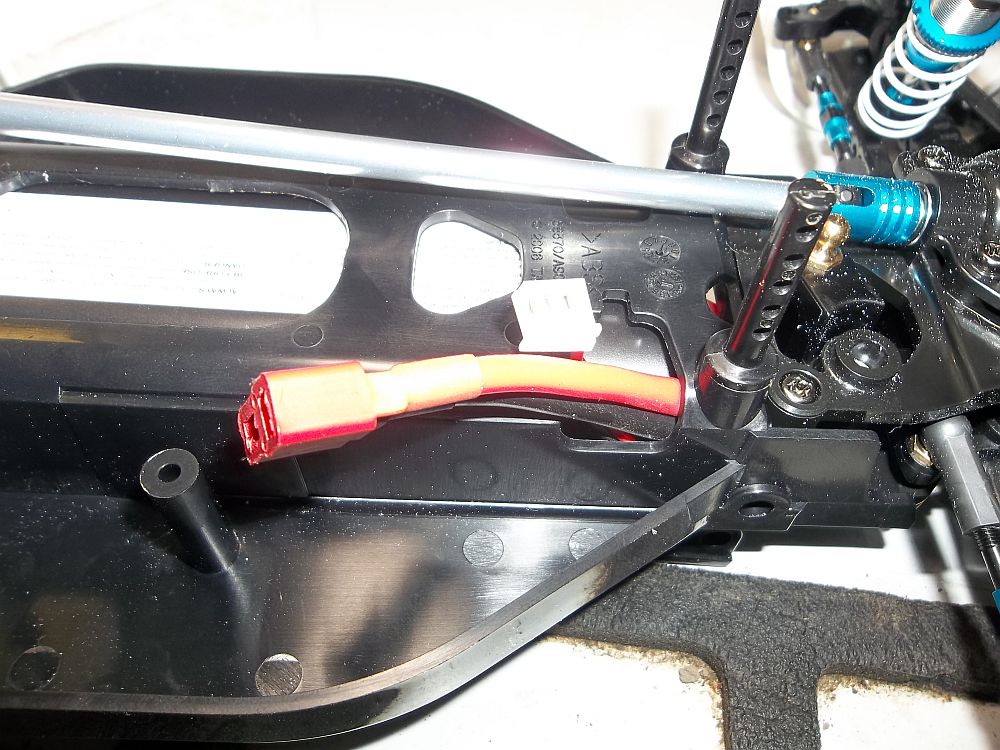
With the holes enlarged the wires fit better. Not perfect but better.
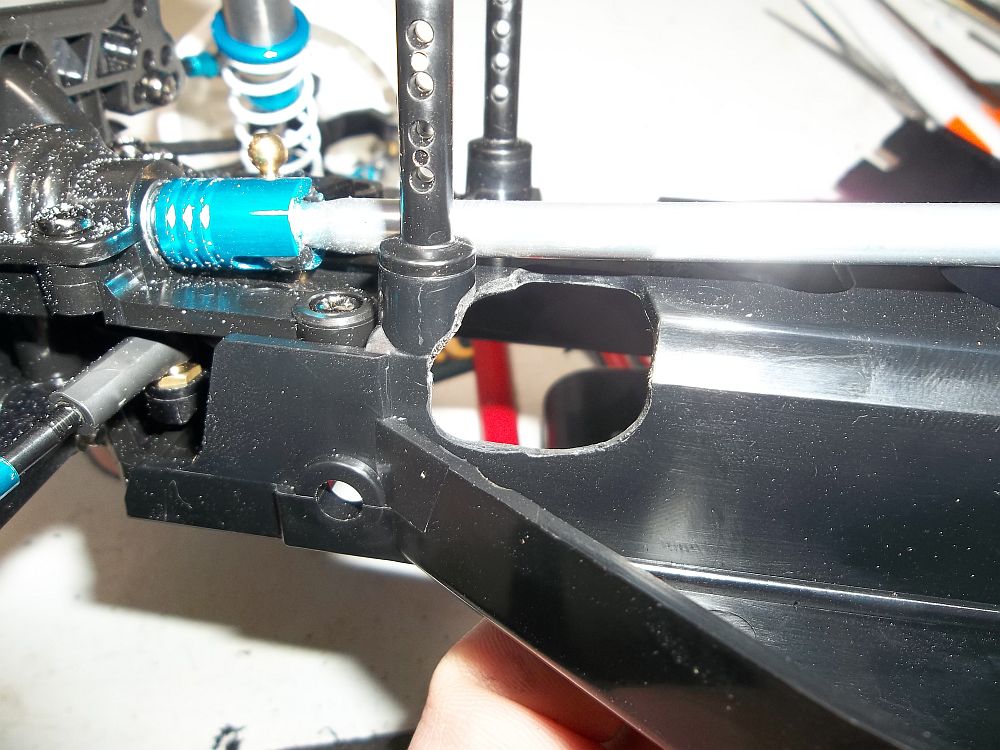
Here you can see how much I opened the hole up. Yea I know that body mount looks a little iffy now.
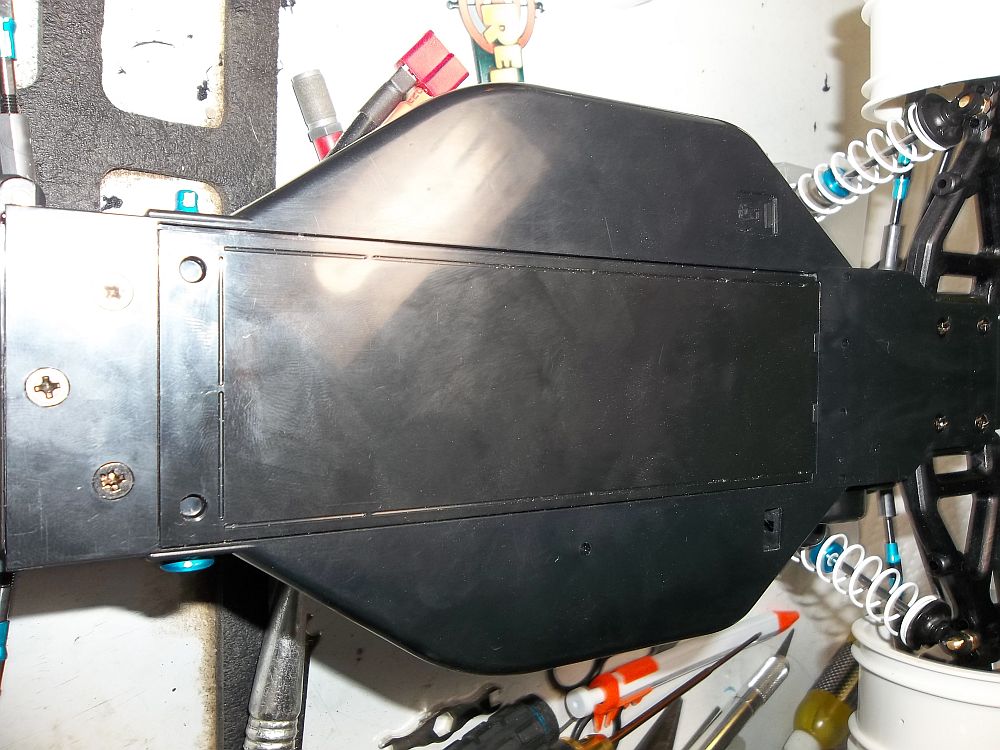
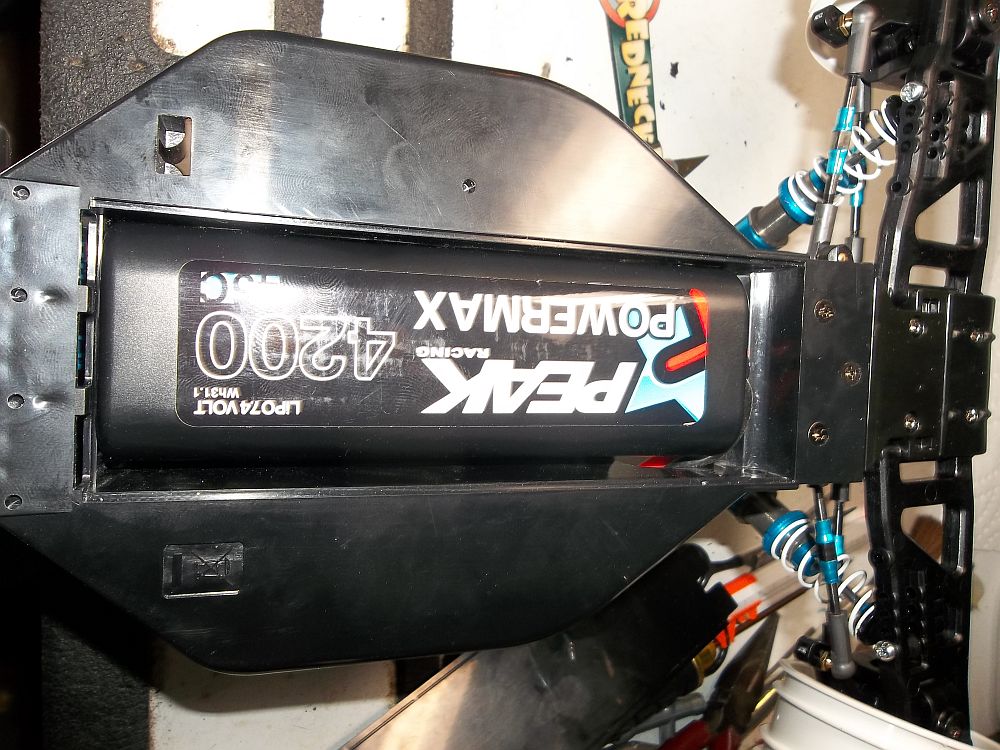
The battery door fits perfectly with no bulging. Before it bulged with the wires not routed through their new holes. (sorry no pic of the bulging door)
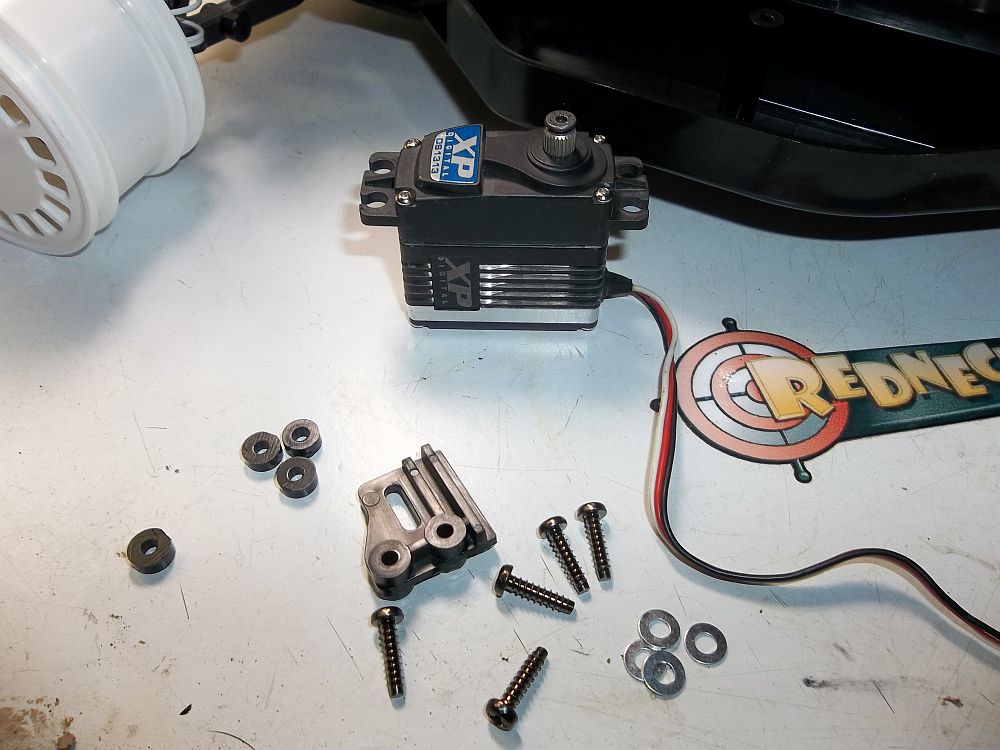
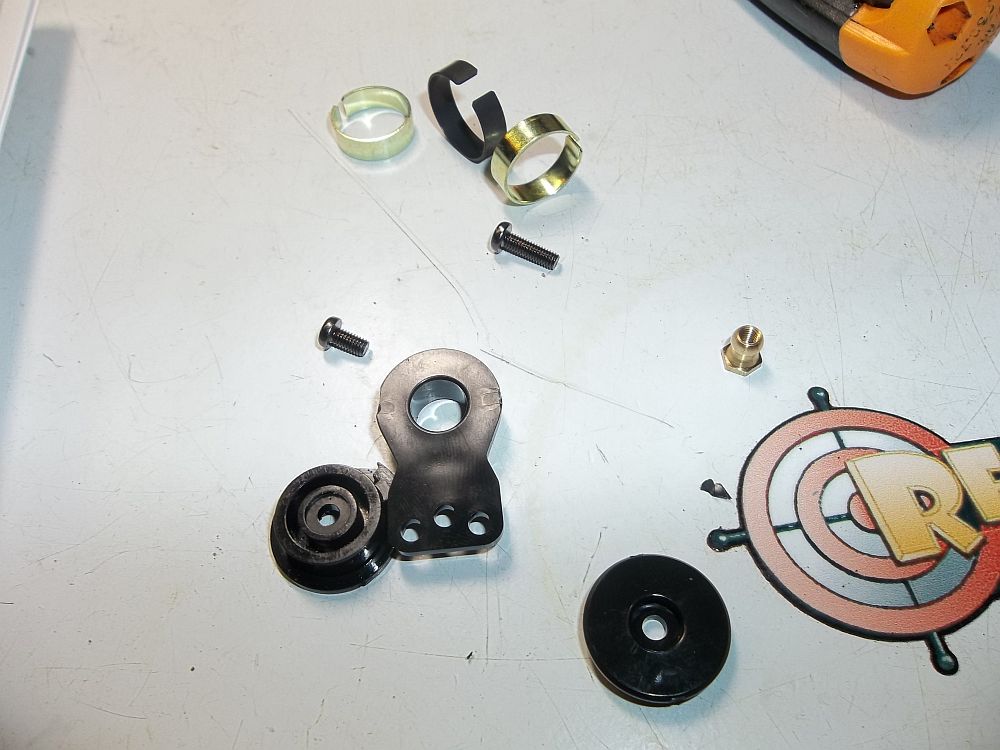
Time for a servo. I went with Team Associateds XP digital series that I bought from a fellow racer. This servo has more then enough torque and speed for this application. In the pic you also see all the spacers and screws needed to put it in the DF-03.
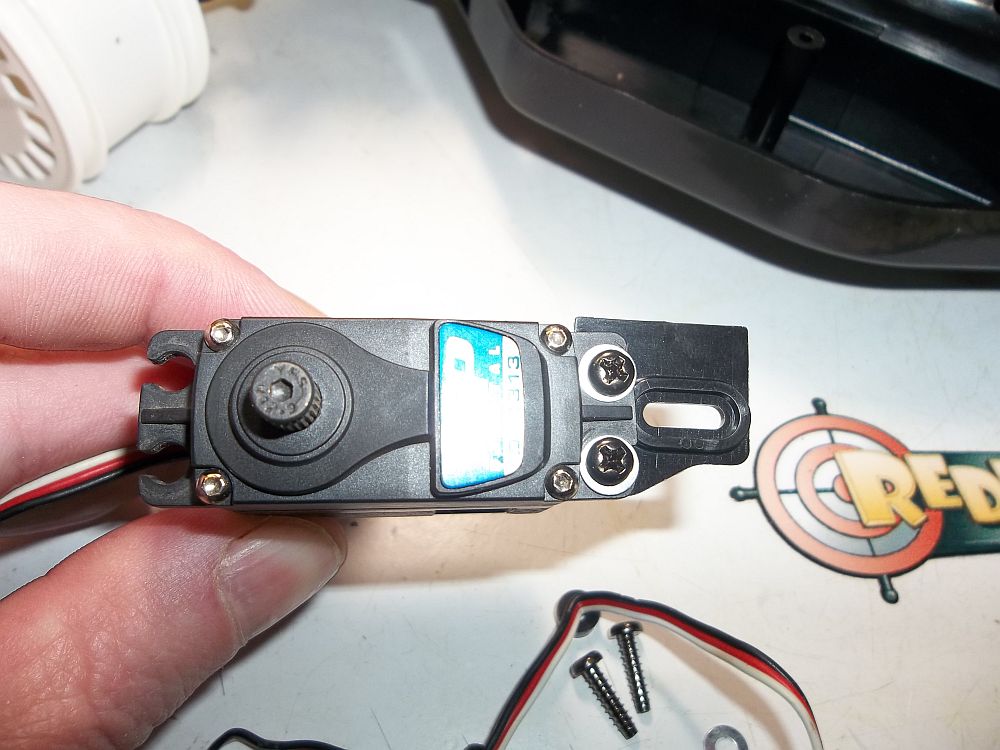
Tamiya supplies an “extender” to mount the servo to the stand offs on the chassis.
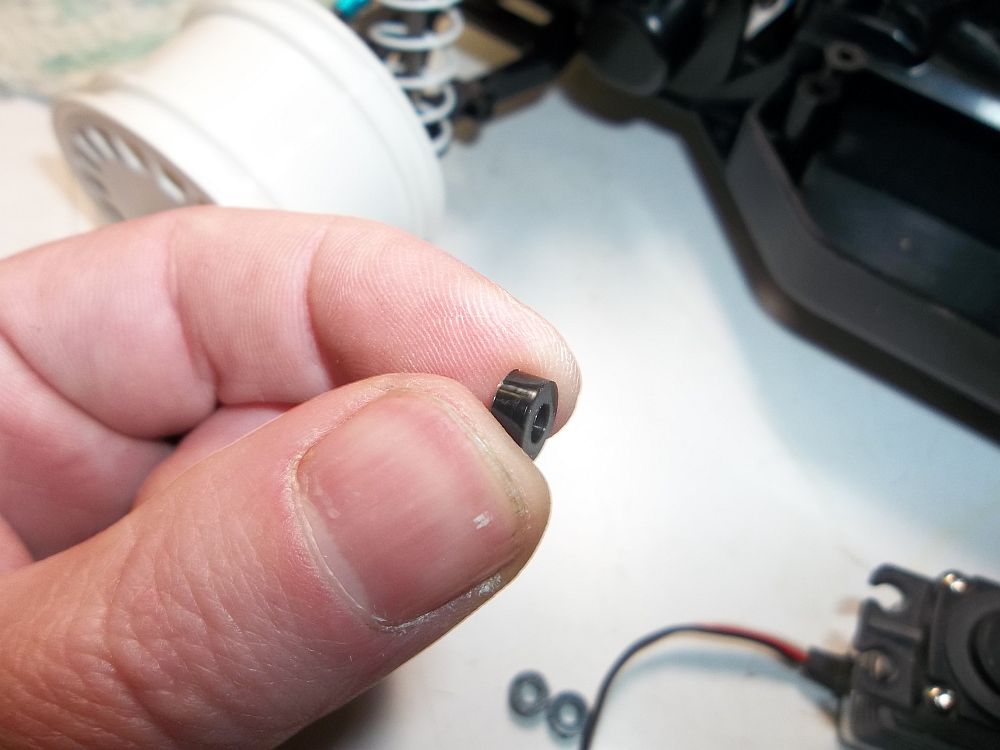
Here are the spacers that are used to raise the servo.
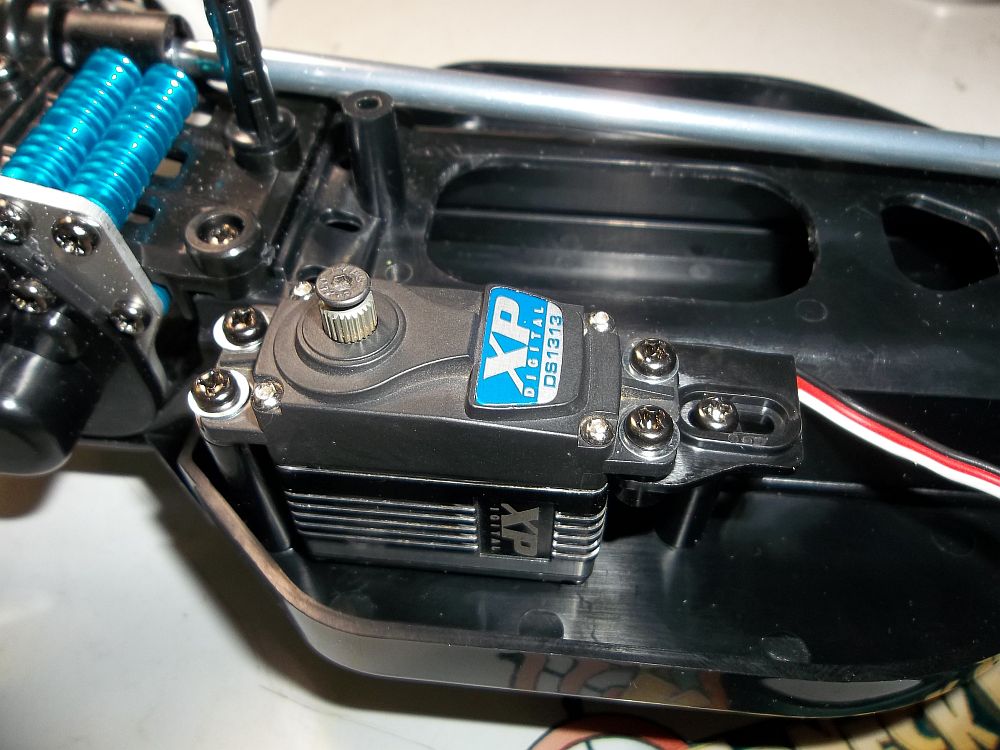
Servo installed!
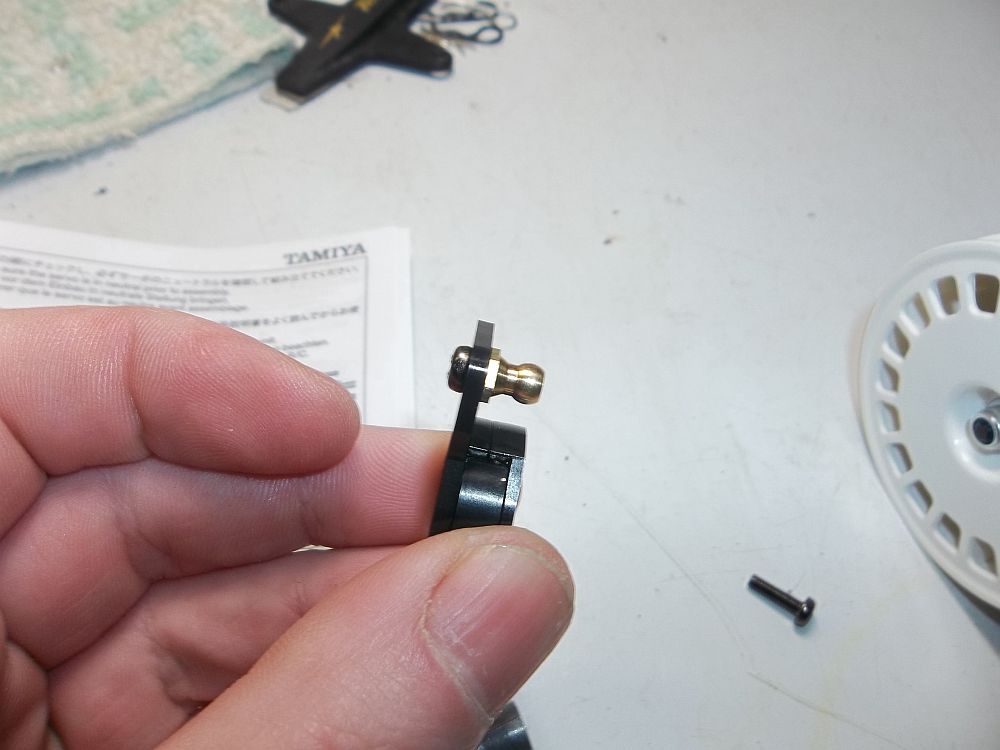
I chose to test out the stock servo saver. The bands that add the “spring” to the saver seem strong enough. Servo mounted servo savers are weak. Not this one.
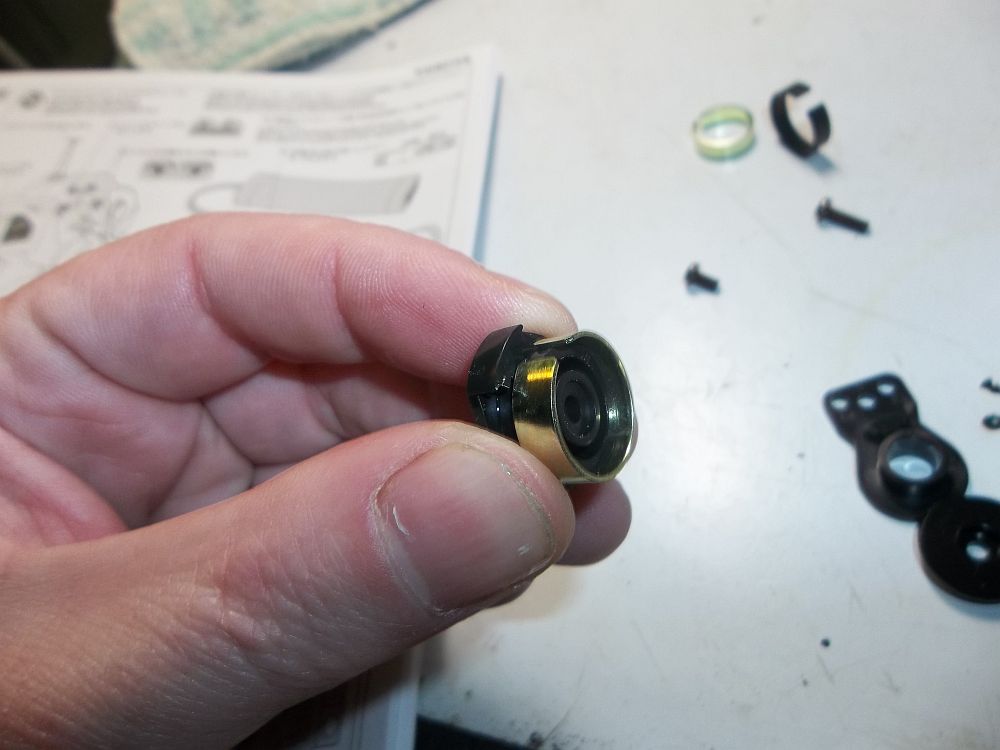
You stack the bands over one another to create the savers tension.
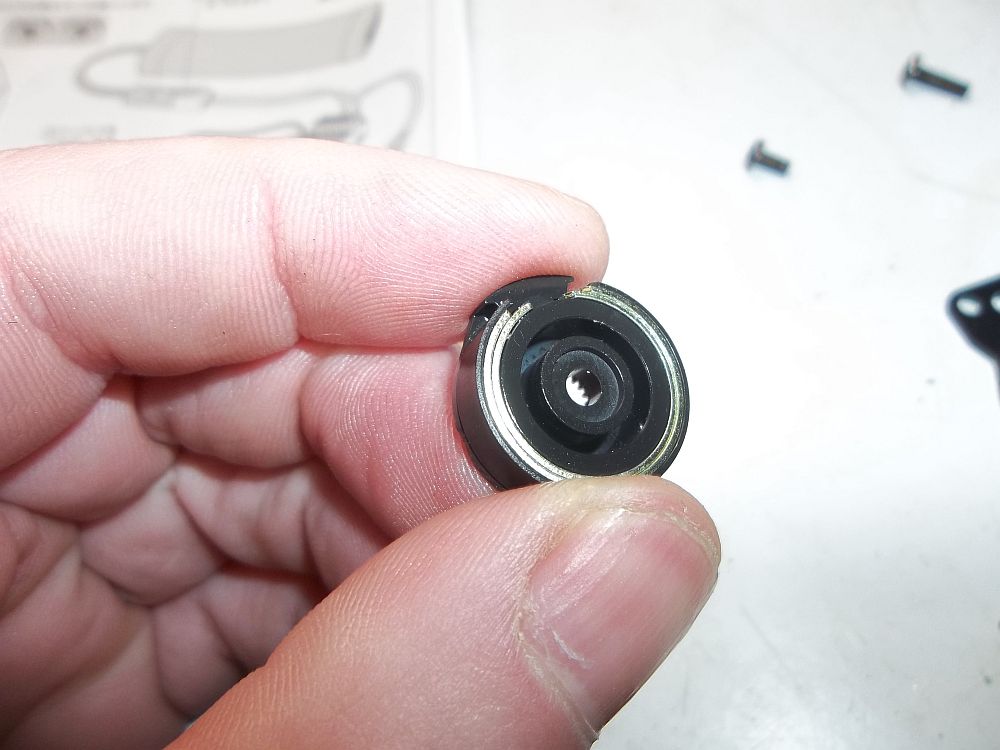
Here is a better pic of how they look installed.
A little loctite on the screw is needed. I usually loctite all places that have metal to metal contact.
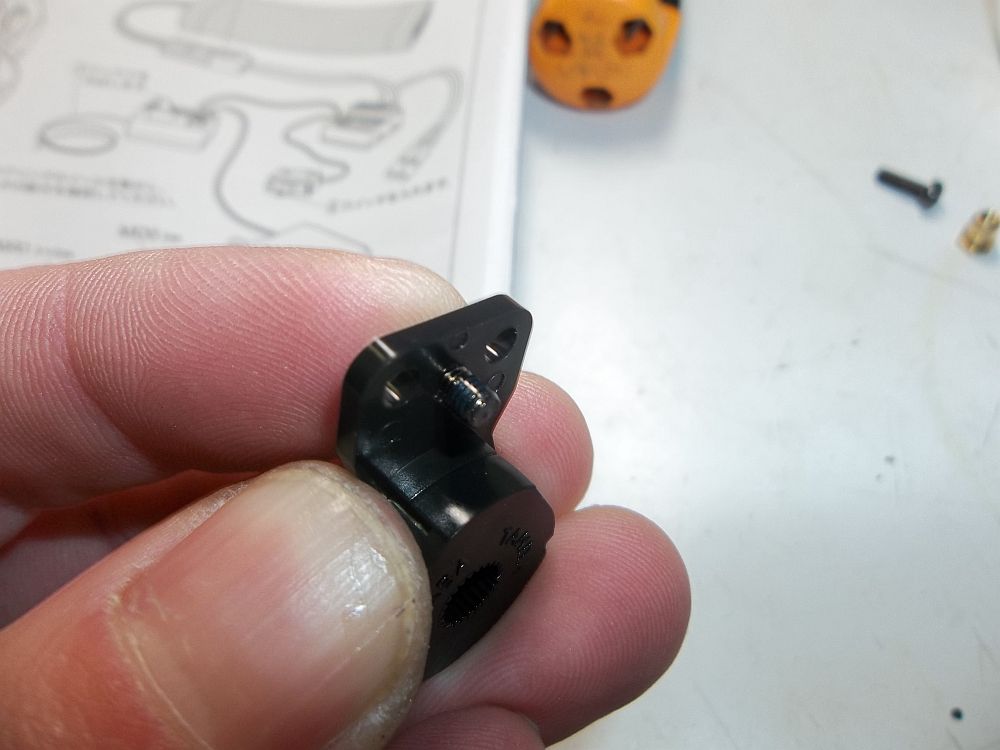
And the finished product,now just to instal it.
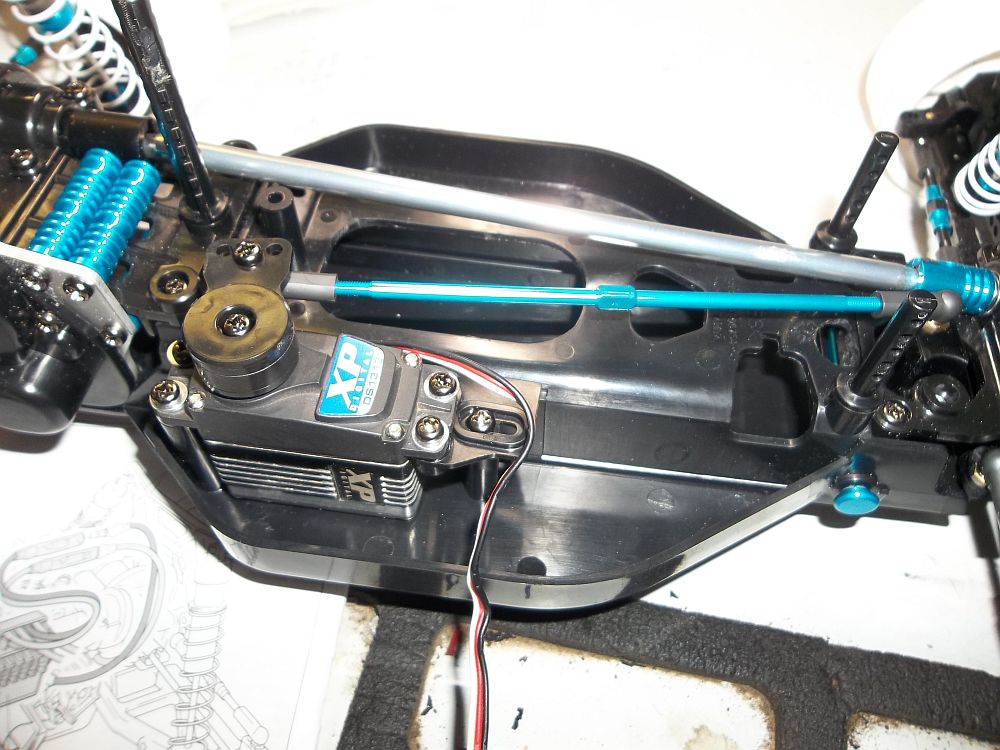
Servo saver and servo! Notice where the servo is mounted,in the back of the chassis.
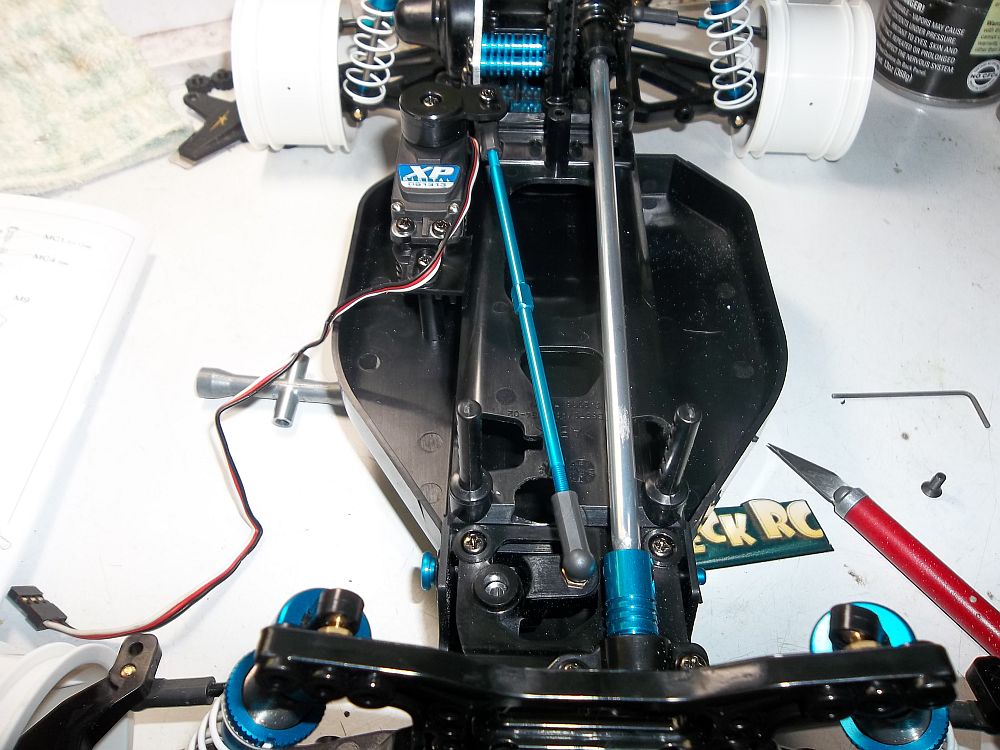
Here I installed the servo steering rod. It is quite long. I do like the blue.
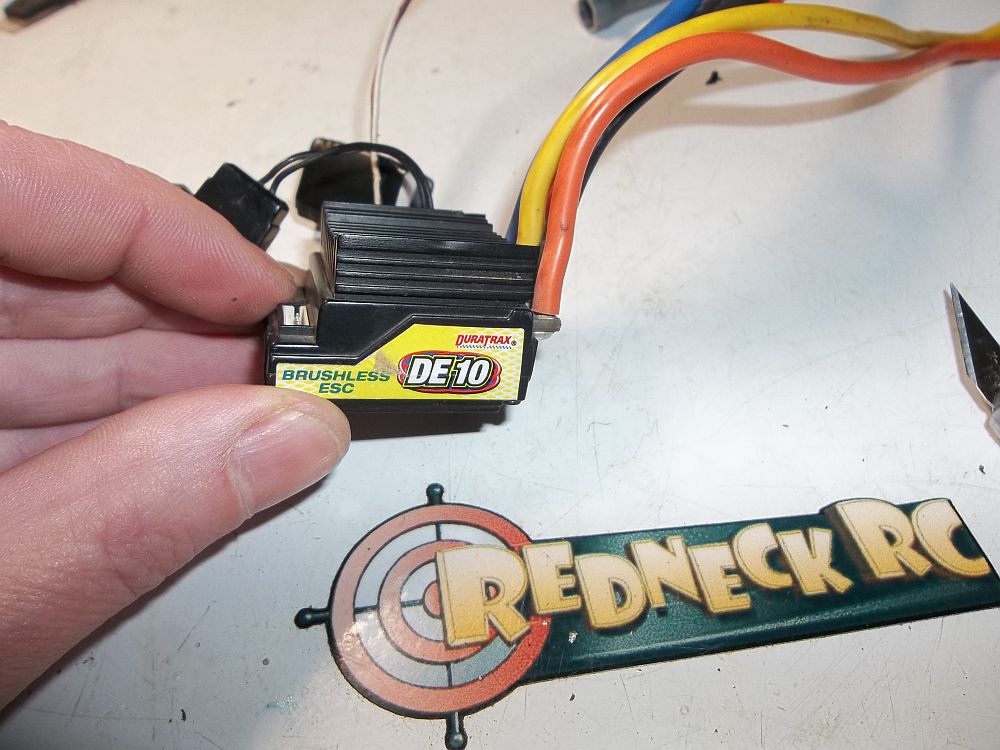
To power this car I chose to use the Duratrax DE10 fully programmable ESC.
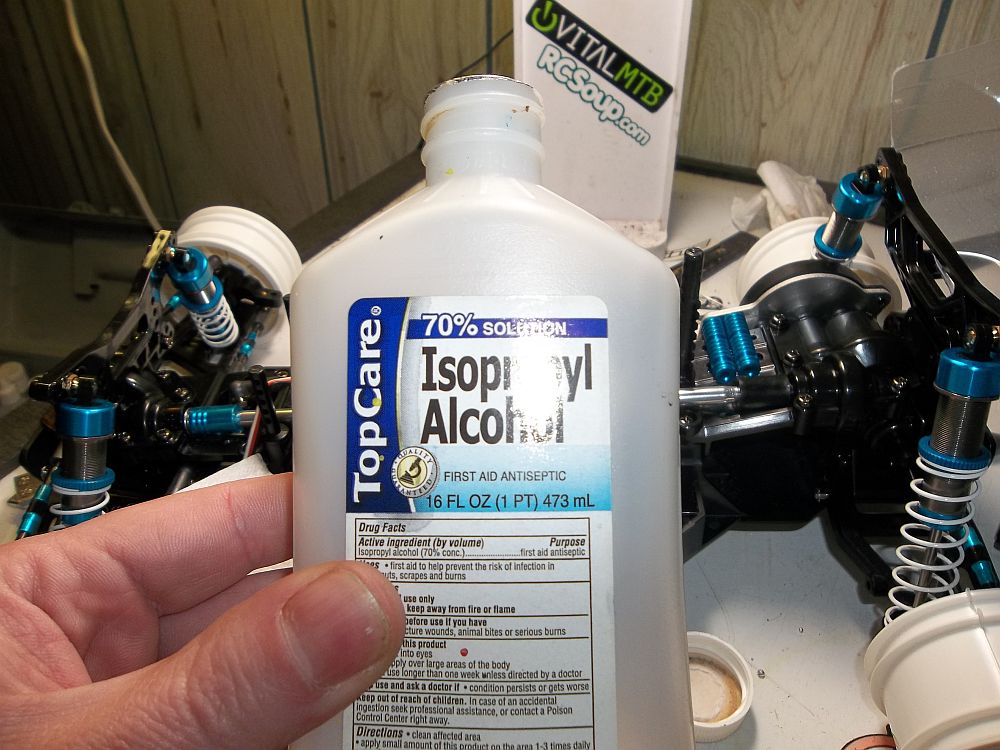
Before you put the ESC in the car make sure to clean all surfaces. I use alcohol.
Here you see the ESC installed. I had to Put the ESC on its side due to lack of room in the chassis.
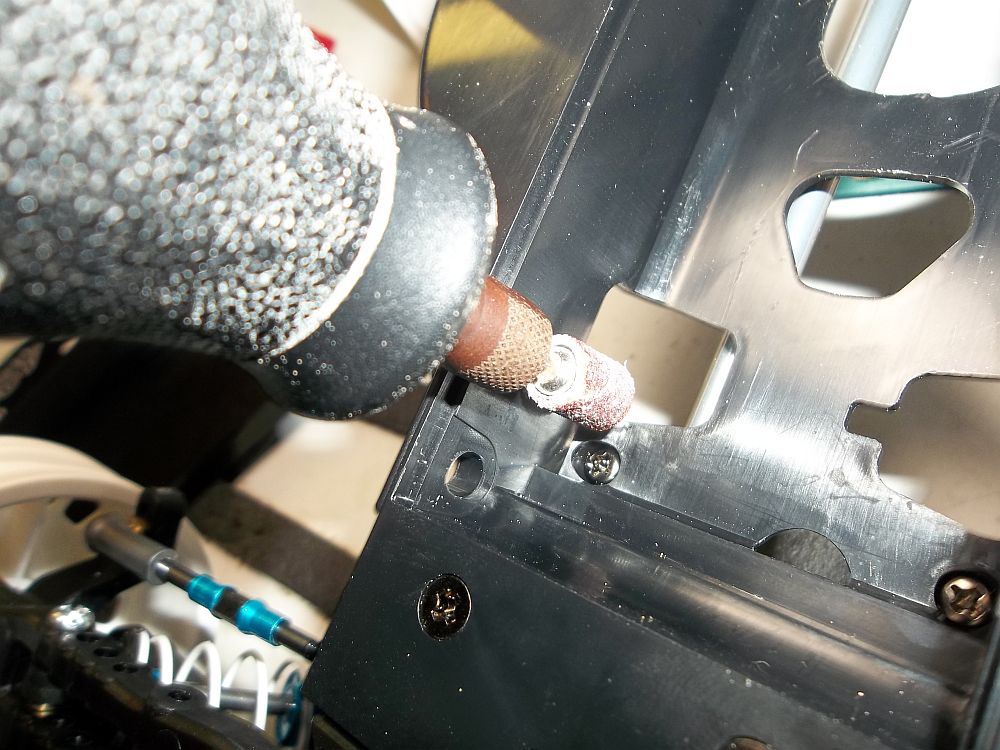
Yup I got the Dremel out again. I had to take some material off the chassis so the solder tabs of the brushless motor would fit.
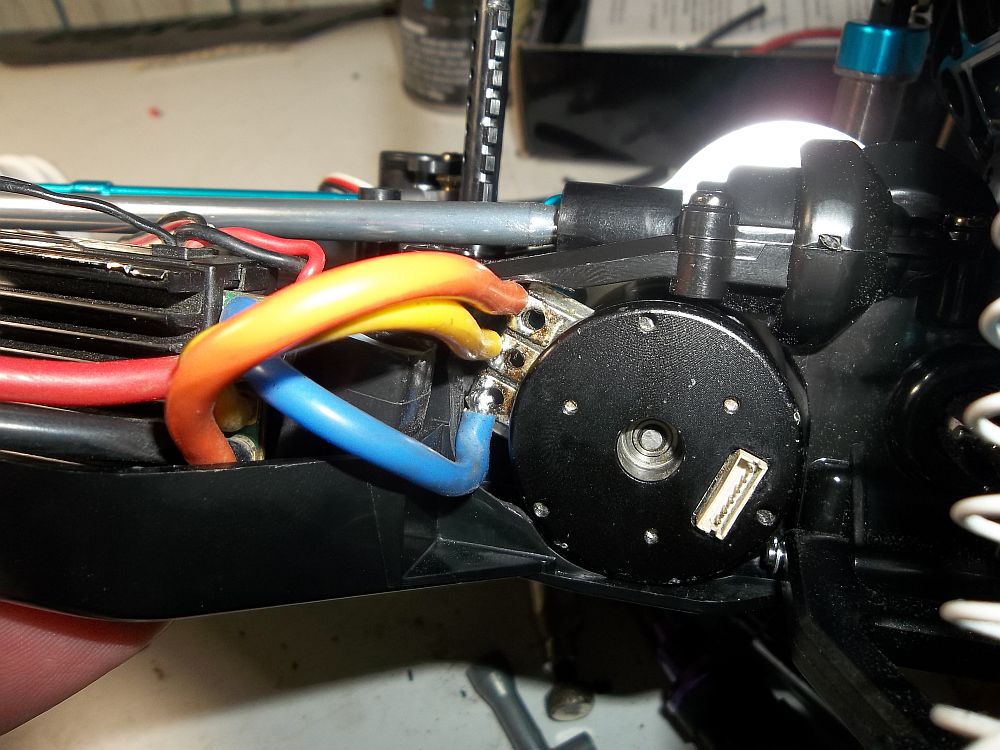
Here you can see what I am talking about. I even had to solder the blue wire on so it came off the side. It is a little tight in here.And as far as what type of motor this is I am using Duratrax’s 8.5 sensored motor with the ESC. This combo should provide the car with enough HP to compete speed wise with the other cars at the track.
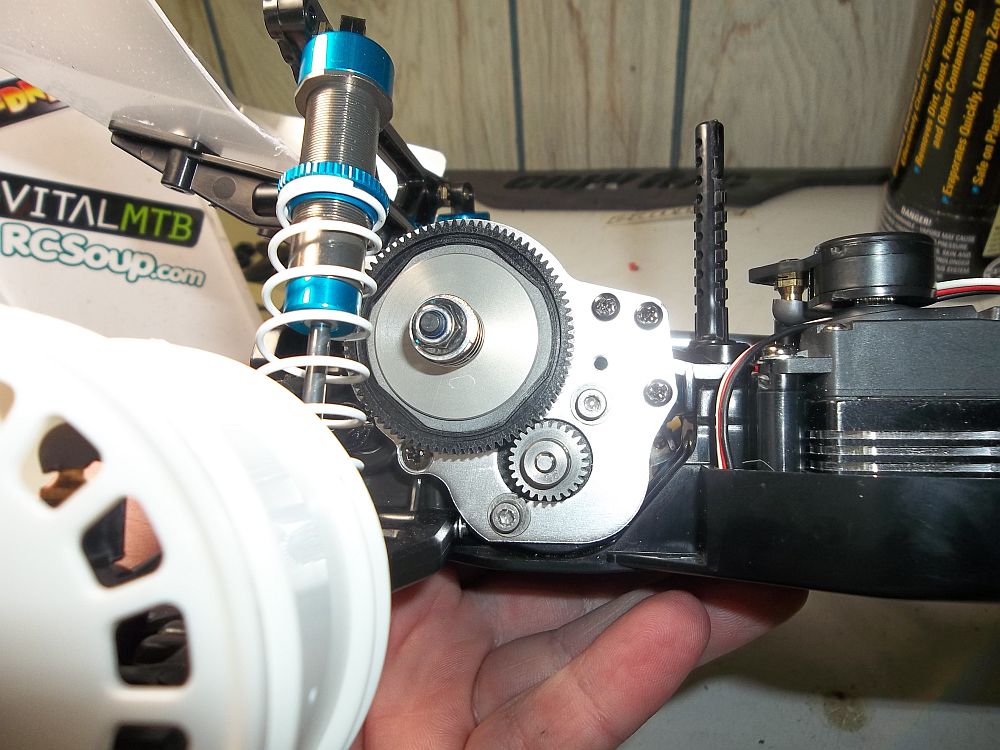
Using the included metric pinion gear. I have read online that you can swap out the stock spur gear for a Team Associated B4 spur. That allows you to use standard 48 pitch pinions.
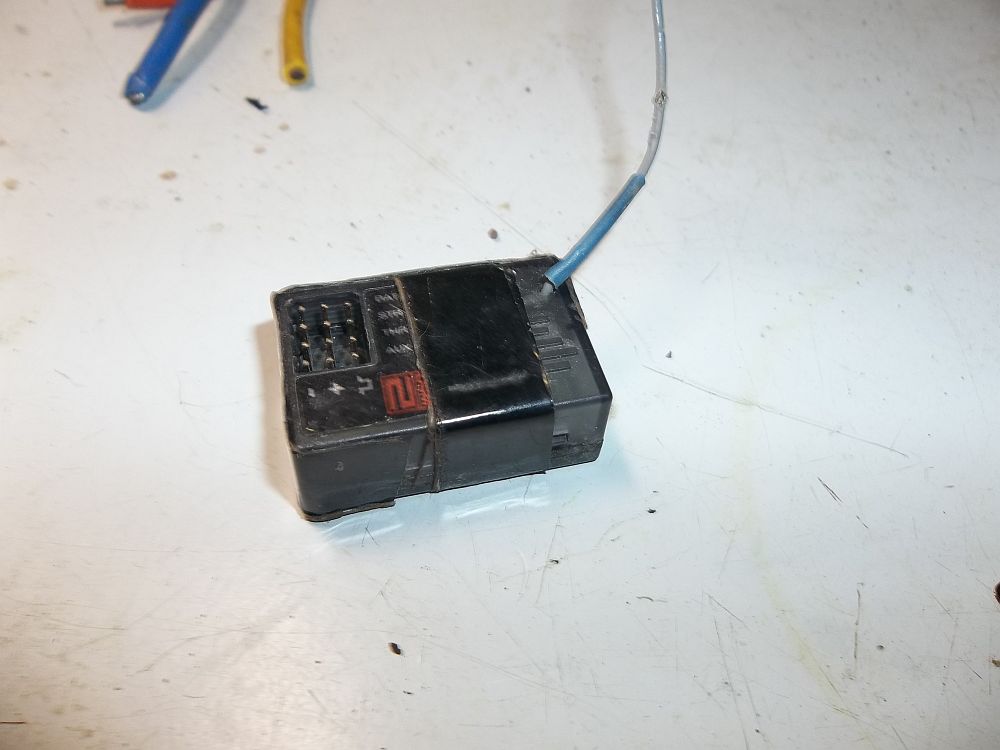
My trusty old Spektrum receiver.
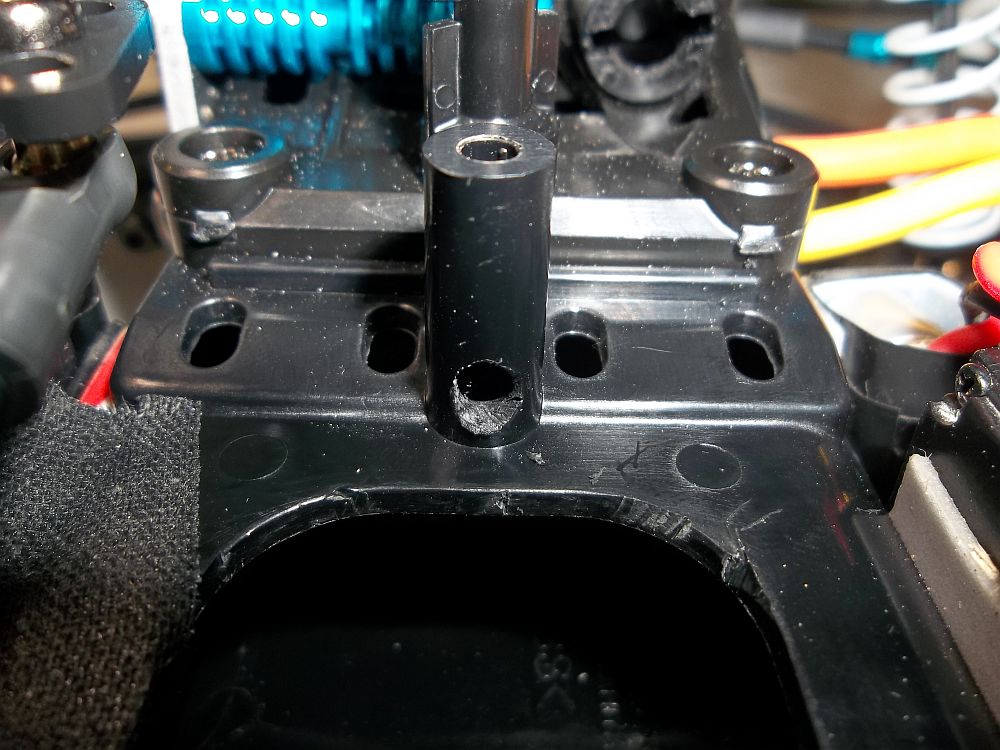
Here i drilled a hole into the antenna mount for the receivers antenna wire. I didn’t want to run the wire under the mount like Tamiya suggested. I thought the wire would get pinched by the battery.

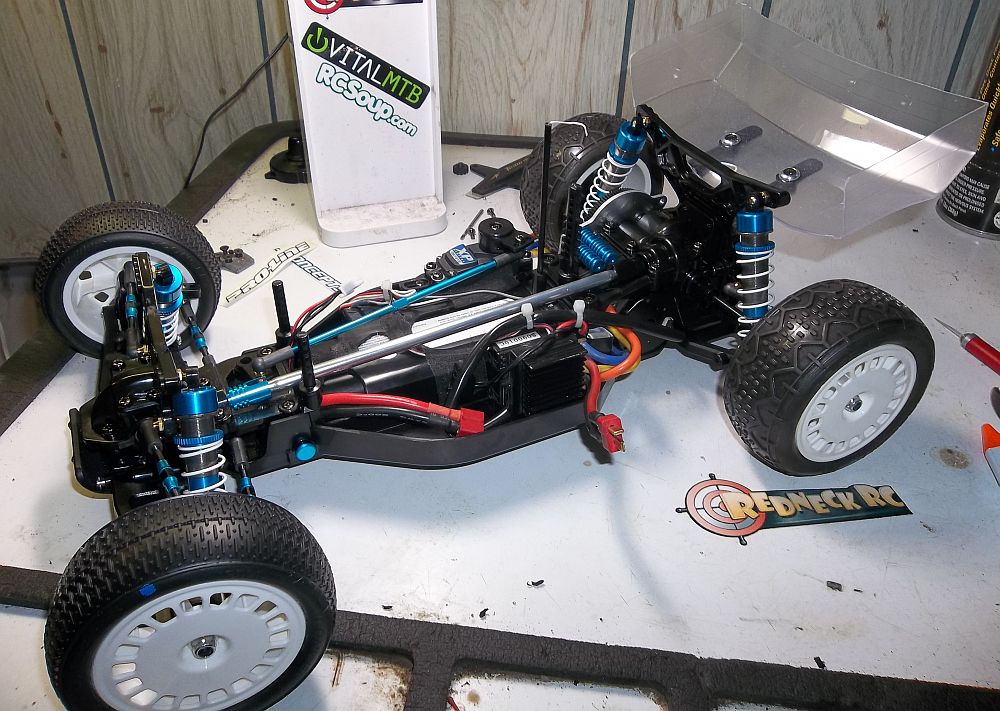
Well there we have it, all wired up and ready to go. It is not he prettiest wiring job but it gets the job done. At this point I am really getting the itch to run this thing! Can it compete? I sure hope so, the car is pretty cool!
Once again I would like to thank Calvin Hall, owner and operator of Redneck RC for his sponsoring of this build up. Redneck is a great race facility with an onsite hobby shop with killer prices. Make sure to check them out on Facebook.
Well folks that wraps up part two of in the series “Tamiya DF-03 MS,Can it Compete?” Here is a sneak peek as to what is coming in the next article in this series. Yes there will be more!
 Posted in
  Tags:
Tags: