First step of the build is to install the aluminum body posts onto the chassis tub. I was pretty surprised to see aluminum used for this part. Works for me though, more bling!
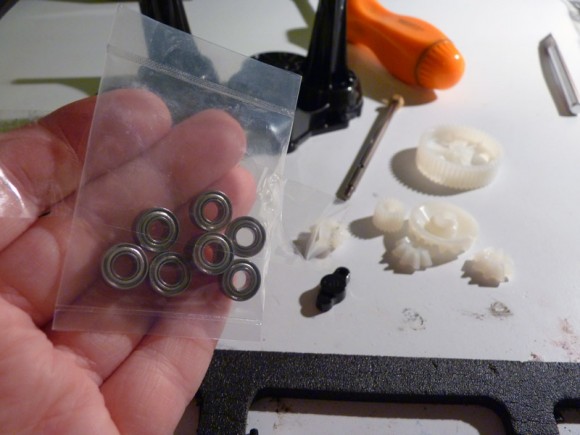
Here’s the “Bonus” bearings, there’s 8 but it looks like 7 in the picture (2 are doubled up).
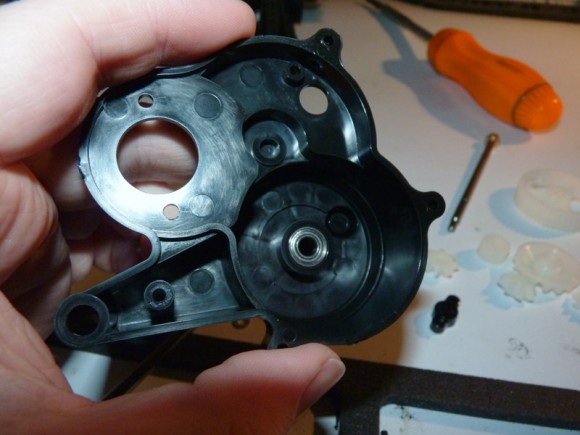
So since they gave us bearings, we might as well use them. Here’s the first one installed in the gearbox half.
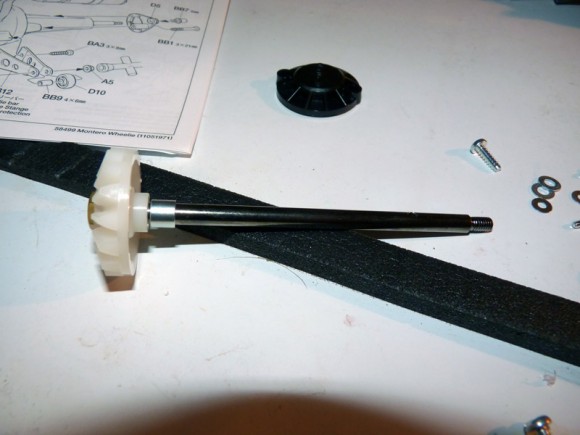
The hex end of the rear shalf slides into a slot on the large bevel gears, and goes into the gearbox half/axle tube. I used the included grease to lube it up.
Here’s a shot of the shaft through the large bevel gear.
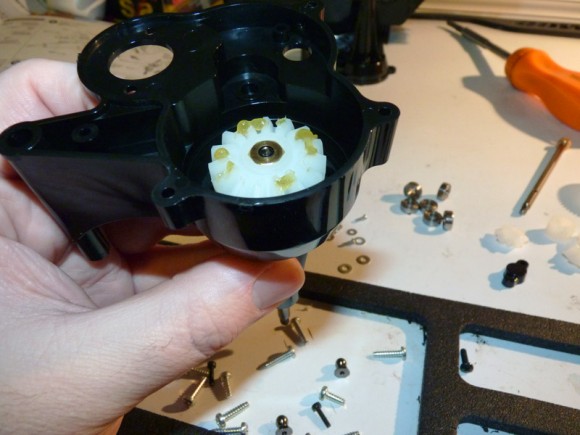
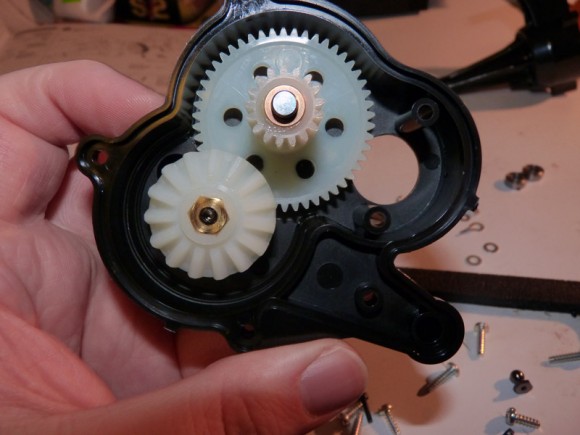
We then install the spur gear and the other large bevel gear in the other gearbox half. Notice the 5×8 bronze bushing I was forced to leave in, since a bearing replacement was not supplied.
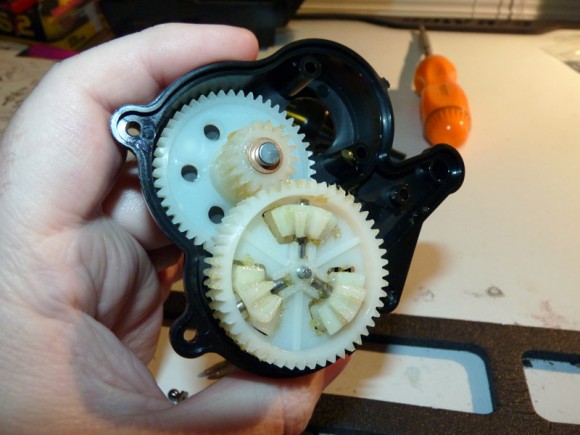
Next we install the differential gear.
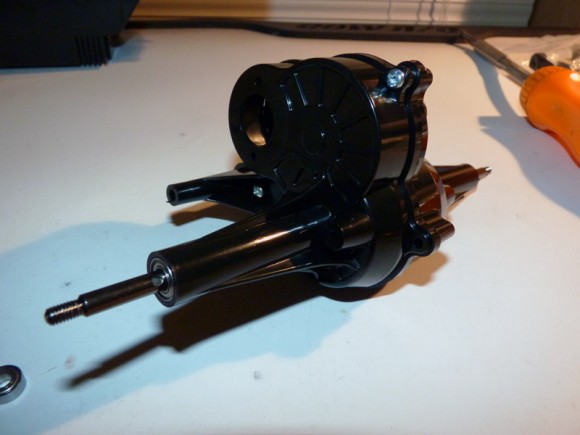
Now we close it all up and install the bearings in the end of the axle tubes.


 January 23rd, 2012
  Kevin
Kevin 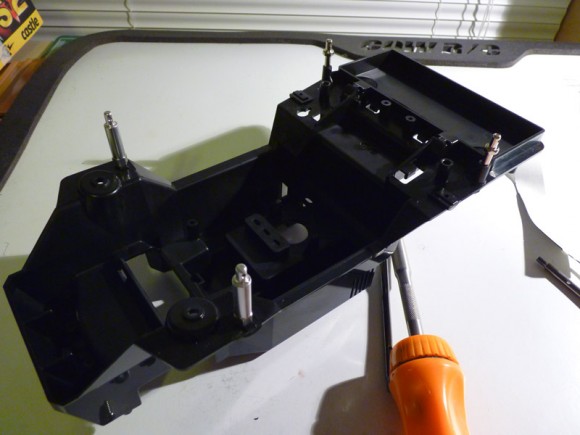
 Posted in
  Tags:
Tags:
[…] Midnight Pumpkin) to run in the 2wd Box Stock class. You can find the full build up on that truck HERE. One of the club’s members sent me a hitch to use on the truck. At the last minute we also […]