Now we have a piece of rubber tubing. This is used on the bottom of the shock shafts to limit down travel. There’s a 1:1 ratio diagram in the manual showing where to cut it into 4 equal length pieces.
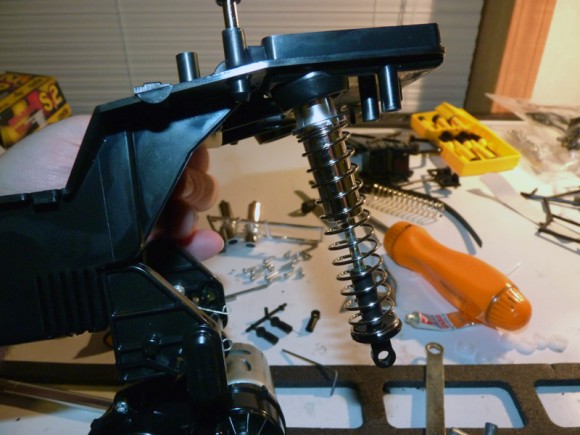
It was insanely hard to put these shocks together and try to juggle the camera at the same time. So all I have is a fully assembled shot. Basically, there is no oil or shock cap. The shock shaft is loaded through the top of the chassis tub, and into an empty shock body. A springcup/rod end piece is attached to hold the spring on. Friction damper installation complete.
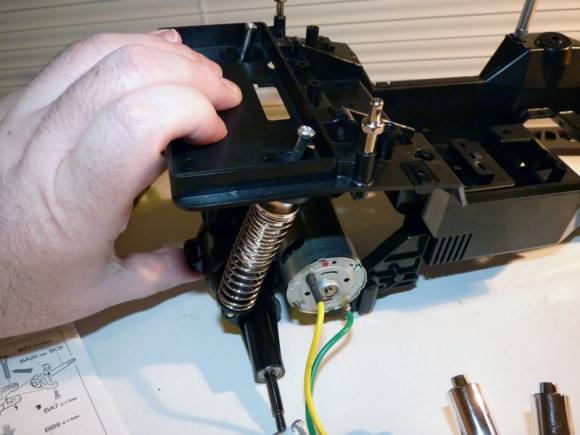
Now we snap the lower ends on the ball studs we installed earlier.
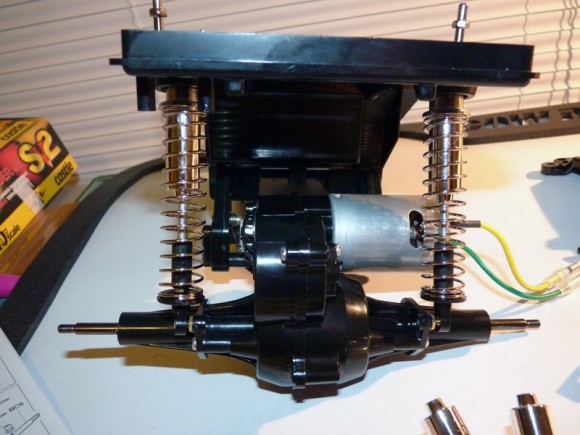
Here you can see how the shock shafts pop out of the chassis tub when the suspension is compressed.
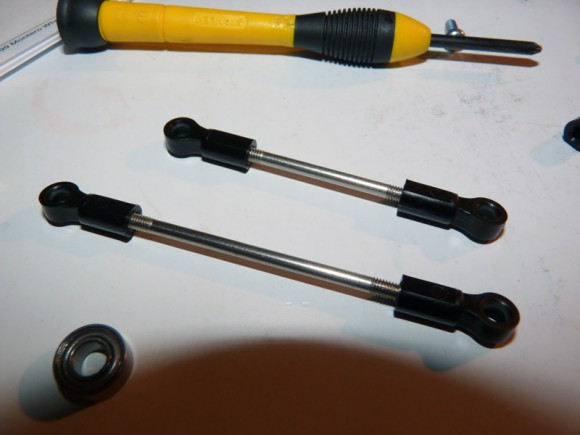
Now we move onto the steering components, starting with the linkage.
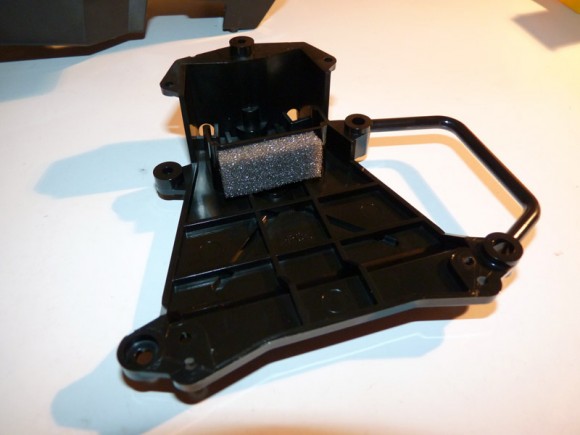
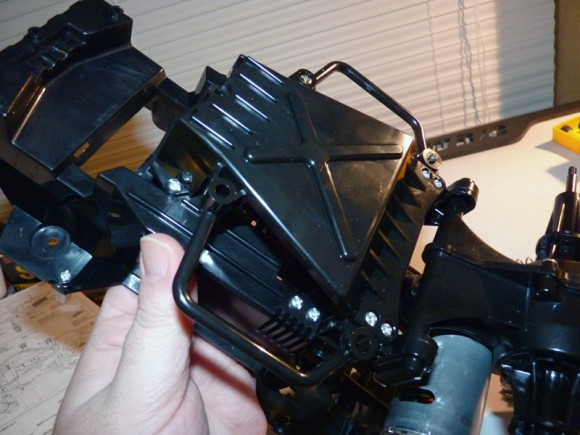
This is the battery holder. The battery slides between this and the chassis tub.
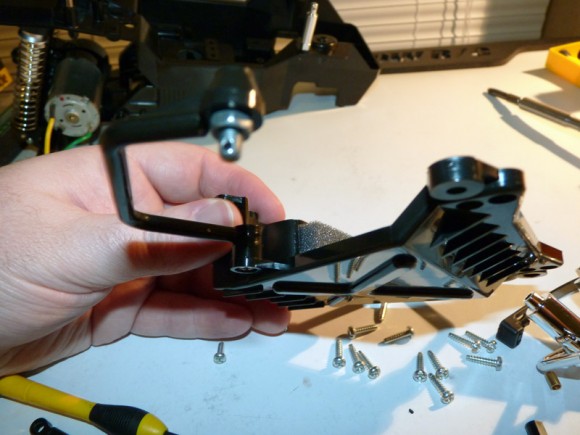
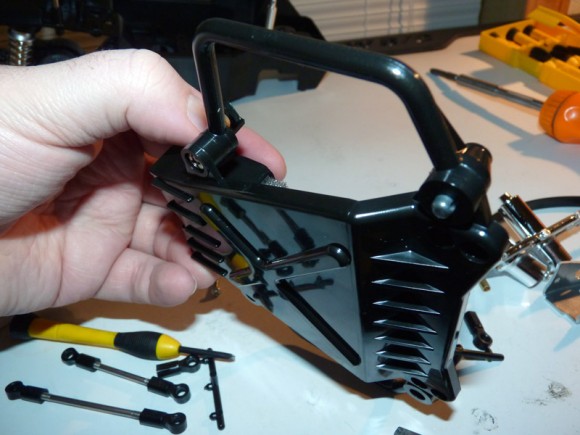
There’s an arm that swings out and attaches with a body pin to allow easy battery removal.
Now we install it under the chassis tub.
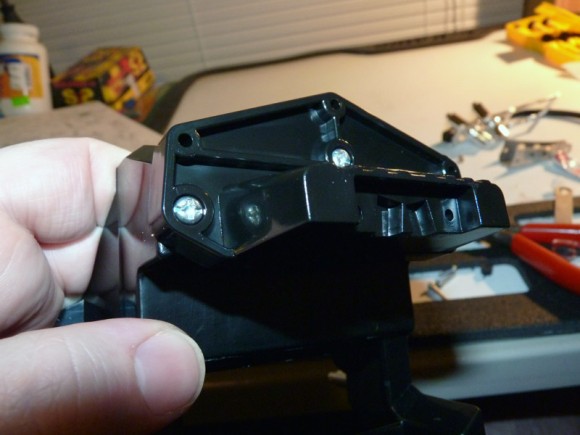
I’m not sure what this piece is called, but we’re going to refer to it as the front bulkhead. It holds the front part of the suspension arms in place and the front bumper mounts to it. We mount it to the chassis tub.


 January 23rd, 2012
  Kevin
Kevin 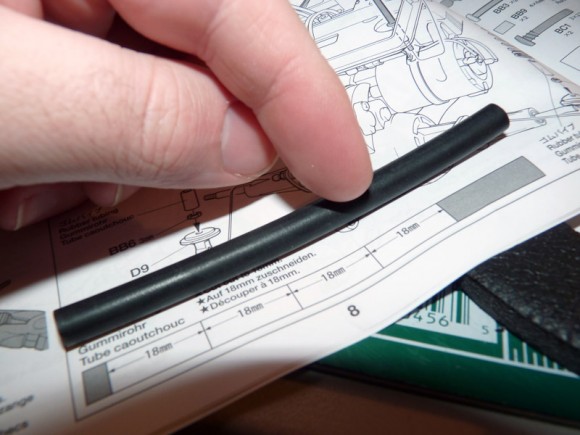
 Posted in
  Tags:
Tags:
[…] Midnight Pumpkin) to run in the 2wd Box Stock class. You can find the full build up on that truck HERE. One of the club’s members sent me a hitch to use on the truck. At the last minute we also […]