Now its time to install the lower plate. Use the provided 4mm X 16mm cap bolts at the rear corners but DO NOT turn them all the way in yet. Use the provided 3mm X 10mm screws for the rest of the bottom plate holes
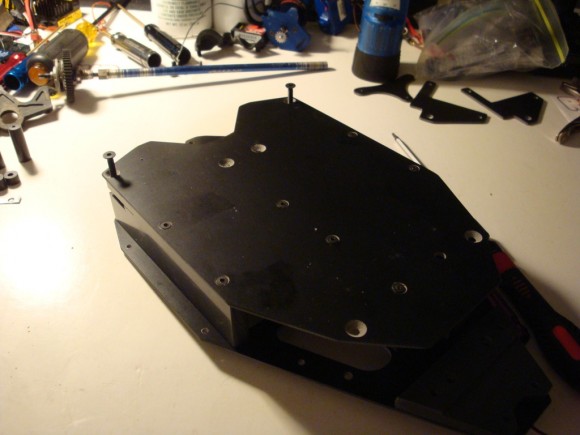
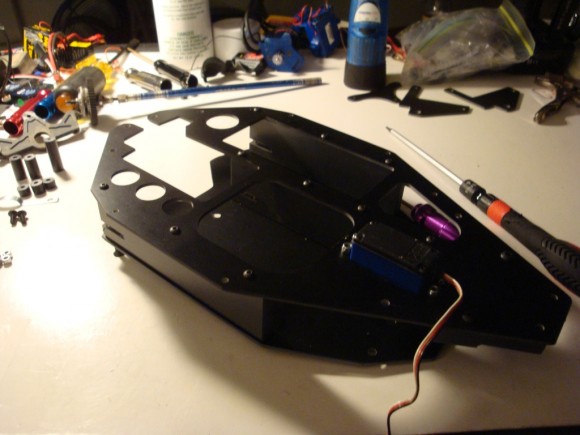
Now we’re ready to install the rear pod assembly but first we have to do some modifications to the existing Slash pod. Using a Dremel and sharp exacto knife, I had to scrape/grind down the small lip on the rear pod section to make it smooth. Make sure to leave the 2 raised screw mounts that are near the rear shocks! Chuck provided some good images in the directions on what to do. I took a little material at a time and fit it up. It took several attempts, but I finally had a flush fit. This is necessary to make a tight/flush fit on the rear mid-pans
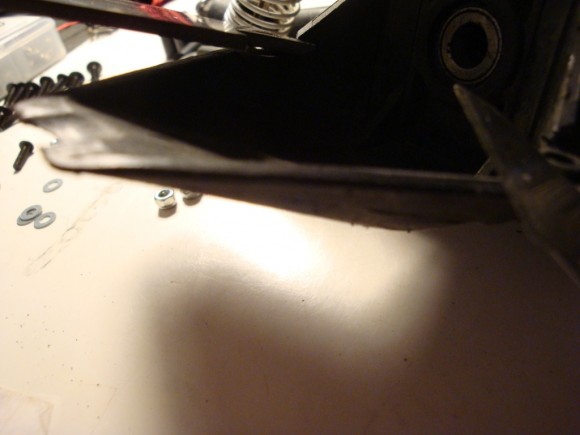
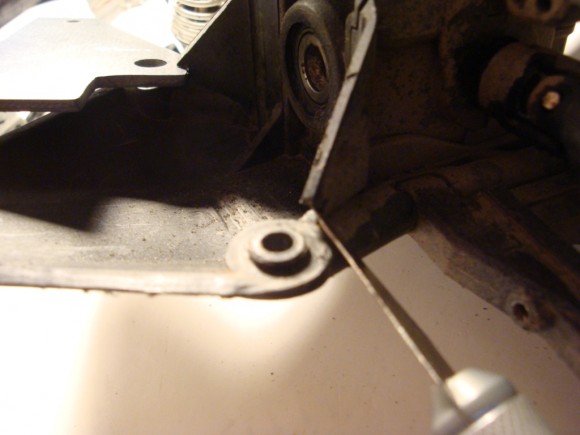
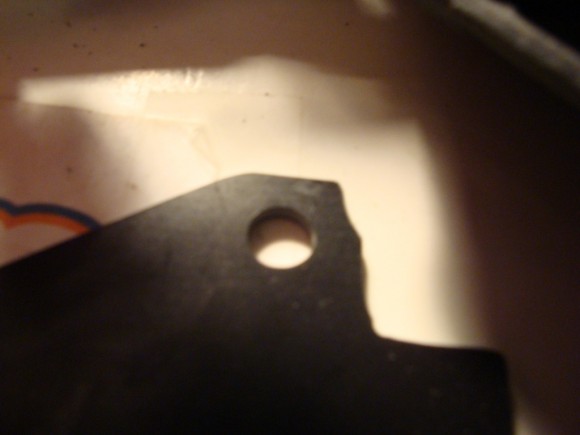
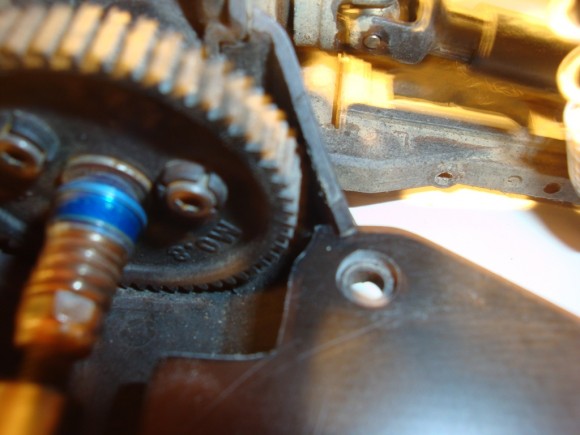
Now install the mid-pans (2 pieces) on the rear pod. They are pre-drilled to fit right onto and over the raised hole section near each rear shock. I also had to remove a small amount of material at each corner to make the mid-pan parts not bind up. The exacto knife was the trick, just a couple small 1/8″ grooves and they sit nice and flat/flush. I also had to dremel a small amount of material from the mid-pans where it is close to the spur. Without this mod, the spur would just barely touch the corners of the mid-pans


 June 22nd, 2012
  Jim
Jim  Posted in
  Tags:
Tags:
[…] Re: LCG Comparison – very cool read!!! Chuckworks RC Build Article posted […]
[…] the build post for our 3rd and final Slash 4×4 LCG conversion is up.. Chuckworks 4x chassis.. http://www.rcsoup.com/2012/06/traxxa…version-build/ __________________ http://www.rcsoup.com – R/C Reviews, News, and Tips <<- PM Me if you'd like […]