Now take the aluminum spacer strip and position over the midpans, and under the slipper/spur as shown
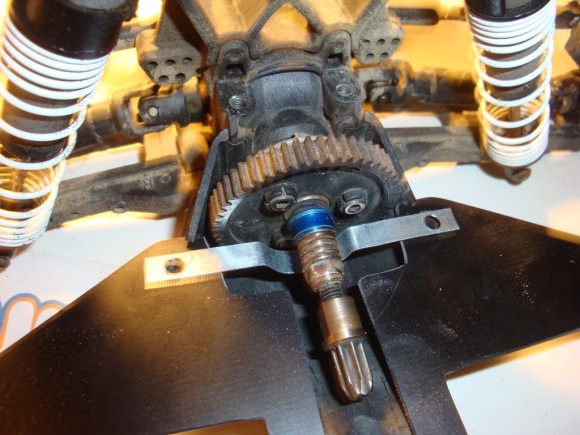
Now take the stock bulkhead that holds the rear gear bearing carrier/slipper/clutch assembly in place and bolt it down. It takes a little finesse to get it all lined up, but it is all pre-drilled and it lines right up. Patience helps here 🙂 *Make sure you have your slipper or center differential installed BEFORE you bolt down the bearing carrier/bulkhead. You will have to take it apart if you forget!
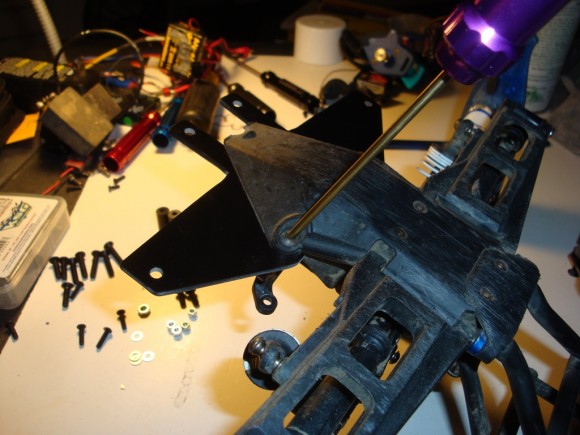
Now slide the mid-pans into the slots in the rear of the chassis blocks. The outer mid-pan holes line right up to the left/right side block-slots. Turn in the 4mm X 16mm screws at each corner. This holds the outer midpan holes in place. Pretty ingenious design and it actually went together very easily
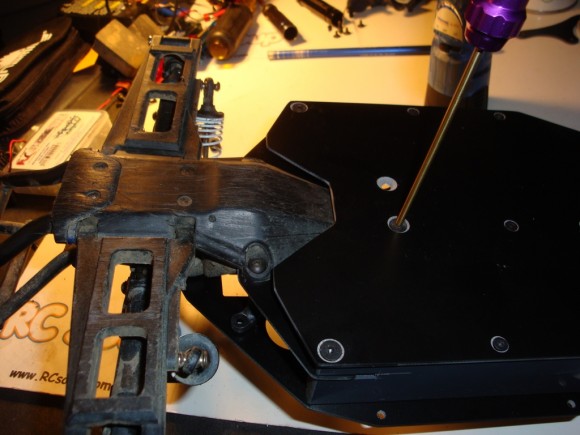
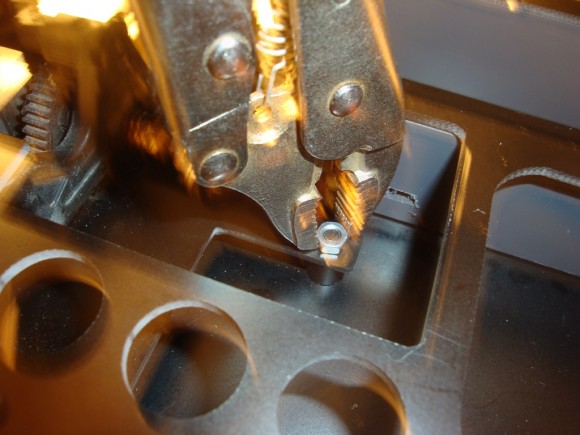
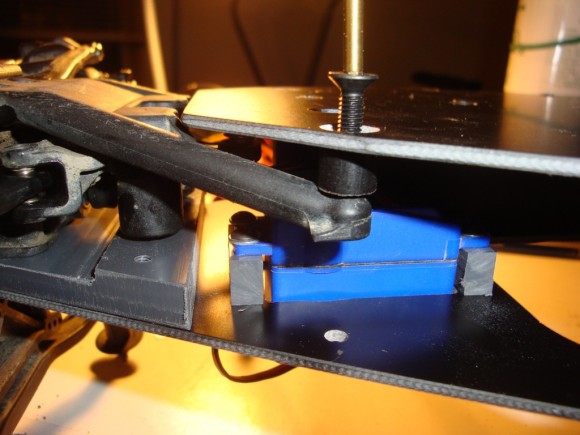
The mid-pan left side slides right into the center slot on the spacer block. Turn in the 4mm X 16mm screw. Now install 1 of provided round spacers between the mid-pan right side and the lower pan. Use the provided flat nut w/ locktite. You have to use the flat nut to provide room for the motor
You have to finesse the rear “ears” on the top plate up and over the center gear assembly. It doesn’t take much, it pops right in place. Install the 4mm X 16mm screws thru the assembly into the chassis
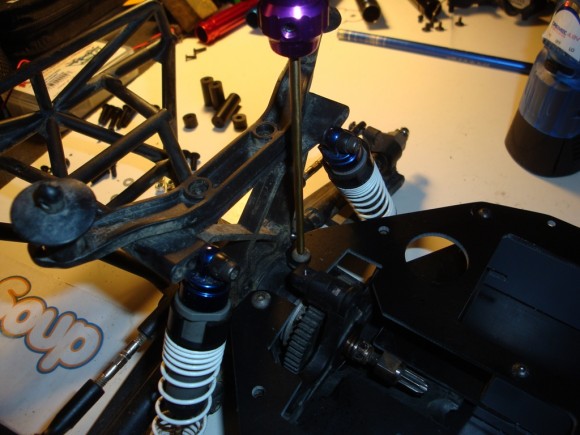
Now for installing the front end. FIRST READ THIS. This was missing from Chuck’s directions unfortunately, install your center driveshaft at this time. If you forget like I did, you will have to remove the entire front or rear pods to get it in place. Slide it in and get it in place as you are fitting up the front pod
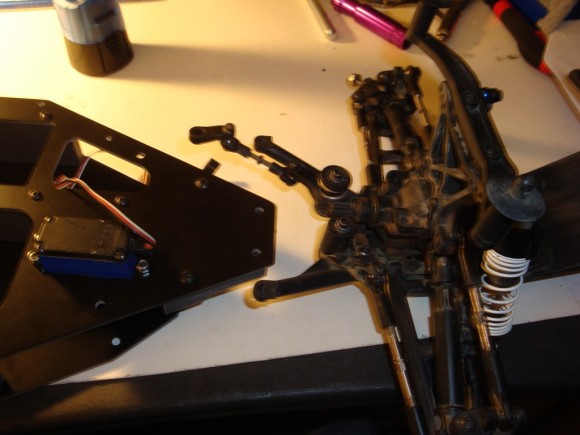
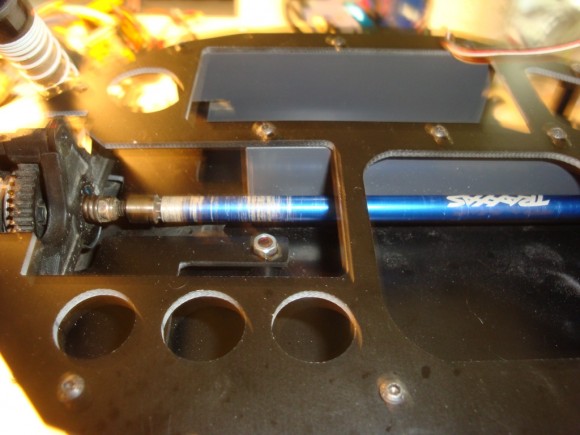
Now hold the front pod up to the front of the Slice 4X chassis. Make sure the steering bellcranks fit into the pre-drilled holes on the front bulkhead adapter. Make sure the driveshaft is in place. Once you have it all fit up and lined up install the 2 upper front 4mm X 20mm screws. This will hold the entire front pod in place.
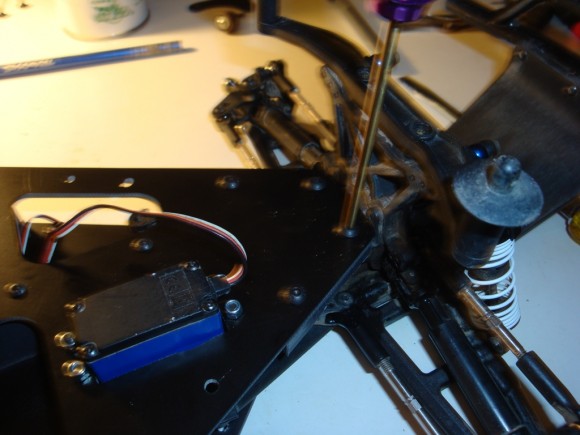
Now install the spacer blocks for the lower supports. You will see the provided spacers are self-explanatory on how they fit up. This holds the front pod support in the correct geometry on the chassis


 June 22nd, 2012
  Jim
Jim  Posted in
  Tags:
Tags:
[…] Re: LCG Comparison – very cool read!!! Chuckworks RC Build Article posted […]
[…] the build post for our 3rd and final Slash 4×4 LCG conversion is up.. Chuckworks 4x chassis.. http://www.rcsoup.com/2012/06/traxxa…version-build/ __________________ http://www.rcsoup.com – R/C Reviews, News, and Tips <<- PM Me if you'd like […]