

 April 20th, 2013
  Matt
Matt On to Bag B already!
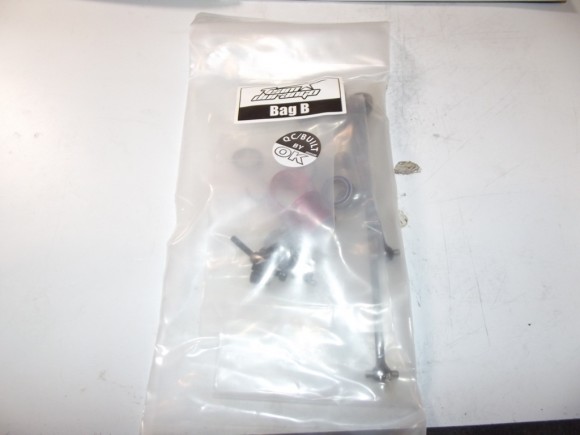
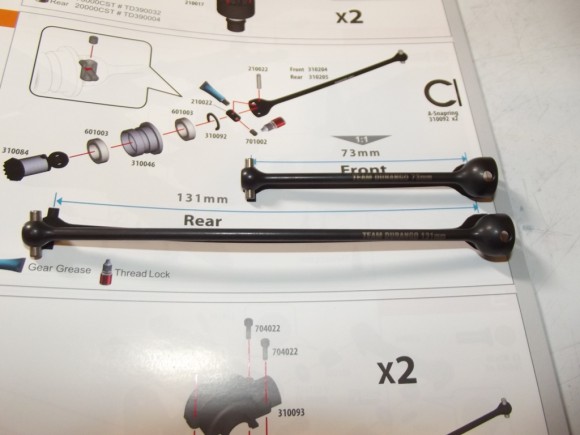
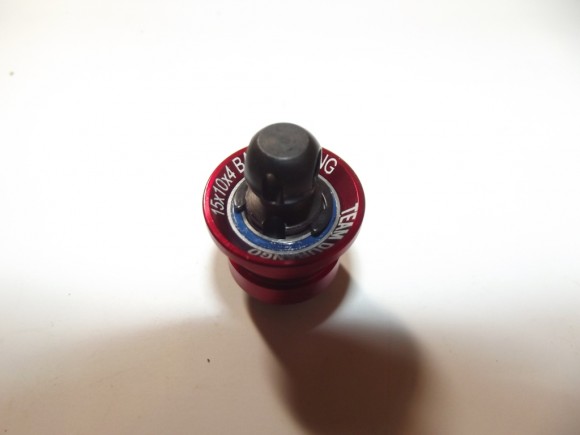
We’ll be building the center driveshafts, and the book includes a 1:1 scale drawing so you know which one to use where.
The input shafts get slid into these collars.
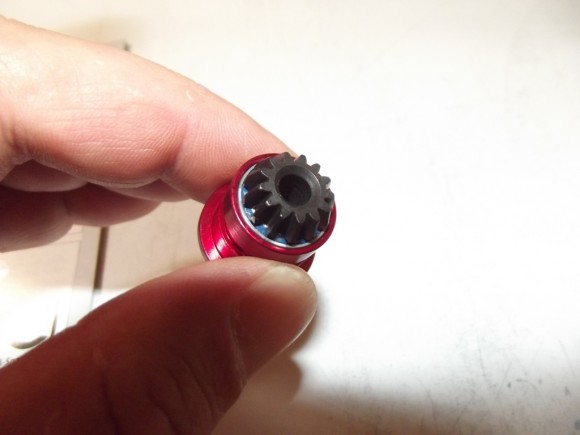
They are held in place with this large C clip
Team Durango included a small bottle of thread locker. Be sure to use a dab on the grub screws that hold the drive pins in the driveshafts. If you don’t, you’re likely to have a failure mid race, right when you are leading the A Main of that big trophy race

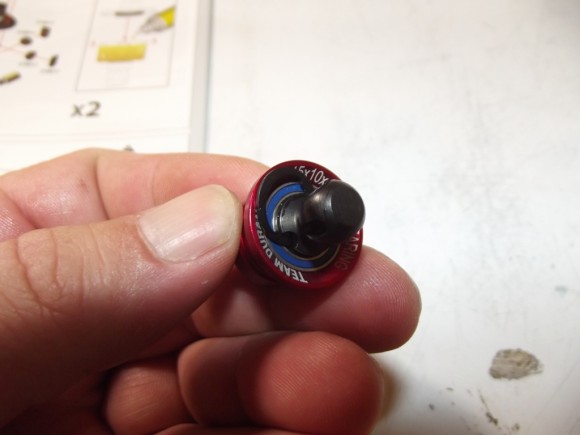
There is a steel collar that gets inserted
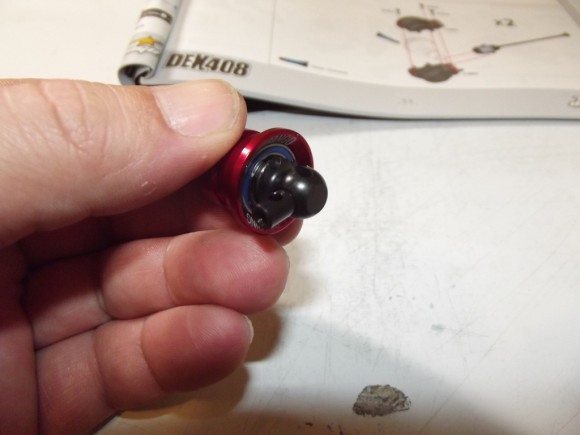
And that’s what the grub screw actually gets threaded into. Remember your threadlocker.
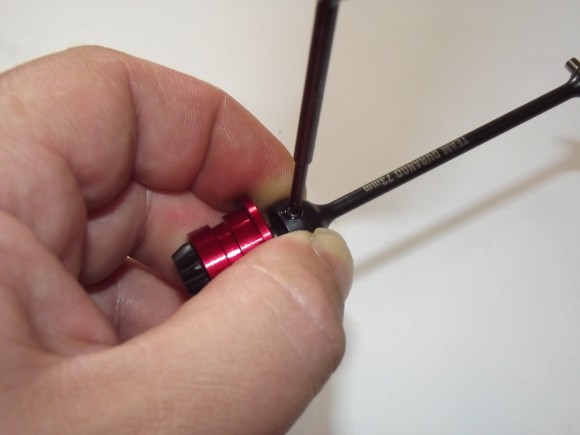
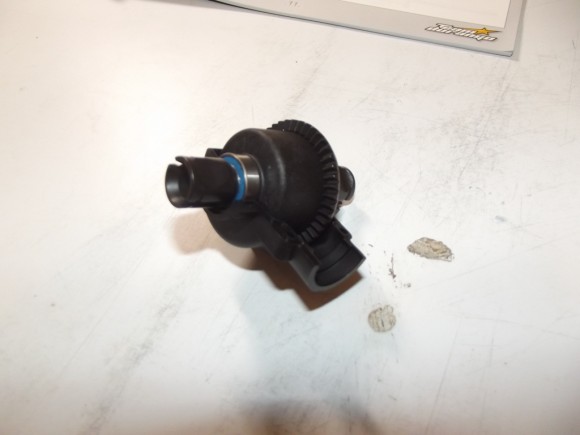
Now we can assemble the housing in which the differential will ride.
First set the differential in the lower half.
And insert the driveshaft
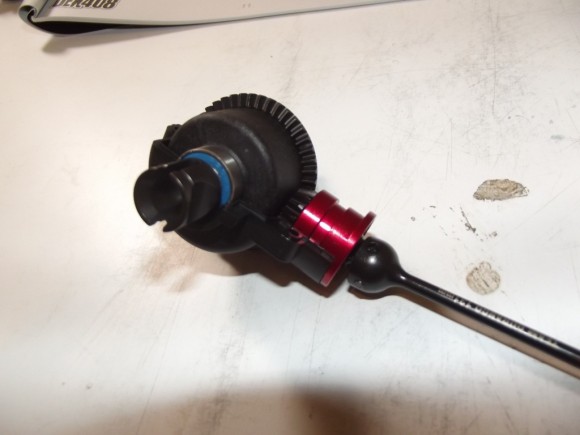
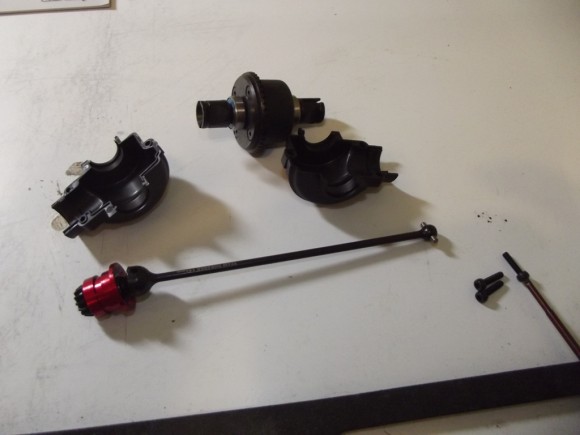
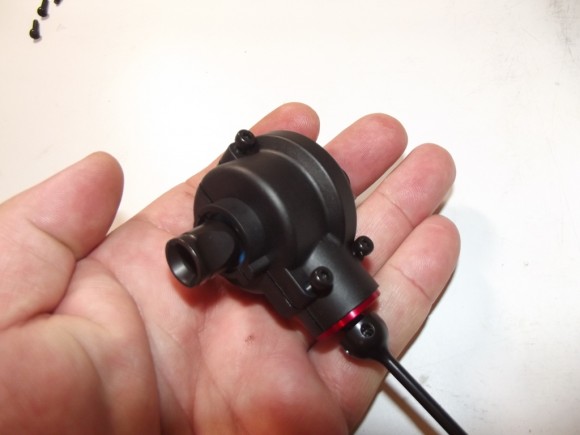
What it looks like assembled. Both the front and rear are identical here, the only difference being the length of the driveshaft.
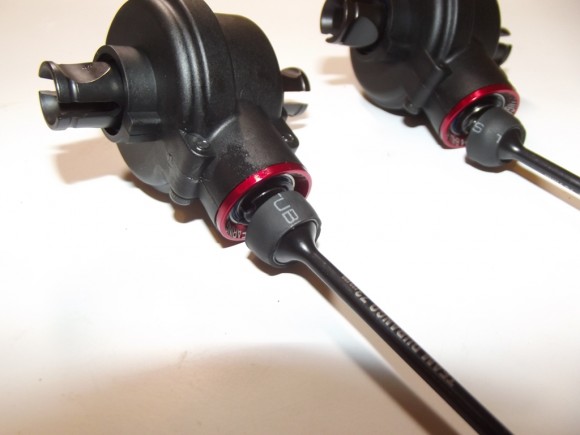
Something I learned on the Caster buggy I built last year. I’m going to use heat shrink tubing here to cover the grub screws on the driveshafts. This way if they do loosen somehow, the pins will still be held in place so you won’t break mid-race.
 Posted in
  Tags:
Tags:
[…] a DEX408, and will be reviewing it over the course of the next few months. Check out the build here __________________ http://www.rcsoup.com – R/C Reviews, News, and Tips <<- PM Me if you'd like […]
An excellent write up with great tips!