

 April 20th, 2013
  Matt
Matt Bag I

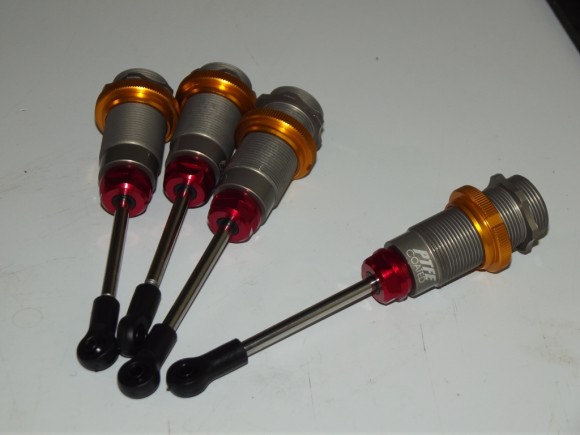
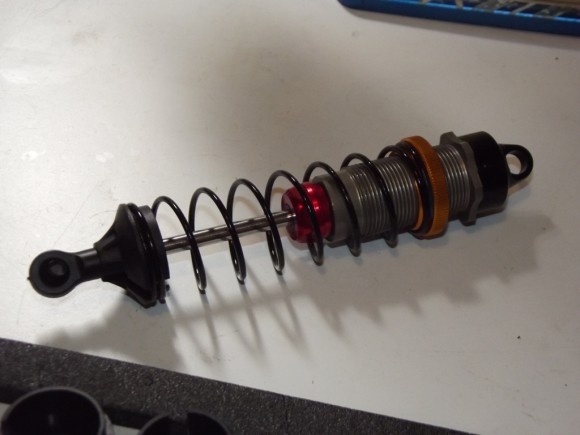
Shocking
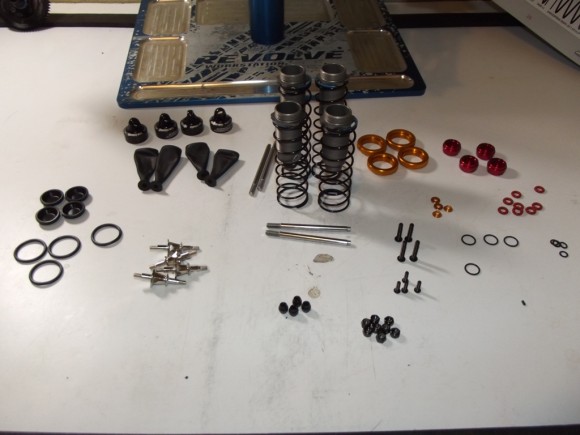
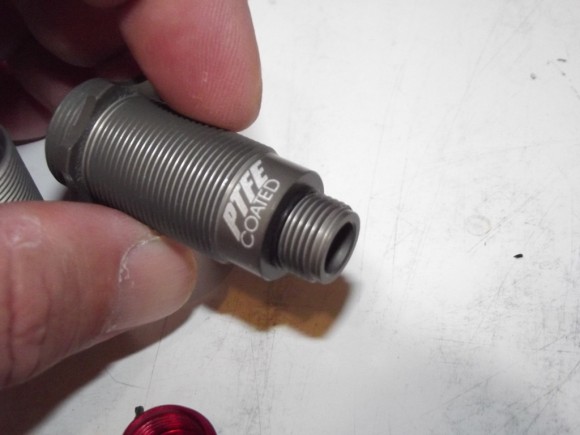
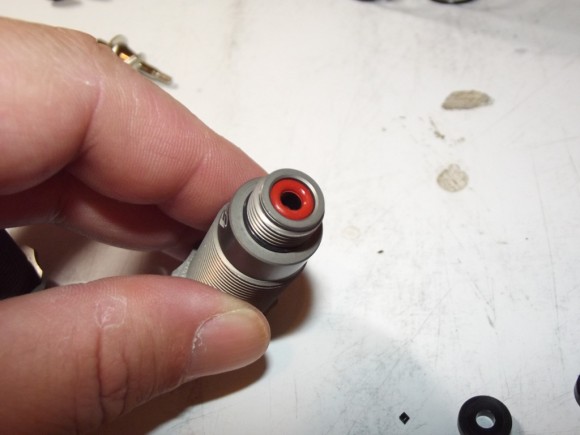
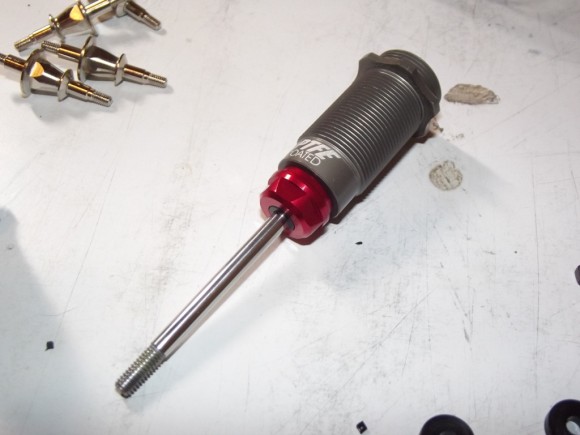
The shock bodies are threaded metal works of art. This O ring helps seal the bottom cap.
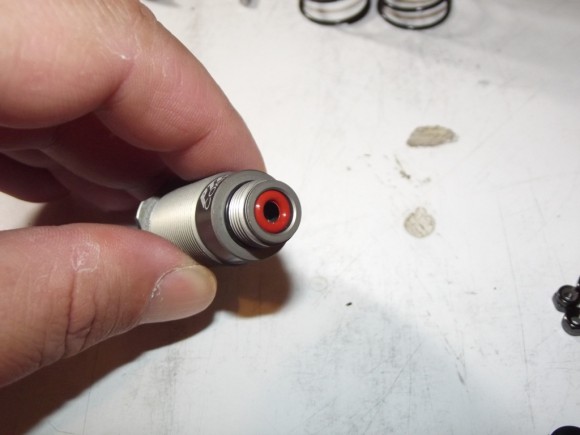
And this O Ring in the bottom helps seal around the shaft
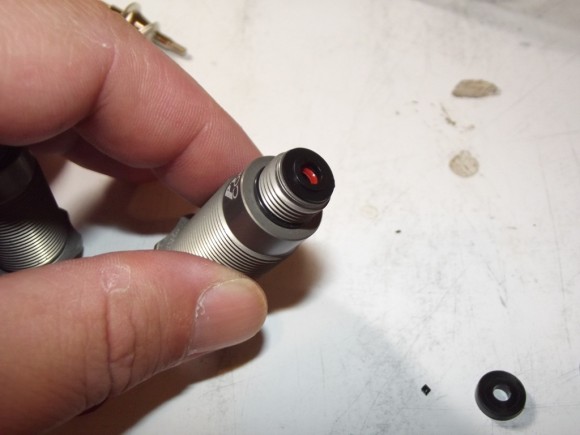
Followed by a plastic bushing
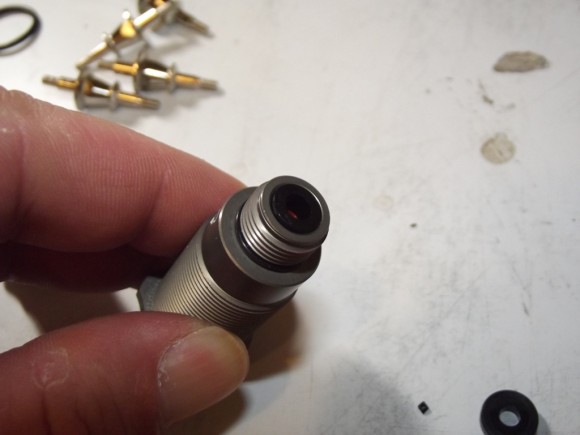
Followed by another O ring
And another plastic bushing
And finally the bottom shock cap
The shock shaft has an inside thread. The piston slides over the shaft, and a screw holds it in place.
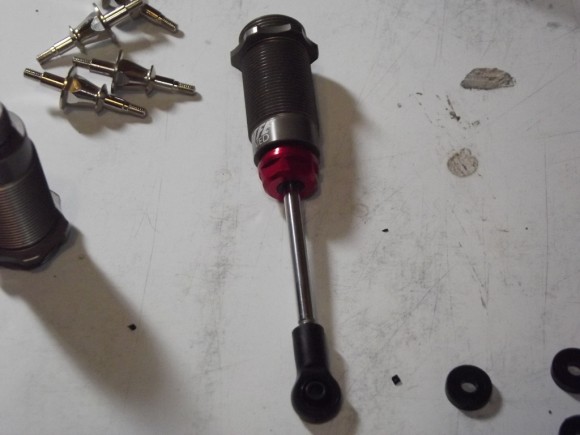
We’ll thread the shock end on to the shaft.
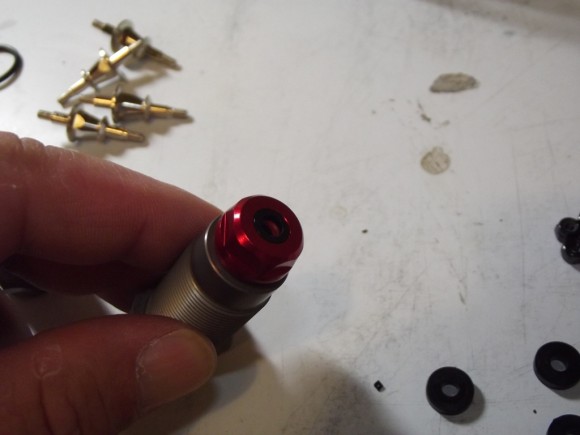
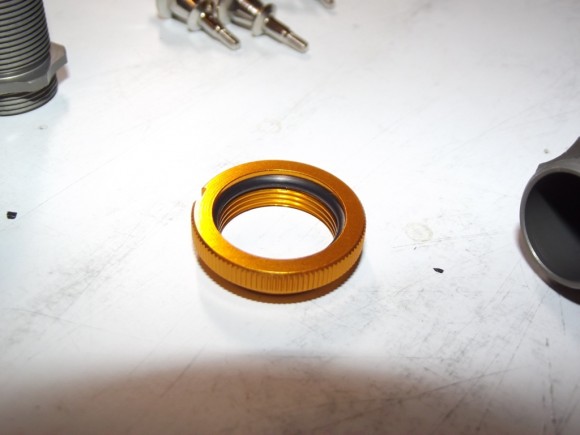
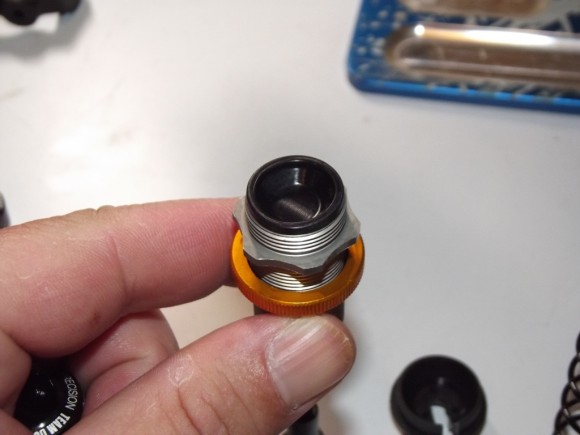
This collar will be used to adjust ride height. It gets an O ring on the inside to prevent it from spinning on its own.
Voila! All 4 are built
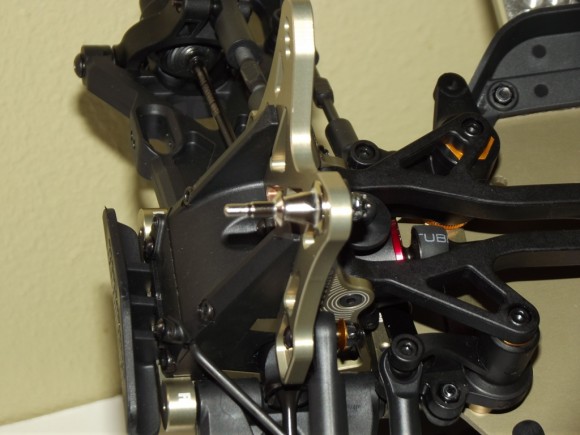
These are the shock mounts. They get bolted to the shocktower first.
Now we can fill them all with oil. I went with 42.5 wt oil in all 4.
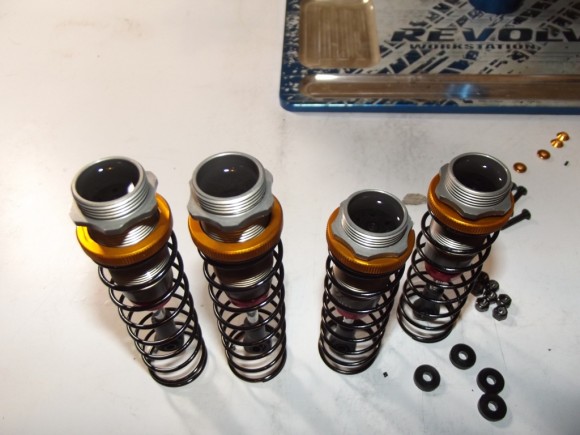
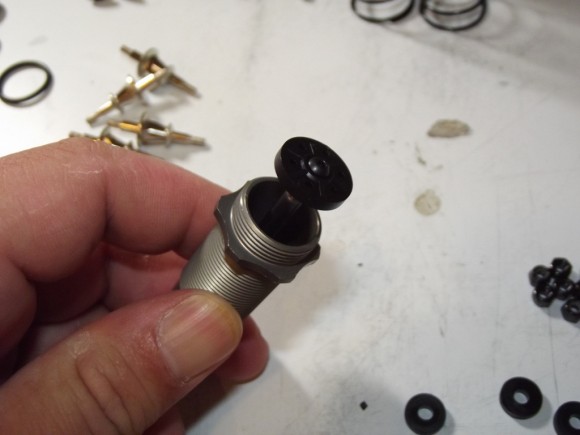
The bladder goes on next
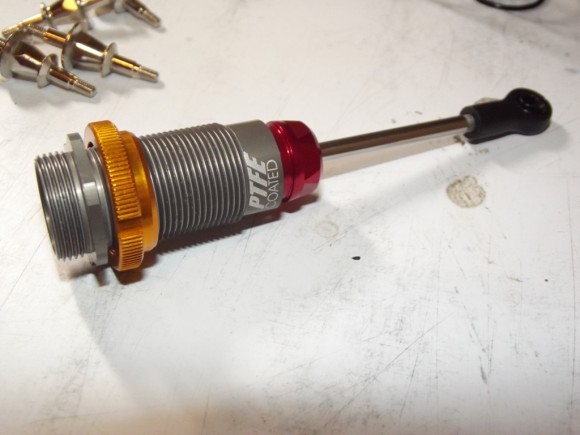
After we screw the shock cap on, we can slide on the spring and the lower spring perch.
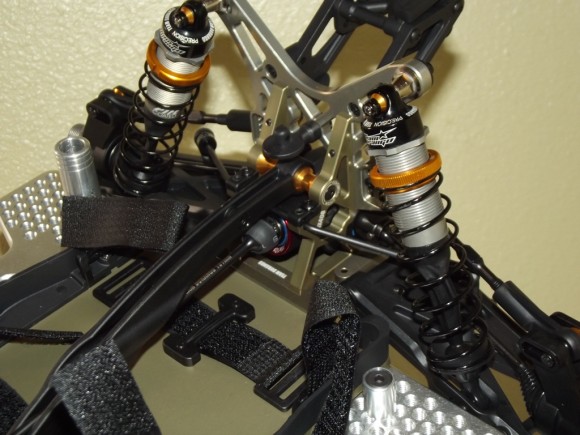
Now the shocks can be screwed to the mounts.
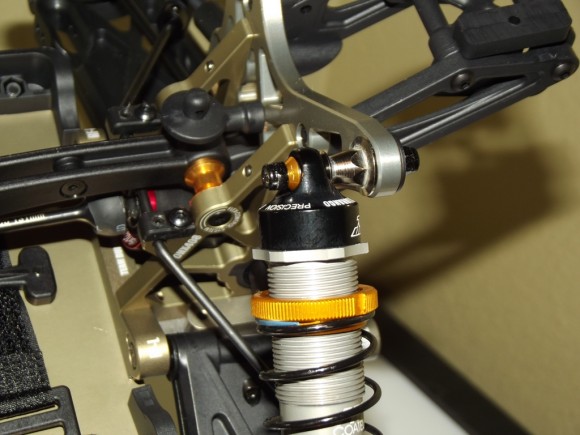
Followed by the screws through the lower shock end. These things are shiny.
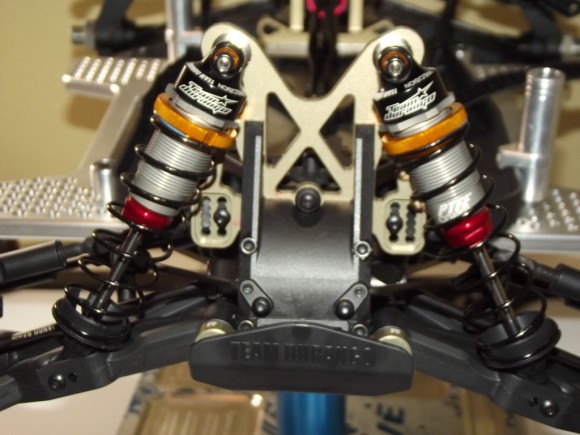
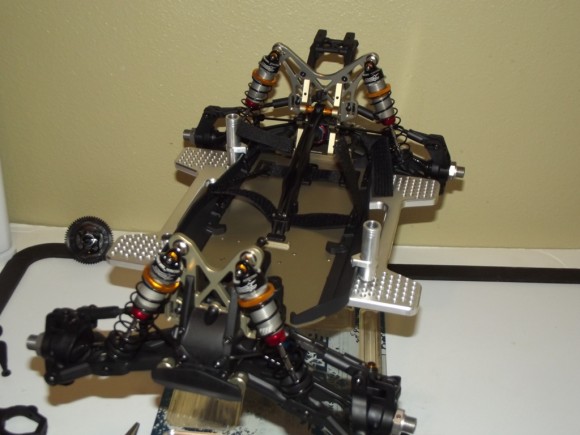
All 4 shocks in place. This thing is really coming together.
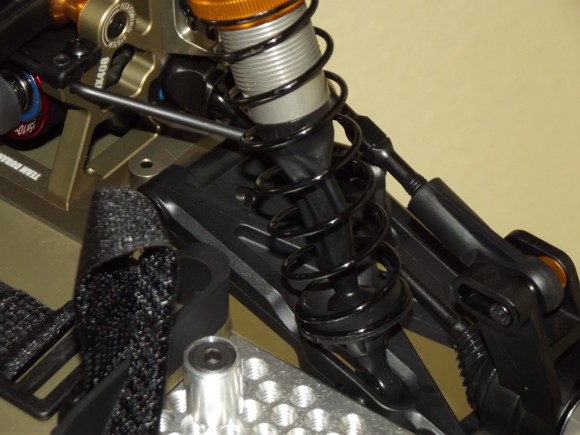
The kit comes with shock boots for all 4 shocks. However, as you can see here, after a few compressions they sort of had a vacuum effect on the shocks. They would cinch down and restrict movement. I had to poke a few holes in them to let the air in and out and prevent the vacuum effect.
 Posted in
  Tags:
Tags:
[…] a DEX408, and will be reviewing it over the course of the next few months. Check out the build here __________________ http://www.rcsoup.com – R/C Reviews, News, and Tips <<- PM Me if you'd like […]
An excellent write up with great tips!