

 April 20th, 2013
  Matt
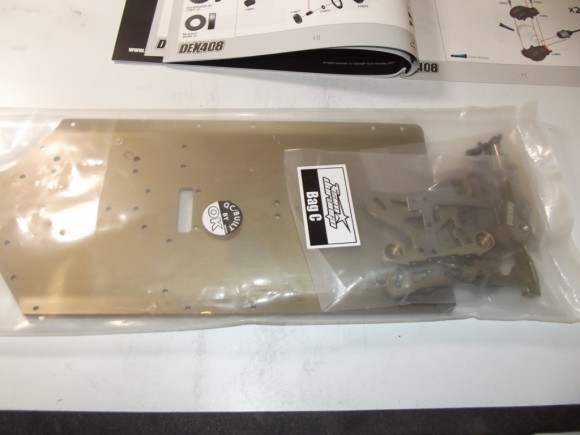
Matt In Bag C, we’ll break out the chassis and maybe this will start looking like something.
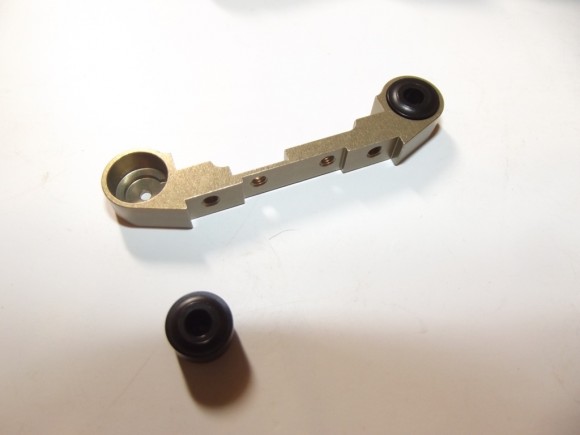
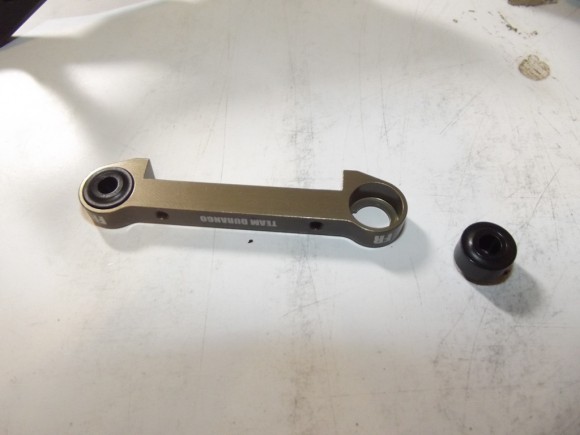
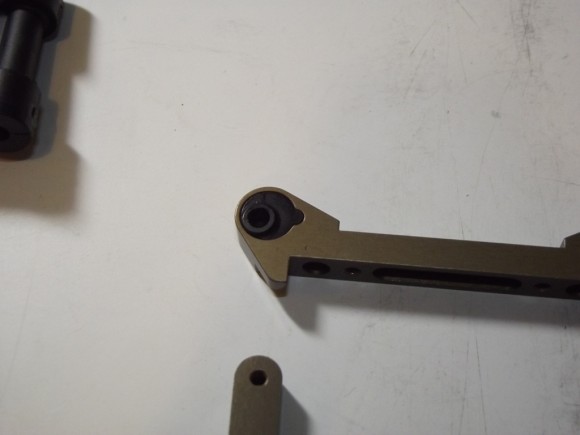
The toe blocks for the Durango DEX408 feature these inserts. They offer varying degrees so you can alter your setup to suit your needs. In our case we are going with the stock setup recommended in the book.
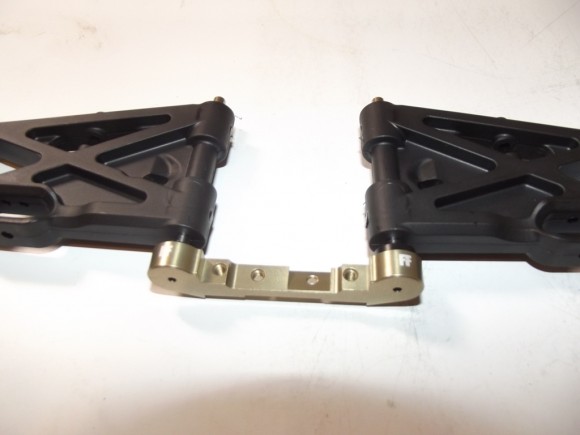
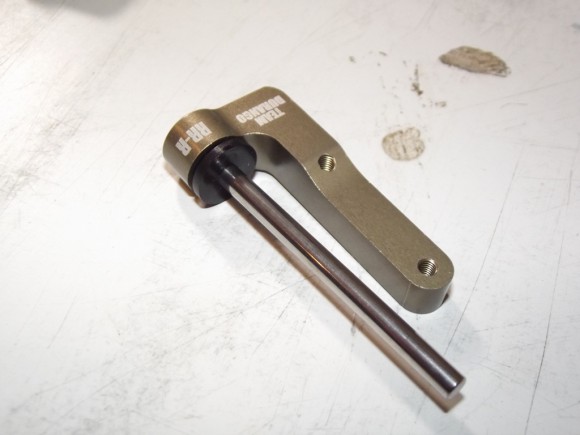
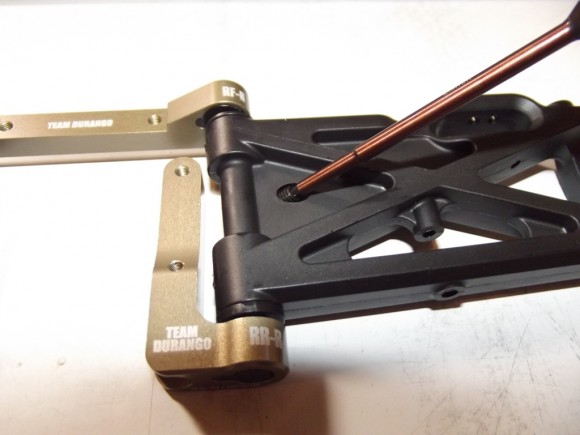
I slid the hinge pins into the toe block, and slid on the arms. One thing I noticed right away is the stock arms are quite beefy. I have a feeling they will hold up well.
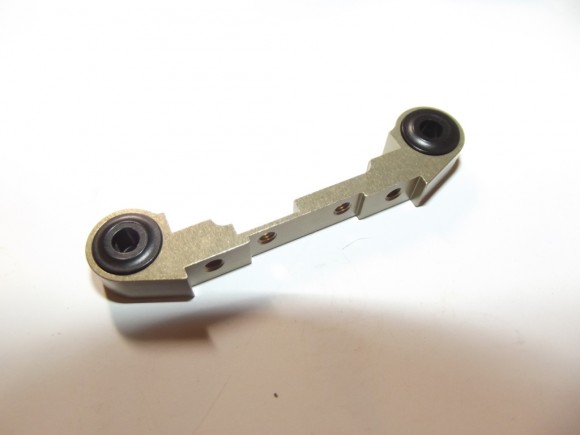
The other toe block for the front also features the interchangeable inserts
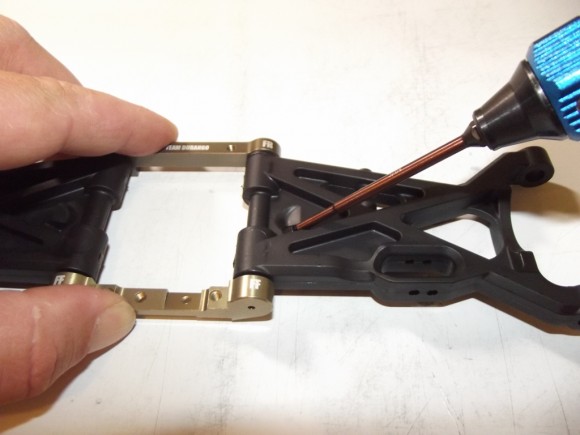
There are droop screws in the arms. I’ll thread them in there so they are flush for now.
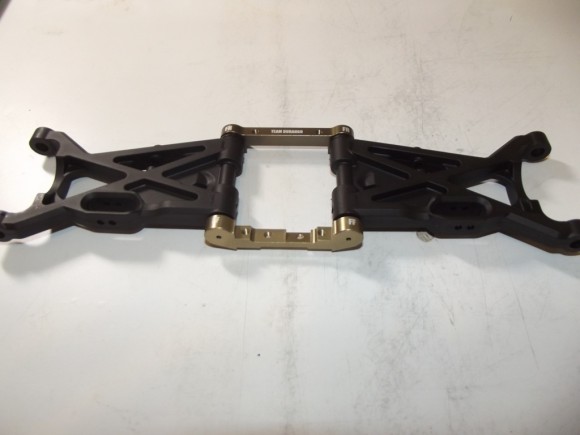
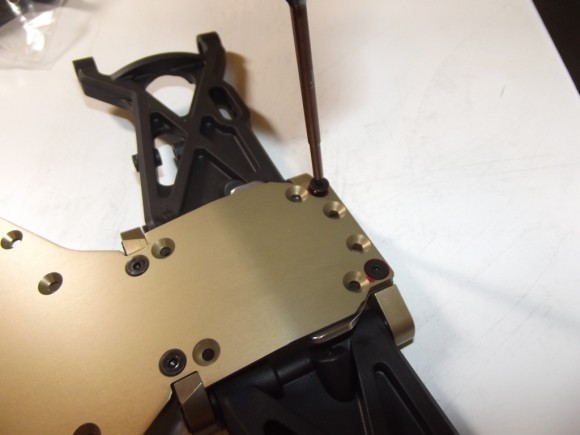
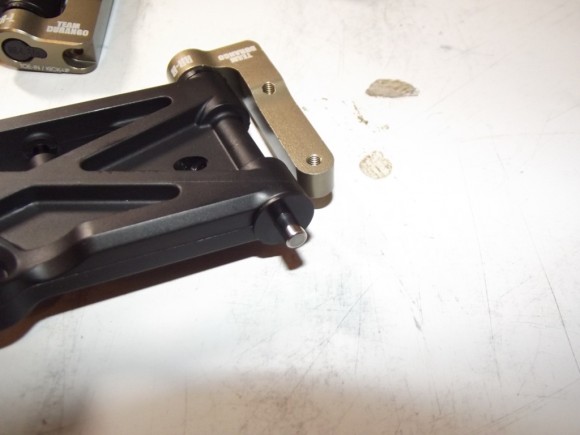
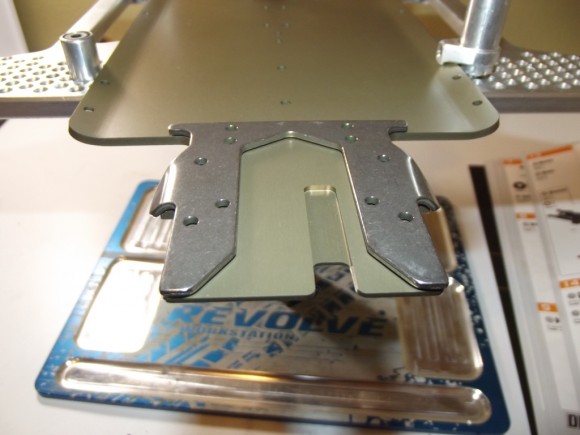
This metal plate gets mounted between the toe blocks and the chassis, and serves as extra support. It is also what the droop screws will push against if needed.

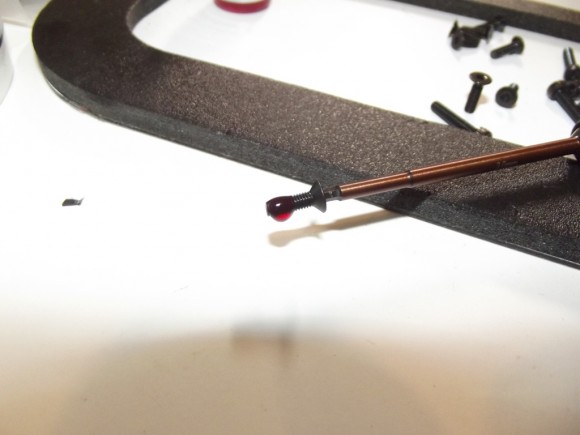
Again, I’ll harp on this. Don’t forget the thread locker.
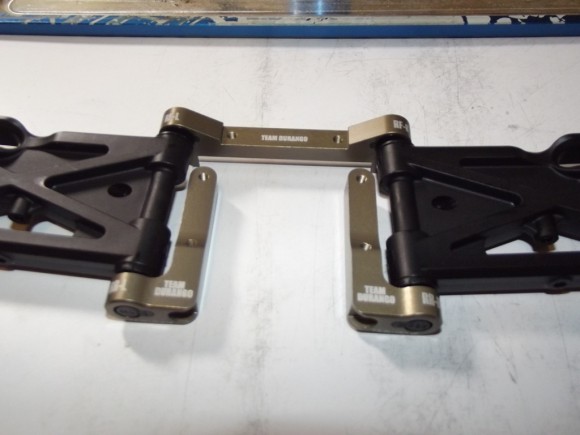
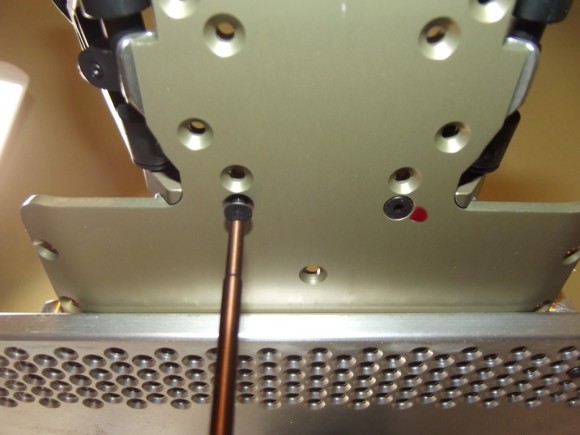
These four screws go through the chassis and into the toe blocks to hold it them place
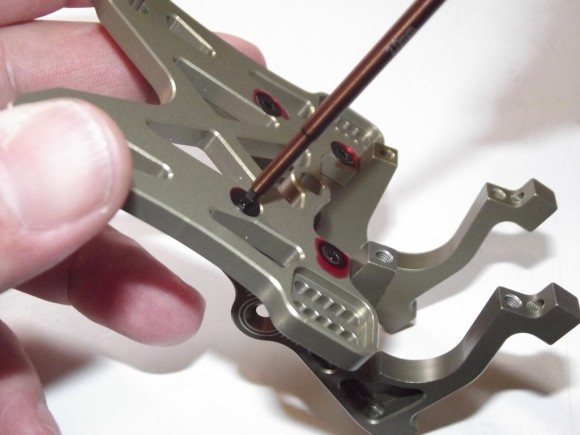
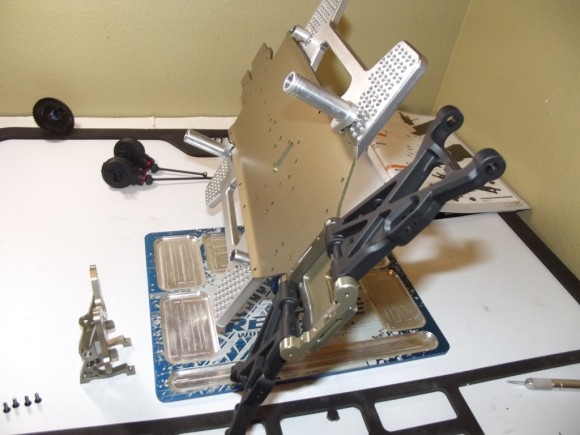
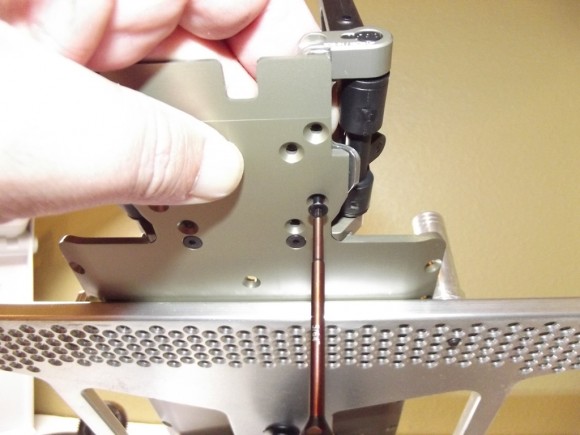
Now we’ll start assembling the front shock tower. Again with the threadlocker, this time to mount the shocktowers to the metal brackets that the diff will sit in.
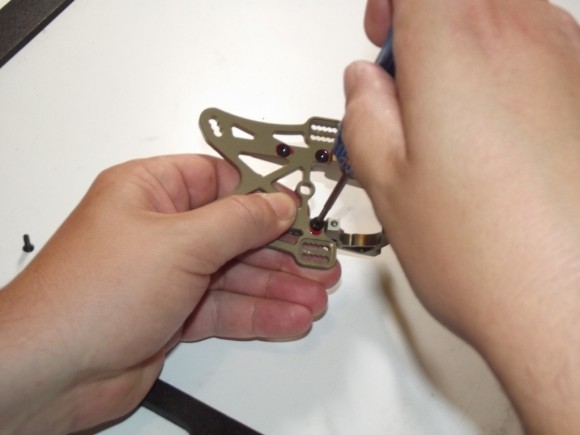
I might have used a teensy weensy bit too much thread locker. Good luck getting them out.
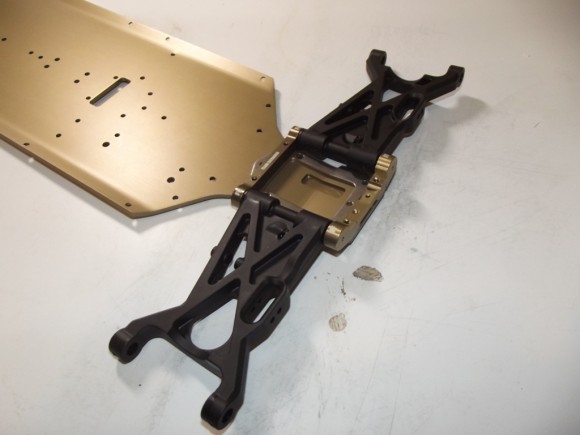
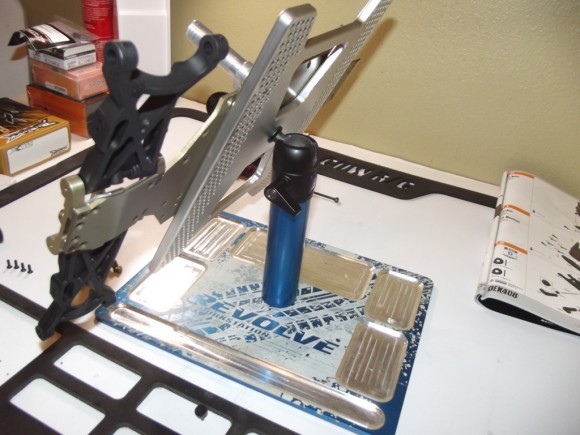
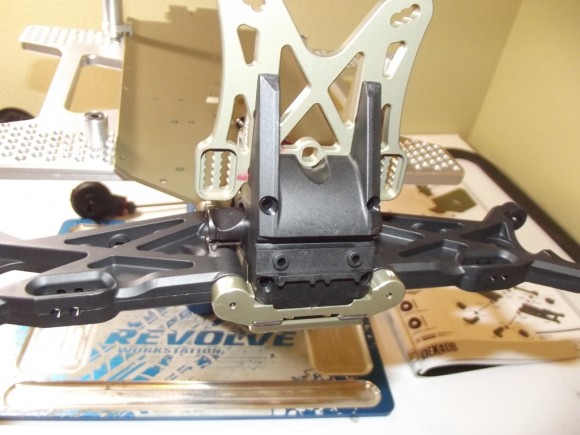
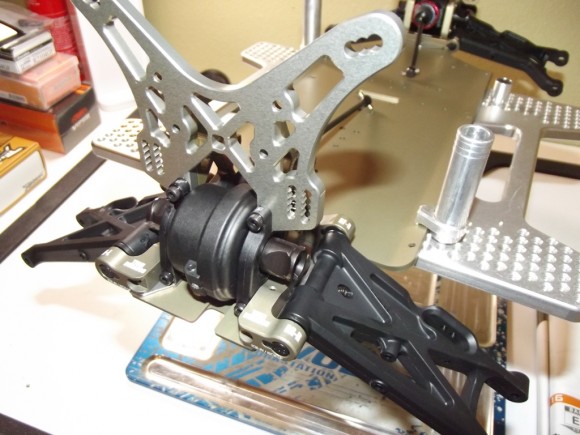
Here’s where we are at this point. I threw the chassis on my Revolve RC workstand to make it way easier to maneuver
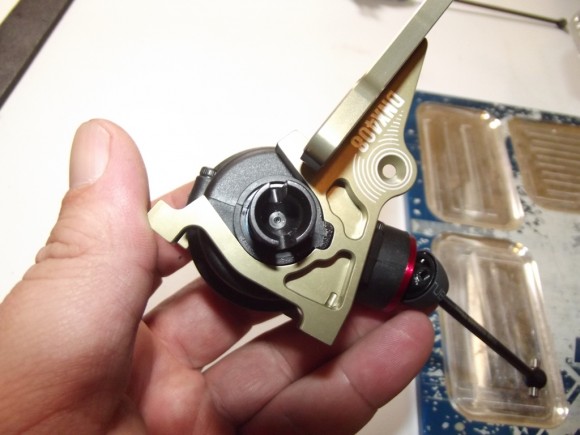
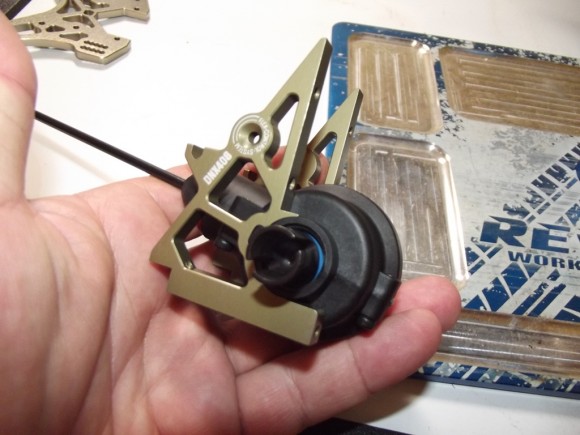
This is how the diff sits in the brackets. There is a little notch on one side so there is only one way to get them in there.
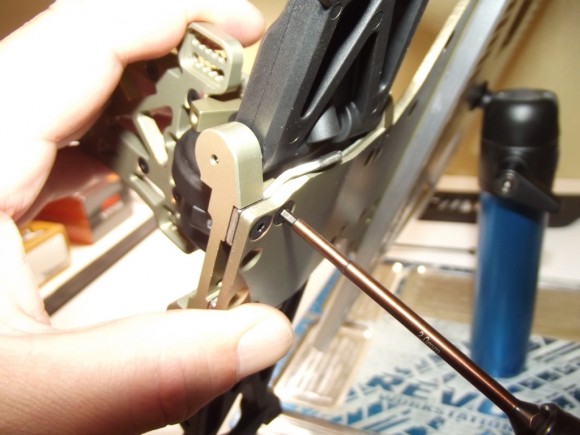
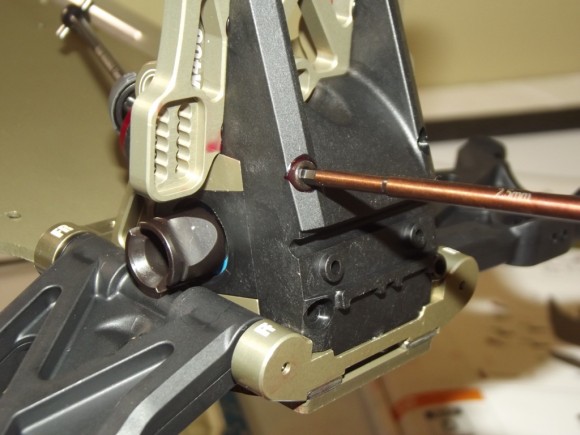
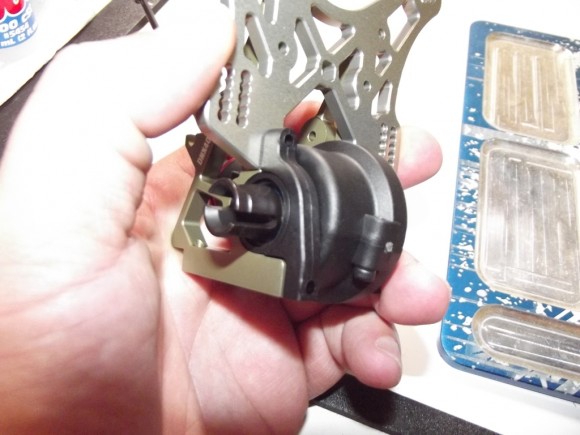
There are 4 screws through the chassis into the differential brackets.
Then there is a plastic cover. One of the very cool features of the DEX408 is that you can pull the front and rear differentials to change fluid with very minimal effort.
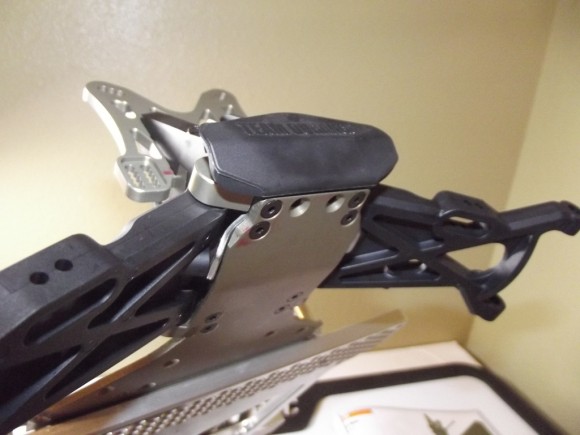
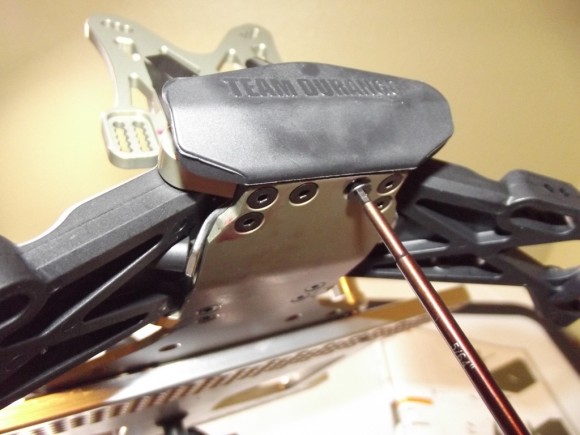
There is a very small front bumper, just to prevent any damage to the front of the chassis plate from collisions.
Just like the front, the rear toe blocks have the interchangeable inserts to adjust your setups. This one is for in front of the rear arms.
Behind the arms, there is a separate block for each side, and they are marked which is which.
Like the front, I’ll thread in the droop screws just until they are flush, but no more.
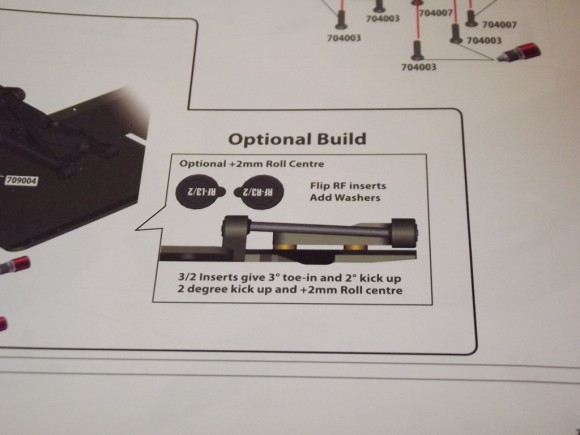
There is an option when you build the kit to change the toe and kick up, and roll center. Just another of the many very cool adjustments you can make with the DEX408. They included all the parts to build it either way.
Like the front, there is a metal plate that goes between the chassis and the rear toe blocks. Aside from the extra support, you’ll also notice the small section that curves down around the edge of the chassis. That’s where the droops screws will push against.
The rear diff, like the front, is notched so it only fits in one direction.
To hold it in place, there are smaller plastic straps. Again this is a huge benefit, because it allows you to very easily remove the differential so you can change fluids.

Here’s the rear at this point.
 Posted in
  Tags:
Tags:
[…] a DEX408, and will be reviewing it over the course of the next few months. Check out the build here __________________ http://www.rcsoup.com – R/C Reviews, News, and Tips <<- PM Me if you'd like […]
An excellent write up with great tips!