

 June 4th, 2013
  Jarodd
 Steering parts!
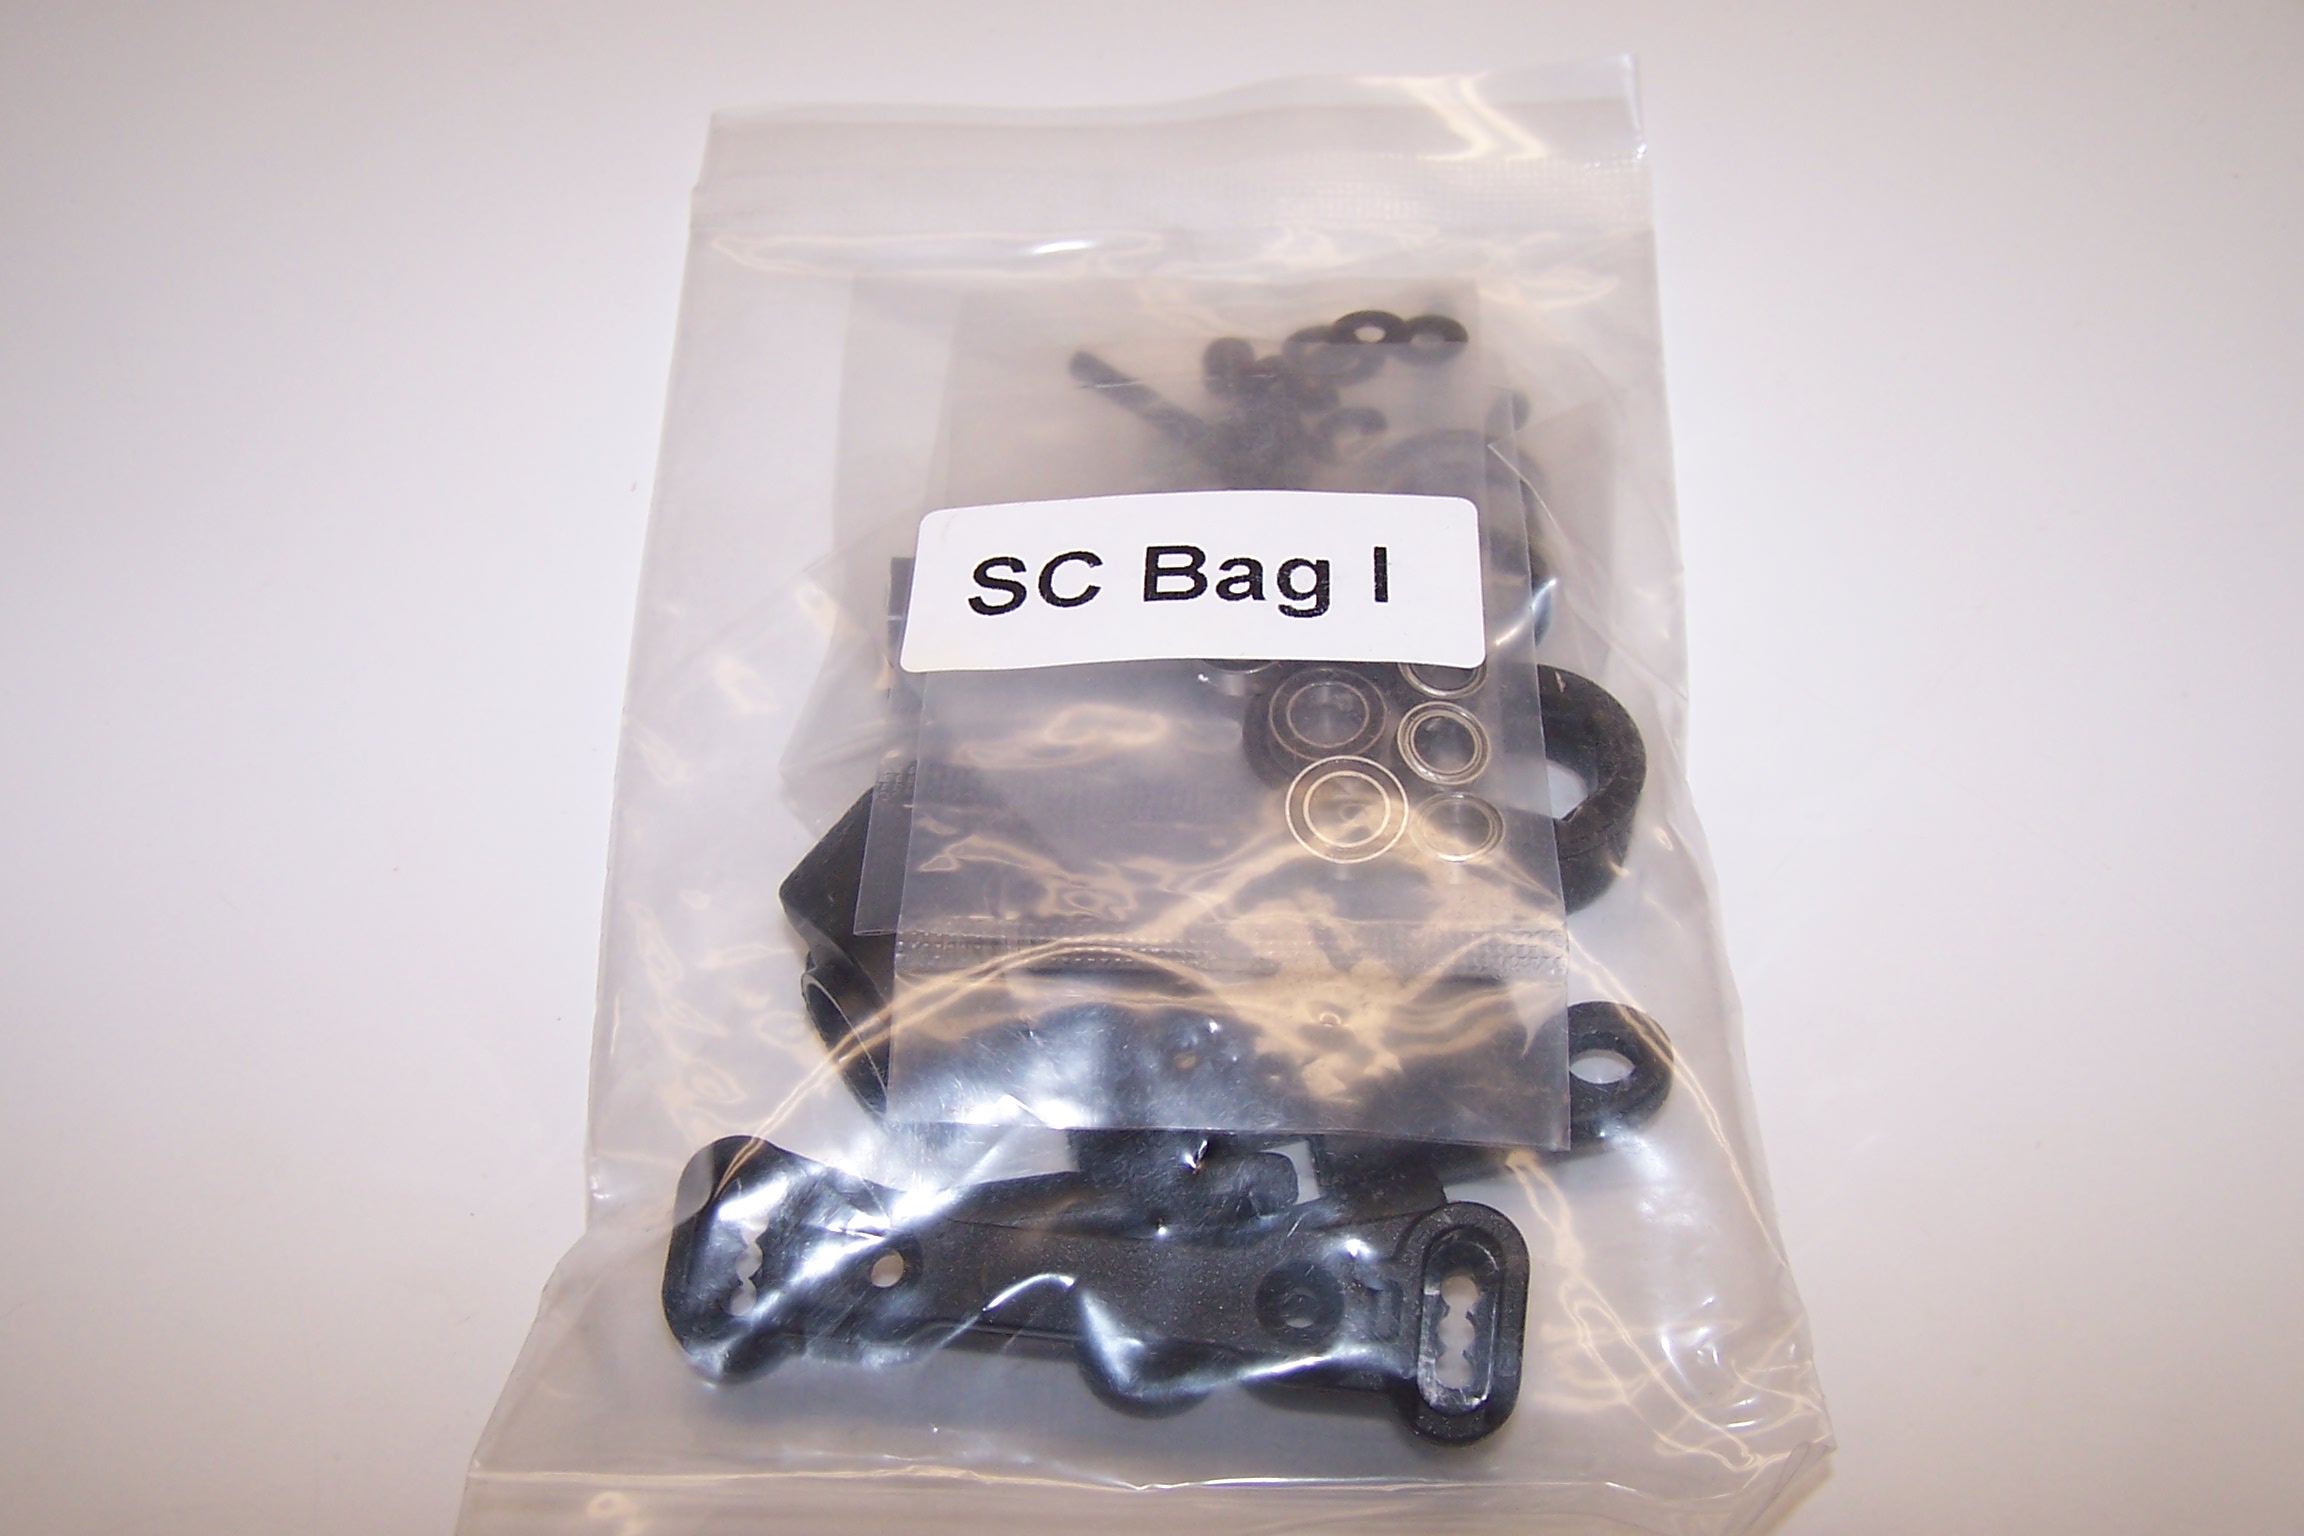
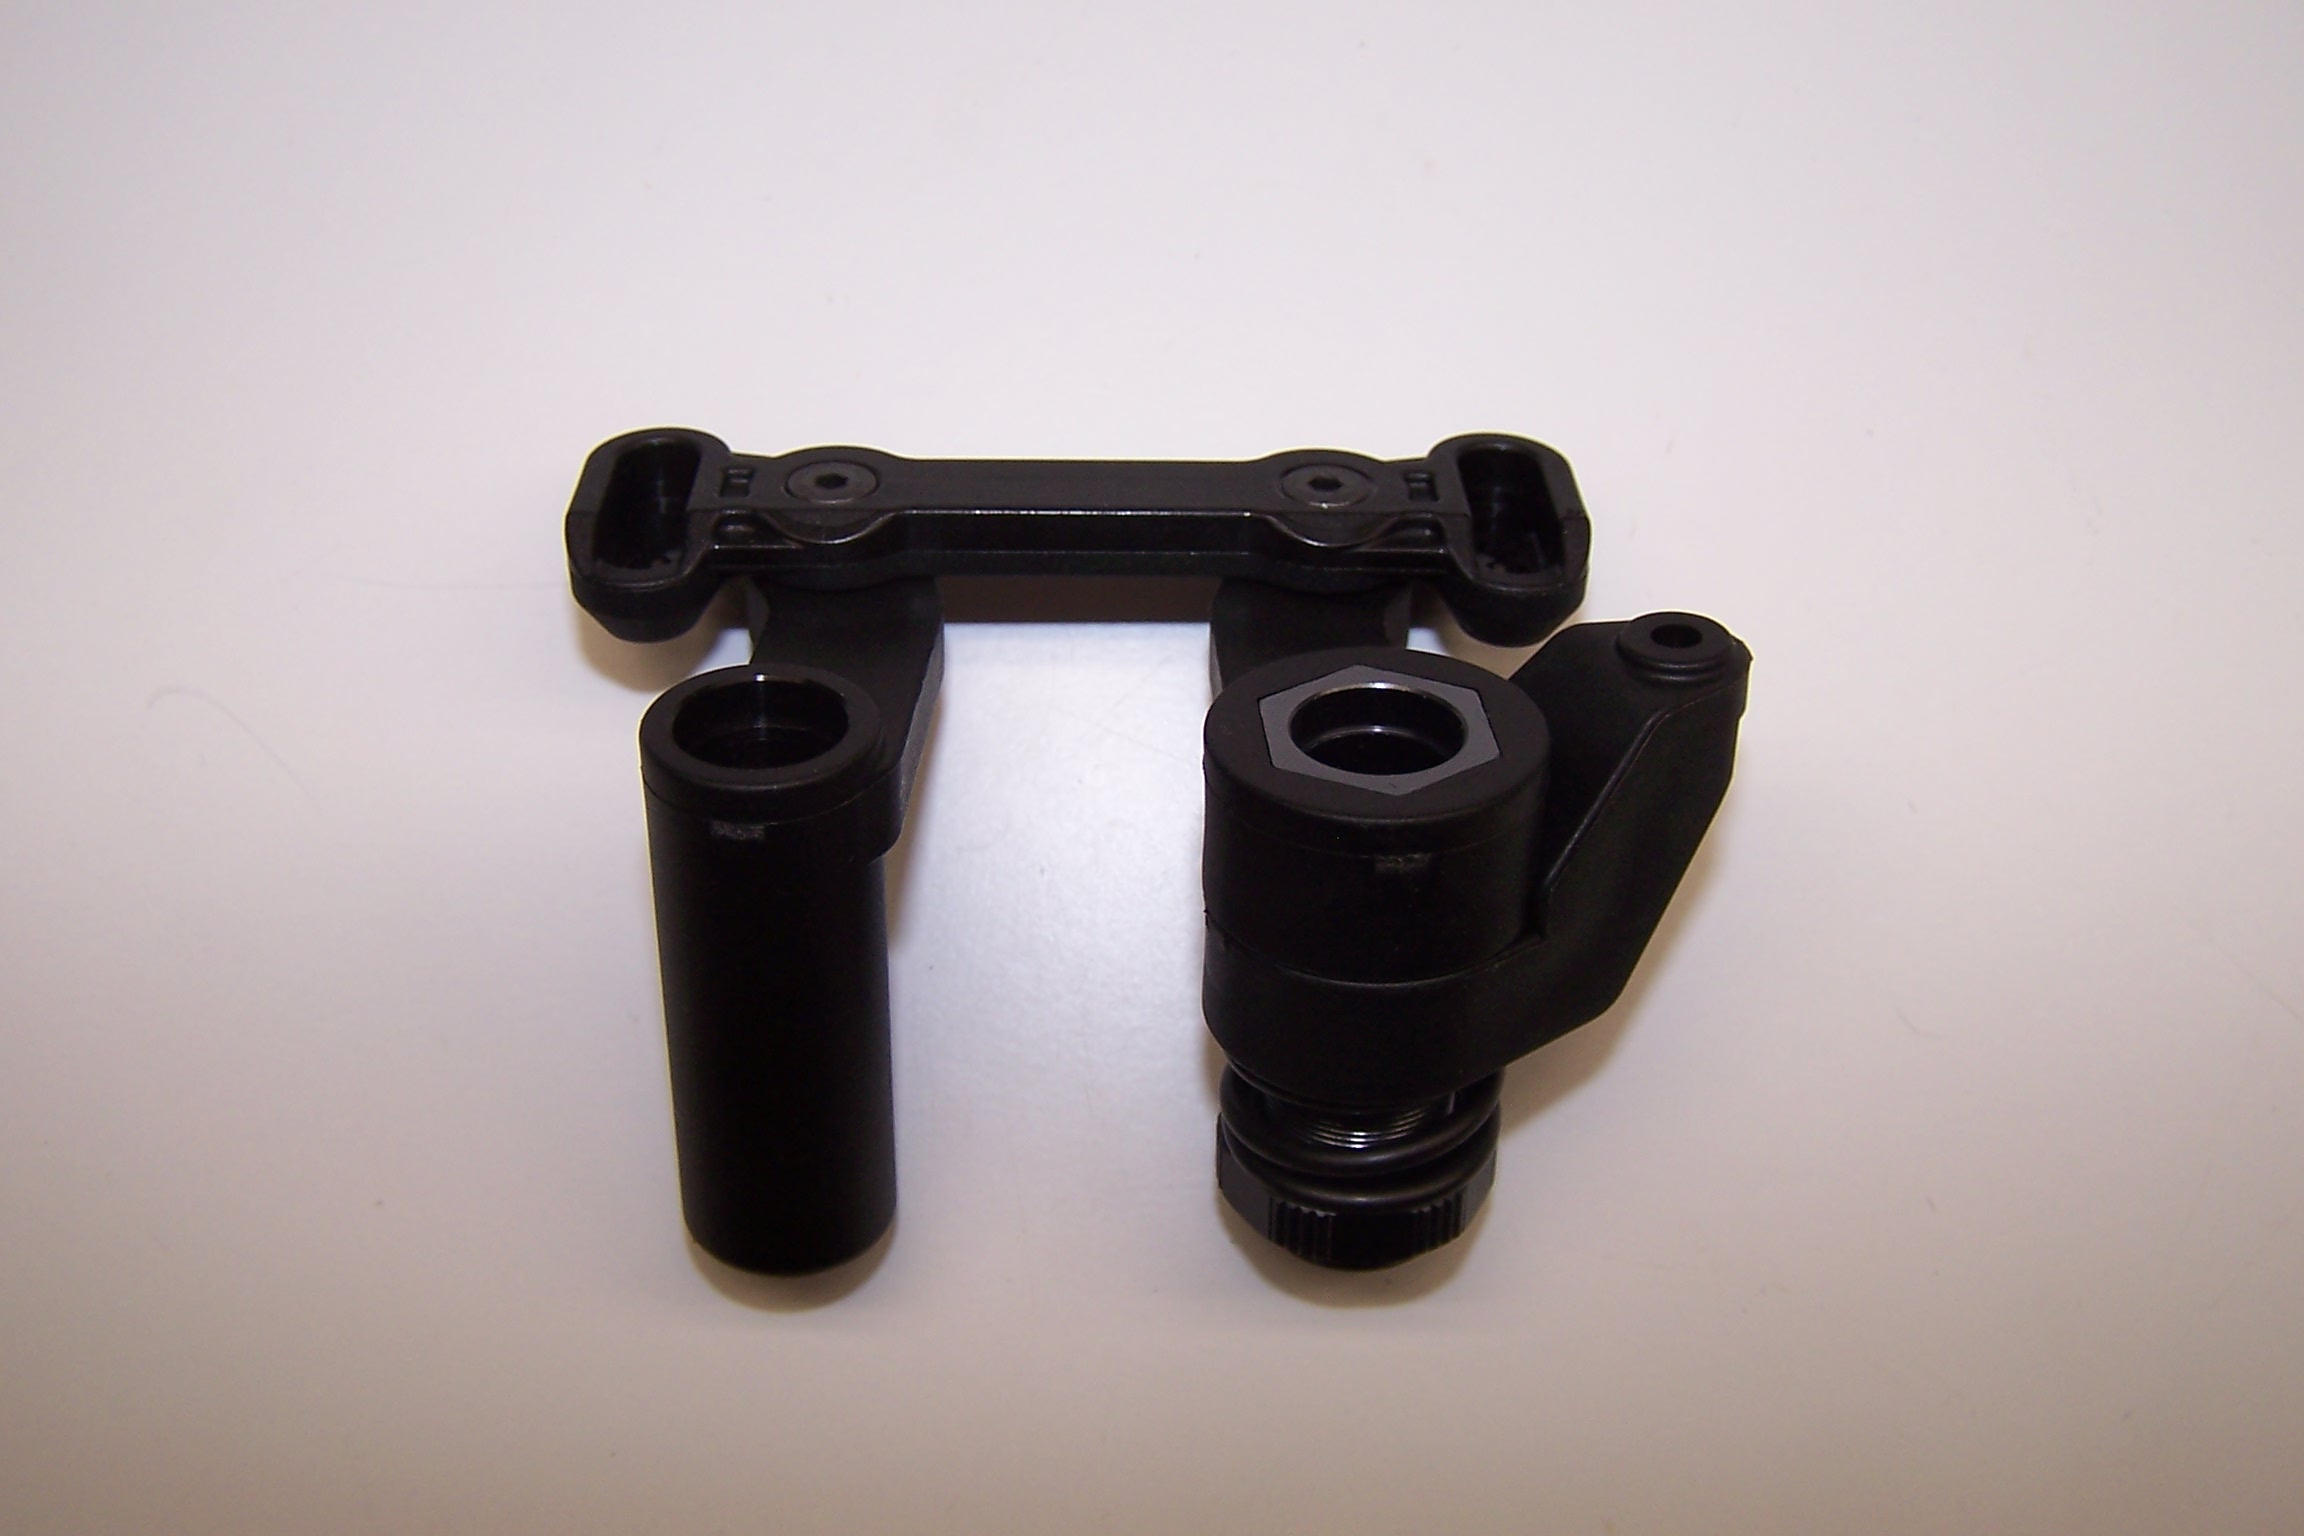
Time for the bellcrank and steering links.
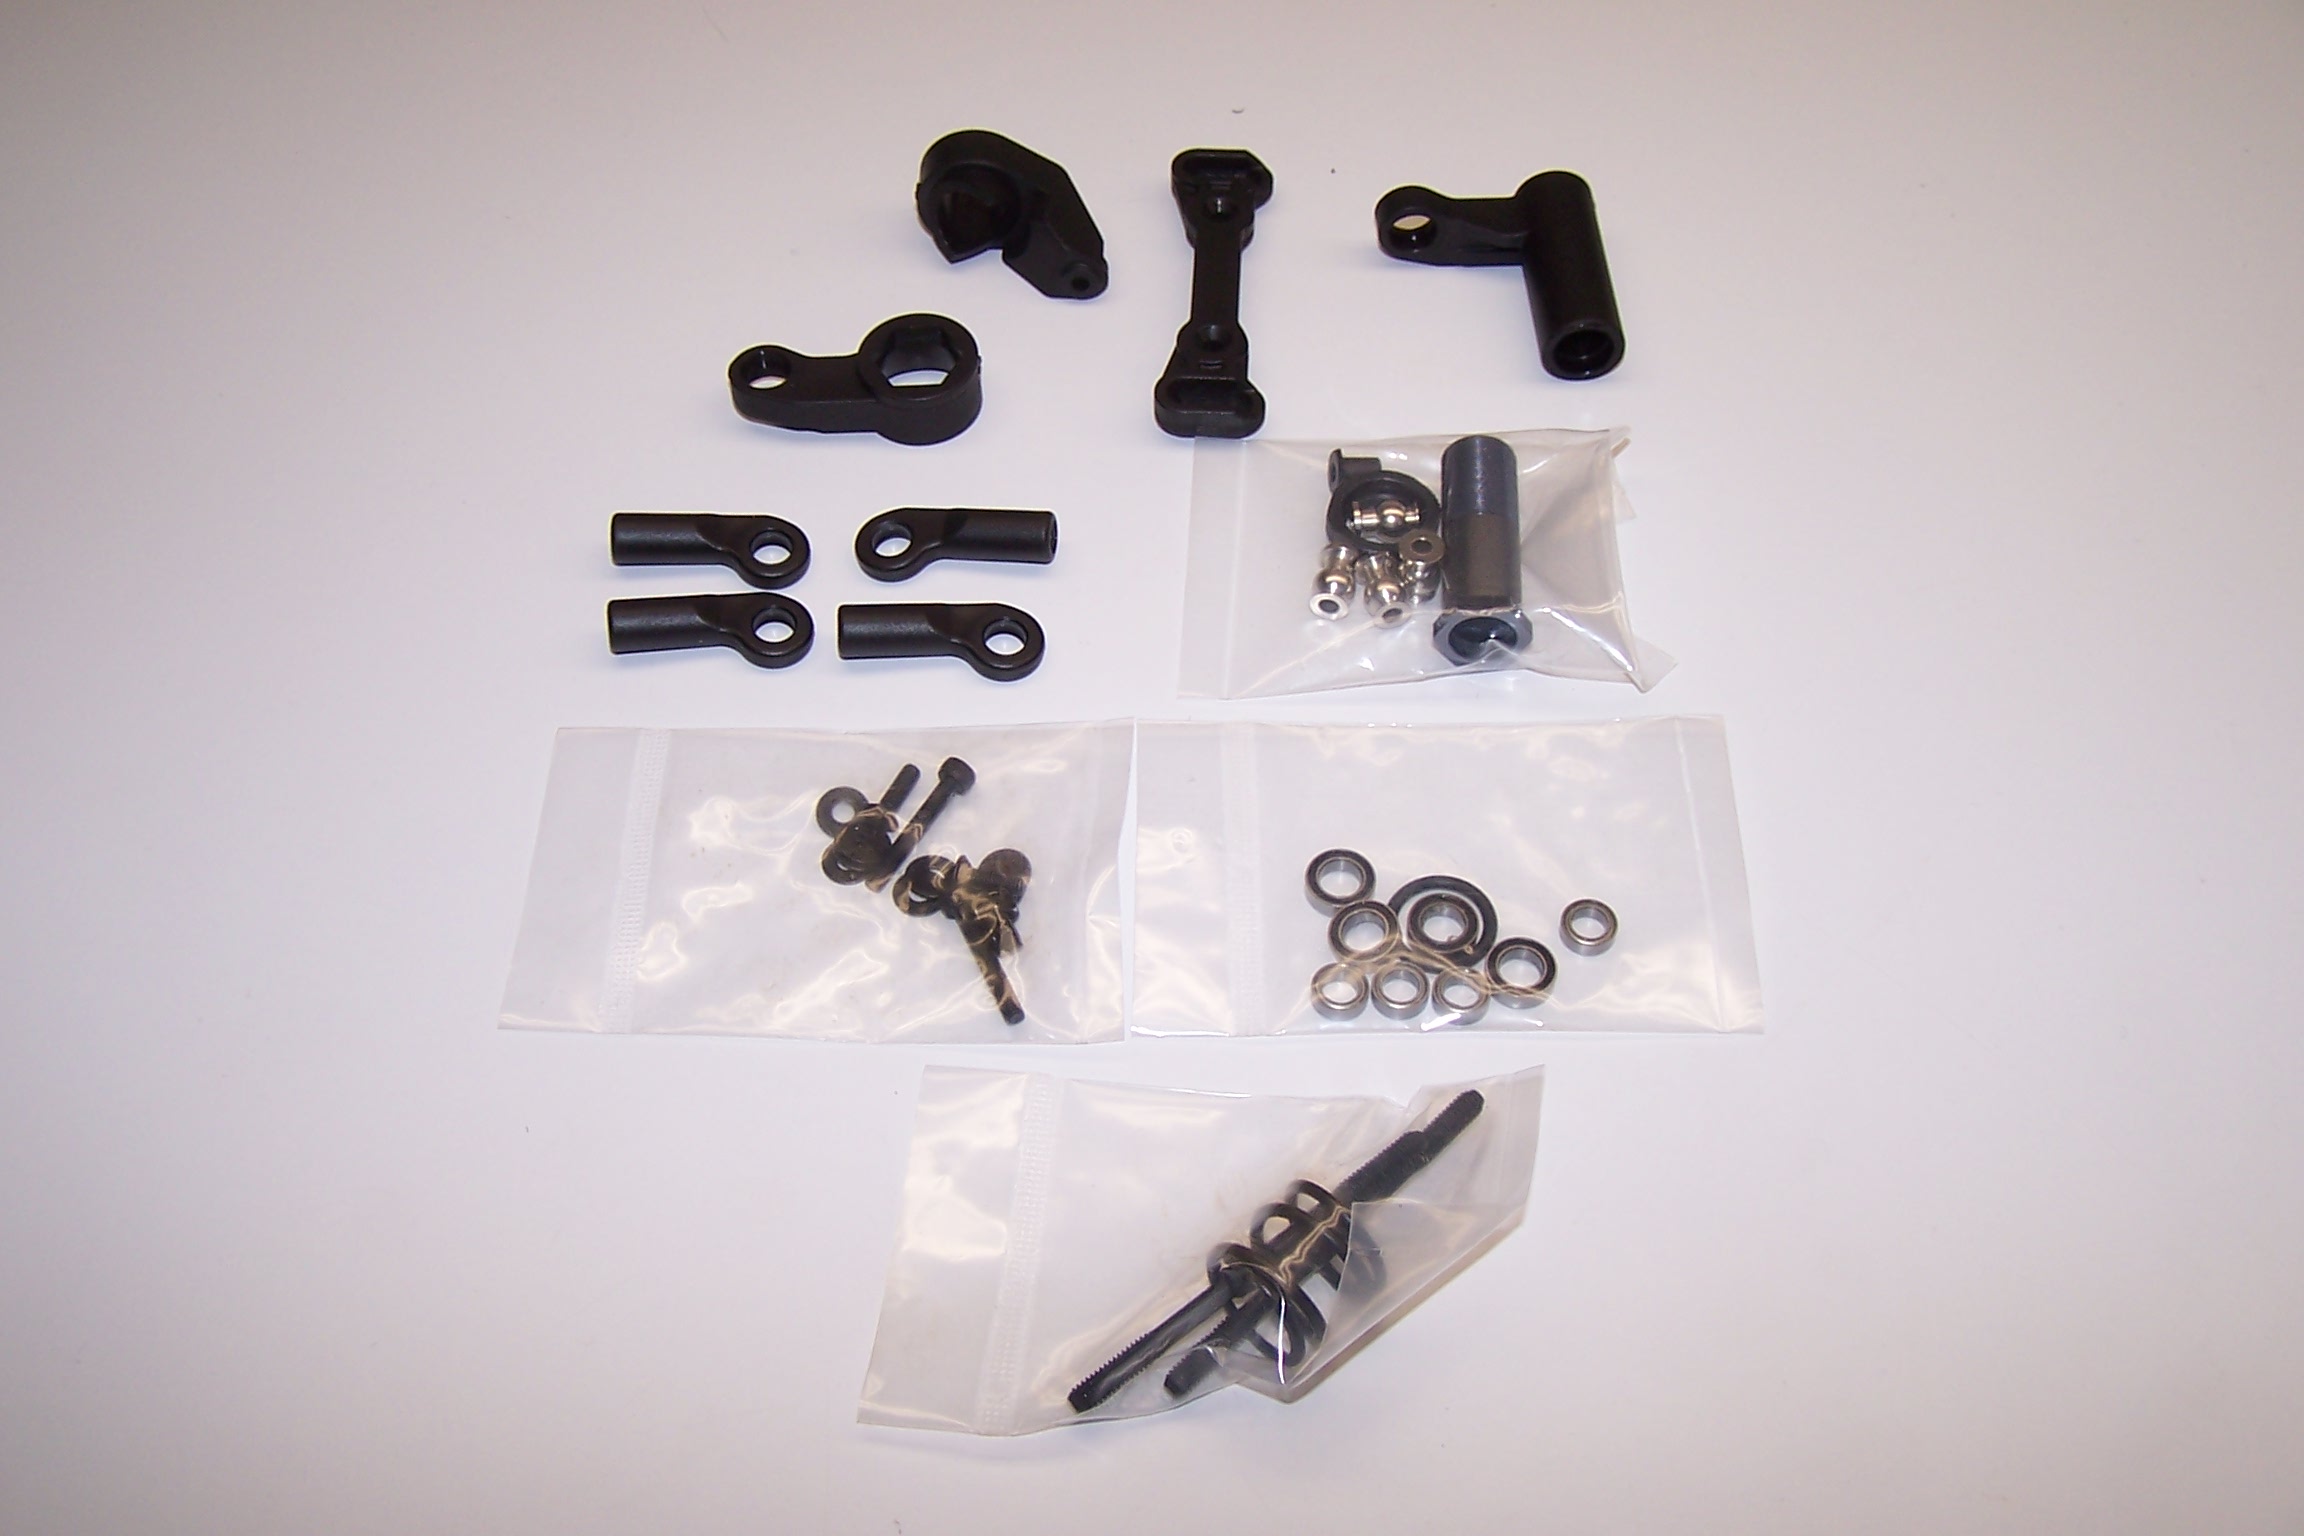
The steering assembly consists of mostly composite pieces. Tekno does offer an aluminum ackerman arm.
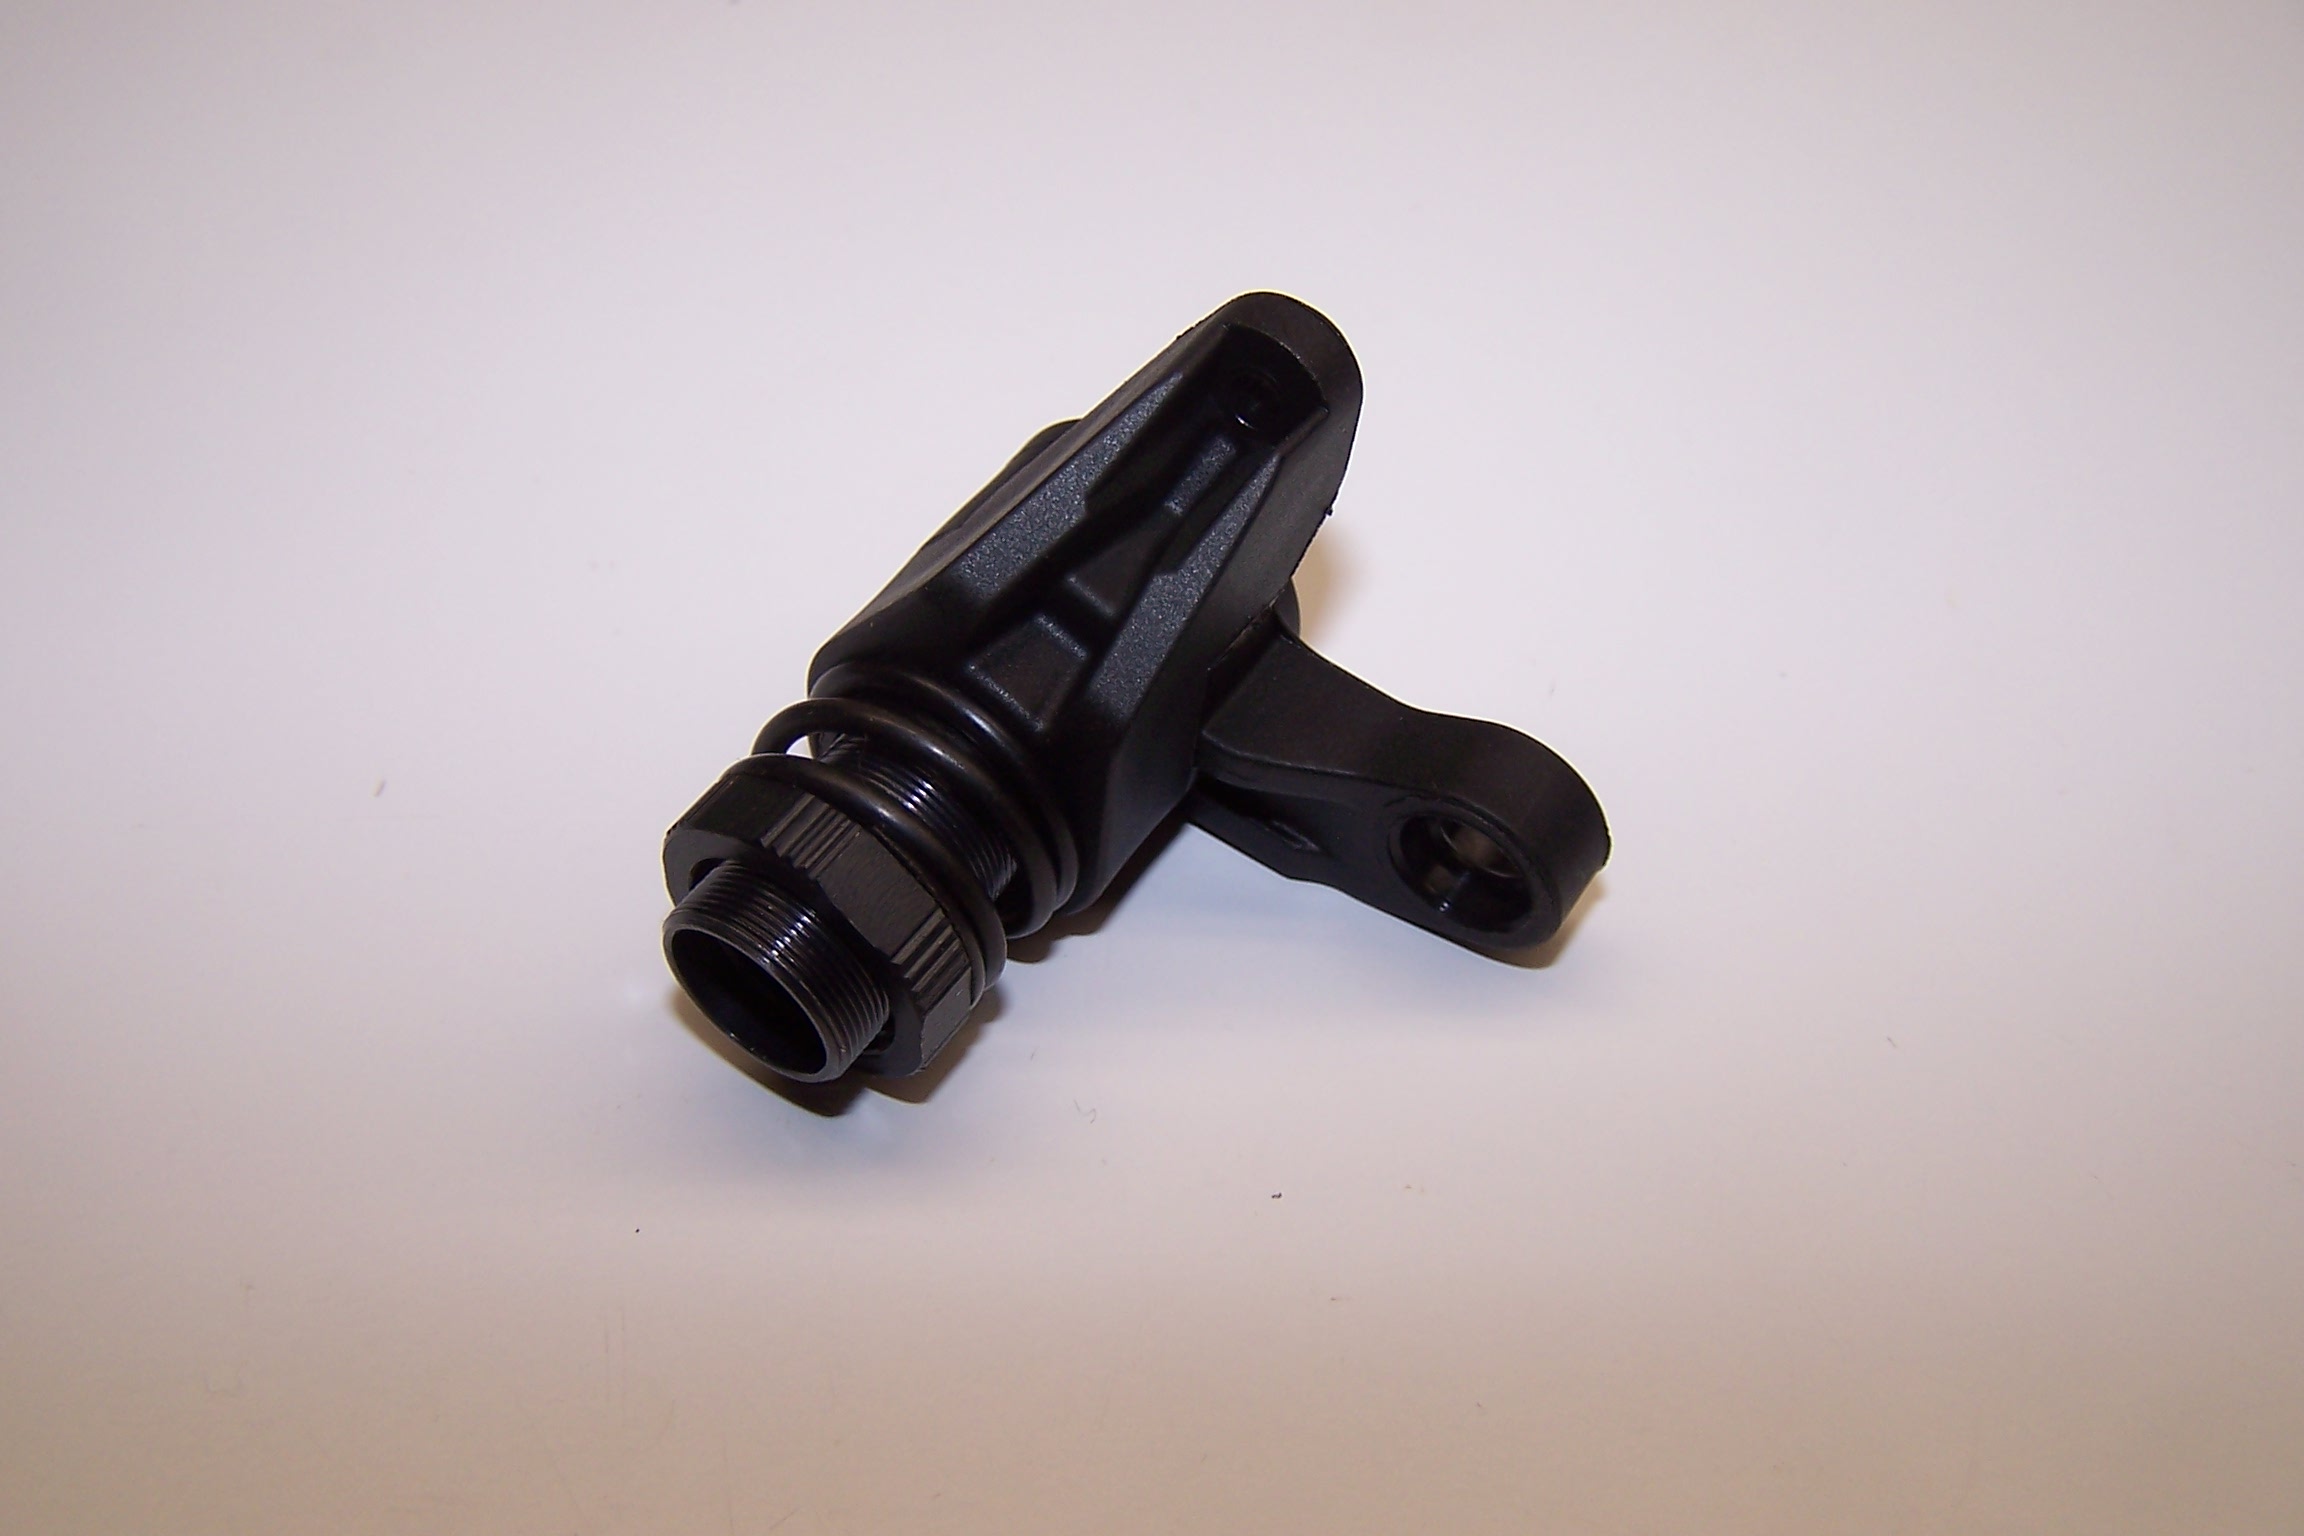
The bellcrank pieces are slid together and the nut is turned in per the manual.
The ackerman arm is secured to the pivot arms with screws. Make sure the screws do not cause the pivots to bind or drag. You want free movement, but no slop.

Front camber links are assembled and the marks are always put on the same side of the vehicle.
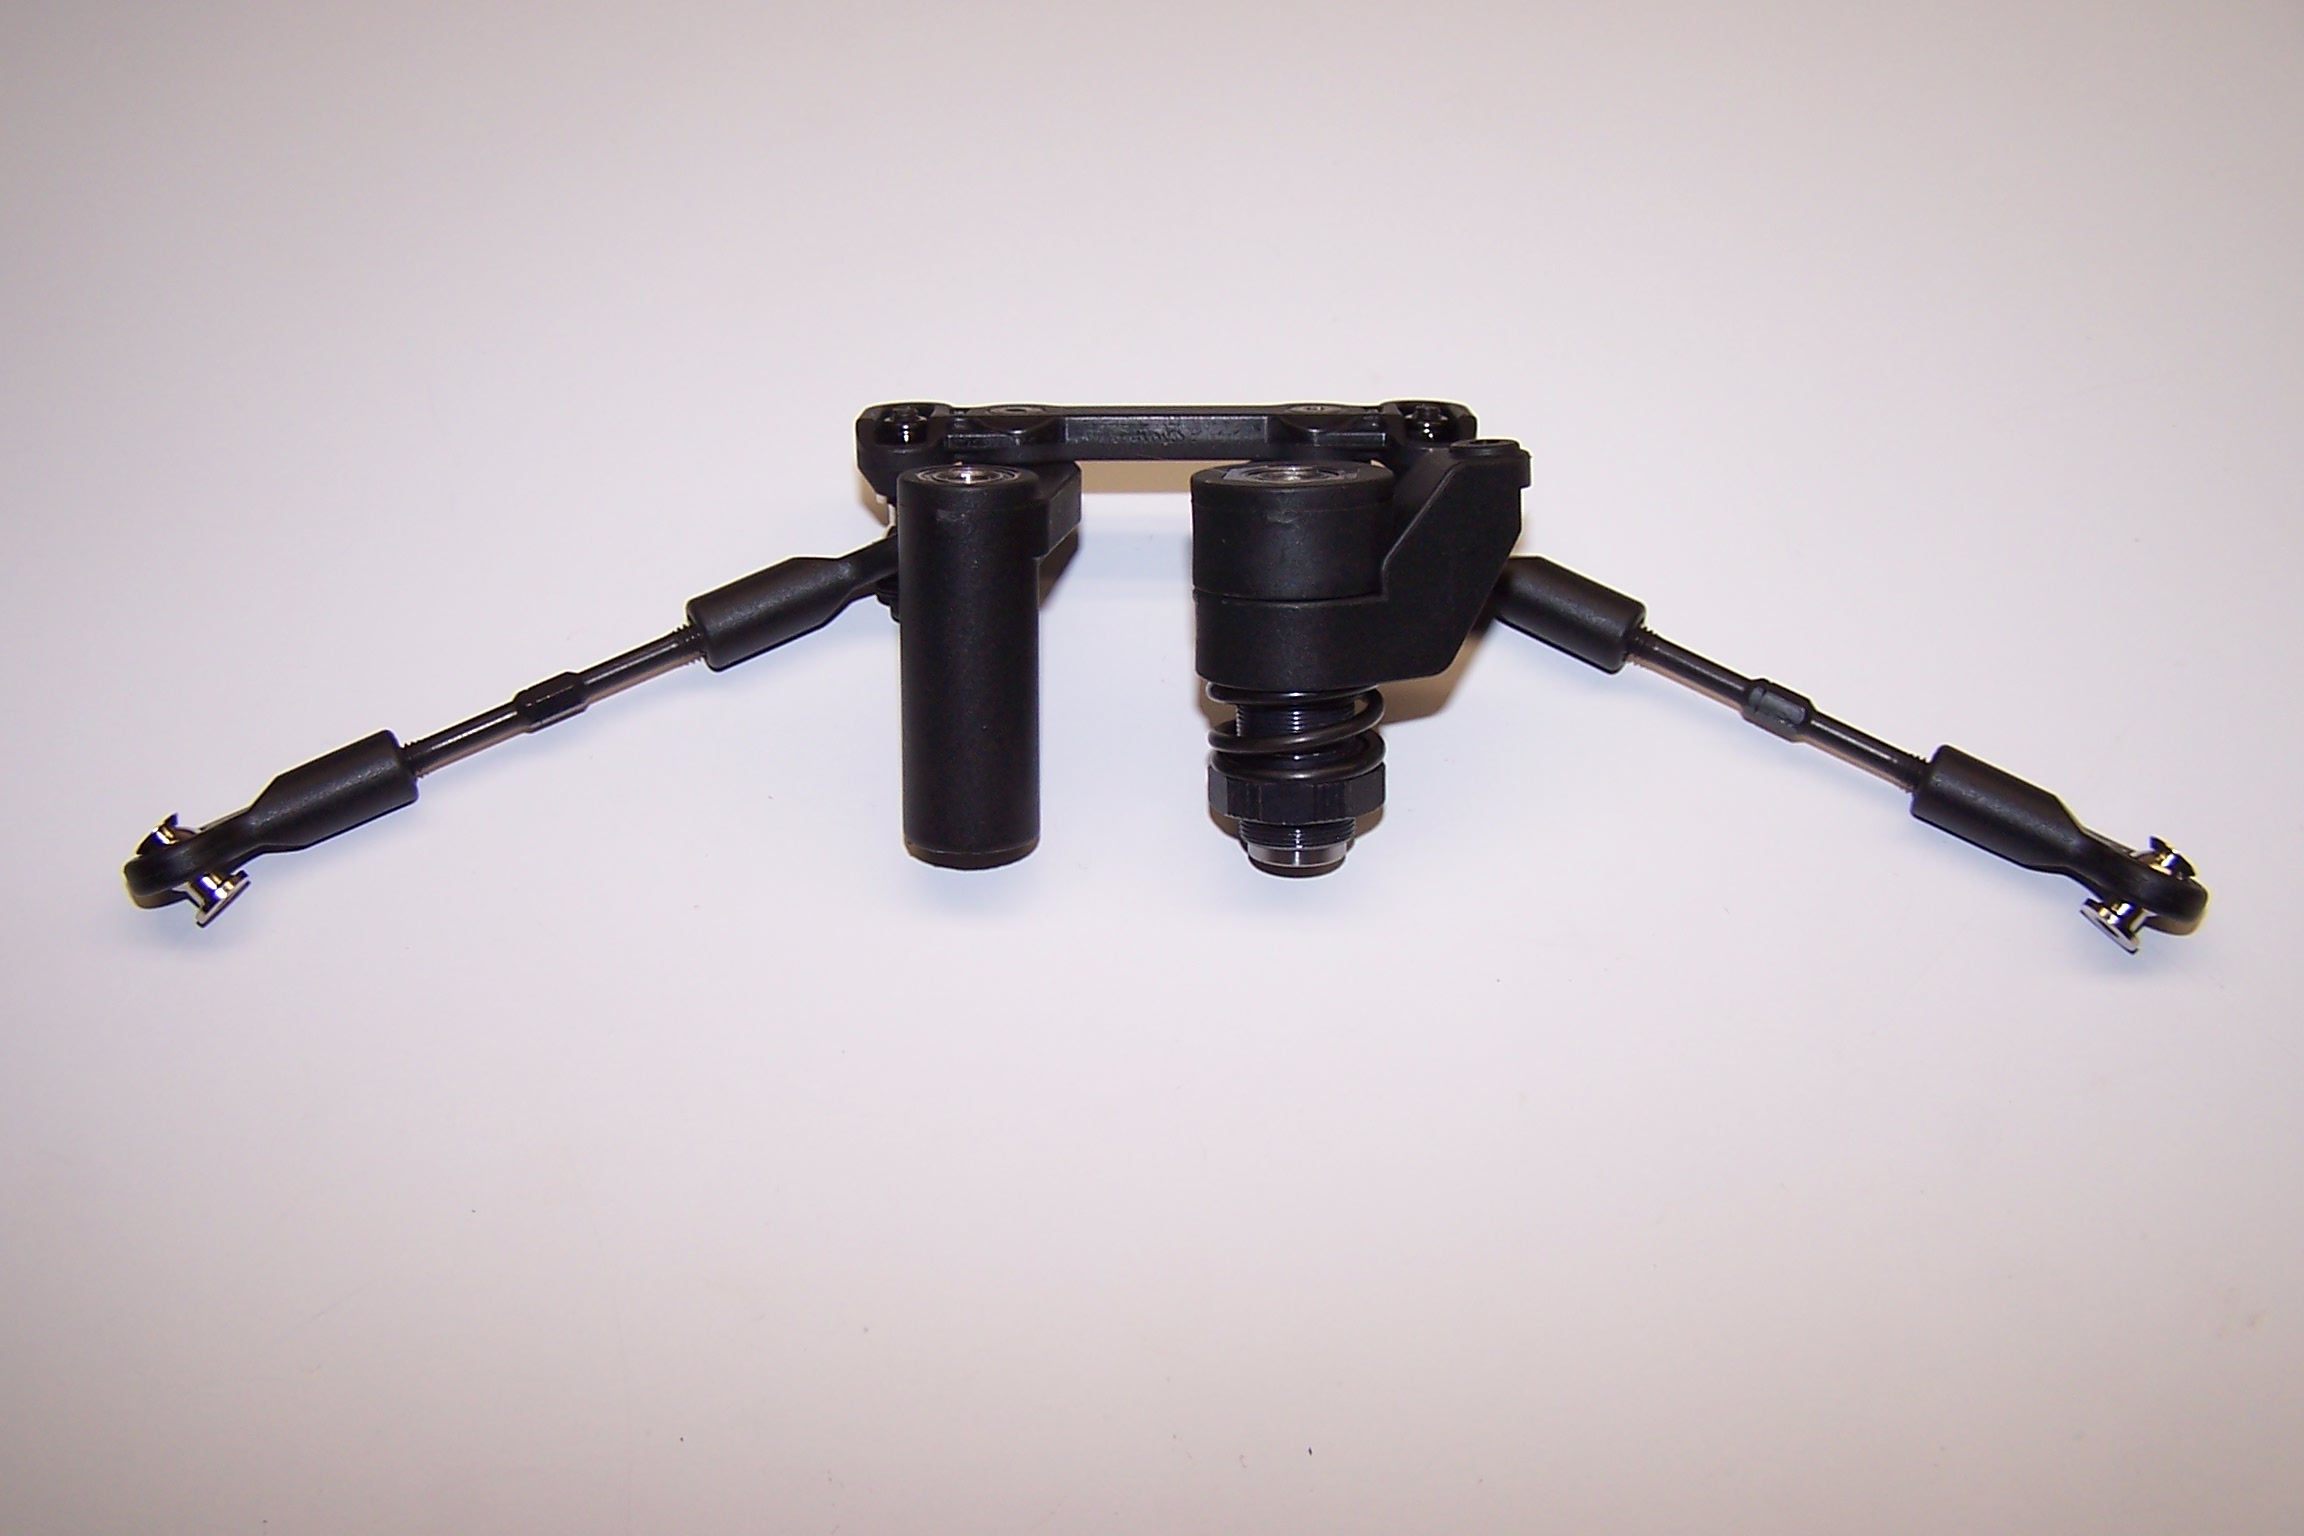
Next we attach them to the bellcrank.
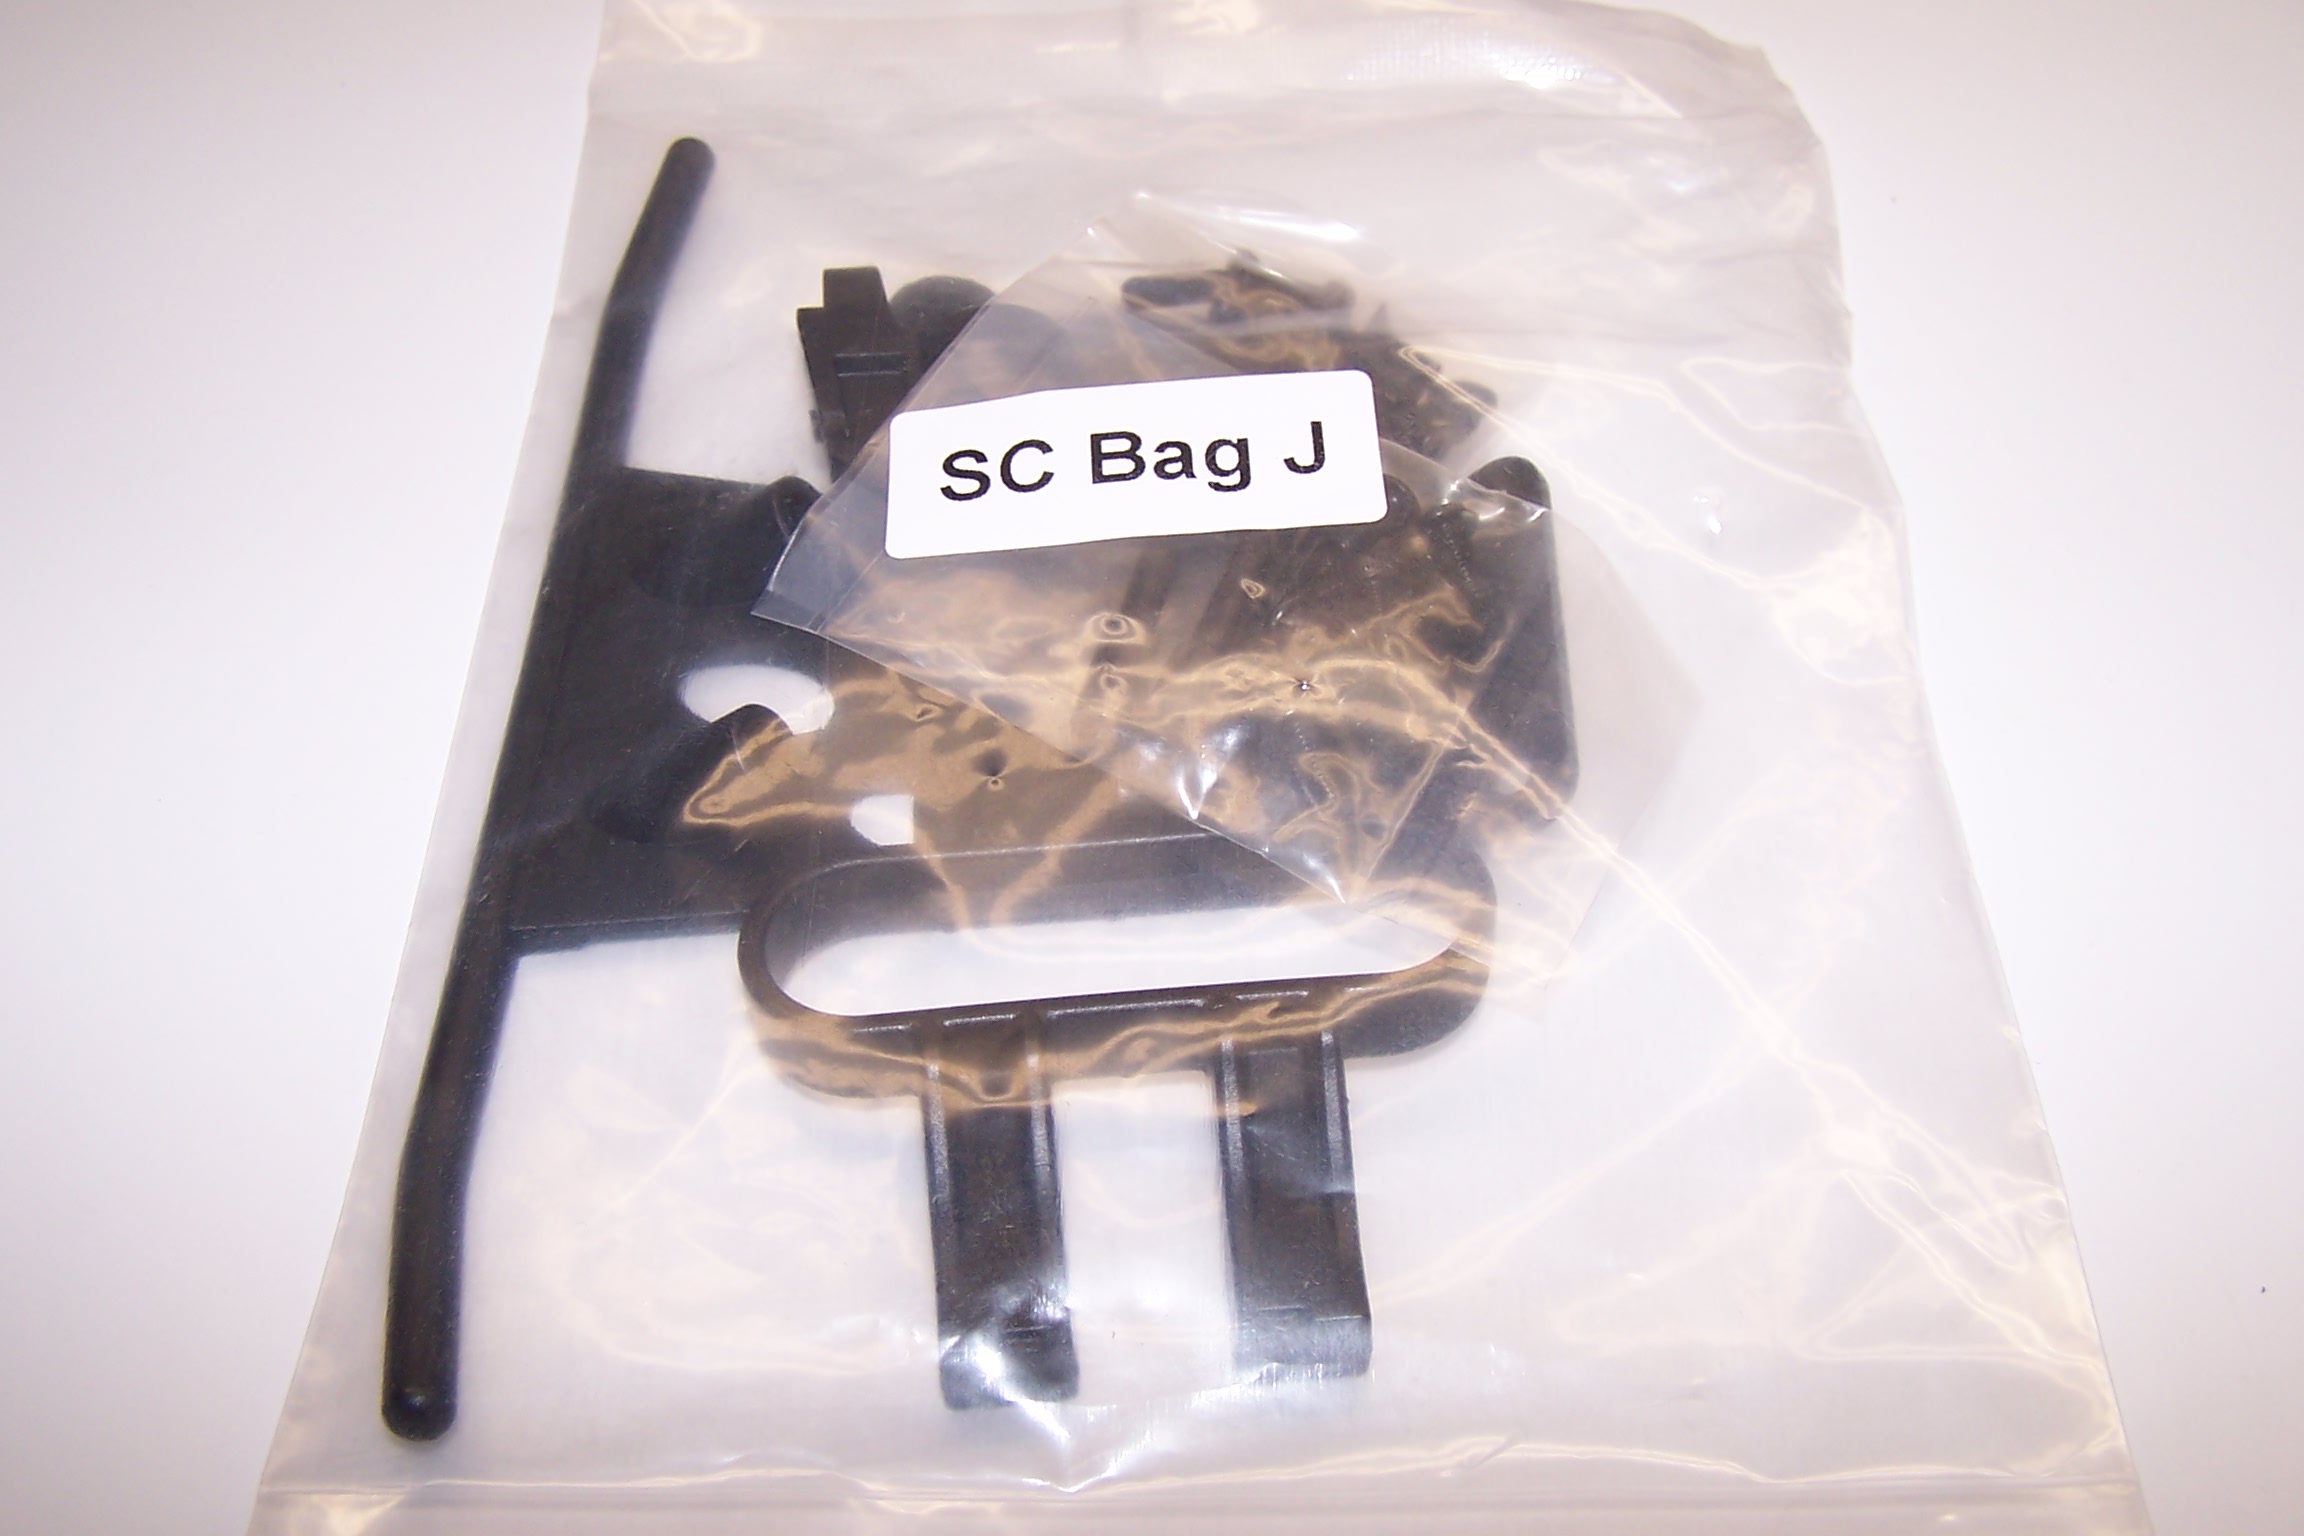
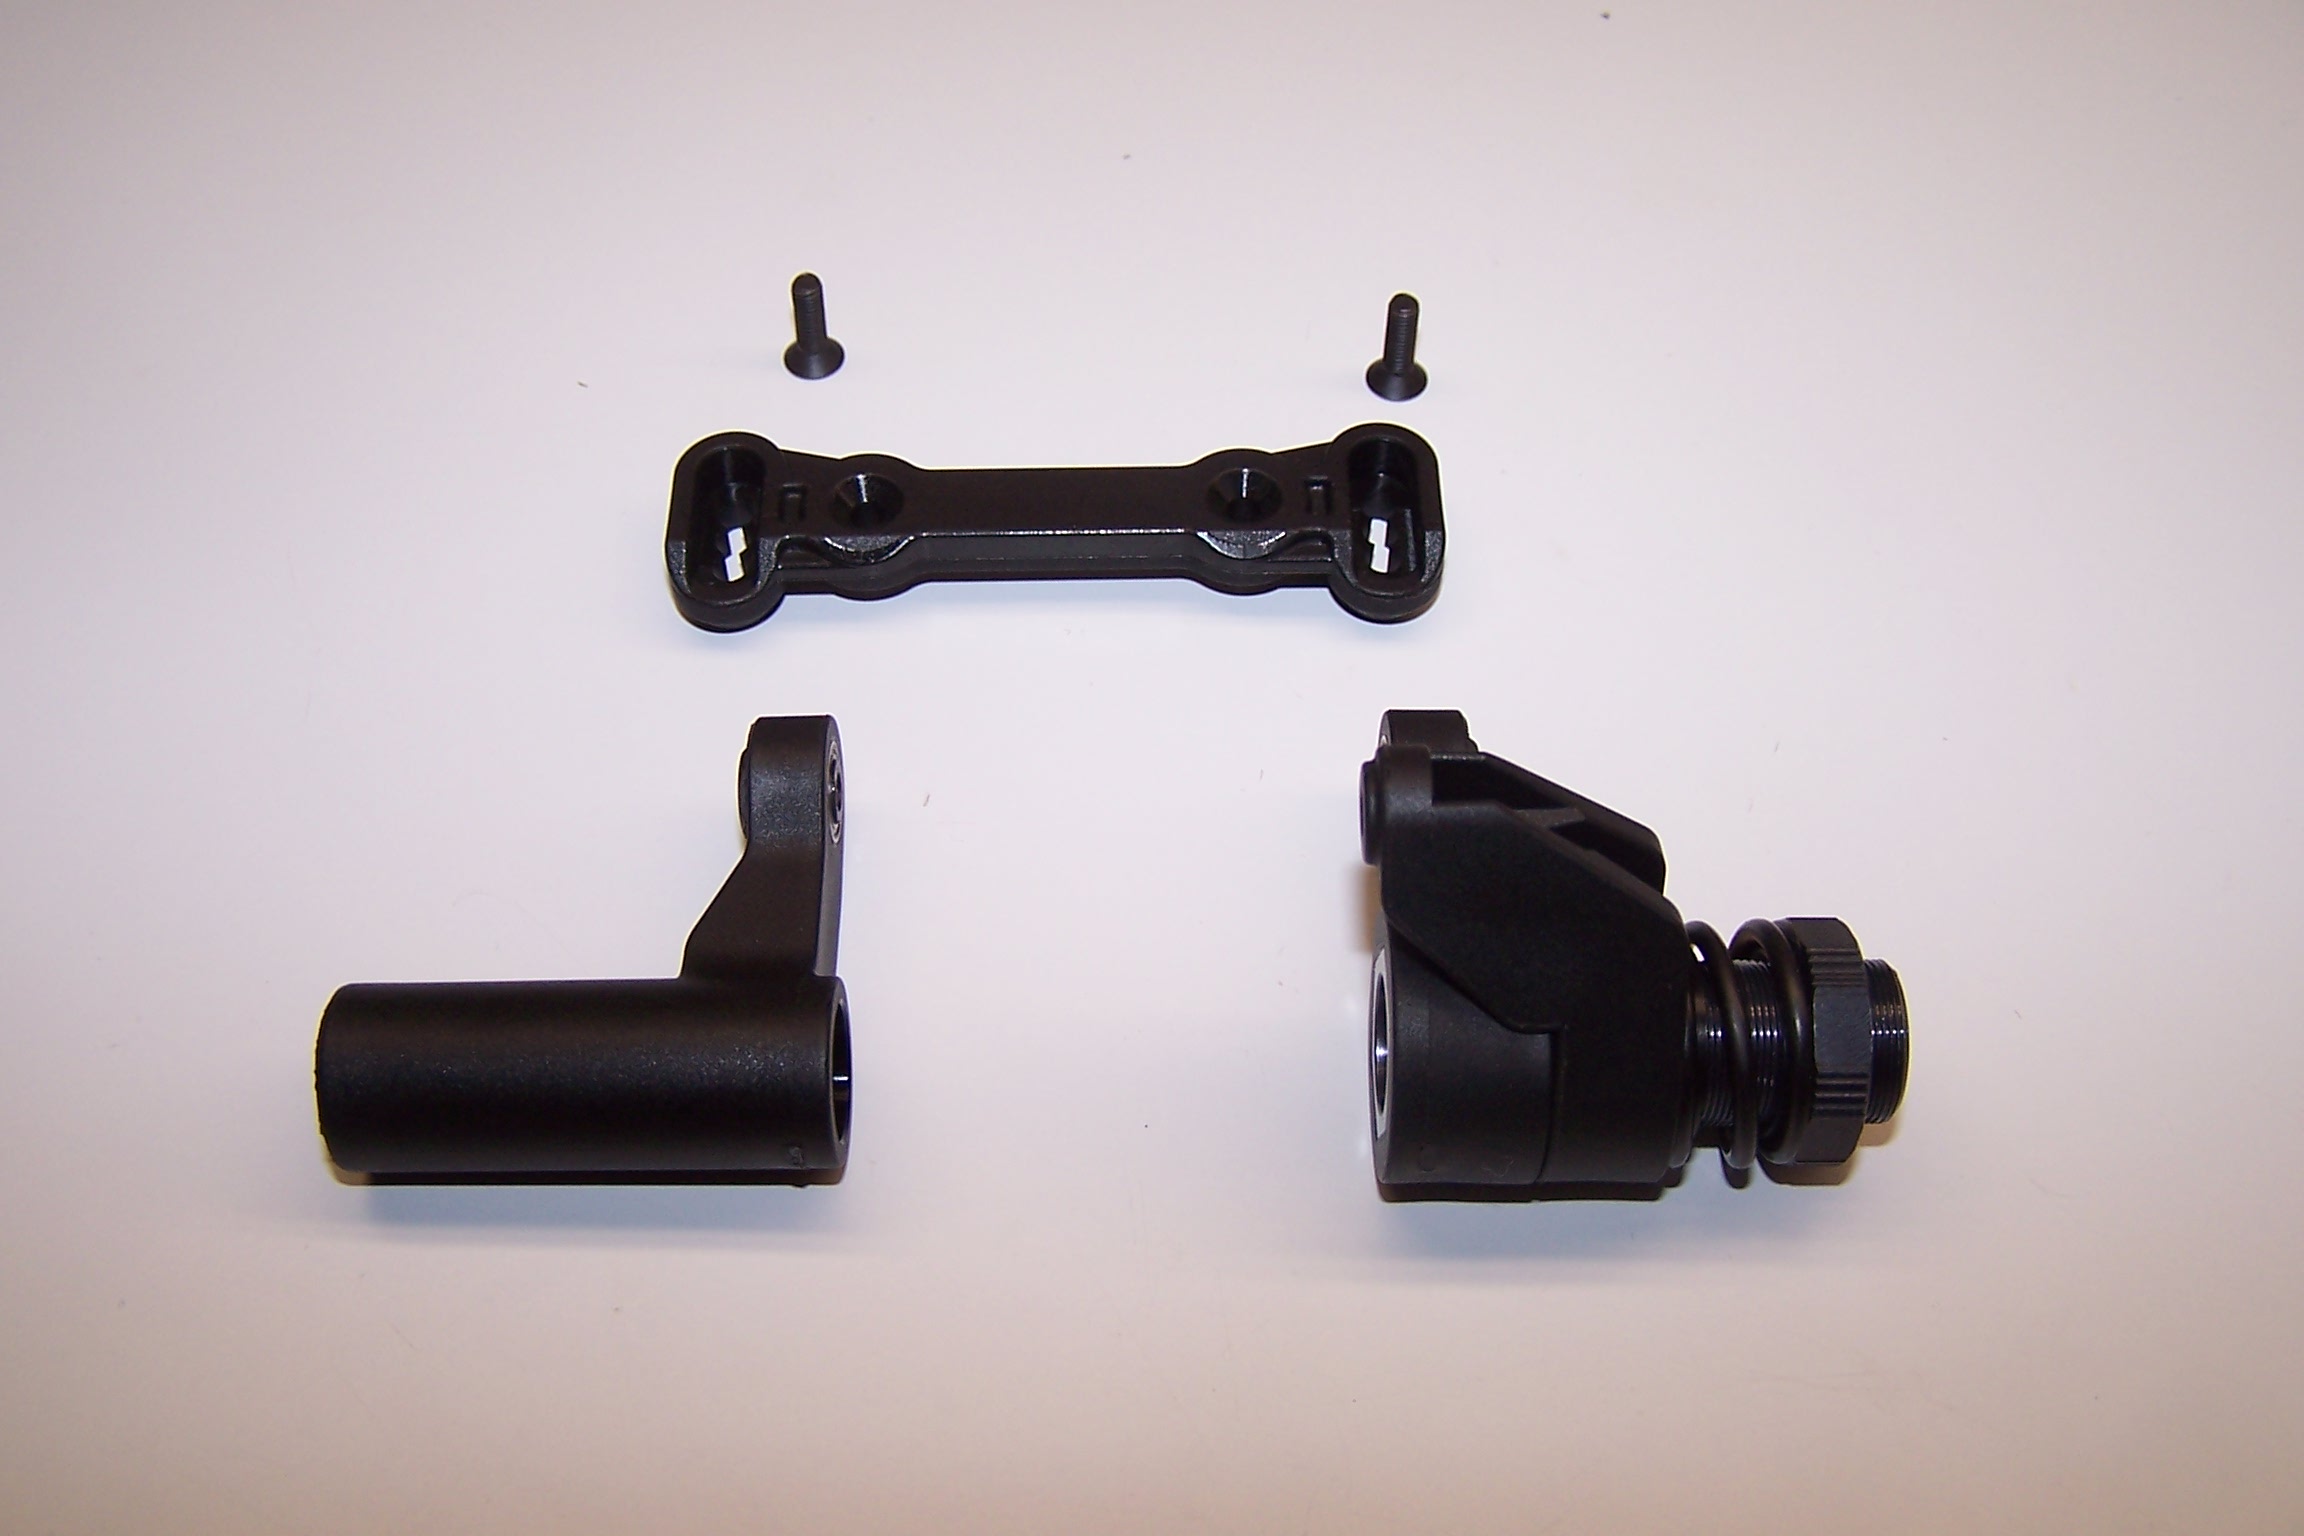
Bag J is a mixed bag. It contains the front chassis brace, steering posts, and part of the bumper.
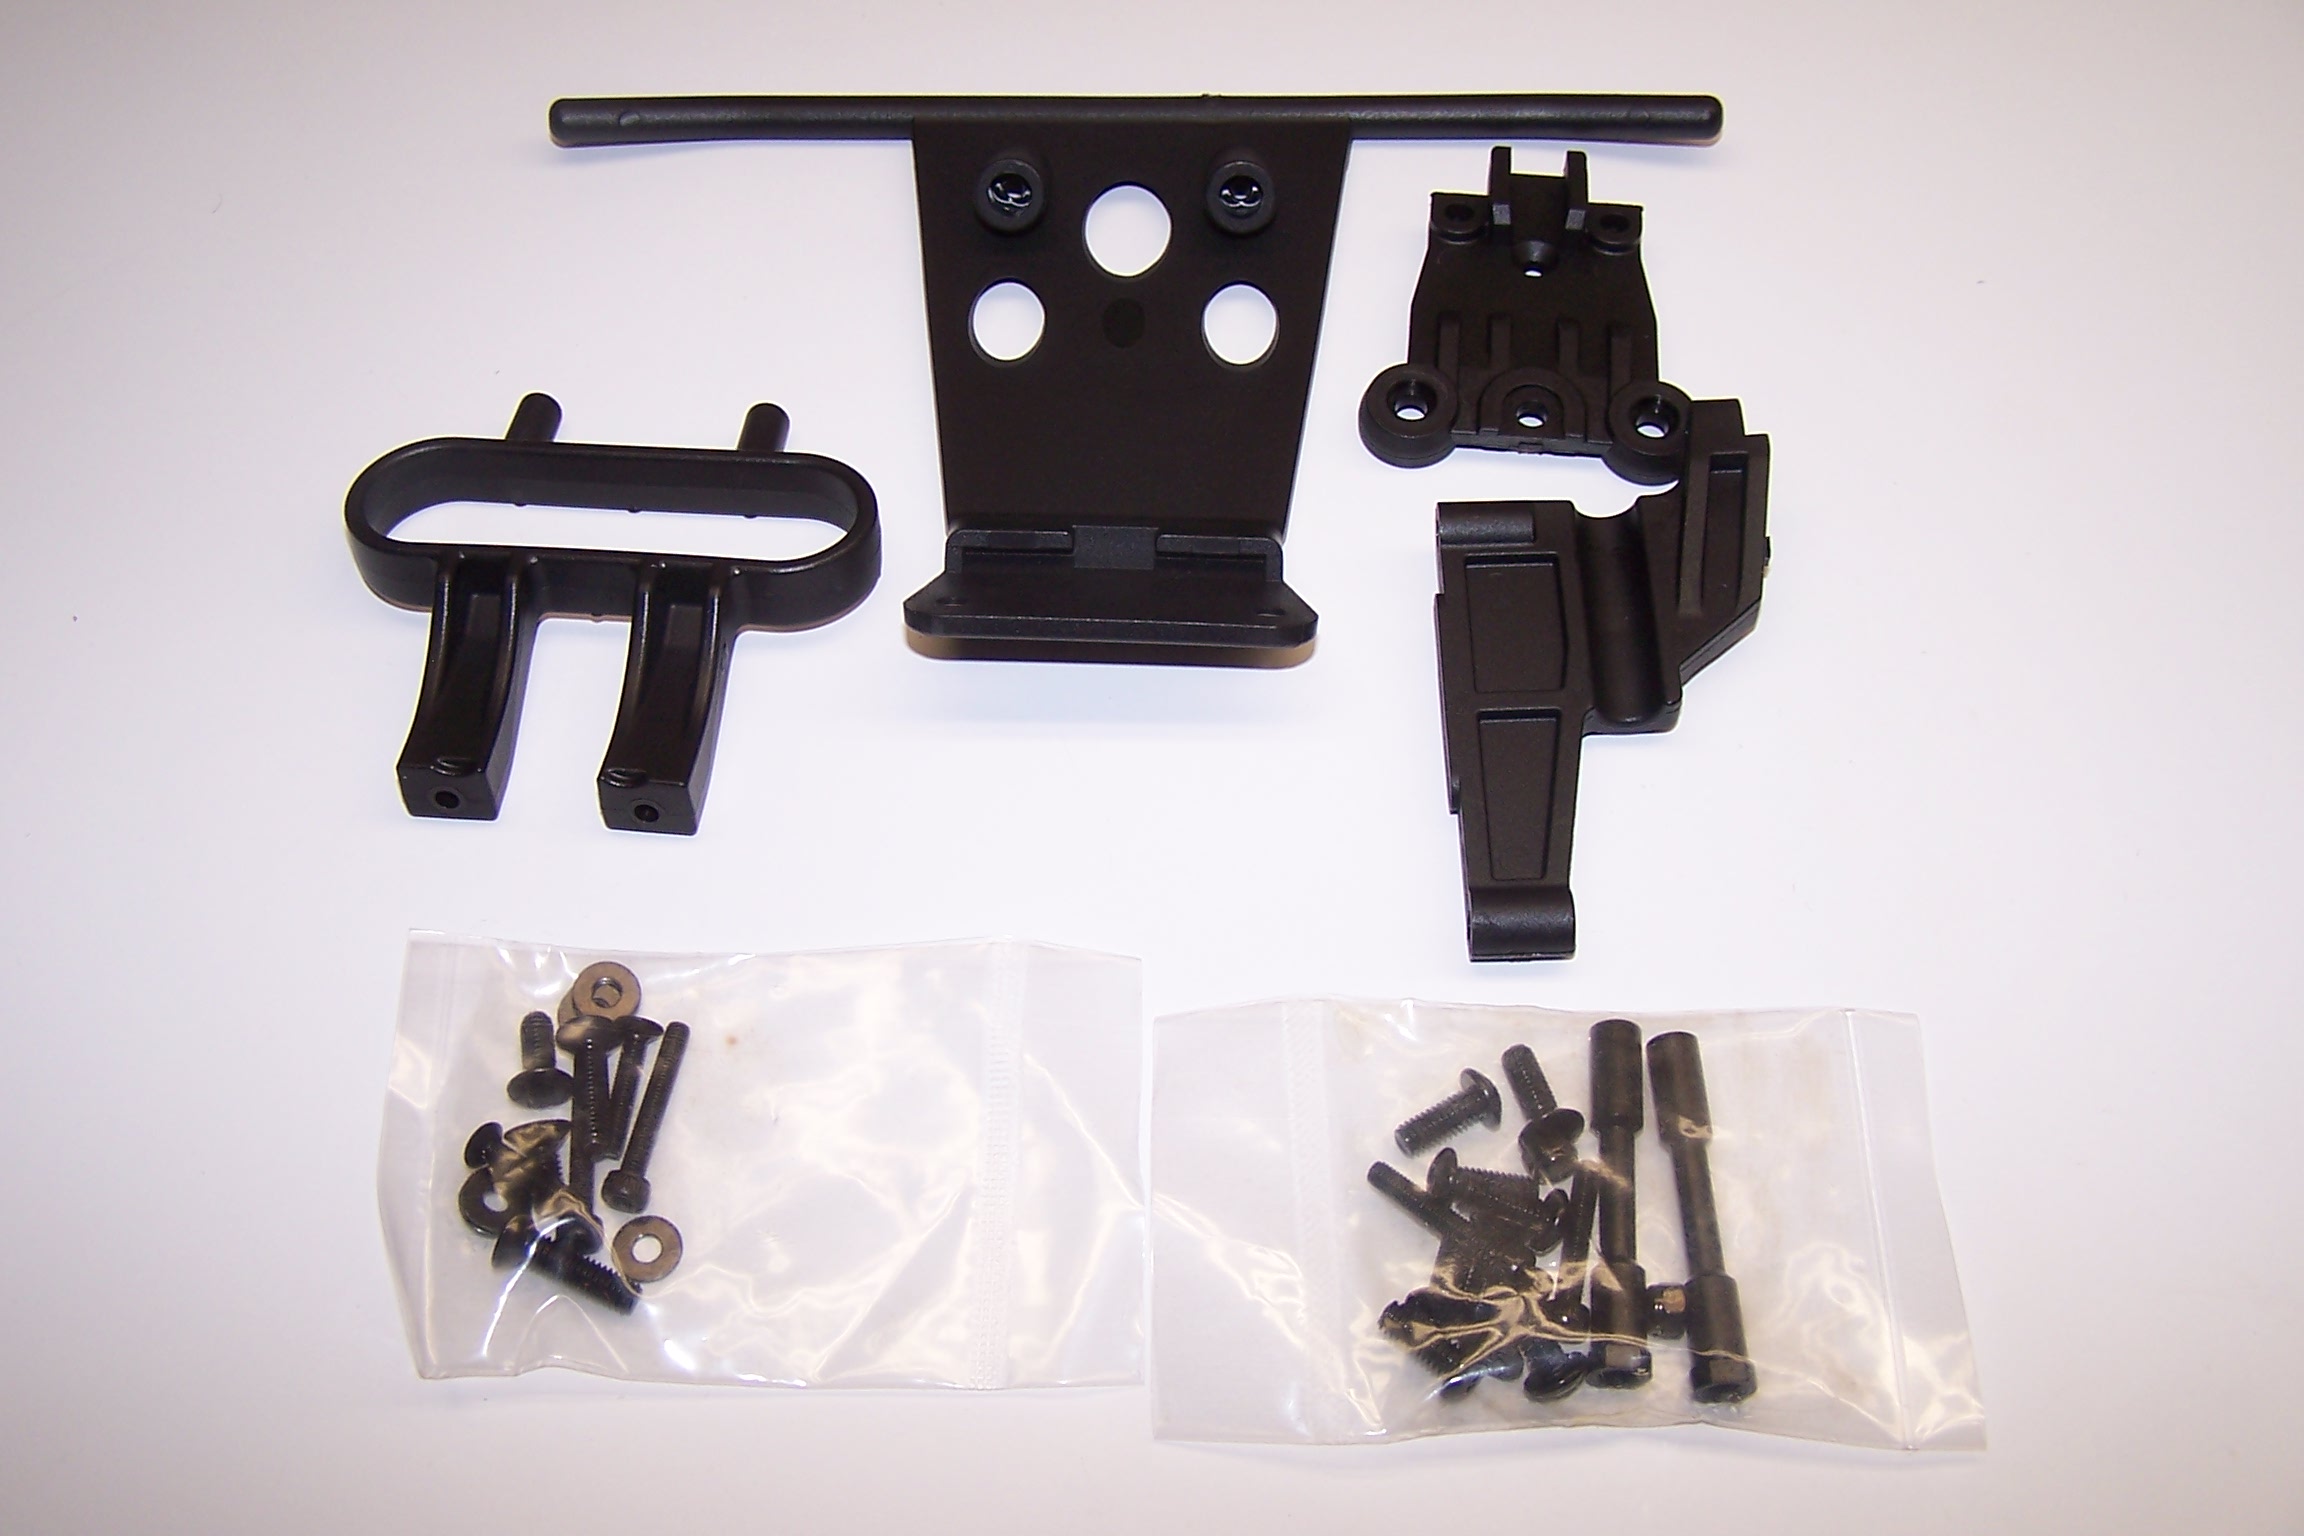
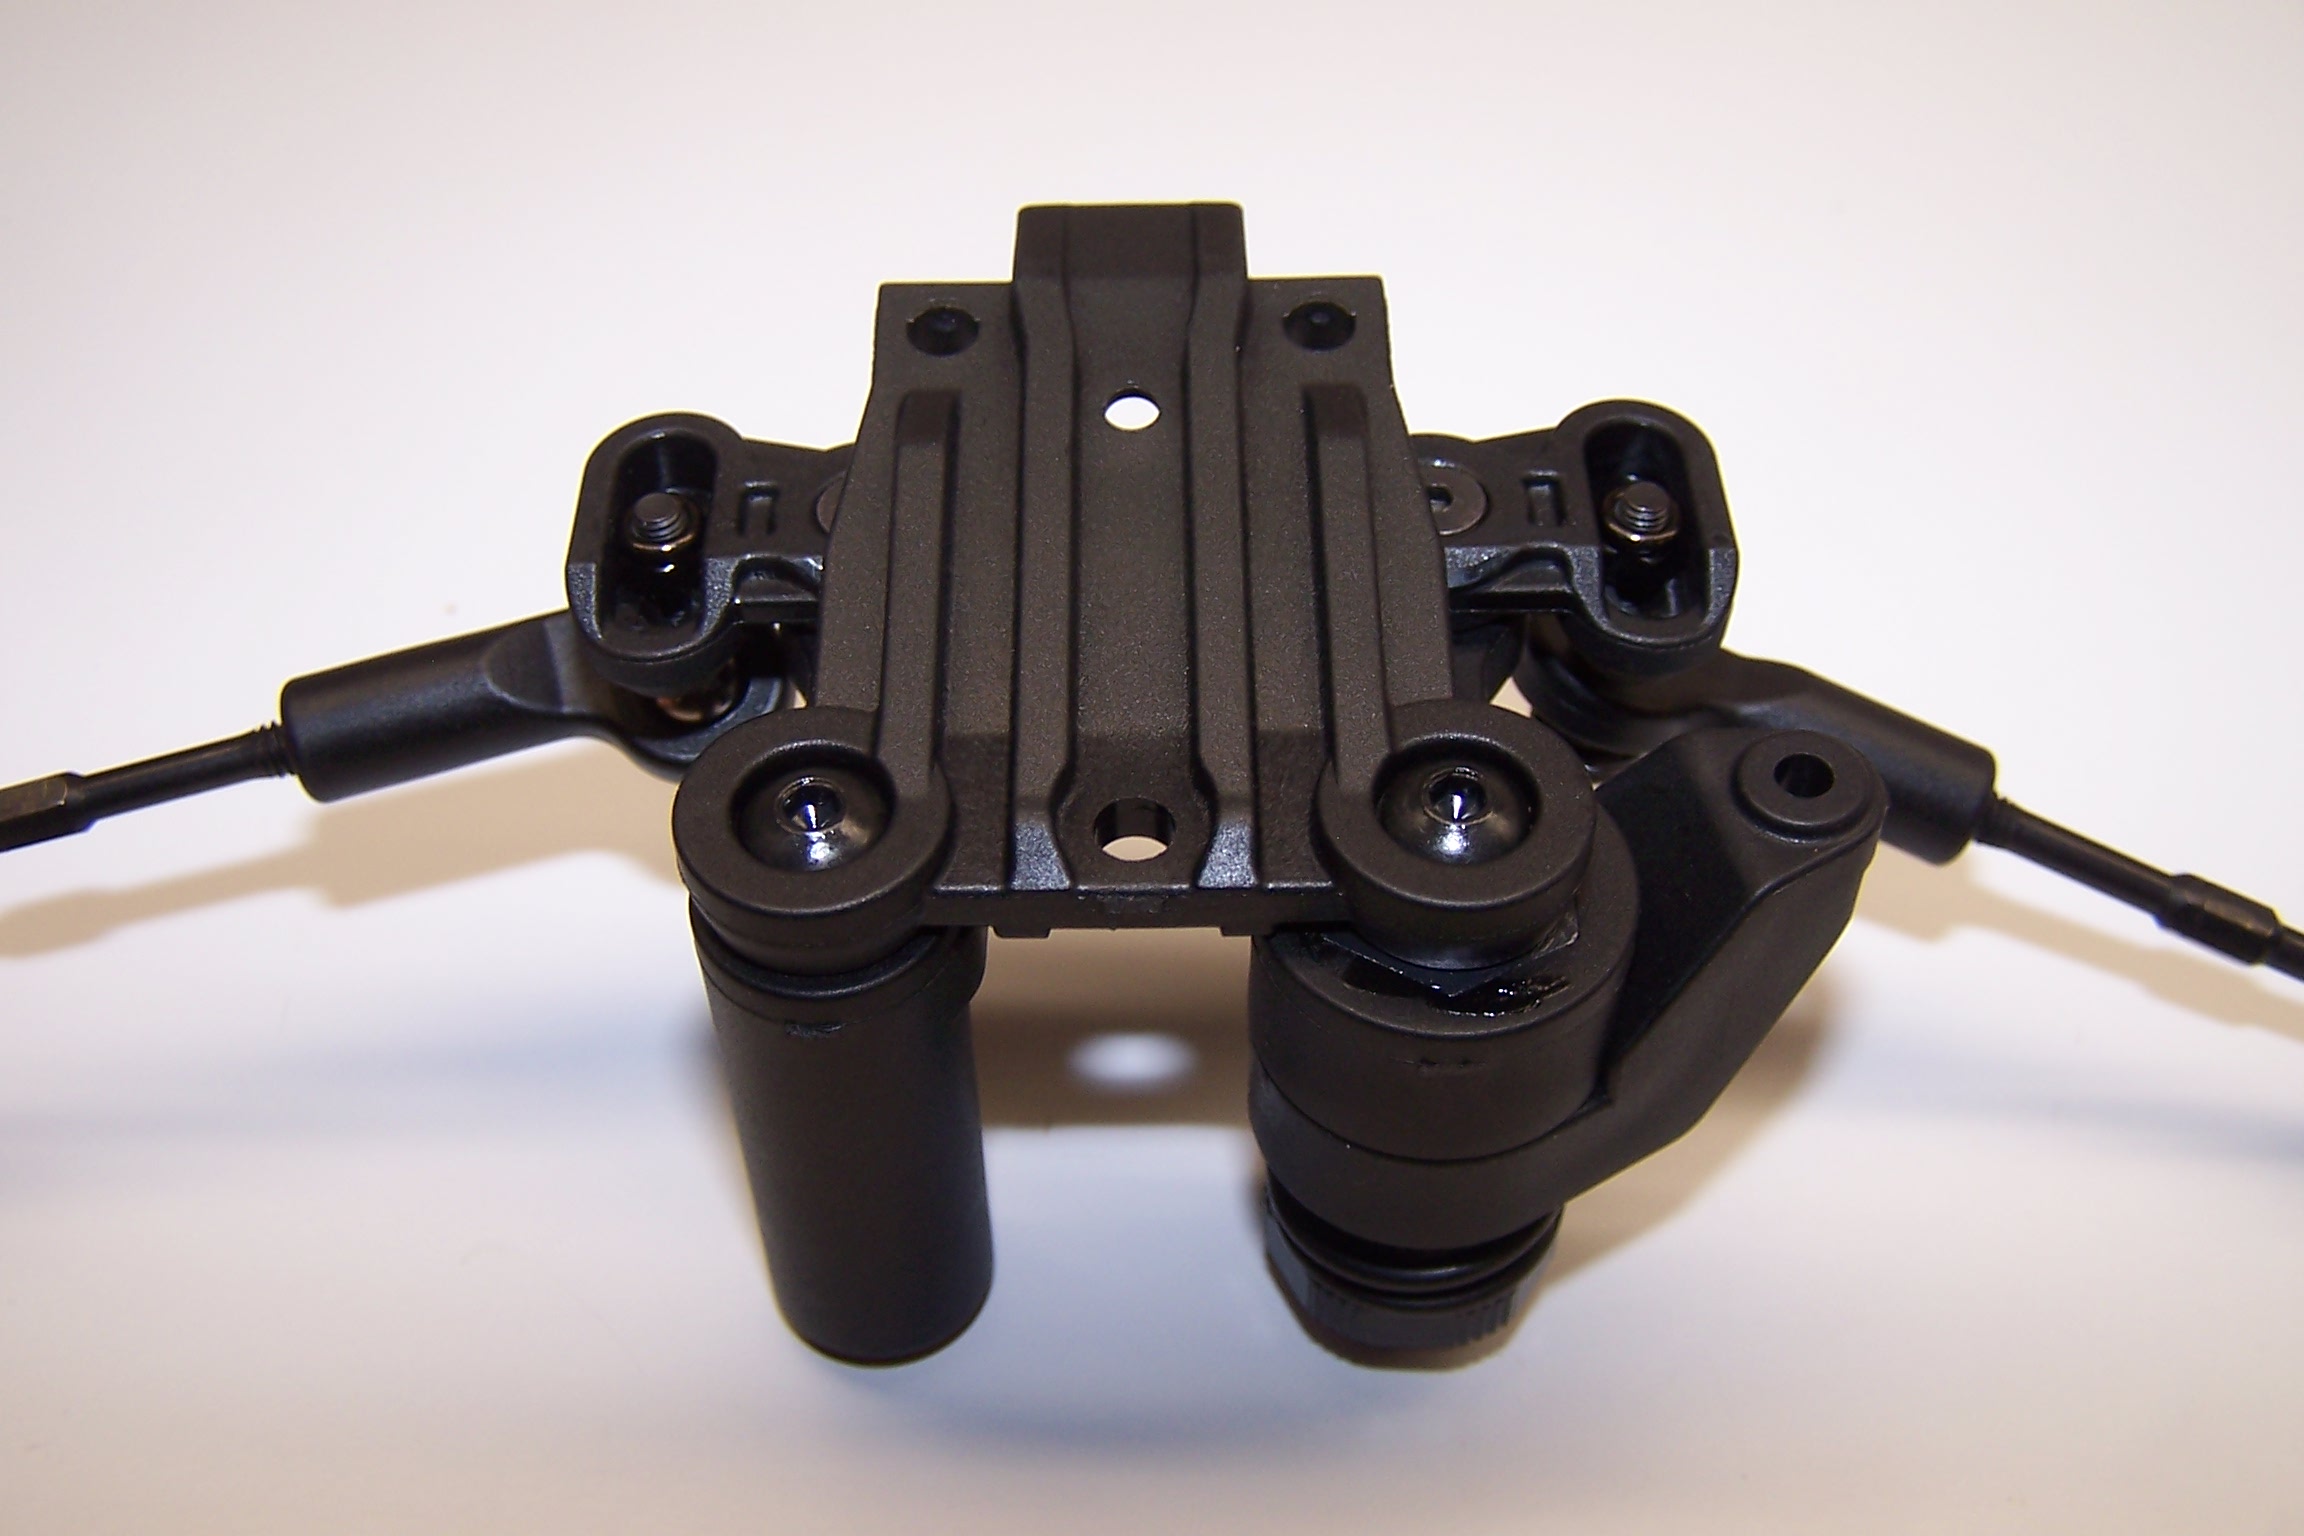
The front top plate is added to the steering assembly. This helps keep it all together as a unit when is it bolted to the chassis.
Steering links are added. They will be adjusted later.
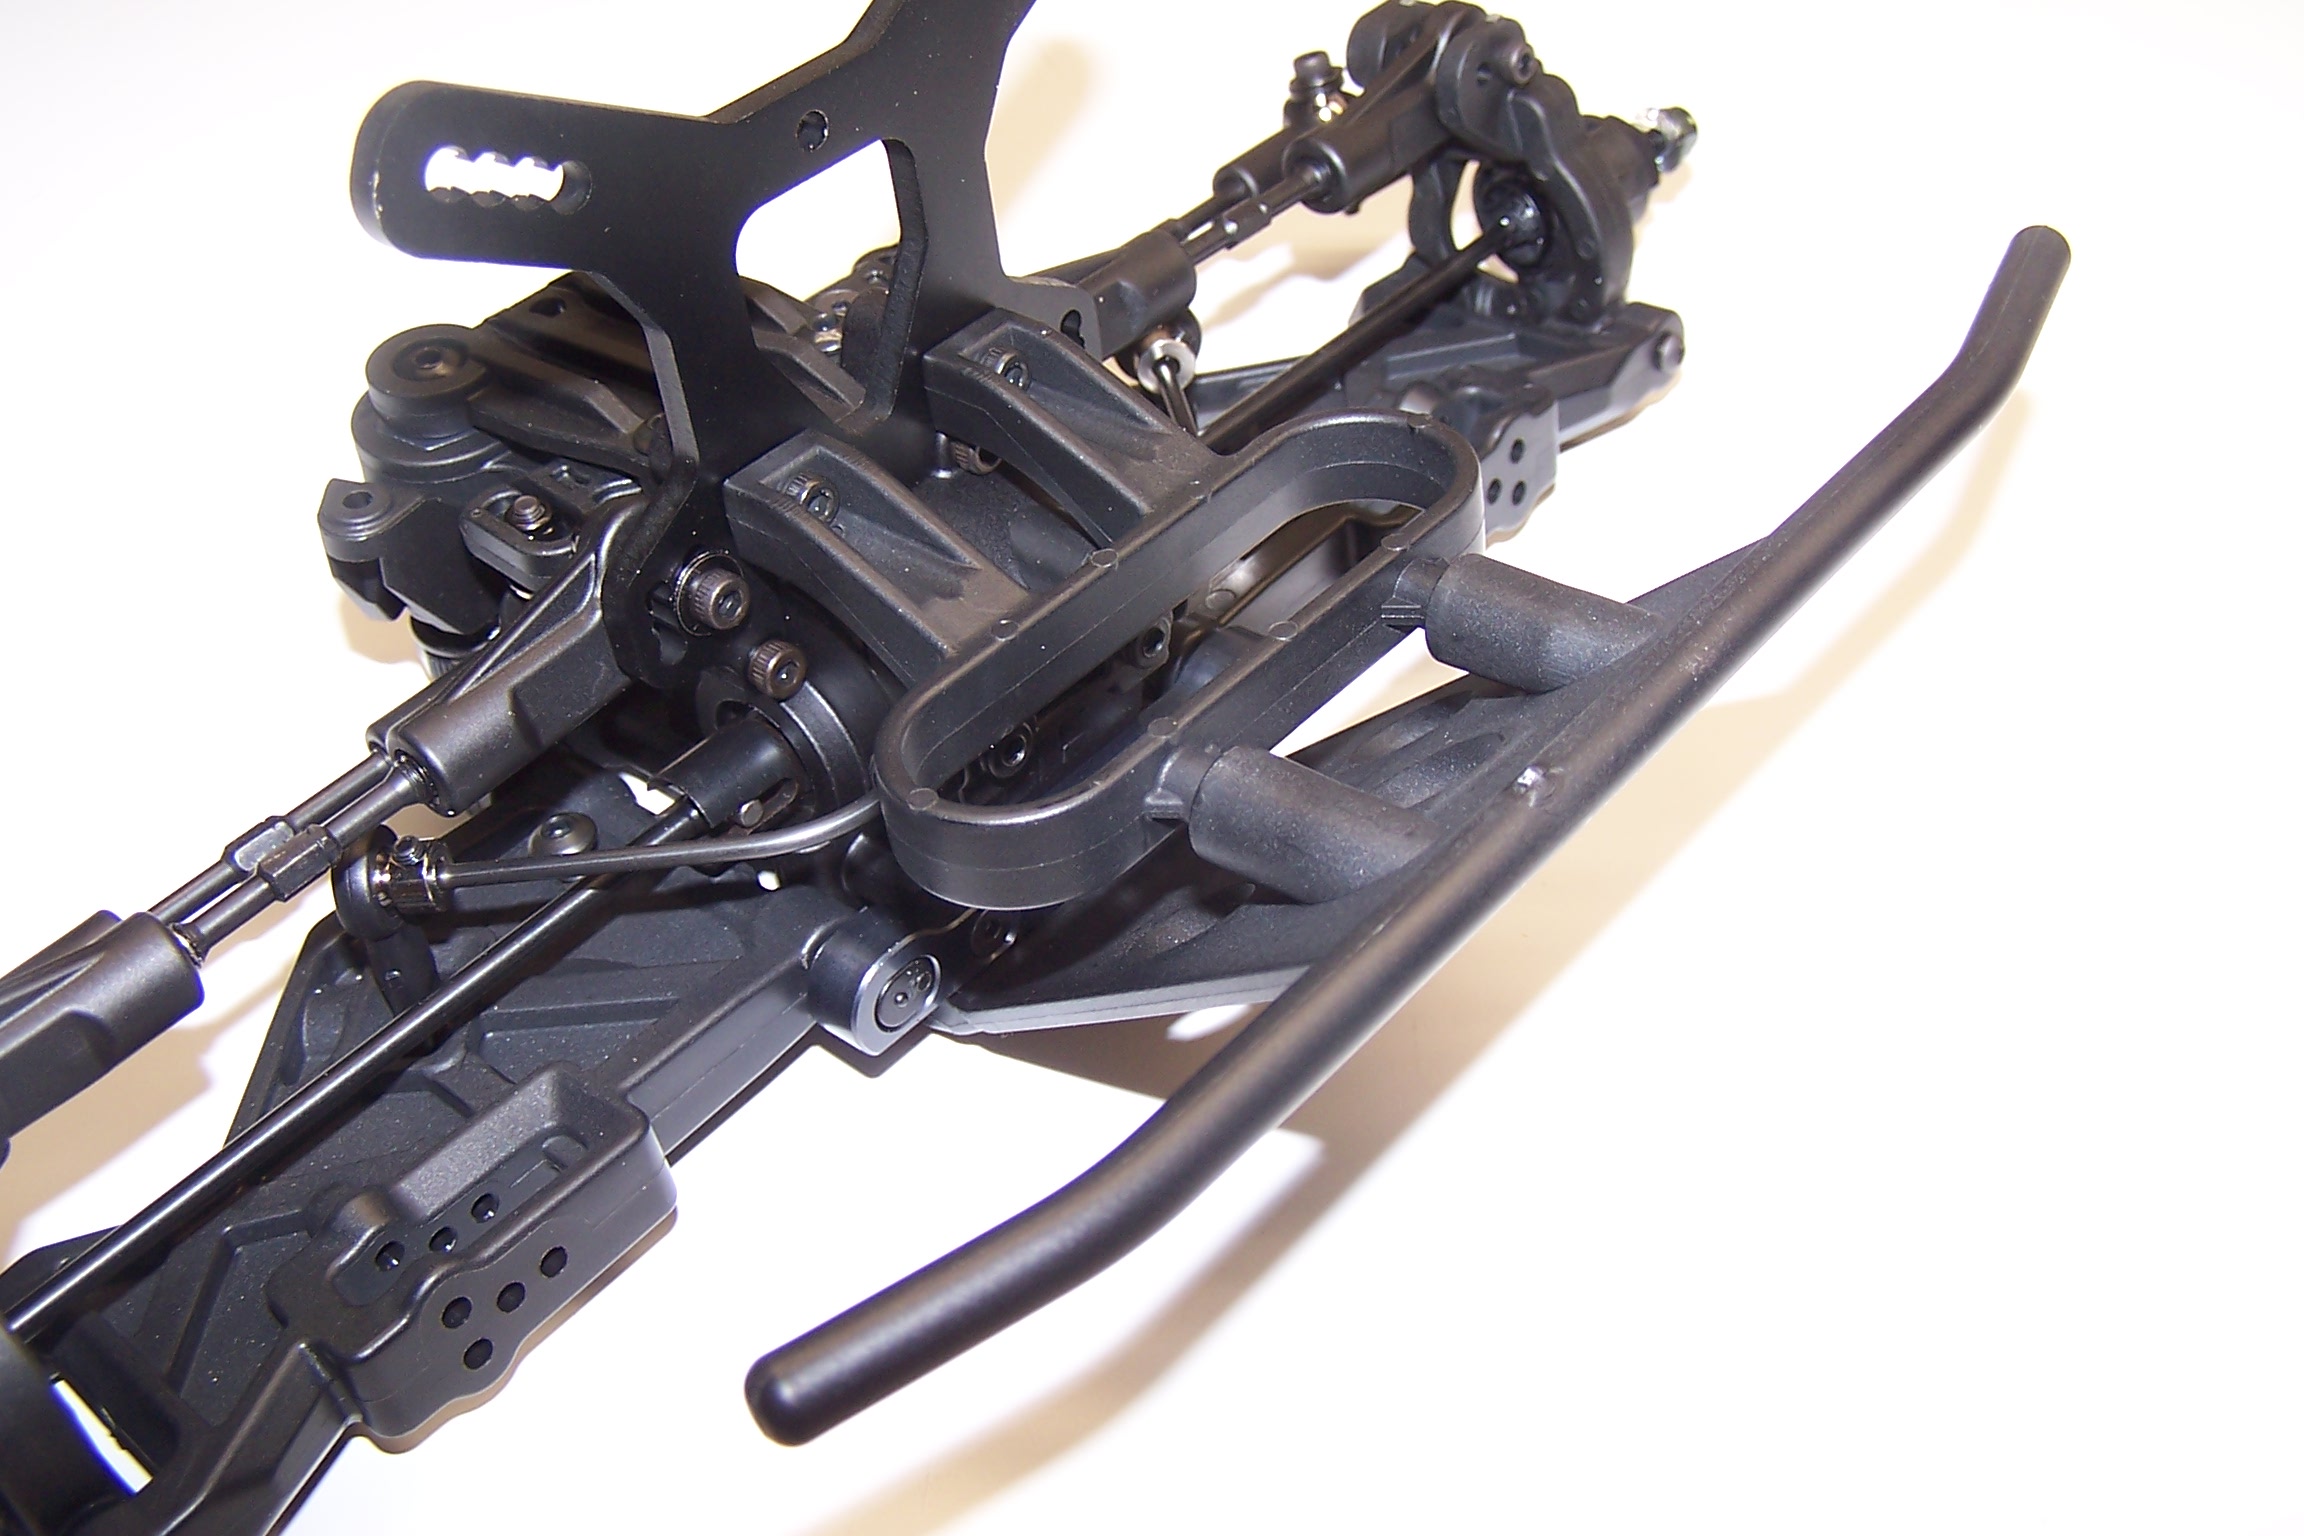
The front bumper is added. Note that the inner camber link screw is reverse than what the manual says. This allows the bolt to be removed with the bumper in place.
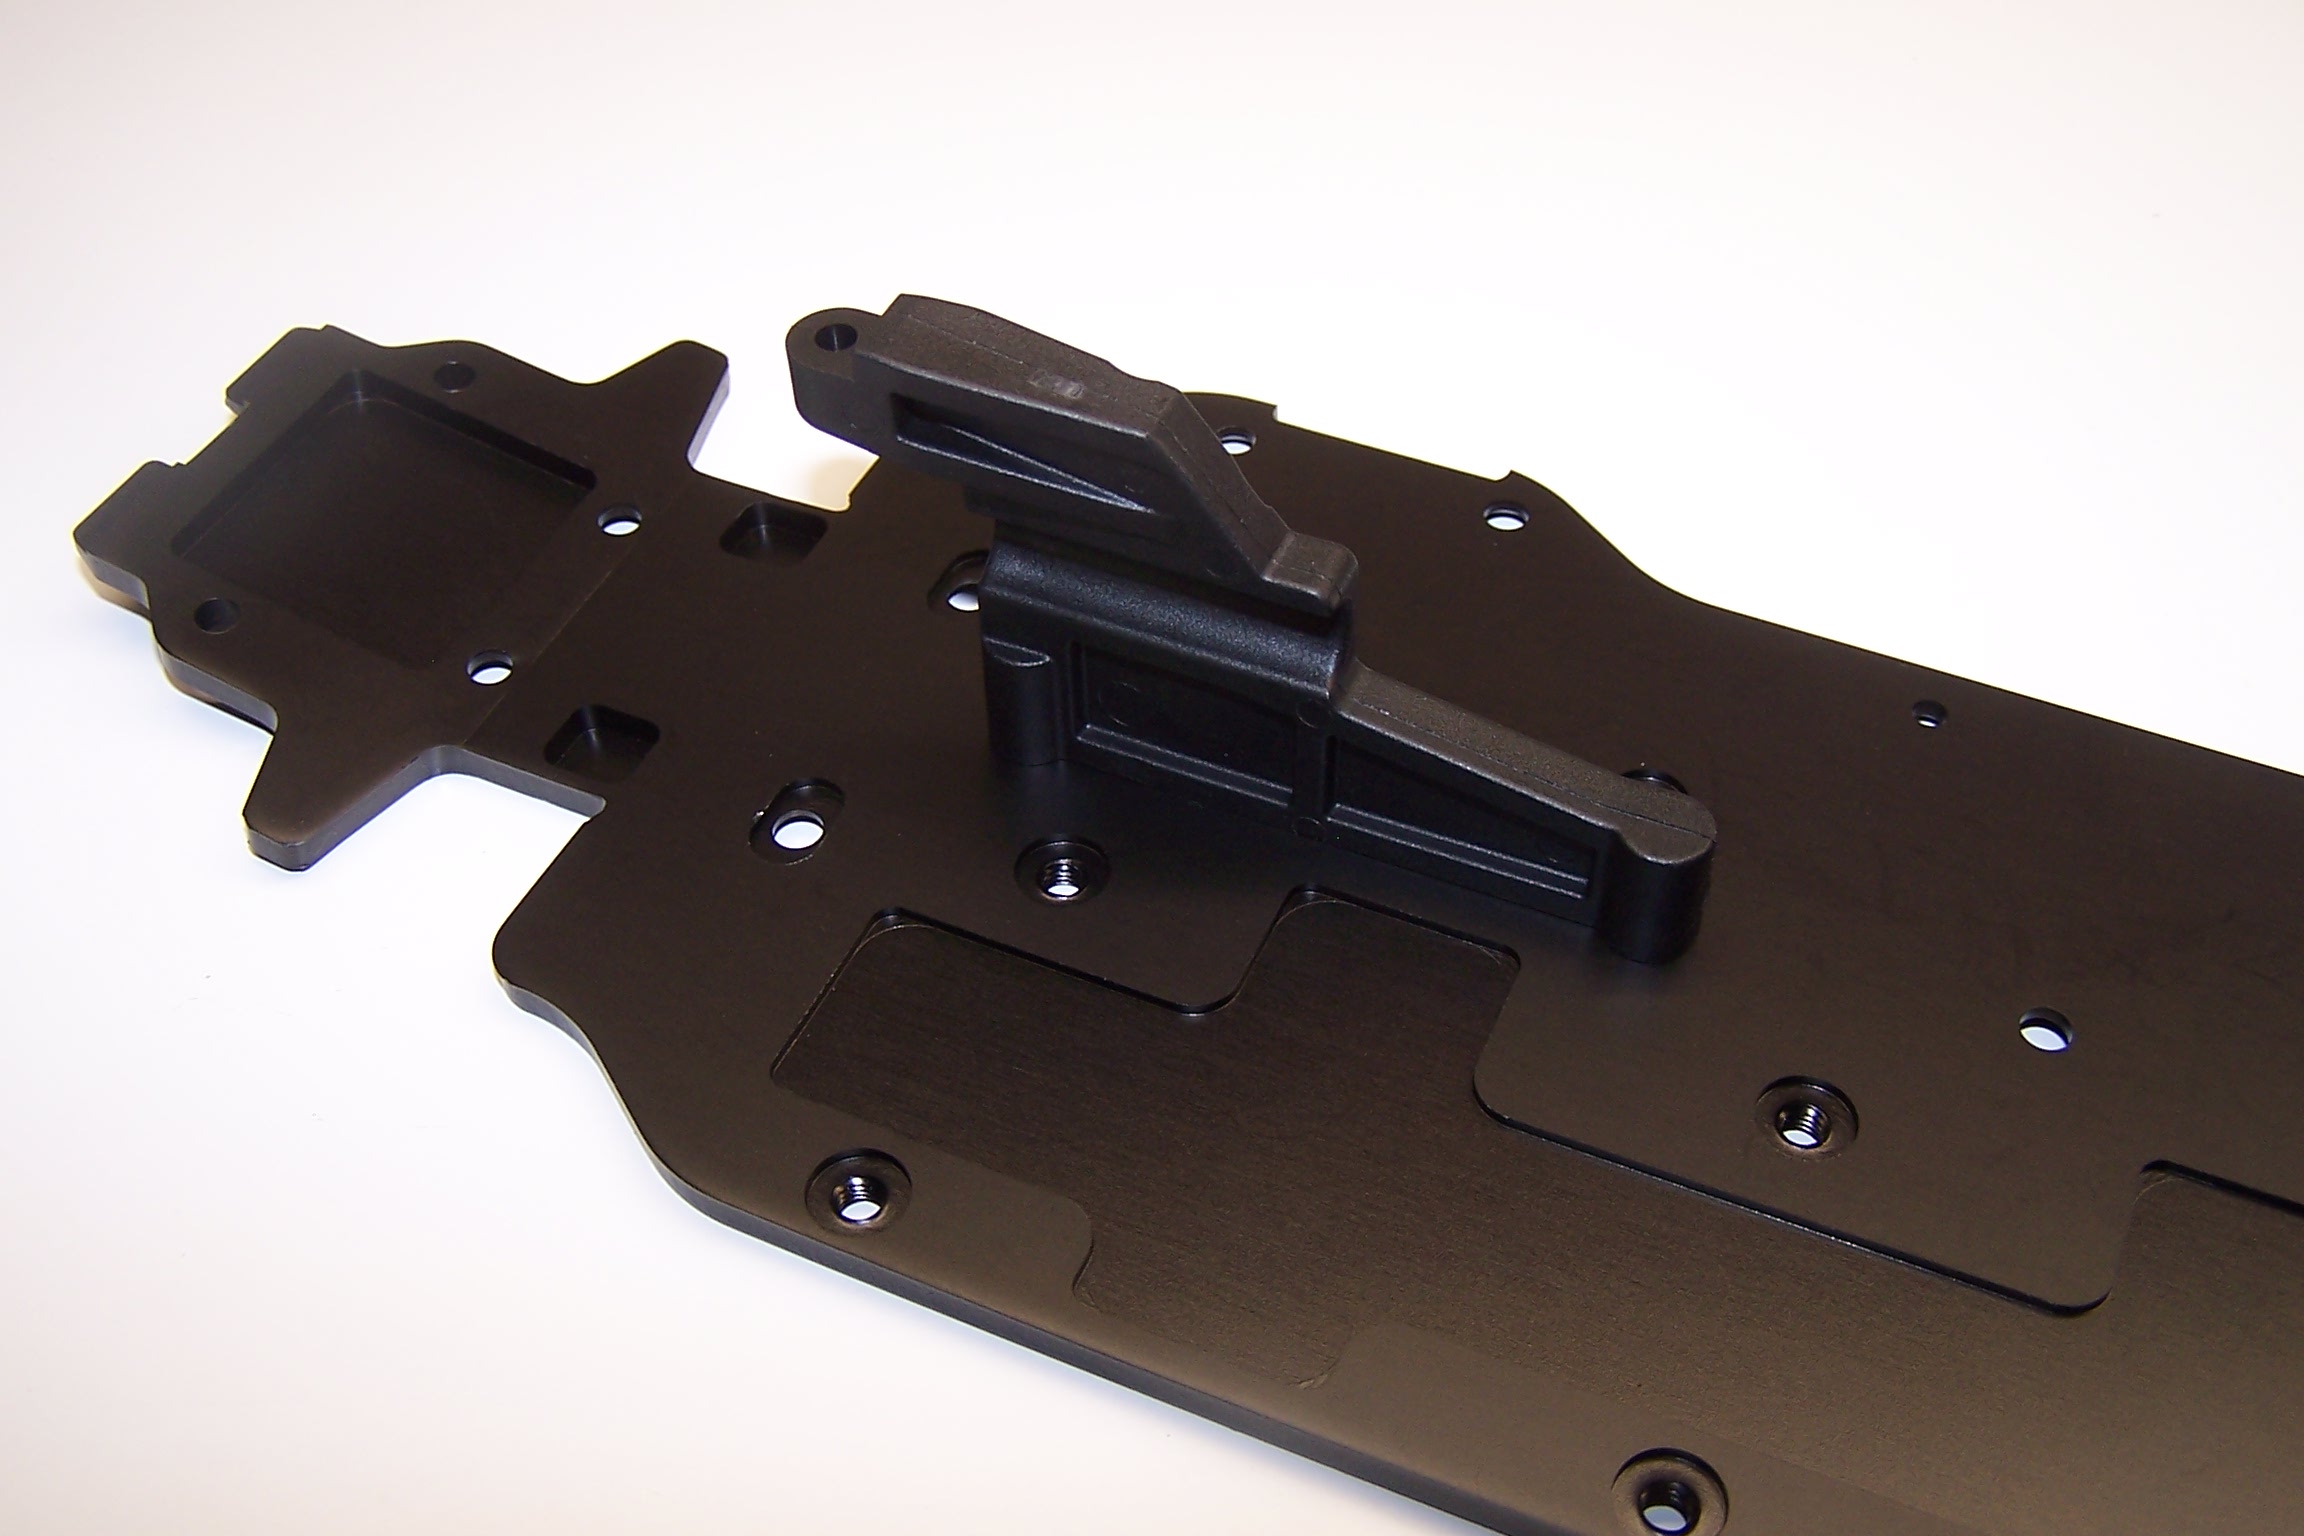
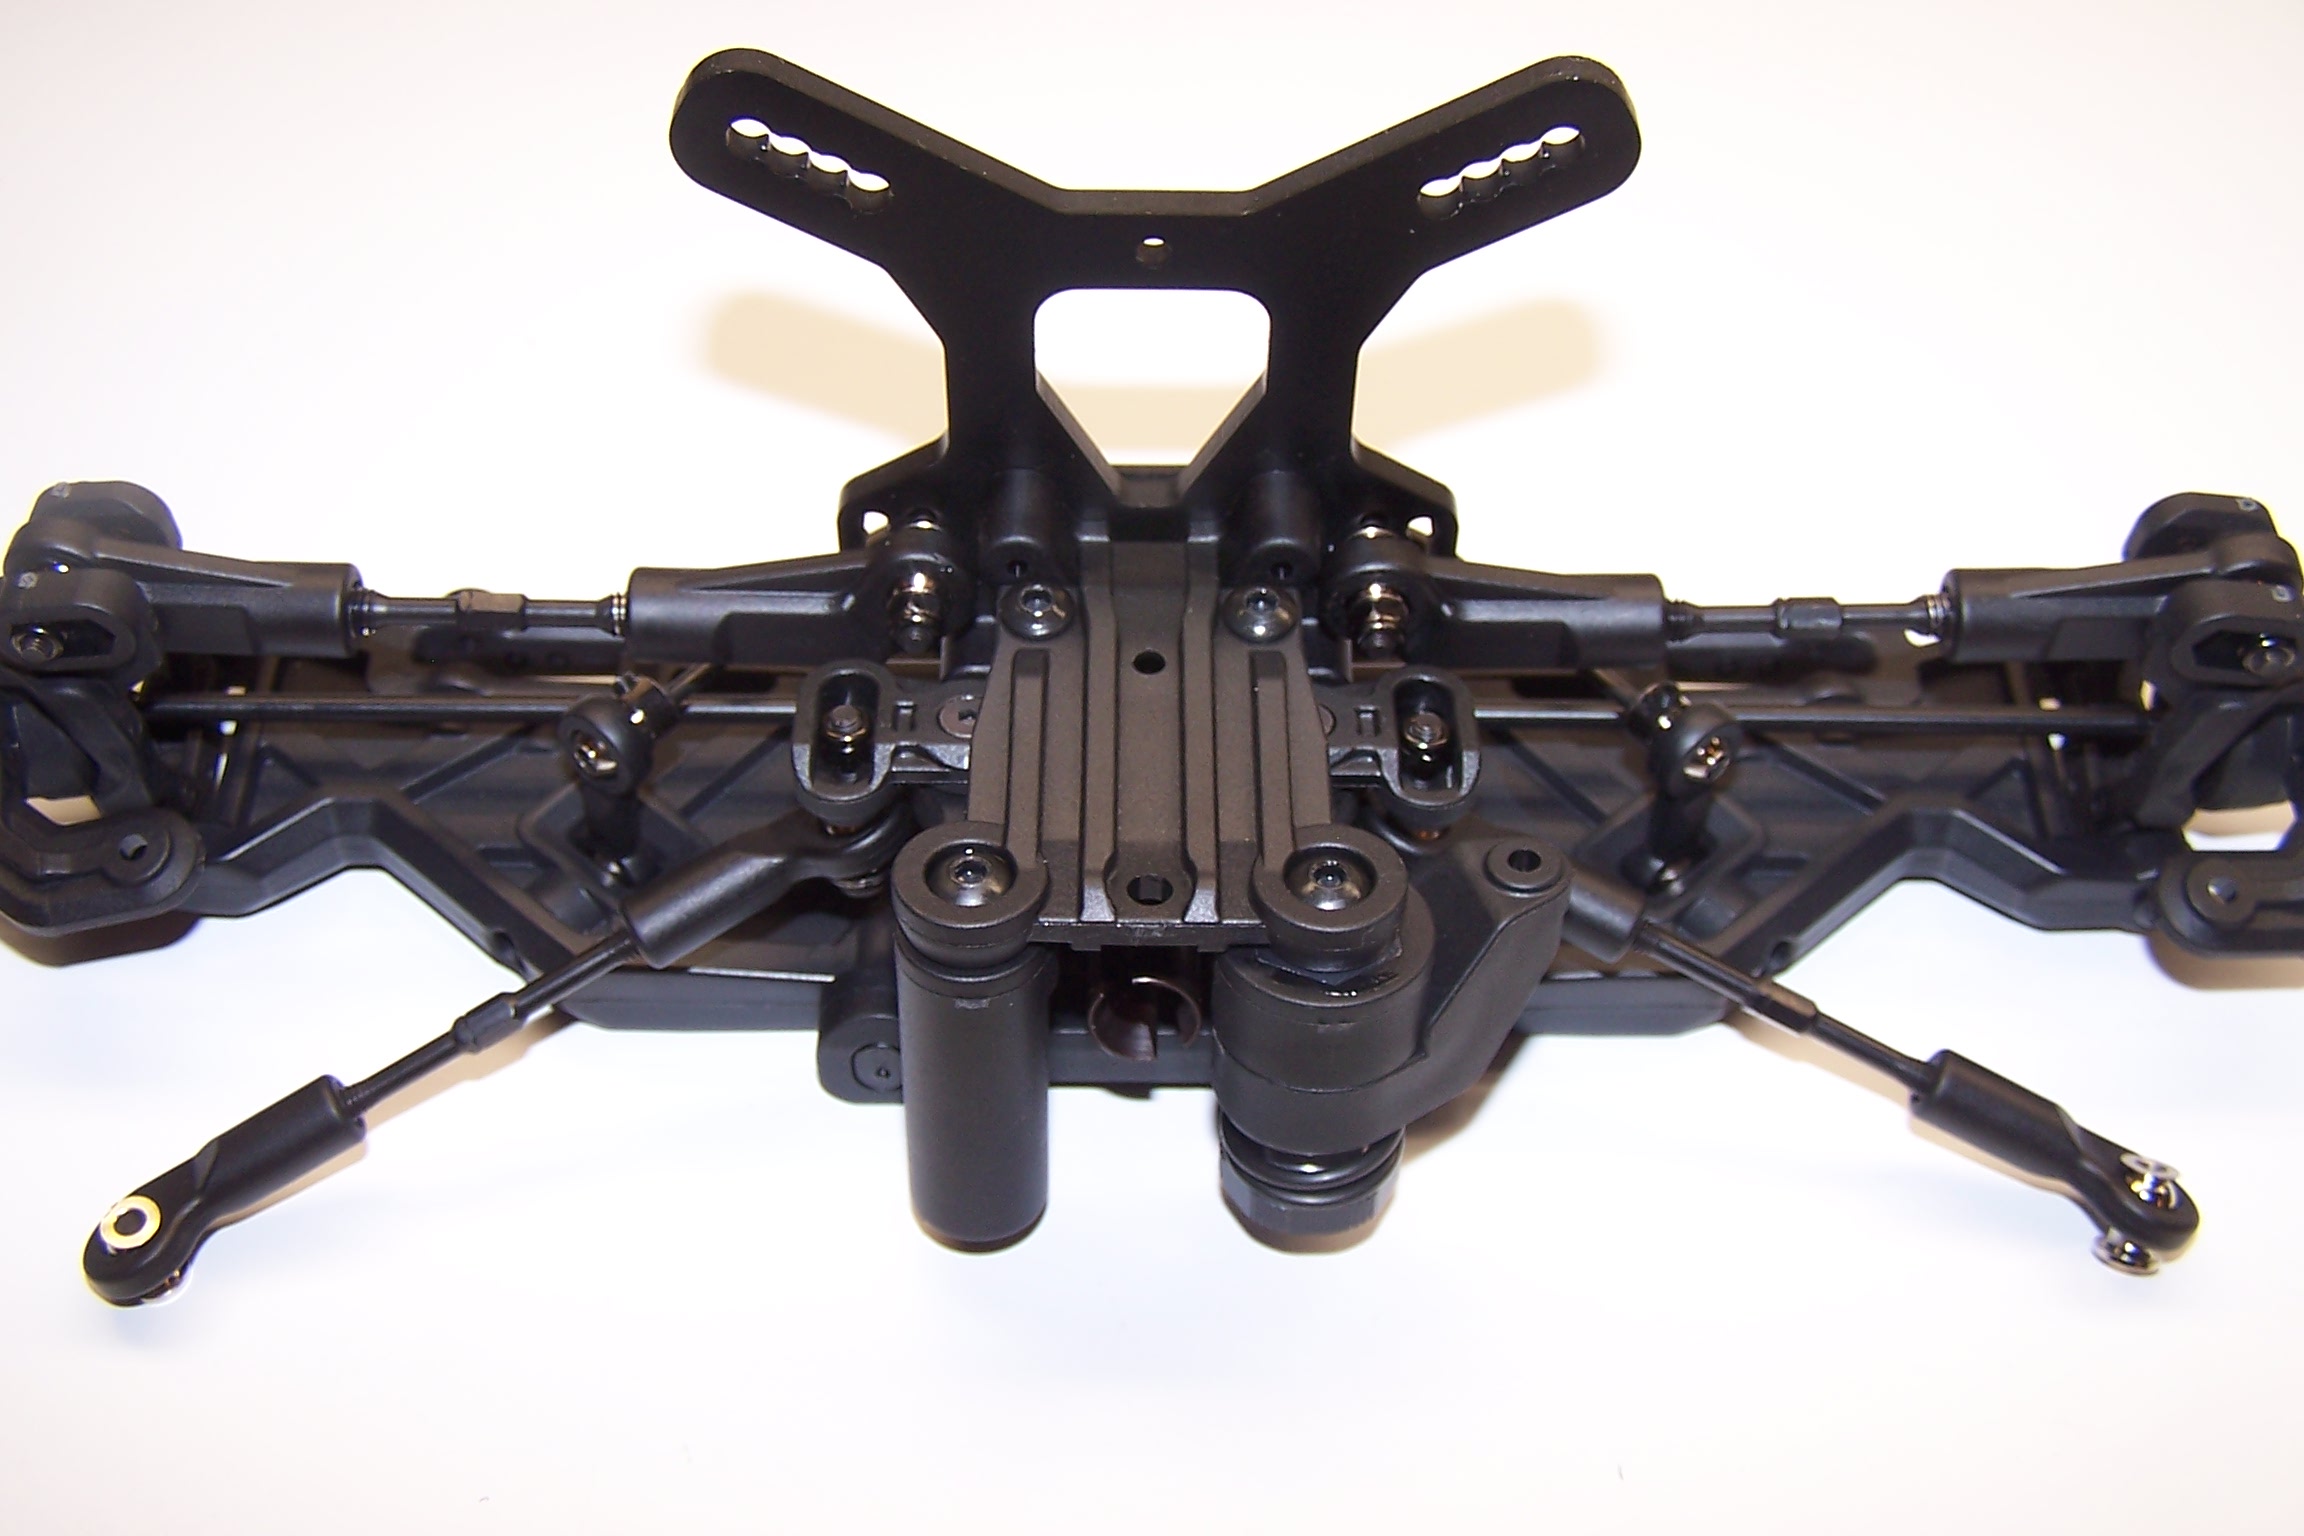
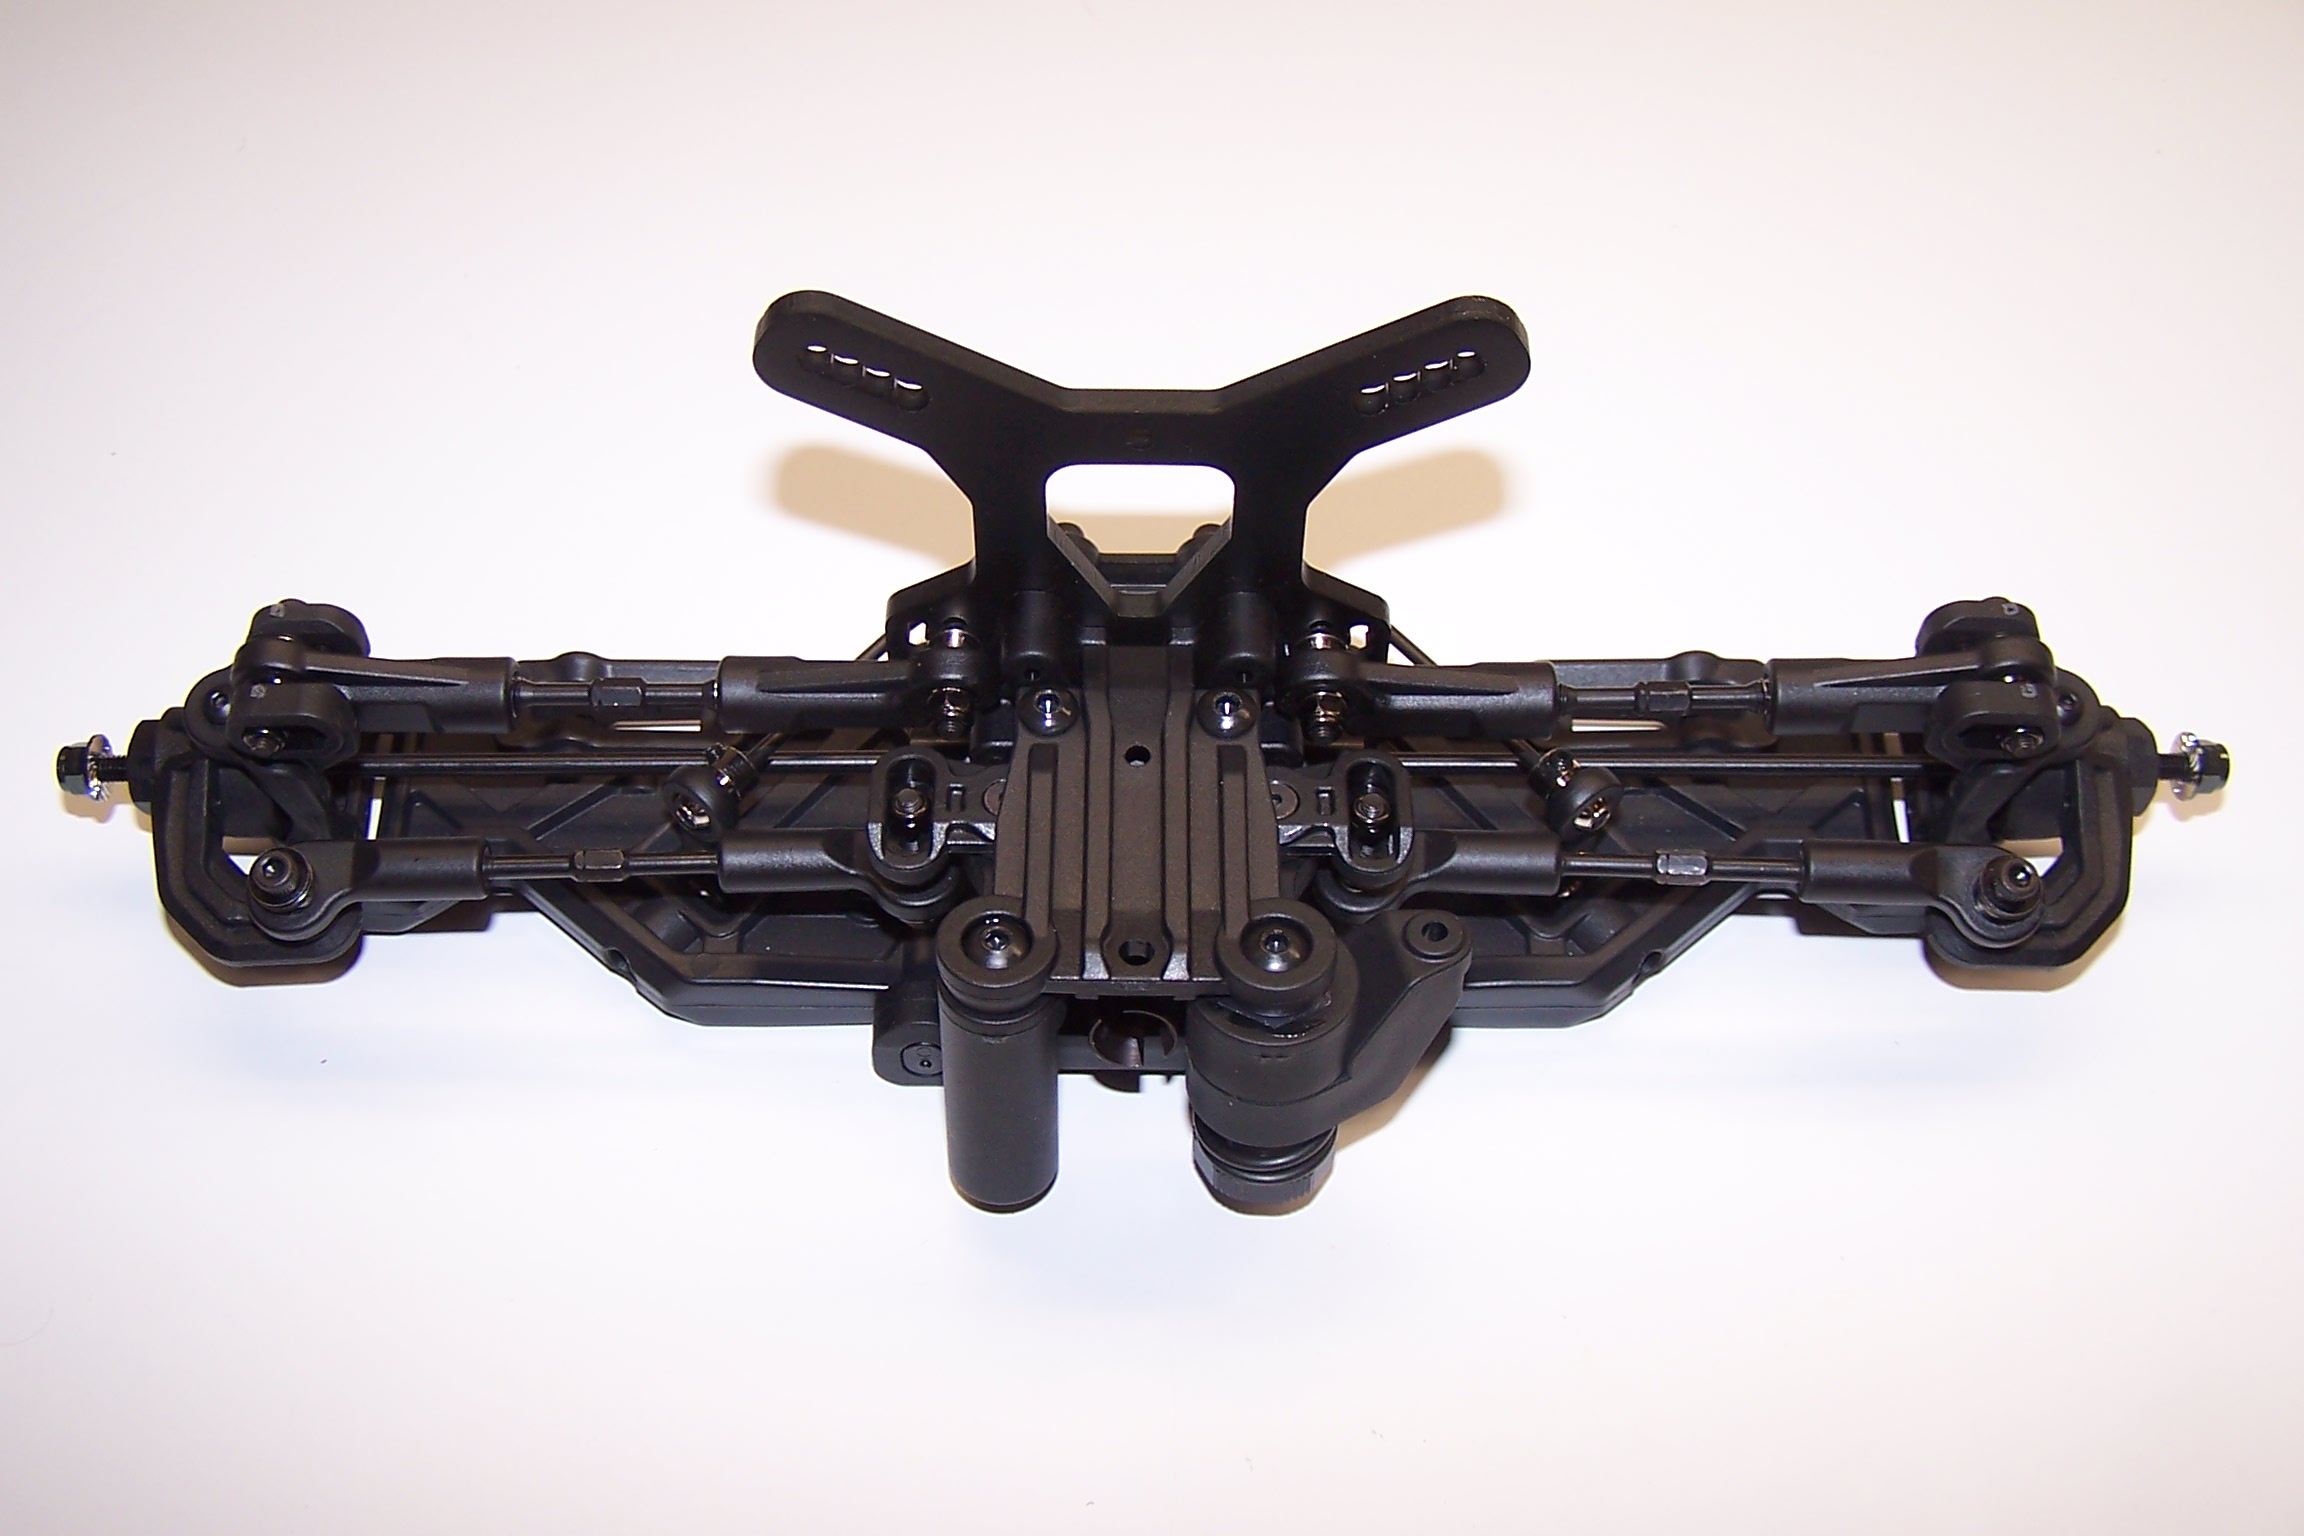
Finally the chassis is worked on. Starting to look like a truck.
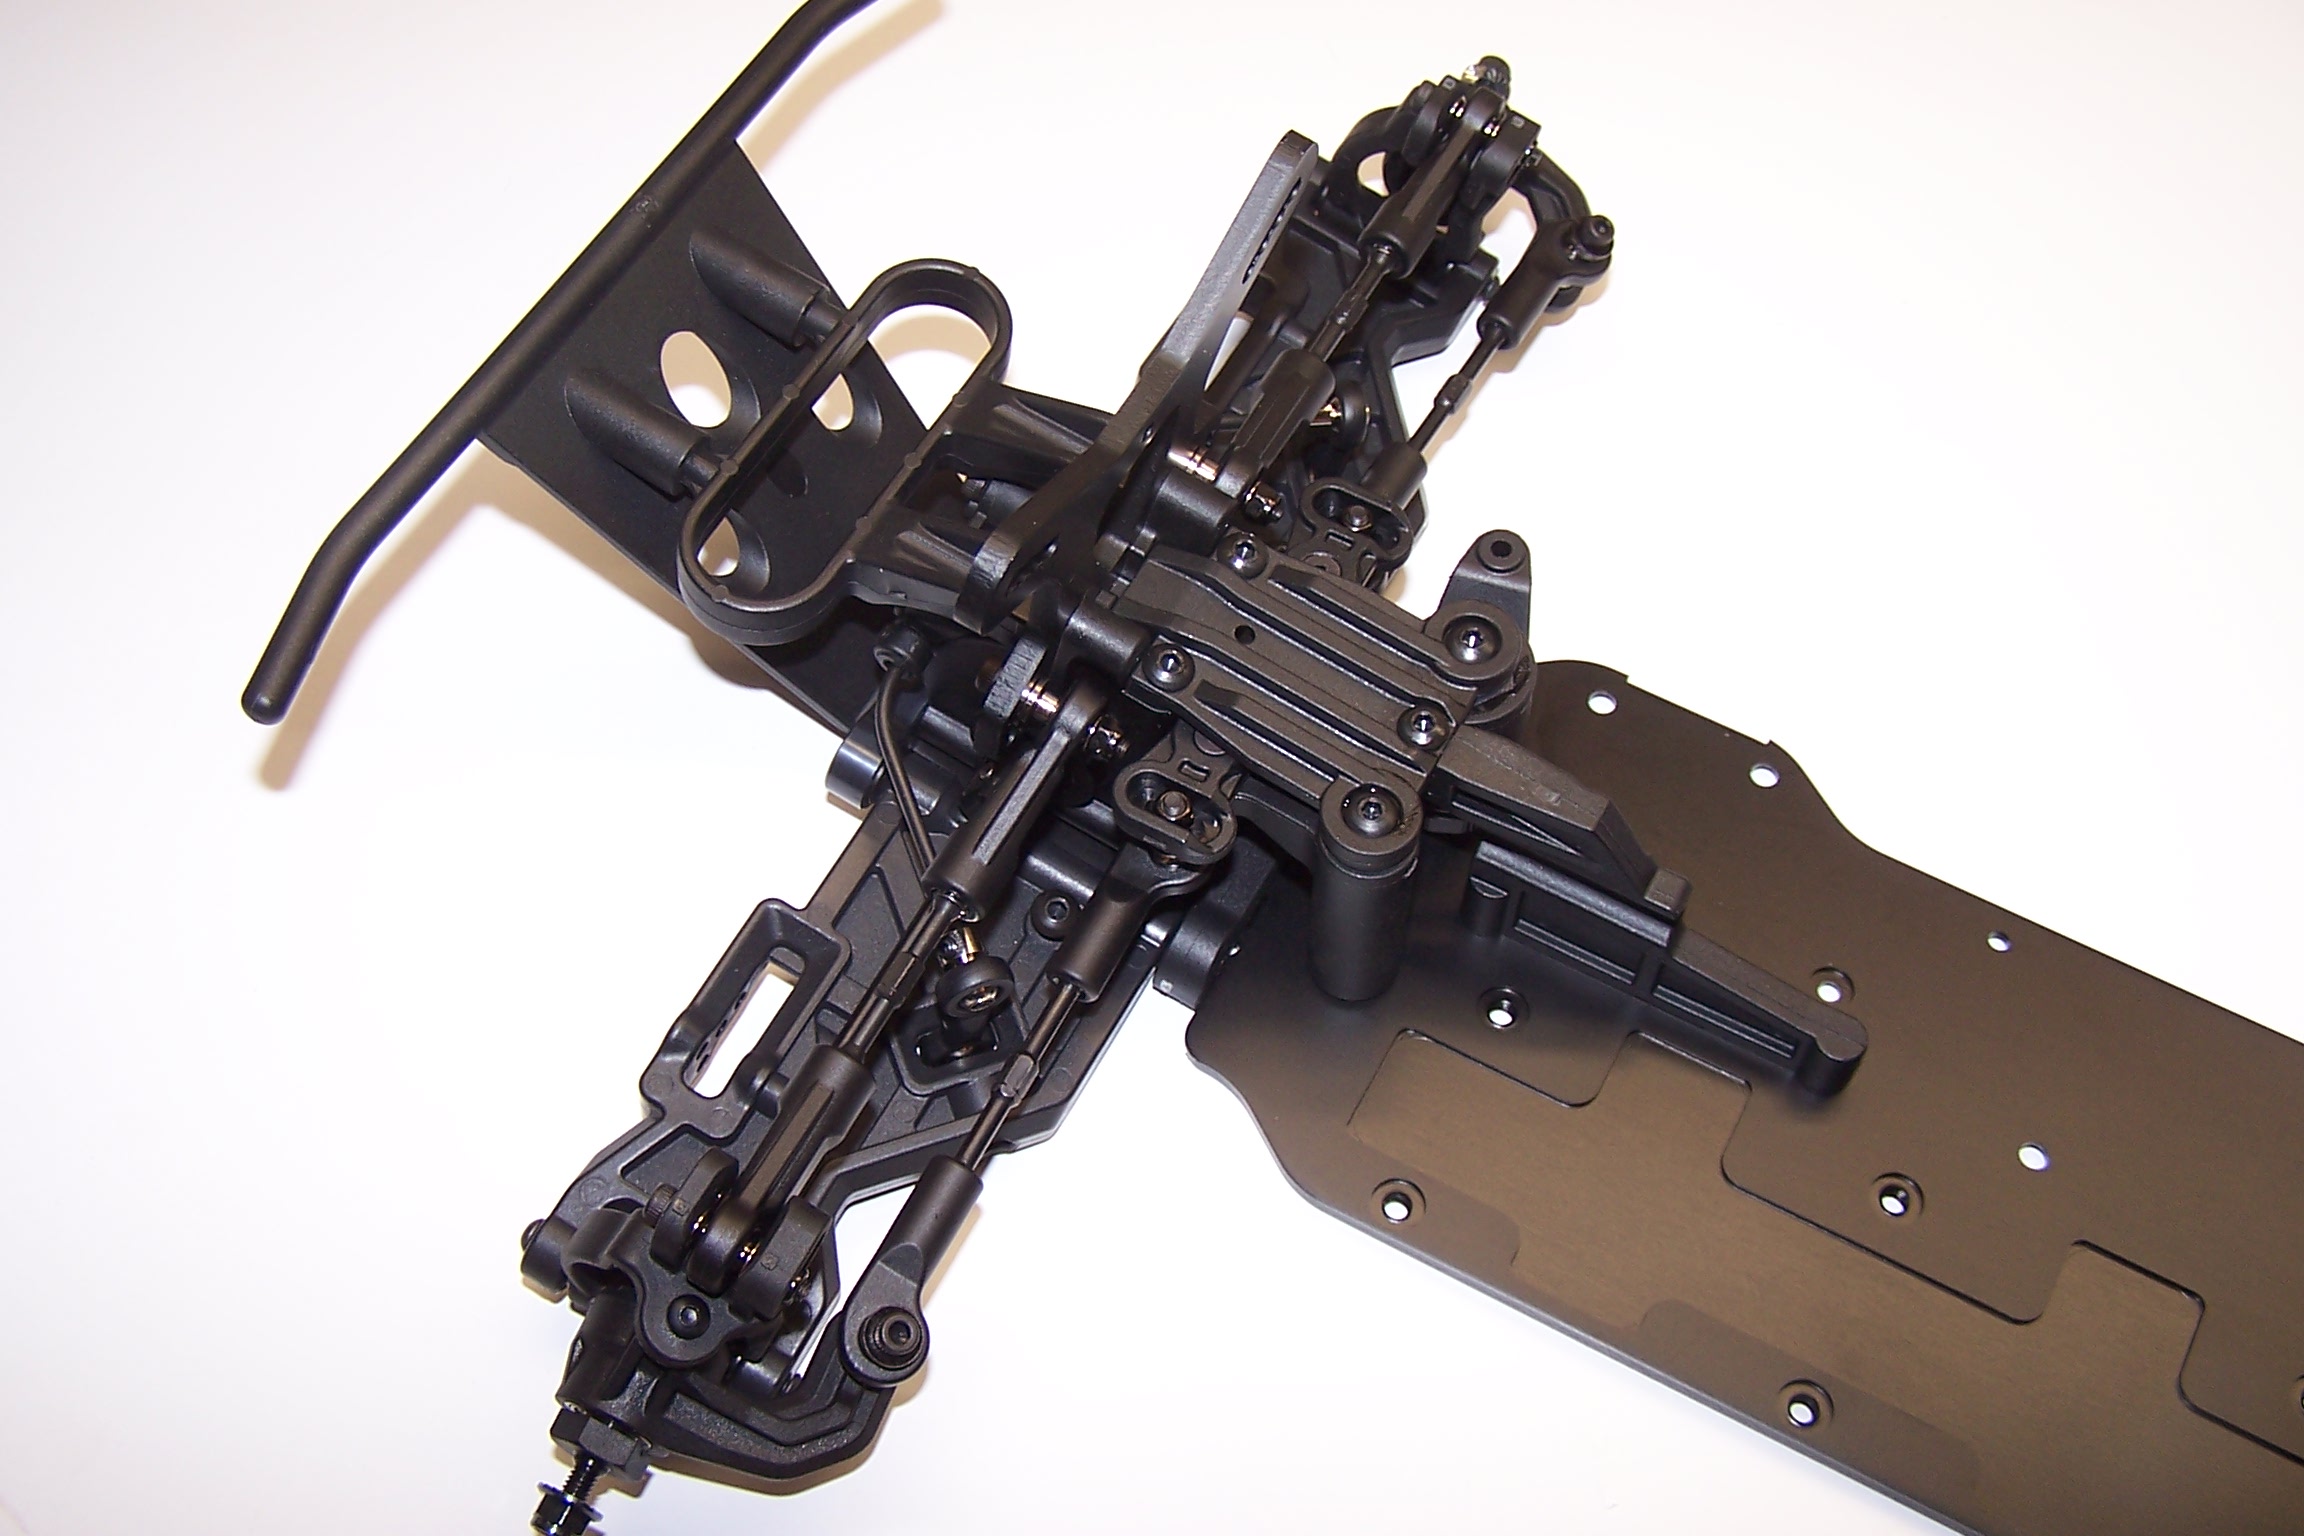
Front assembly is added. Always use a little Loctite. Tekno team drivers always use the front chassis brace. The center and rear braces can be removed depending on feel. I’m going to try it various ways and report in the review what the differences are.
 Posted in
  Tags:
Tags: