

 February 26th, 2014
  Kevin
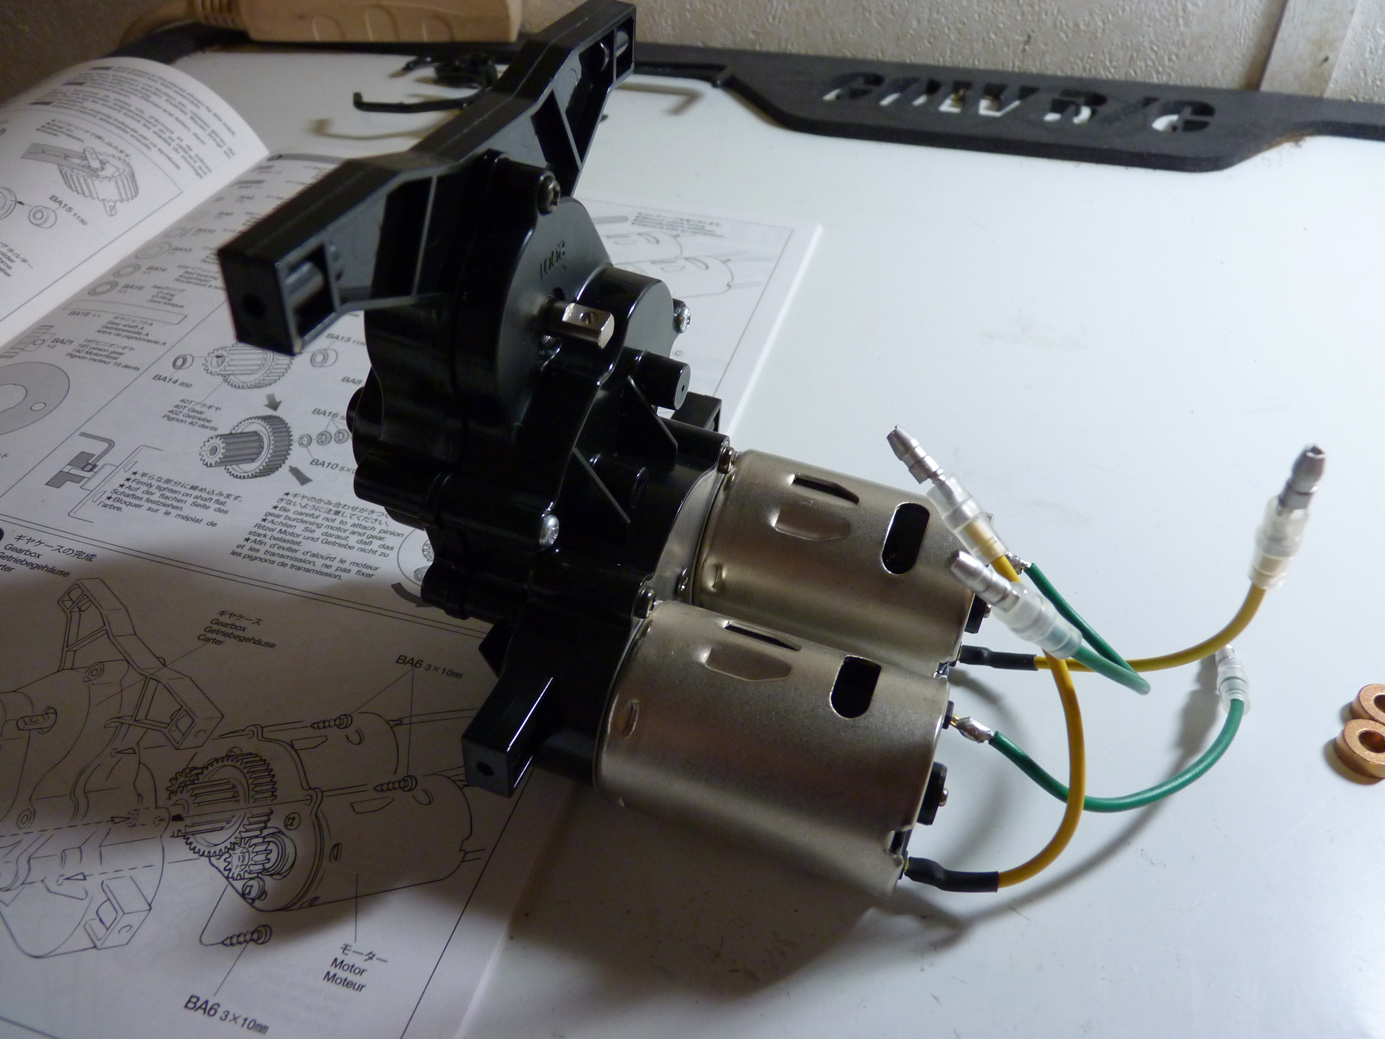
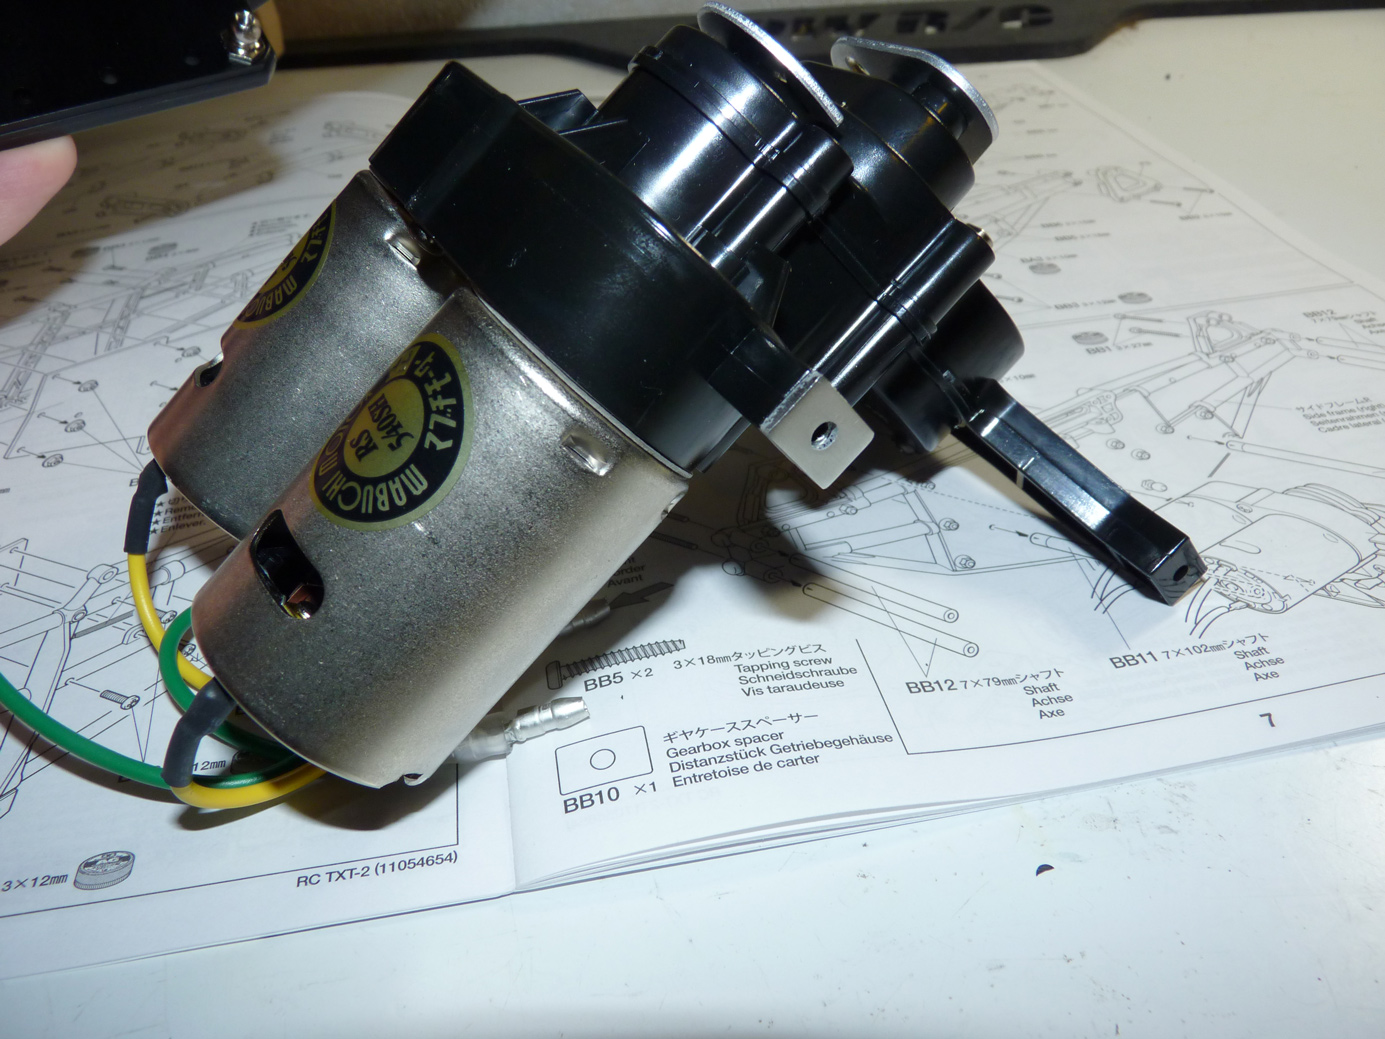
Kevin Now that we have the main gearbox assembled, it’s time to attache the motor plate and motors to it.
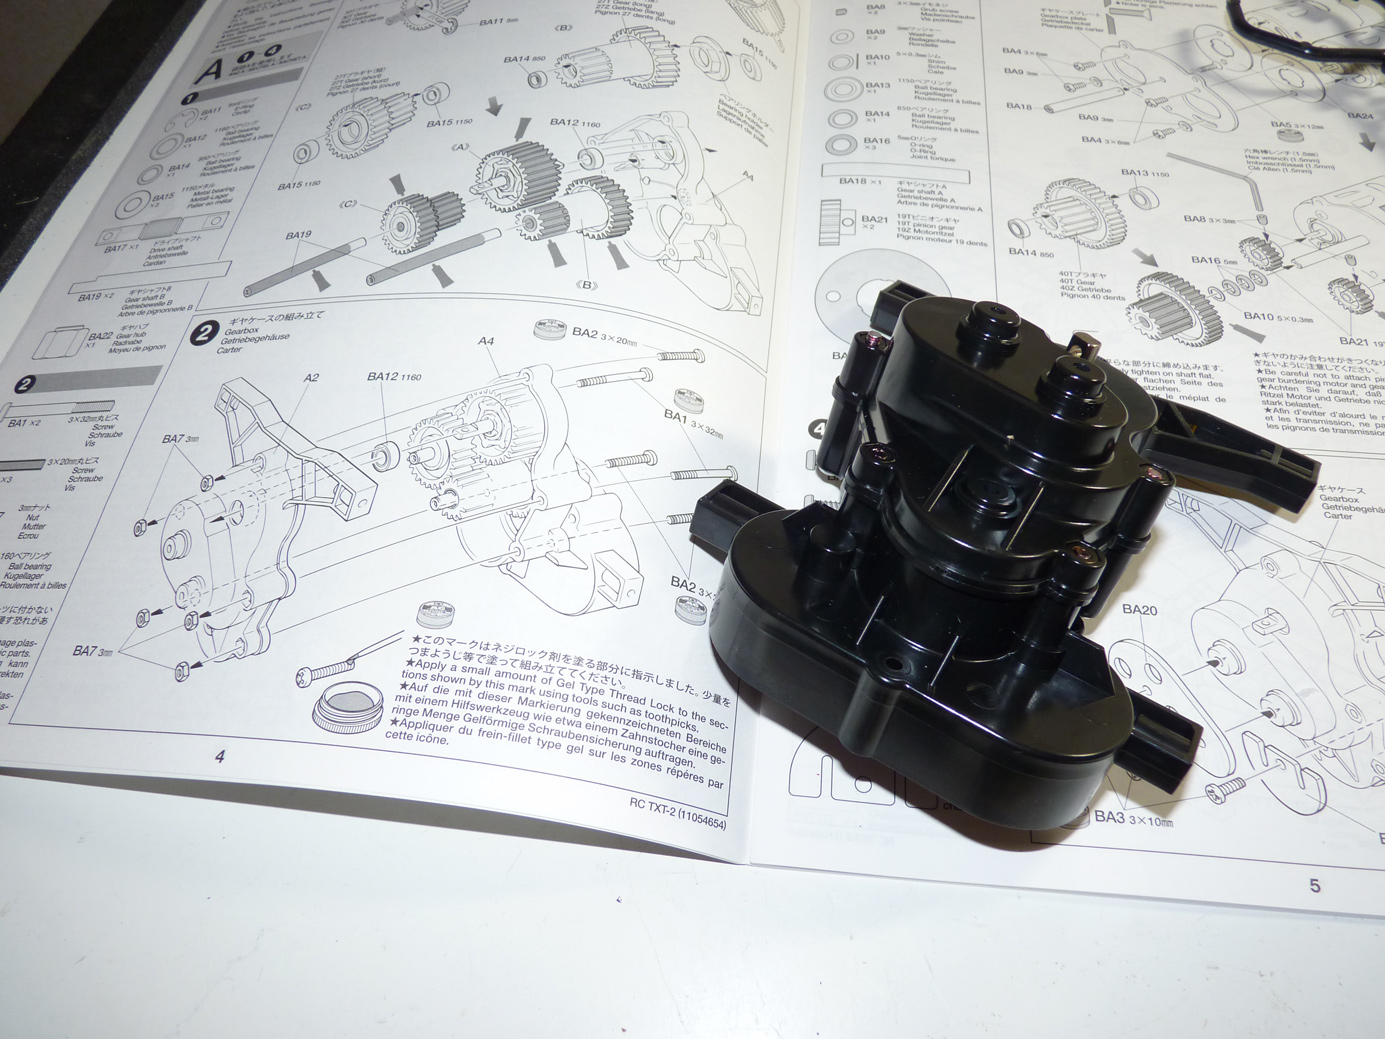
The TXT2 uses 2 motors to make extra power. It’s a big truck to move, so the extra grunt of a 2nd motor is helpful.
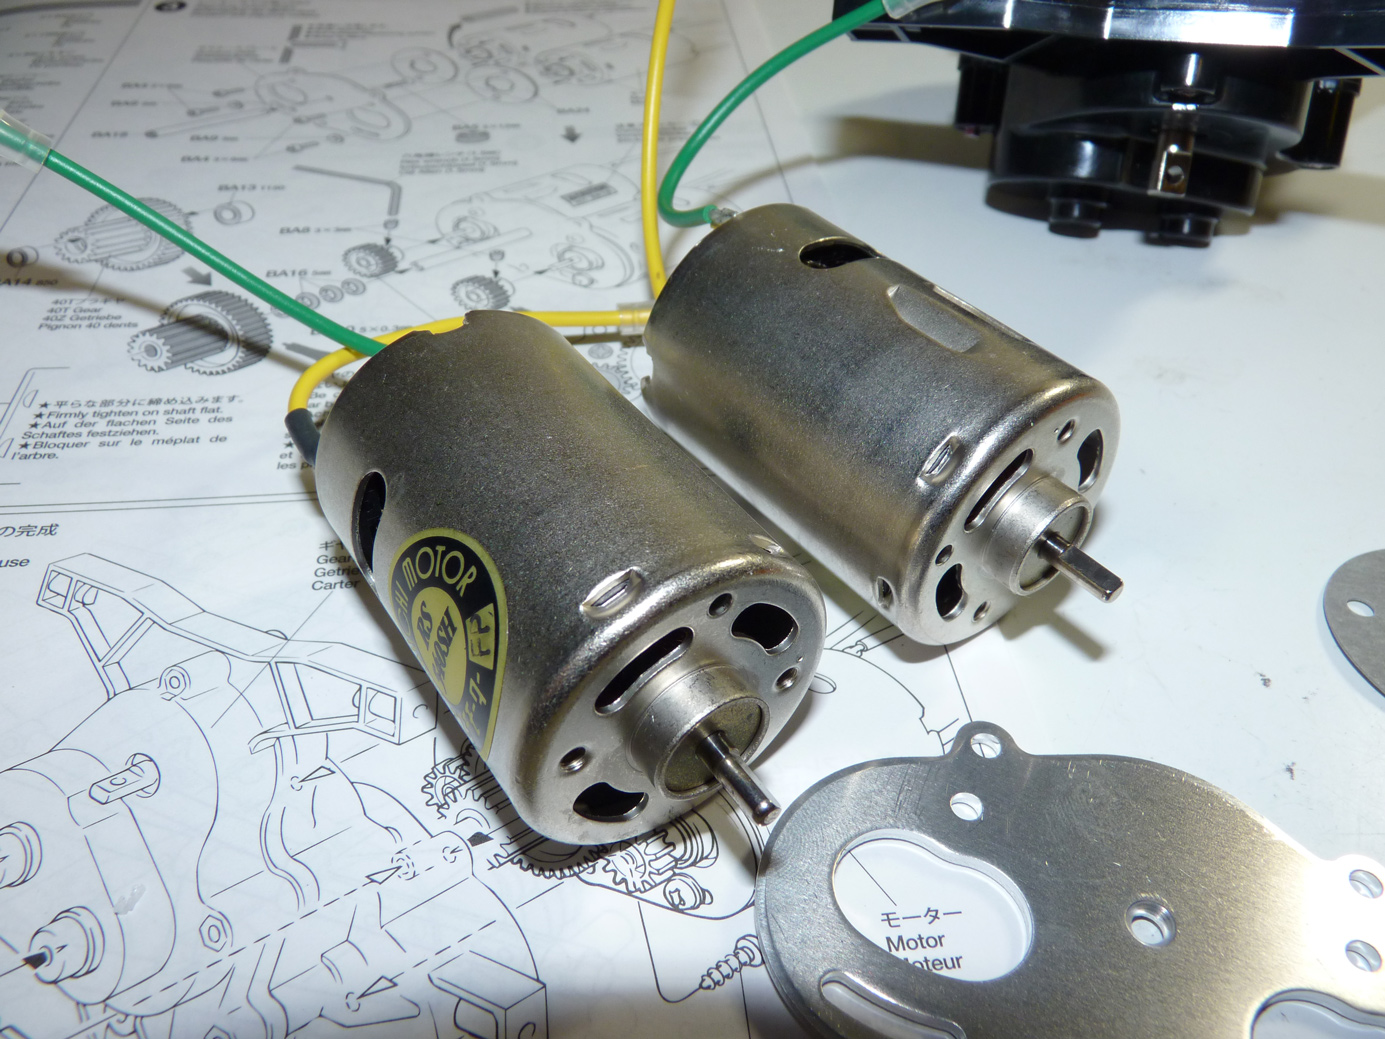
We loosely secure the two motors to the motor plate and install another internal gearshaft. This shaft is what the spur gear will ride on.


We then install the pinion gears onto the motors.
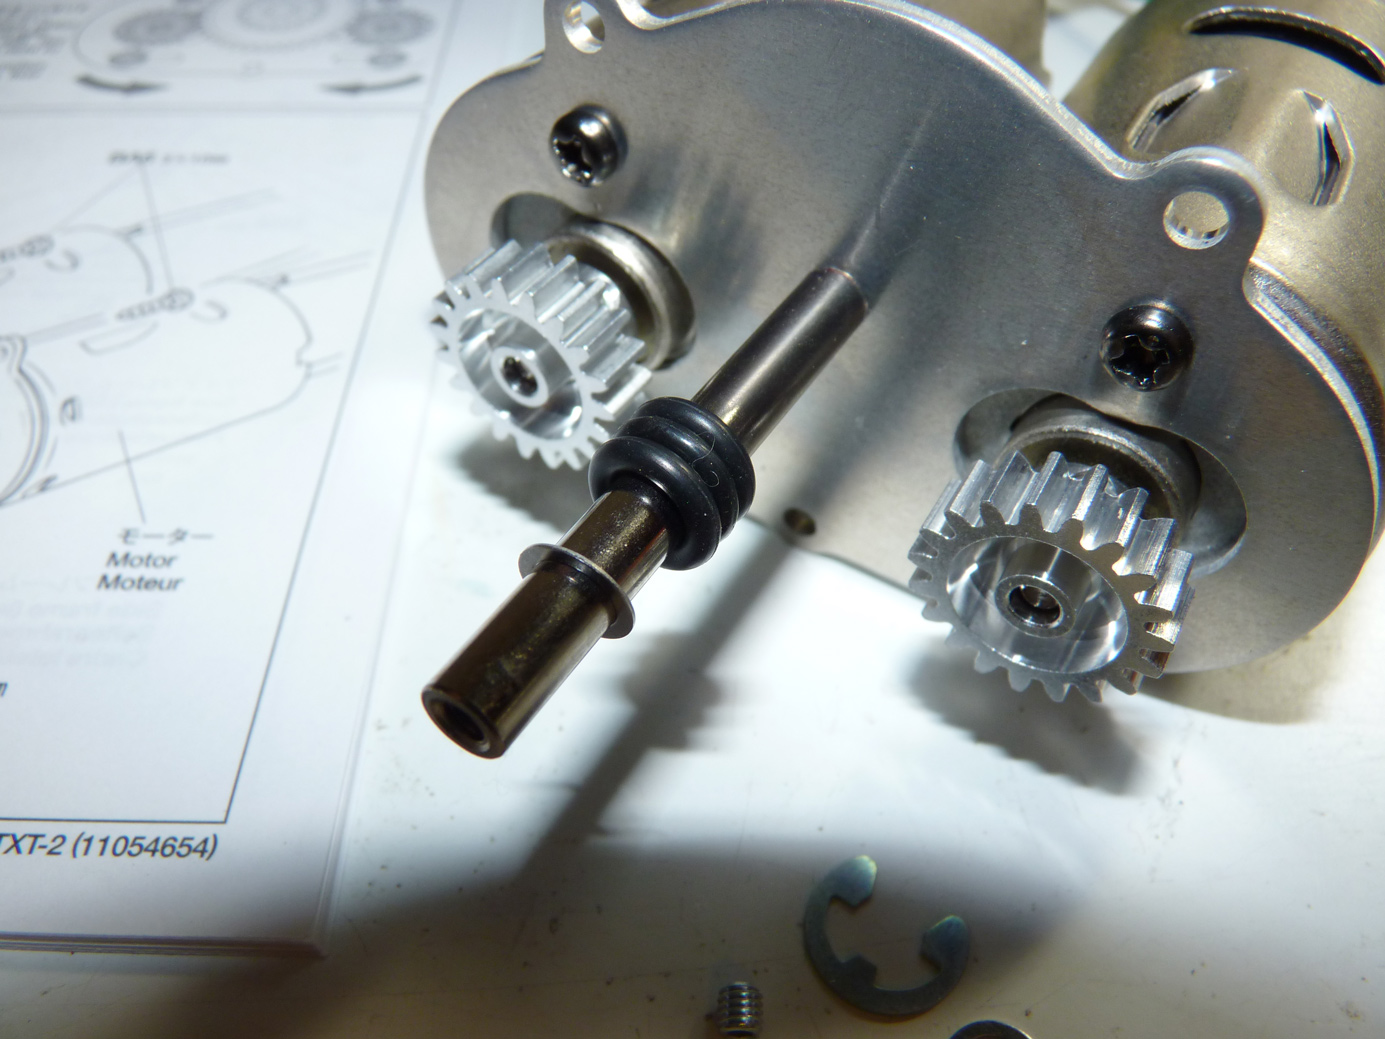
On the gear shaft we install 3 O-rings and a shim to properly space the spur gear away from the motor plate.
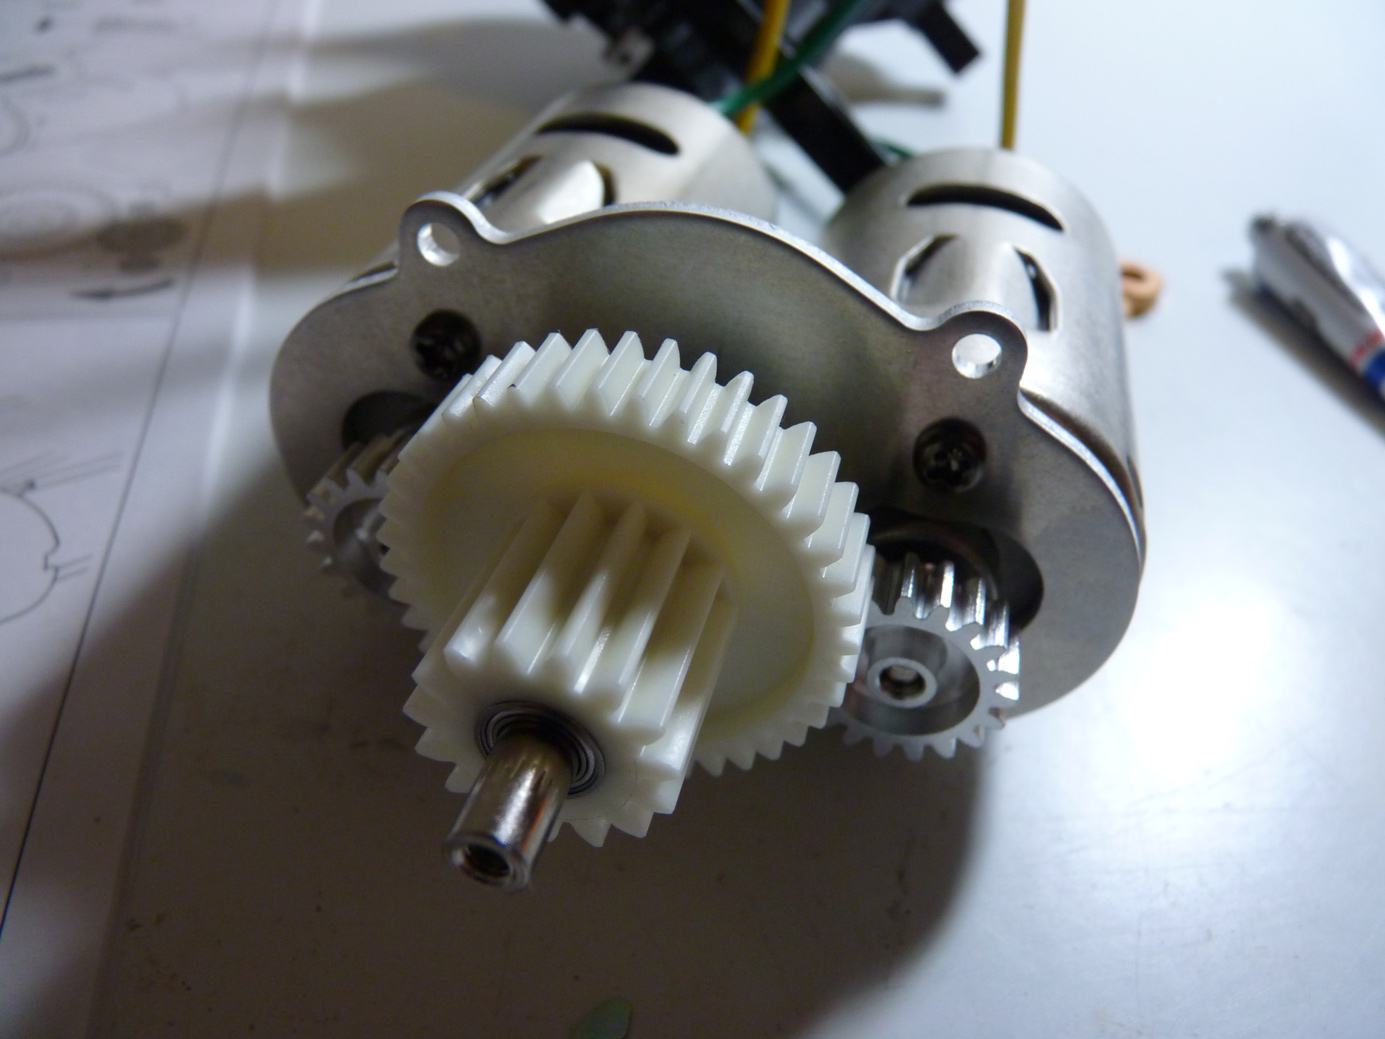
We then slide on the spur gear with bearings.
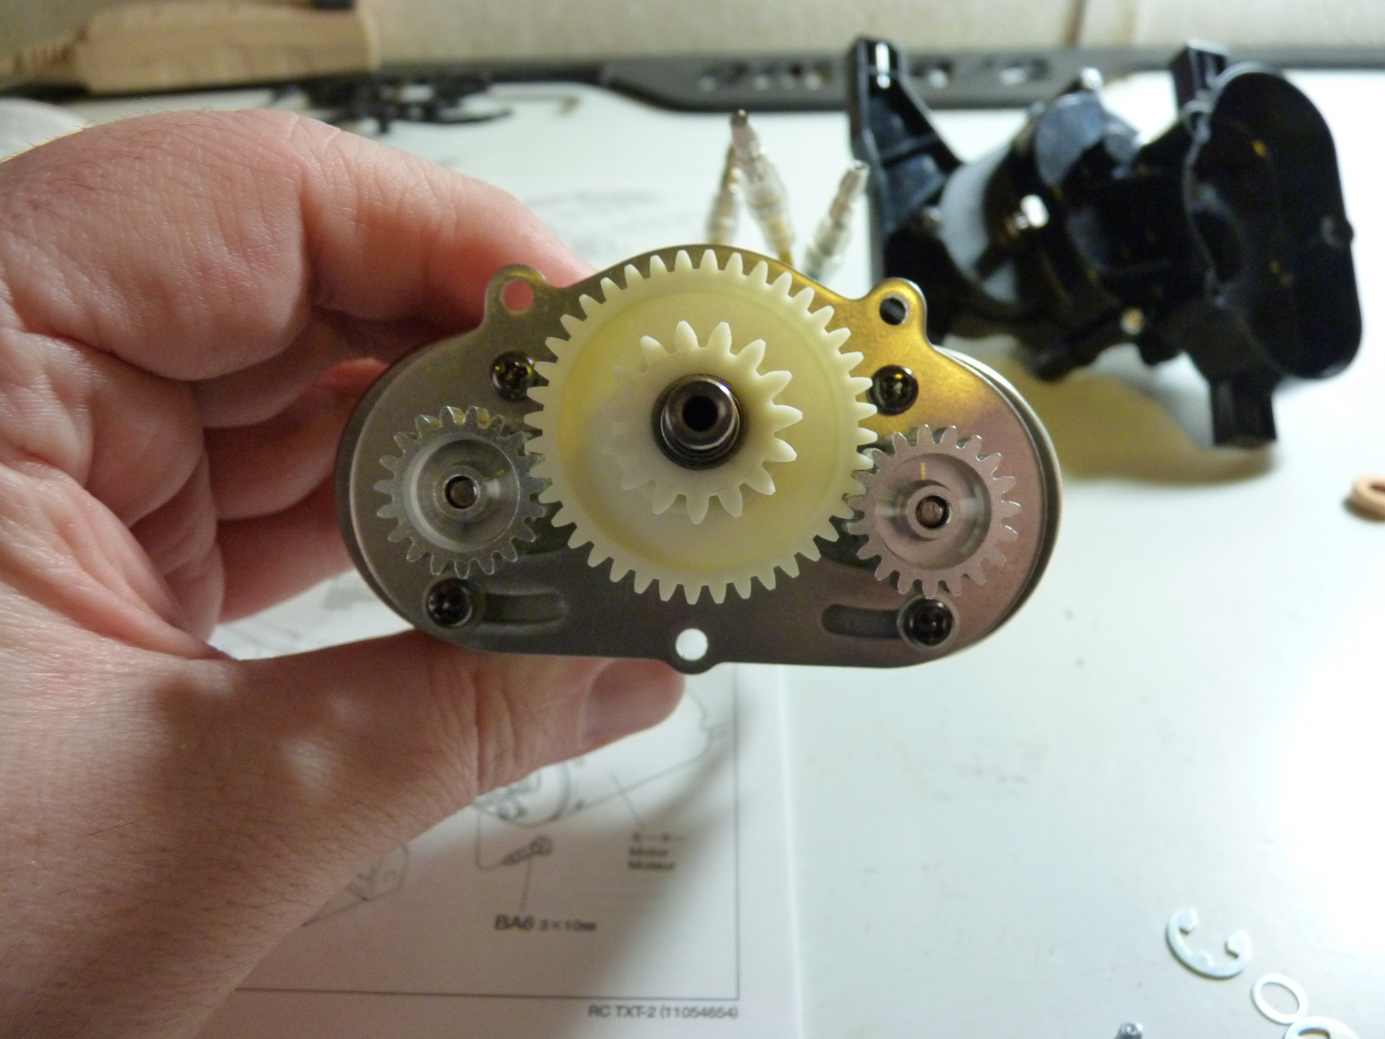
Once the spur is installed we can properly set the gear mesh on the pinions and tighten the motors in place.
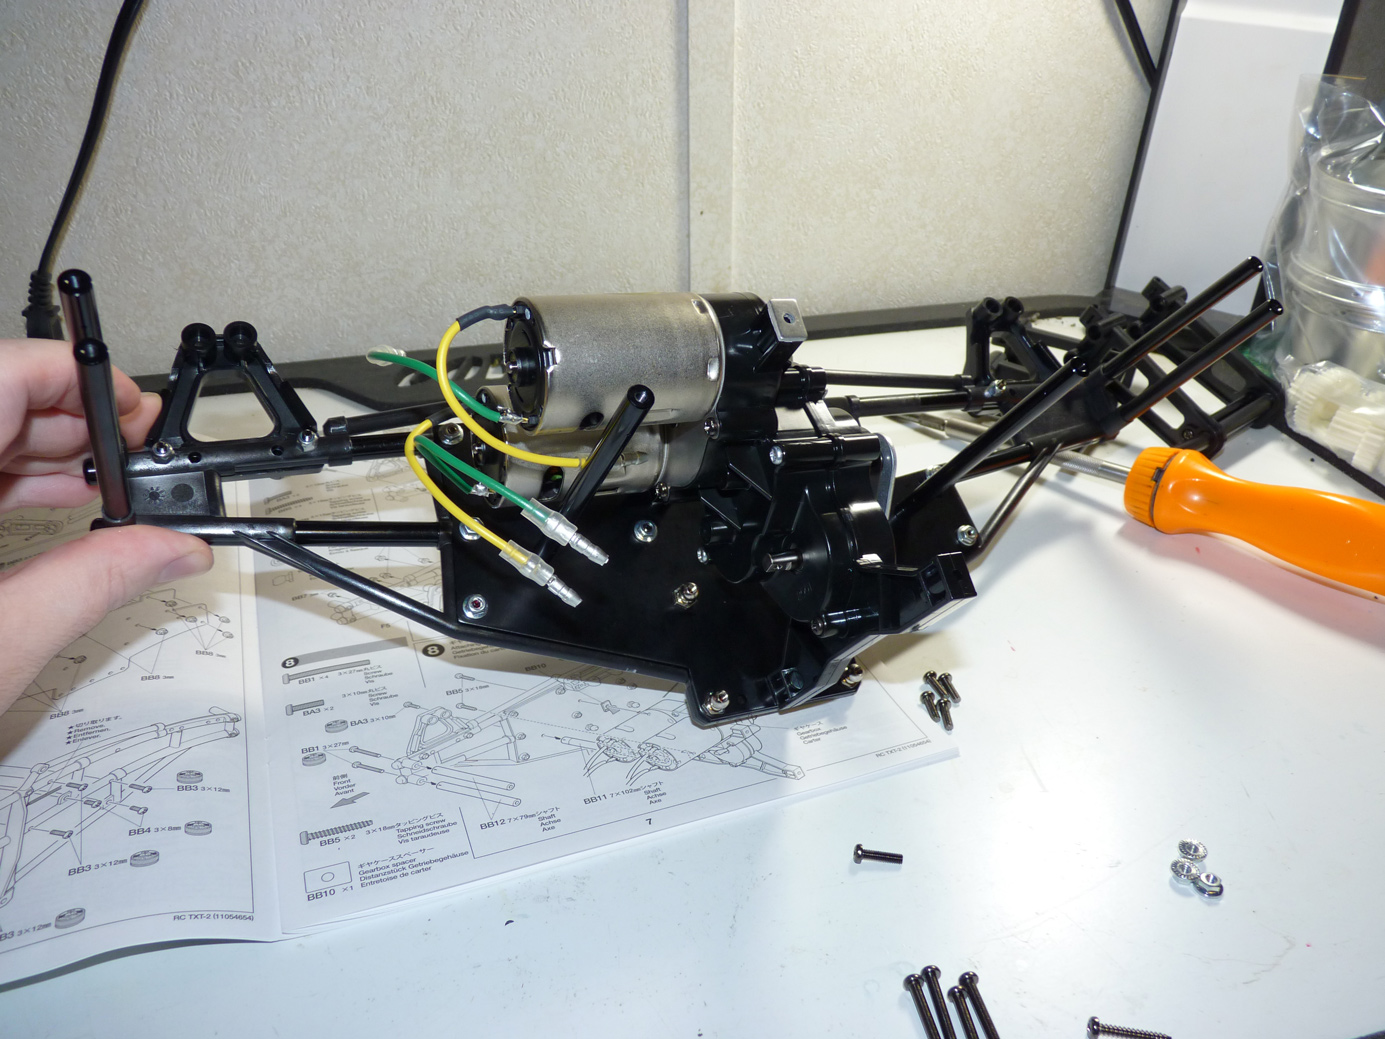
The motor plate then slides into the center gearbox assembly.
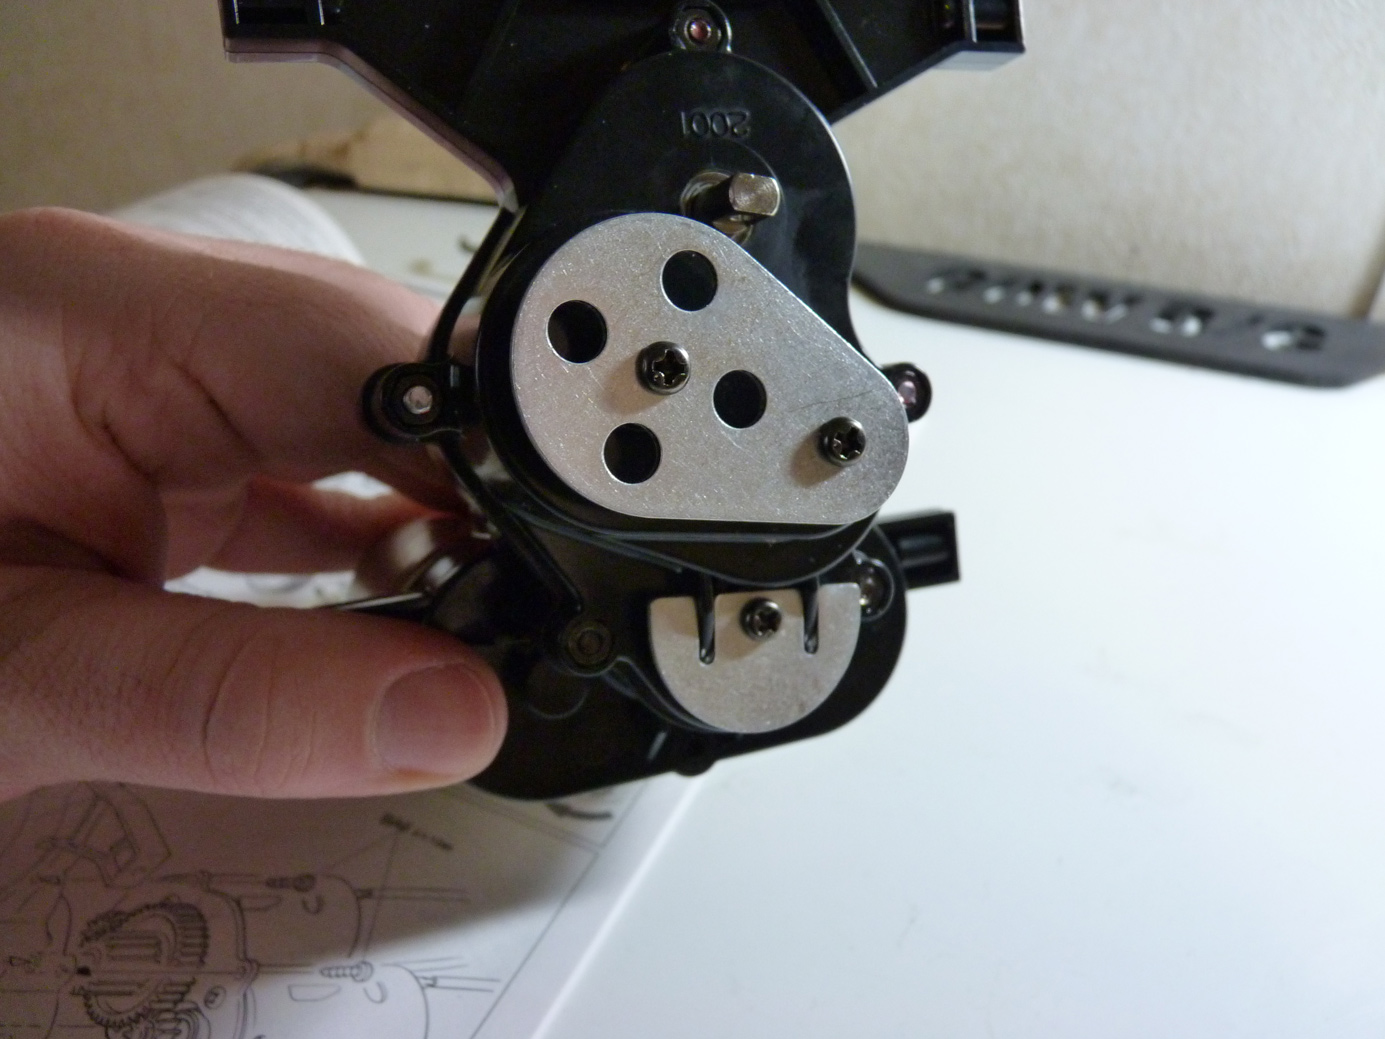
The motor plate and that gearshaft are secured from the exterior. A unique feature of this gearbox is that the internal gearshafts are secured thru the gearbox to external heatsinks to help dissipate internal heat build up. I don’t see this being required with bearings in the transmission, but maybe if we throw enough horsepower at the truck it will come in handy.
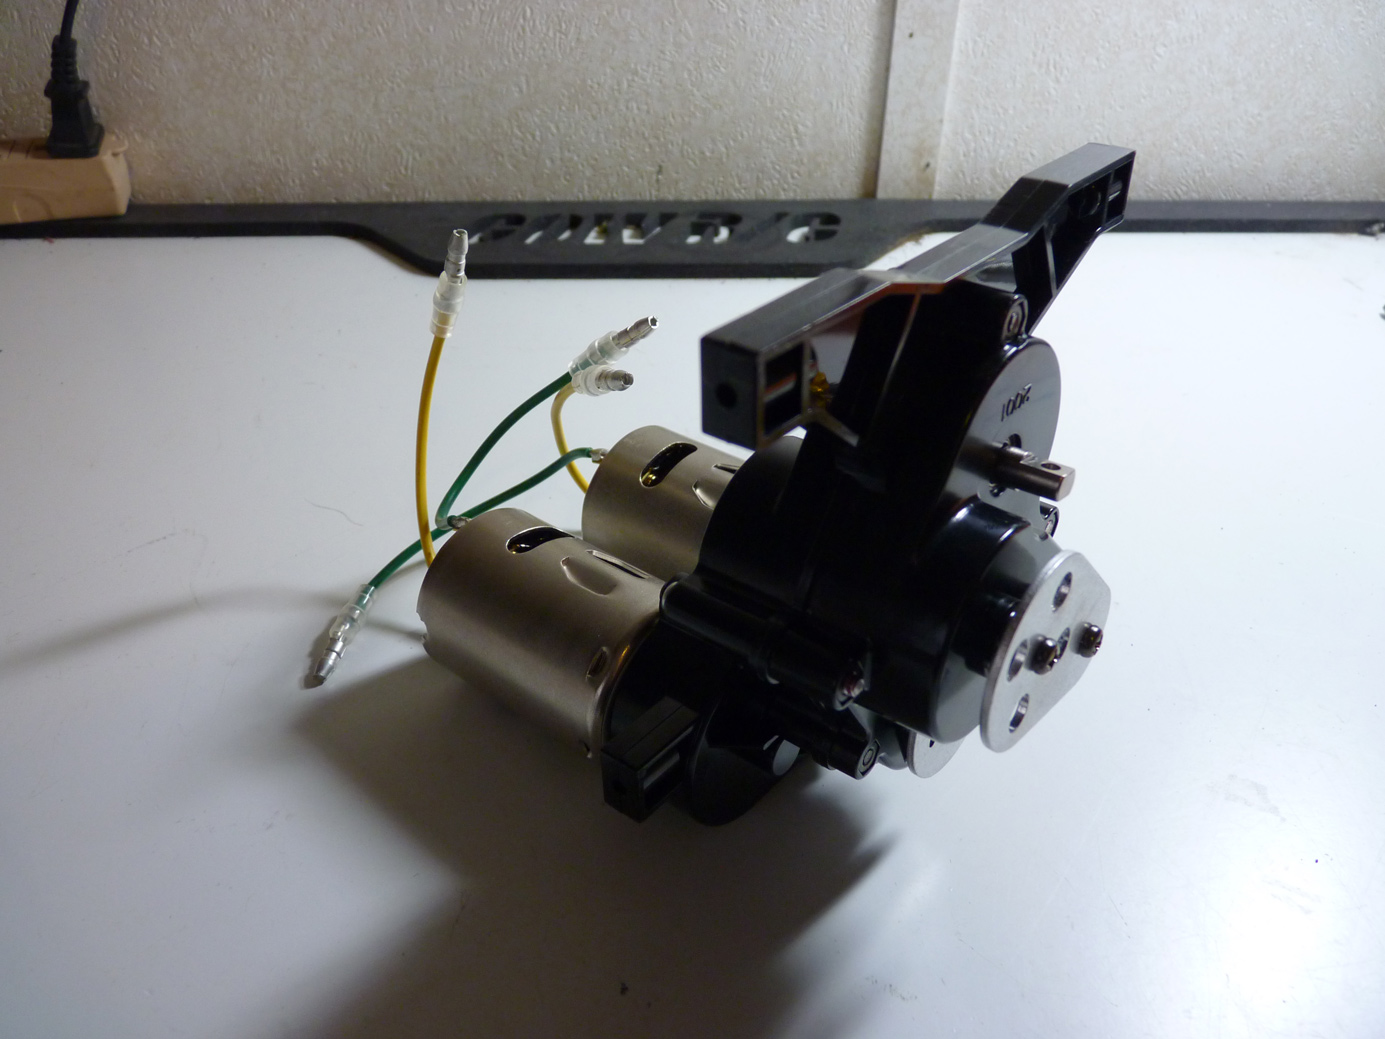
The center gearbox is now complete.
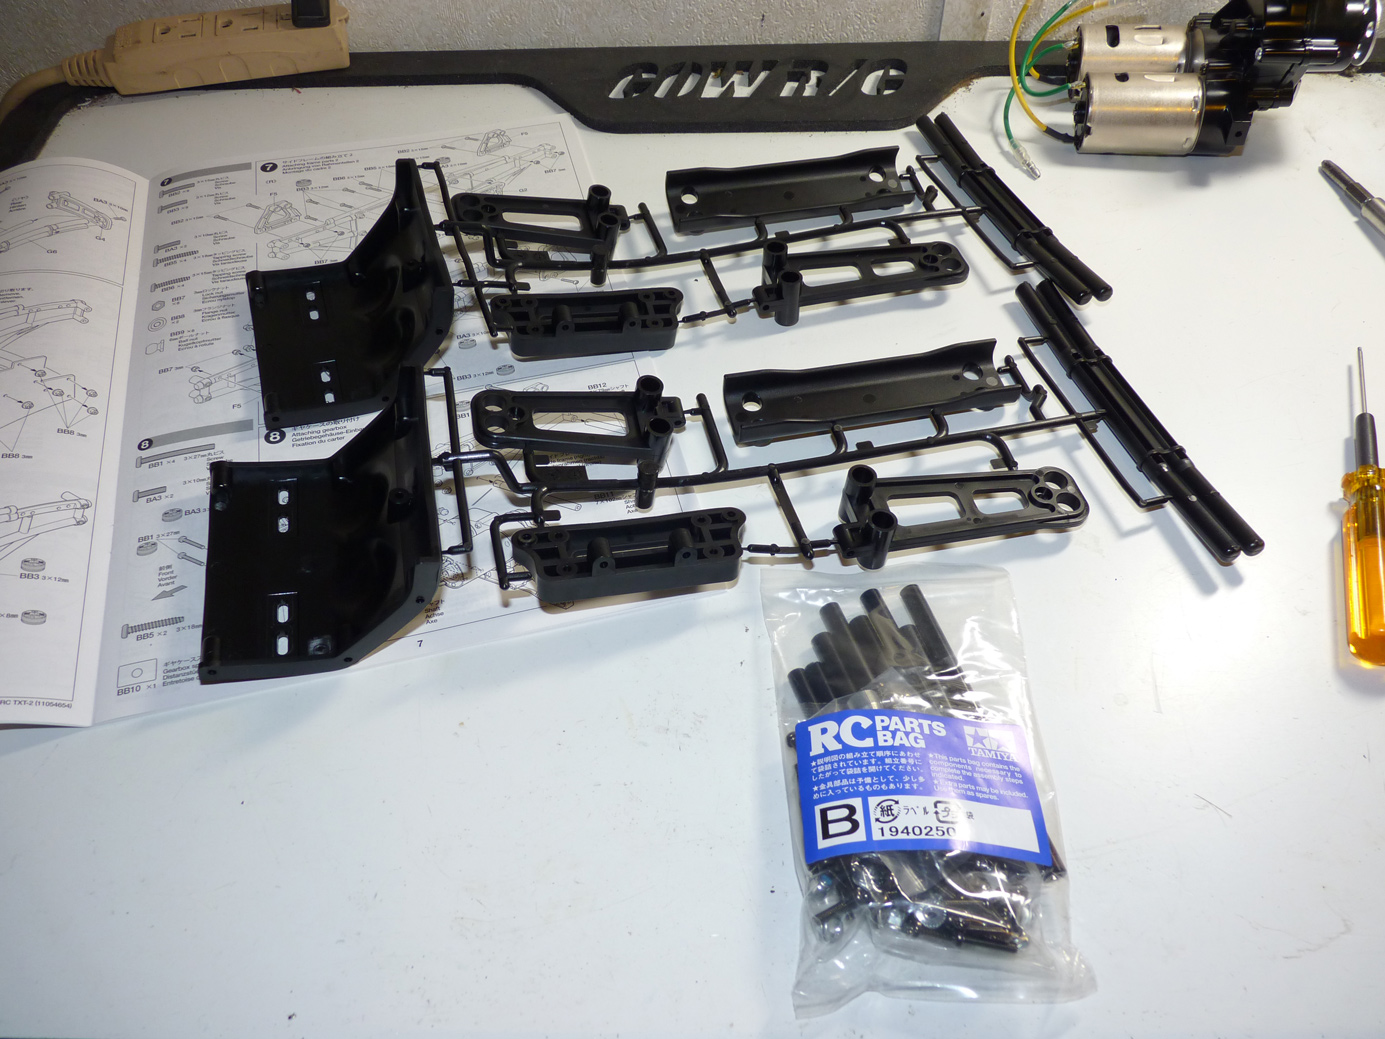
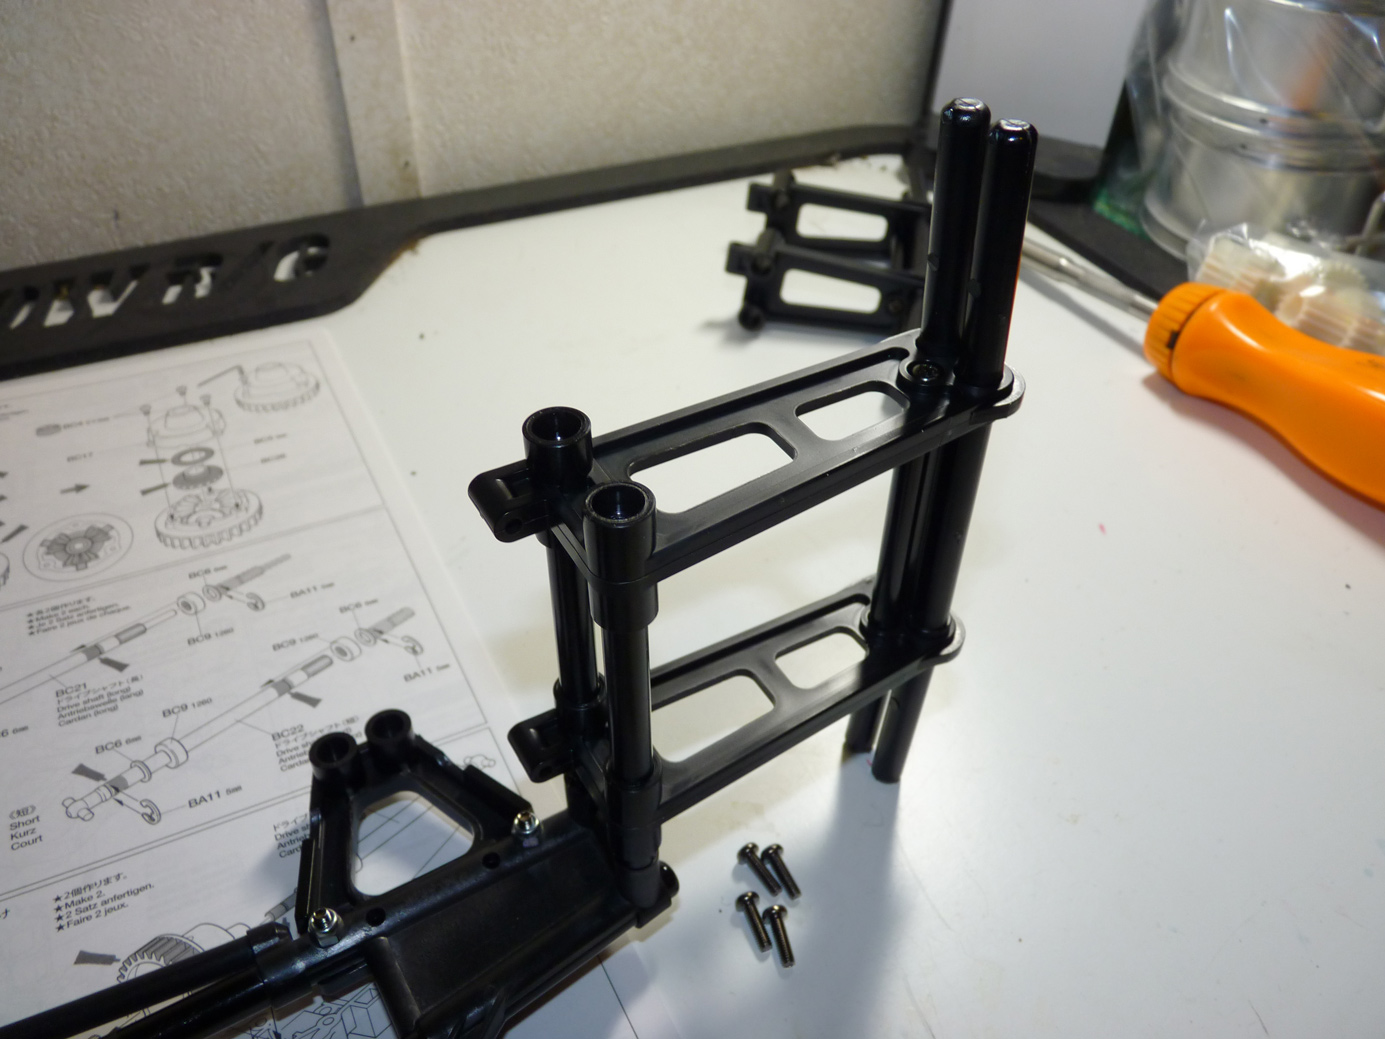
Now it is time to start on the bumpers and main chassis.
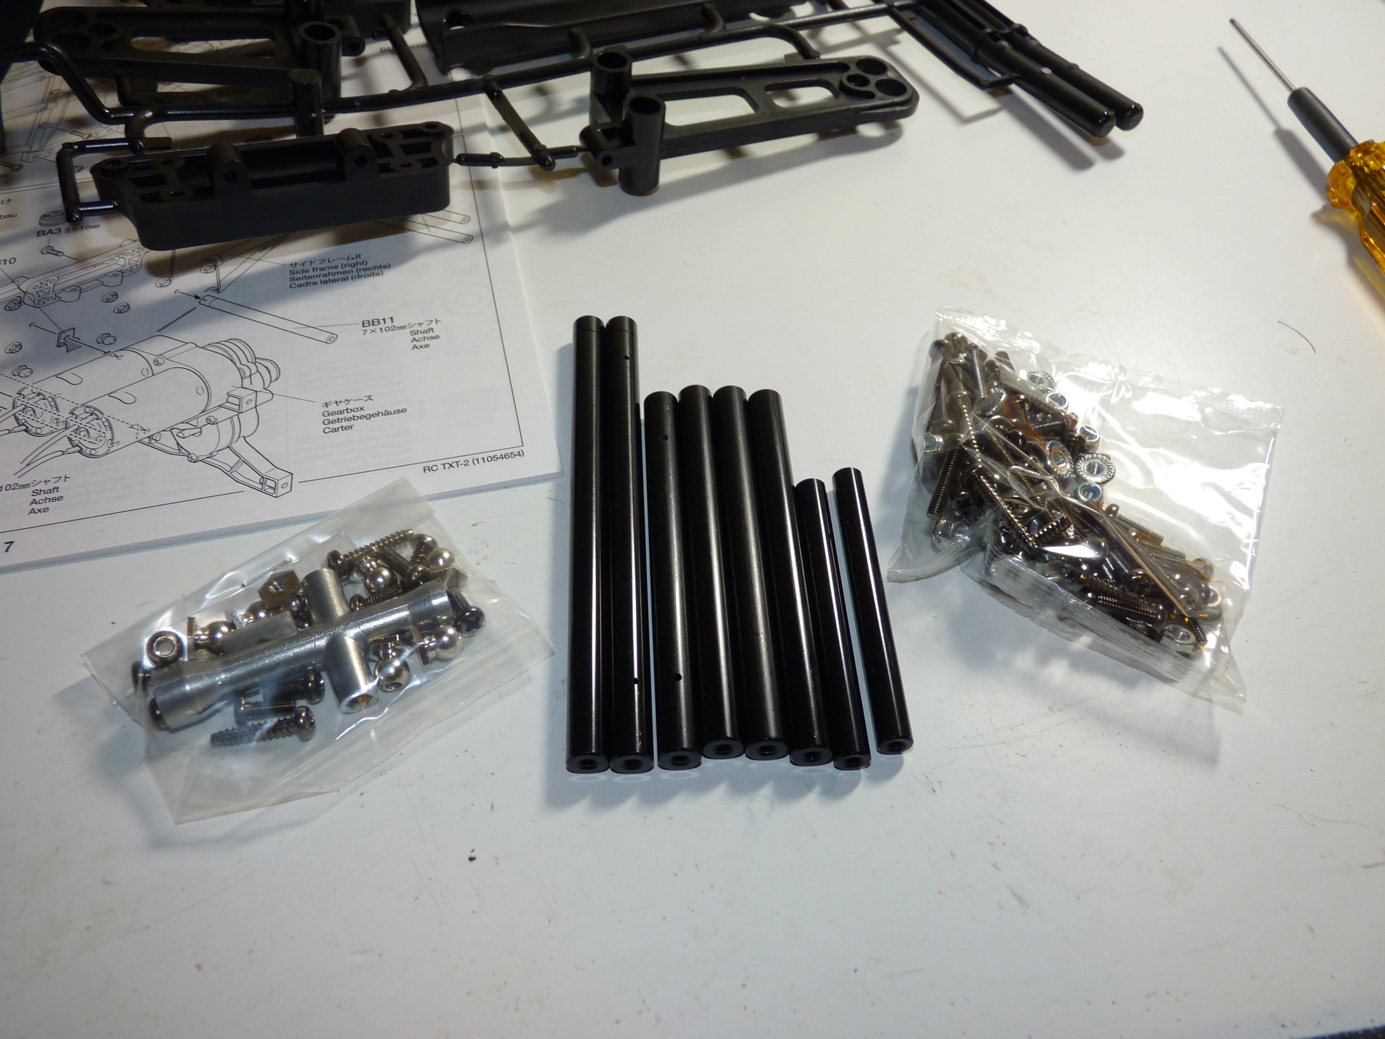
Above are the black anodized aluminum cross members for the chassis and bumpers.
The bumpers are comprised of 3 plastic pieces (2 mounts and the bumper itself).
An aluminum cross member is secured behind each bumper to add rigidity.
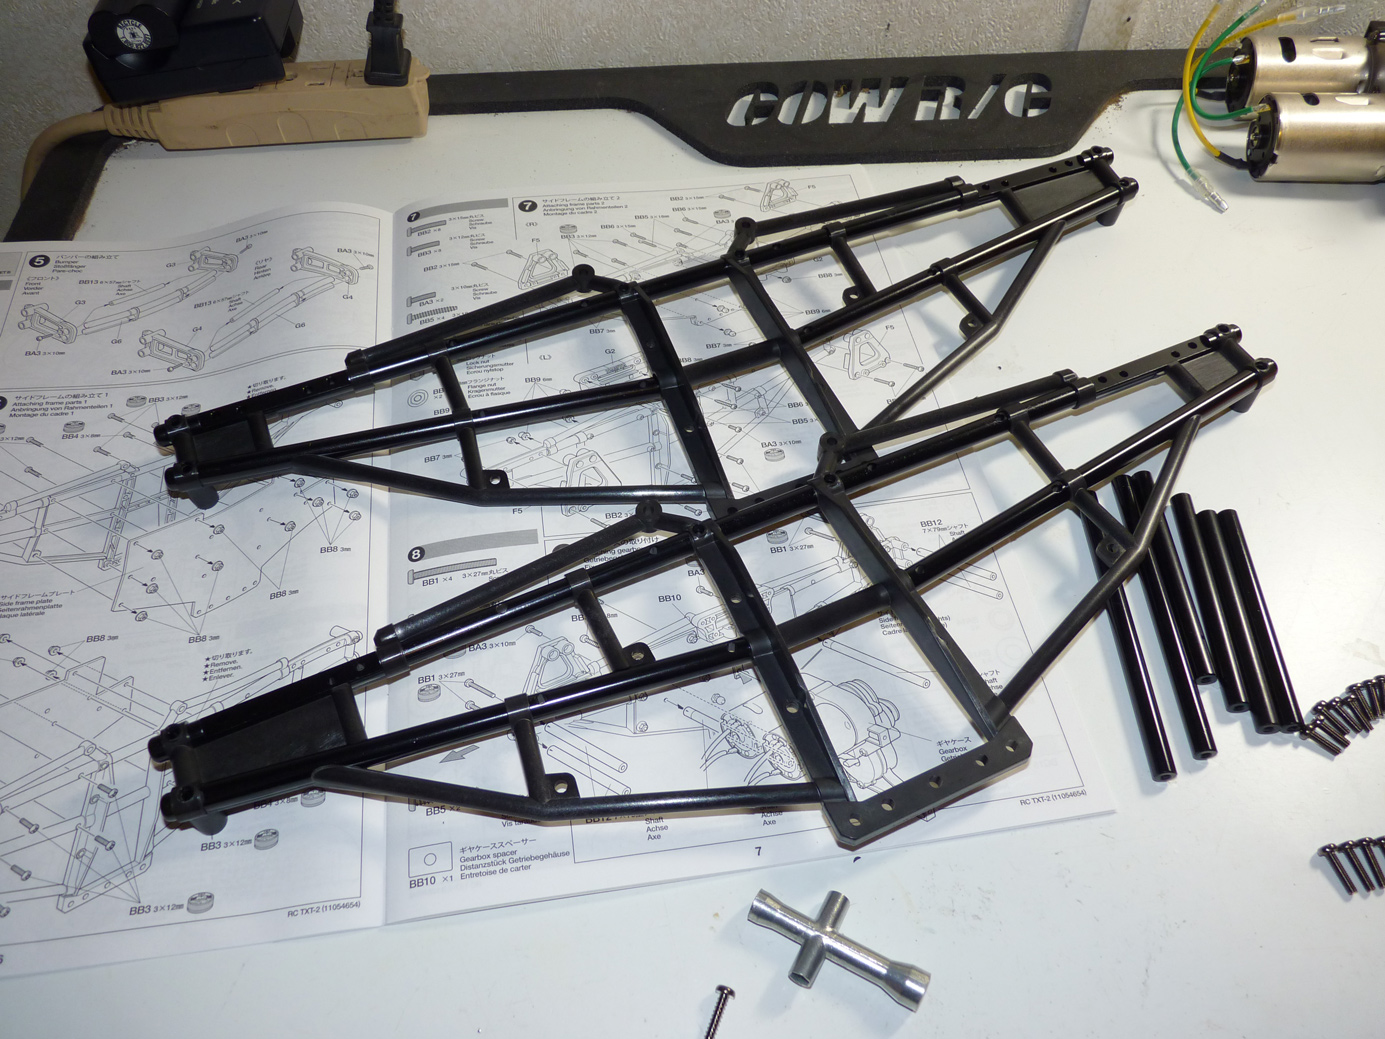
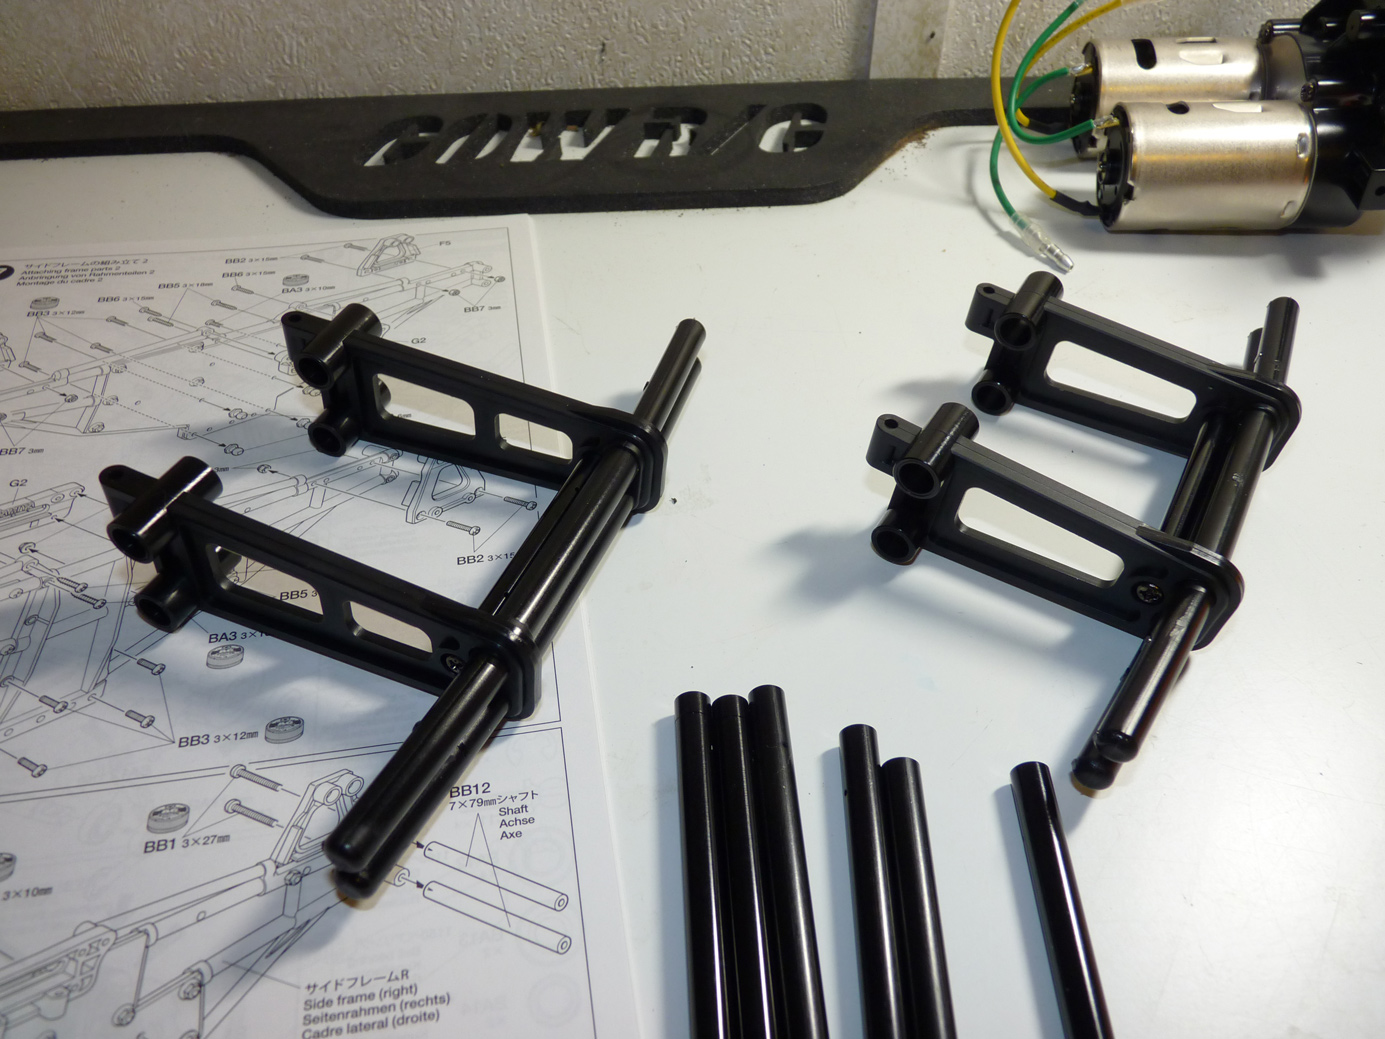
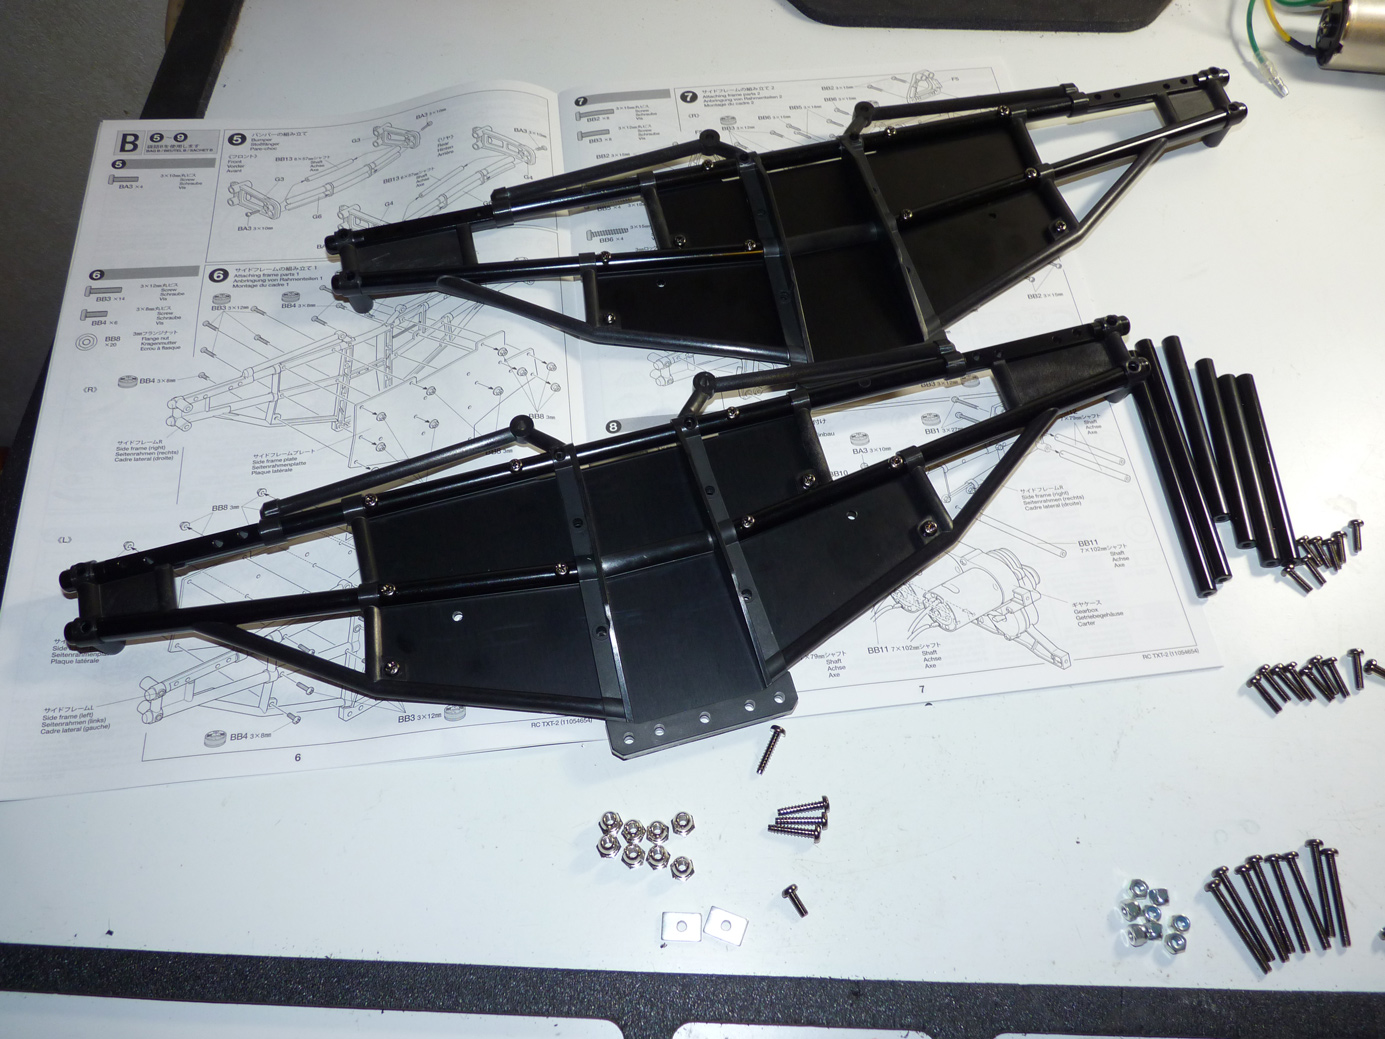
Next we have the molded tube side frames.

The plastic side frames attach to the black anodized aluminum side frame plates.
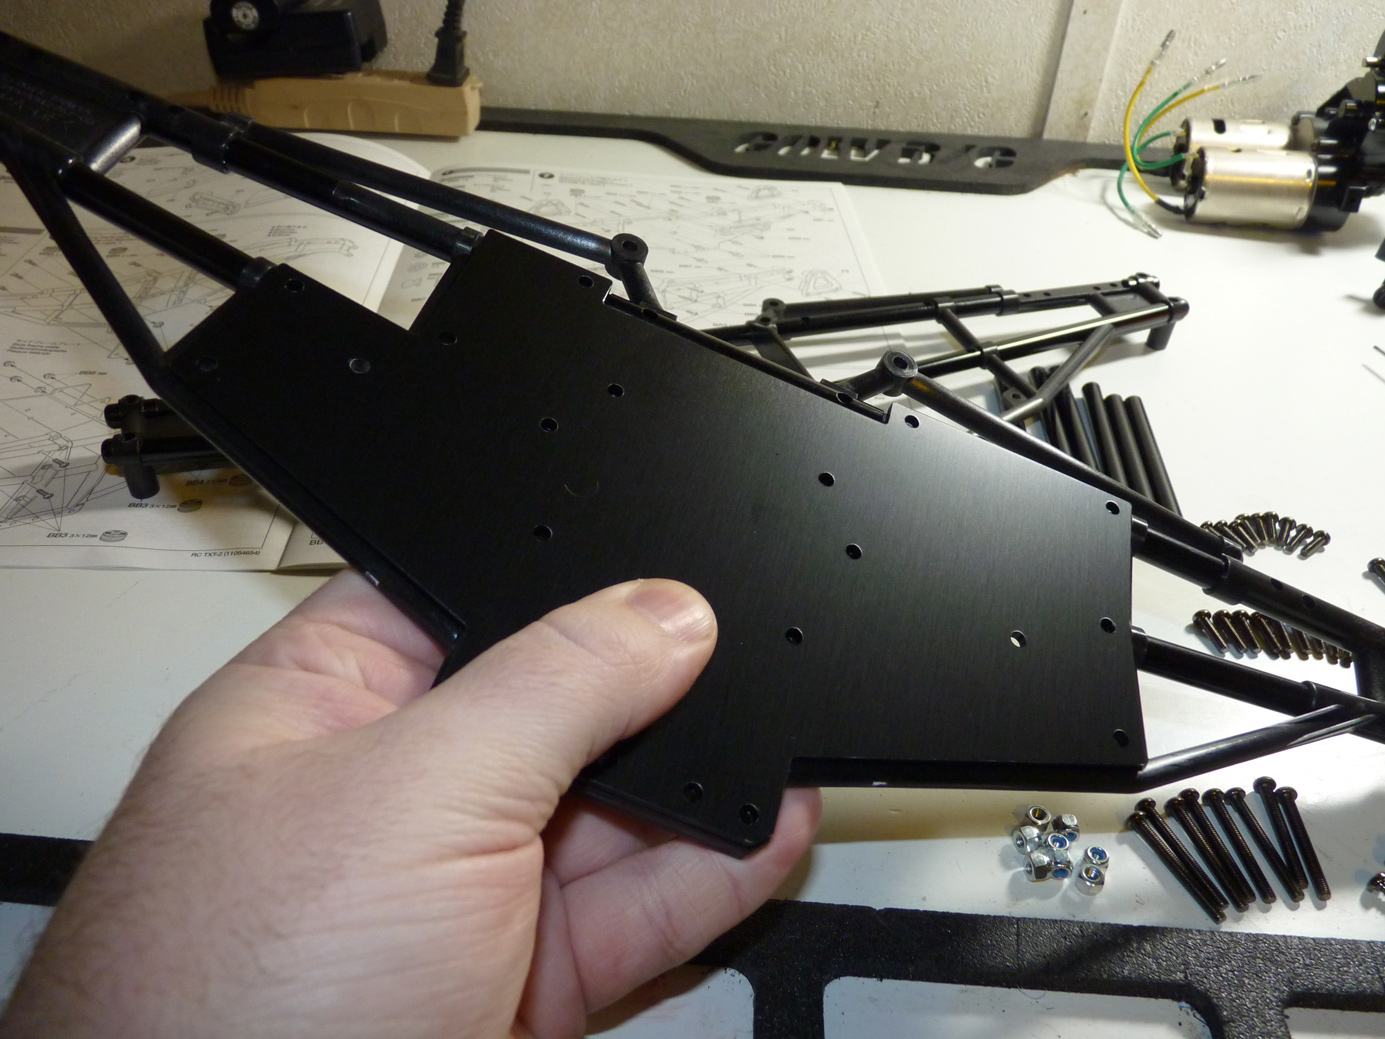
Pretty simple.
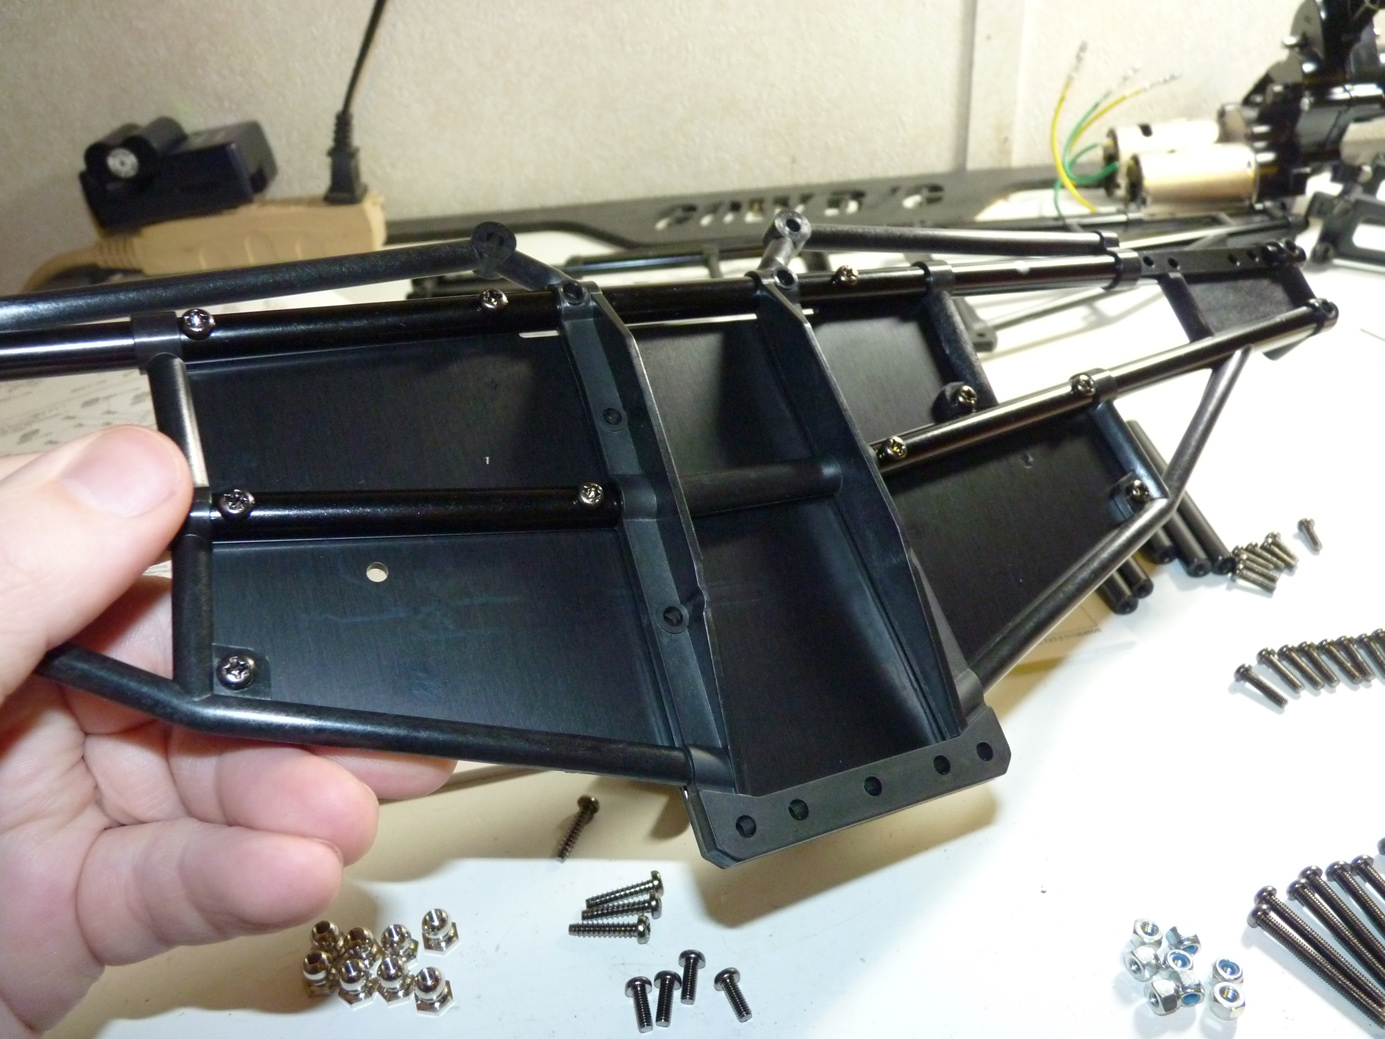
So essentially this is a hybrid chassis. Some of it is aluminum and some of it is plastic. You couldn’t run one part of the chassis without the other as they work in unison to provide a realistic and functional chassis frame.
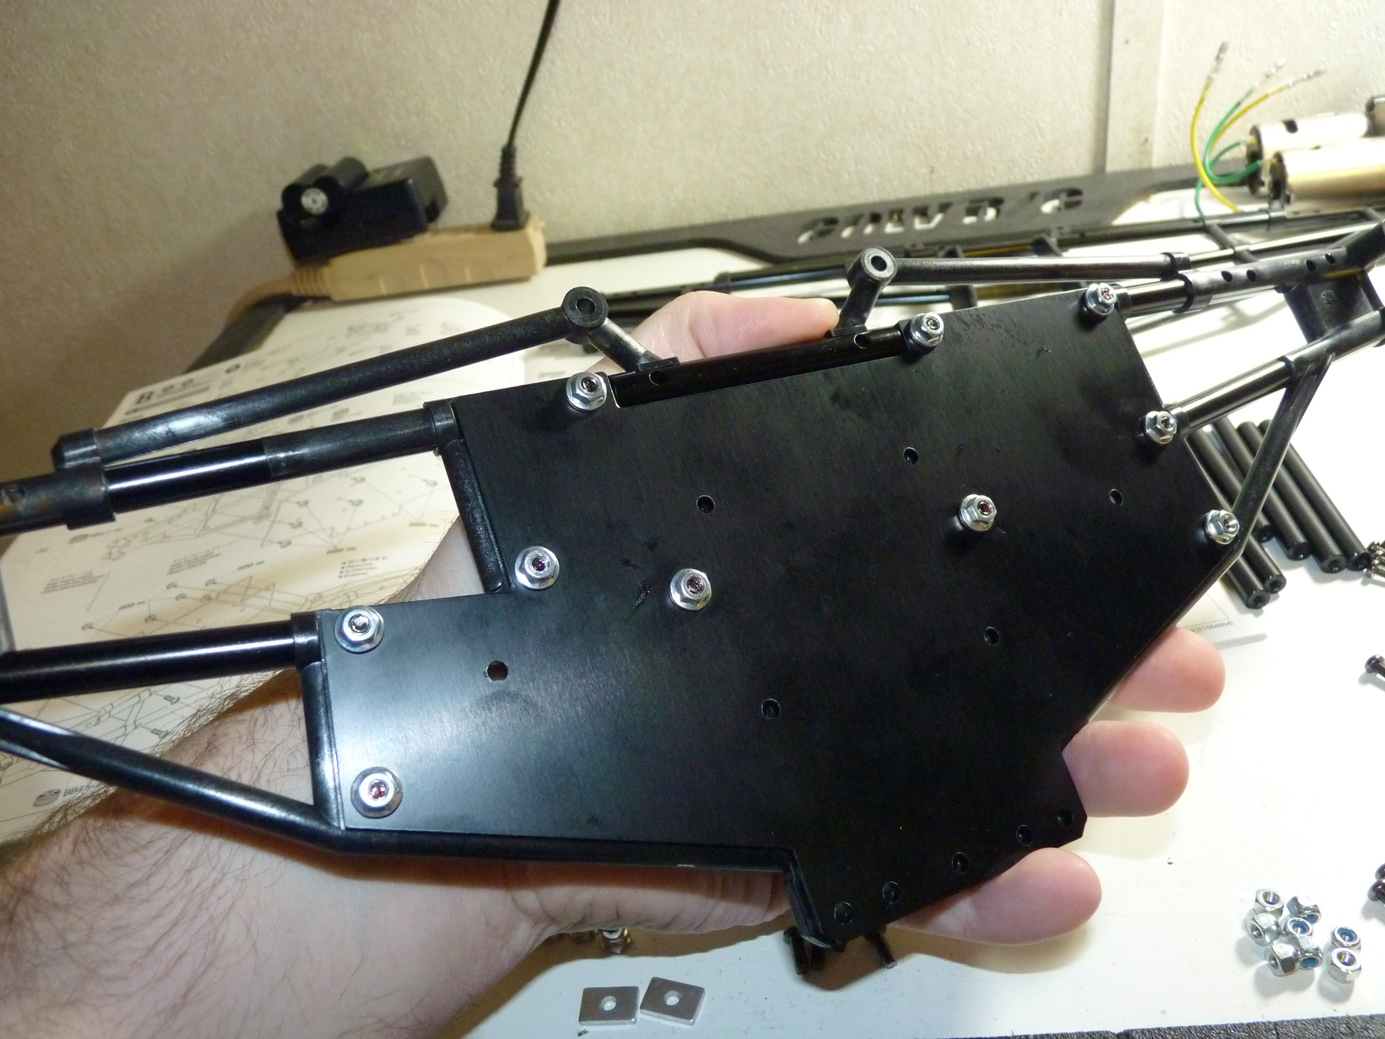
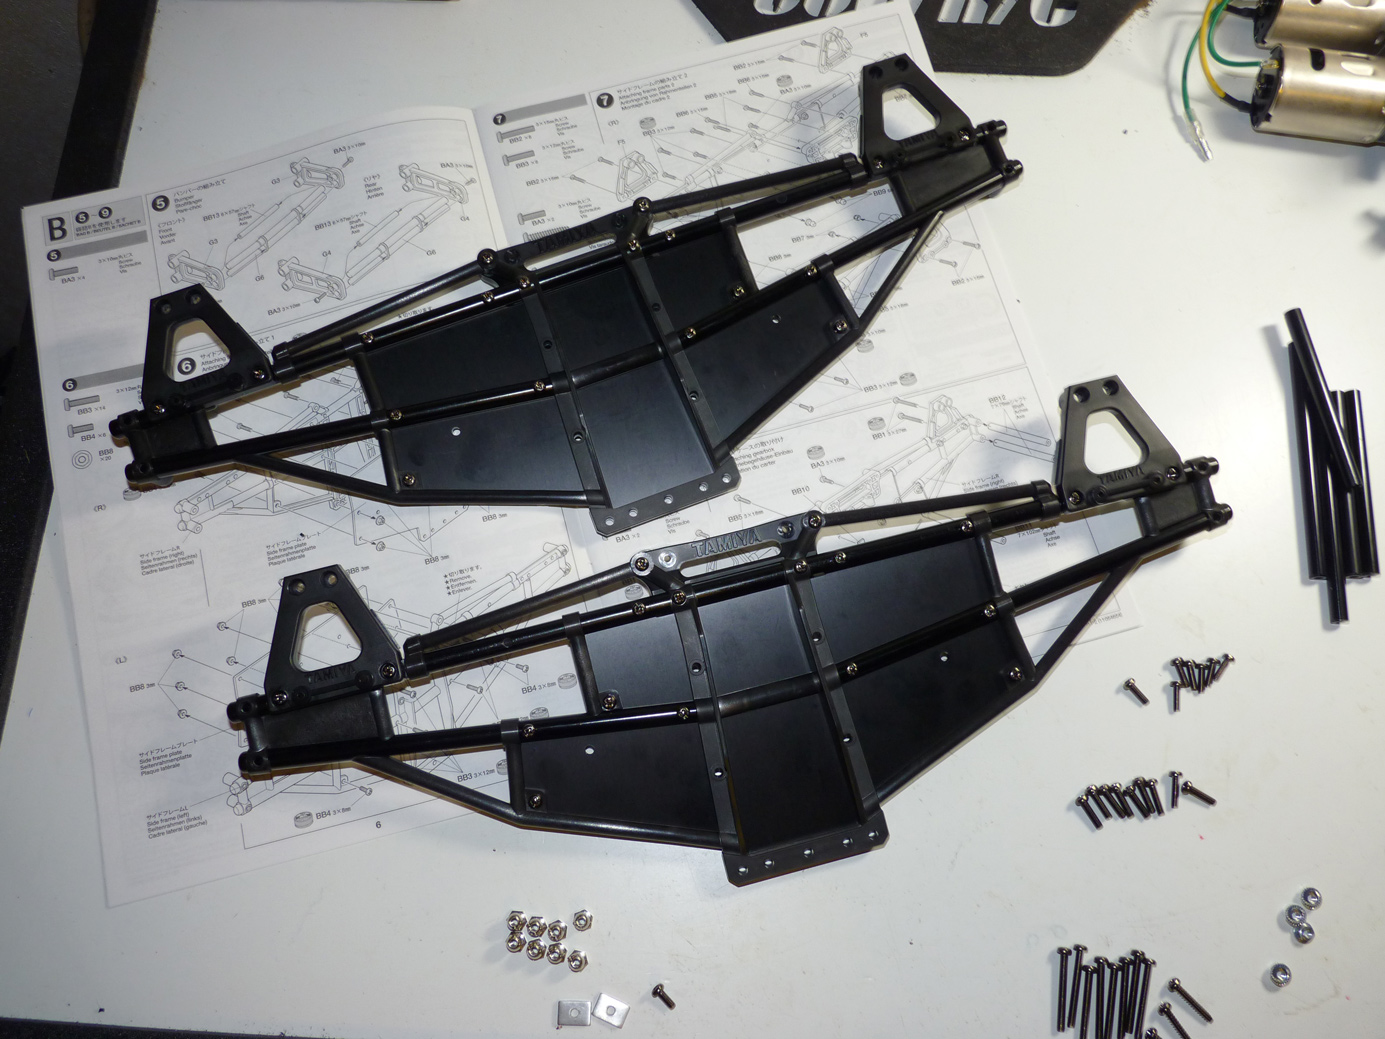
Be sure to thread-lock ALL of these screws that thread into basic flange nuts on the backside of the frame.
Now the plates and frame are together.
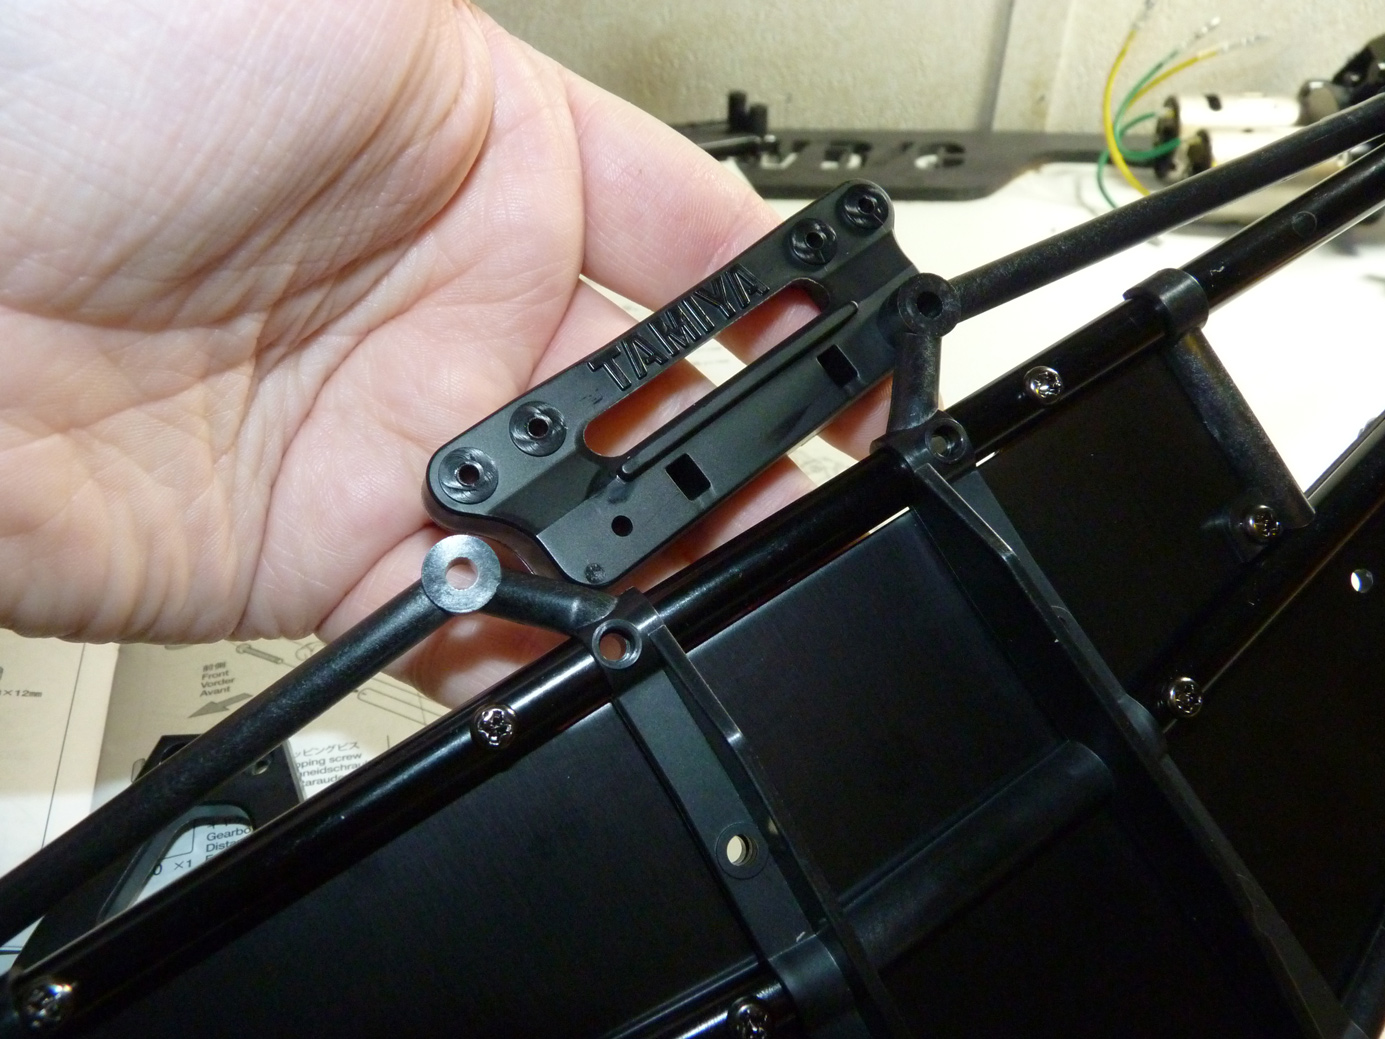
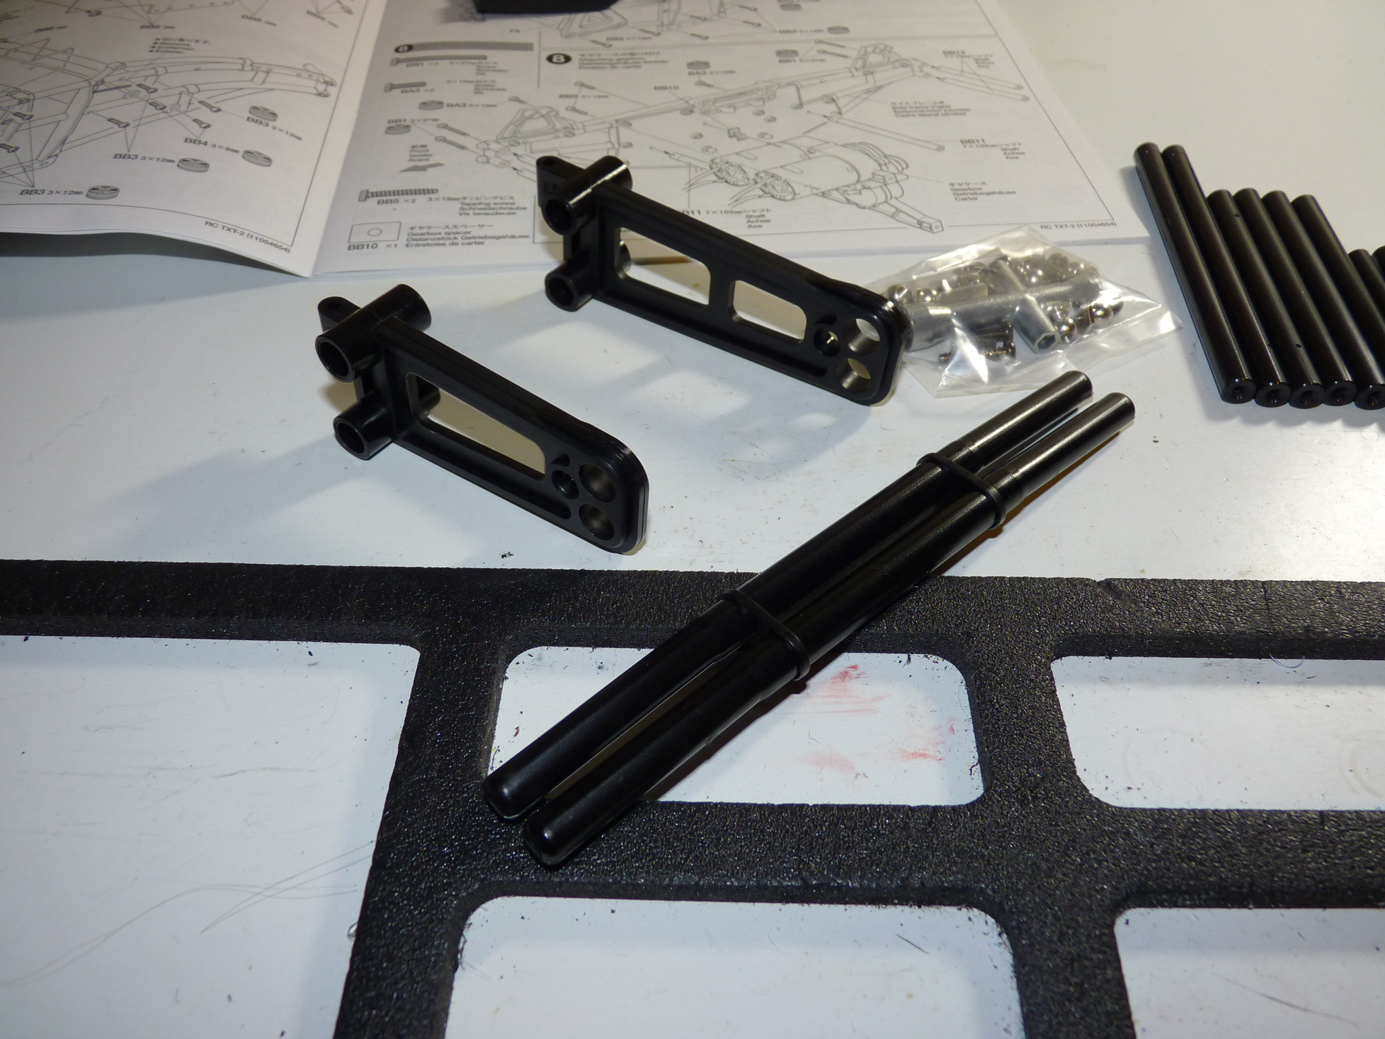
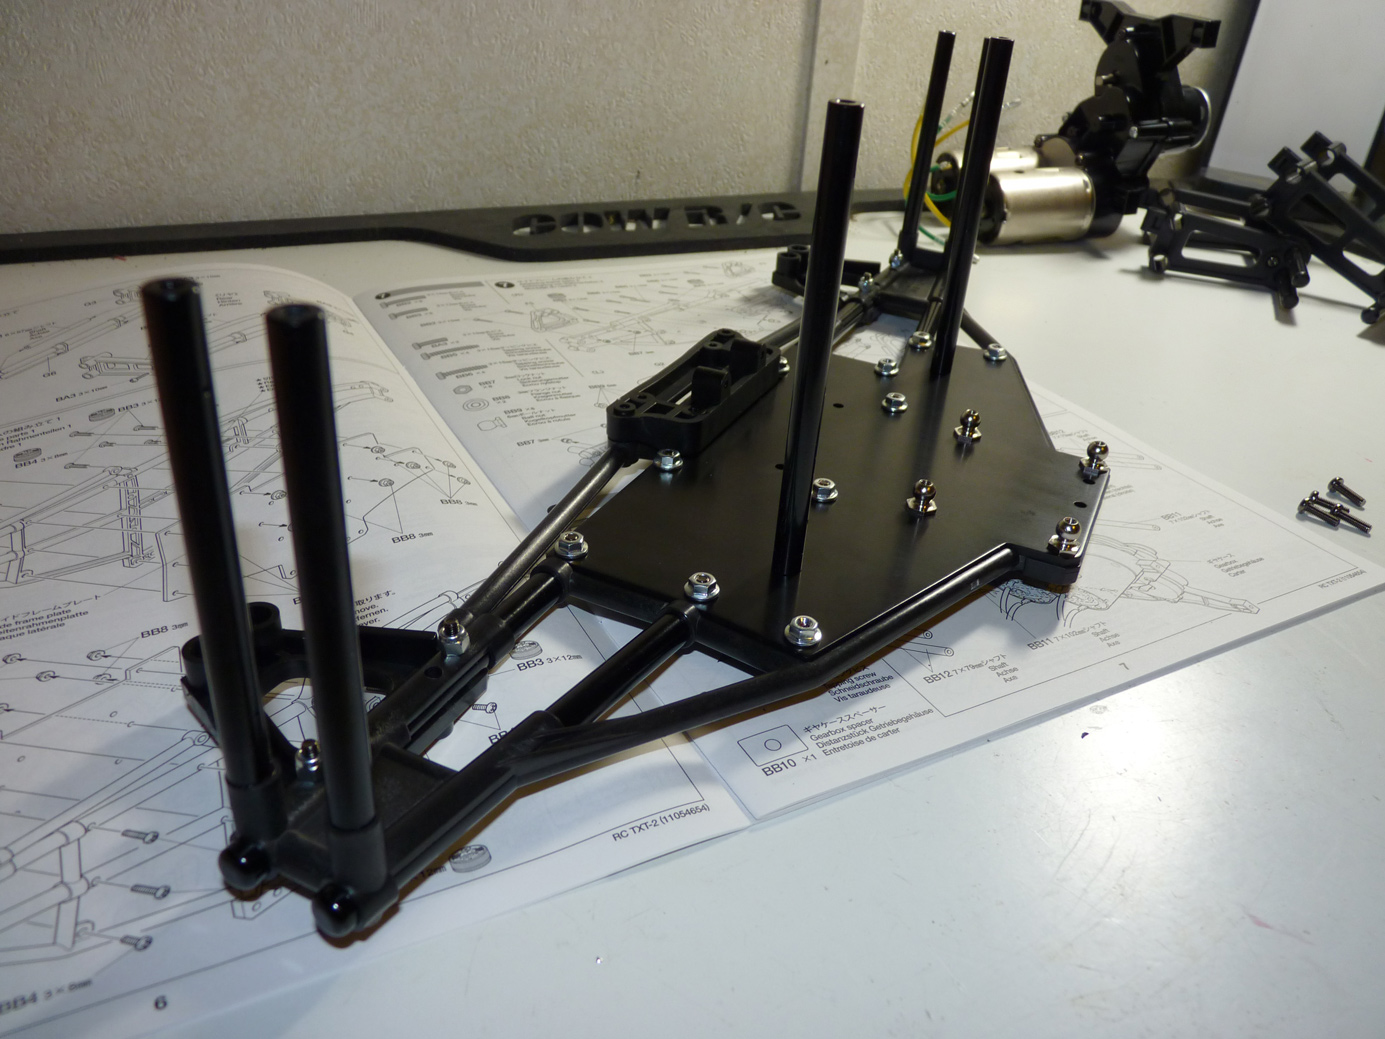
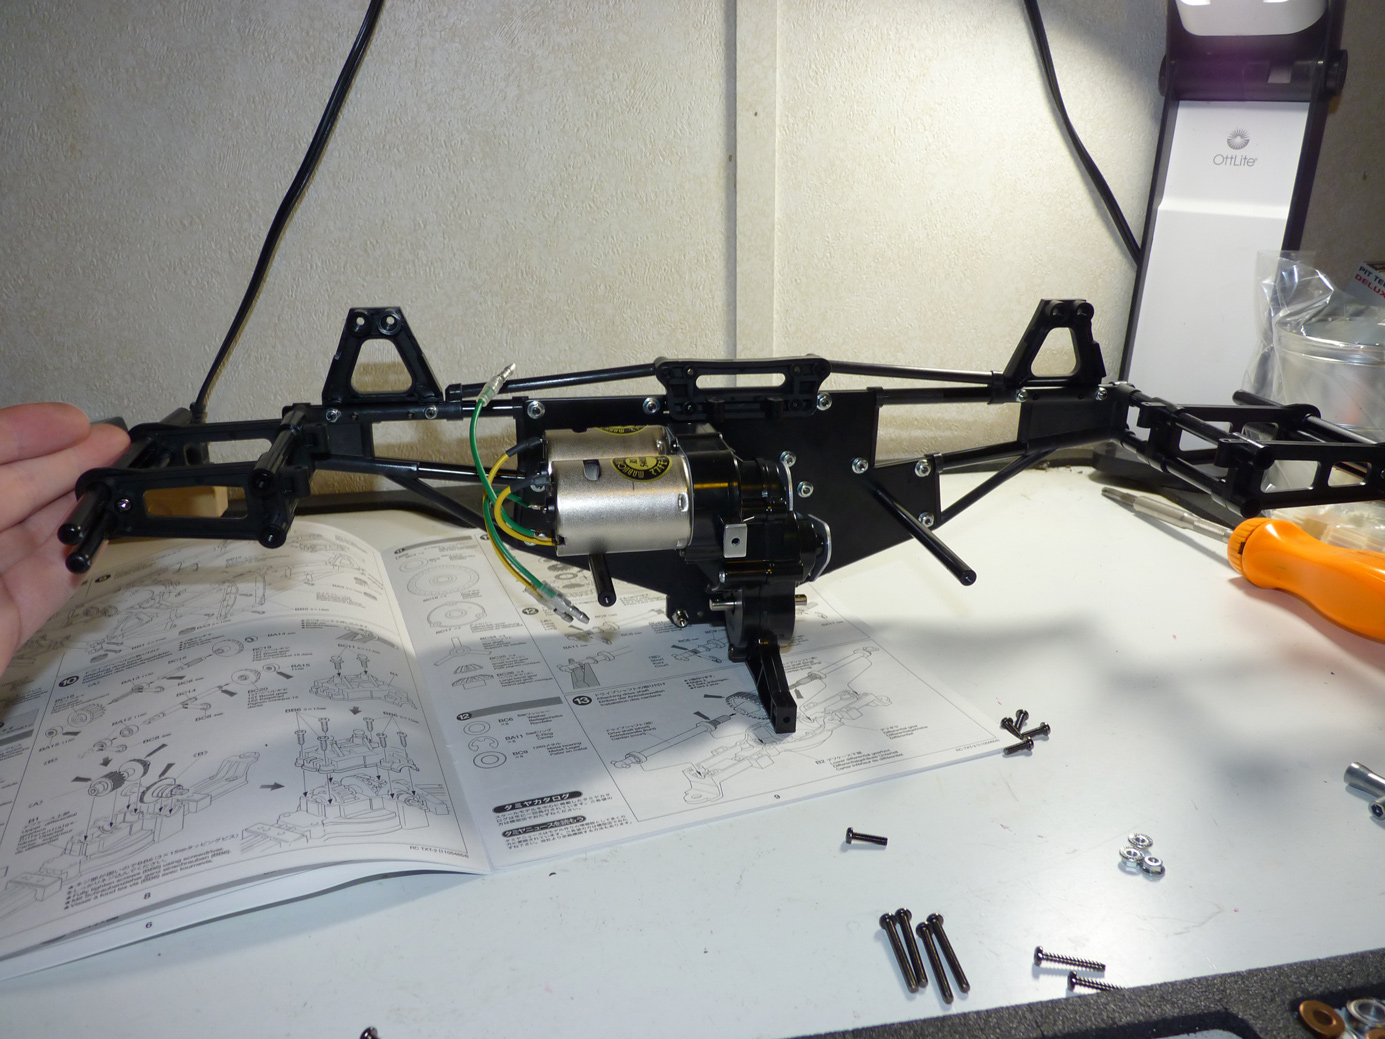
It’s time to install some additional frame parts. These include the upper shock mounts shown below.
Frame parts installed.
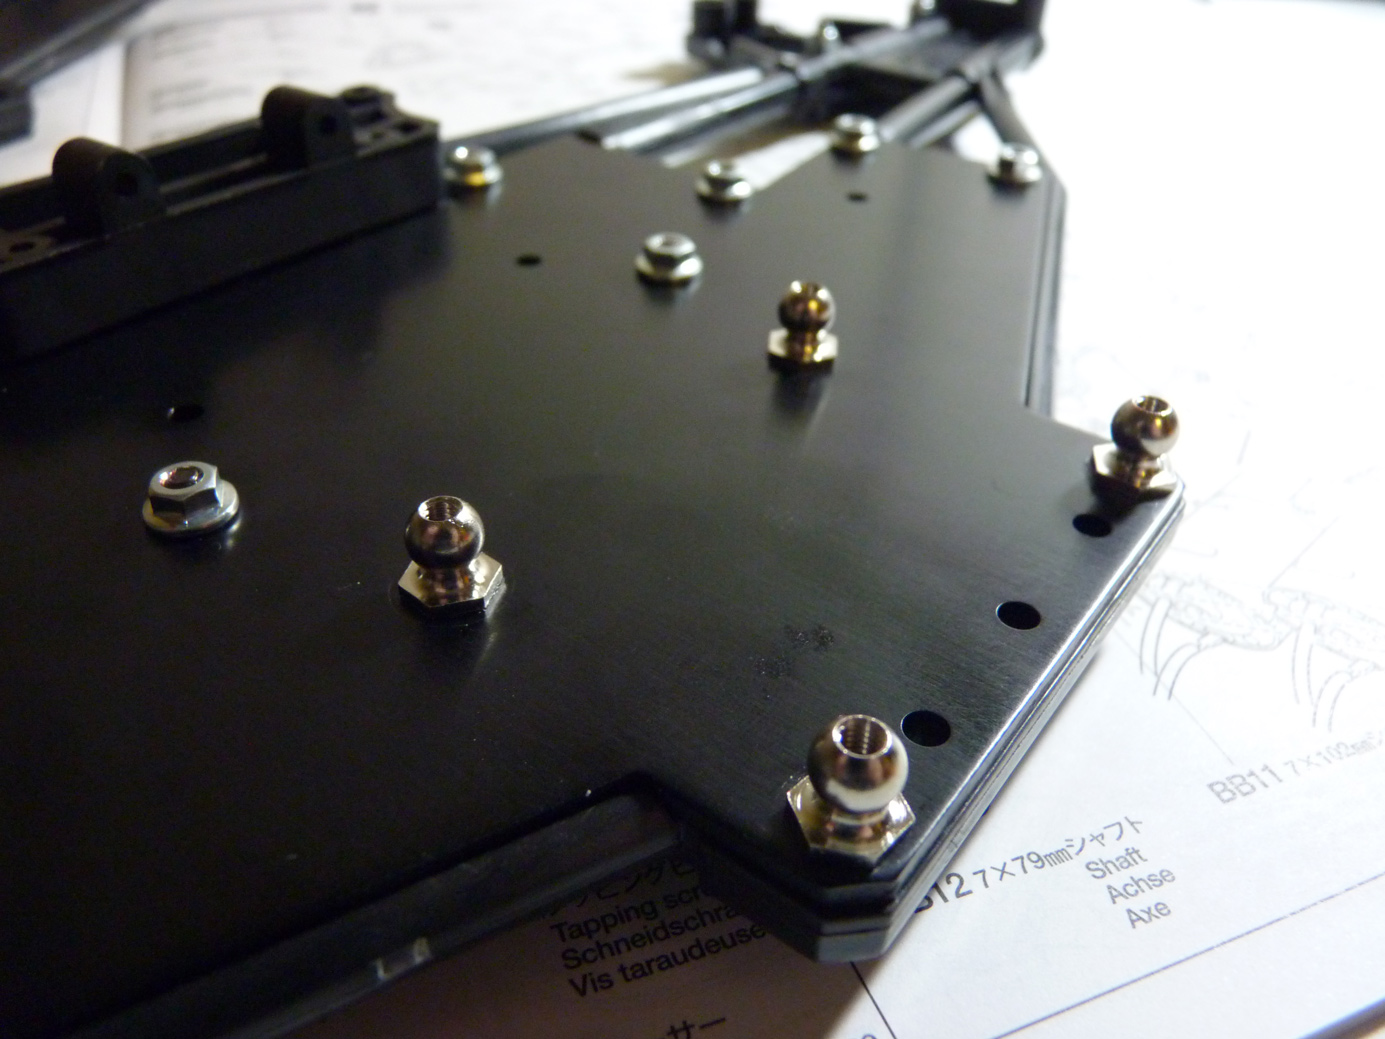
Now we install the ball nuts on the lower sections of the chassis plates. These are what the 4-links will connect to.
The aluminum cross members then get installed.
I thought this step was a little weird. Tamiya includes two small aluminum gearbox spacers that attach to the center gearbox mounts with an adhesive backing. They ensure the gearbox will be the same internal width of the chassis.
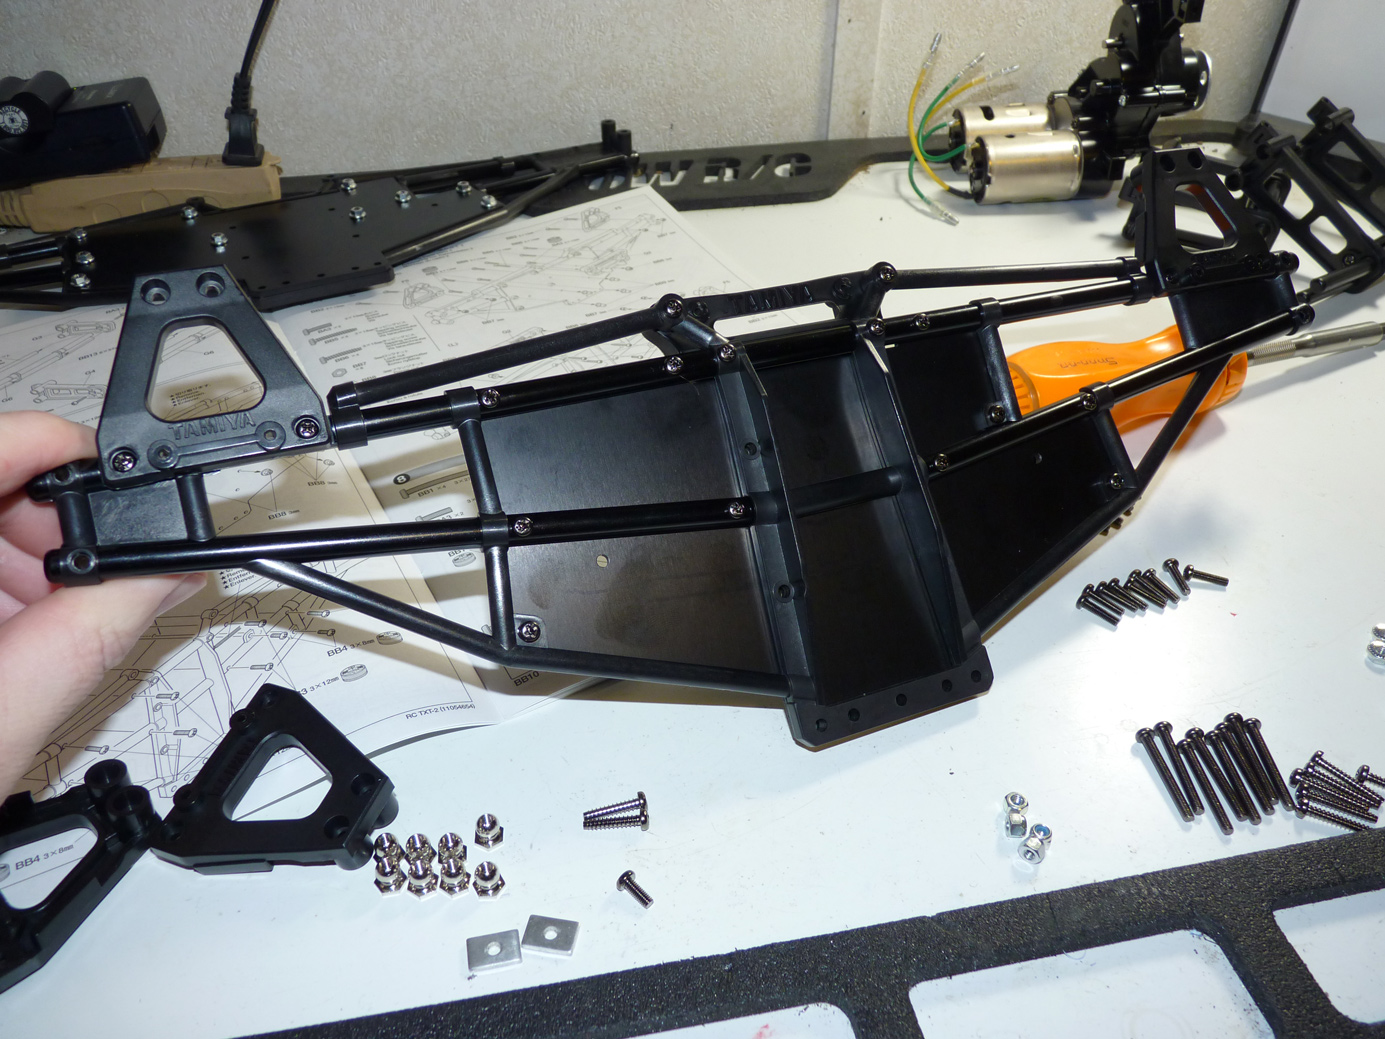
One half is done.
Now we install the front and rear bumpers.
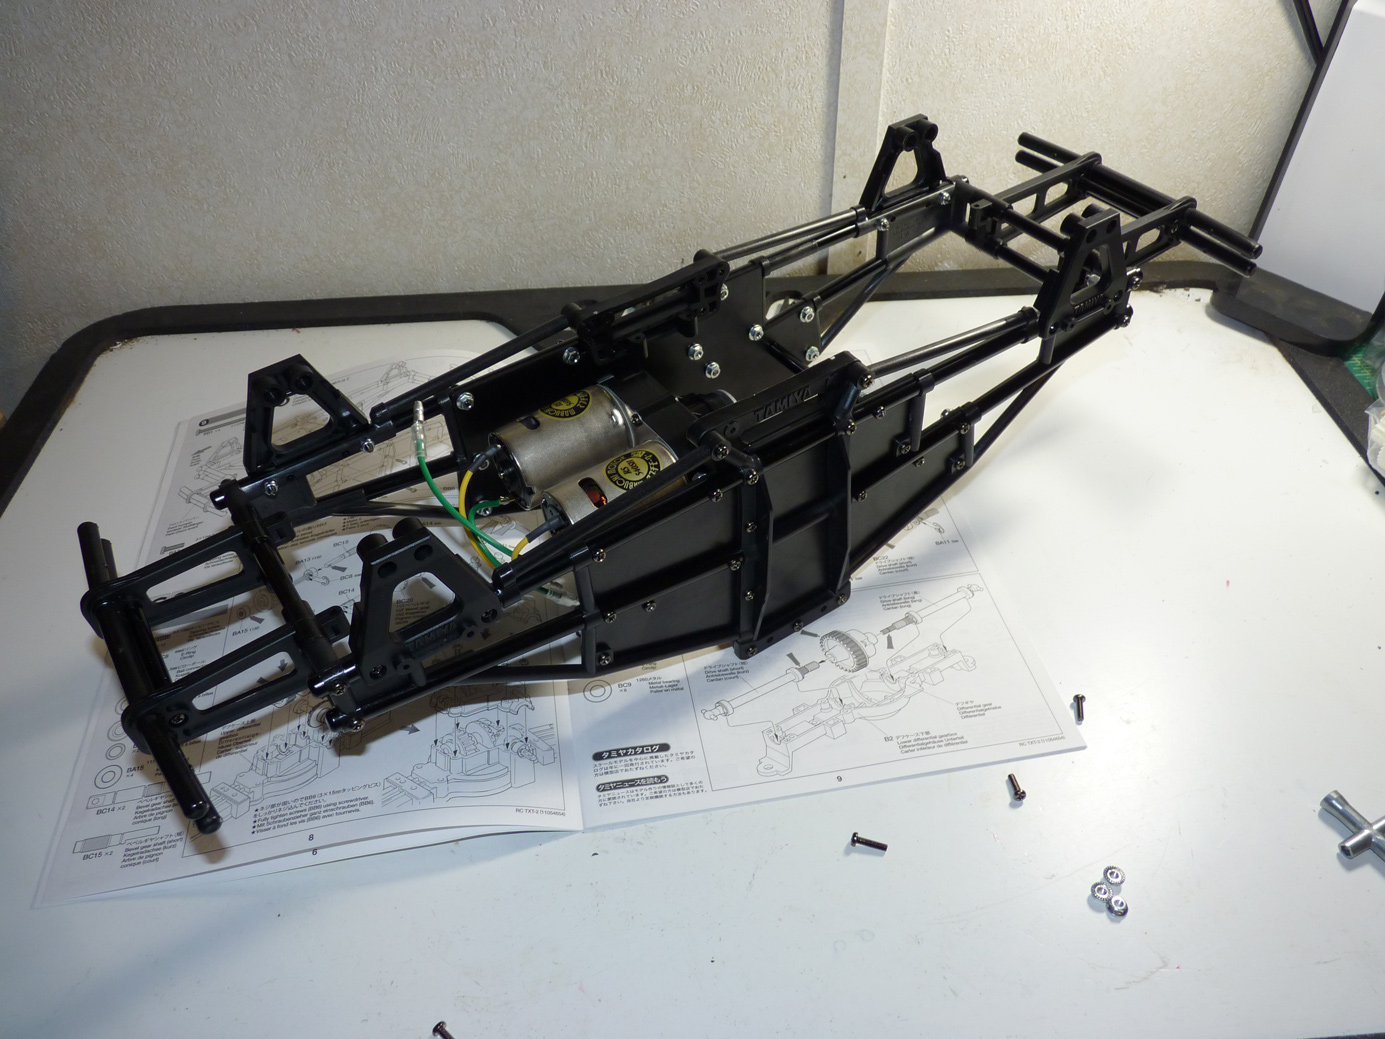 Finally we secure the second frame half to the other, securing the gearbox and bumper assemblies between them. There are plenty of aluminum cross members used, so we should see minimal chassis flex on this truck.
Follow on to Page 3 for more.
 Posted in
  Tags:
Tags:
[…] night before to switch all my “race” vehicles onto that Airtronics MT-4 we used in the Tamiya TXT2 build up. I didn’t get a lap on either car (or the radio) before the tone went off during my first […]