

 February 26th, 2014
  Kevin
Kevin It’s axle time! Bag C contains the internal axle parts we need to get the front and rear axles assembled. They are identical (the axles), so we’ll show you the process for one and simply repeat for the other. We’re building them at the same time.
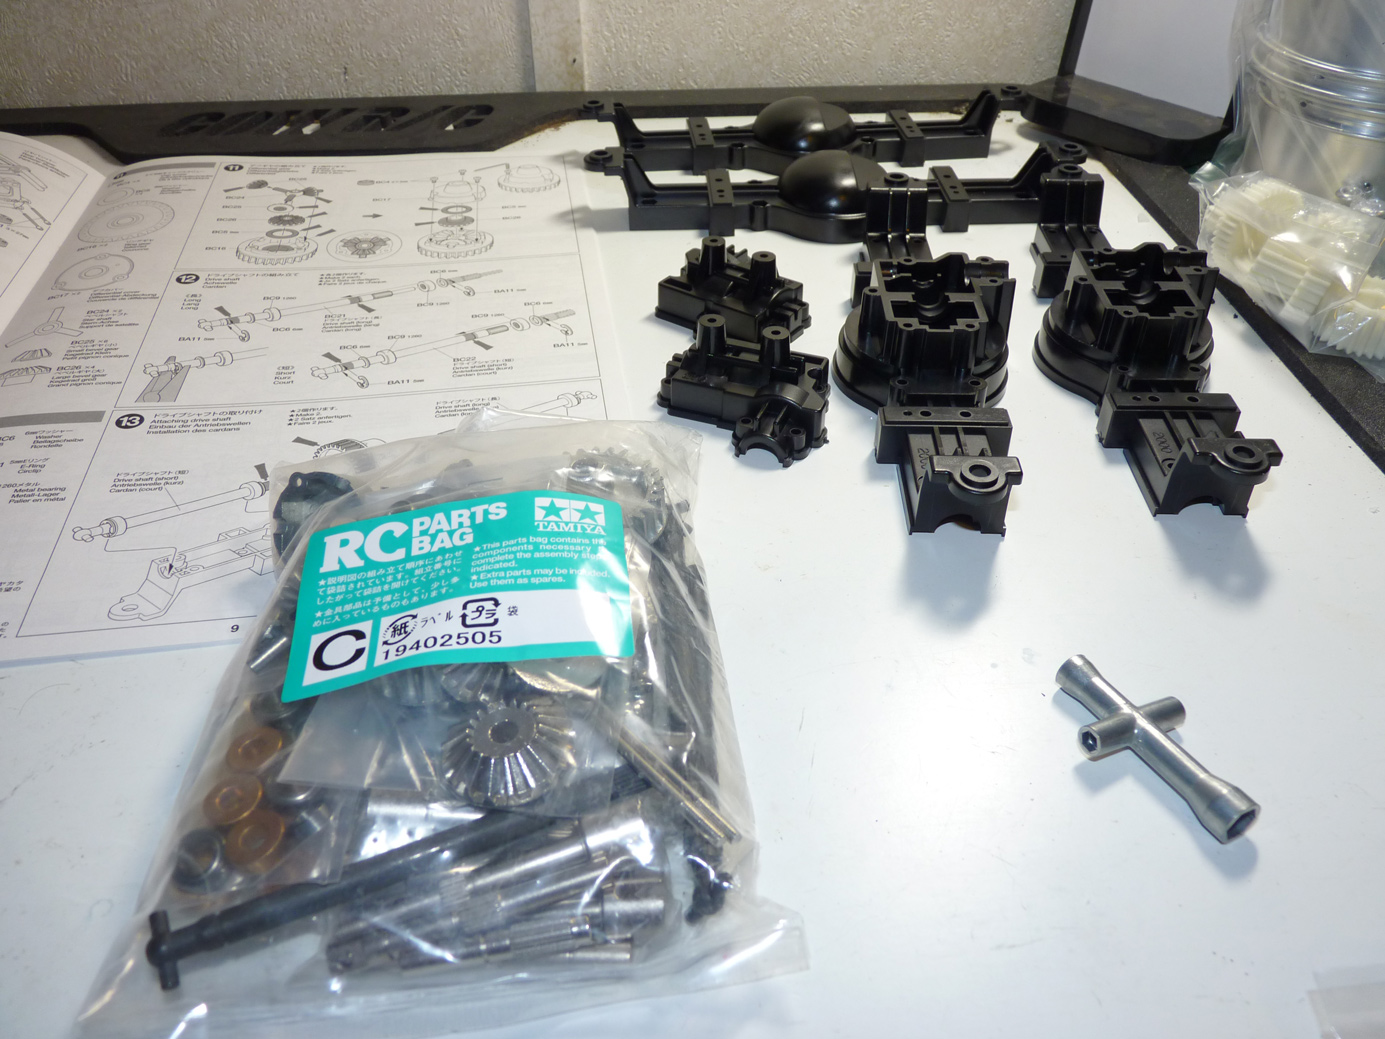
Bag C.
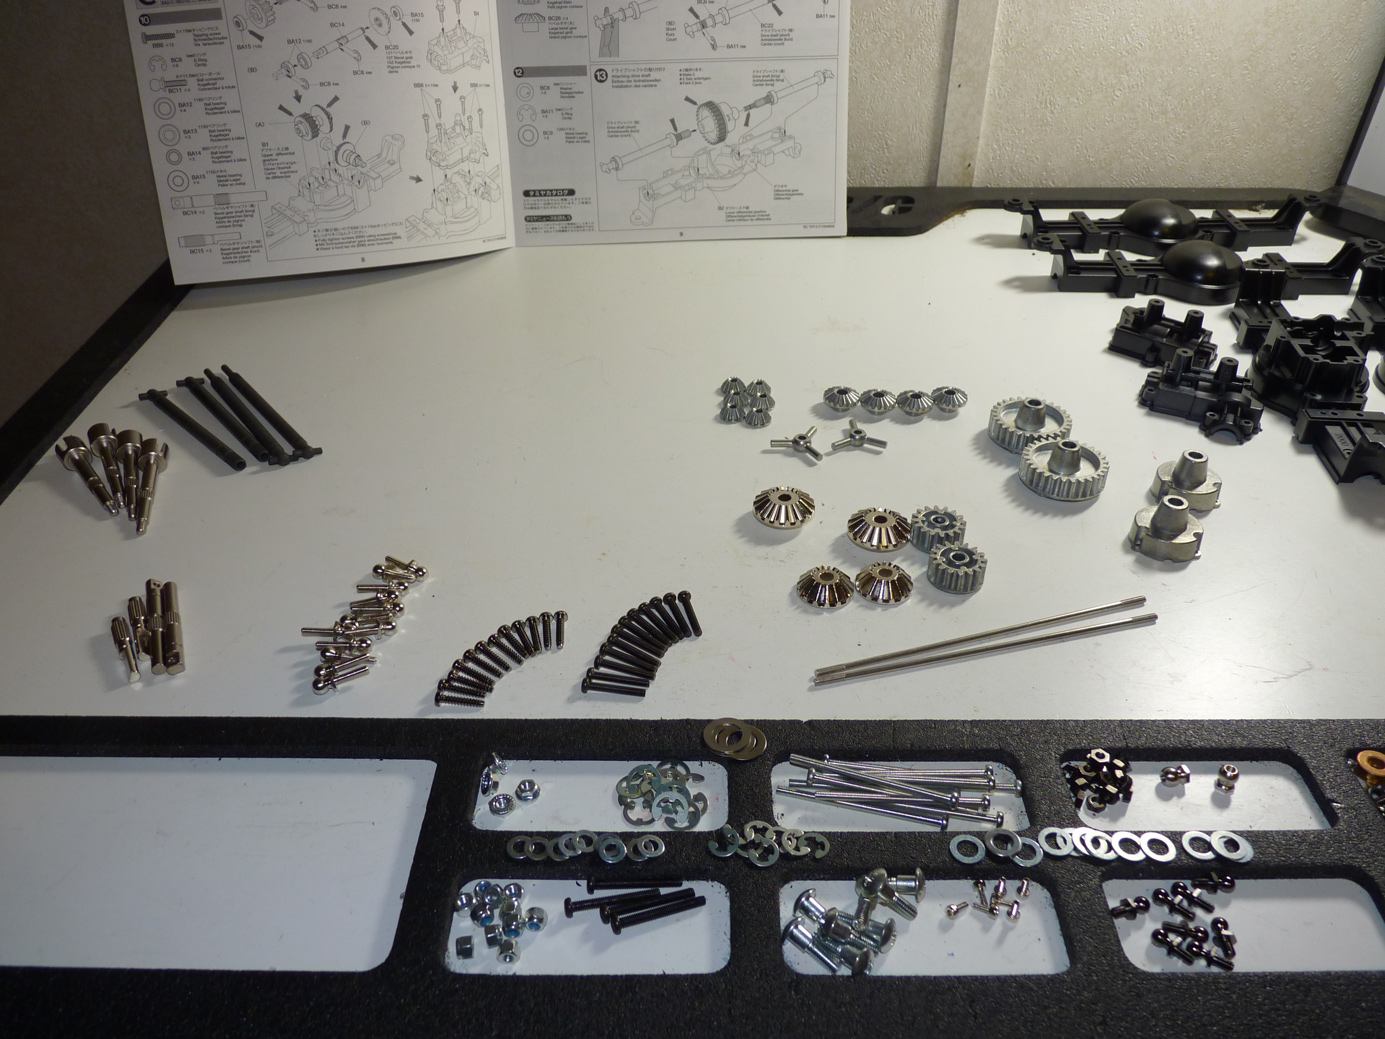
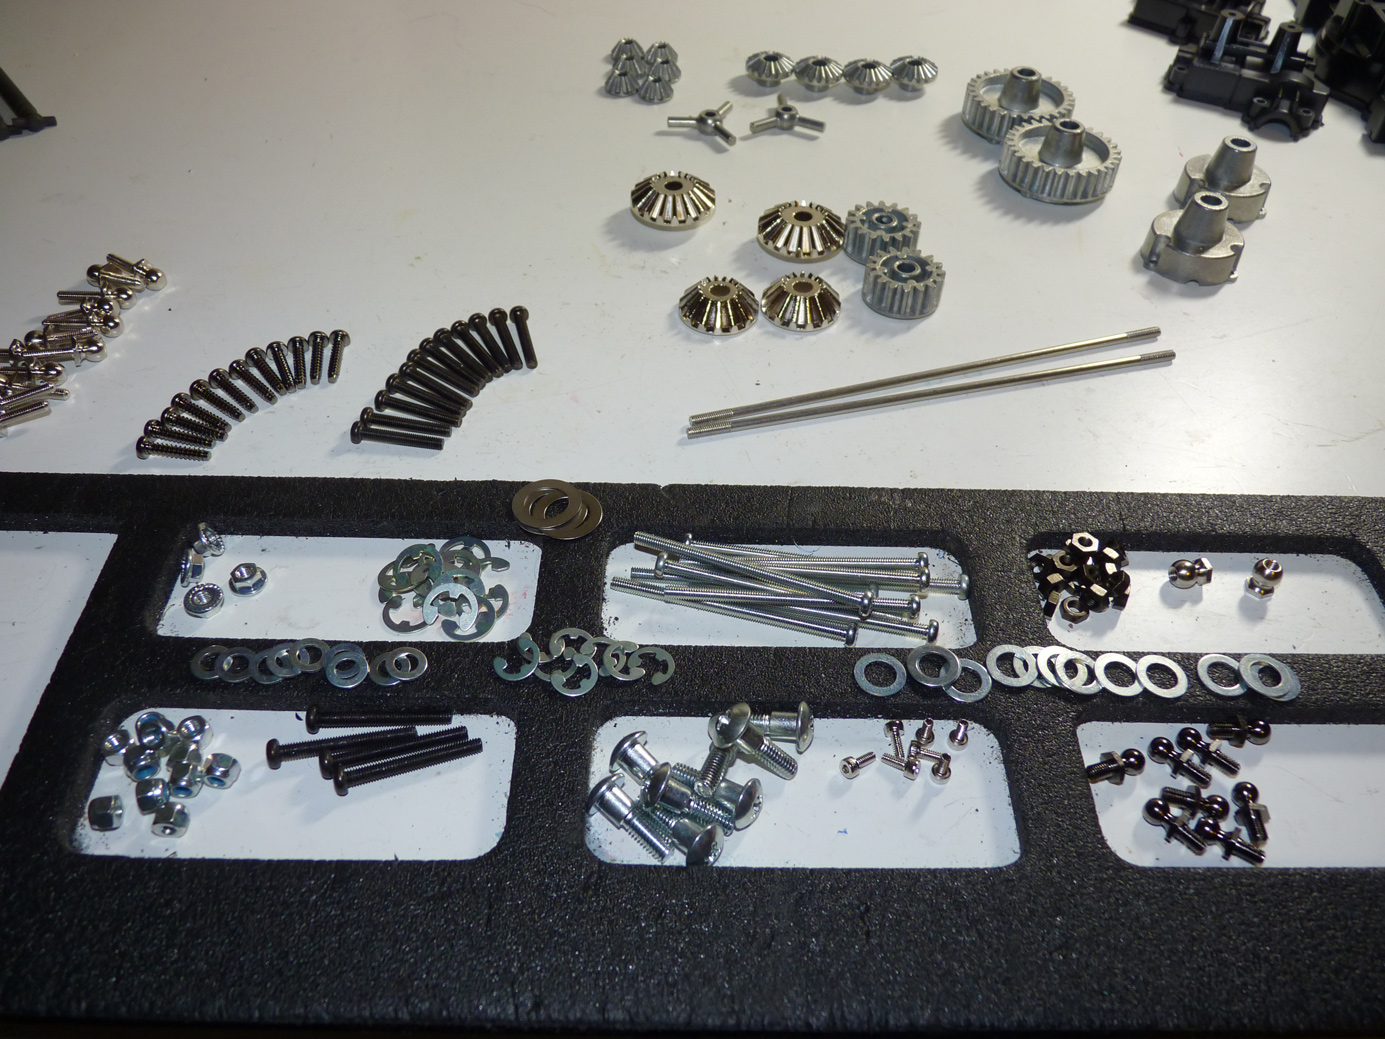
Again, one of the first things I do is lay out all the components. This makes grabbing the right size screw extremely easy when they are all sorted. There isn’t much of a difference at quick glance between a 3x10mm screw and a 3×12, so having them on separate areas of the work mat is ideal.
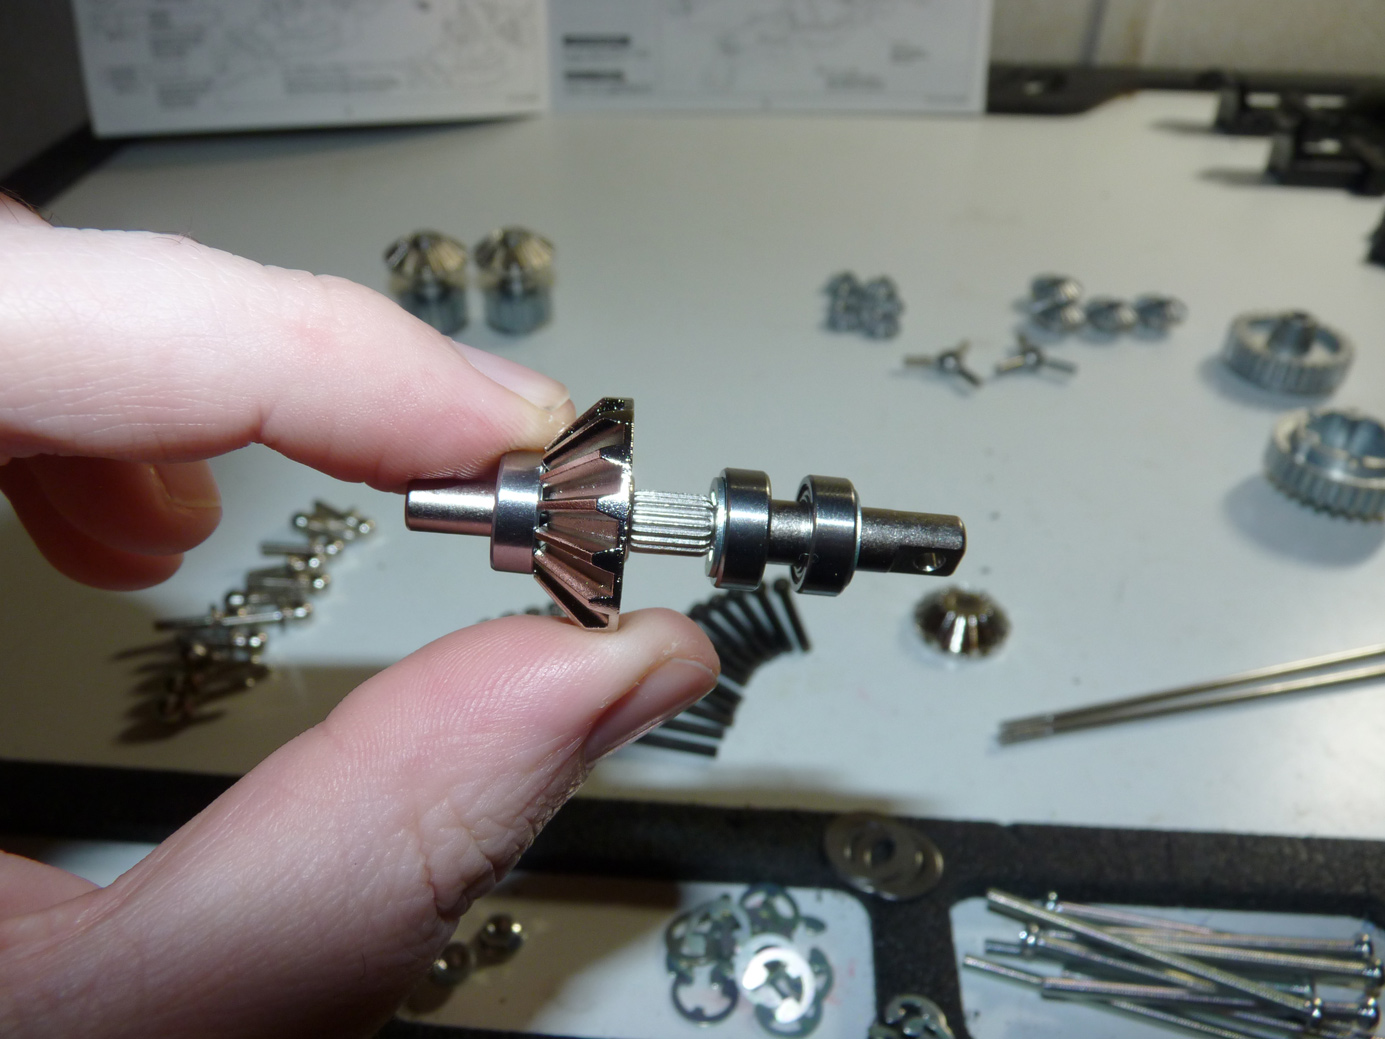
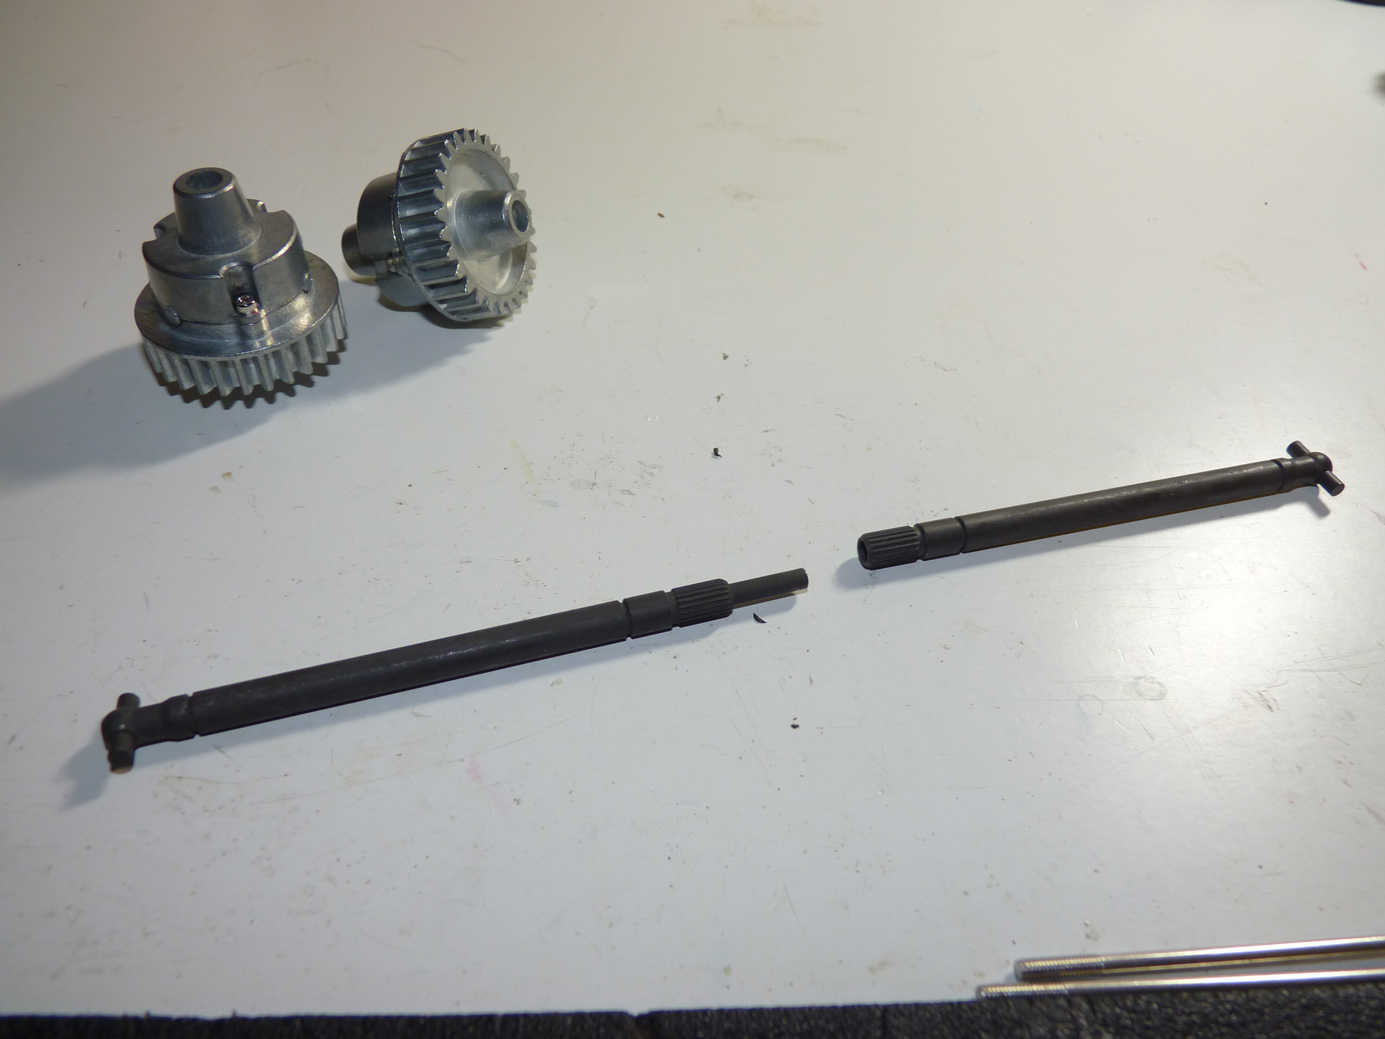
We’ll begin with the 18T bevel gear of the upper differential gearbox. Install it onto the bevel gear shaft.
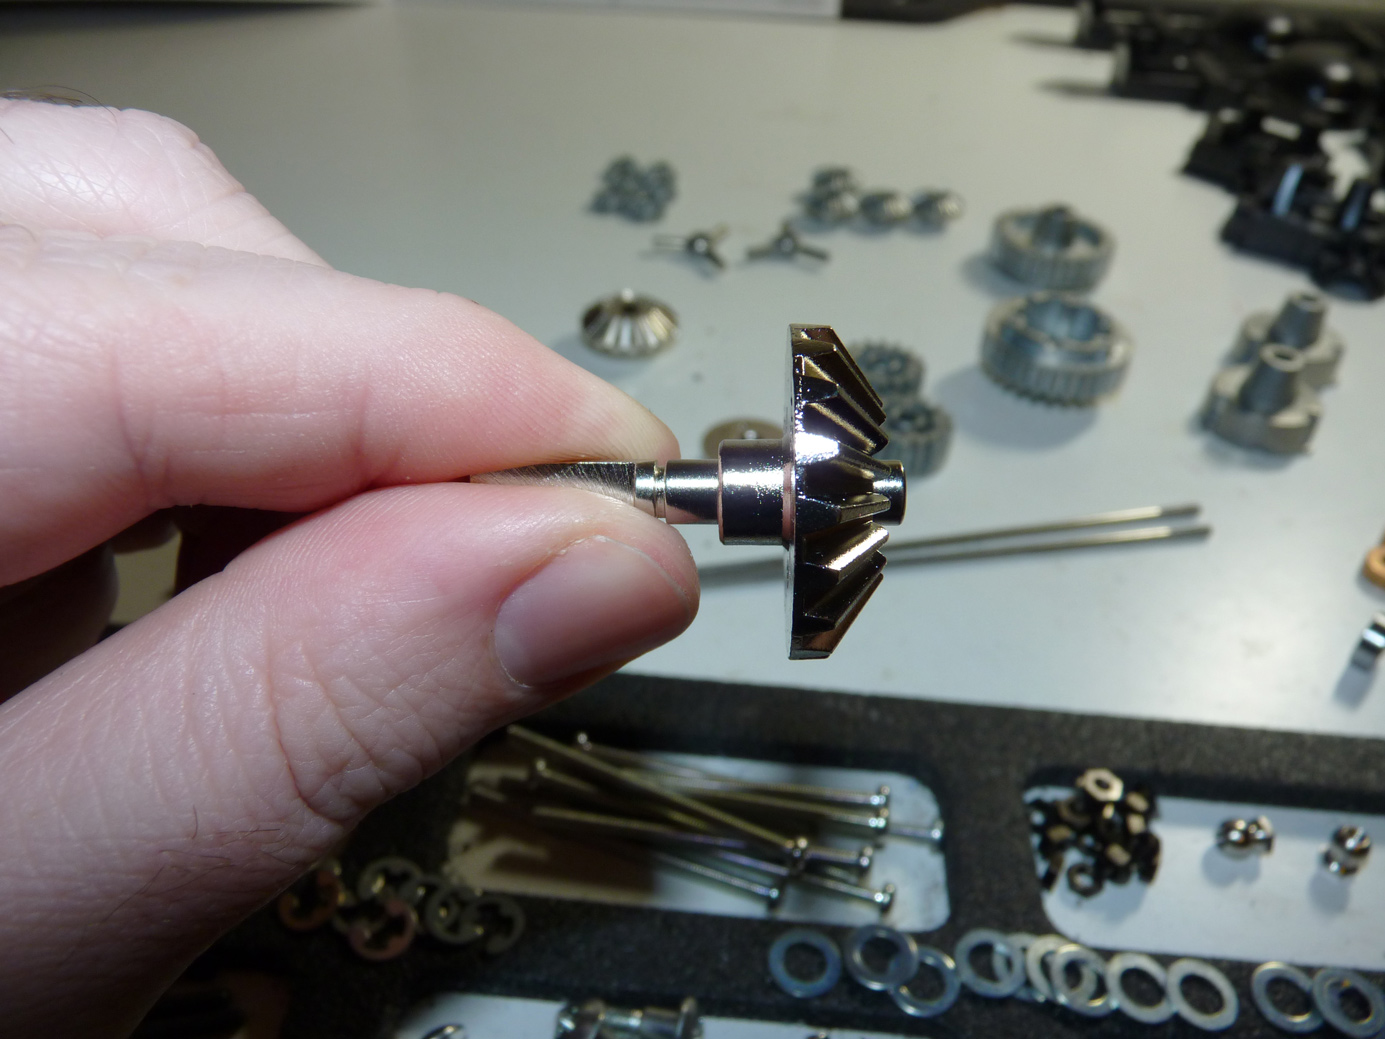
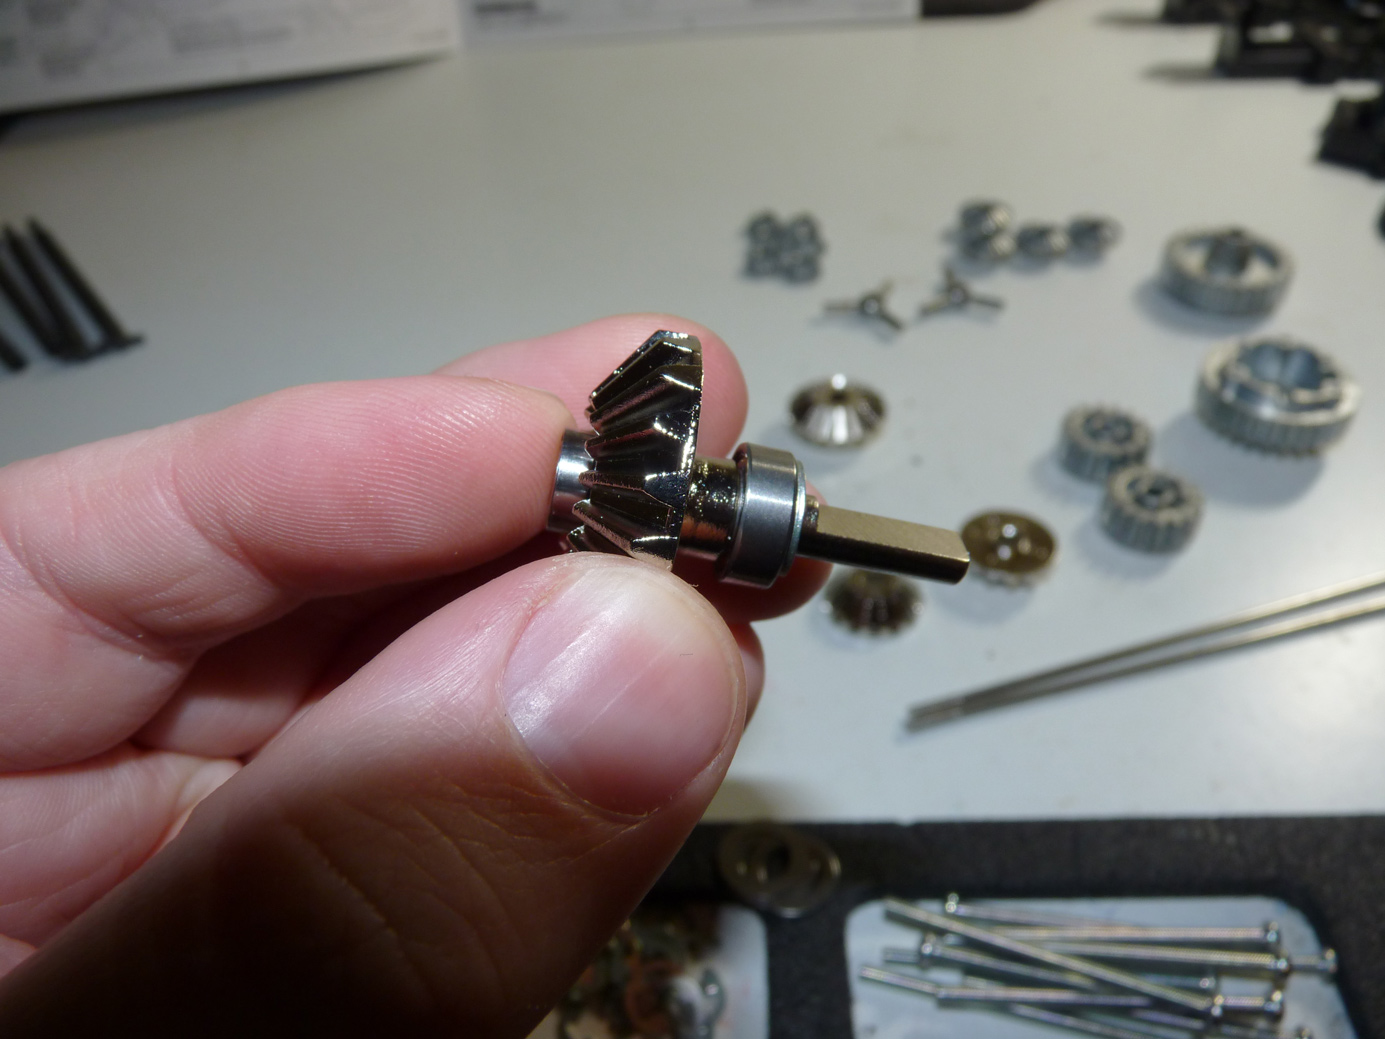
Install bearings and E-Clip.
Then the drive gear and another bearing.
Repeat so we have one for each axle.
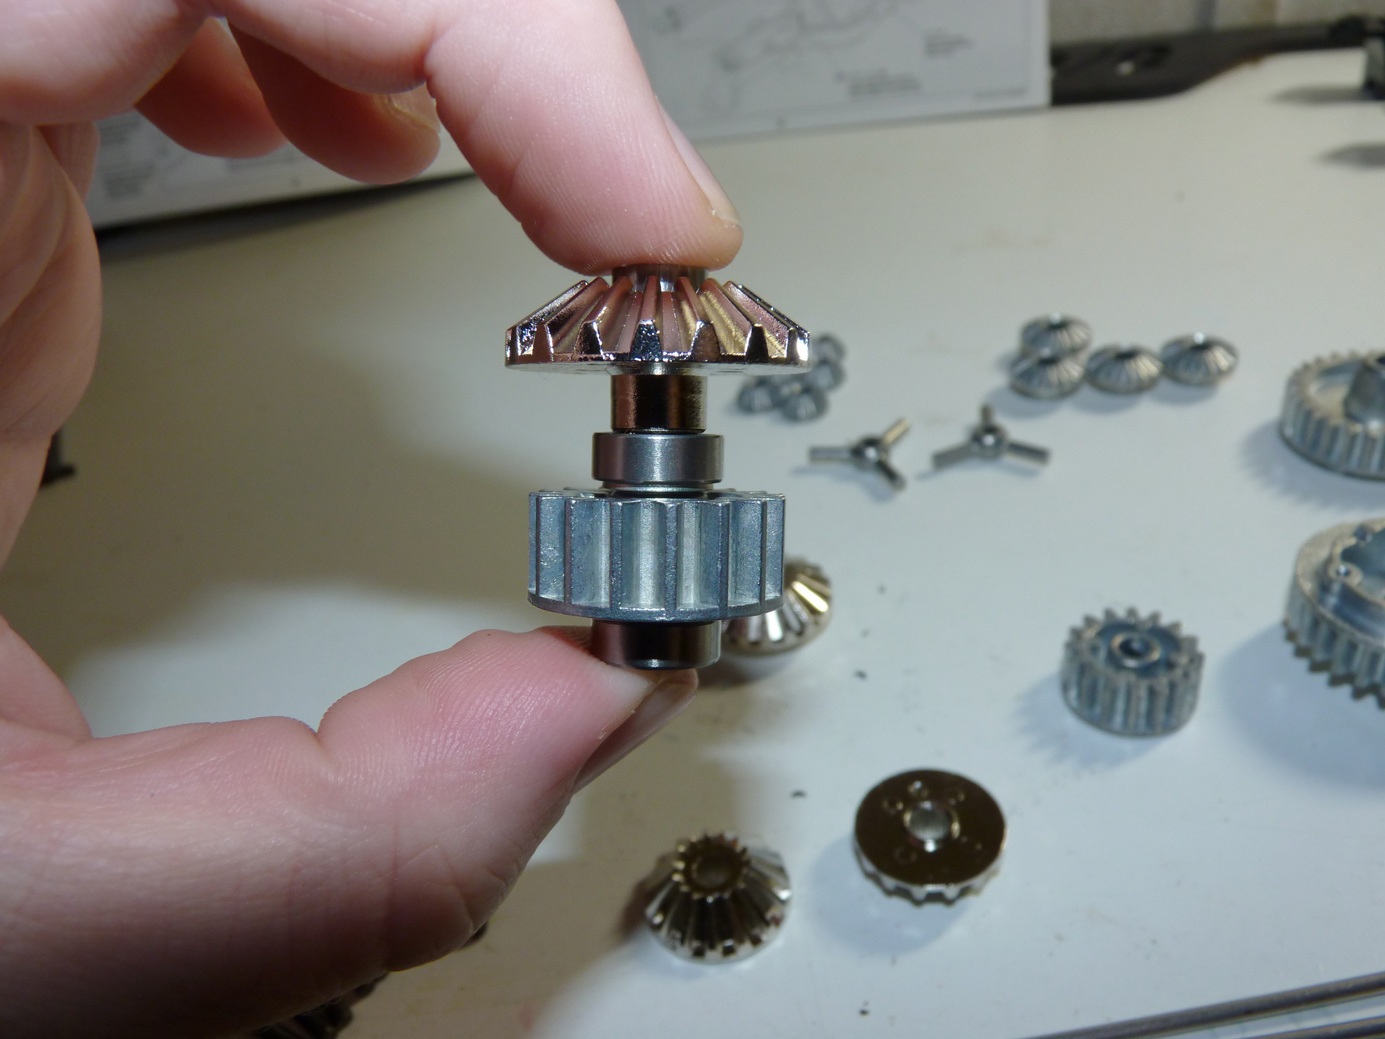
We then install the 15T bevel gear on the longer bevel gear shaft.
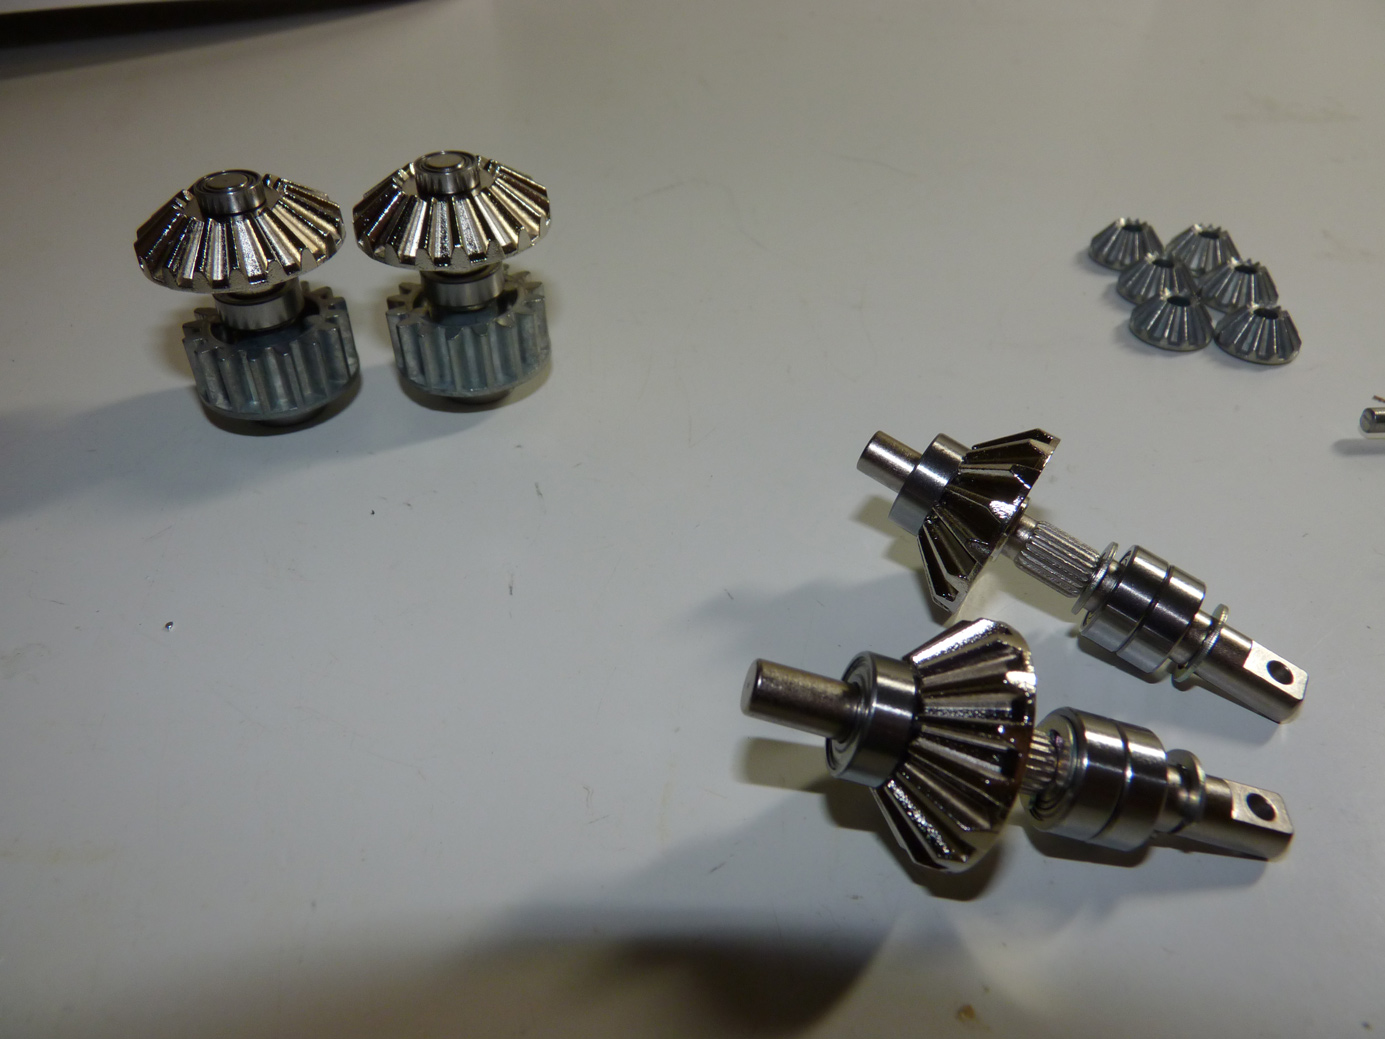
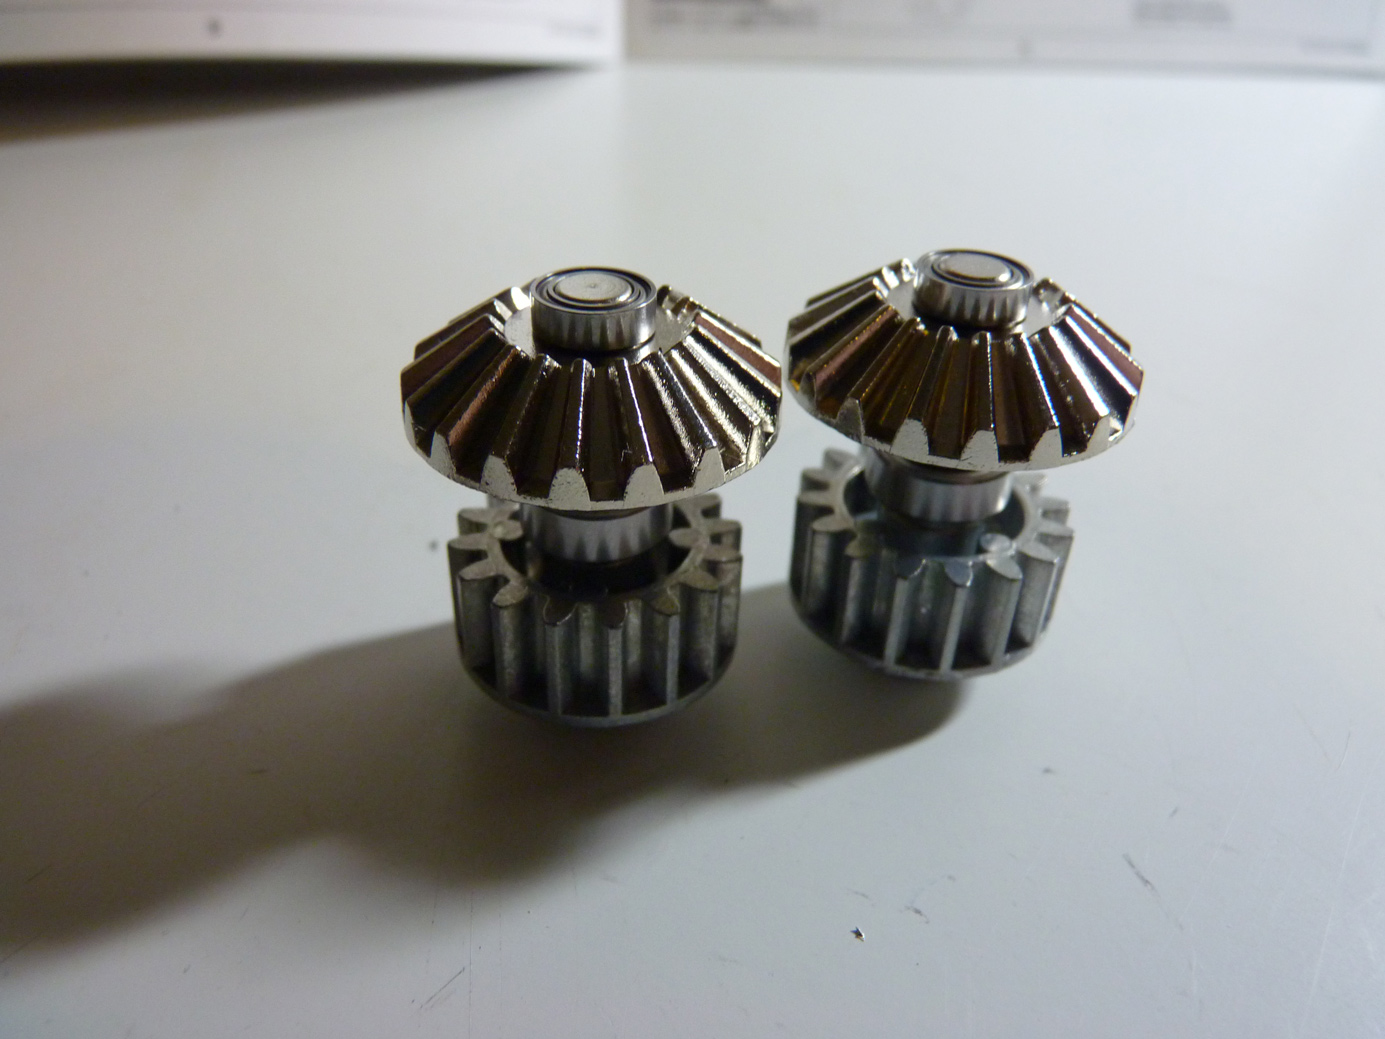
Now we have 2.
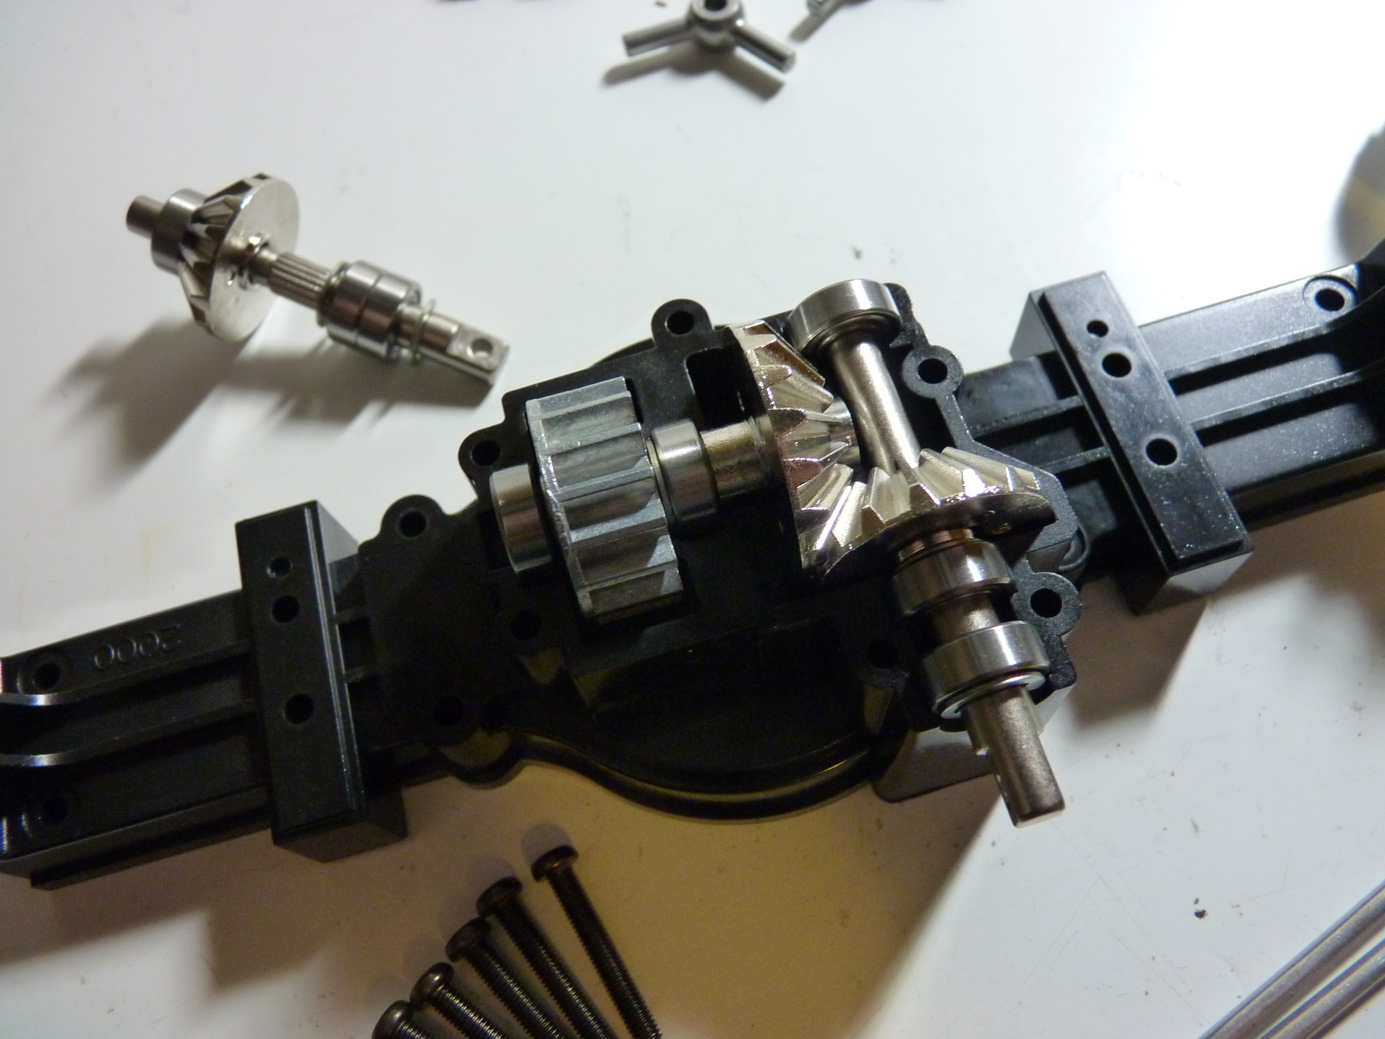
This is how they lay into the upper portion of the gearbox.
x2 again.
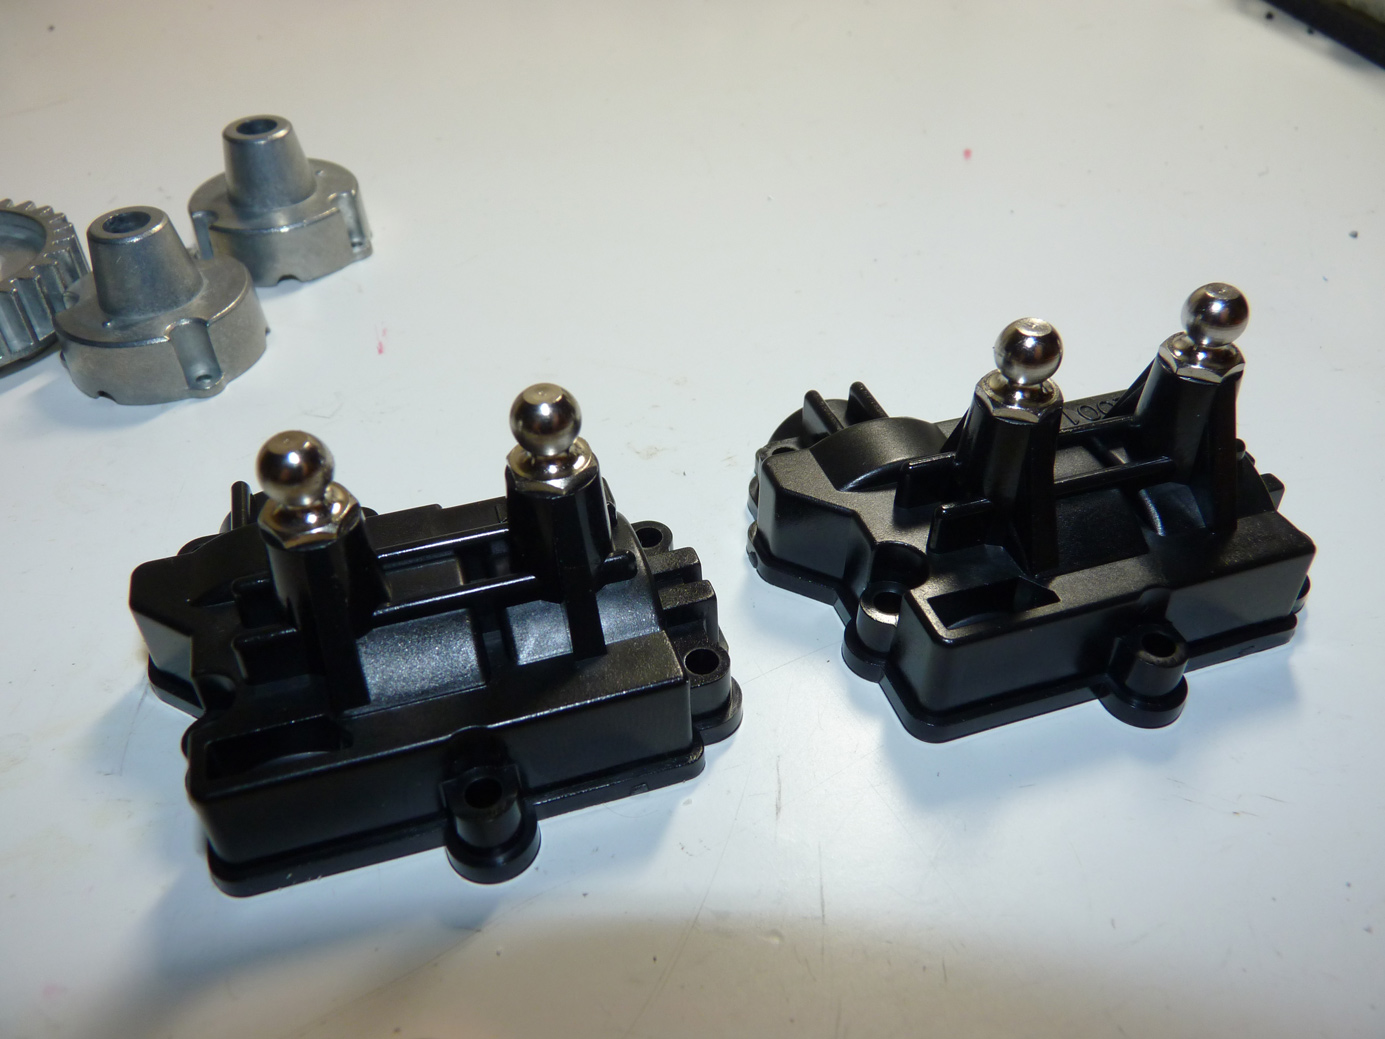
We then install ball connectors onto the upper differential covers.
Grease the gears.
Install the upper differential covers.
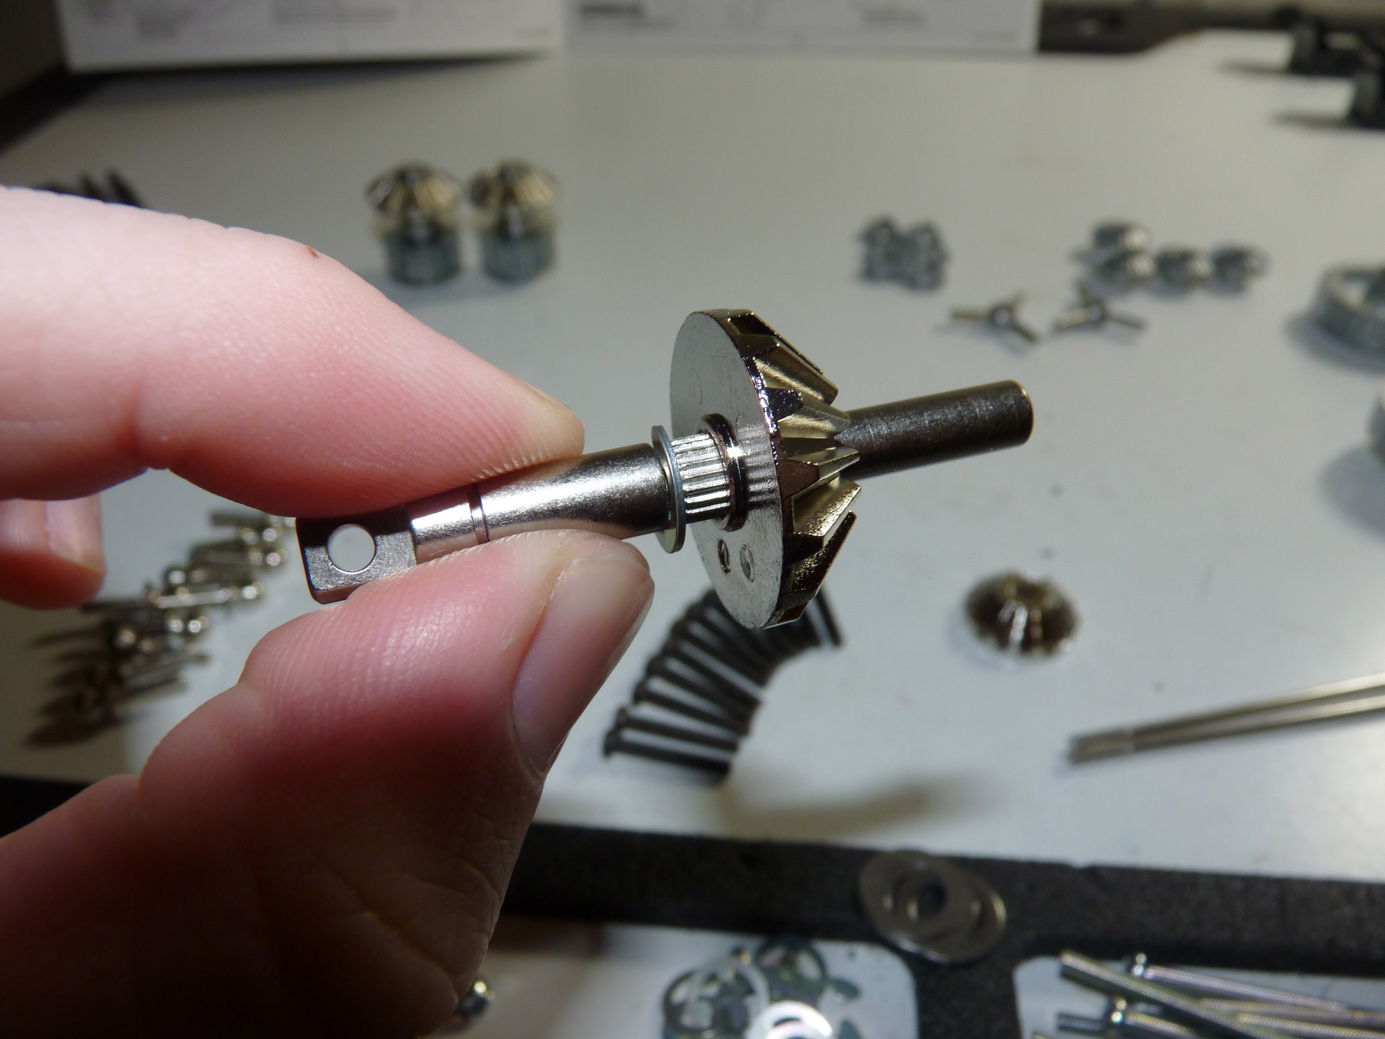
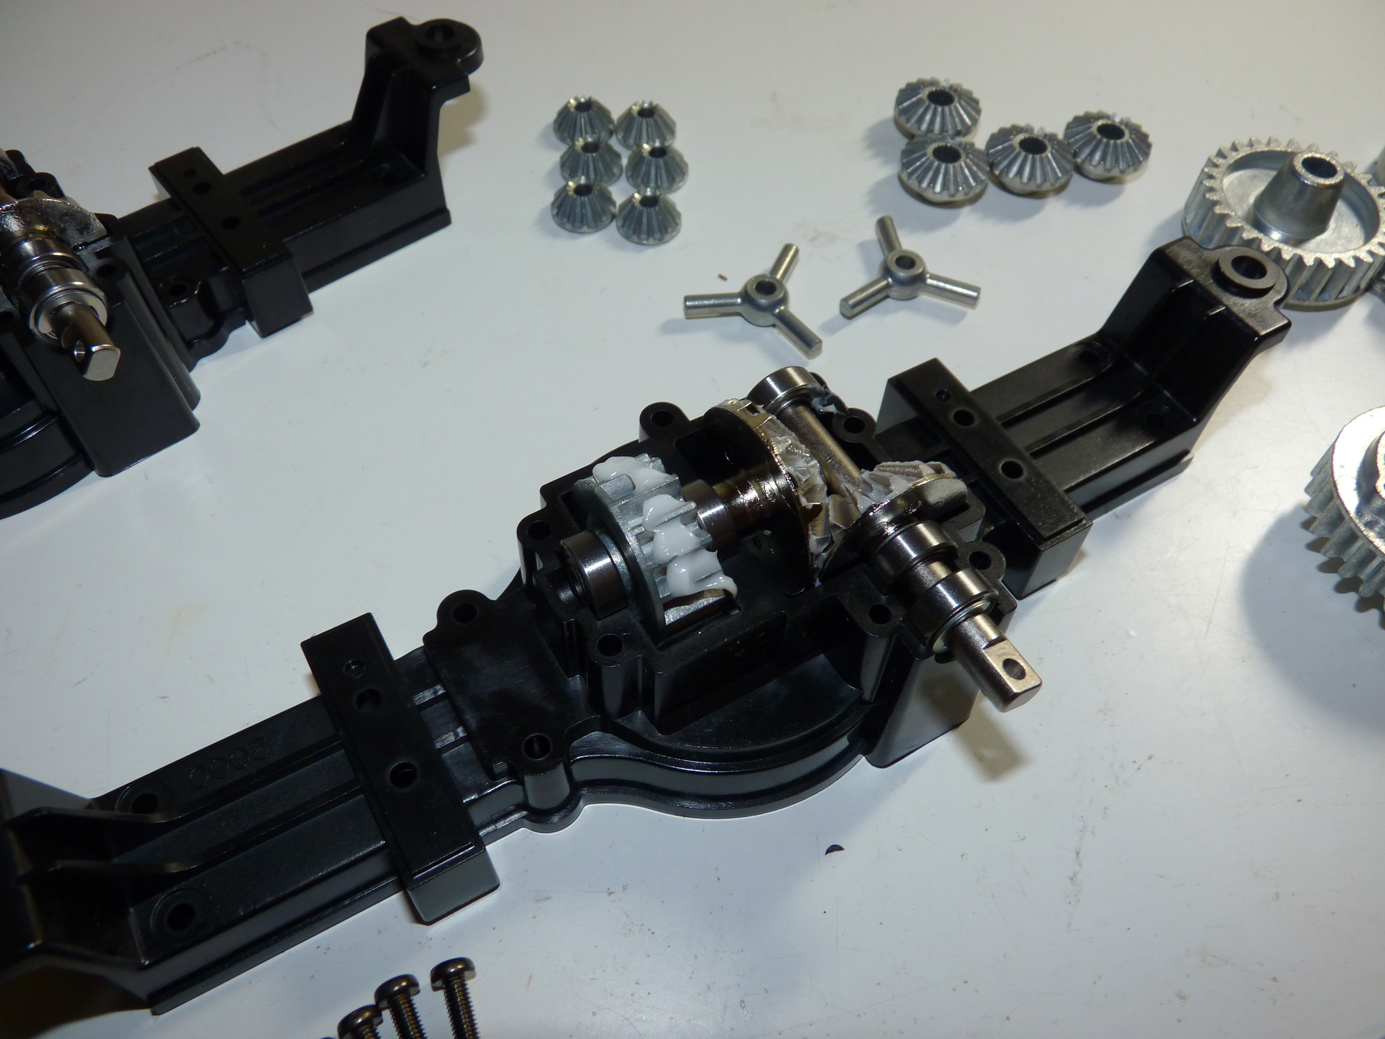
Next up is the main differential gear. It’s made of metal so should withstand some abuse.
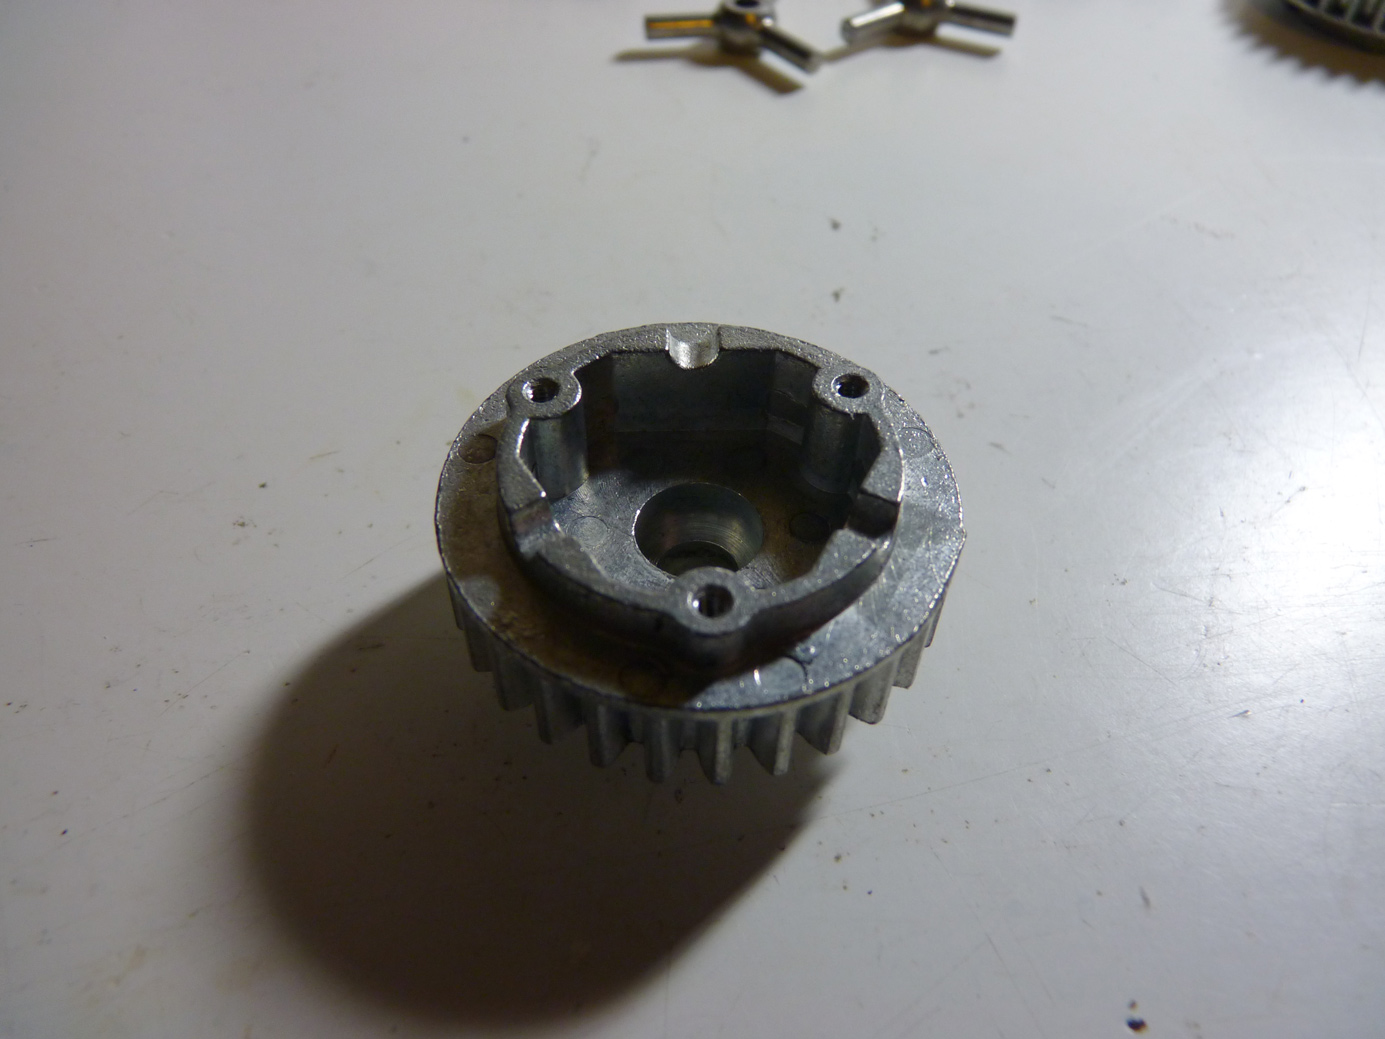

Install a washer into the bottom of the gear housing. Apply generous amounts of lube.
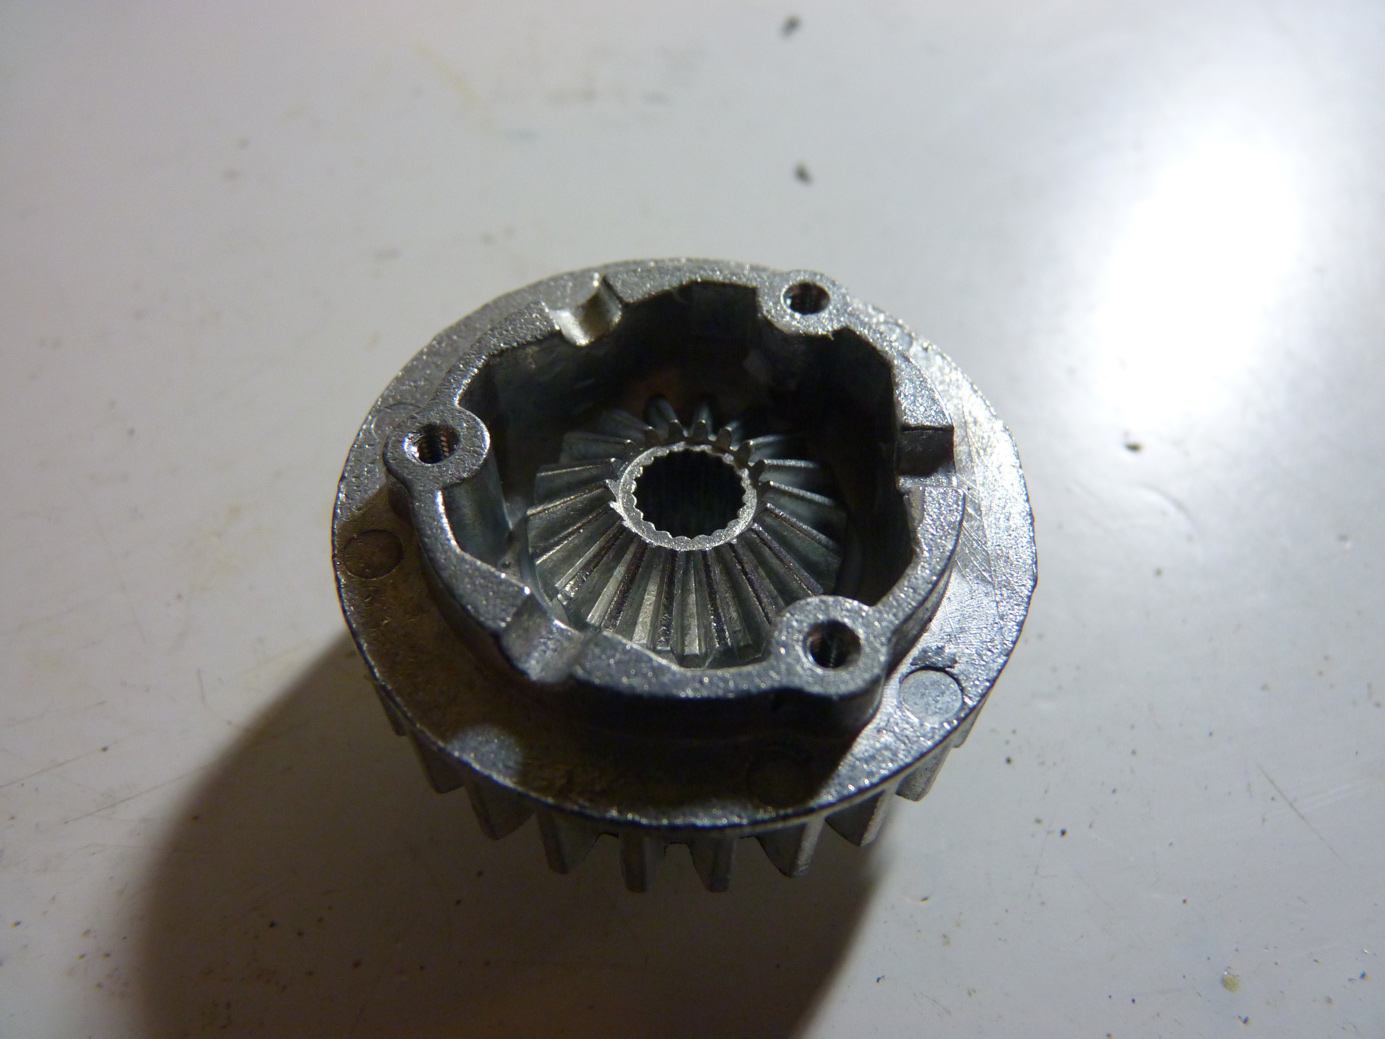
Then install the large bevel gear.
Followed by the small bevel gears on the star shaft. We then install the other large bevel gear, washer and diff cover onto the ring gear.
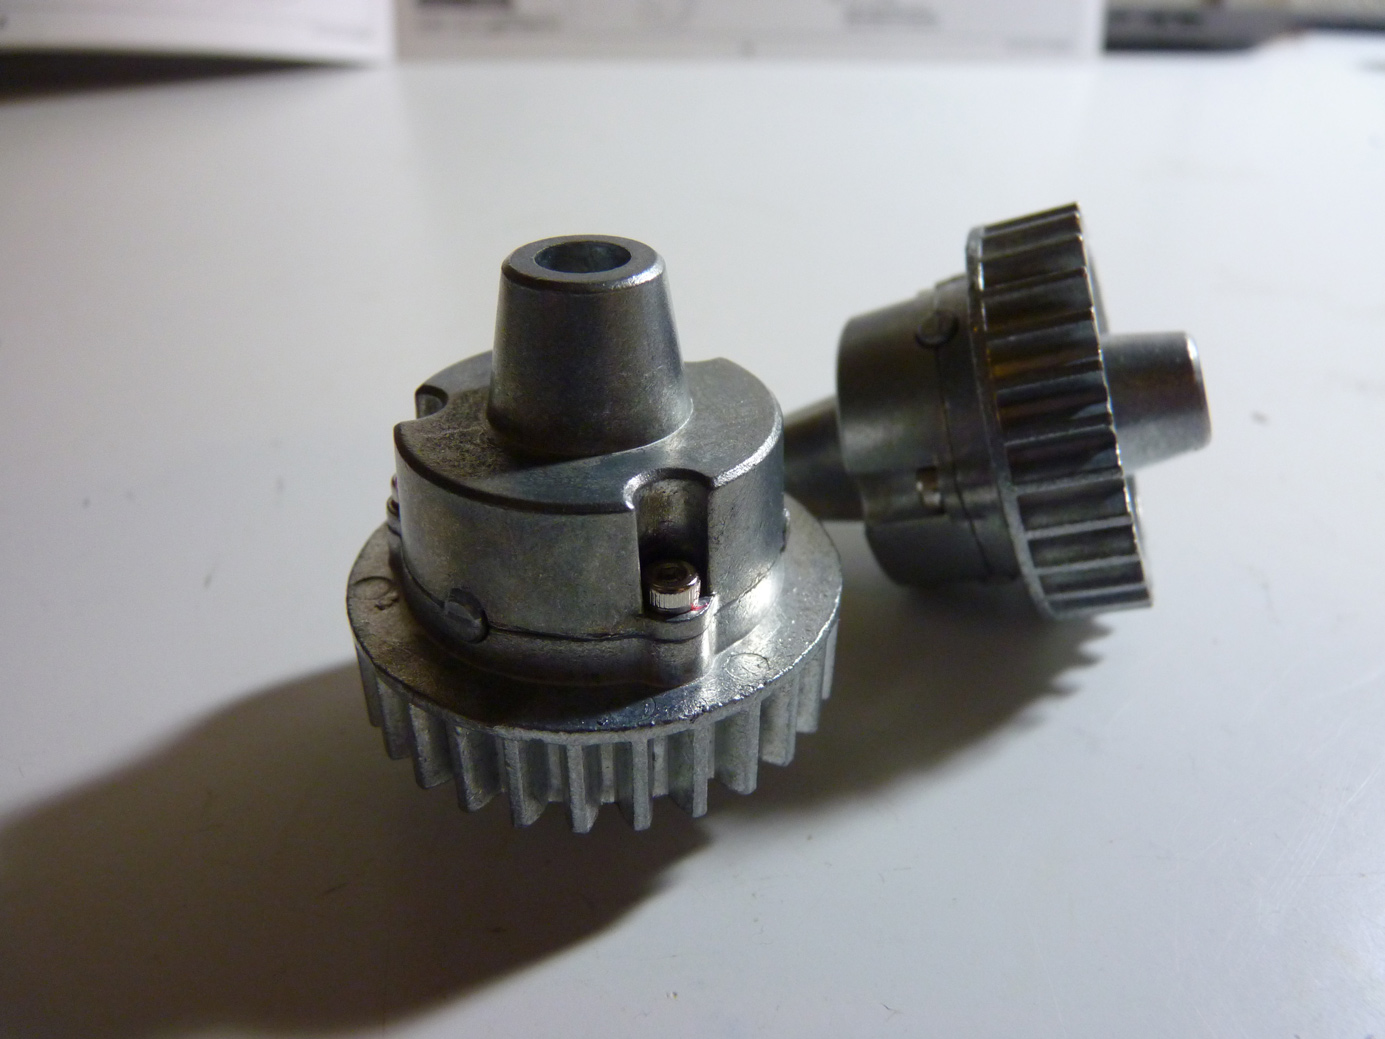
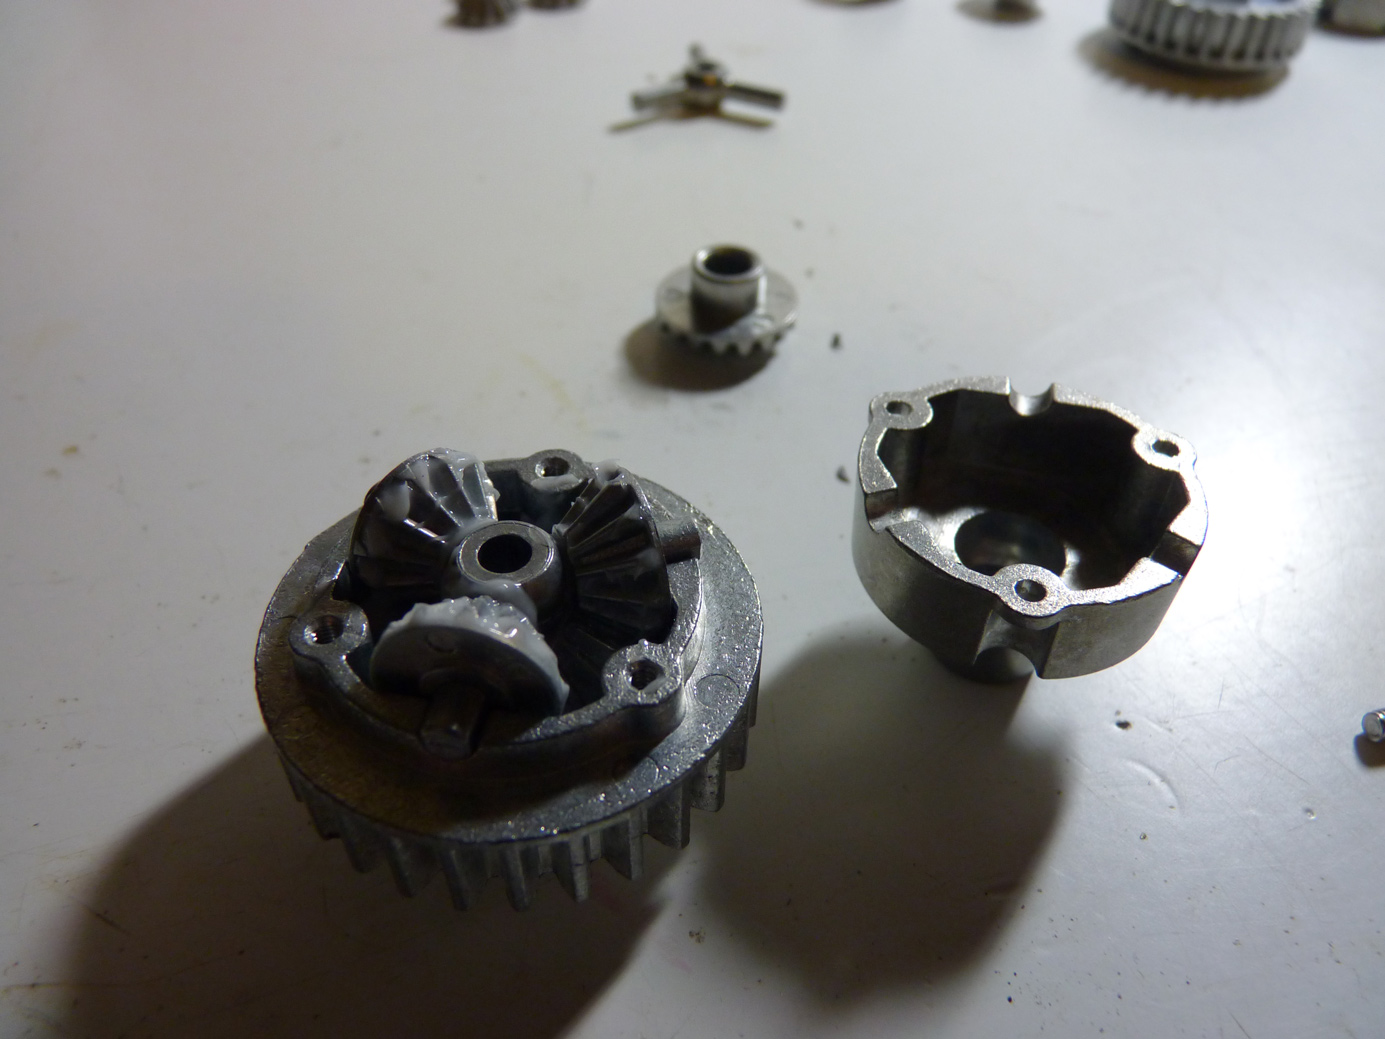
Close up the diff assemblies. Be sure to properly lubricate all internal gears here as there is a lot of metal on metal contact.
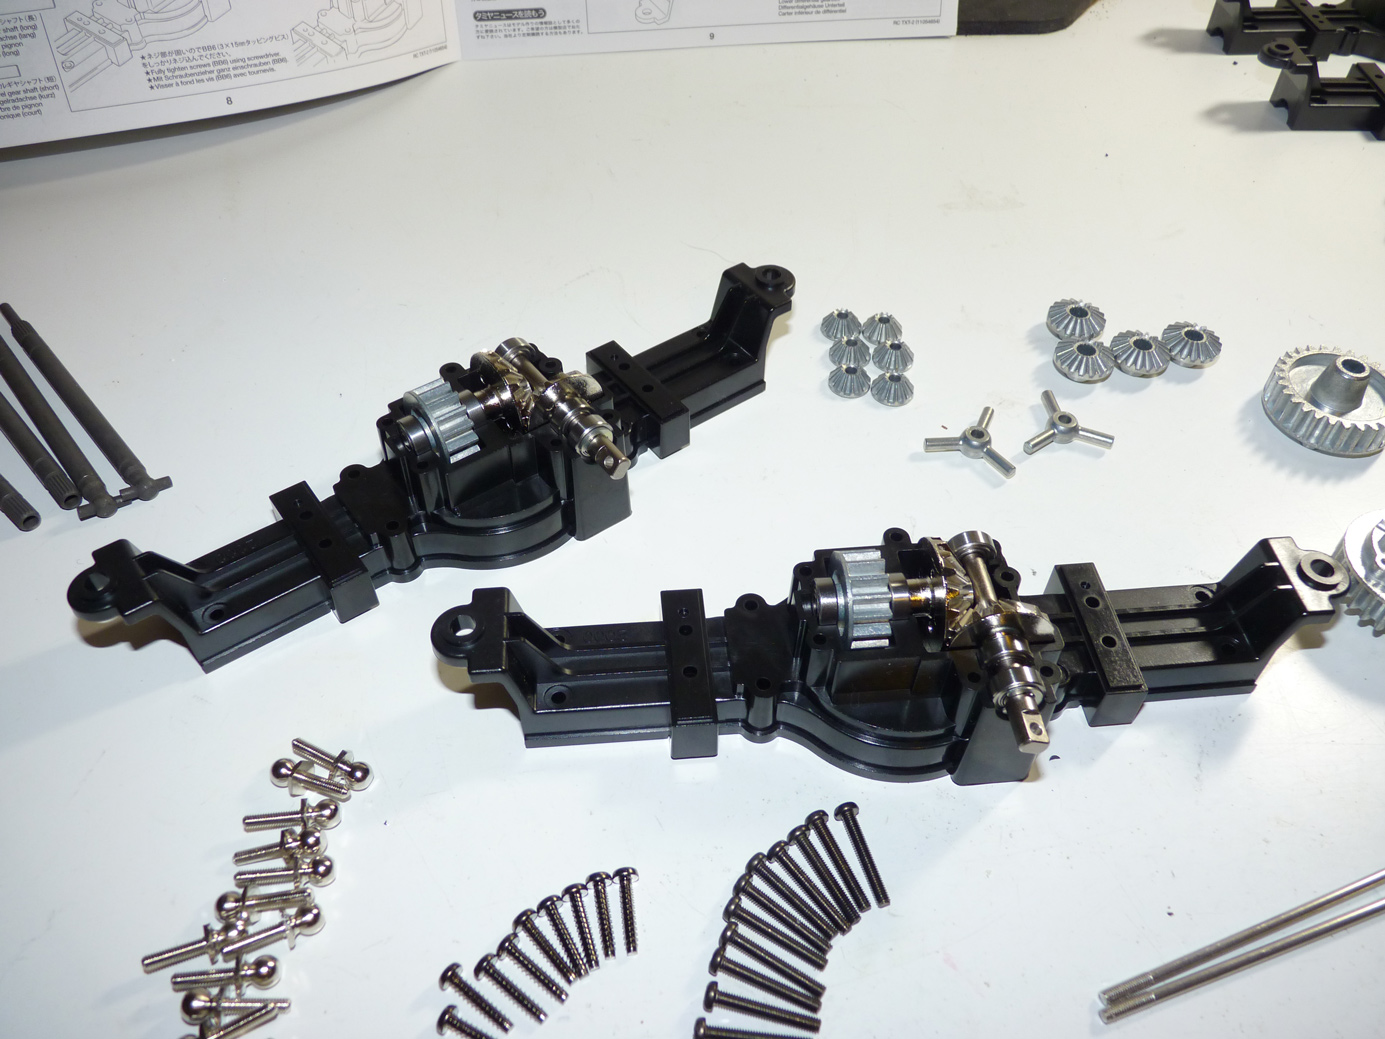
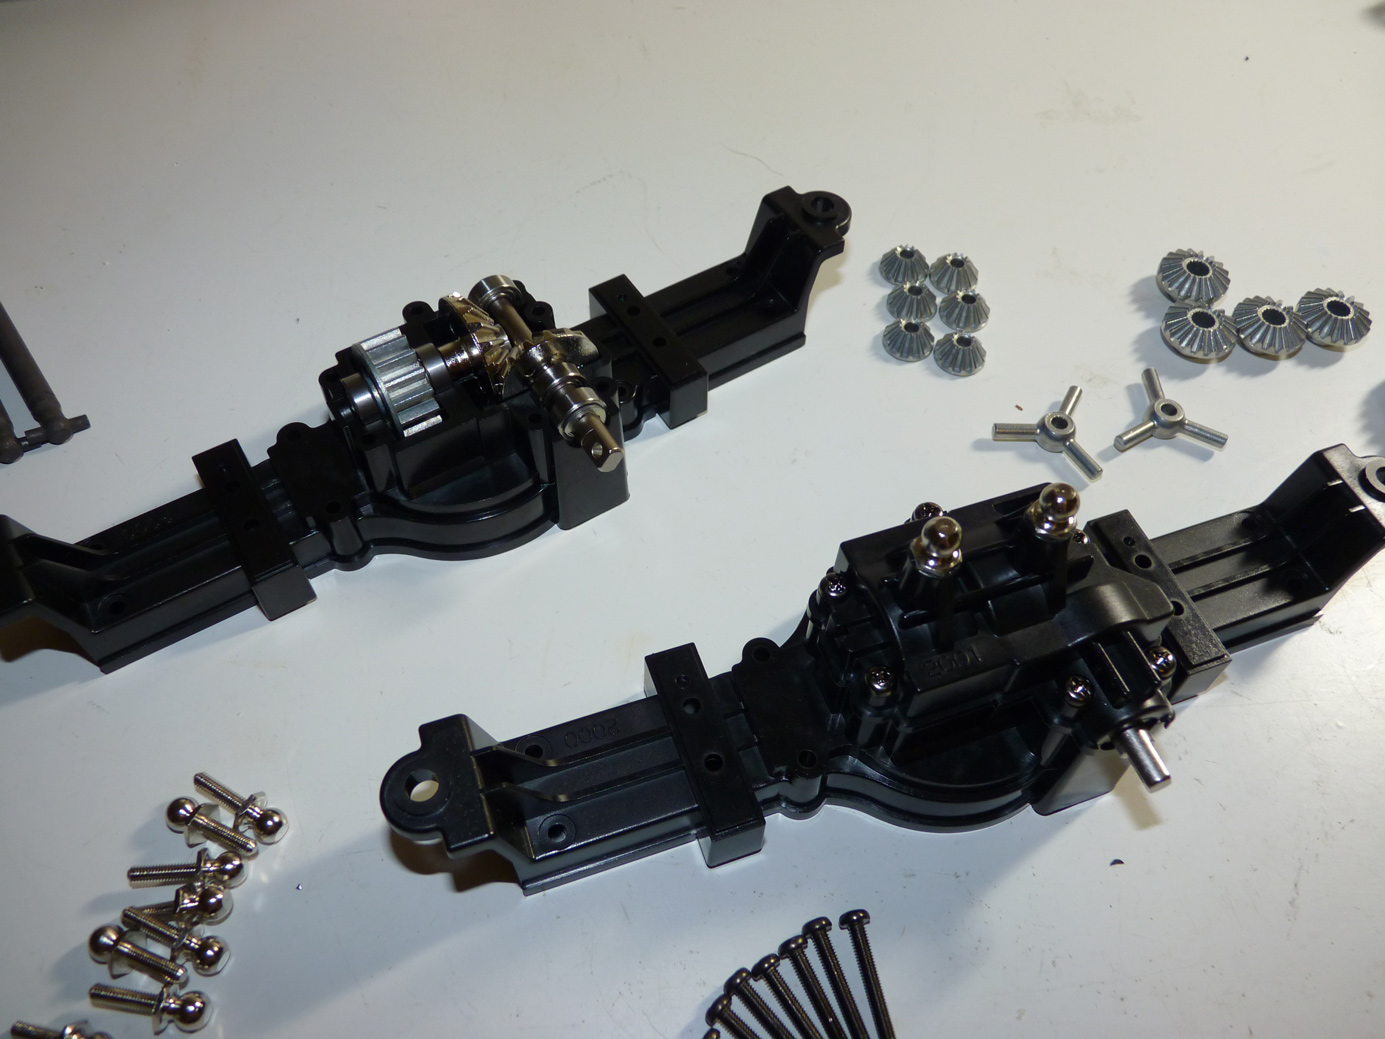
Now we have the 2 part drive shafts.
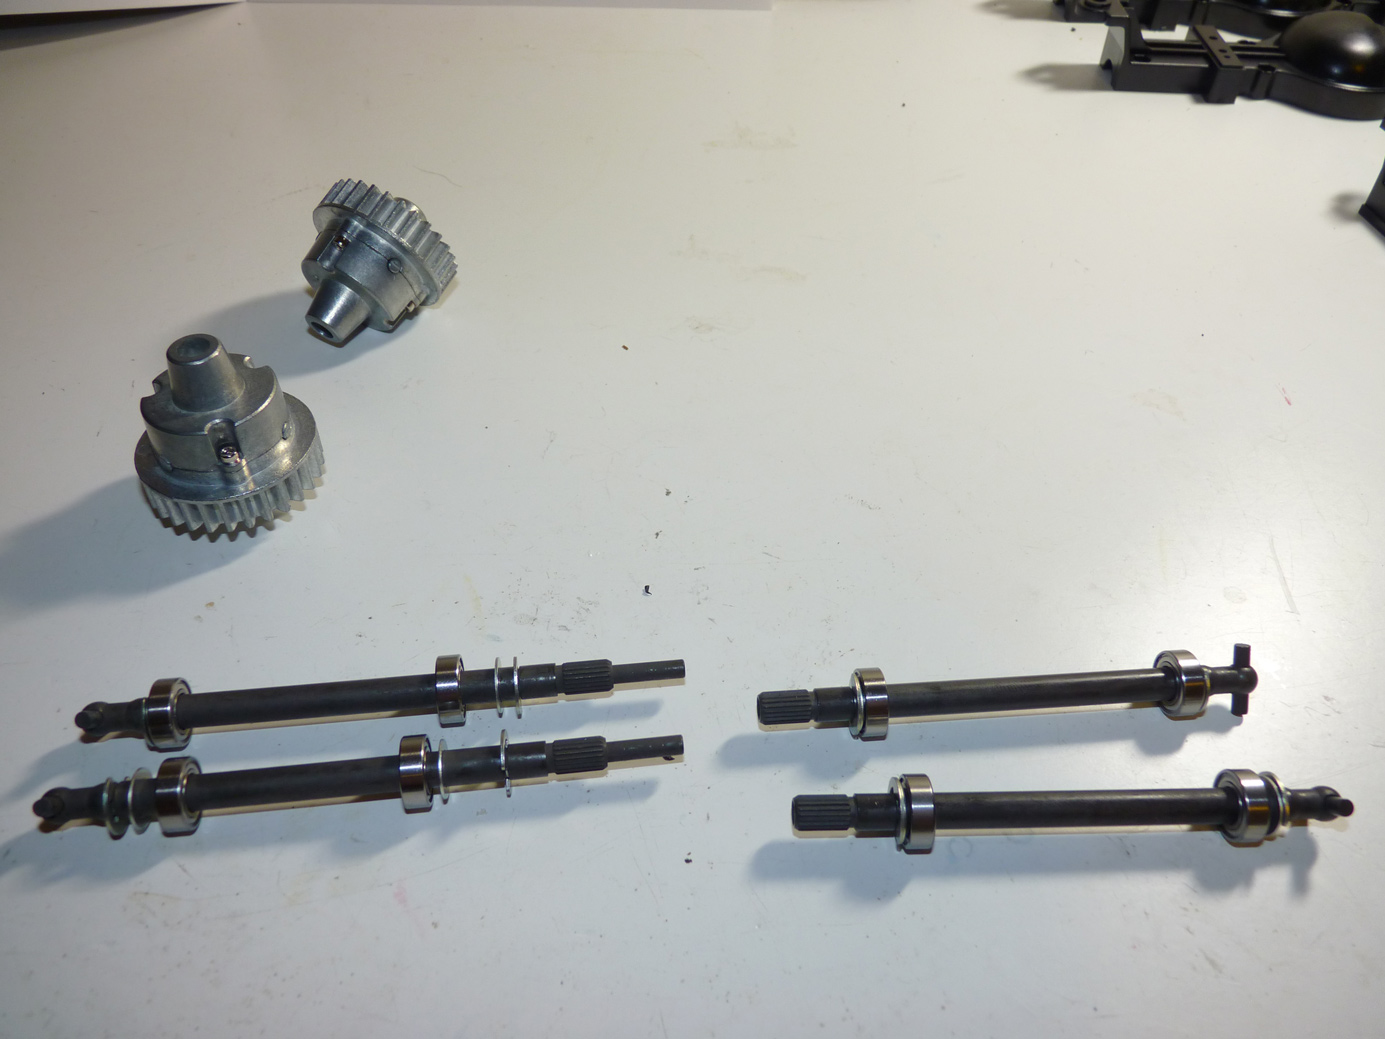
Install the bearings, washers and E-clips as shown in the manual.
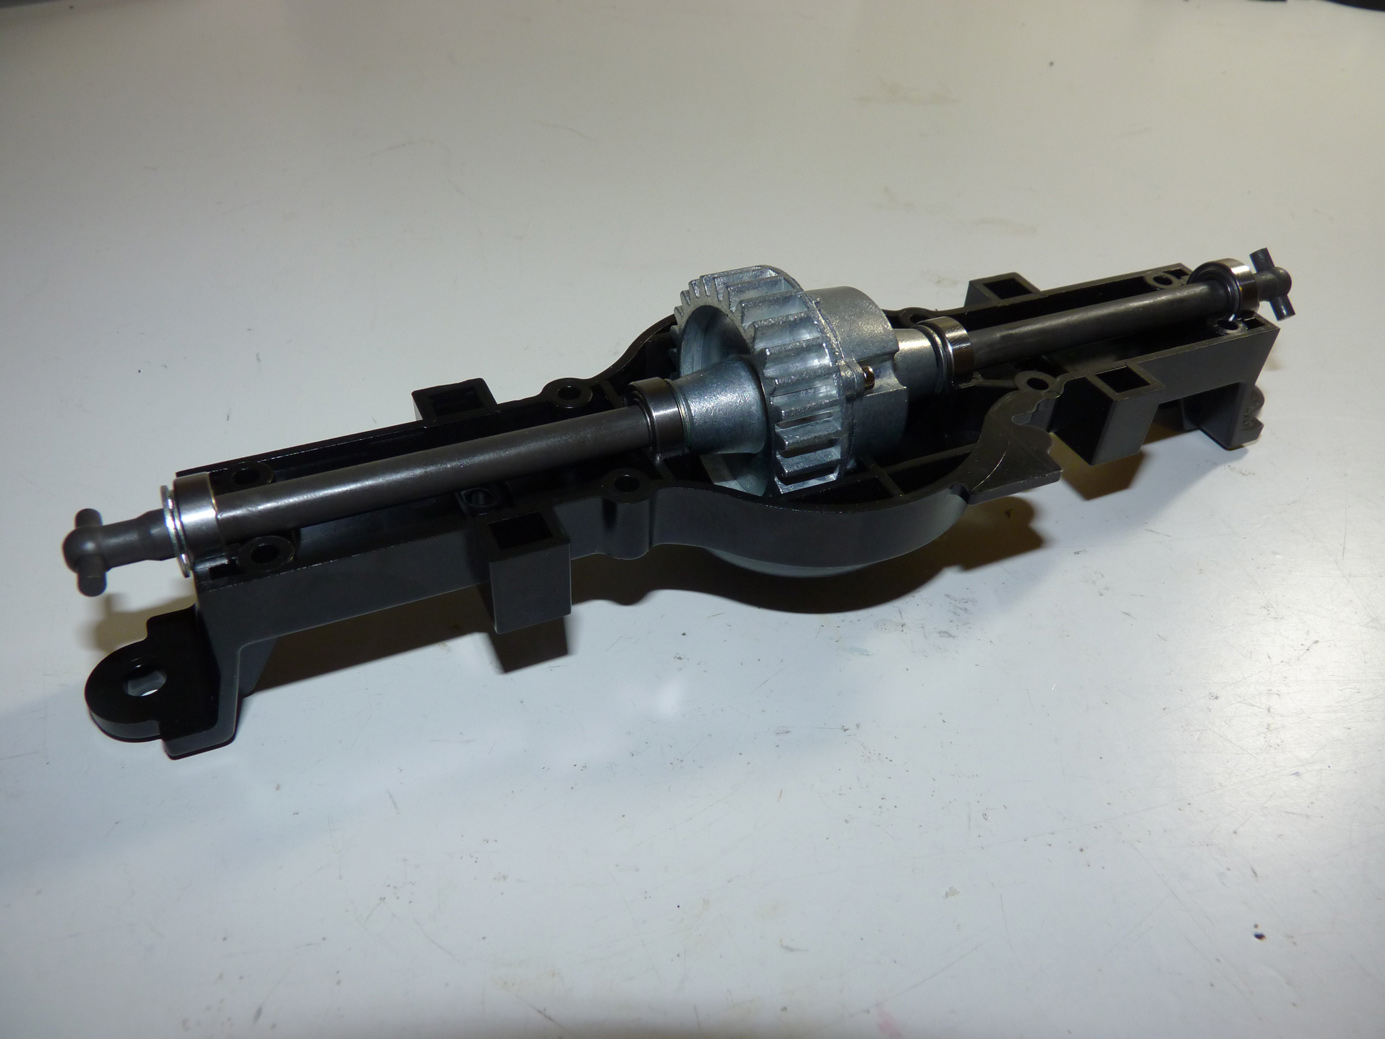
We then install them into the lower axle housing.
Two lower axles complete.
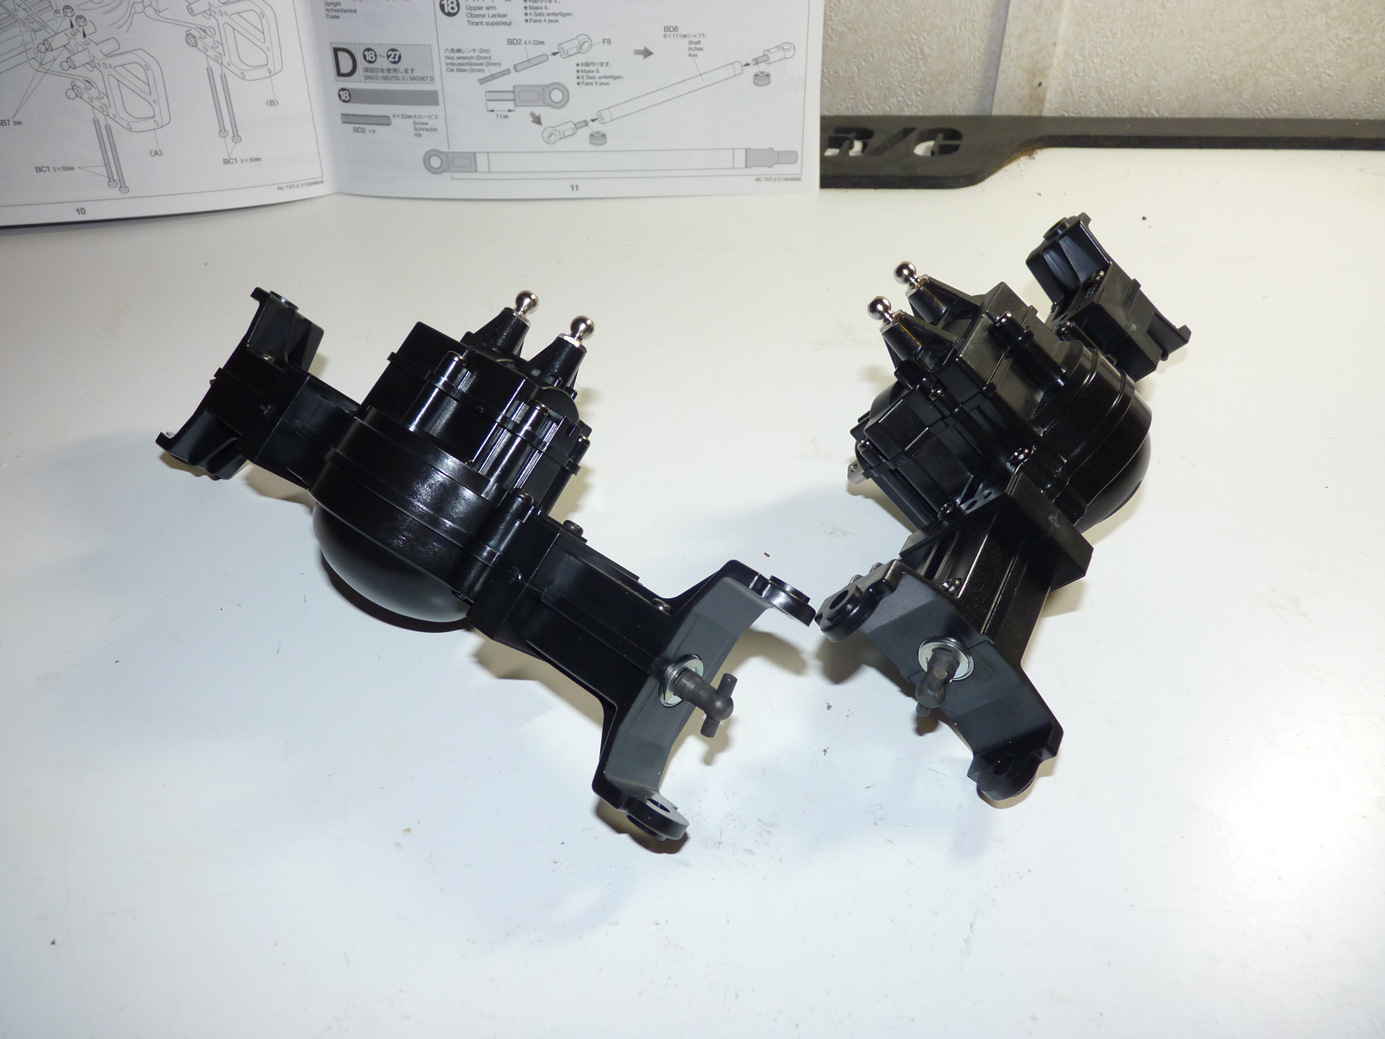
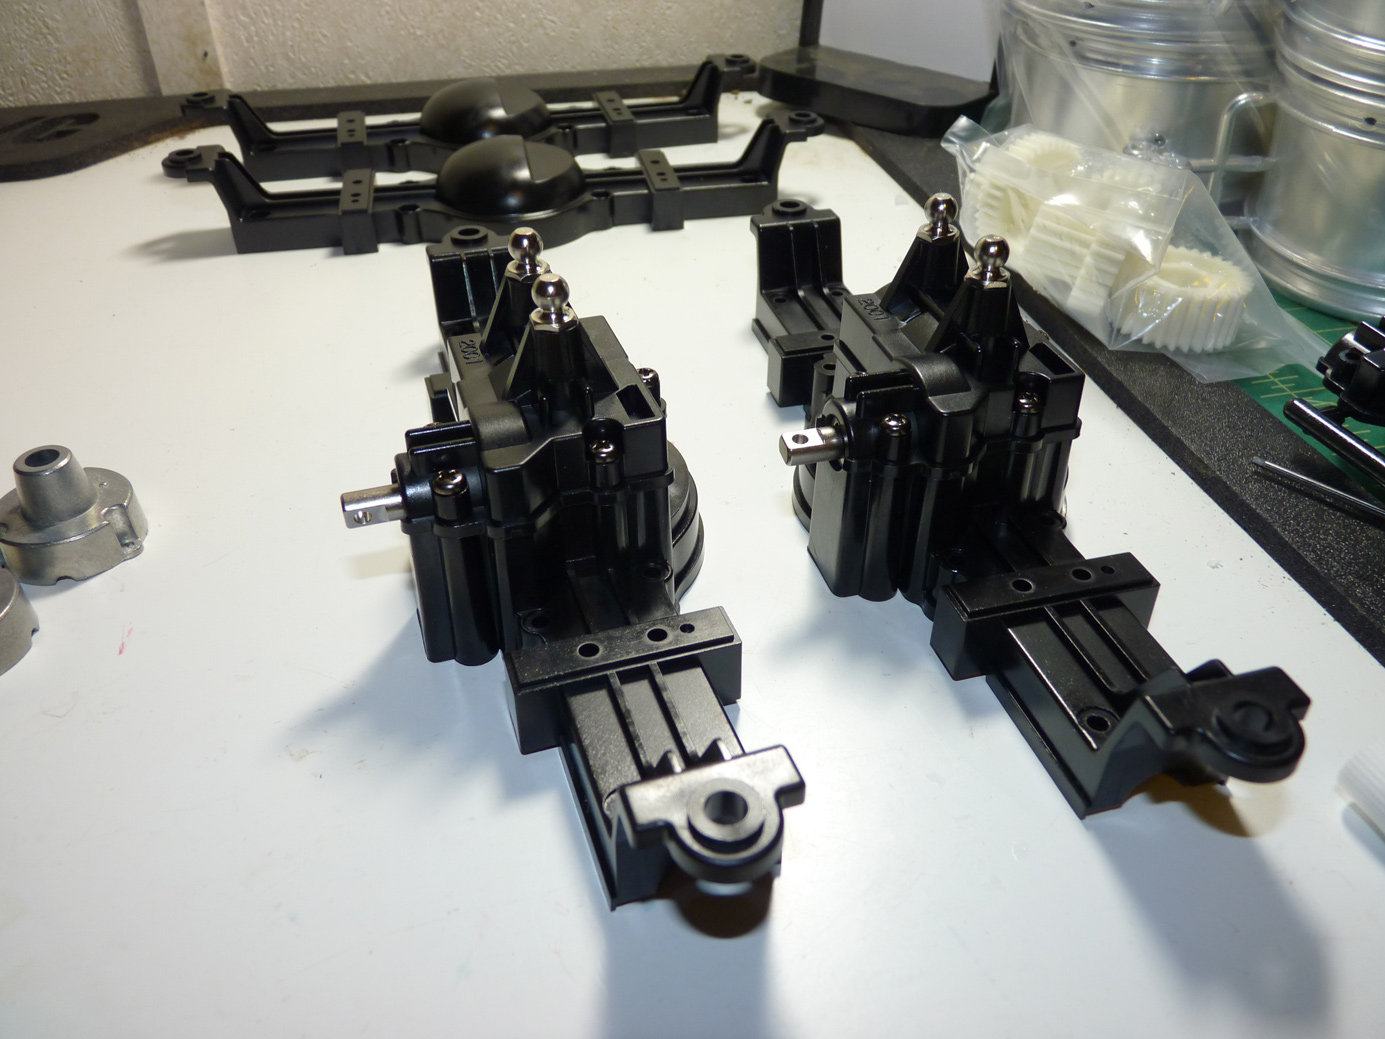
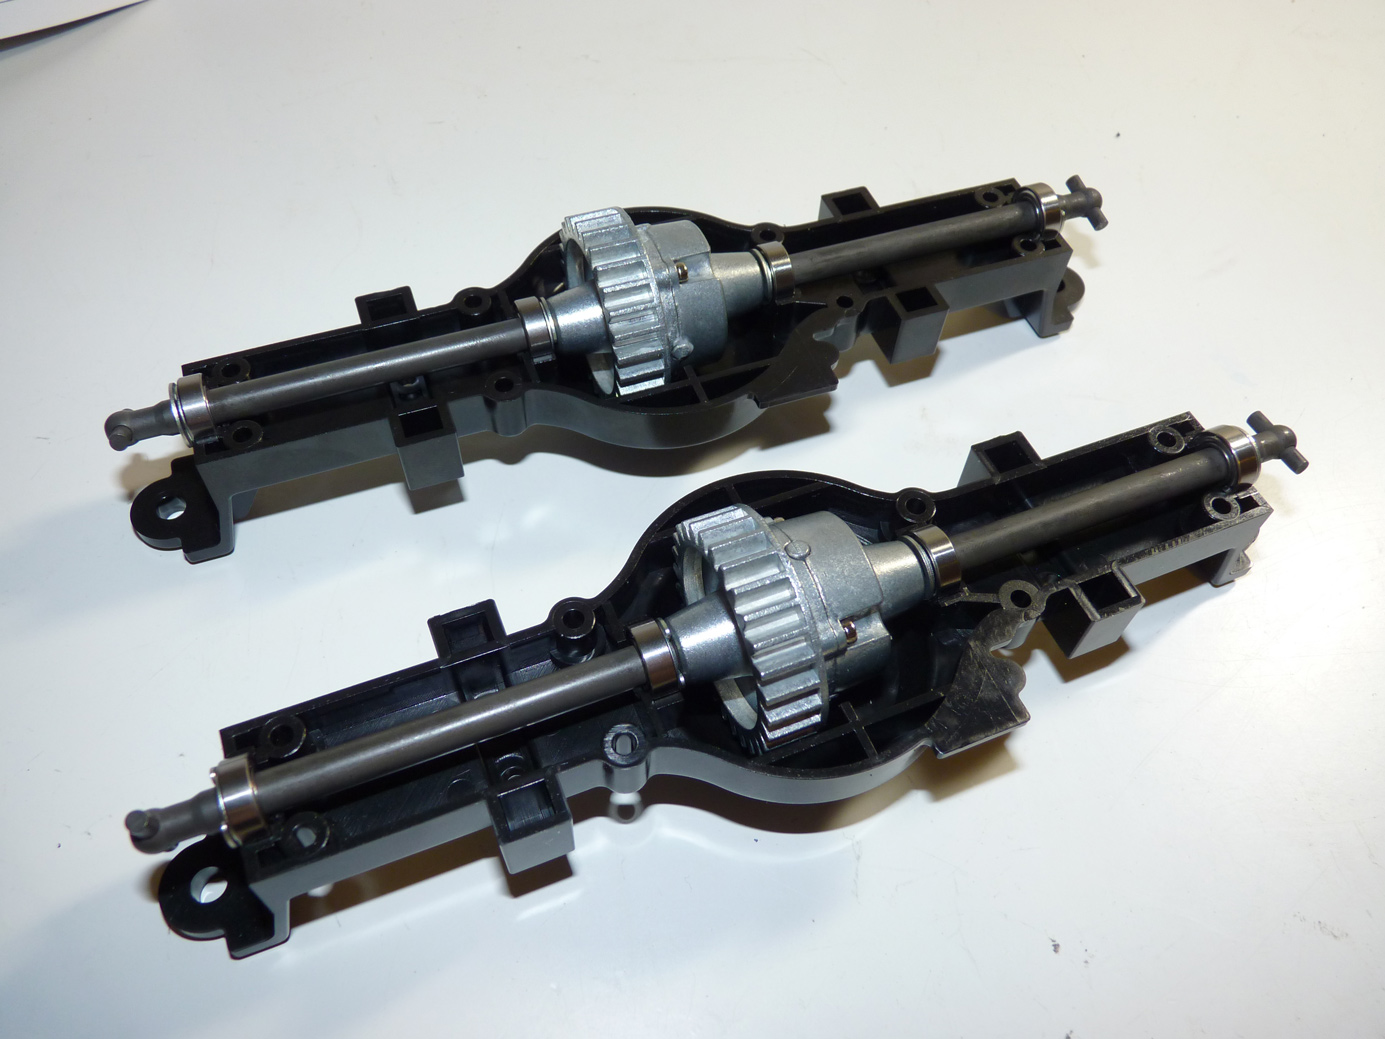
Now we install the upper axle housing we completed earlier onto the lower housing.
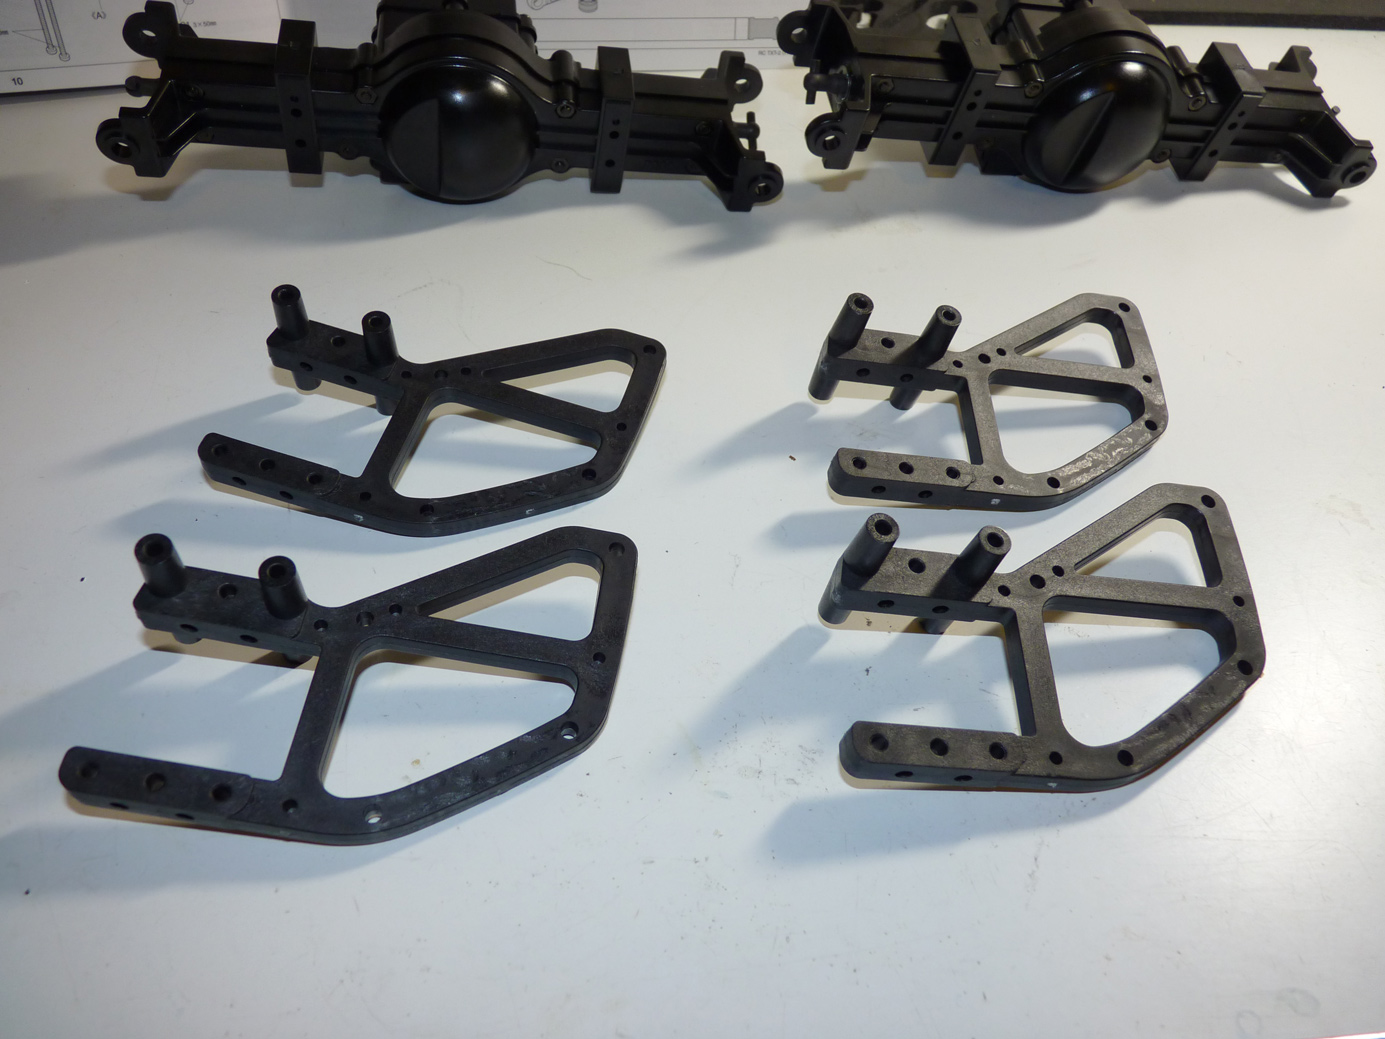
Following that is the installation of the axle guards.
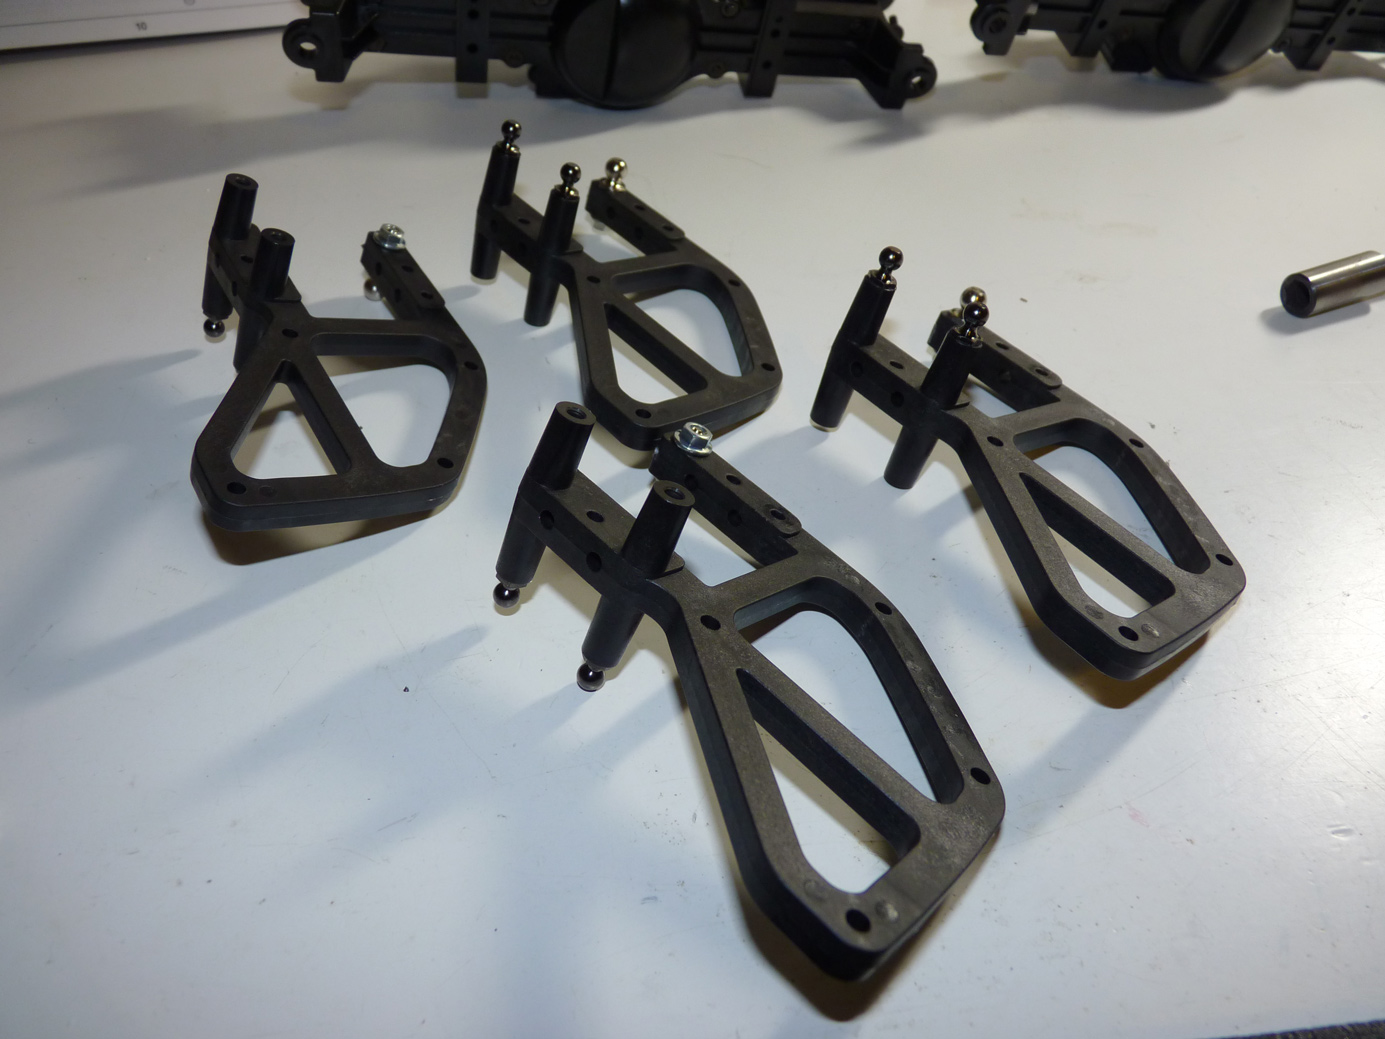
First we must install several ball connectors on them.
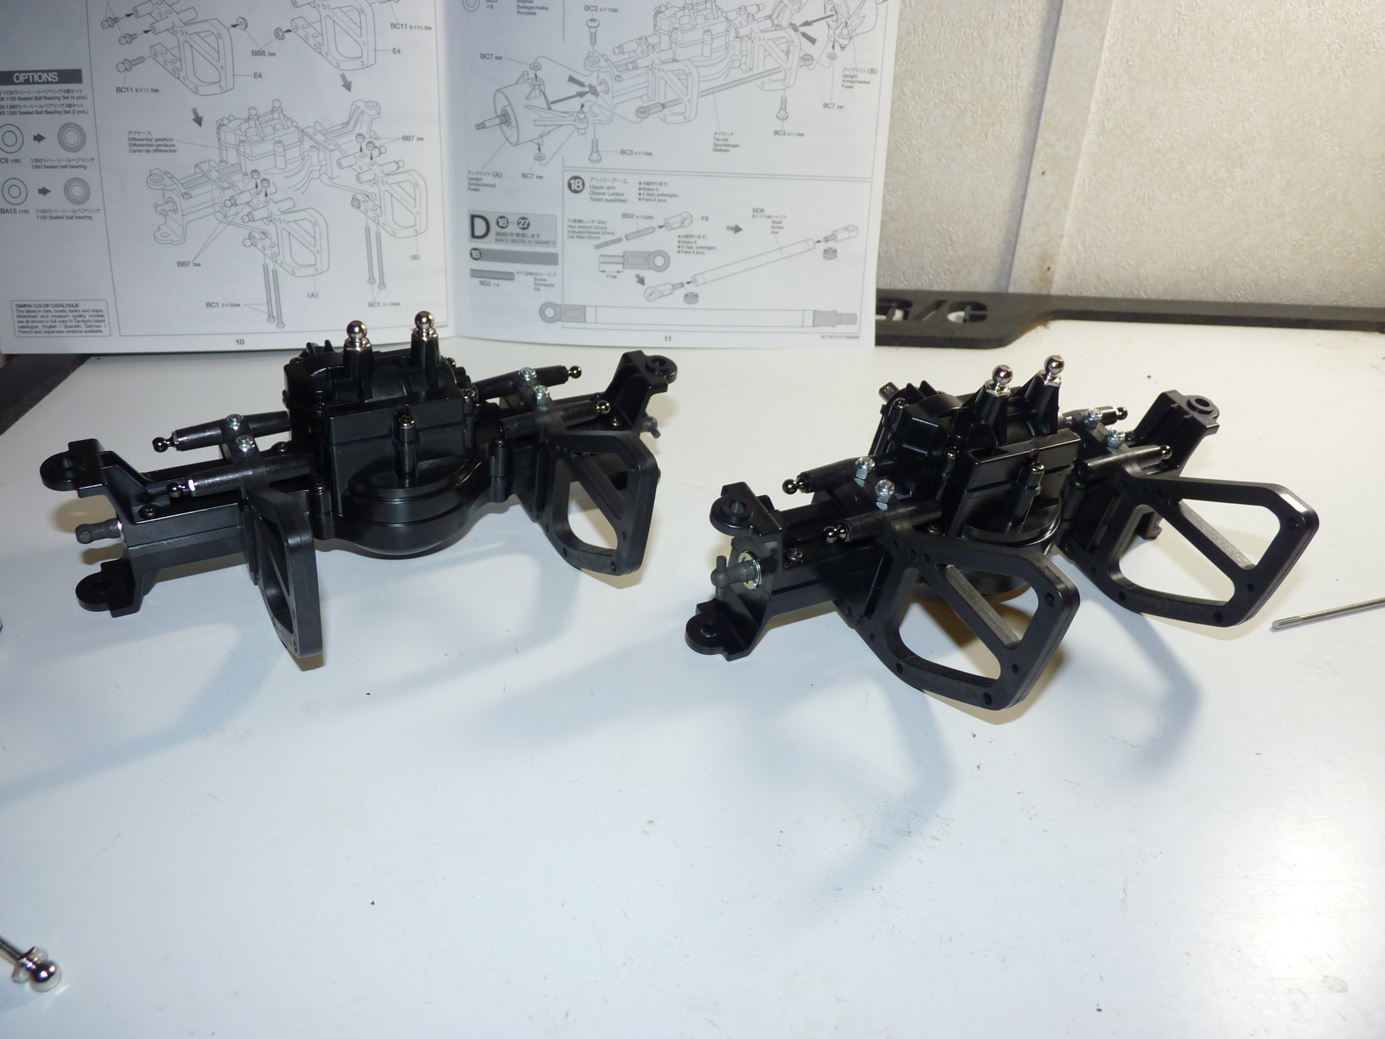
Then install axle guards to the axle assemblies.
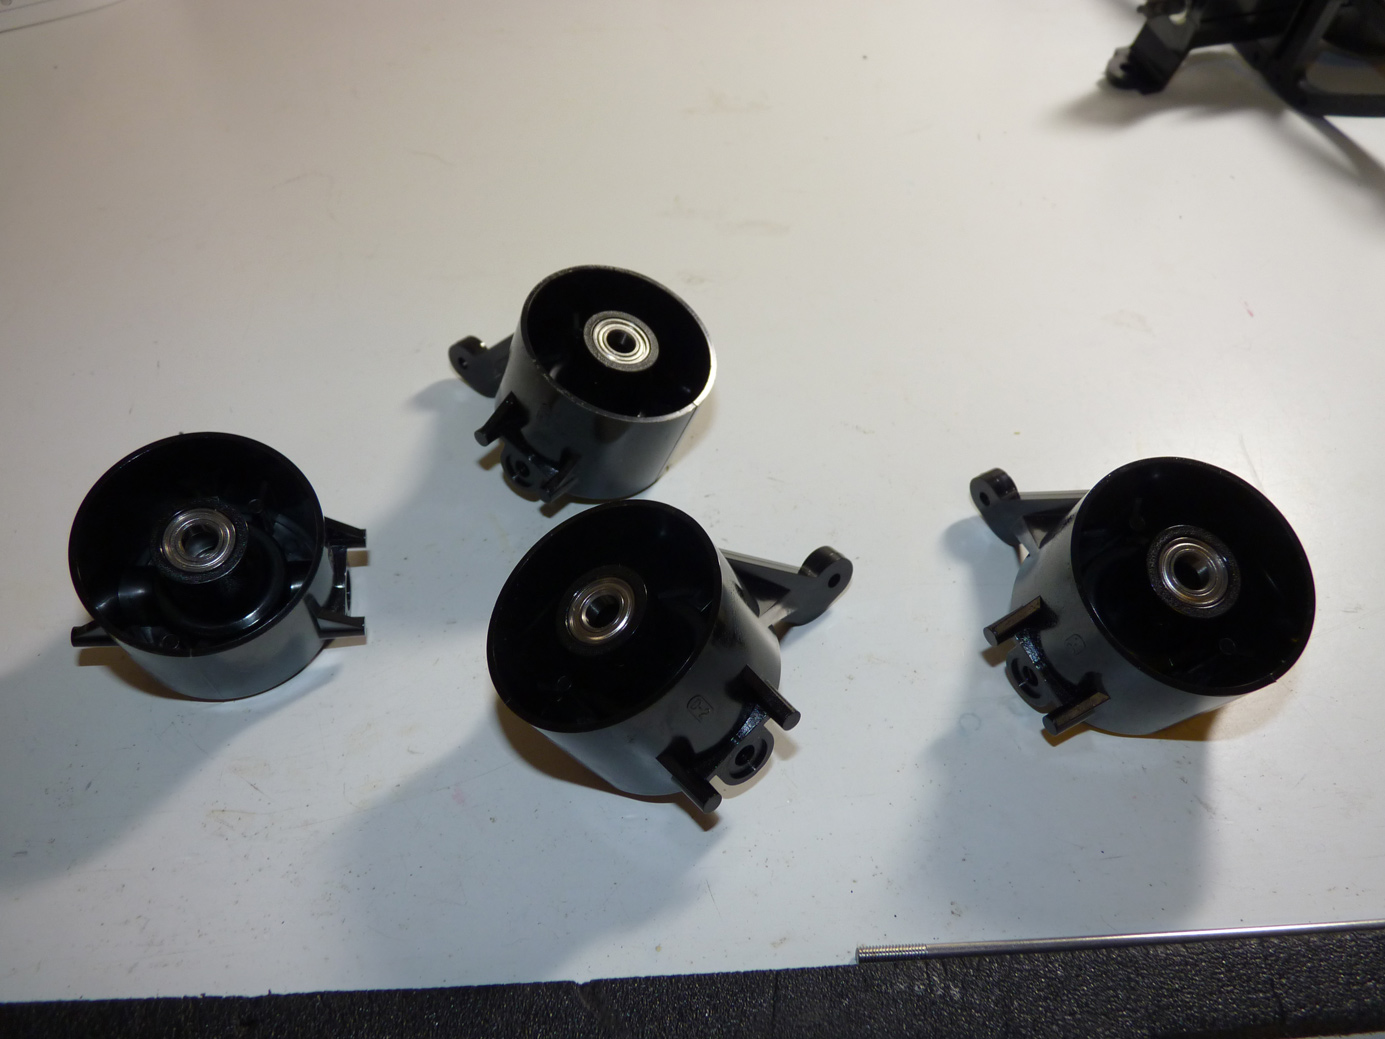
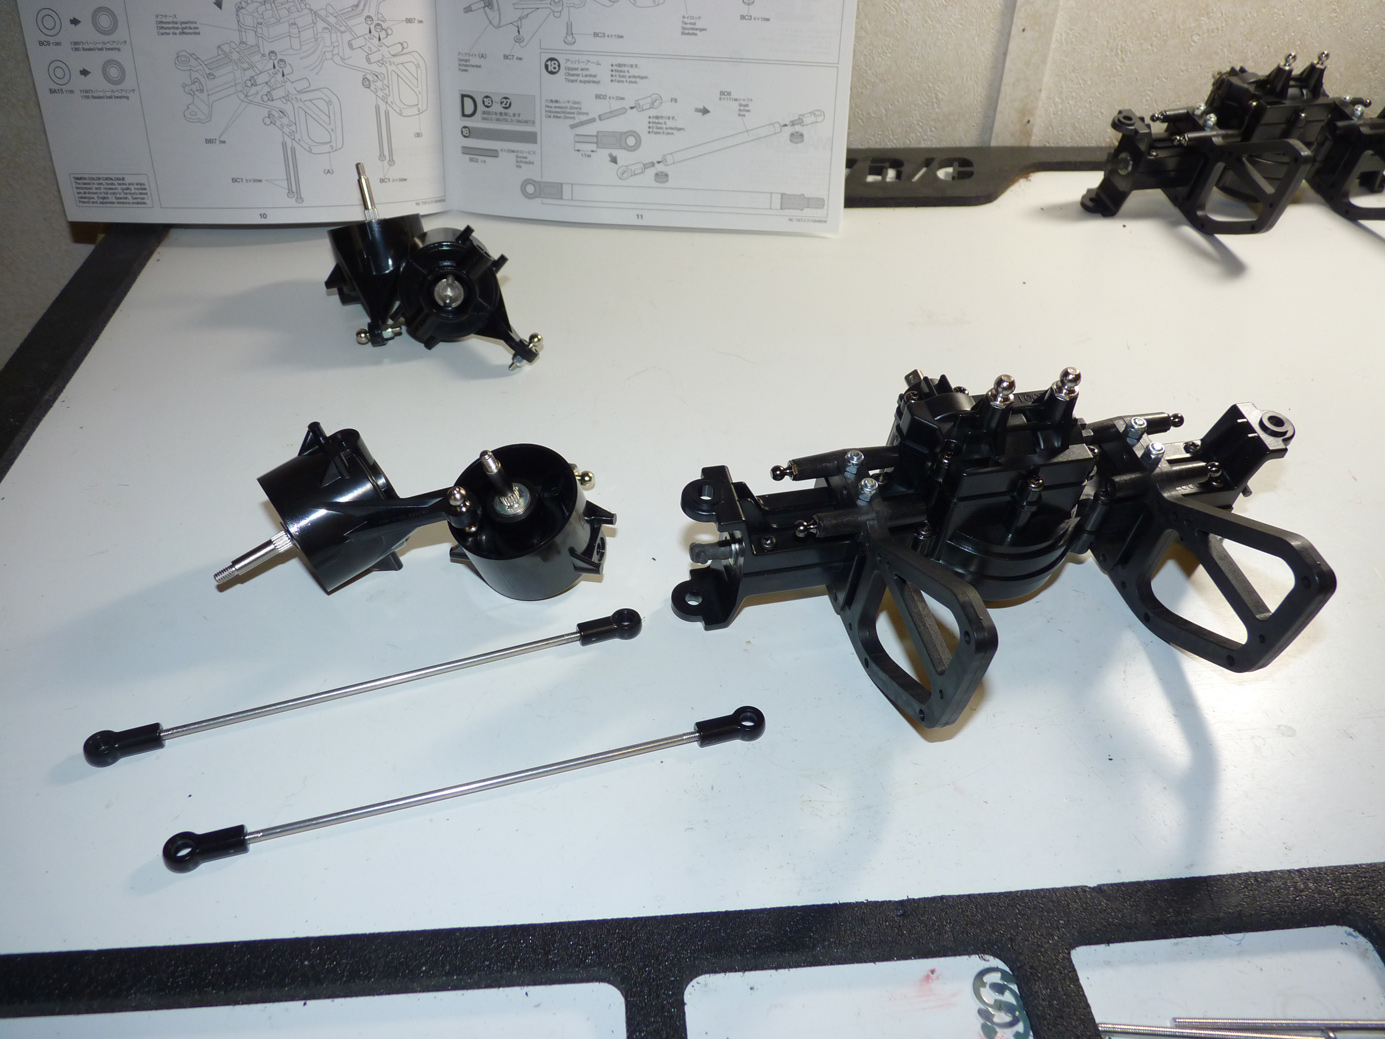
Time for the uprights/steering knuckles. Install the bearings into them and clean any burrs off them from when they were removed from the parts trees.
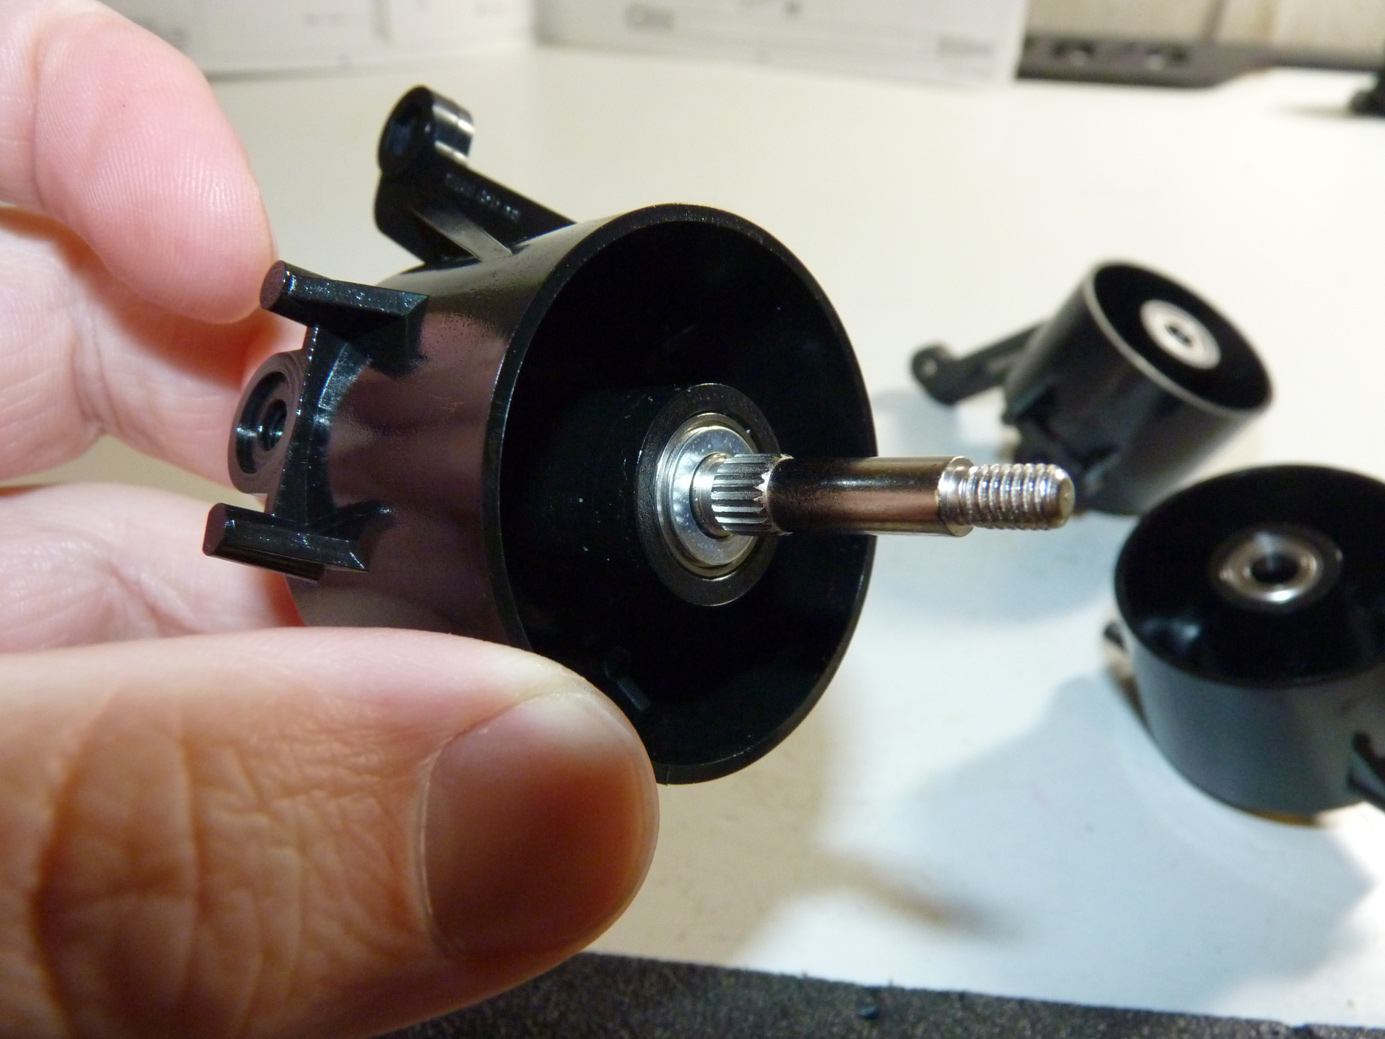
We then install the wheel axles into the uprights.
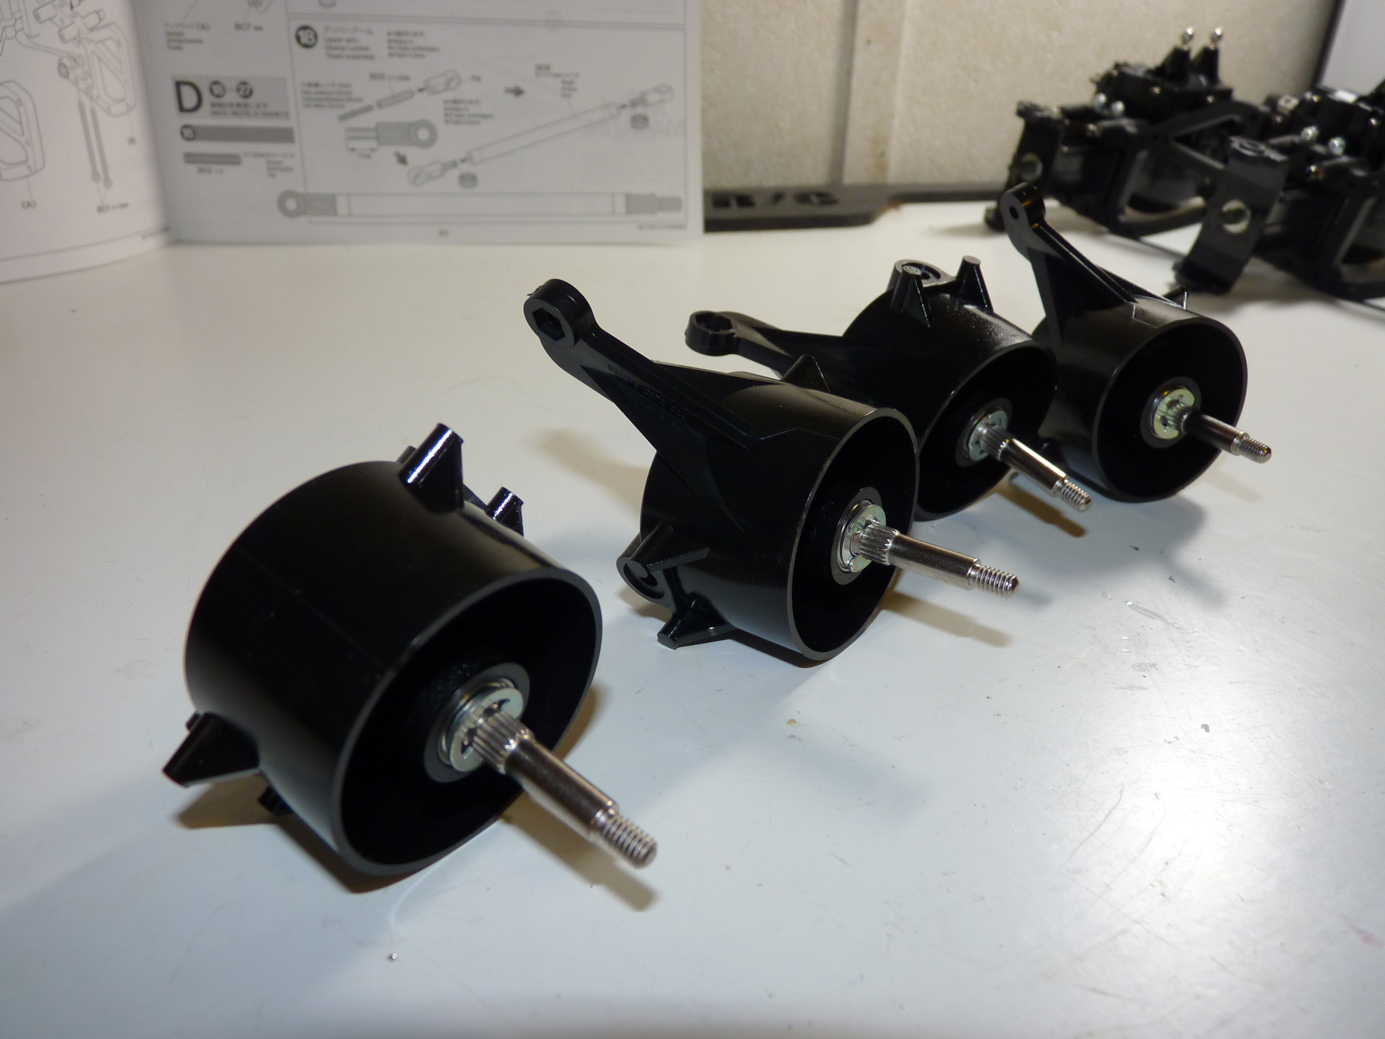
Make 4 of them.
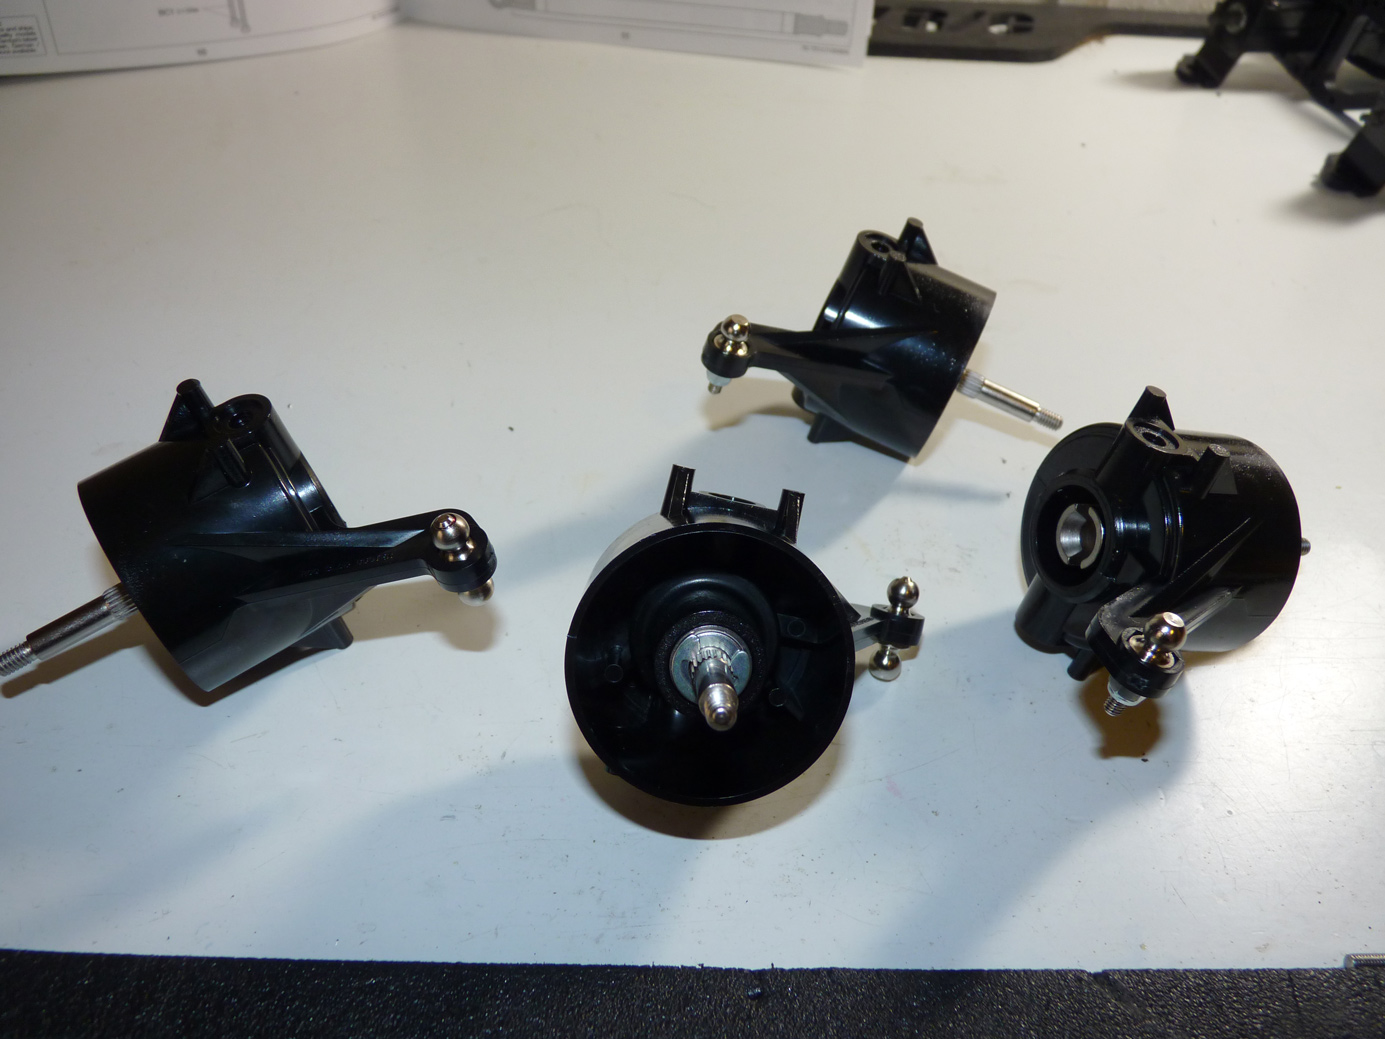
We’ll need to add ball connectors and nuts for the steering linkages.
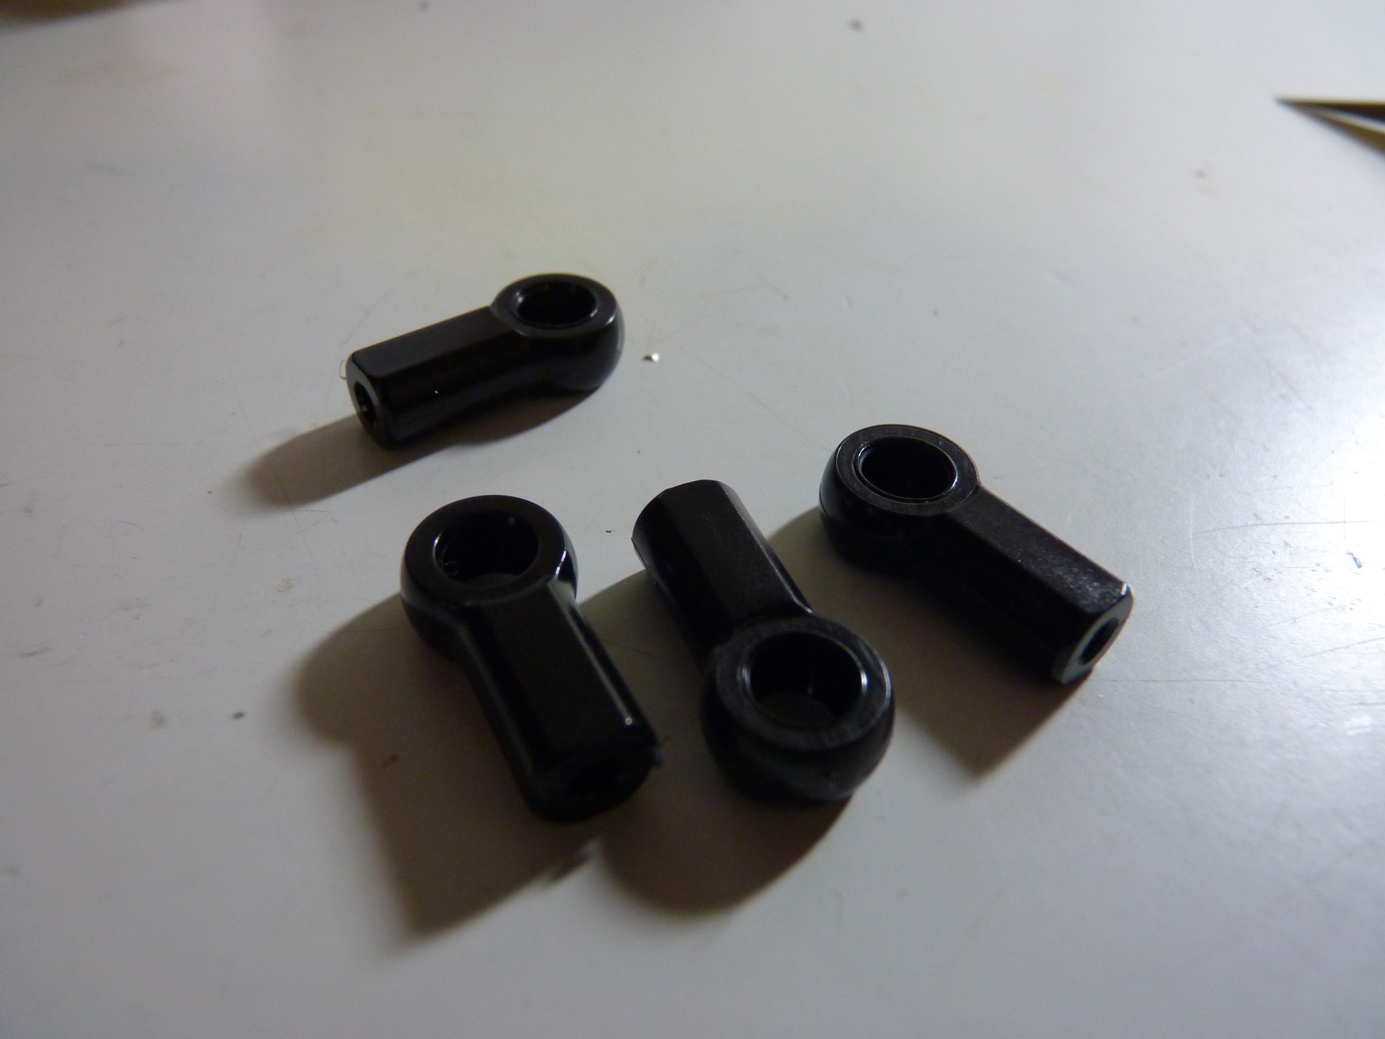
Speaking of which, it’s time to assemble the steering linkages (at least the one link that connects one hub to the other).
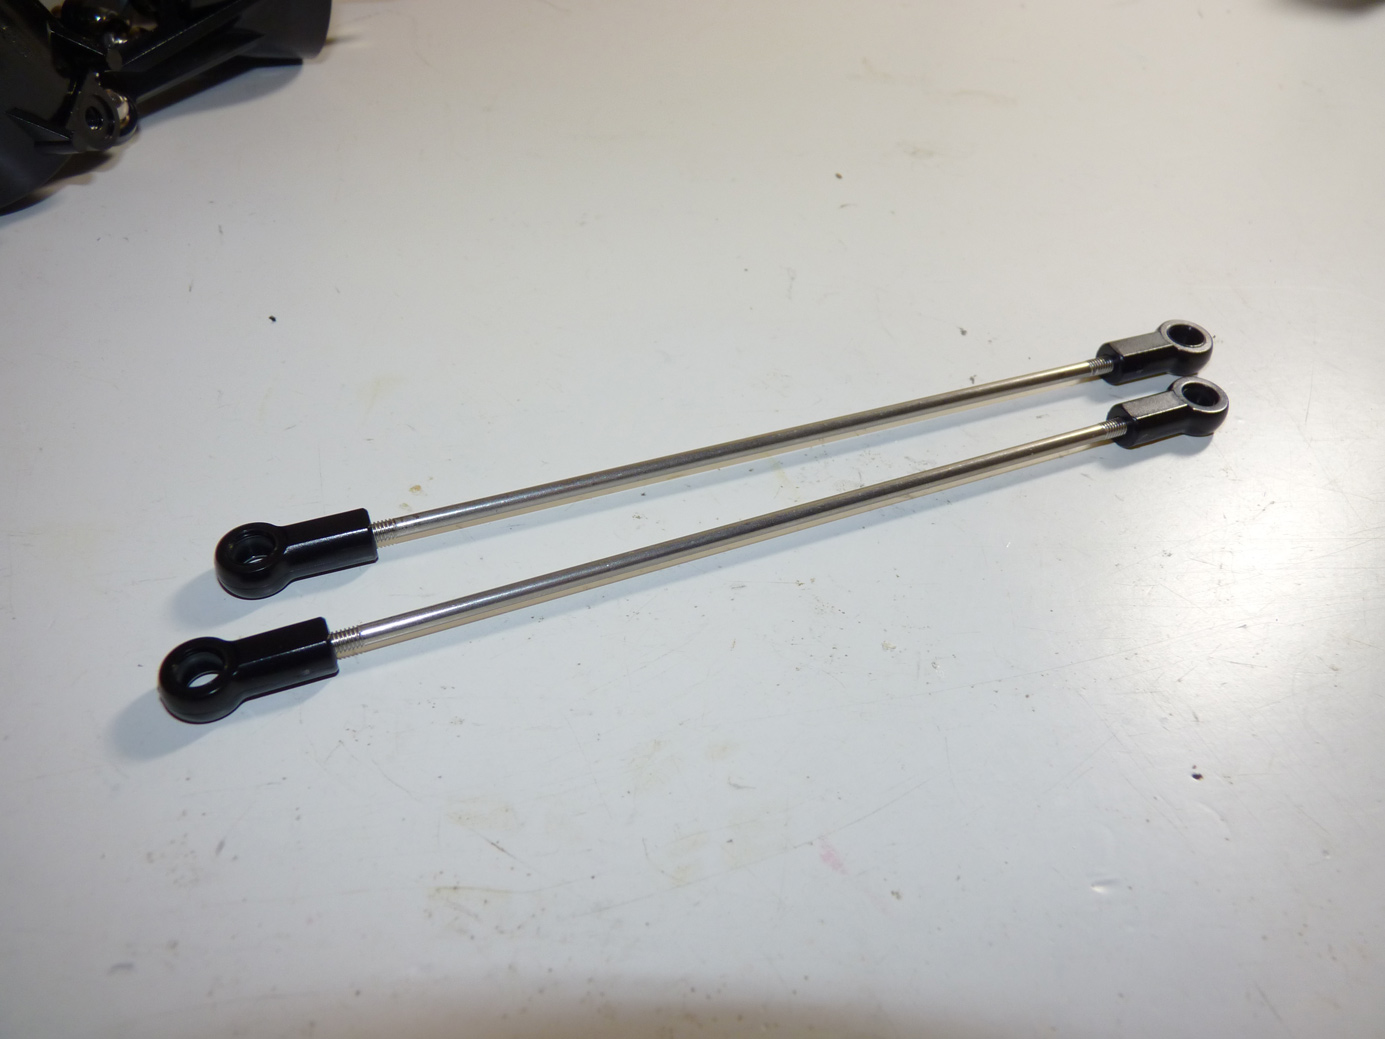
Time to install them.
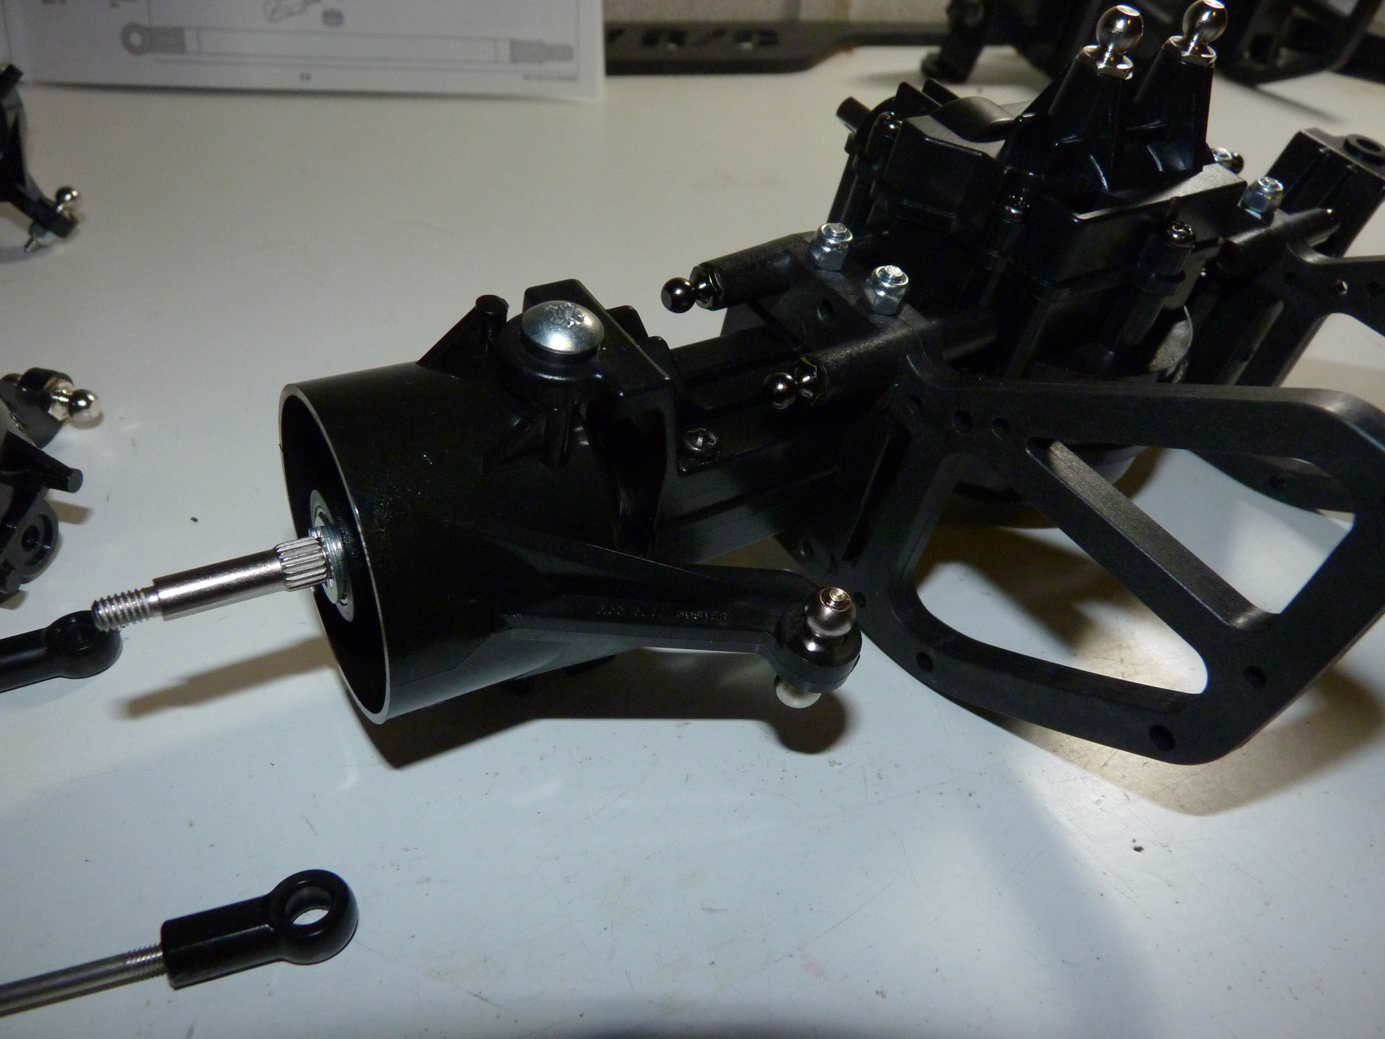
The uprights are secured to the axles with a step screw used as the kingpin.

Do both sides. Make sure the steering arms of the uprights face outward towards the axle guard (and away from the axle input shaft).
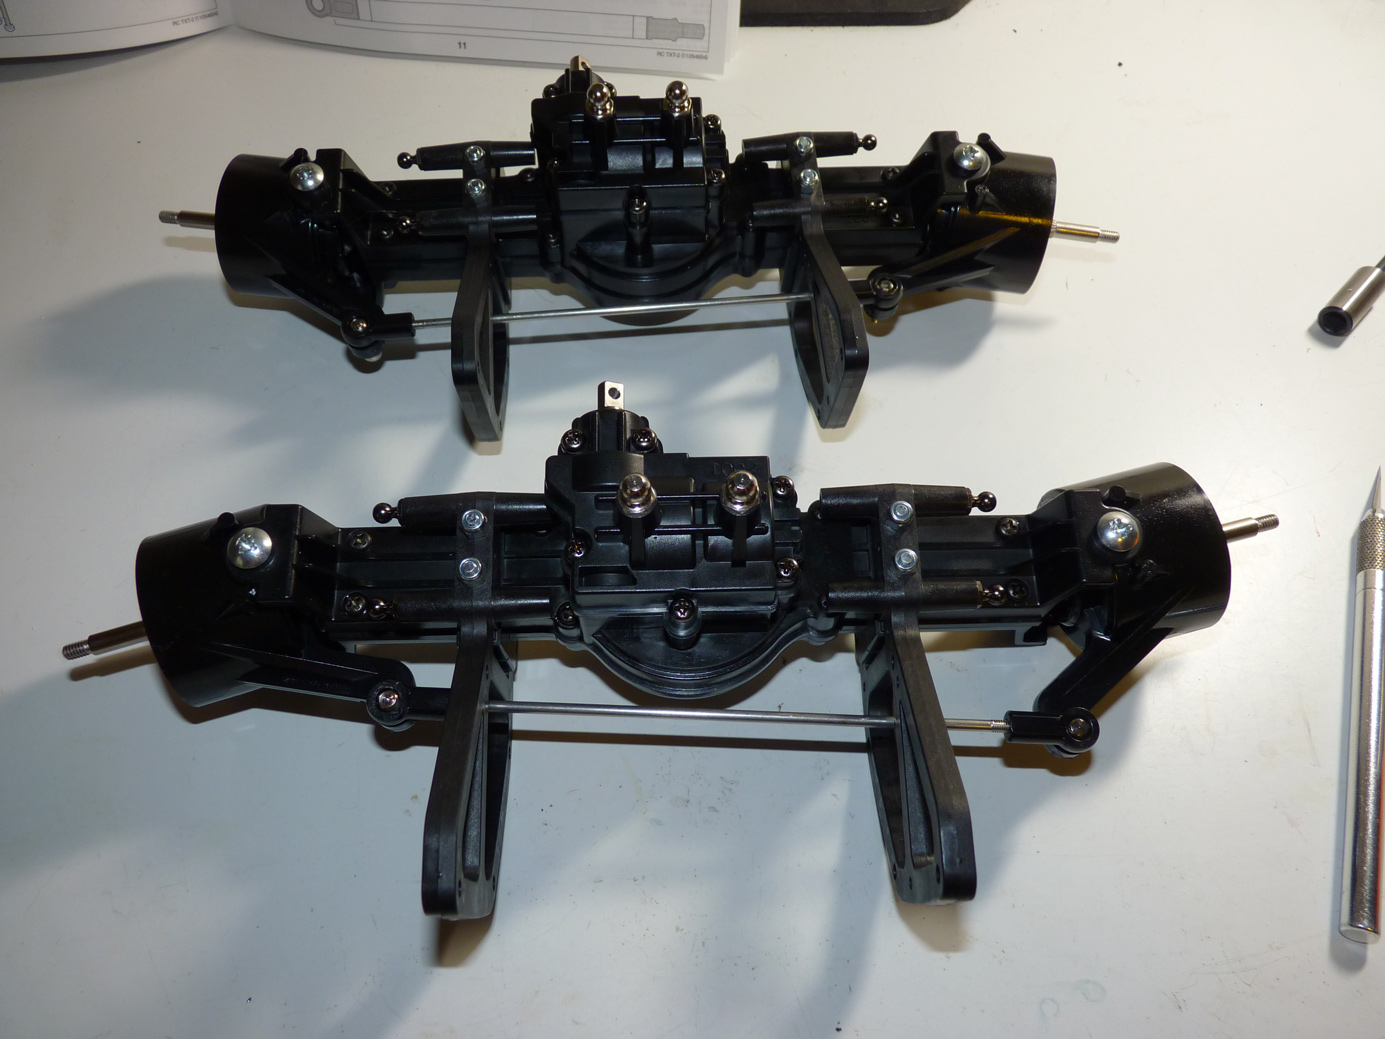
Now our axles have the capability of steering. One step closer to being a roller.
Follow along to Page 4.
 Posted in
  Tags:
Tags:
[…] night before to switch all my “race” vehicles onto that Airtronics MT-4 we used in the Tamiya TXT2 build up. I didn’t get a lap on either car (or the radio) before the tone went off during my first […]