

 February 26th, 2014
  Kevin
Kevin Bag D is up next. This includes shock parts and suspension links so we can connect the axles to the chassis.
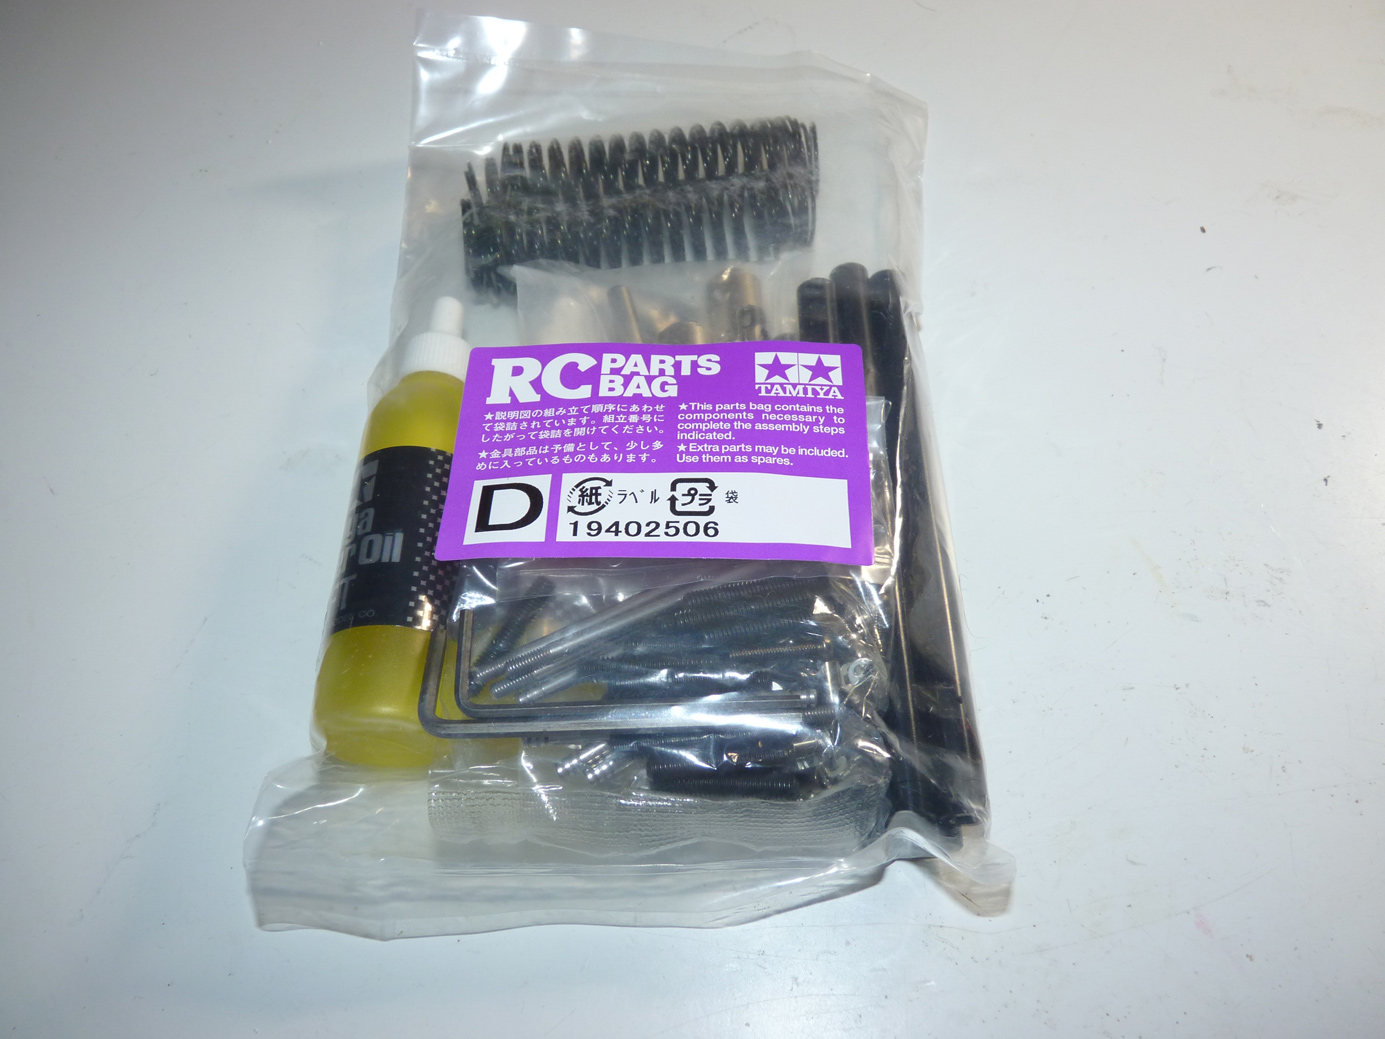
What’s in the bag.
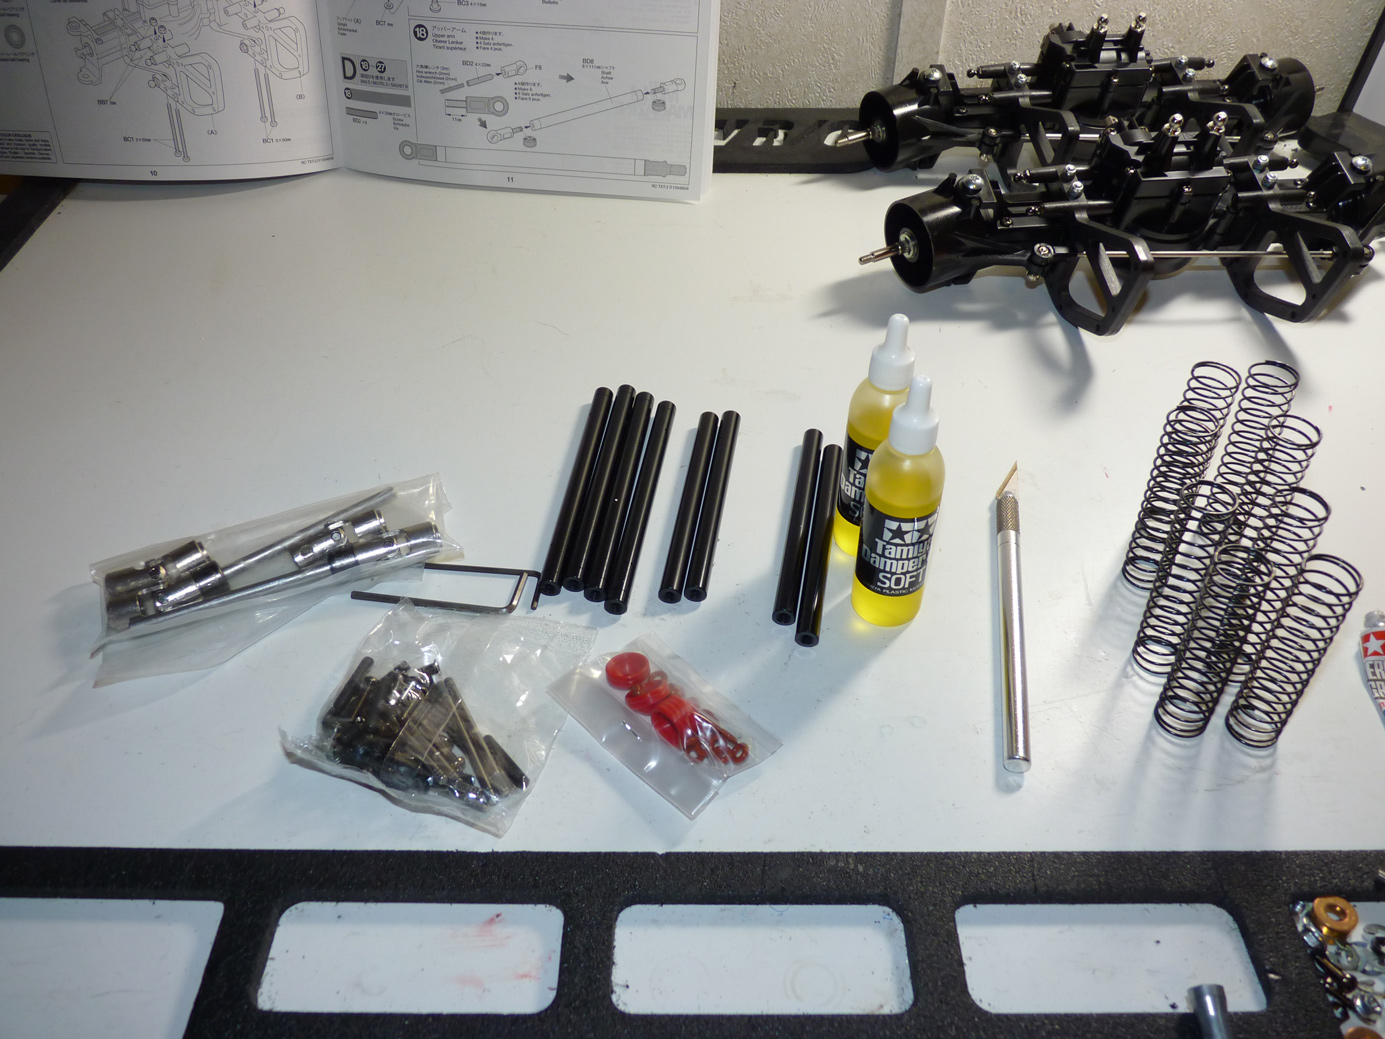
We will start by assembling the suspension links.
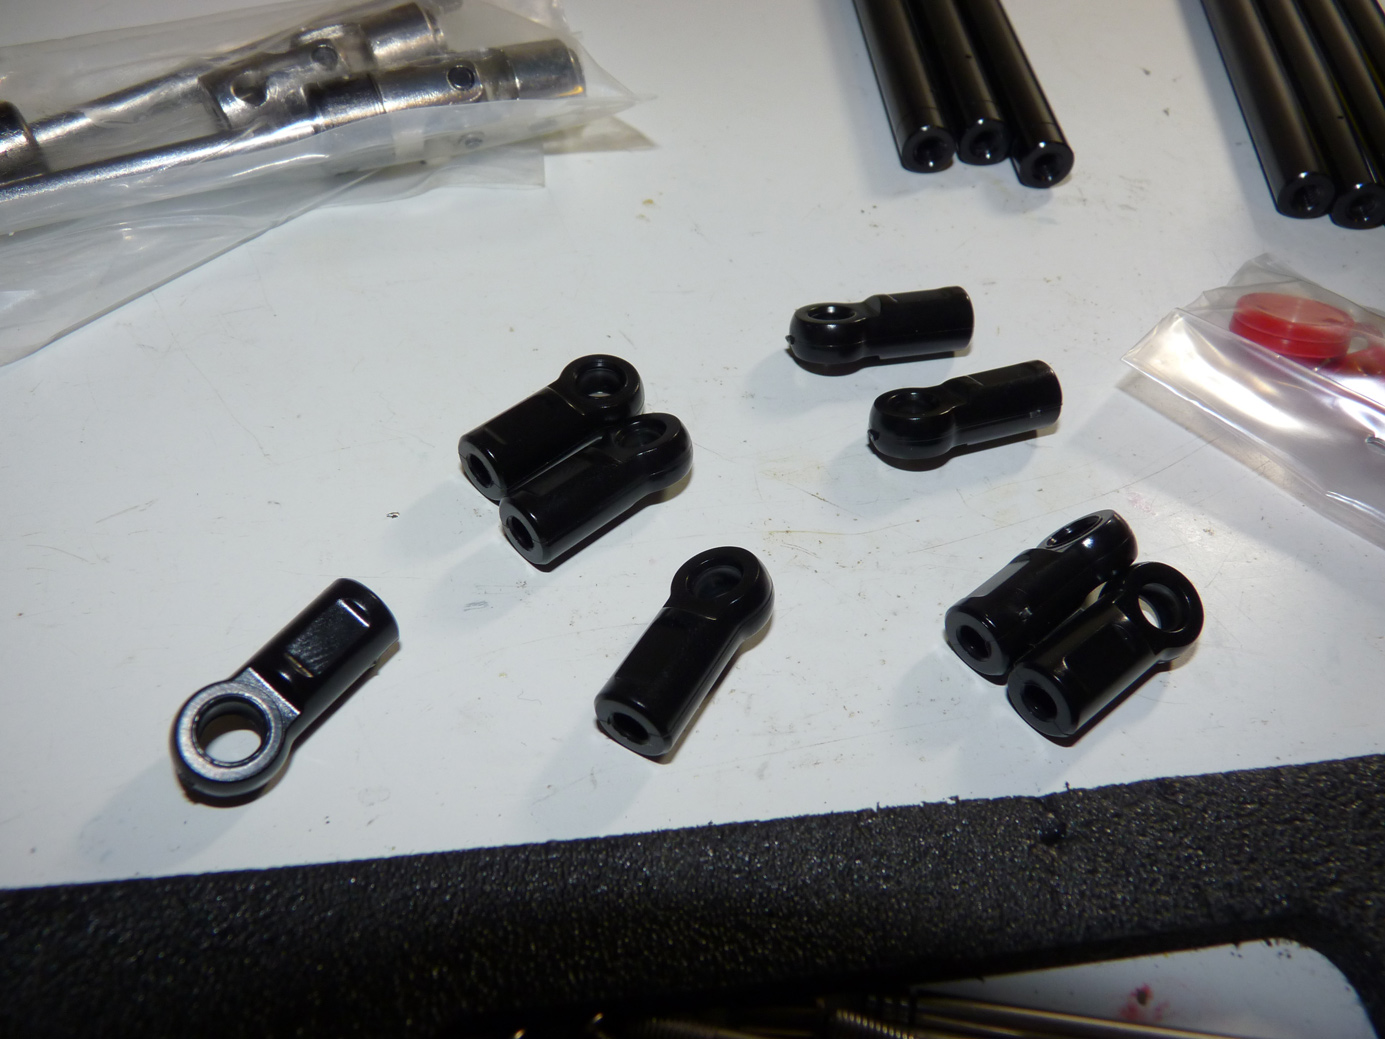
Insert the long grub screws into the rod ends. This step will tear up your thumbs. An easy trick is to use an allen driver in the grub screw to hold it, then stick an allen key or another driver thru the hole in the rod end to thread it onto the grub screw. We end up having to assemble 8 ends for the upper links and 8 for the lower ones.
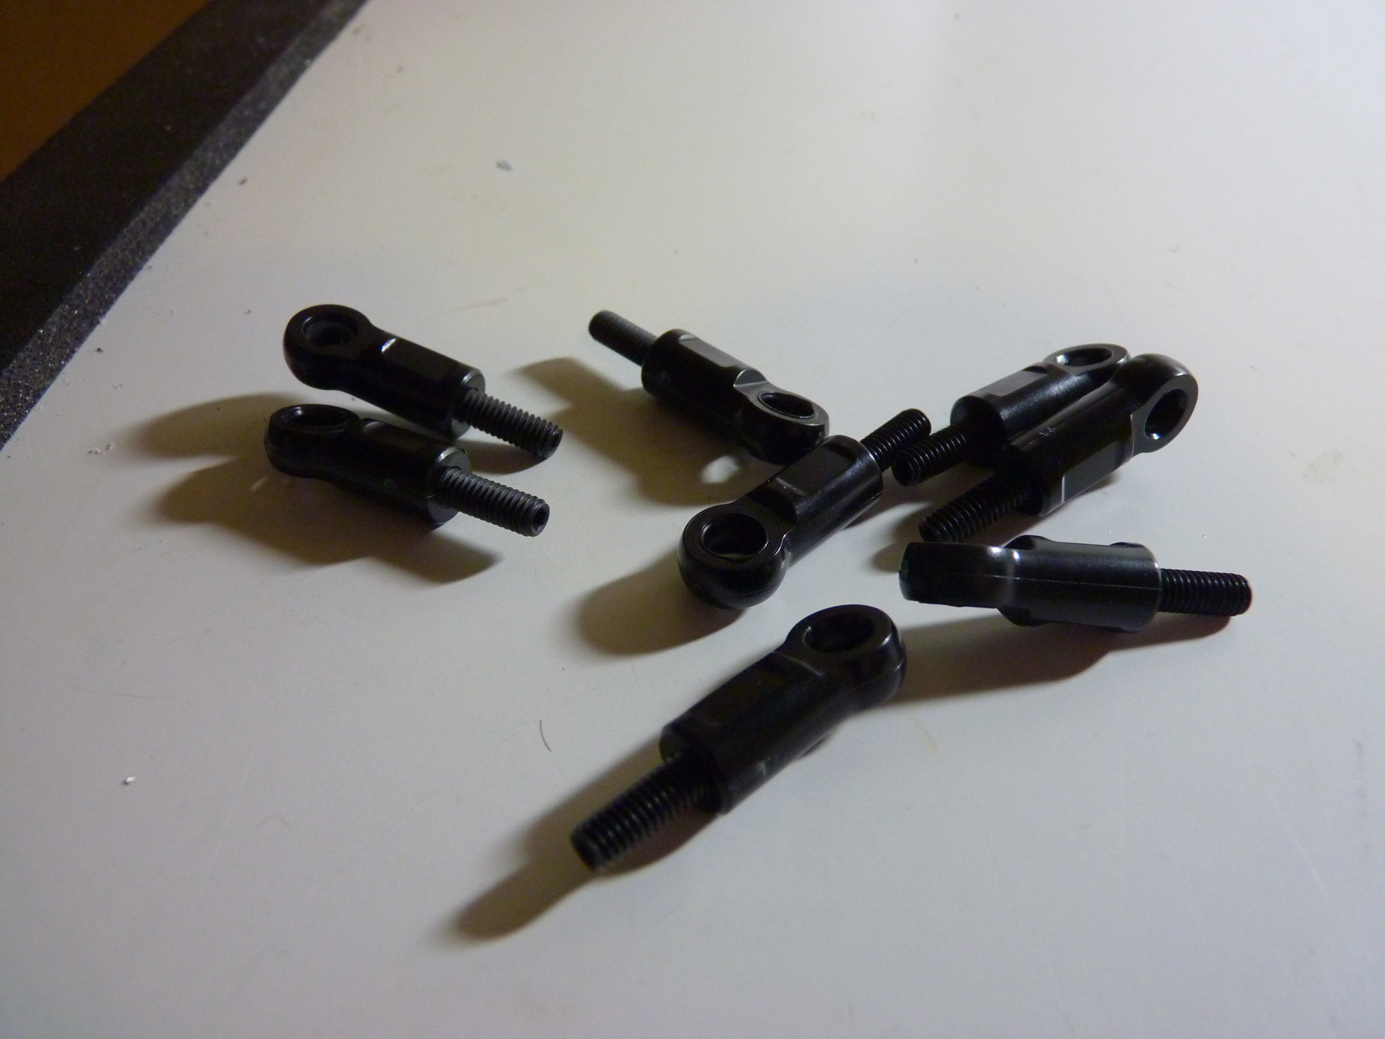
Grub screws installed into the rod ends.
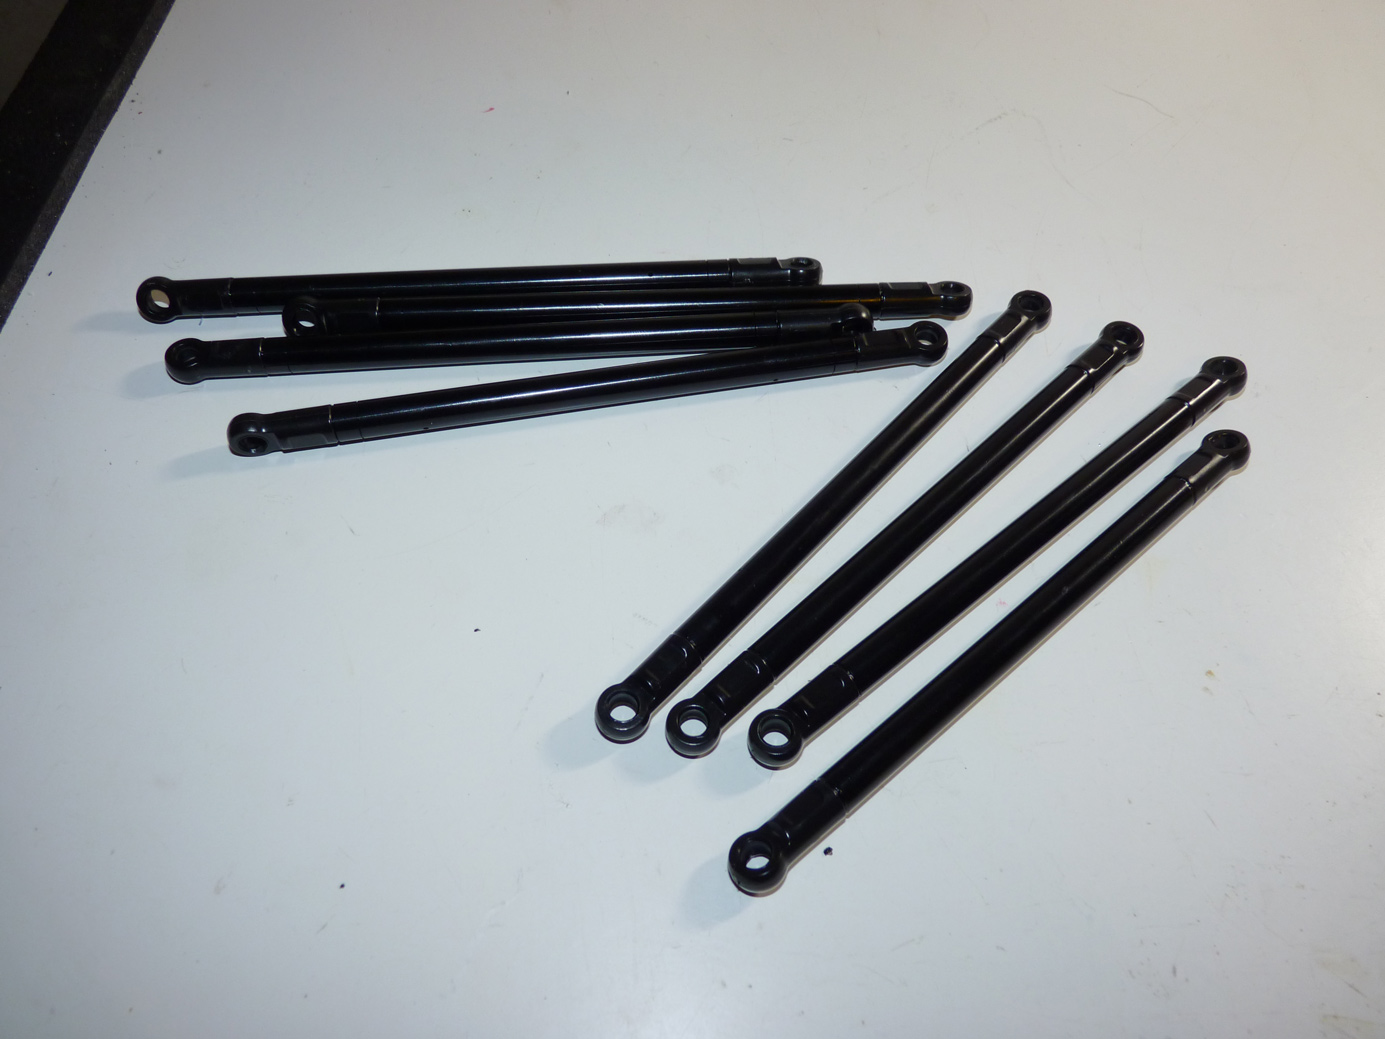
Now we assemble all of the links.
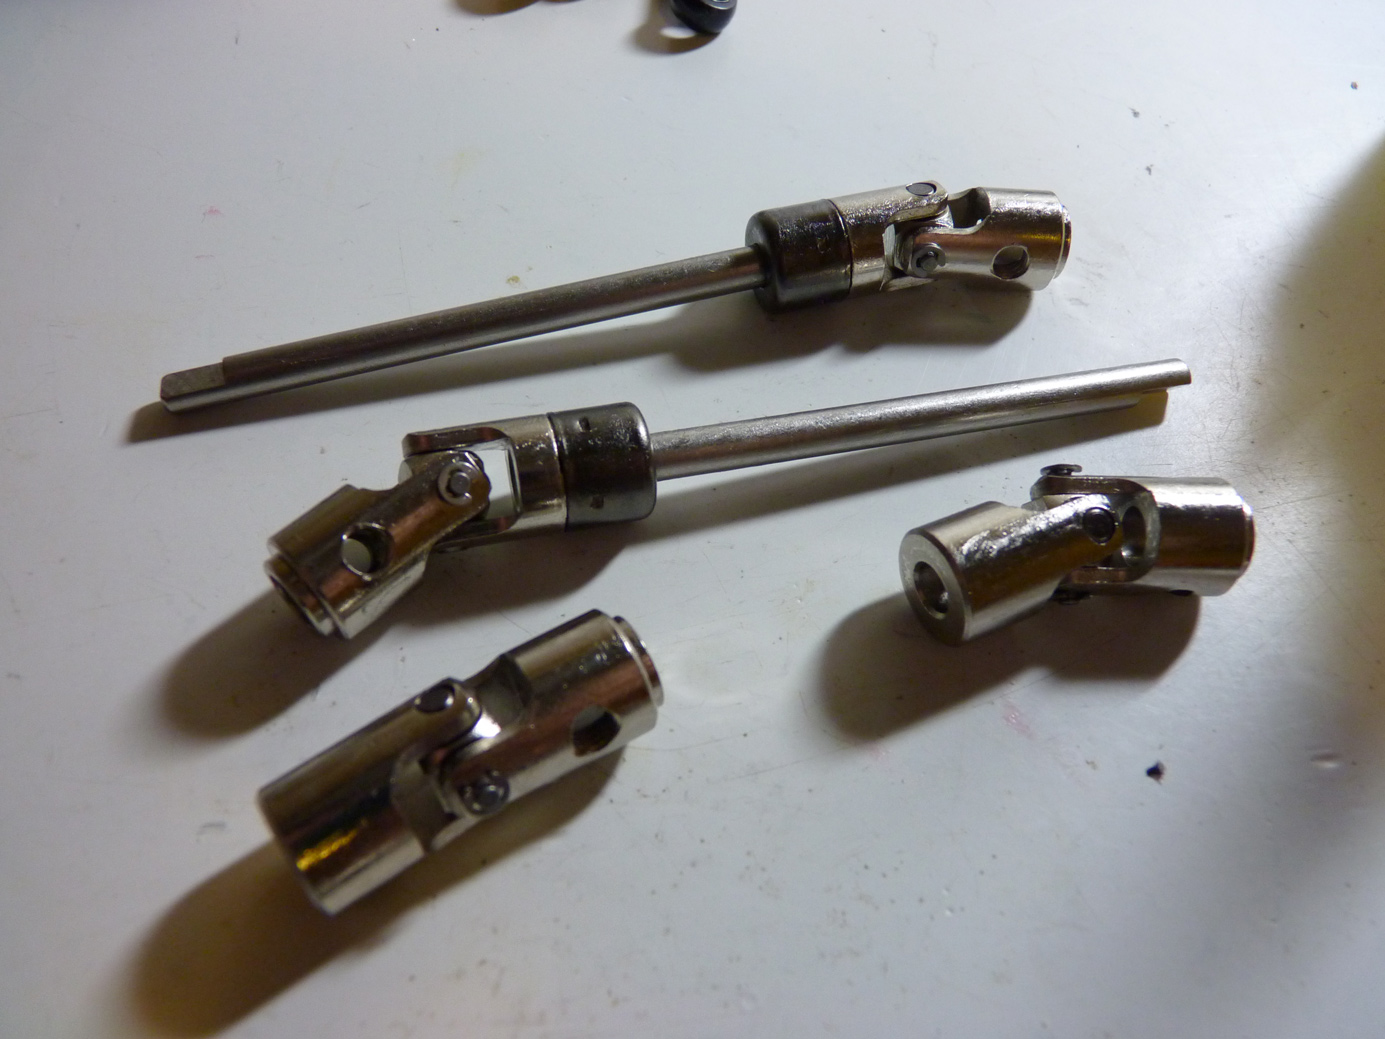
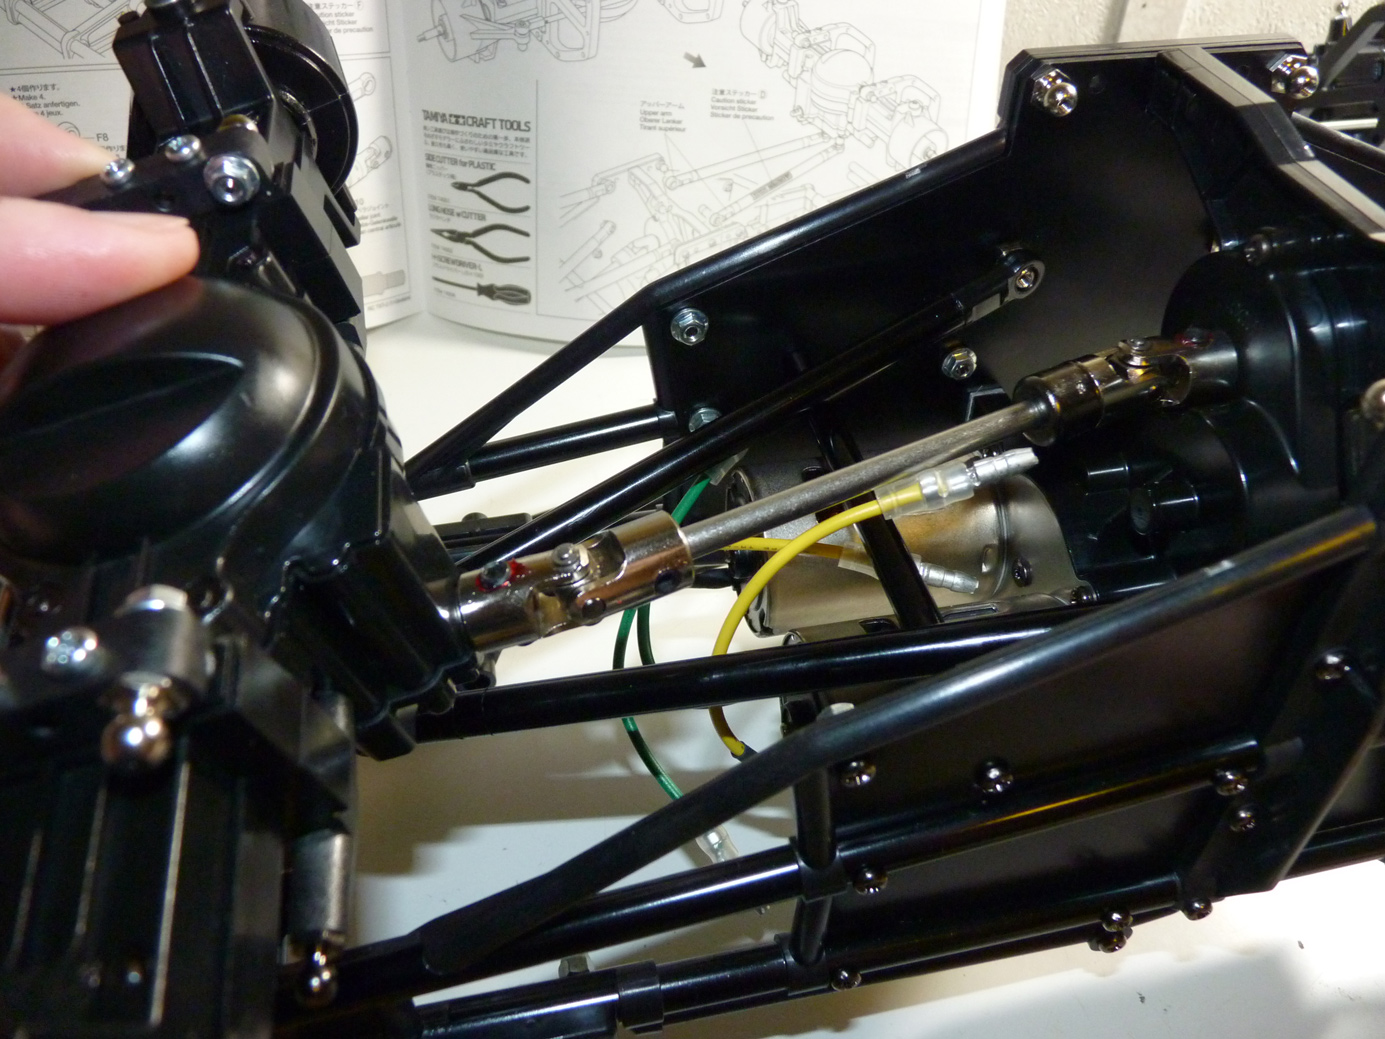
Time to assemble the drive shafts. They are made up of a propeller joint and a universal joint. The propeller joint allows for some extension of the axle.
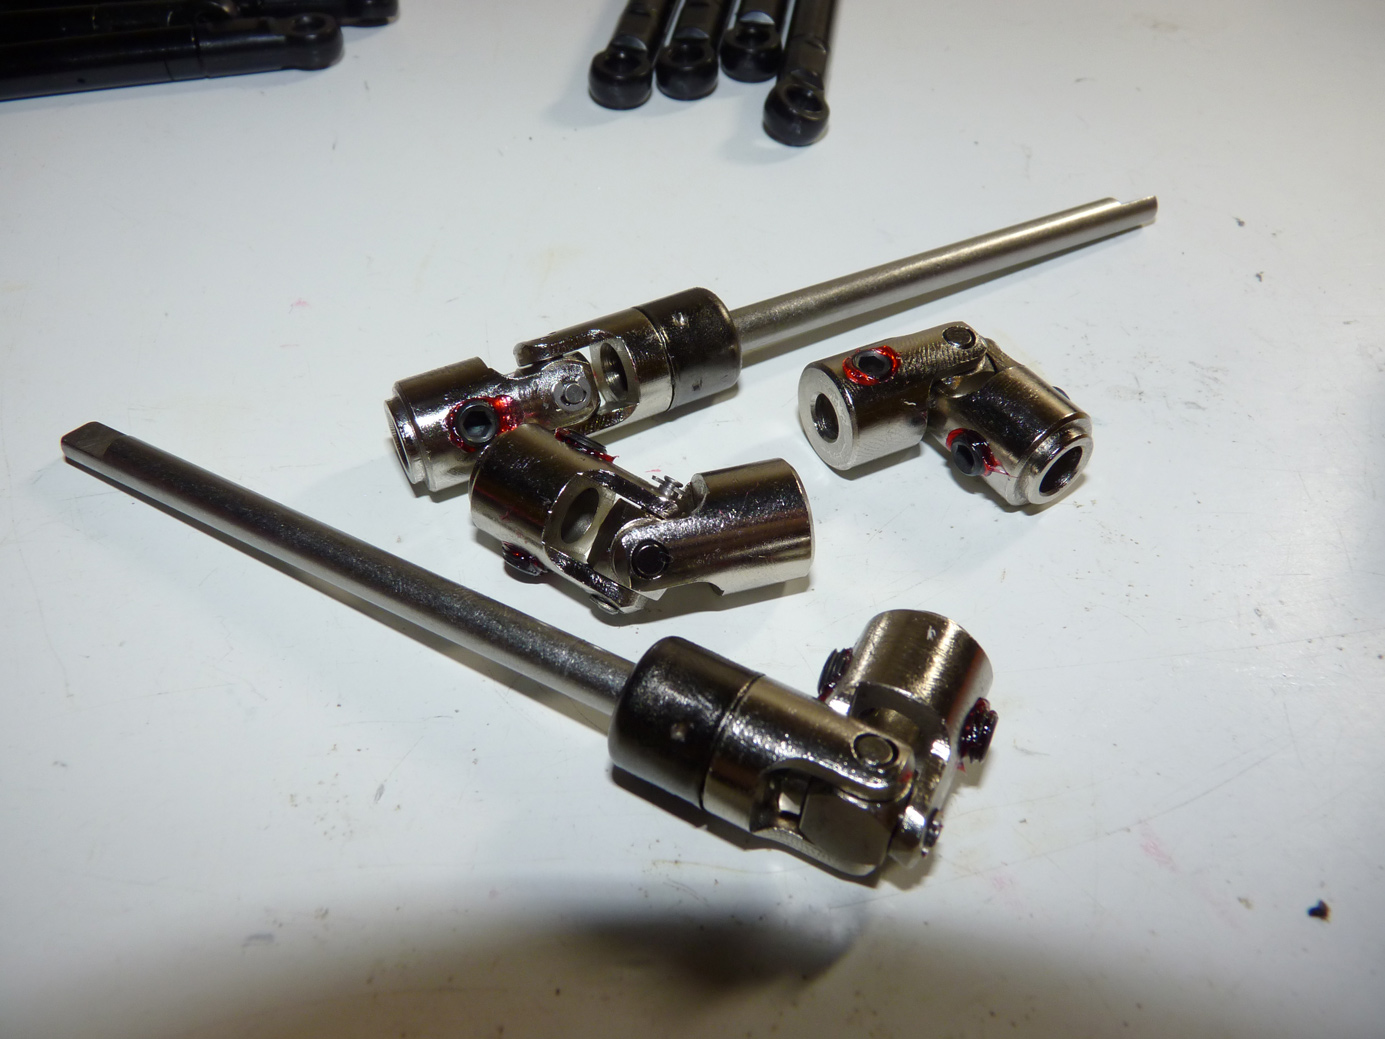
Thread lock is crucial!
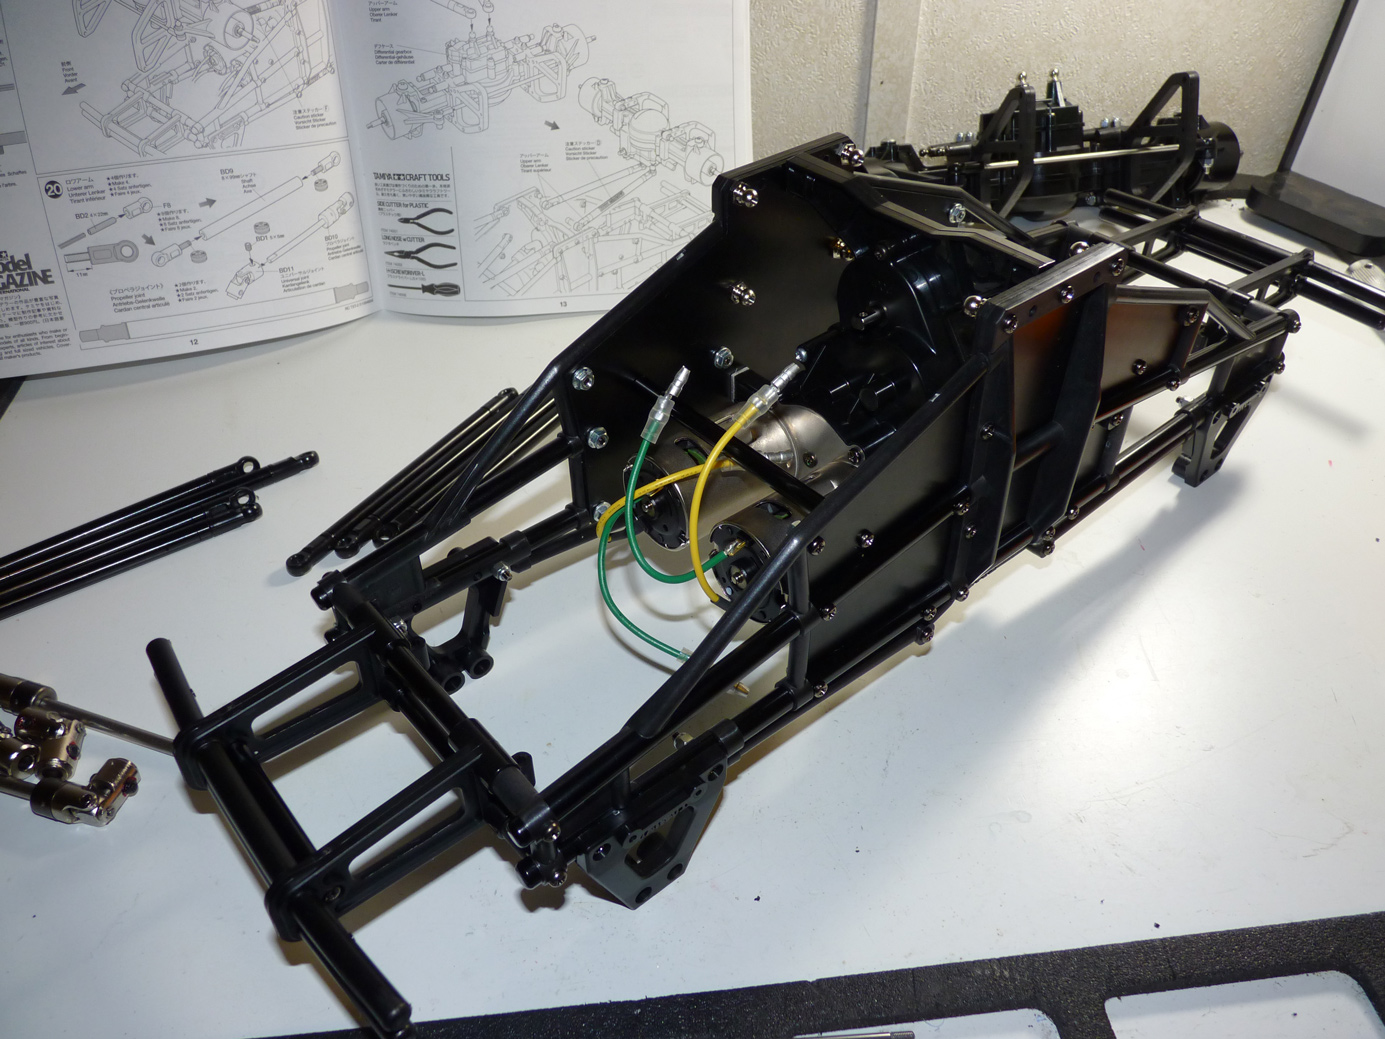
Okay, time to install the axles to this chassis!
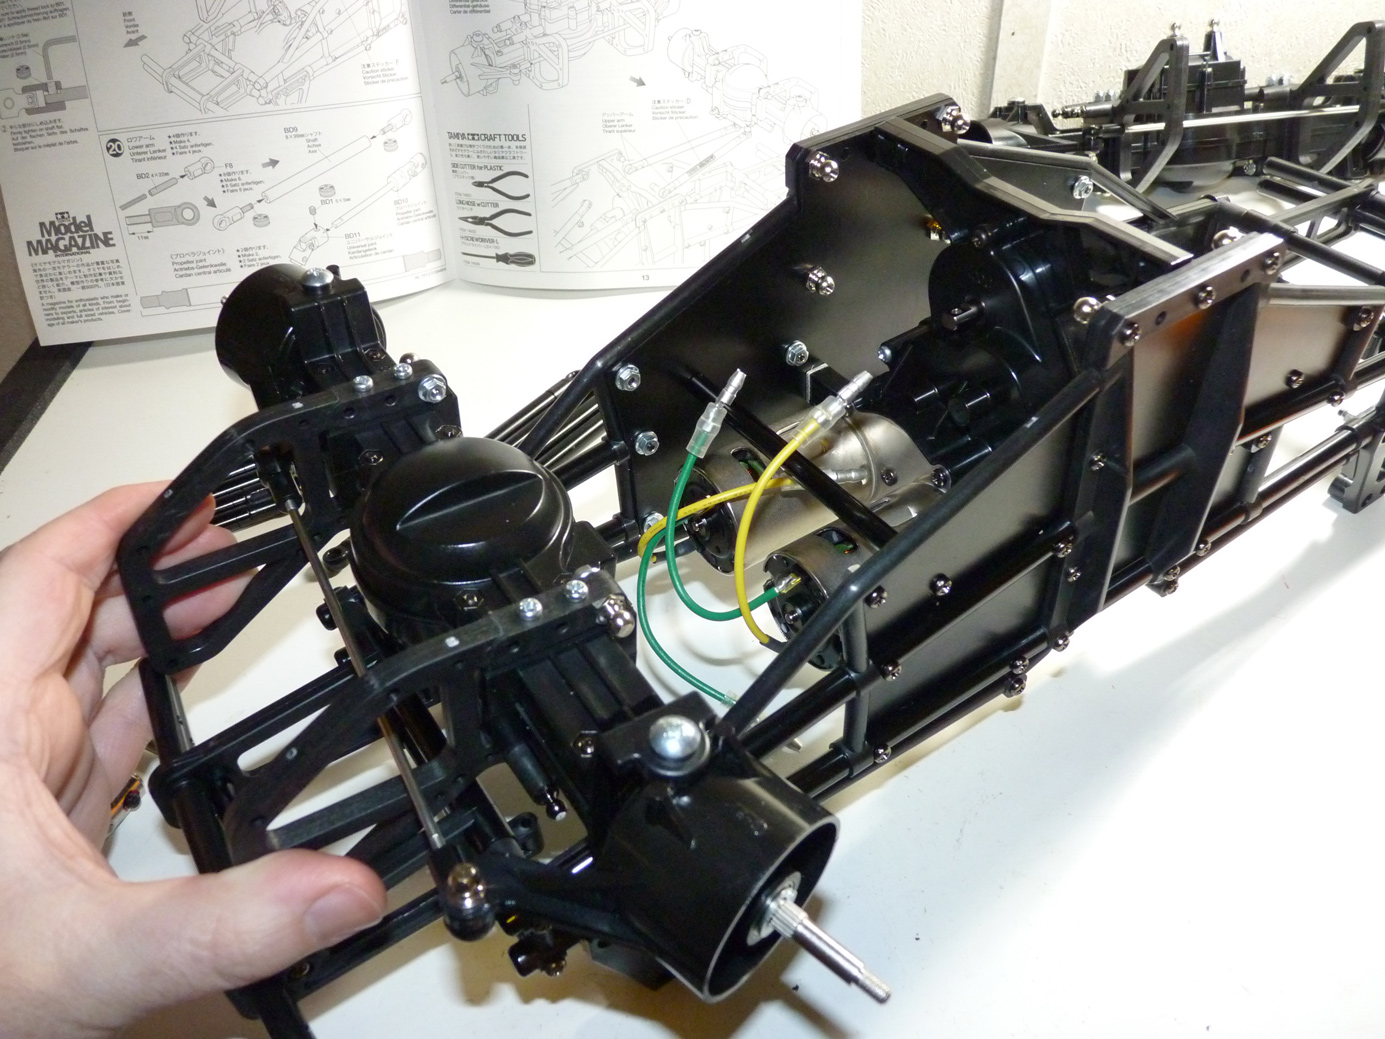
We’ll start with the front axle. The motors are in the front of the chassis, that’s how you can tell one end from the other at this stage.
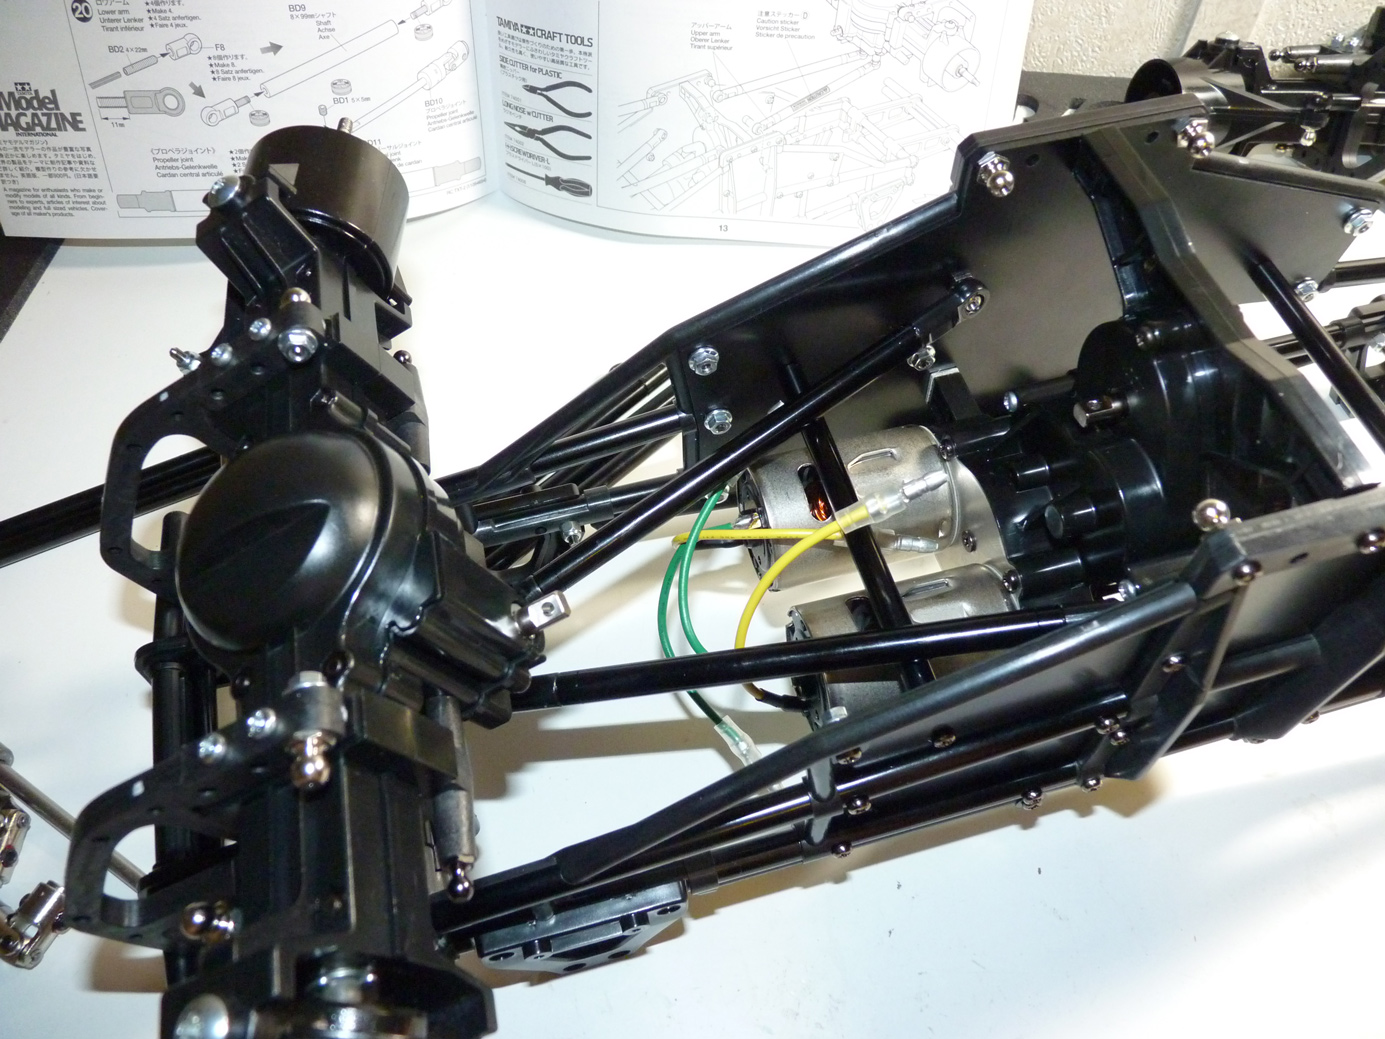
First install the upper links.
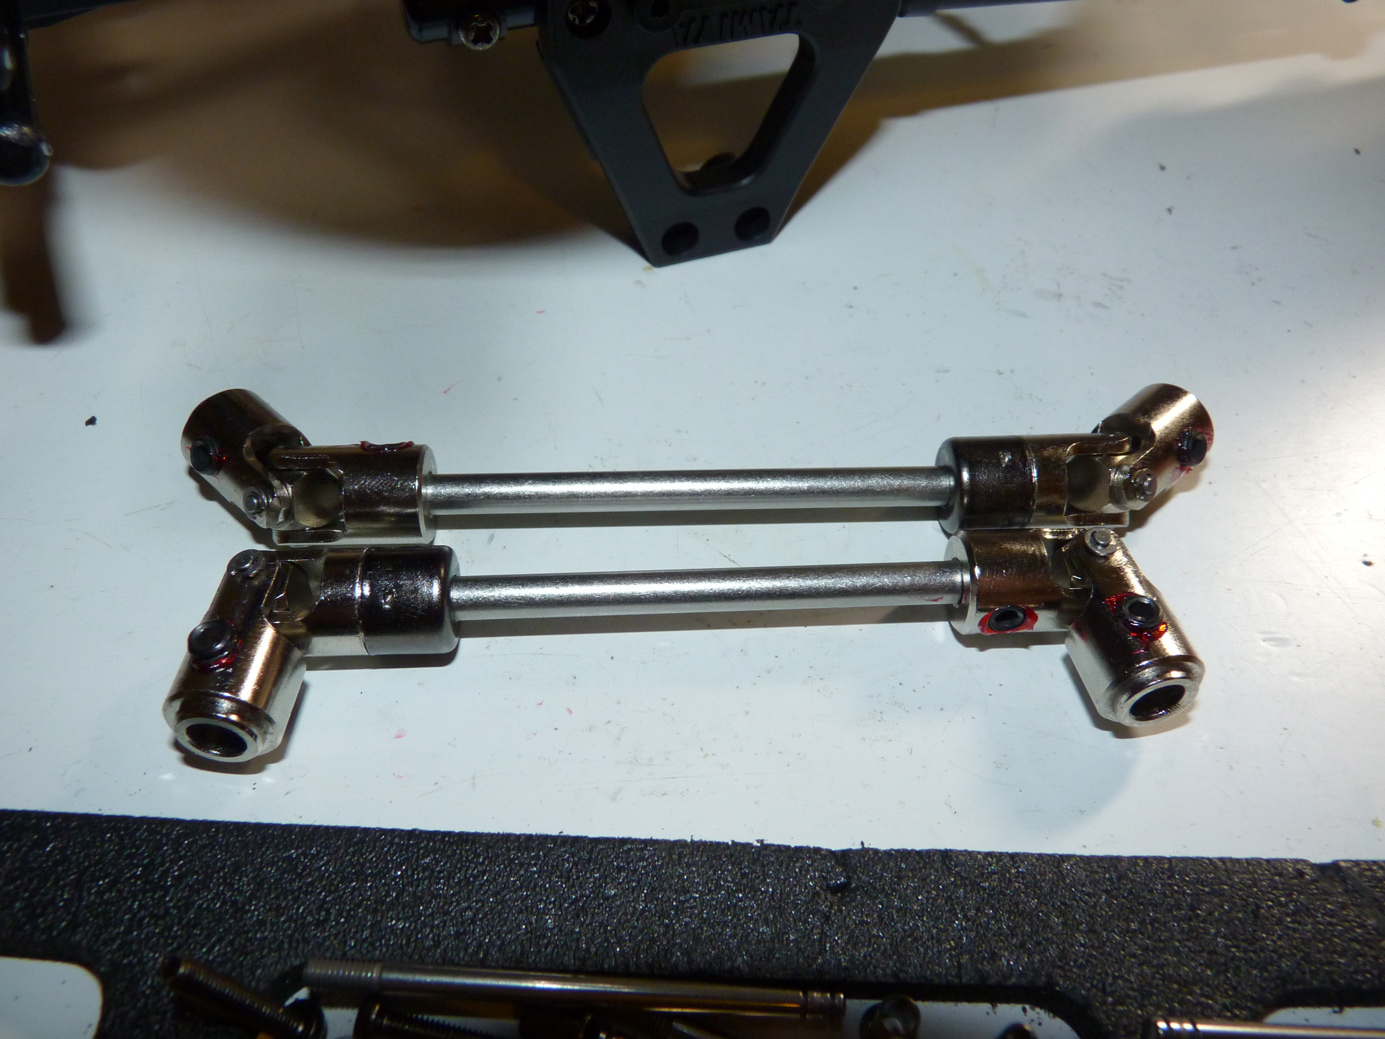
I then assembled the drive shafts.
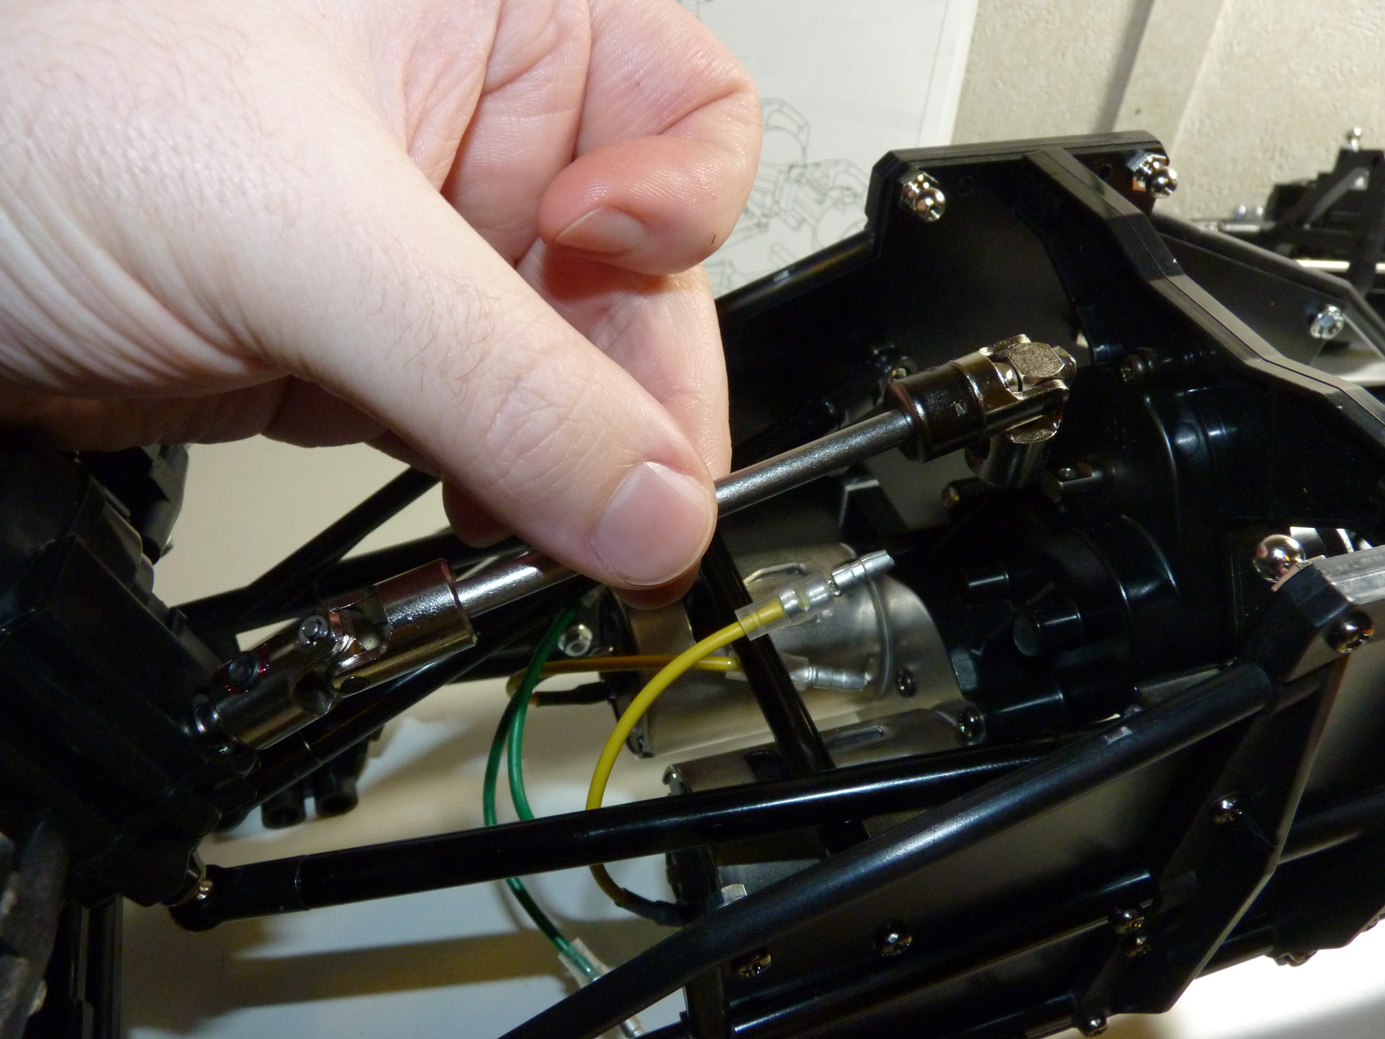
Install the front one.
Then we can attach the lower 4 links.
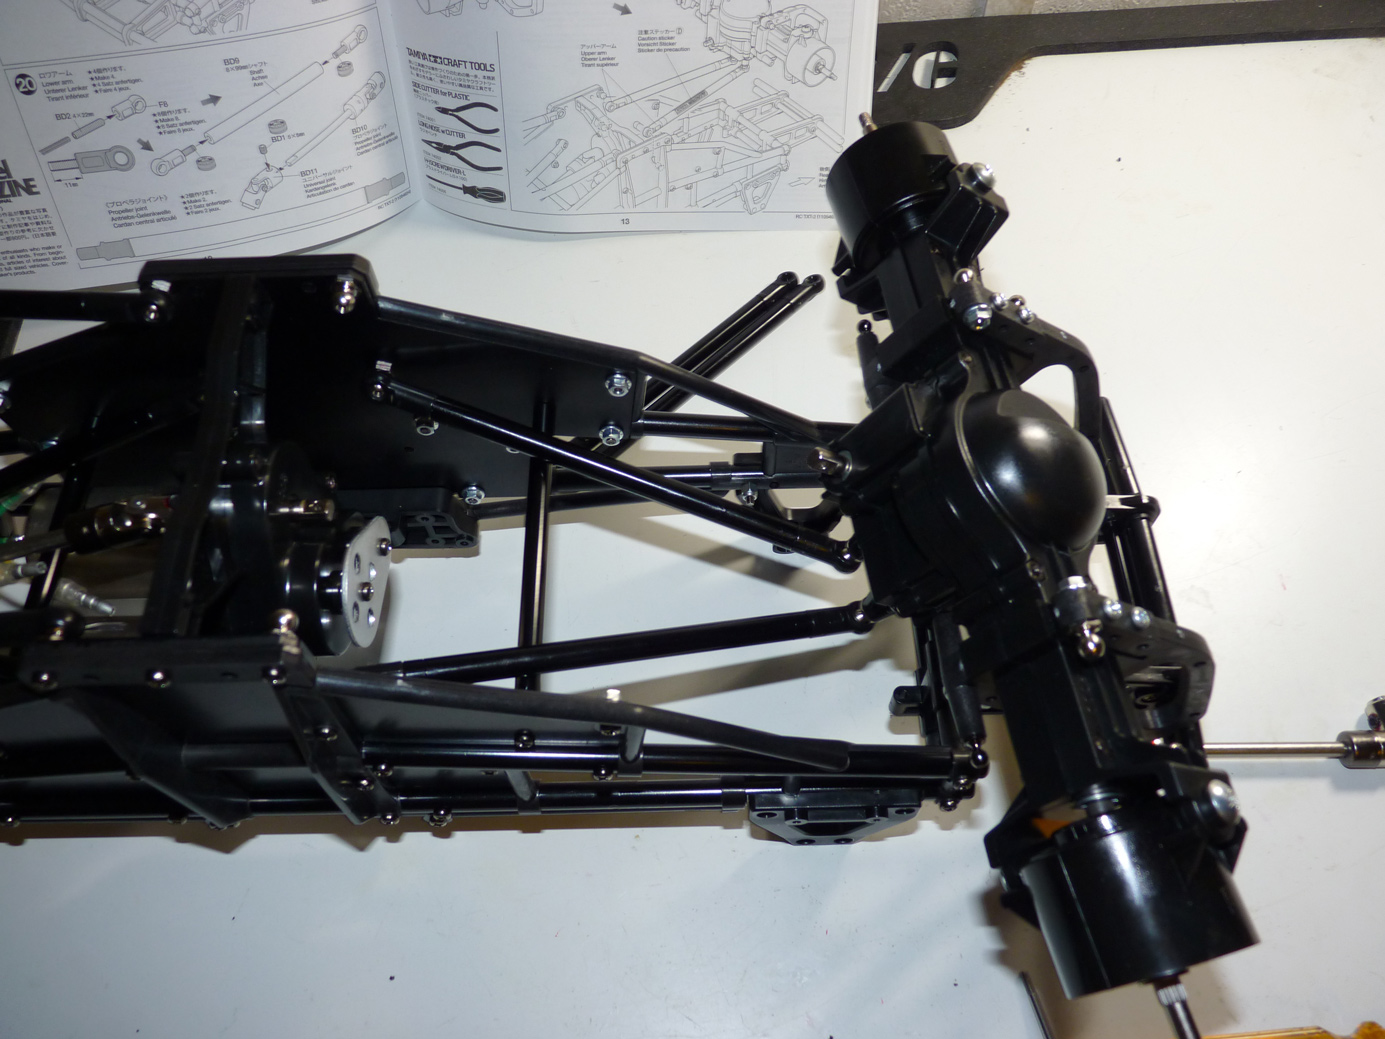
We repeat the process for the rear axle.
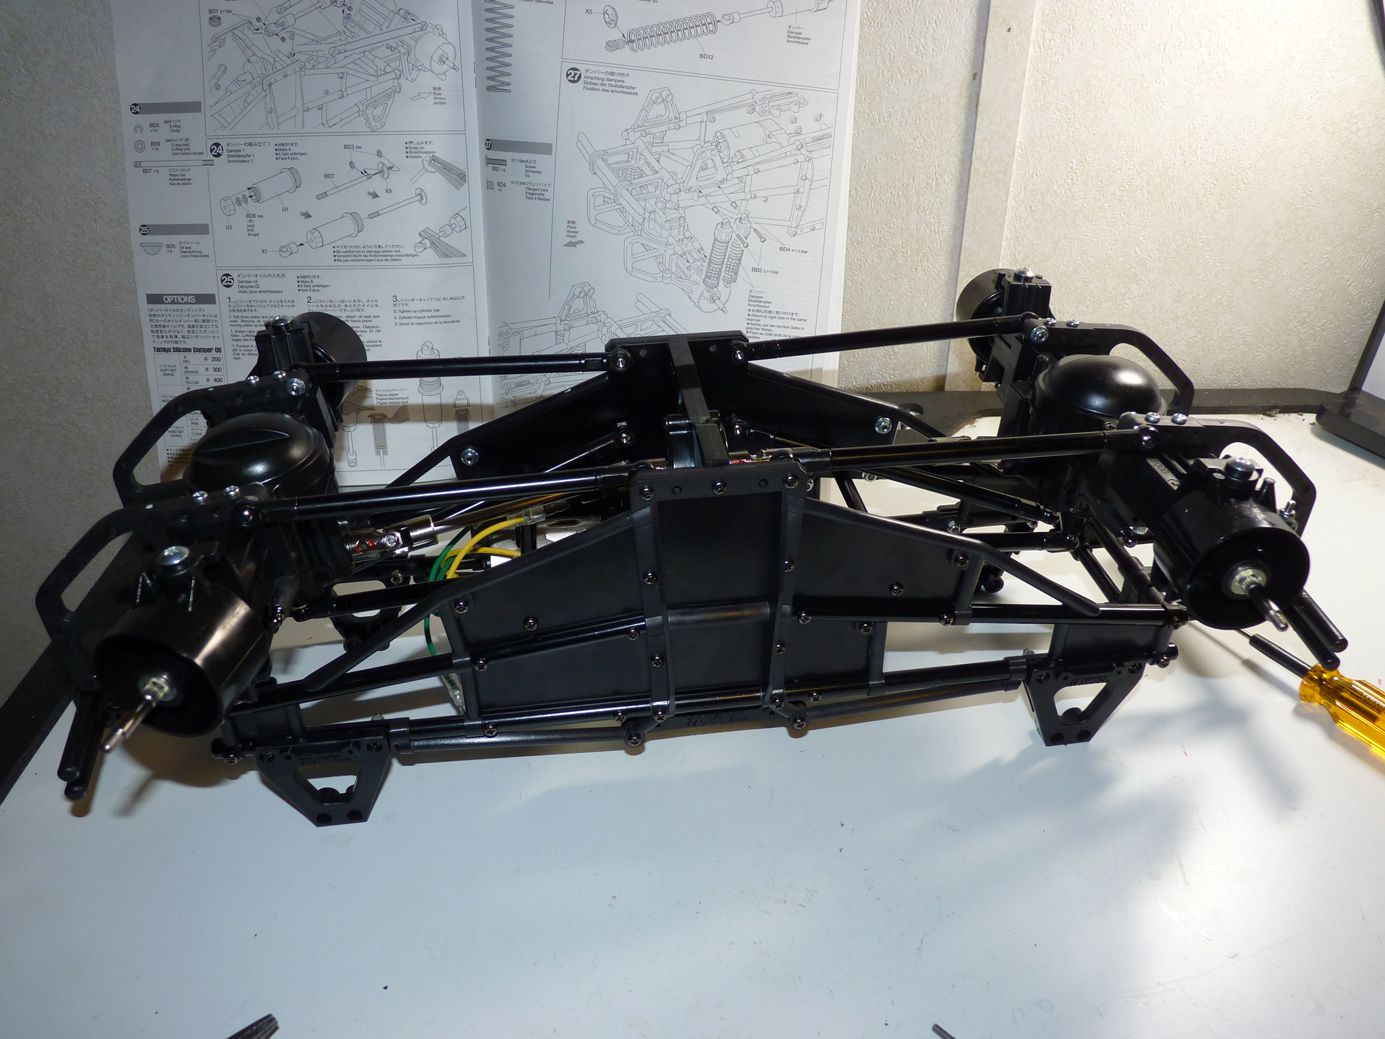
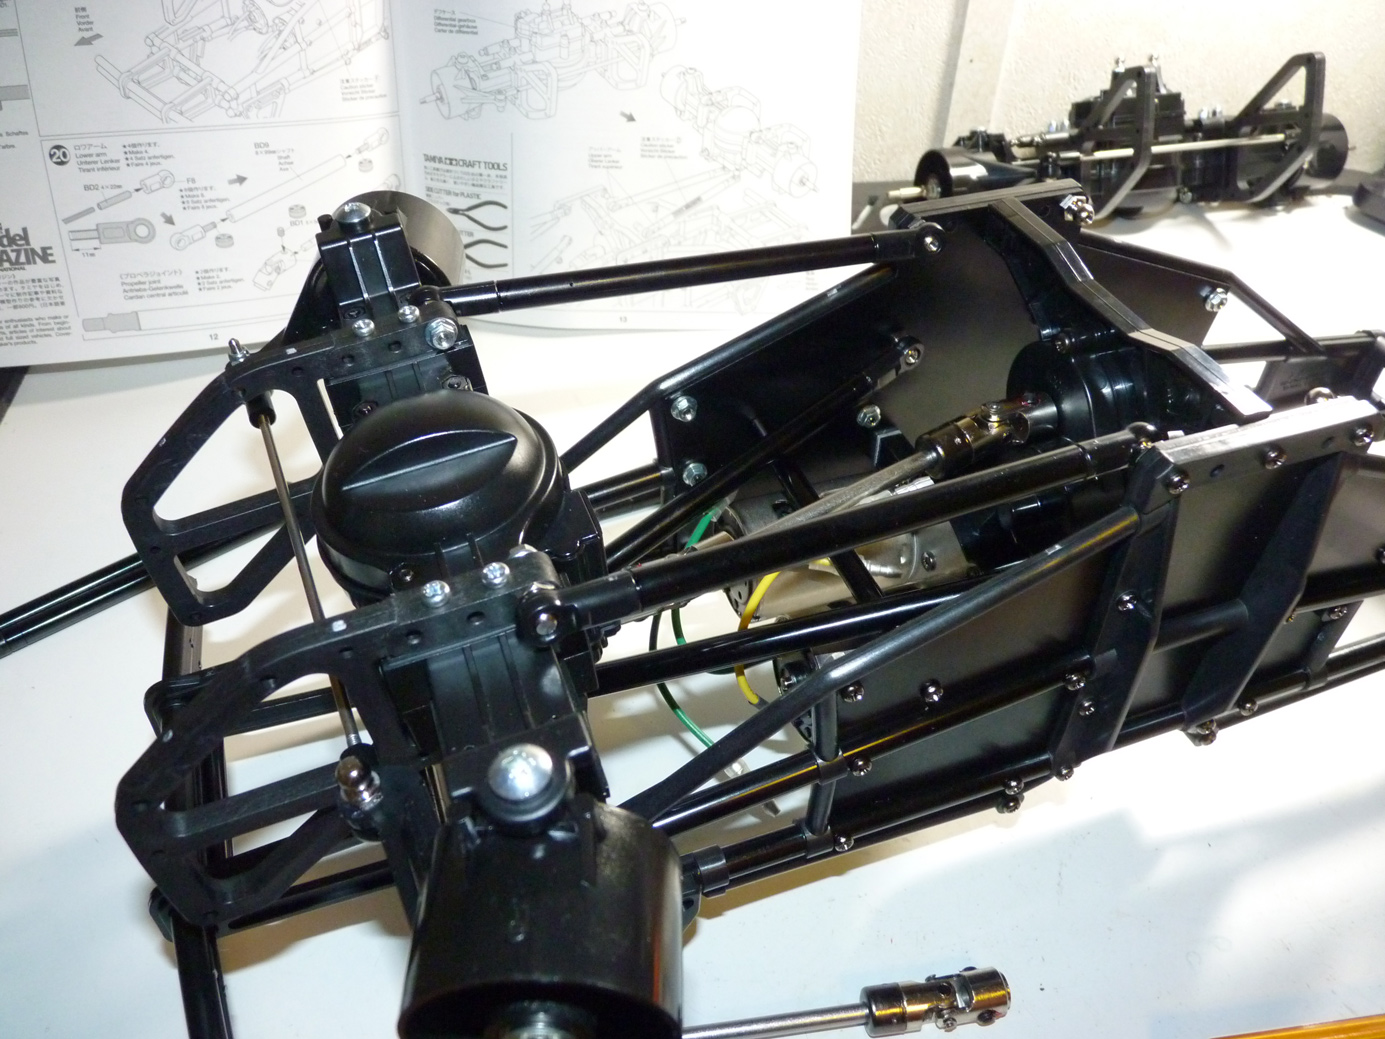
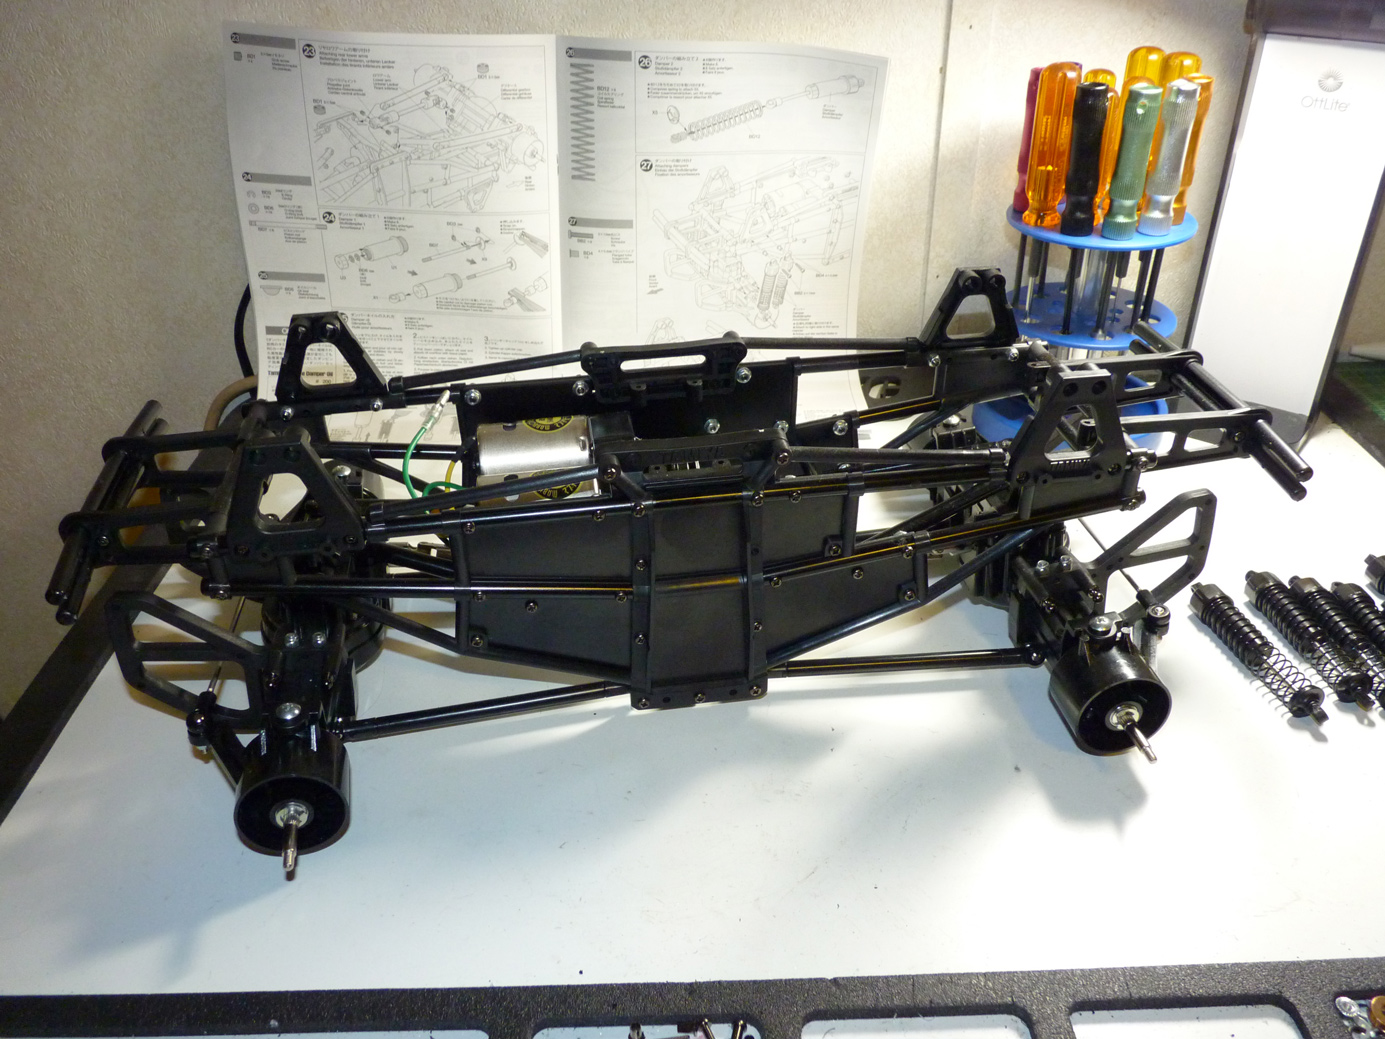
Now our axles are links up to the chassis and we have a complete drive train!
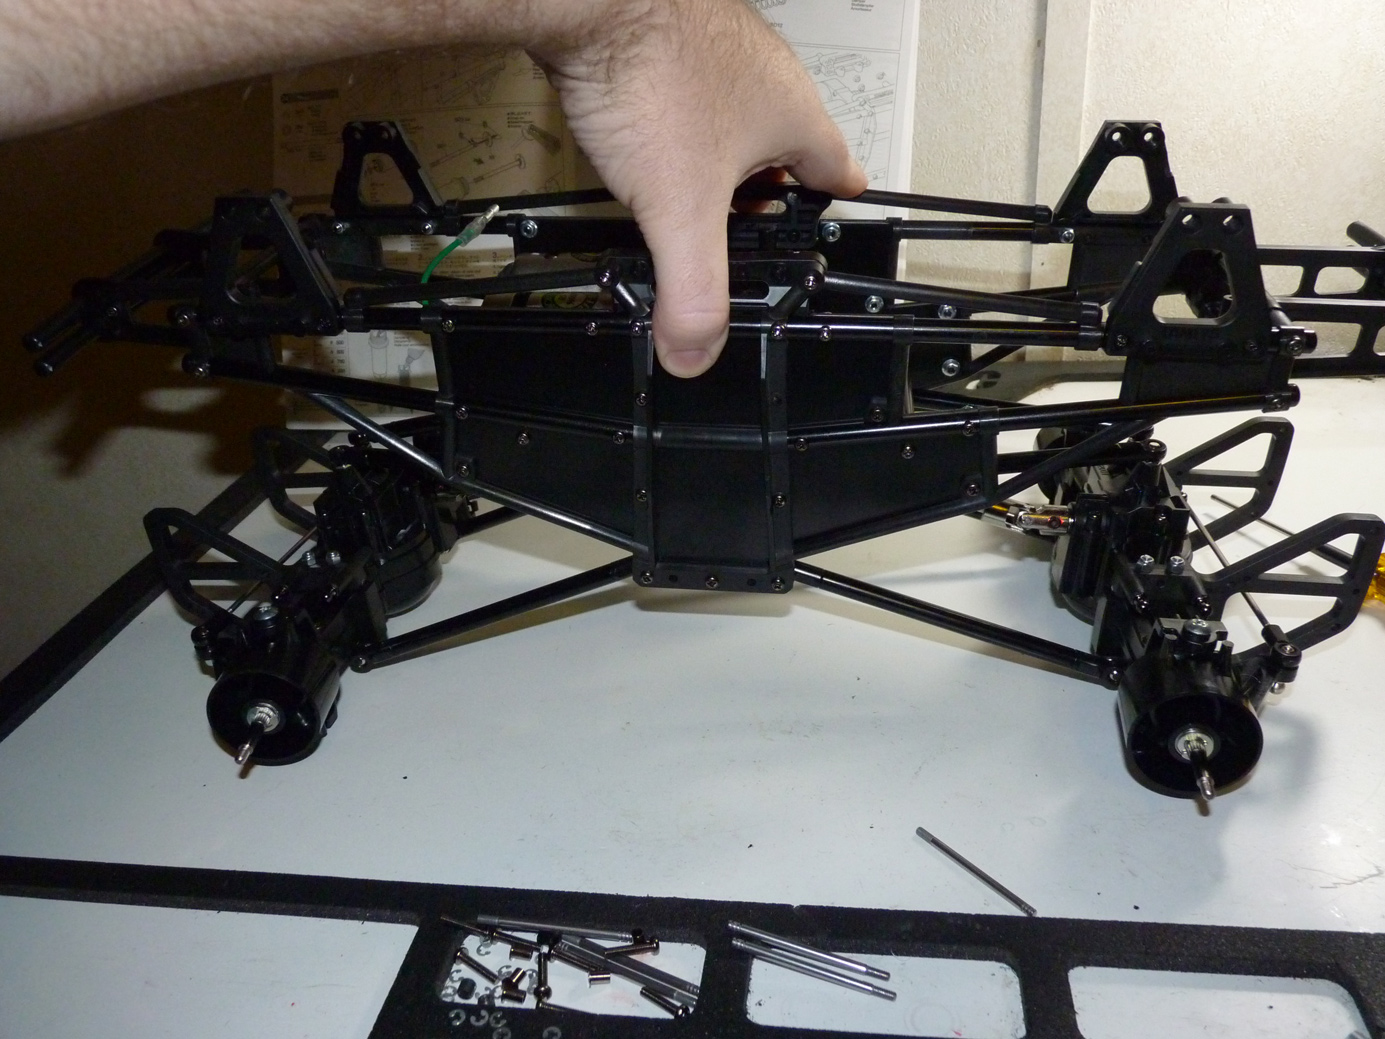
It’s an almost-roller! Check out that droop!
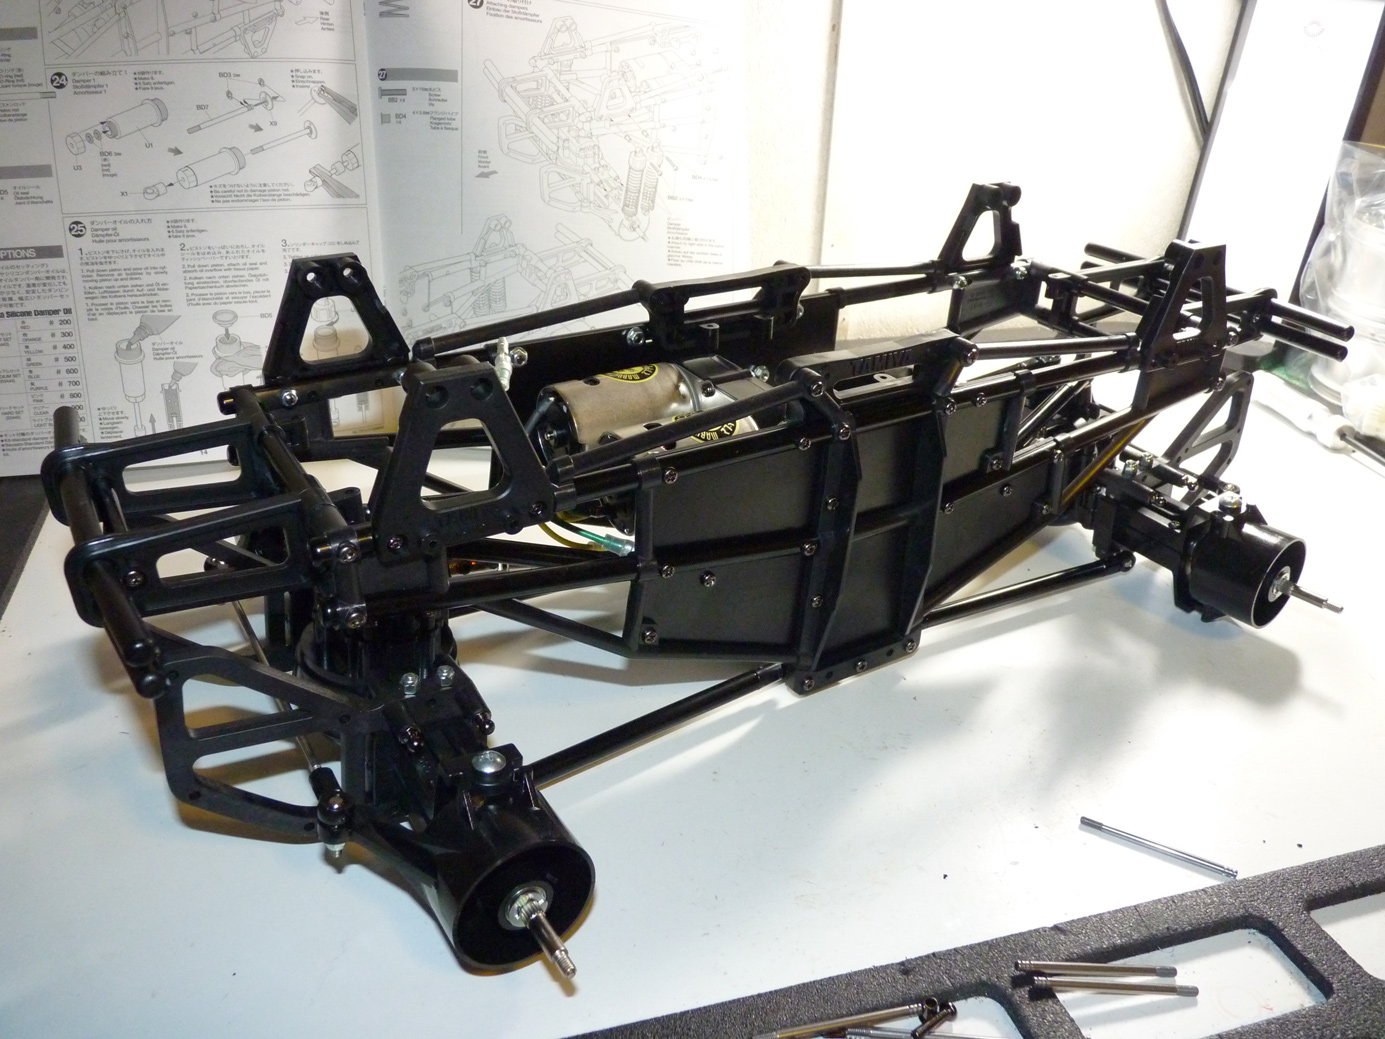 Looking like a truck finally.
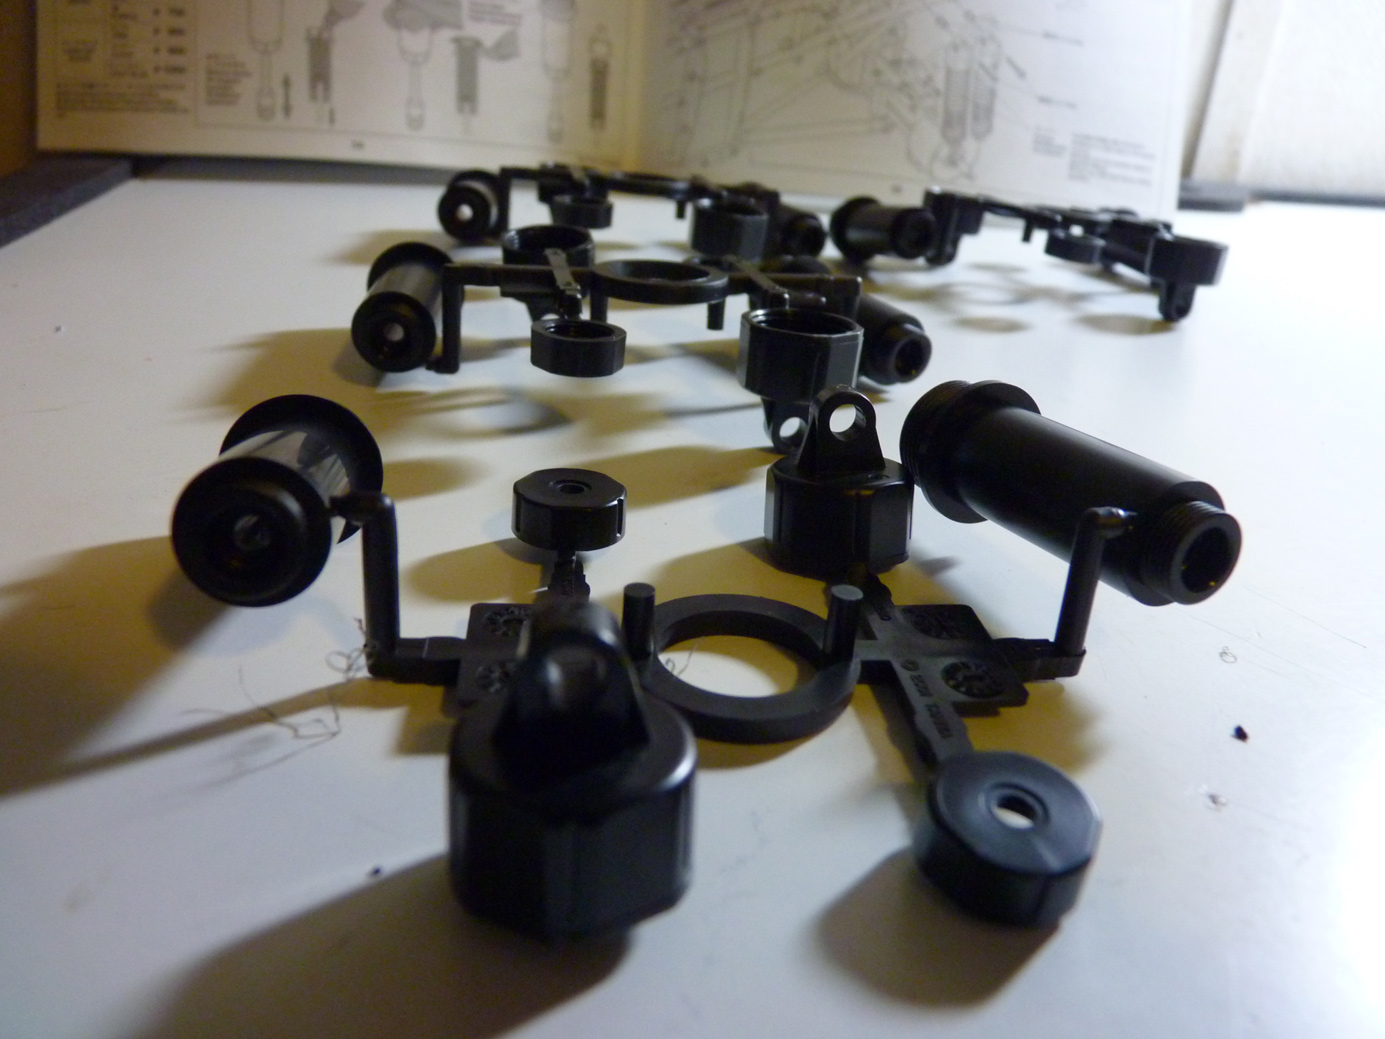
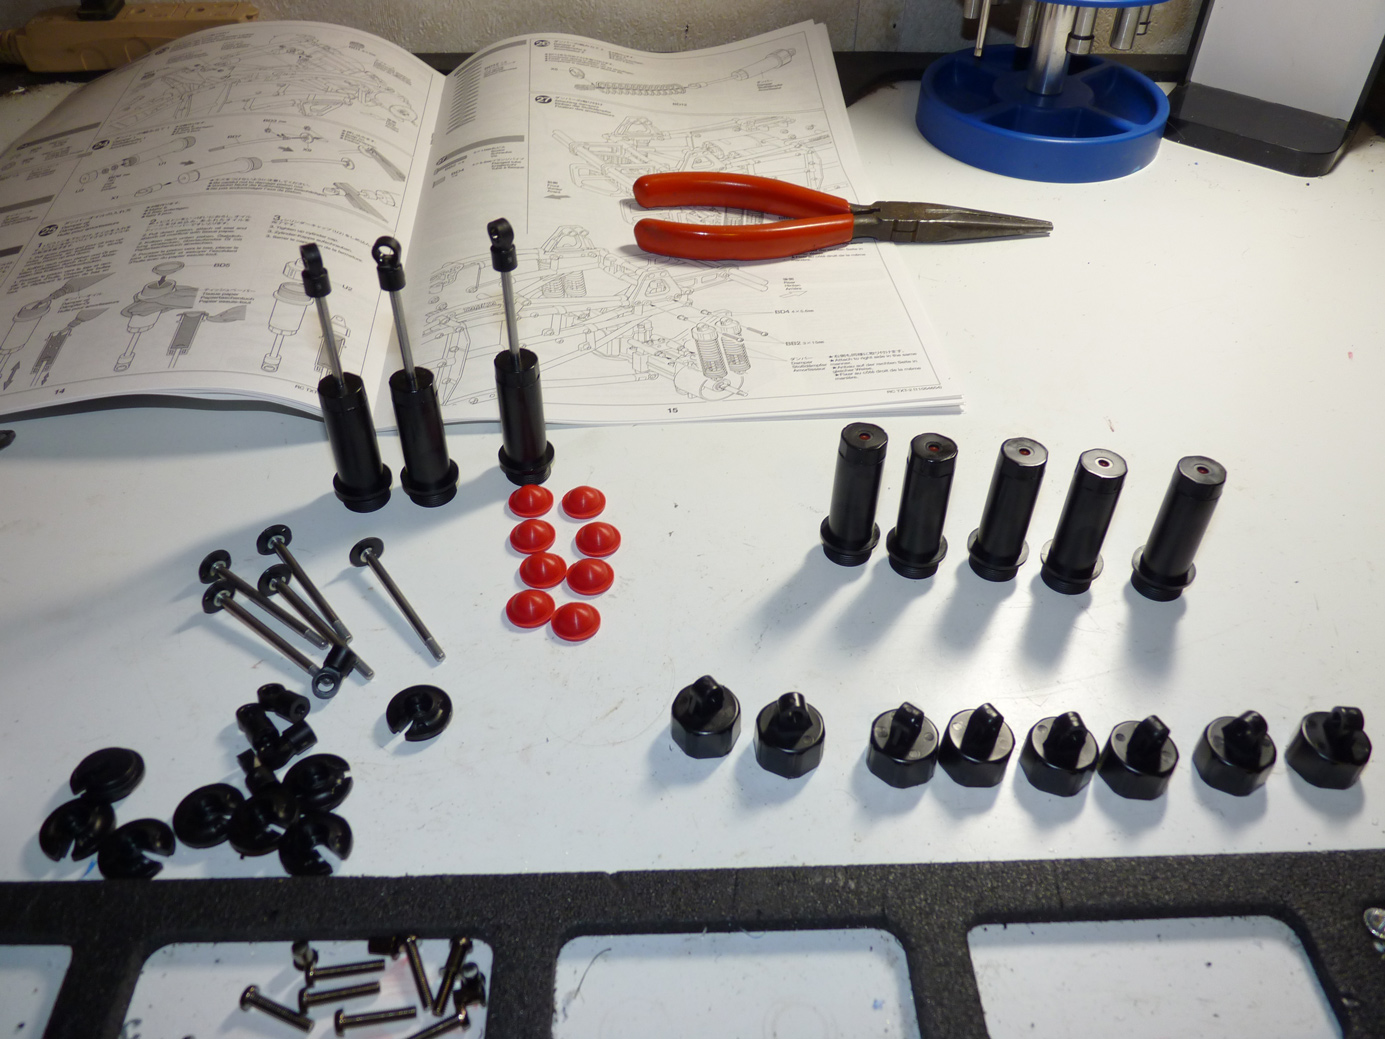
Next up is the shock assembly. The TXT2 uses 8 oil filled, plastic bodied shock absorbers.
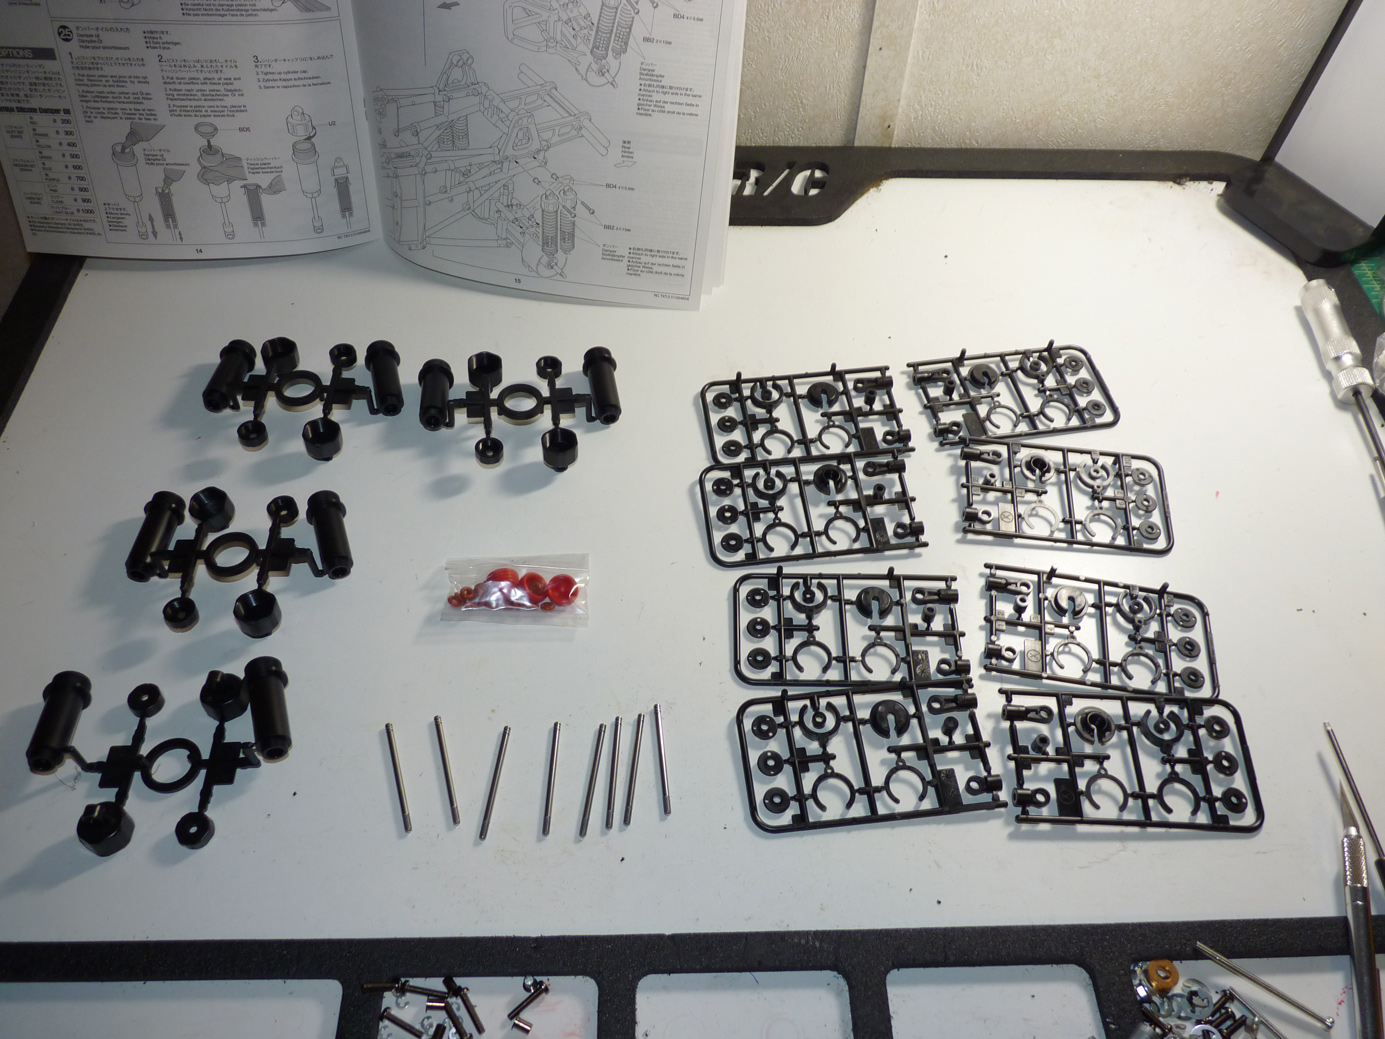
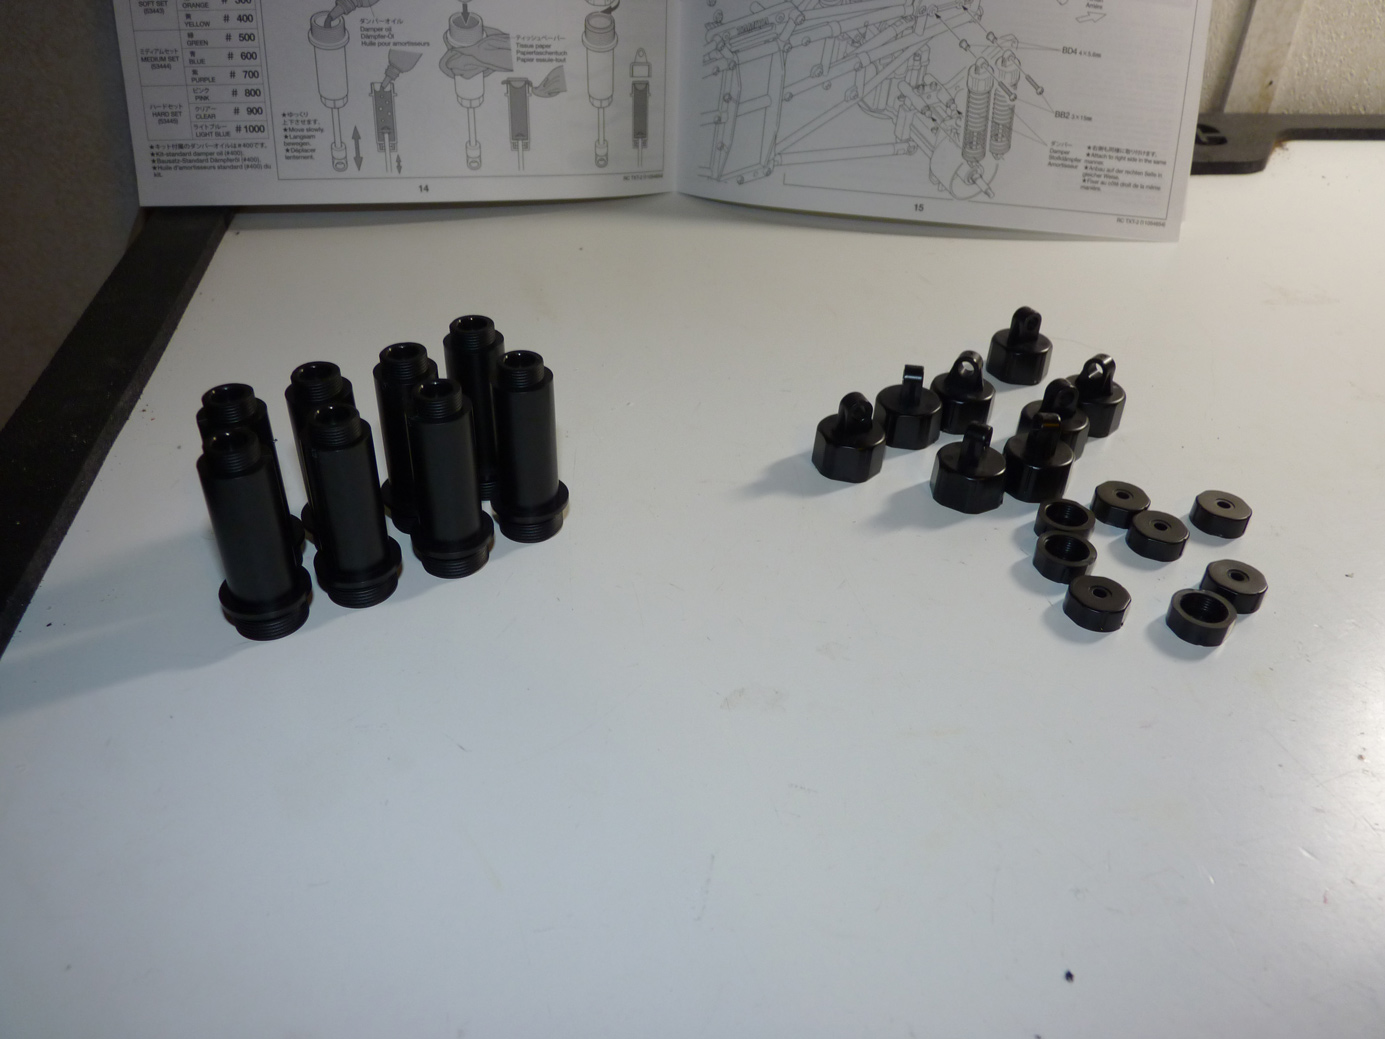
All parts laid out.
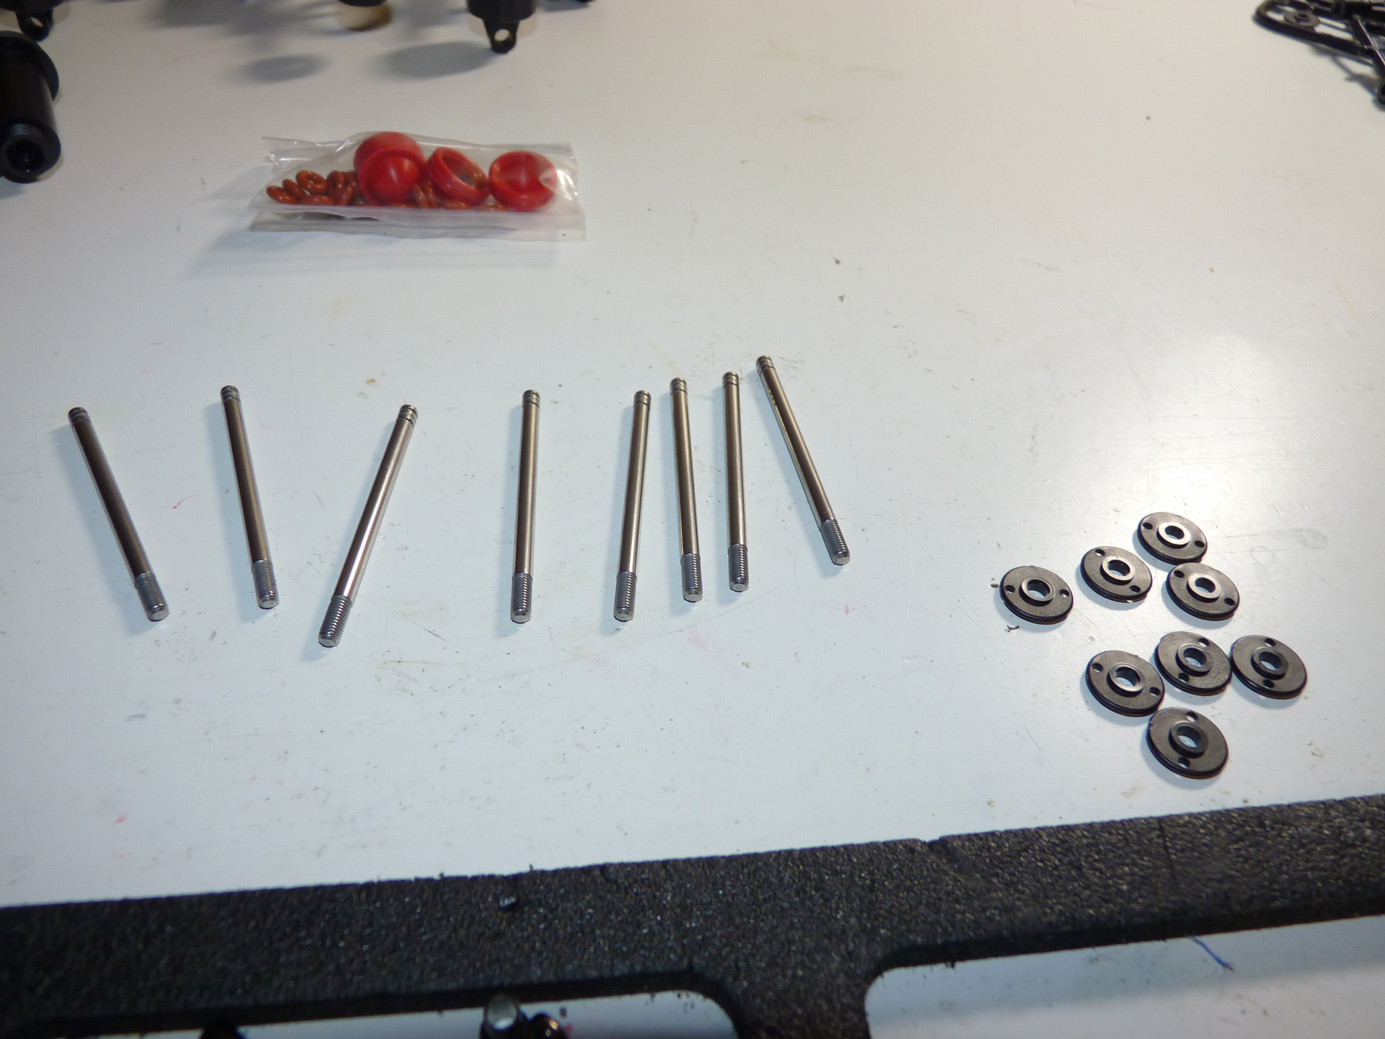
Shock shafts and pistons are the first step.
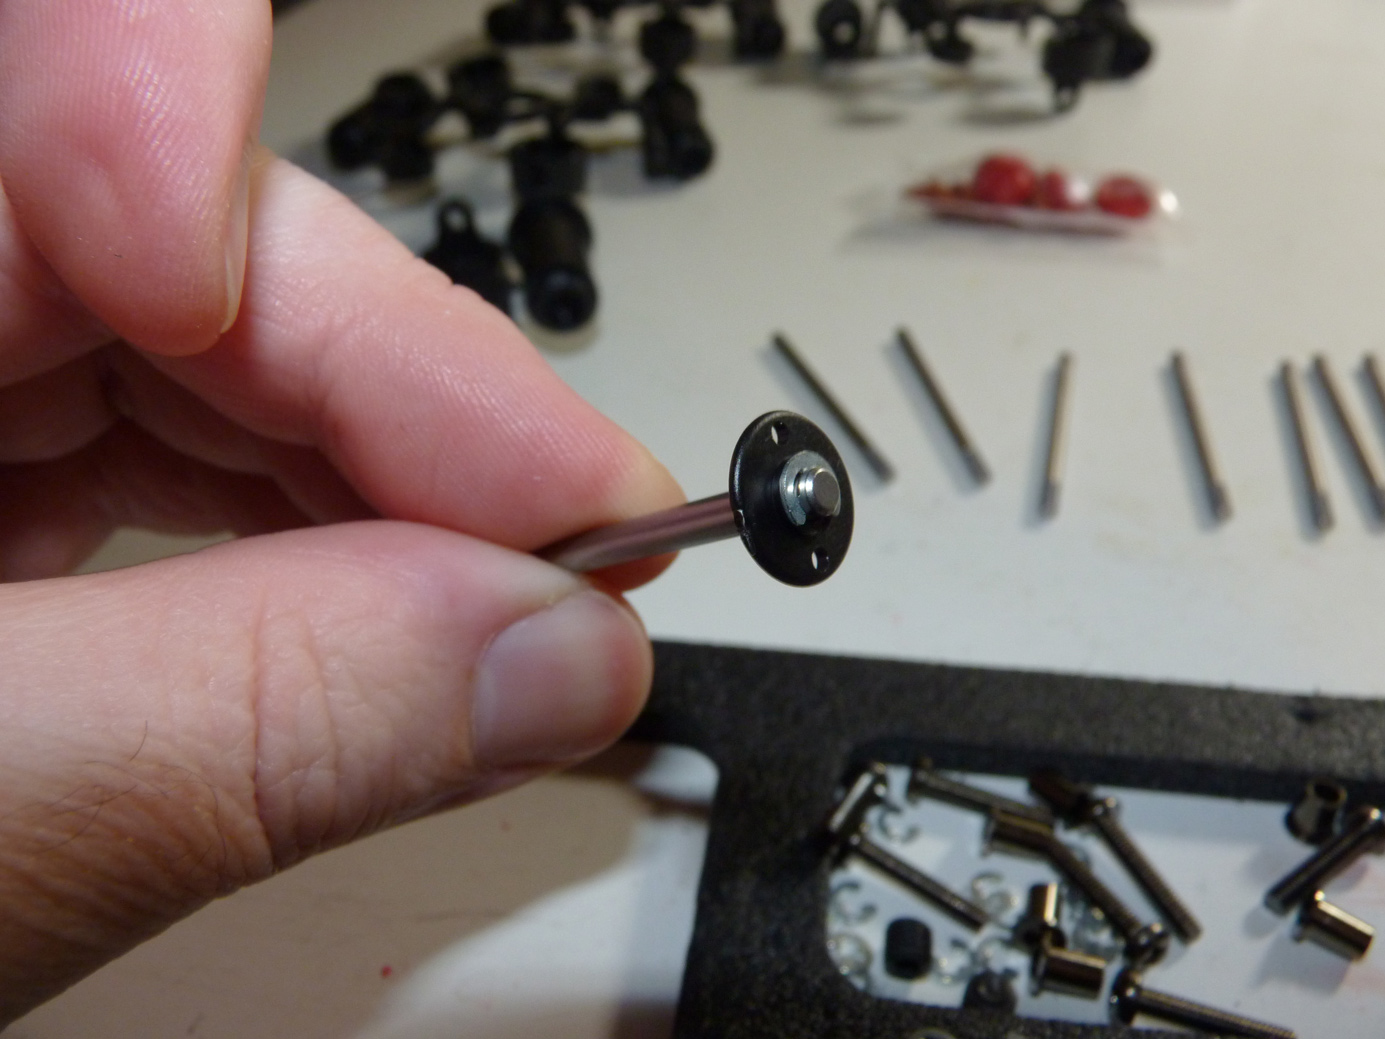
We’re going to use the included 2 hole pistons. Be sure to de-burr them. They are secured to the shock shaft with an upper and lower E-clip.
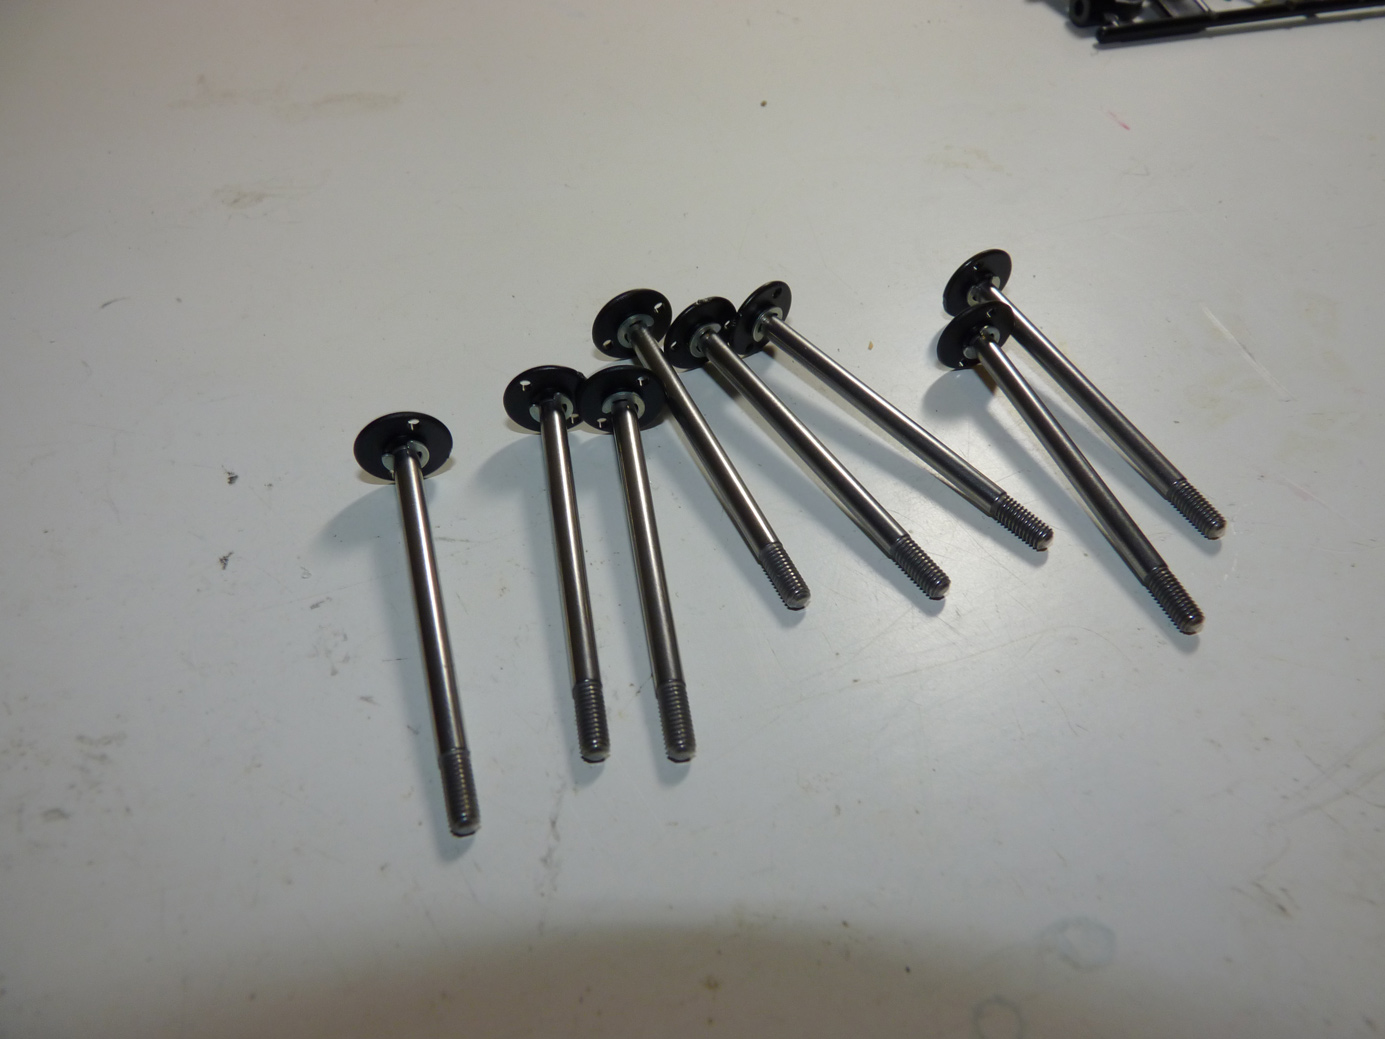
Make 8 of them.
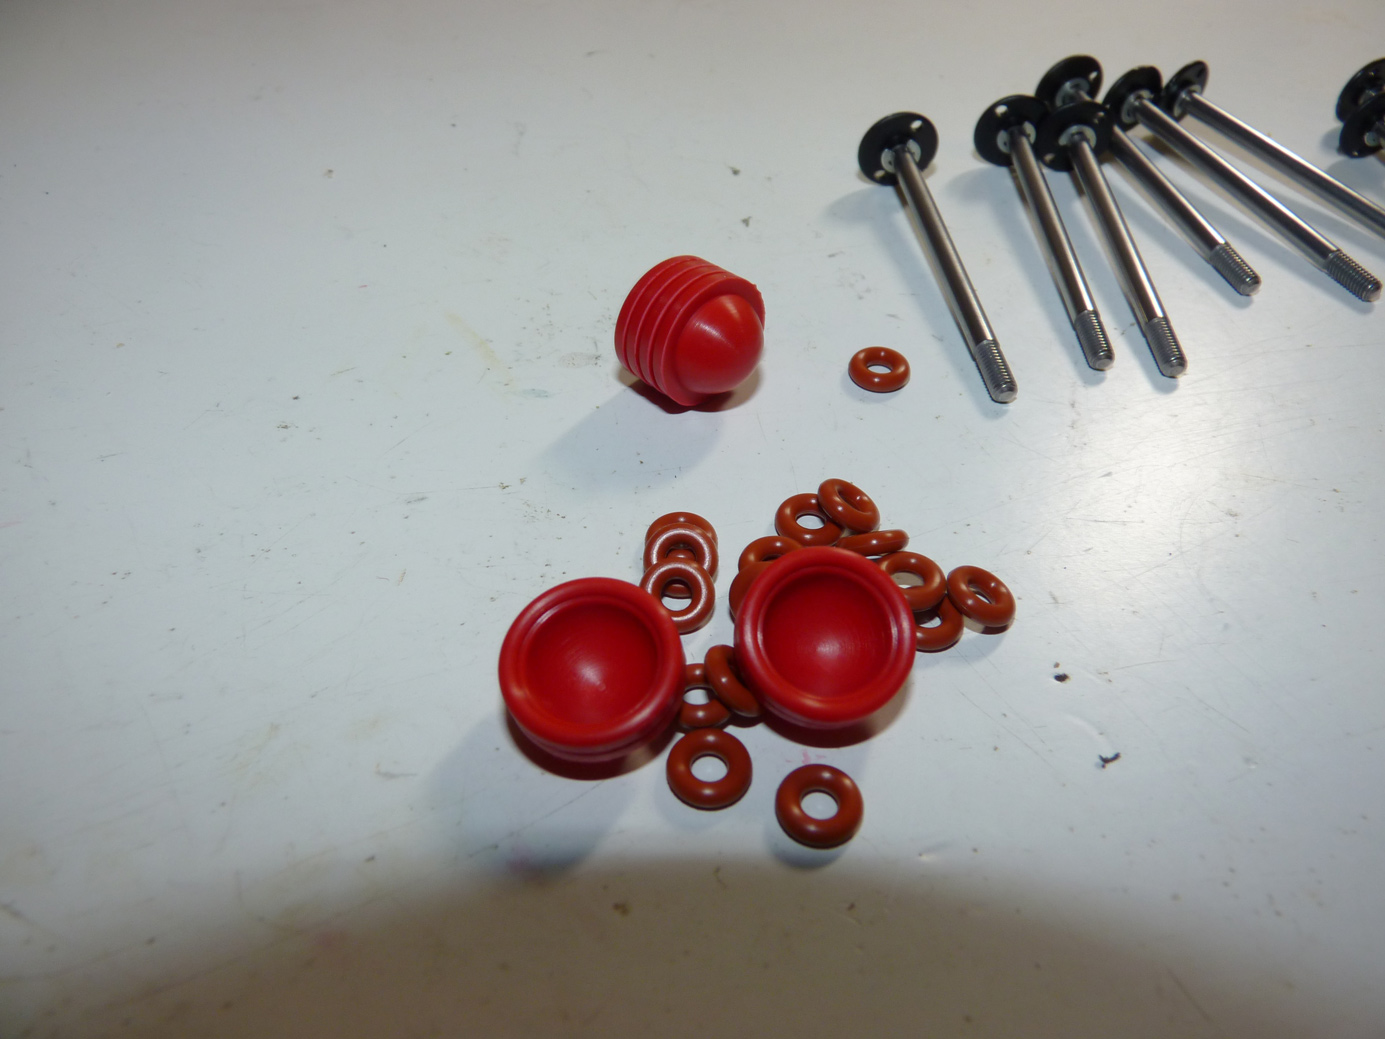
The rubber internals!
First we must remove all of the shock components from their part trees.
W00t.

Okay, now it’s time to get serious. It’s shock building time!
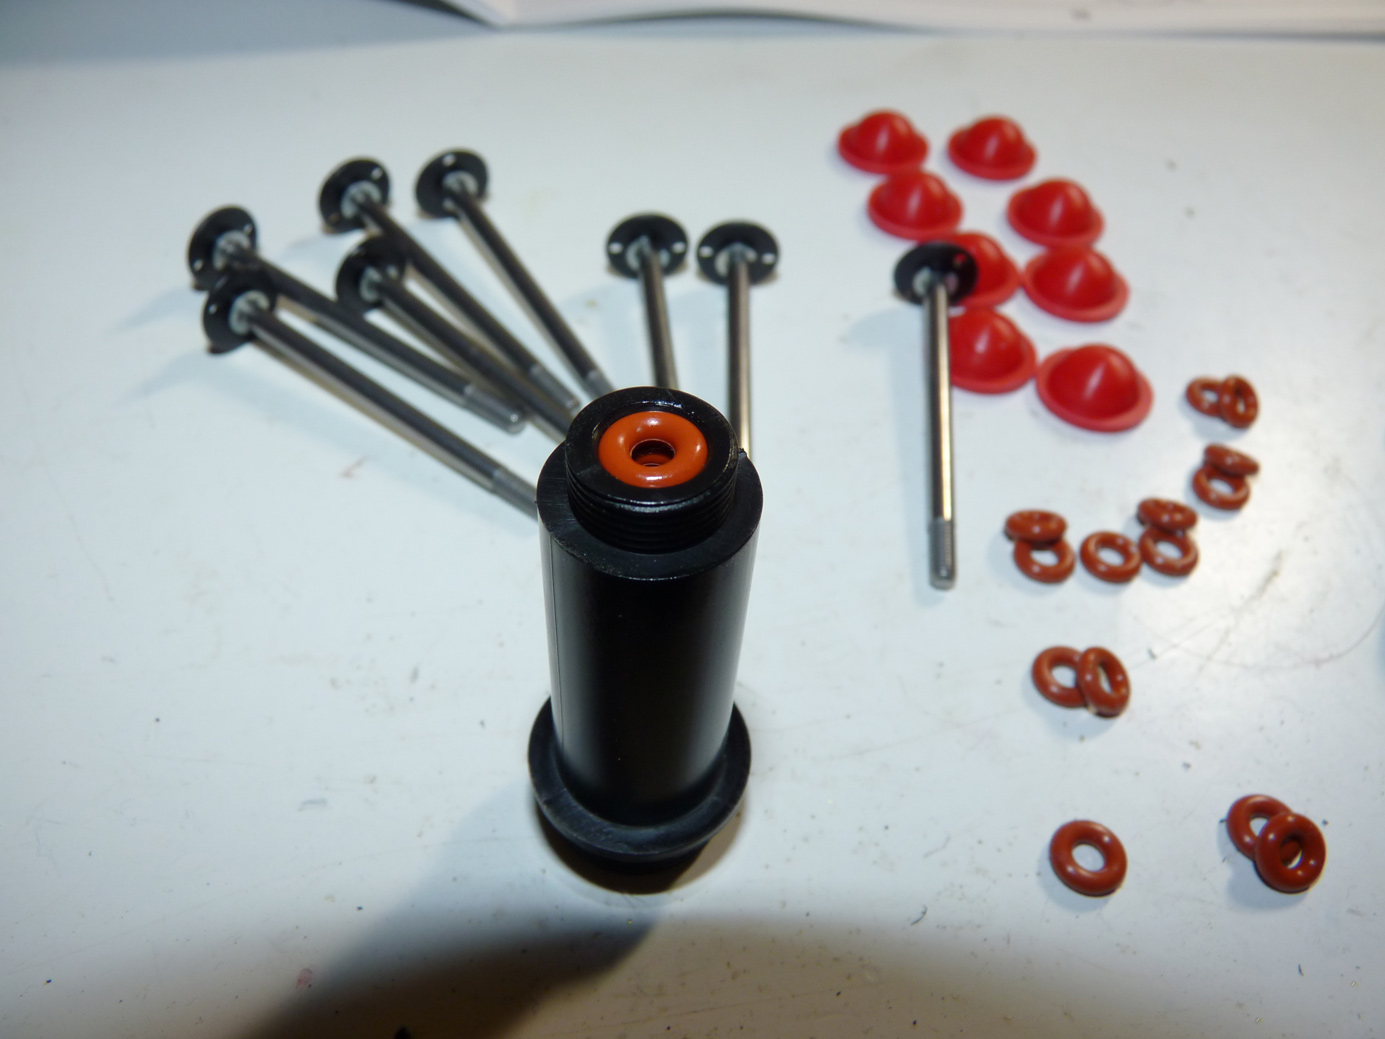
We install 2 o-rings into the lower body of the shock. Be sure they are clean. A little shock oil on your fingers when installing will help lube them up and clean them off, ensuring a smooth seal on the shock shaft.
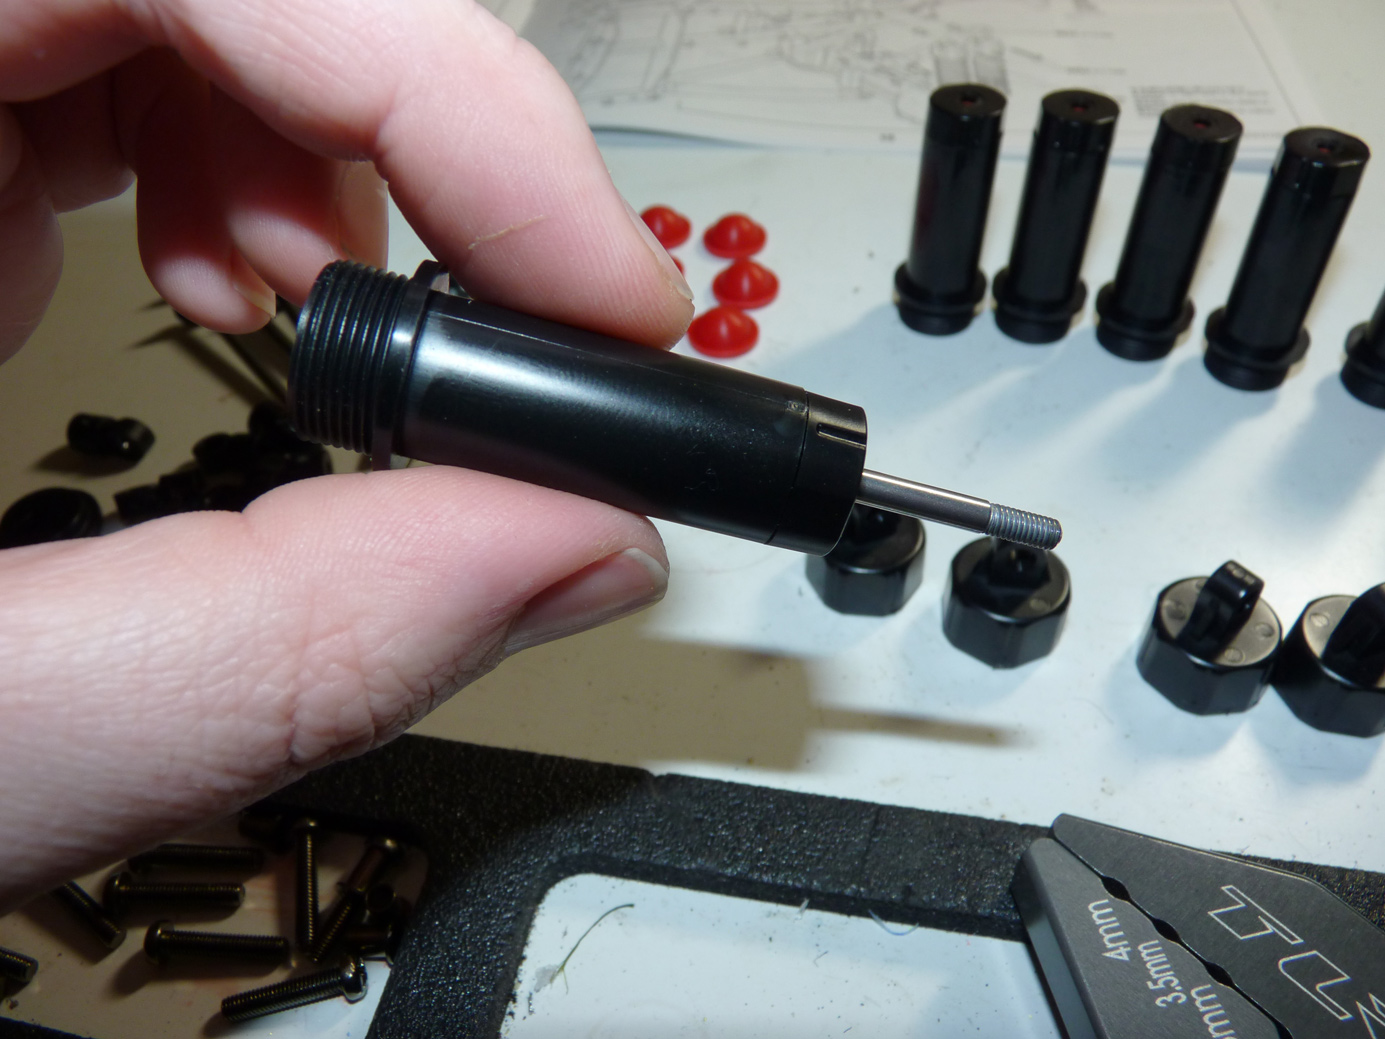
Next we gently insert the shaft into the shock bodies. A dab of oil on the threads of the shaft will help prevent them from tearing an o-ring as they slide thru the lower body.
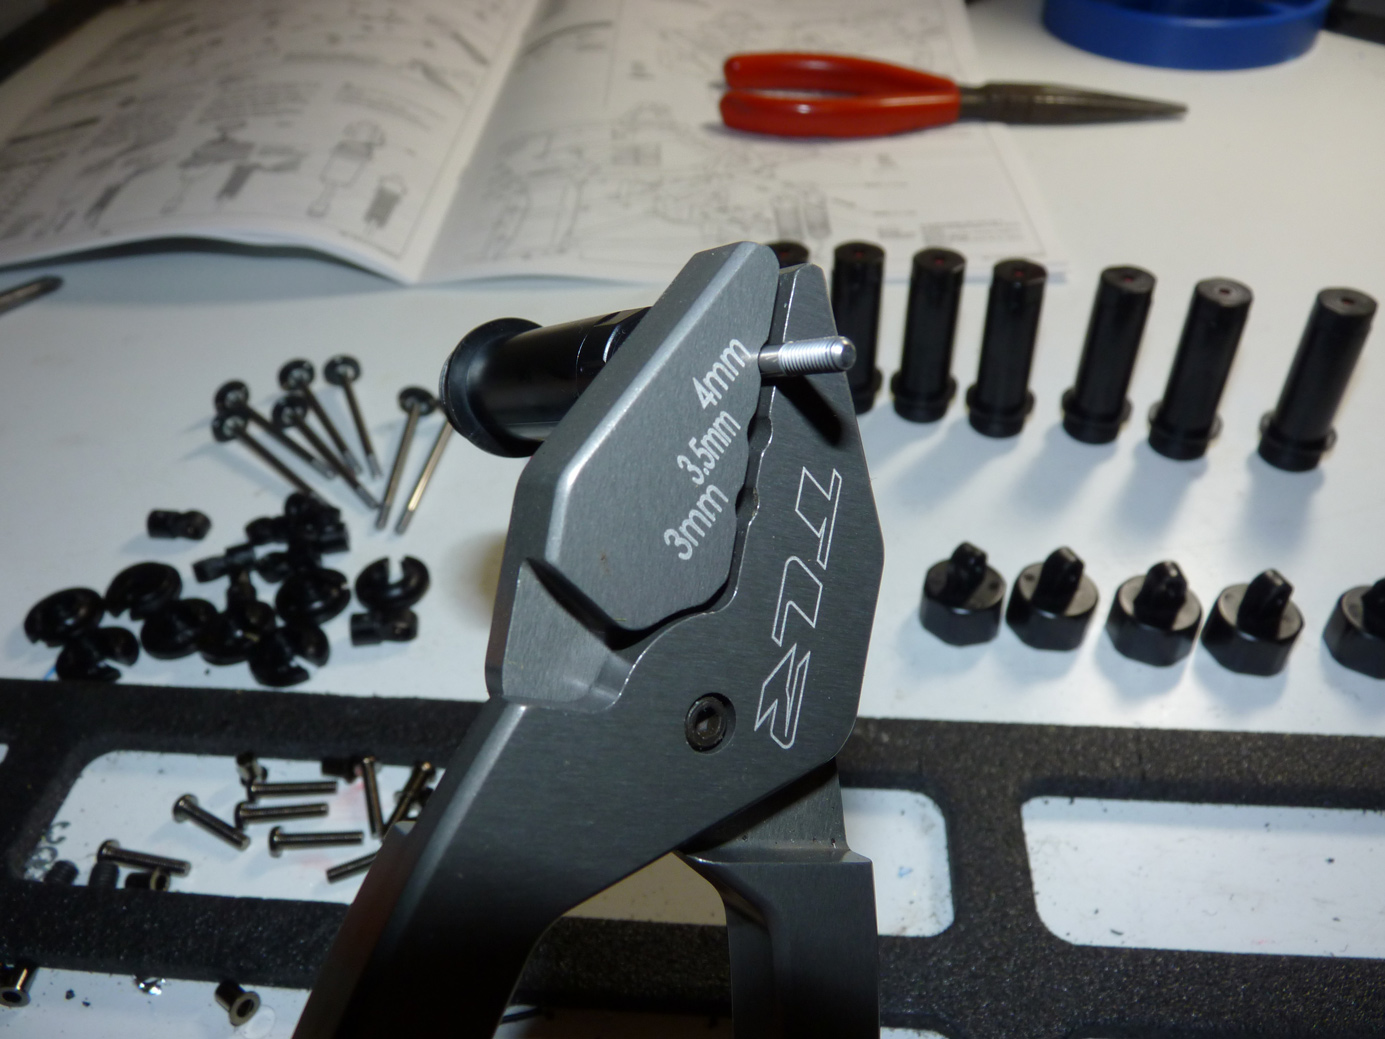
Next I used my TLR shock pliers to hold the shaft while installing the lower rod ends. This tool won’t mar the shaft like a toothed set of pliers would (which could damage o-rings).
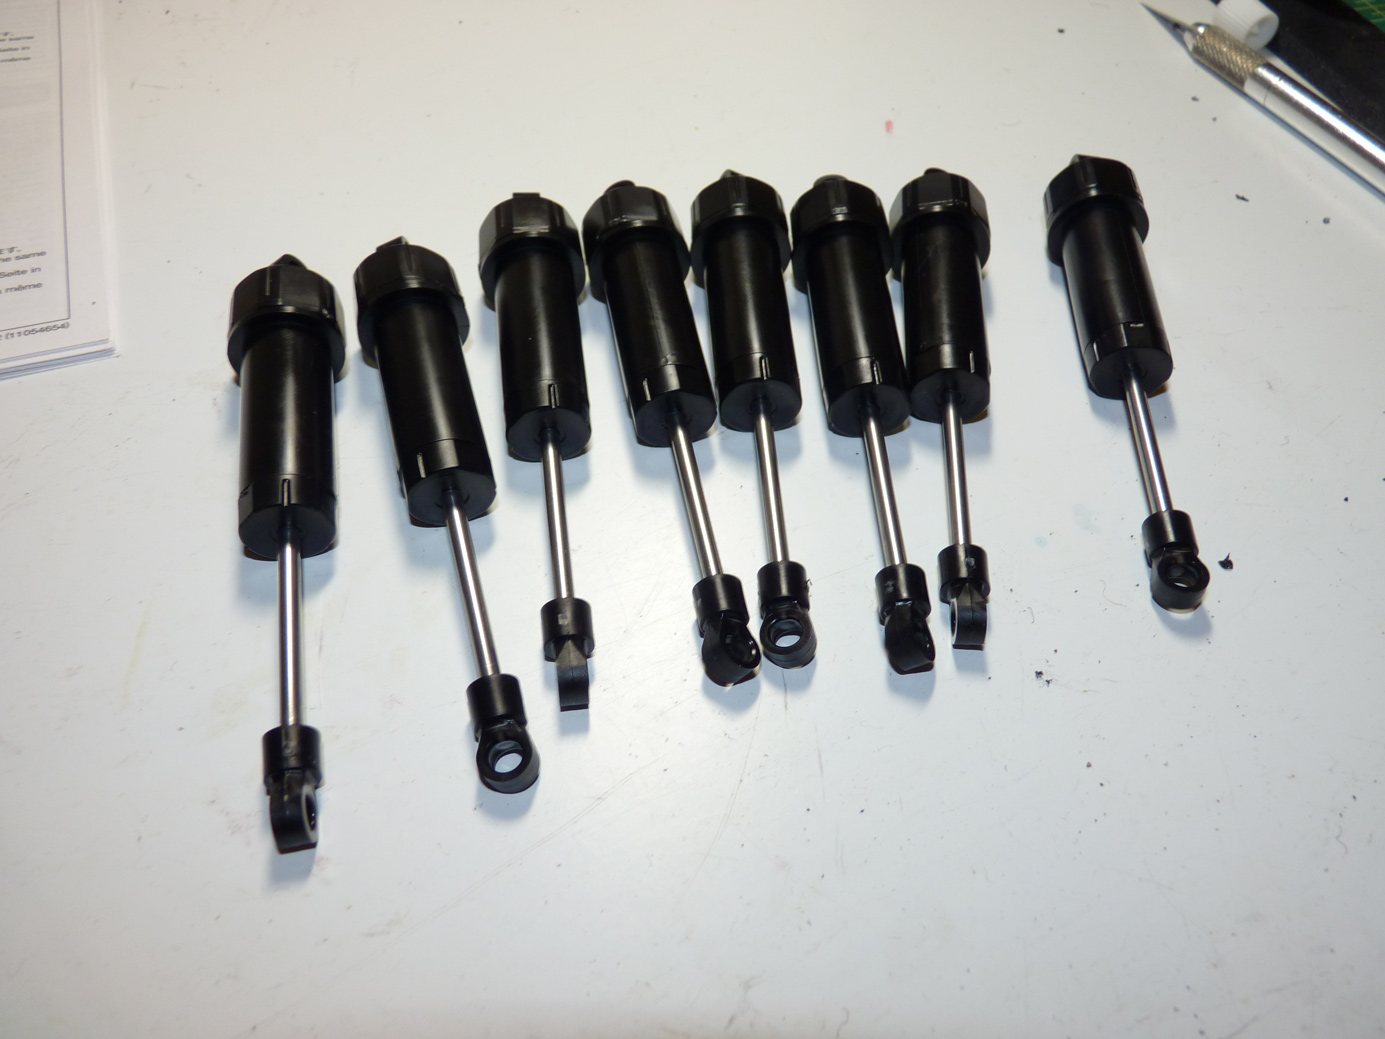
The process continues.
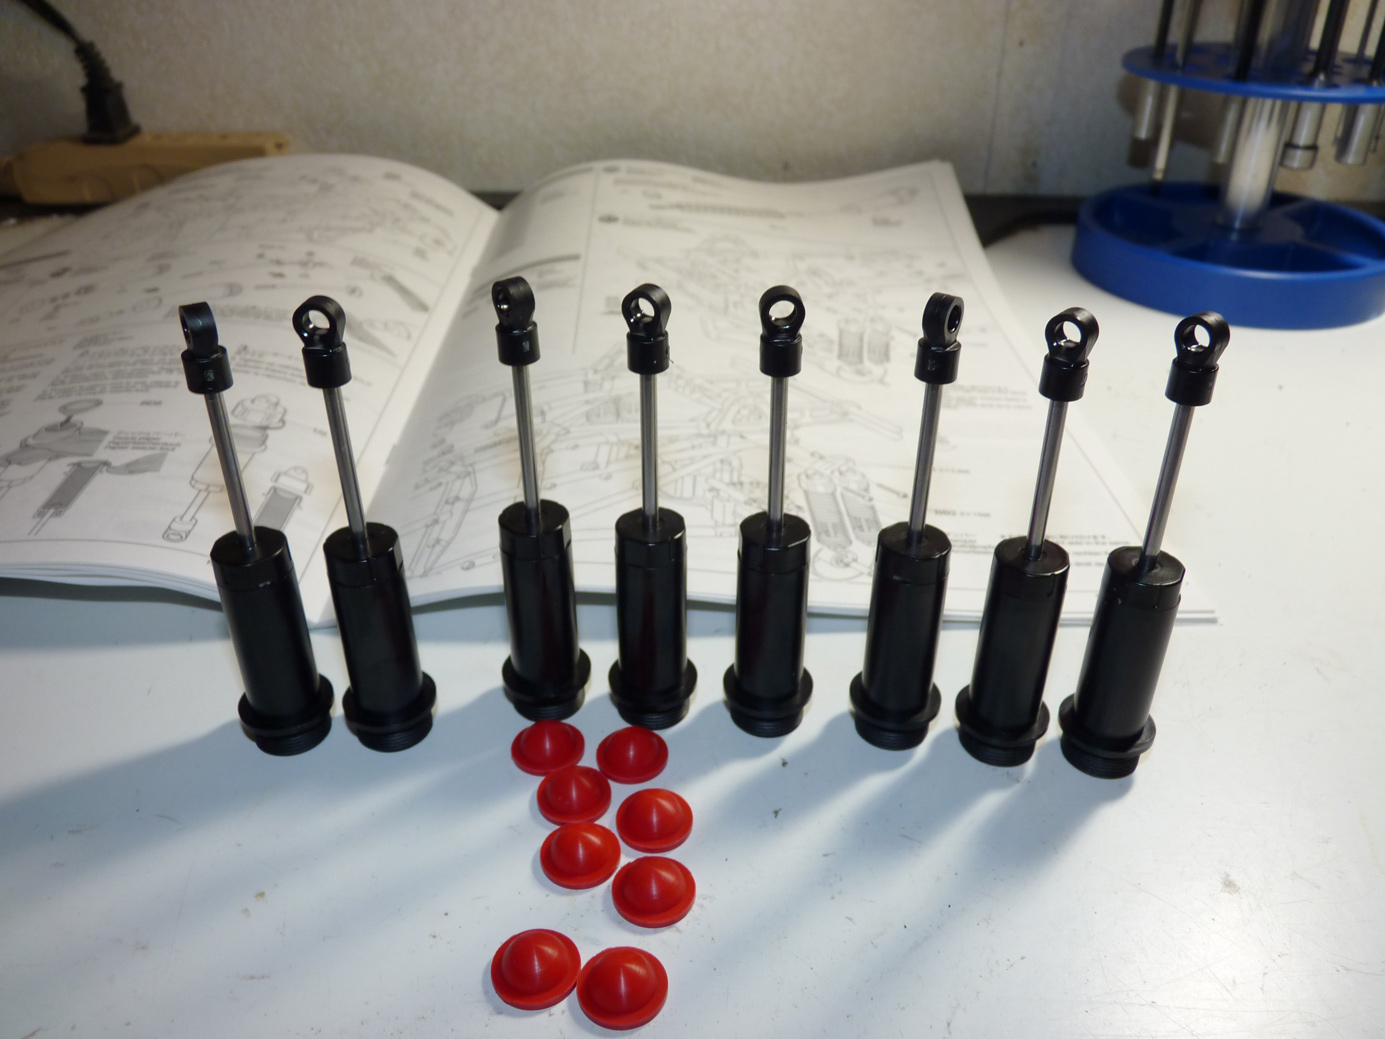
Getting there. We now have 8 shocks built and ready for oil.
We fill them up with the included yellow “soft” oil (#400), bleed them and install the bladders and caps.
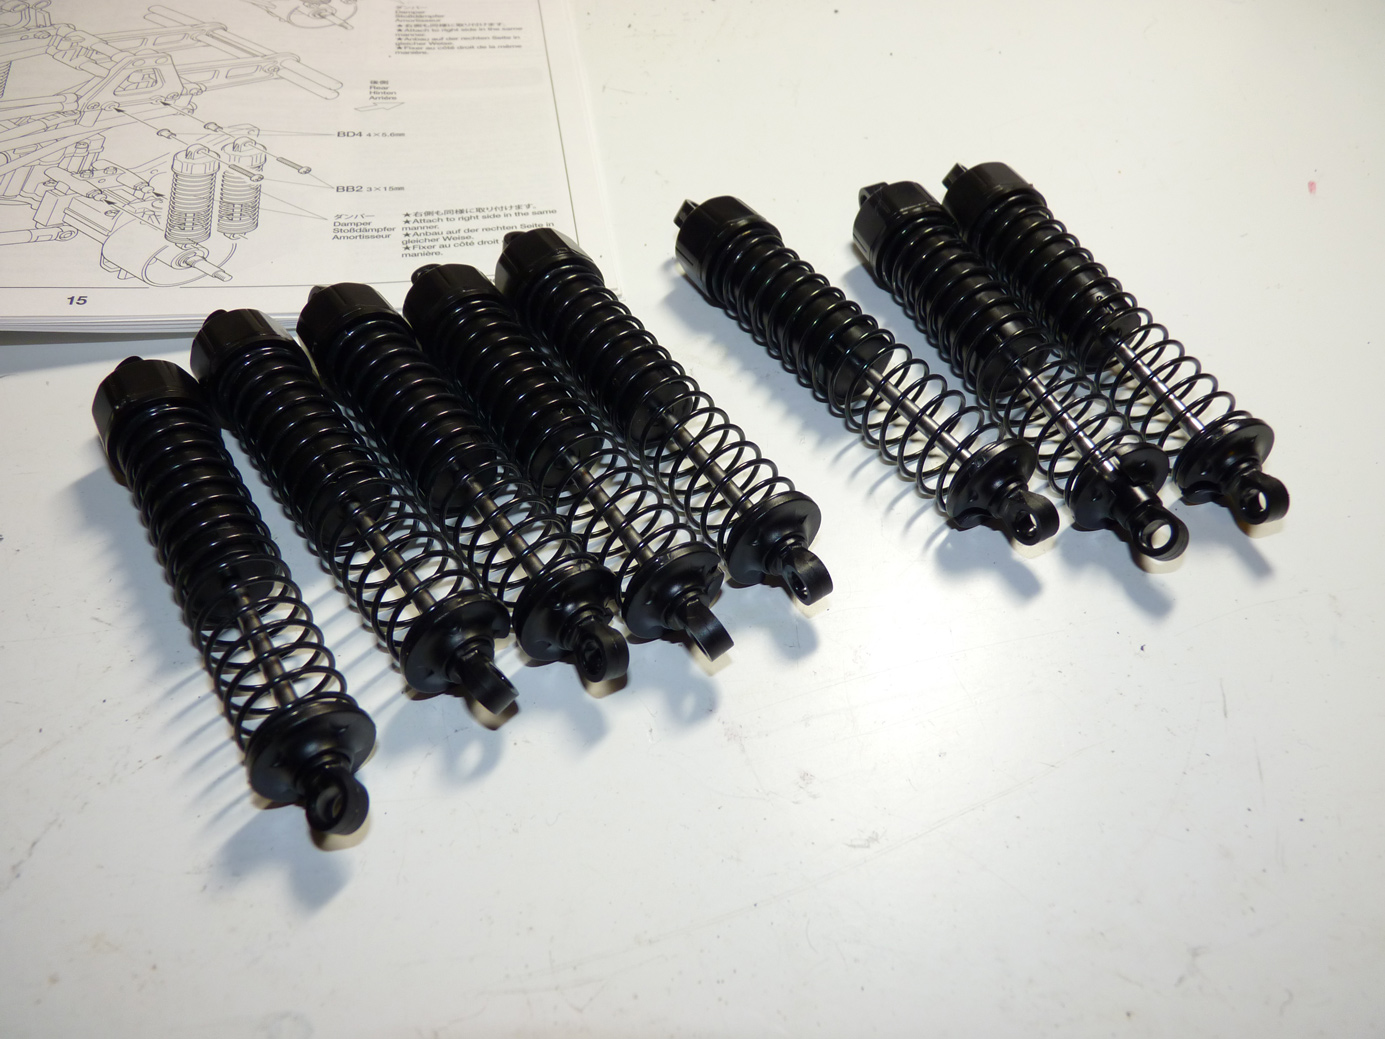
Next we install the springs and lower spring retainers.
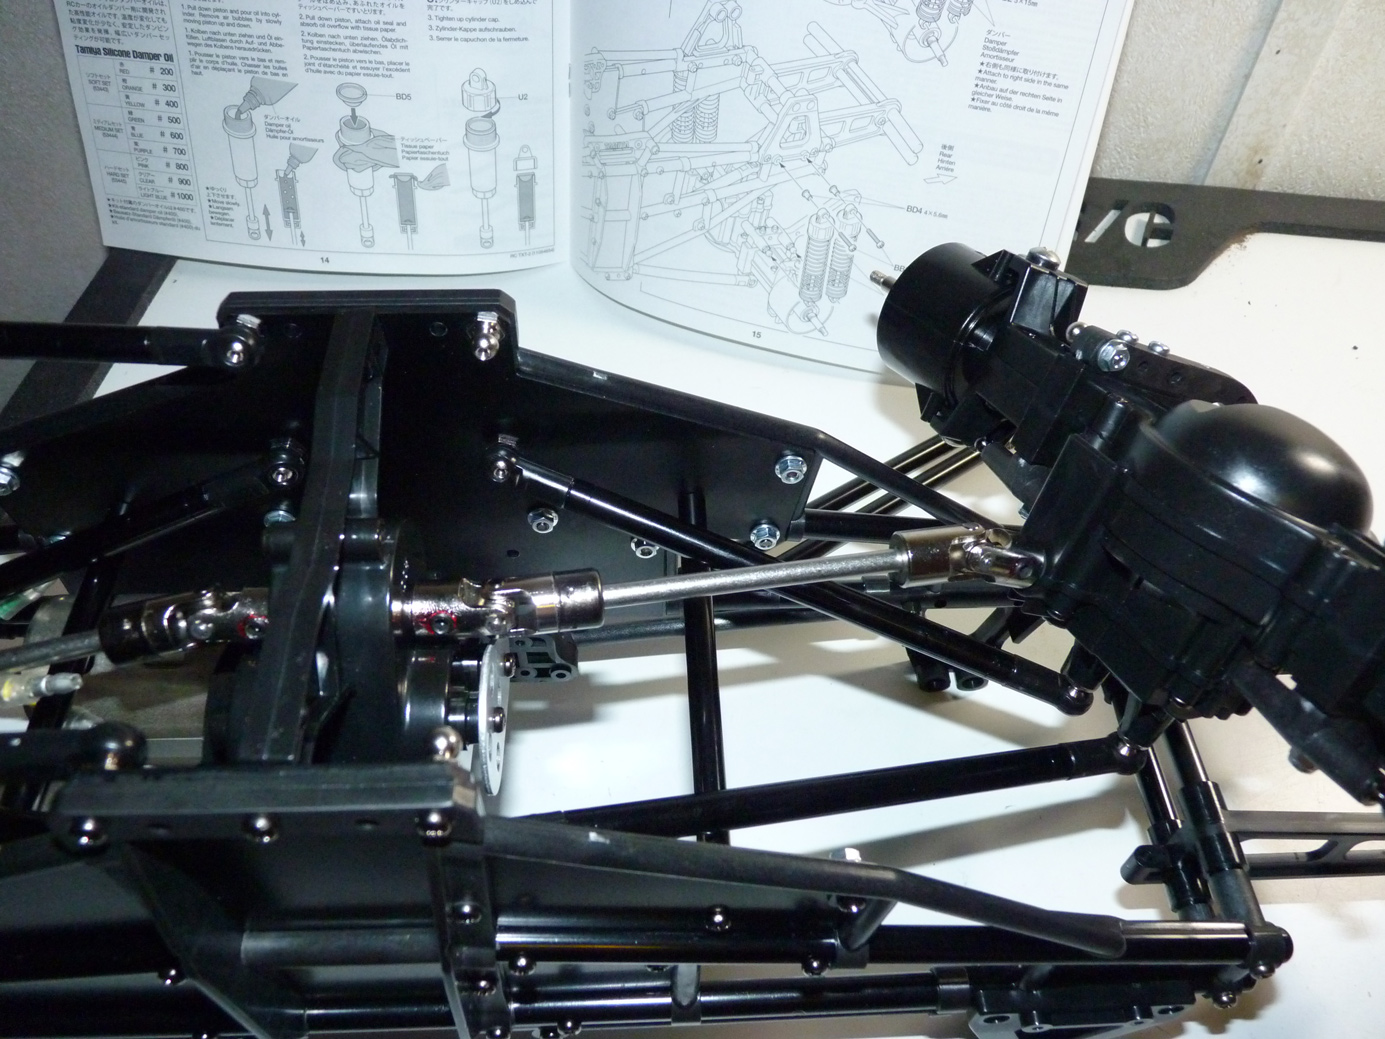
Time to install the completed shocks.

2 shocks per corner is what we’re going for.
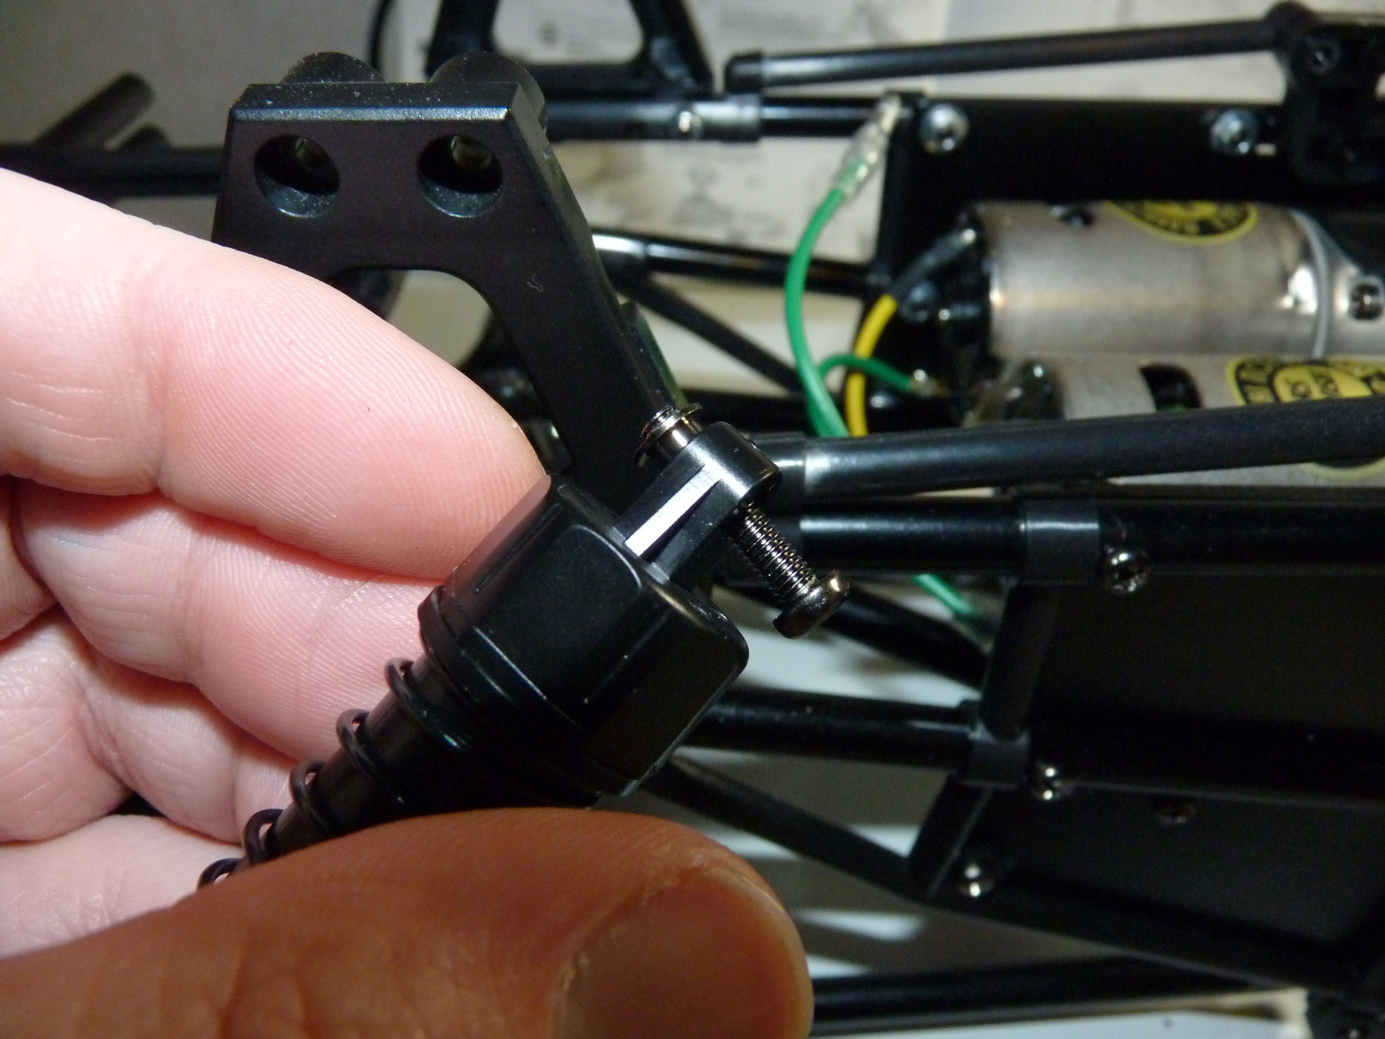
A flanged tube inserts from the back side of the shock cap, and then the shock is secured with a 3x15mm screw.

The lower ends of the shocks pop onto ball connectors.
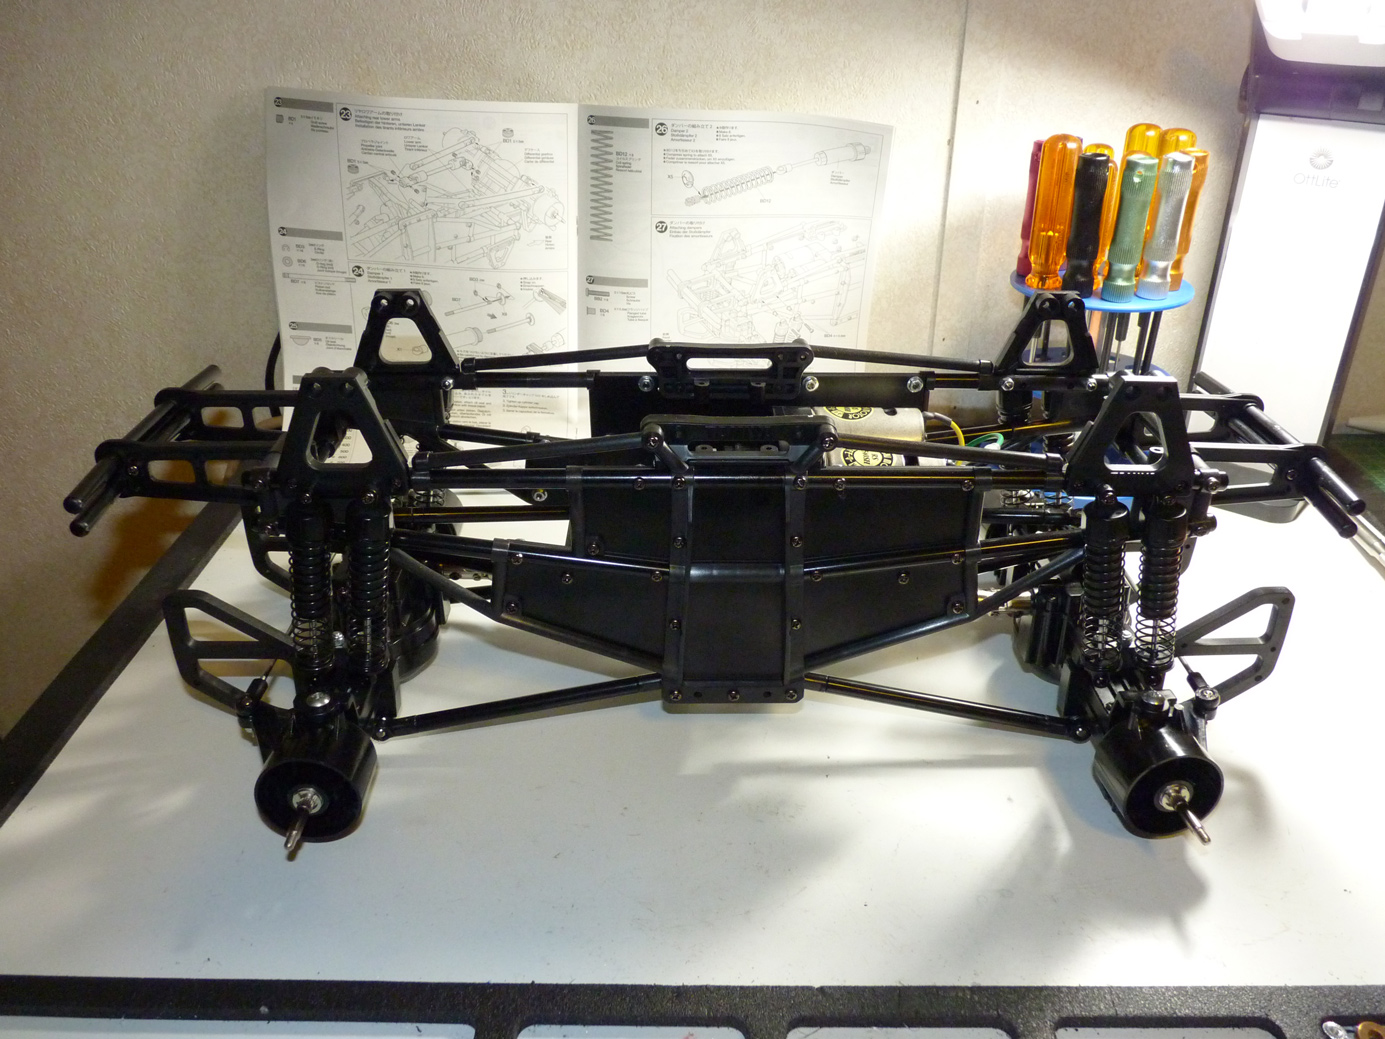
Repeat for all 4 corners and we have a roller fellas! Looking good!
Continue onto the next page as we install electronics.
 Posted in
  Tags:
Tags:
[…] night before to switch all my “race” vehicles onto that Airtronics MT-4 we used in the Tamiya TXT2 build up. I didn’t get a lap on either car (or the radio) before the tone went off during my first […]