

 February 26th, 2014
  Kevin
Kevin First up, the Savox SW-1210SG steering servo. This beast is powerful AND waterproof. It should make a great servo for this basher monster truck.
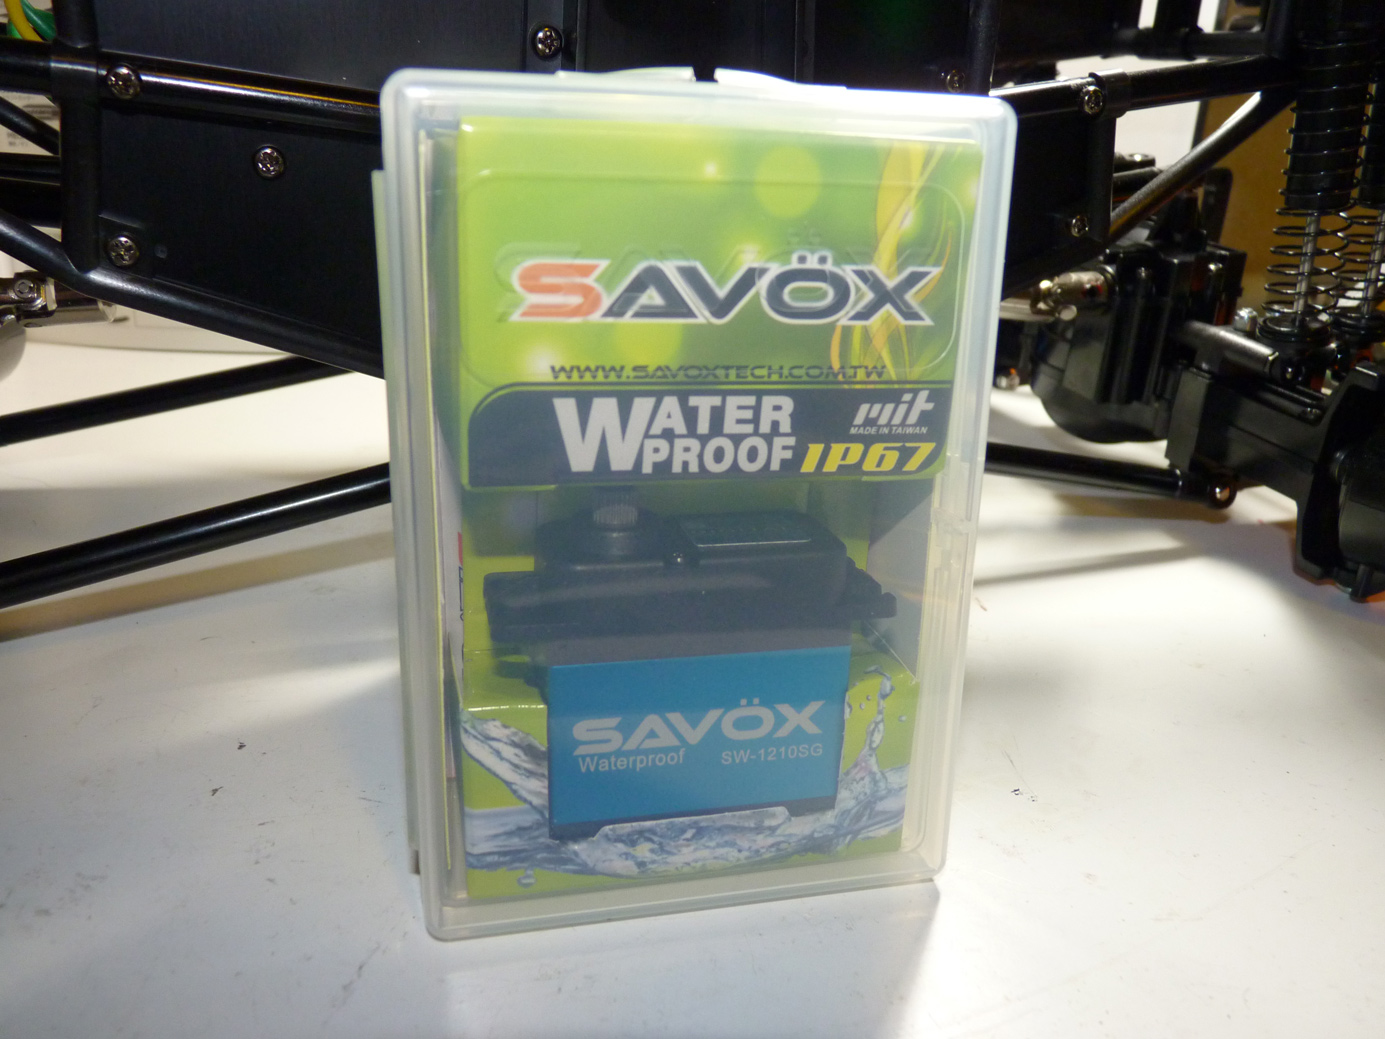
Let’s open up that shiny new package.
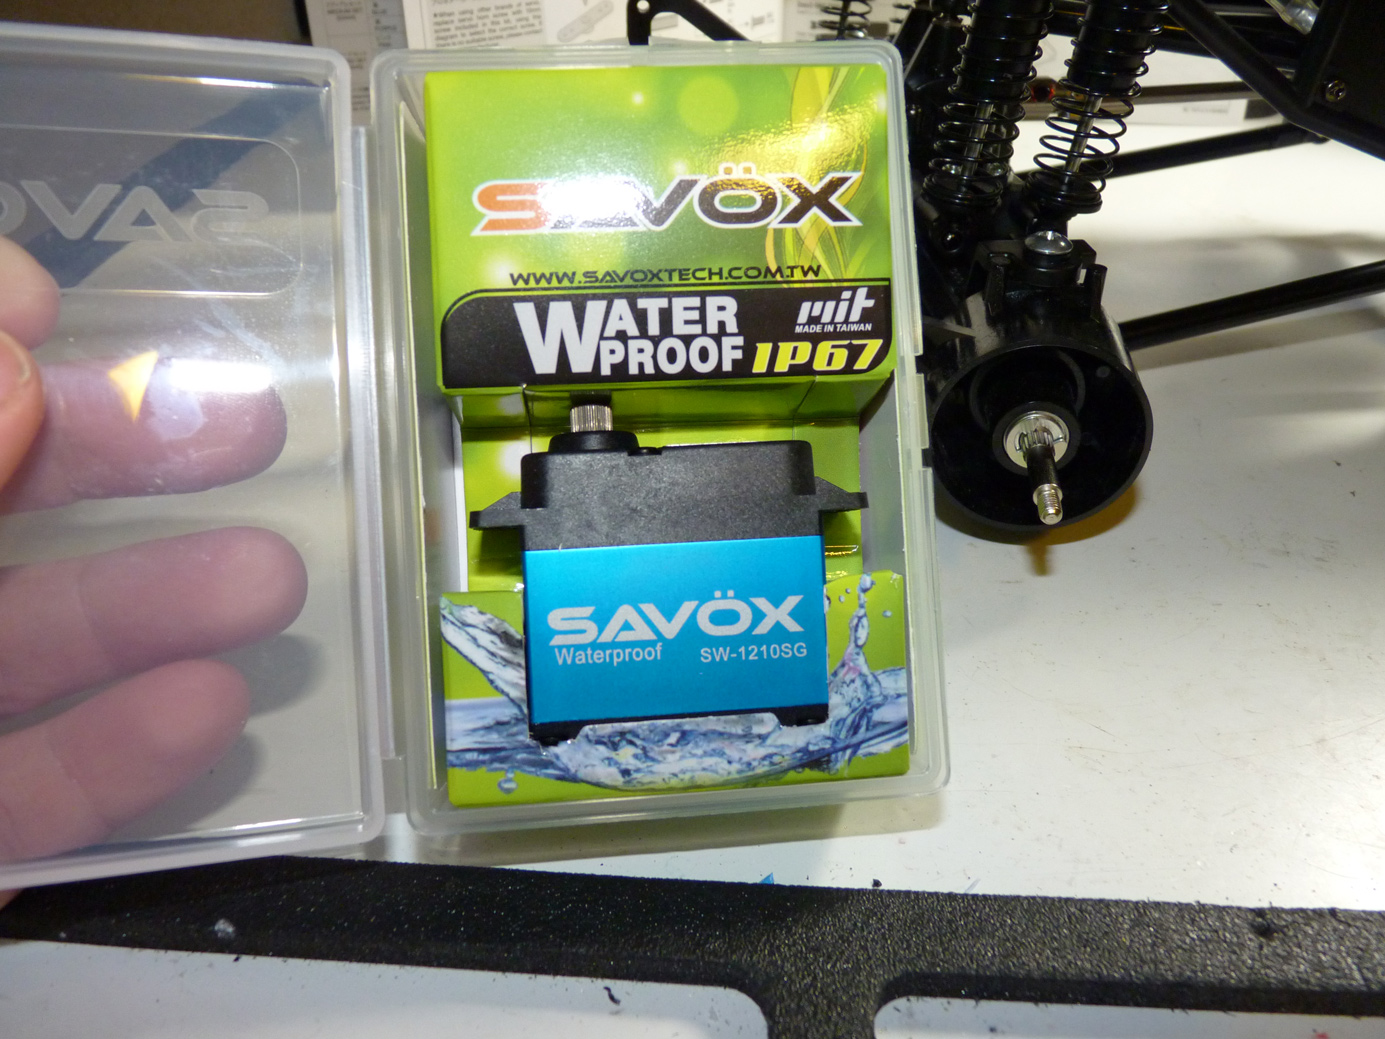
Looking good!
What the…. really? That’s one short servo lead!!
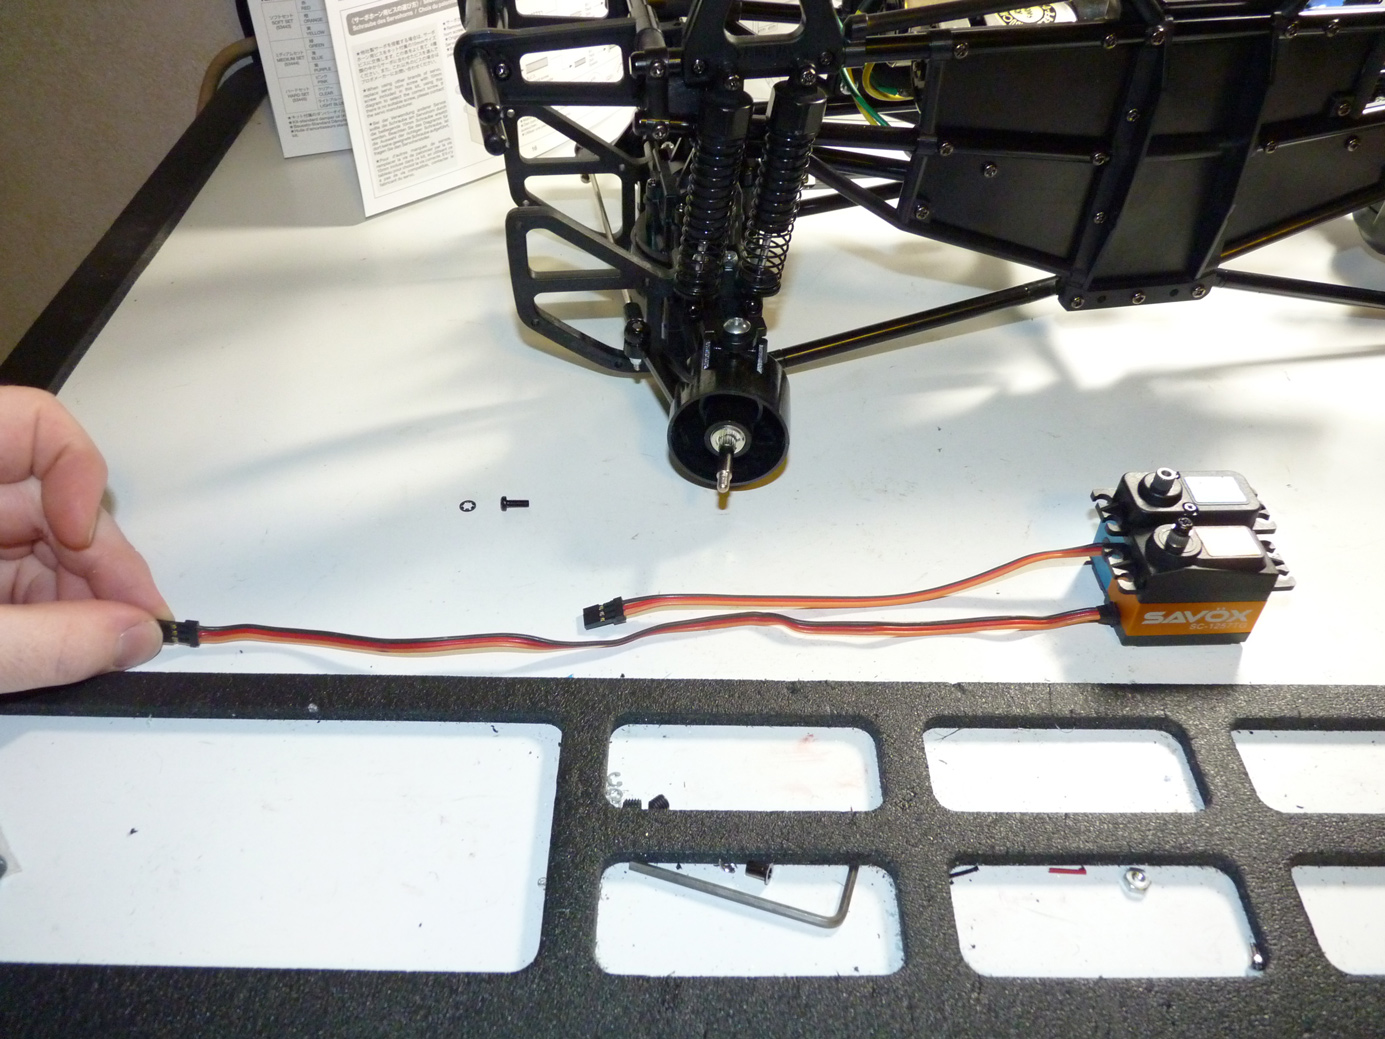
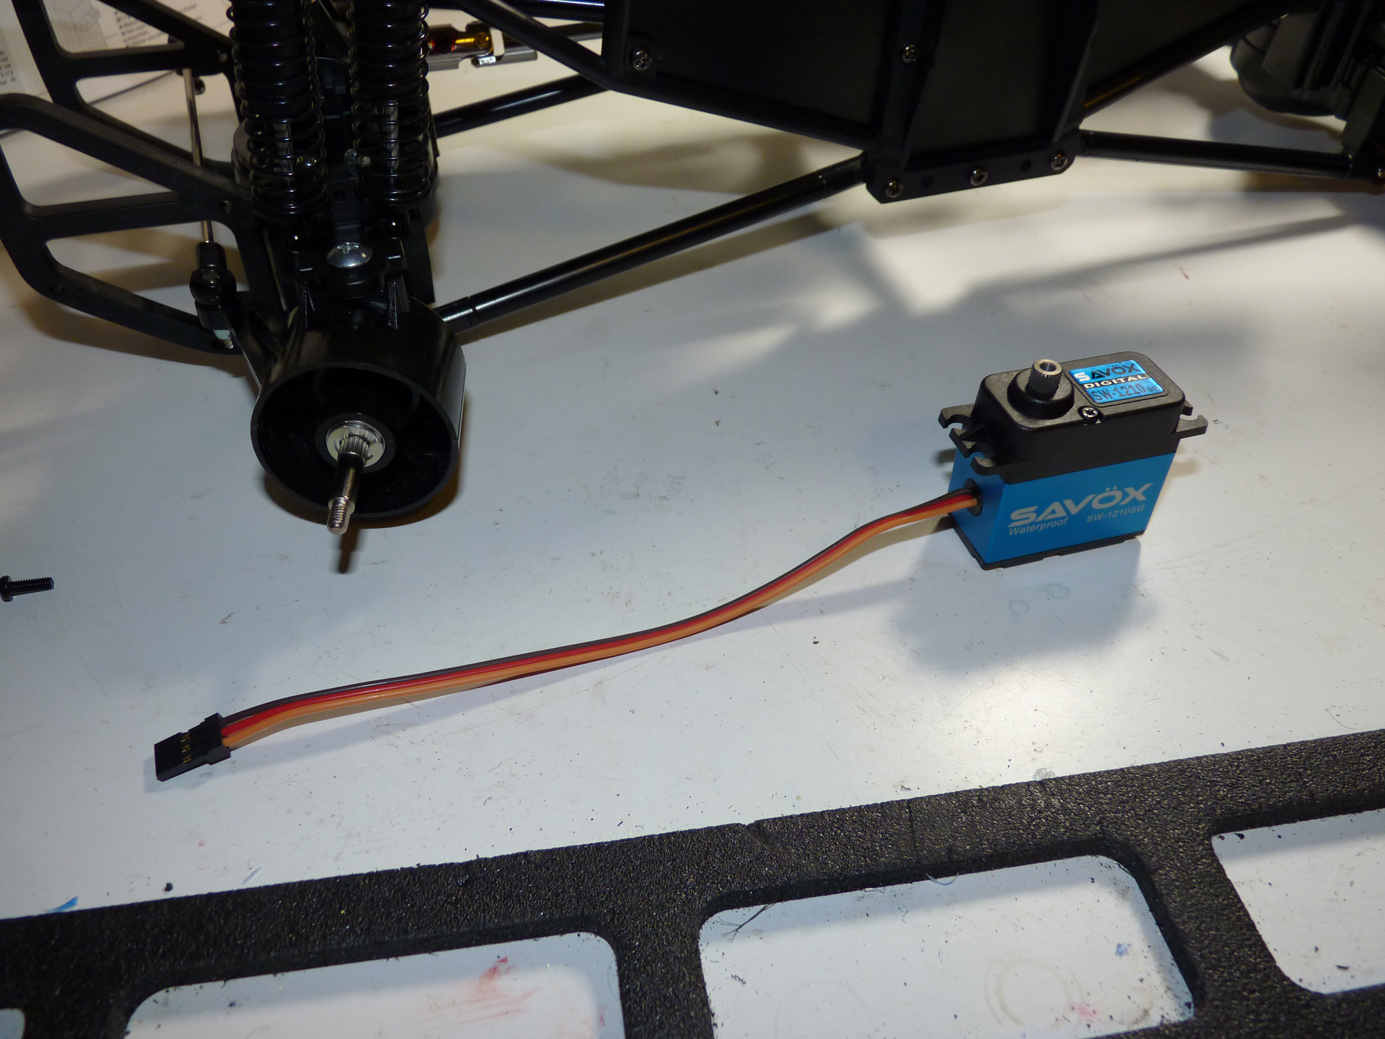
I whipped out a Savox 1257 I had laying around. It’s lead is almost twice as long! I feel cheated lol. There’s no way this lead is reaching our receiver without a servo extension in this application.
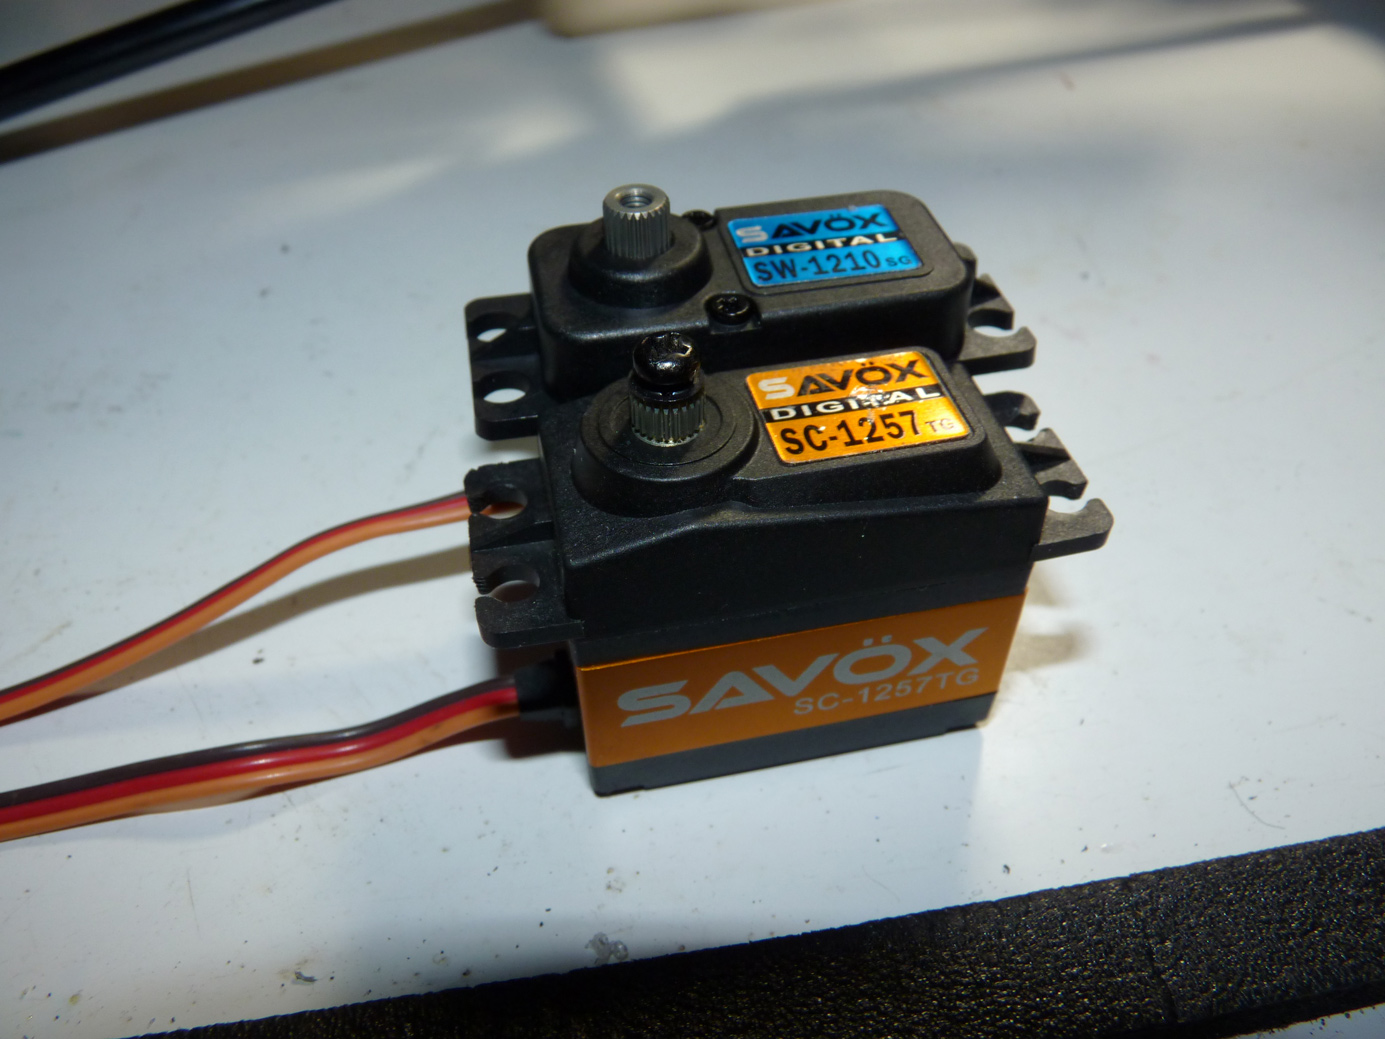
The 1210 servo is a bit taller than the 1257.
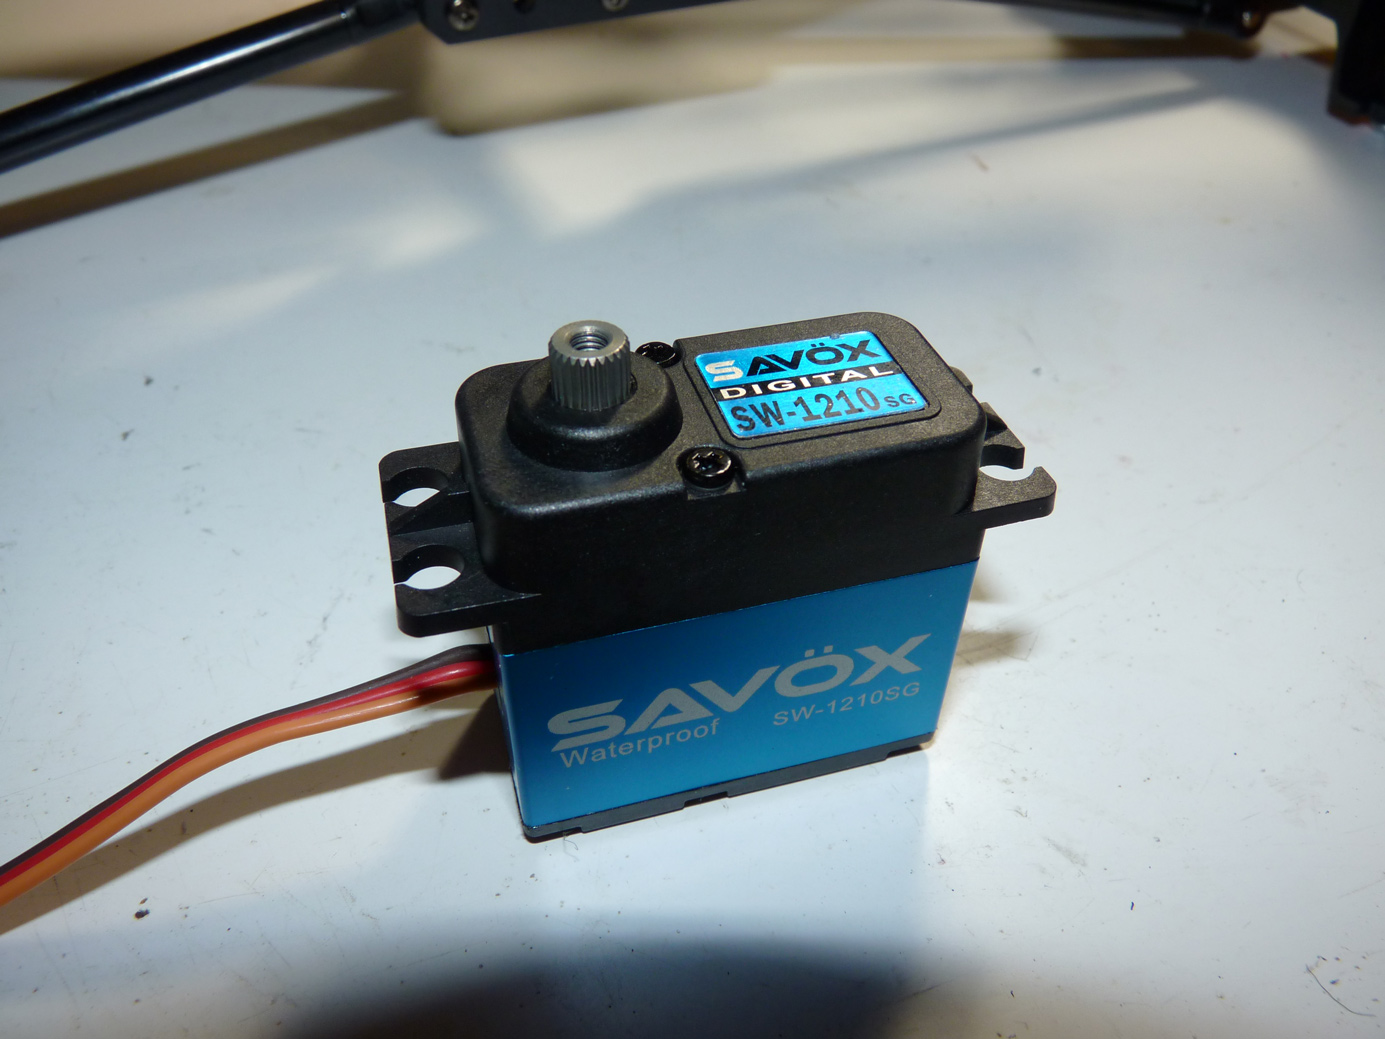
It still is a nice looking servo. I hope it holds up to the abuse it will surely see in this truck.
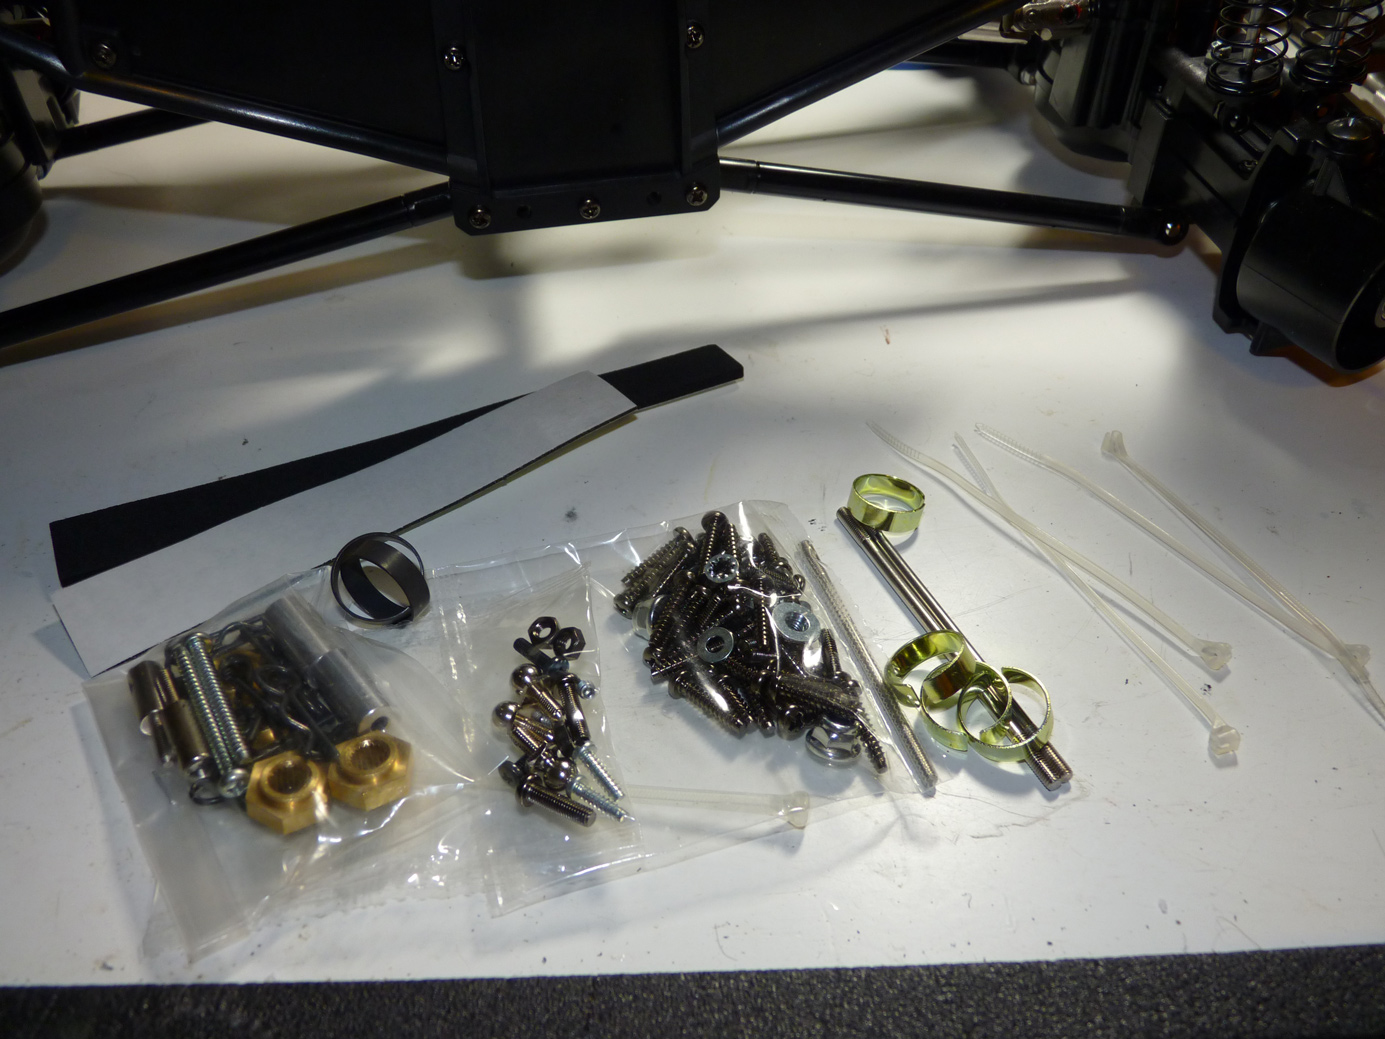
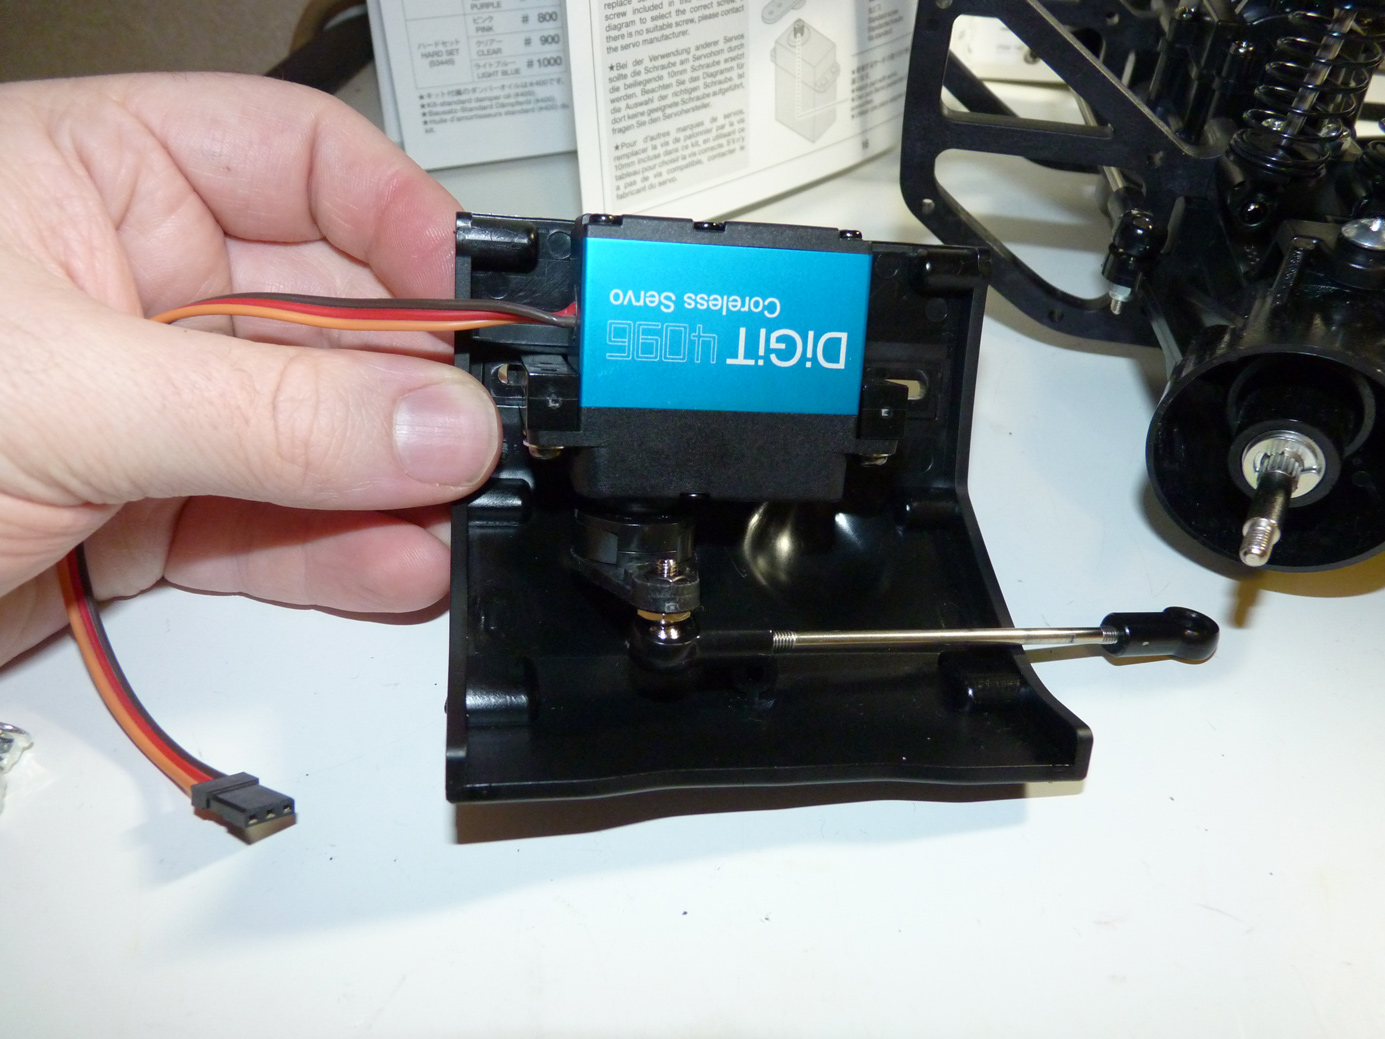
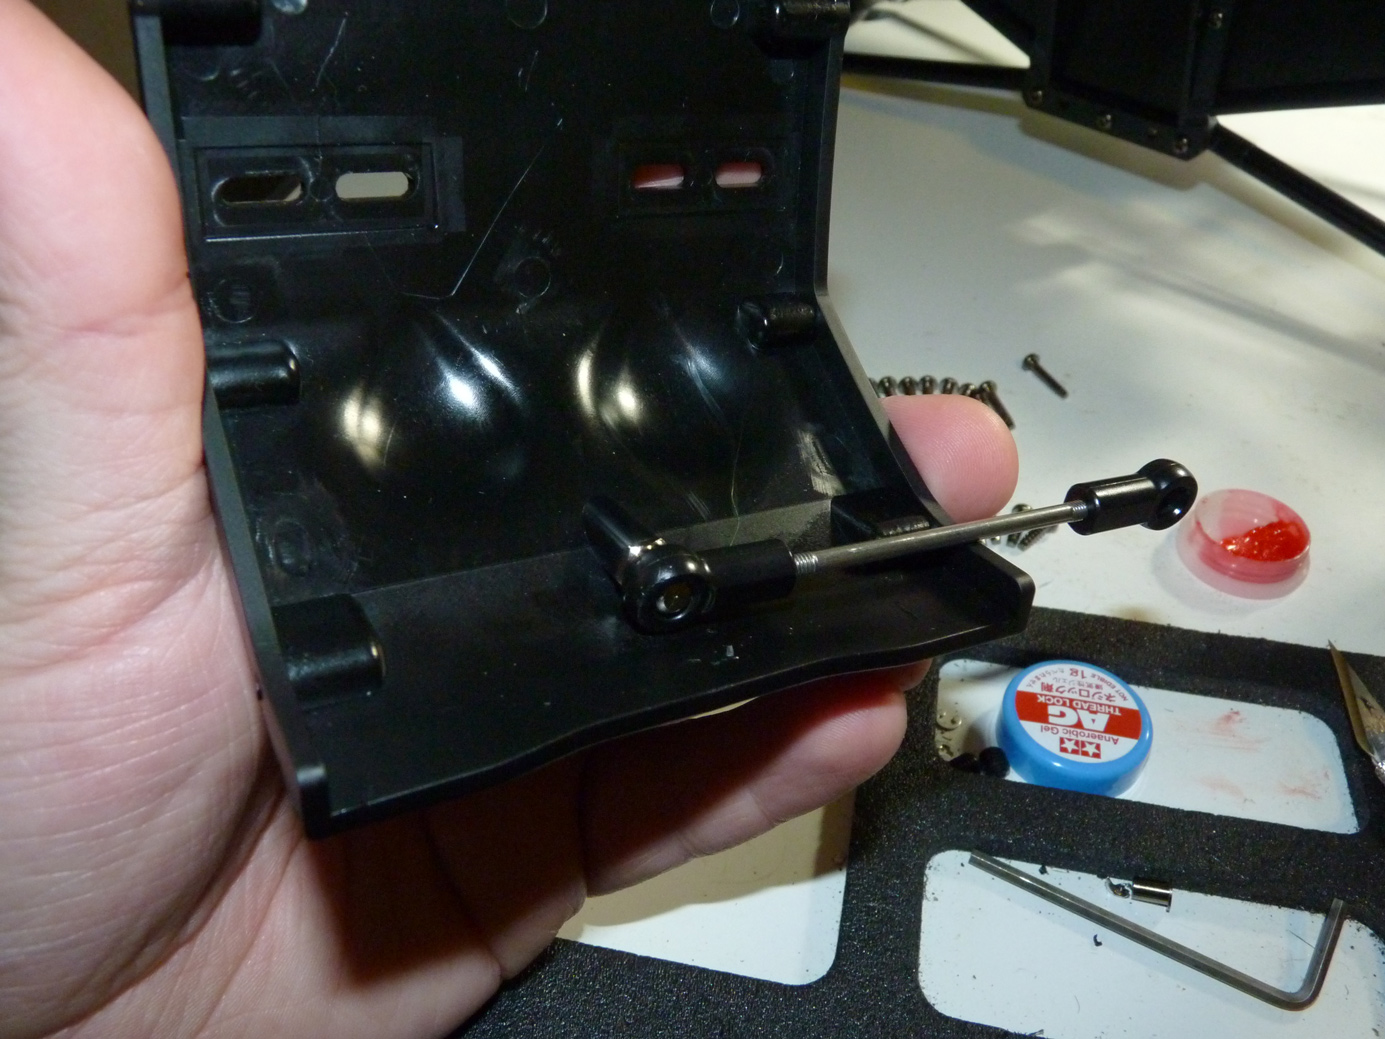
Time to install it. That means assembling Tamiya famous home-brew servo saver. I’ve never been a big fan of these, as they always seem a little too weak. We’ll install it for now until the need for something better arises.
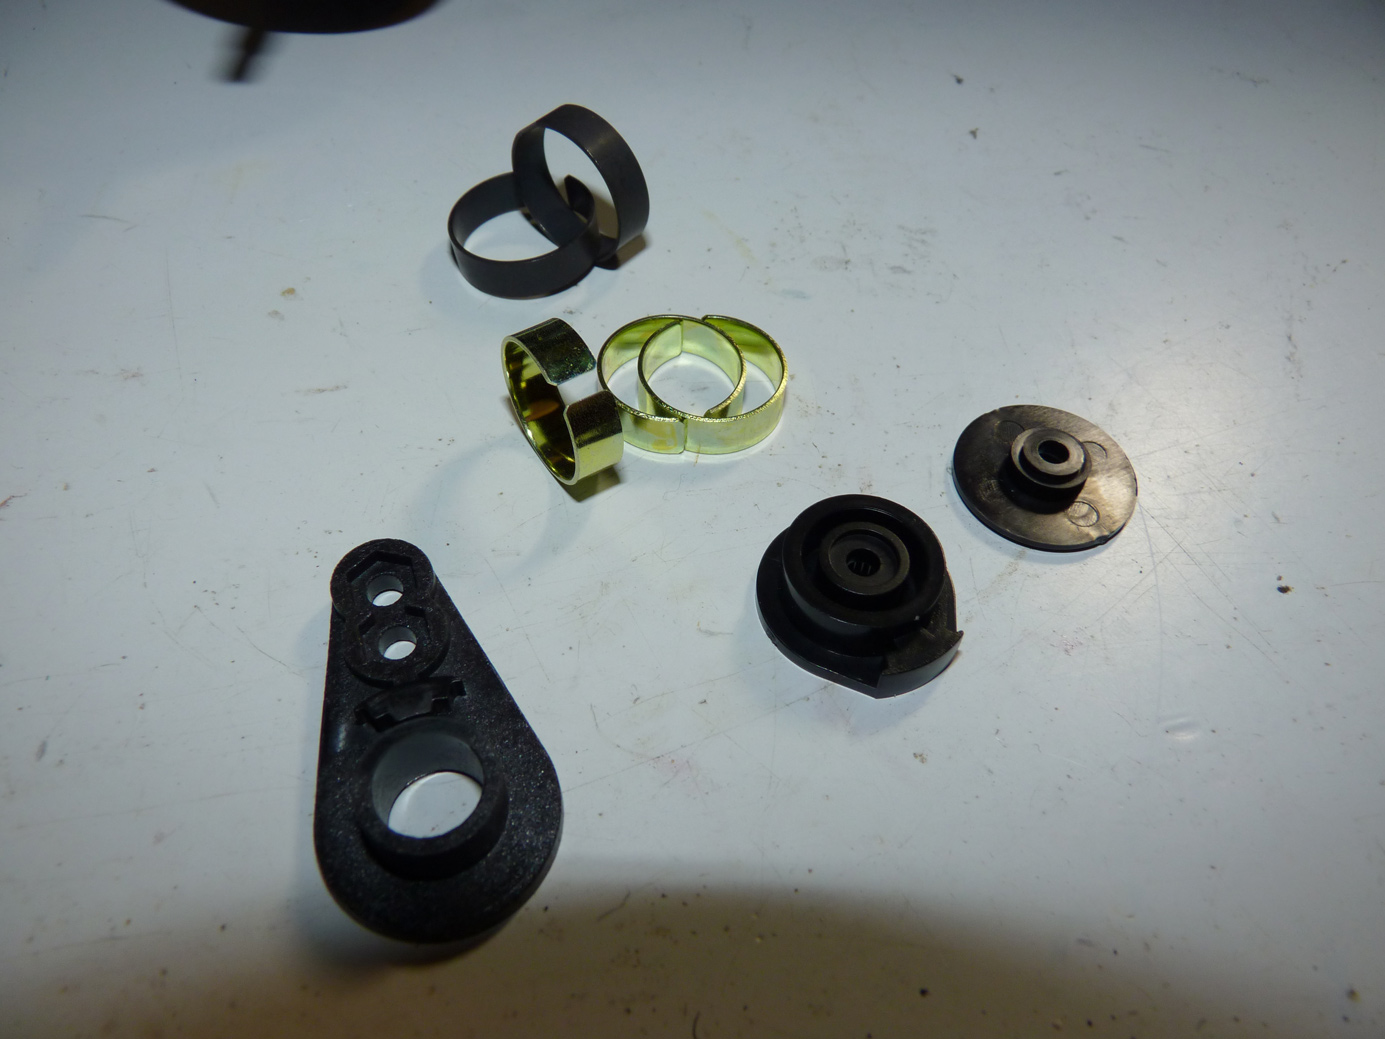
We install 3 C shaped springs onto the backside of the servo saver.
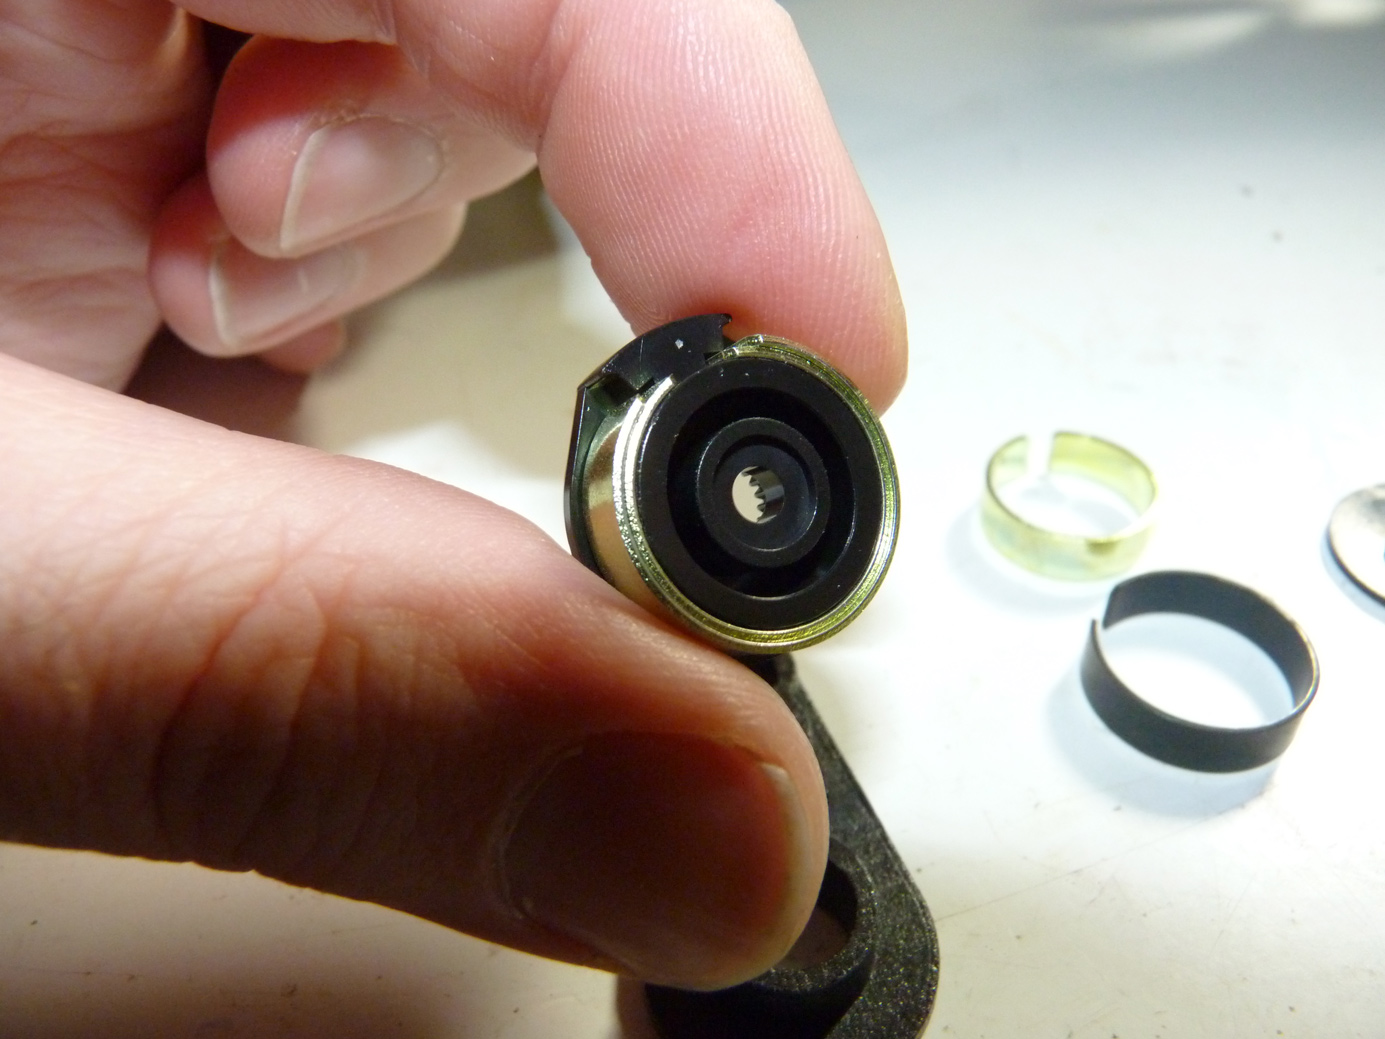
Then attach it to the main horn.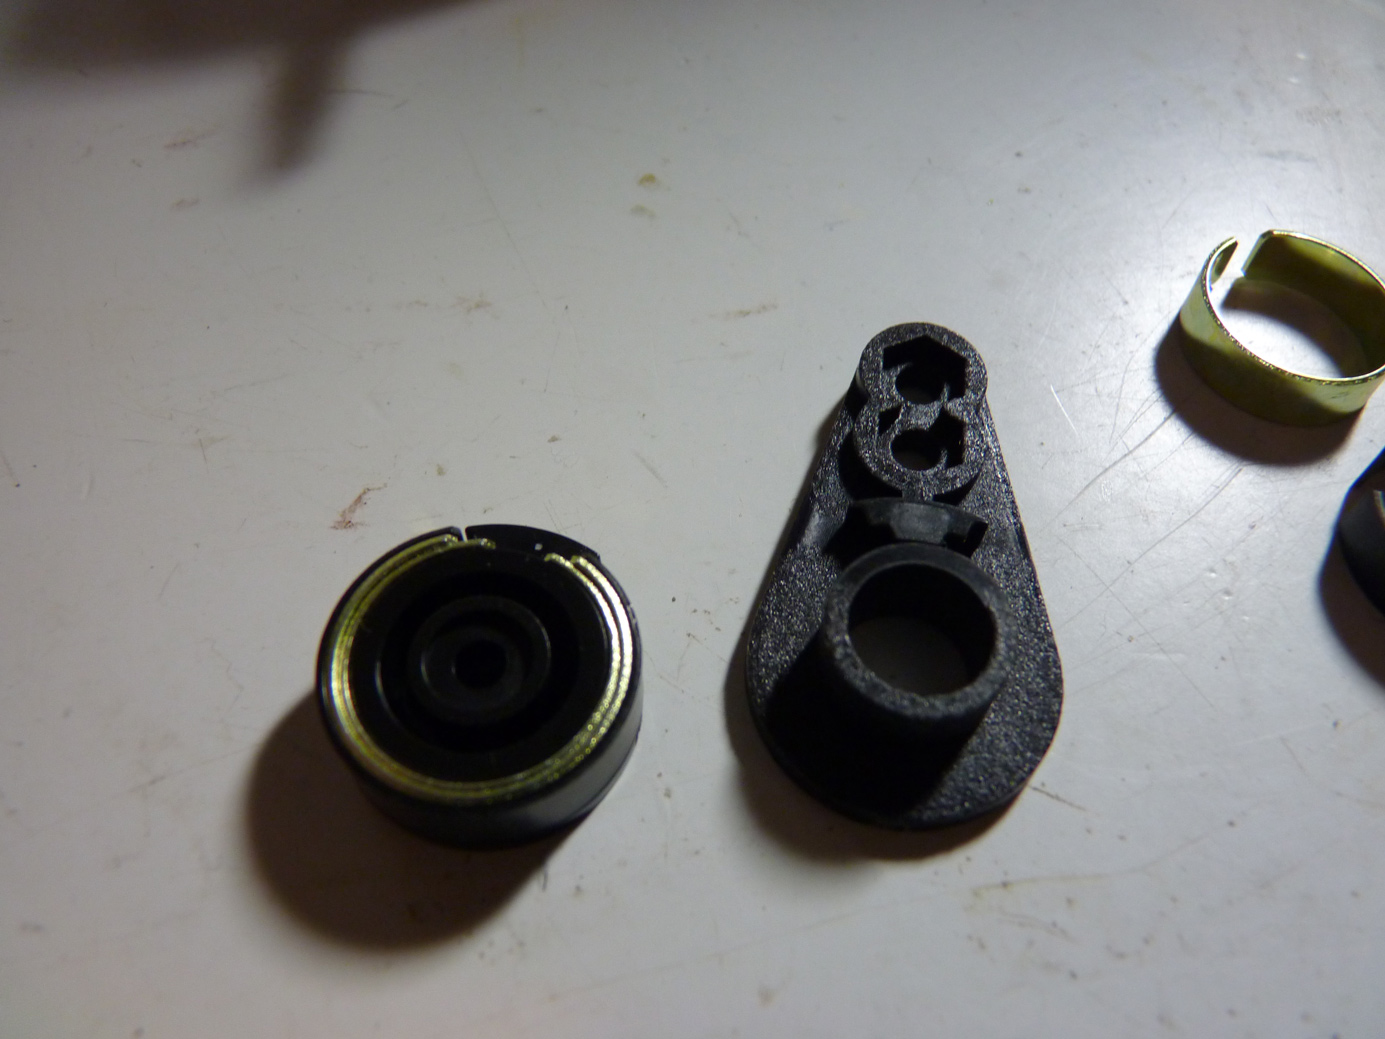
Next we fit it to the servo. Like all other Savox servos, the 1210 uses a 25T spline which is the same as Futaba and Xpert.

Assembled. That’s one big horn.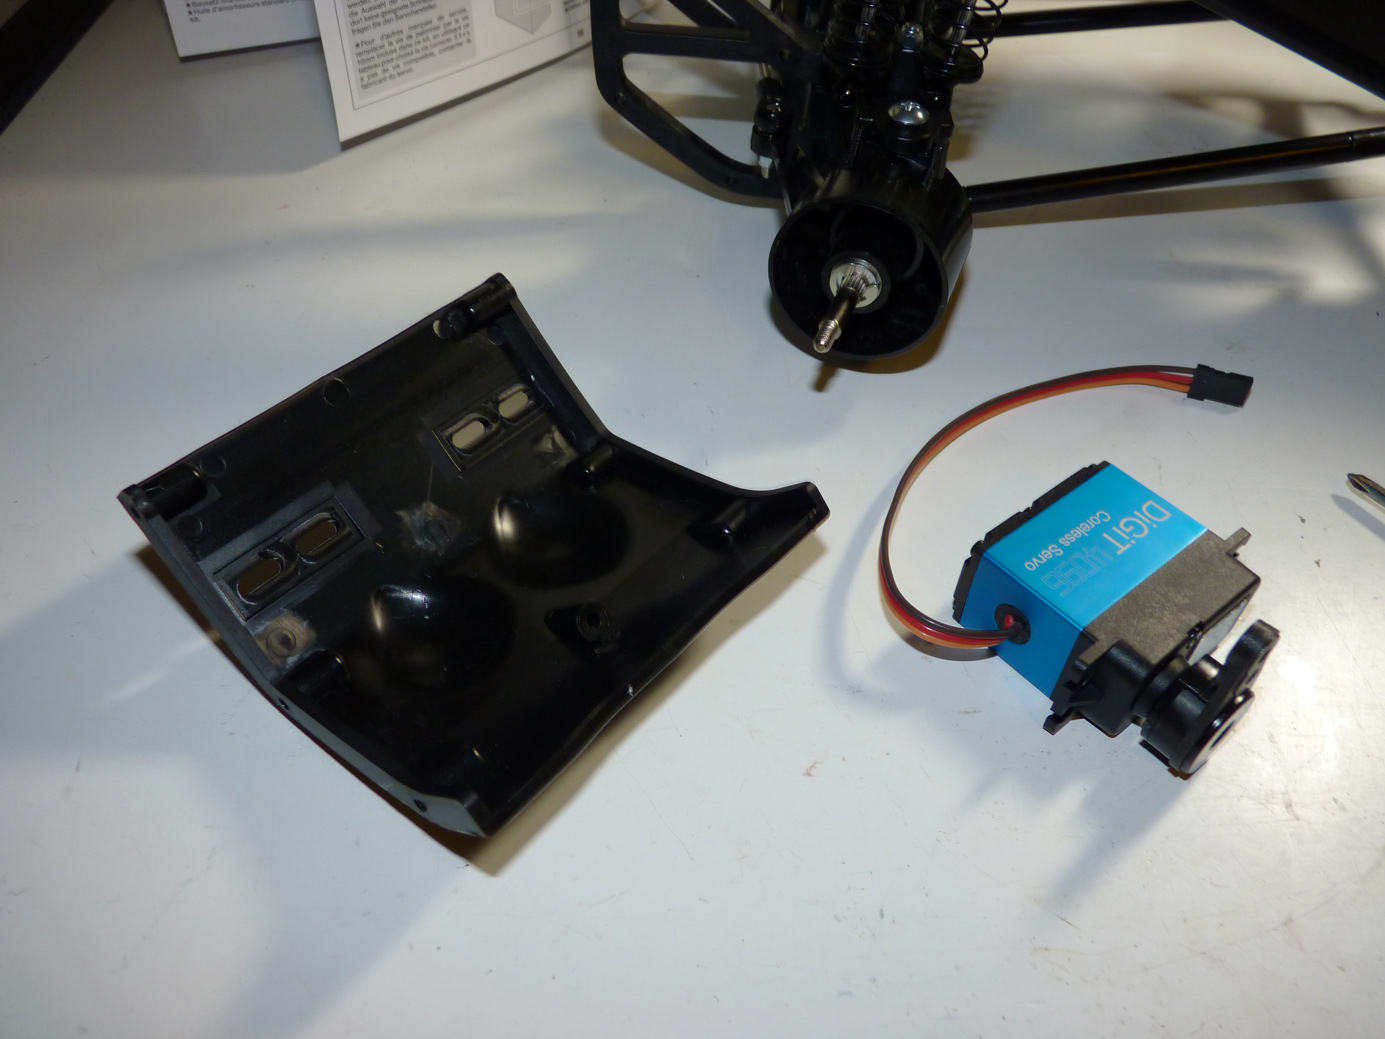
Now we install the servo to it’s mounts and attach to the underguard.
Servo mounts installed. These are begging to be made of aluminum.
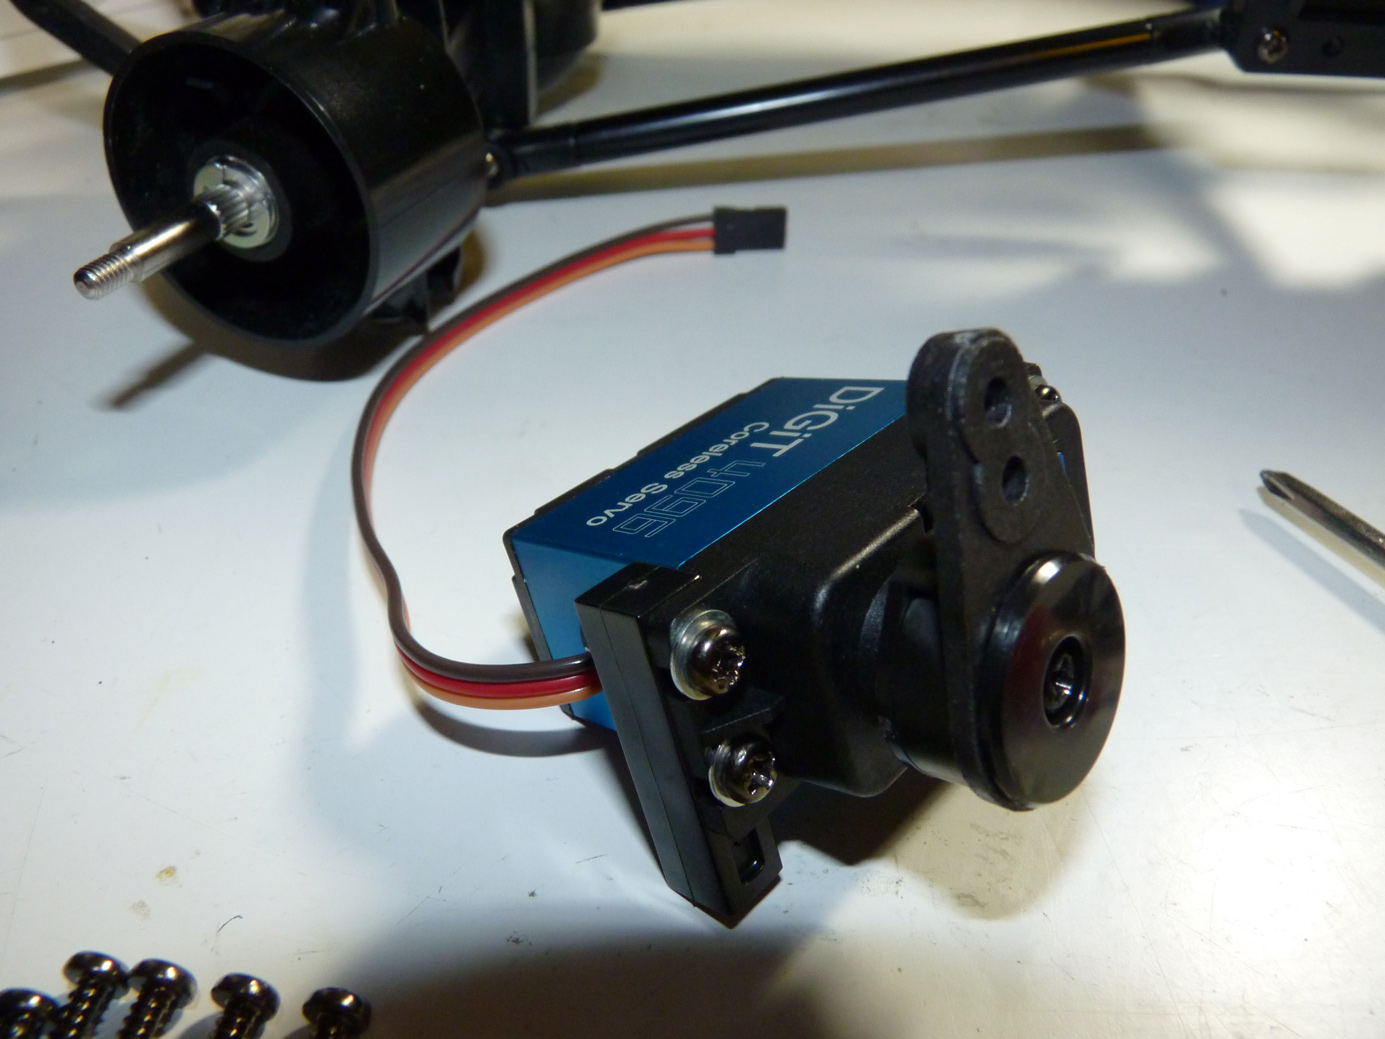
Secure the servo mounts to the underguard. Assemble steering link and install onto servo saver.

Install undergaurd between axle guards.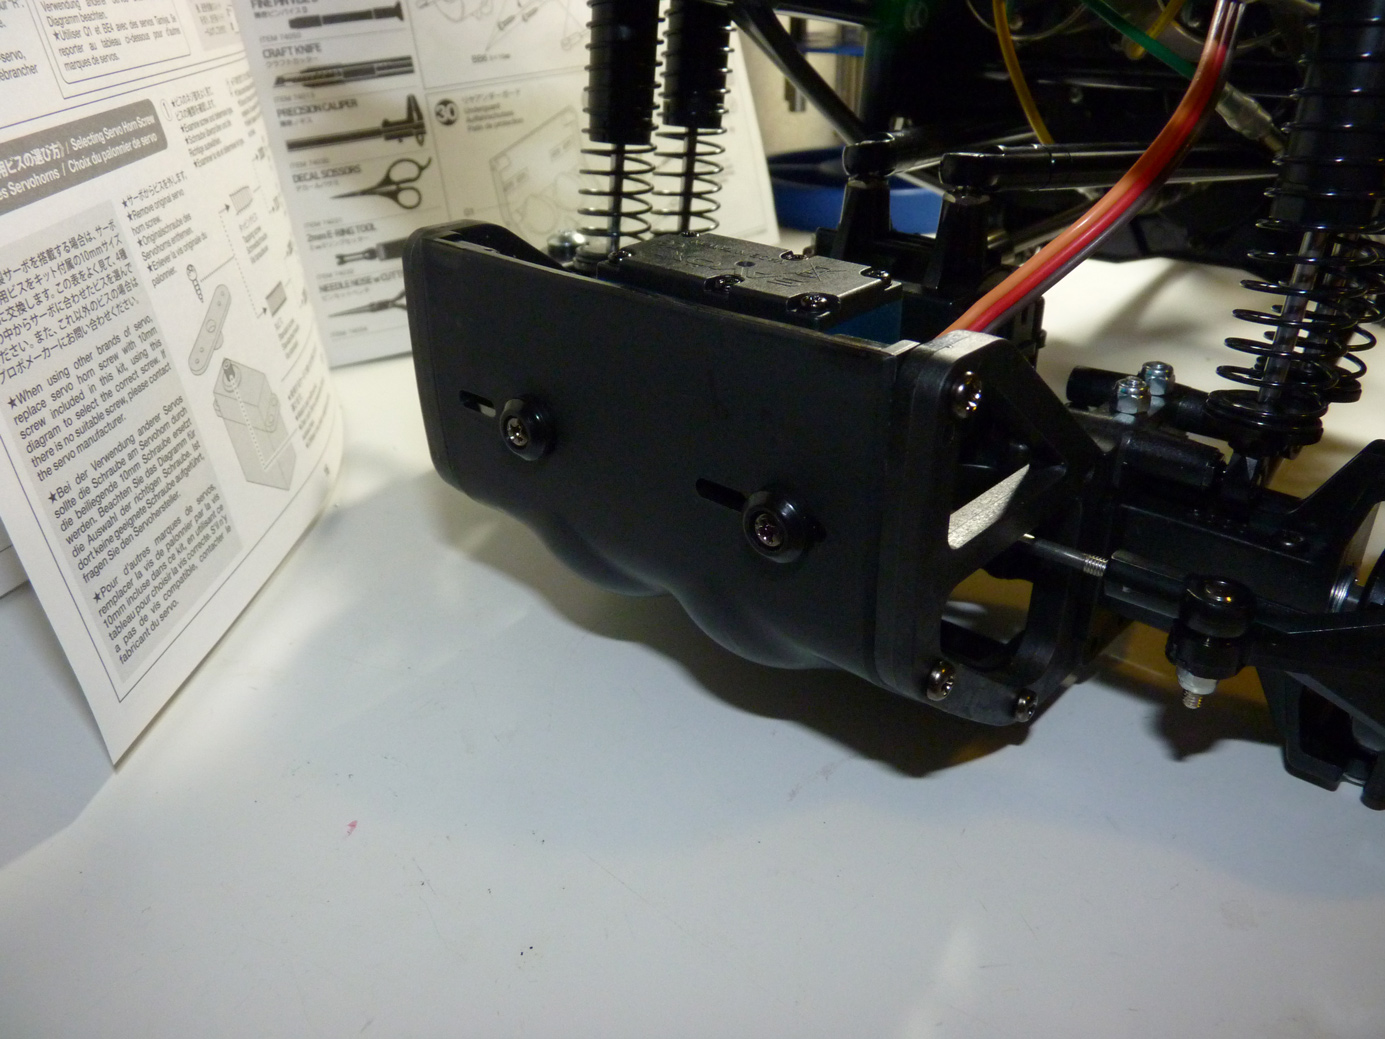
Front steering assembly is now complete.
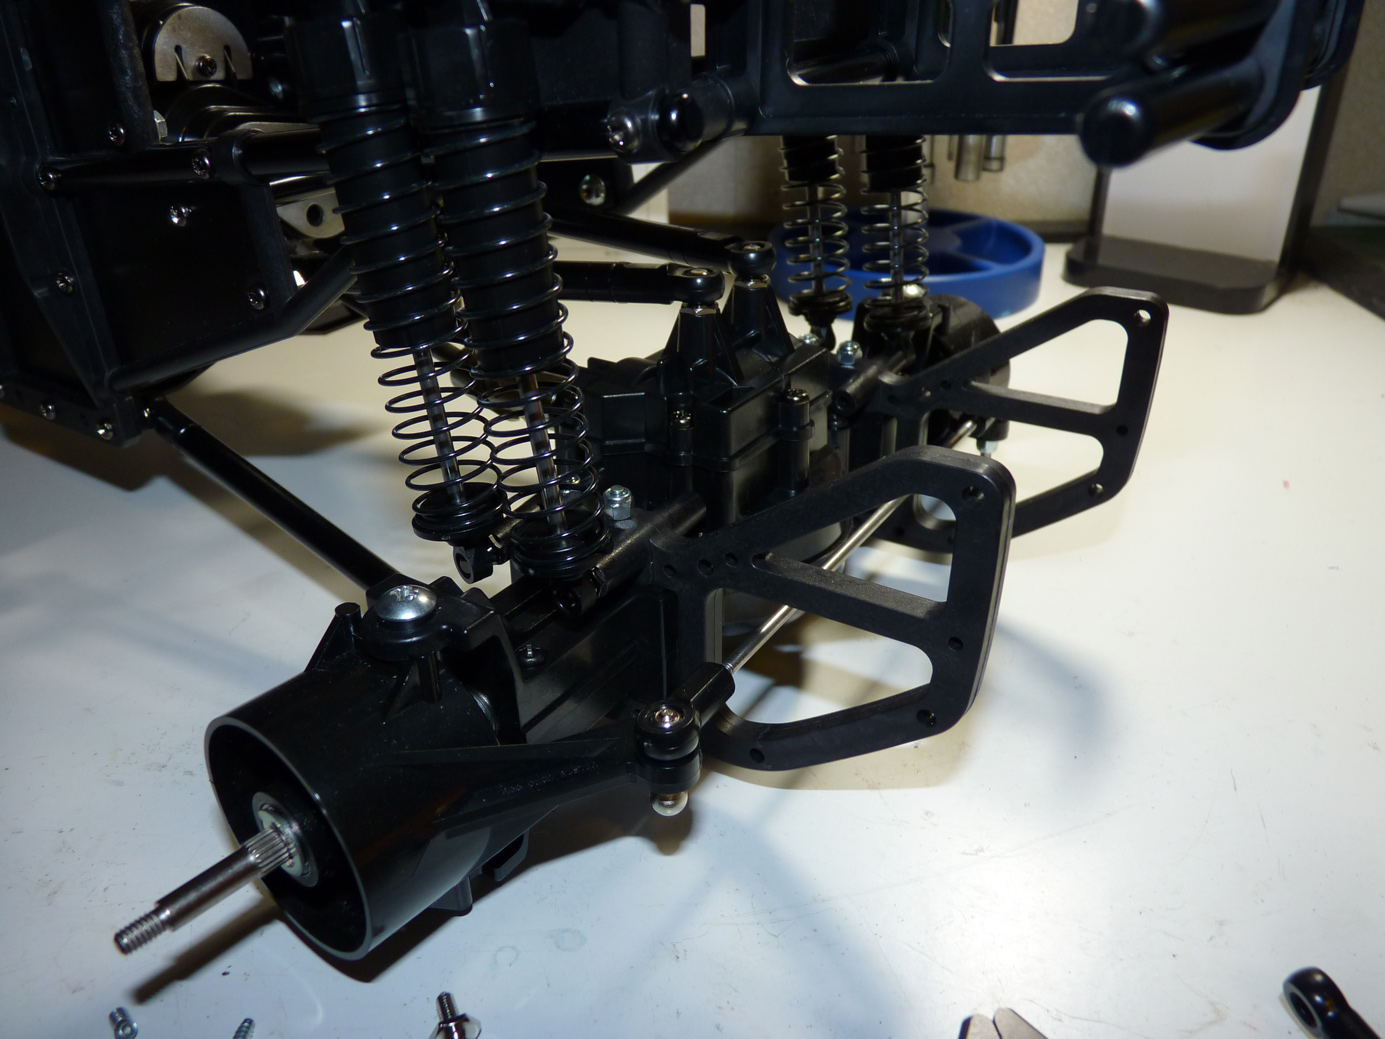
The TXT2 has an option for 4 wheel steering. Since we only have one servo though, we will be locking out the rear steering.
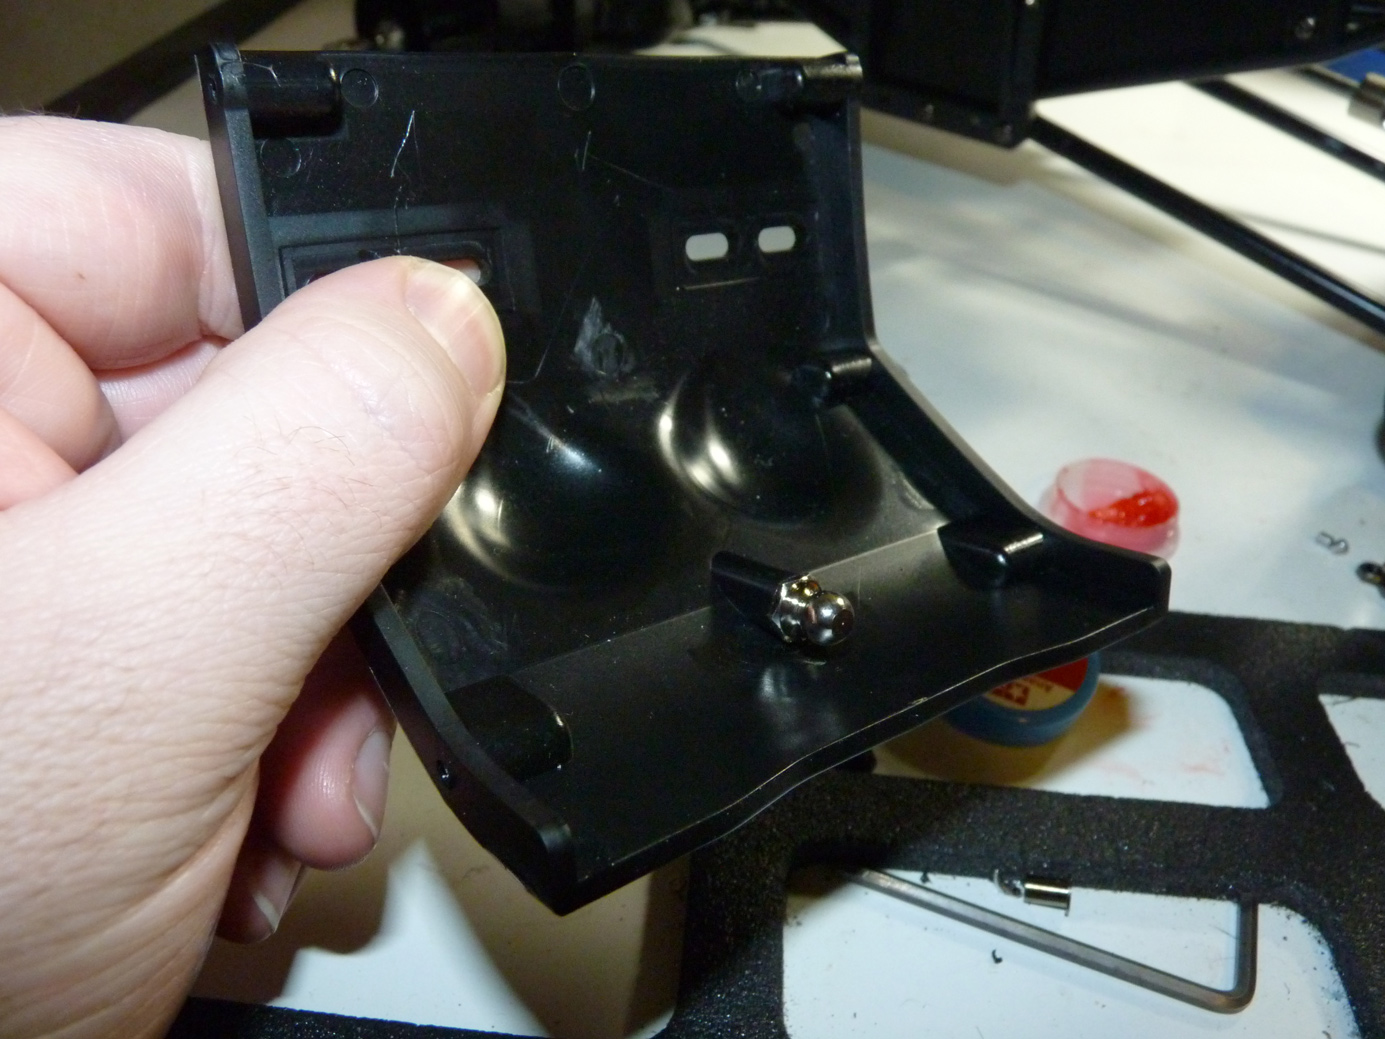
Install ball connector onto rear underguard.
Attach rear lockout link to ball connector. This step SUCKED for me. I found it really hard to secure the rod end over the ball connector. I ended up reaming out a small amount of plastic from the rod end to enlarge the hole, making it easier to snap over the ball.
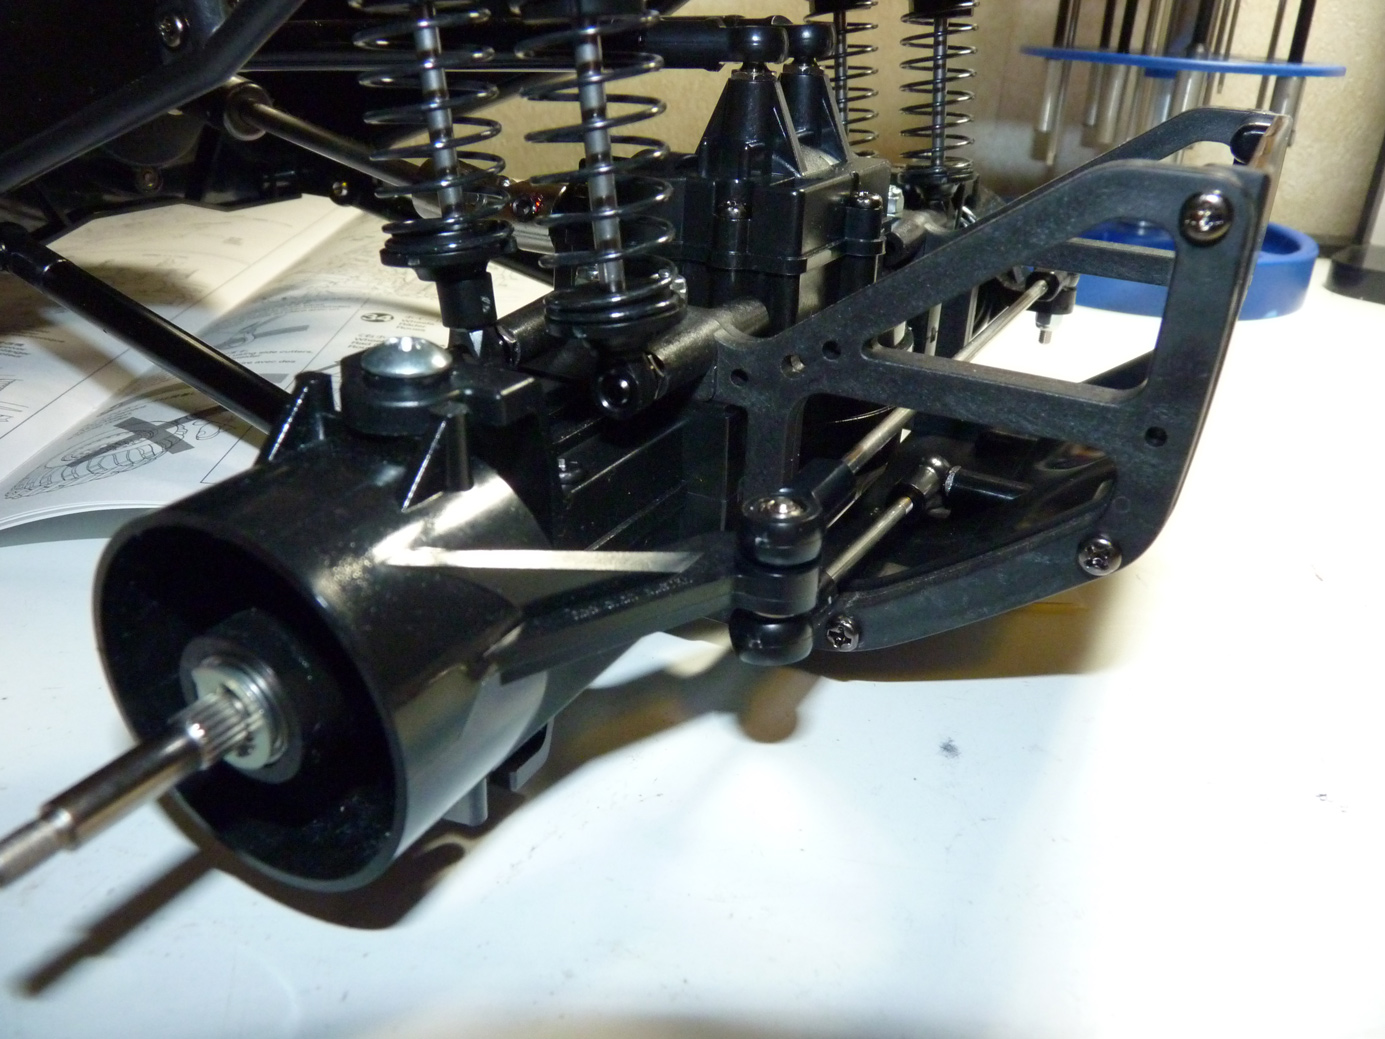
Rear steering locked out.
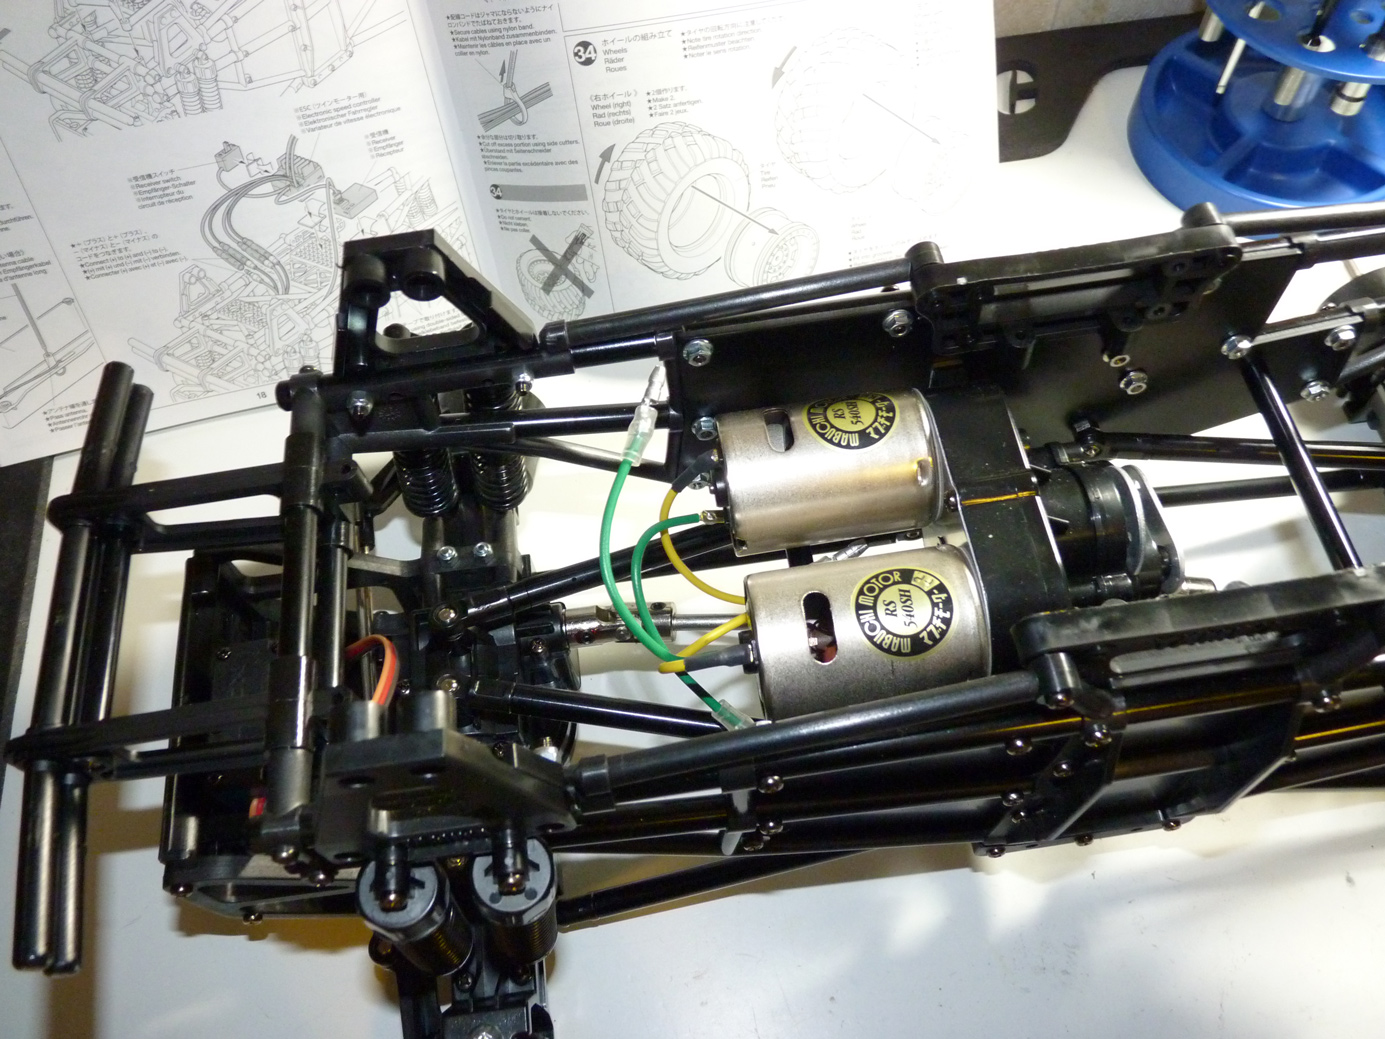
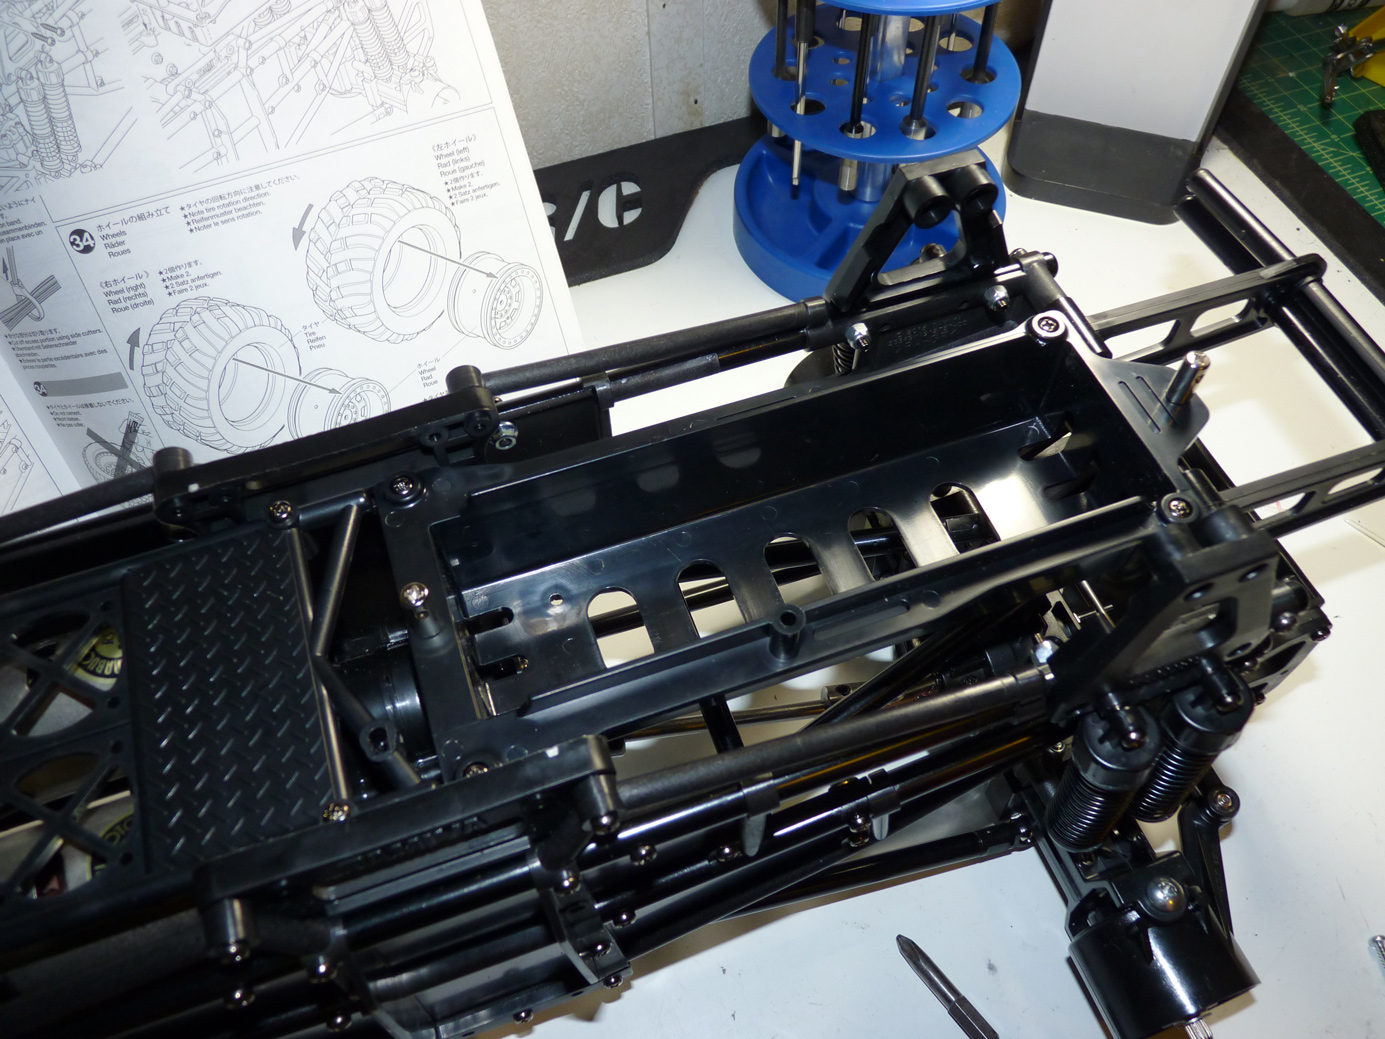
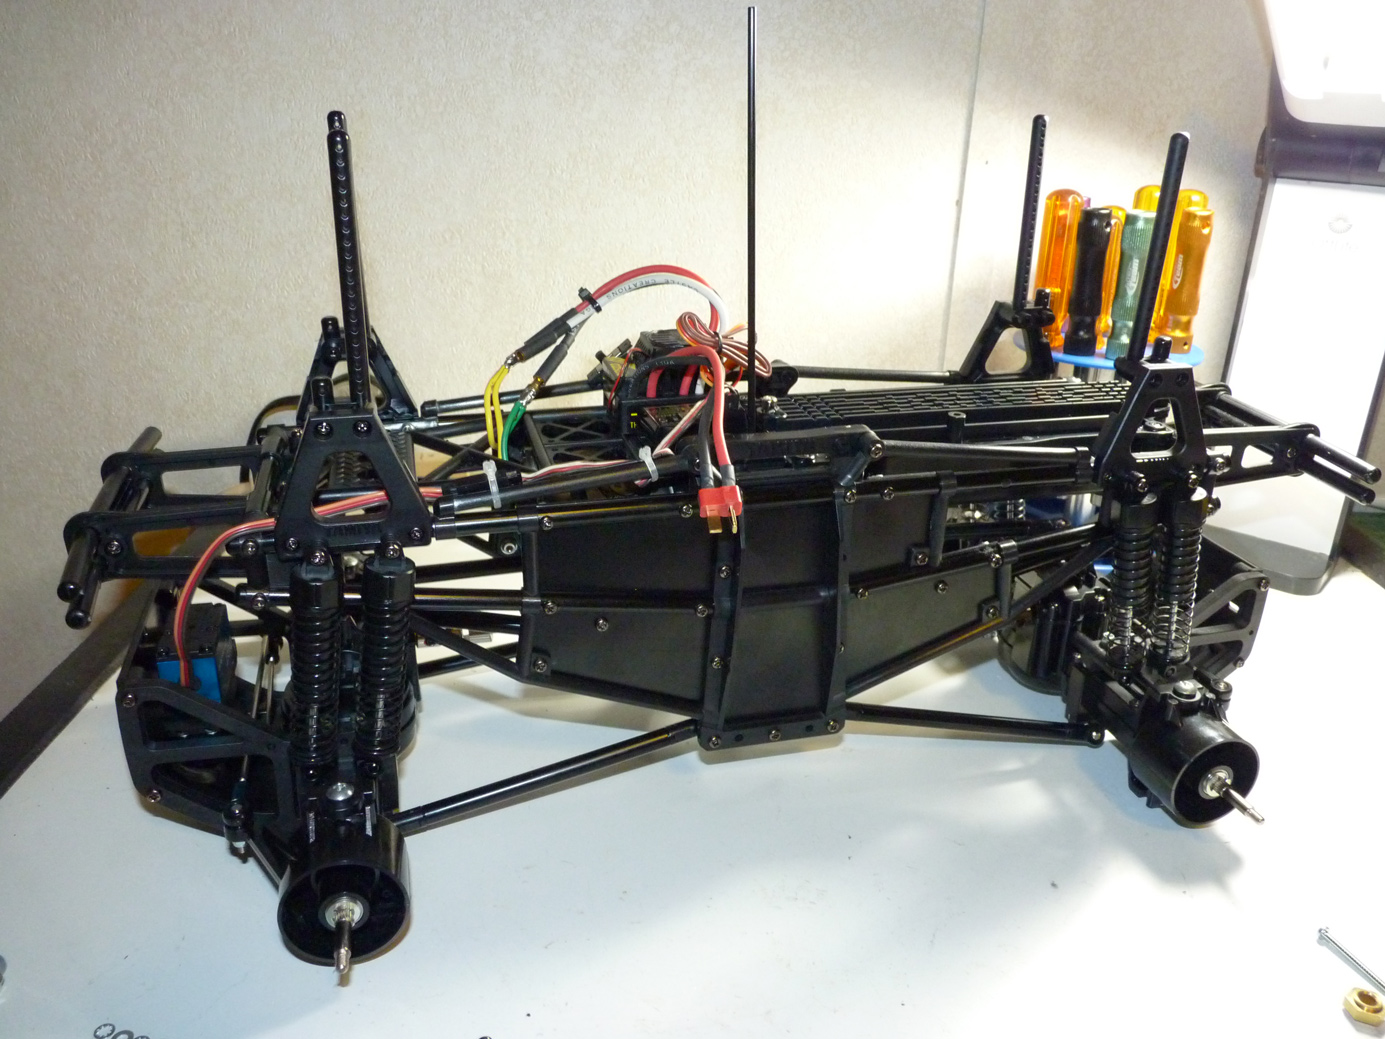
The upper chassis view.
We install the “mechanism deck” aka electronics tray. Here we will mount the ESC and receiver. It’s nice to see that the tray also has fan mounts built into it. That’s forward thinking Tamiya!
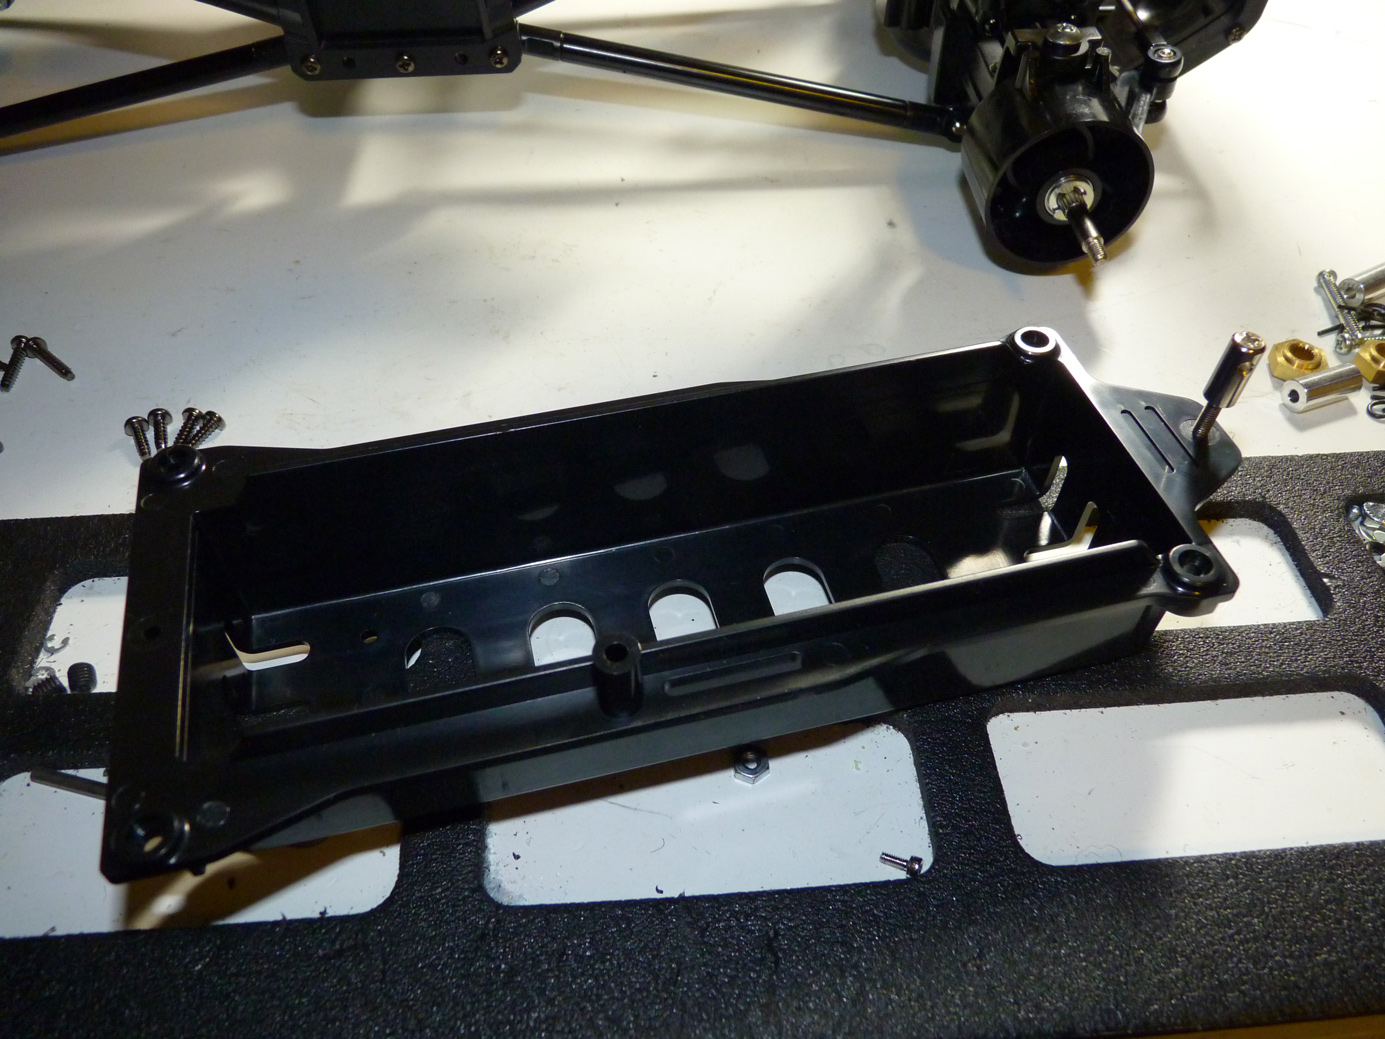
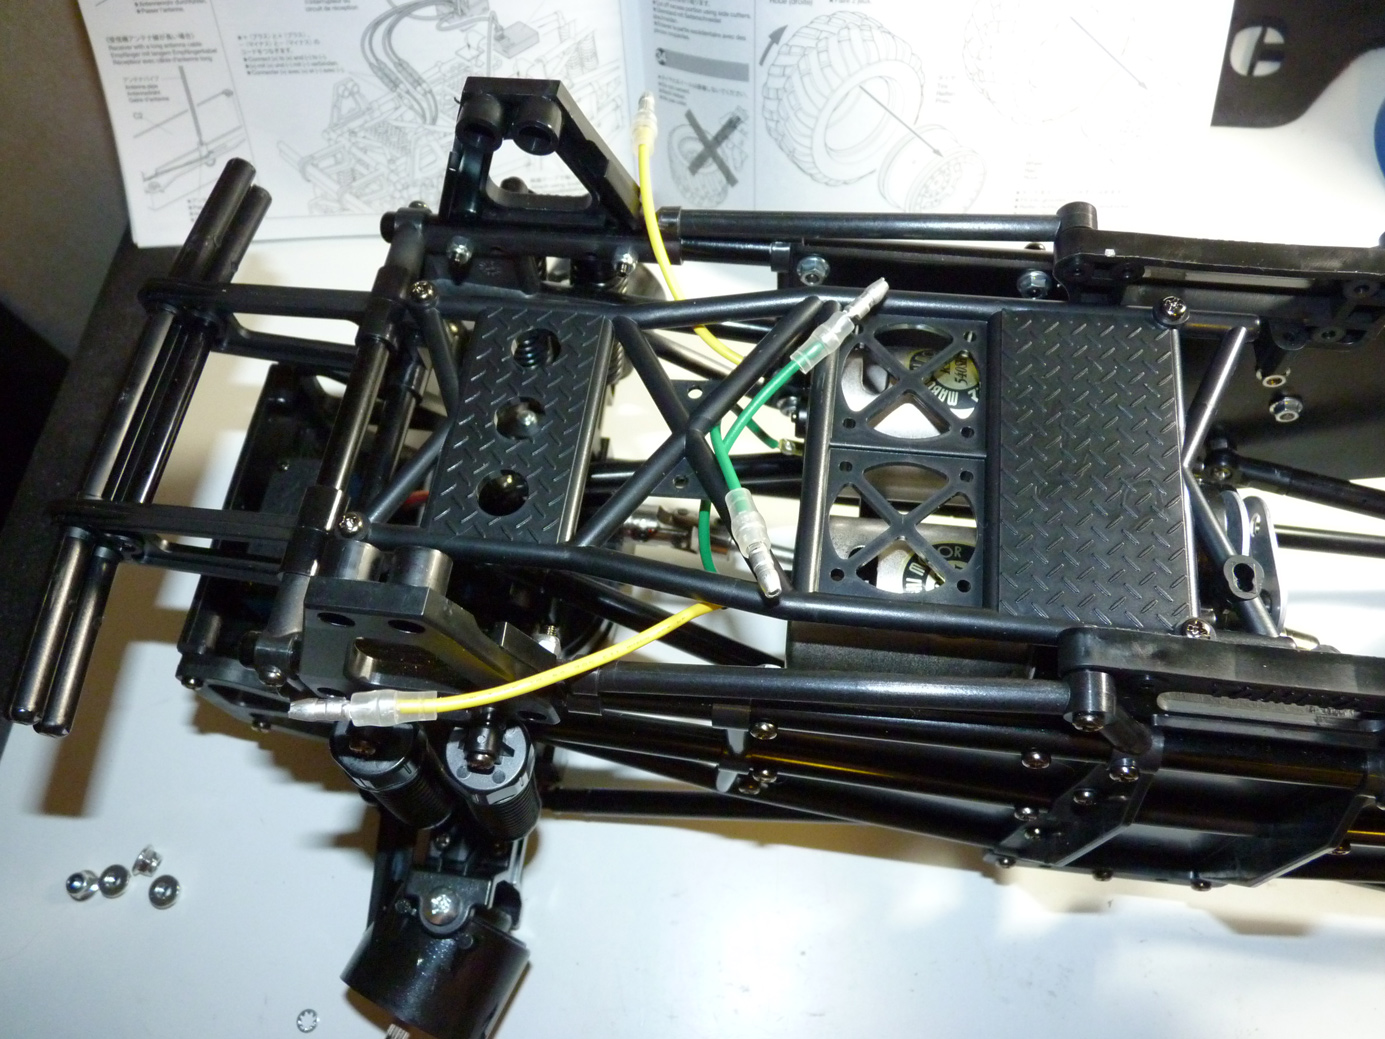
Next is the battery tray.
This drops right into the chassis and is secured from the top.
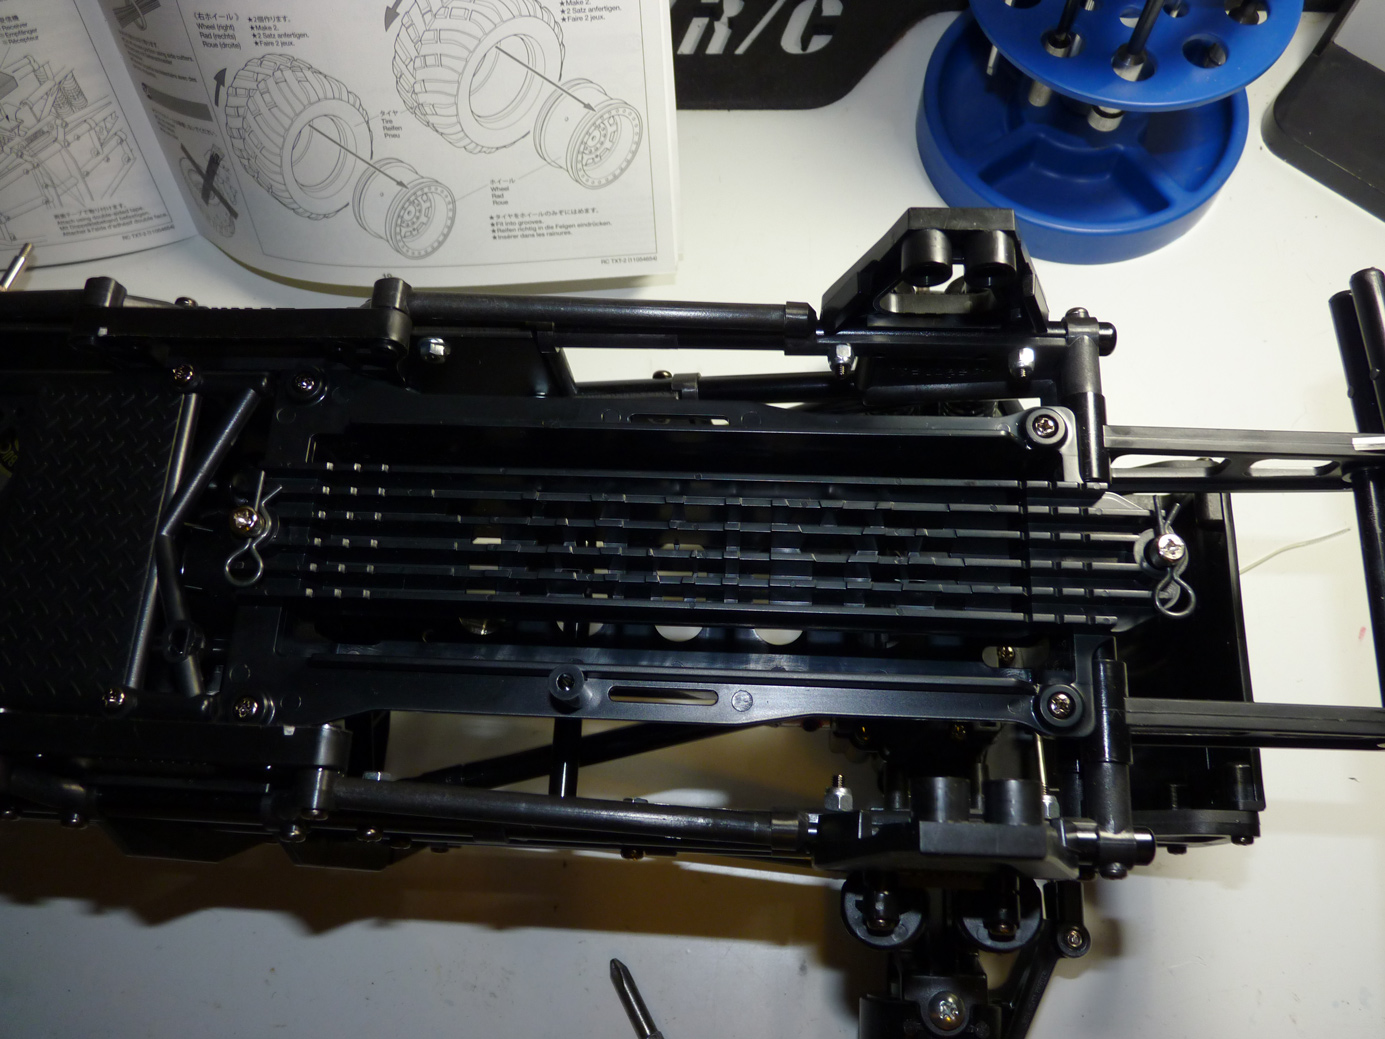
Battery hold down strap.
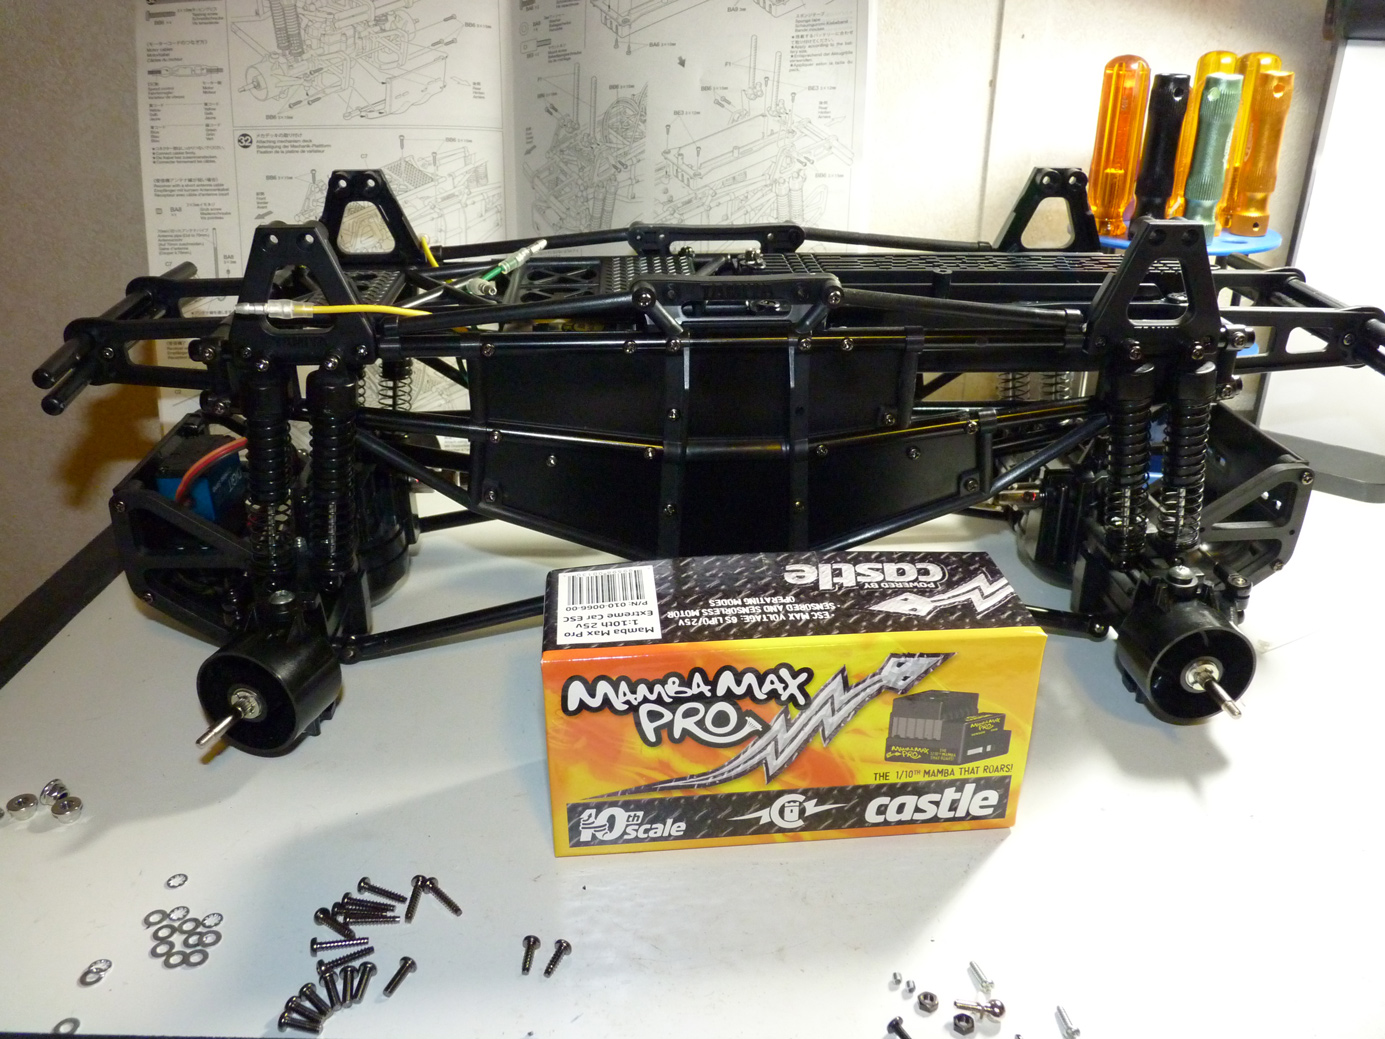
Time to install the ESC! We went with the Castle Creations Mamba Max Pro! This esc will run in brushed and brushless modes and features lipo cutoff. We plan to eventually upgrade this TXT2 with a powerful brushless motor, and starting off with this esc from the word “GO” allows us to run it in the stock configuration and then just upgrade motors down the road with no ESC swap. It will easily handle either application.
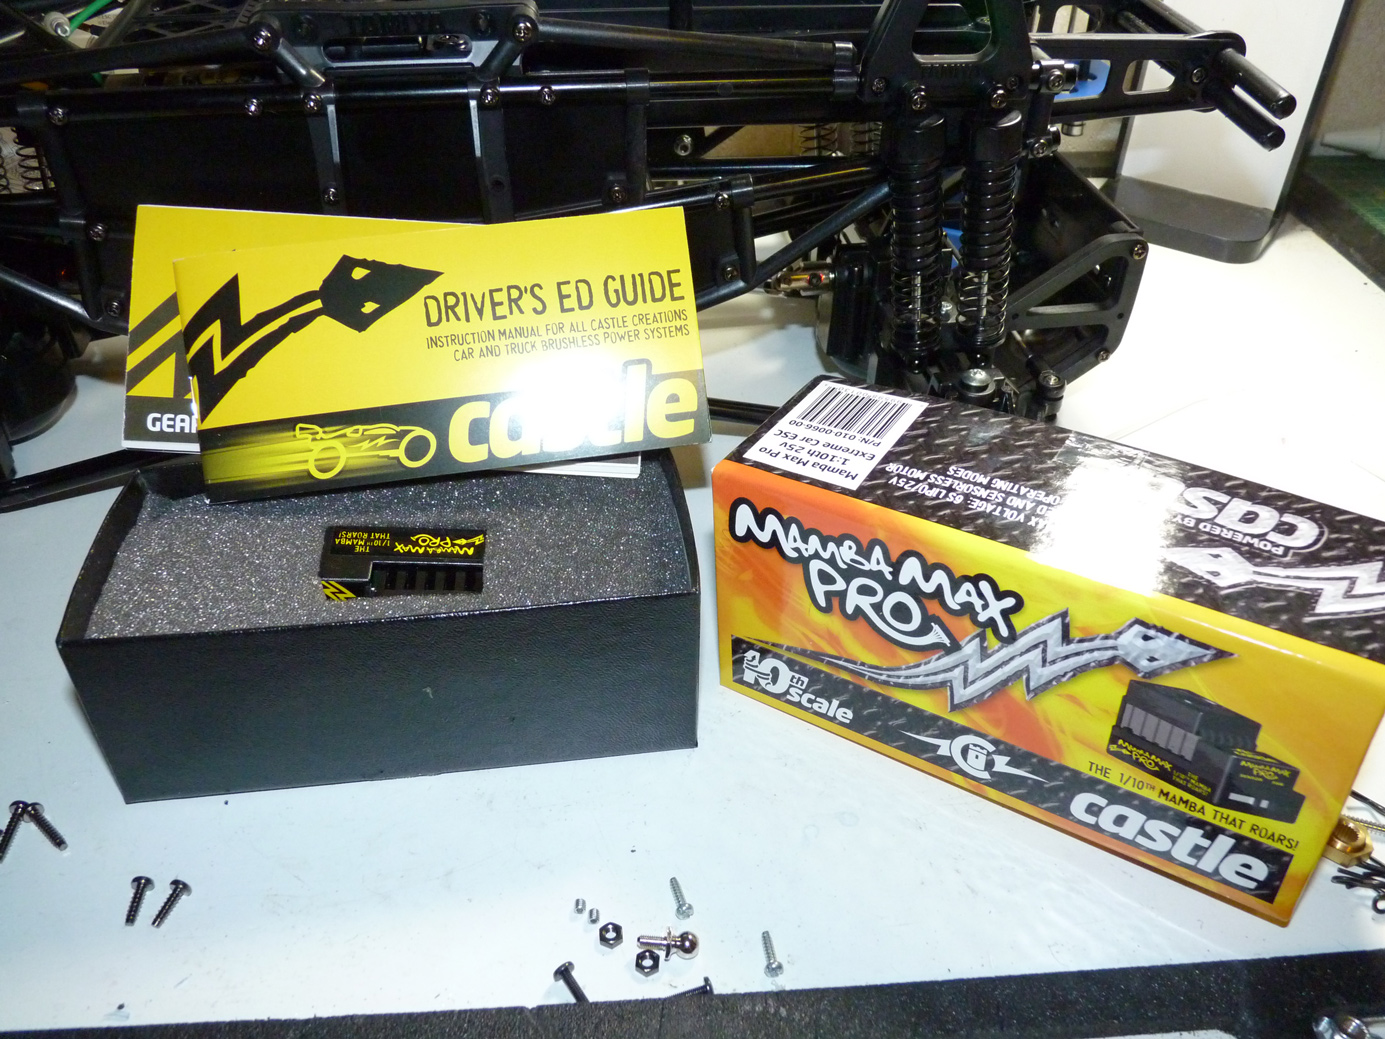
Castle power! Like no other!
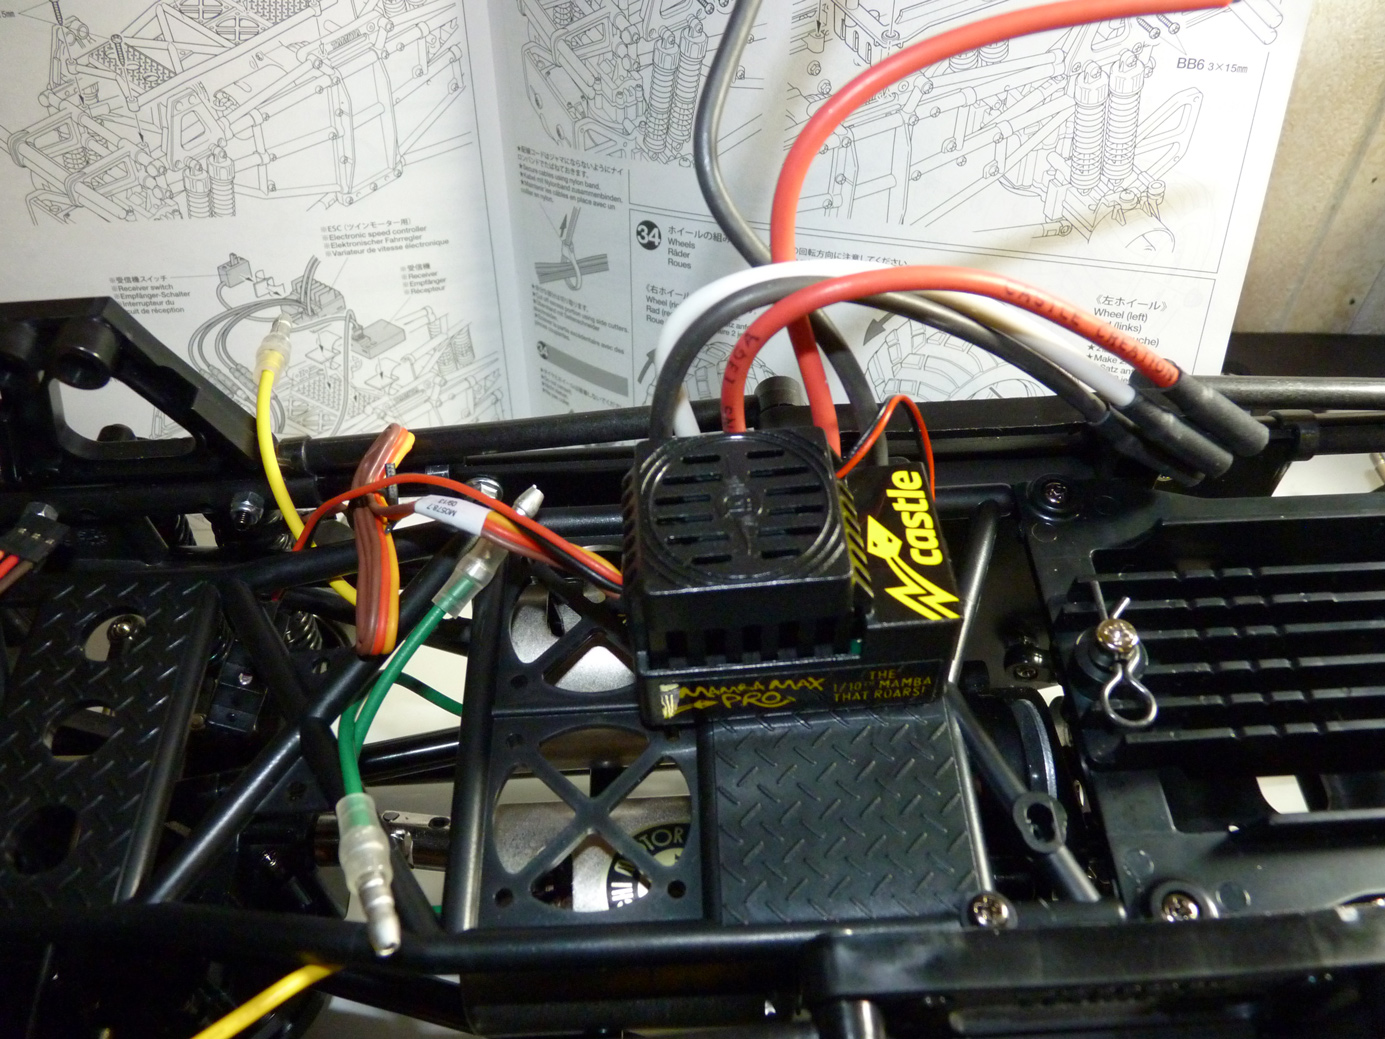
I first mocked up where I wanted to install the ESC.
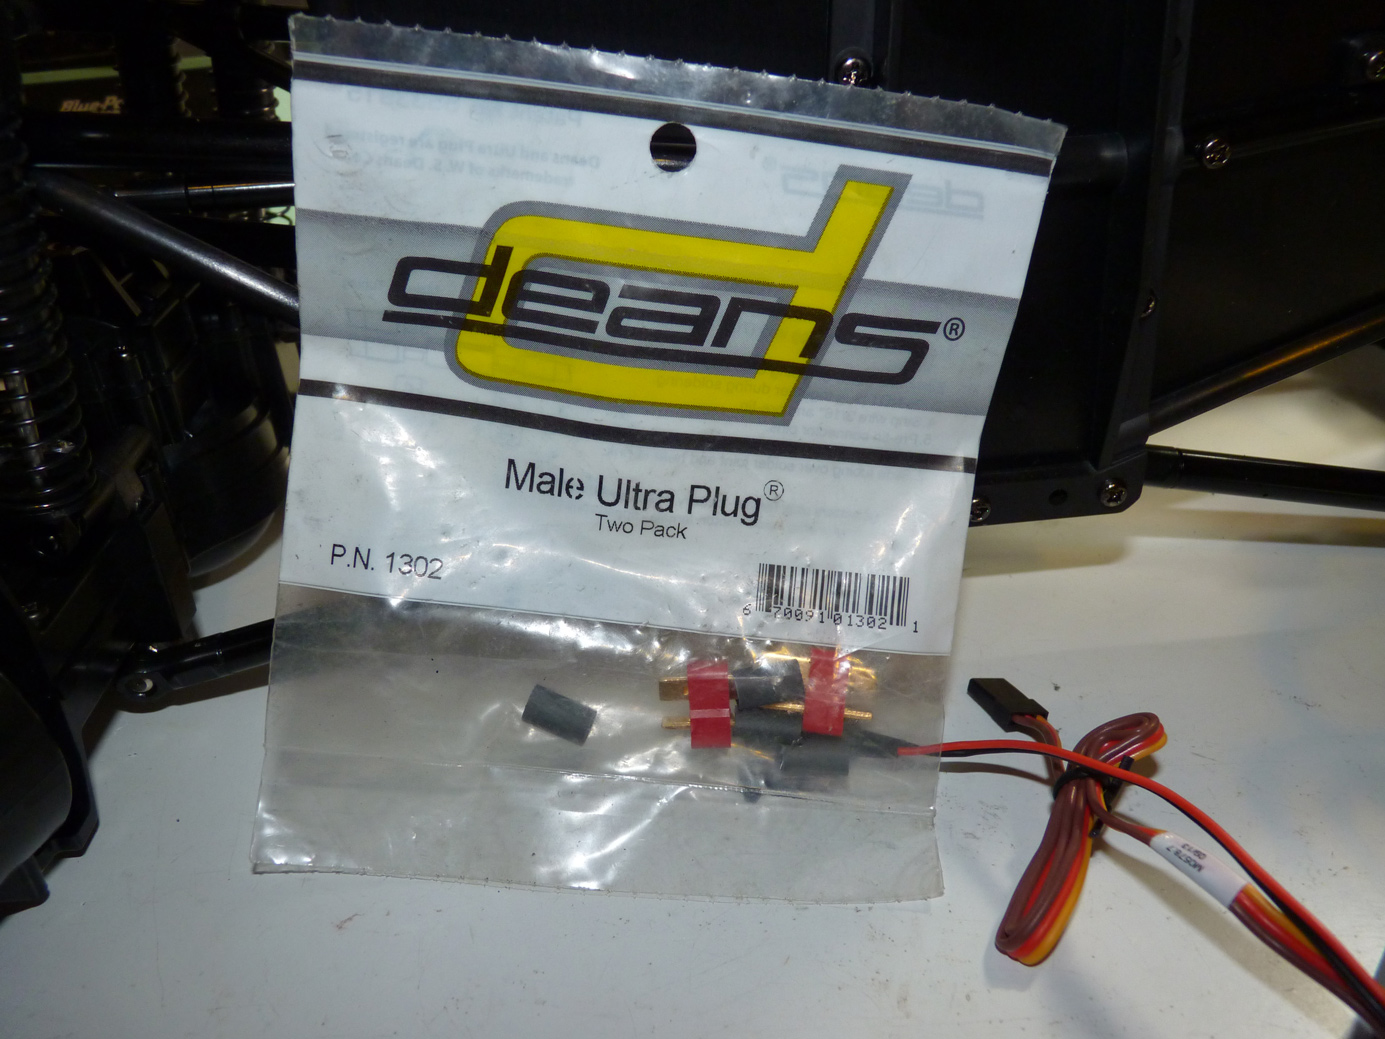
I then needed to install a battery connector. I went with the obvious choice of Deans plugs. I use them on everything.
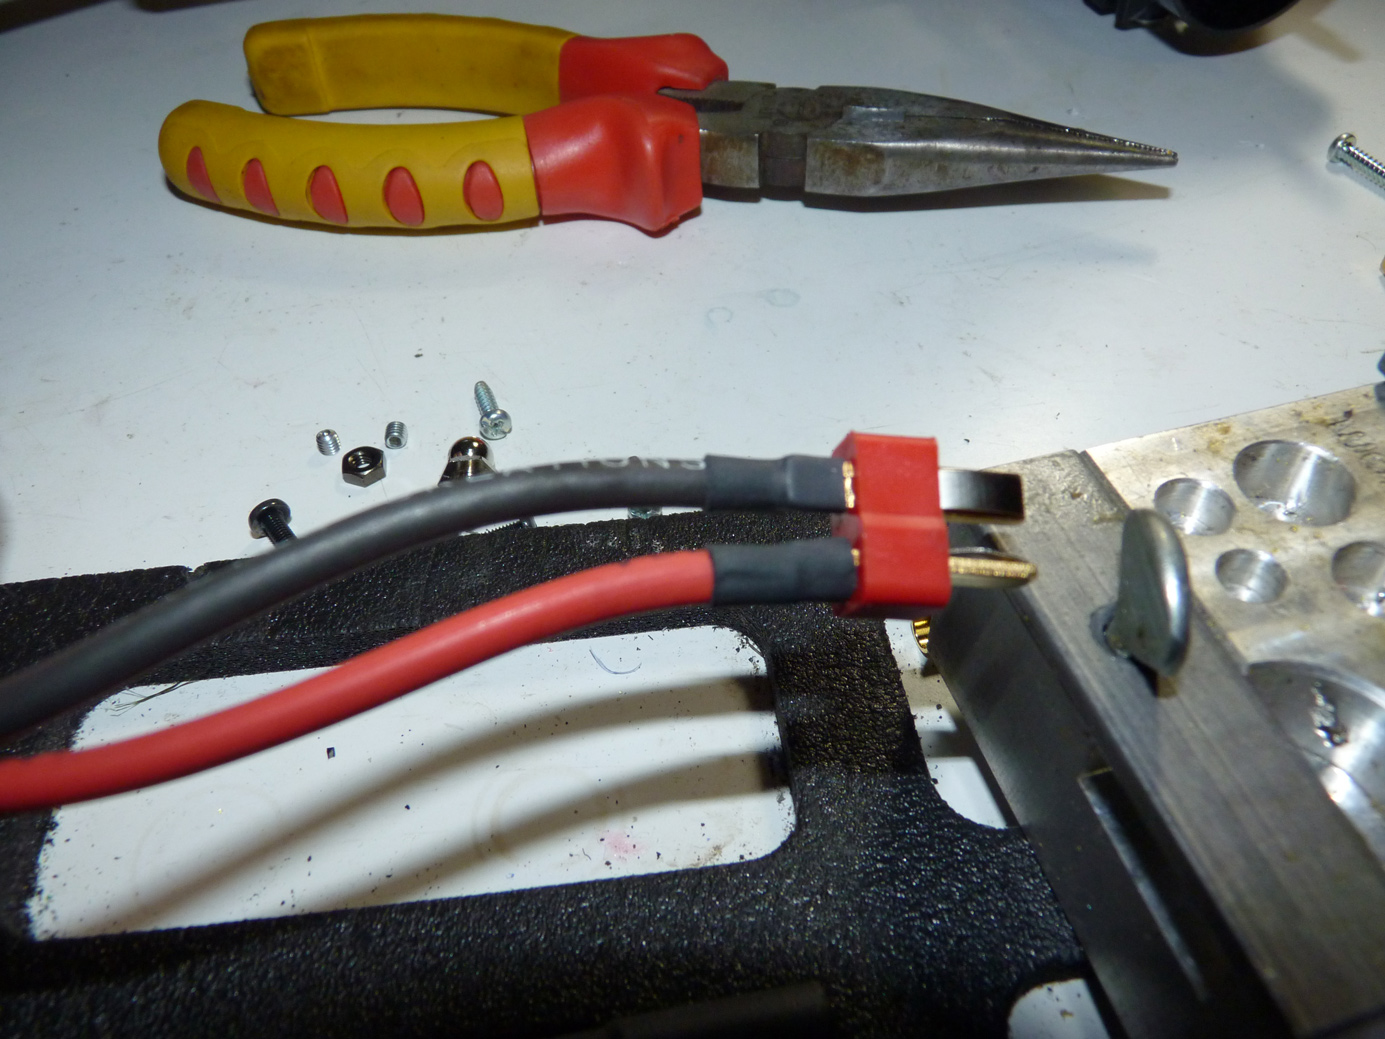
Soldered on.
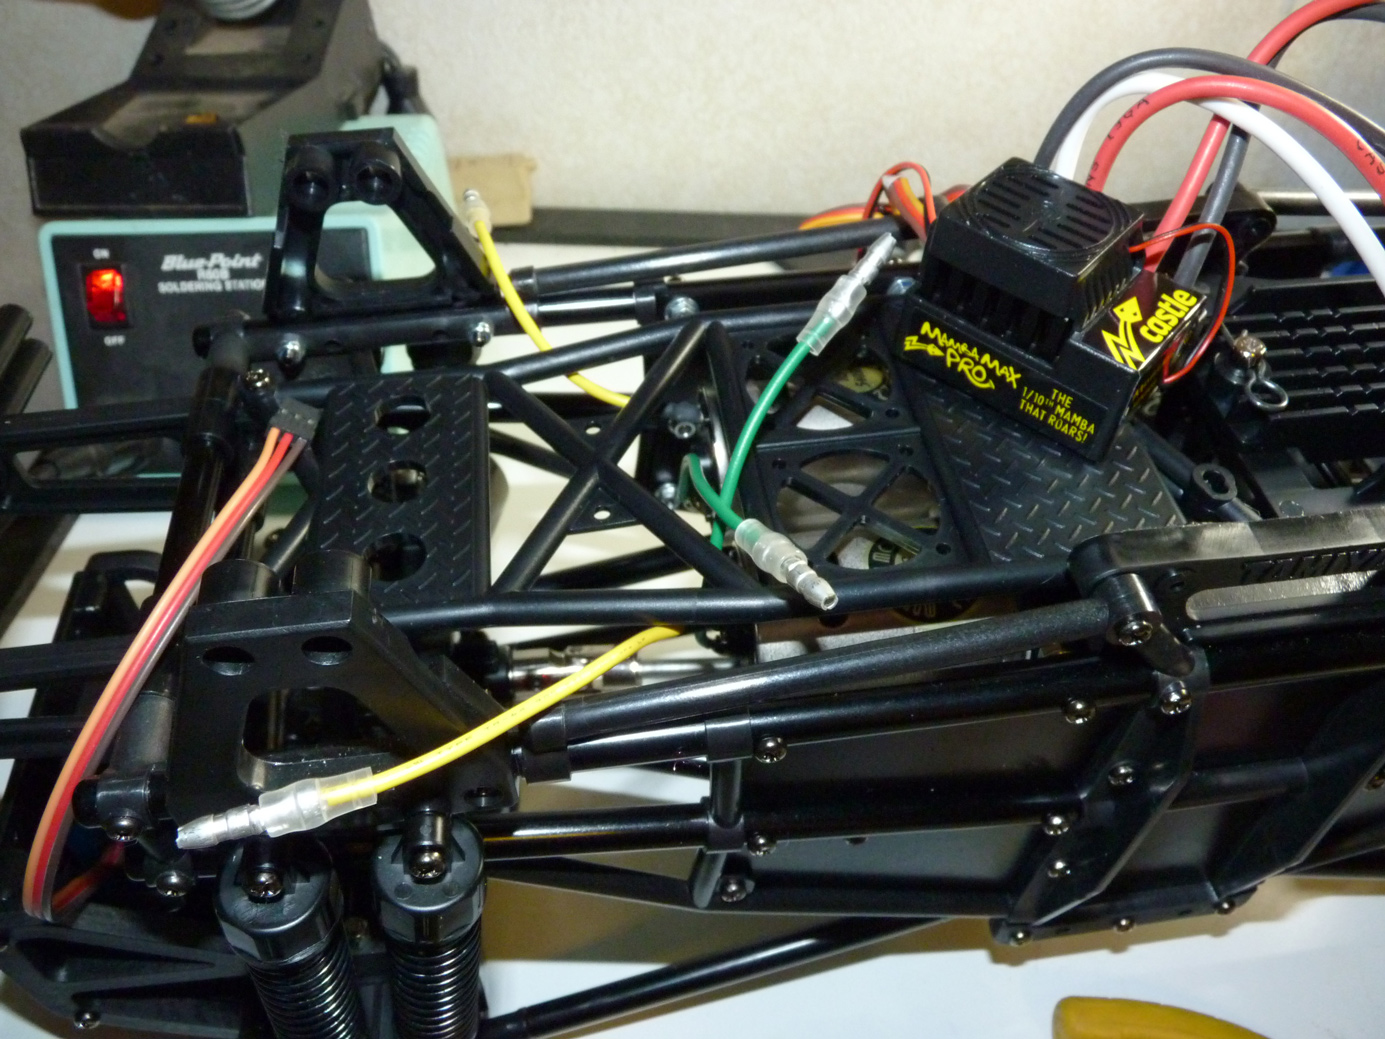
The next question was how I was going to connect two sets of motor wires to one set of ESC lead wires.
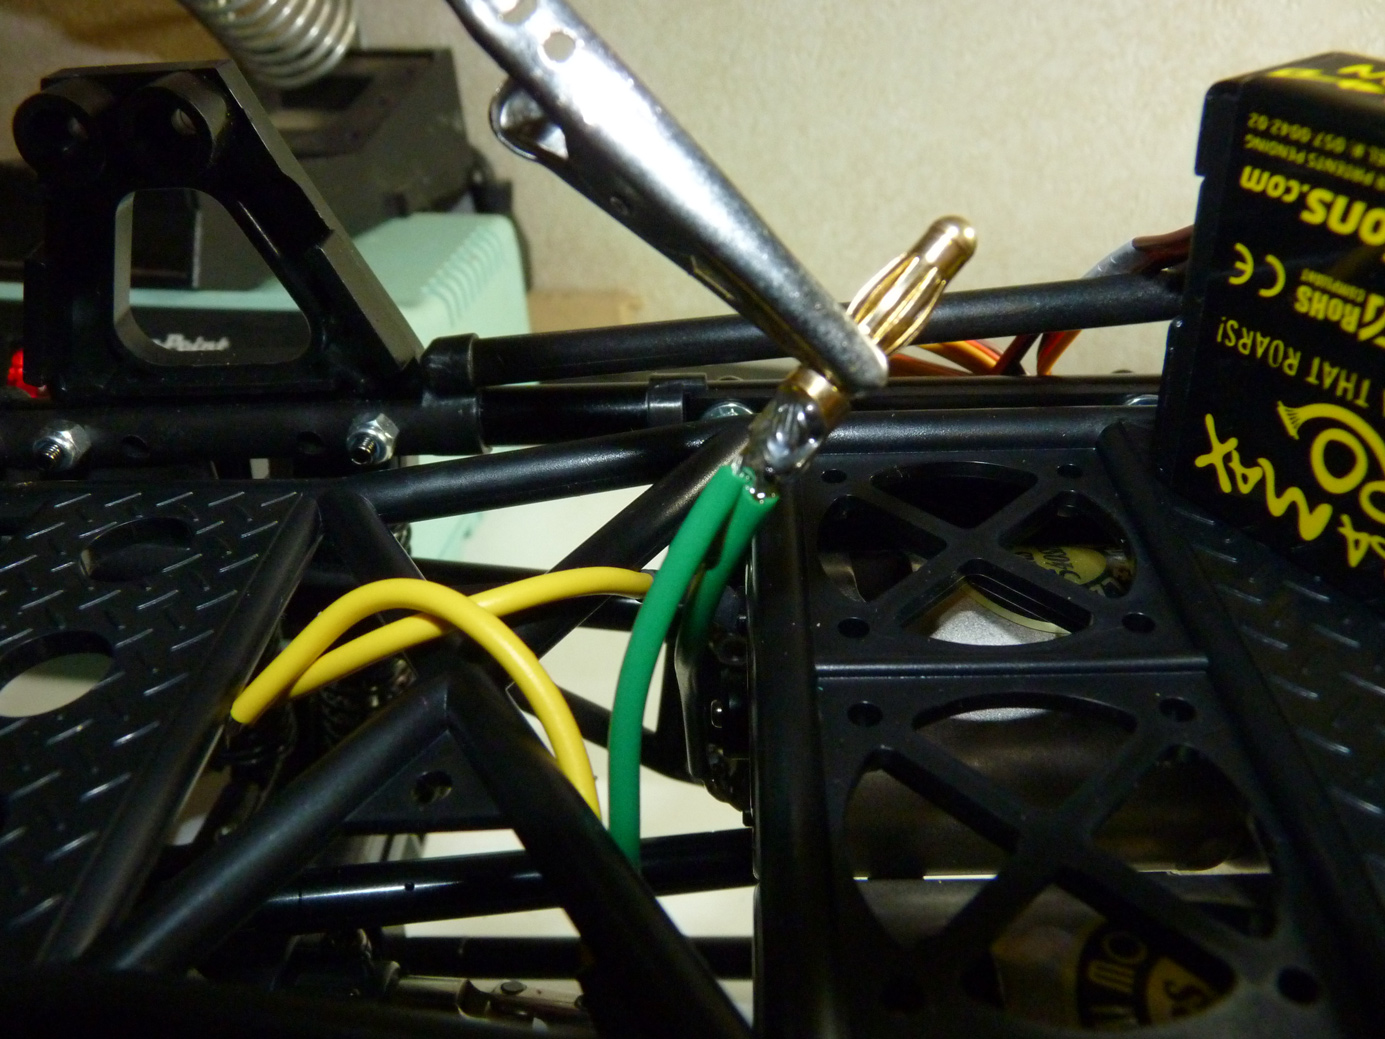
I opted to splice both motor leads into a single set of bullet connectors. I wish I had high-current solid male bullets laying around but only had these. They will do for now. I’d recommend the solid ones over this spring style as they offer a better connection with less possibility of loosening and arching inside the female bullet end.
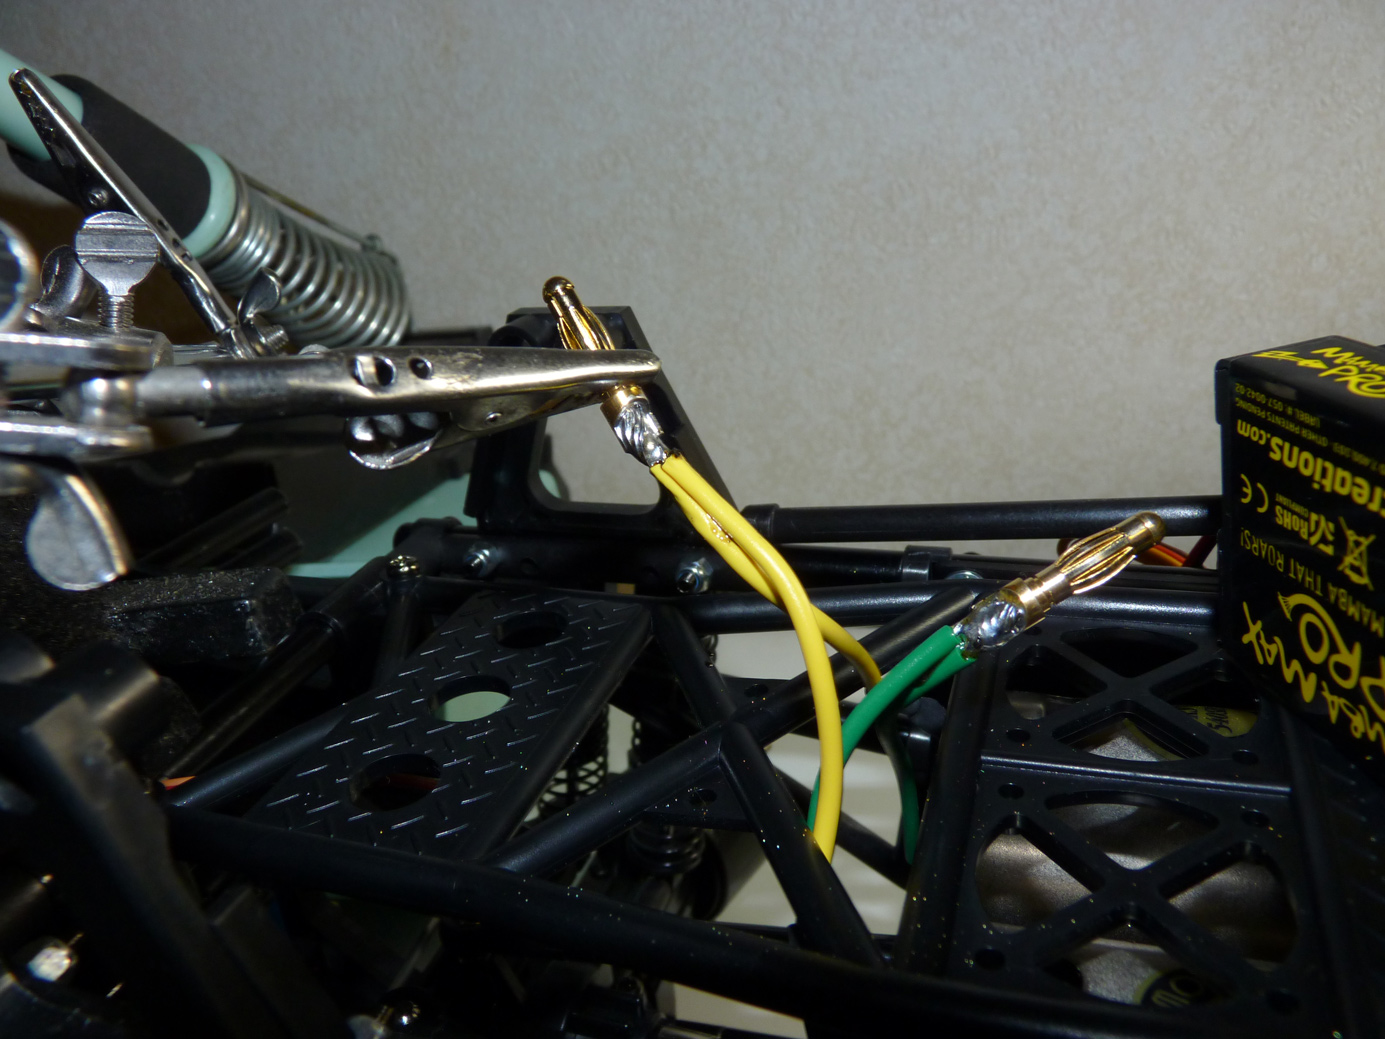
Other pair mated into a single bullet. I somehow ran our of electrical tape or heat shrink. I will be fixing these wires before it’s test run. I’m just getting it put together for initial testing.
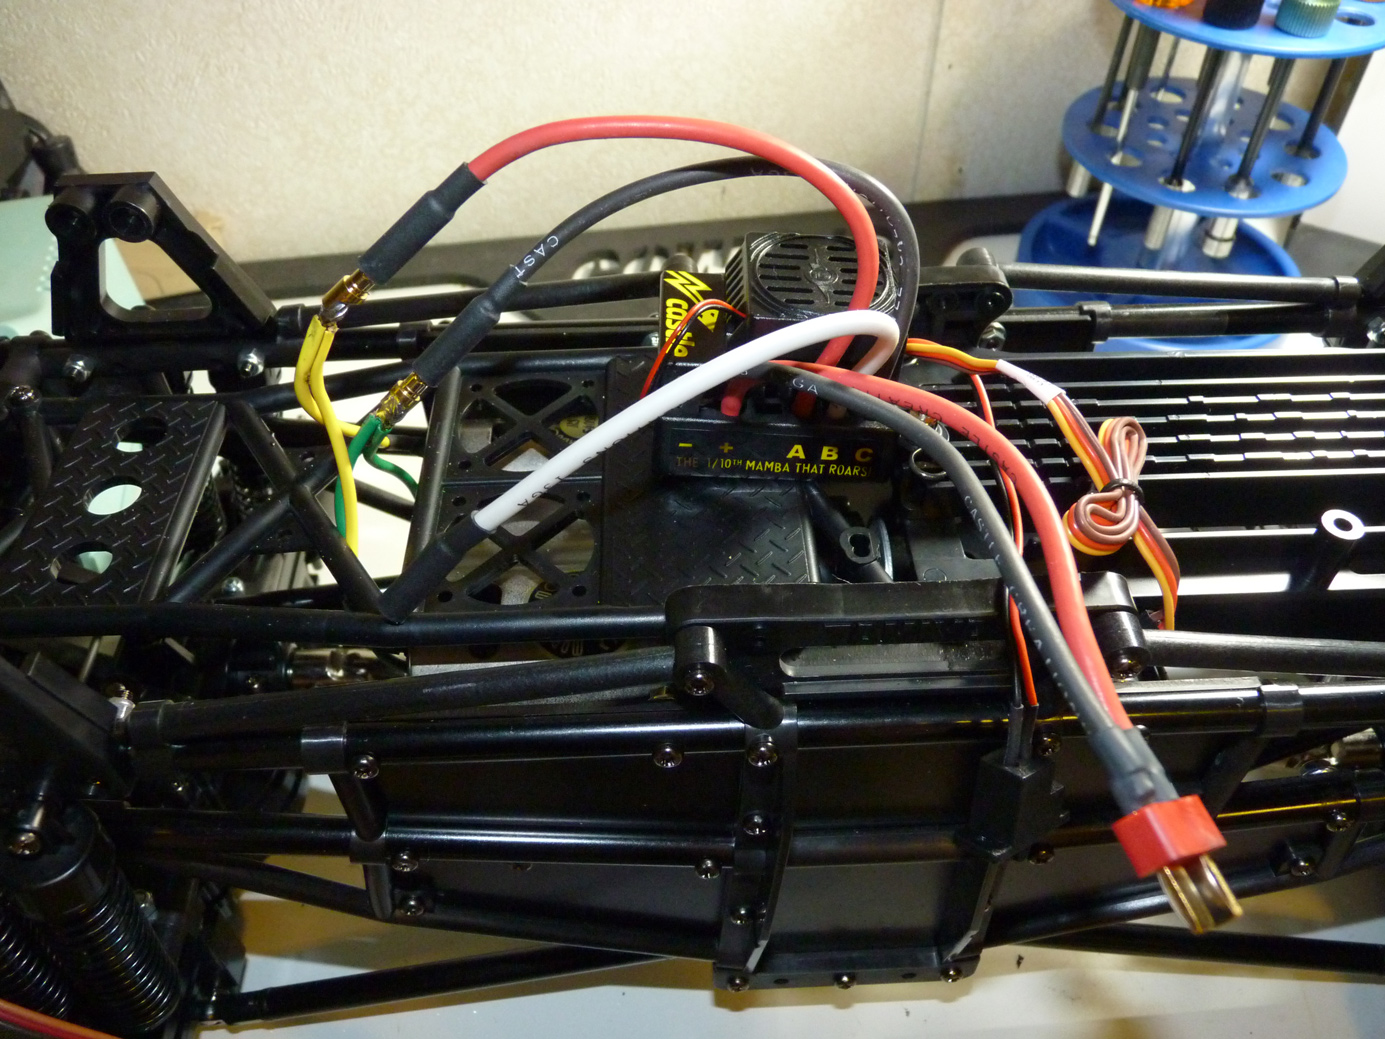
Wired up. The white wire is only used in brushless mode, and is not needed at this time.

Now it’s time to install the radio. Again, we went with the super compact and fully featured Airtronics MT-4 telemetry 2.4ghz system.
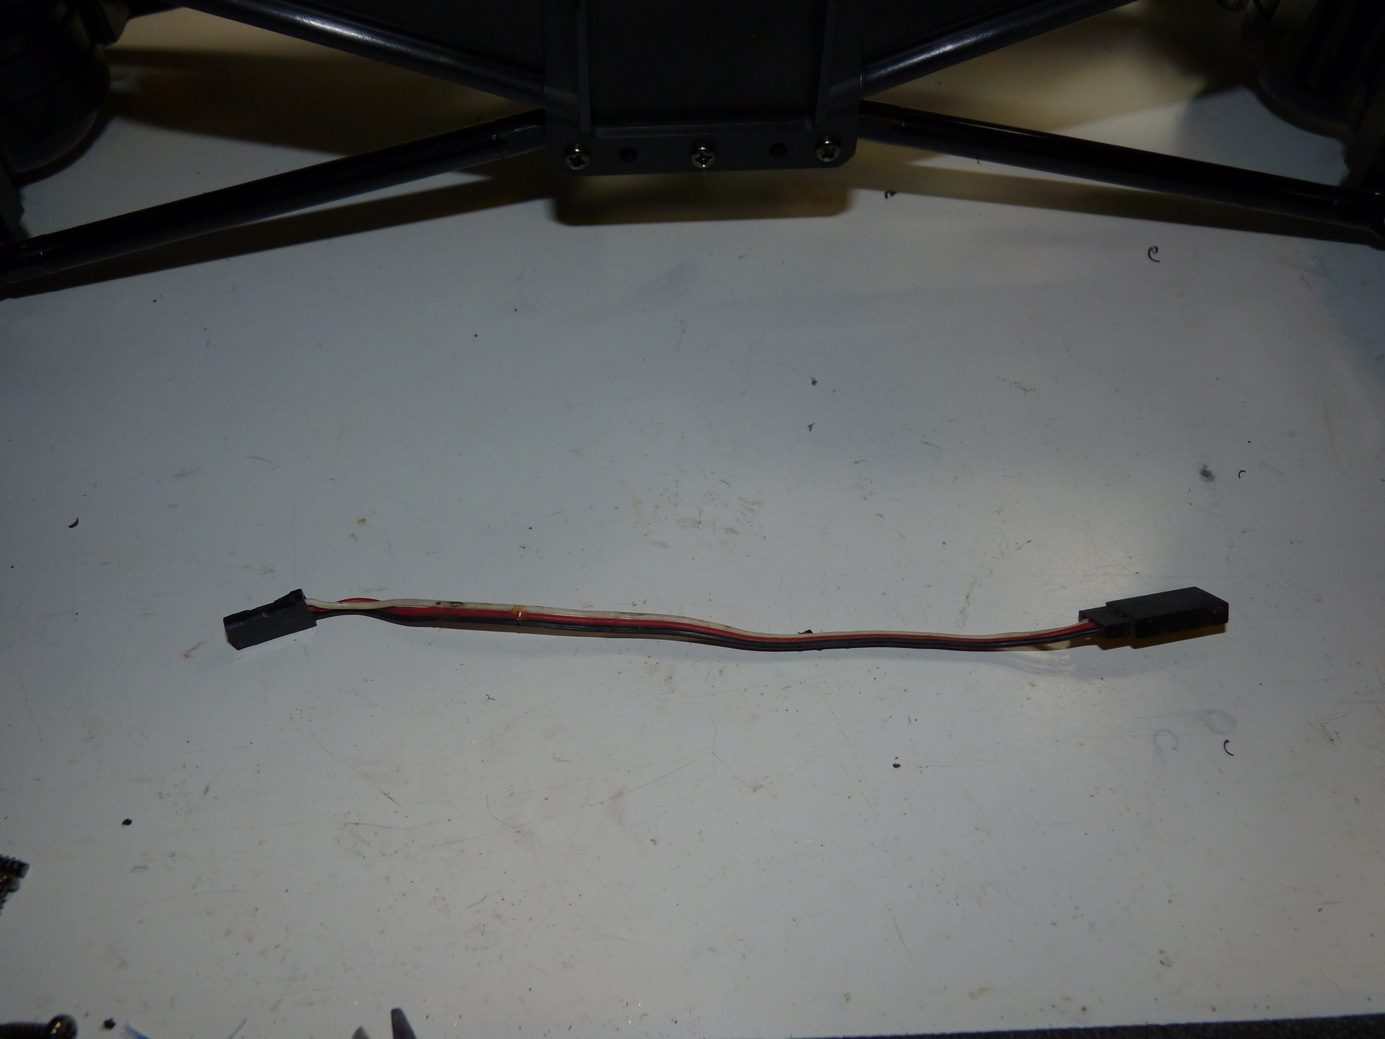
A 6″ servo extension will be required to get signal to that Savox servo up front with the ridiculously short lead.
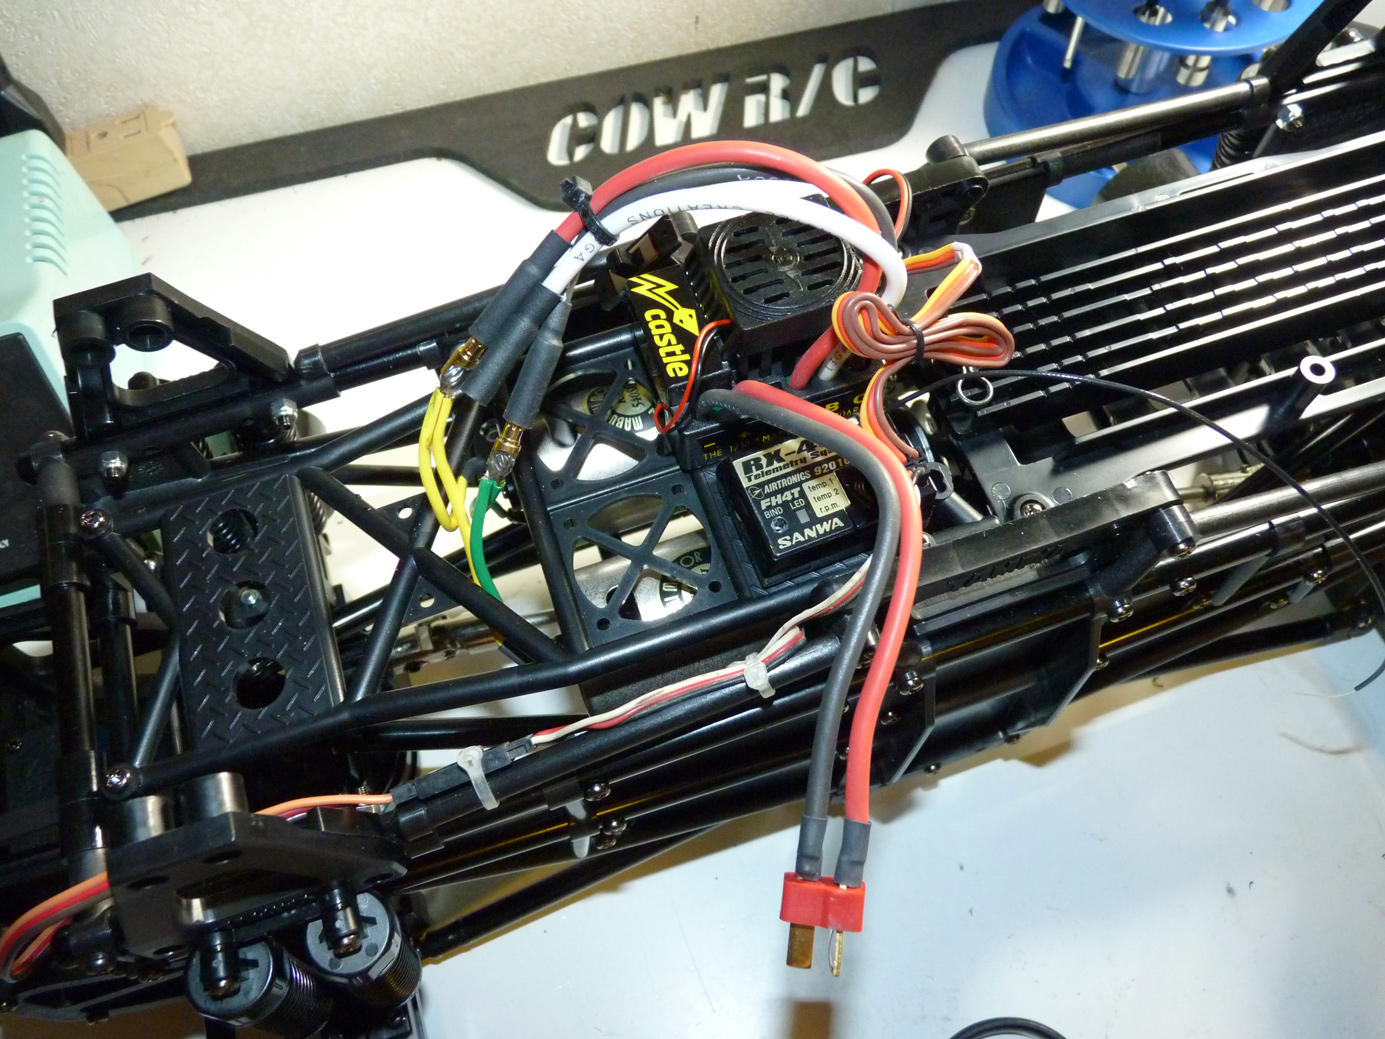
Now we’re in business (minus the exposed motor wires – I’ll fix that).
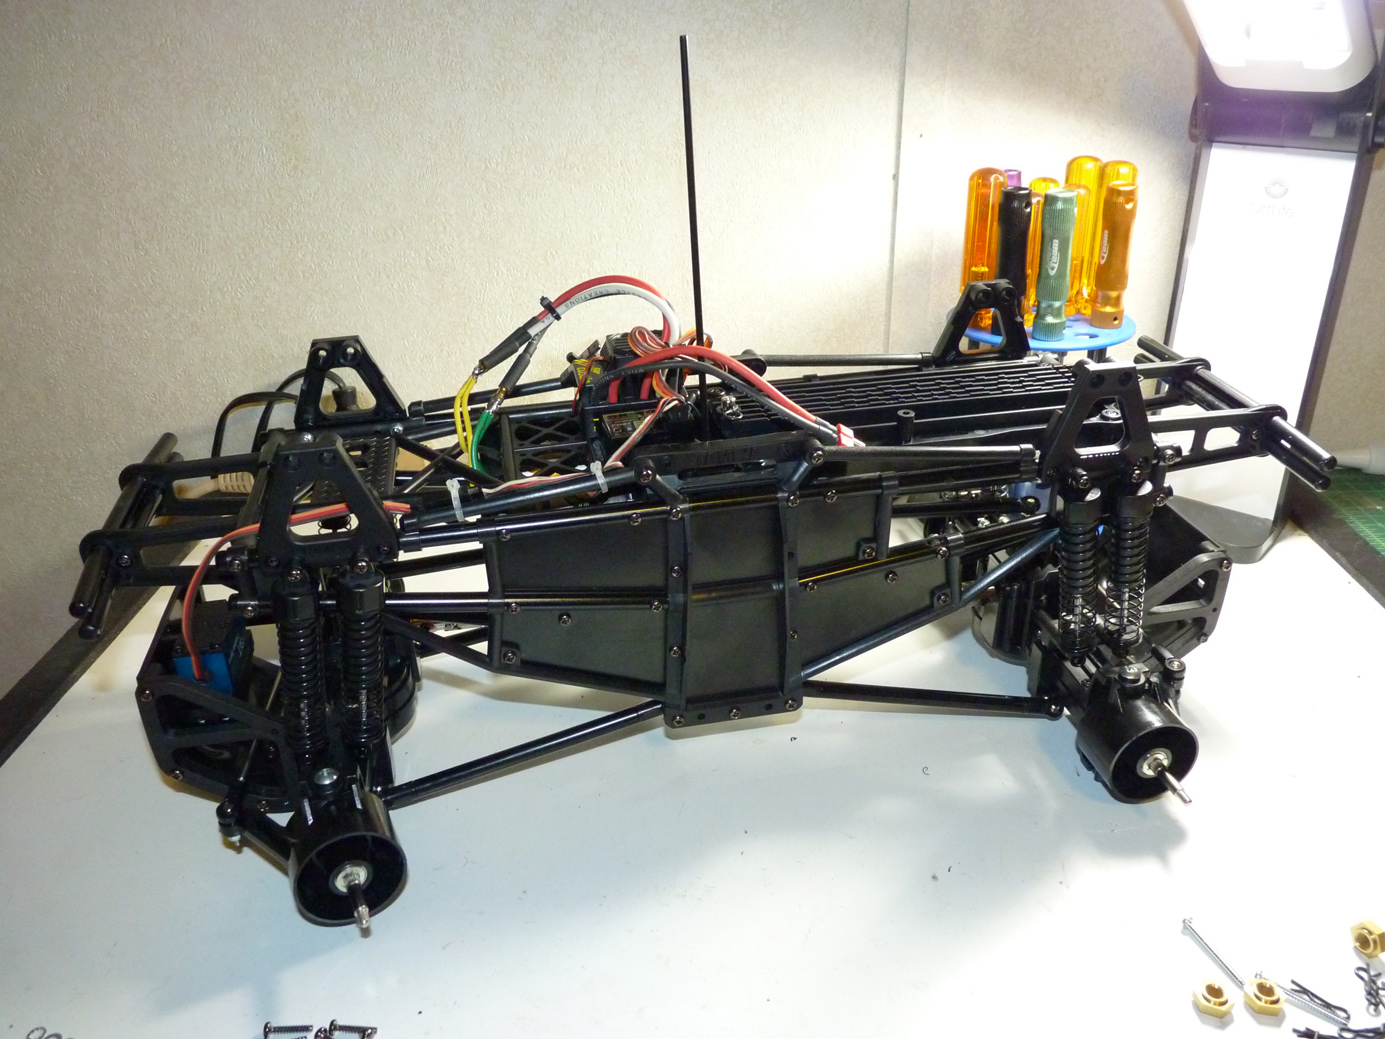
It’s soooo close!
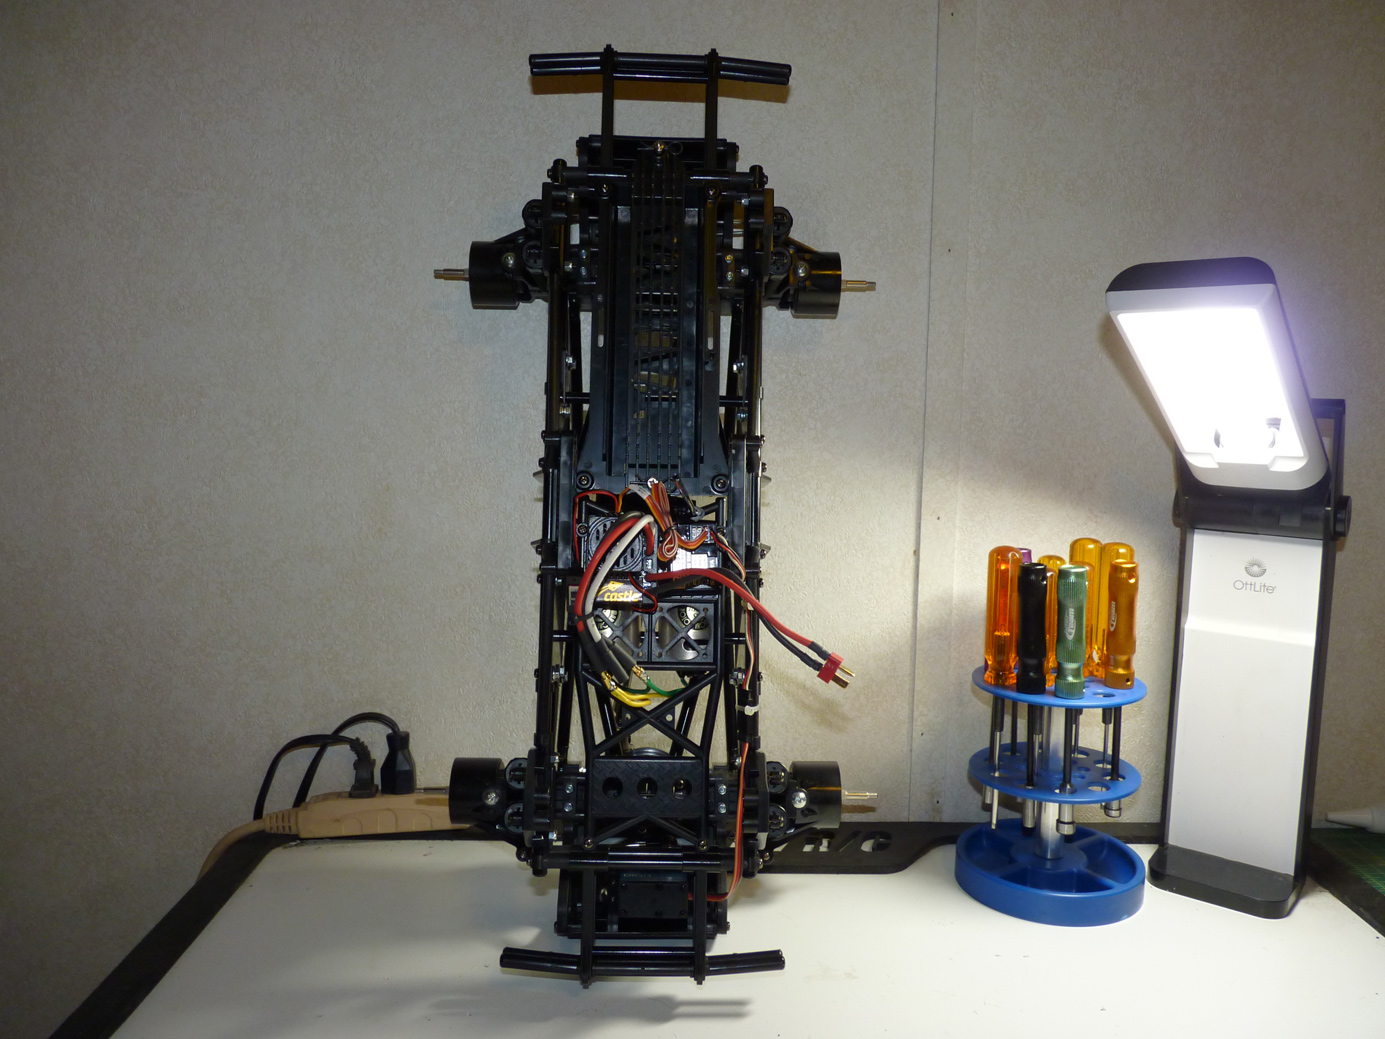
Looking good!
Body mounts.
Body mounts install with 2 screws each. Now we are on the home stretch.
Continue onto the final page for the last steps.
 Posted in
  Tags:
Tags:
[…] night before to switch all my “race” vehicles onto that Airtronics MT-4 we used in the Tamiya TXT2 build up. I didn’t get a lap on either car (or the radio) before the tone went off during my first […]