

 August 28th, 2014
  Kevin
Kevin Next up is the Bag B hardware parts where we will begin to tackle installing some of the parts like the suspension arms.
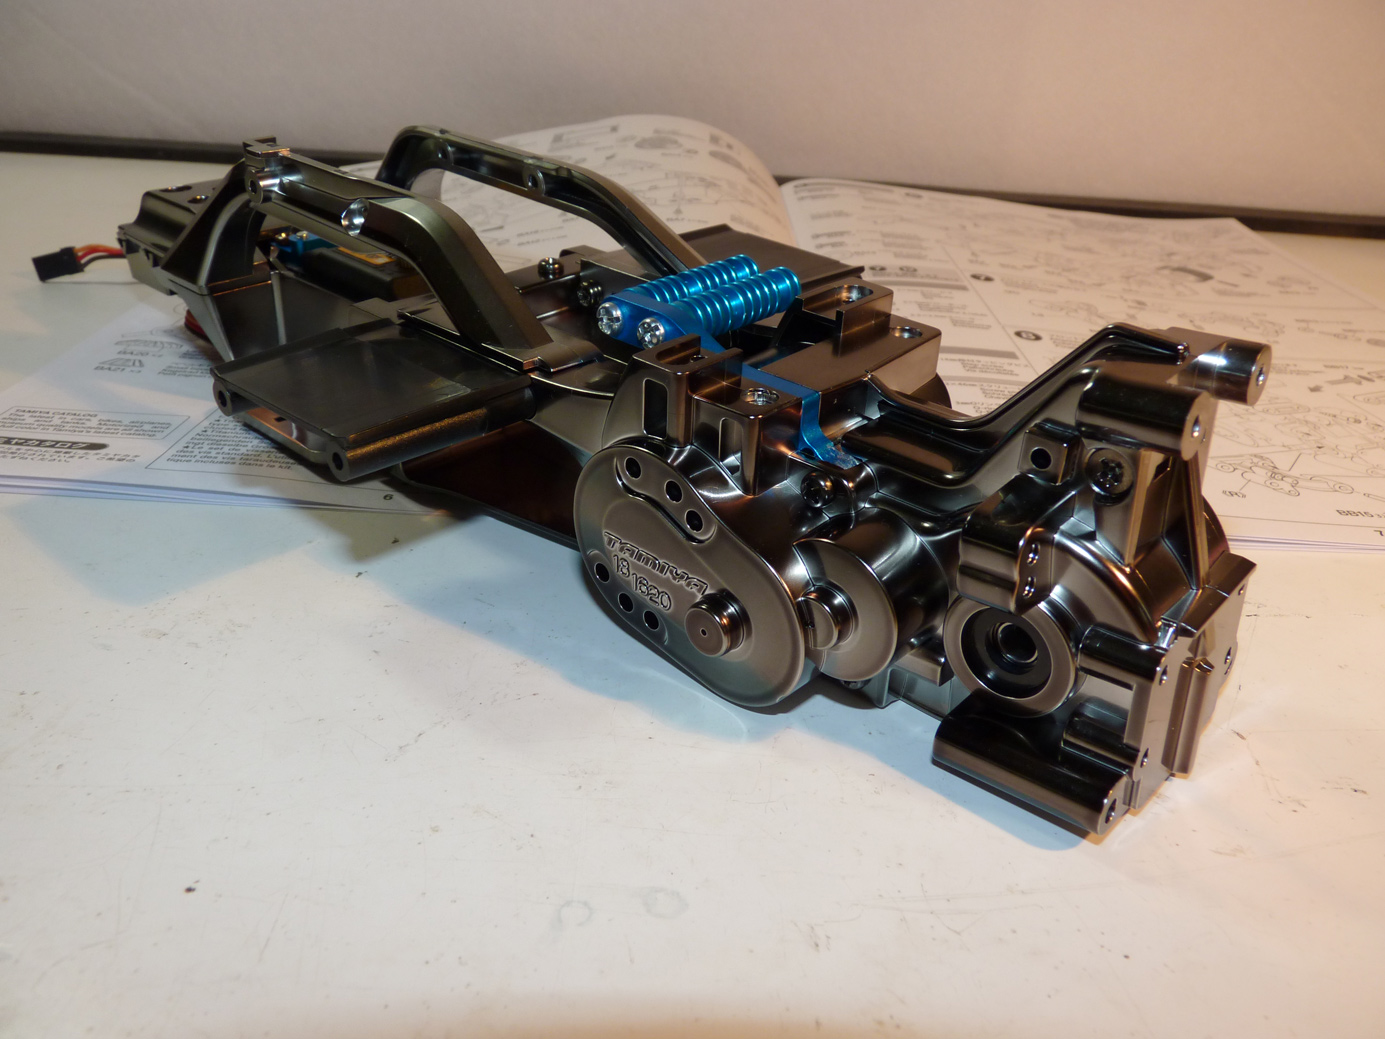
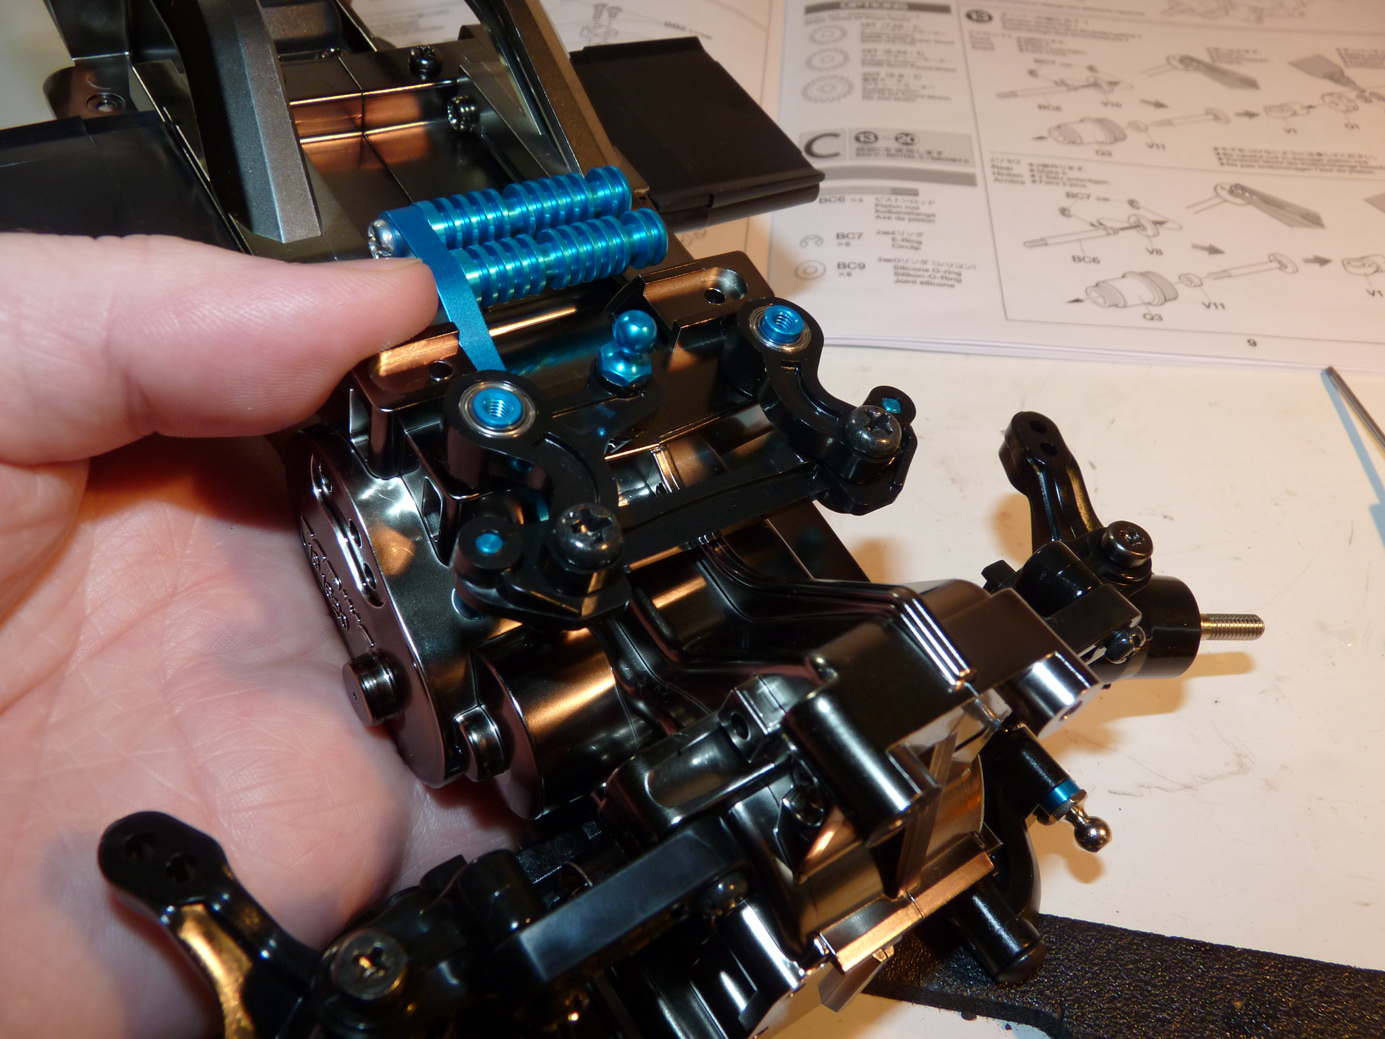
Here’s where we left off on the last page.
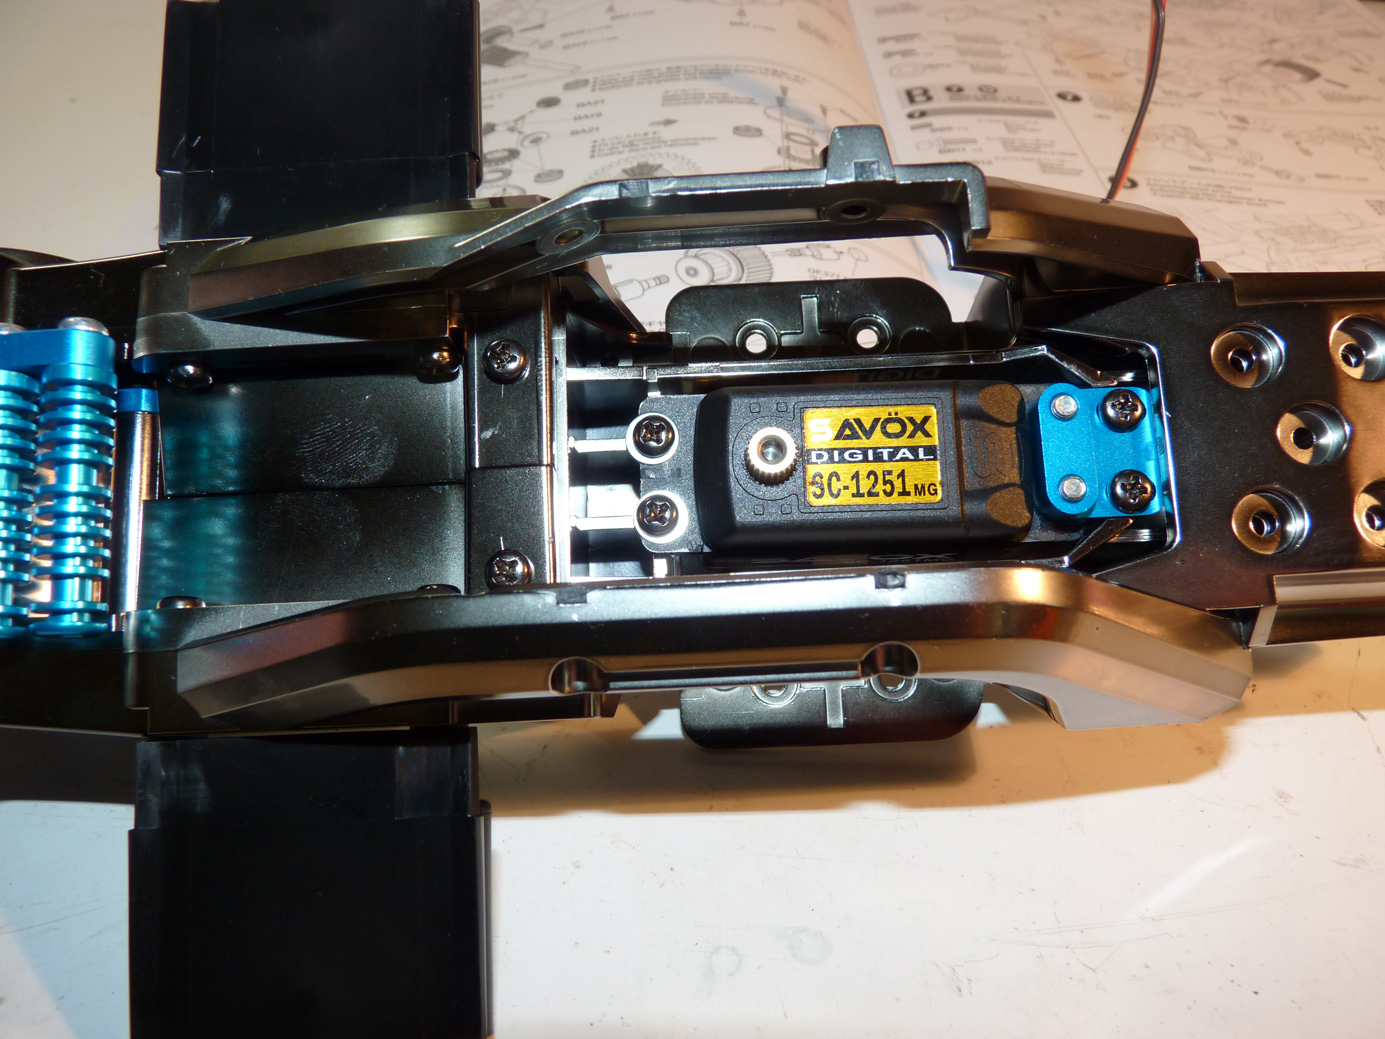
Top view, with the servo. That low-profile Savox 1251 is sitting nice and low in there. I love it.
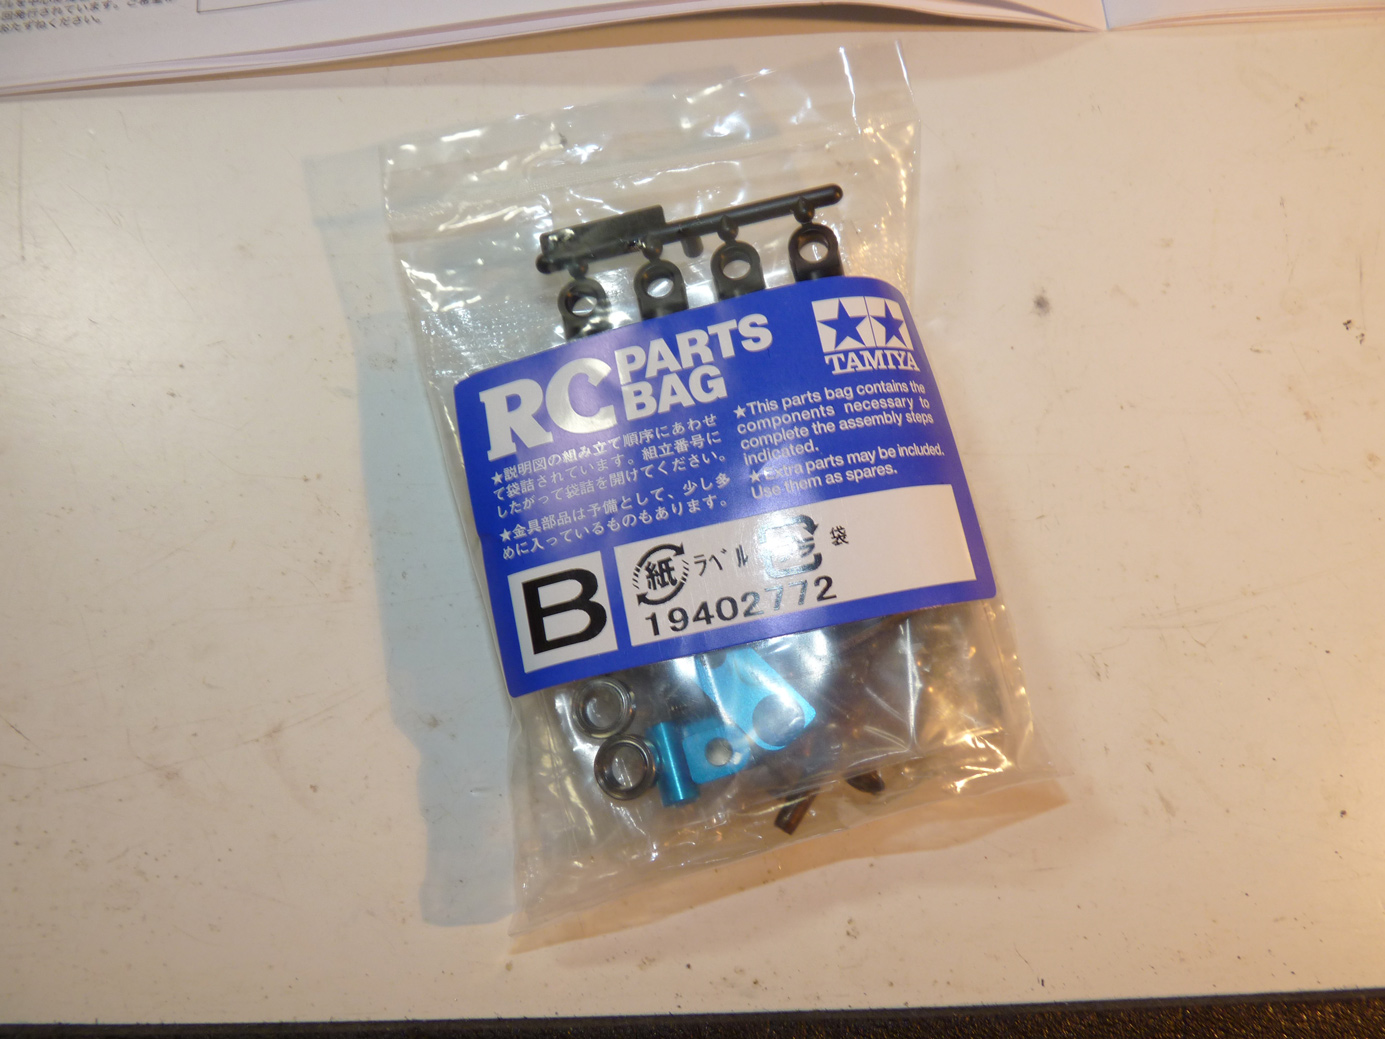
Now it’s time to open hardware Bag B.
In this section we’ll be installing the suspension arms, steering bellcrank, and drive shafts.
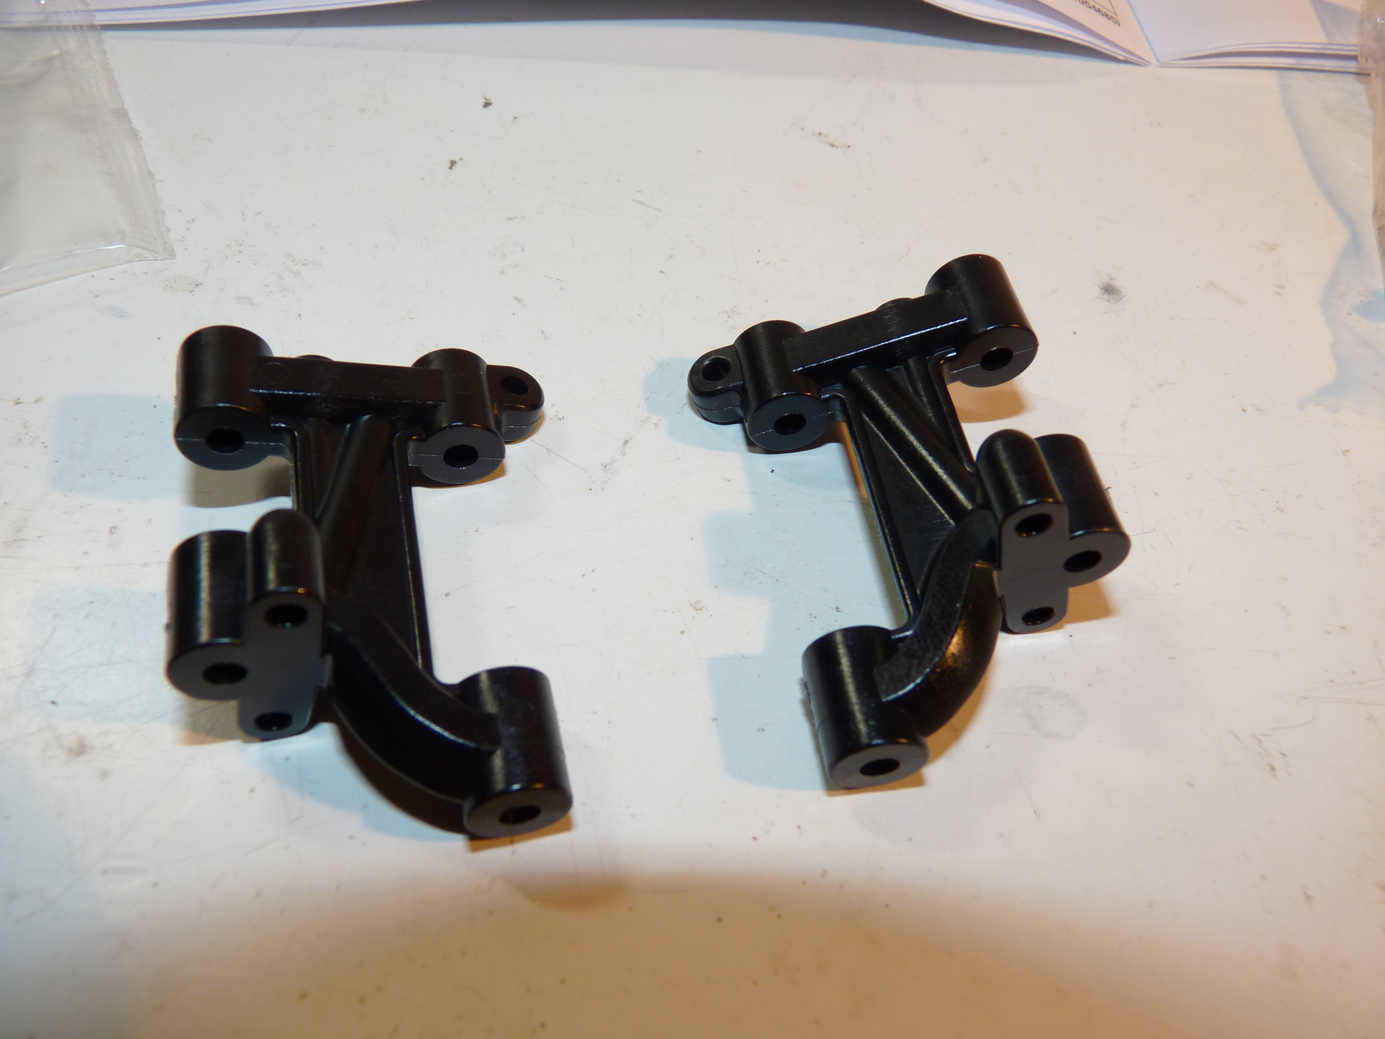
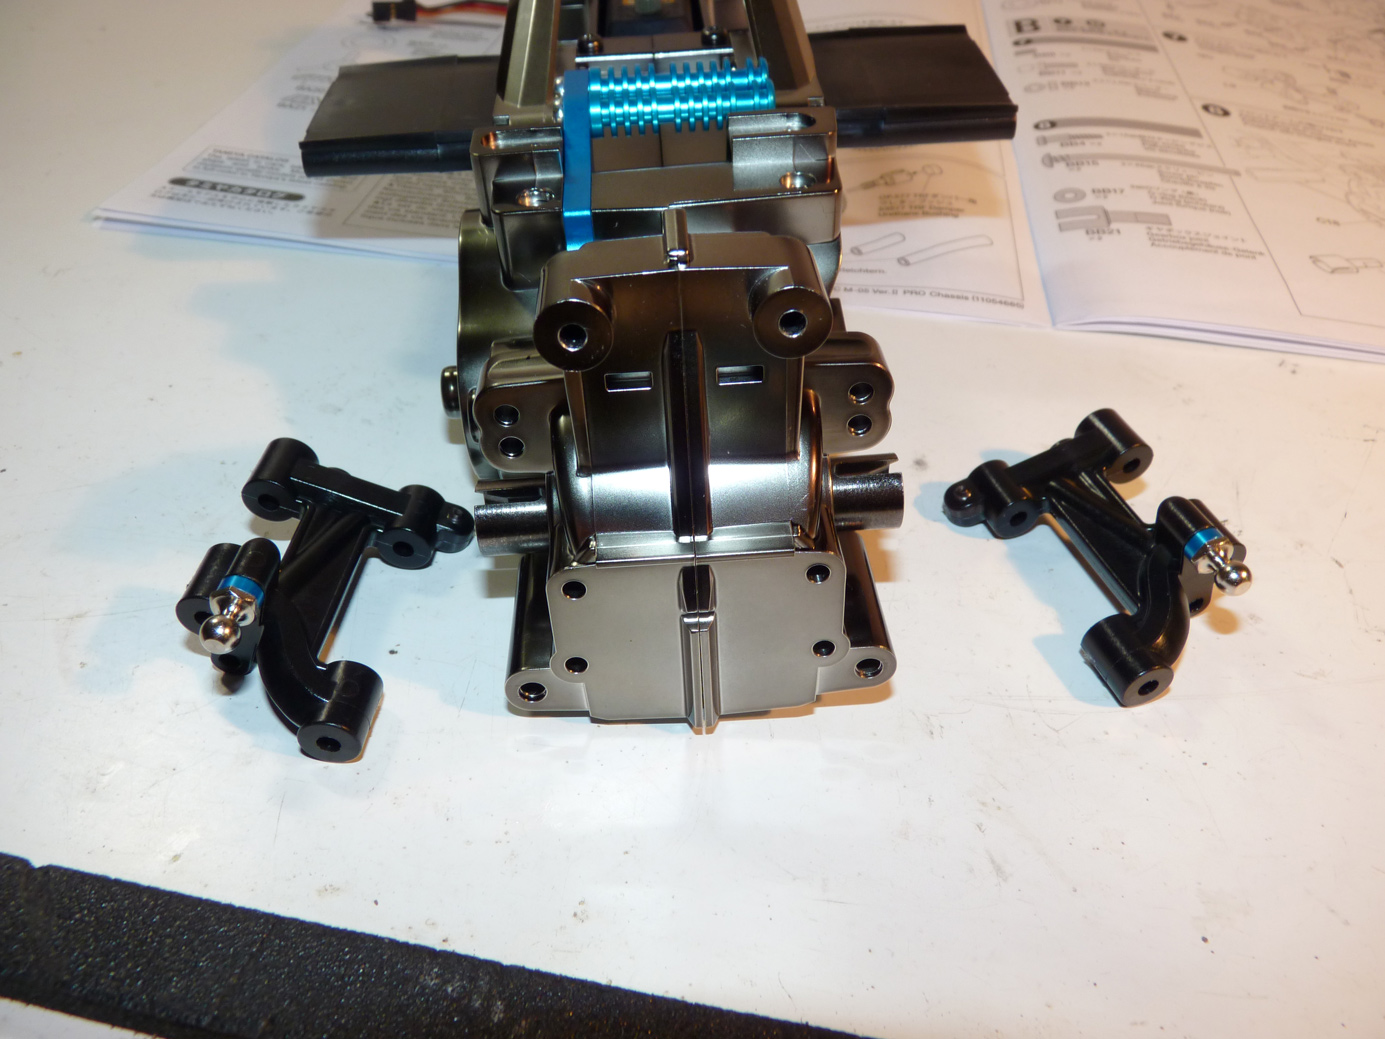
These 1-piece A-Arms are unique to the M-05V2 Pro kit. Previous M-05 models used 2 piece arms that were screwed together. This design seems much more efficient.
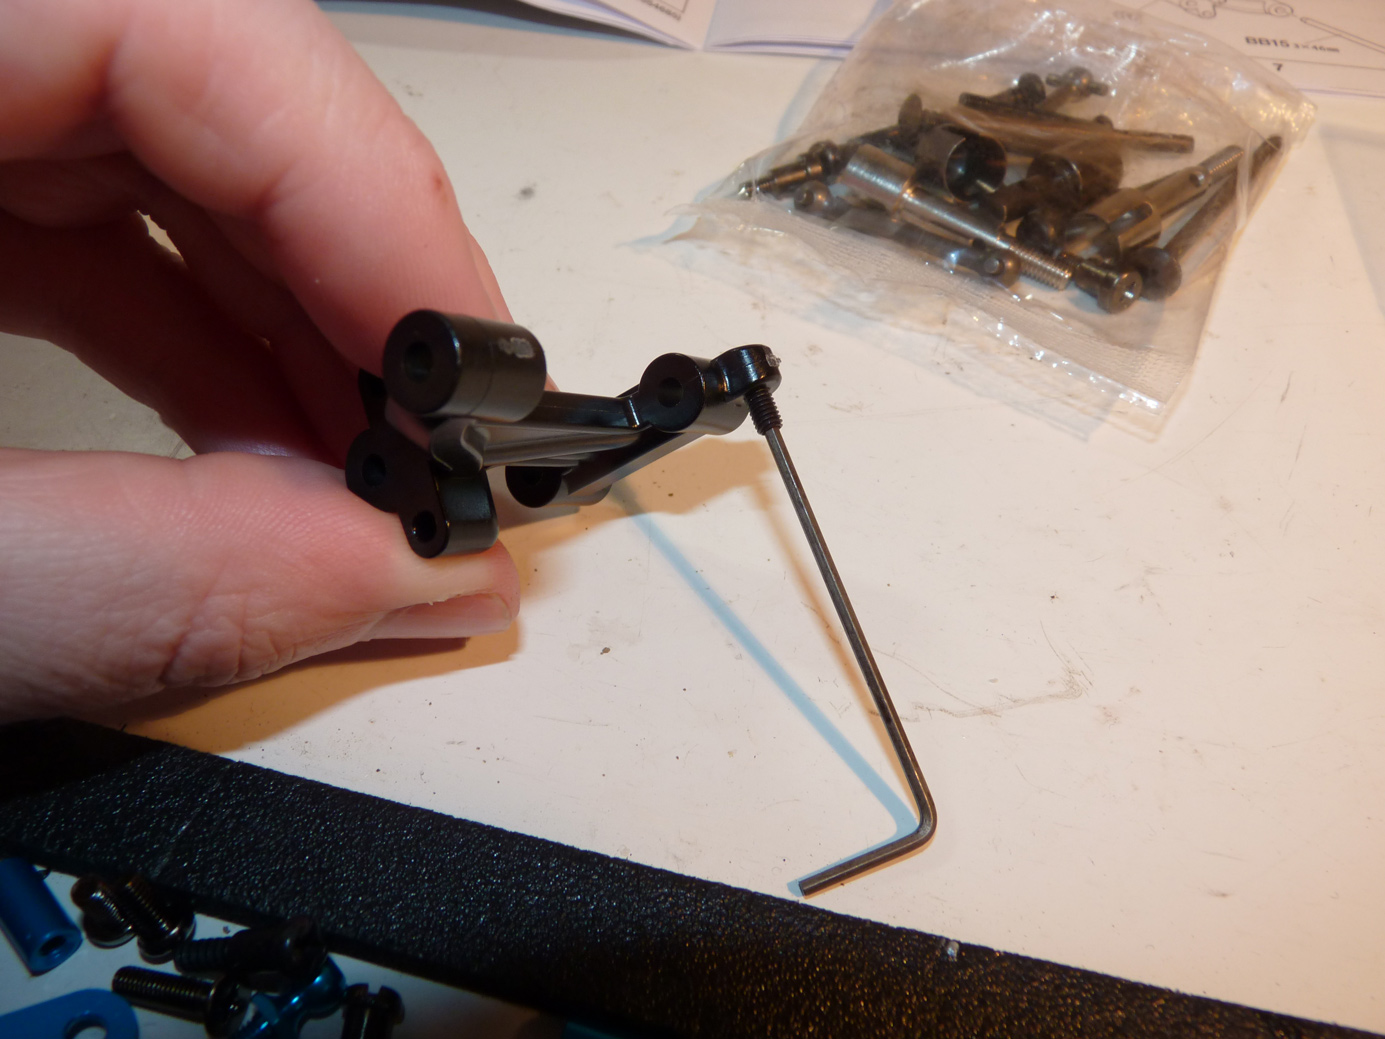
Droop screws!
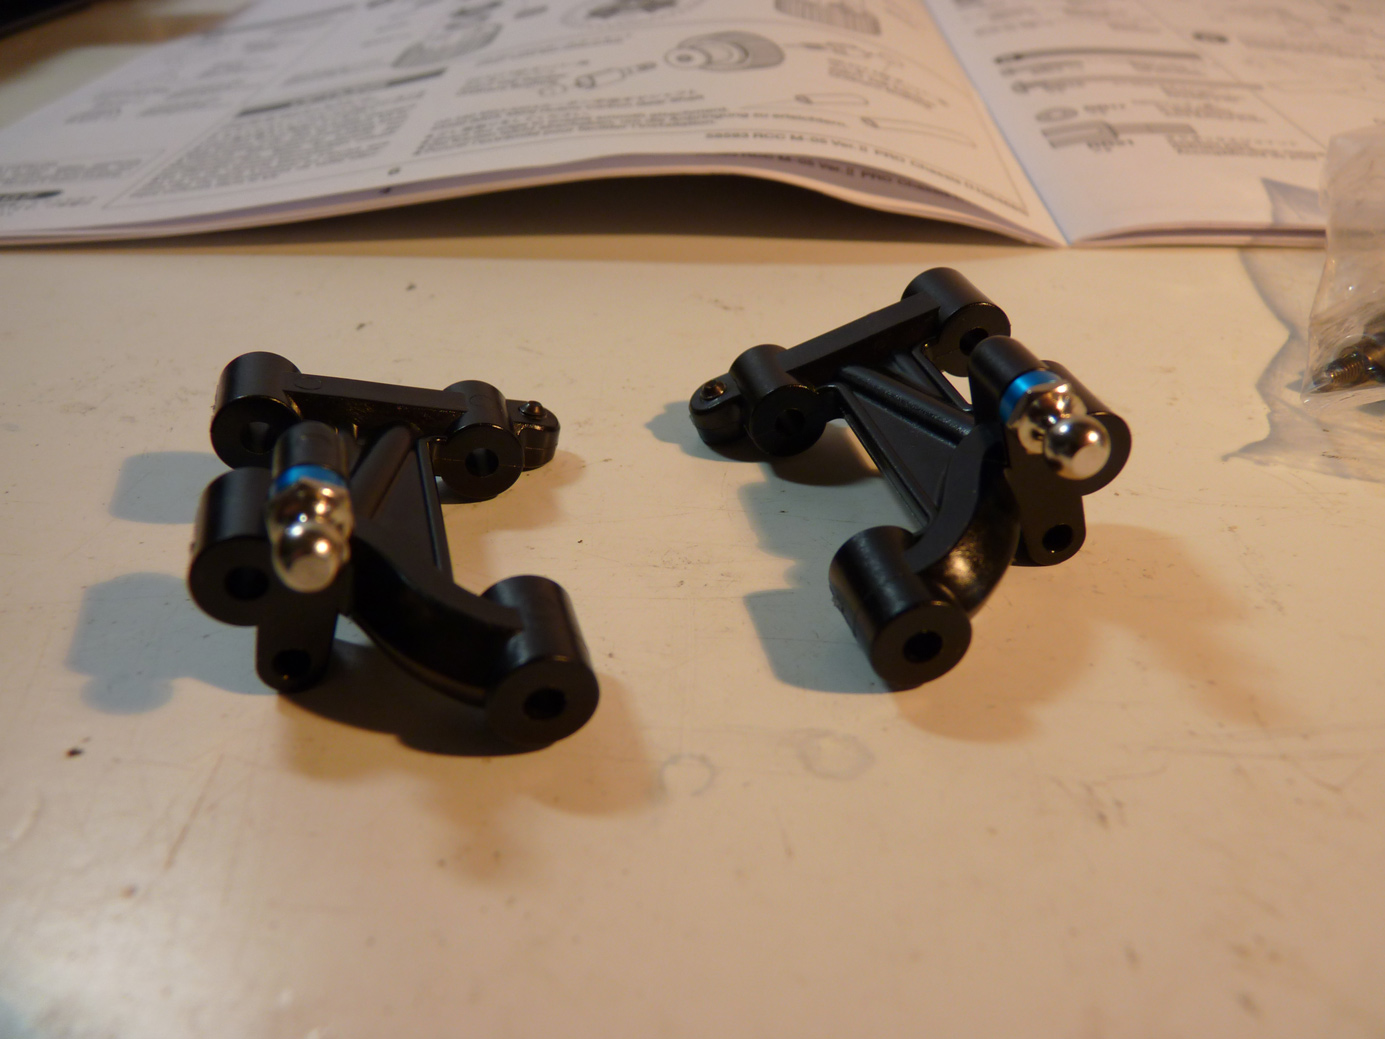
We then install some ball studs for shock mounting. These are the front arms.
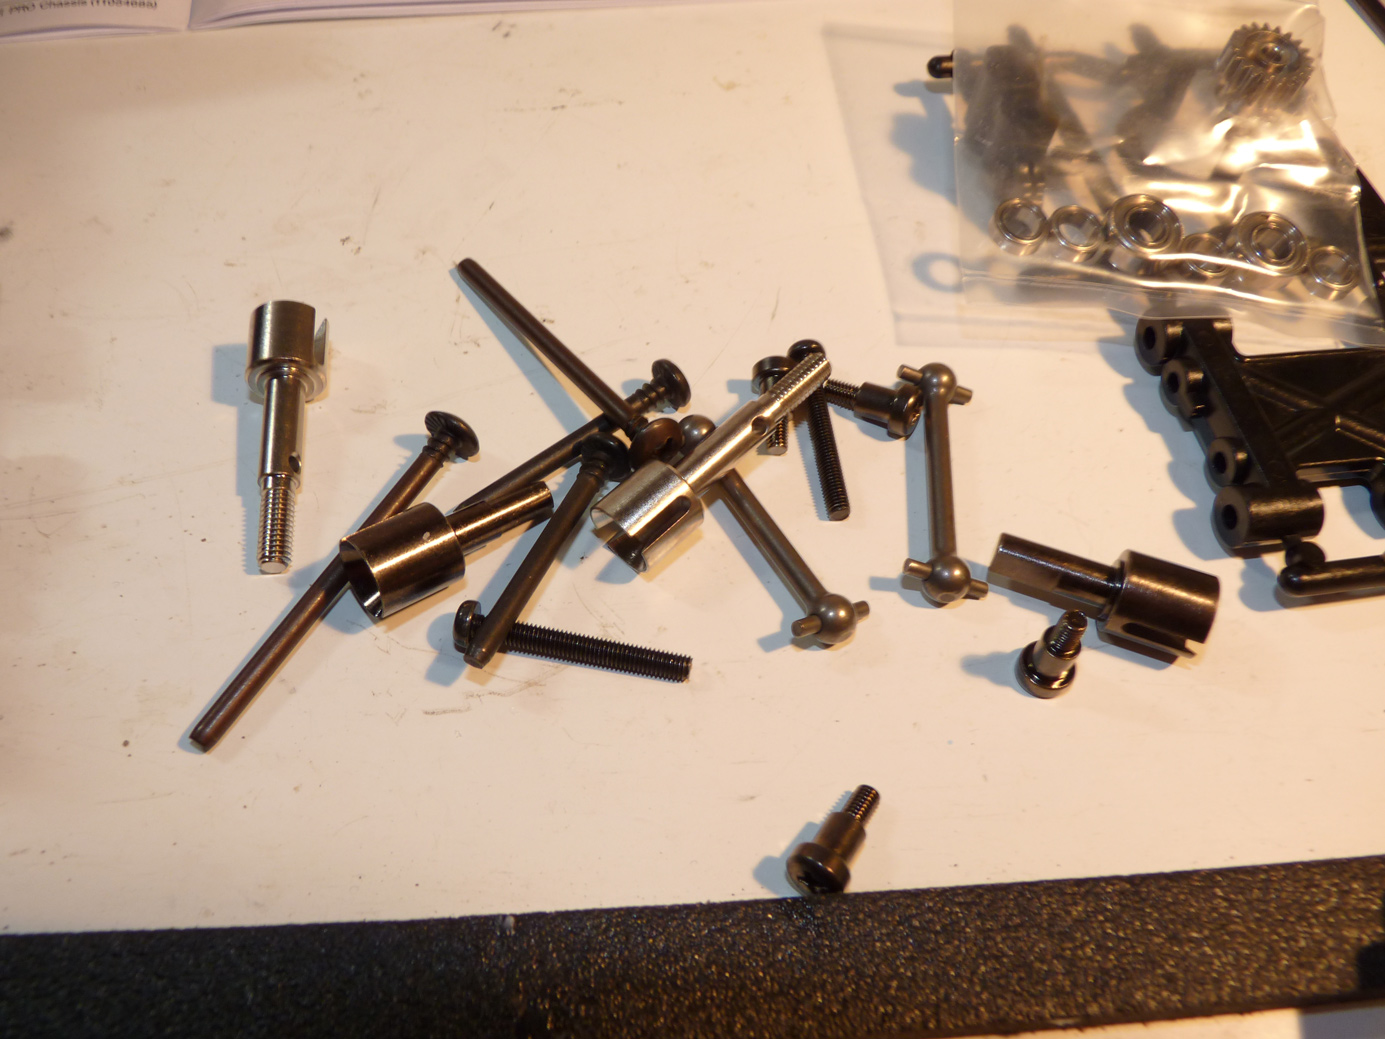
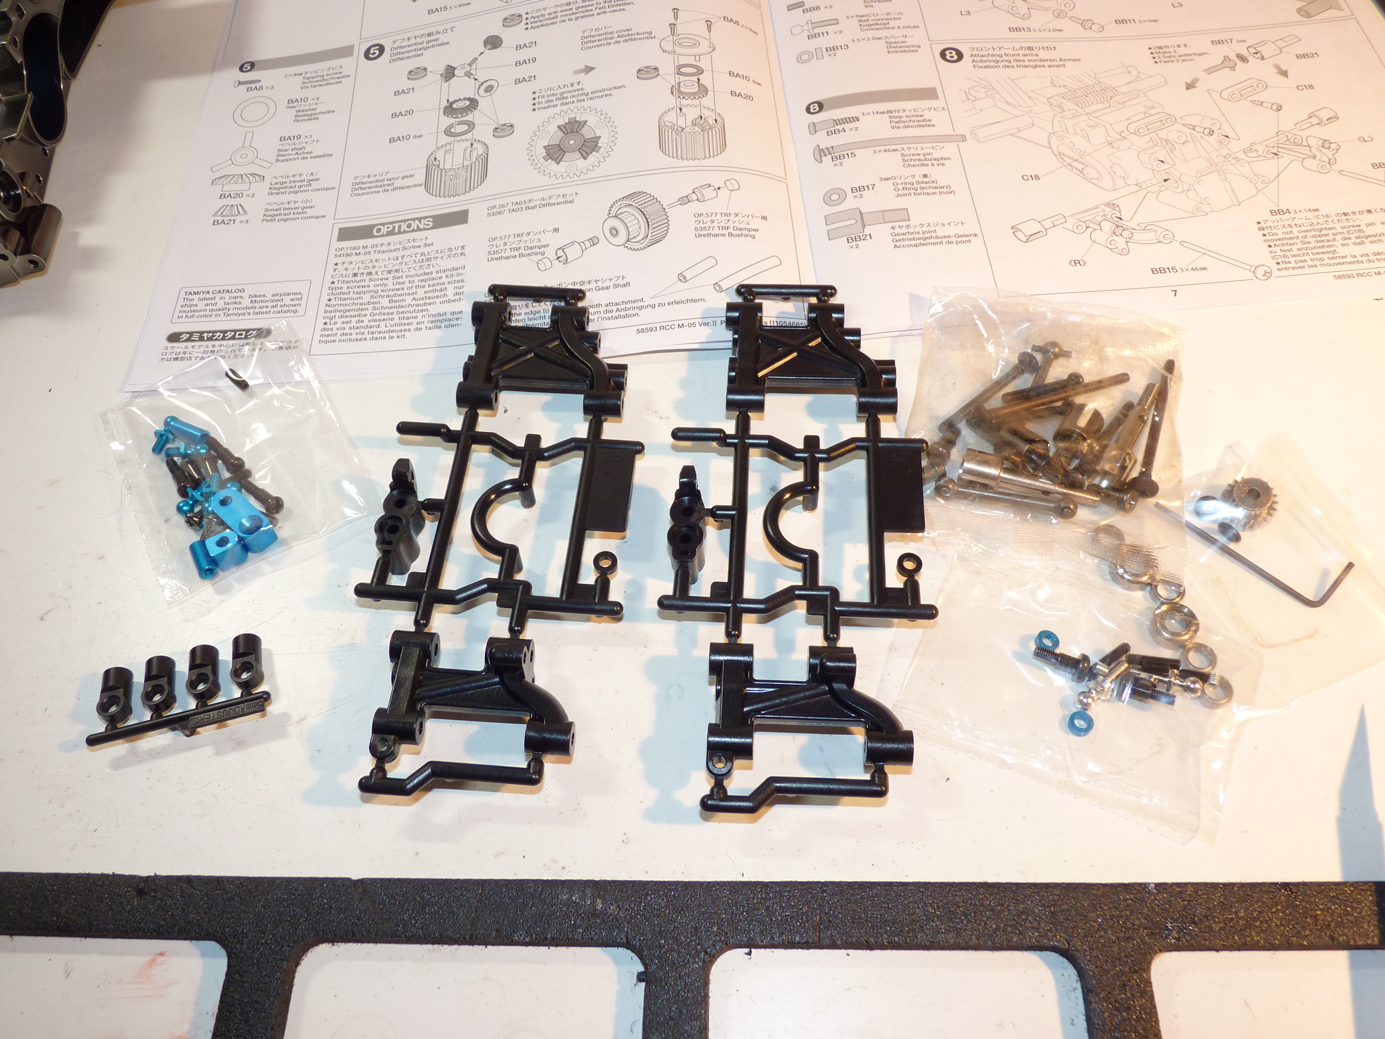
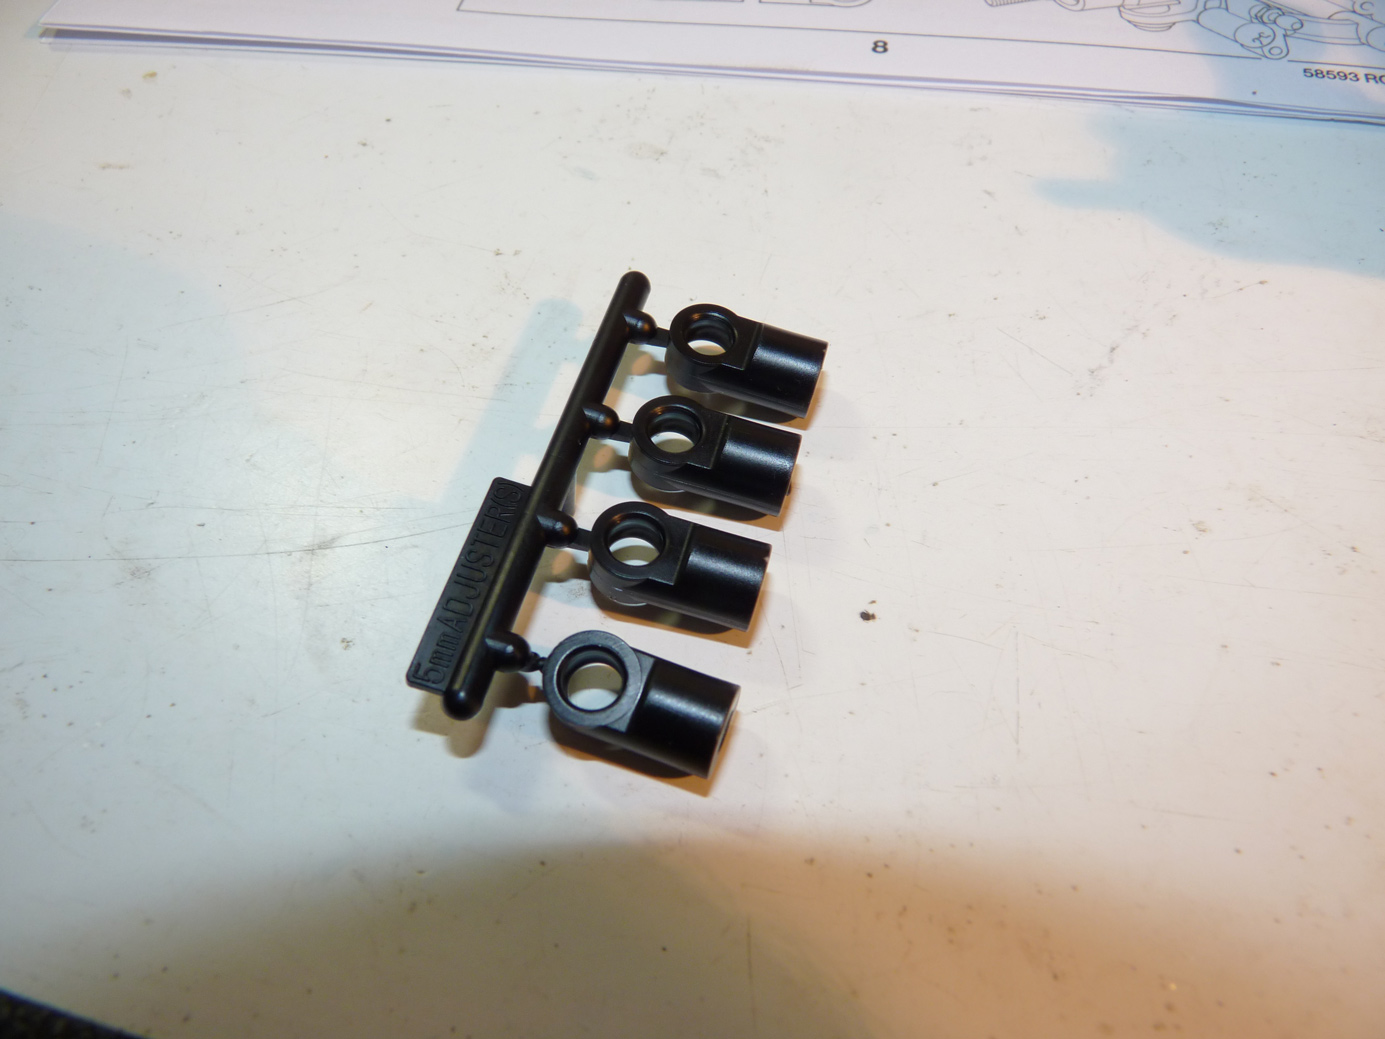
Some of the Bag B hardware. Screw pins, shoulder bolts, dog bones, and more.
Now we install the arms to the chassis.
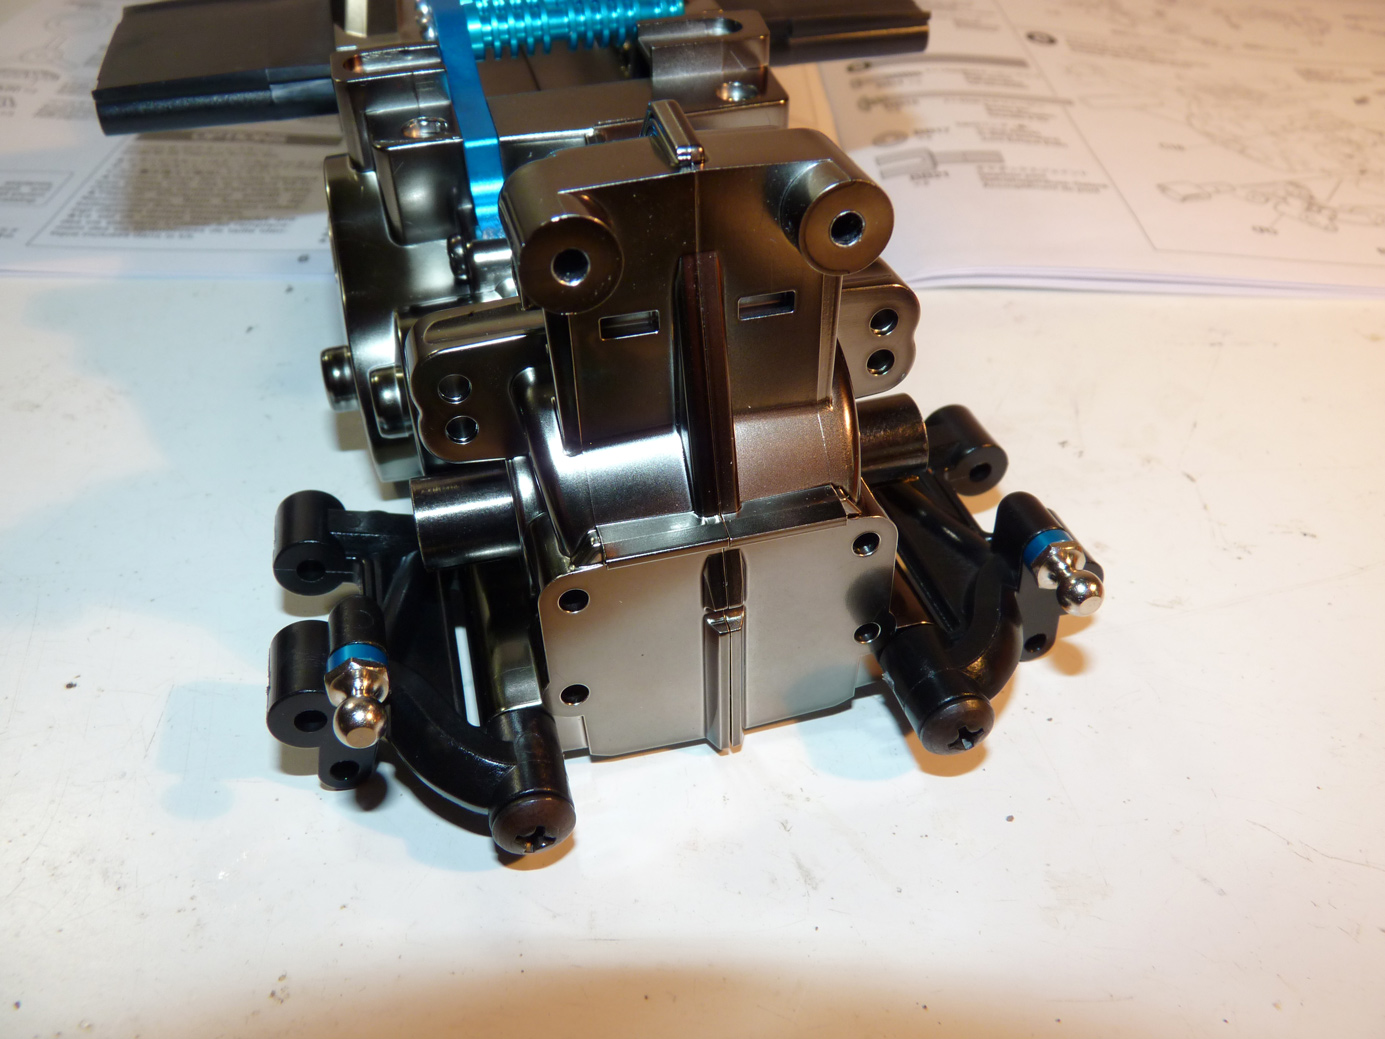
Two simple screw pins are all that’s required.
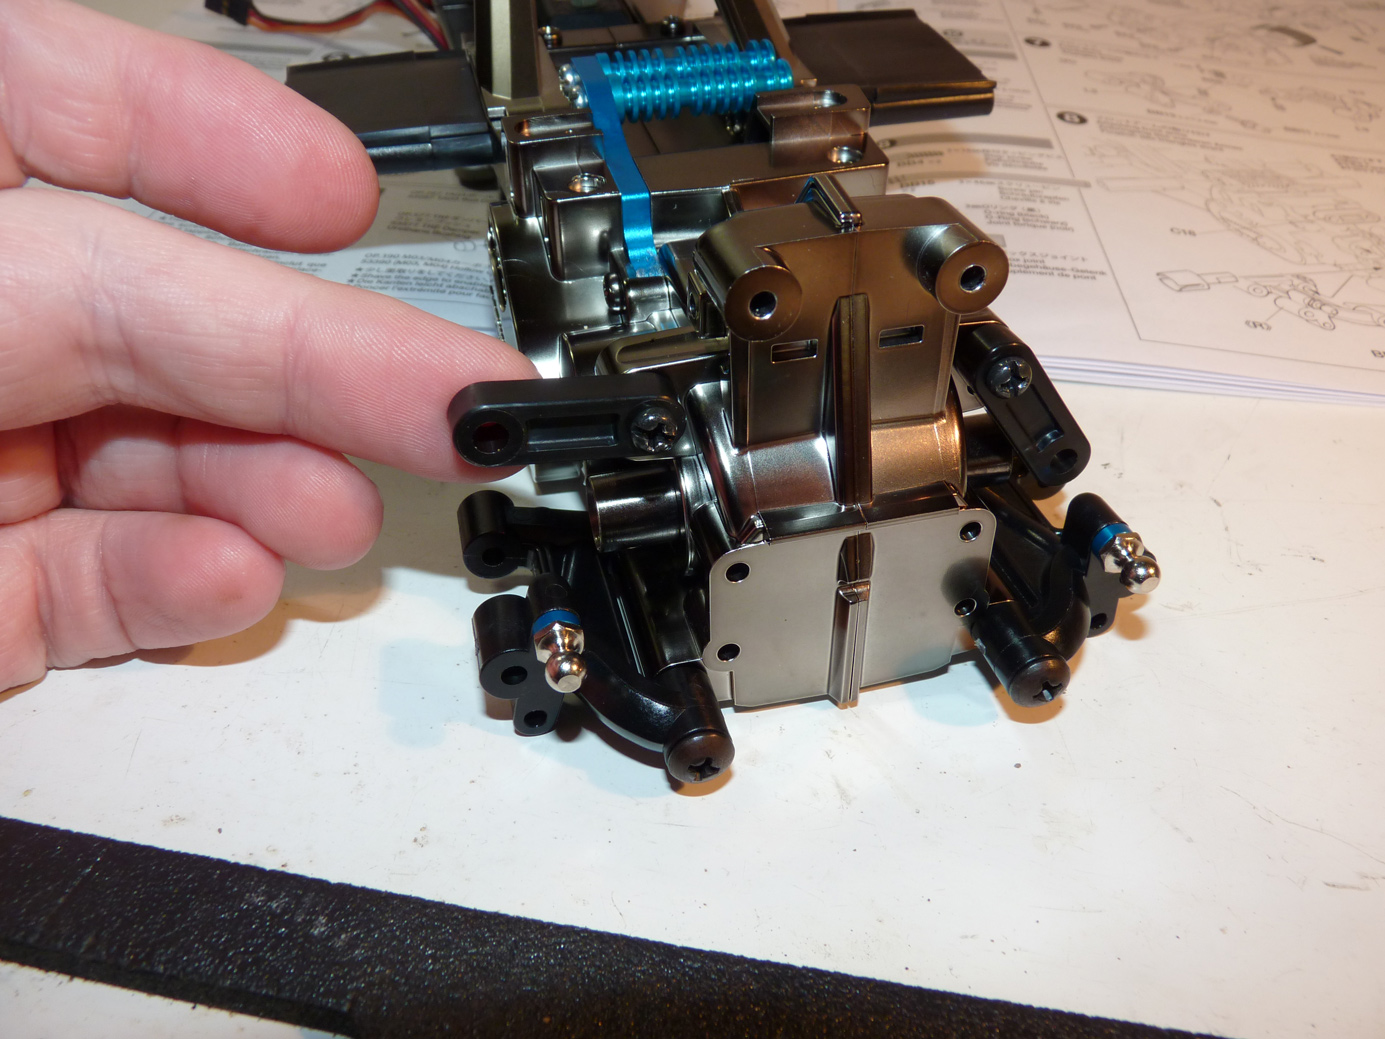
Now we install the upper suspension links. These are non-adjustable. I thought that was kind of limiting for a “Pro” kit. Then again I have yet to race one of these, so perhaps front camber adjustment isn’t that crucial? Time will tell.
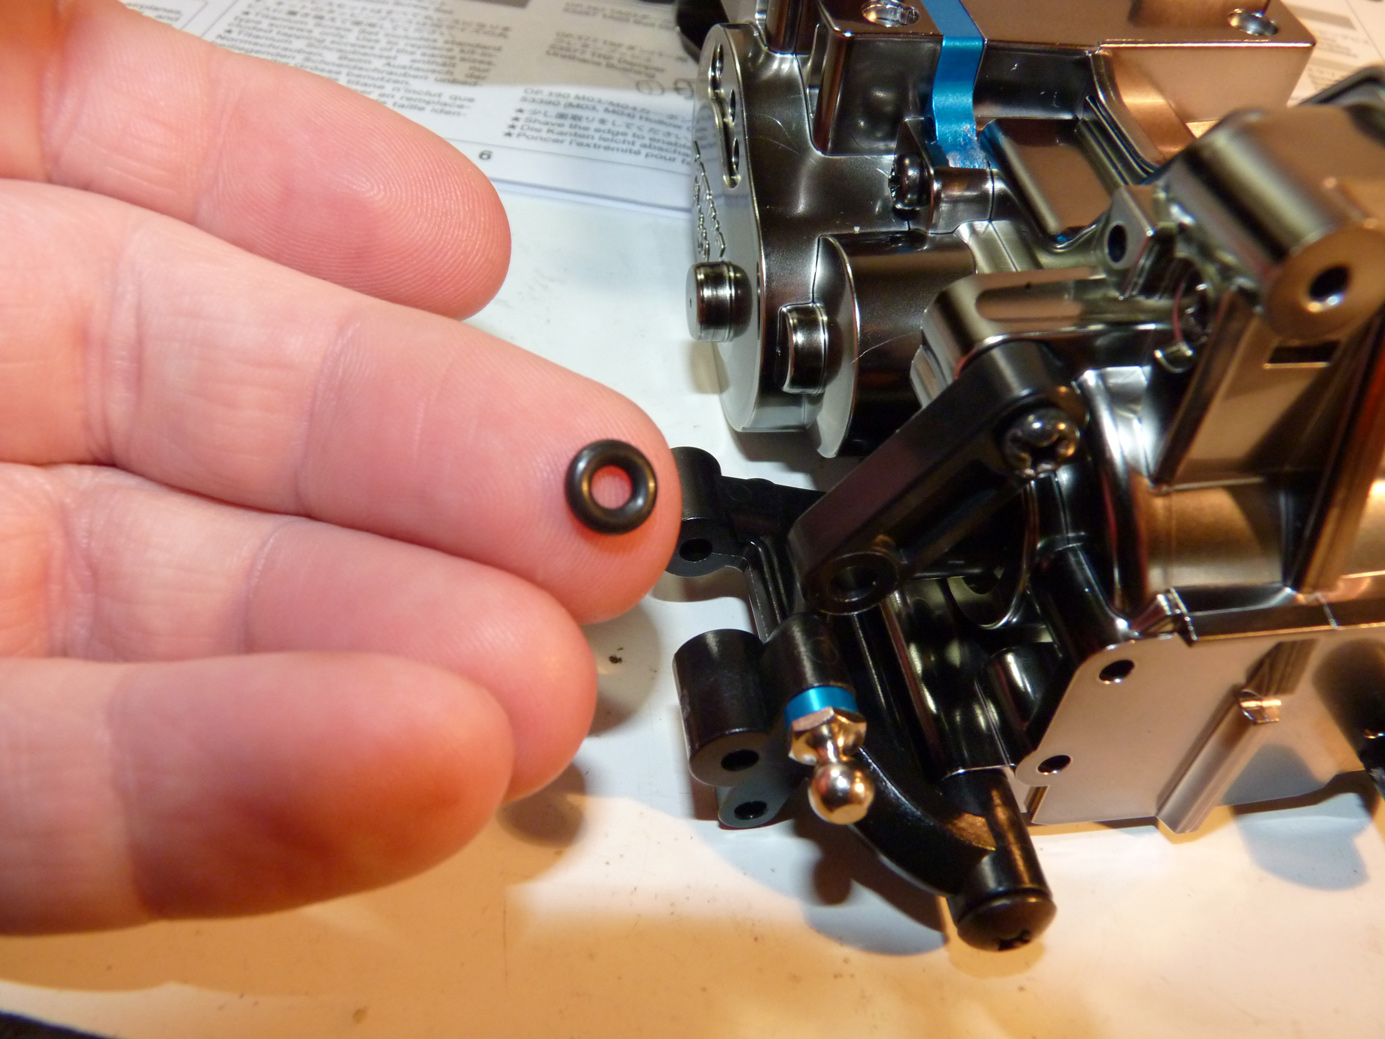
O-rings get installed into the outdrives to reduce slop in the dogbone style drivetrain.
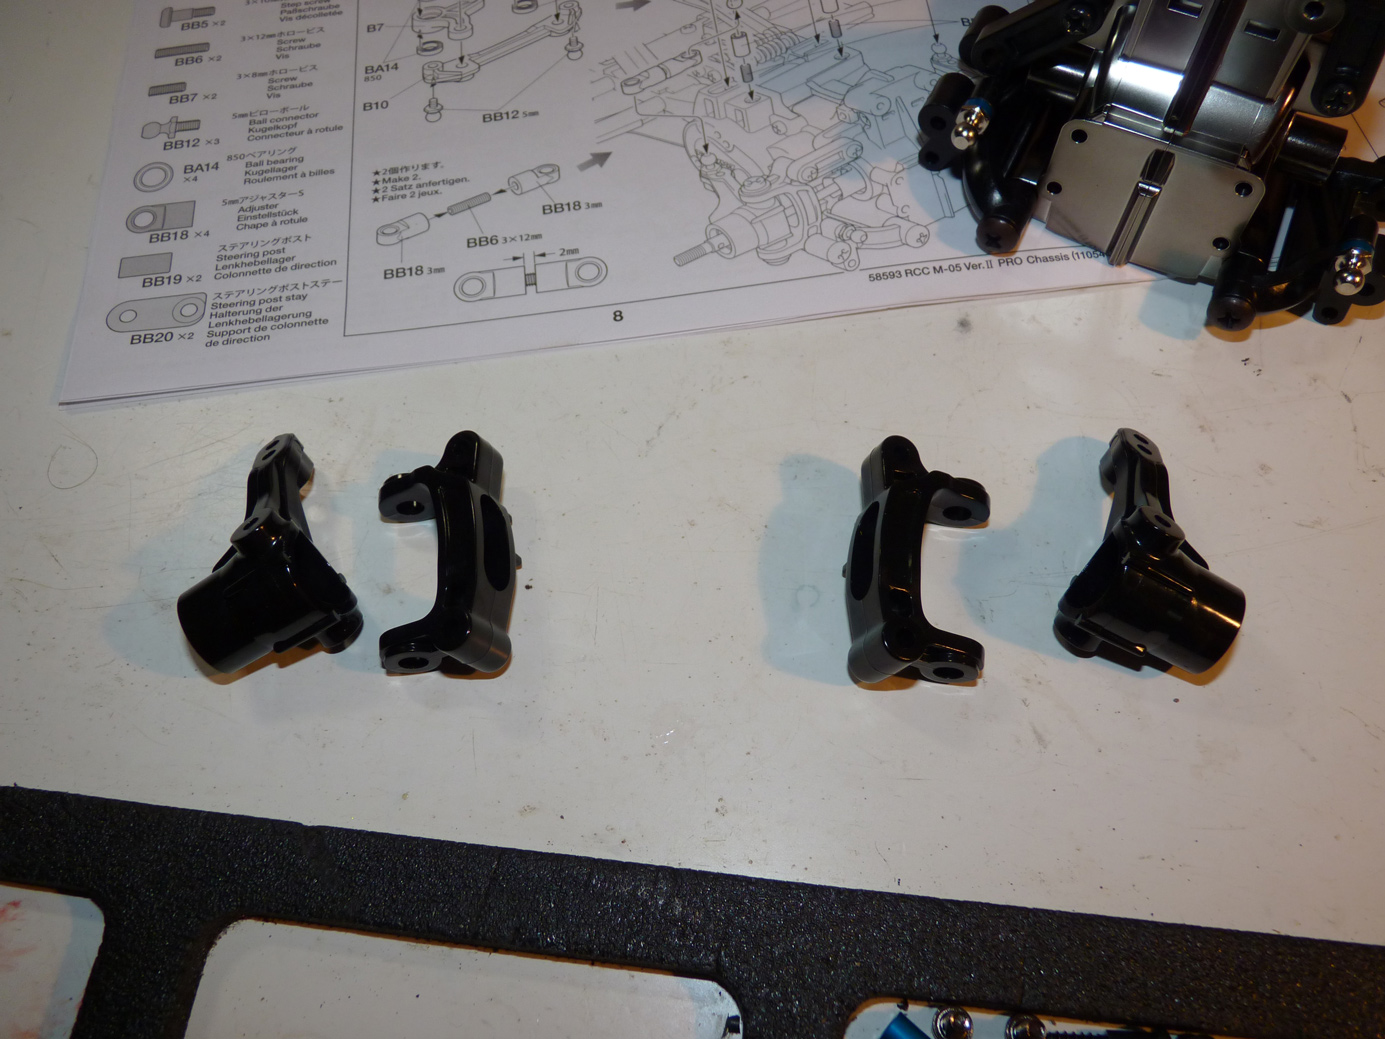
Next are the front uprights and steering knuckles.
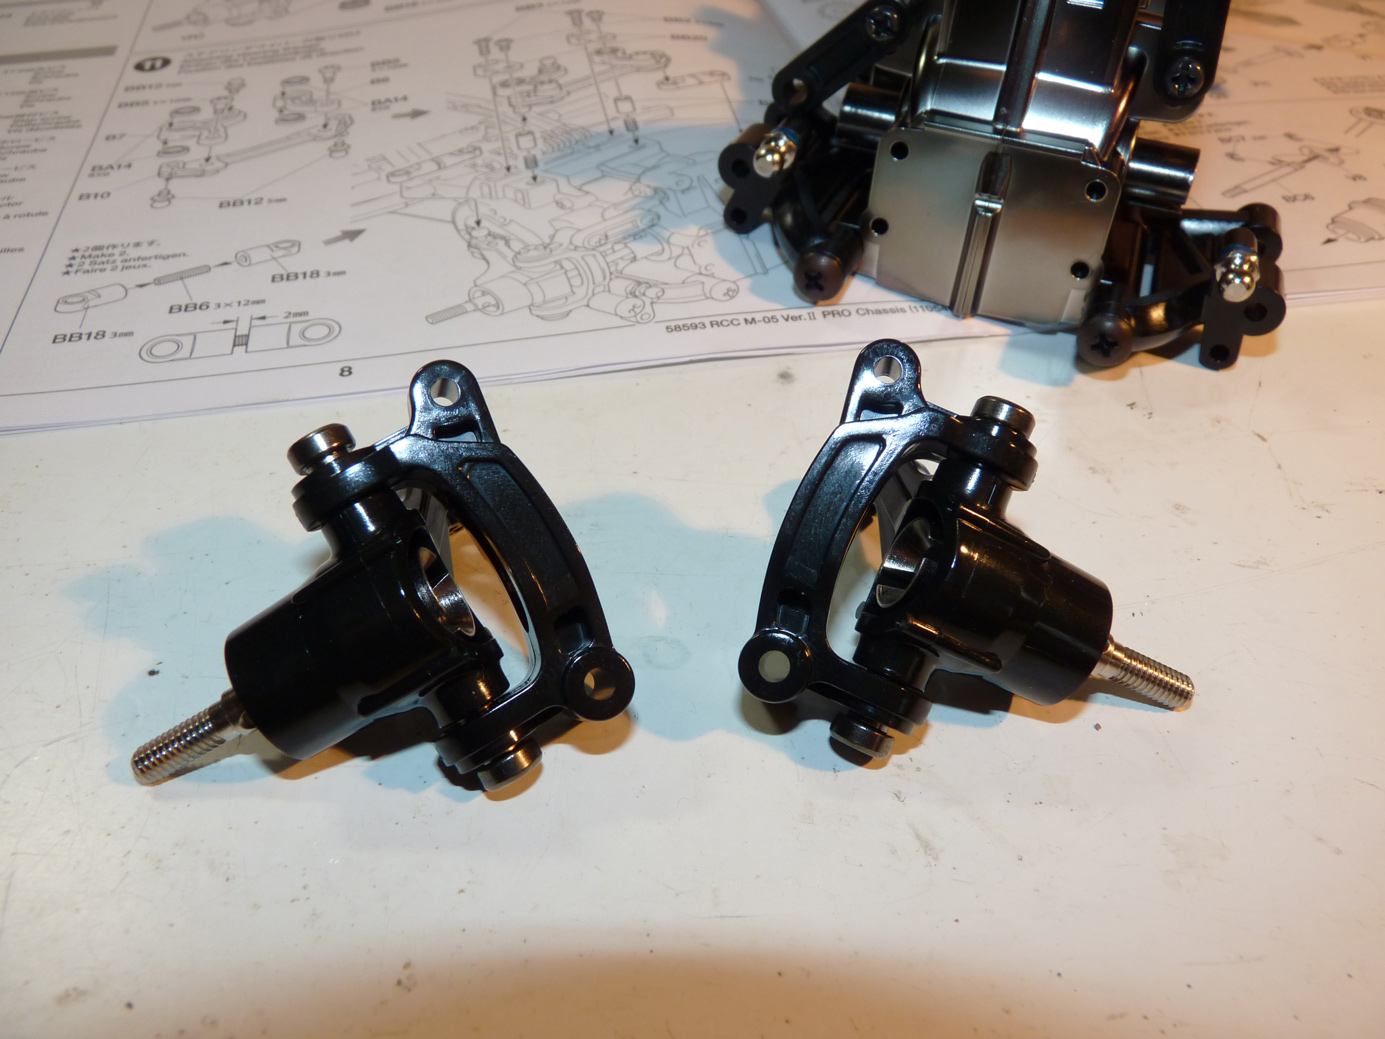
We install the stub axles, bearings, and kingpins to complete the assemblies.
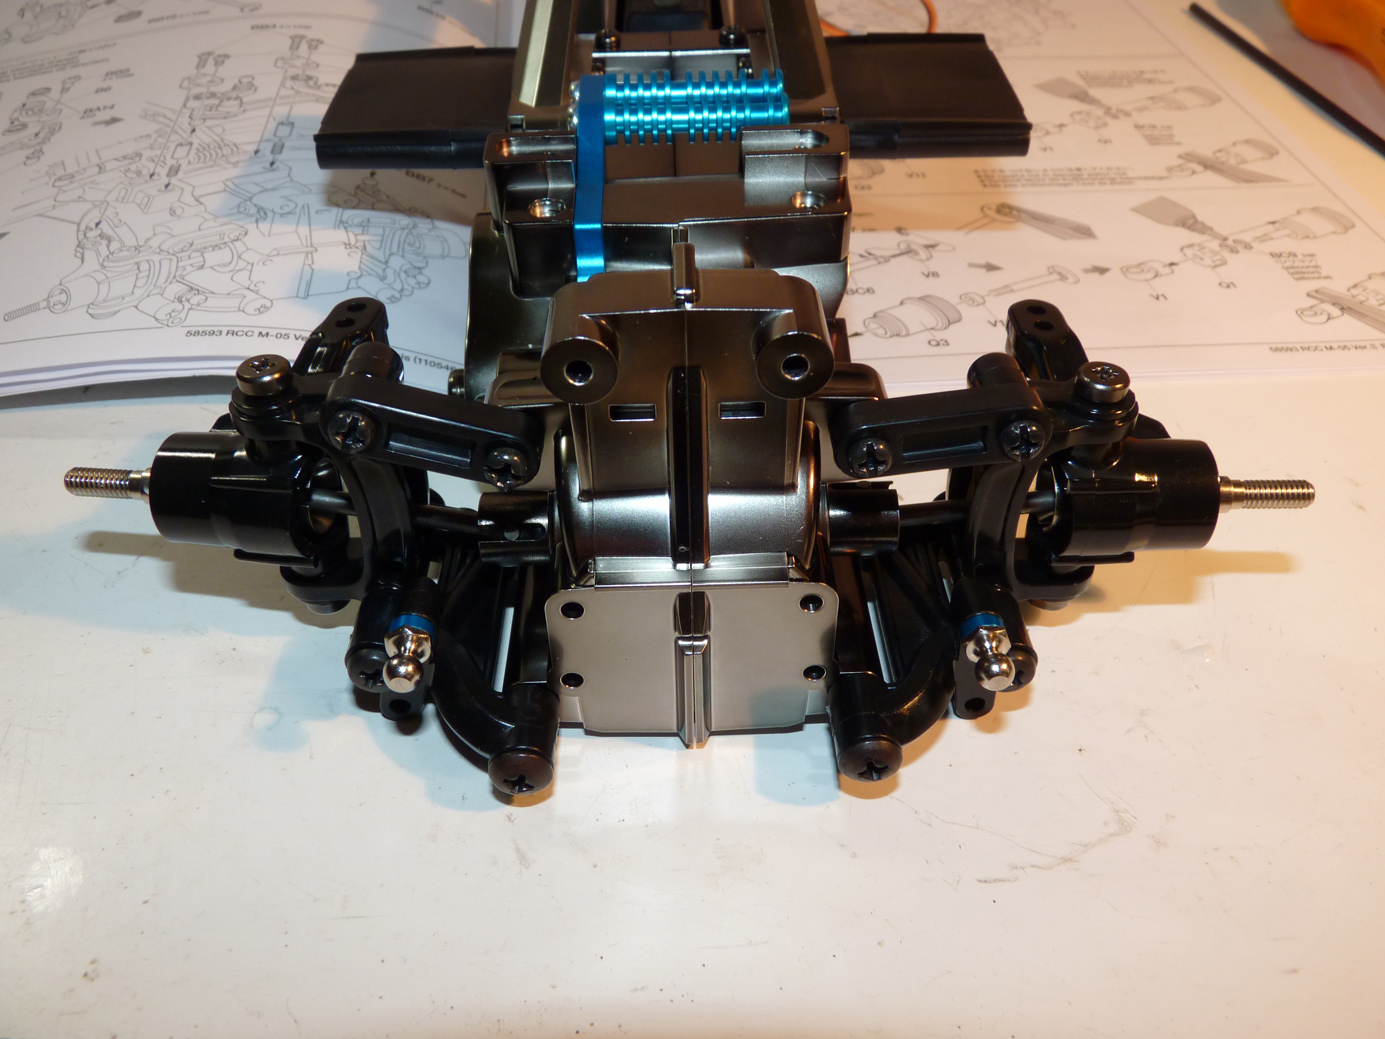
Then we install them onto the front a-arms.
Next up is the steering bellcrank.
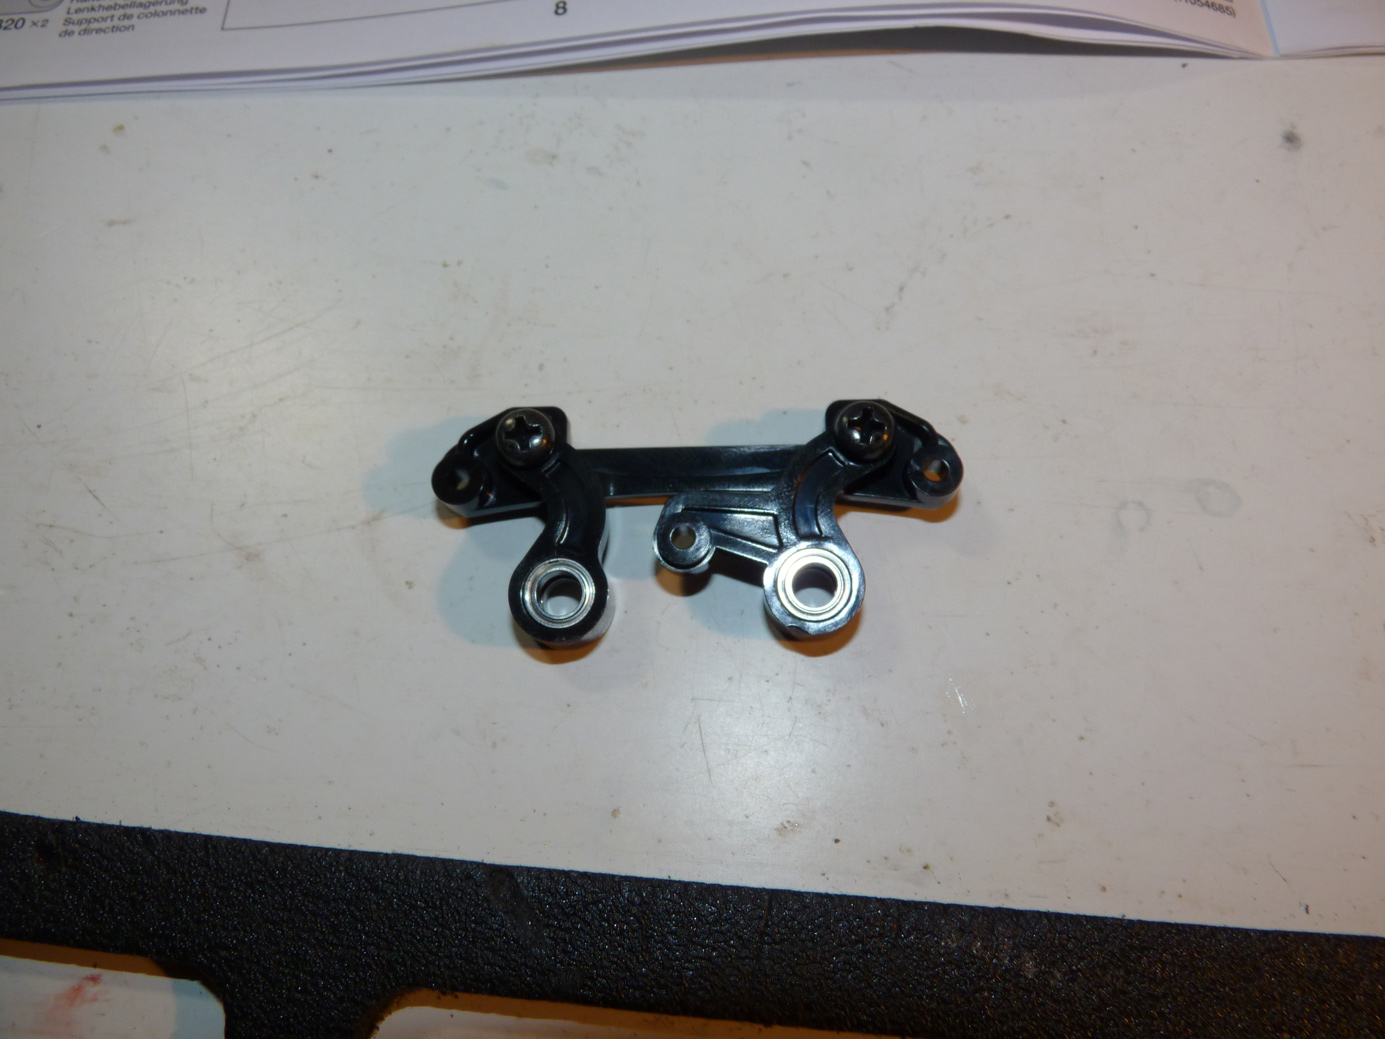
This is relatively straight forward to assemble.
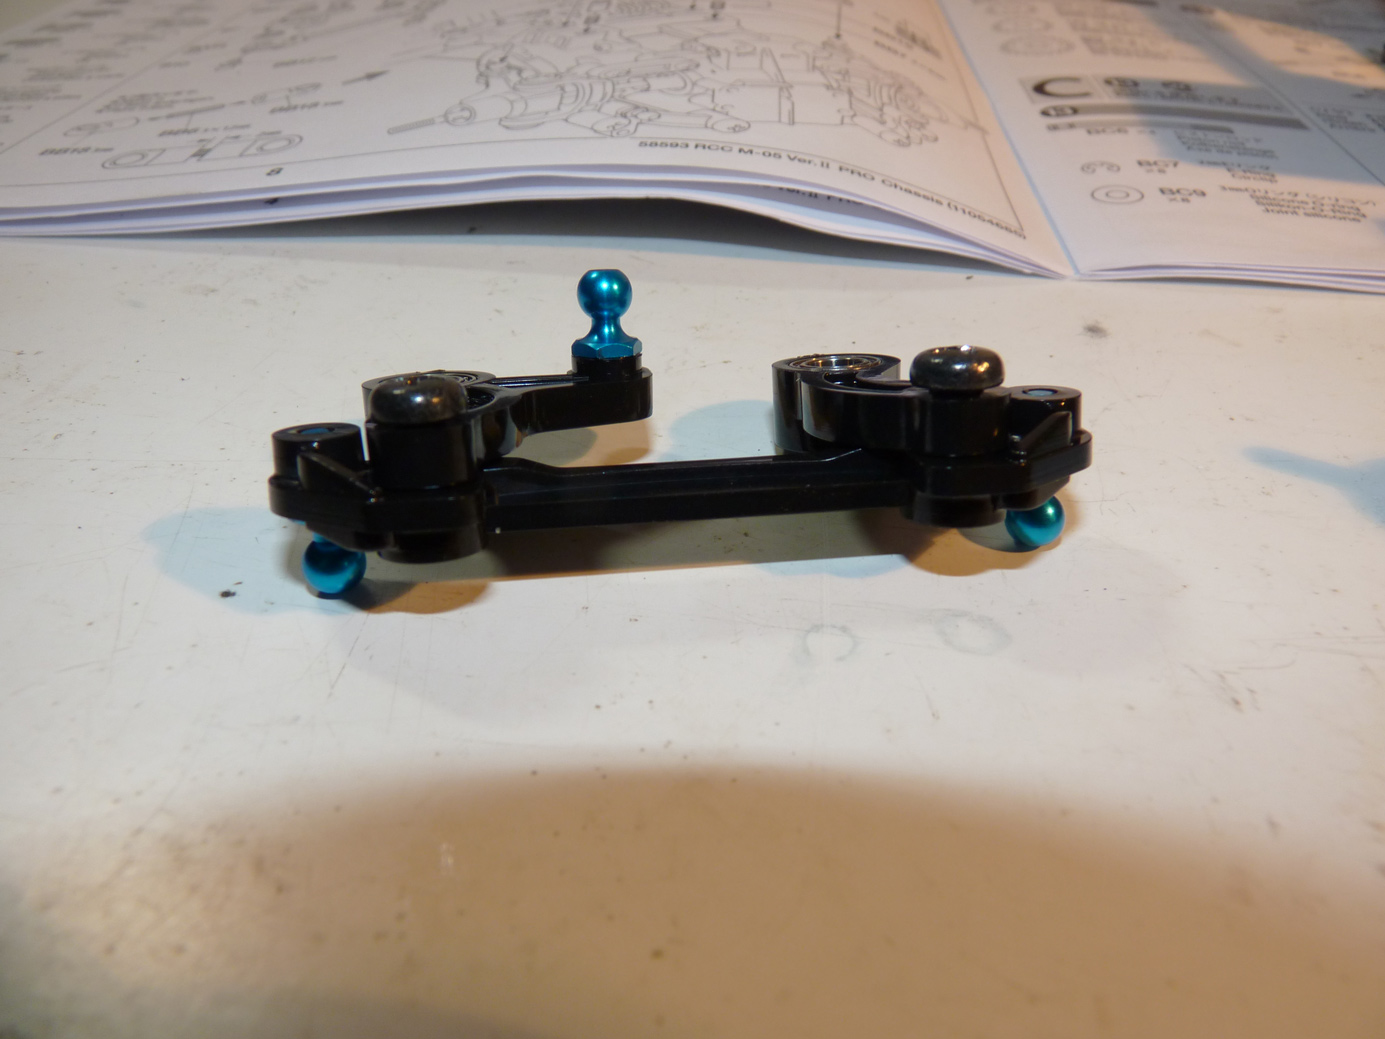
Shiny blue ball studs are standard on the Pro kit.
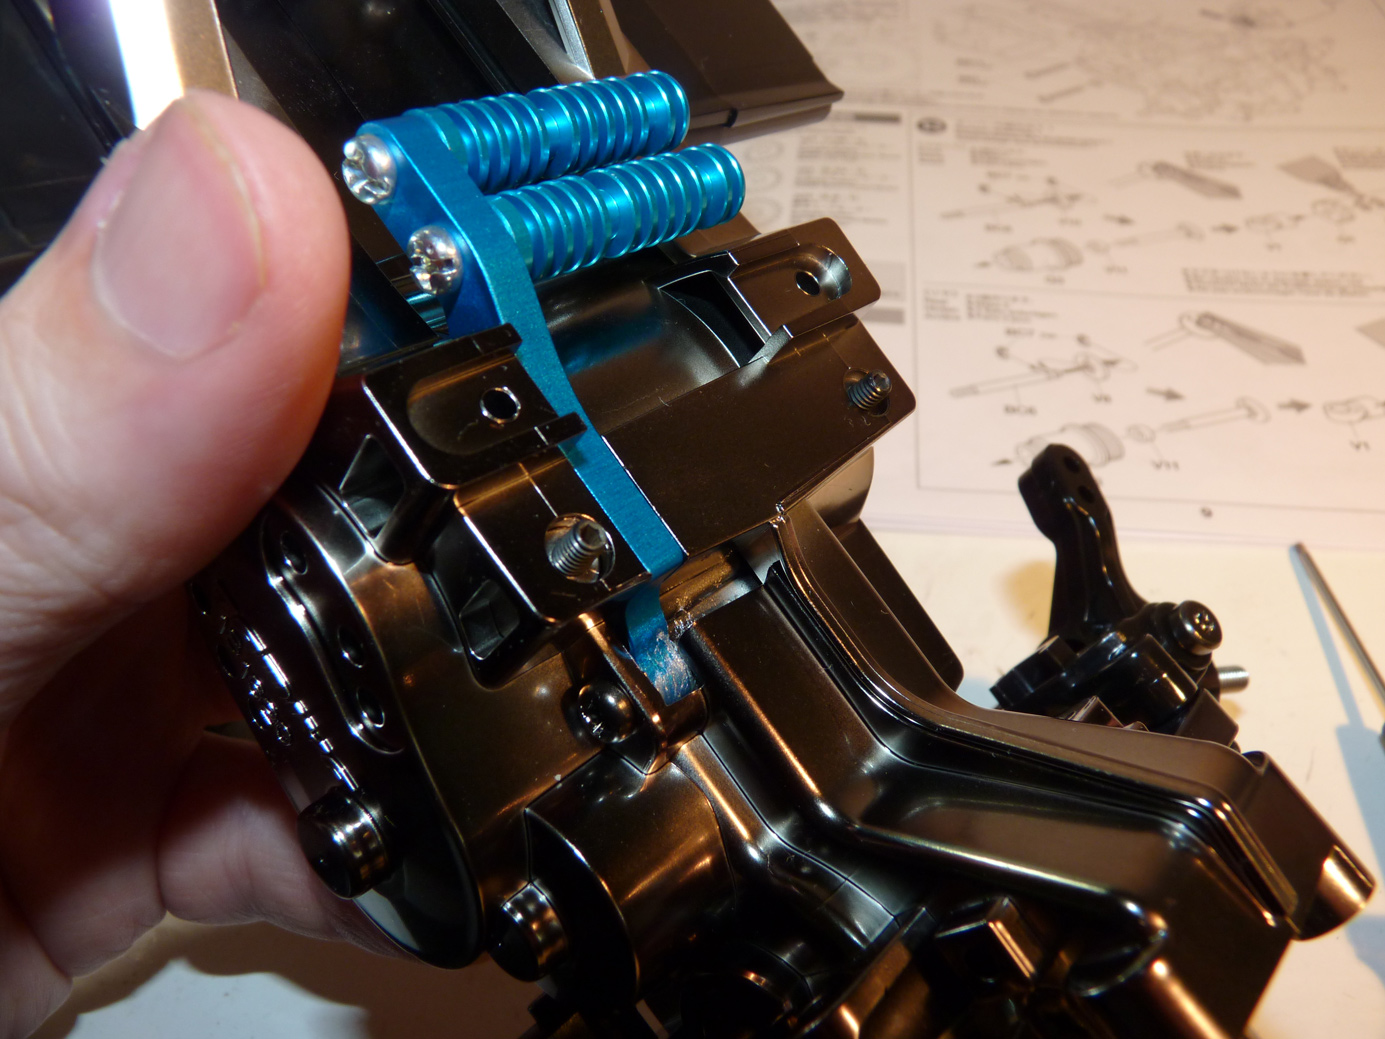
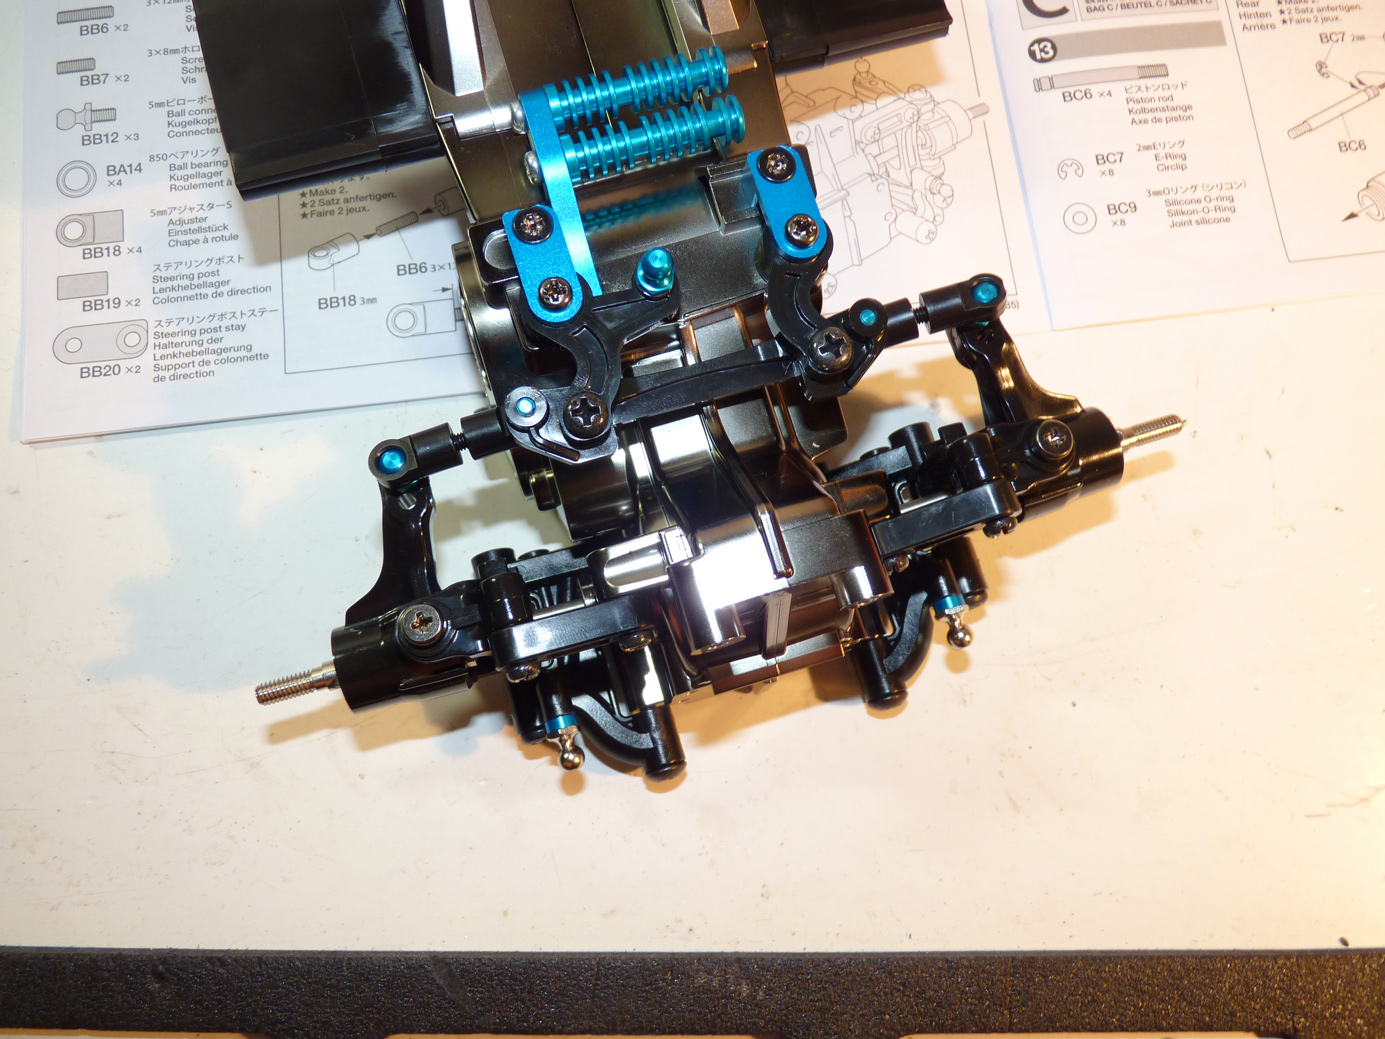
The M-05V2 Pro comes with blue aluminum steering hold down and posts. These require installing these long grub screws into the chassis.
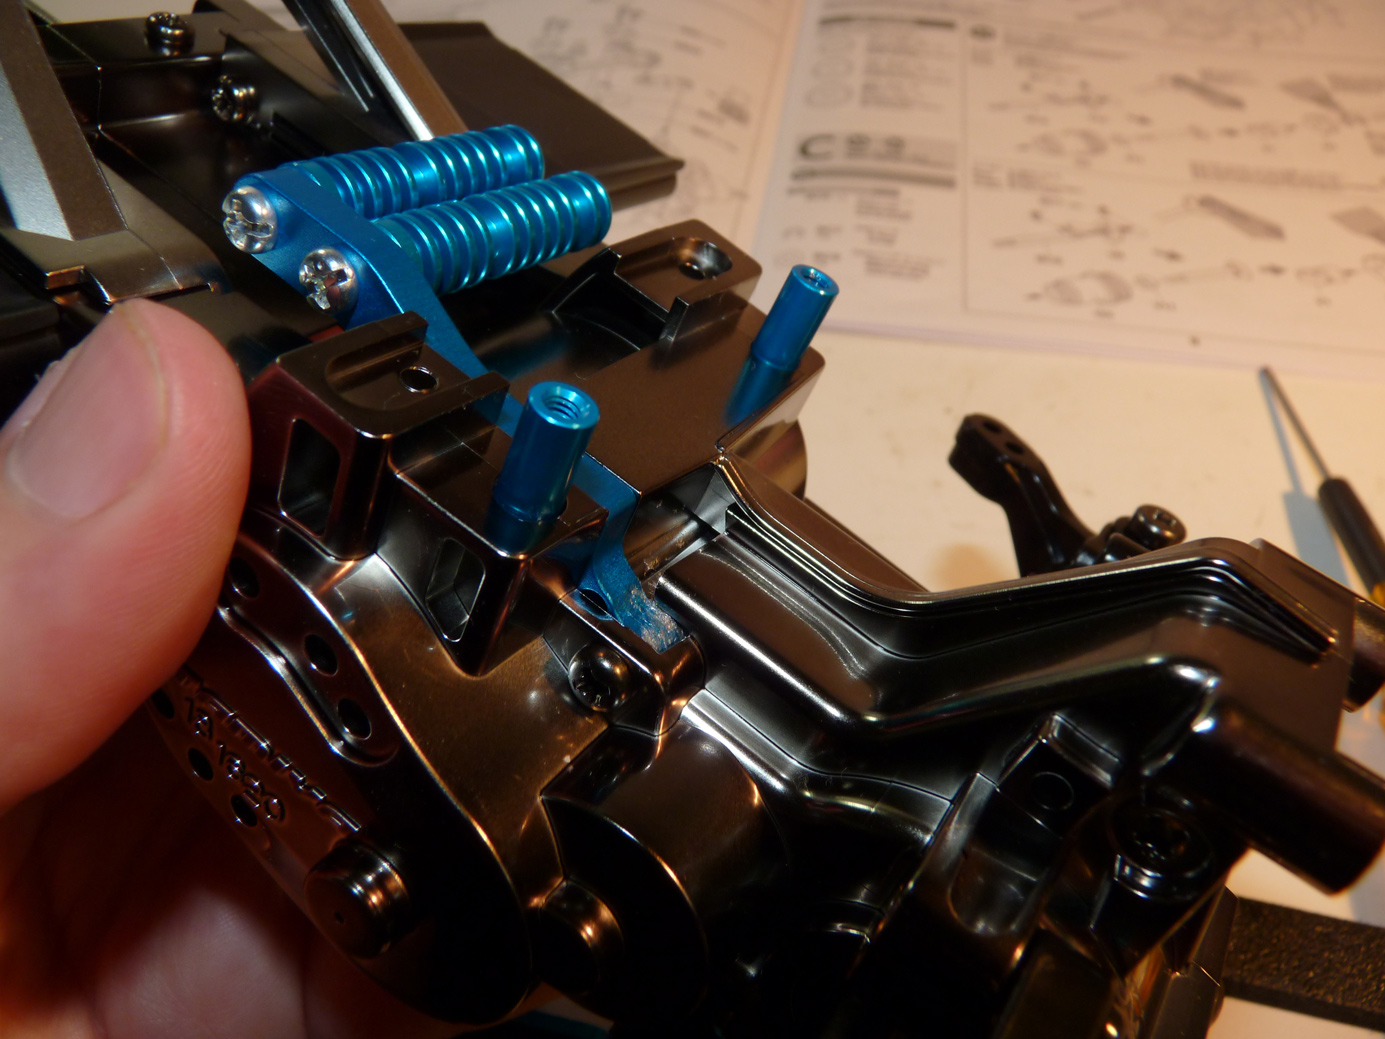
Then the threaded posts thread onto the grub screws.
Next comes the steering rack install.
Then finally the hold downs to keep it all in place. Tamiya had a slight issue with some kits having the steering too tight. They issued this advisory to all retailers.
There is a correction to page #8, step 11 of the manual, click (Manual) below to view it. The correction is not applicable to all kits, but if you encounter that the steering is too tight, please refer to the supplemental step and contact Tamiya America’s customer service department for a FREE set of washers.
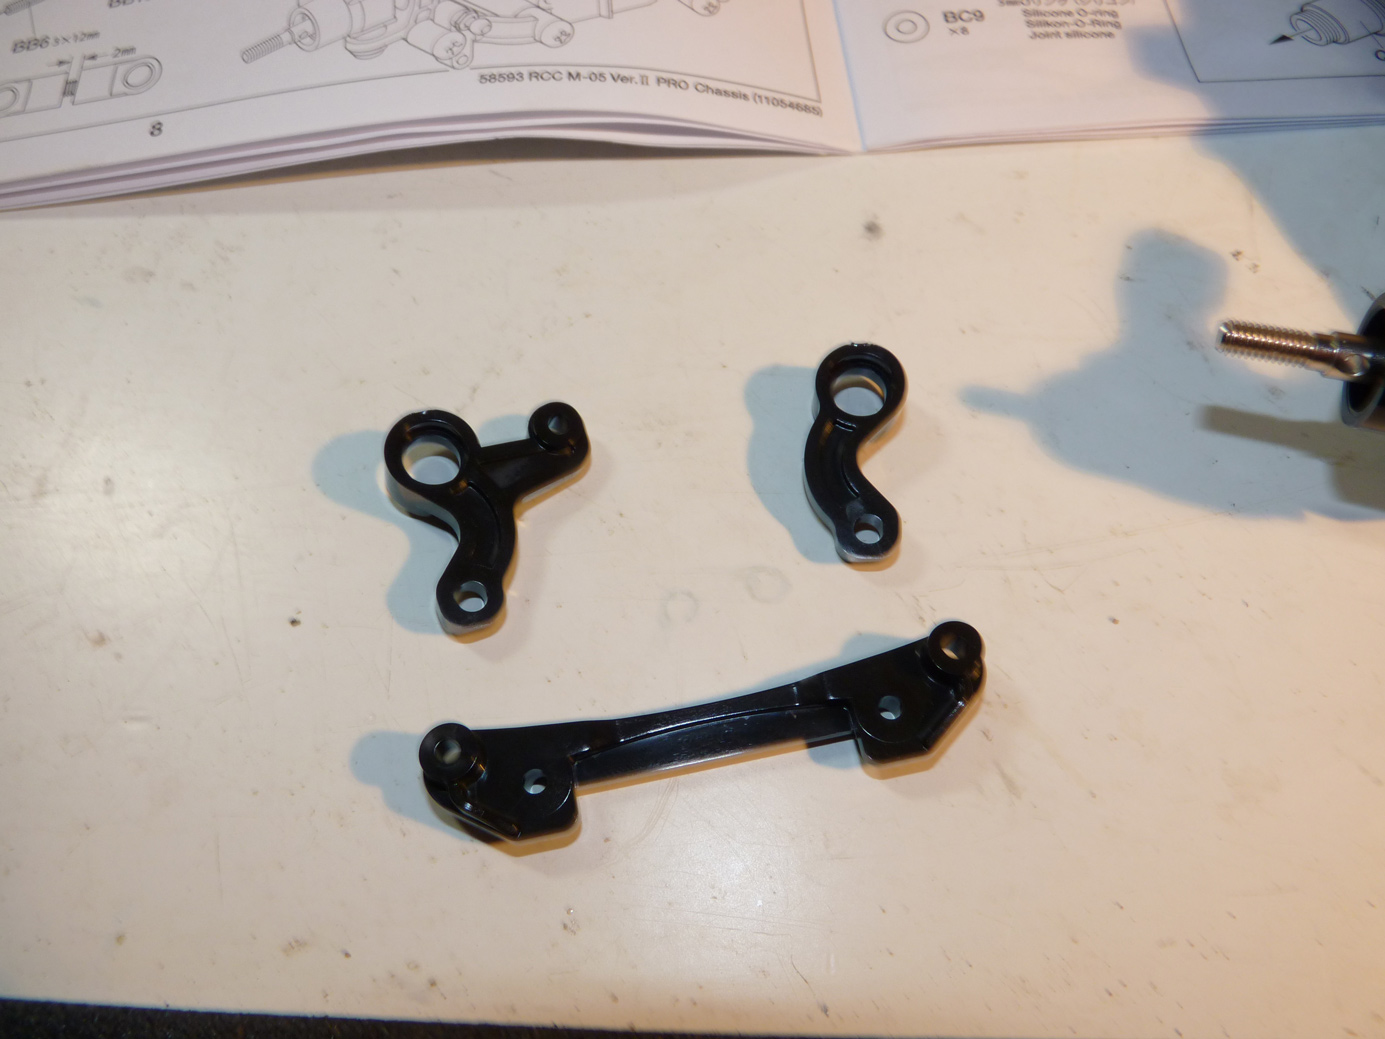
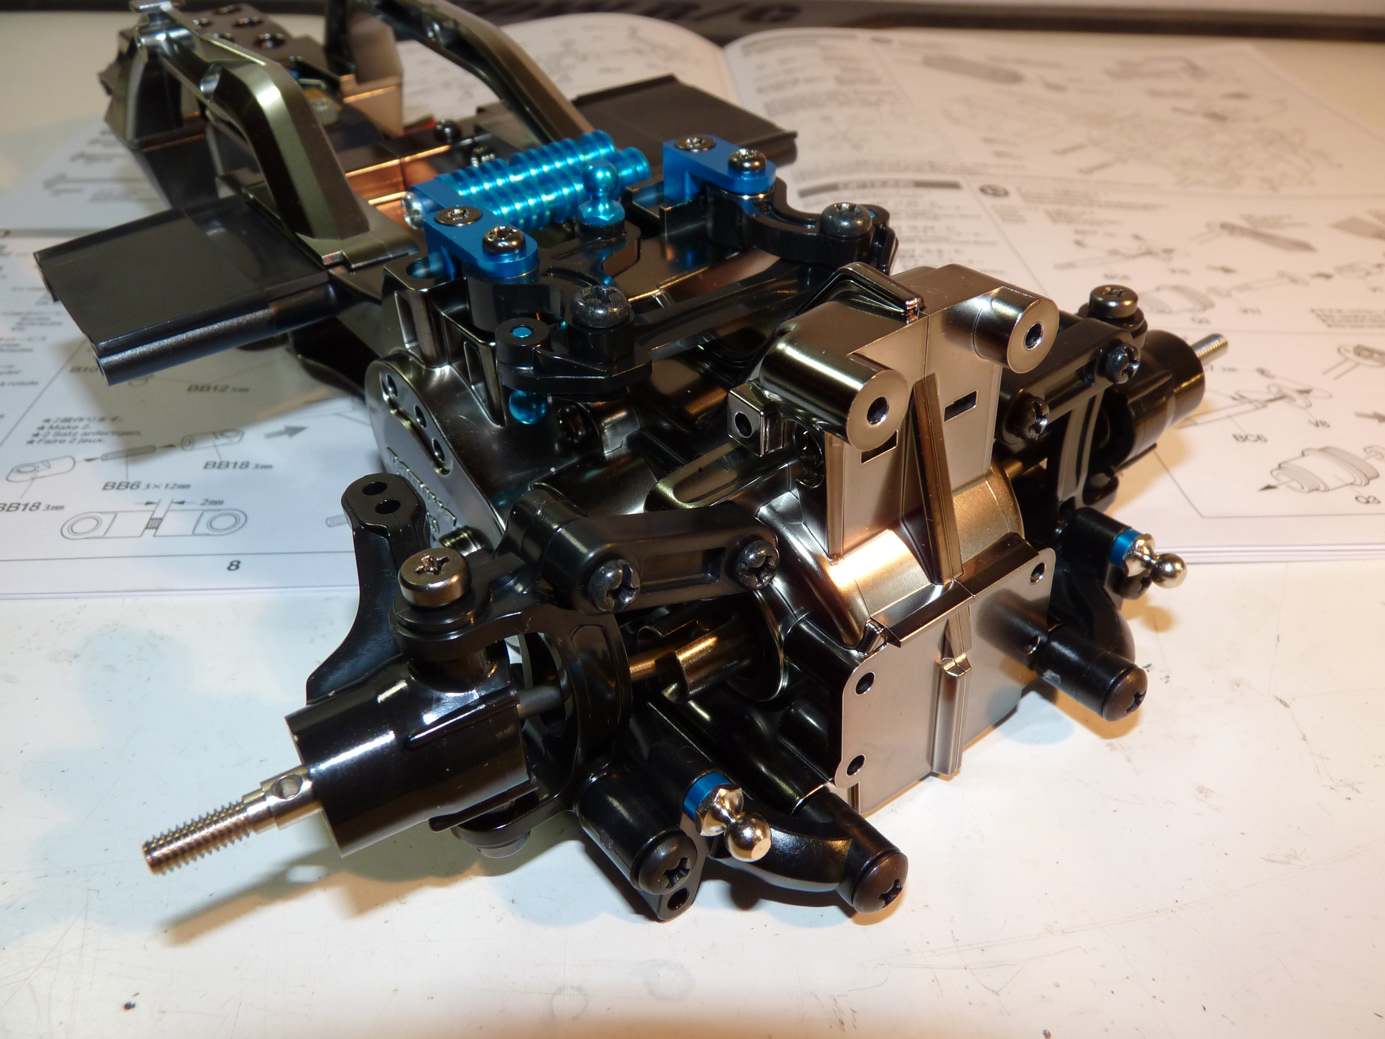
Now we build and install the steering links.
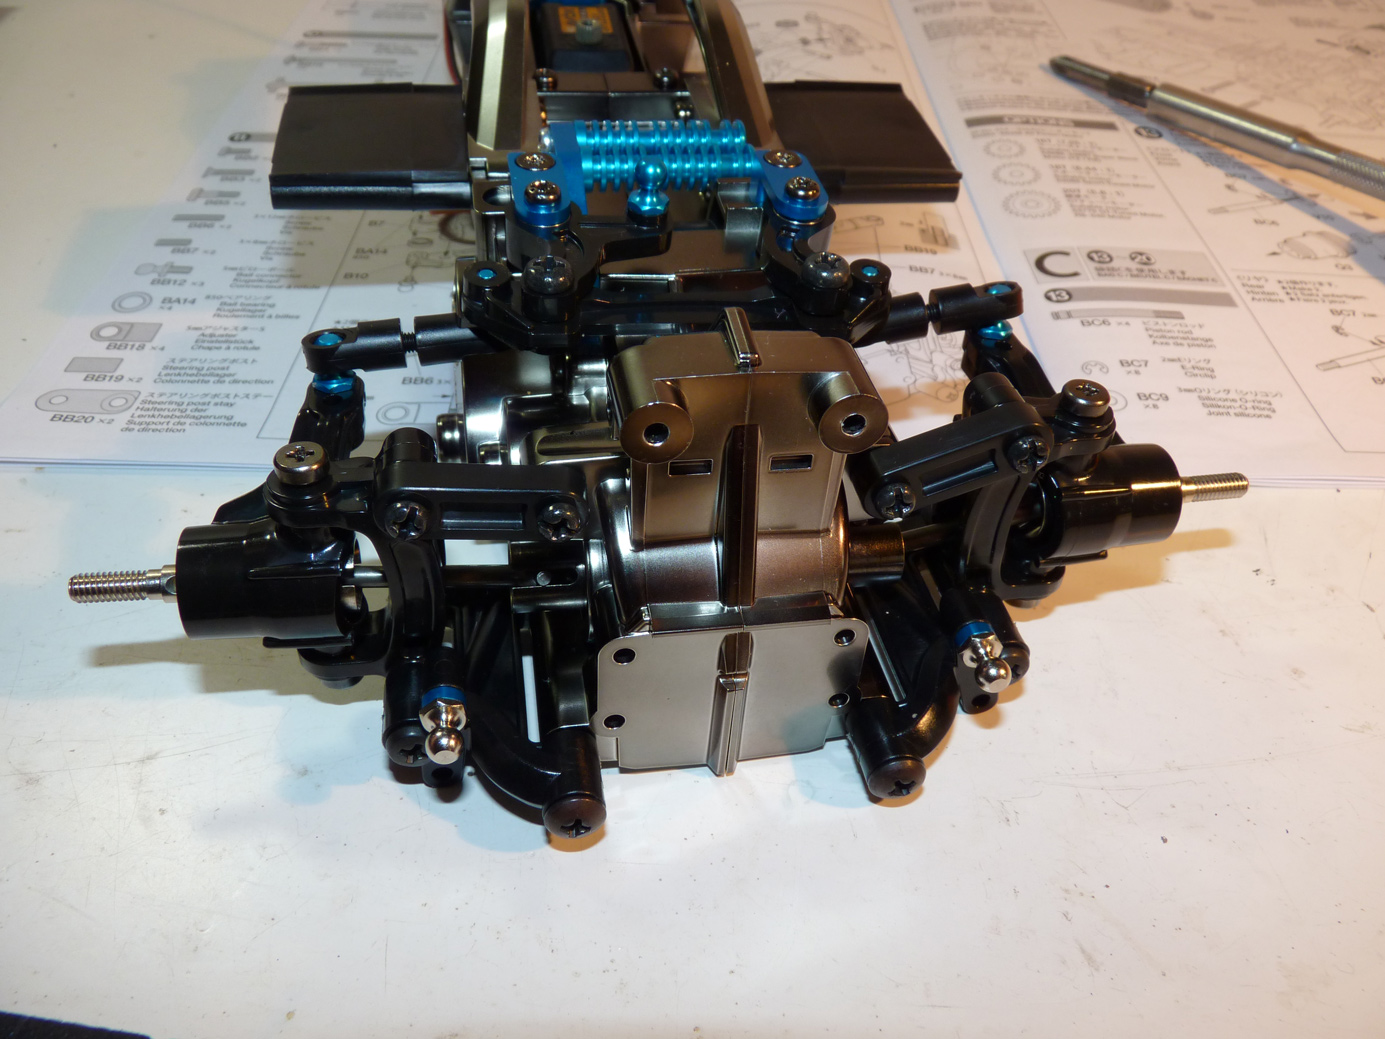
This was fairly simple. Here they are installed. They are just s long grub screw that we thread into the ball ends.
Another angle.
Continue on the next page to read more.
 Posted in
  Tags:
Tags:
I also ordered a M05 V2 Pro Kit as soon as it came out. The update for making squared batteries fit into the chassis was my main reason. Another good thing is, that all hop-up parts from Tamiya and third party companies still work.
So my tip is to buy only the main chassis parts and attach all already existing things from the “normal” m05 chassis. This way you can save a lot of money and use squared batteries as well.
Best,
T-