

 August 28th, 2014
  Kevin
Kevin Shock time! One of the main selling points of the V2 (or any of the now-discontinued Pro kits) is that it includes oil filled shocks. This, from all accounts, is one of the first upgrades anyone should do on a standard Tamiya M-chassis. The friction dampers keep the kit cost down, but oil filled shocks are so much better. To have them included in the kit is great.
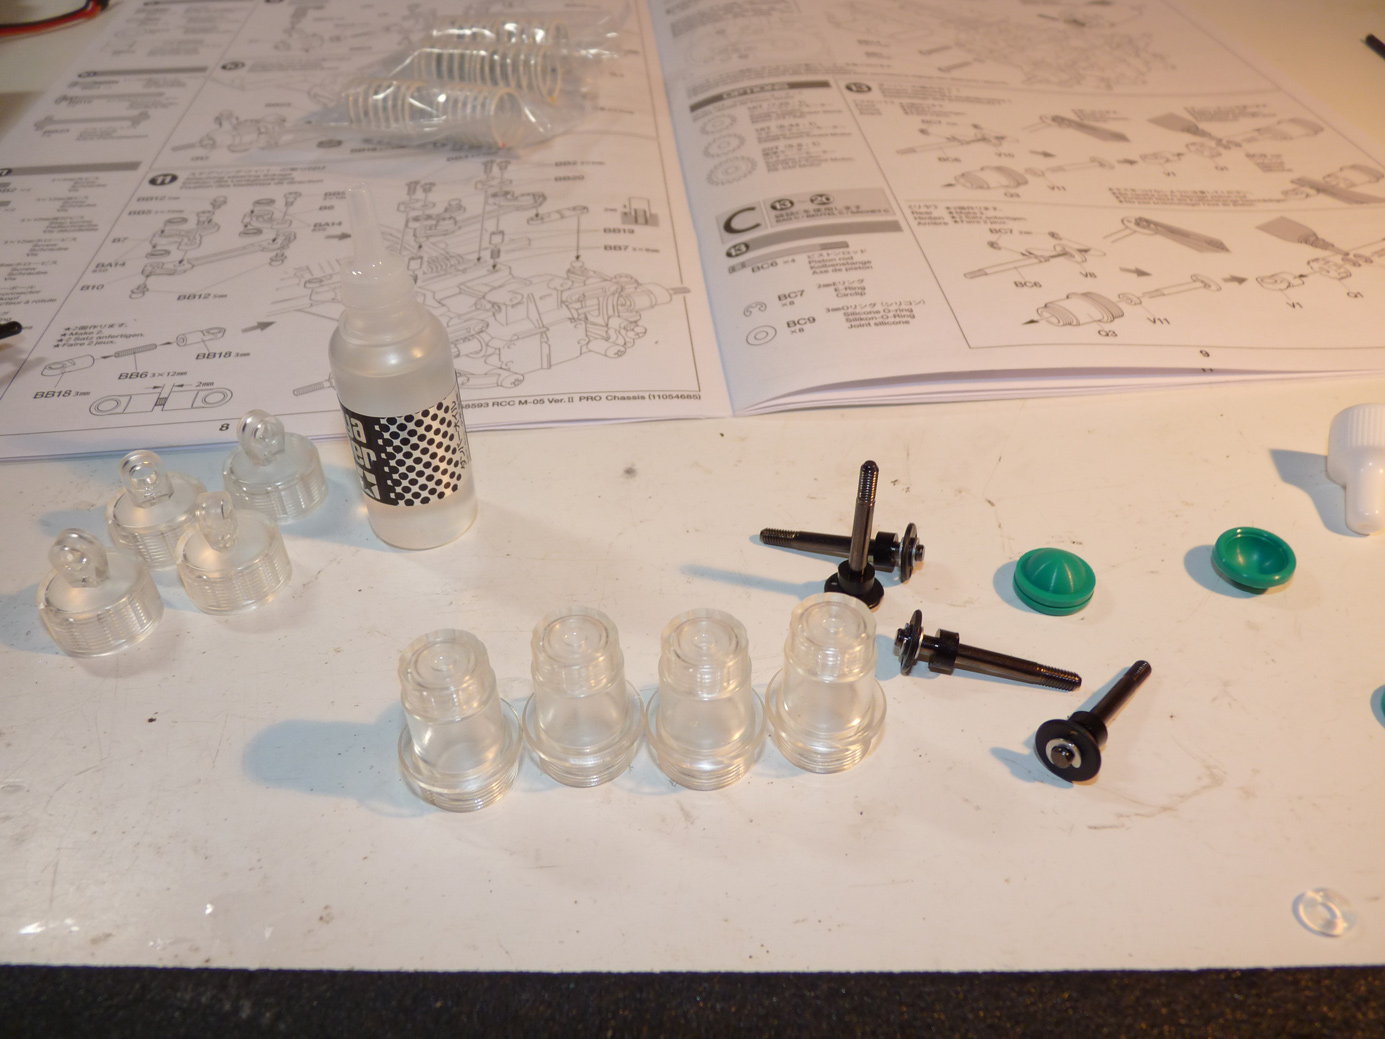
One unique thing about the shocks on this kit, is they are CLEAR! That’s right.. all of the main plastic parts are clear, including the shock bodies. We’ll be able to see the piston moving up and down as the shock travels. How cool is that?
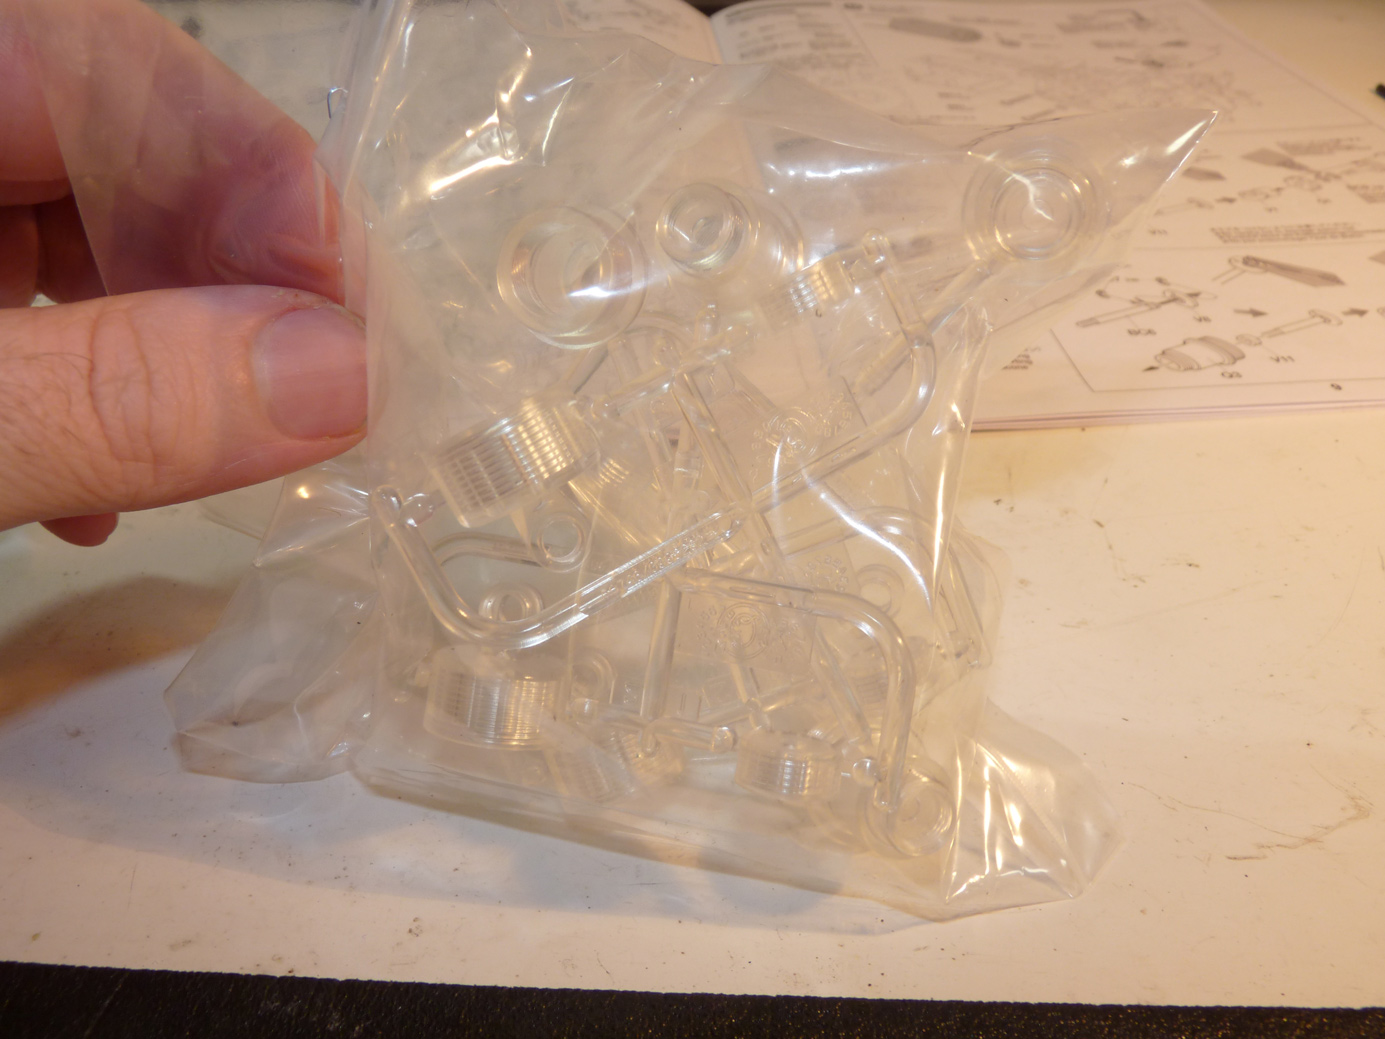
Bag of shock parts.
Clear!
These aren’t all that easy to photograph either.
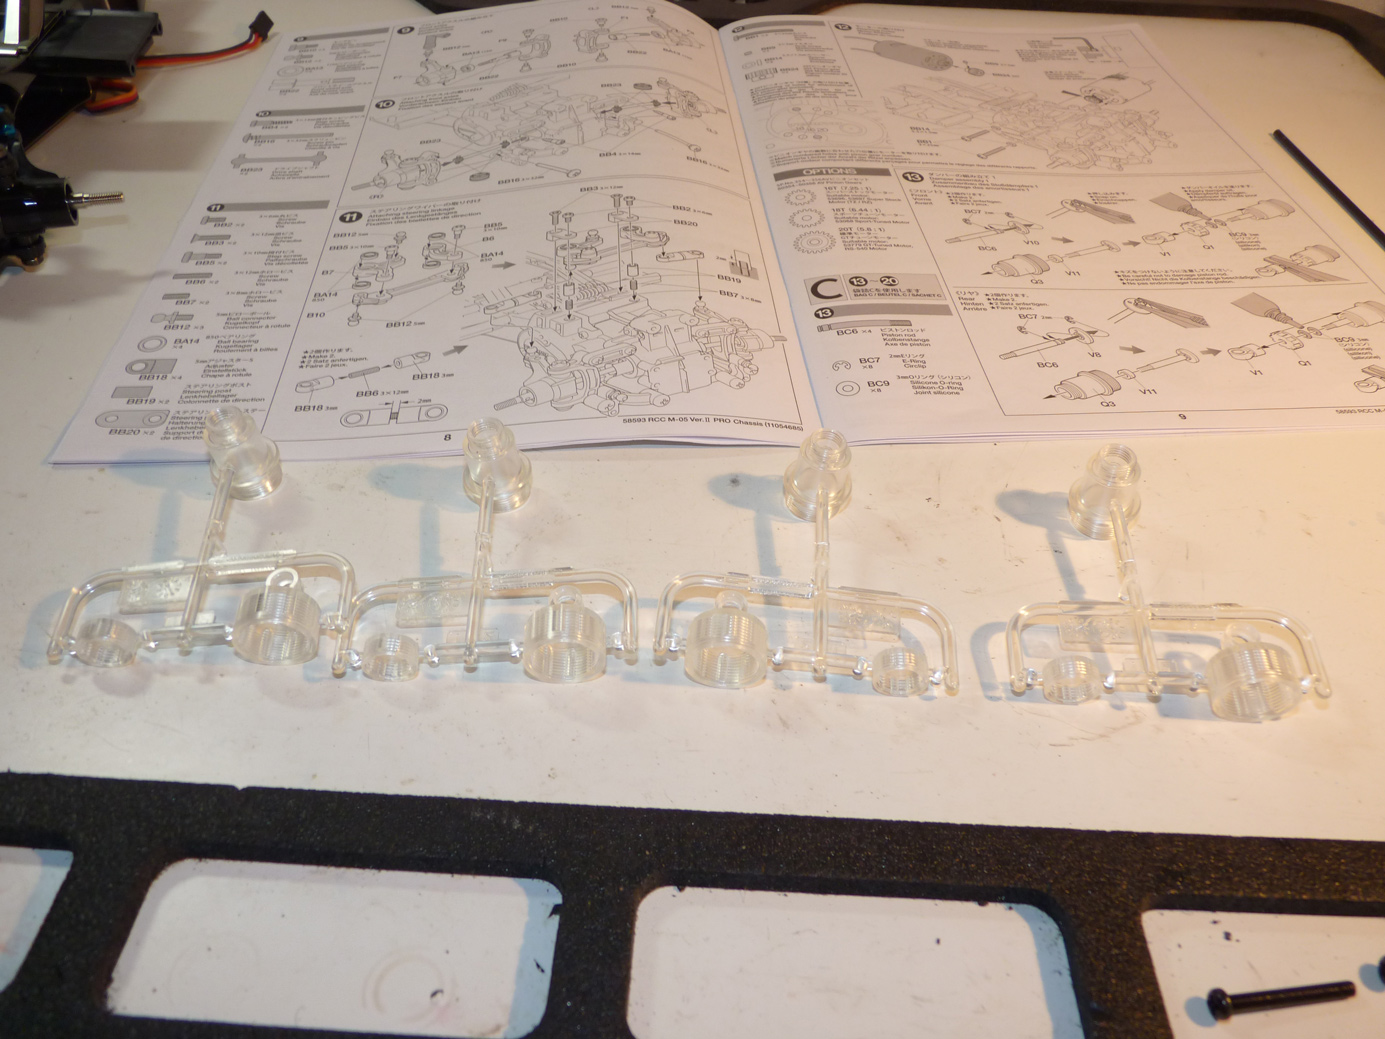
Shock assembly begins.
We start by removing the shock bodies from the trees.
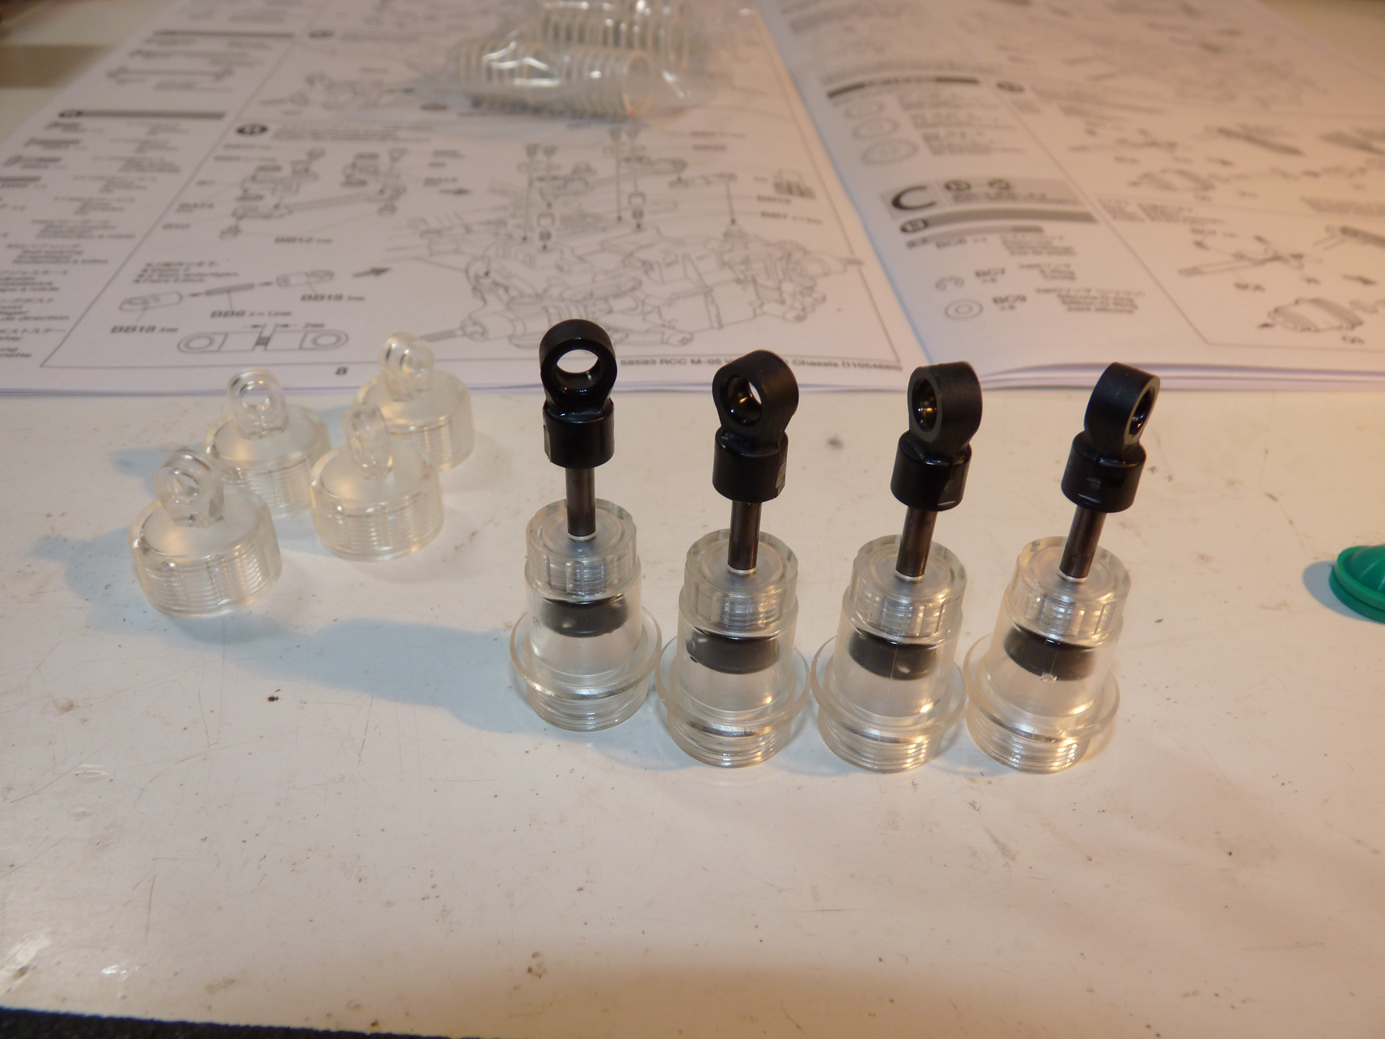
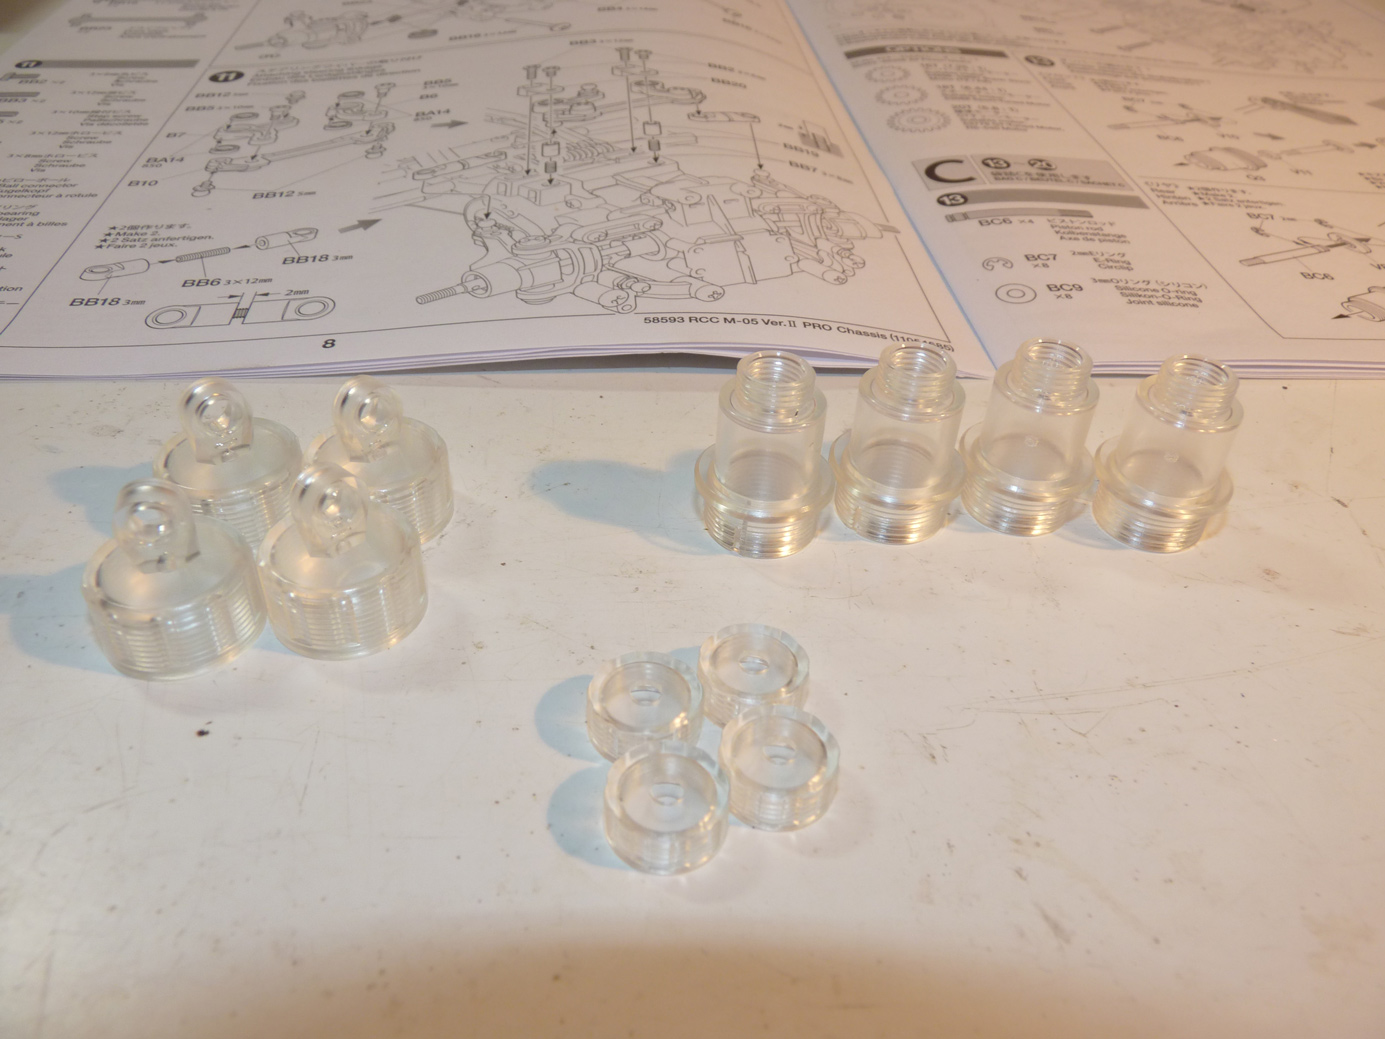
We then assemble the pistons onto the shafts, install the seals, install the shafts, and then install the ball end.
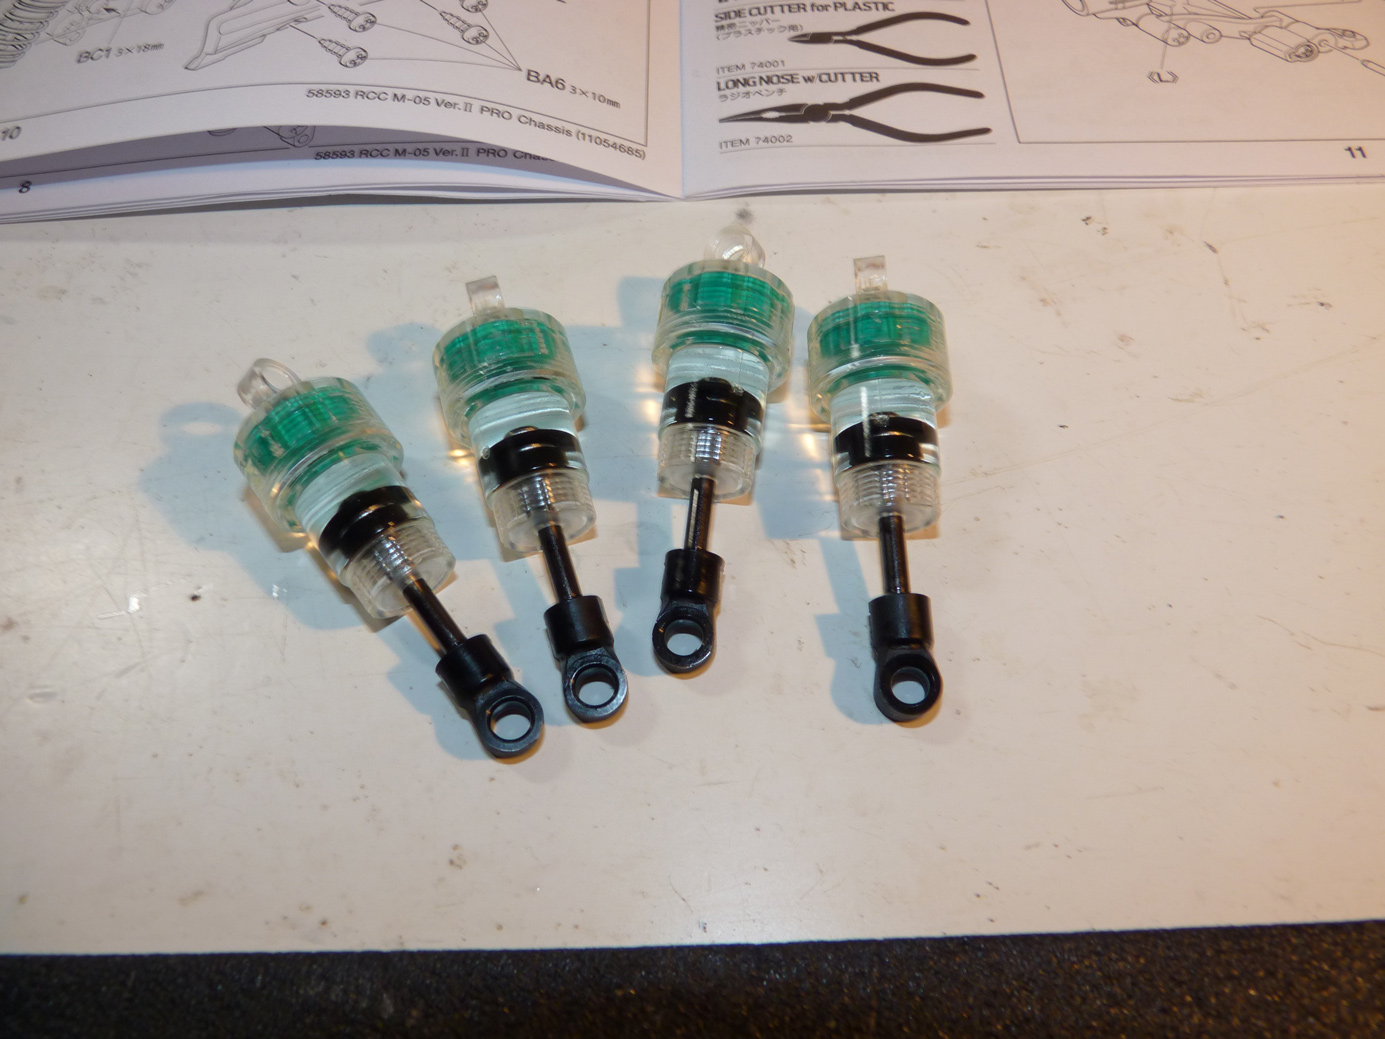
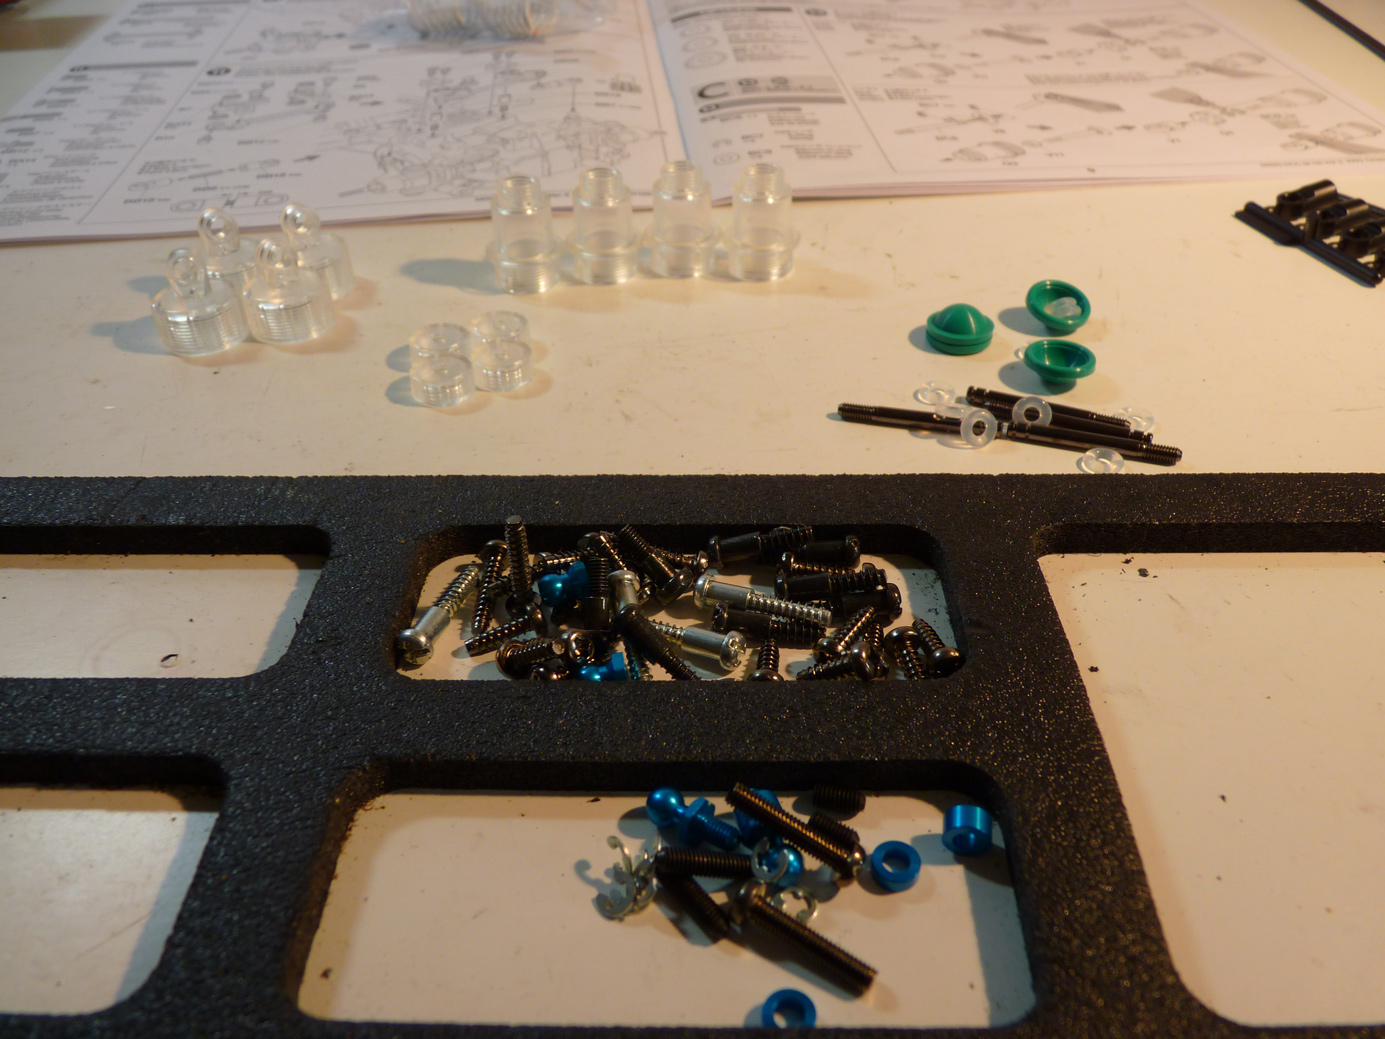
We then fill with oil, bleed the air, and install bladders and caps. How cool do these look?
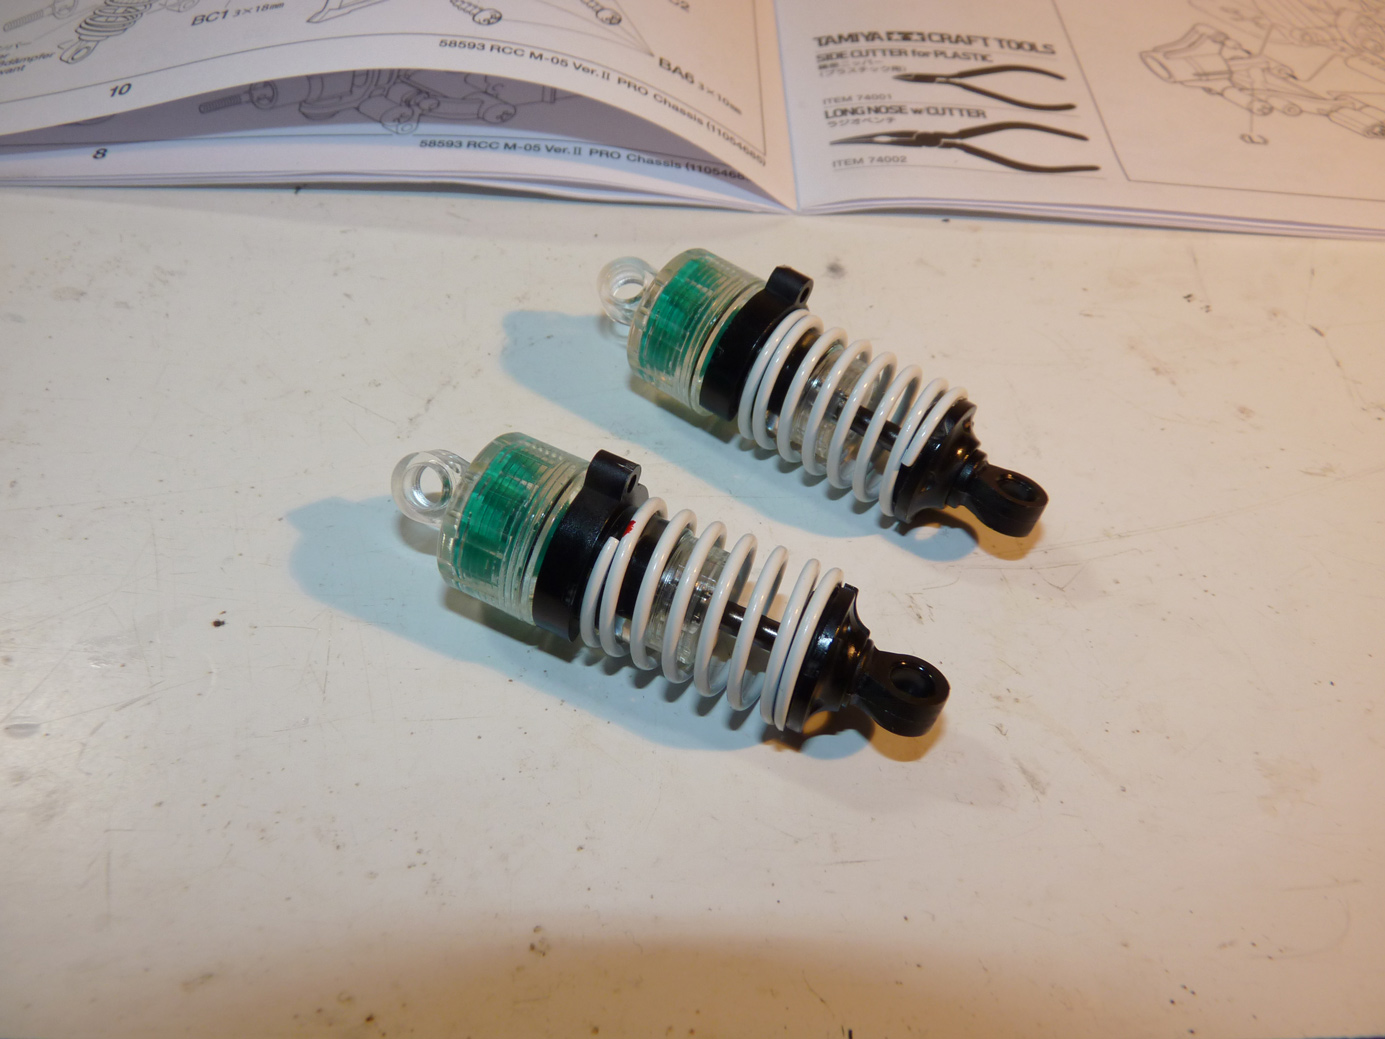
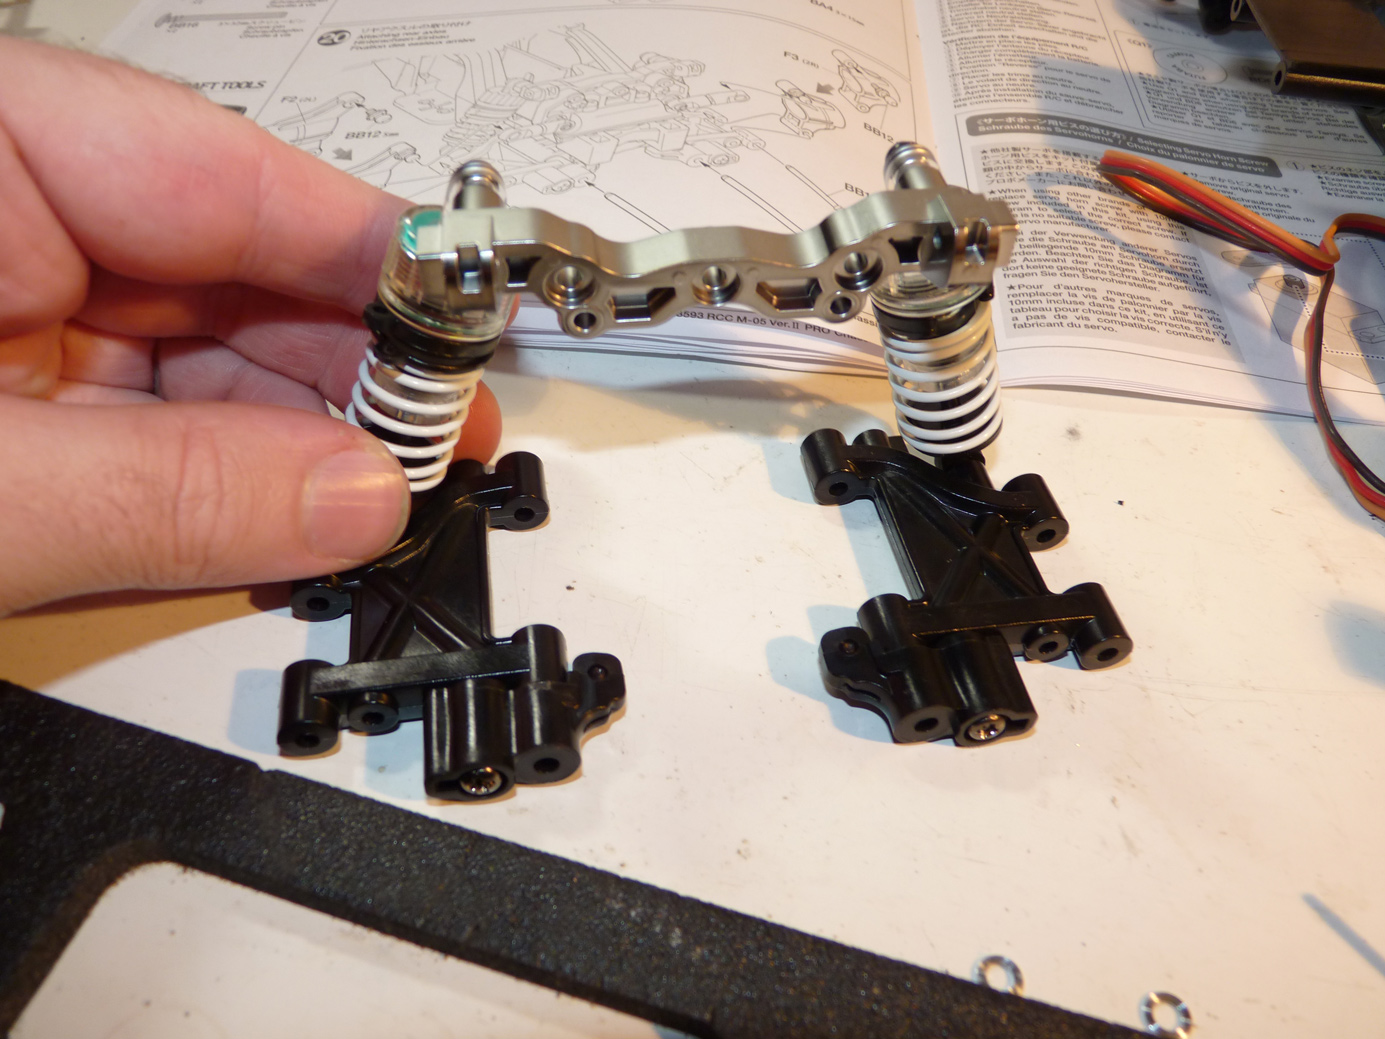
Finally we install the springs and lower retainers.
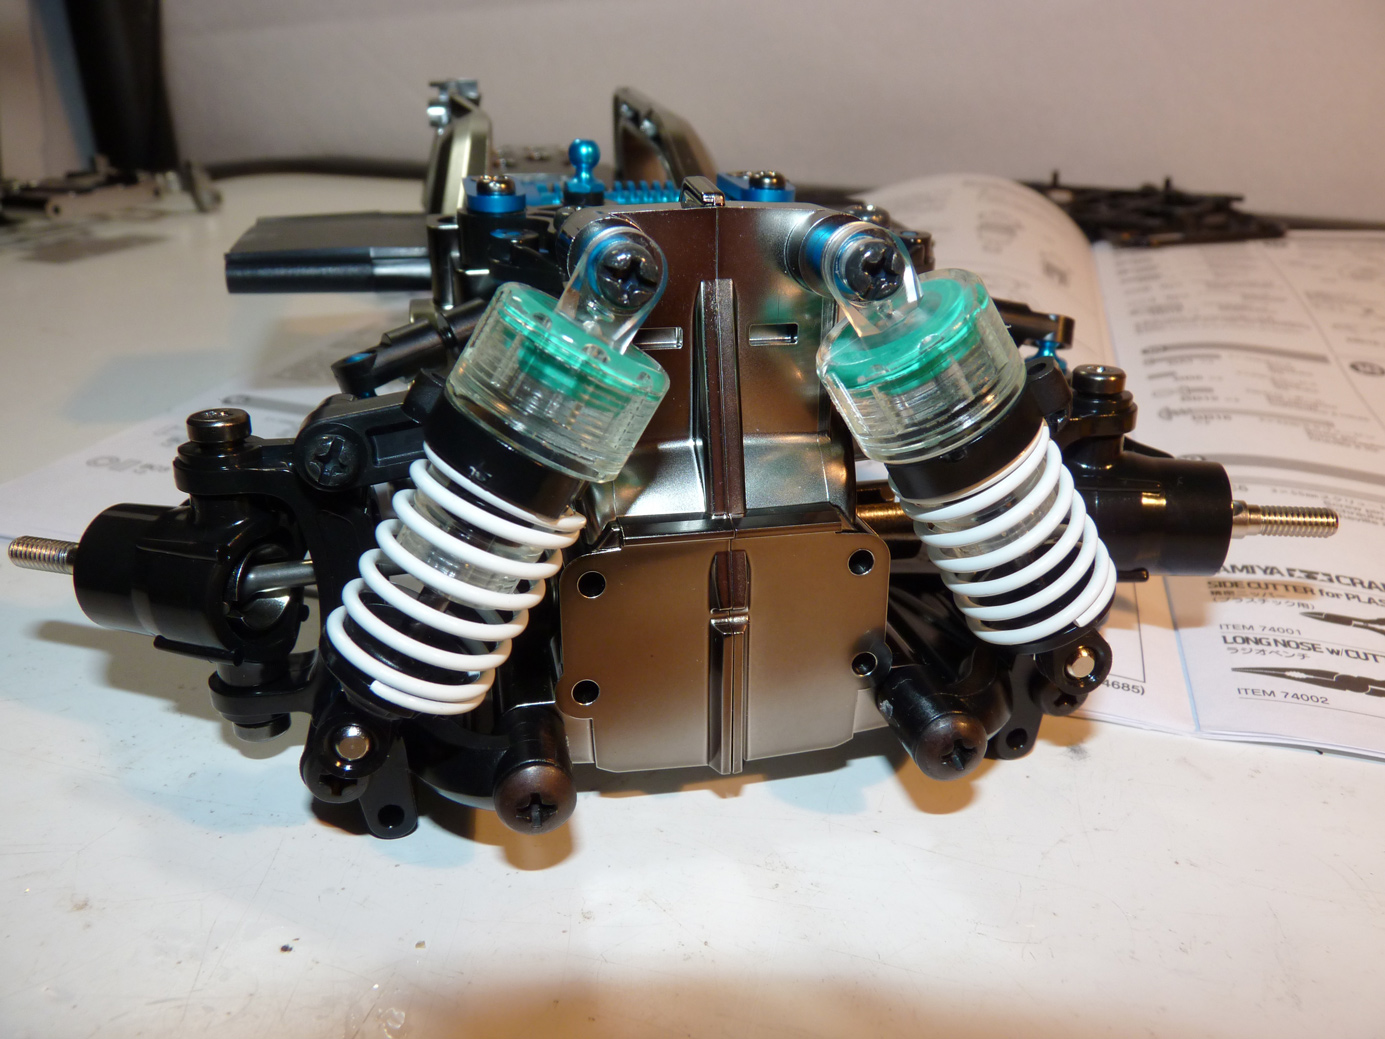
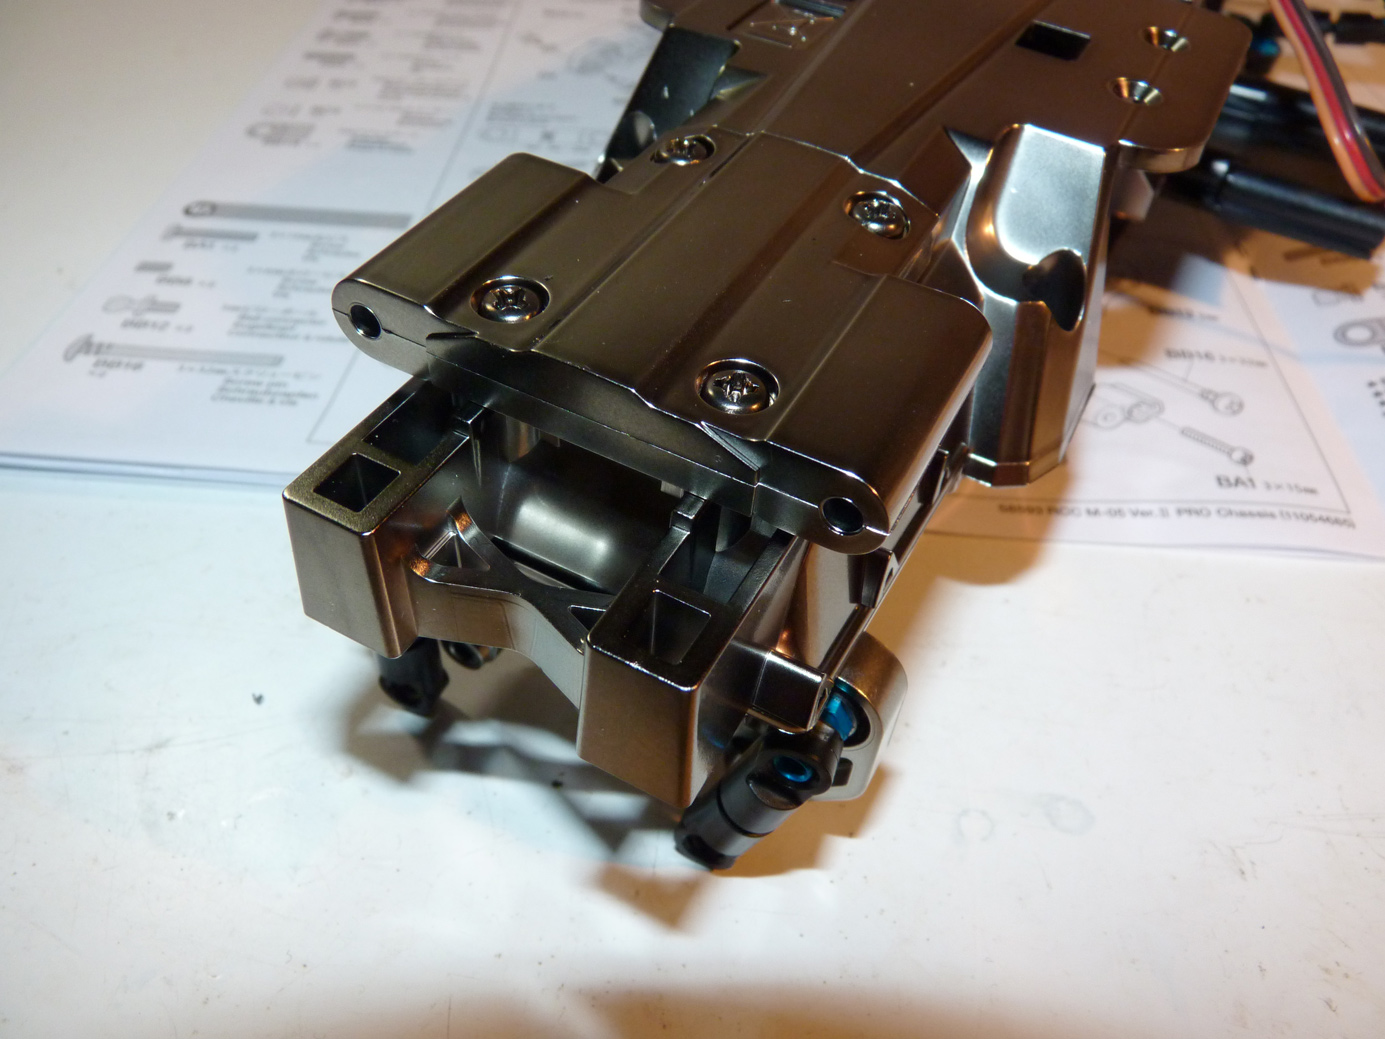
Next we install the front shocks onto the car.
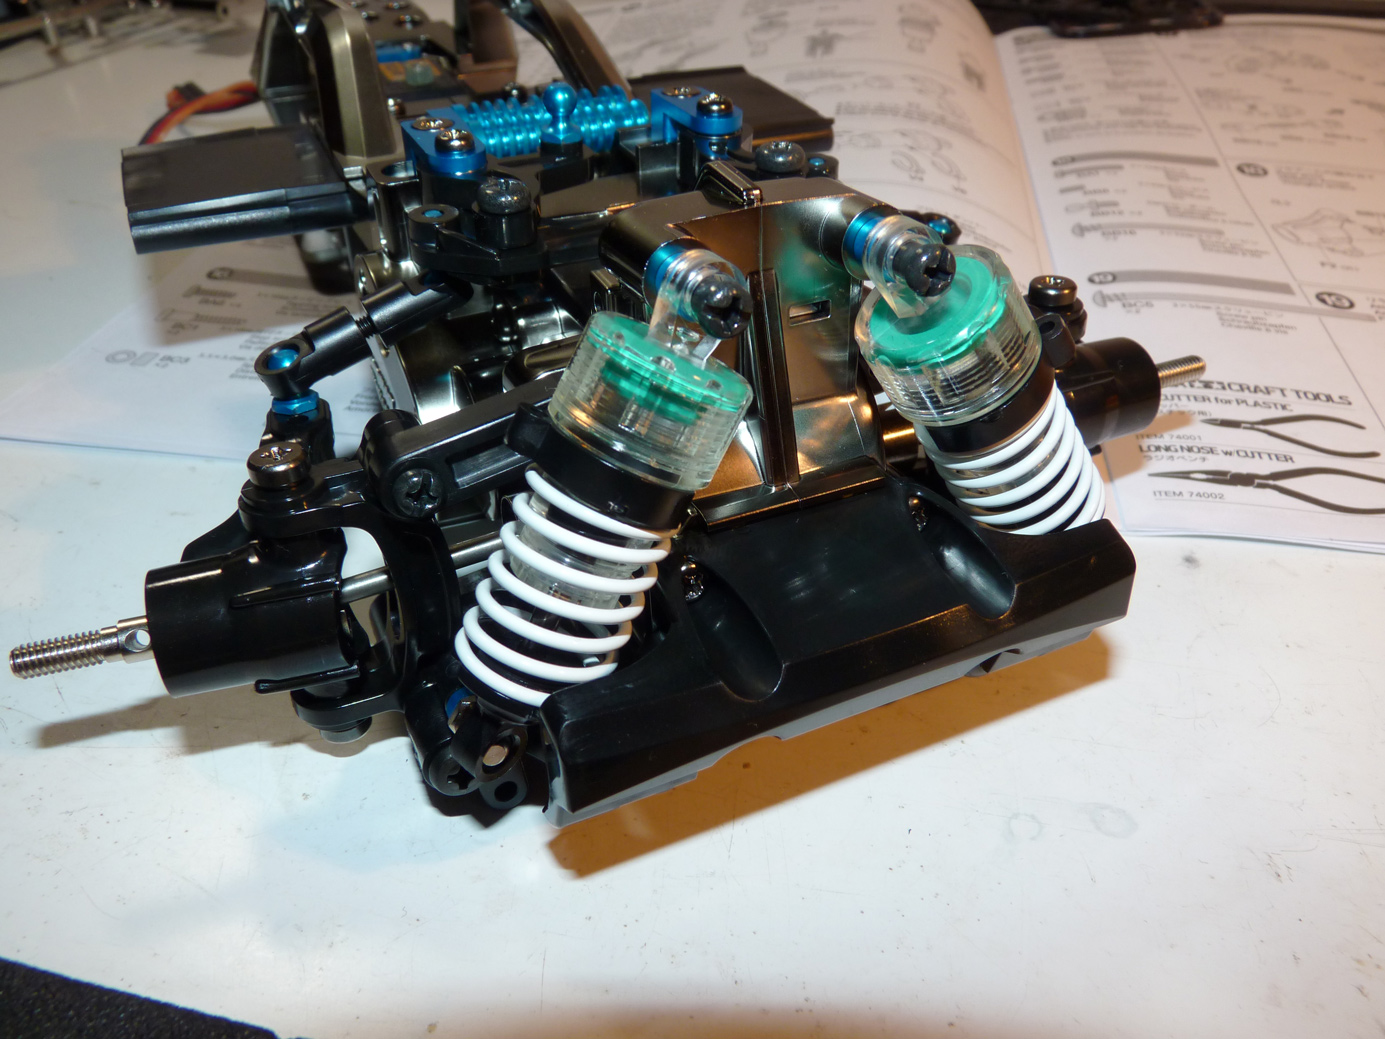
Then comes a small front bumper.
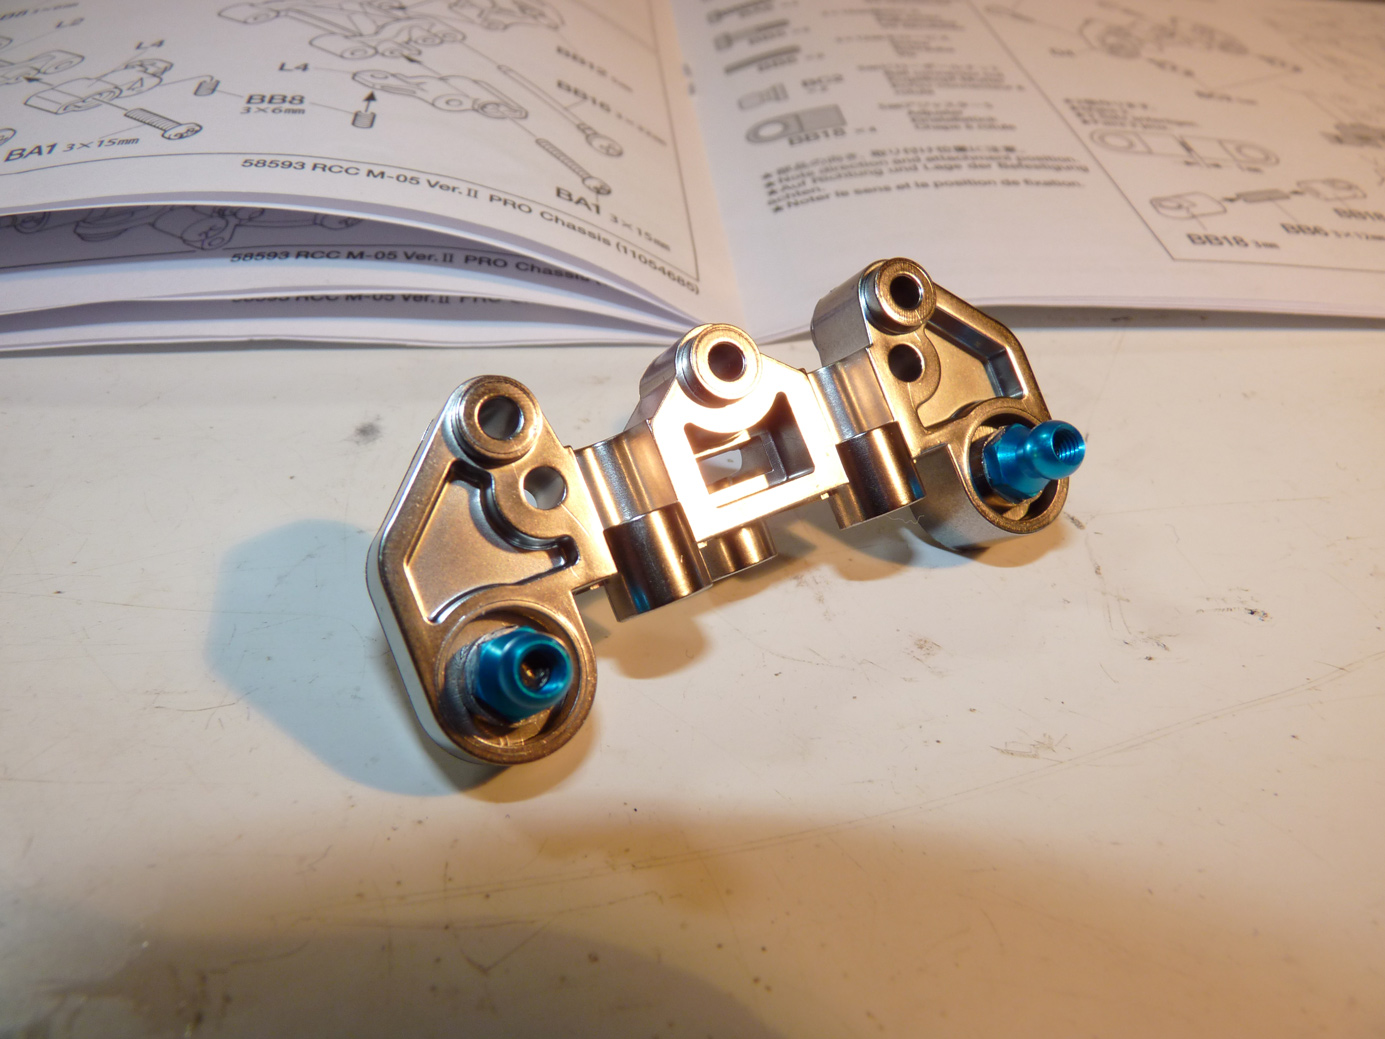
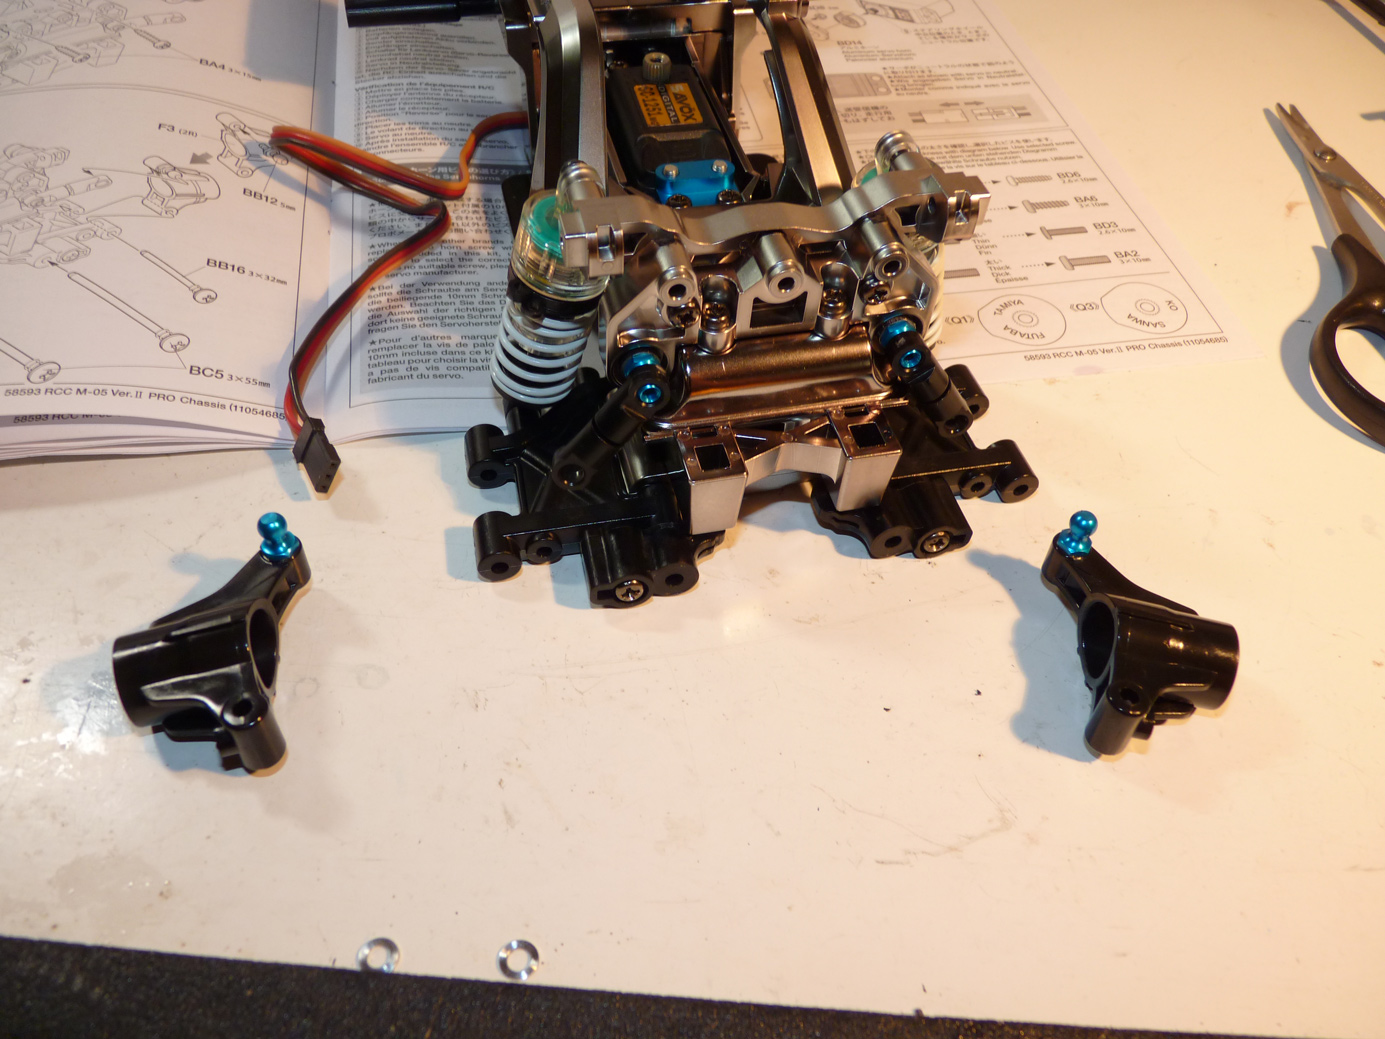
Next we build the rear shock tower. If you are building along, be aware the orientation of how you assemble this. Again, we’re building the Long Wheelbase version.
Now it’s time to assemble and install the rear camber links.
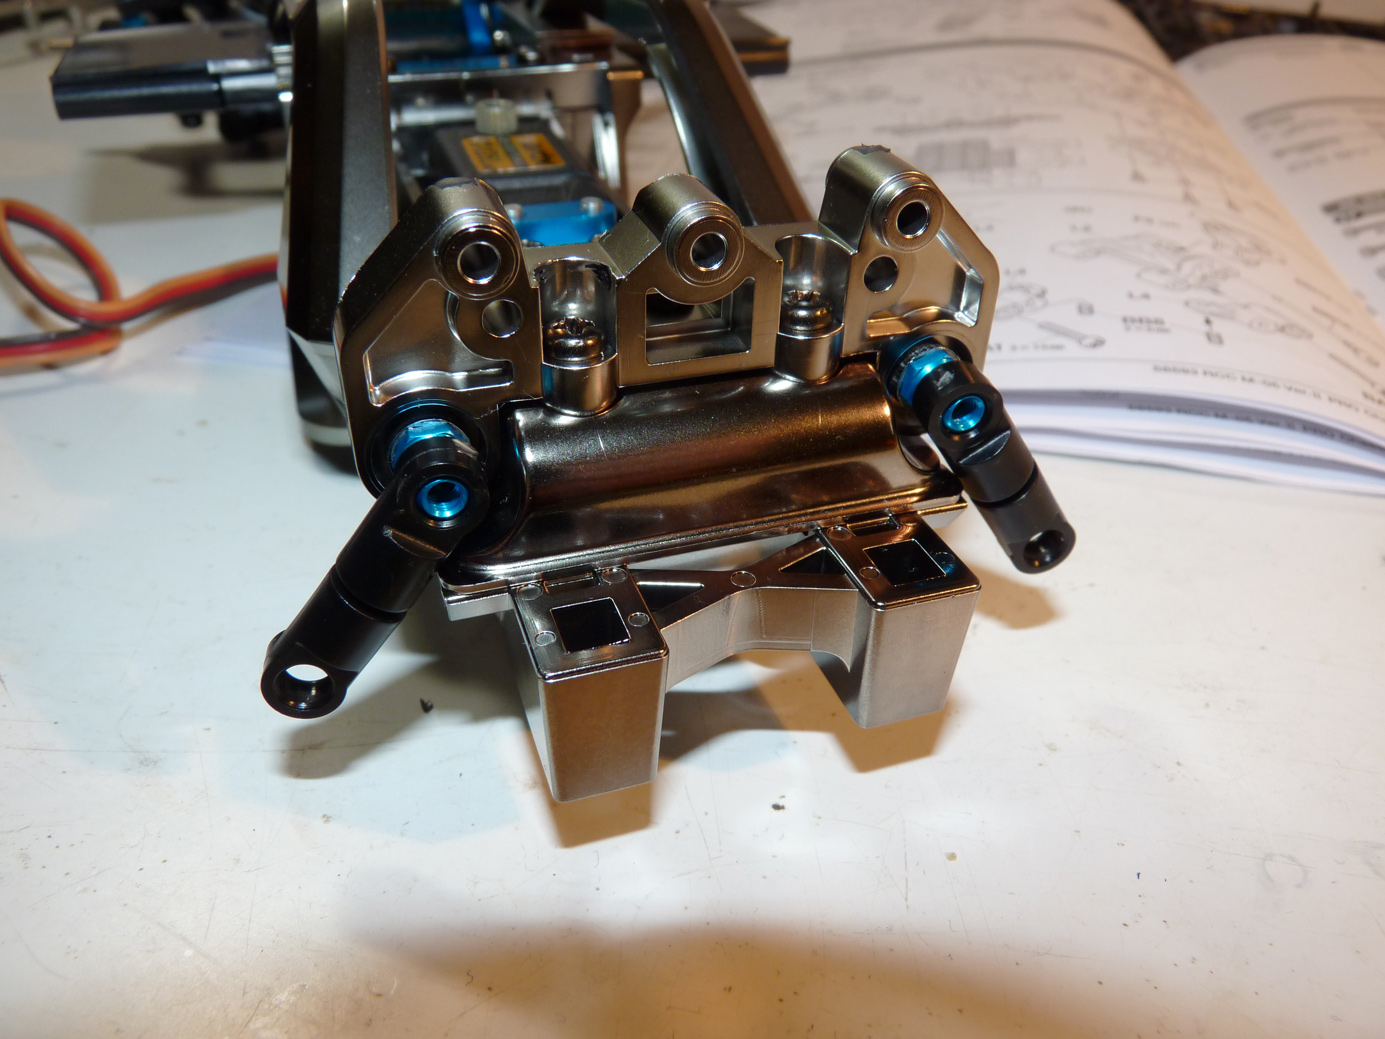
Now we install the lower mounting plate onto the chassis.
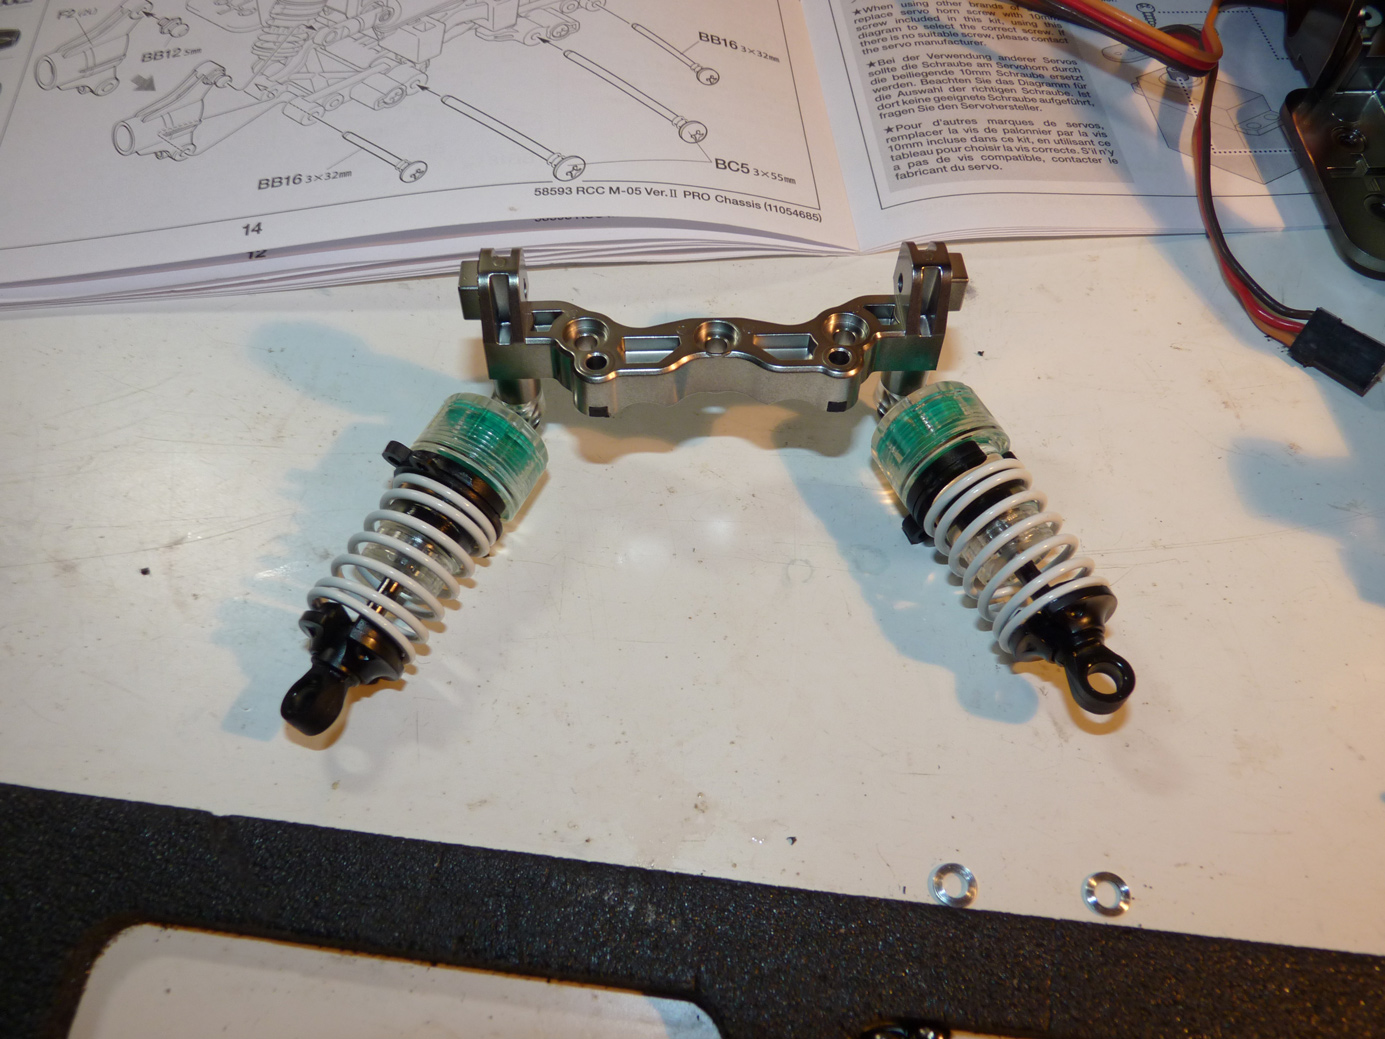
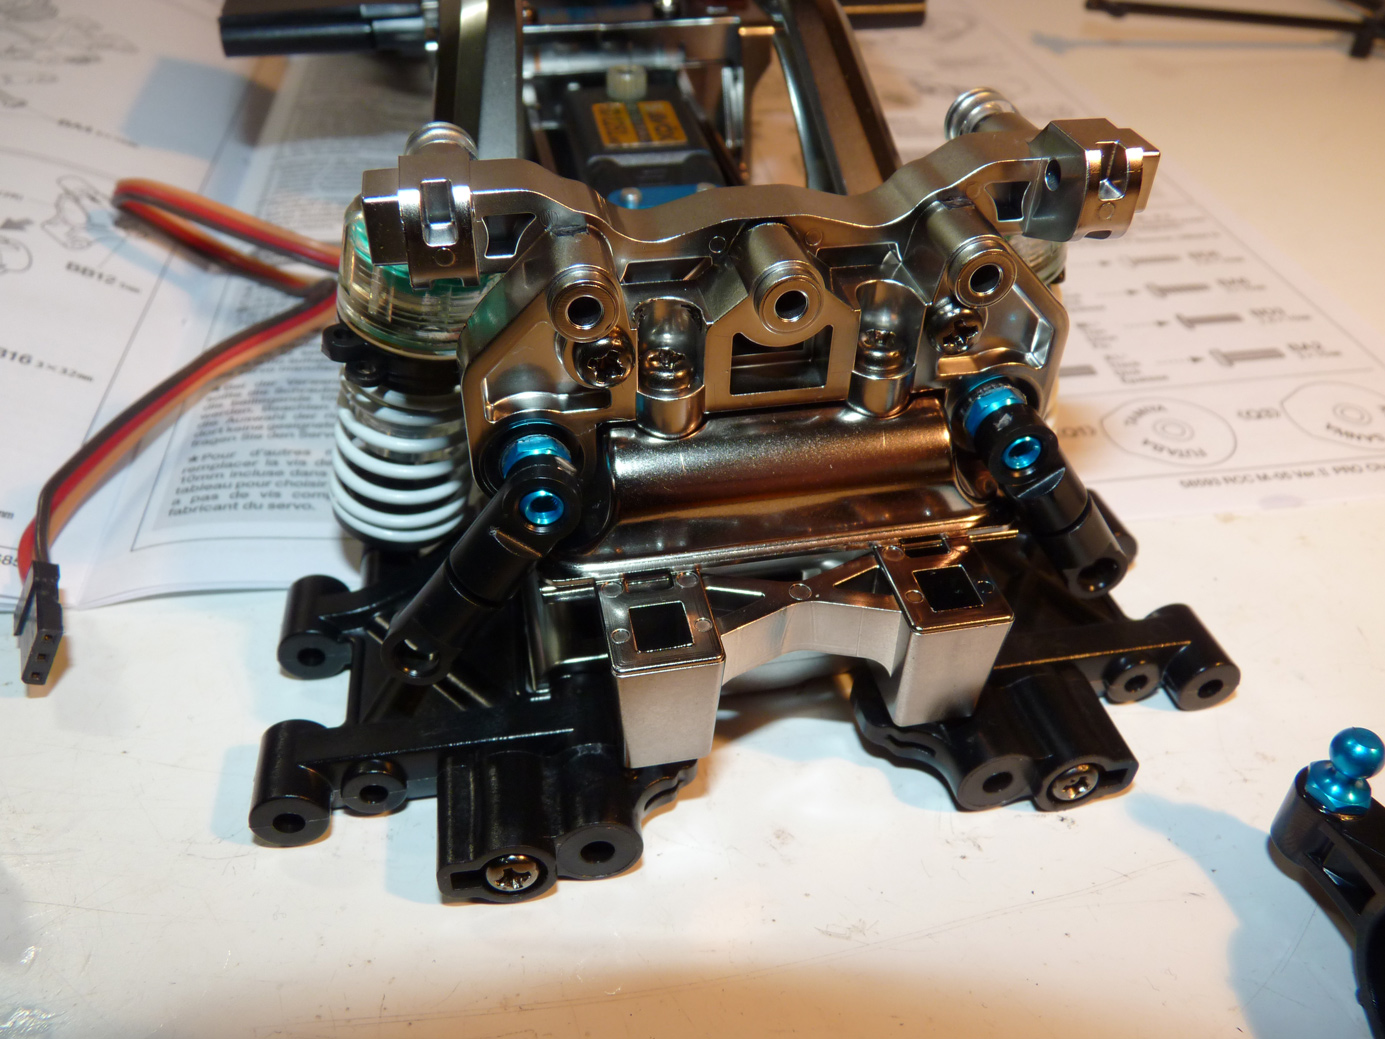
Then we mount the upper part of the rear shocks to the rear tower.
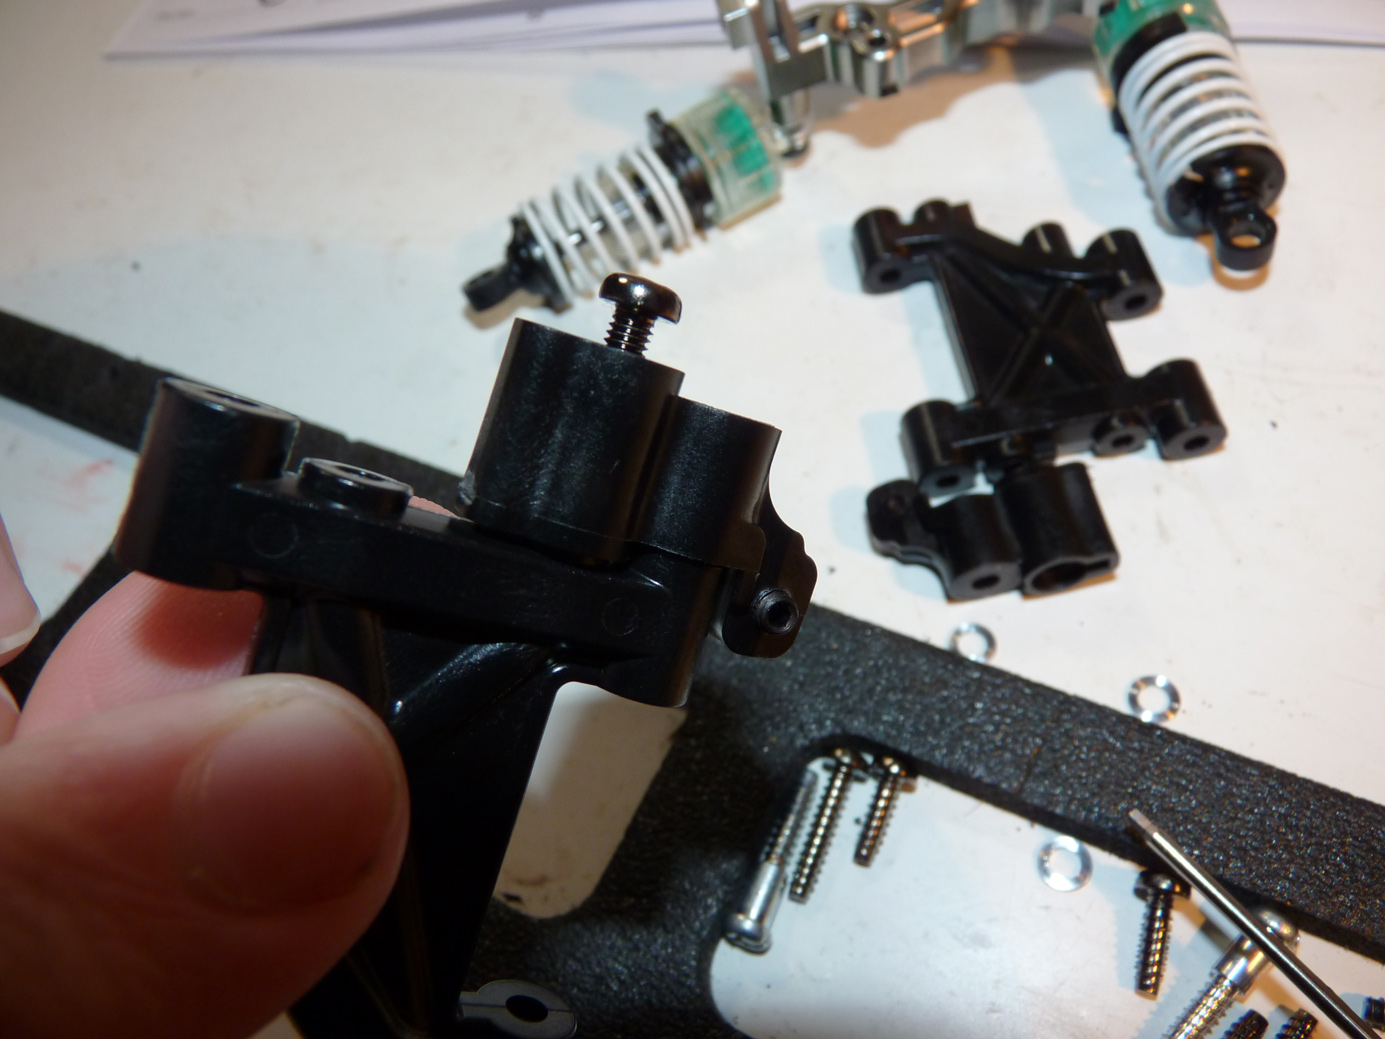
Even though the rear arms are one-piece now, we still have to install this piece. It’s an adapter that the droop screw threads into.
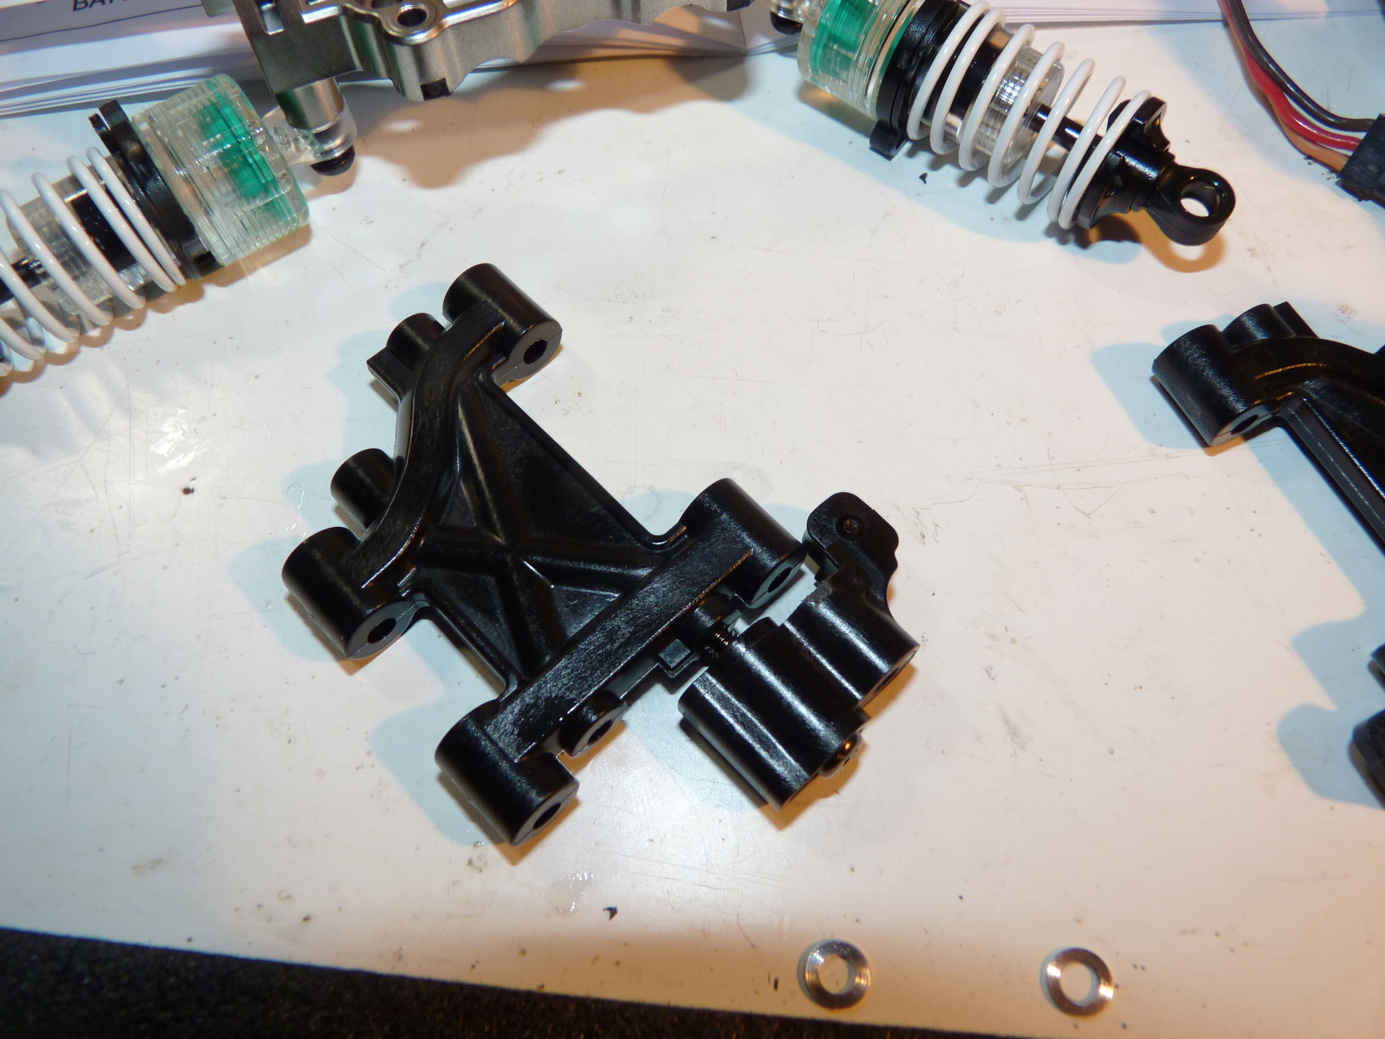
Another shot of how it gets put together.
The rear suspension is ready to be mounted to the car.
We make quick work of bolting that up and then getting the rear hub carriers ready to install.
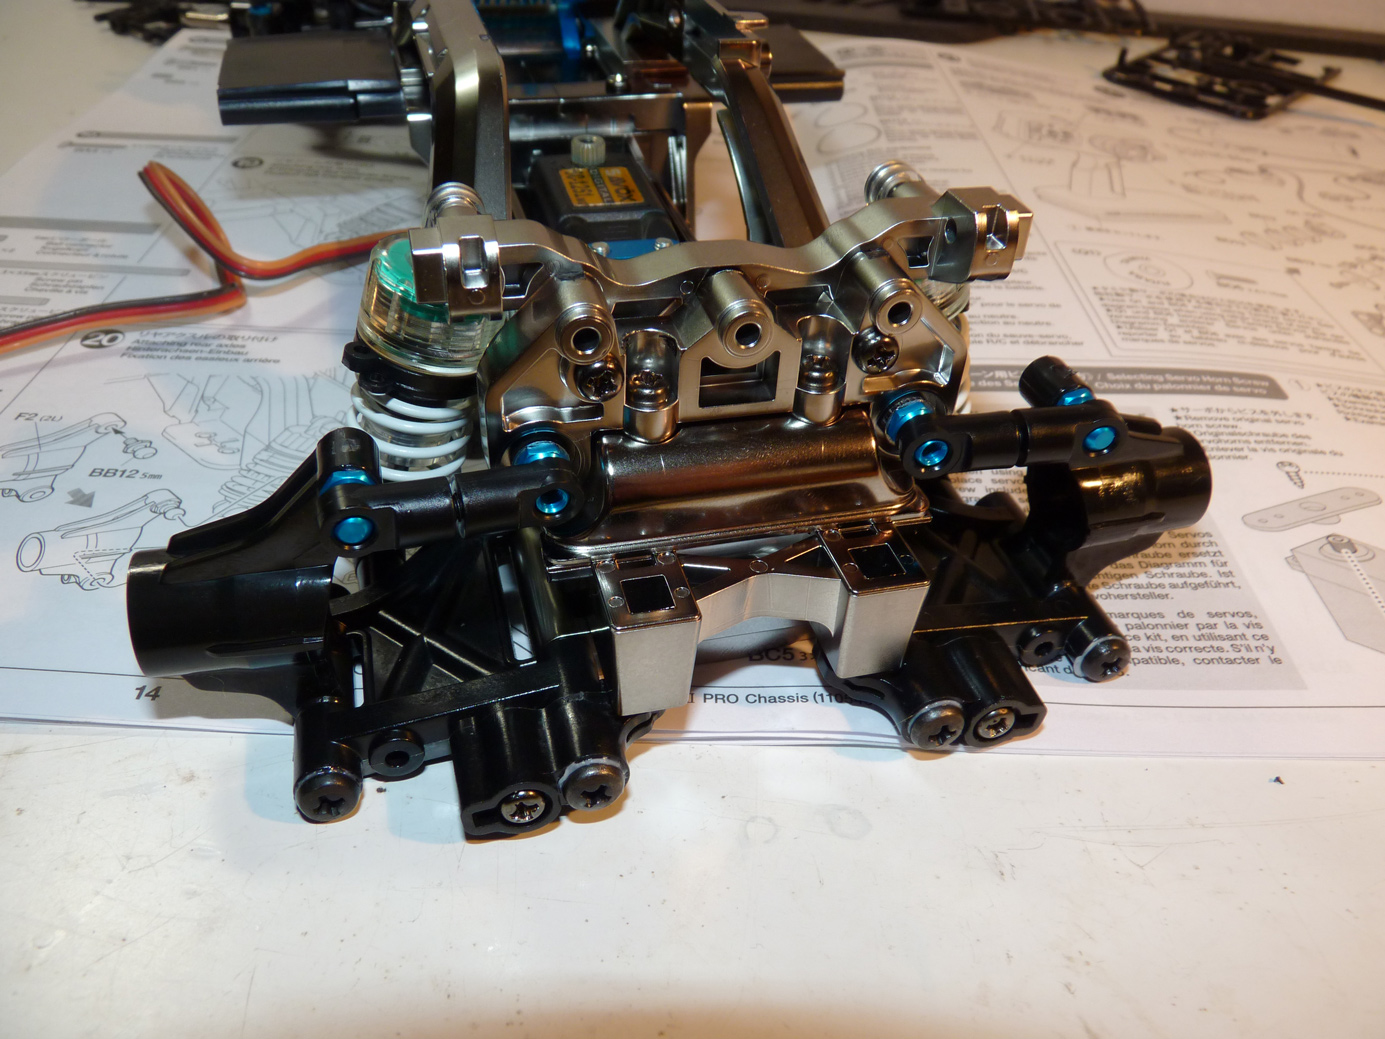
Rear hub carriers are now installed.
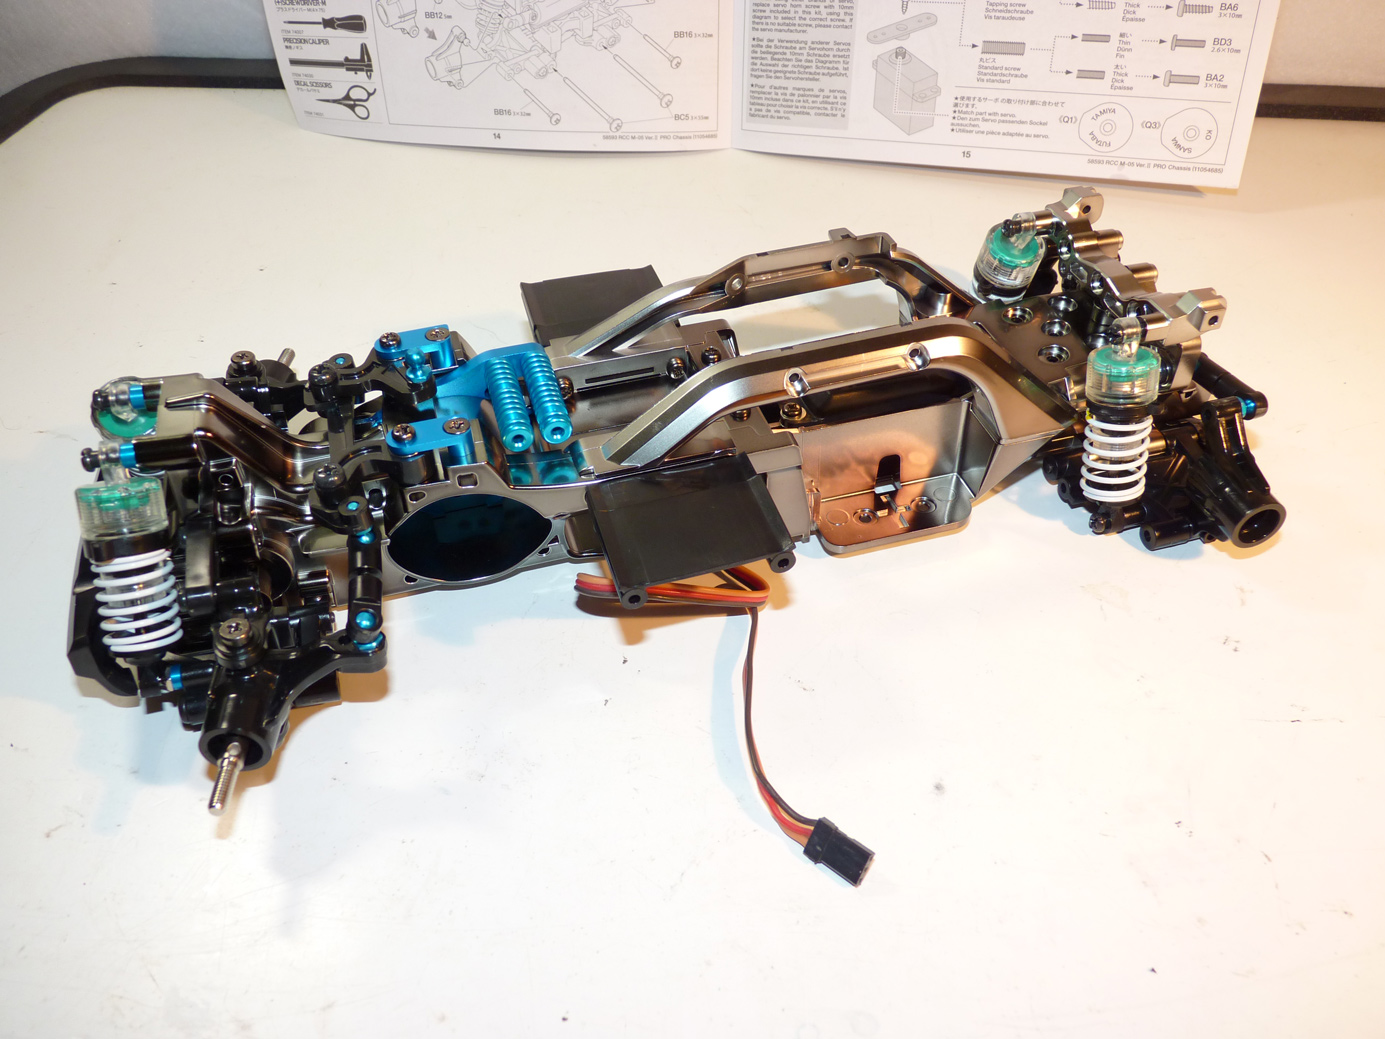
Hey! We’re starting to look like a car. Suspension is now complete.
Continue reading on the next page.
 Posted in
  Tags:
Tags:
I also ordered a M05 V2 Pro Kit as soon as it came out. The update for making squared batteries fit into the chassis was my main reason. Another good thing is, that all hop-up parts from Tamiya and third party companies still work.
So my tip is to buy only the main chassis parts and attach all already existing things from the “normal” m05 chassis. This way you can save a lot of money and use squared batteries as well.
Best,
T-