

 August 28th, 2014
  Kevin
Kevin What’s up next? Well, that’d be the servo linkage, esc/radio plates, and rear axles.
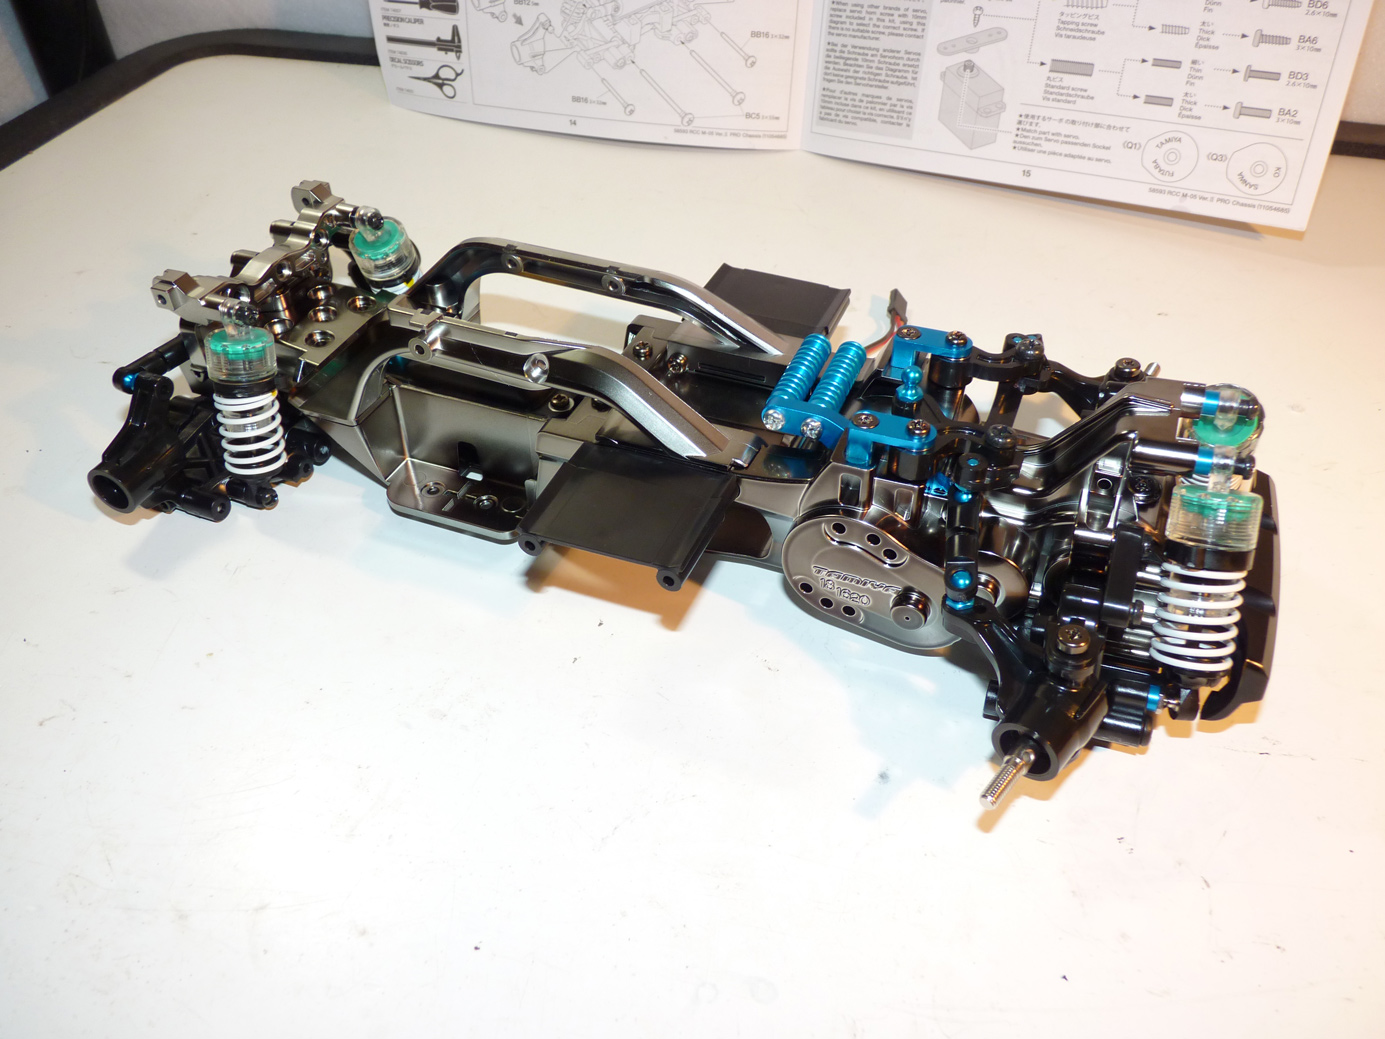
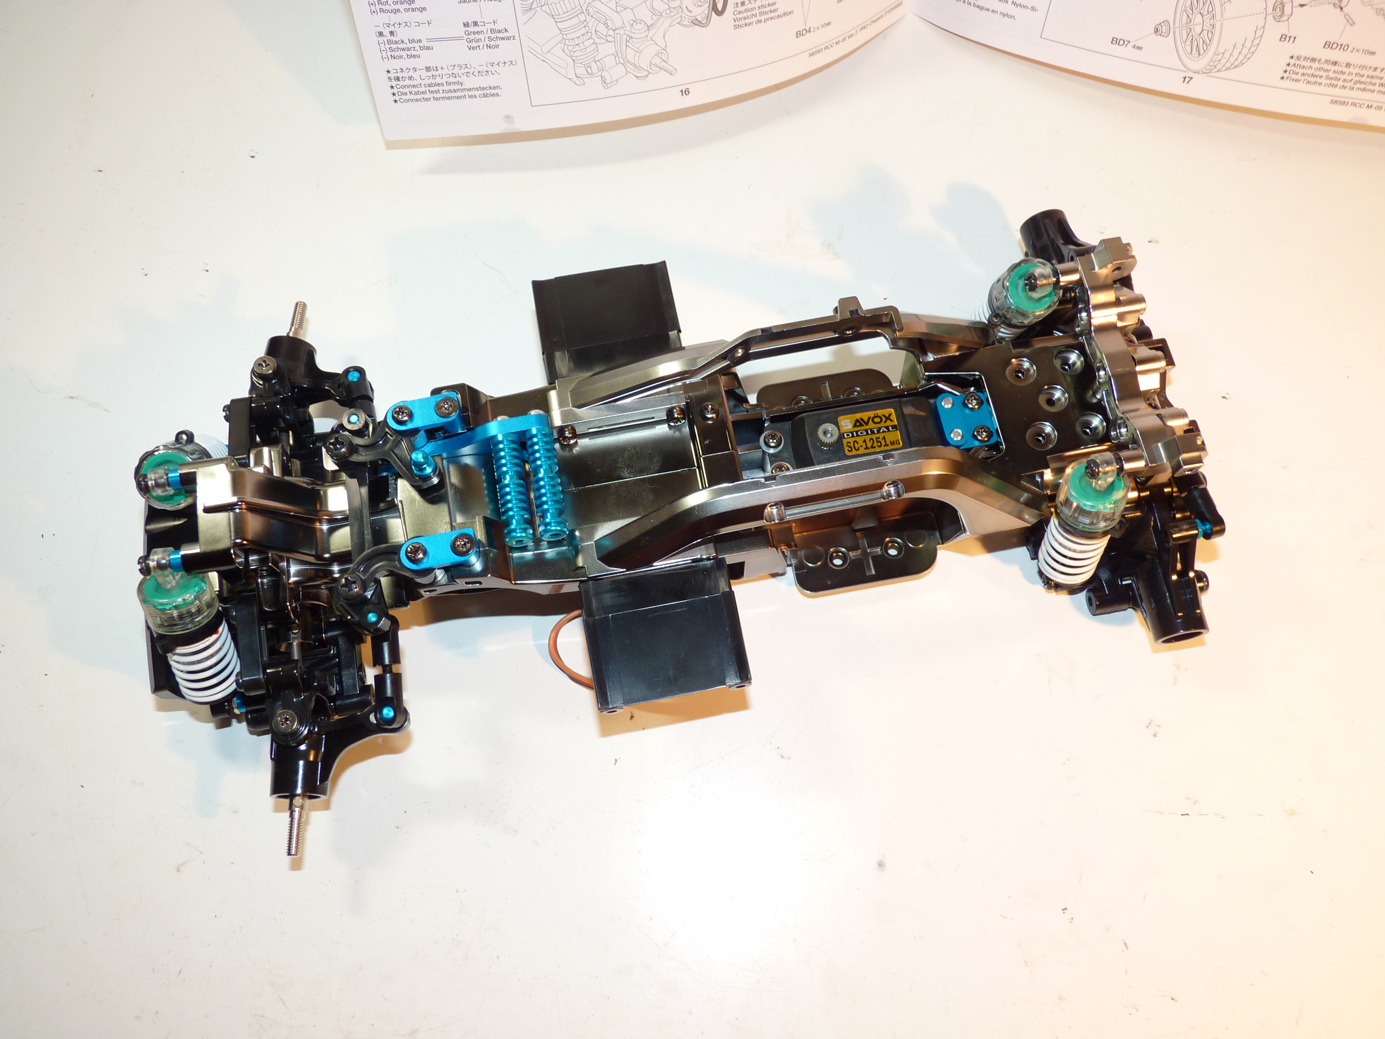
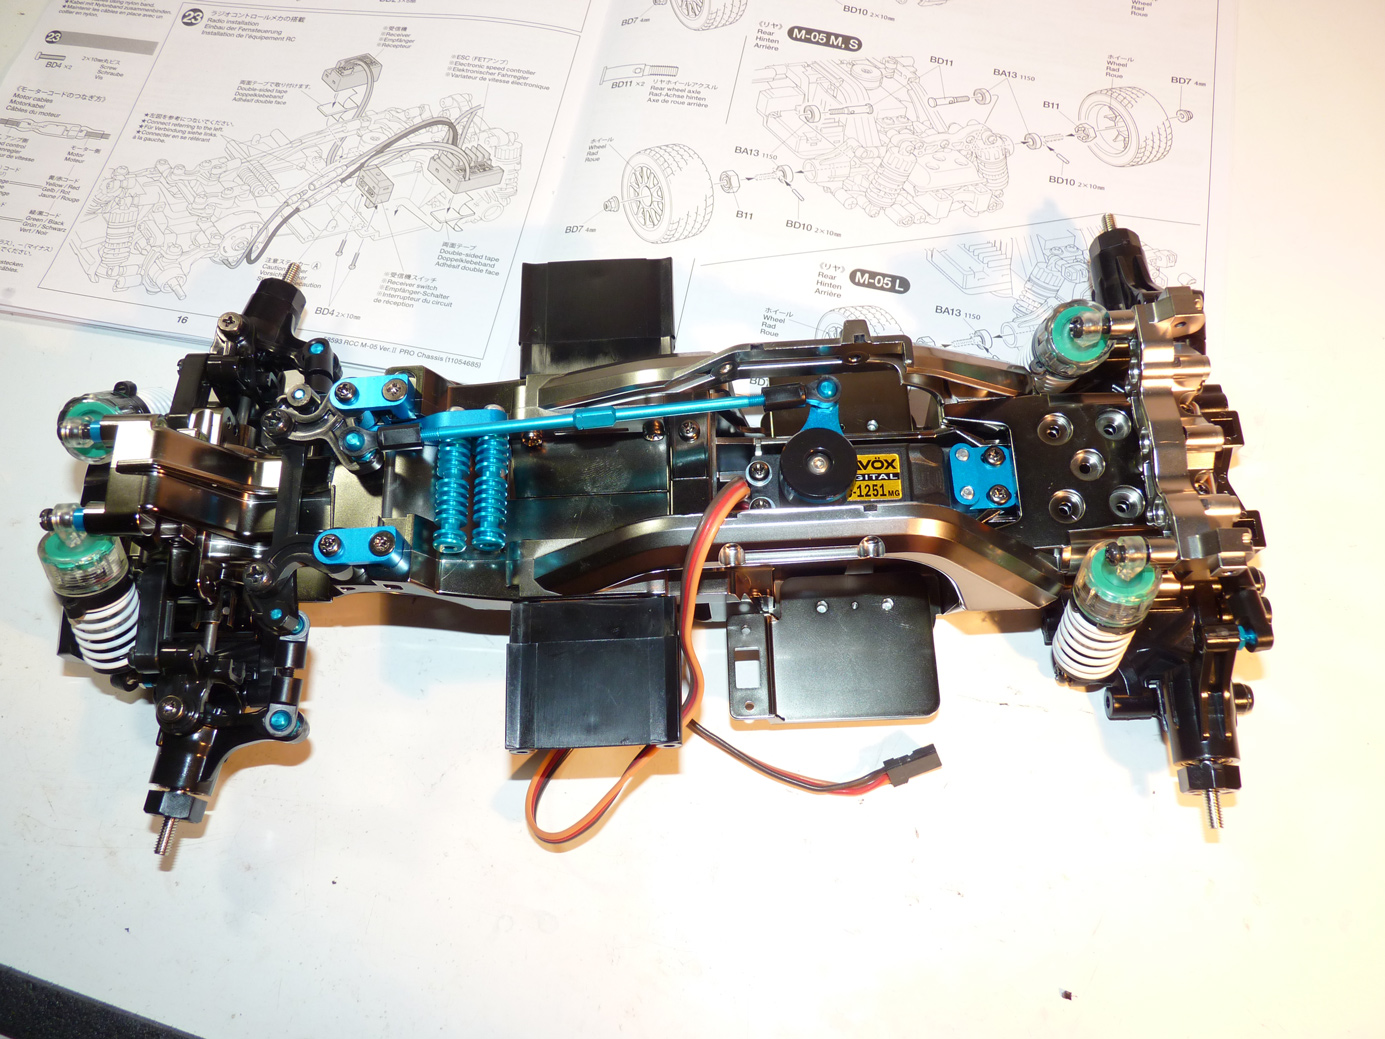
Here’s where we left off. This thing is looking pretty slick.
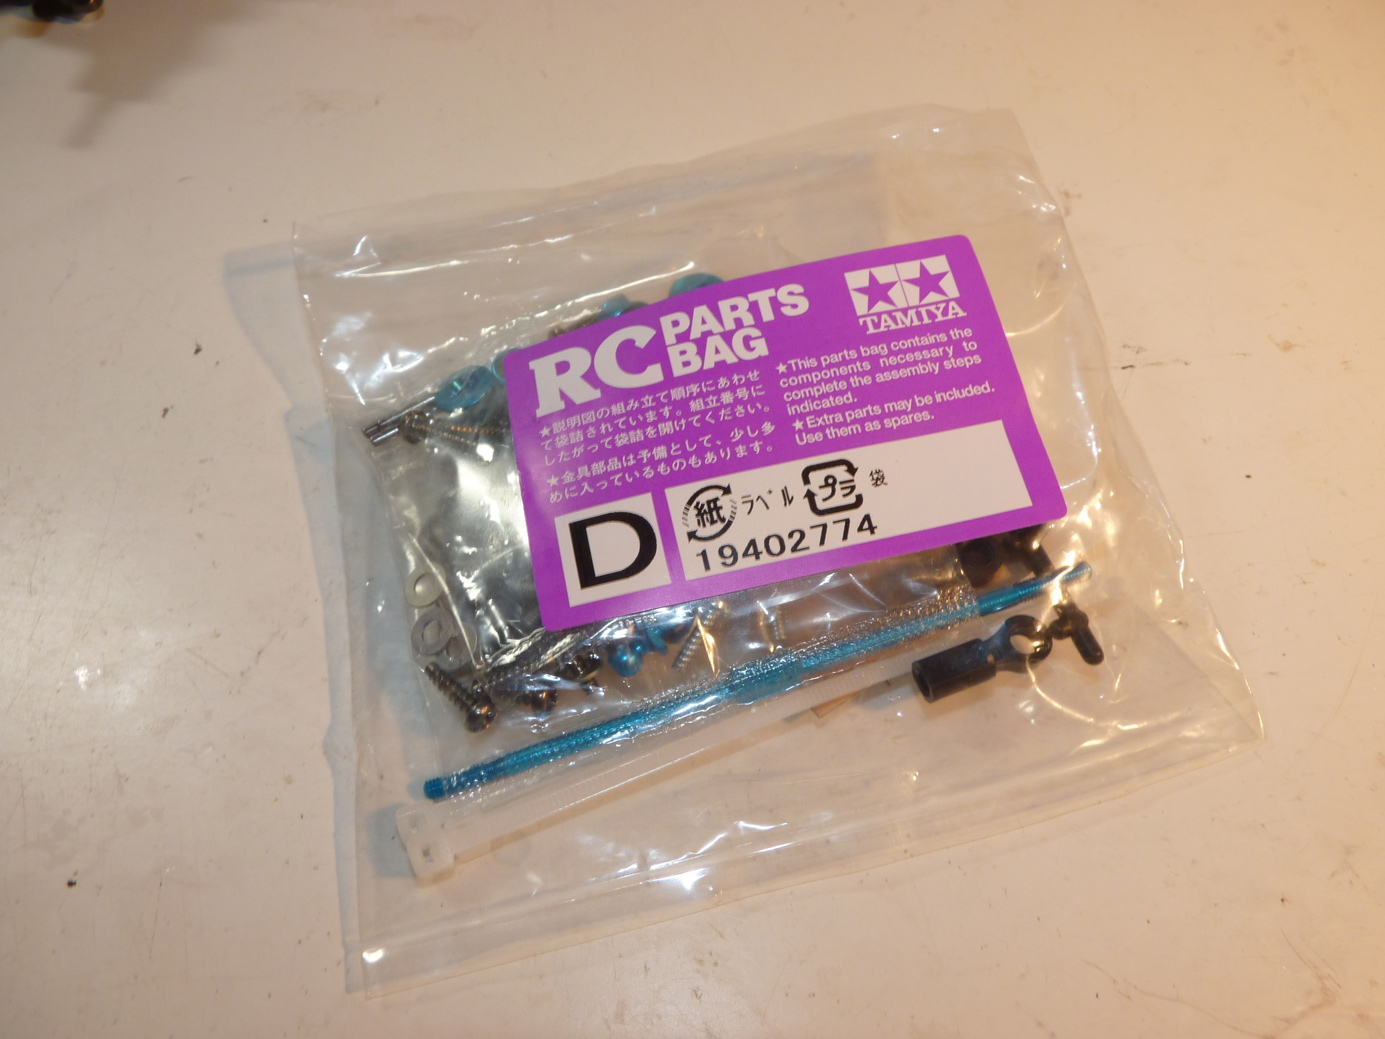
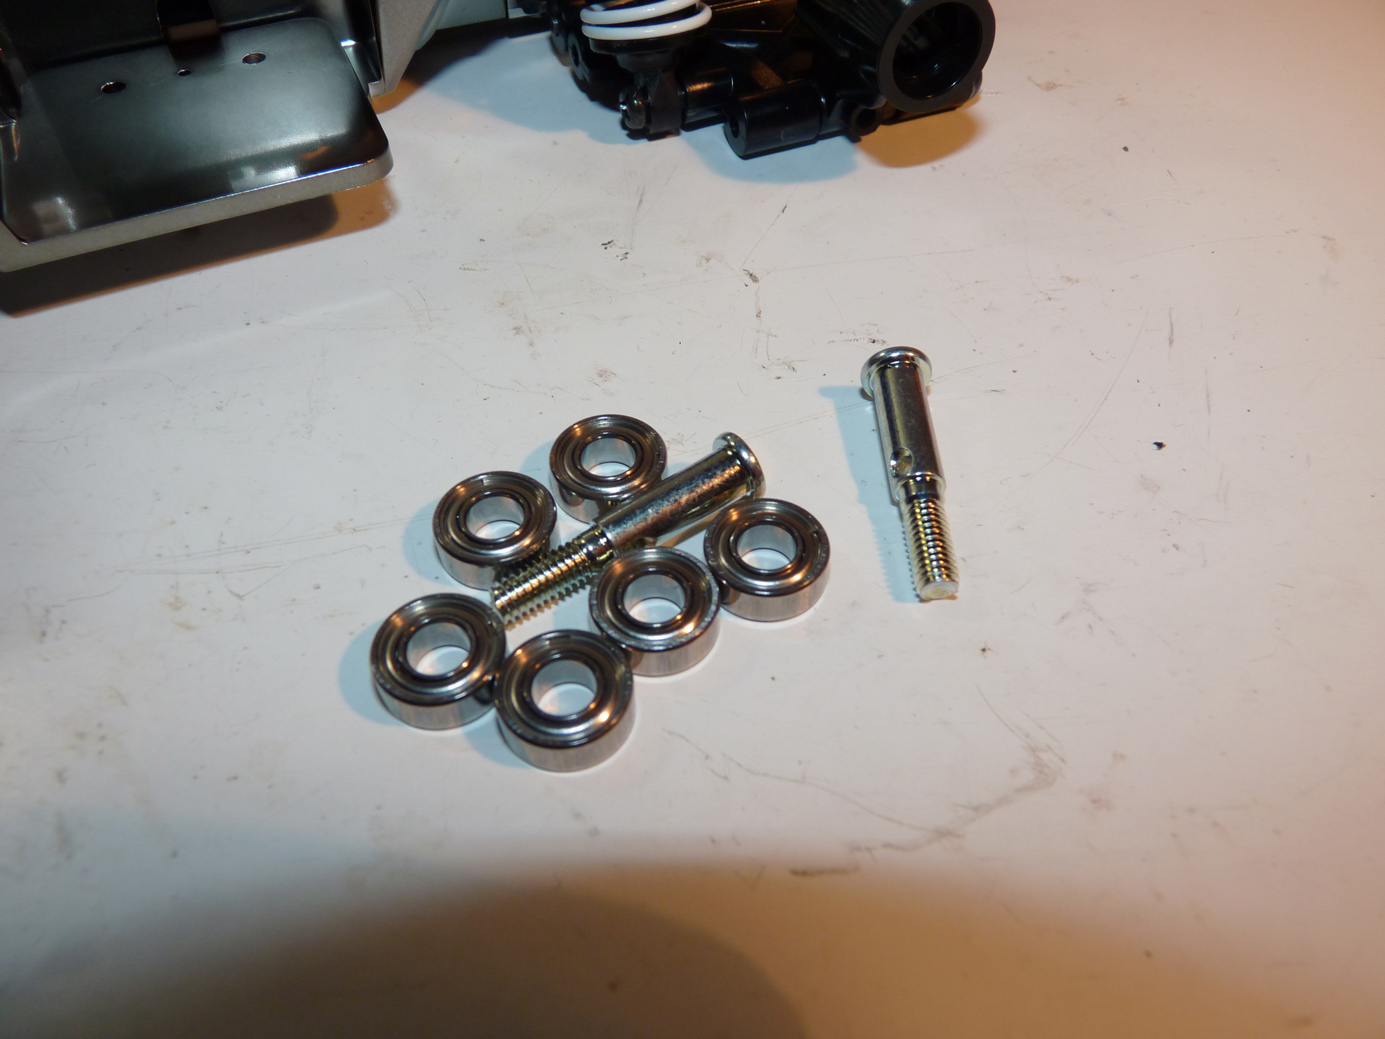
Bag D includes most of the steering linkage parts and the rear axles.
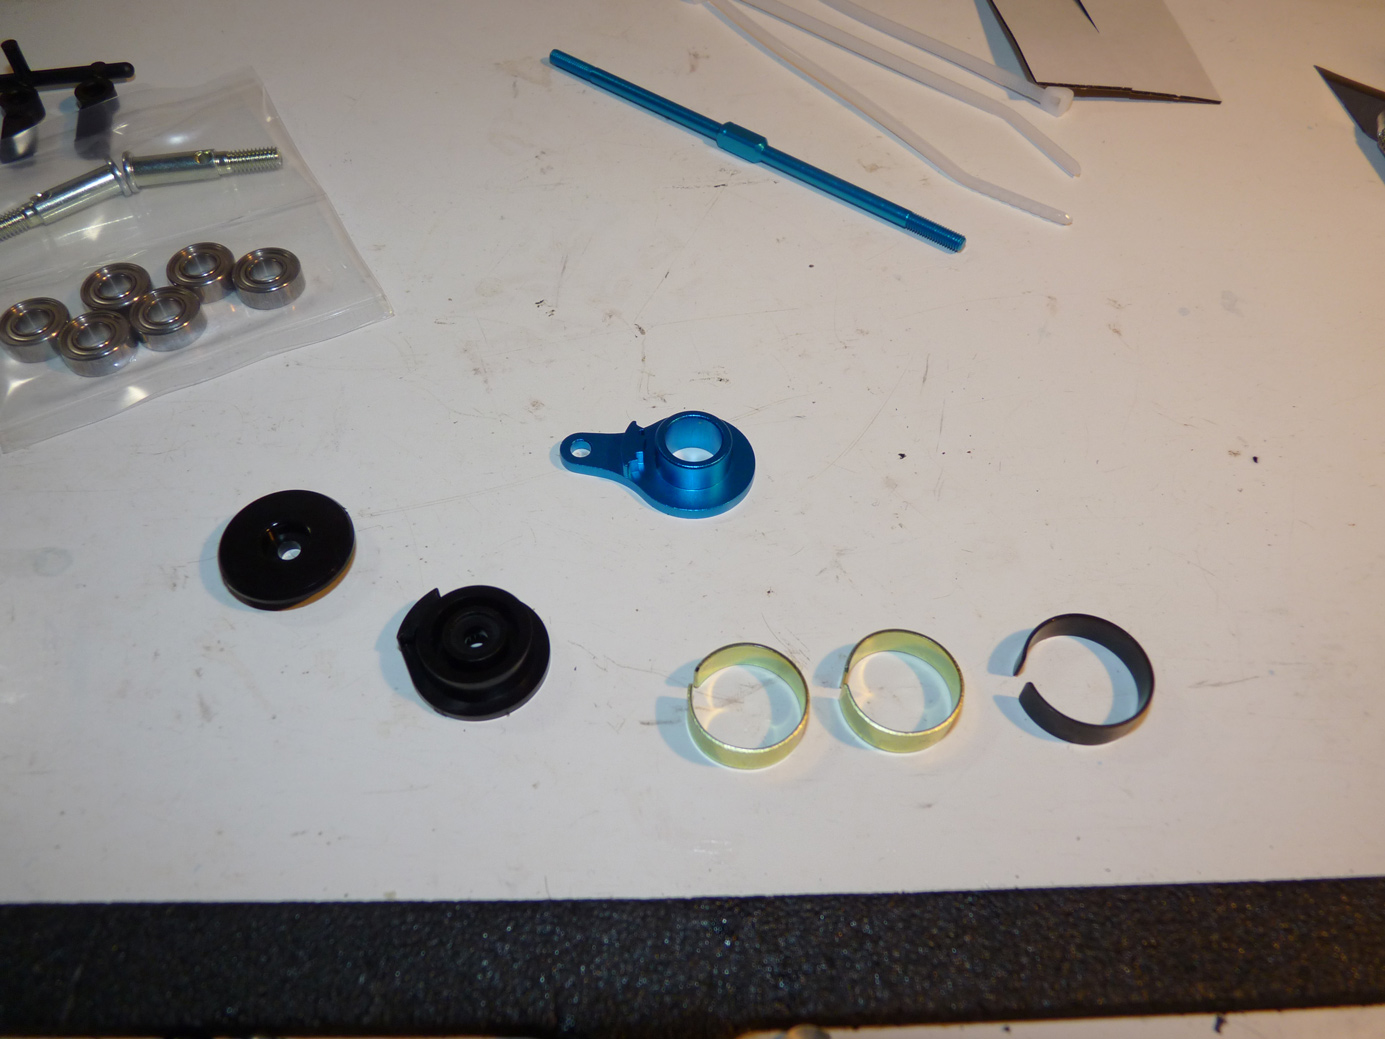
We need to assemble the servo saver.
We stretch the C springs over the lower part of the servo saver.
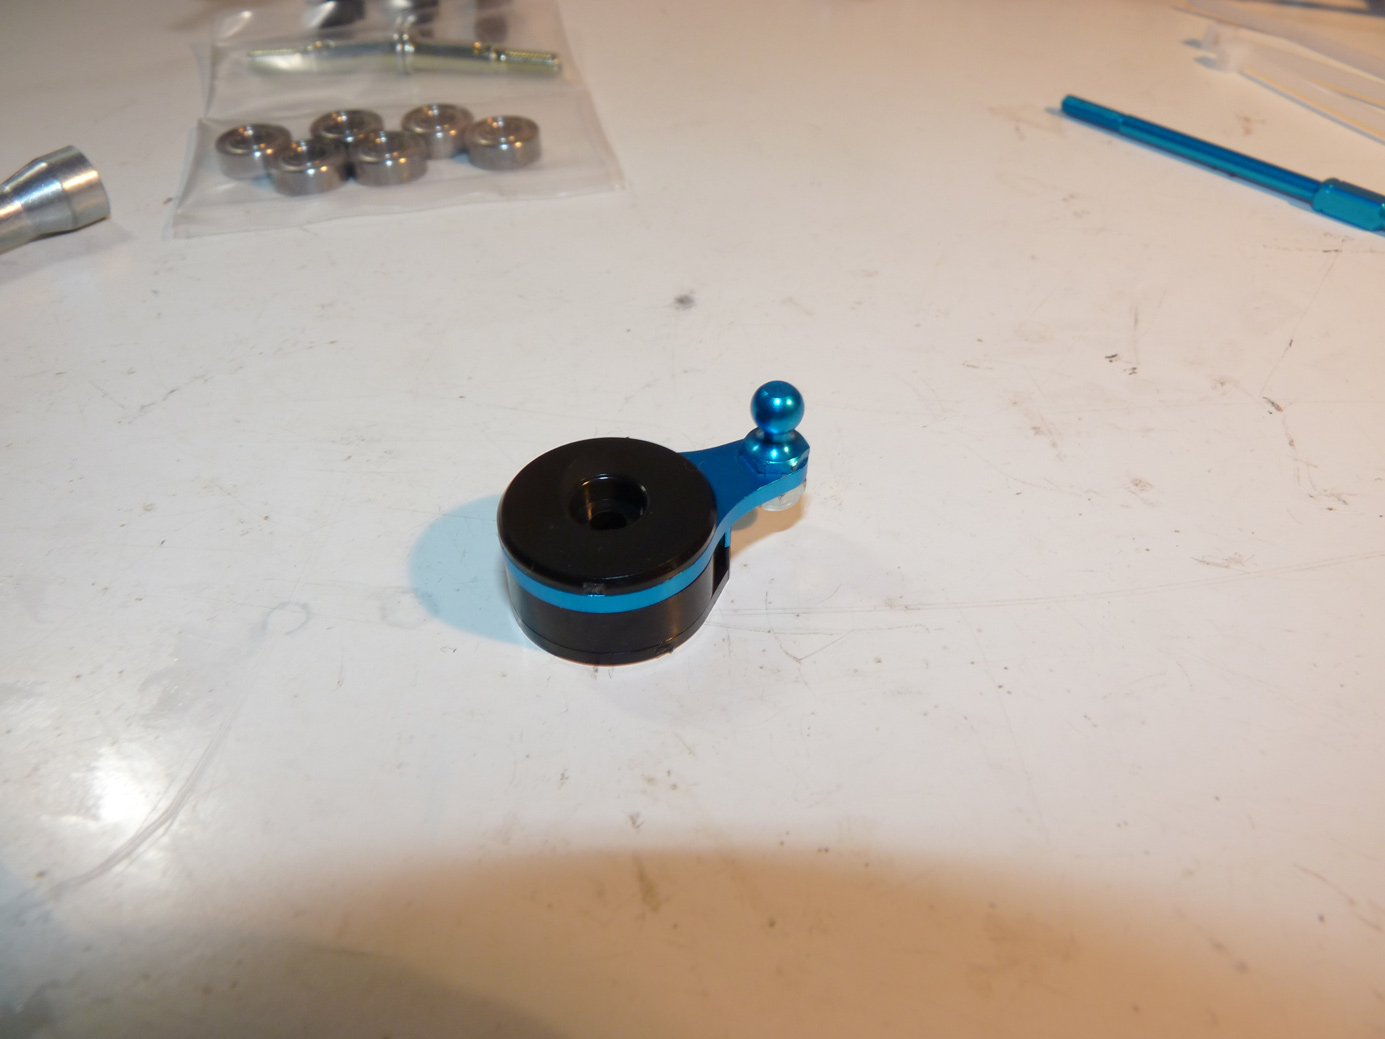
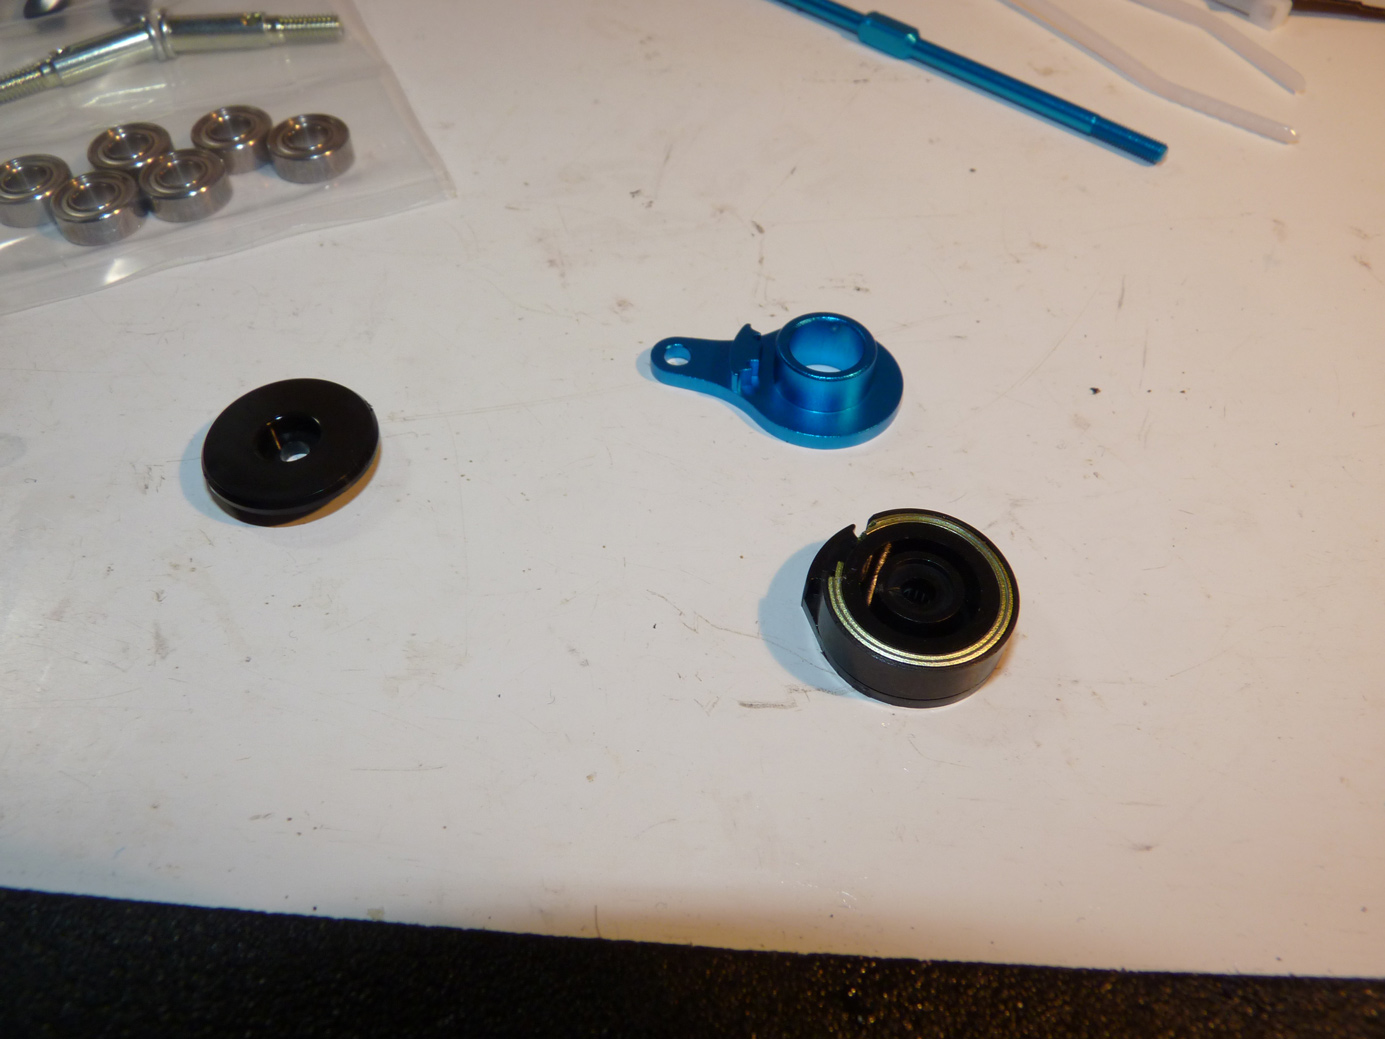
Then we install the horn and cap to complete the assembly.
Now it’s time to install the servo saver onto the servo.
I used a stainless steel button head screw I had laying around to secure the horn to the servo. It makes securing the horn to the servo a lot easier that the standard phillips head screw.
Next we install the esc and radio plates to the sides of the car.
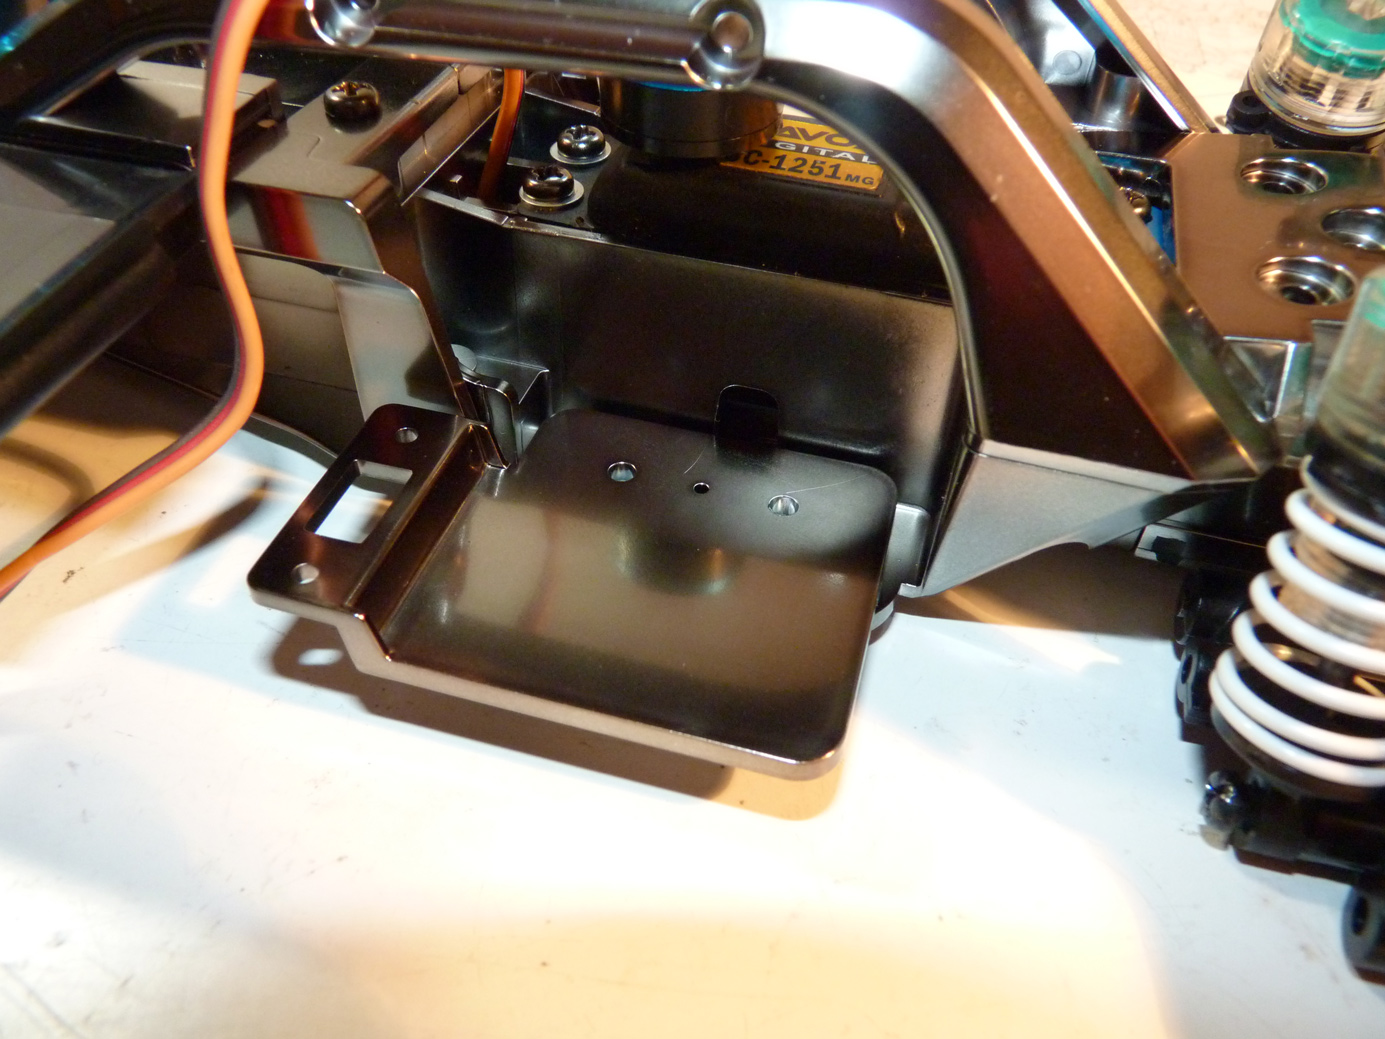
There is a plate on either side, each held in place with just 2 screws. The side with the switch hole (above) is for the esc.
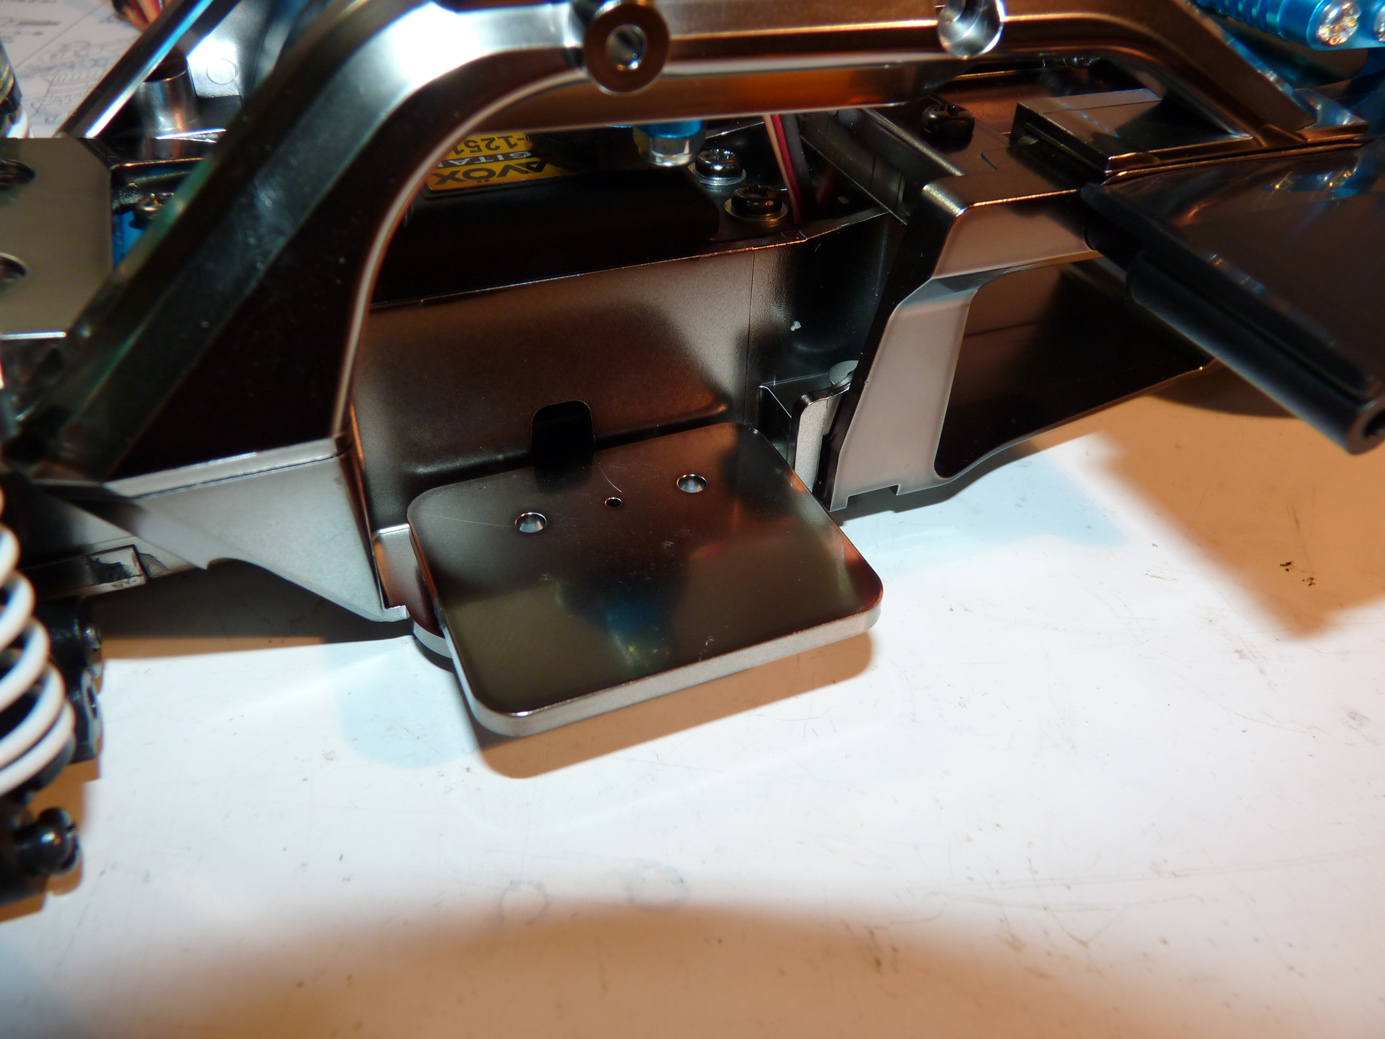
Bottom view.
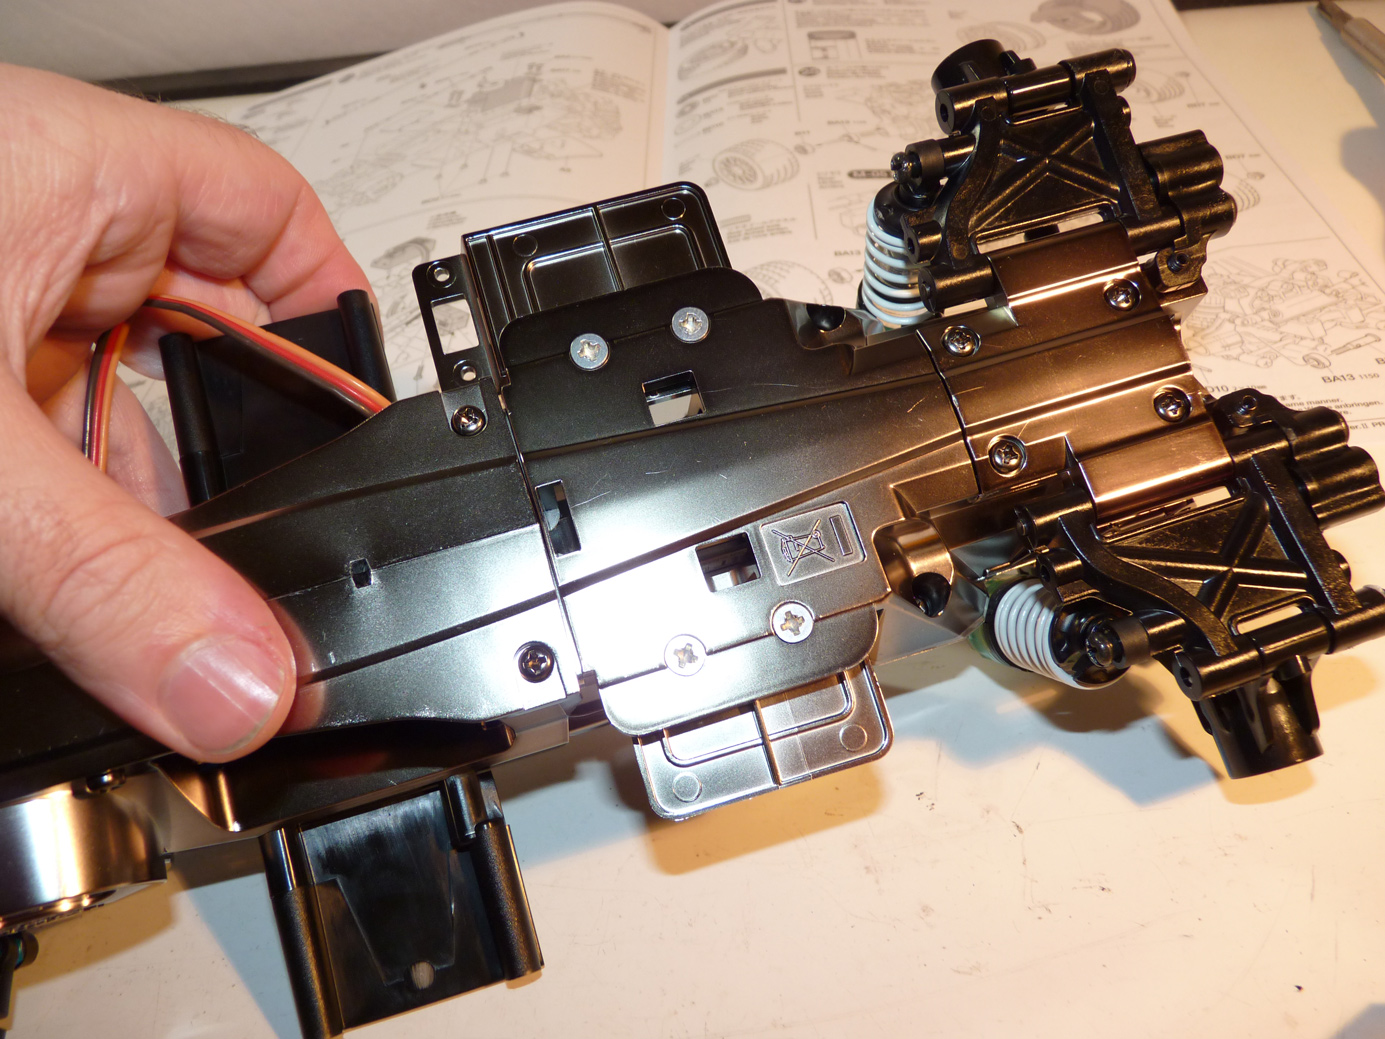
Now it’s time to install the rear axles. There’s nothing to these things since the M-05V2 Pro is front wheel drive. The rear axles just float on a set of bearings.
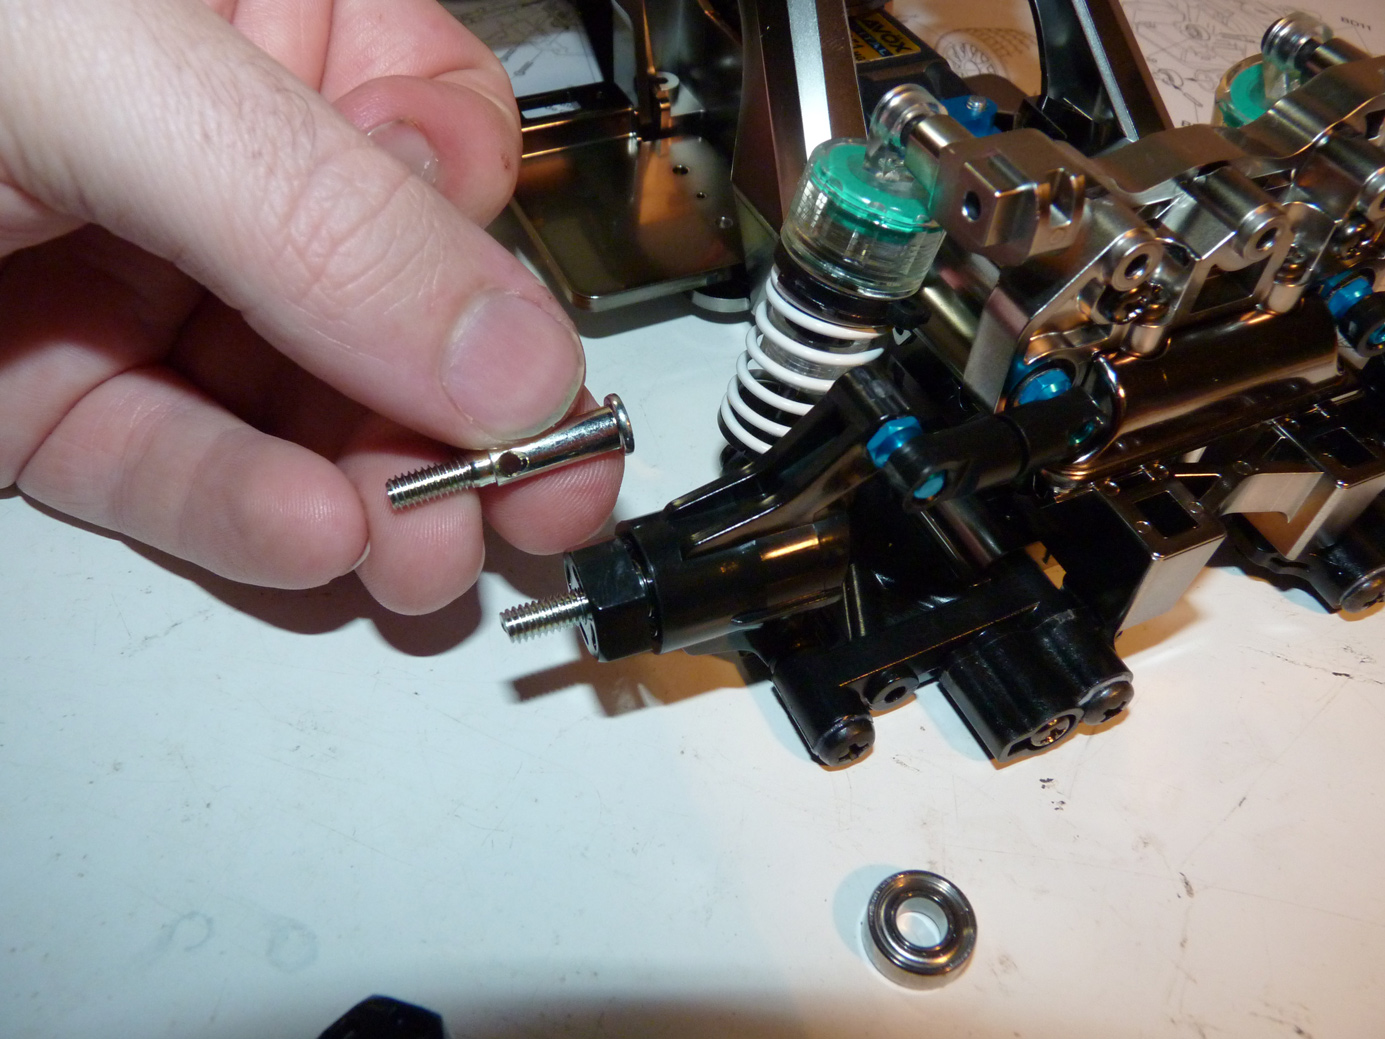
Bearings go into the rear hub carriers, and the axles slide through and are secured with a pin and wheel hex.
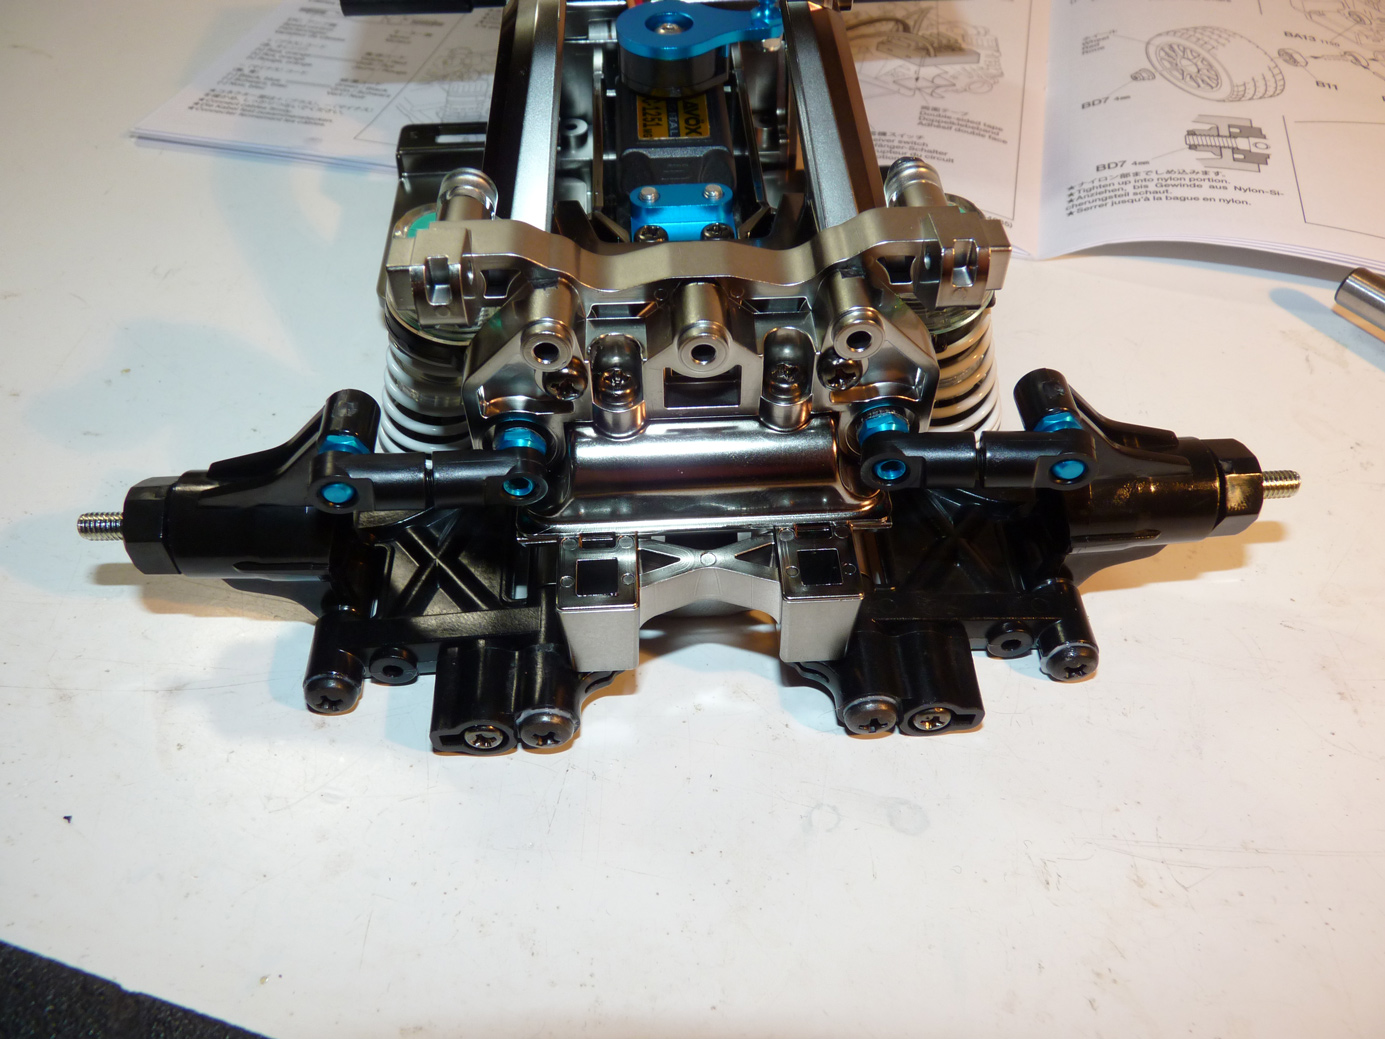
Rear axles are done.
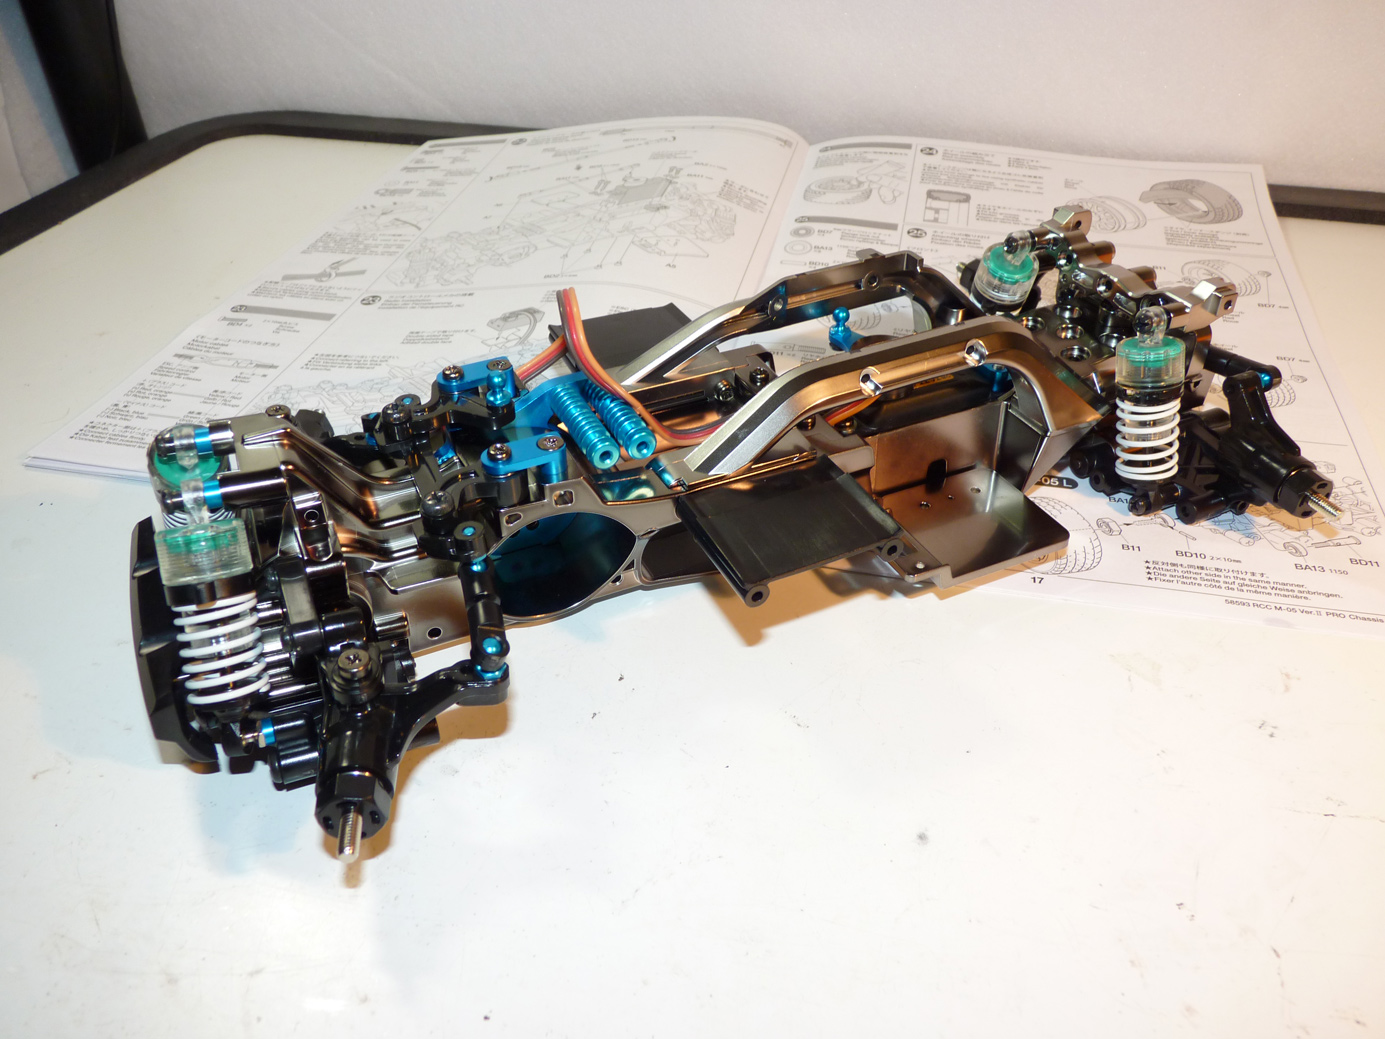
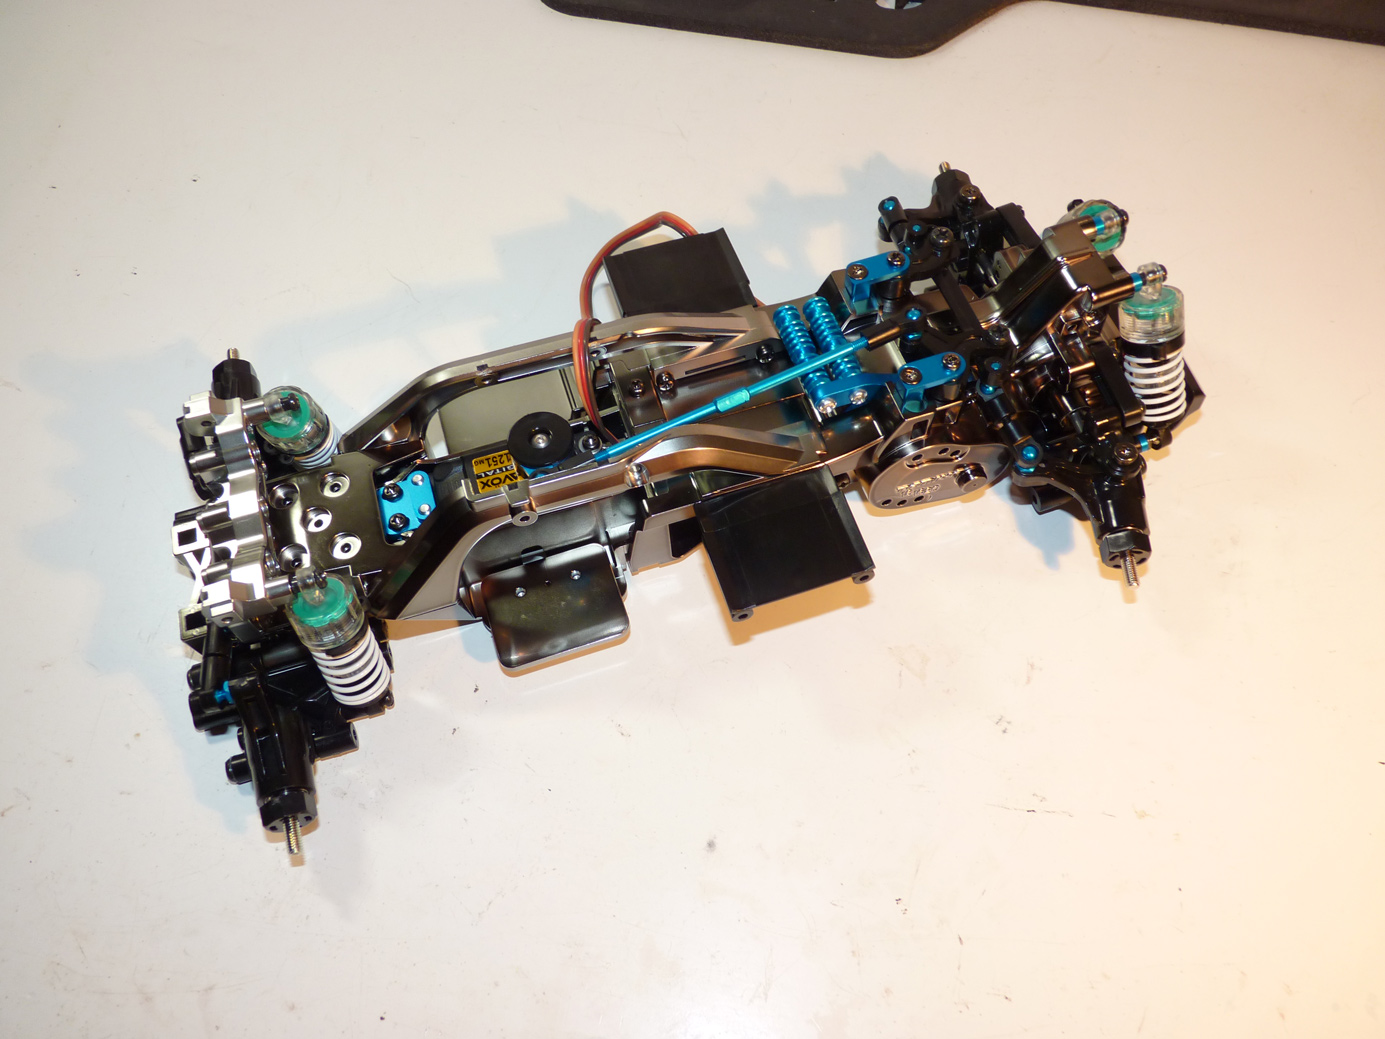
We’re getting there…
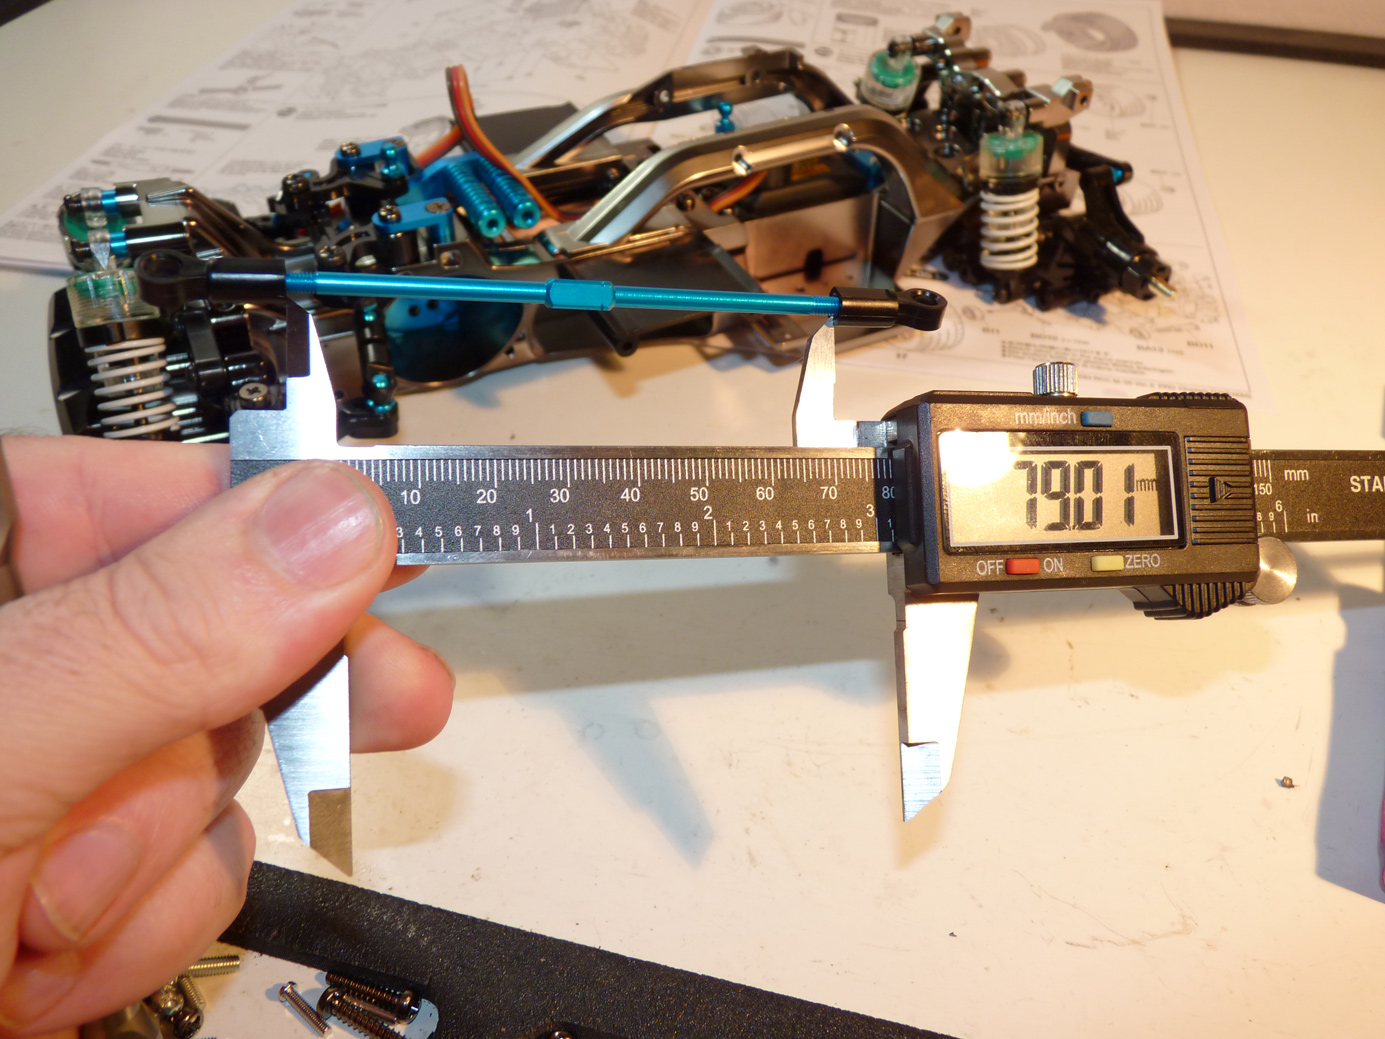
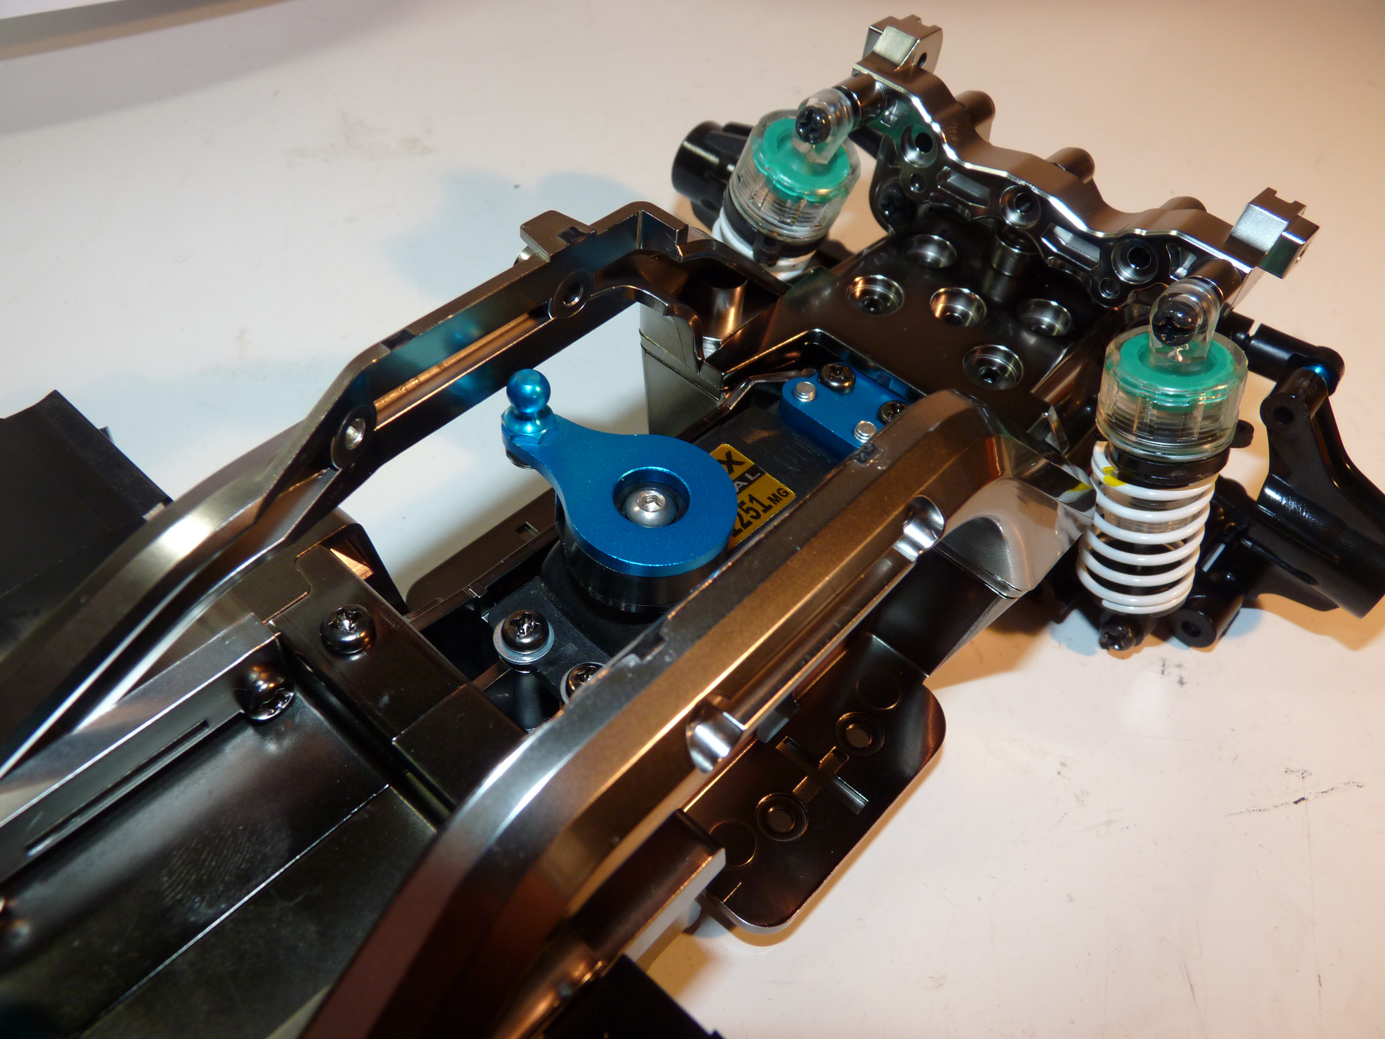
Now it’s time to assemble the steering link from the servo to the bellcrank. Don’t mind my calipers being .01mm off from the recommended link length of 79mm. That harbor freight special is always a hair off.
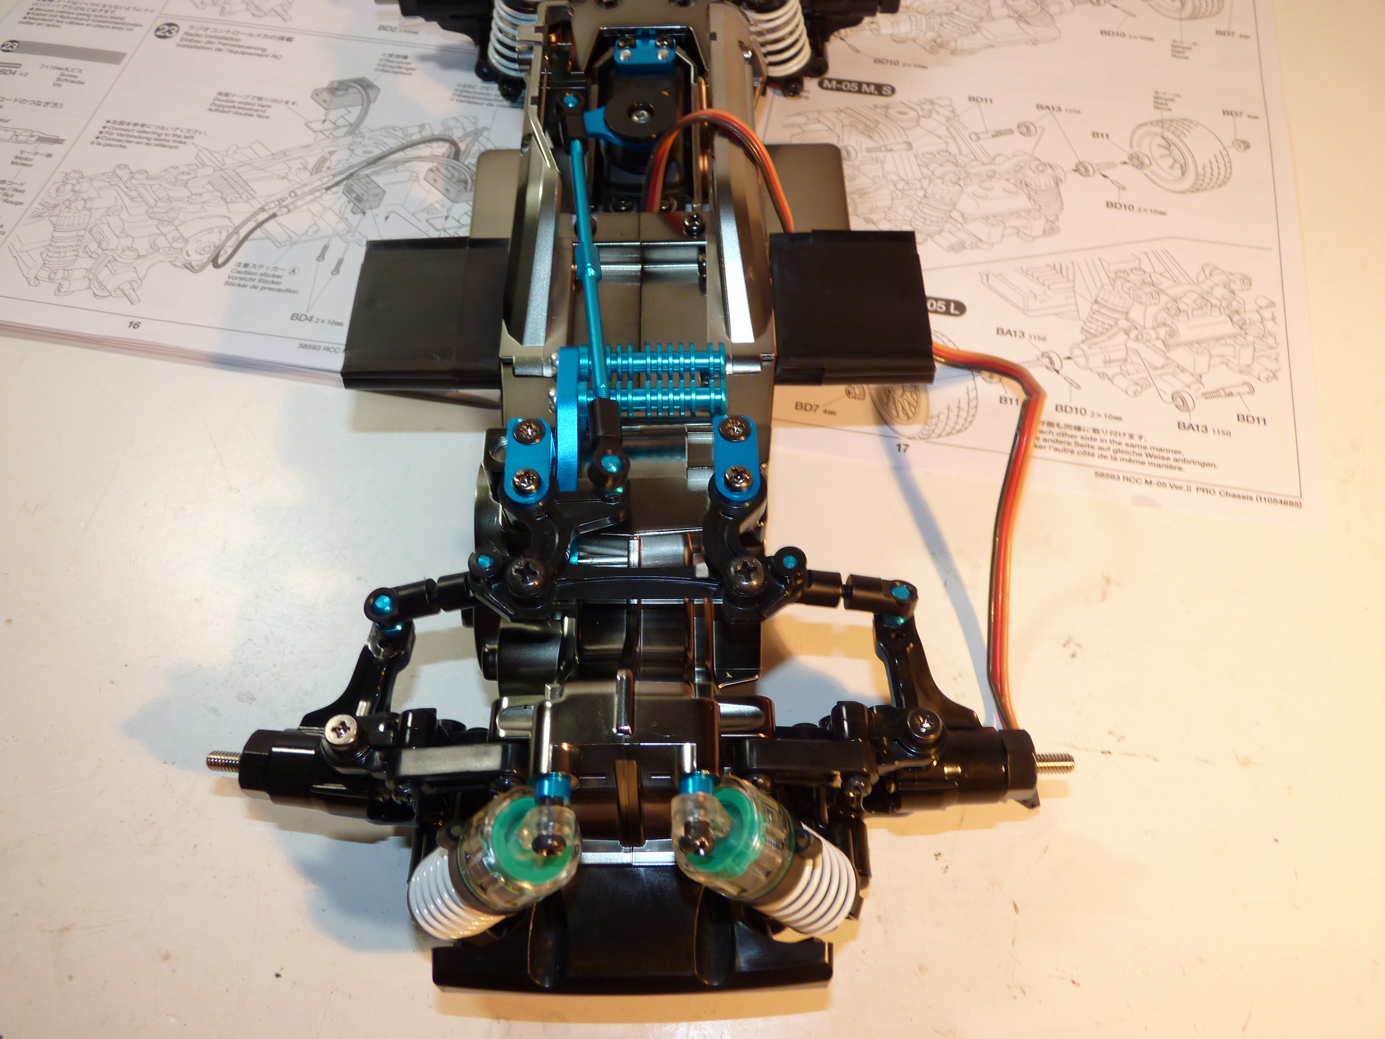
Steering link installed.
Another angle.
And another.
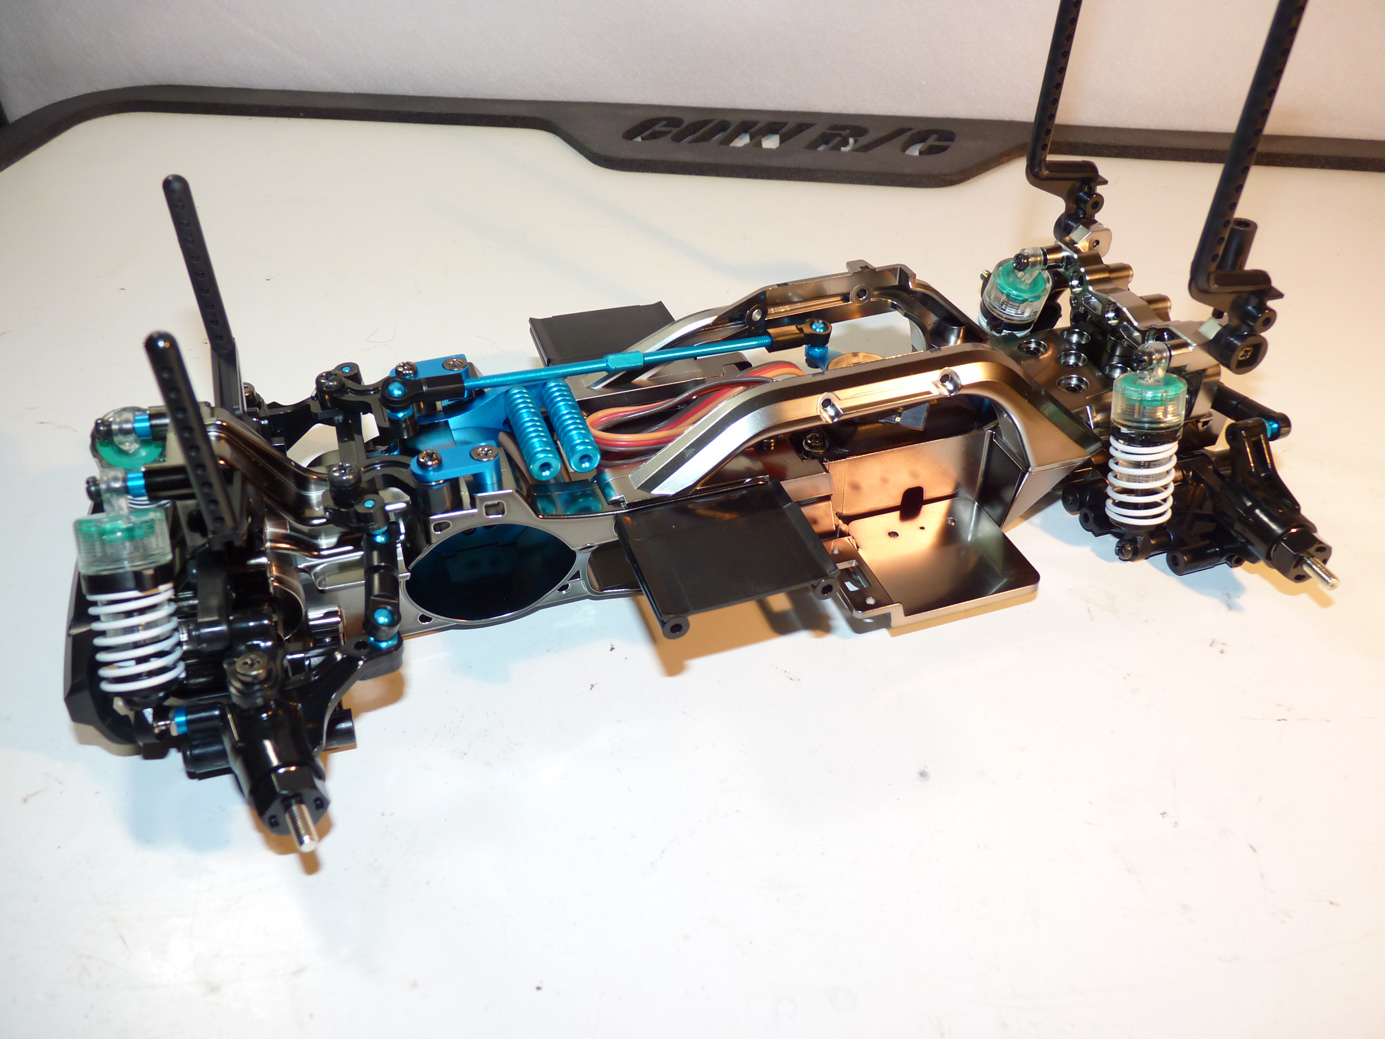
I then installed the body posts.
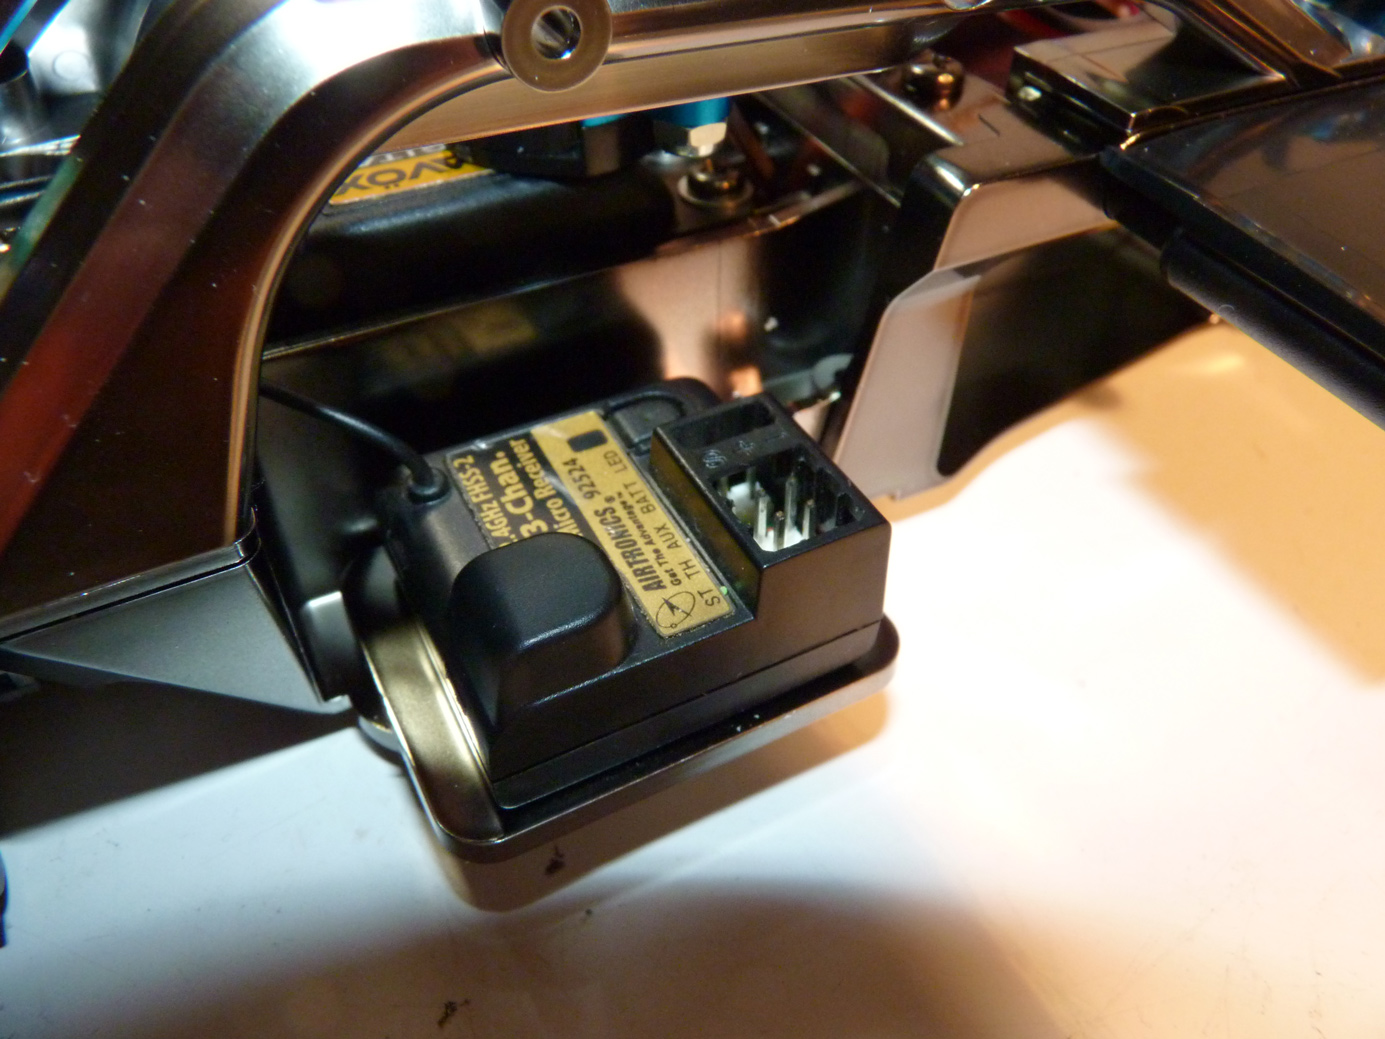
Next comes the receiver. A quick piece of servo tape and this job is done.
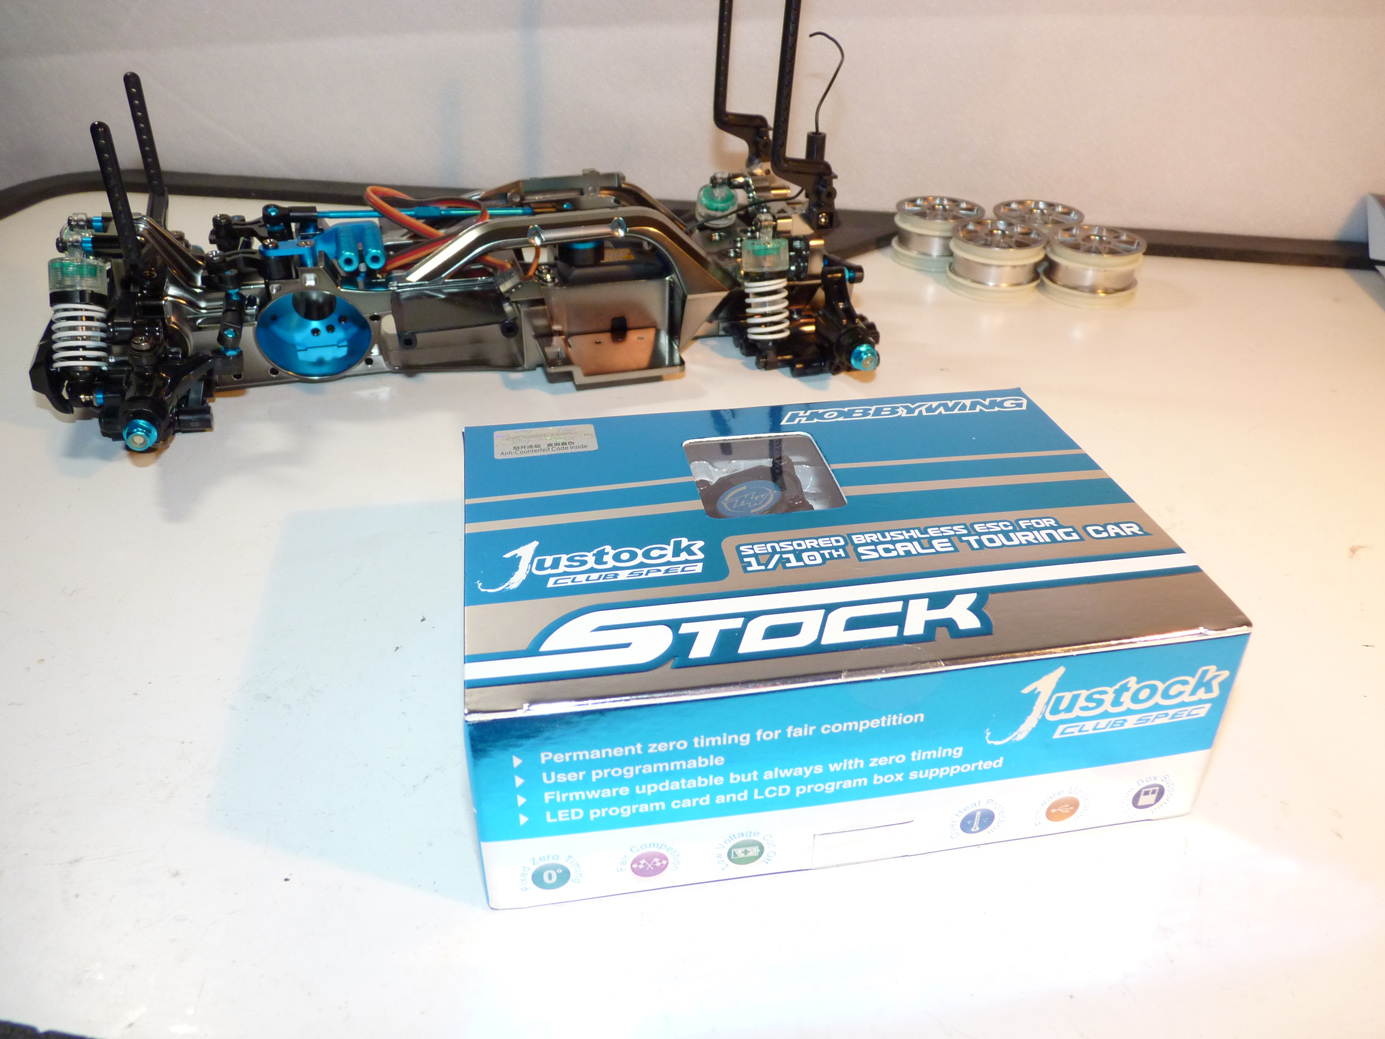
Next is the ESC. I went with the Hobbywing Justock esc. This is my standard esc of choice now it seems. For $50 when you only run “blinky” classes, it’s a no-brainer. The esc is reliable and dirt cheap. This class is 27t silver can brushed or 21.5 blinky brushless mixed. Since this car came with no electronics (vs a kit that comes with the brushed stuff), I opted to just go brushless from the start.
What’s nice about the HW Justock is it’s available in black or blue. The blue model fits right in with all the fancy blue aluminum on the M-05V2 Pro.
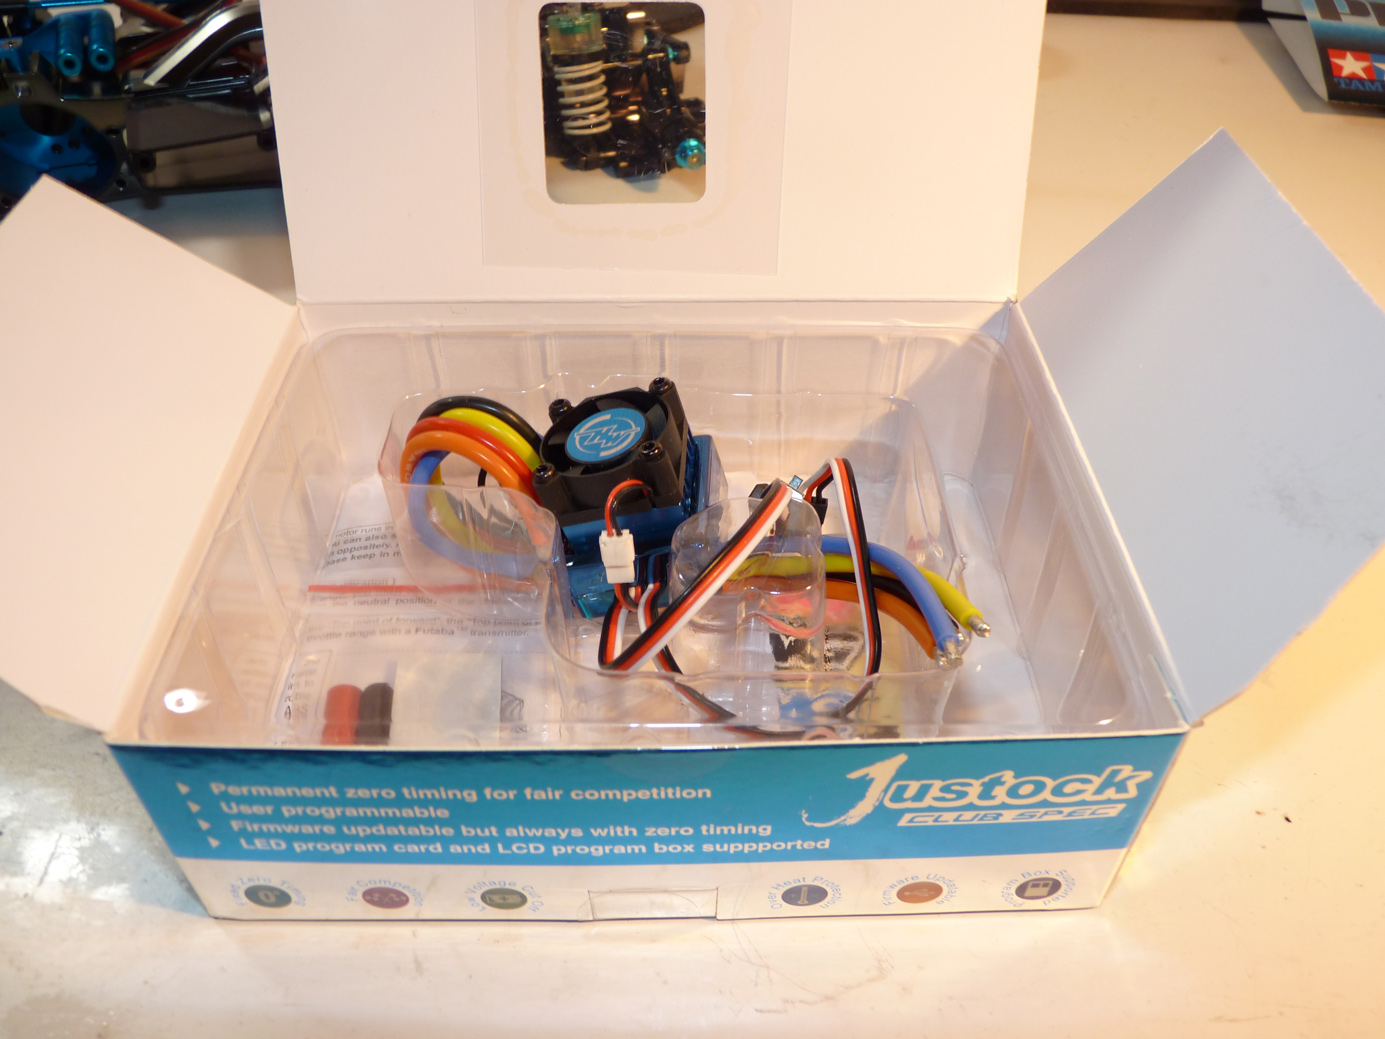
There she is, unboxed.
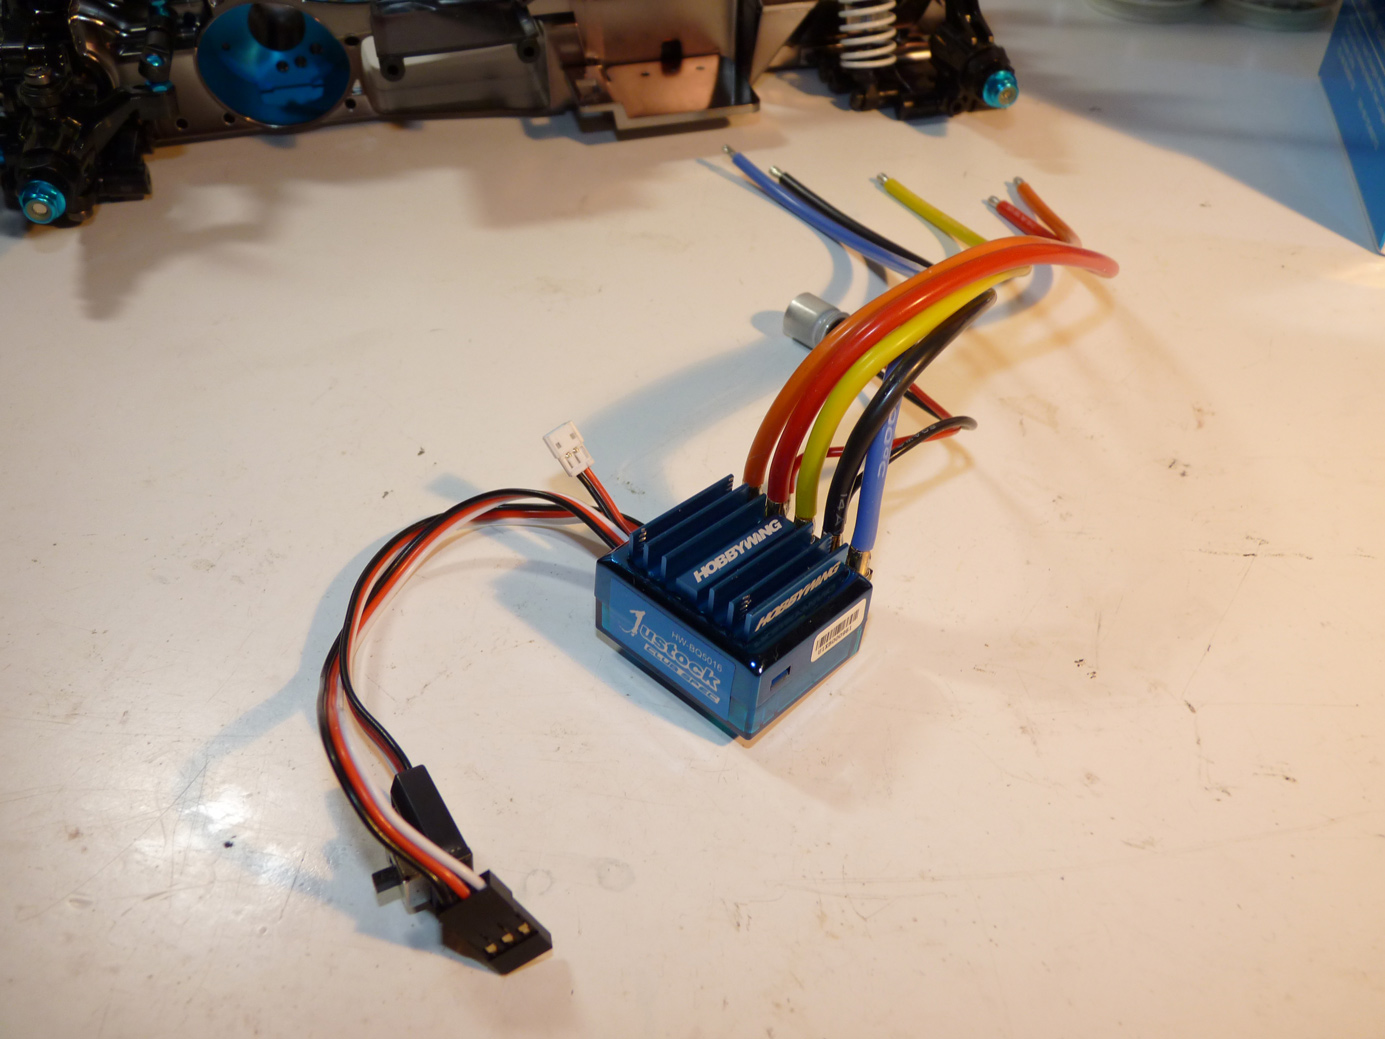
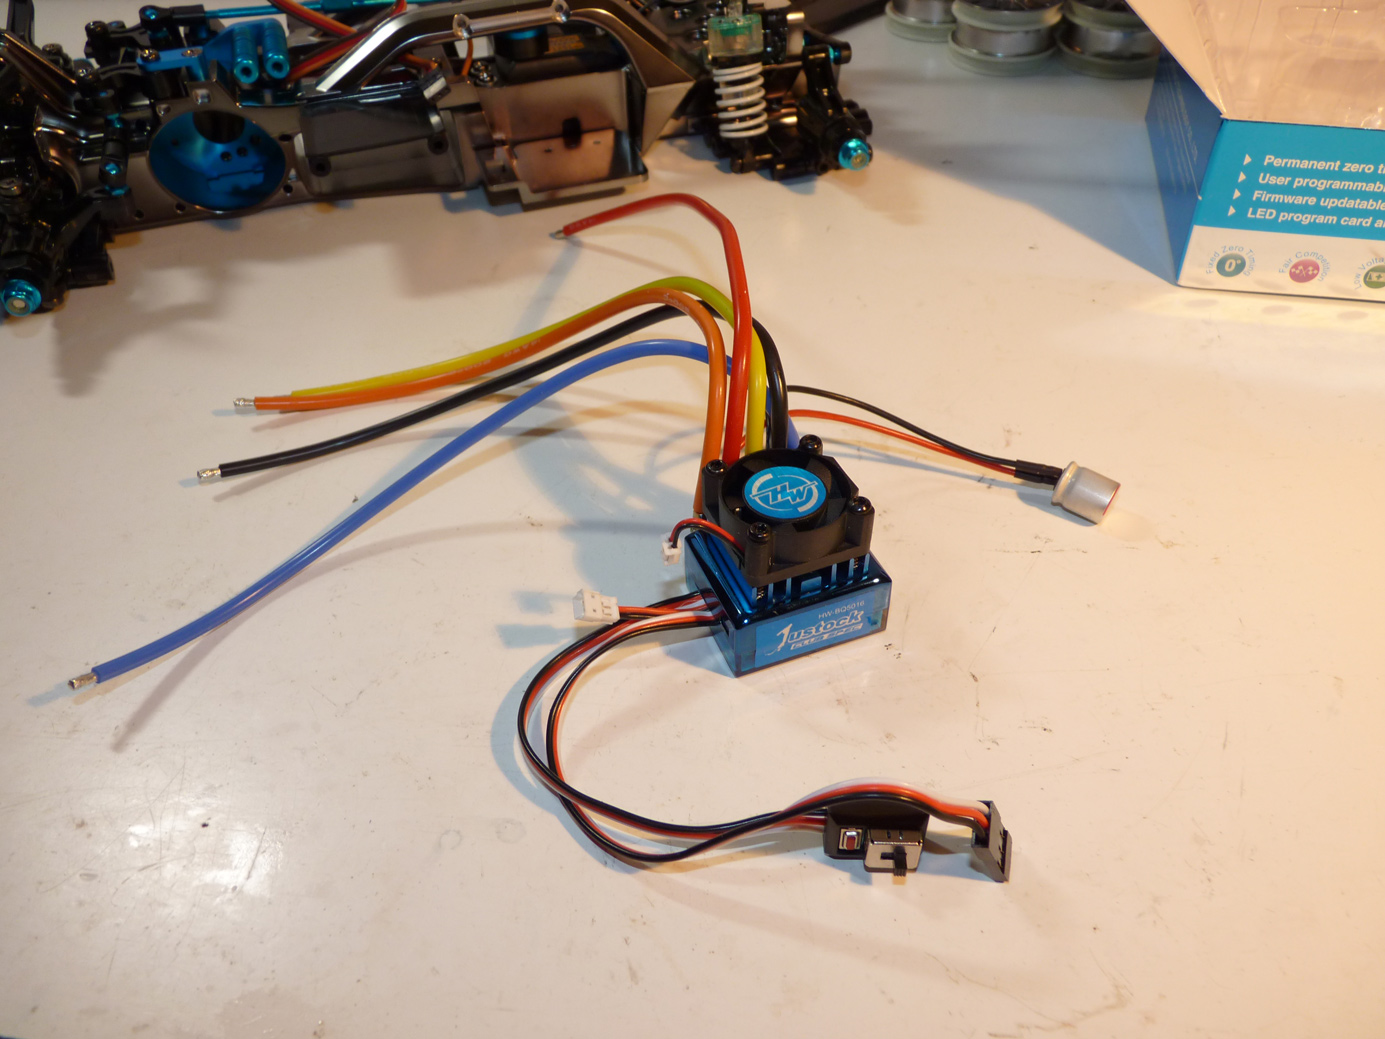
I removed the fan. There’s no way this thing is going to run hot in a 21.5 class. Less weight, less noise, less draw on the battery.
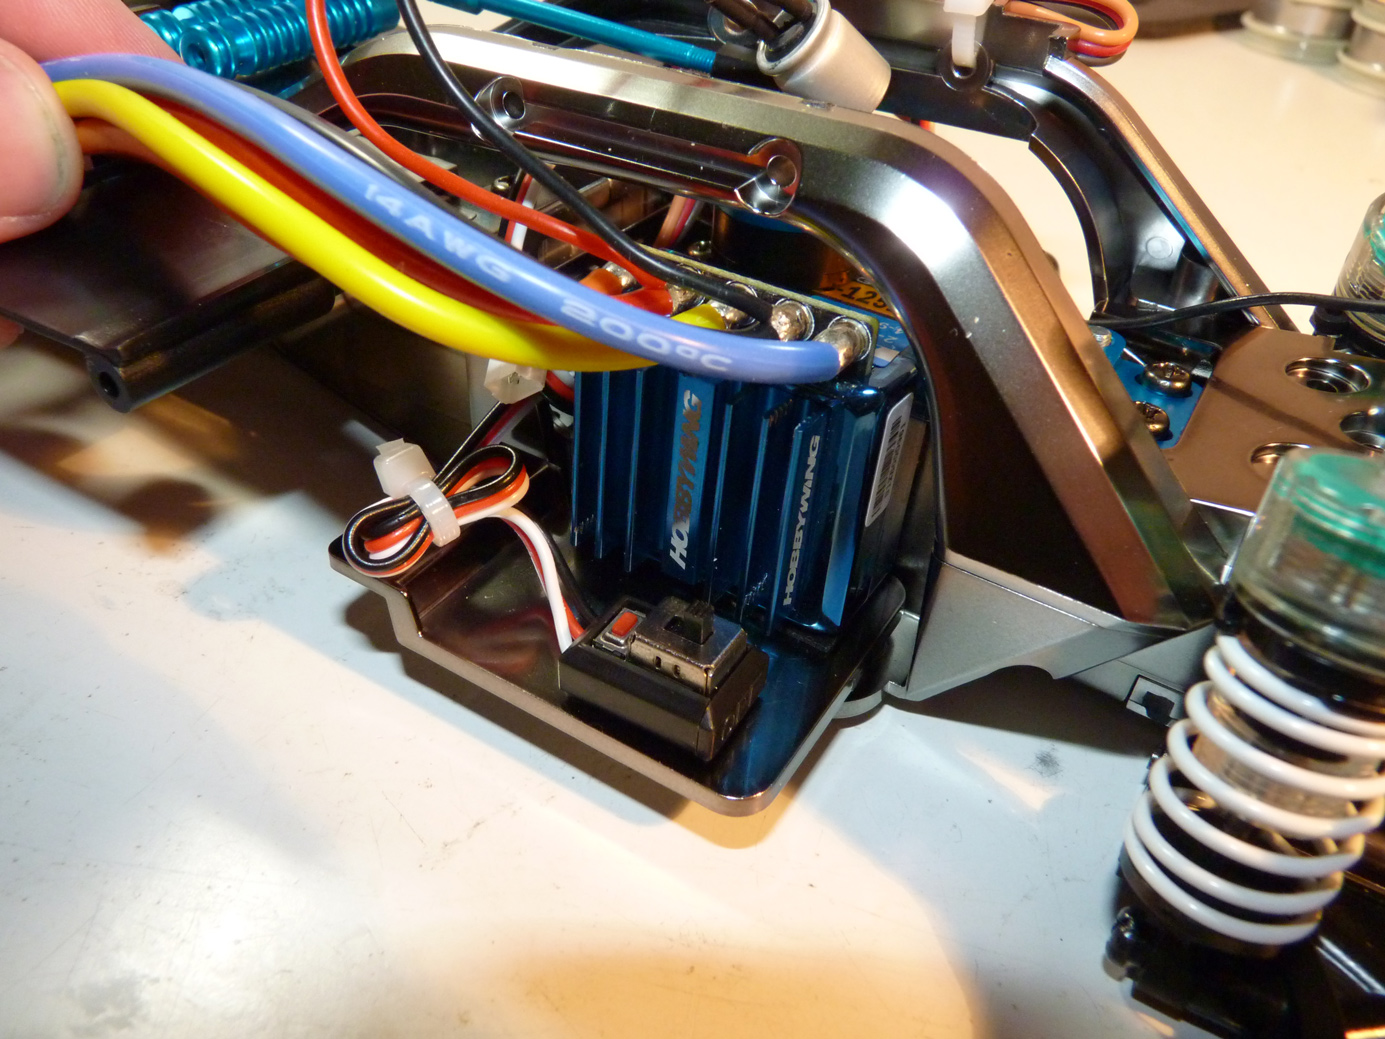
I mounted it to the chassis vertically to keep the weight towards the center of the chassis. Doing it this way also allows for convenient switch placement.
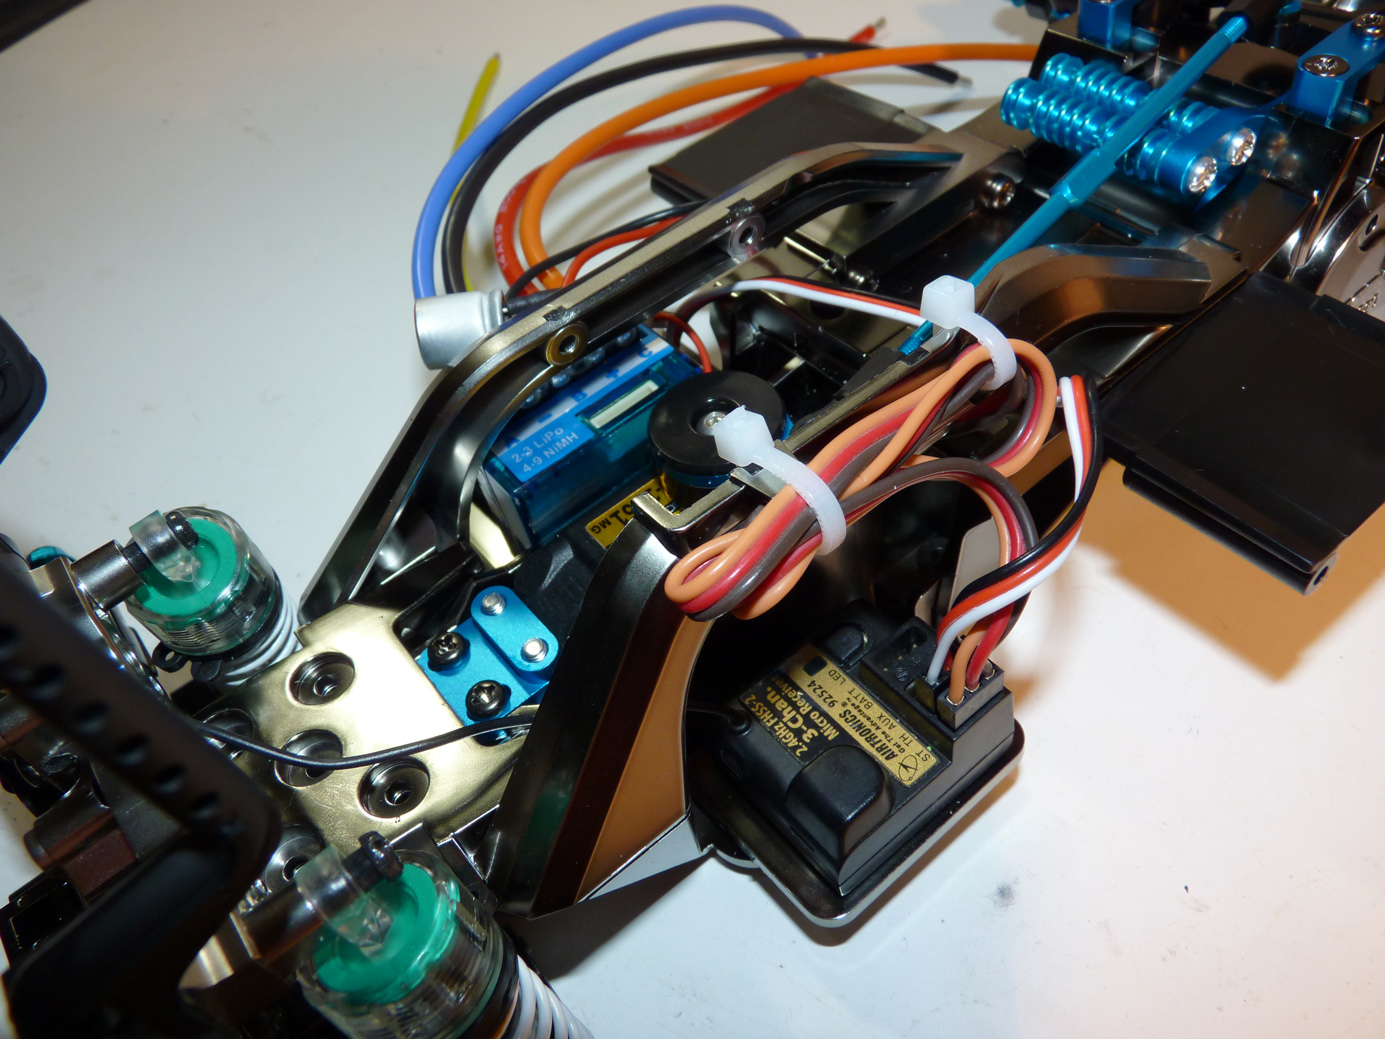
A little wire tidying up with some small zip ties.
Continue reading on the next page by clicking the page numbers below. Body is up next.
 Posted in
  Tags:
Tags:
I also ordered a M05 V2 Pro Kit as soon as it came out. The update for making squared batteries fit into the chassis was my main reason. Another good thing is, that all hop-up parts from Tamiya and third party companies still work.
So my tip is to buy only the main chassis parts and attach all already existing things from the “normal” m05 chassis. This way you can save a lot of money and use squared batteries as well.
Best,
T-