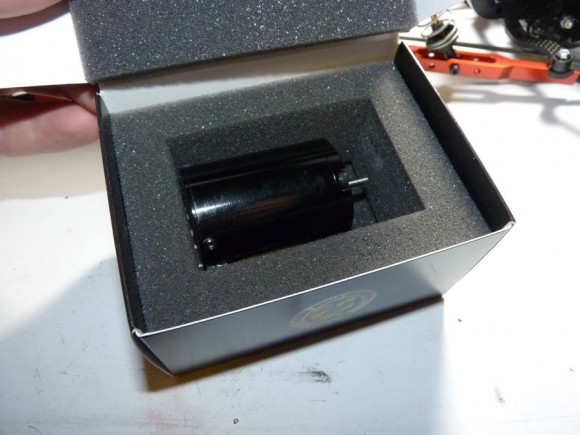
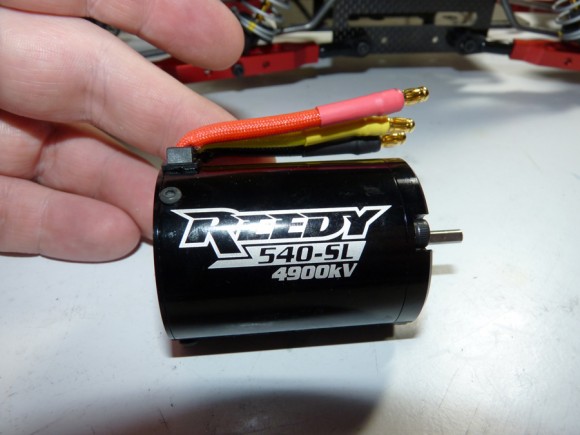
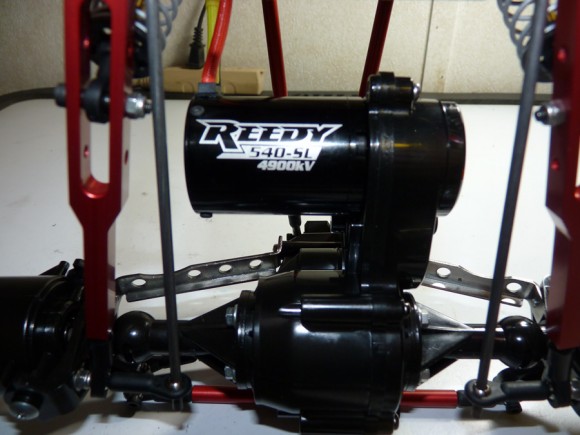
Now it’s time to install the power plant into this beast. Reedy/Associated sent us these components. We went with them because we heard they produce good power and are easy to set up to run dual esc configuration. Below are the motors, Reedy 4900kv #922 sensorless brushless motors.
These things already just look fast. I cannot wait to fire this rig up and check these out!
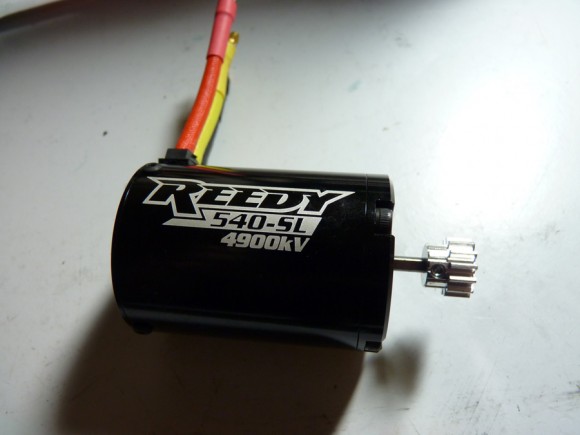
I went ahead and mounted the stock 13t pinions on for now. Hopefully we’ll be able to pick up the higher quality Robinson Racing pinions before competing.
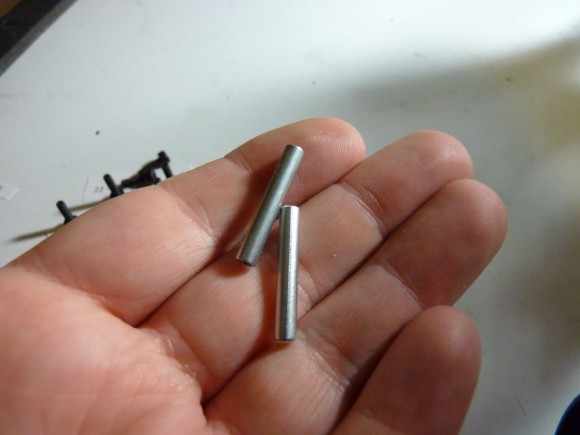
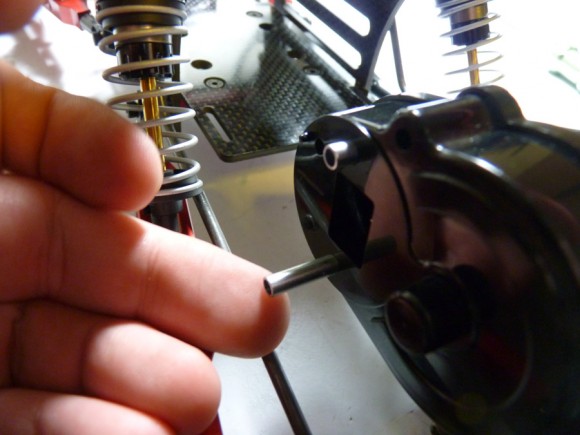
The clod gearbox uses these metal tubes to mount the motor. Screws go from one side of the gearbox, thru the tube, and into the motor on the other side. These tubes act as sort of a brace to keep the motor secure.
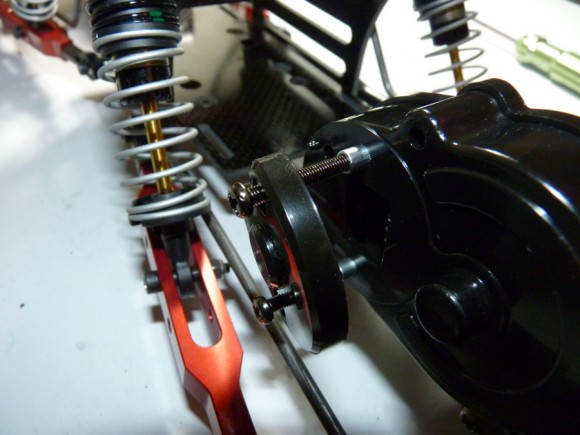
There is also a dust cover that mounts over the gearbox. Stock, the clod has no adjustability to what pinion you can run. You need to pick up an aftermarket motor mount if you want to run a different sized pinion gear.
All mounted up.
Looking good!
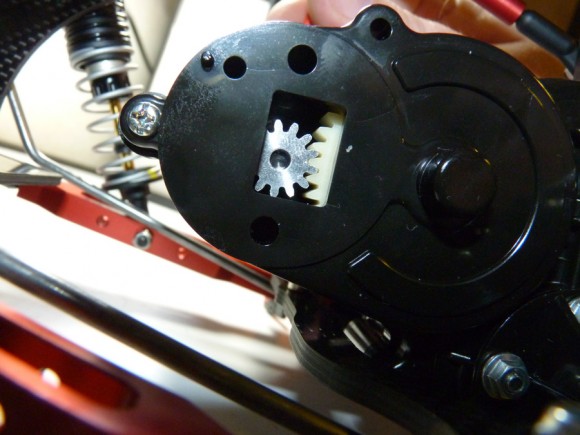
Here’s a shot into the gearbox so you can see the pinion meeting the gear. The motor is not adjusted, so that is not the final gear mesh.
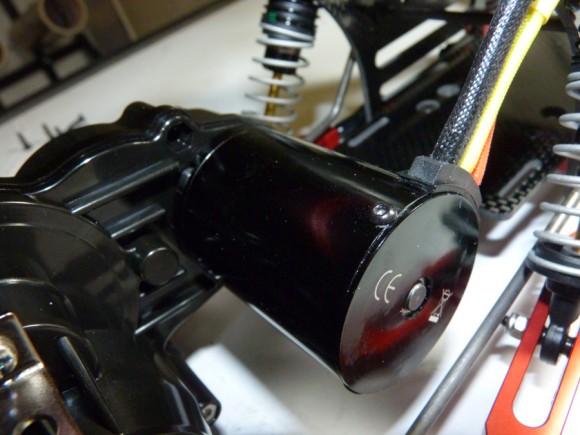
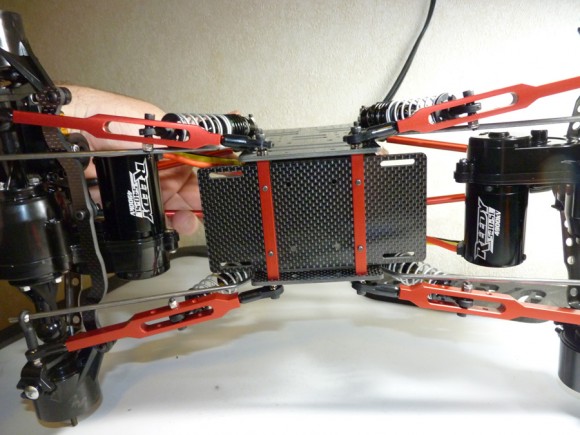
Both motors installed and ready to go. Reedy power!
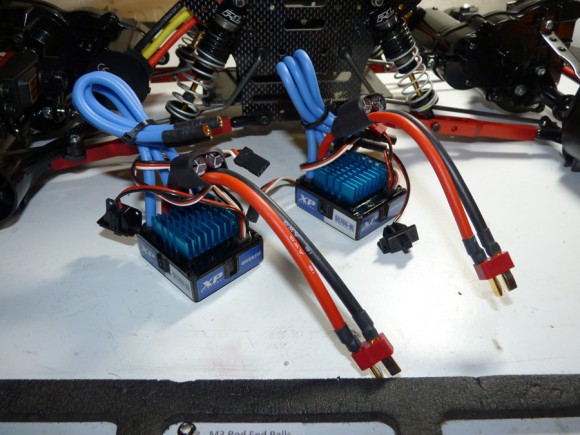
Next up is the dual ESC’s. We’re going with Associated’s XP 700’s. They are a basic speed control, that will supply the power we need. I’ve heard they also work well together when used with channel mixing. They have to work together to get both ends of the truck moving at the same speed.
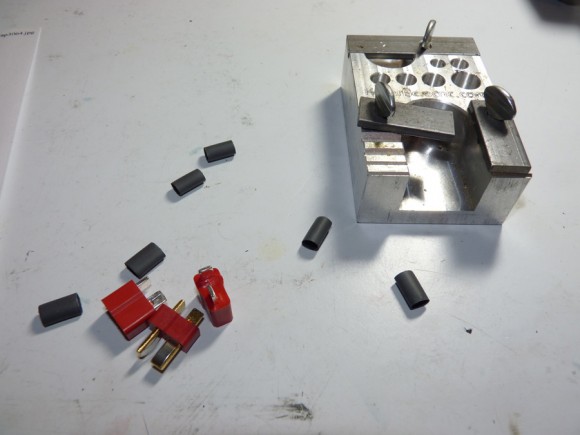
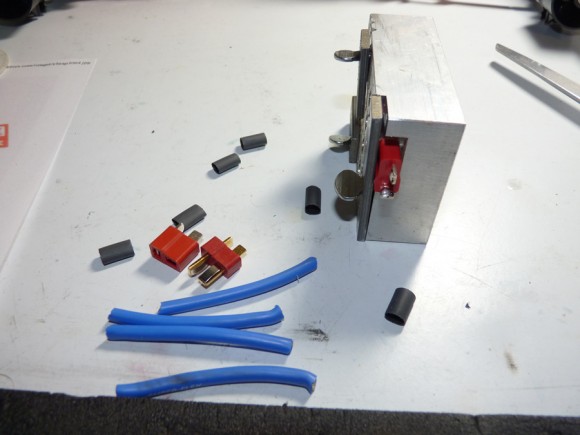
We’re going to run this truck off of a single battery, so I’m going to use our KillerBee CNC solder jig to rig up a Y harness for a single pack to power both ESC’s.
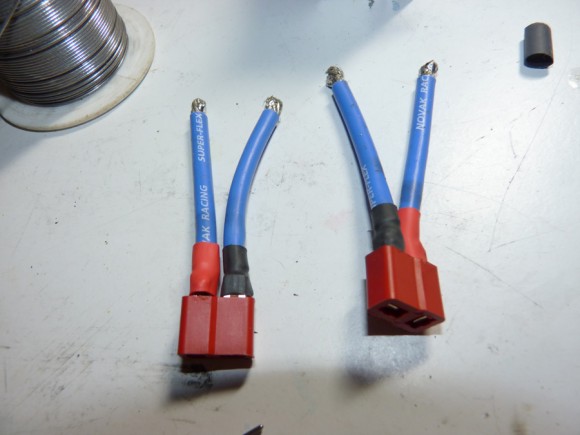
I was running low on wire, so I used a single piece of Novak wire and cut it down into small sections.
I rigged up some female pigtails first. These will connect to the ESC’s.
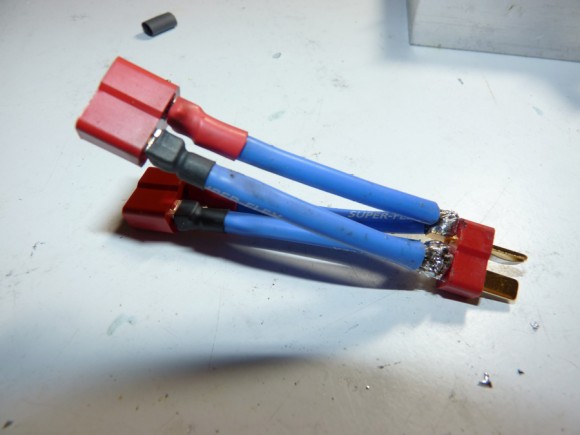
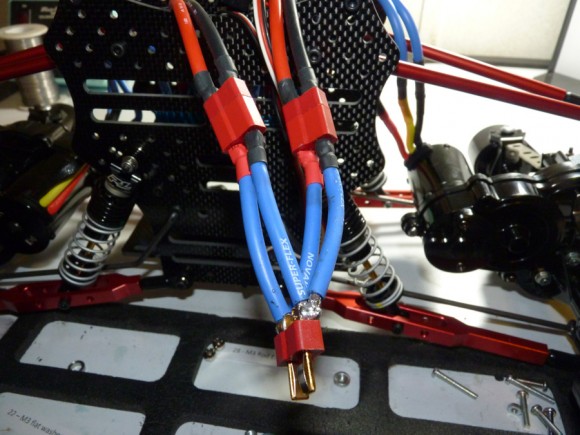
I then connected them both together to a single male end (which will plug into the battery). I still need to insulate the male’s wires, but you get the idea.
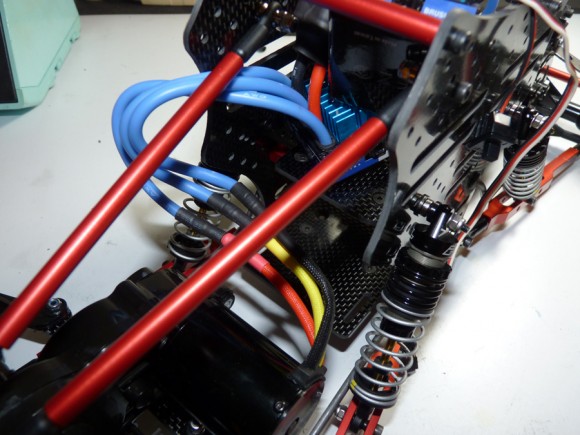
Connecting the motor wires to the ESC’s.
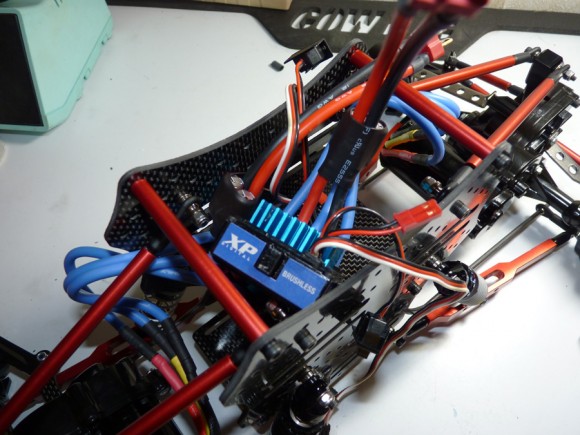
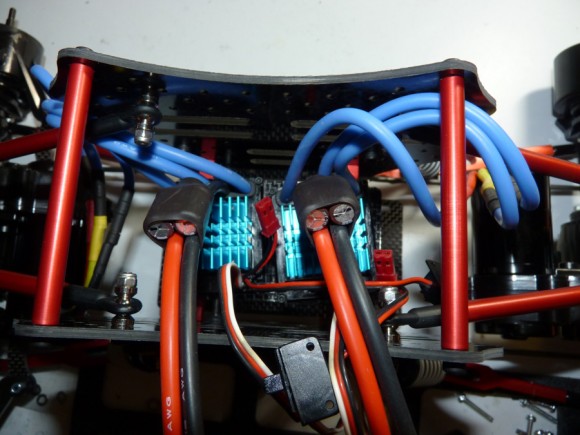
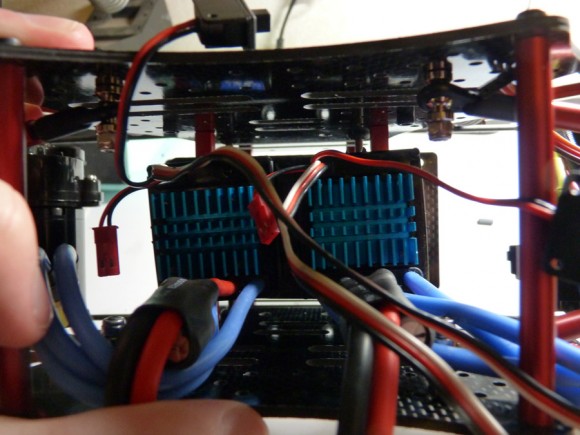
Now I’ve got the ESC’s mounted in there roughly. The receiver will have to be mounted to the side of the chassis, as we are quickly running out of room.
Y harness installed for test fitment.
ESC’s mounted with heavy duty velcro.


 September 7th, 2012
  Kevin
Kevin 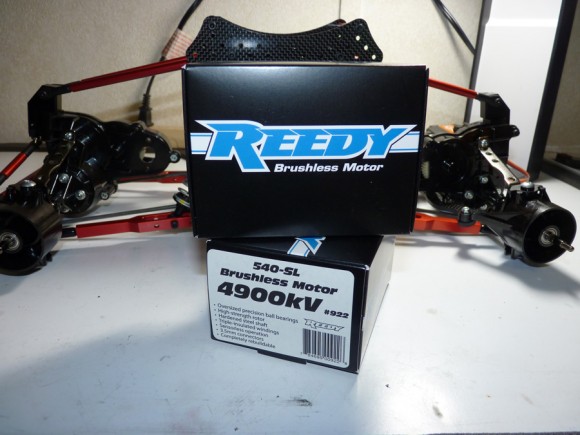
 Posted in
  Tags:
Tags:
Wow…that rig came out sweet! Slipstream did an amazing job on the lid.
It looks sweet!! That rig is going to be a force to be reckoned with !!
Awesome job!
Sweet looking Truck!
Don’t look like a out of the box Clod Buster, LoL.
But then my FLM don’t look like an out of the box Stampede.
http://www.youtube.com/watch?v=LjnMLGHJHQc&feature=plcp
[…] Check out RCSoup.com for the full article. Source: RCSoup.com […]
This truck really did turn out amazing…the ZRP chassis is tops IMO…I love the red/black Wolverine look.