The first steps to the XV-01 Pro kit are the front and rear gearboxes. With that, the fluid filled gear differentials.
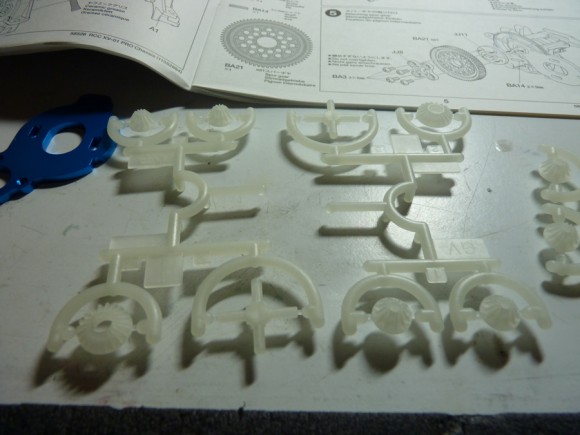
The inner gears for the diff are made of this semi-translucent white plastic.
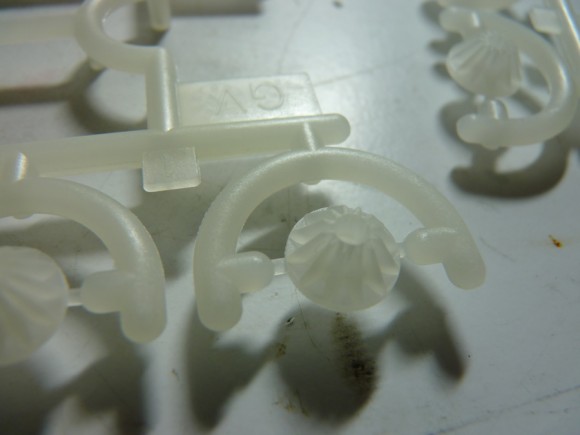
A closeup.
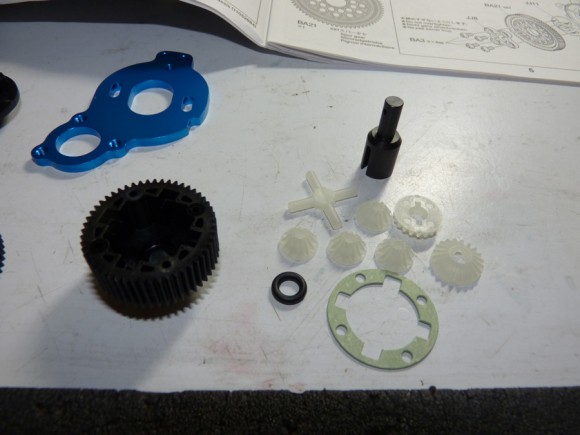
Here are some of the parts required to build a single differential.
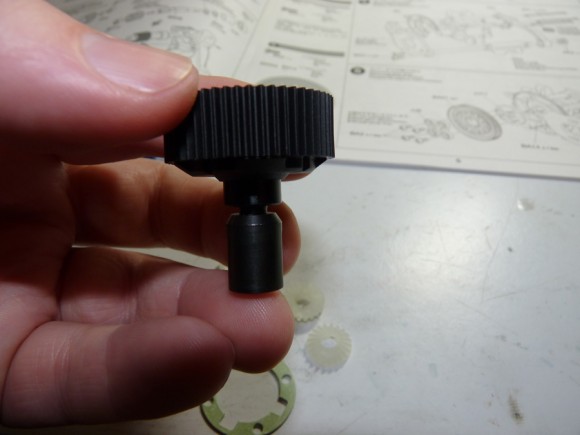
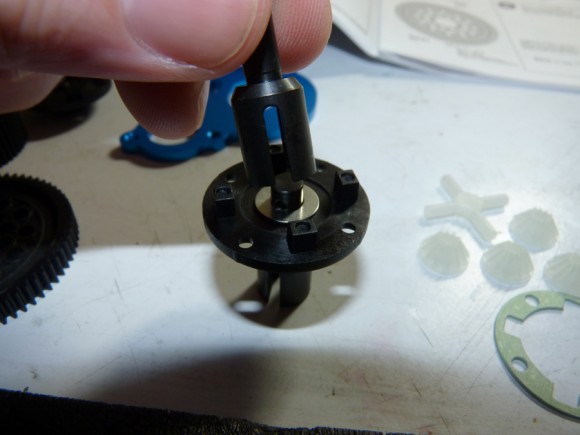
First we insert one of the differential joint cups into the diff gear.
We then slide an O Ring over it from the inside to seal it up.
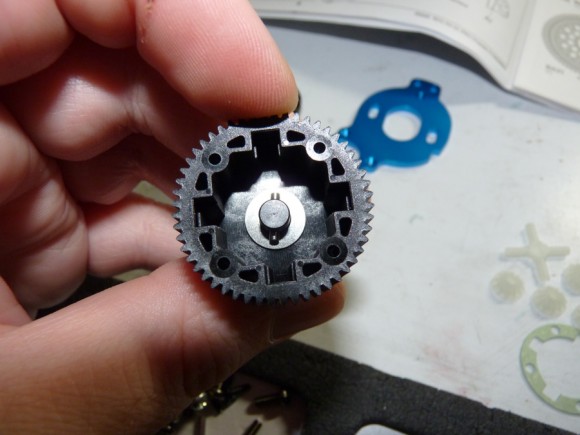
Next, add a metal shim and pin.
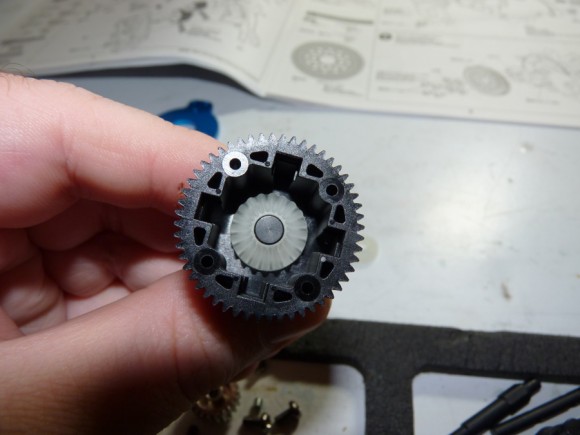
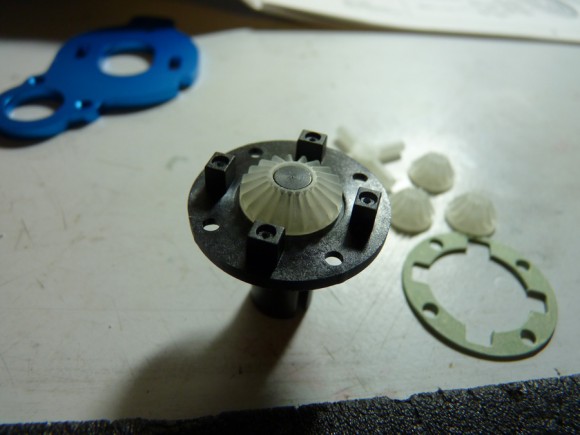
We then install one of the large bevel gears over the shaft/pin.
Now we do the other side. Getting the O Ring to fit down in the groove was a little tricky, so I used one of the other diff cups to press it down in.
Pin and Large Bevel Gear installed on the other half of the gear.
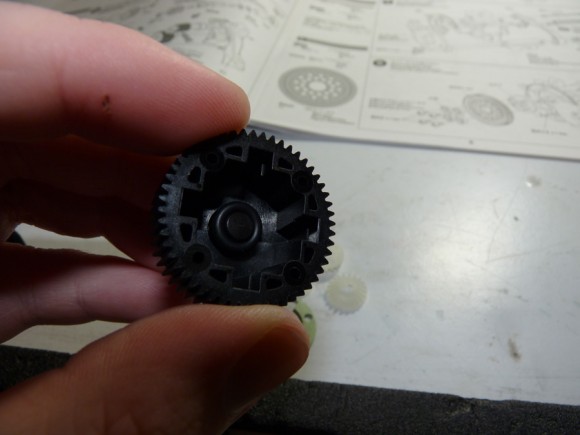
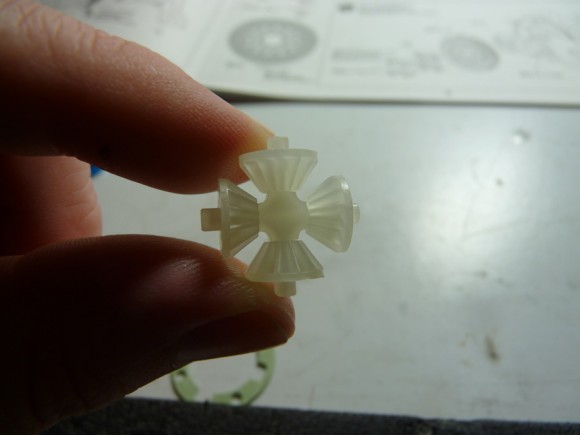
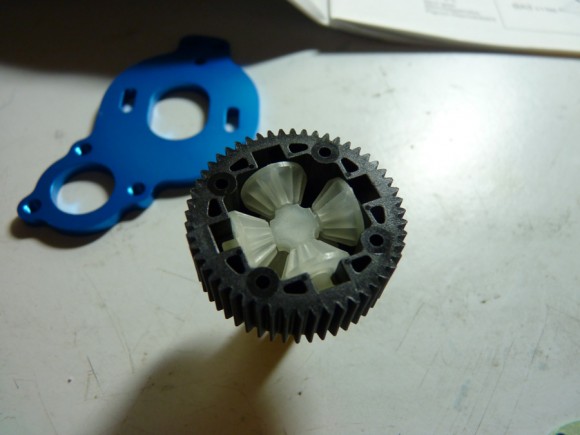
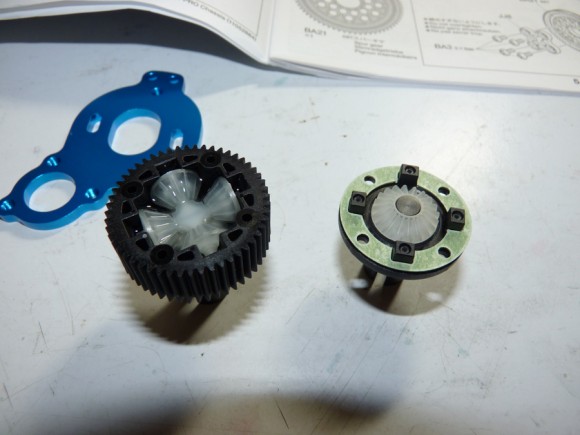
Next we install the small bevel gears and drop the assembly into the main diff gear.
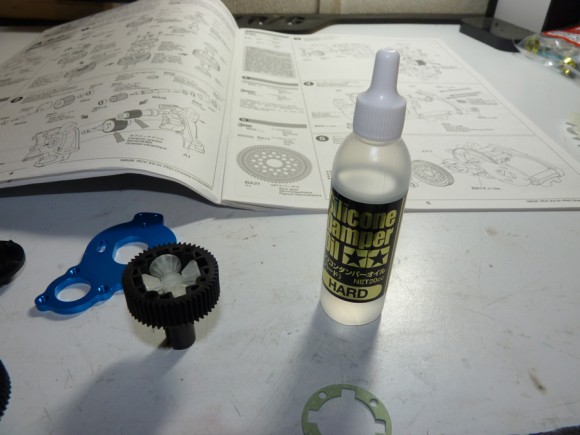
Next, we fill it with the included “Hard” silicone damper oil.
Now that we have the diff filled with fluid (not all the way), we can install the gasket on the other half of the gear and put them together.
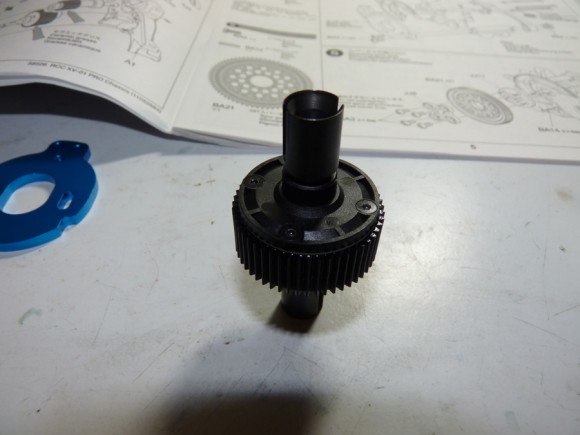
Screw it closed with the 4 allen head screws and we have ourselves a completed differential. Of all the screws in this kit (most of which are still phillips head), I’m wondering to myself why these were chosen to use allen heads. I normally wouldn’t complain about the use of hex hardware, but these were a size that I didn’t have an actual hex driver for.. and something this small, threading into fresh plastic with the tiny included allen key was not something my fingers were happy with. But anyways, it works.. and we’ll have to repeat this procedure again to build the second diff.
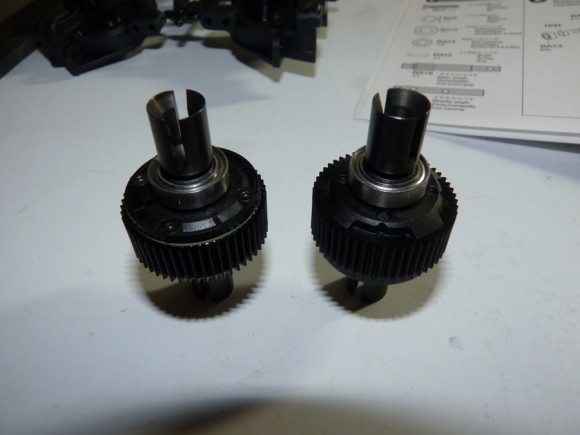
We now have 2 assembled differentials. Time to install the bearings on the outdrives.
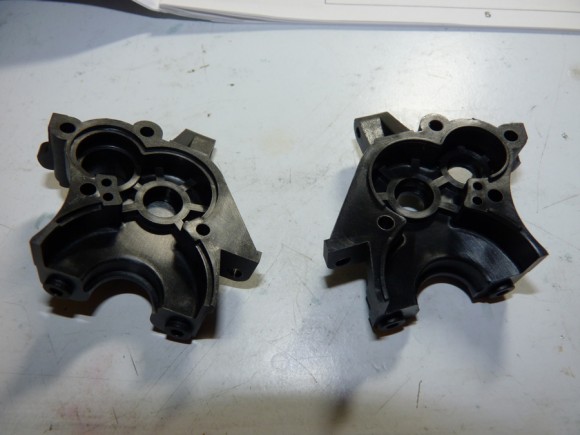
Here’s the front gearbox halves.
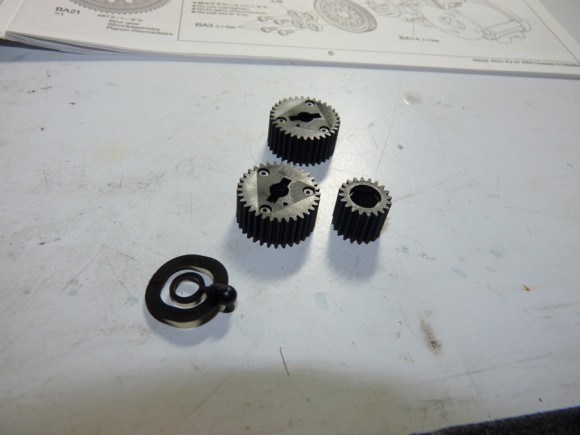
Some of the internal gears.
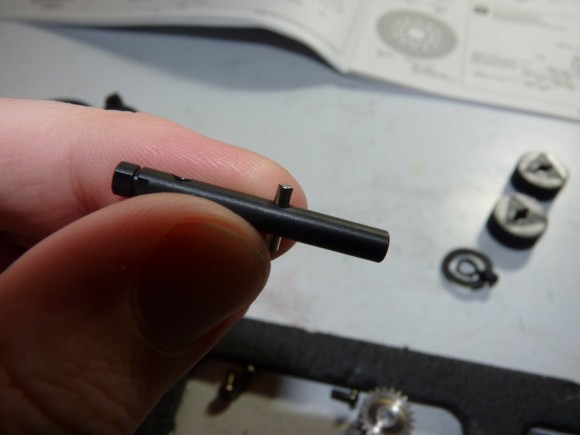
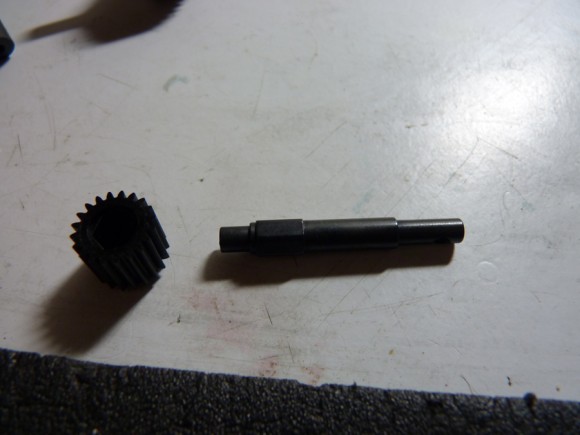
This is the Middle Shaft that the idler gear will ride on.
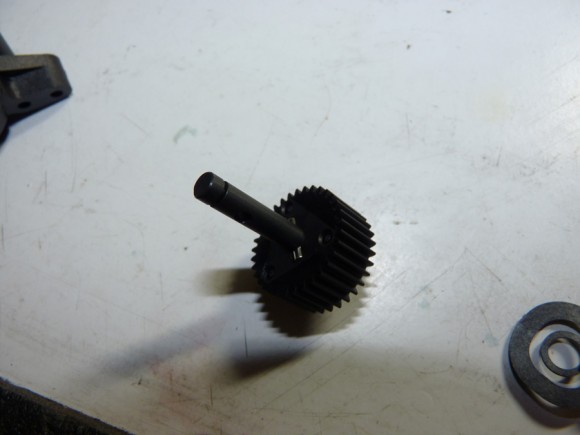
Roll pin is installed and then the idler gear over it.
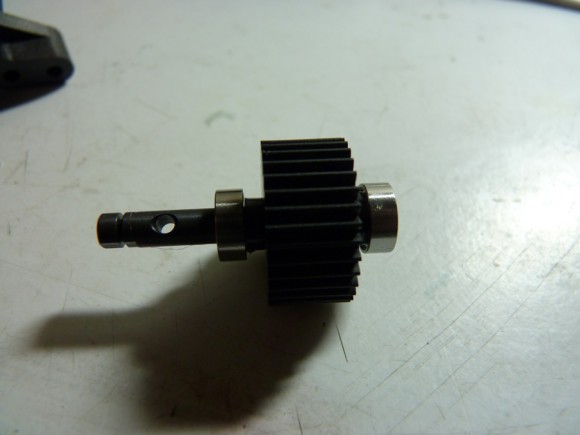
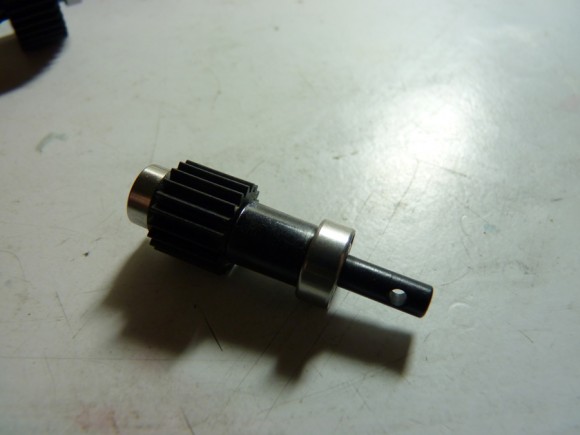
Here is the idler gear with all the proper shims installed as well as the bearings.
Next up is the main shaft and top gear.
Shimmed and bearing’d.
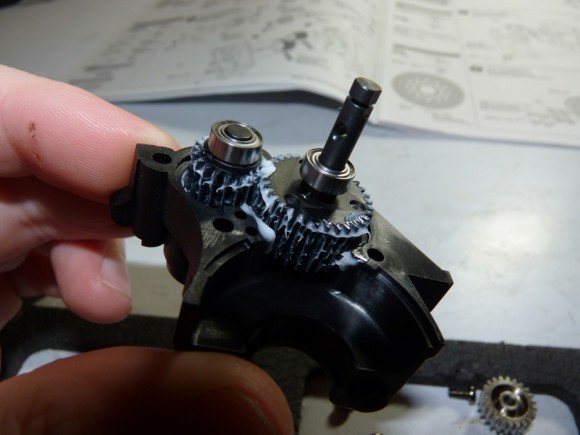
Now both gears get inserted into the gearbox half. Notice that the shafts face different directions. The top shaft will have the spur gear mounted to it, while the idler shaft will have the belt pully mounted to it.
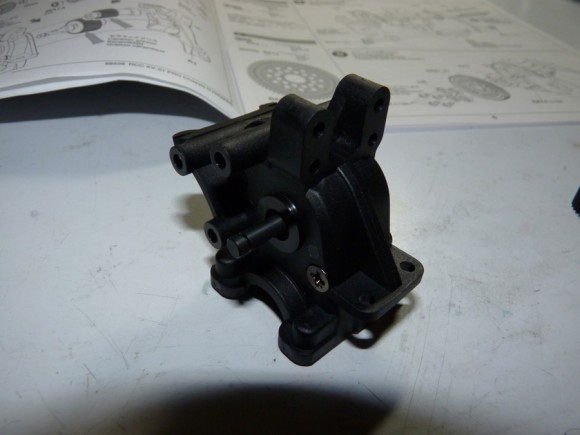
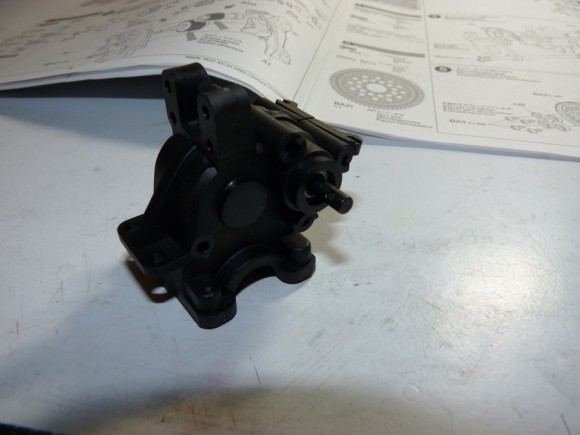
Front gearbox now assembled.
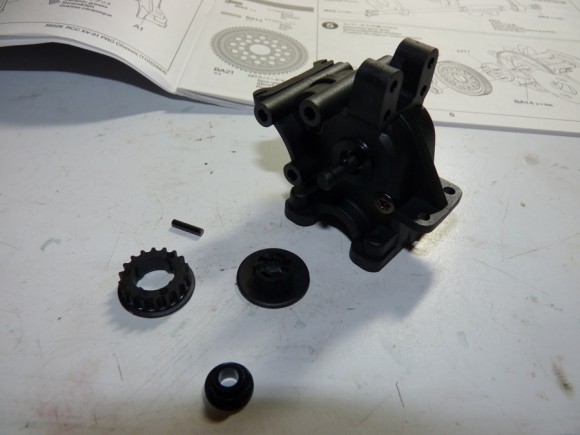
Now we install the belt pulley.
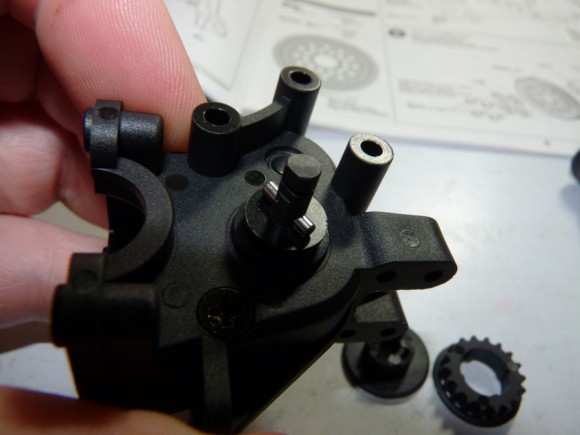
A spacer slides over the shaft, and a roll pin inserted.
The pulley assembly then slides onto the shaft and is secured with an E Clip.
Next we flip the gearbox over and install the differential gear from the bottom.
Now we install the lower gearbox half. (the gearbox housing is technically 3 separate pieces).
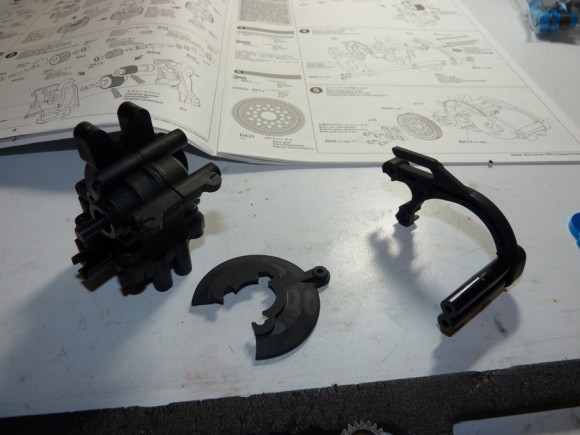
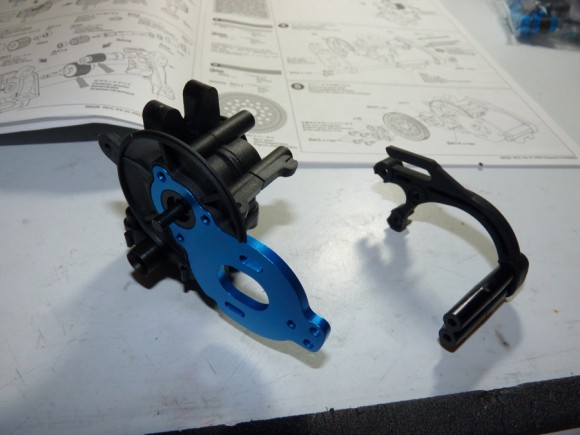
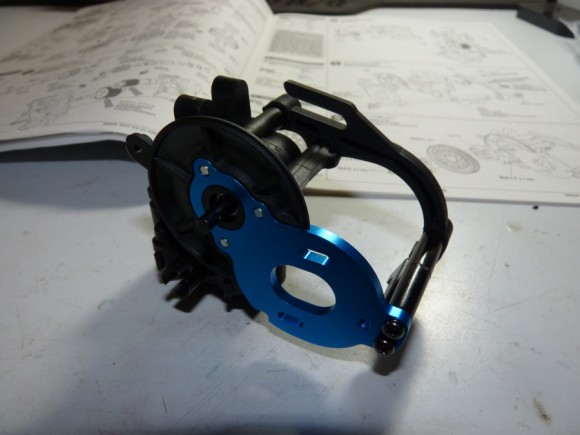
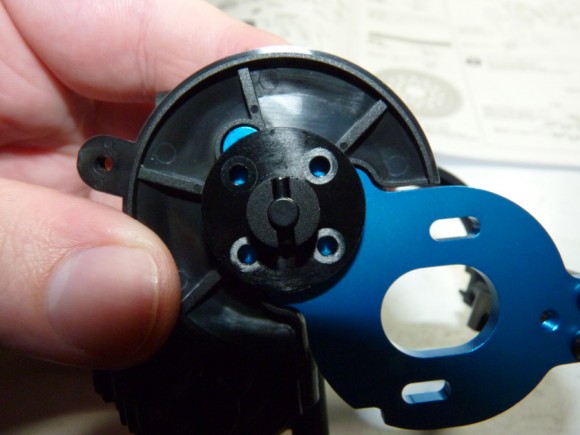
Next up is installing the motor plate, dust cover, and brace.
These install pretty self explanatory.
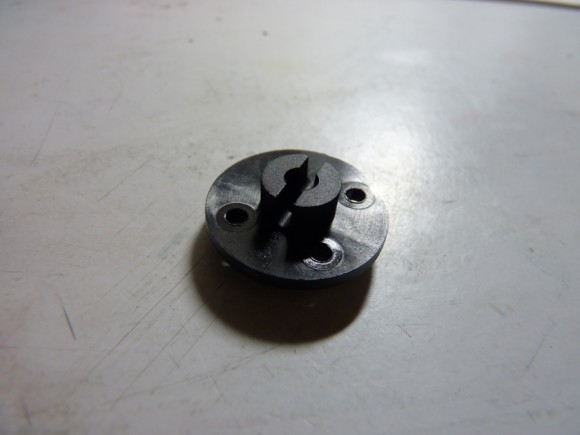
Here is the spur gear adapter. Tamiya sells an optional slipper clutch, which would probably worth picking up since this car will see some off-road use.
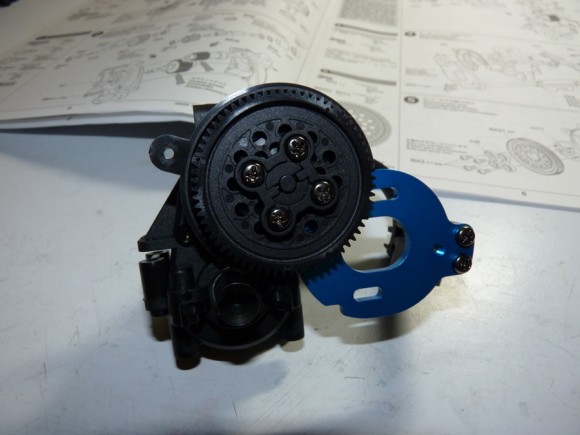
This just slides on the top shaft and the spur gear is screwed to it.
Spur gear is securely held on by 4 screws.
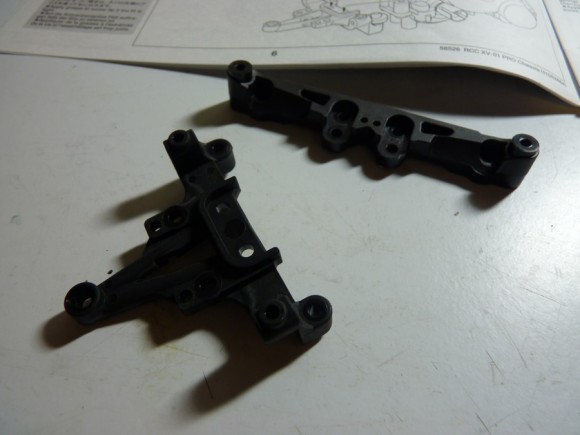
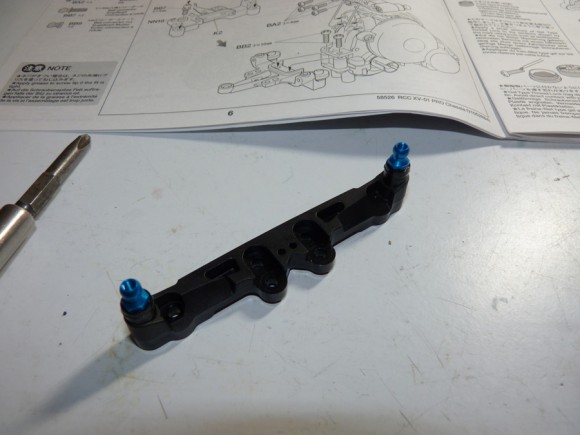
These are the front shock tower and transmission brace.
First we installed screws and spacers thru the shock tower (or Tamiya calls it the damper stay).
Then we install the “ball connector nut”. It’s now ready to mount to the gearbox.
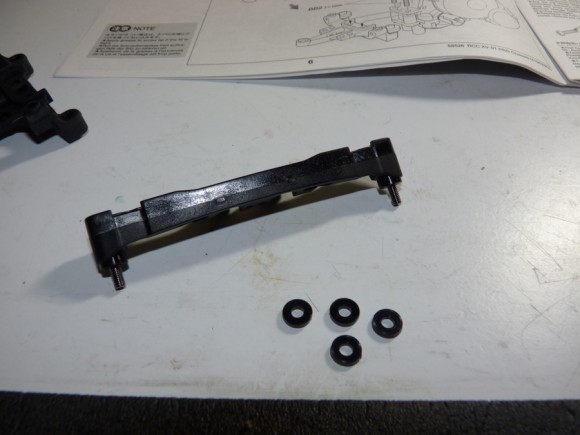
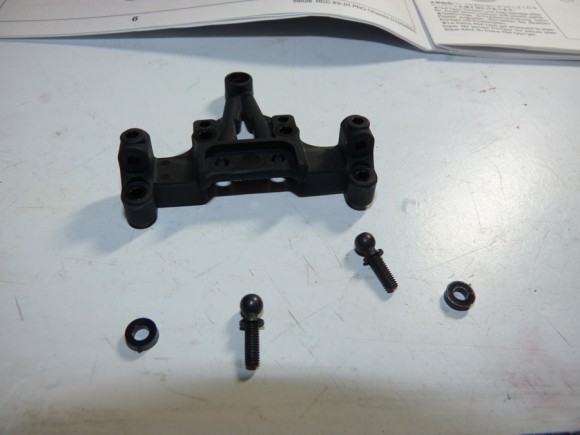
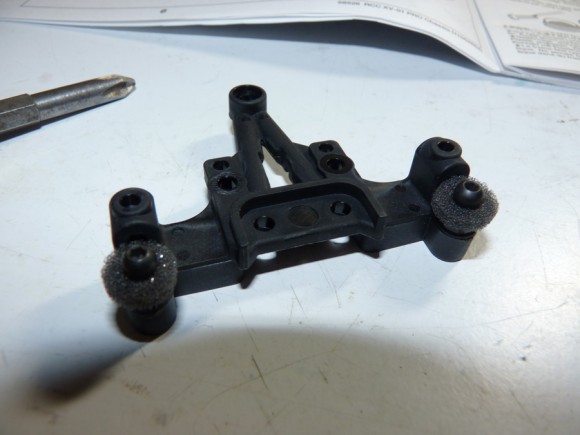
This is the front transmission brace. It connects the transmission to the chassis.
Ball studs and dust covers installed on it.
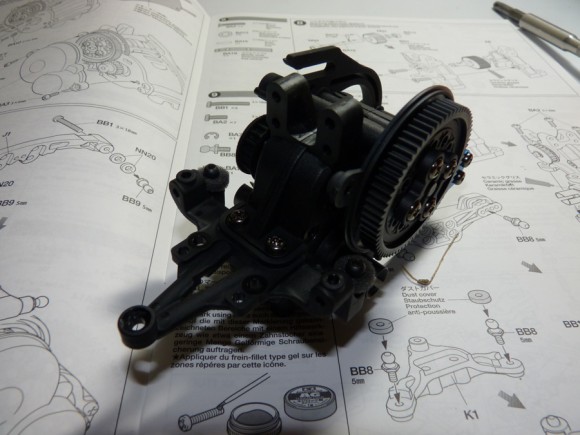
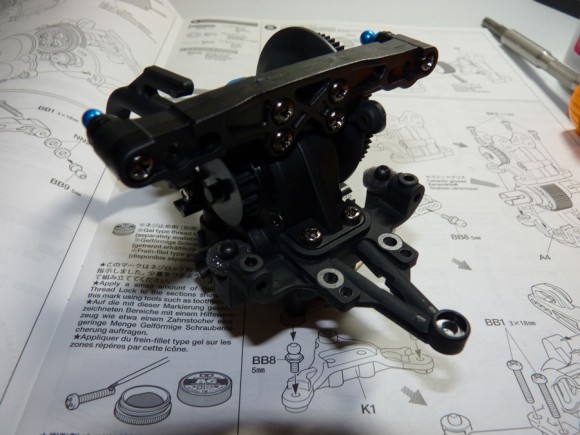
Now we mount up both parts.
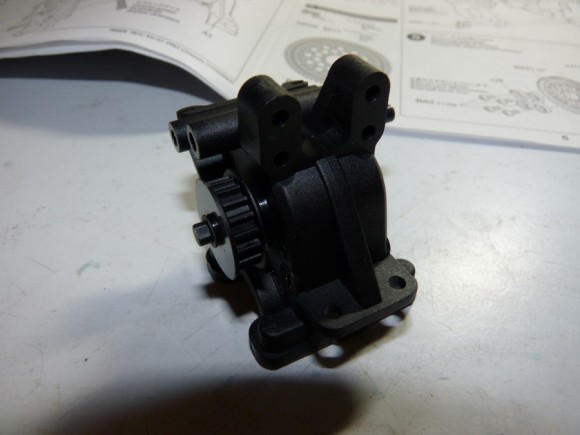
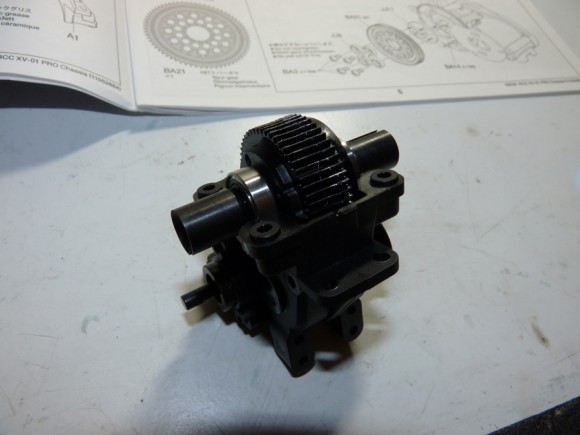
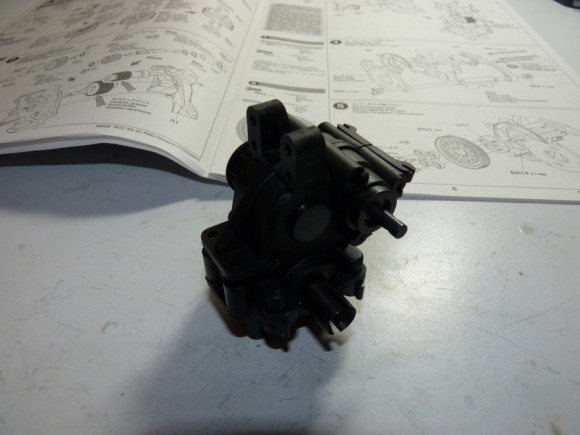
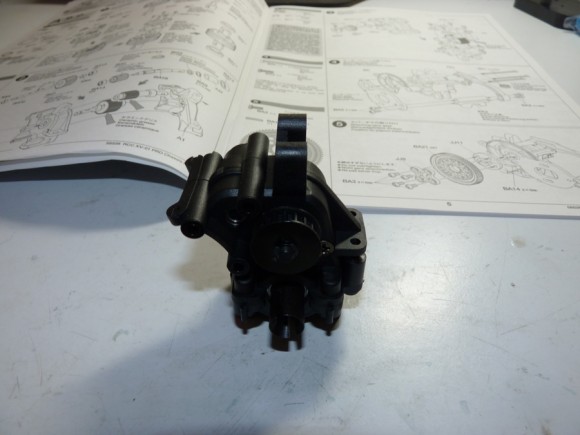
Now the front gearbox assembly is complete. The instructions actually have you mount the motor at this stage too, but I wasn’t quite sure what I’d be running, so I did that almost last.


 October 7th, 2012
  Kevin
Kevin 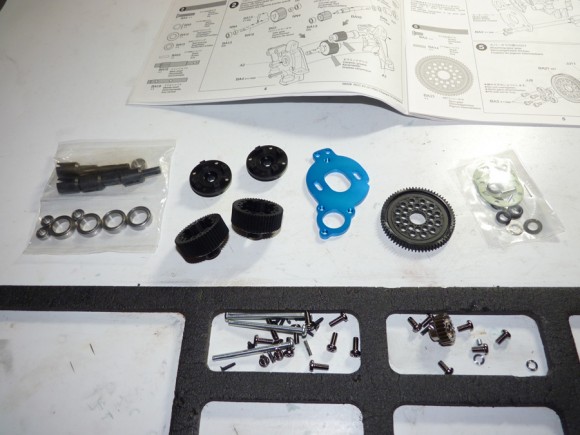
 Posted in
  Tags:
Tags:
Hi, nice build. I just did mine but located the ESC at the rear instead as there is more room under the cover there, had no problem fitting the mamba Max in there. This also gives more room for the wires exiting the cover.