Now we move onto the rear gearbox. Again we have a middle shaft that will have a belt pulley on it.
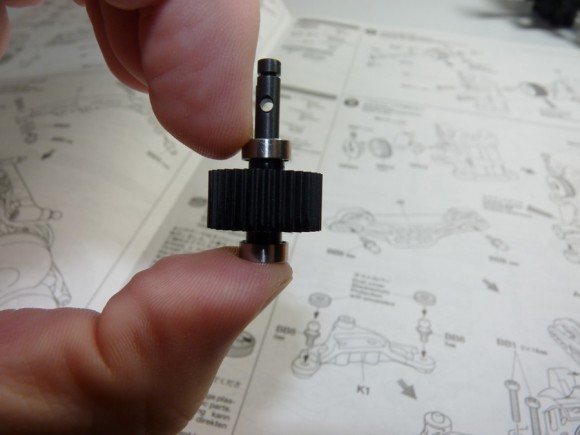
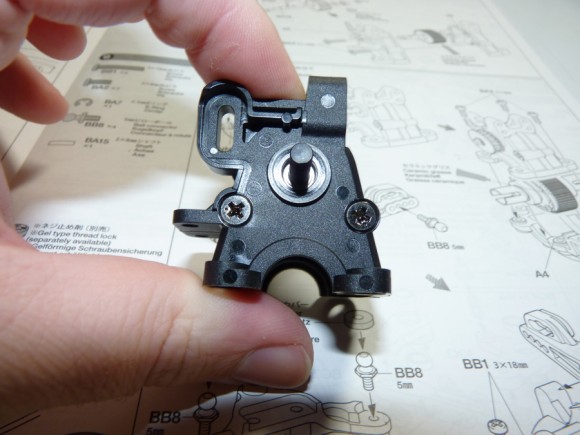
Bearings and spacers installed.
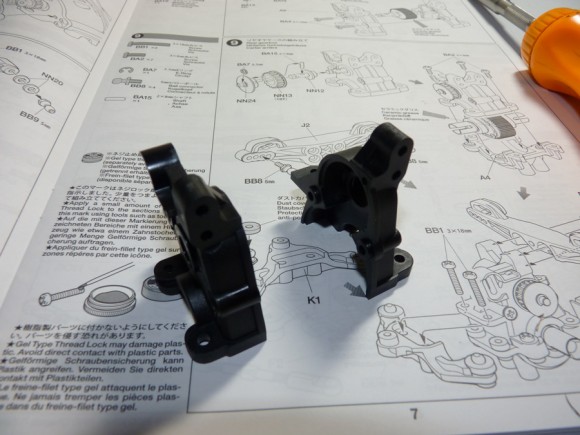
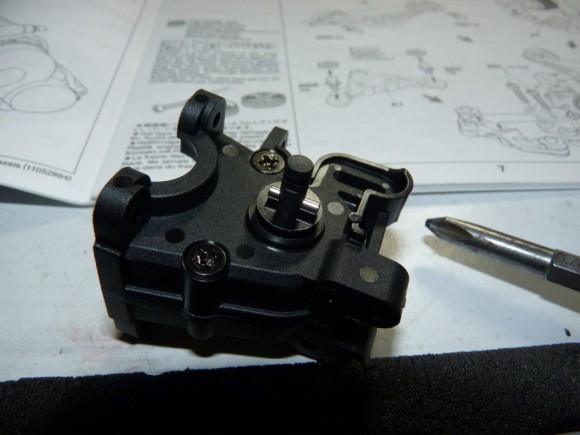
Here are the rear gearbox halves. You can also spot my fancy orange ratcheting screw driver. This thing is AMAZING when working on Tamiya kits that use a lot of Phillips hardware. I wouldn’t build a kit without one.
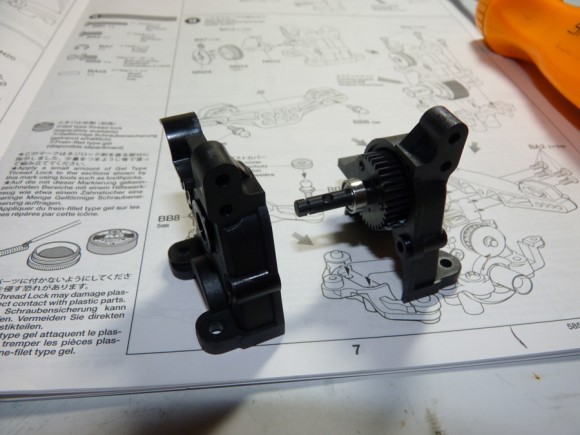
We then insert the gear and close up the gearbox.
Next we install that backplate spacer and roll pin as we did for the front gearbox.
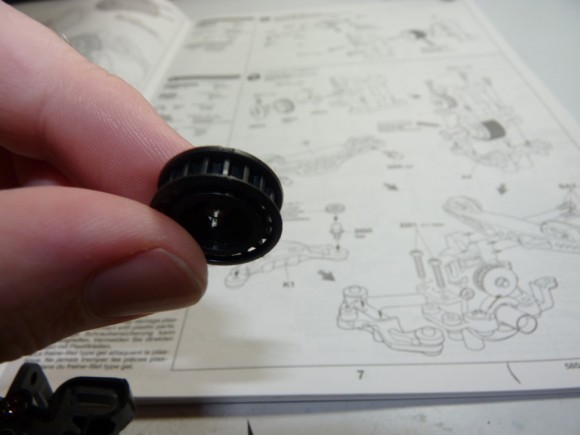
This is the assembled Pulley.
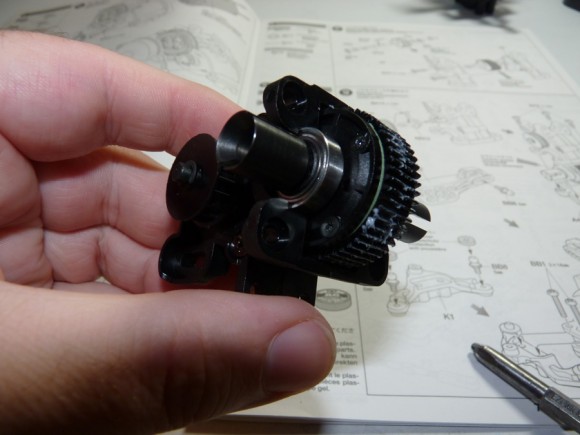
It goes on just like the front one did with an E Clip. We then install the diff gear.
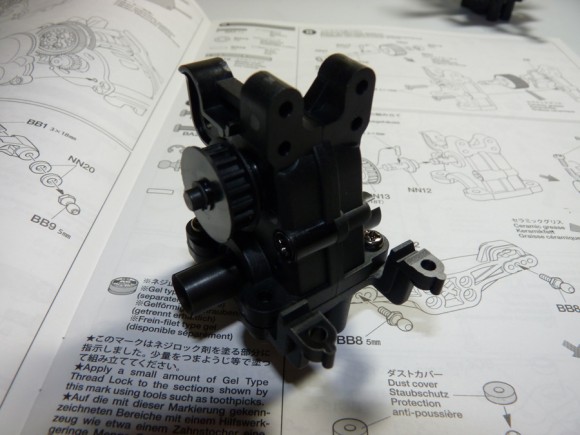
Here’s the rear gearbox all assembled and ready to install.
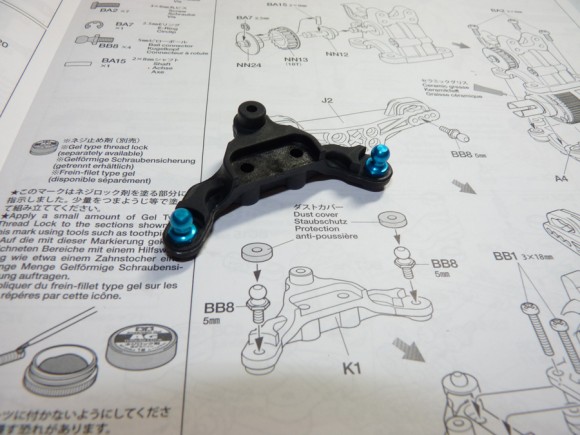
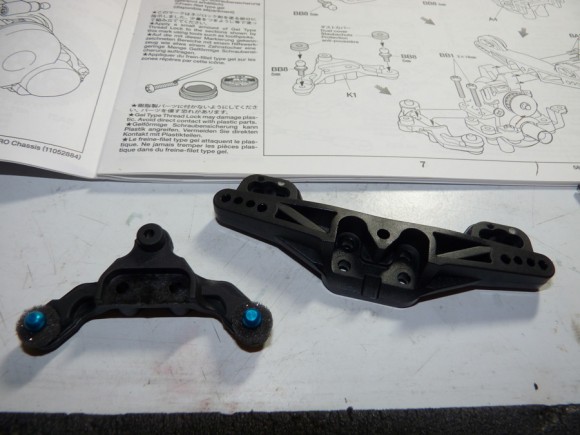
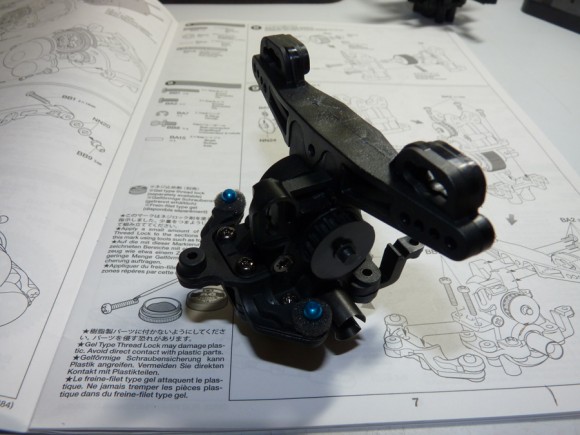
Now it’s time to install the rear transmission brace and shock tower. I love the blue used on these Pro option parts. It really pops off the black.
Both parts installed.
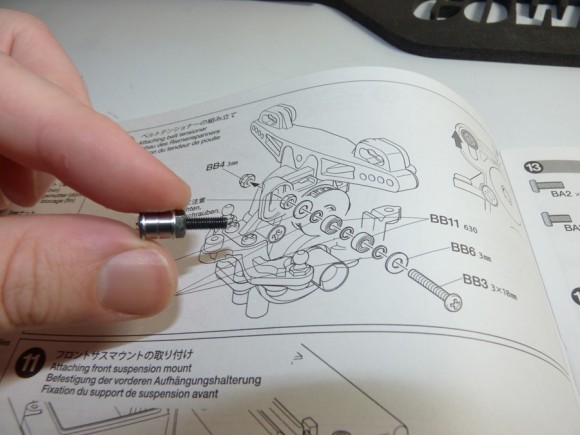
Now we tackle the belt tensioner assembly. This is a mix of shims, spacers, and bearings that rides against the belt to keep it tight. It is adjustable. Here is the assembled part and the diagram of what makes it up.
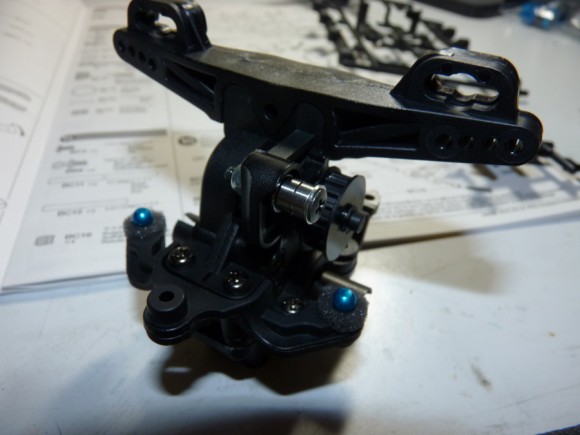
Here it is fully installed.
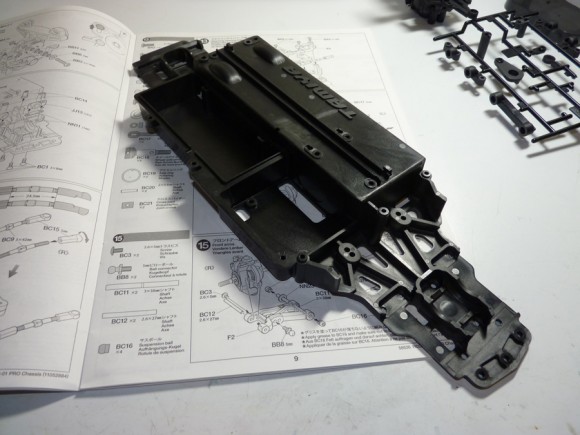
The XV-01 chassis! This thing is pretty wild. The battery mounts from underneath. The esc and receiver are in a little tub that gets a dust/dirt cover installed over it (this actually really limits the ESC selection from what I found out).
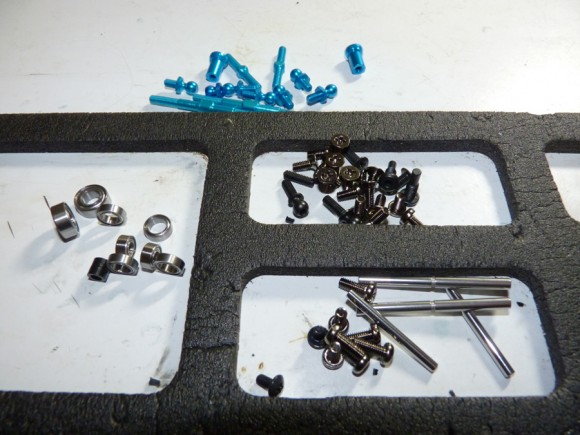
Here is the hardware bag for the next few steps.
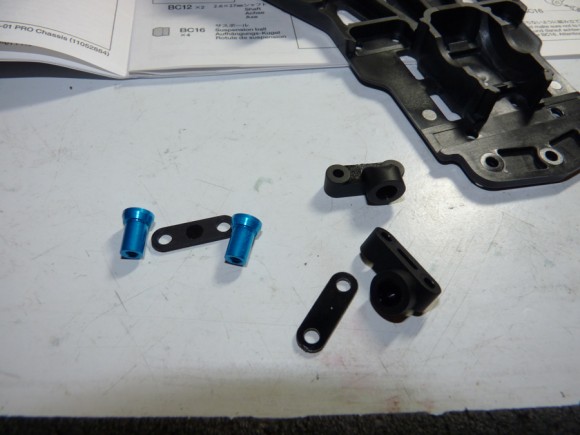
We will start with the front end. Below are the suspension mounts and blue aluminum steering posts.
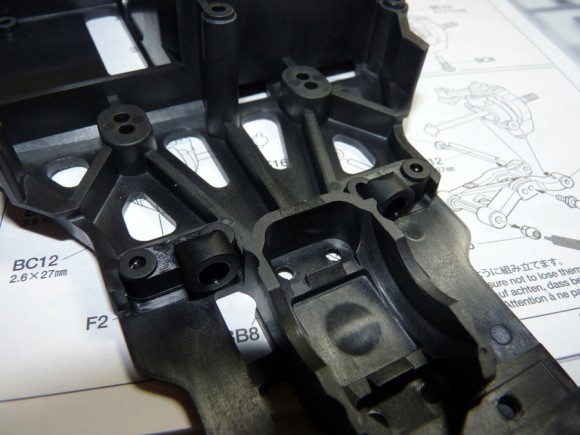
Suspension mounts installed. They mount from the bottom using 2 screws each.
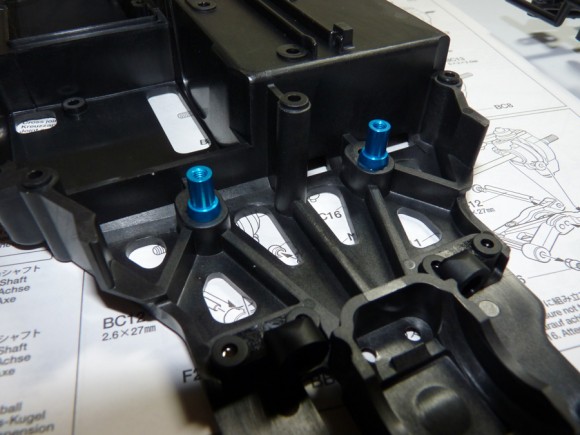
Steering posts are installed next. I made sure to use a dab of thread lock on these screws since they are a metal-on-metal contact.
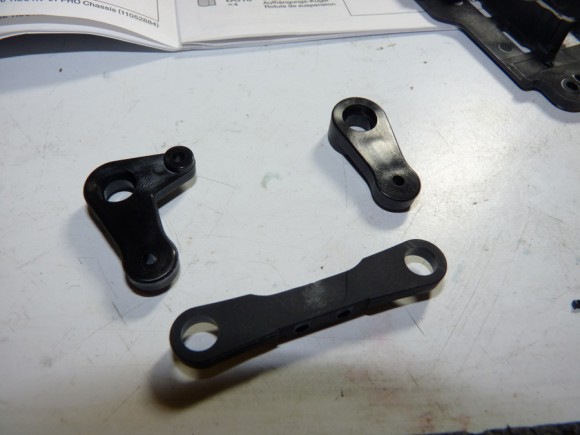
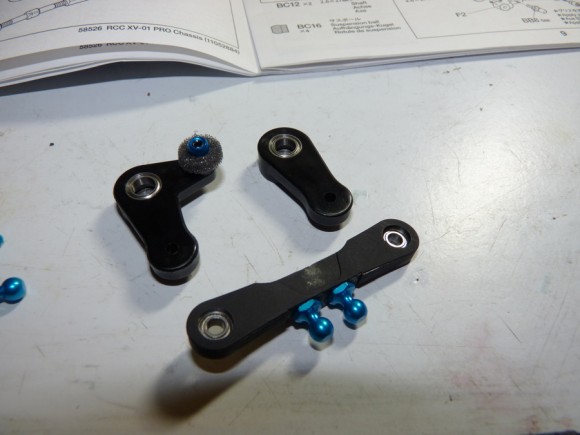
These are the pieces that make up the steering bellcrank.
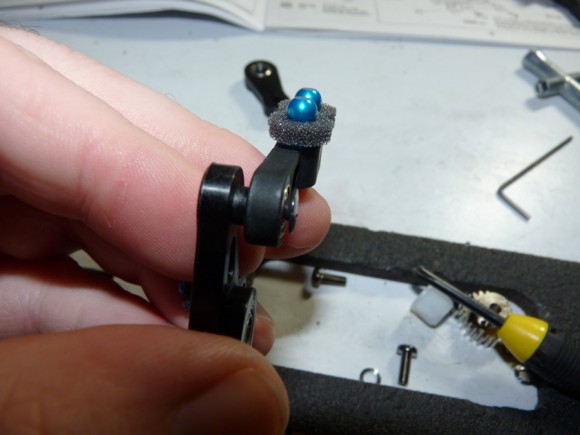
Here they are with all the bearings and ball studs installed.
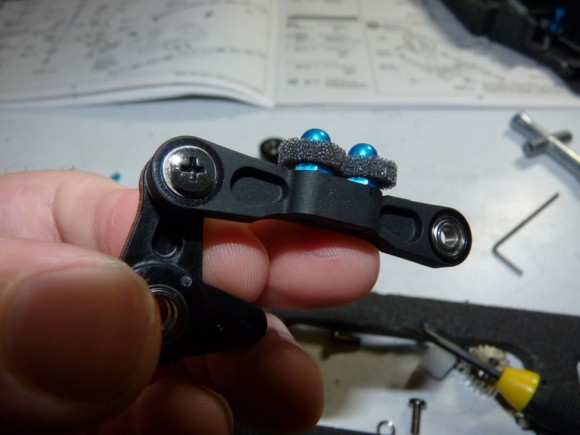
The center portion connects to the bellcrank portion with a very thin flat head screw.
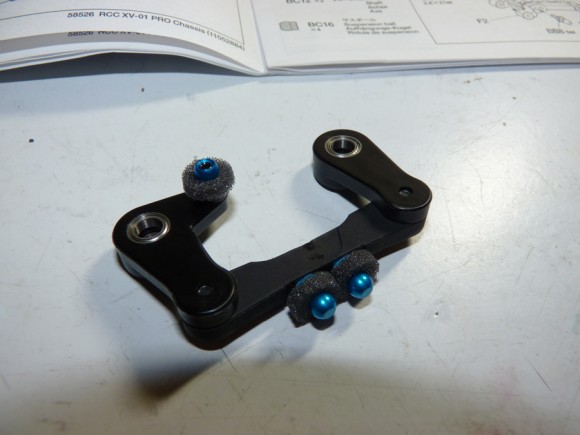
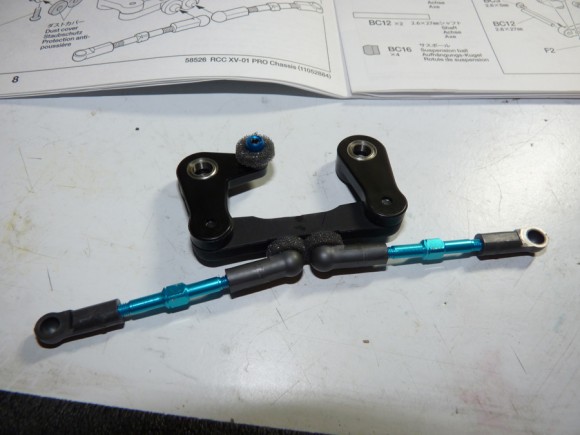
Fully assembled and ready for installation.
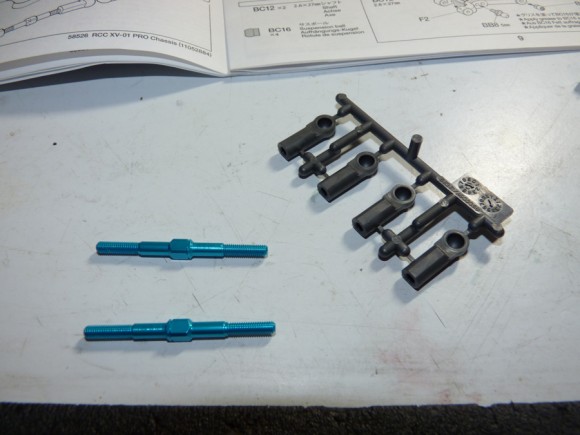
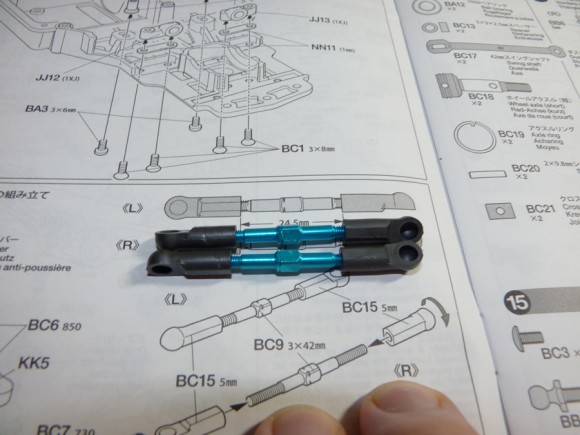
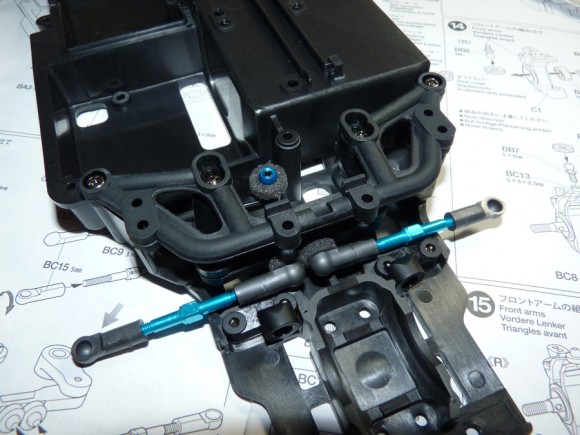
It’s turnbuckle time!! (for those at home, this is actually my least favorite part of any build: that might be on a quiz some day).
Here they are assembled. I love the 1:1 diagrams in Tamiya manuals. It makes it really easy to ensure you have the correct length of things.
We then pop them onto the bellcrank ball studs.
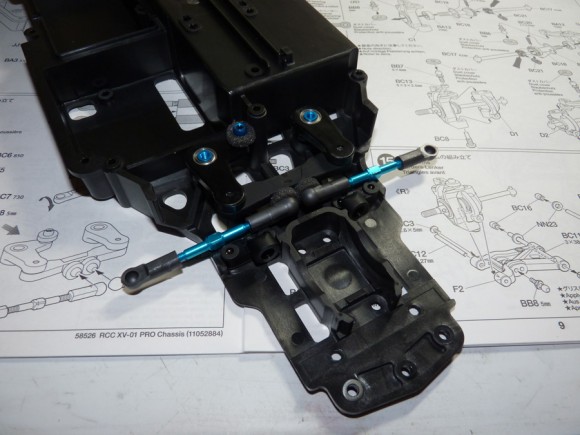
Then we take the whole assembly and drop it over the steering posts.
Next up is installing this top plate that keeps the whole steering assembly in place. At this point the steering will shuck back and forth. It glides super smooth on the included ball bearings!


 October 7th, 2012
  Kevin
Kevin 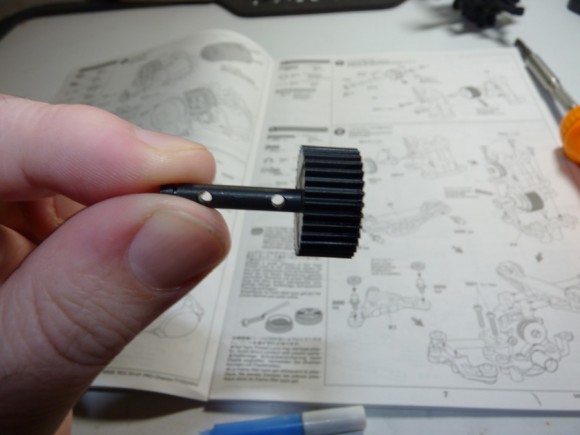
 Posted in
  Tags:
Tags:
Hi, nice build. I just did mine but located the ESC at the rear instead as there is more room under the cover there, had no problem fitting the mamba Max in there. This also gives more room for the wires exiting the cover.