Now it’s time to tackle the steering knuckles and other suspension components. First we take the knuckles and install the blue aluminum ball studs, bearings, and dust covers.
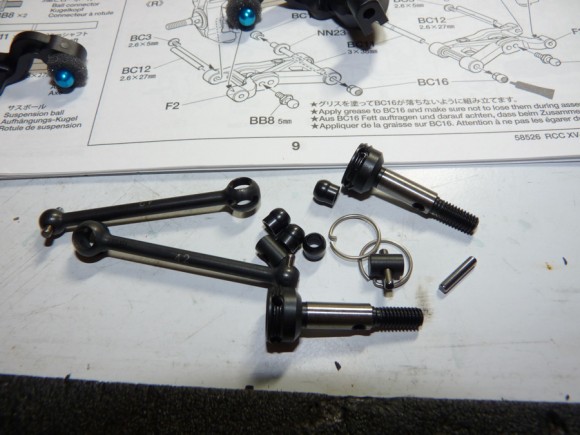
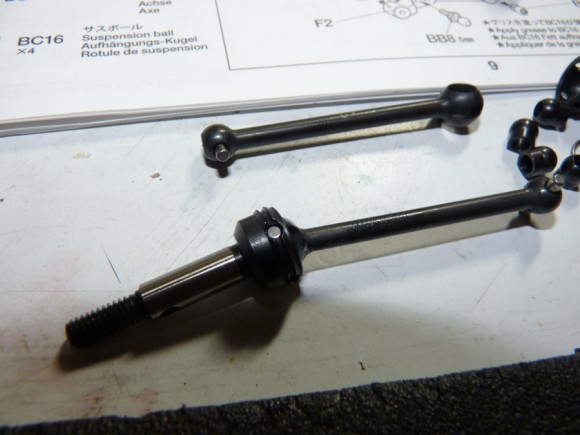
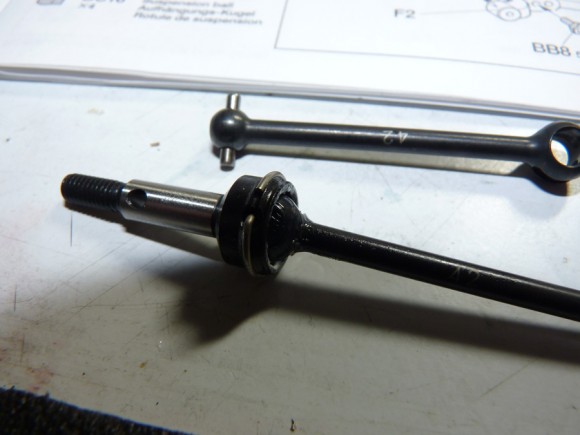
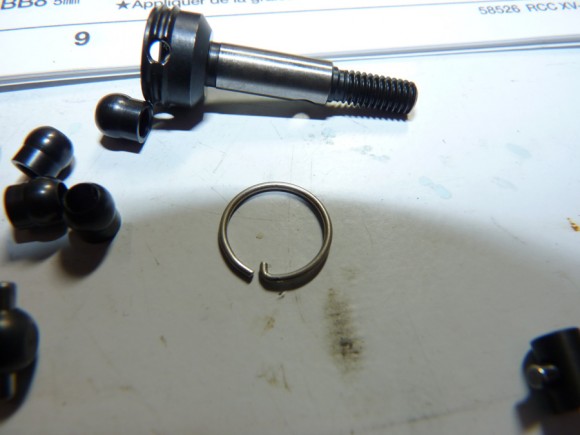
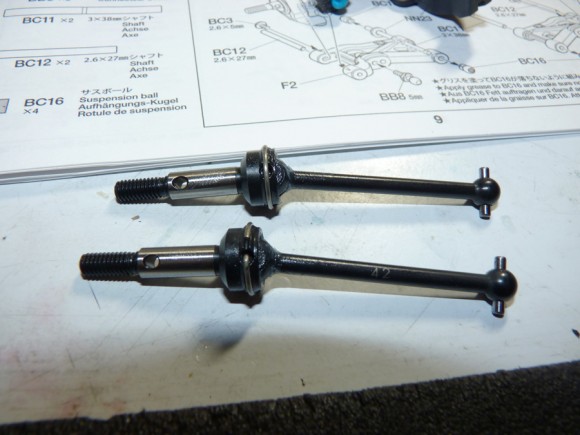
With those done, we quickly move onto the CVD’s. They assemble like any other CVD I’ve built, with the cross joint getting inserted into the bone of the CV shaft, and then the stub axle connecting to the bone with a pin. These are especially nice because they include a retaining clip or “axle ring” that holds the pin in place.
A close up of the axle ring.
Front CVD’s are now complete.
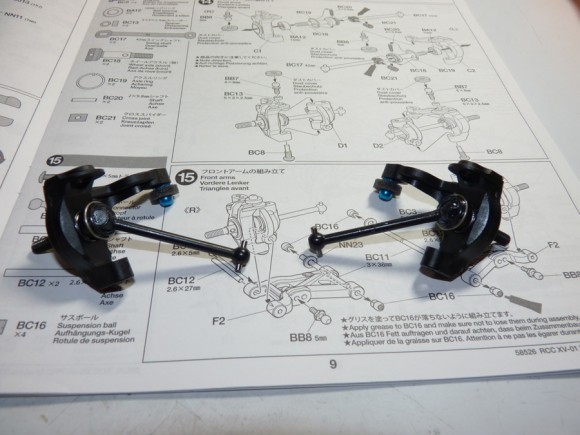
Now we insert them (with bearings), into the steering knuckles.
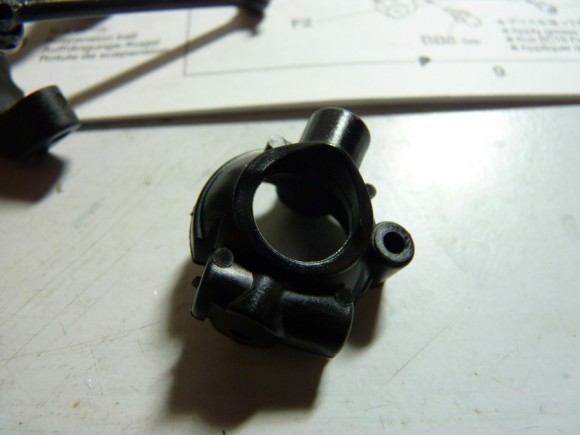
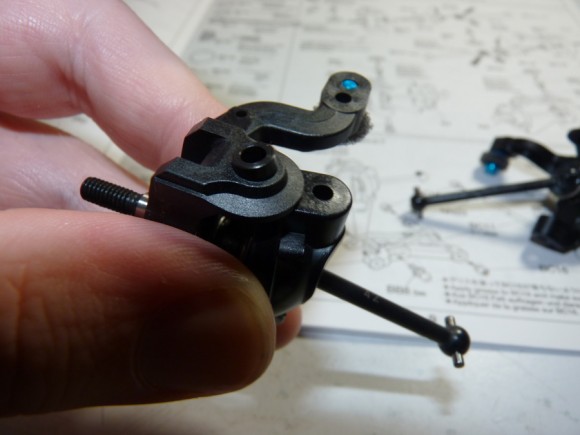
This is a front hub.
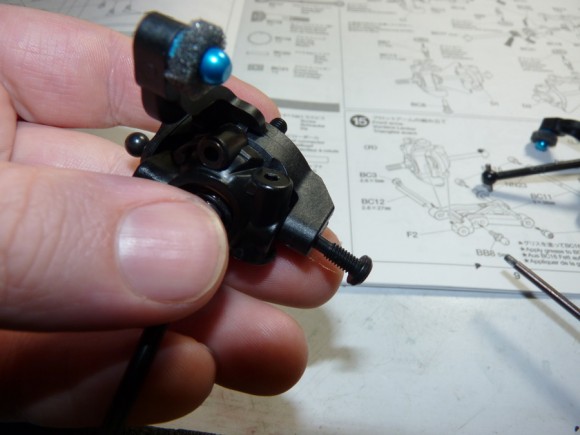
There are metal spacers that are inserted into the steering knuckle.
The hub and knuckle are held together with shoulder screws that ride in the metal insert shown above for smooth range of motion.
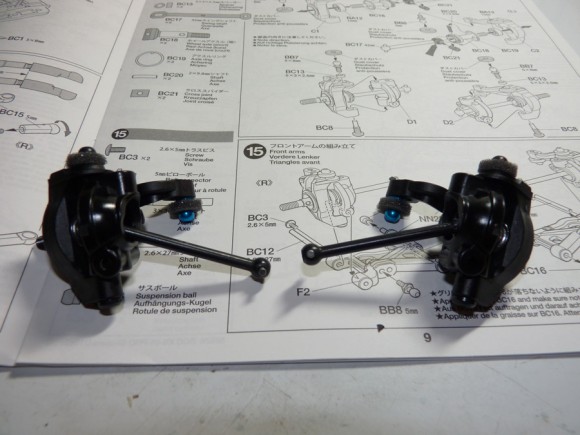
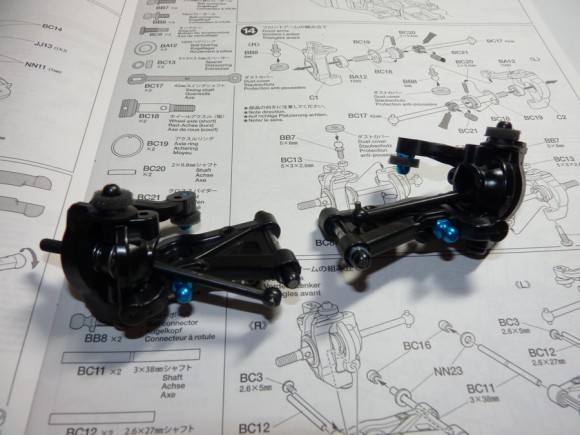
This is both completed steering assemblies with CVD’s installed.
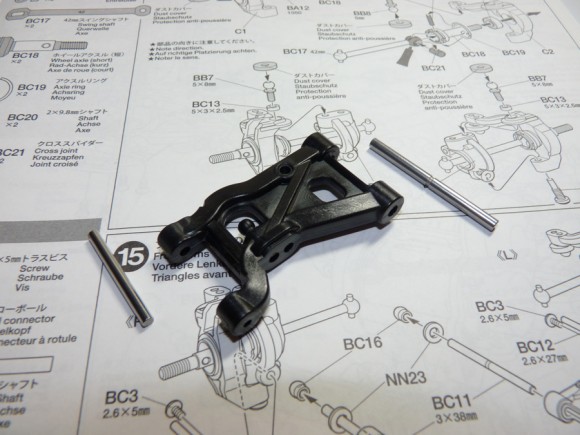
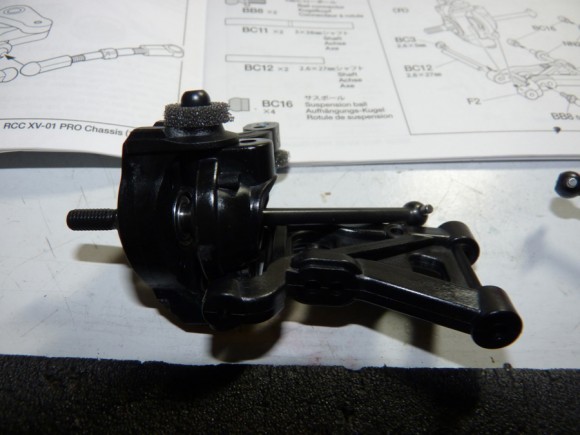
Here is a suspension arm and hinge pins.
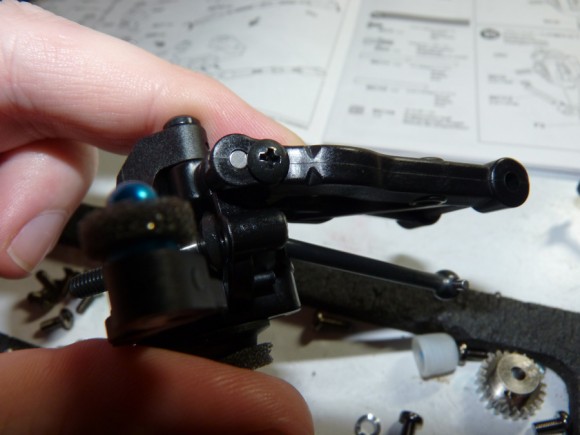
The steering assembly mounts to the arm by sliding the hinge pin through the arm and into the hub.
Like more modern race kits, the hinge pin is held in place using a screw in the arm, rather than dreaded E Clips or using Screw Pins that have a tendency to back out.
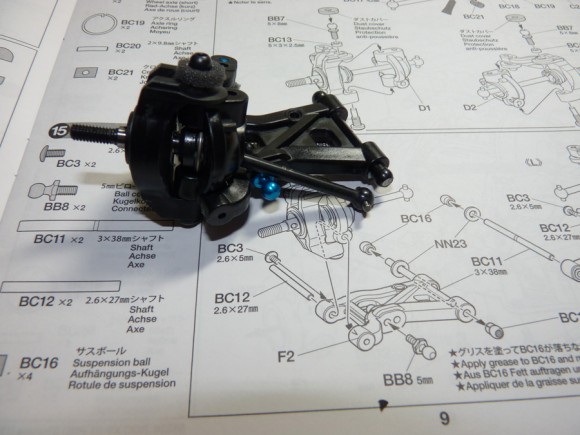
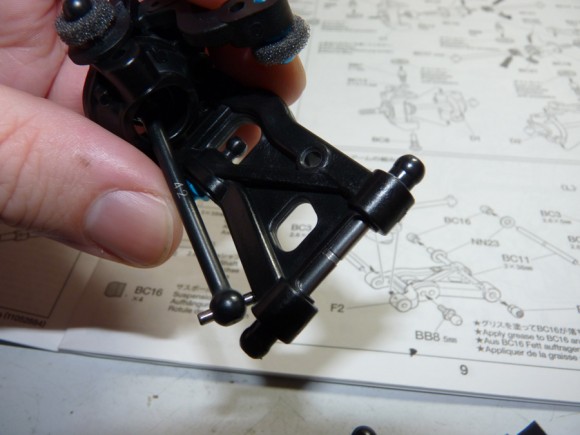
Now we install the inner hinge pin and install the suspension balls over them. They will ride in the suspension mounts we installed earlier.
Repeat for the other side.
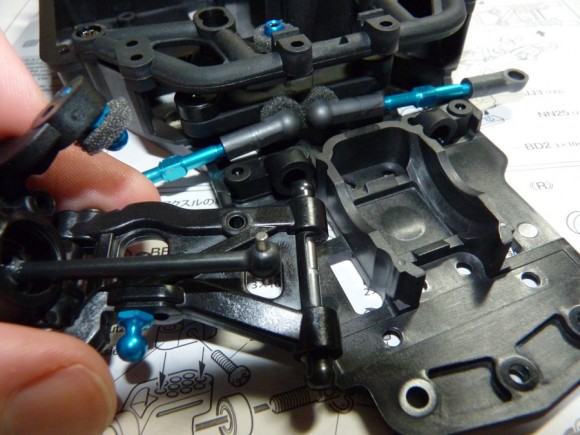
Now we slide the arms with suspension balls into the suspension mounts.
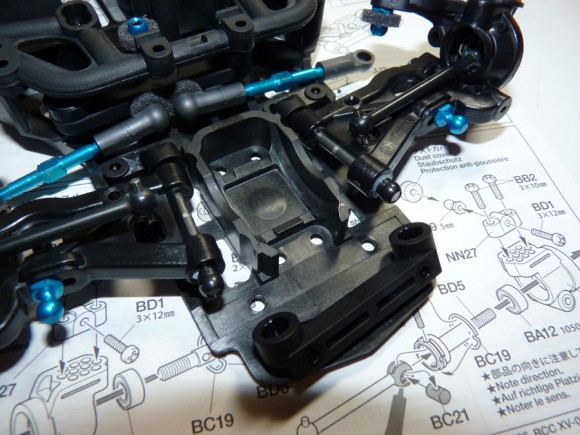
We install the rear first and then slide the fronts into the front suspension mount block and attach it to the chassis.
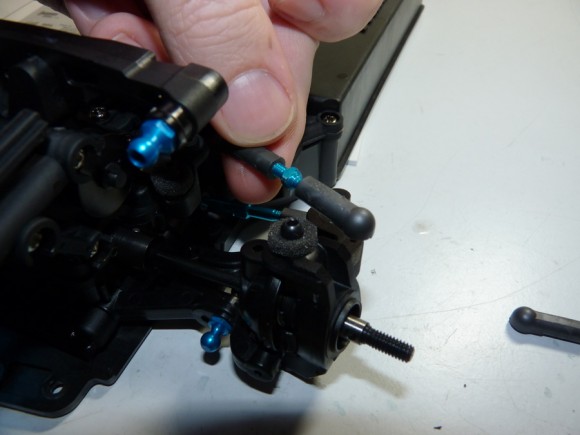
This is what we end up with. At this point we can also attach the steering links to the knuckles.
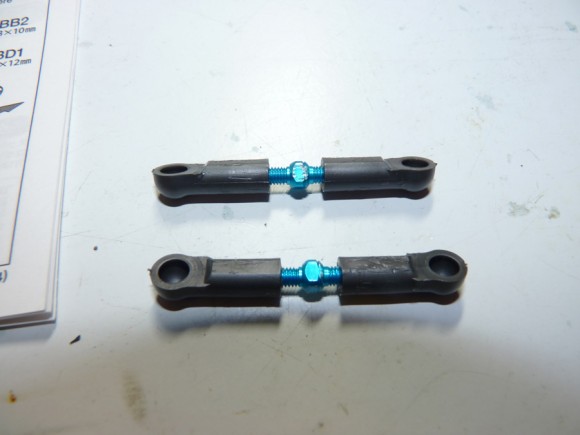
Now it’s time to assemble the front camber links.
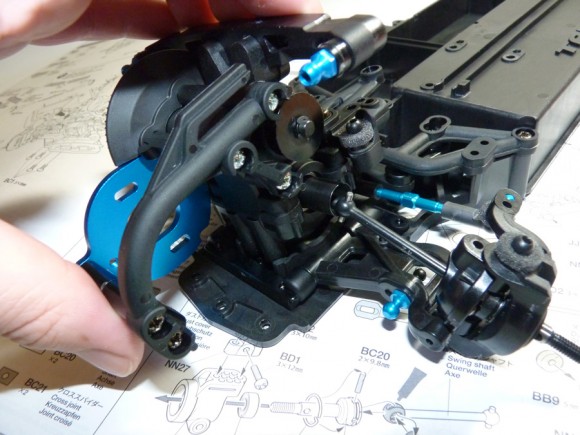
We then drop in the front gearbox (make sure to insert the CVD’s into the outdrives). The gearbox gets screwed in from the bottom of the chassis.
We can then connect the transmission brace to the chassis.
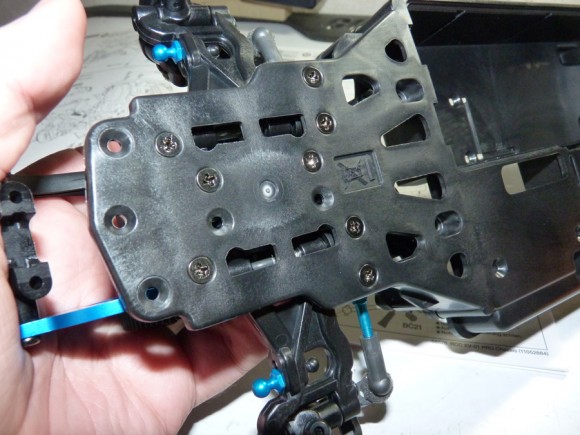
A shot of the bottom of the chassis (not all transmission screws installed at this moment)
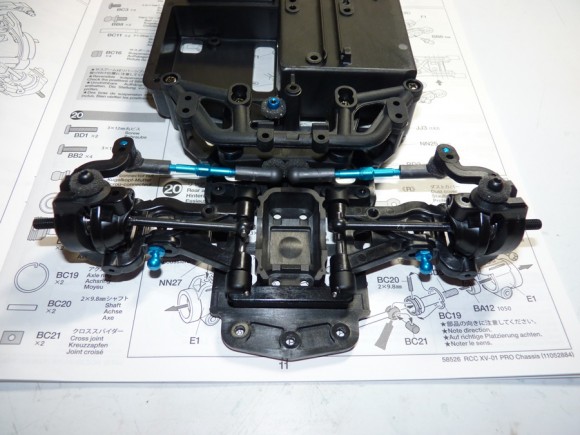
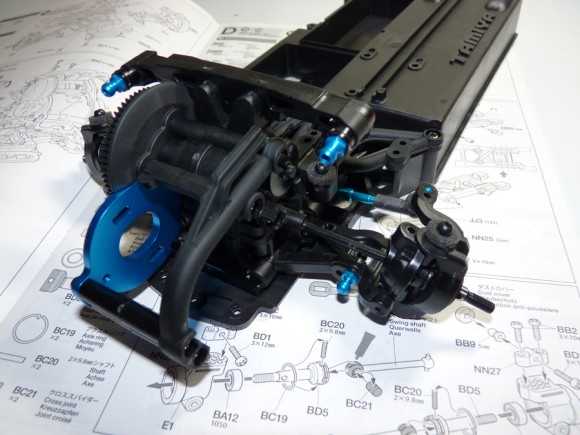
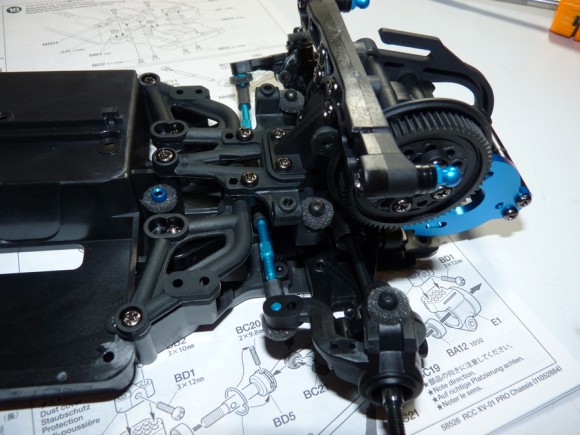
Now we can snap on the camber links we assembled a few minutes ago.
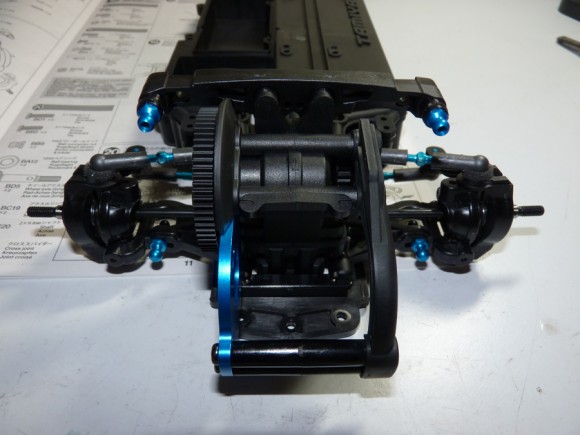
Hurray! We now have a complete front suspension system (minus shocks of course).
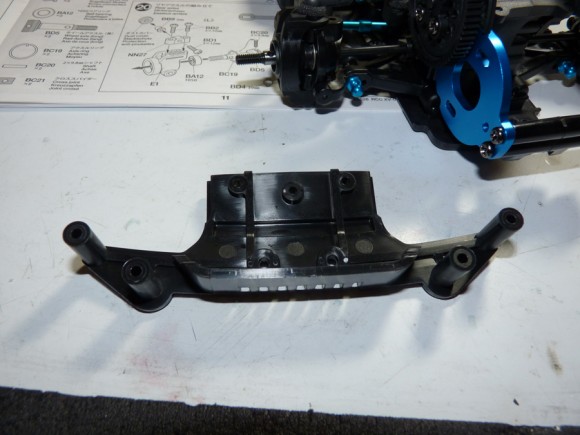
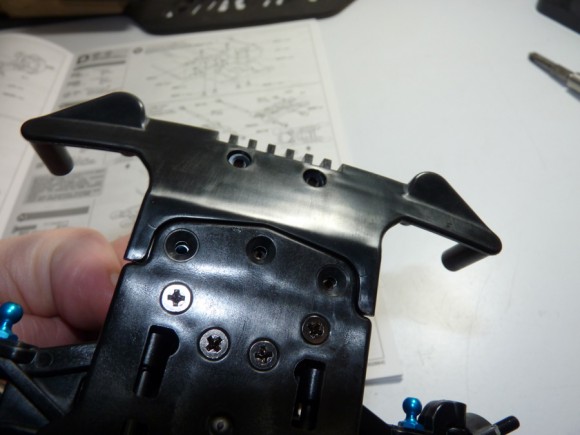
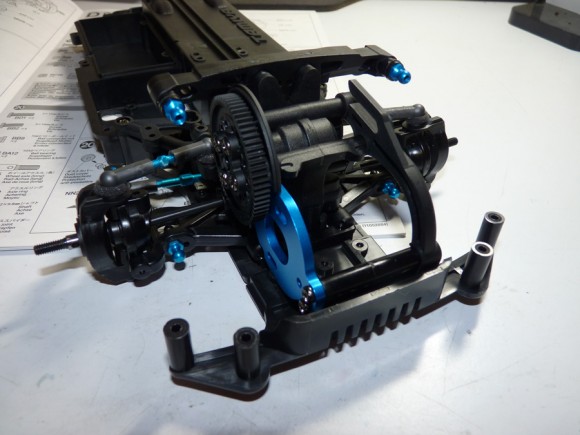
Here’s the front bumper.
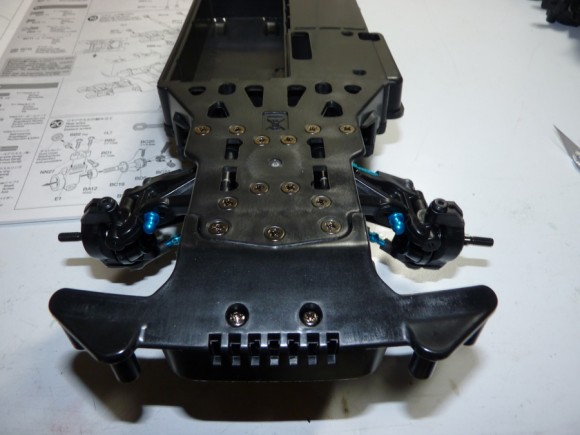
It mounts from the bottom with 5 screws. This will also help serve as the motor guard since the motor is hanging so far out front of the car.
Bumper is now all mounted up.
Another shot of the bottom of the chassis.
Next up is the rear suspension continued on the following page.


 October 7th, 2012
  Kevin
Kevin 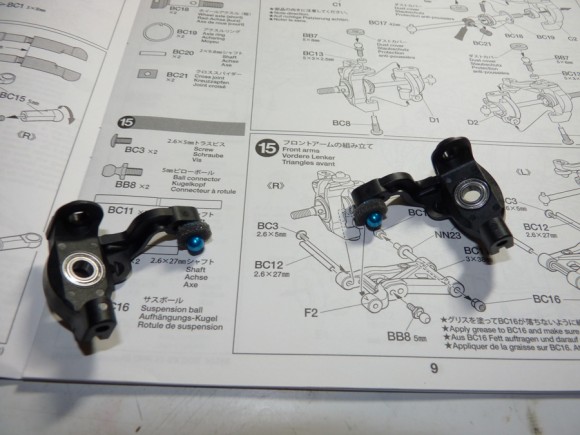
 Posted in
  Tags:
Tags:
Hi, nice build. I just did mine but located the ESC at the rear instead as there is more room under the cover there, had no problem fitting the mamba Max in there. This also gives more room for the wires exiting the cover.