

 September 1st, 2013
  Kevin
Kevin Well, now that I bored you to death talking about all the parts I got for this build.. how about we actually go ahead and put them on?
Here’s the bare bones chassis again.
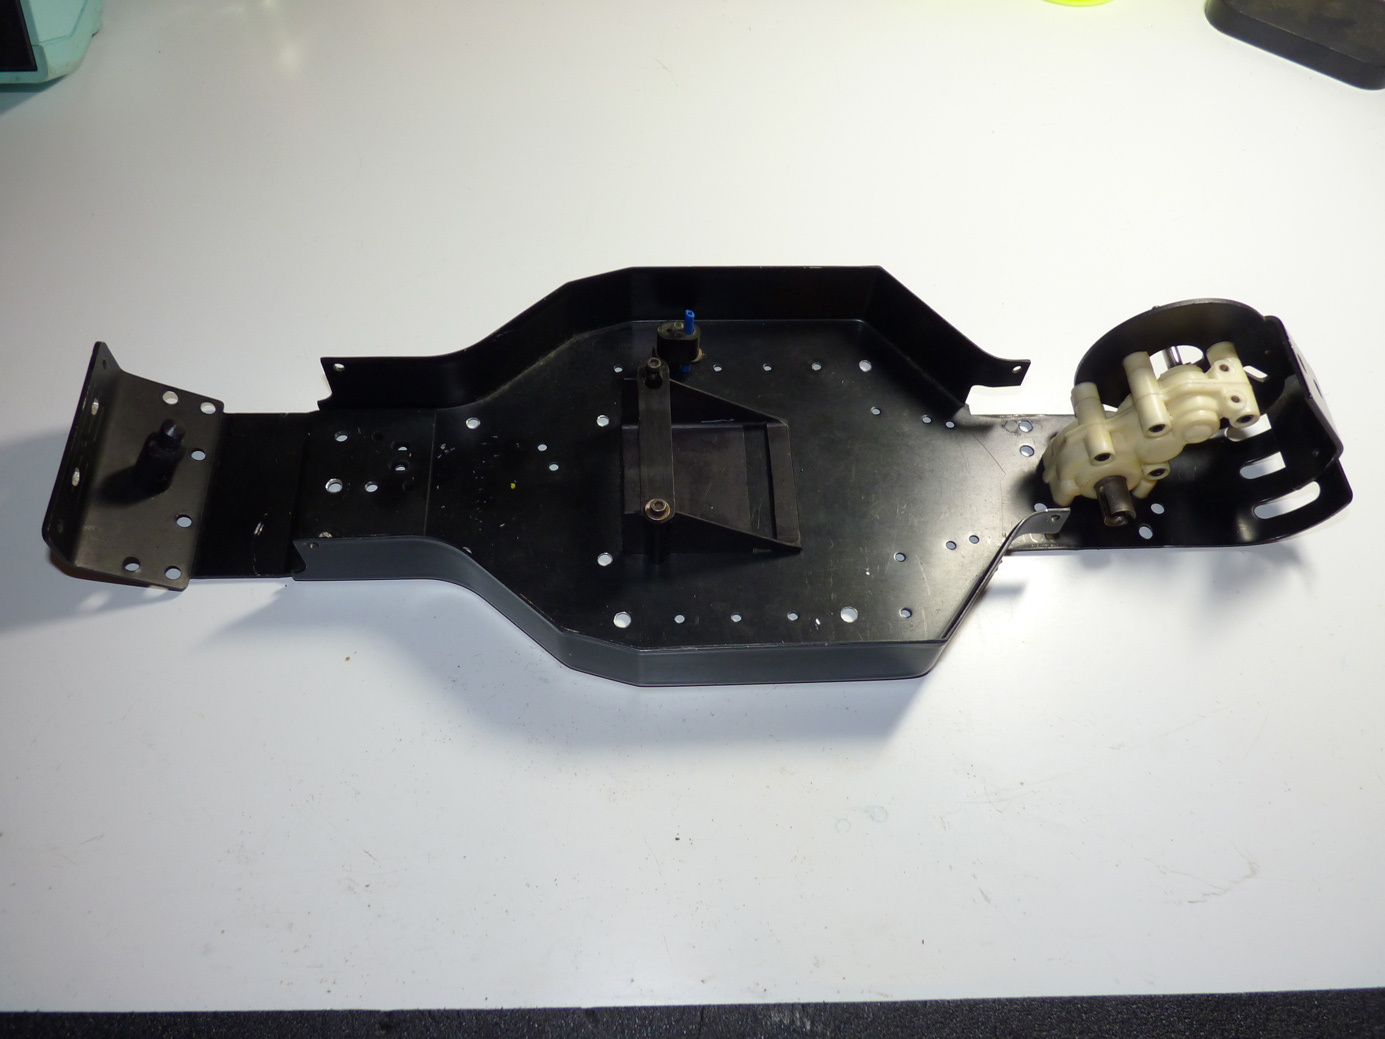
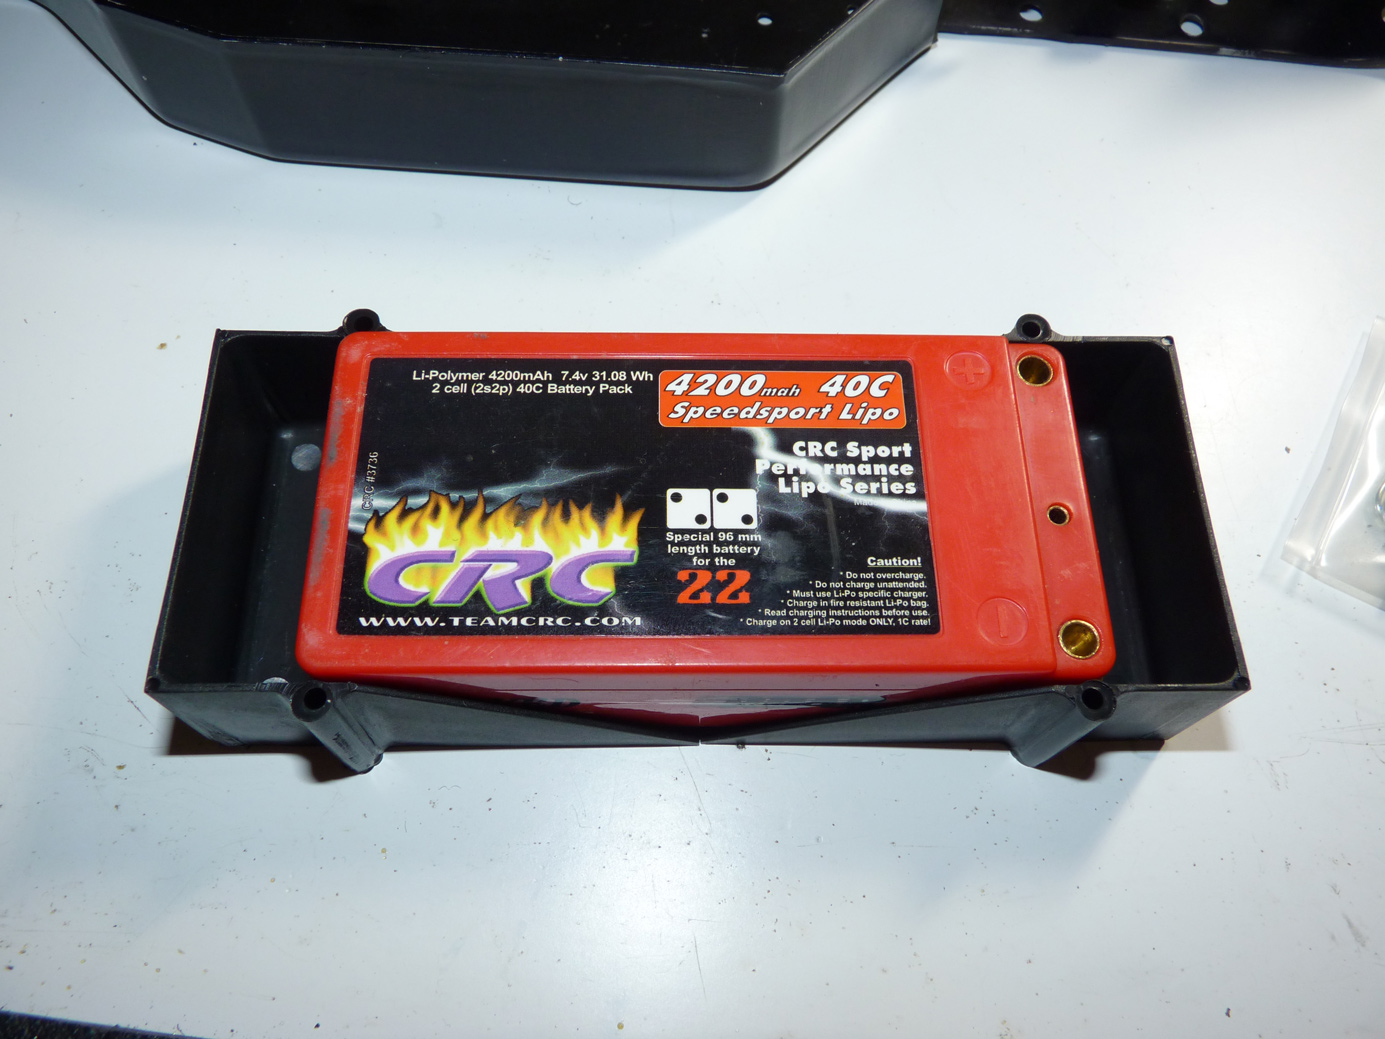
At first I fumbled around trying to figure out how I would mount a battery in this thing. As you can see, a lipo does not fit in the rear bulkhead without modification.
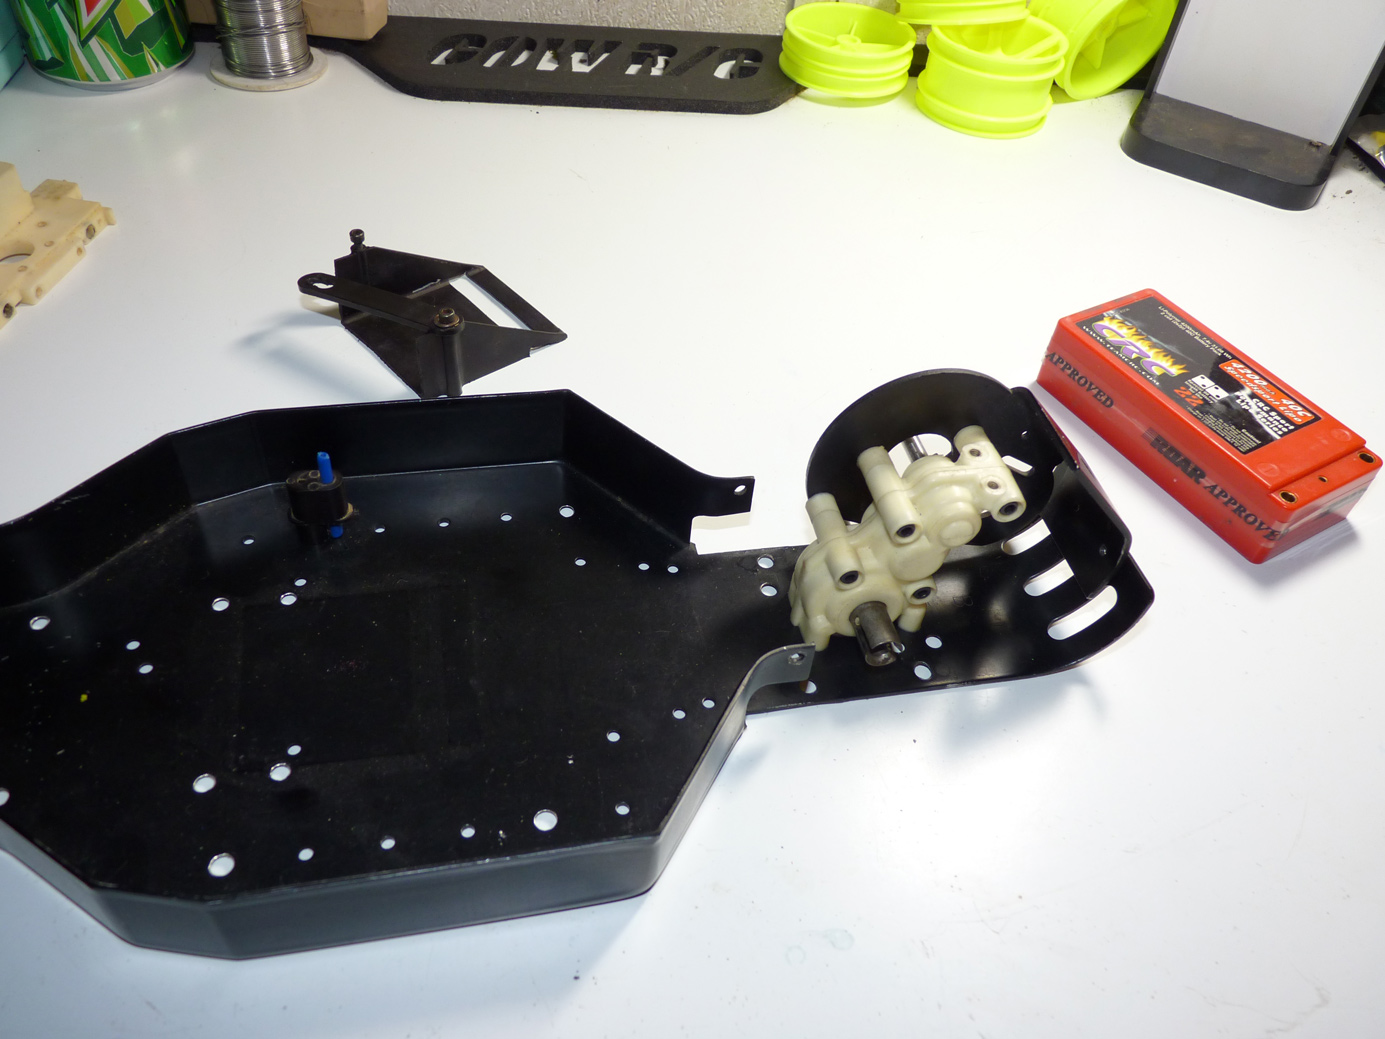
I toyed with the idea of running a shorty pack. I still might, but for now I didn’t end up going this route.
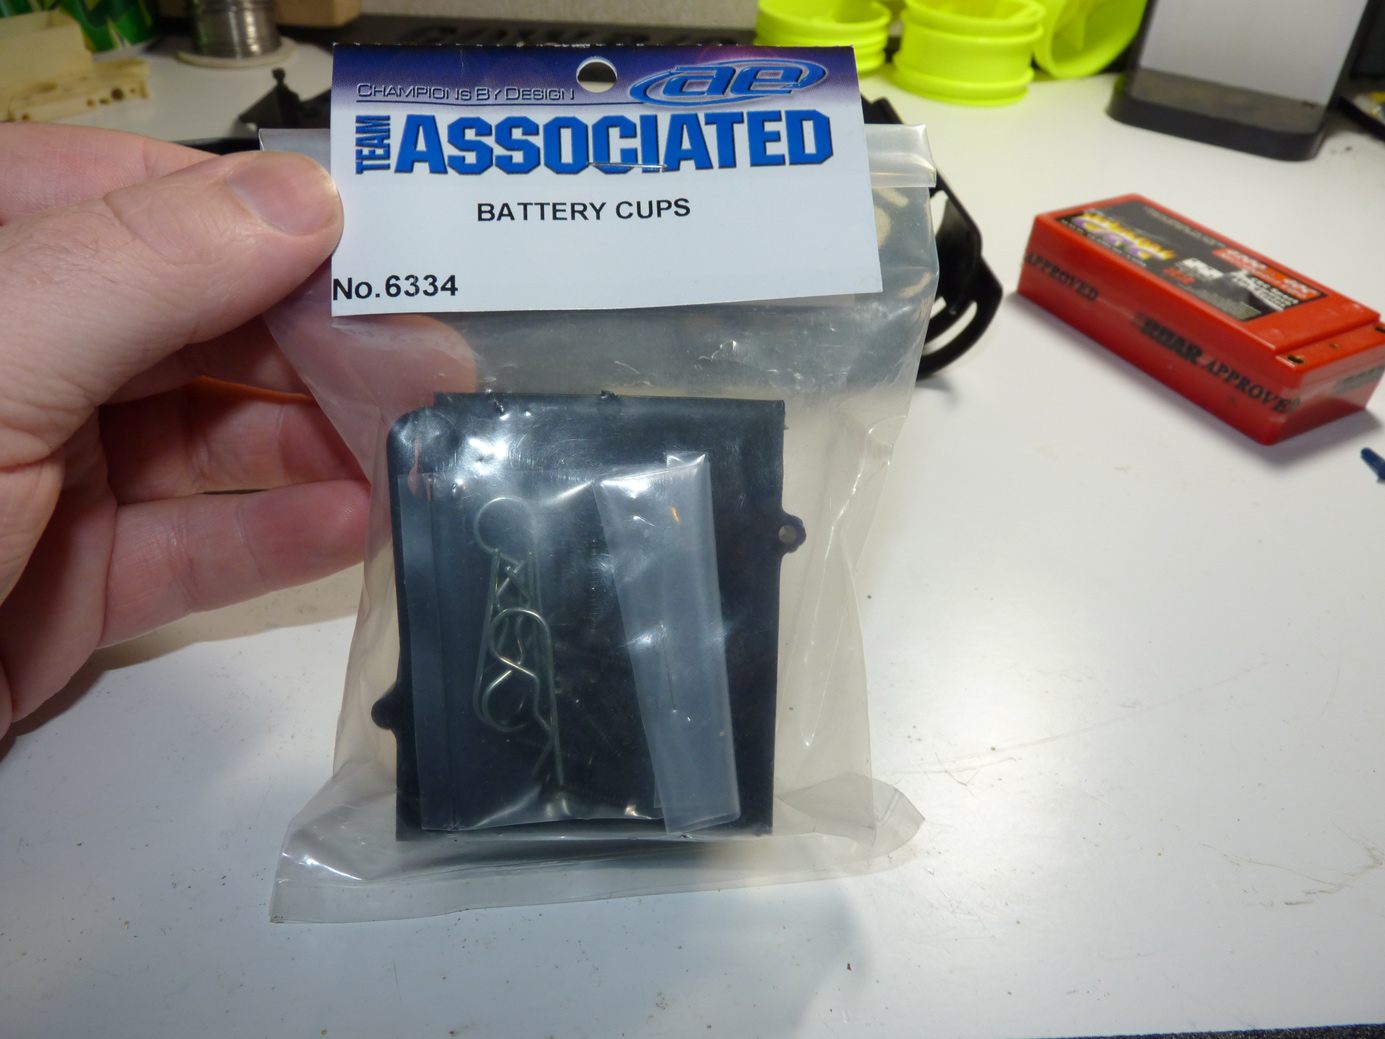
Either way I needed a new set of Associated Battery Cups. The one that came on the chassis had the front of it all hacked out, so I wanted a new one.
I thought about installing the shorty pack transverse in the chassis but wasn’t sure how to really secure it. It would need foam spacers on each end, and then the top ports are right in the way of the hold down strap.
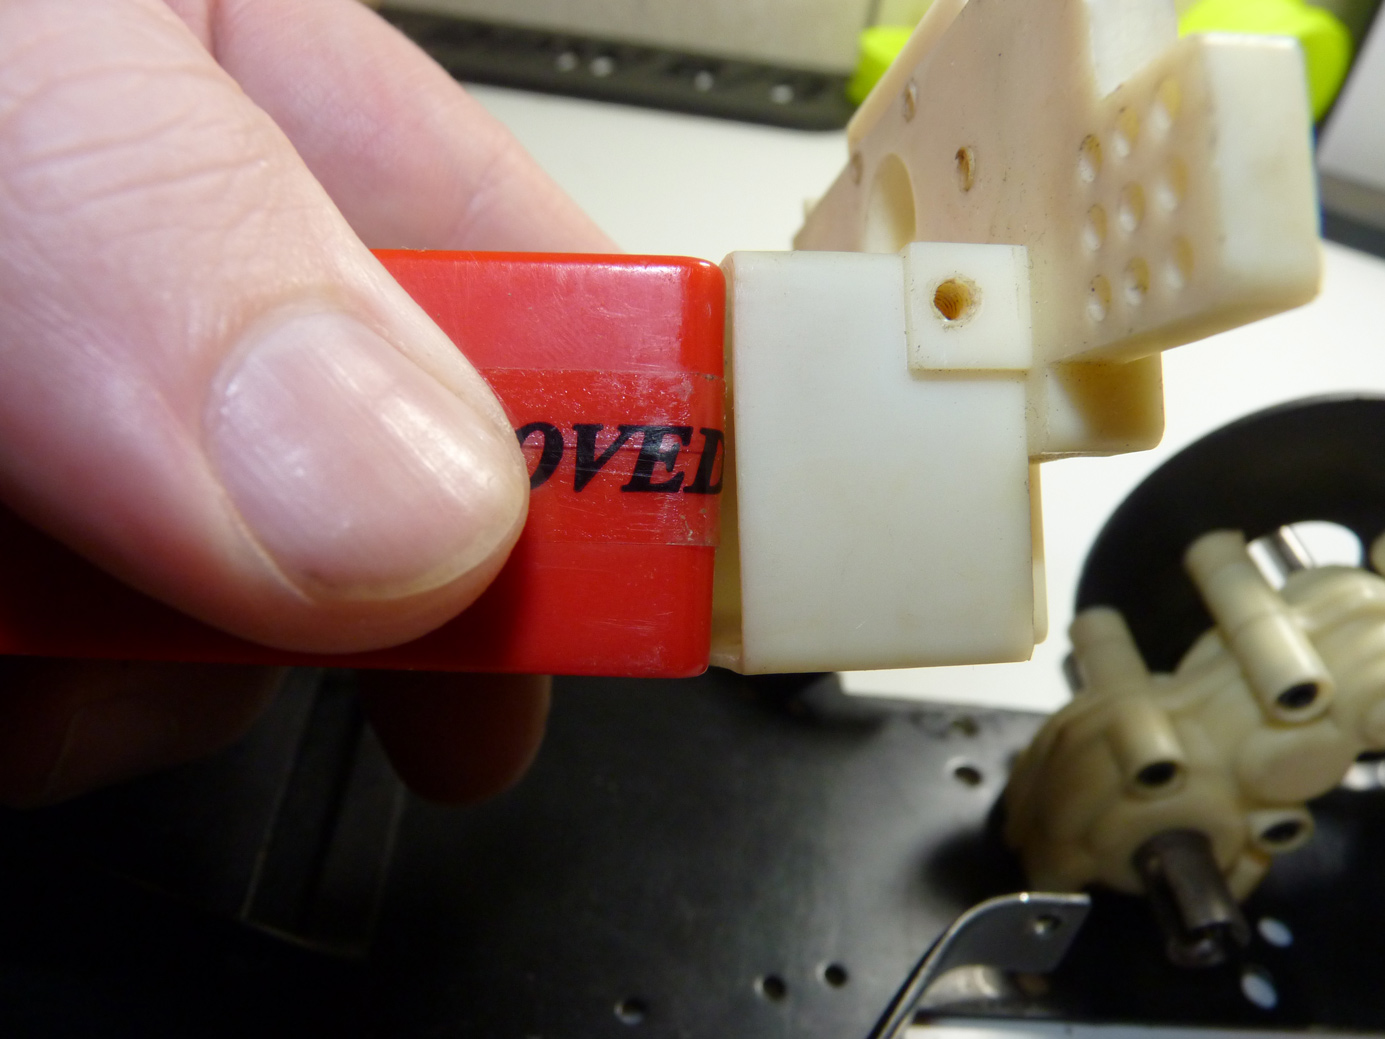
I thought about shortening the cups to fit the lipo (this below is just to get an idea of where the new holes would have to go). I didn’t really feel like drilling new holes so I abandoned the whole shorty idea for now, even though I ended up having to drill new holes anyway.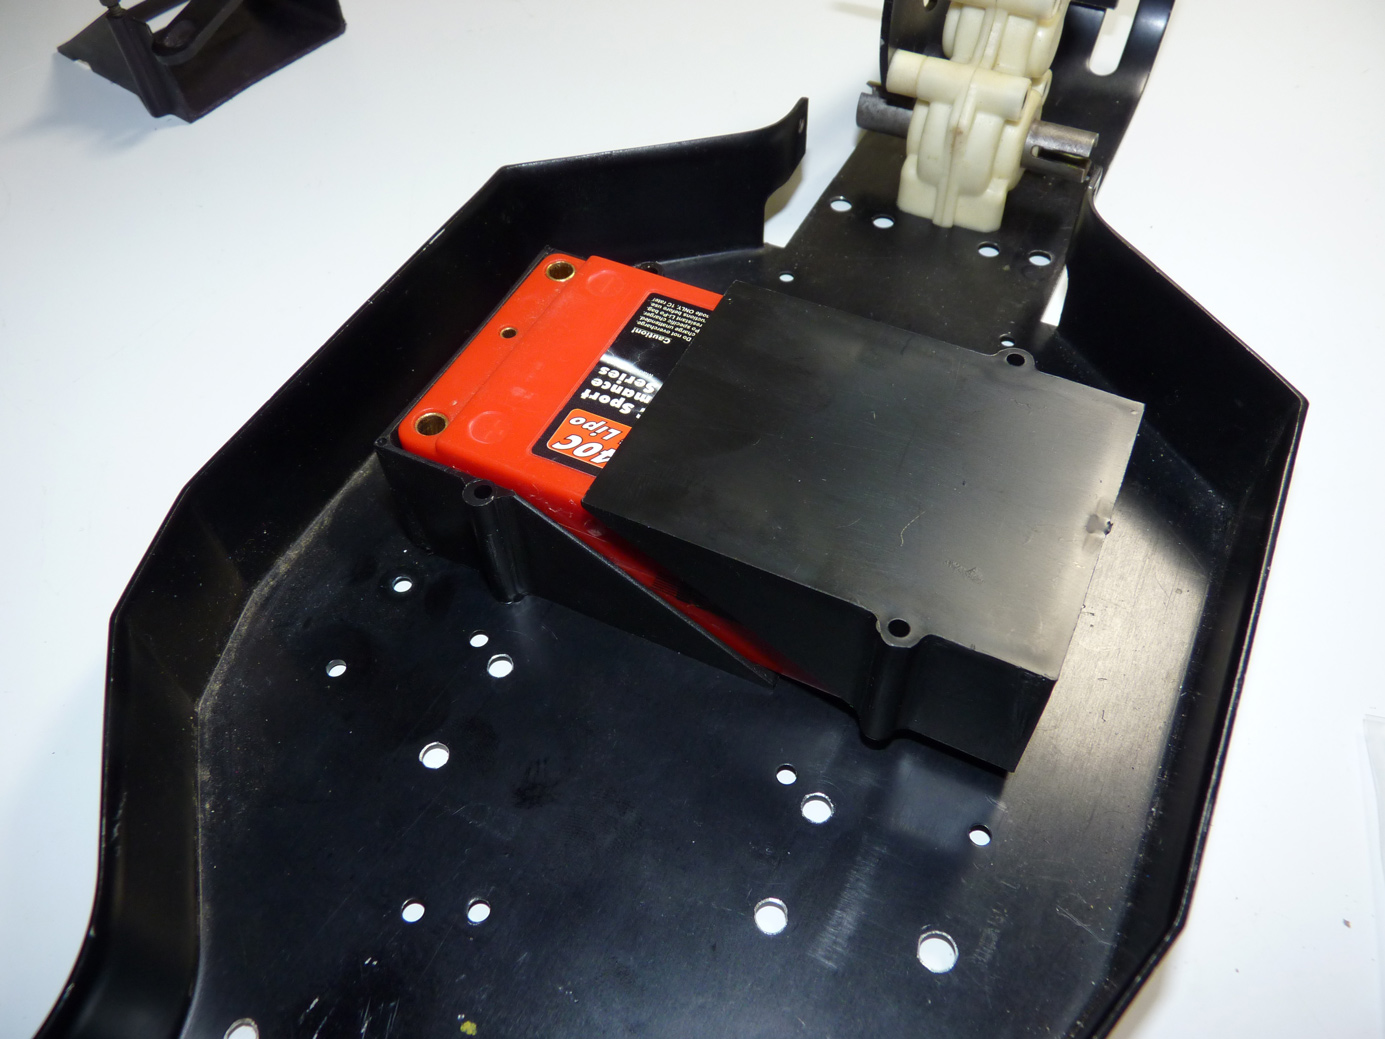
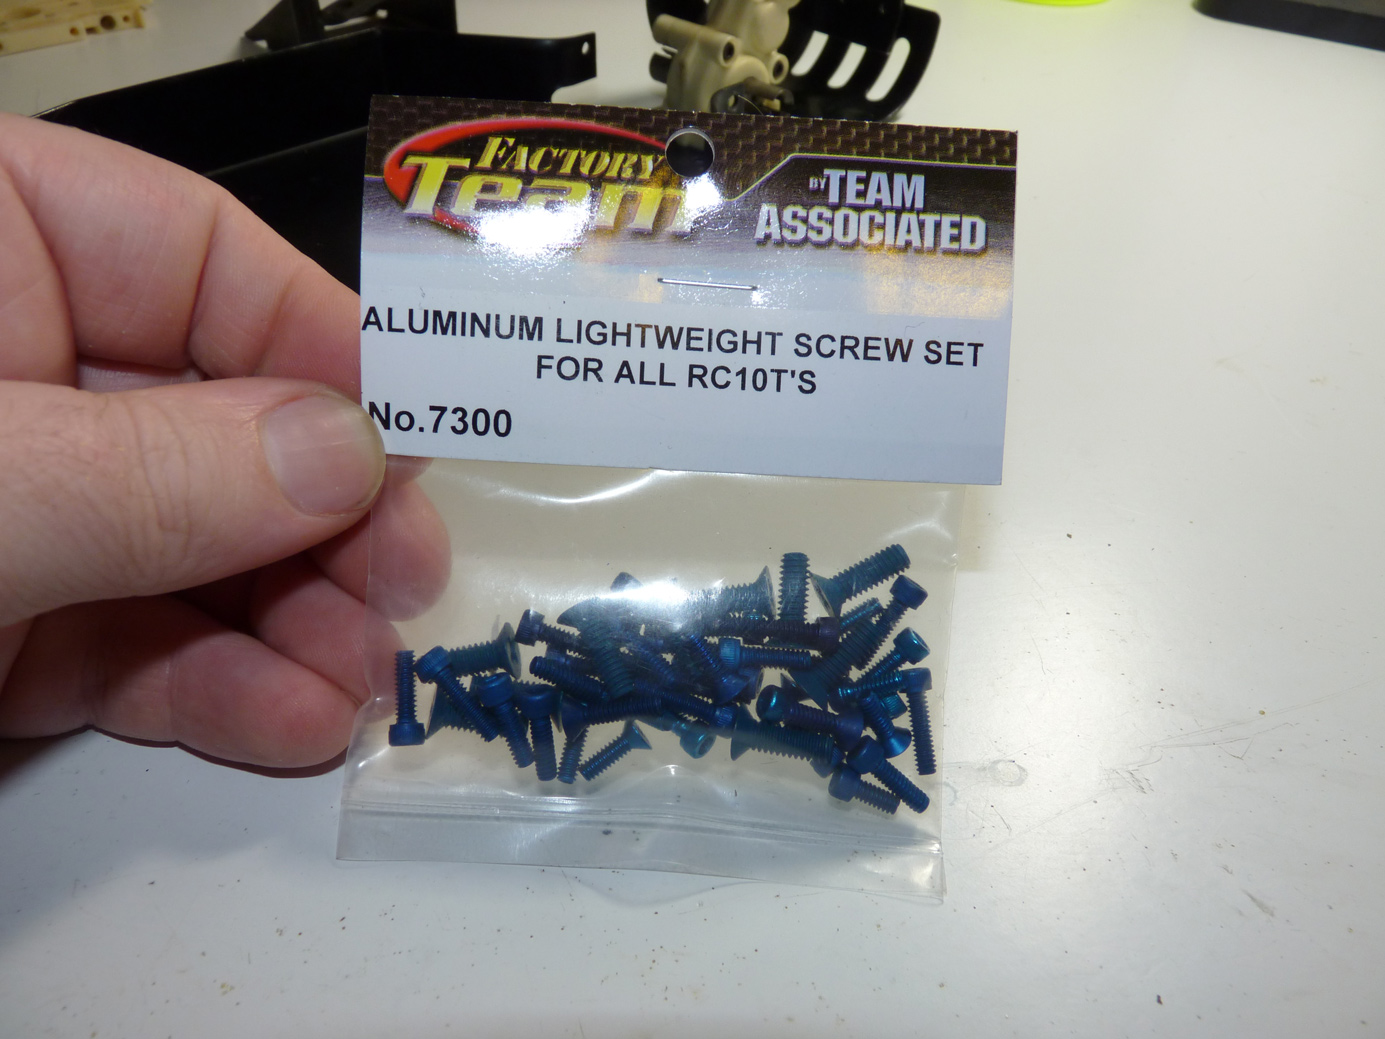
So.. moving on.. You can’t start a build without screws. I picked up the most complete set I could find. I got the set for the 10T because it was cheaper and came with more screws than the RC10 version did.
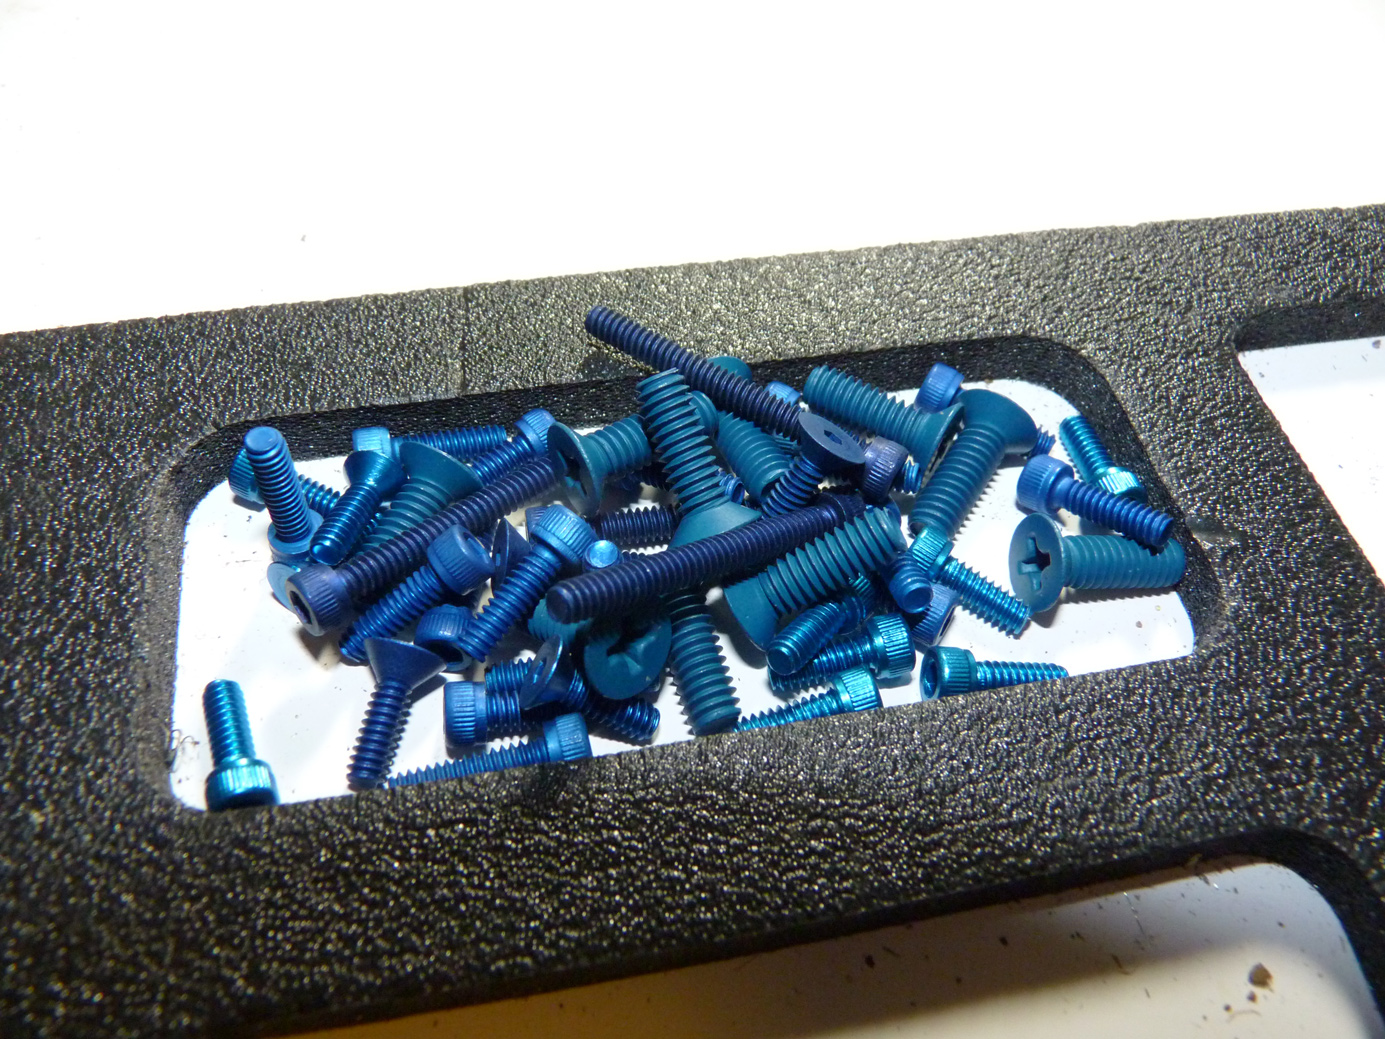
Pretty… I’m second guessing the use of aluminum screws on an offroad vehicle, but I guess we will see how they hold up. I used Stainless hardware on the most crucial points.
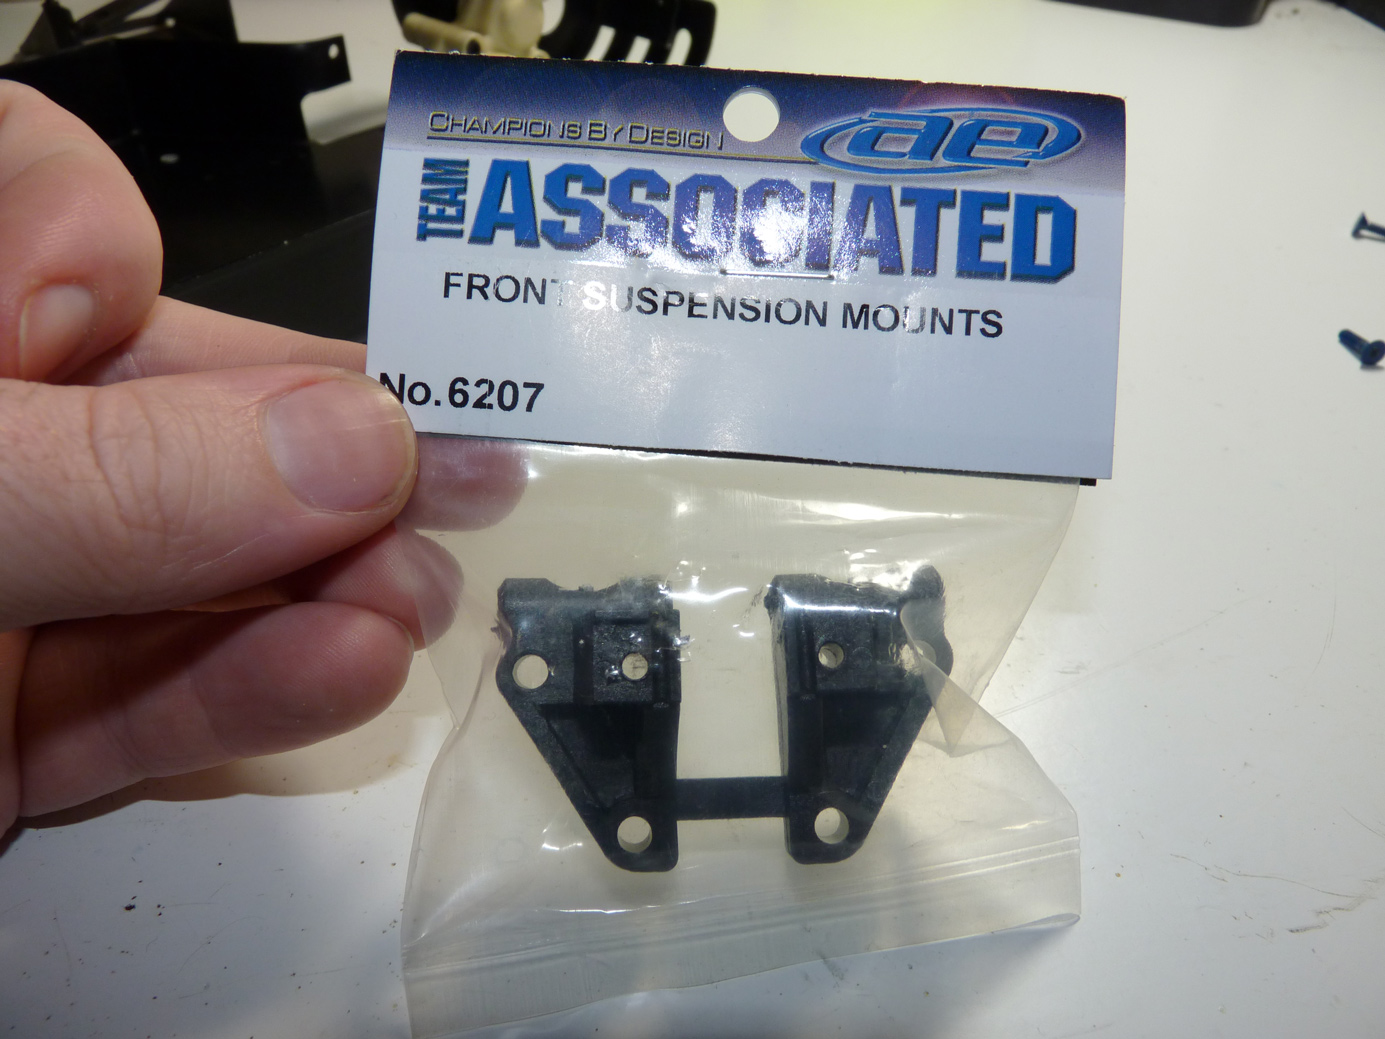
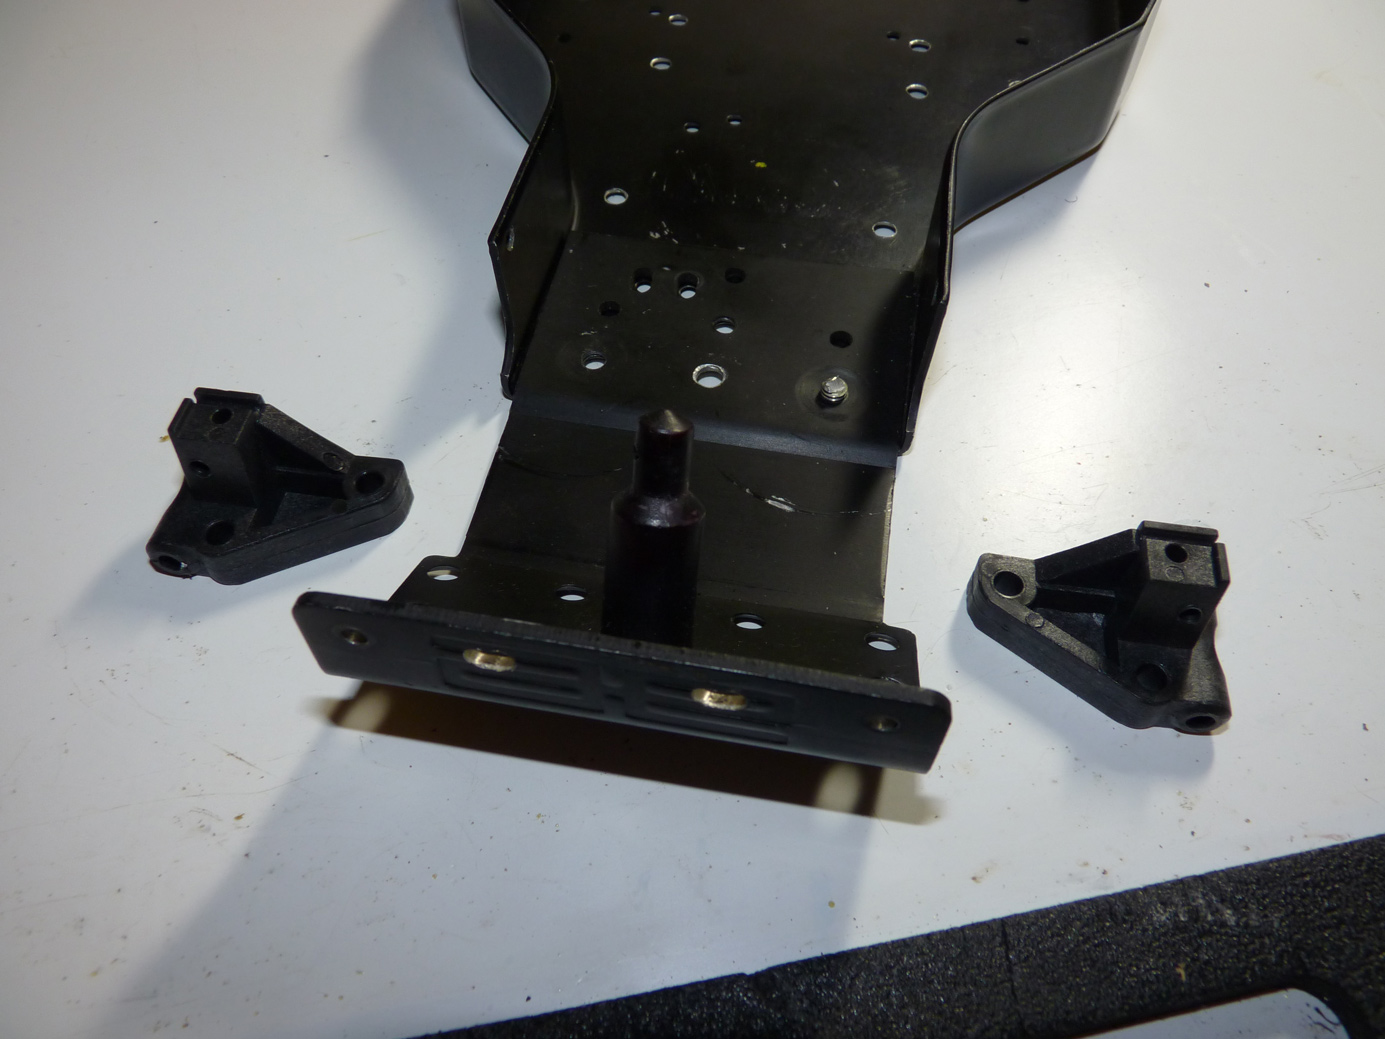
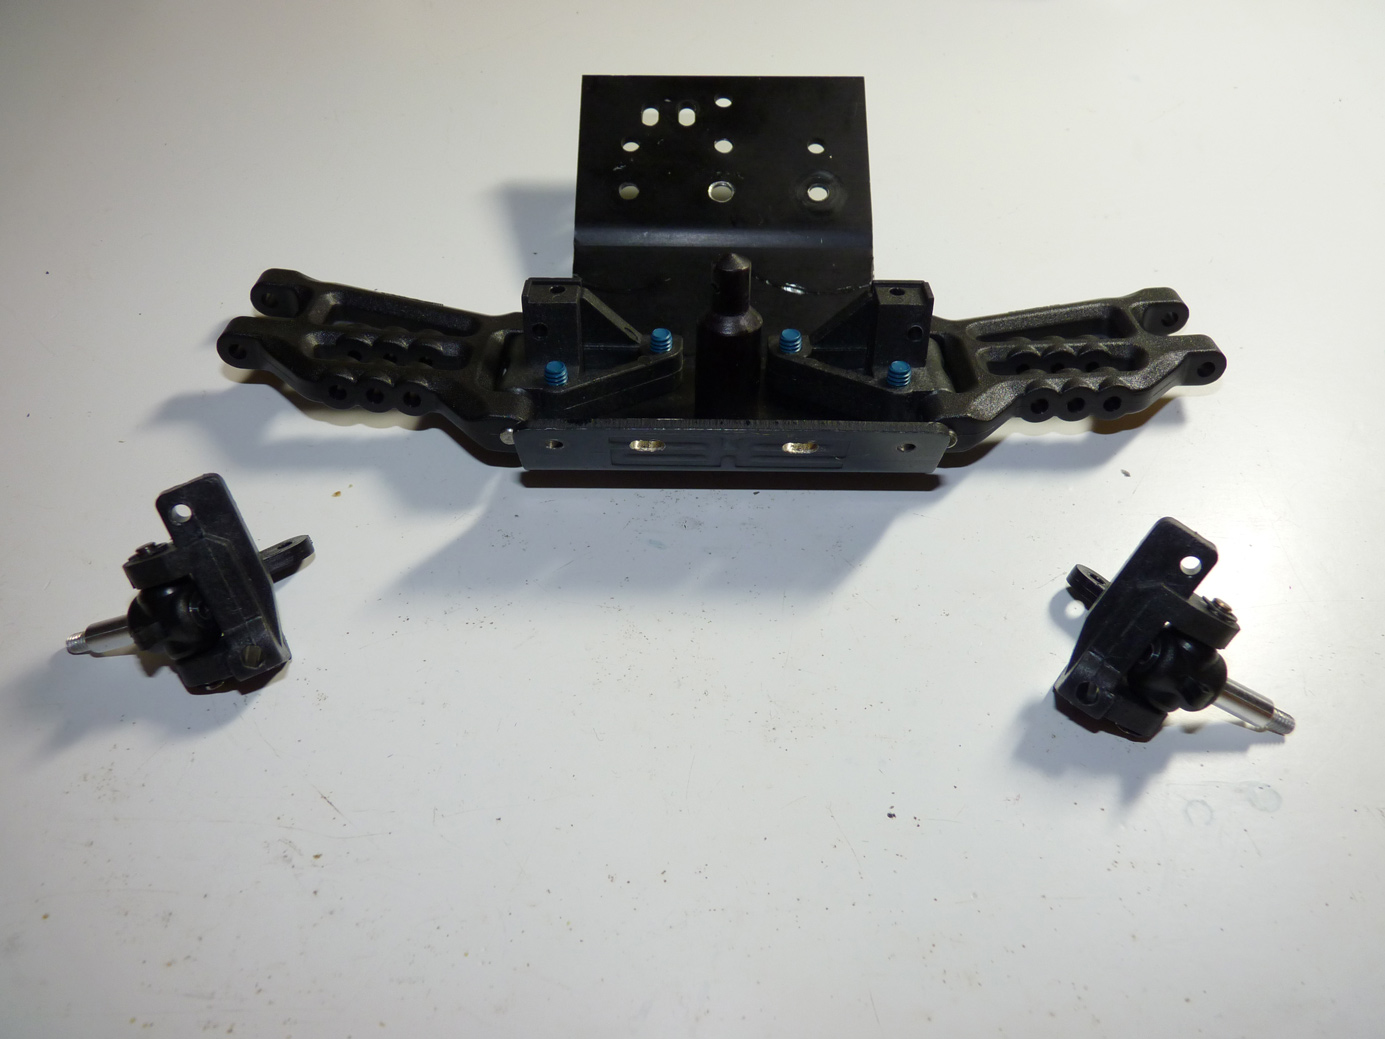
Okay, lets start with the front end. These are the front suspension mounts. The old ones that came with my original deal were broken and worn out, so spending the whopping $2 on these was a no brainer either way.
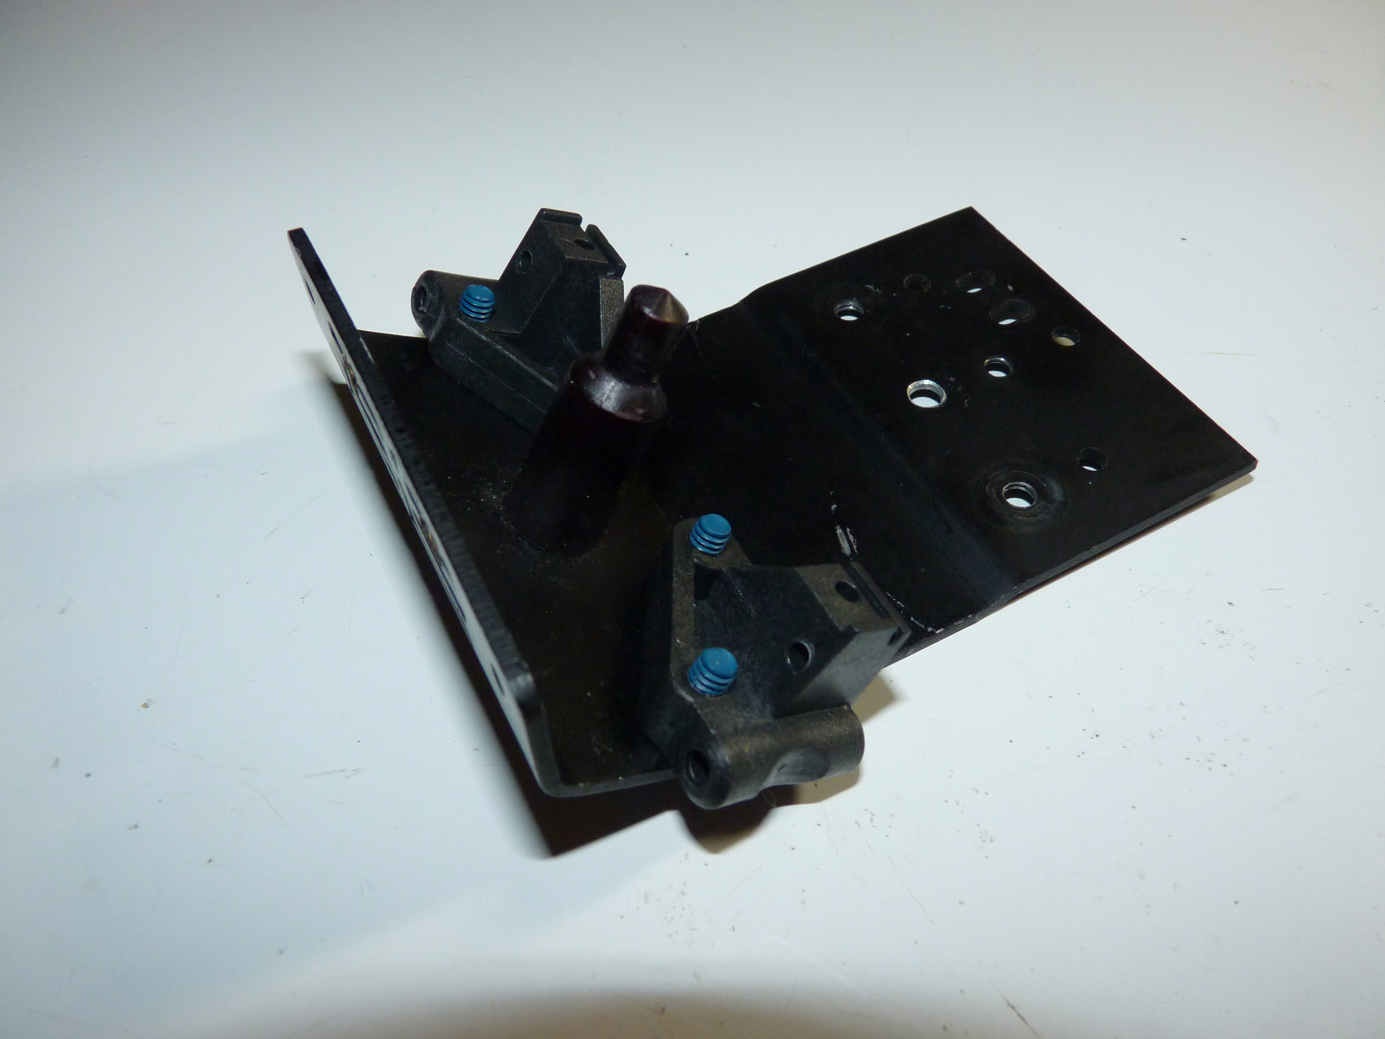
We mount them up to the nose plate.
Next we’ll install the RPM suspension arms. I could have went with original RC10 Widetrack arms, which these are the same length, but prefer the look and durability of the RPM’s.
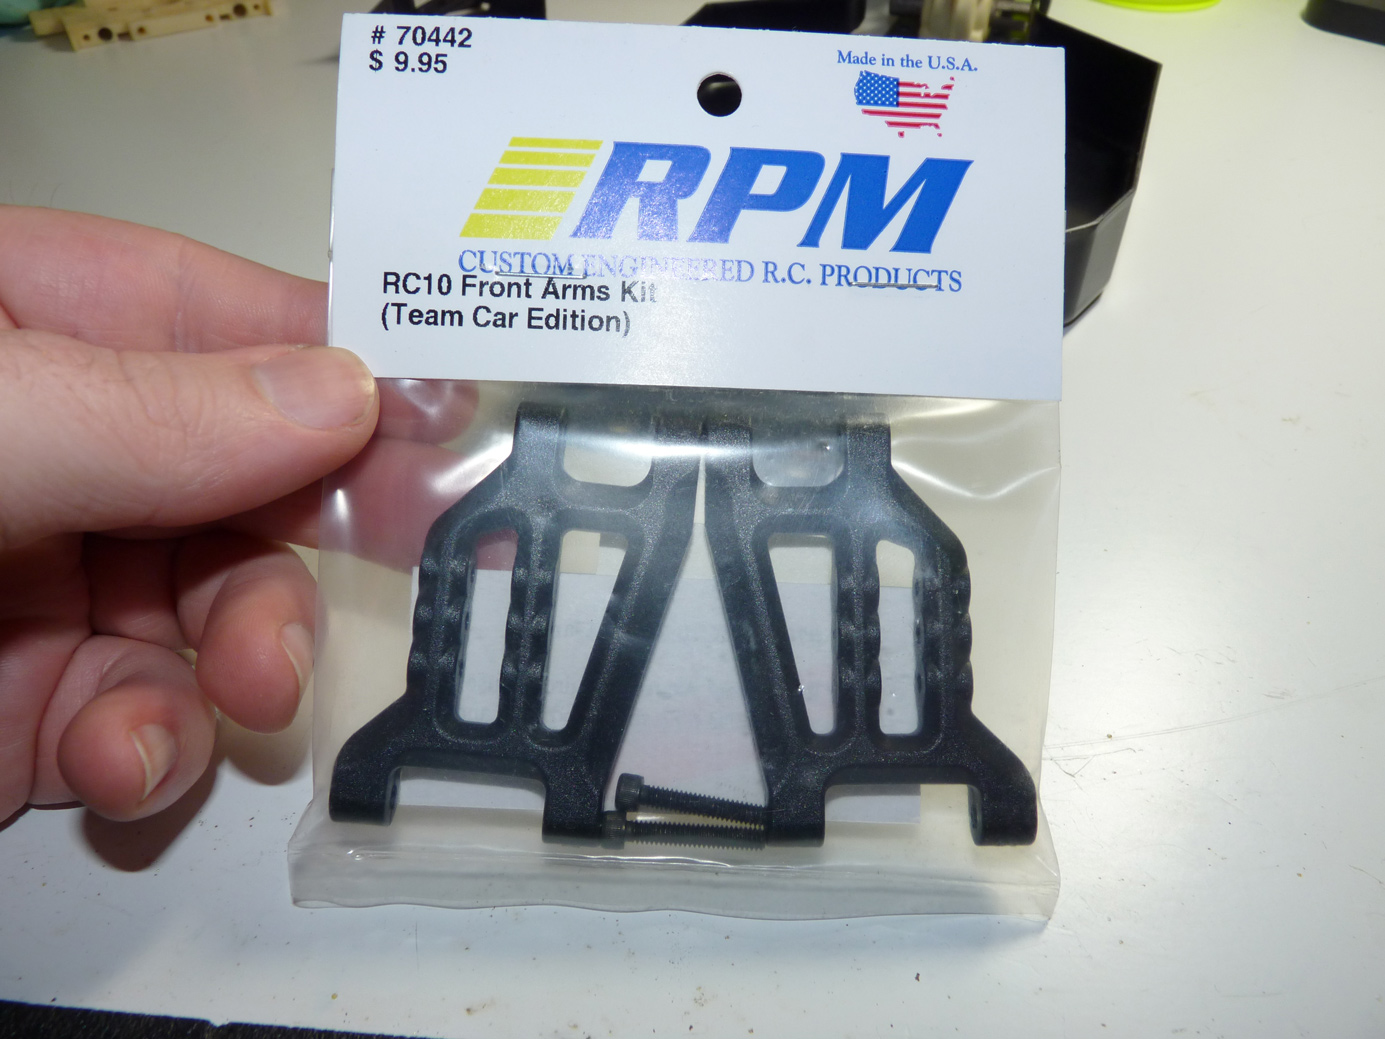

Installation is pretty straight forward.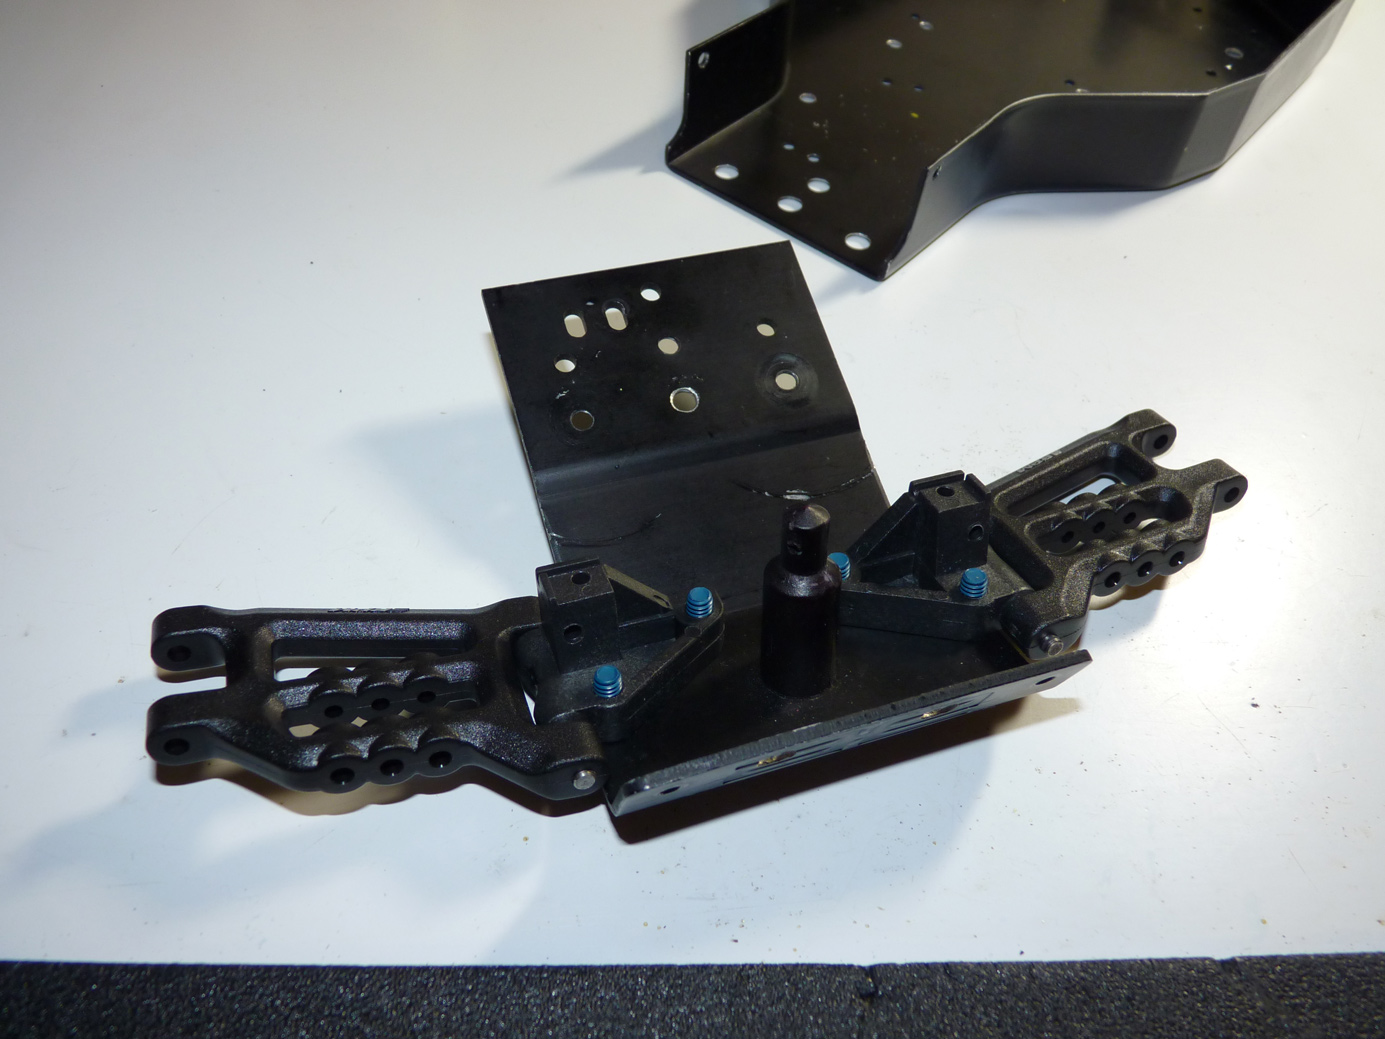
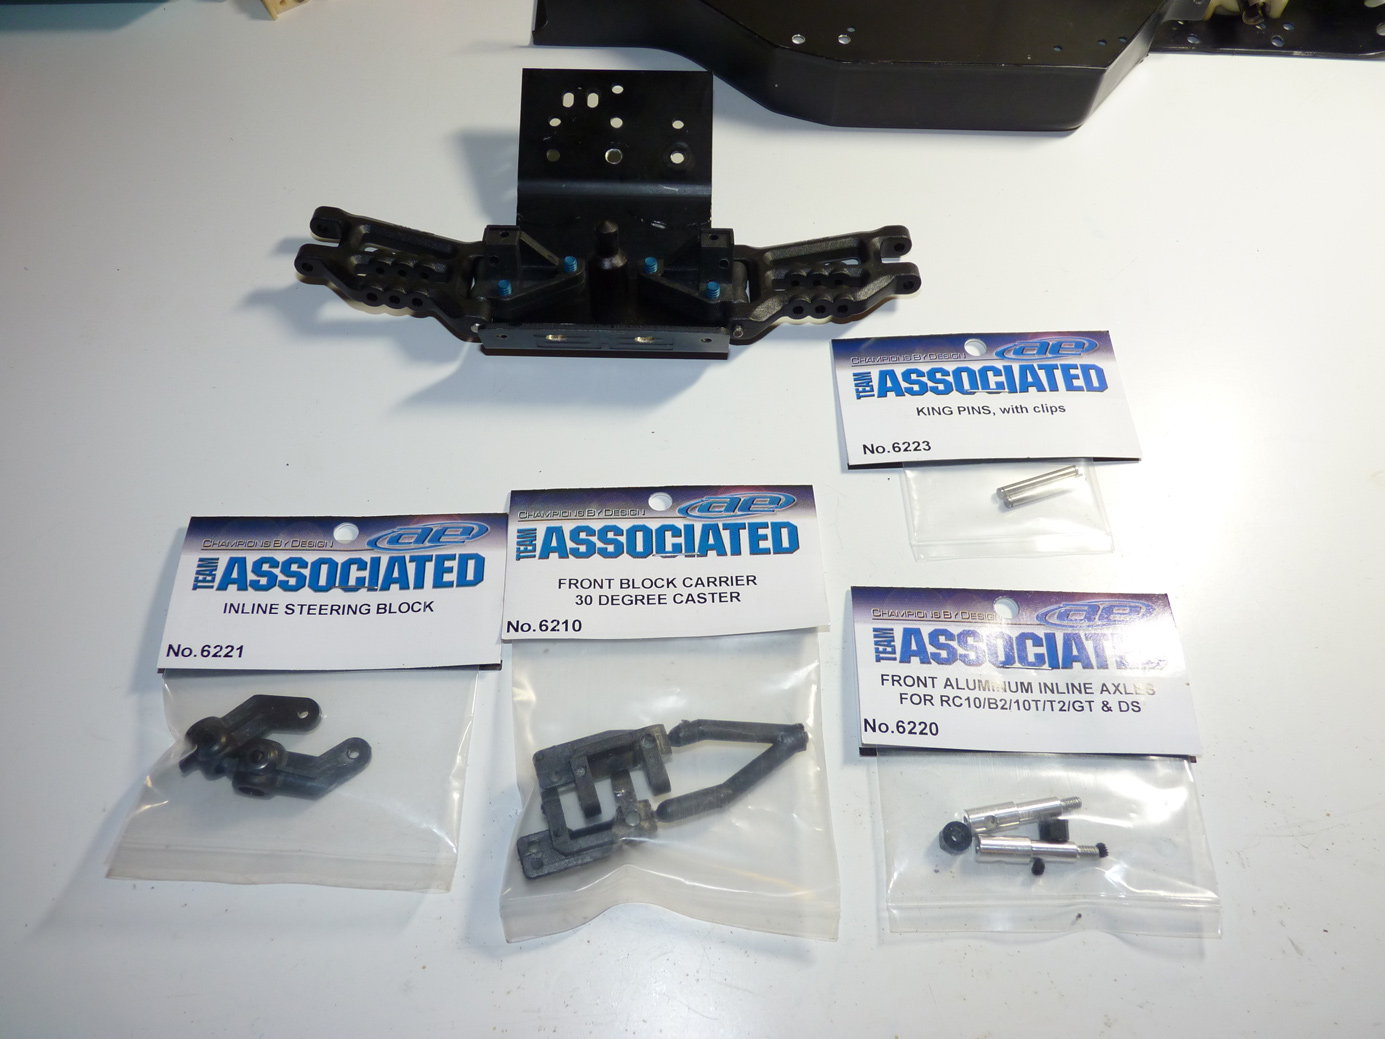
Now for the front steering parts. I originally wasn’t going to get these because I had a decent set off the other car, but I figured since I was going this far with it anyways, I might as well. At least I know they won’t be worn out. Again, assembly is easy..
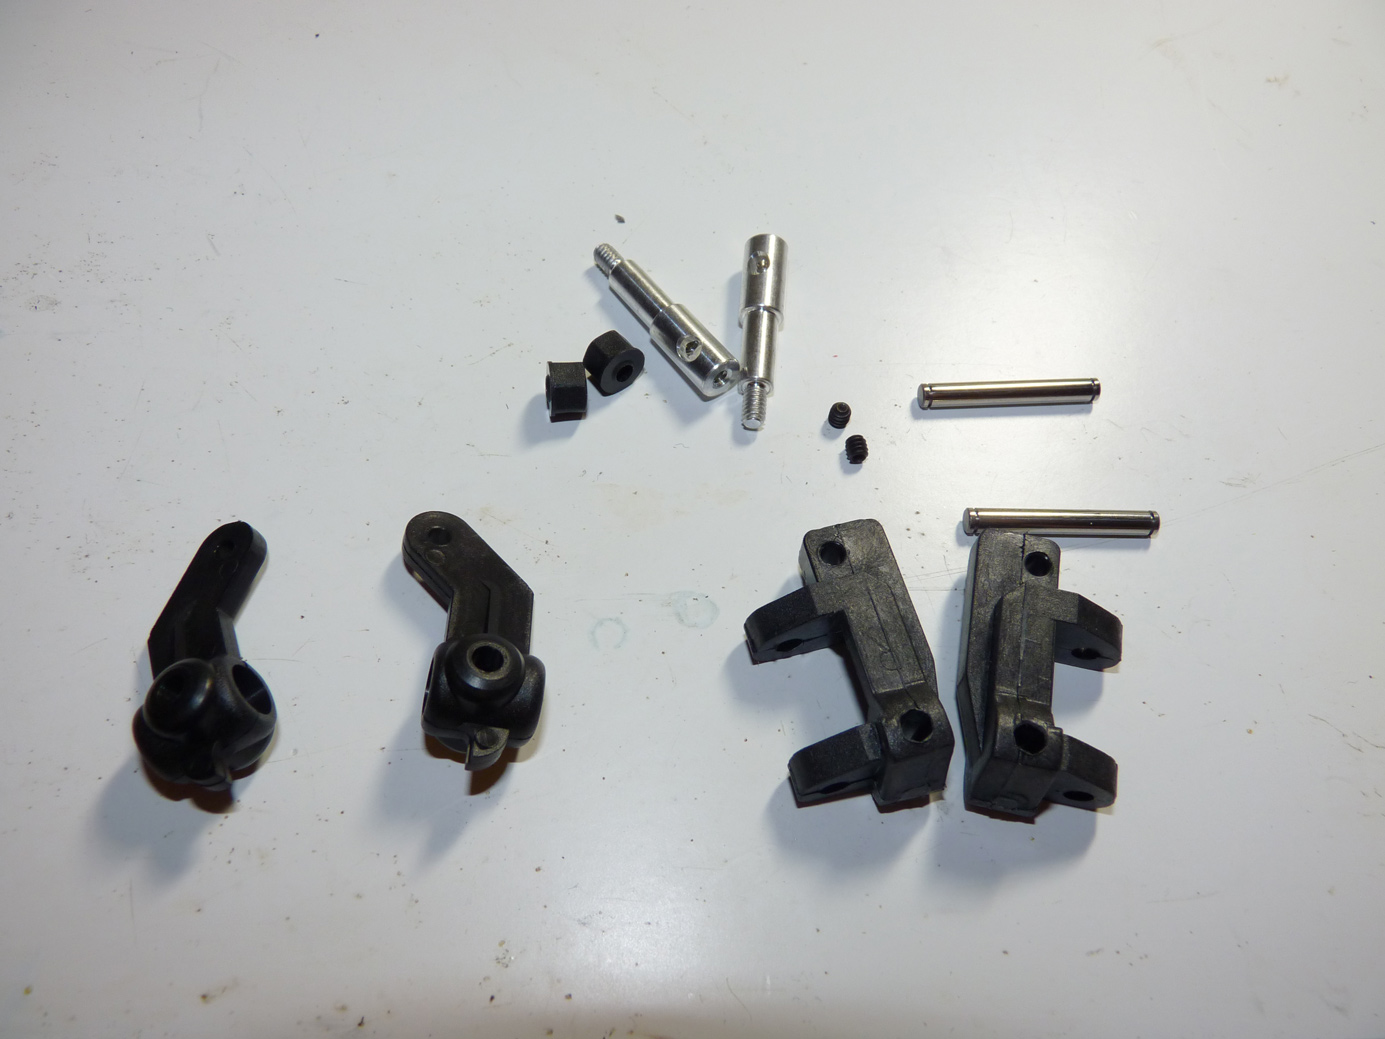
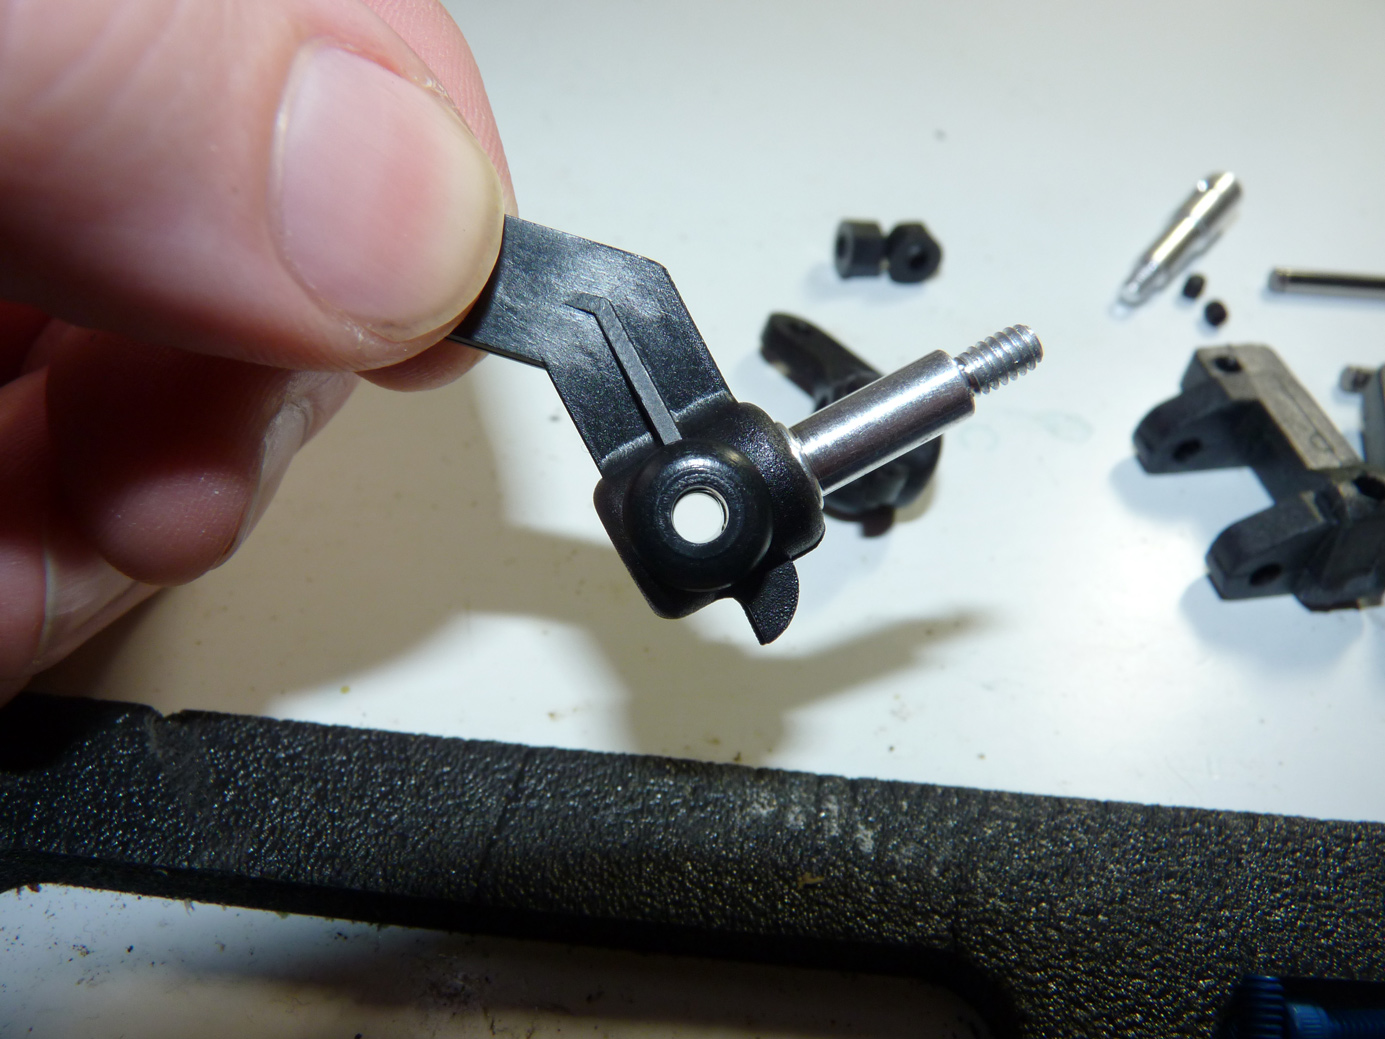
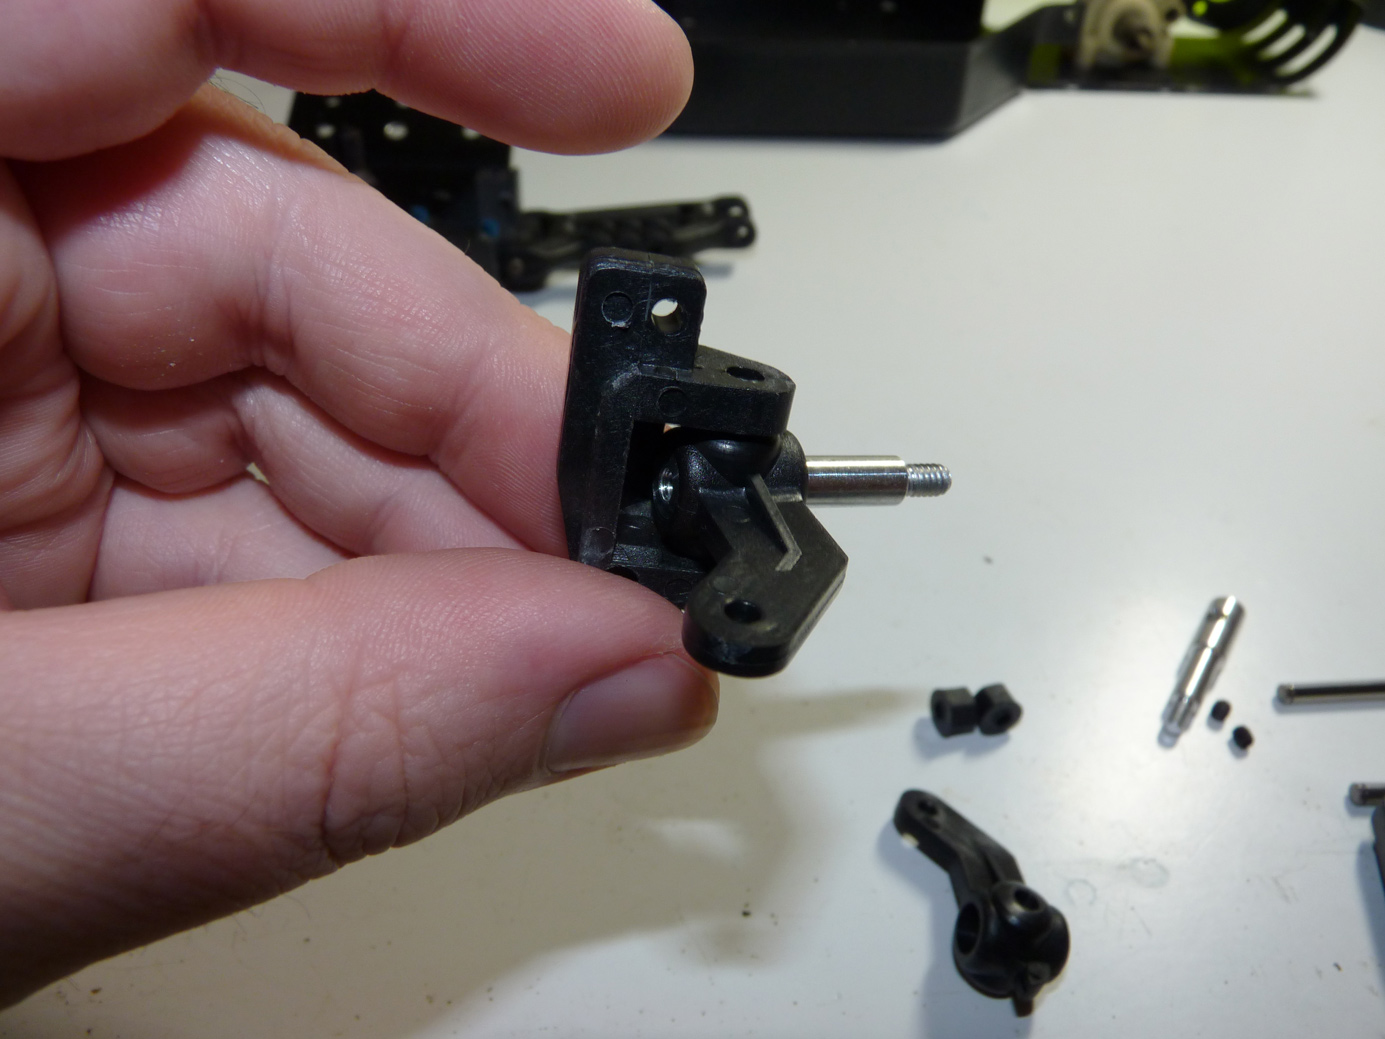
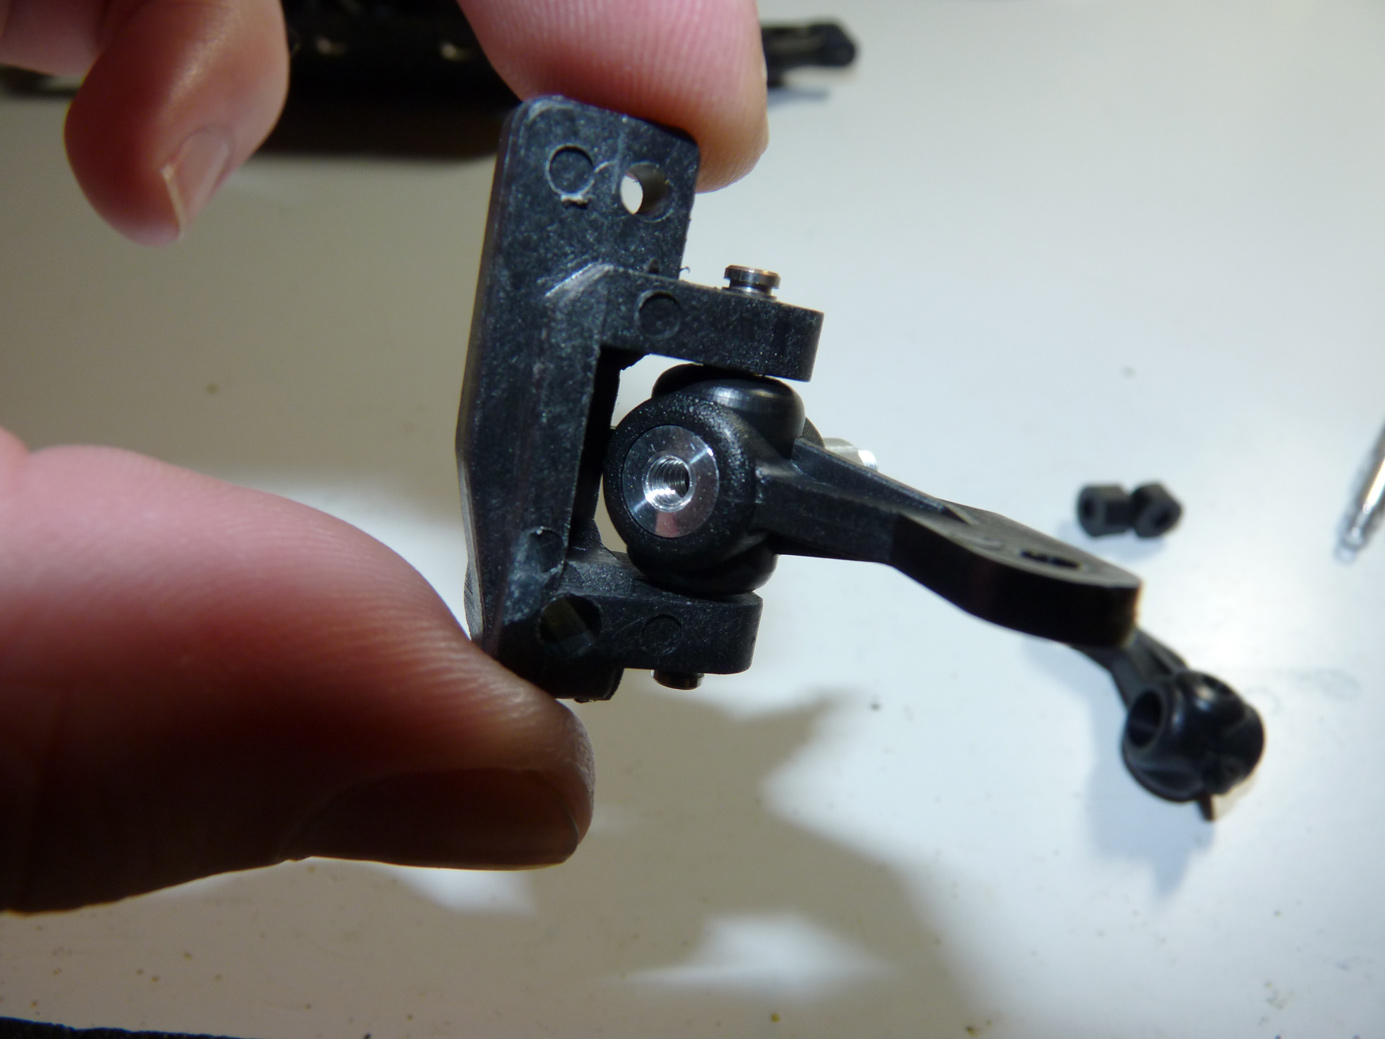
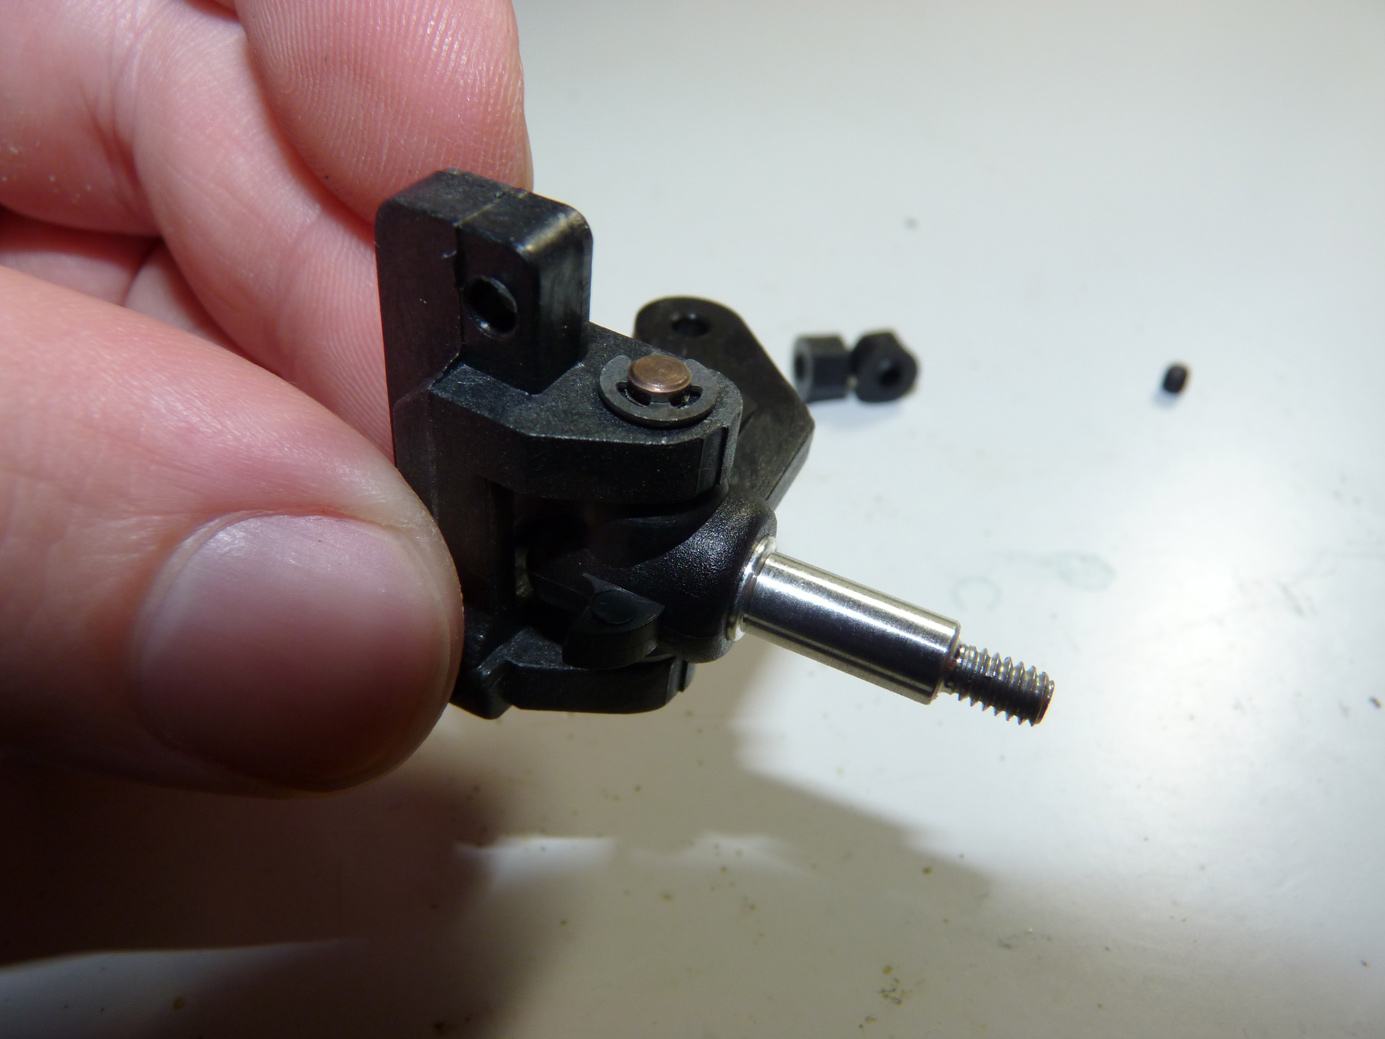
Now that they’re done we mount them up to our arms using our old hinge pins.
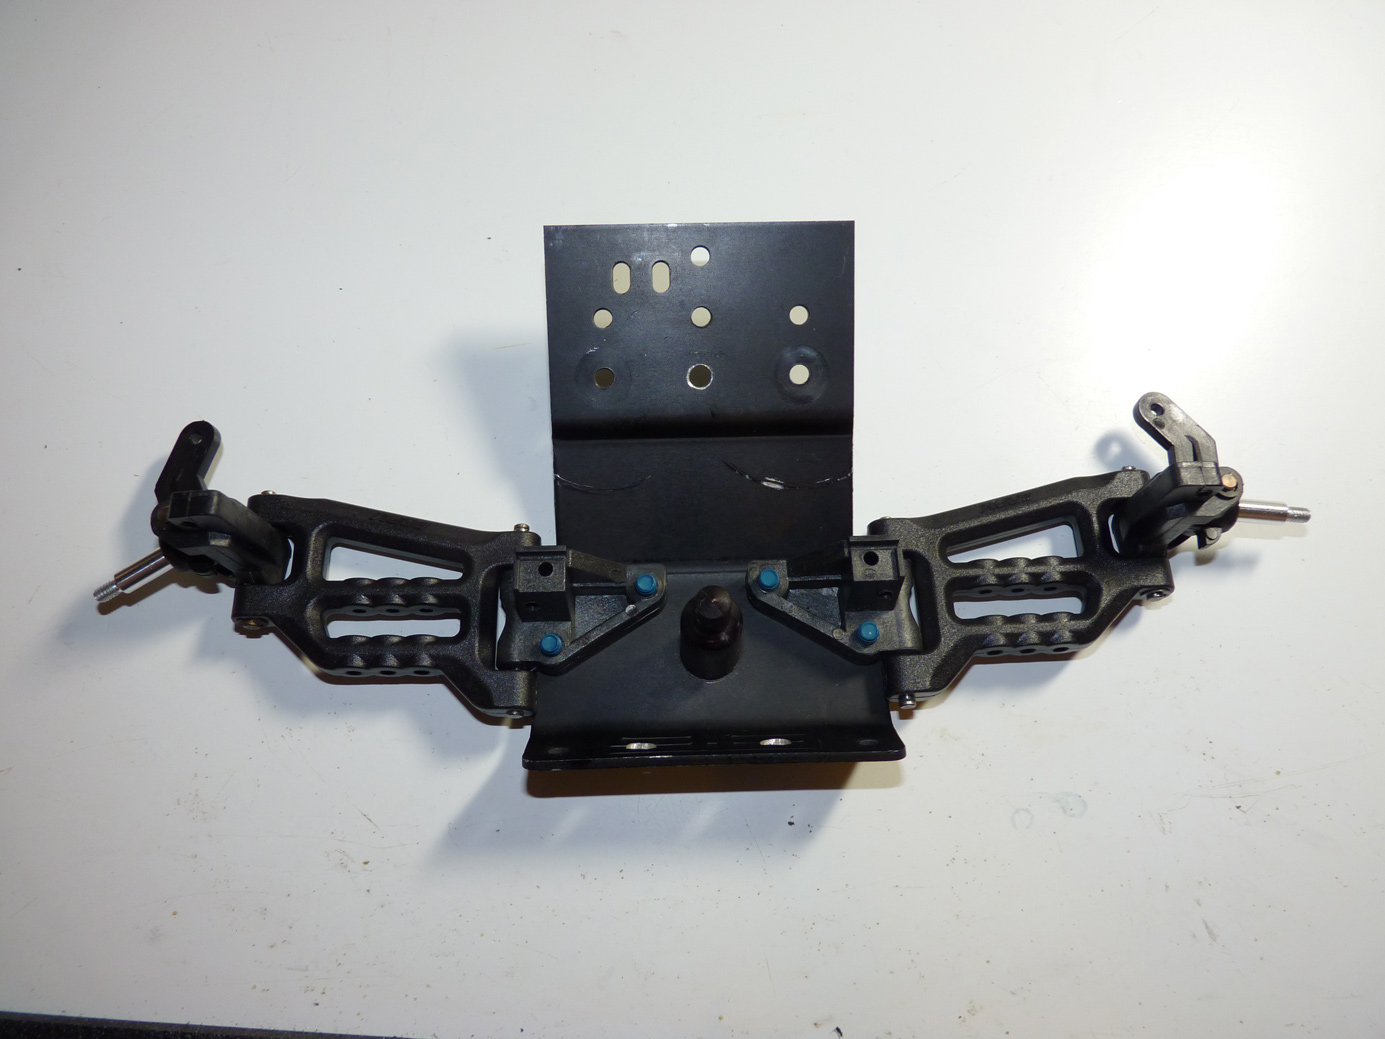
Next up is the RC Carbon Works front tower.
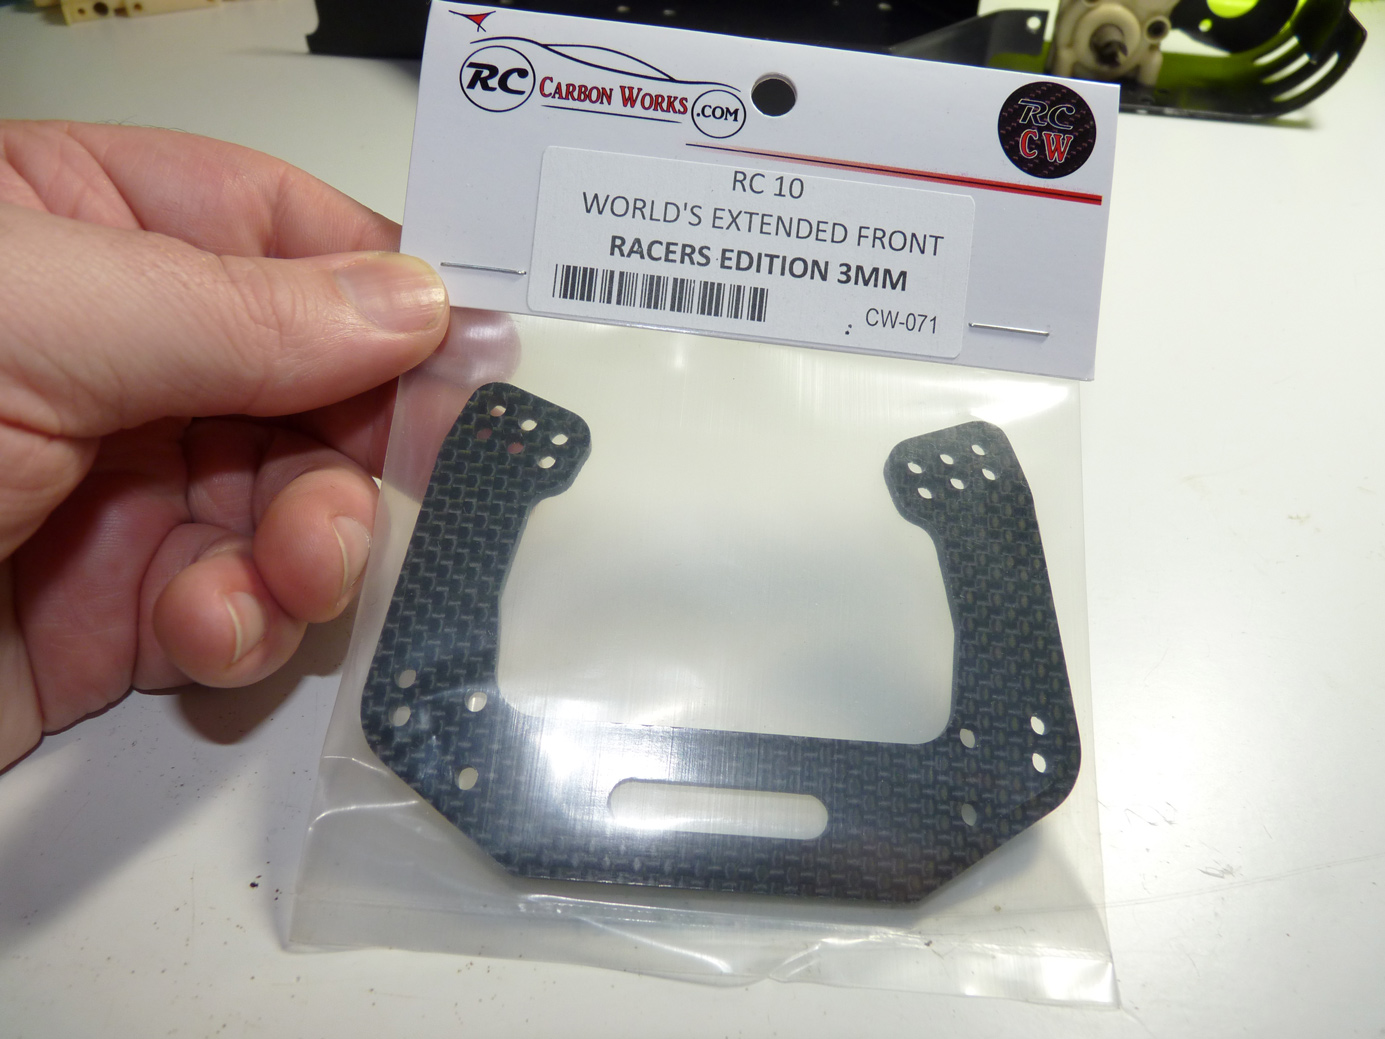
This thing is niiiiice.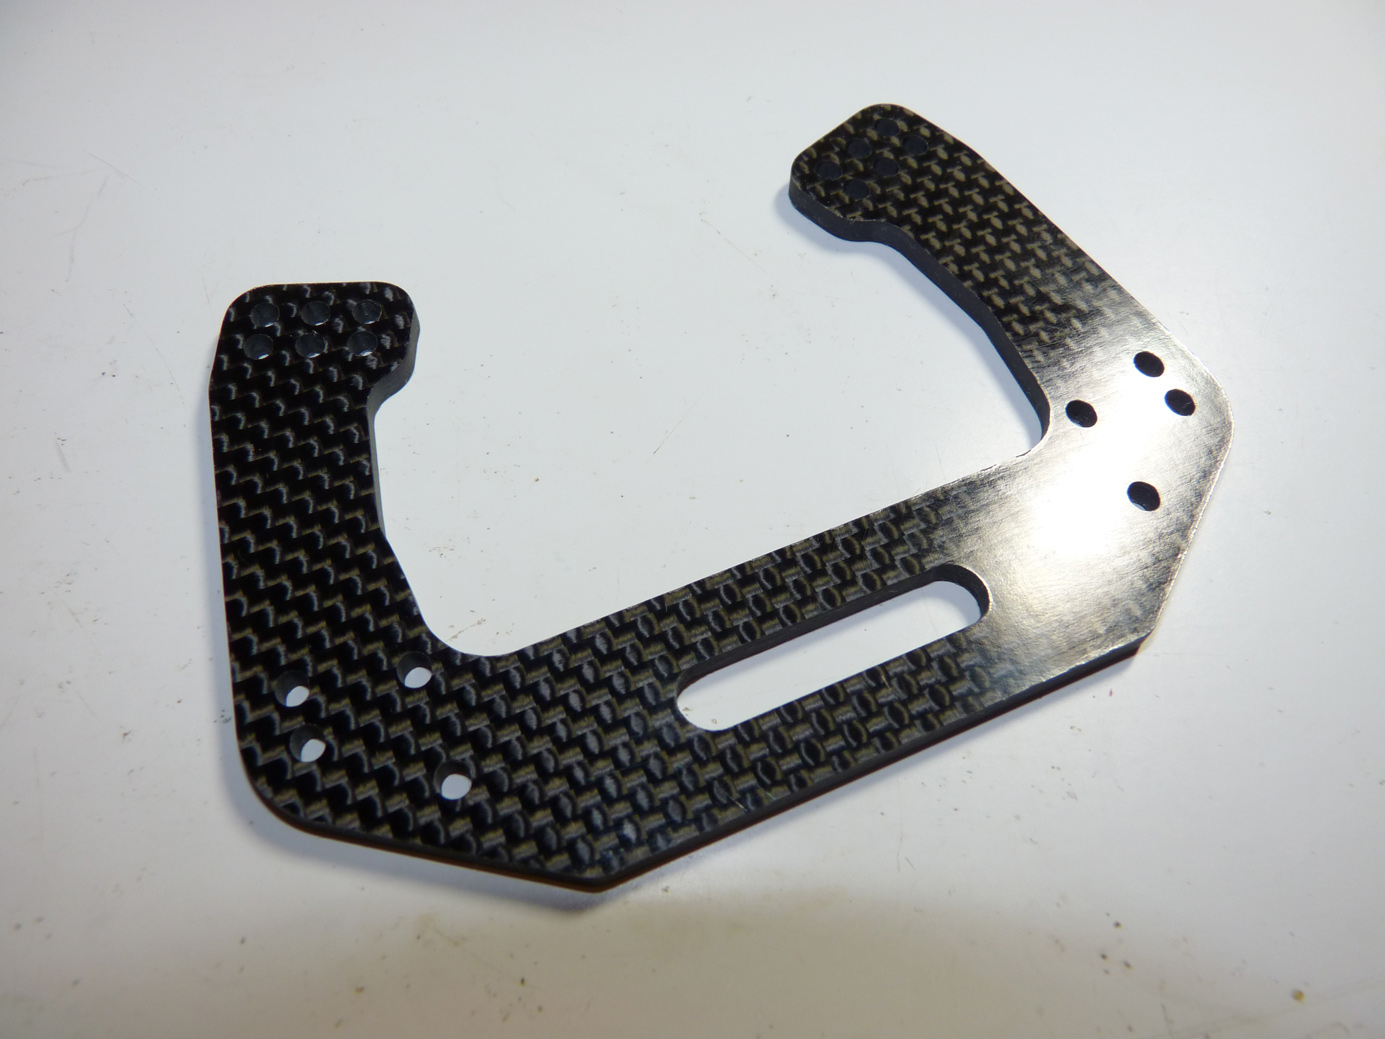
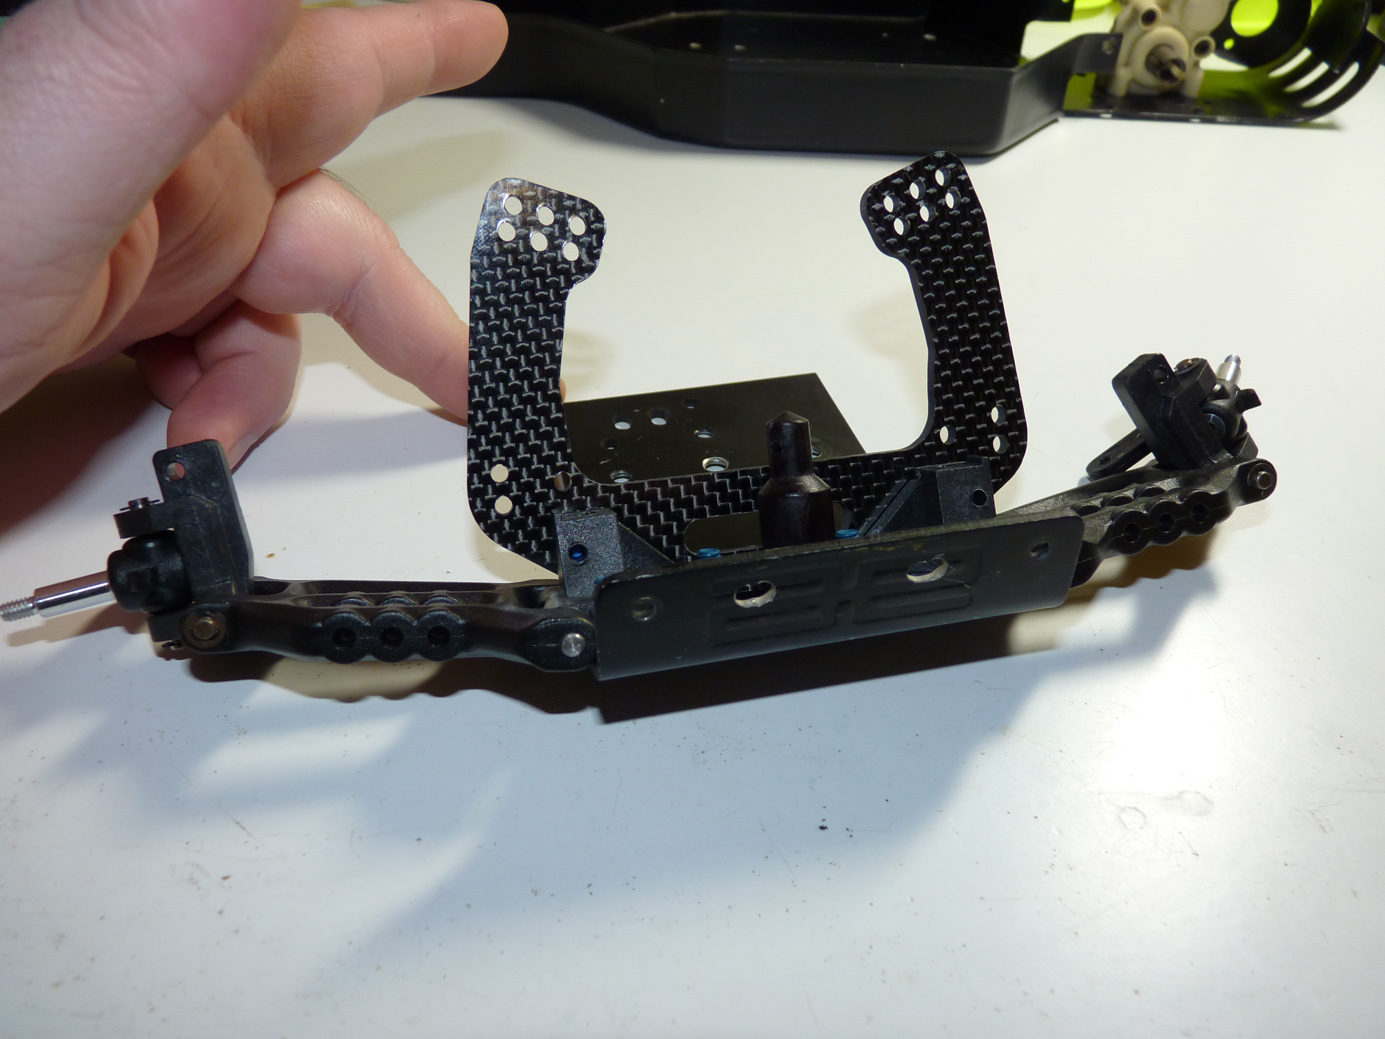
It only takes 2 screws to bolt it on.
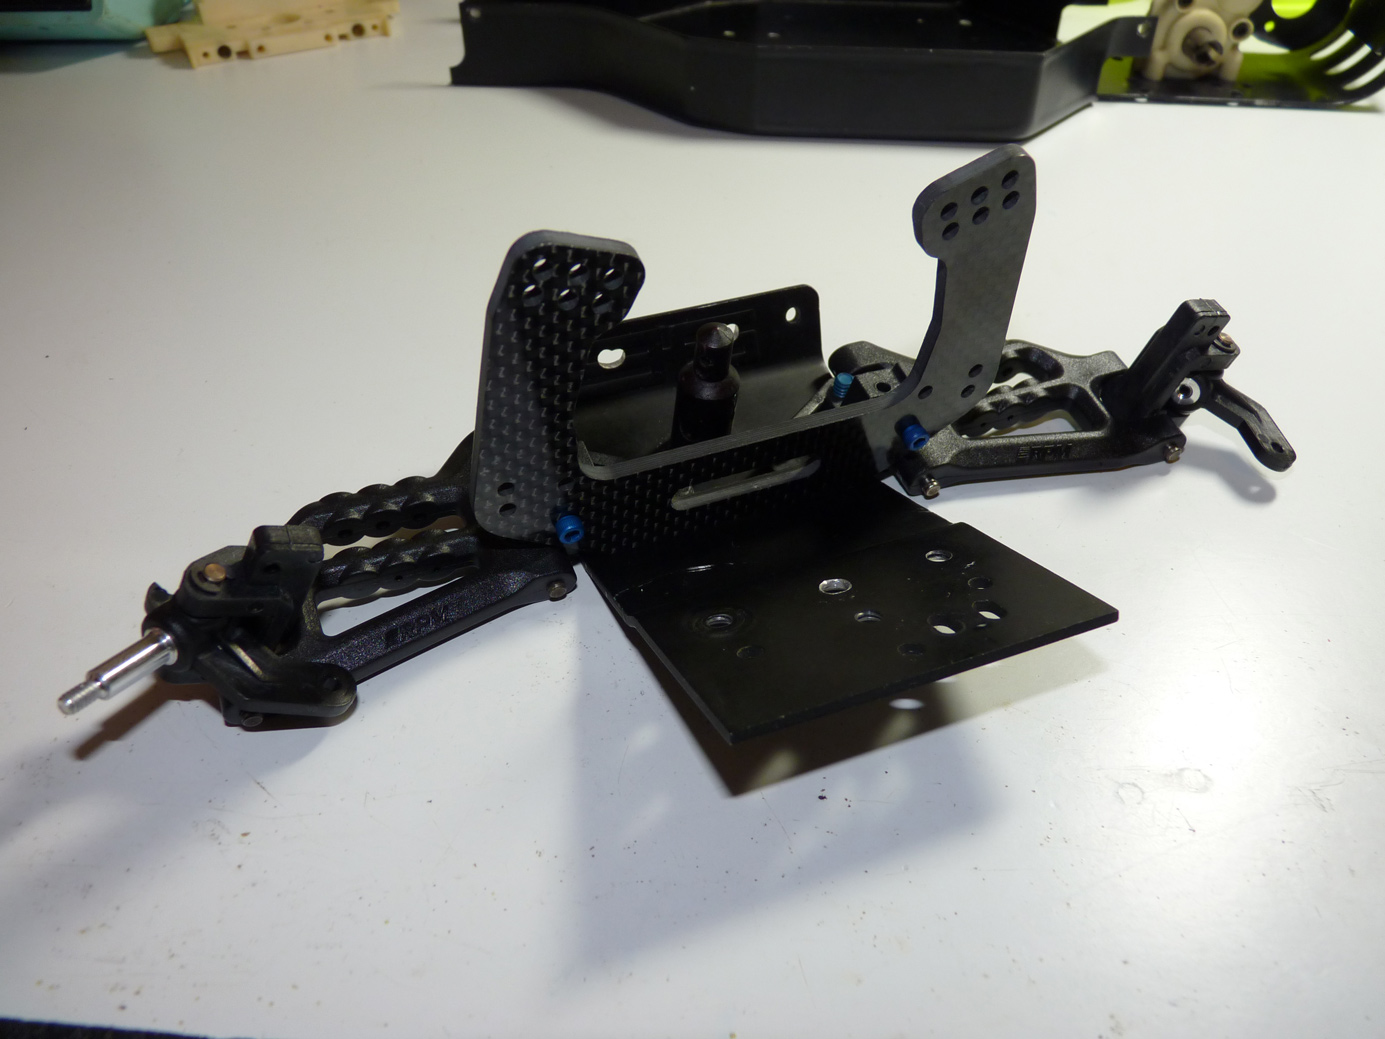
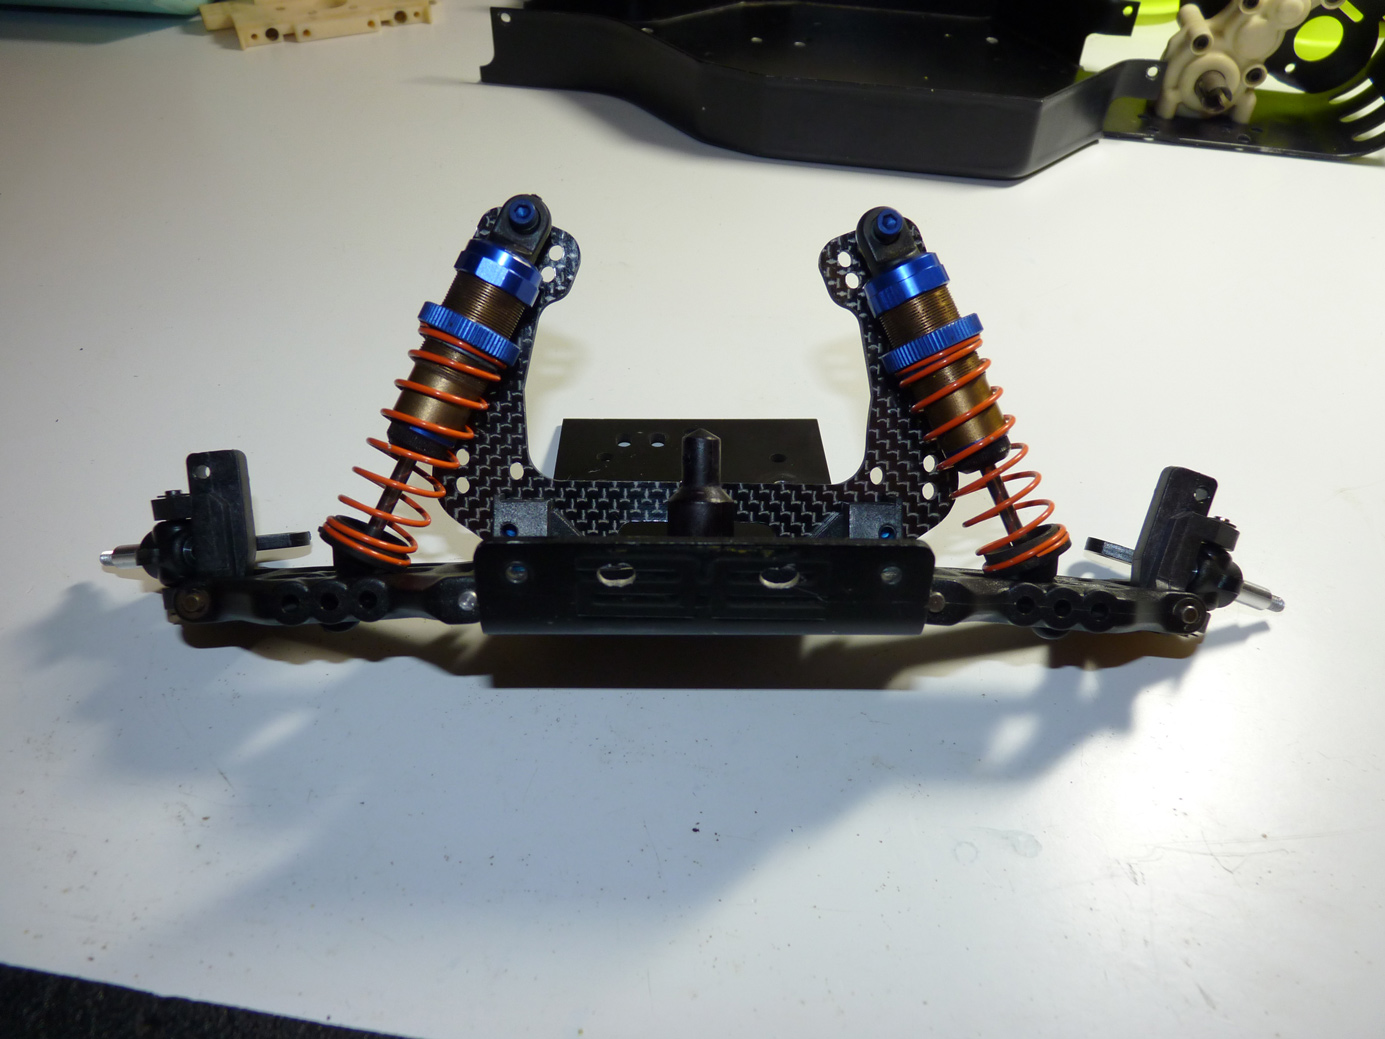
I mocked up the shocks quick just to make sure they fit, and they do.
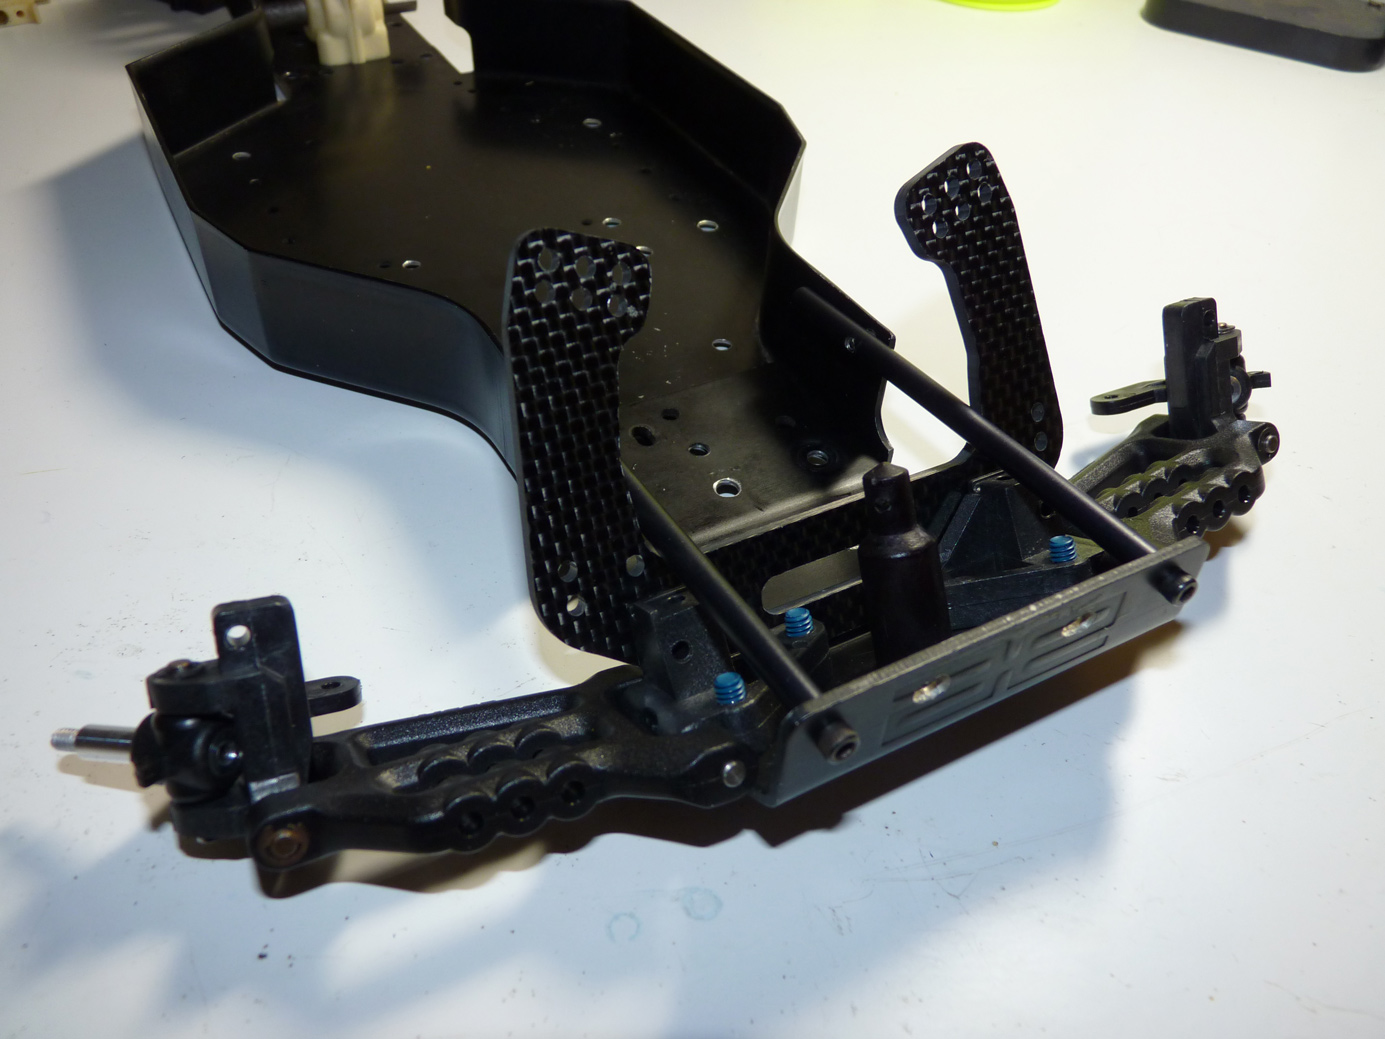
I took them back off to mount the nose tubes and everything else for the front end.
 Posted in
  Tags:
Tags:
Nice build up! Good luck at VNats. Gotta say that its kinda like sacrilege to see K shocks on an old AE!