

 September 1st, 2013
  Kevin
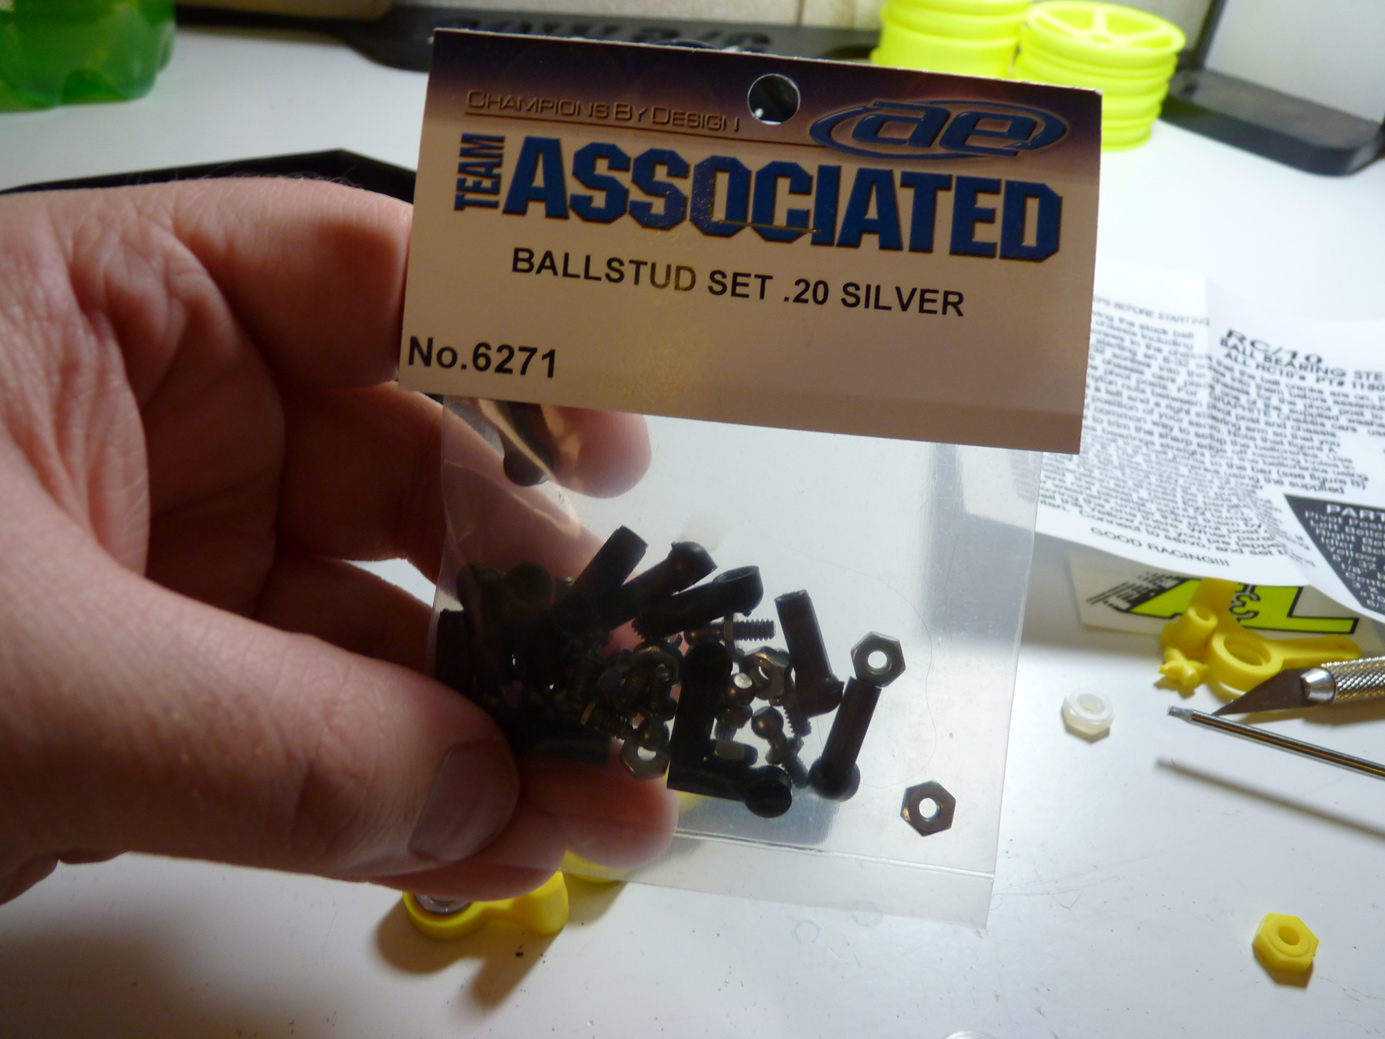
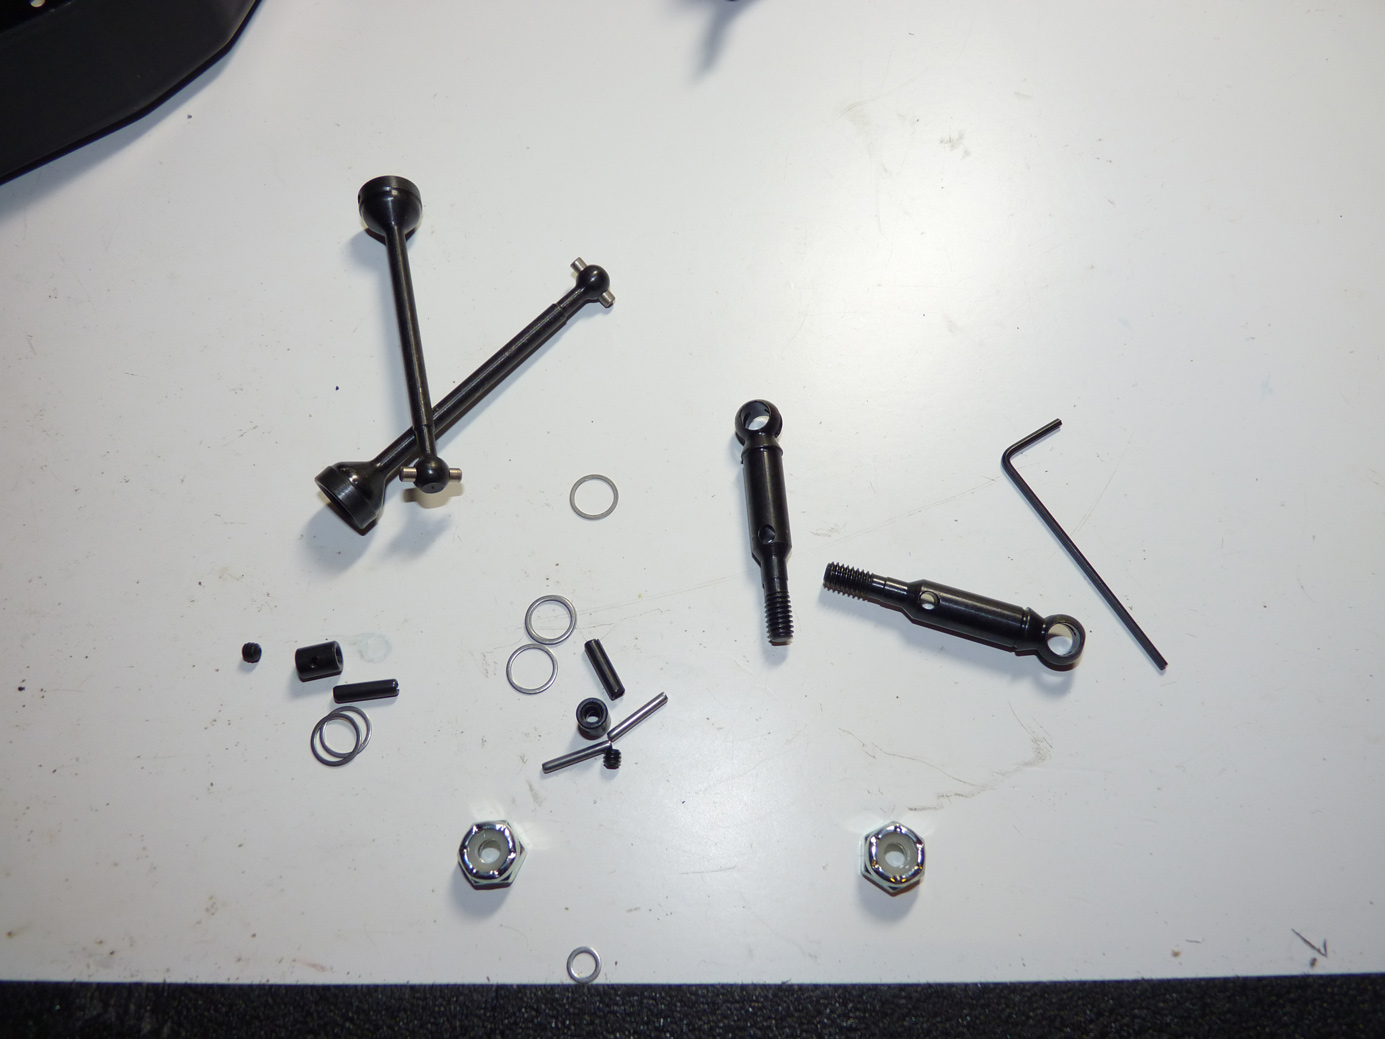
Kevin Now we have the A&L steering. If anyone has ever seen the stock RC10 steering, well… it leaves you wanting something a little better. Countless manufacturers produced a better bellcrank back in the day.. RPM, MIP, you name it.. if you can find a used one, they usually still run you what this brand new A&L kit will, which is about $30.
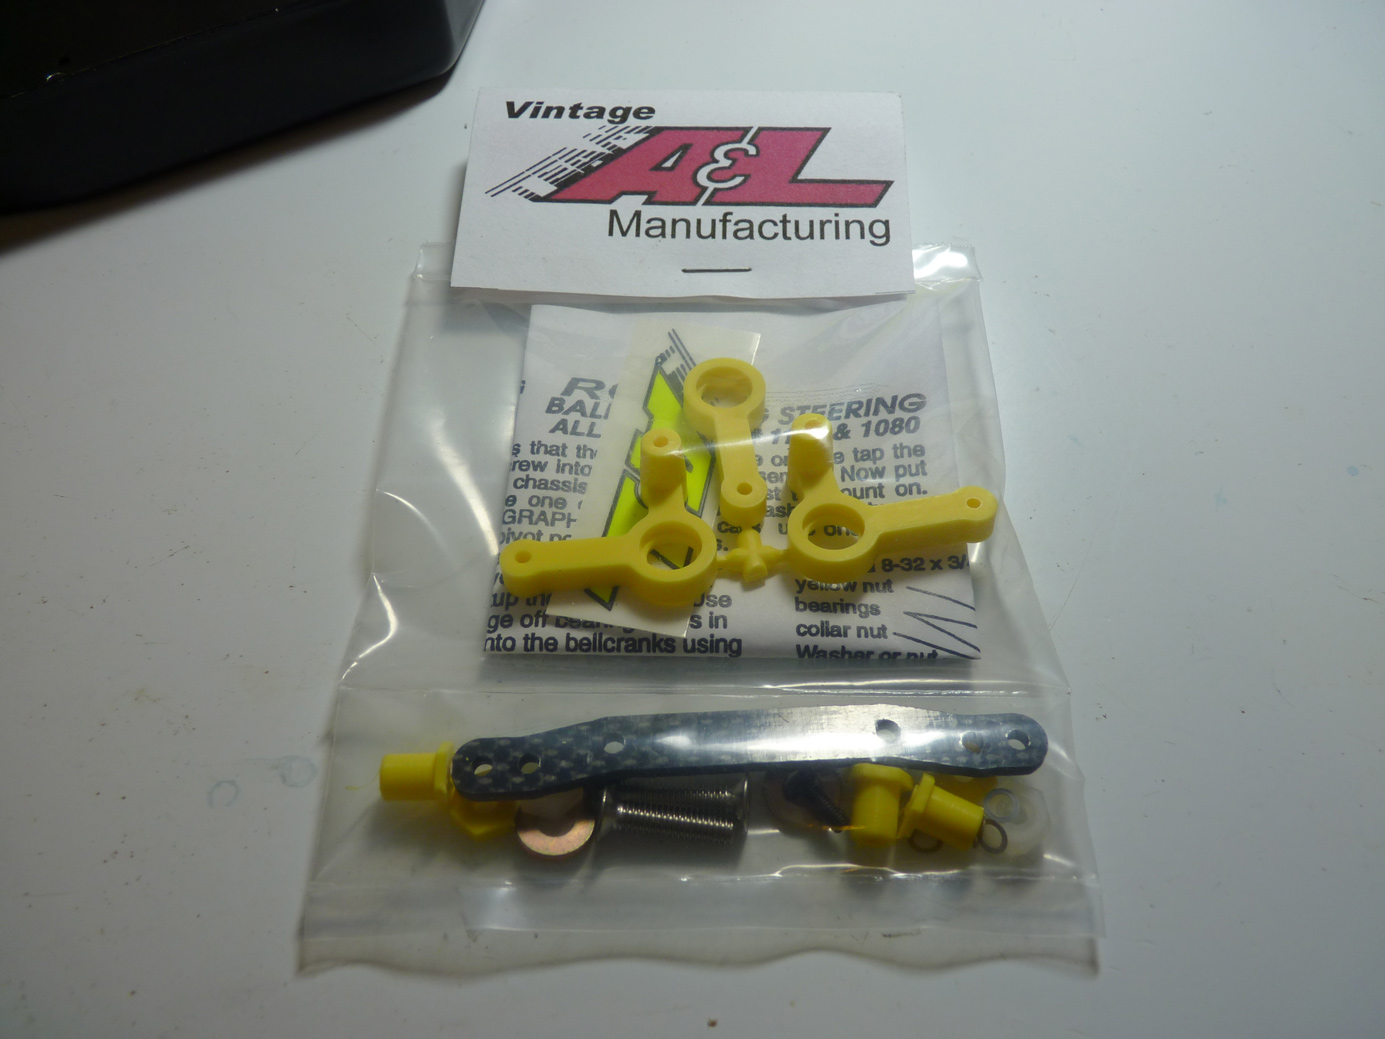
The kit comes with everything you need except bearings (although they do sell a set with those included if you are so inclined). It has a nice instruction sheet that is simple to follow.
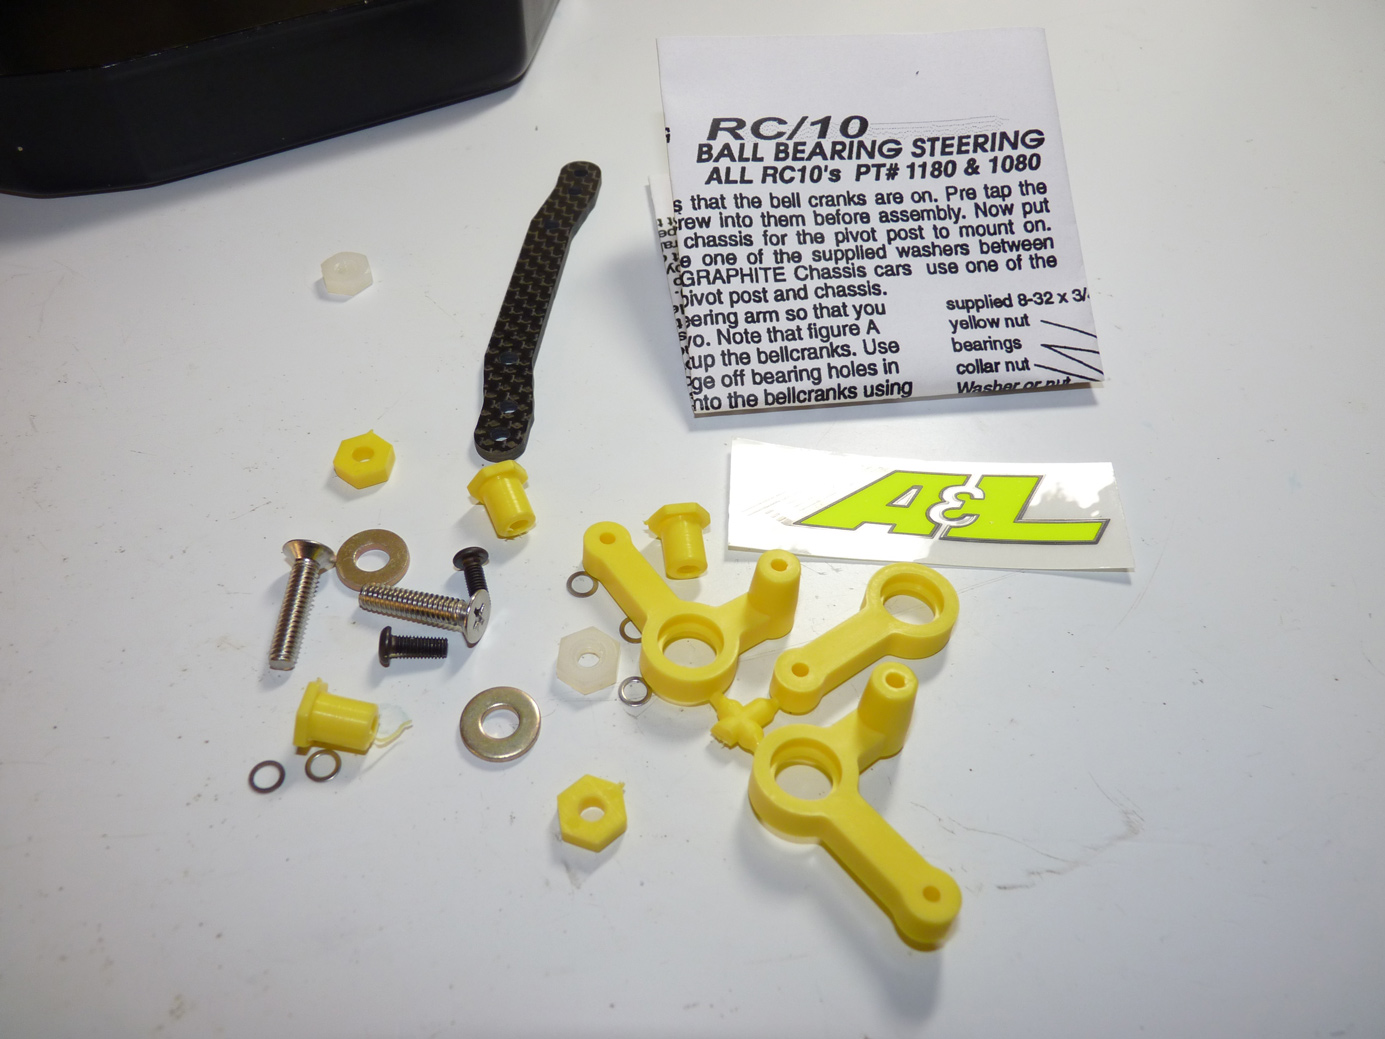
The first step is to take the bottom plastic nuts and pre-thread them with the included screw so as to make assembly easier later.
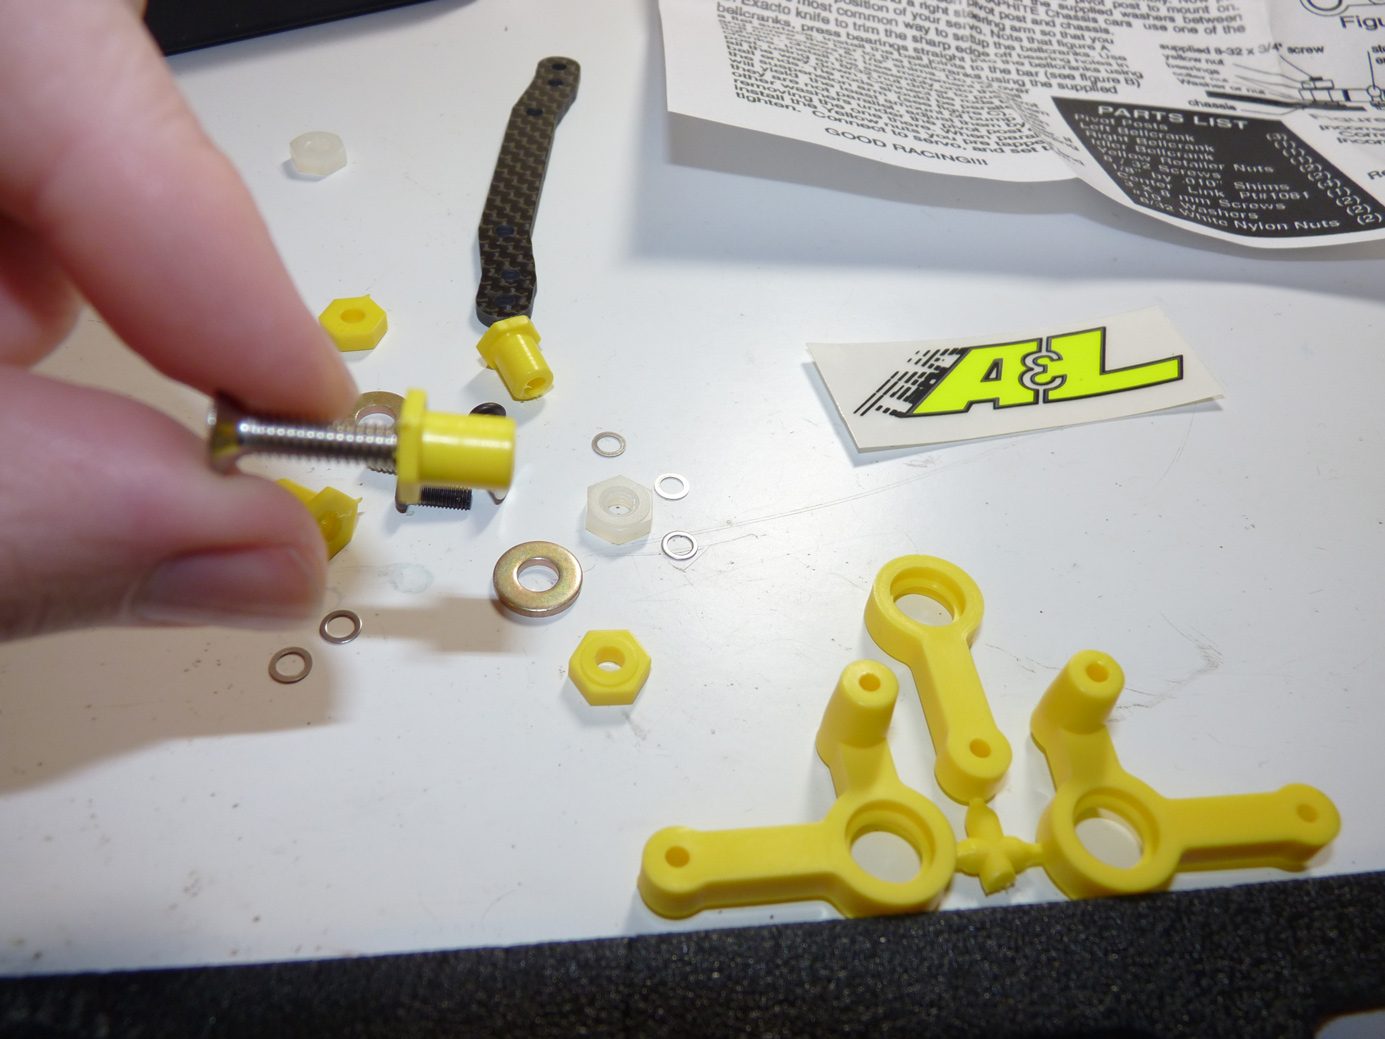
With that done, we insert the screws and a washer on each side, and then lock down the nut on top.
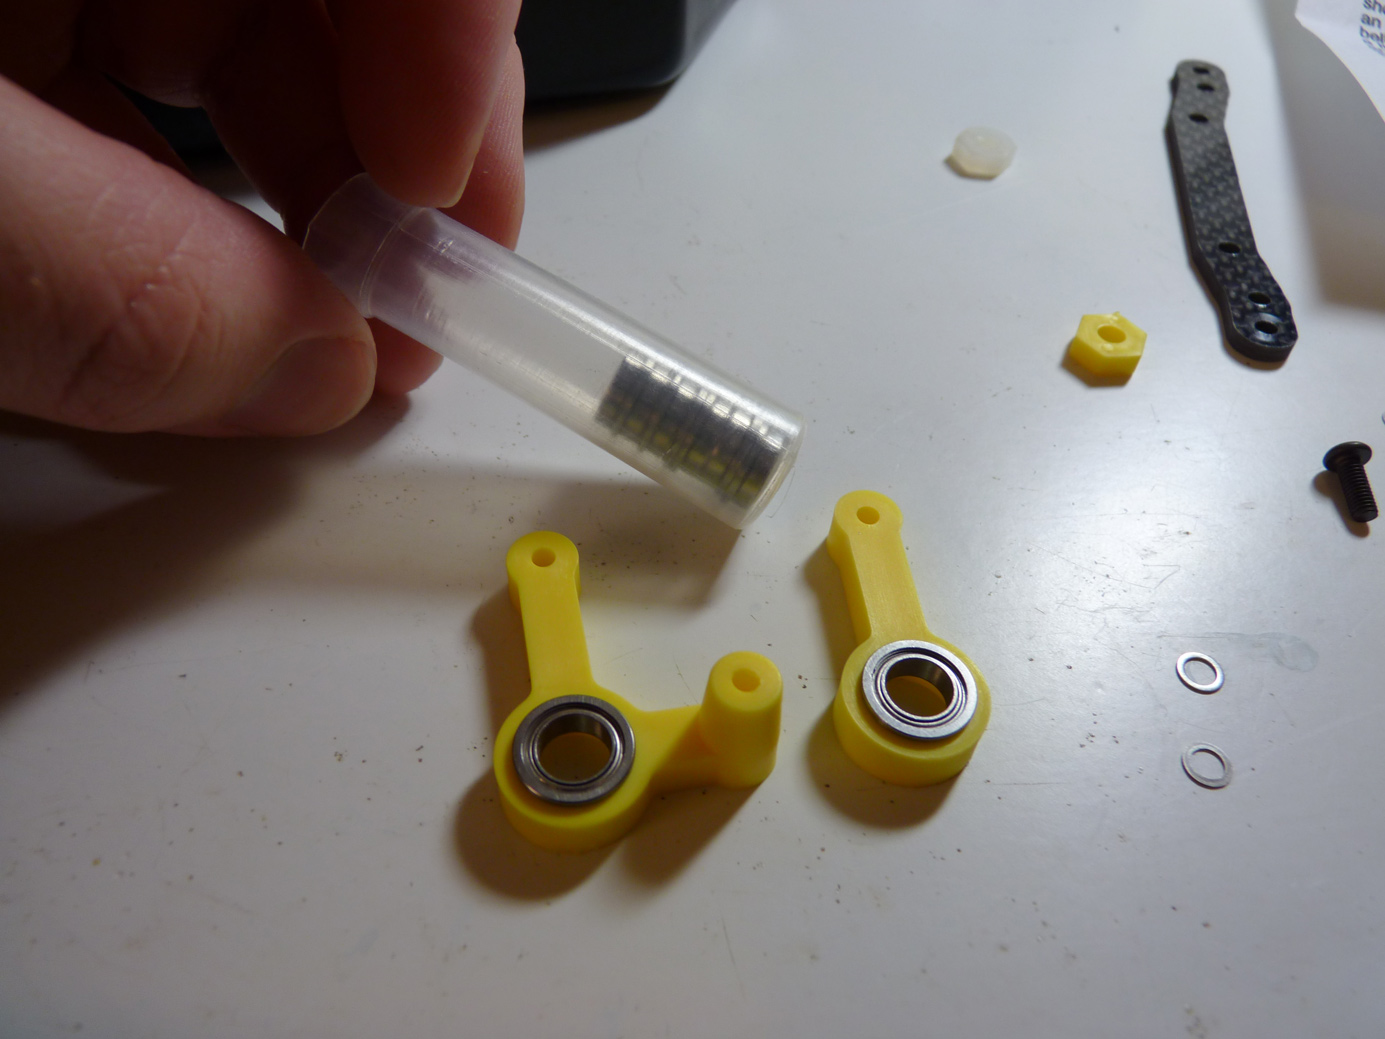
Now we have the bellcranks themselves.

We’re going to install 4 of our 1/4 x 3/8 x 1/8 (FLANGED) FastEddy bearings in them.

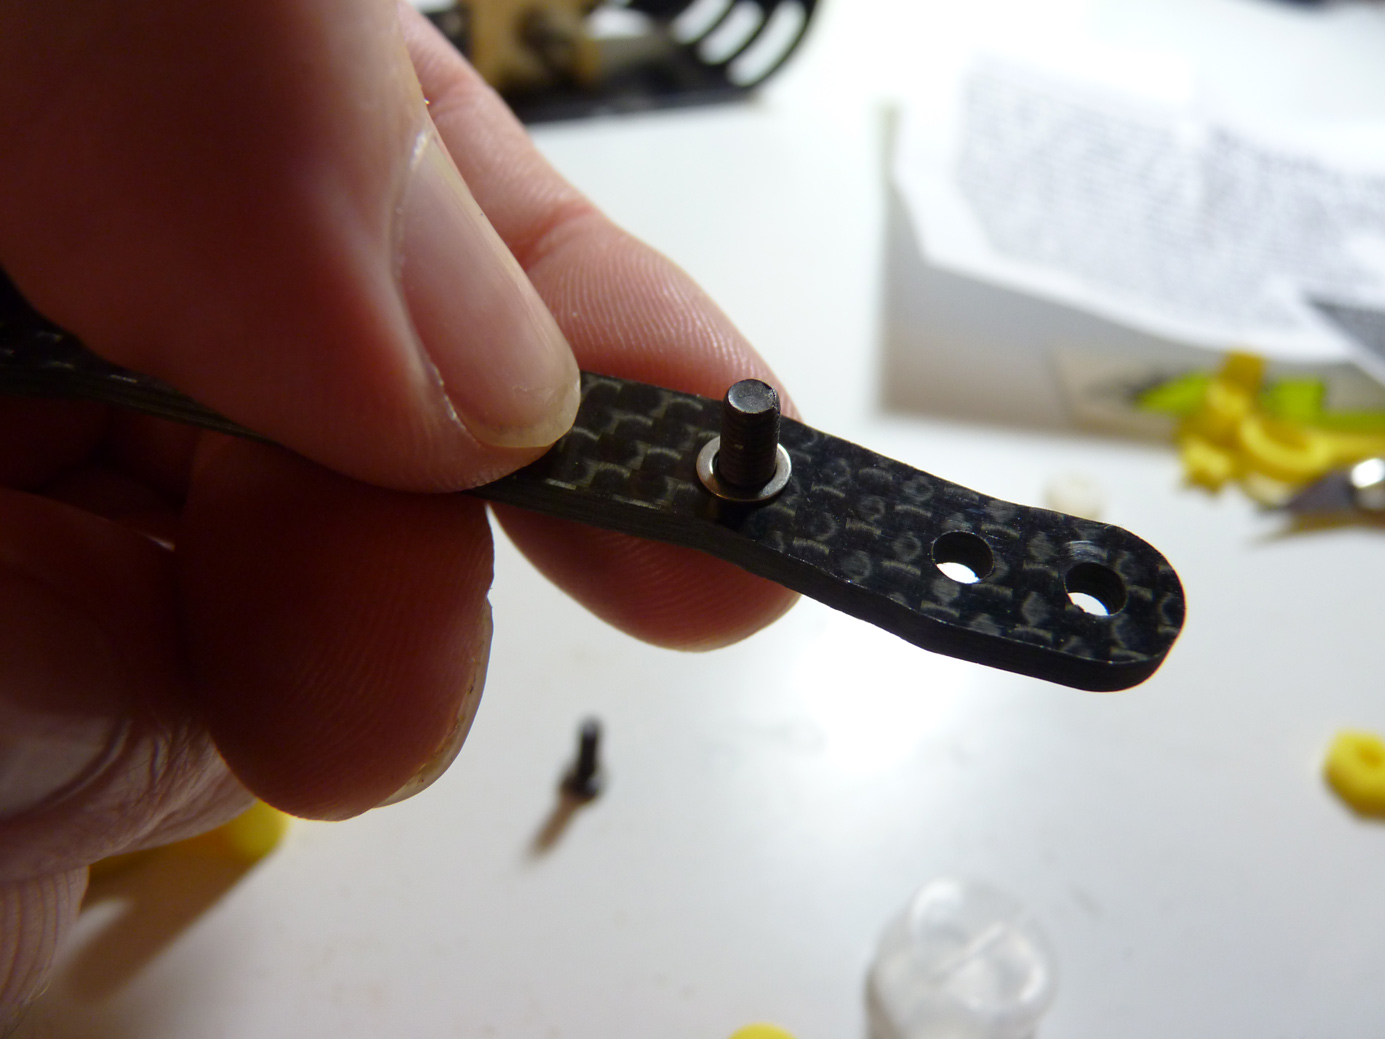
Simple enough. Now we will be installing the ackerman bar. We need a small washer on both sides of these small screws for smooth movement. Don’t overtighten them or your steering will bind.

We now have a smooth rotating bellcrank setup.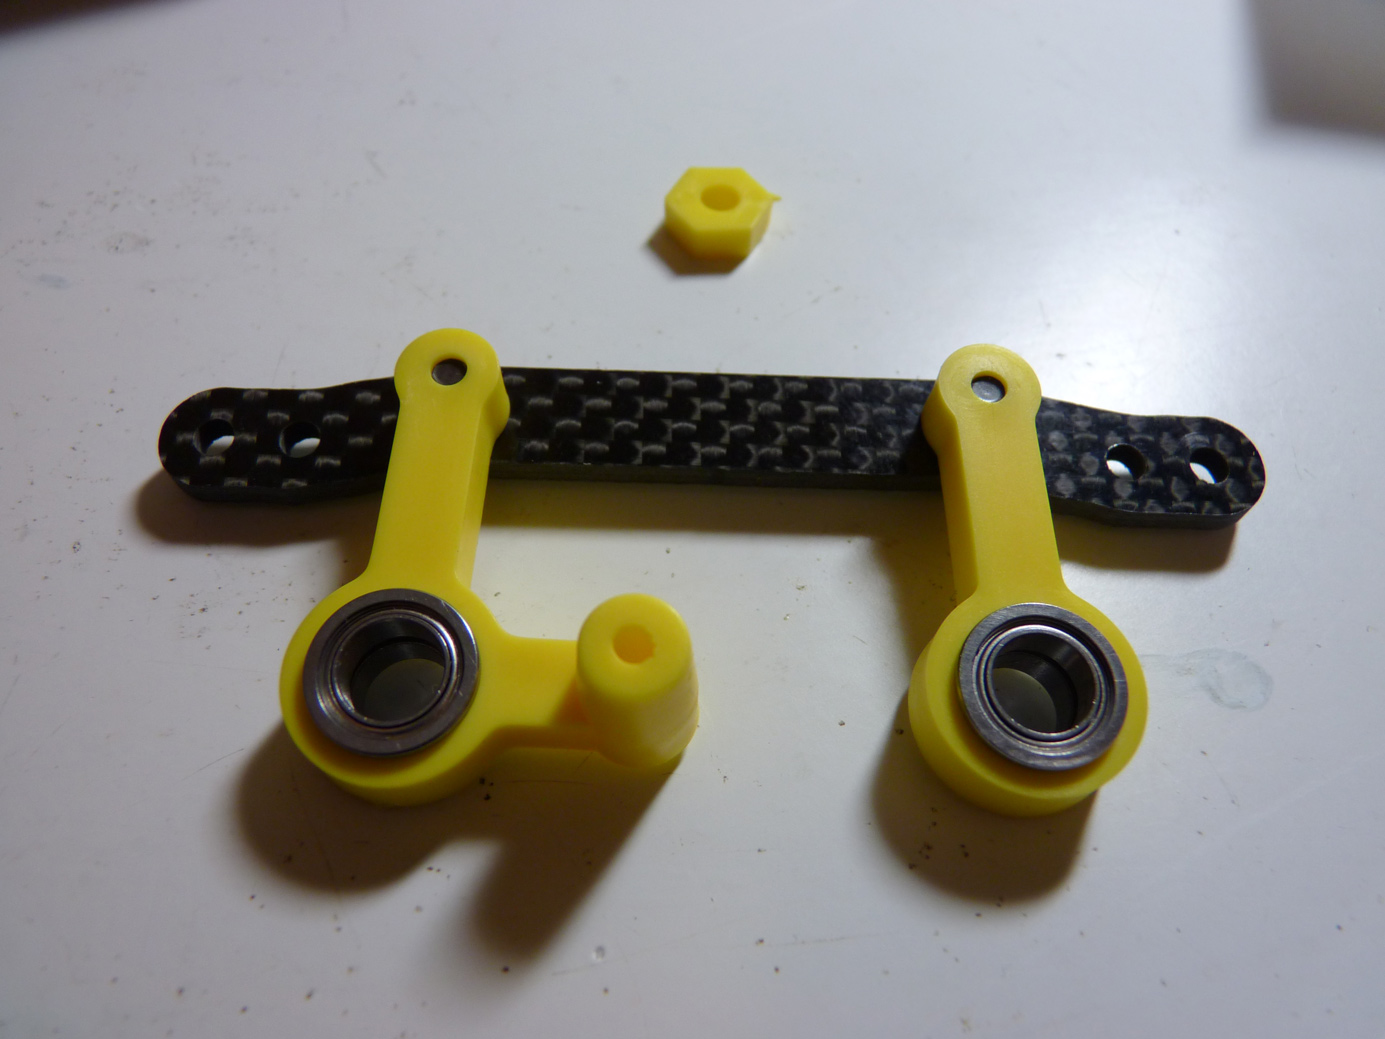
Next we’ll install our ballstuds for the steering links.
Originally I had them mounted to the outside holes, but my turnbuckles were much too long, so I ended up using the inside holes.
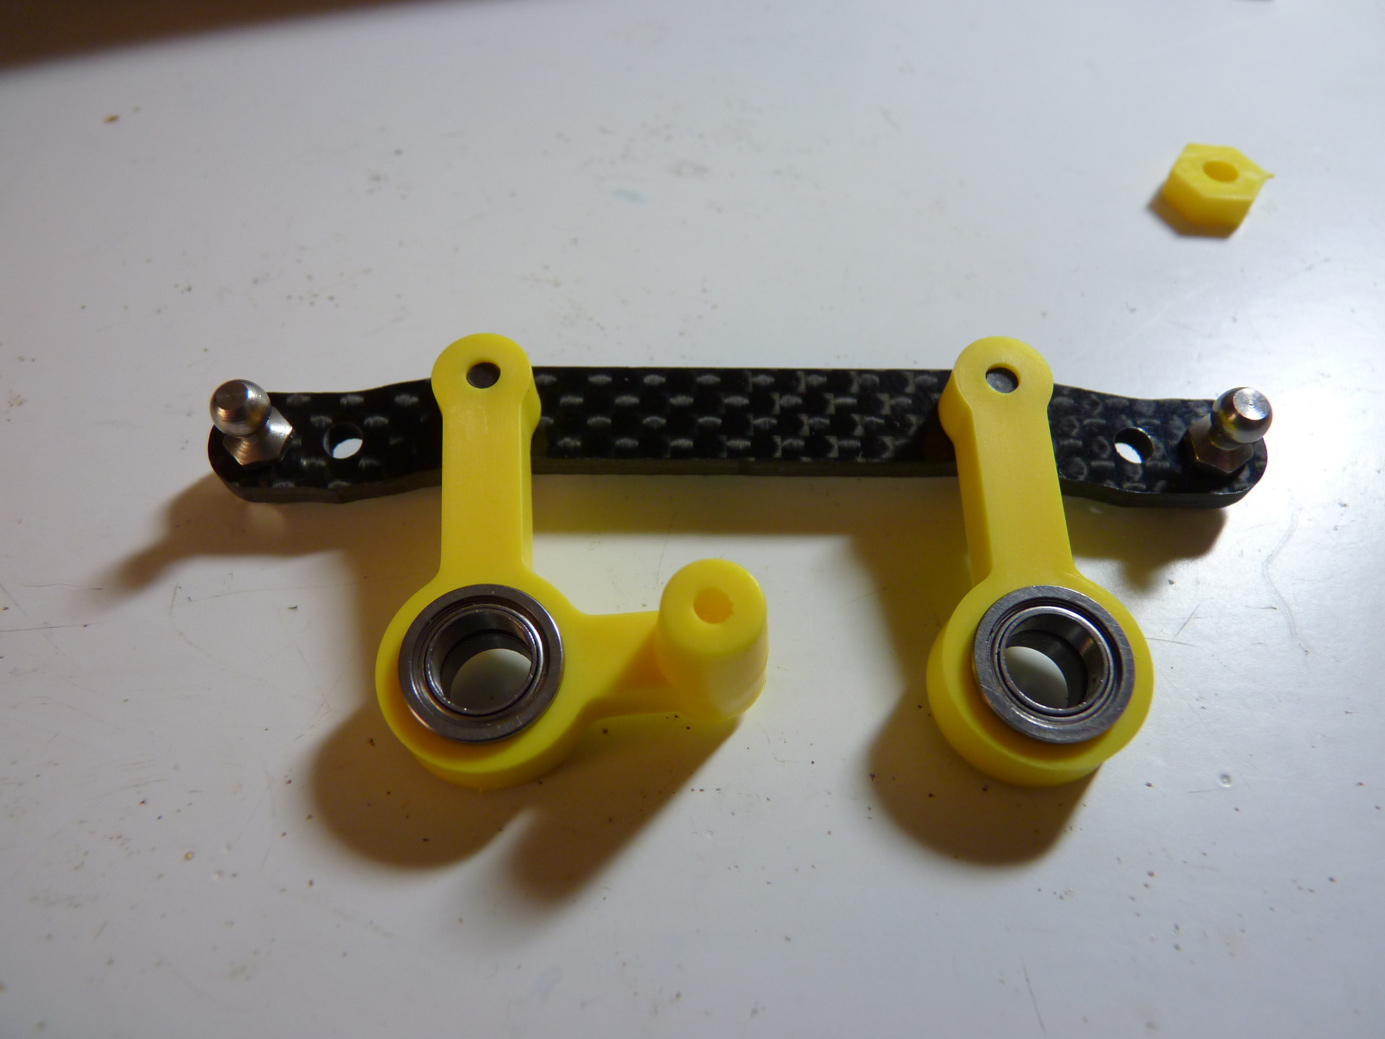
Installed the bellcrank and put the nylon nuts on to secure it down.
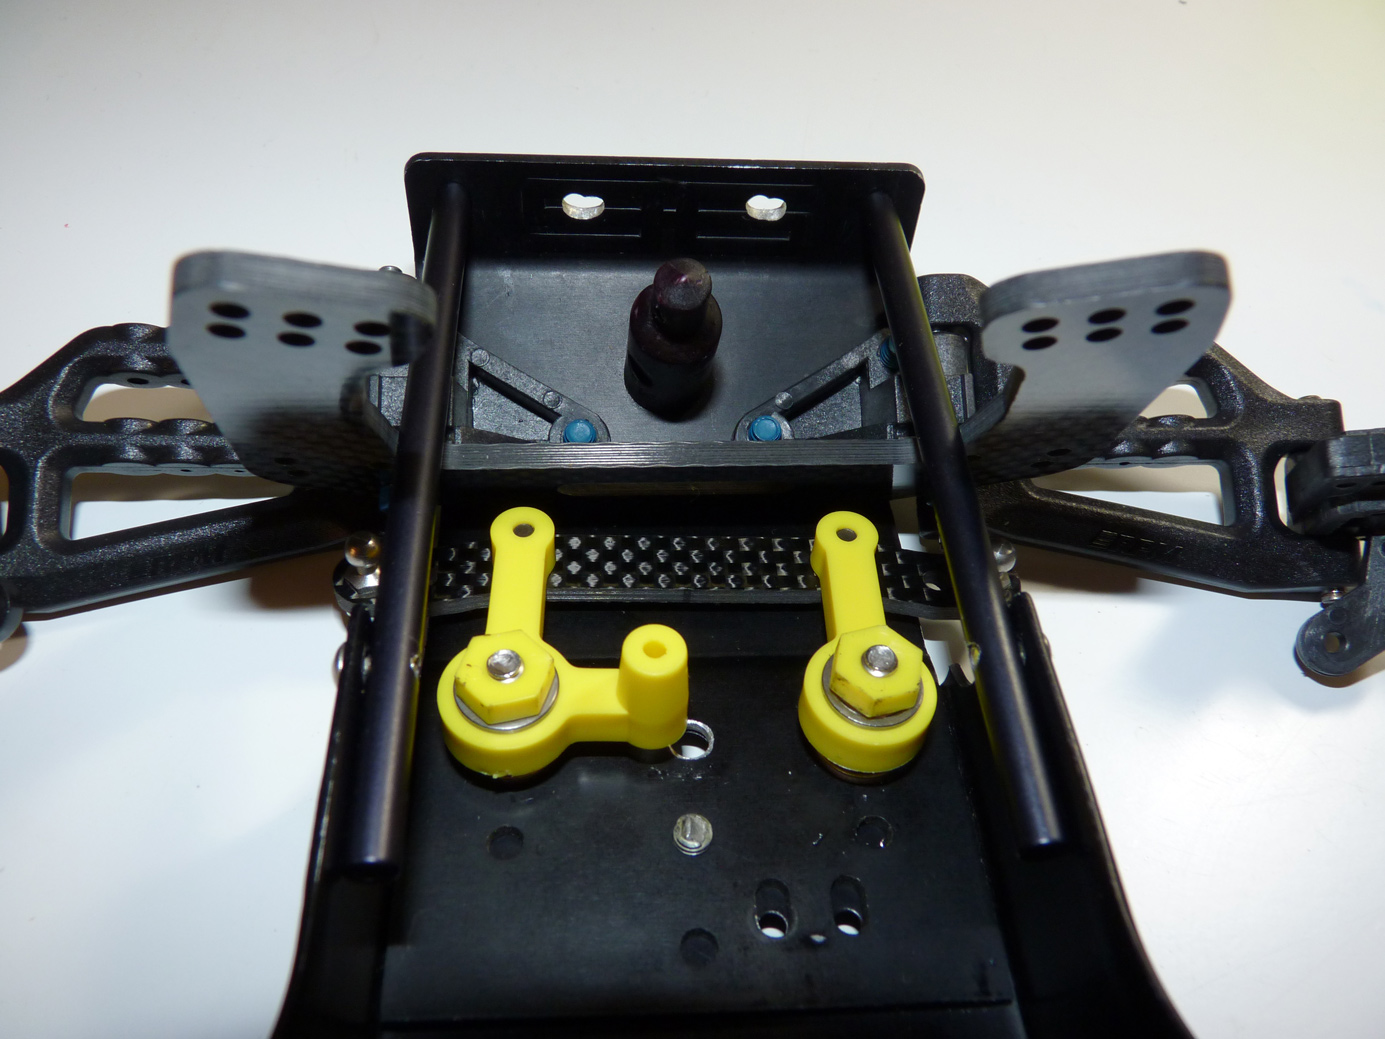
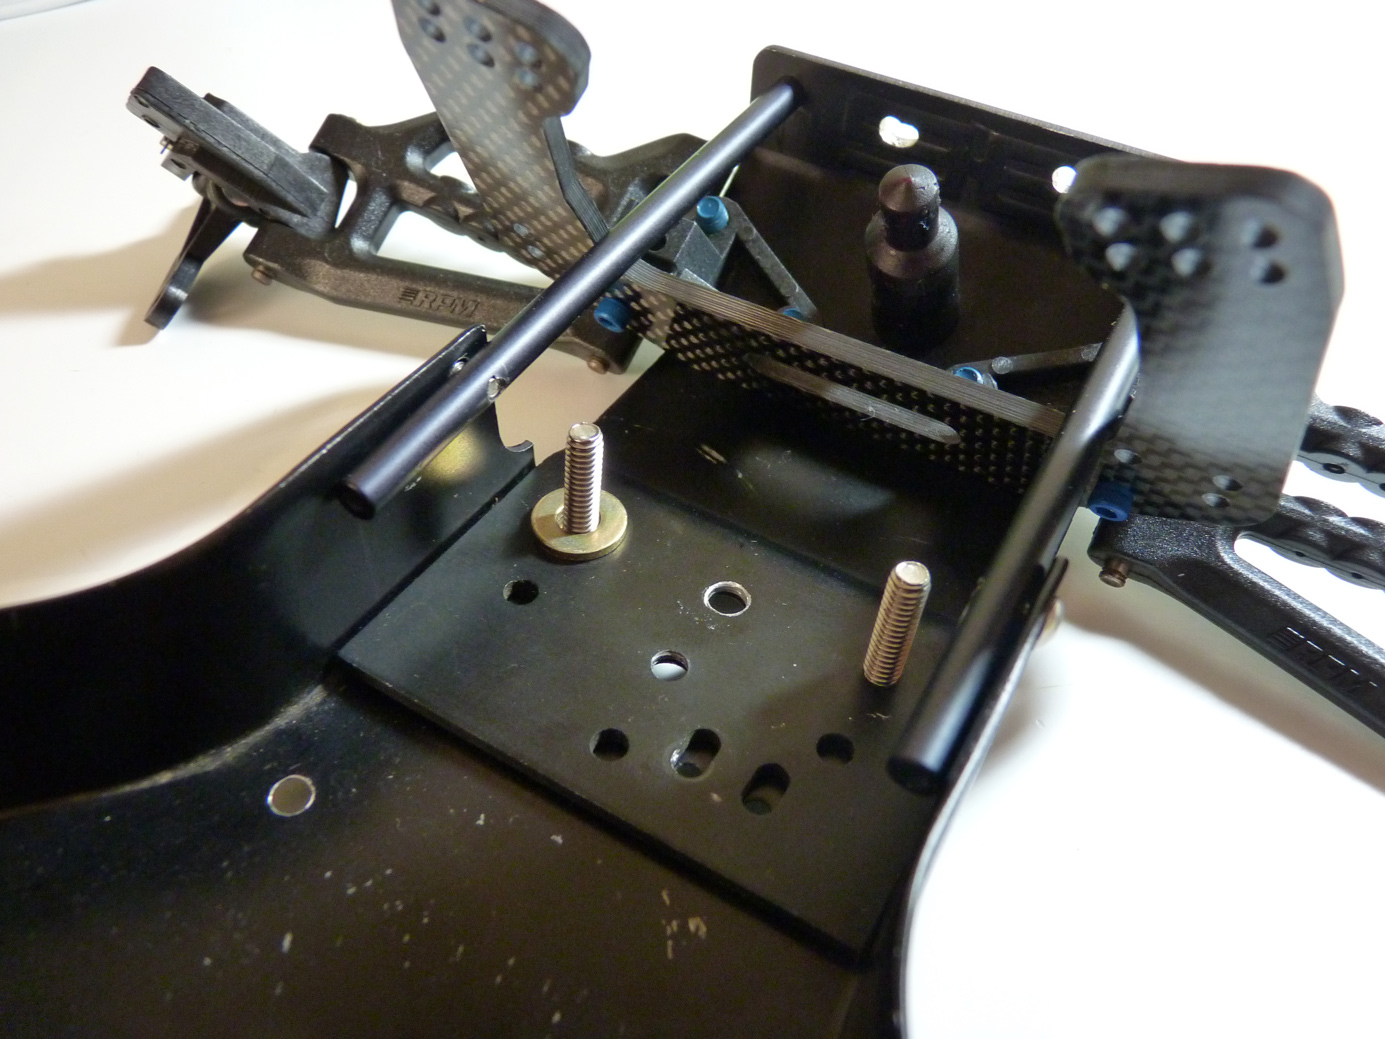
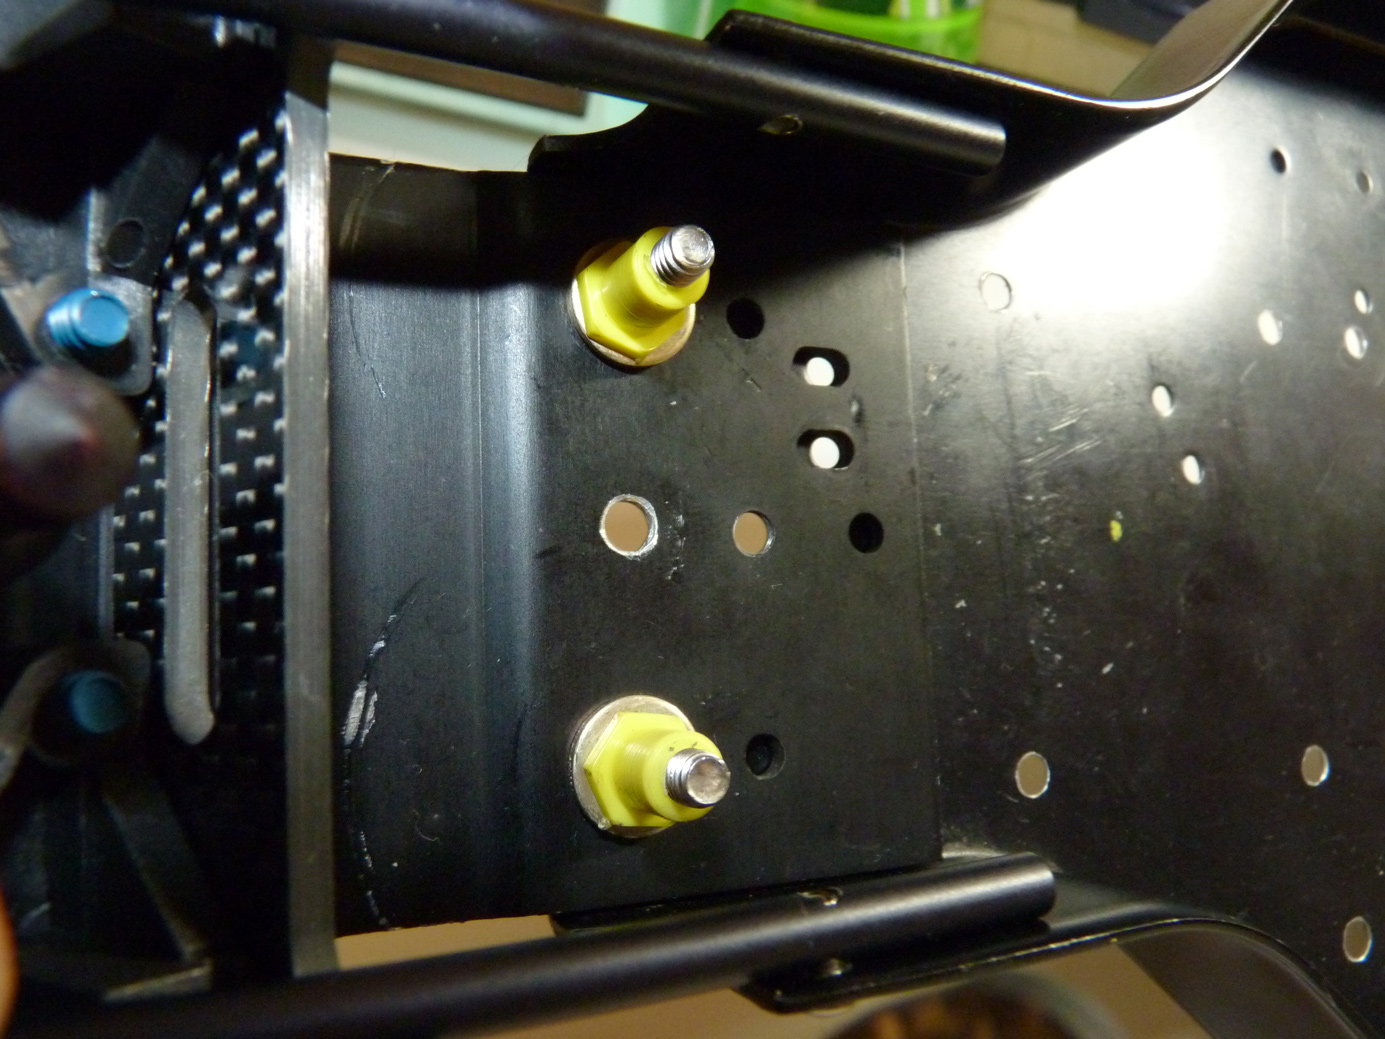
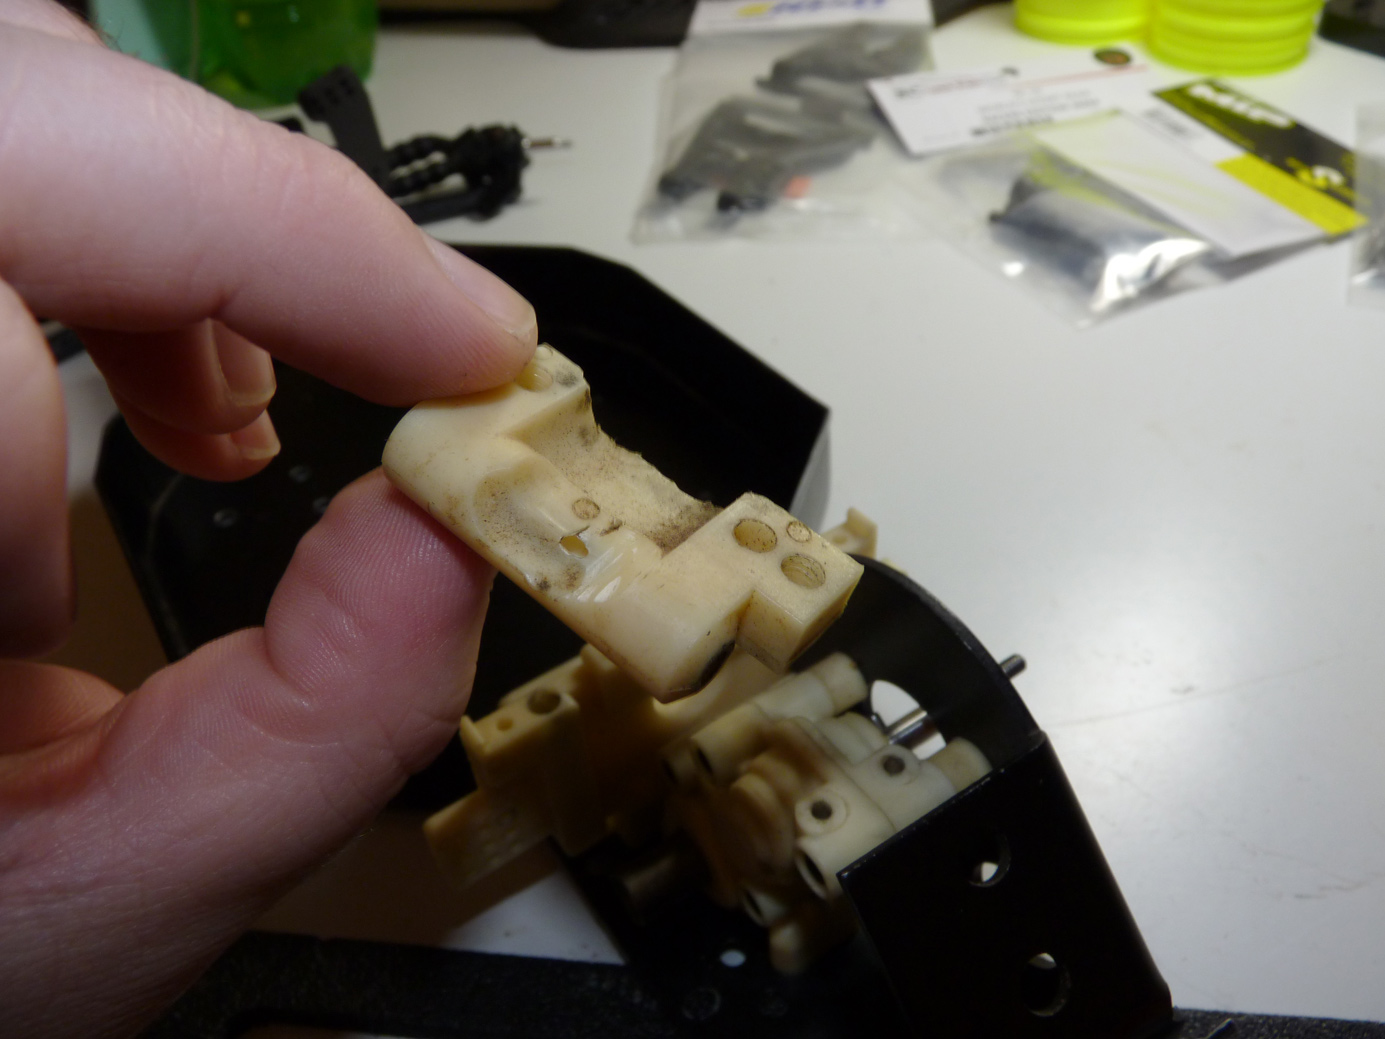
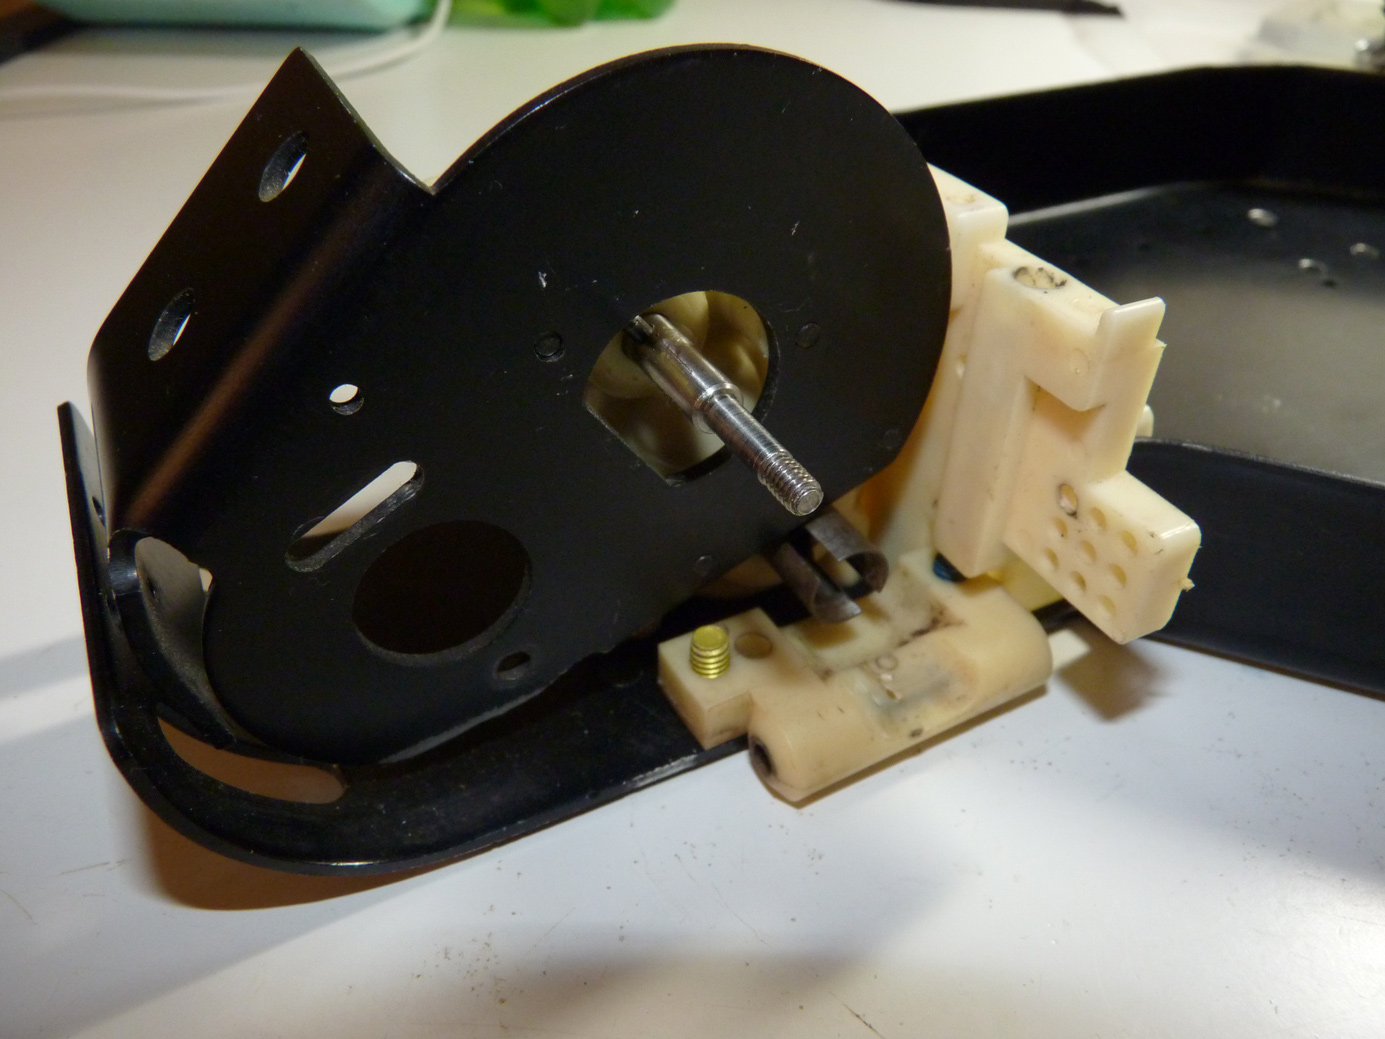
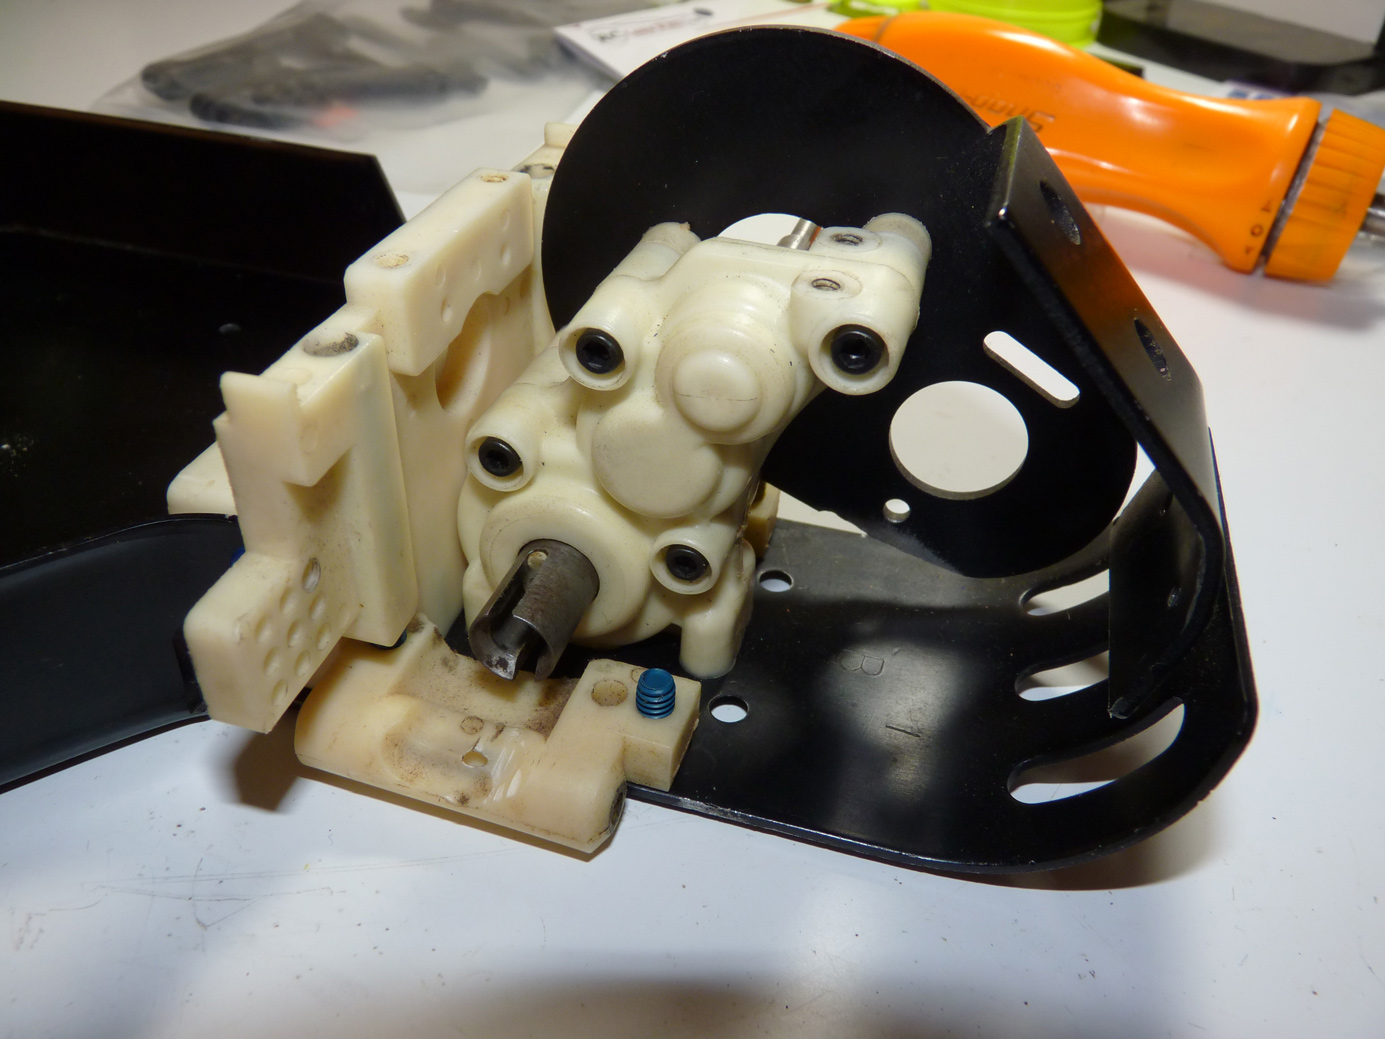
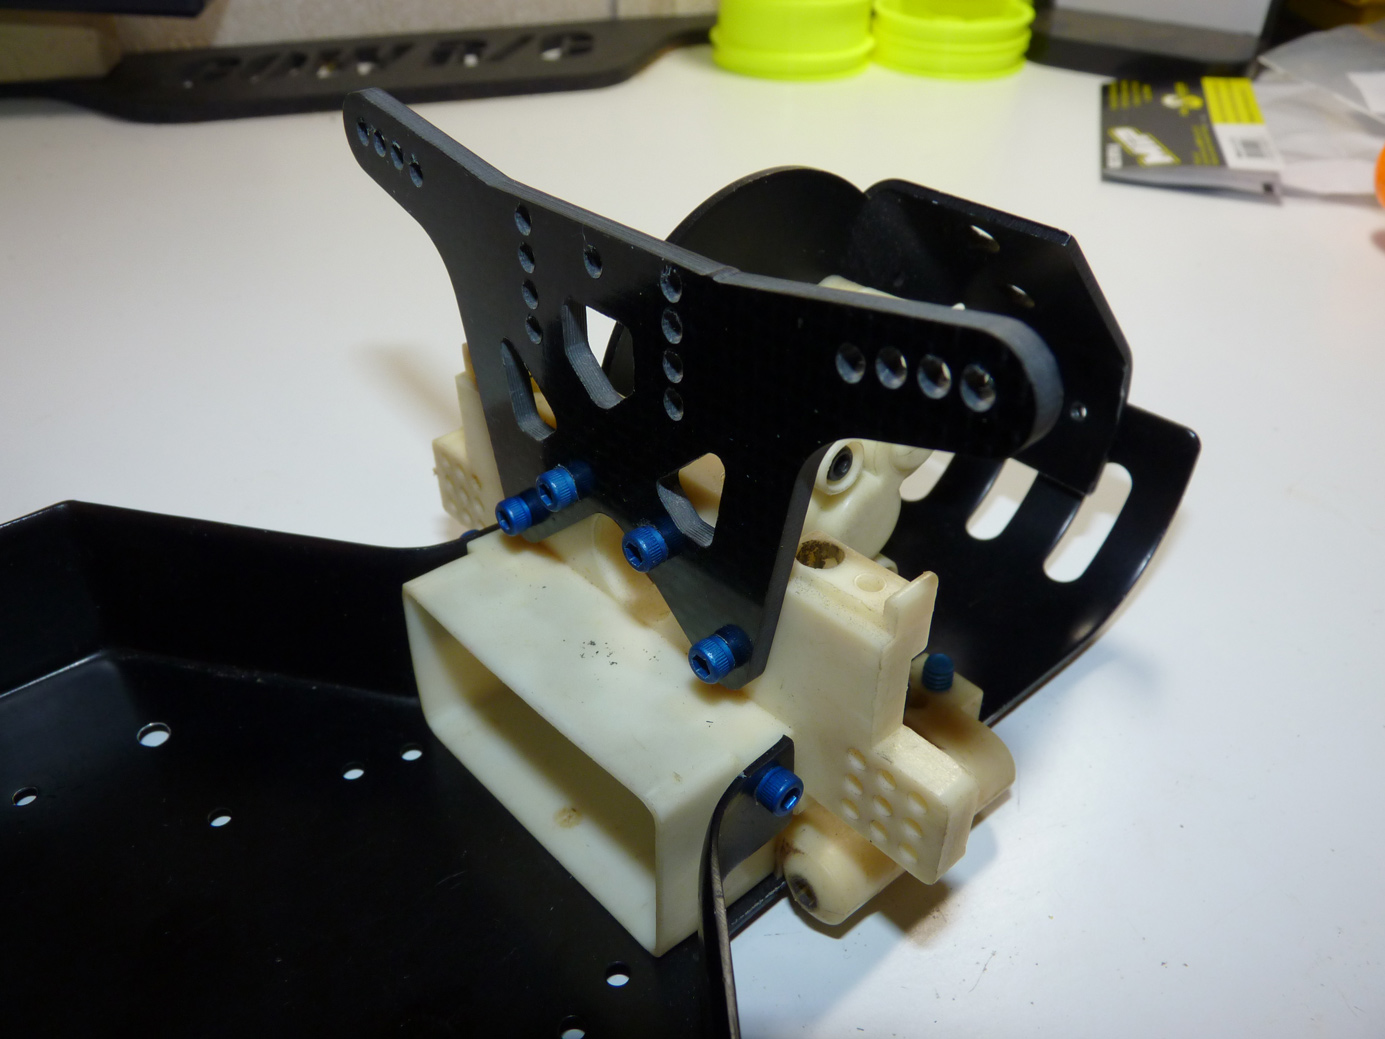
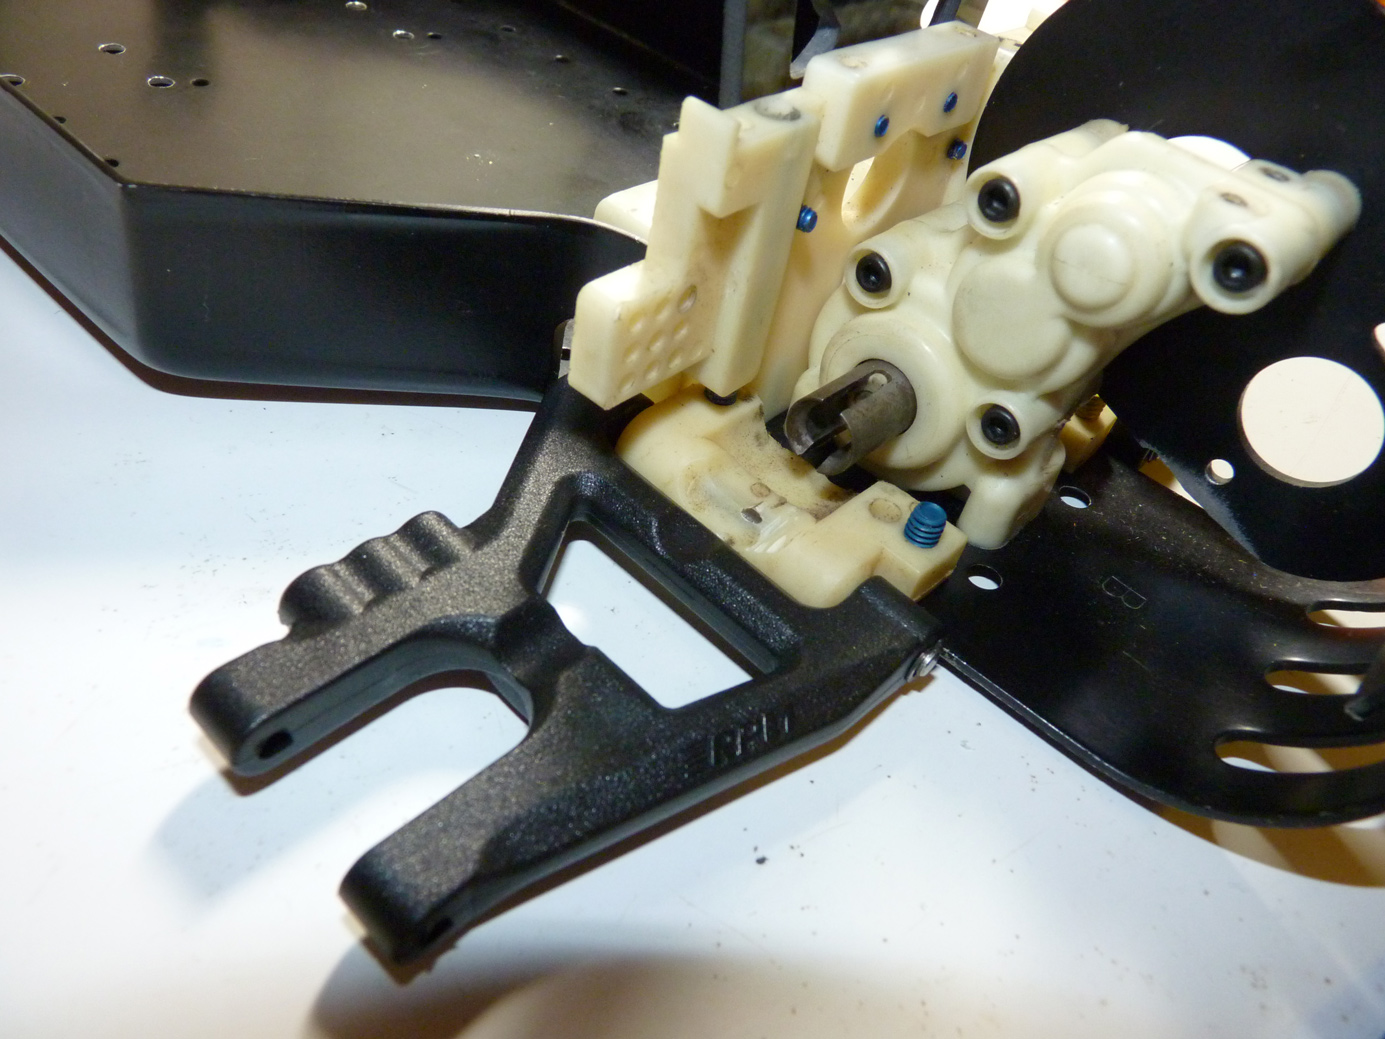
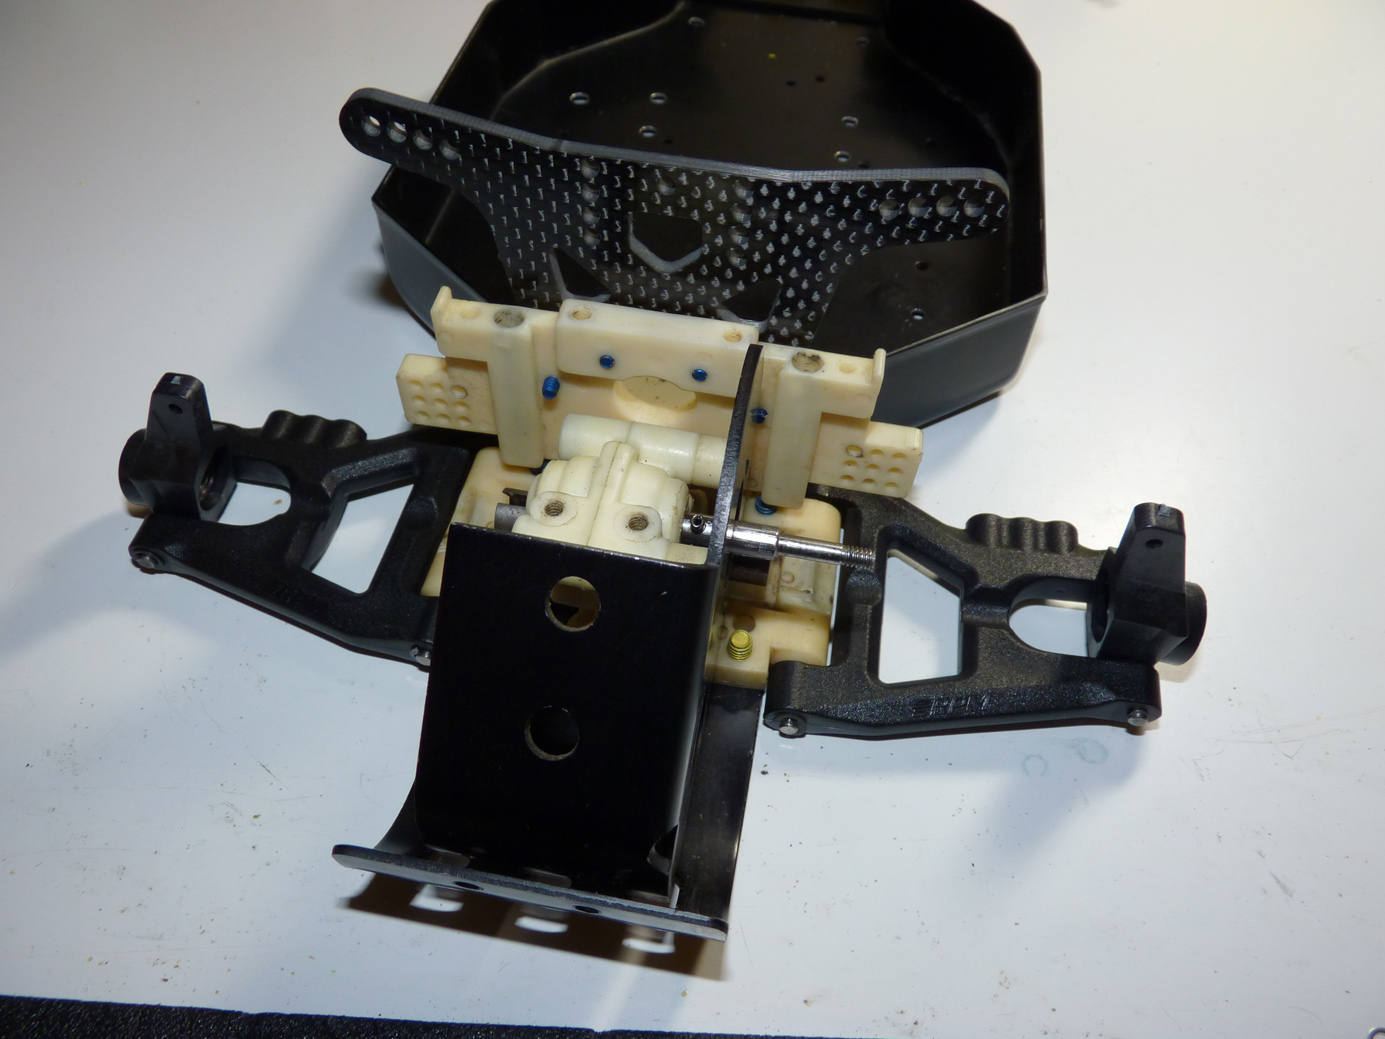
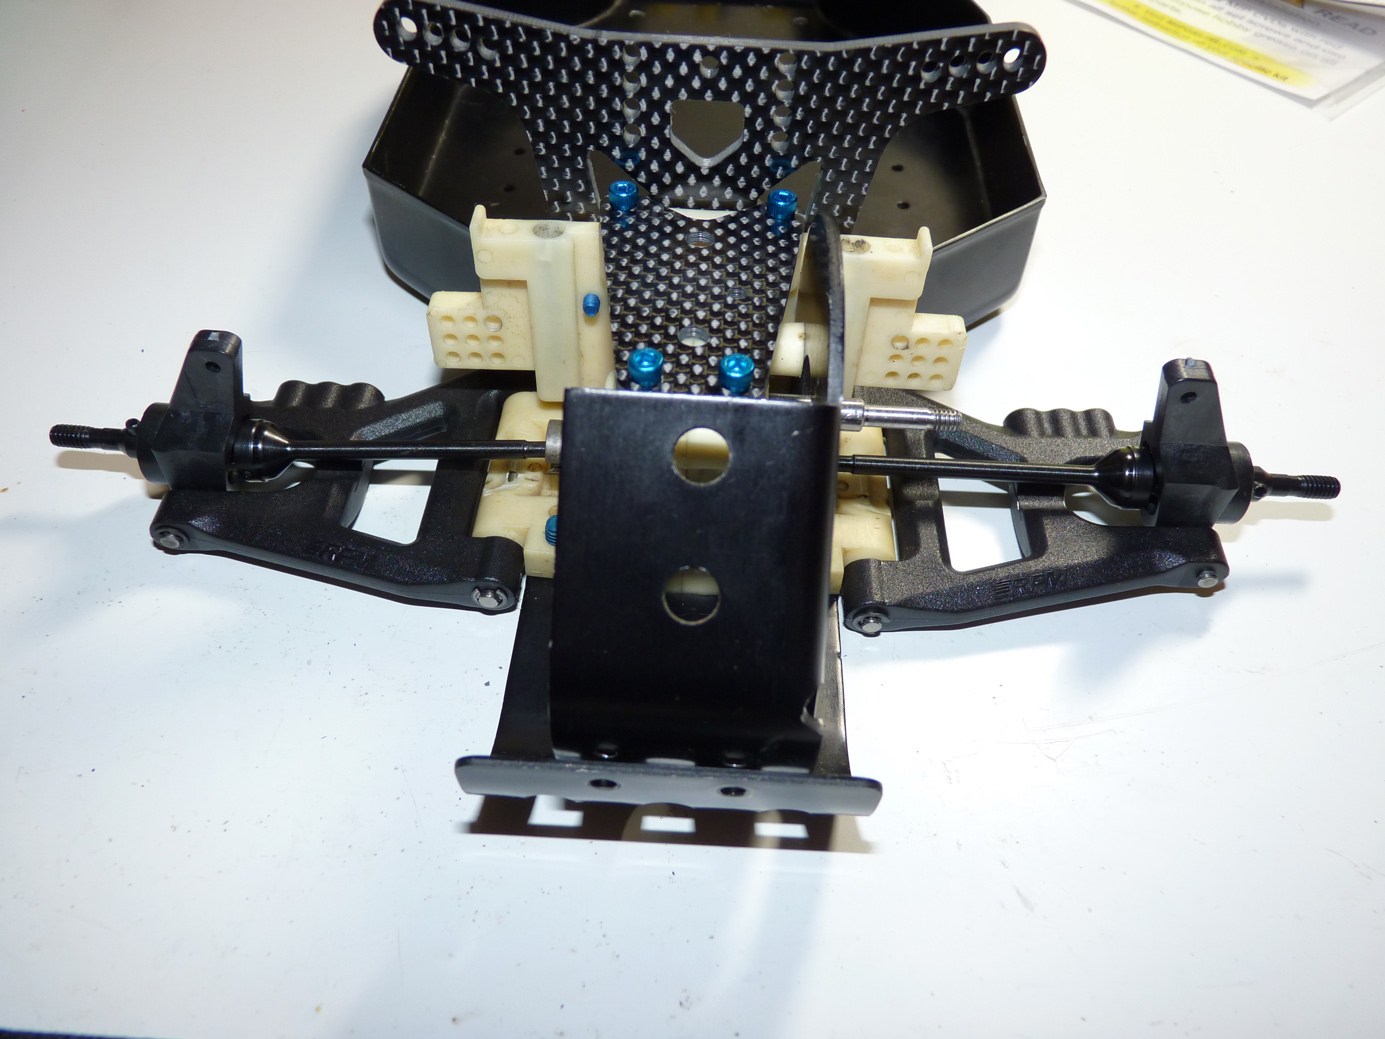
Now for the rear end. I installed the rear bulkhead.
Then the grungy rear arm mounts. At this point I’m just making sure stuff fits. I’m aware this will not be final assembly yet.
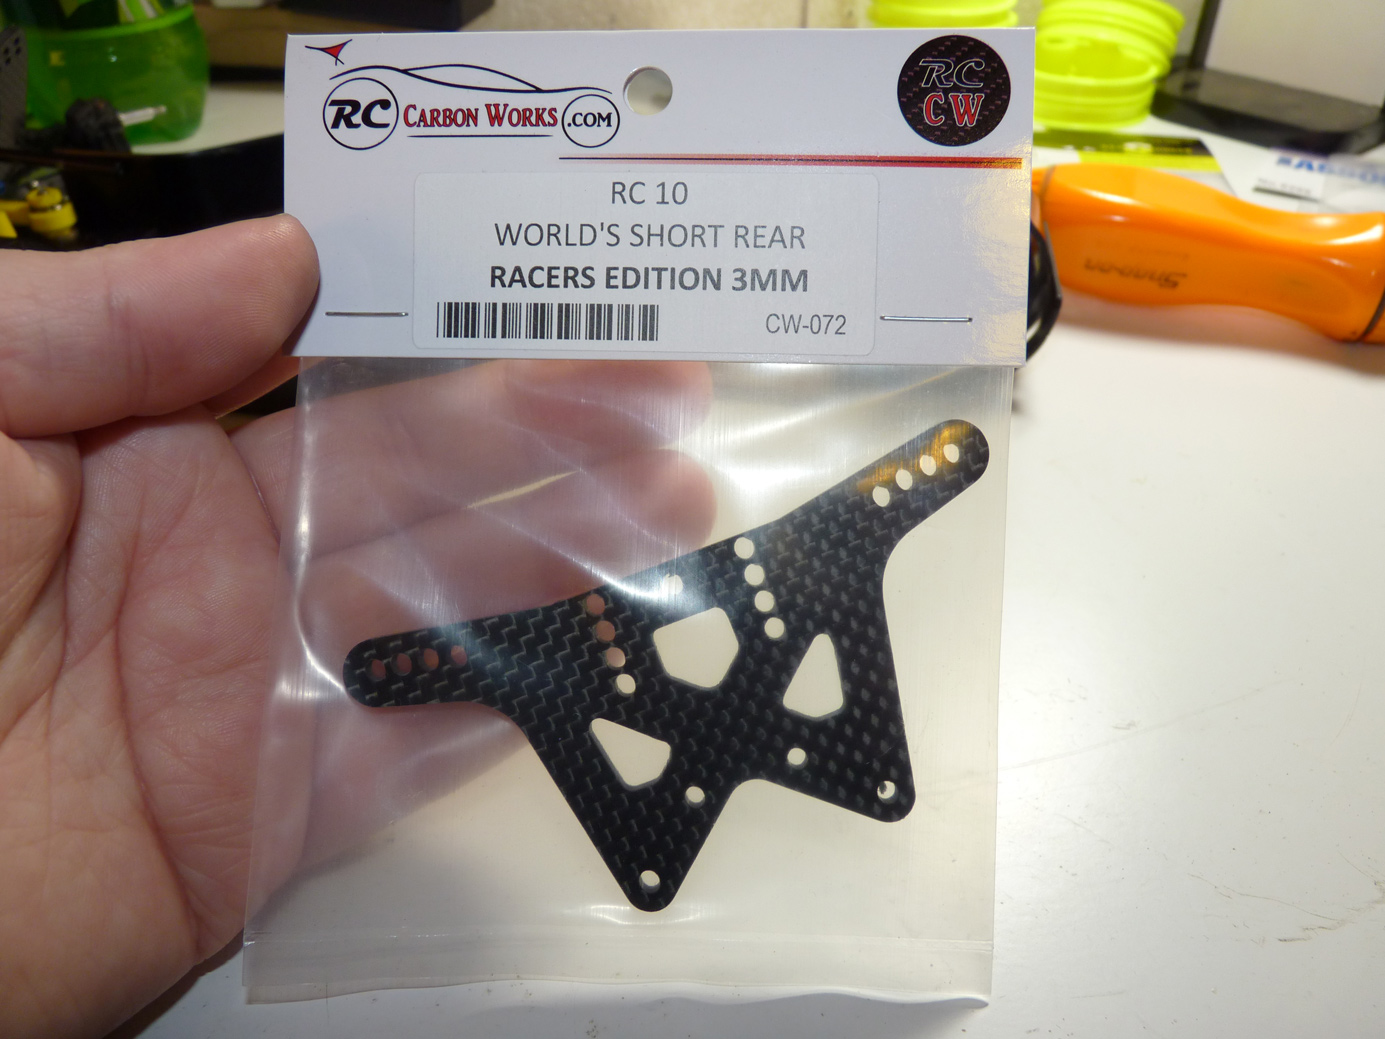
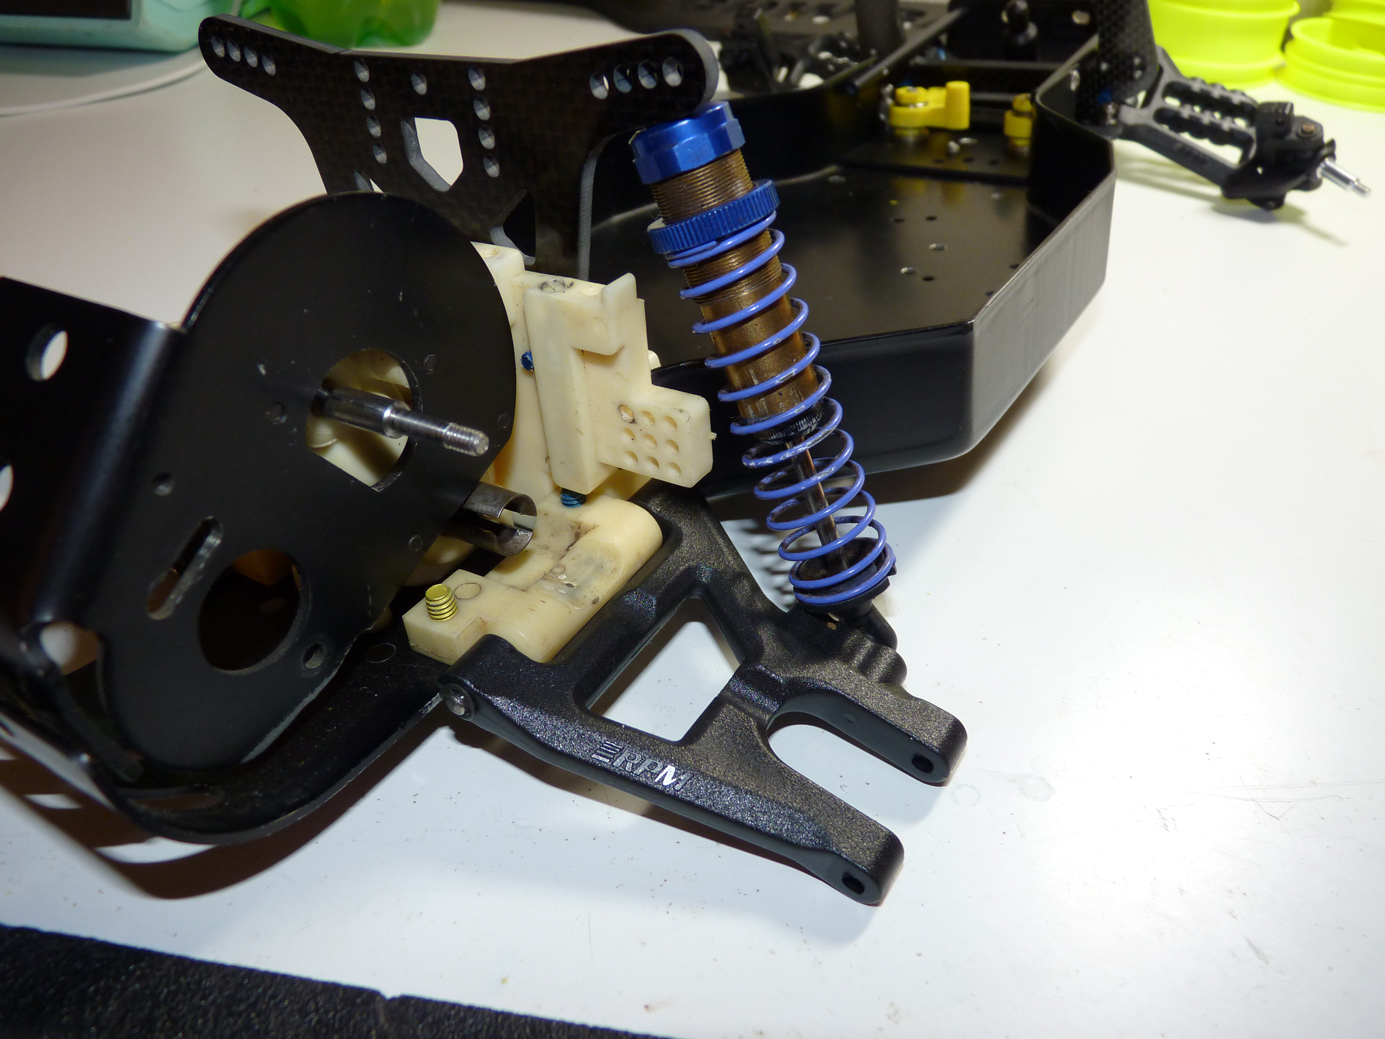
Now we have our RC Carbon Works Short rear tower. Again, this is made for modern rear buggy shocks which are shorter. It also has holes for a modern B4 wing mount. I’m not going that far in my build though. Cool option none-the-less.
This mounts up with 4 screws to the rear bulkhead.
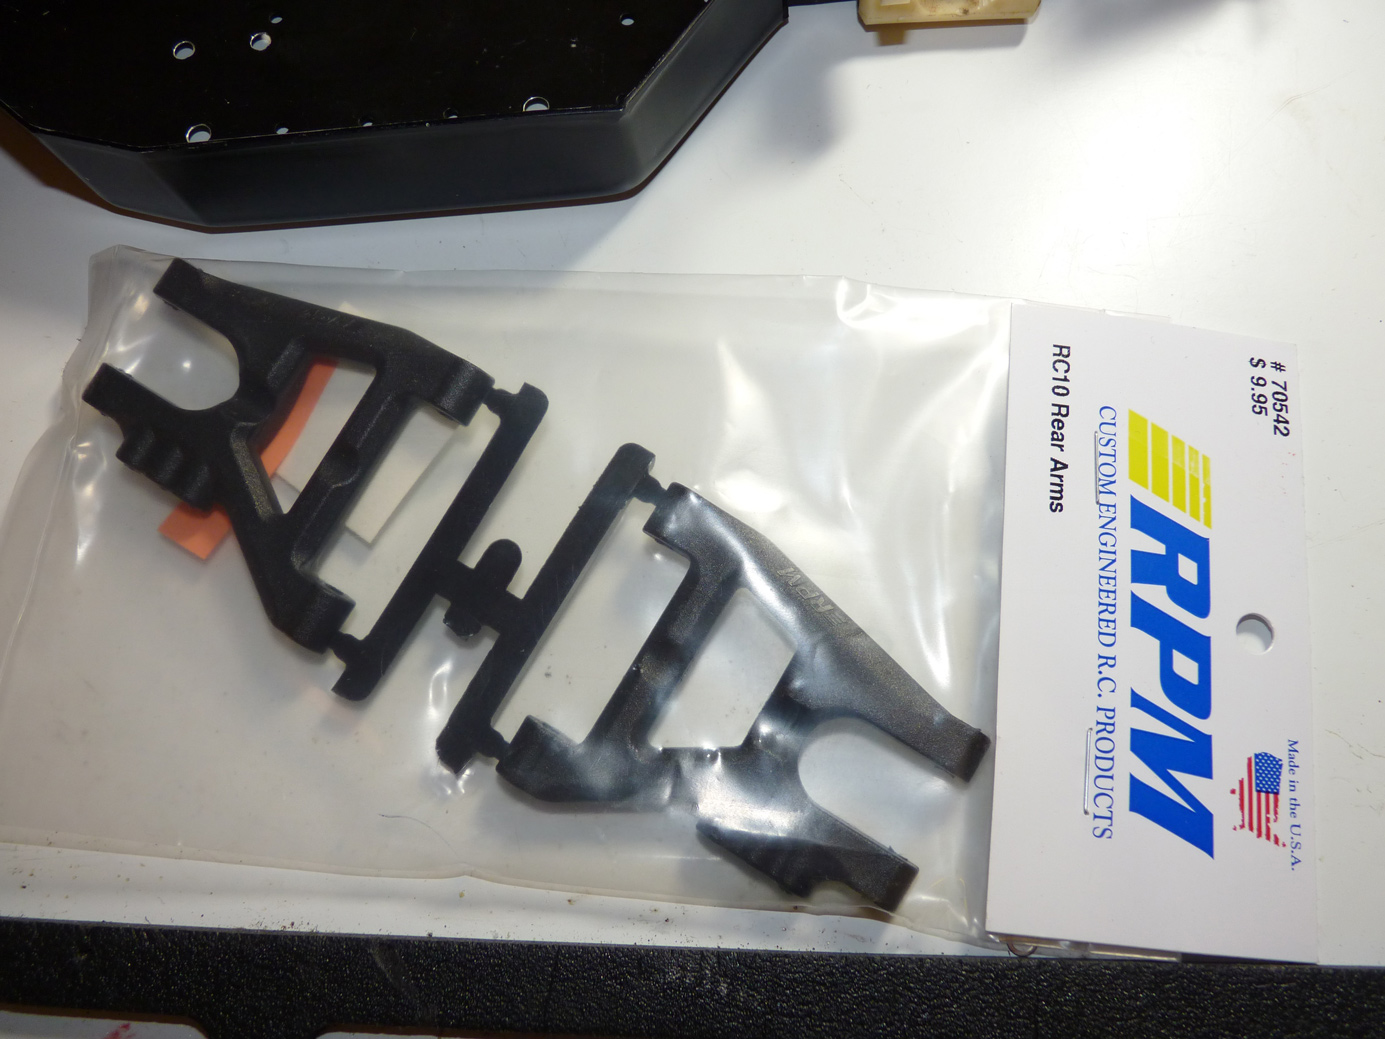
Now for the RPM Rear Arms. These are a direct drop in.
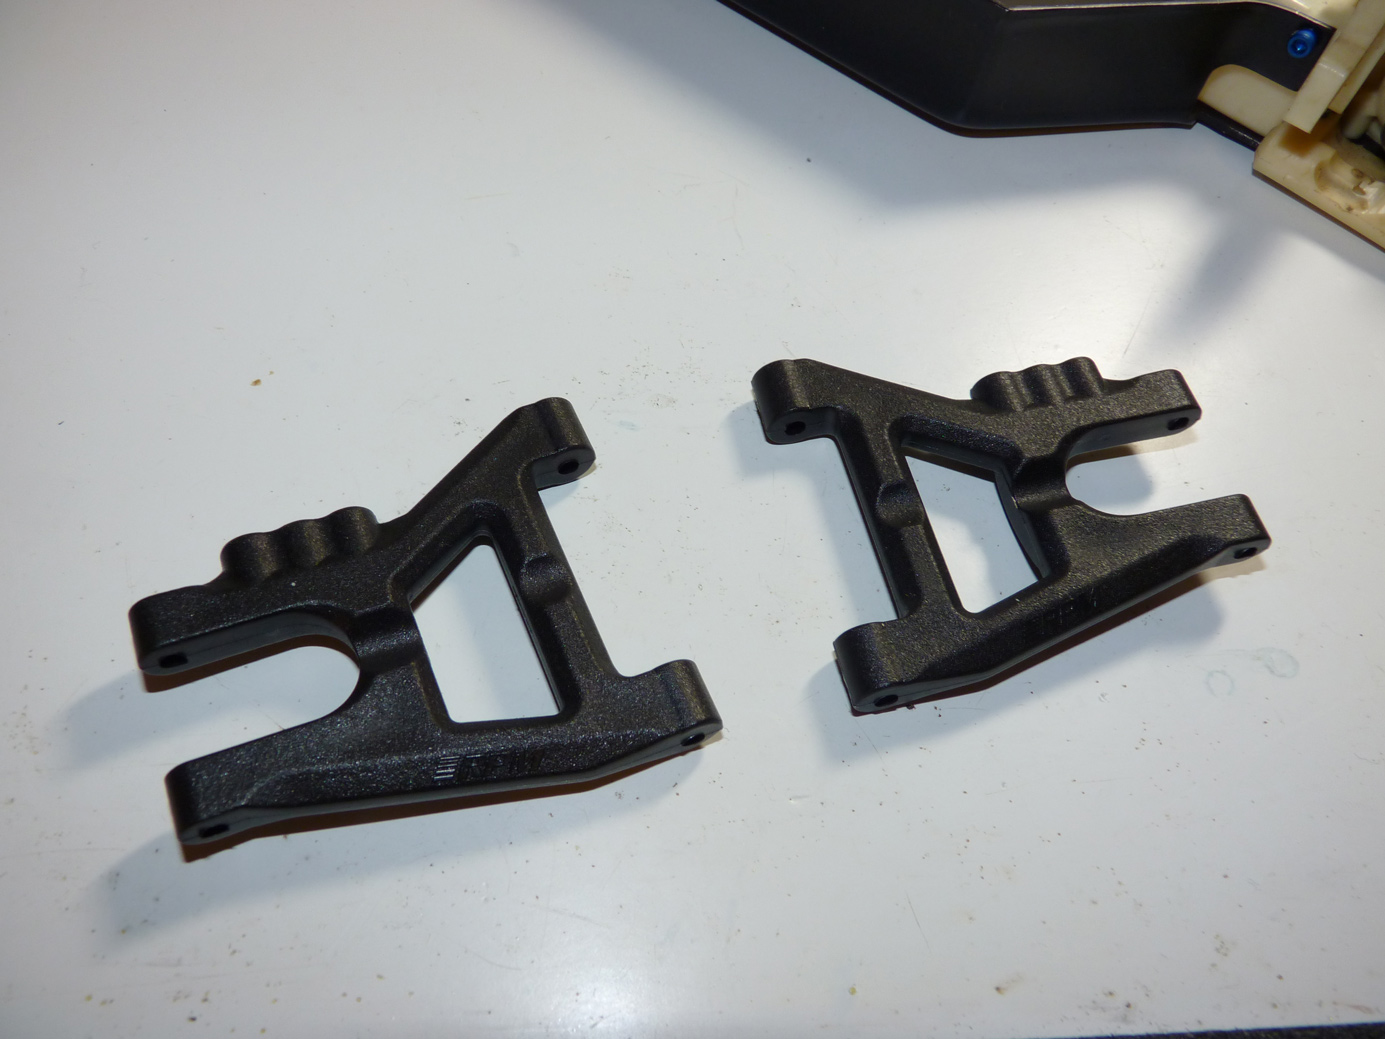
Lookin’ good!

I mocked up a shock just to see if it reached the tower correctly. It did. With the Kyosho caps I have a limited range of movement. I can pretty much only mount the shock to the outside hole at this point. In this pic you can see that the lower portion of the upper shock mounting holes, the carbon area is thicker. To gain full movement with the Kyosho shocks, I will have to grind that down a little. For now I’m ok with the outer position, and will leave that mod for another day.
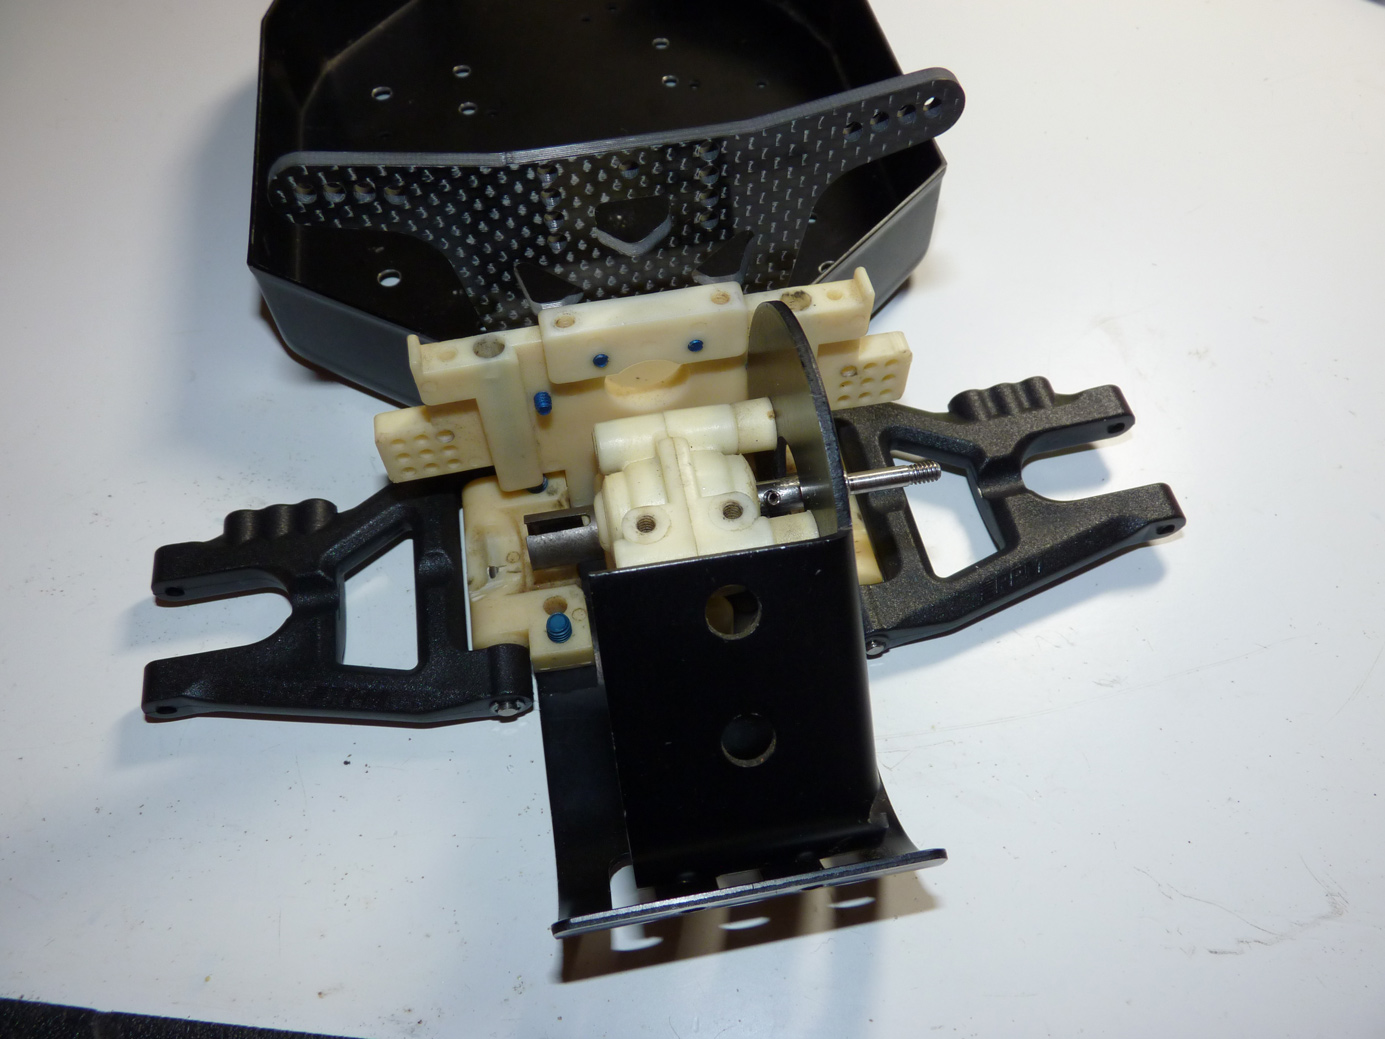
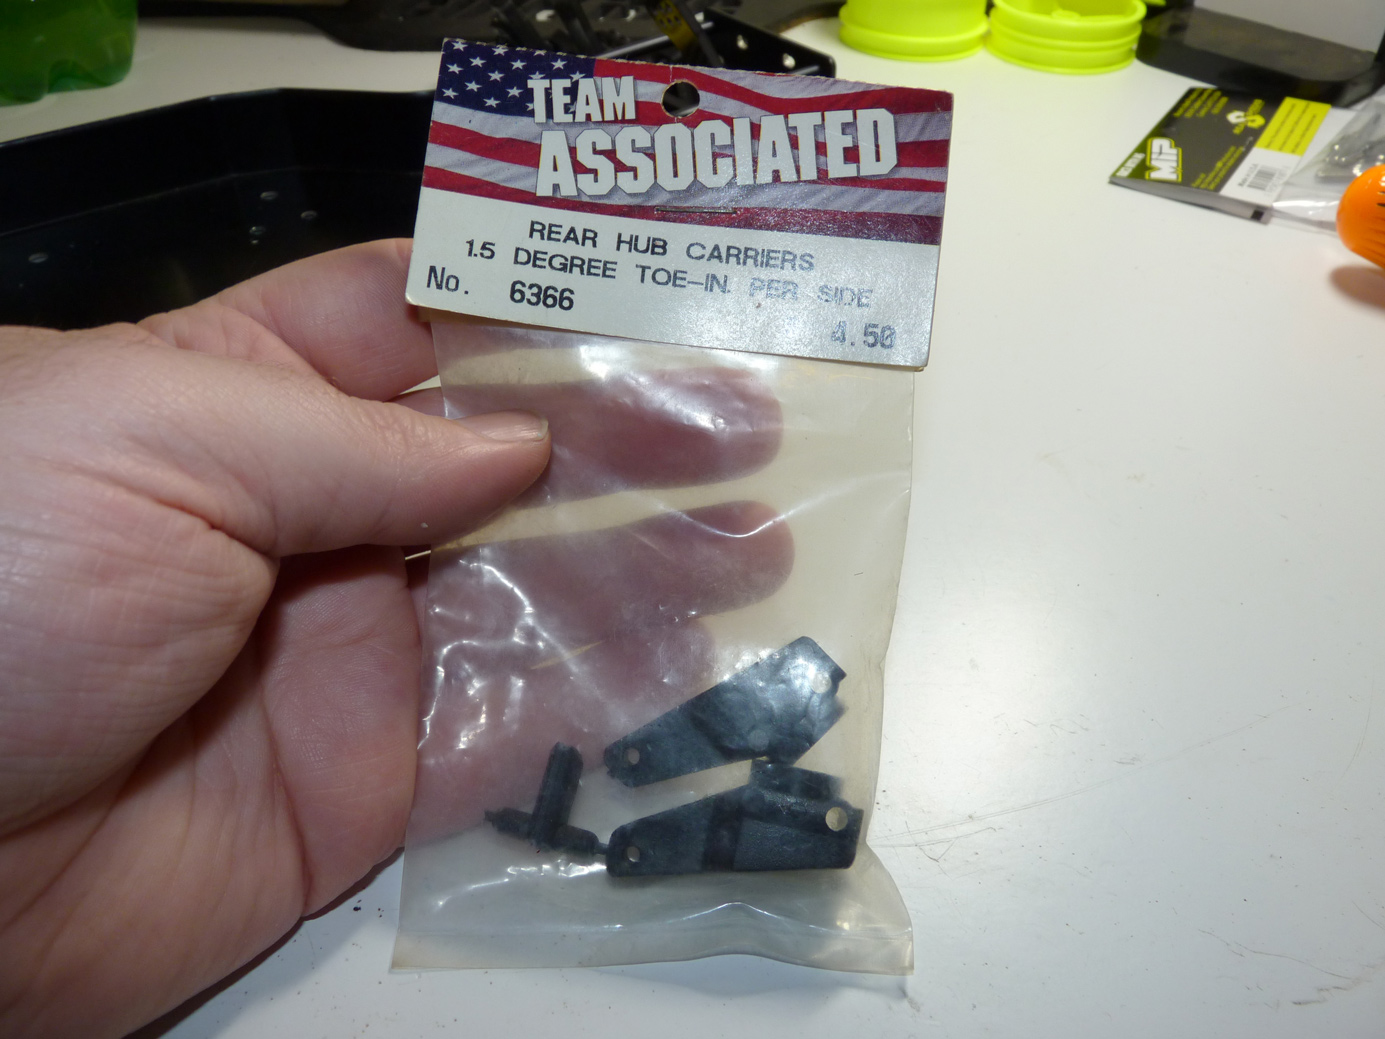
Here are my new rear hubs. A lot of new R/C’ers probably don’t remember this is what older Associated parts packages looked like.
So we press onward, installing our rear flanged bearings.
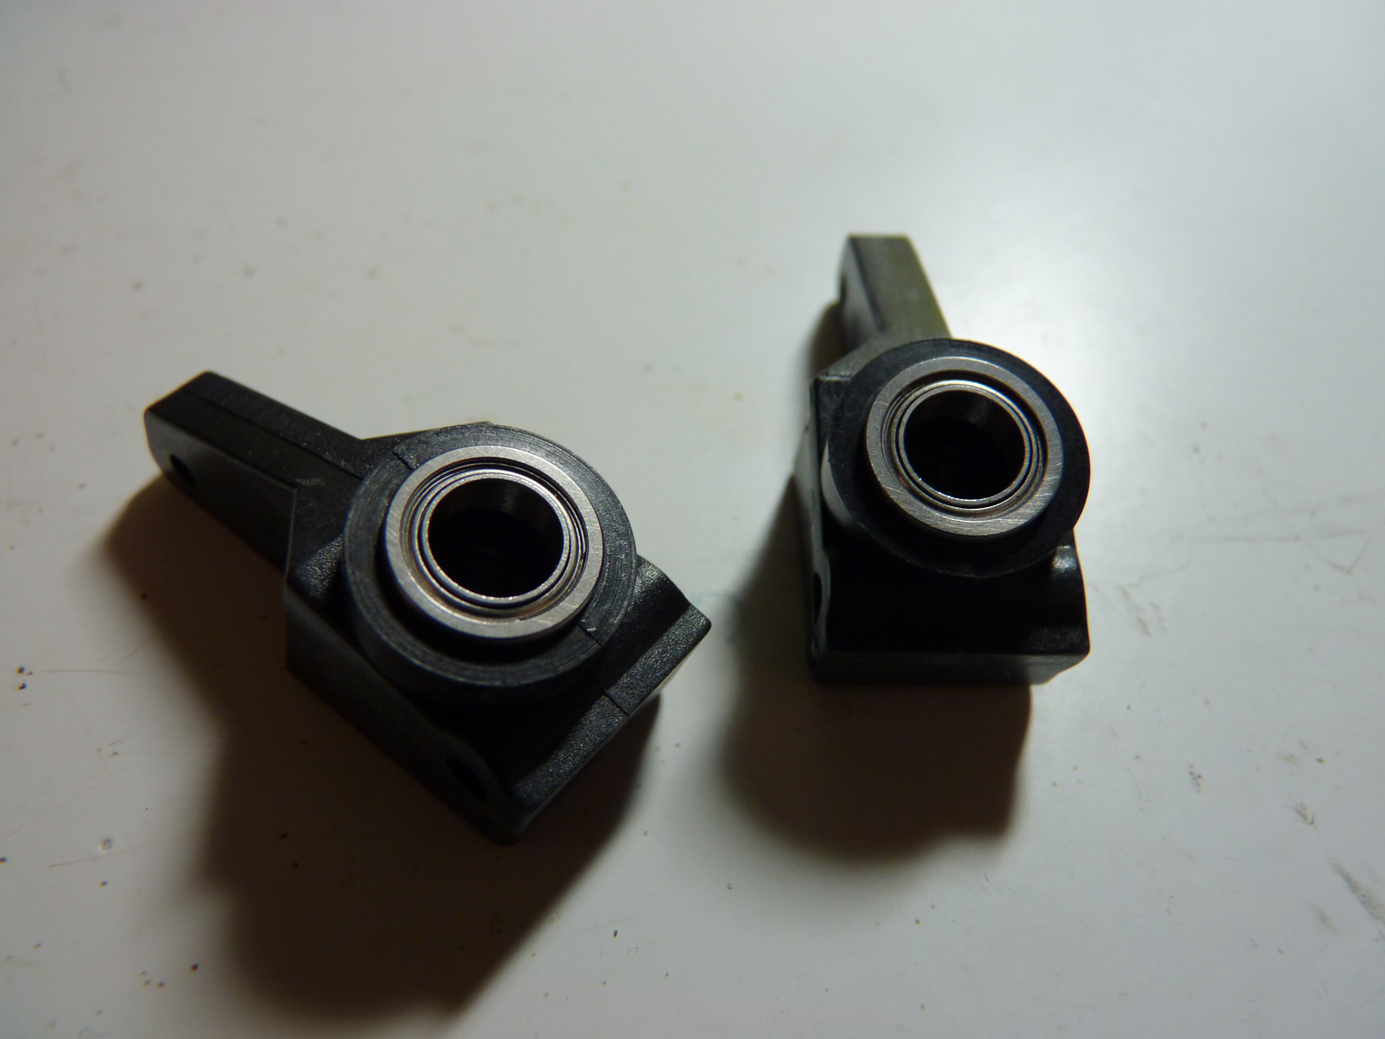
Then install the hubs on the vehicle.
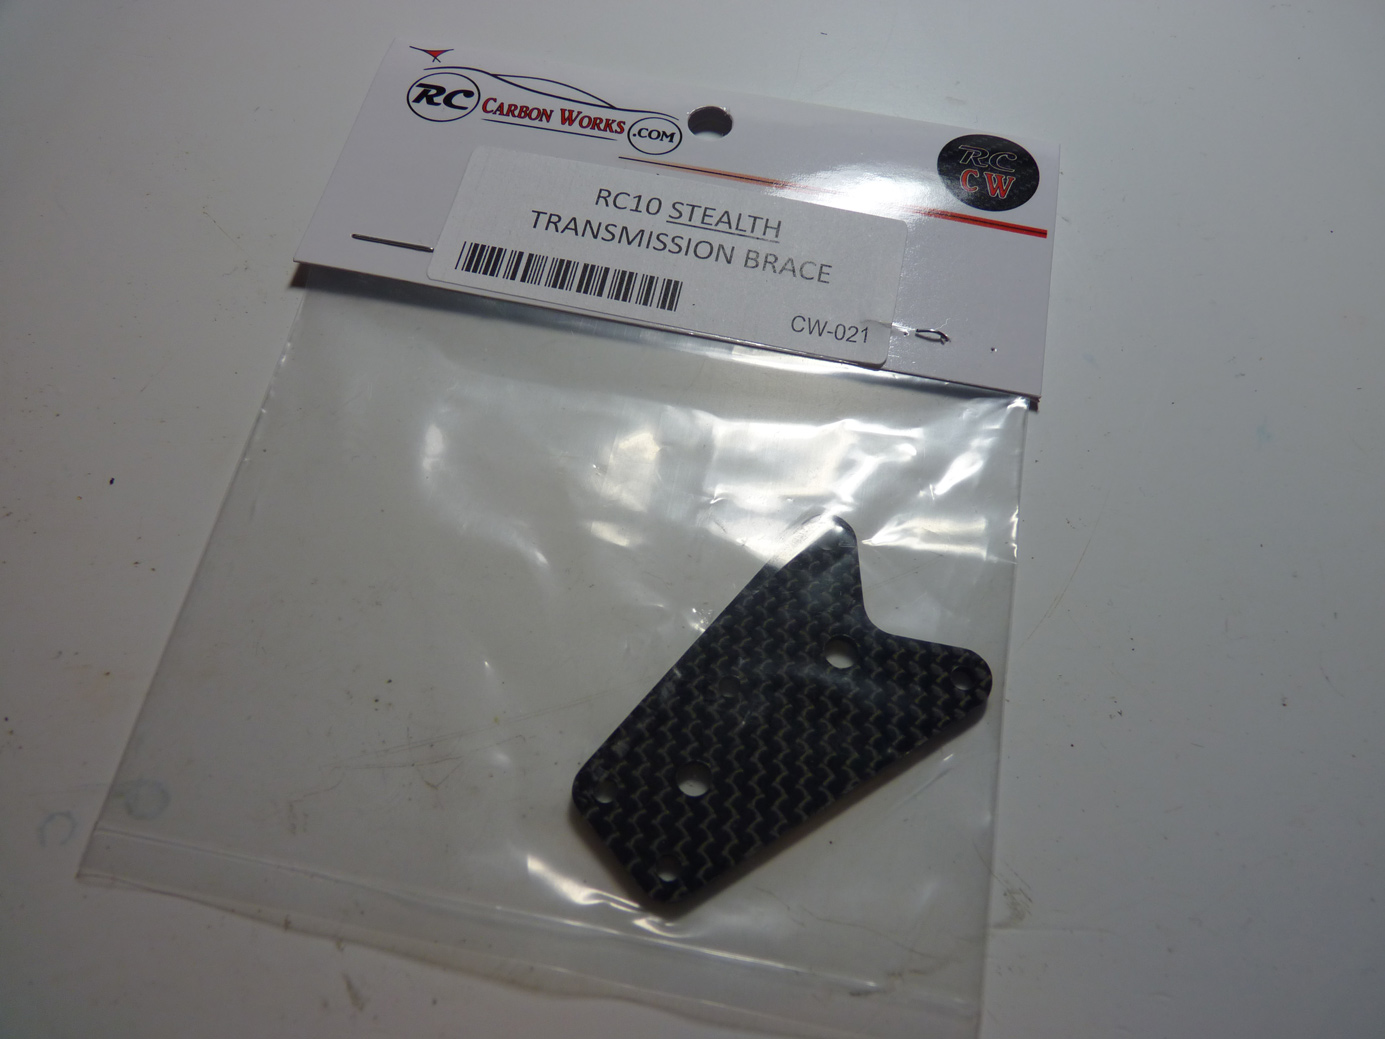
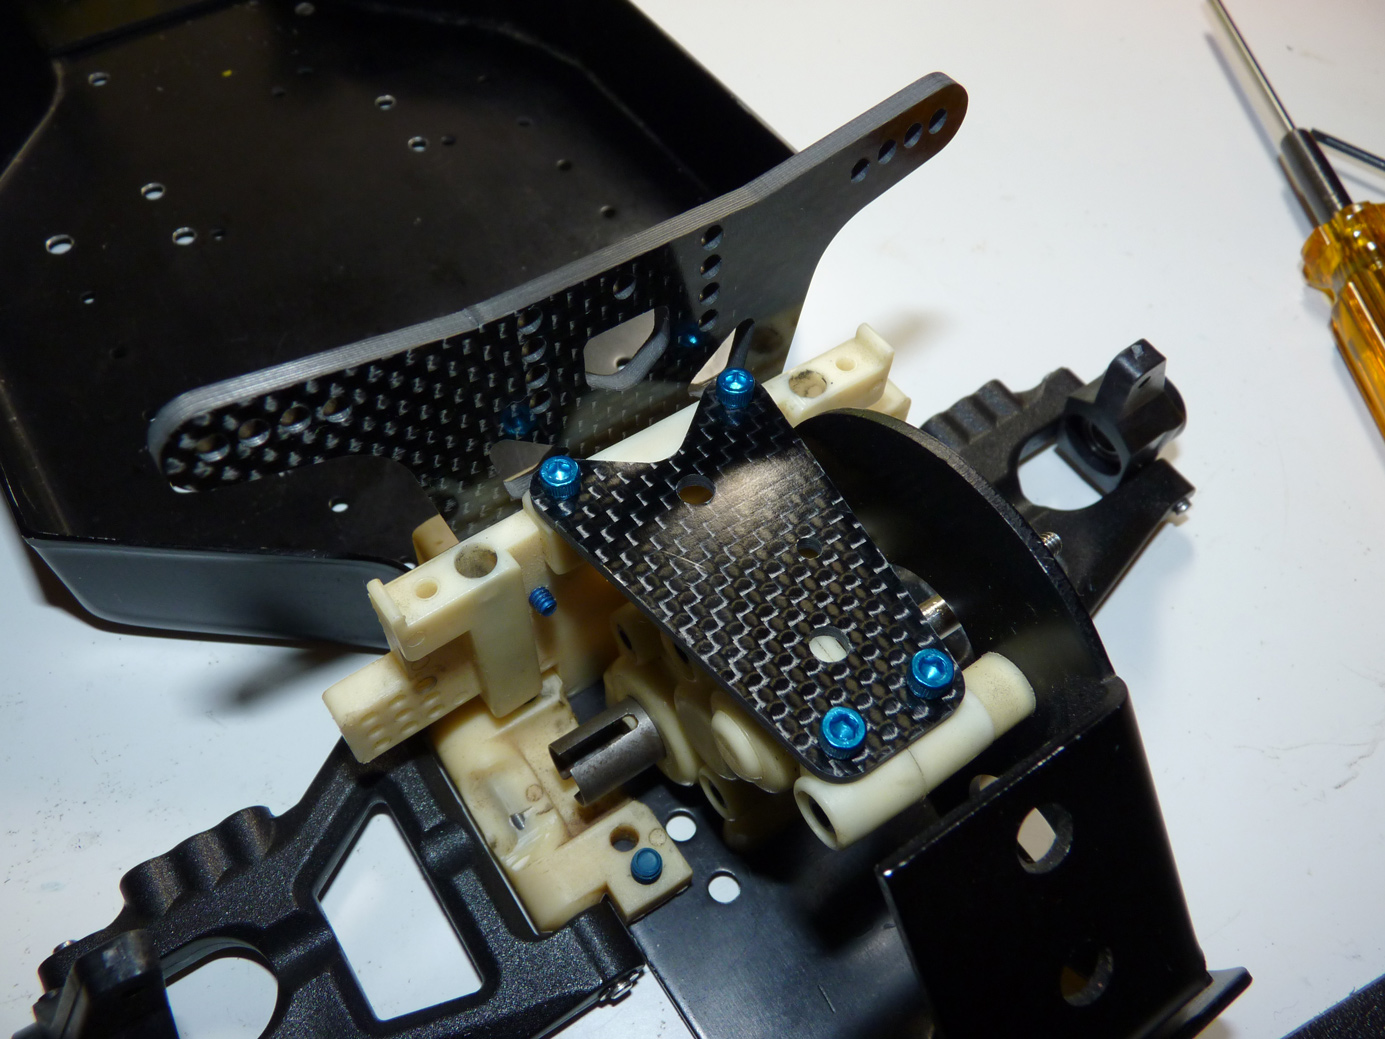
Next up is the RC Carbon Works Stealth Transmission Brace. It’s a plate that connects the transmission to the rear bulkhead. The read body mount also attaches to it.
Fits like a glove.
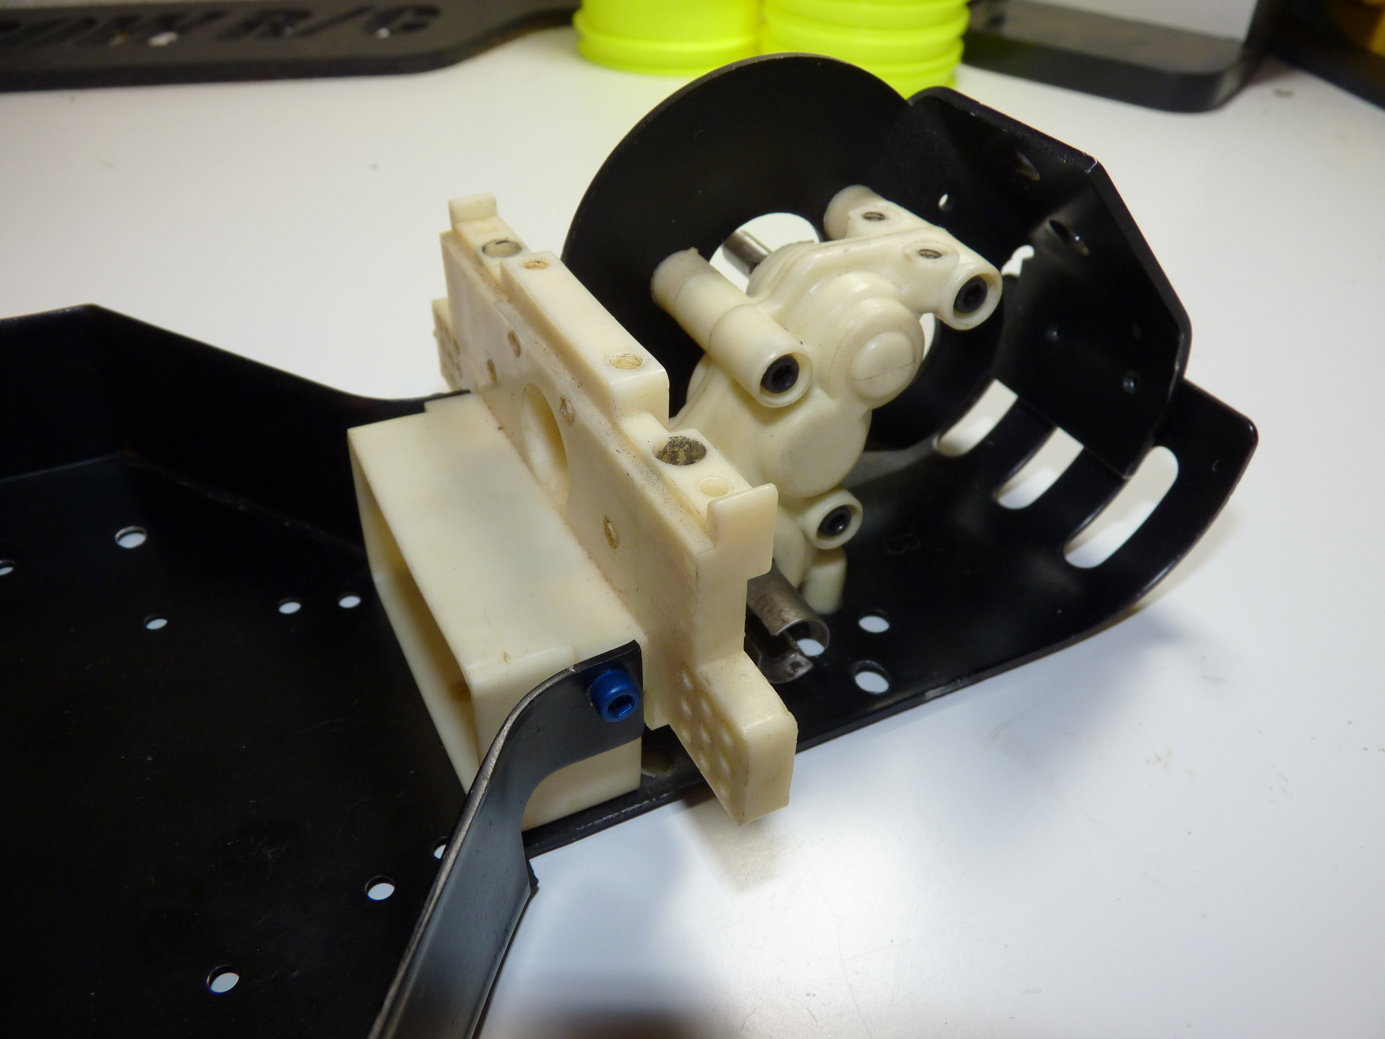
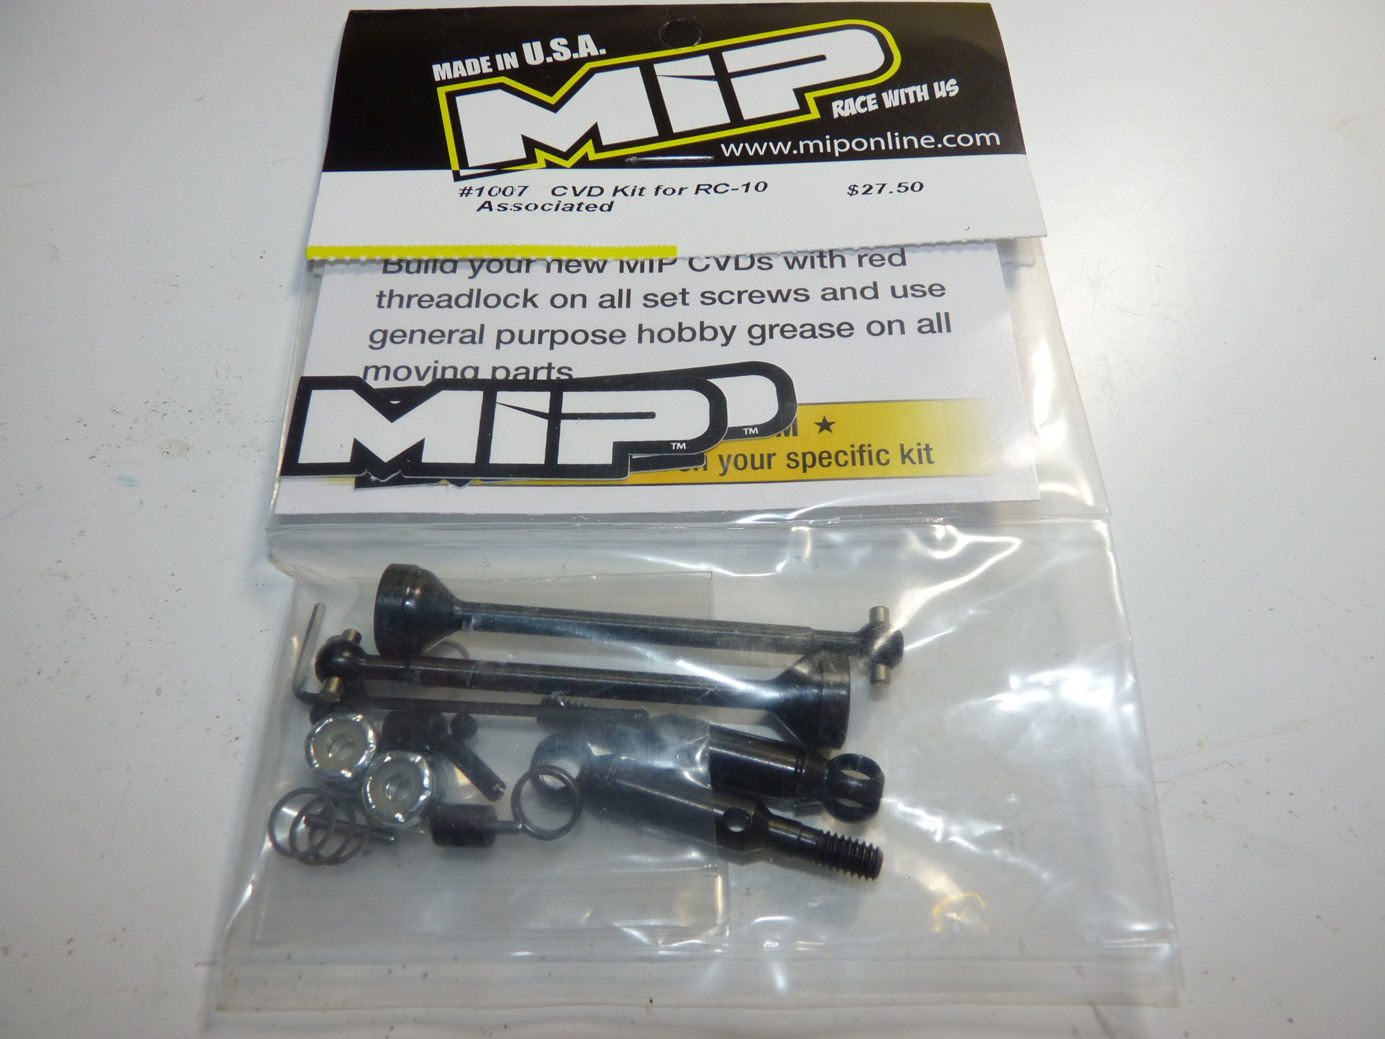
Now we have the MIP CVD kit. Again, this is still made today and readily available at most distributors or direct from MIP.
More exciting build up action on the next page!
 Posted in
  Tags:
Tags:
Nice build up! Good luck at VNats. Gotta say that its kinda like sacrilege to see K shocks on an old AE!