

 September 1st, 2013
  Kevin
Kevin
I mentioned my rear camber was a little off right?
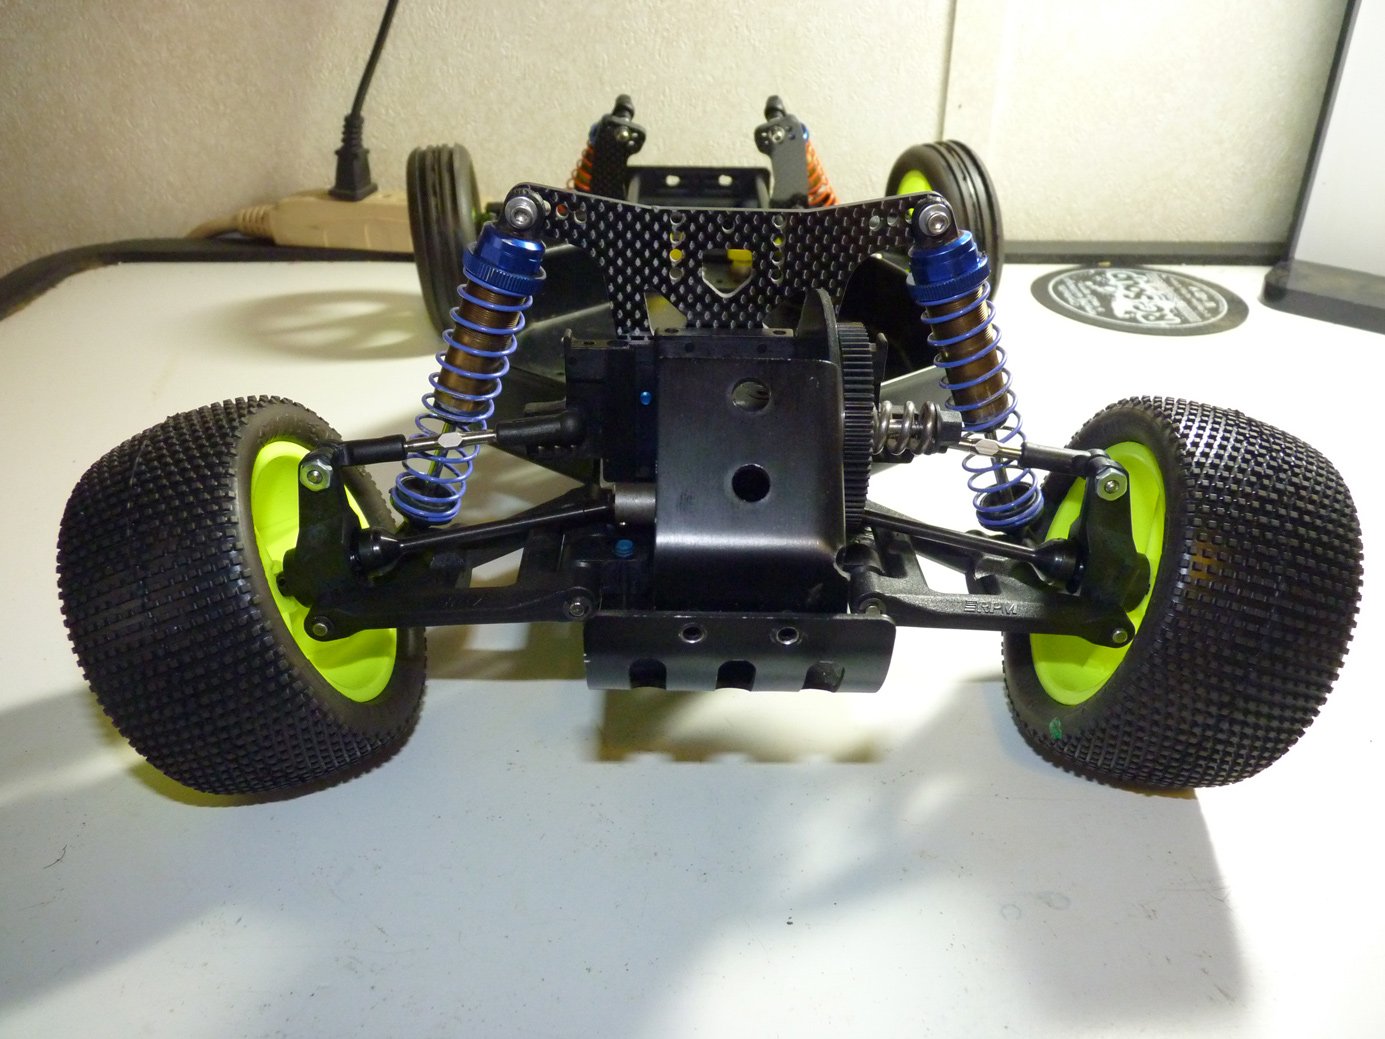
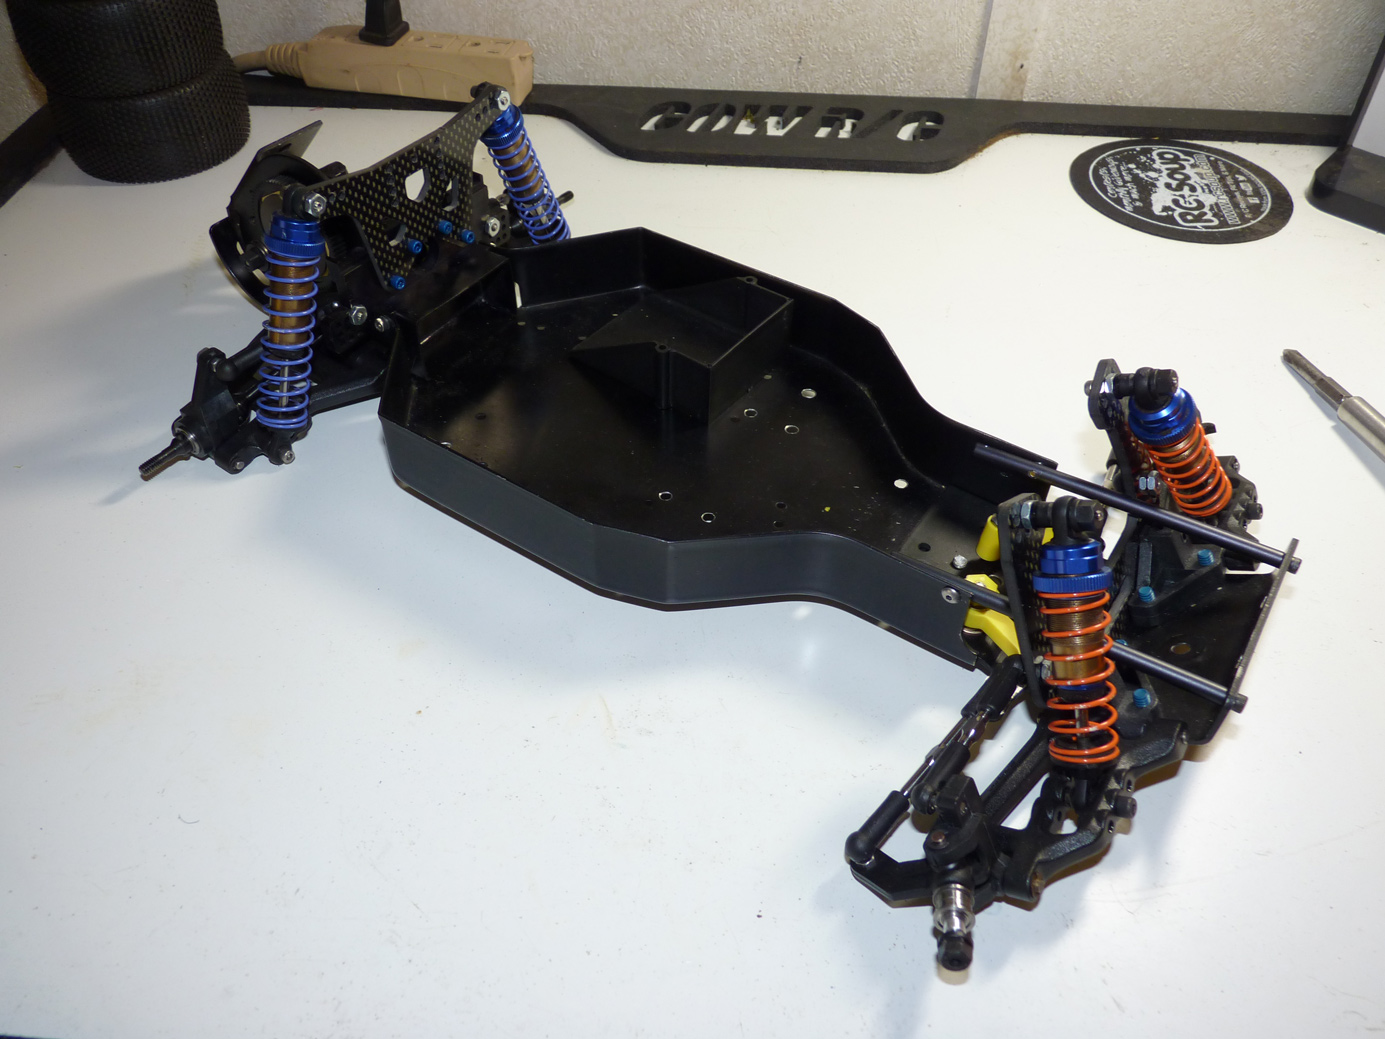
I ended up shortening my turnbuckles with a dremel tool to get approximately the same length as the fronts. Much better.
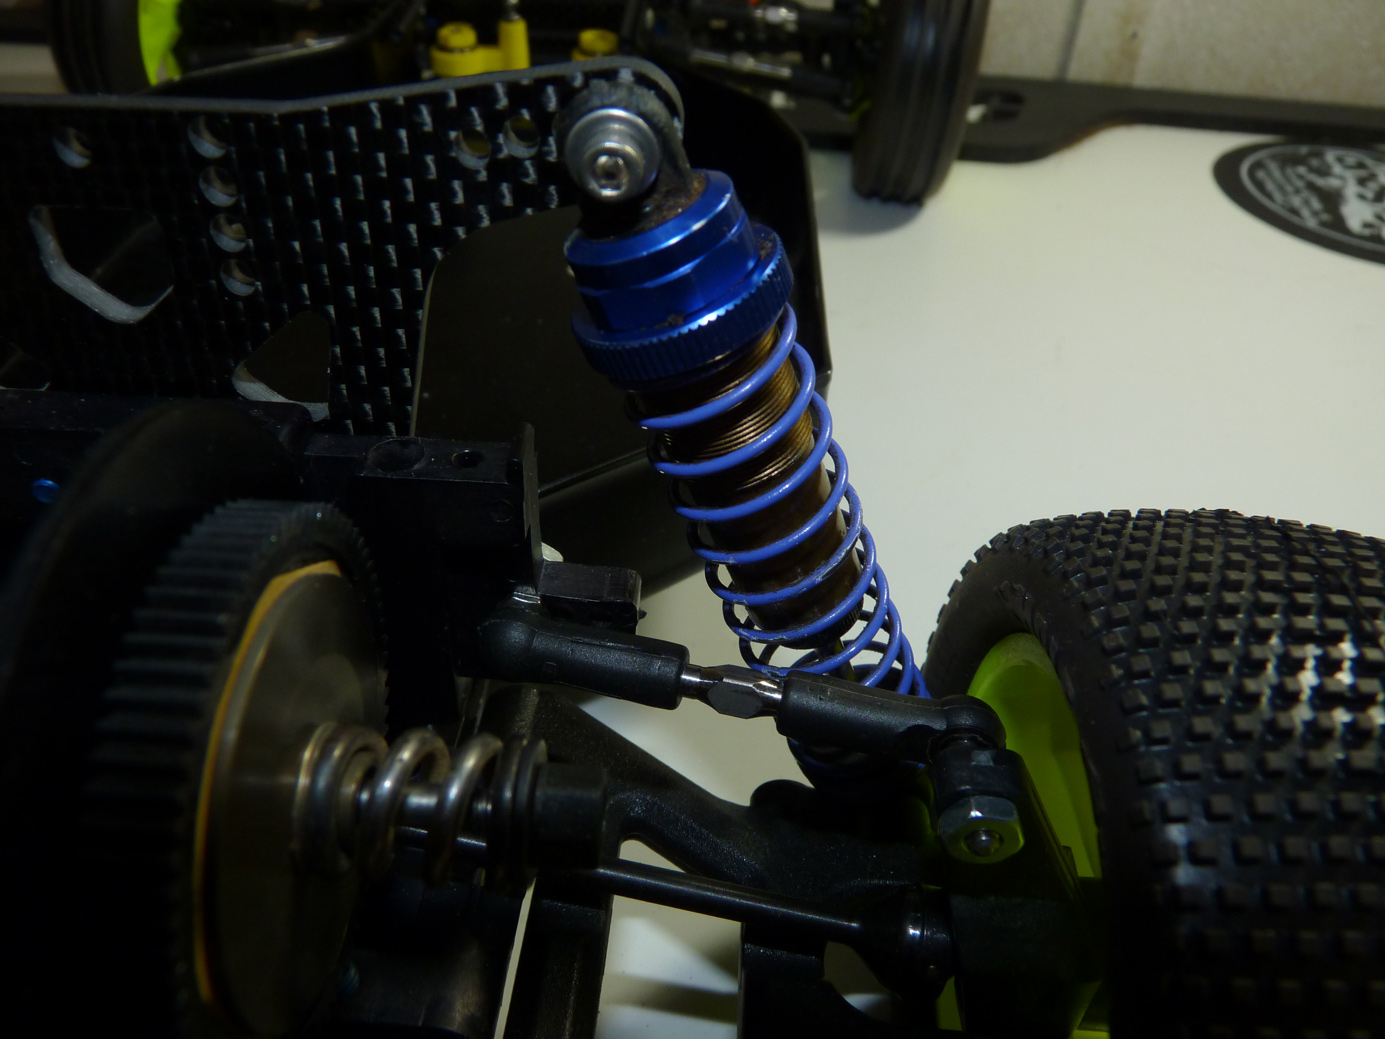
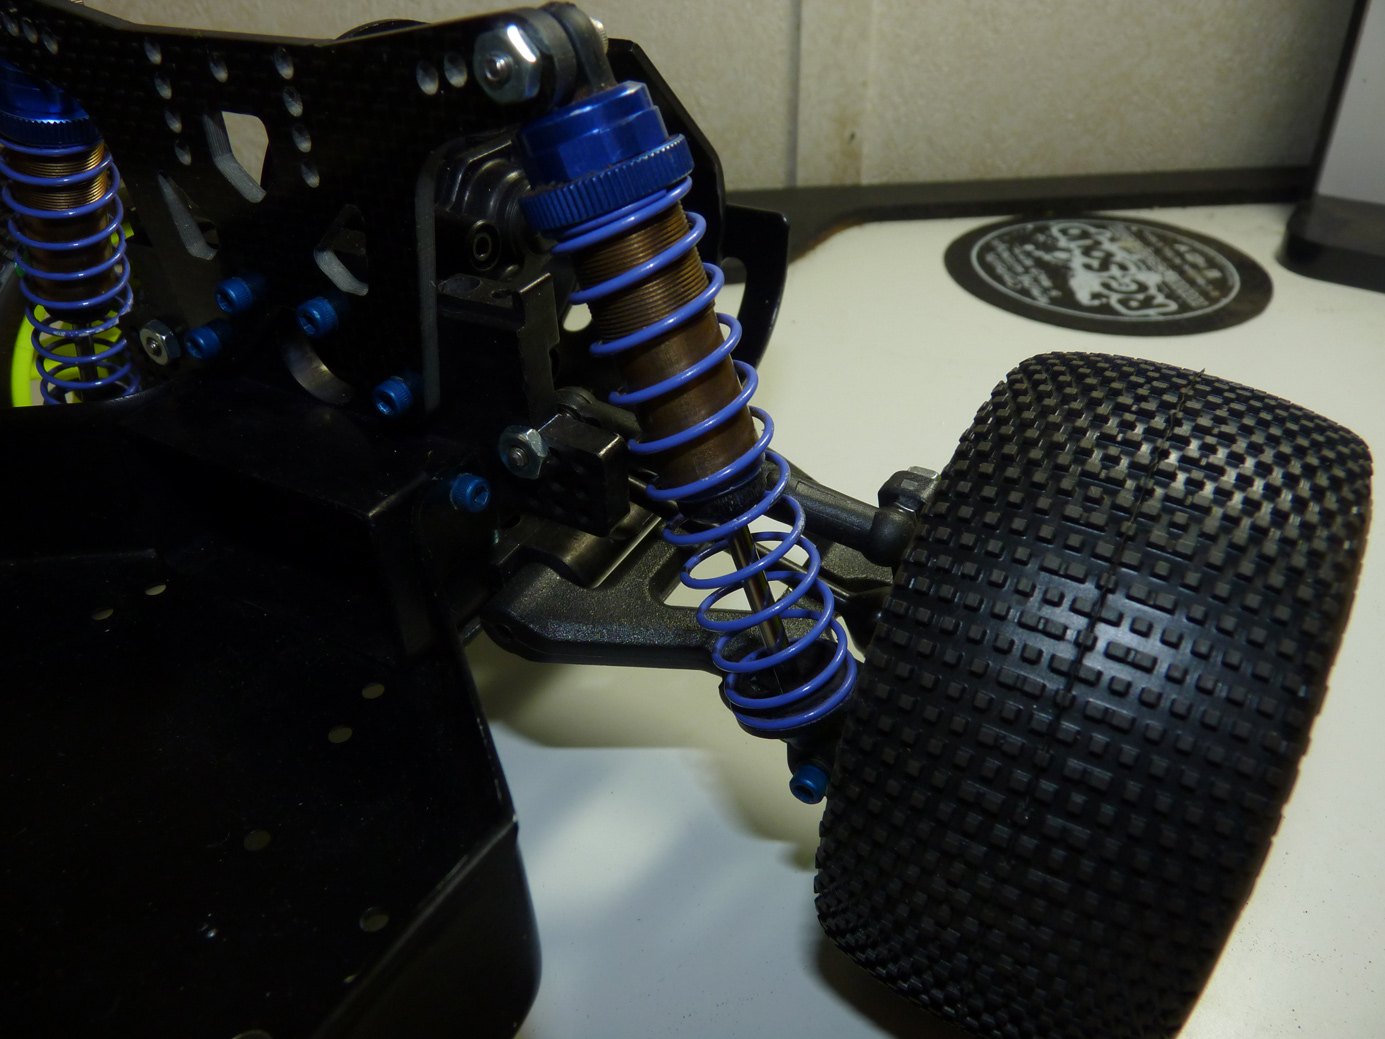
Here you can see how the rear shocks are mounted as well. Apparently I was in such a hurry to get it mocked up with body that I forgot to shoot that portion earlier.
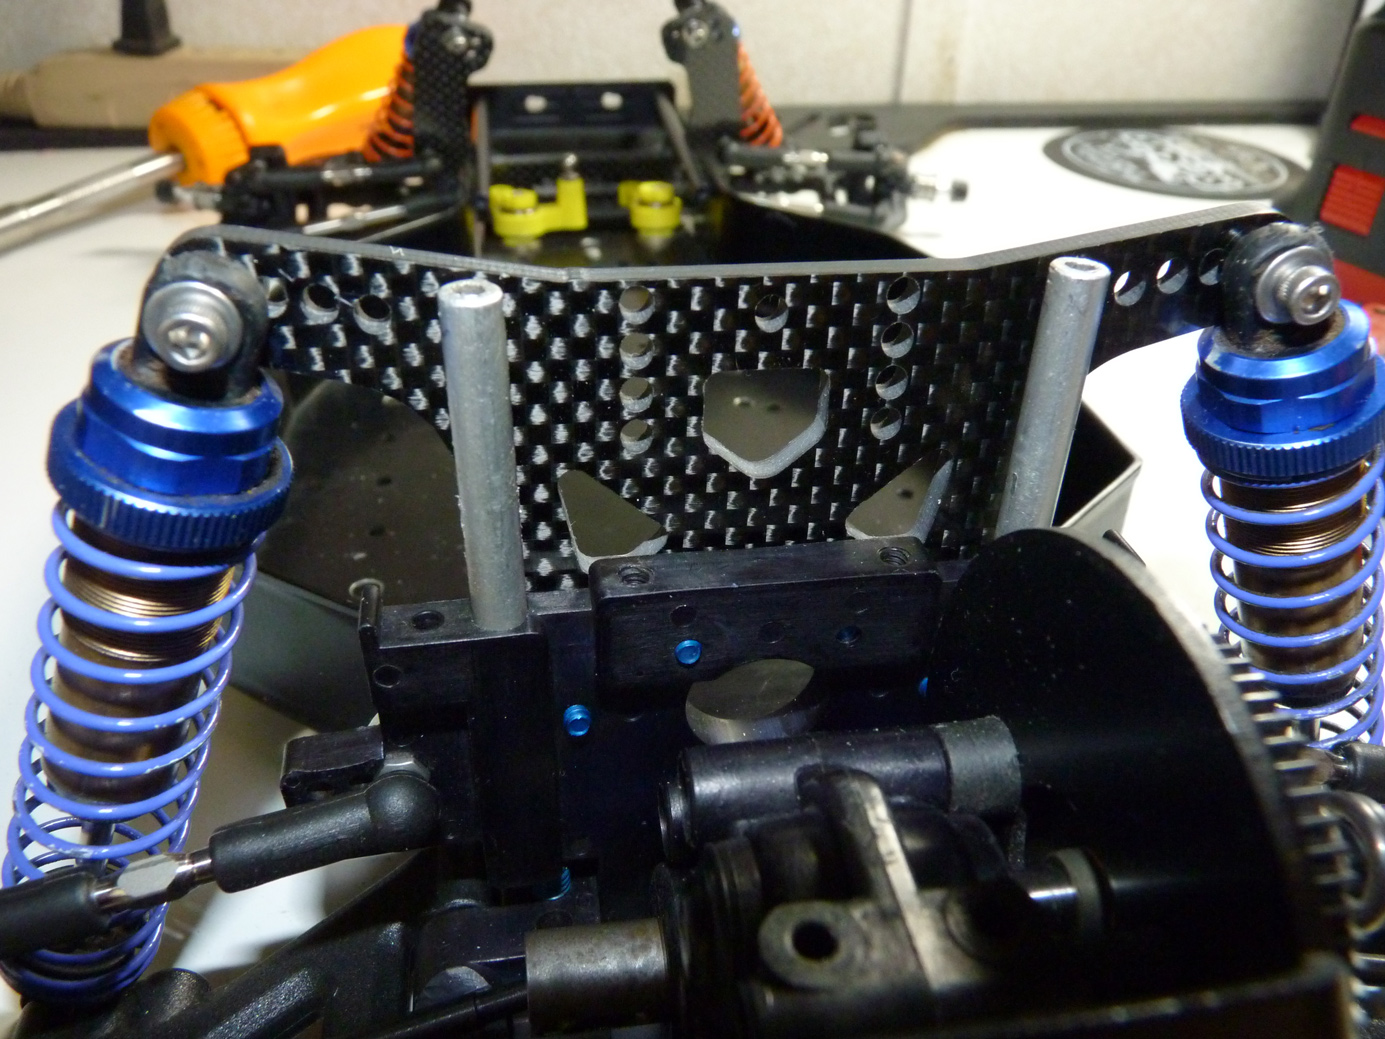
Time to do the electronics finally. I saw what Jarodd did with his RC10T and decided to do the same instead of messing with the shorty pack. Basically this bottom part of the rear bulkhead needs to be cutout to allow a standard Lipo battery to fit.
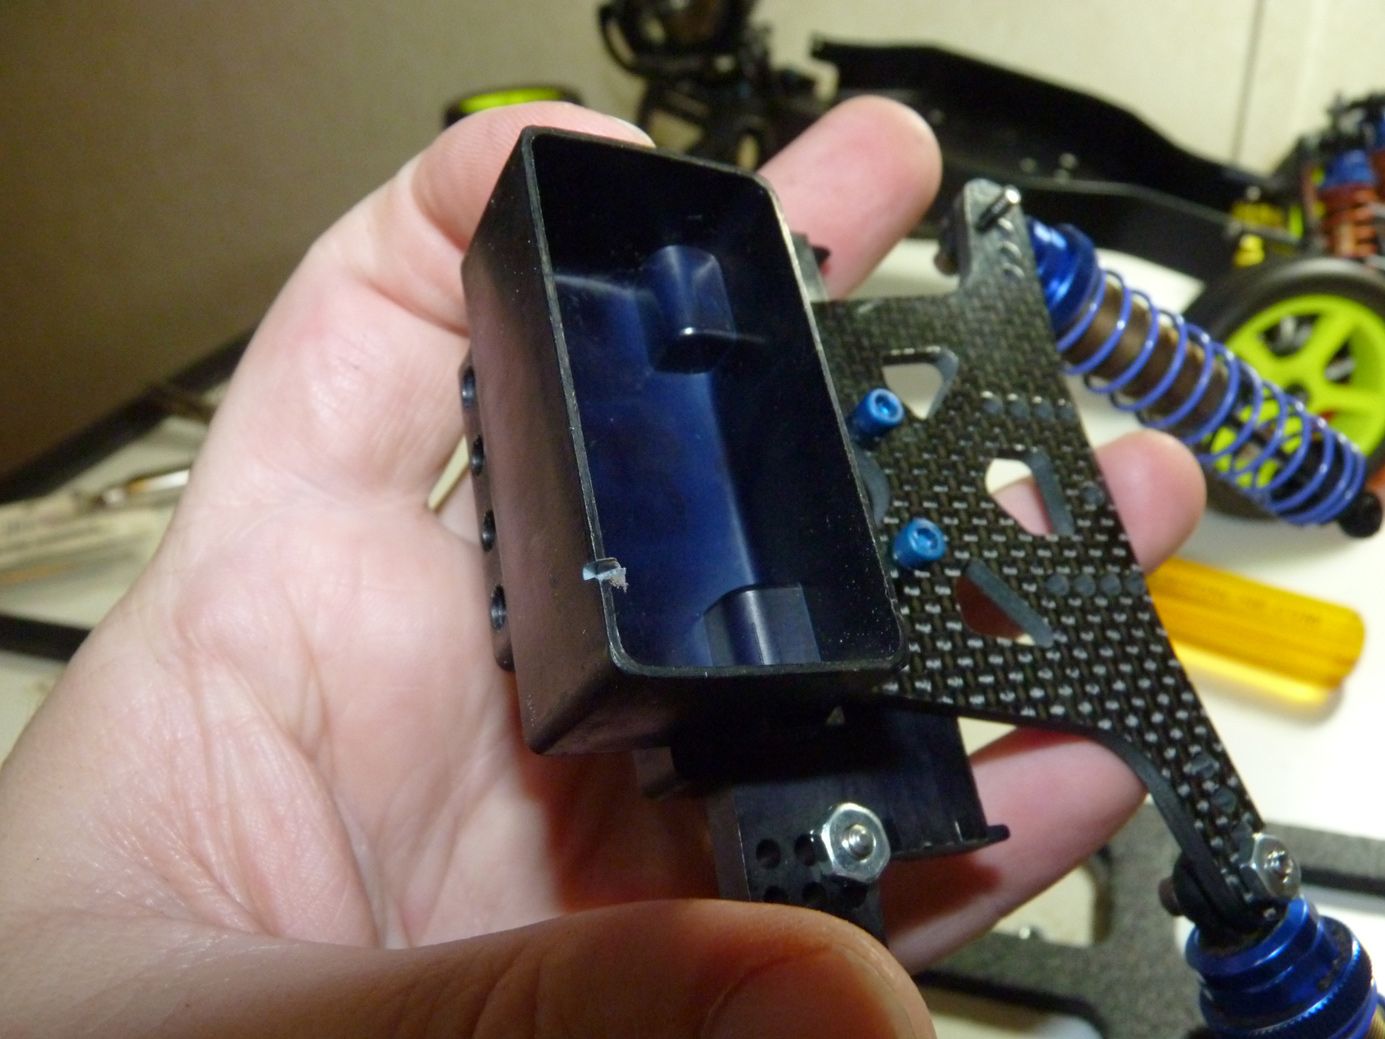
A few seconds later with a dremel and it’s all cut and ready to be smoothed out and reinstalled.

Next I mocked up the battery cup.
Then I got disctracted and decided to install the wing tubes first. I cleaned these up from the original buggy.
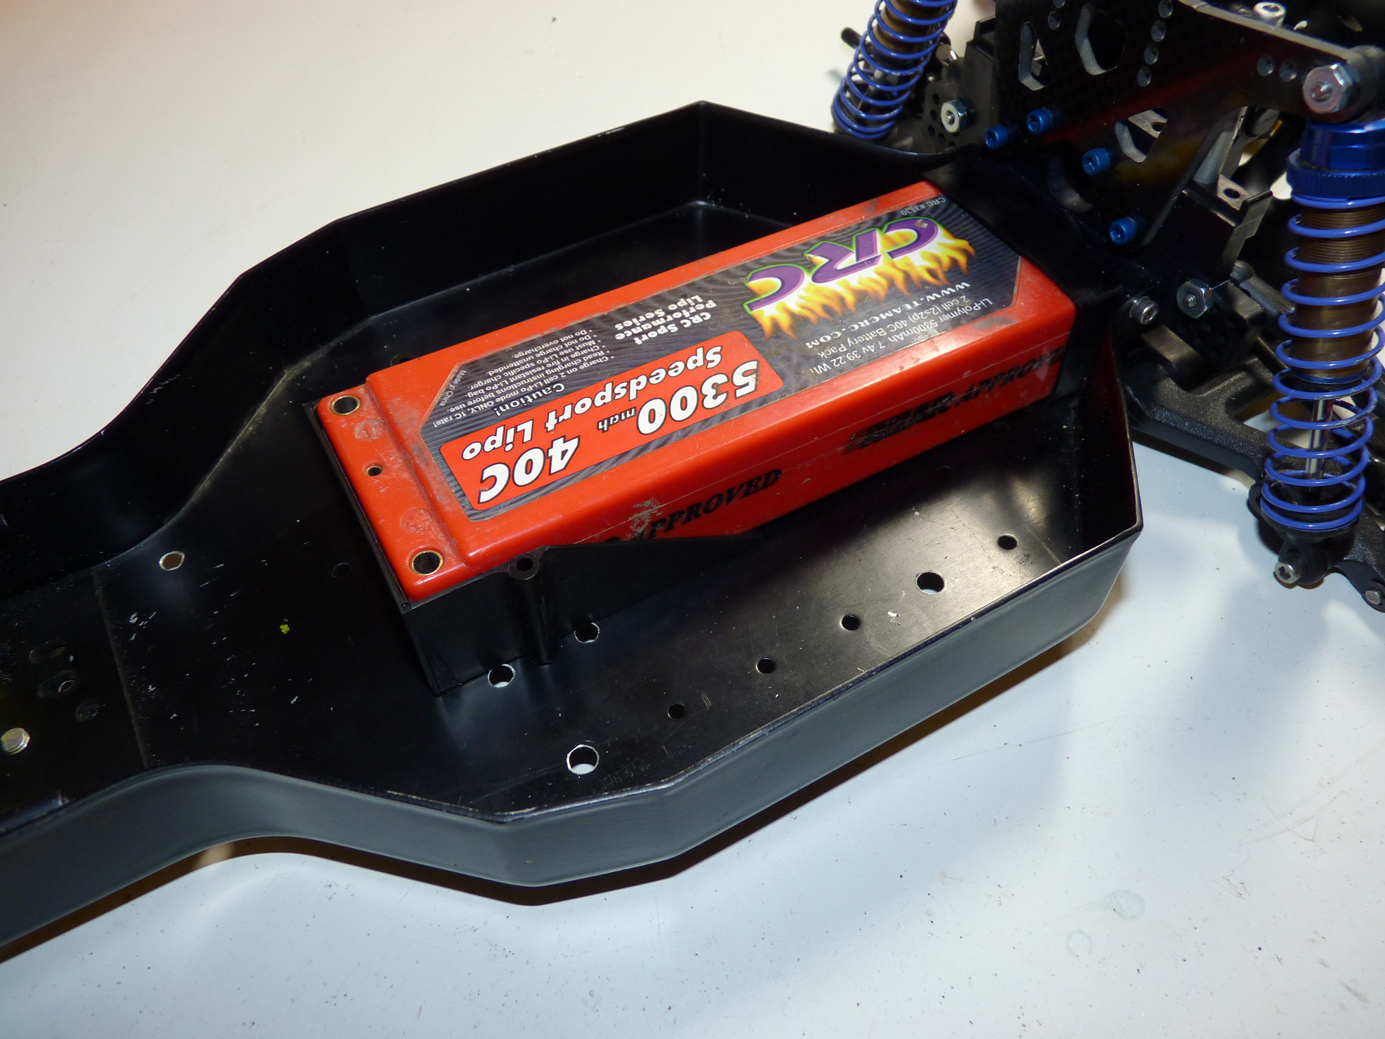
So.. Lipo installed with front battery cup. Looks like we have to drill a new set of holes. Exactly what I wanted to avoid. Notice how the cup doesn’t line up with either set of holes already in the chassis.
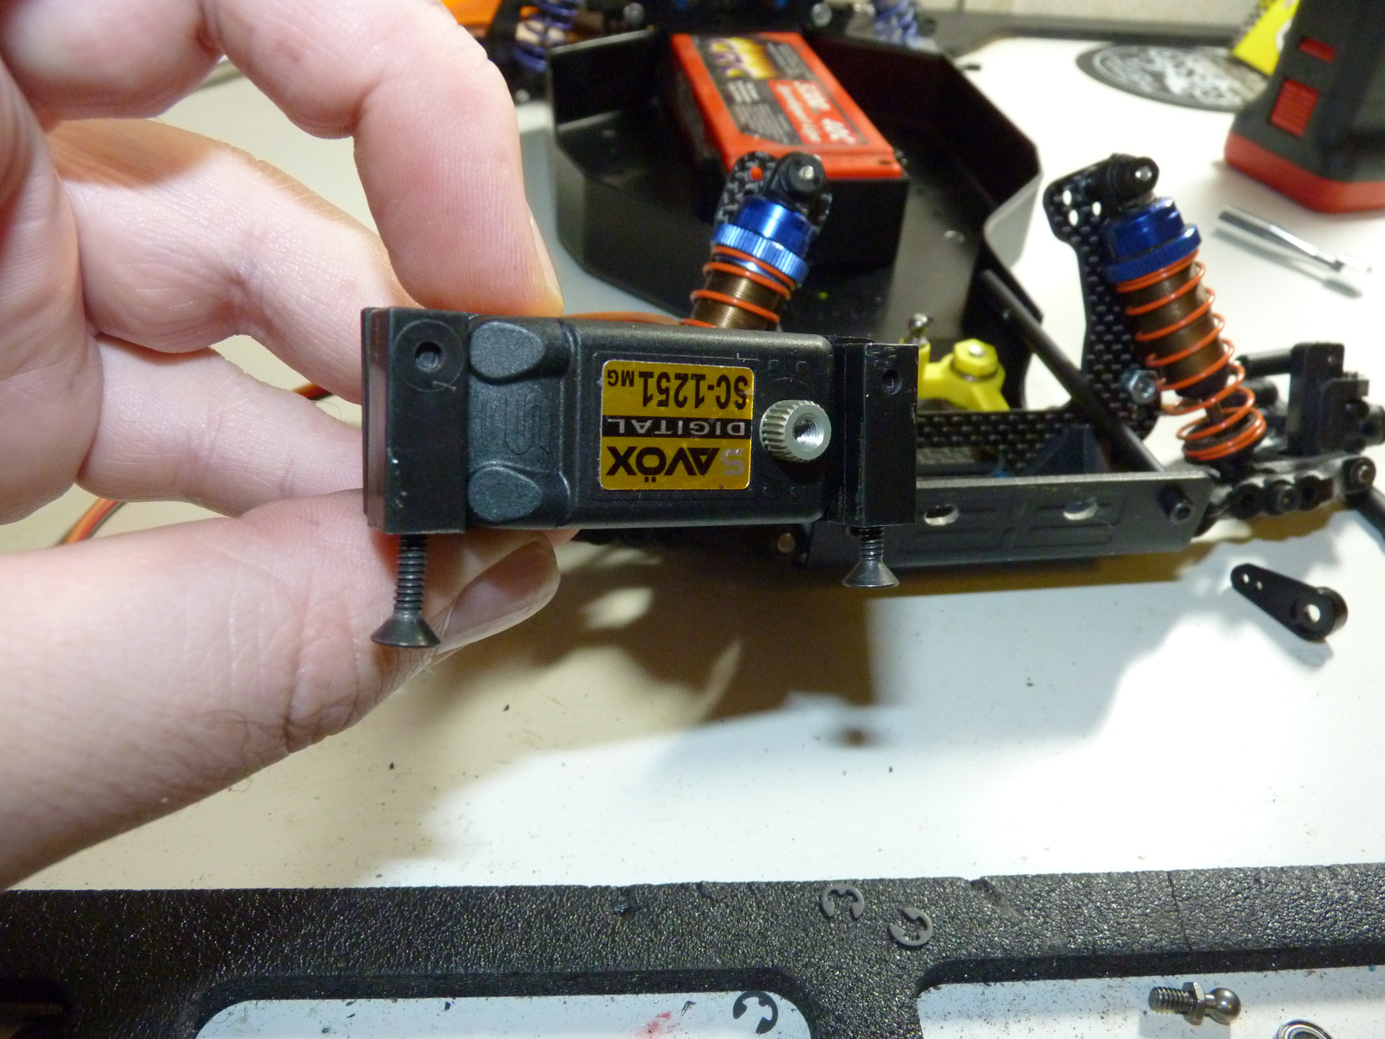
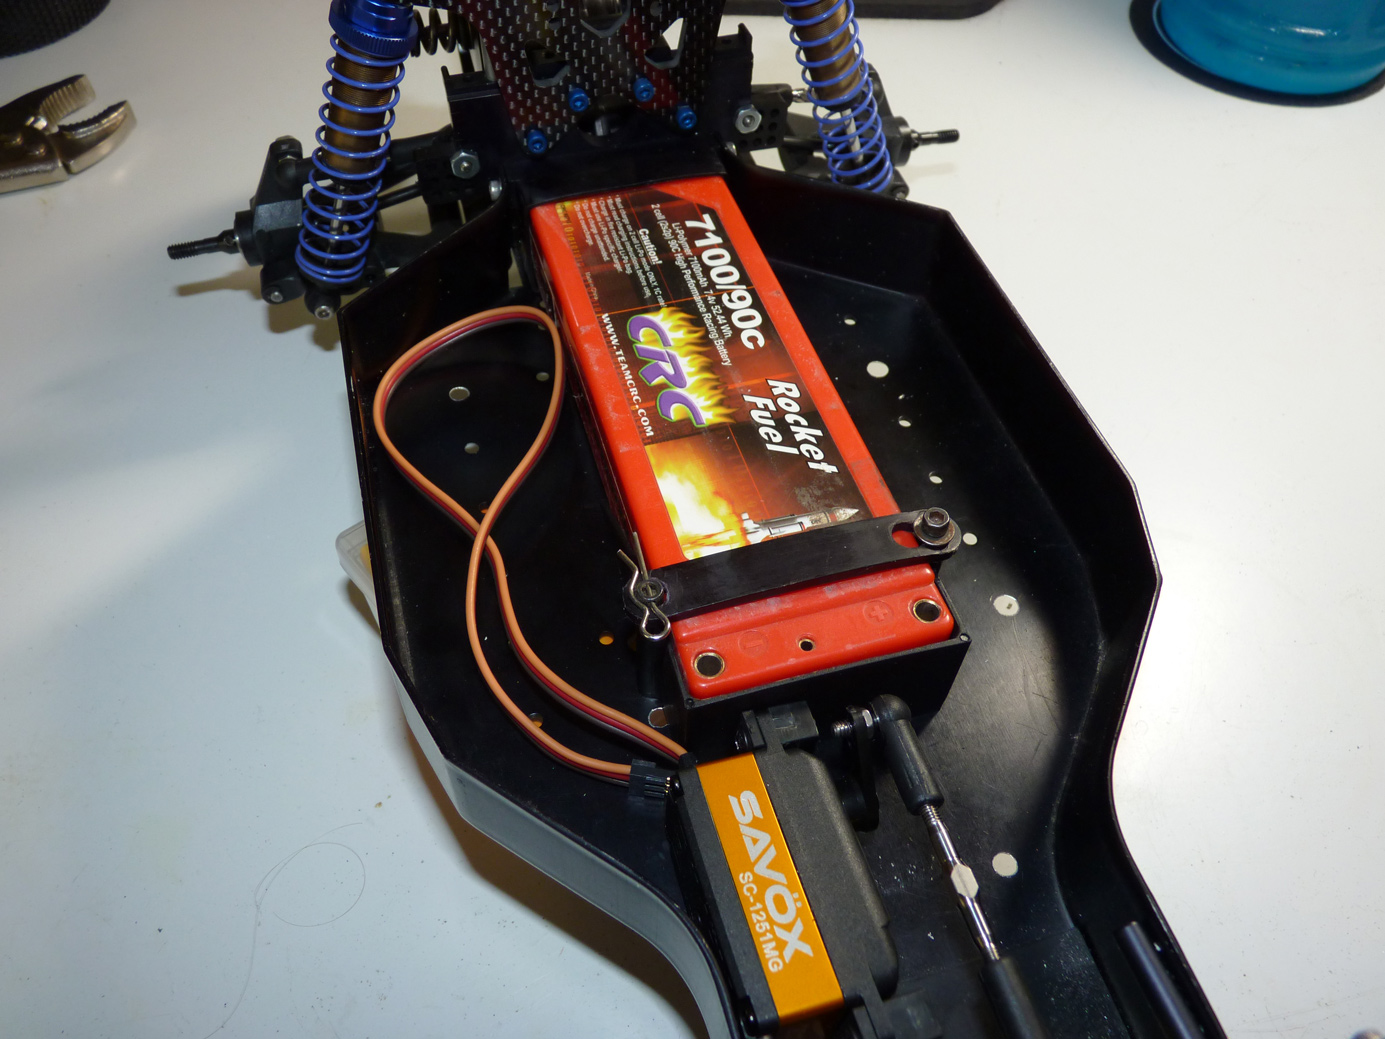
Jarodd told me to install the servo first and then drill the holes for the cup so it rests against the servo (or close), so I did that first. We’re rockin the Savox SC-1251MG Low Profile servo. I see a lot of guys run this servo in modern race buggies. It’s shorter, lighter, and still plenty fast and strong. I don’t see a reason why this wouldn’t be an excellent servo for this RC10 build.
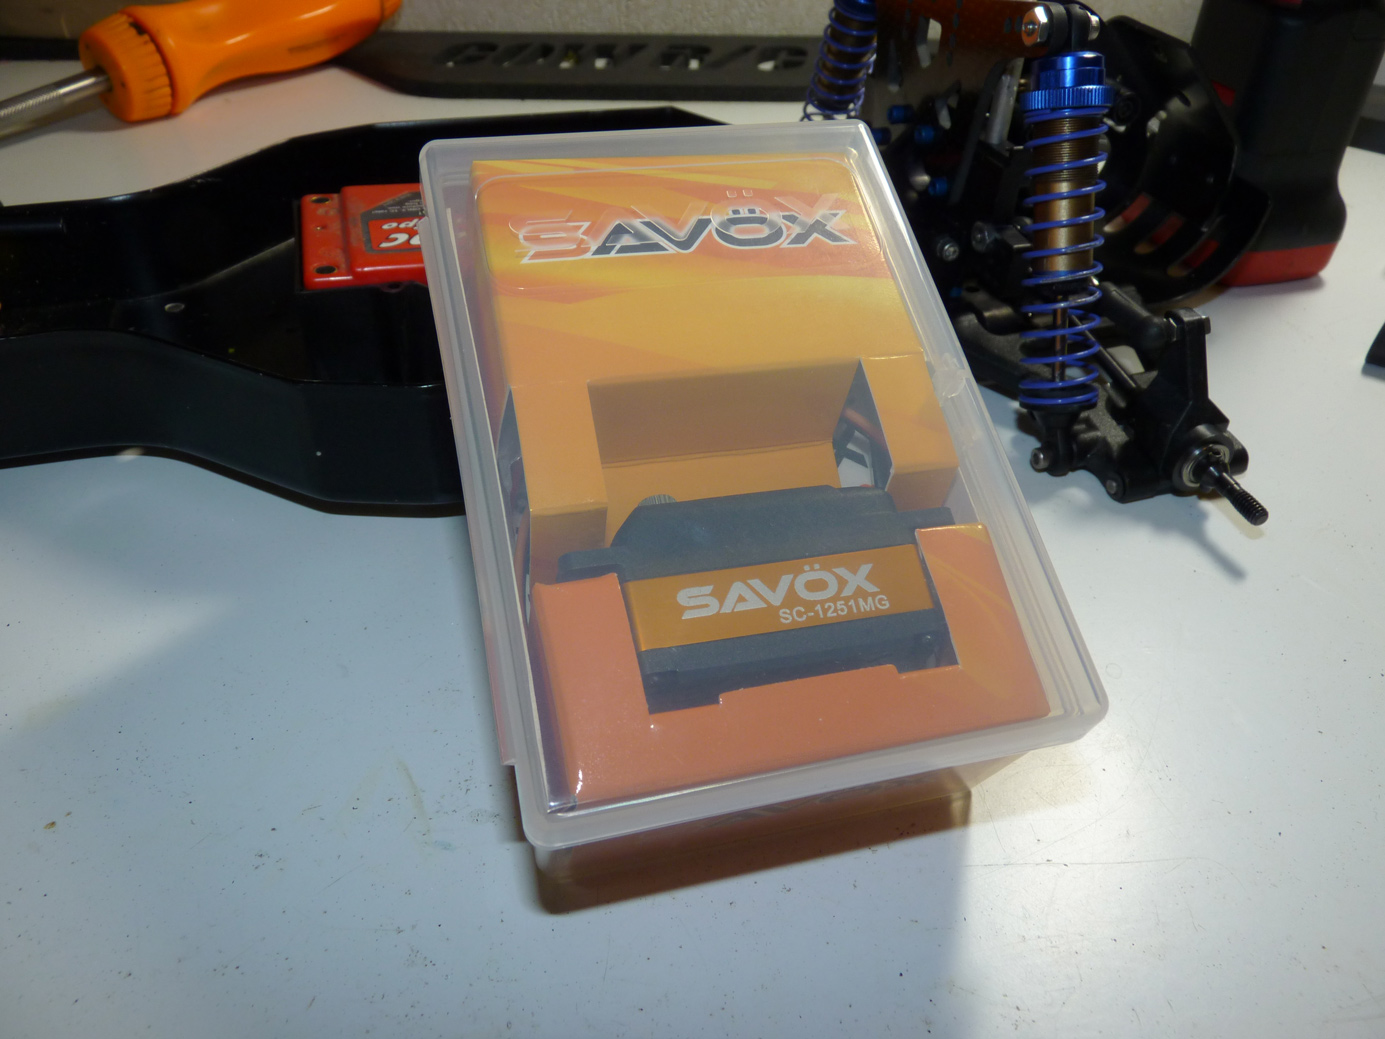
It’s a cute little thing.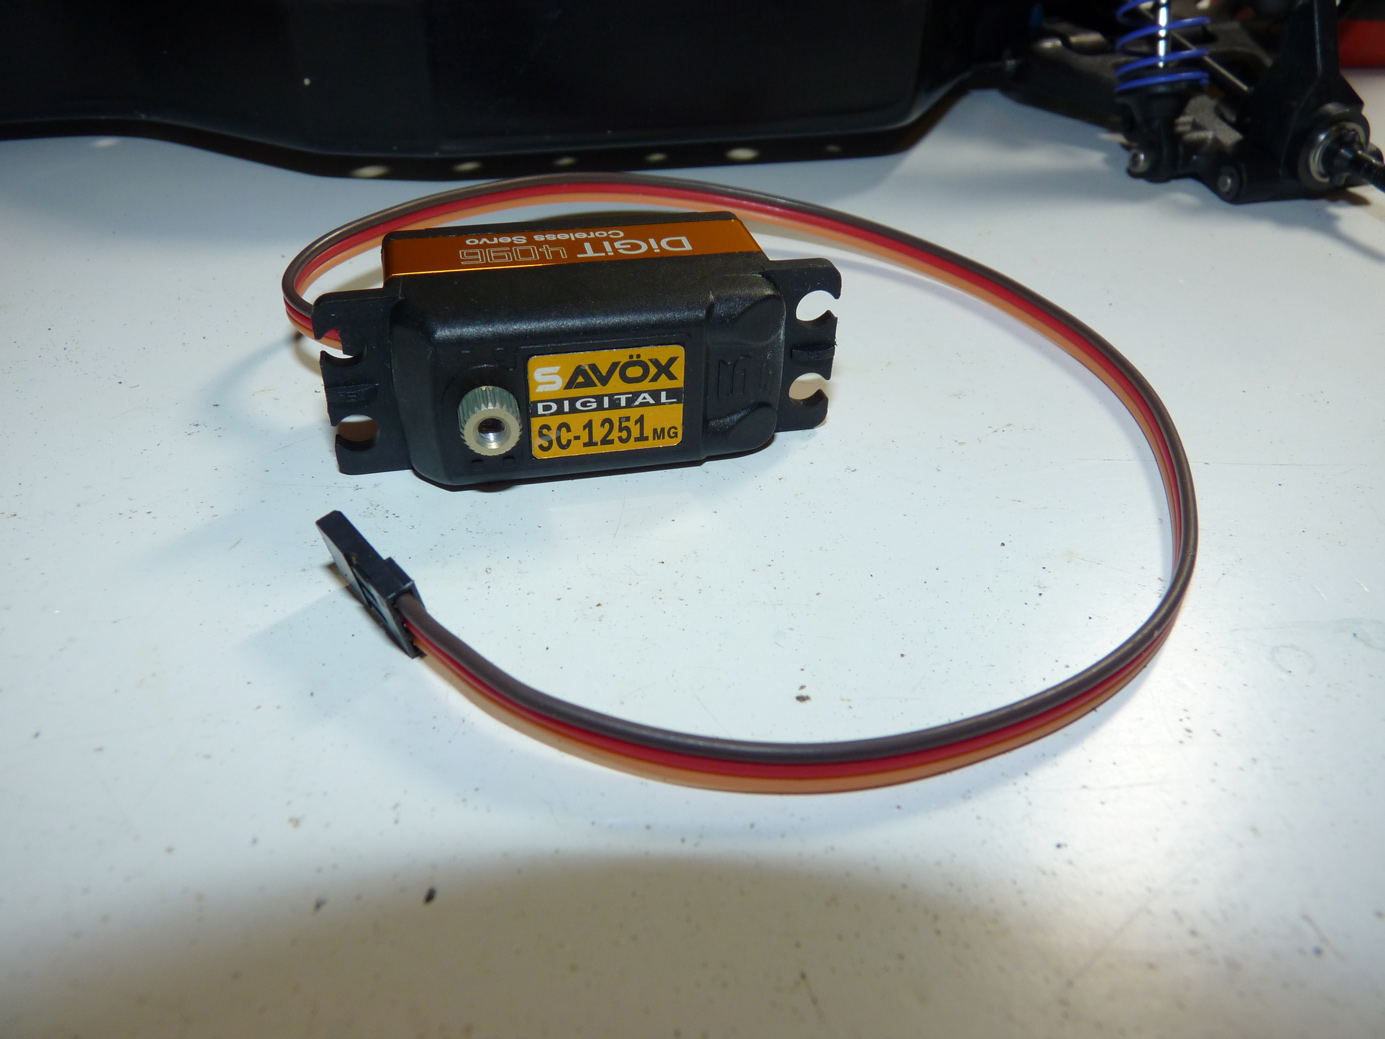
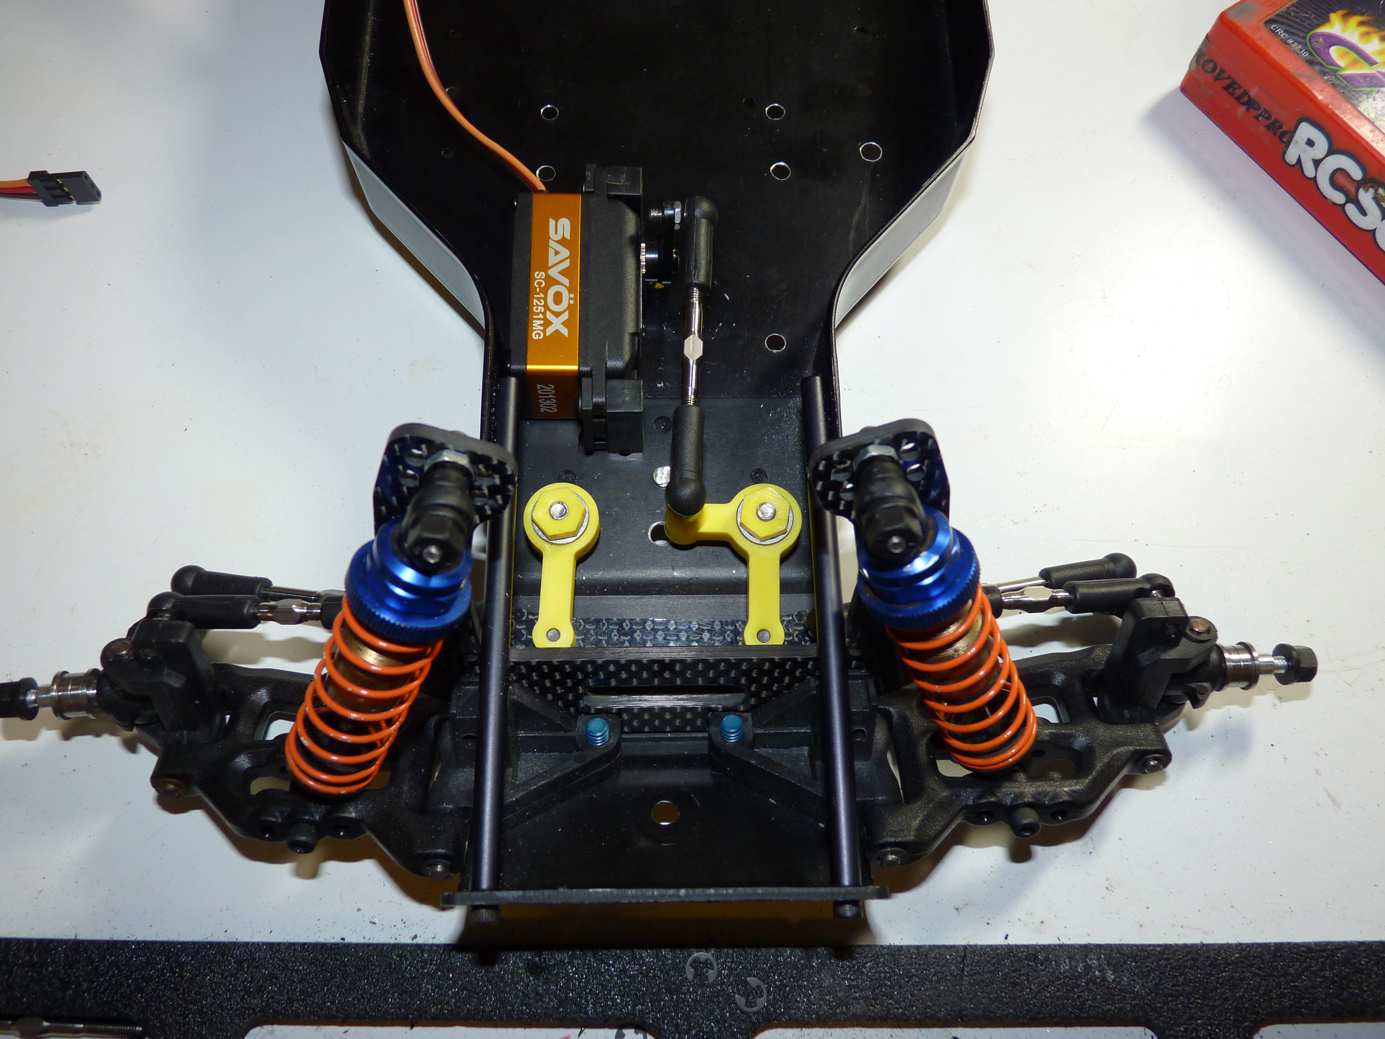
It looks like with the low profile, I can actually mount the servo on the backside of the servo mount, and have the steering linkage be perfectly in-line with no weird angles. Awesome!
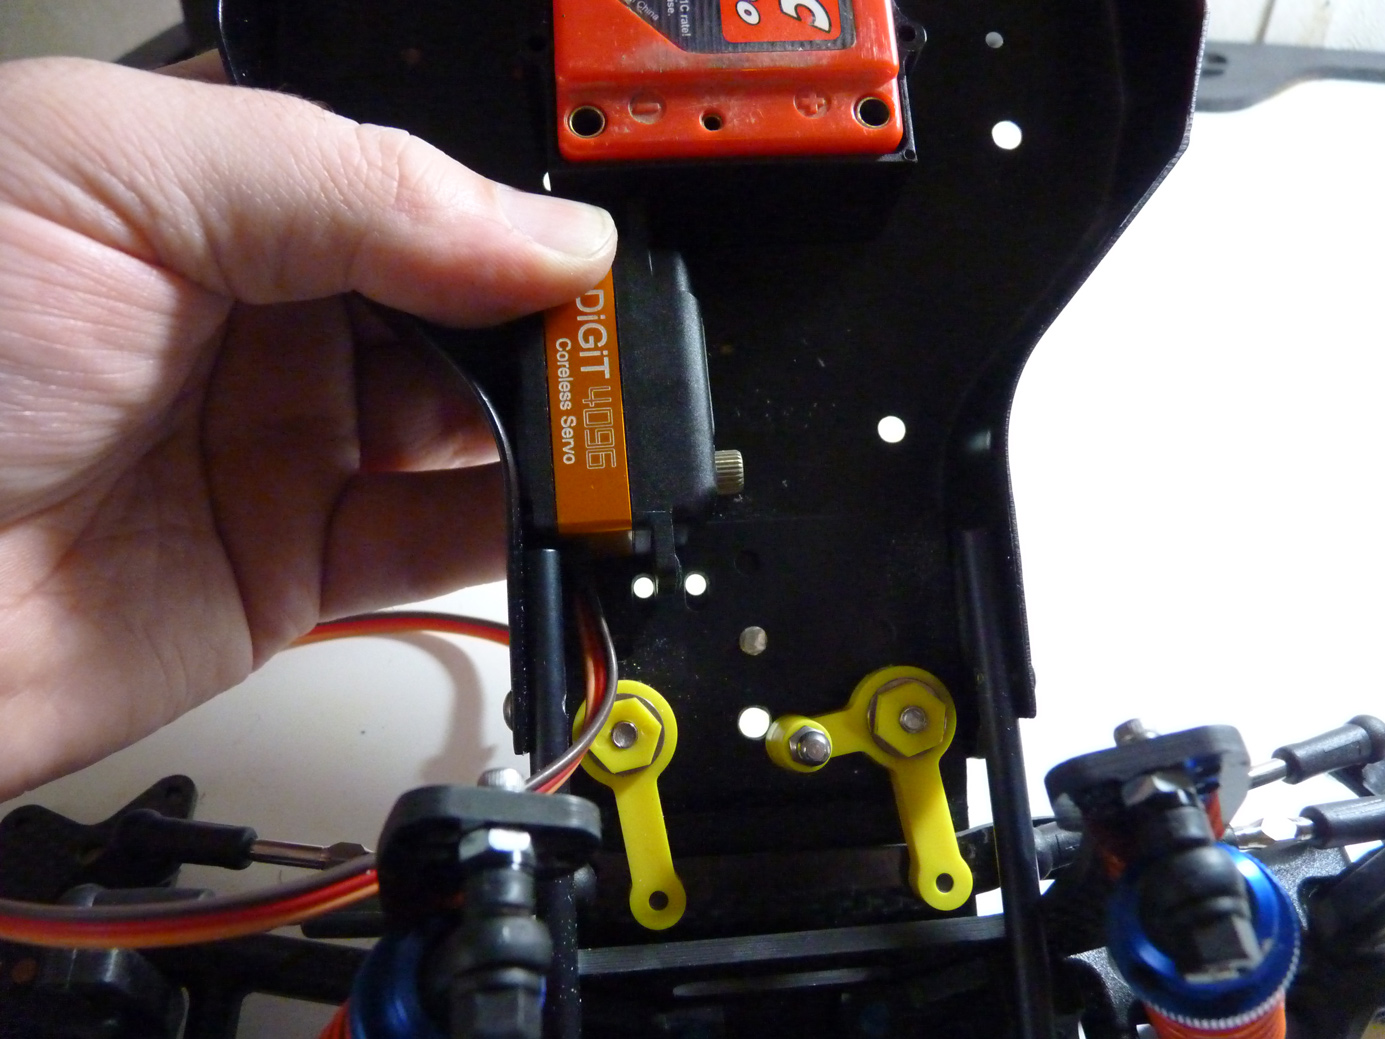
I was right!
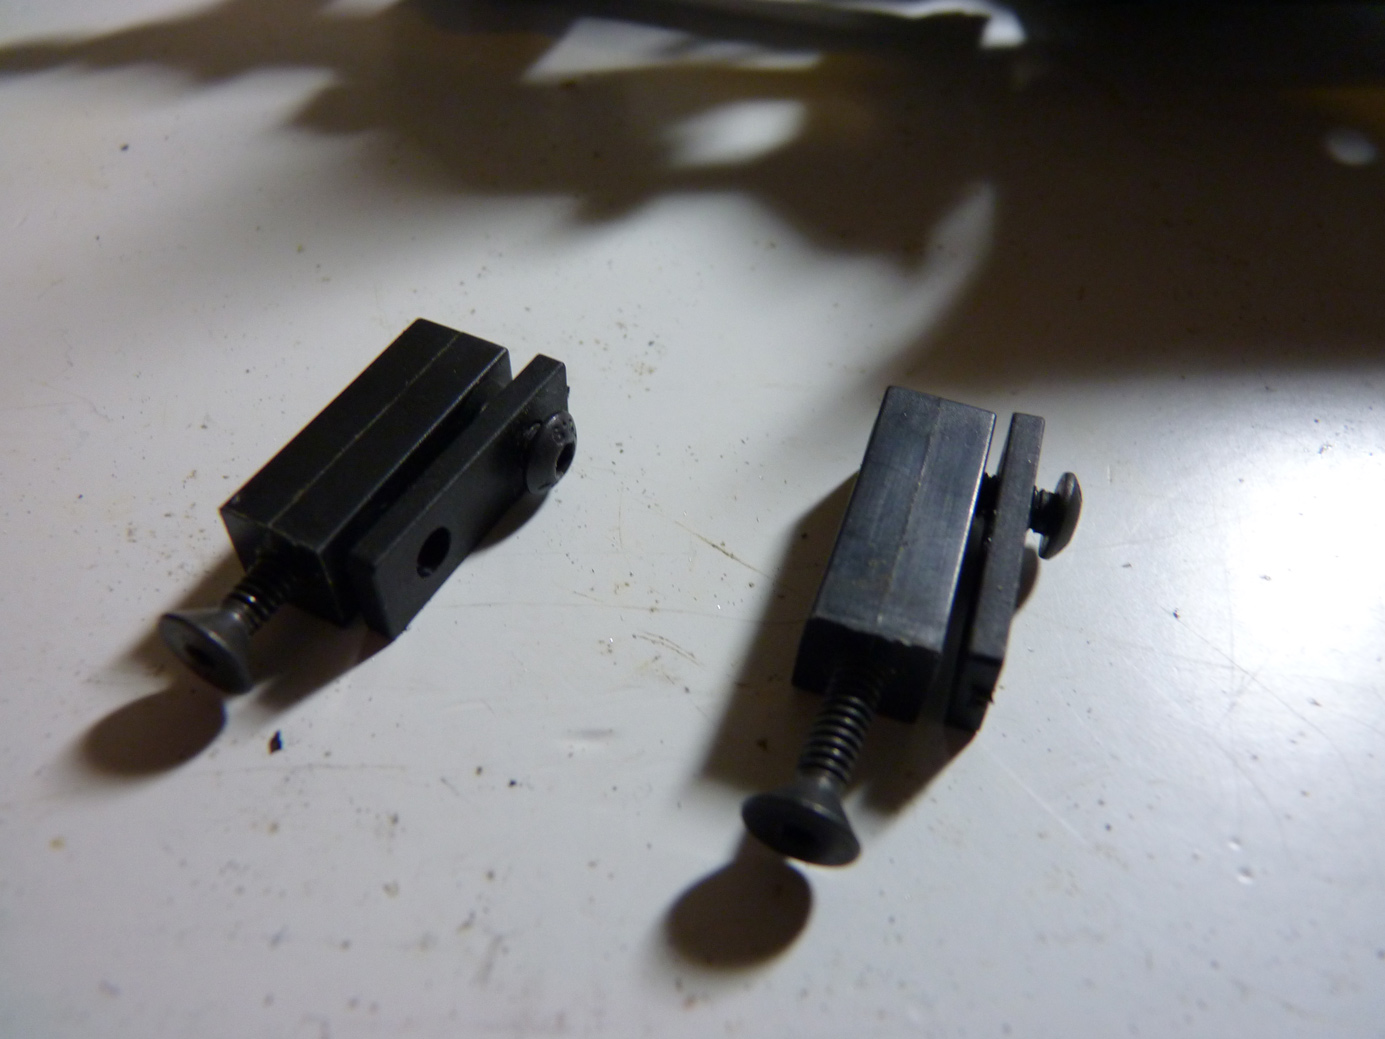
I used a basic set of servo mounts.
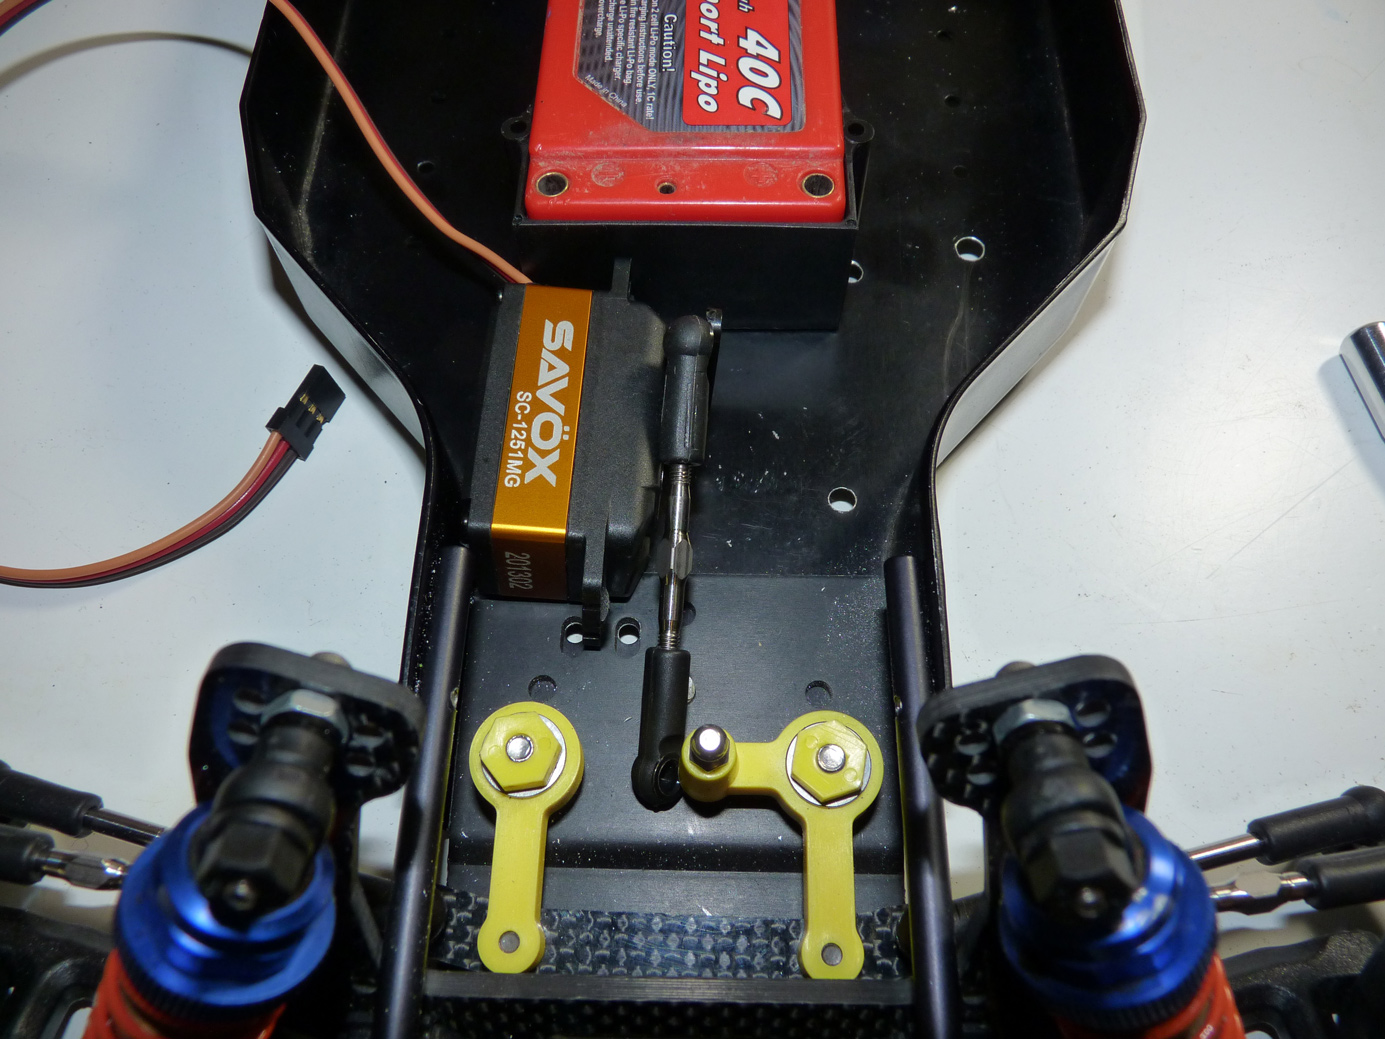
Everything linked up. Should be smooth steering action with no binding!
Now I put the lipo back in. Man this is snug. The front cup pretty much does need to rest right up against the servo mount.
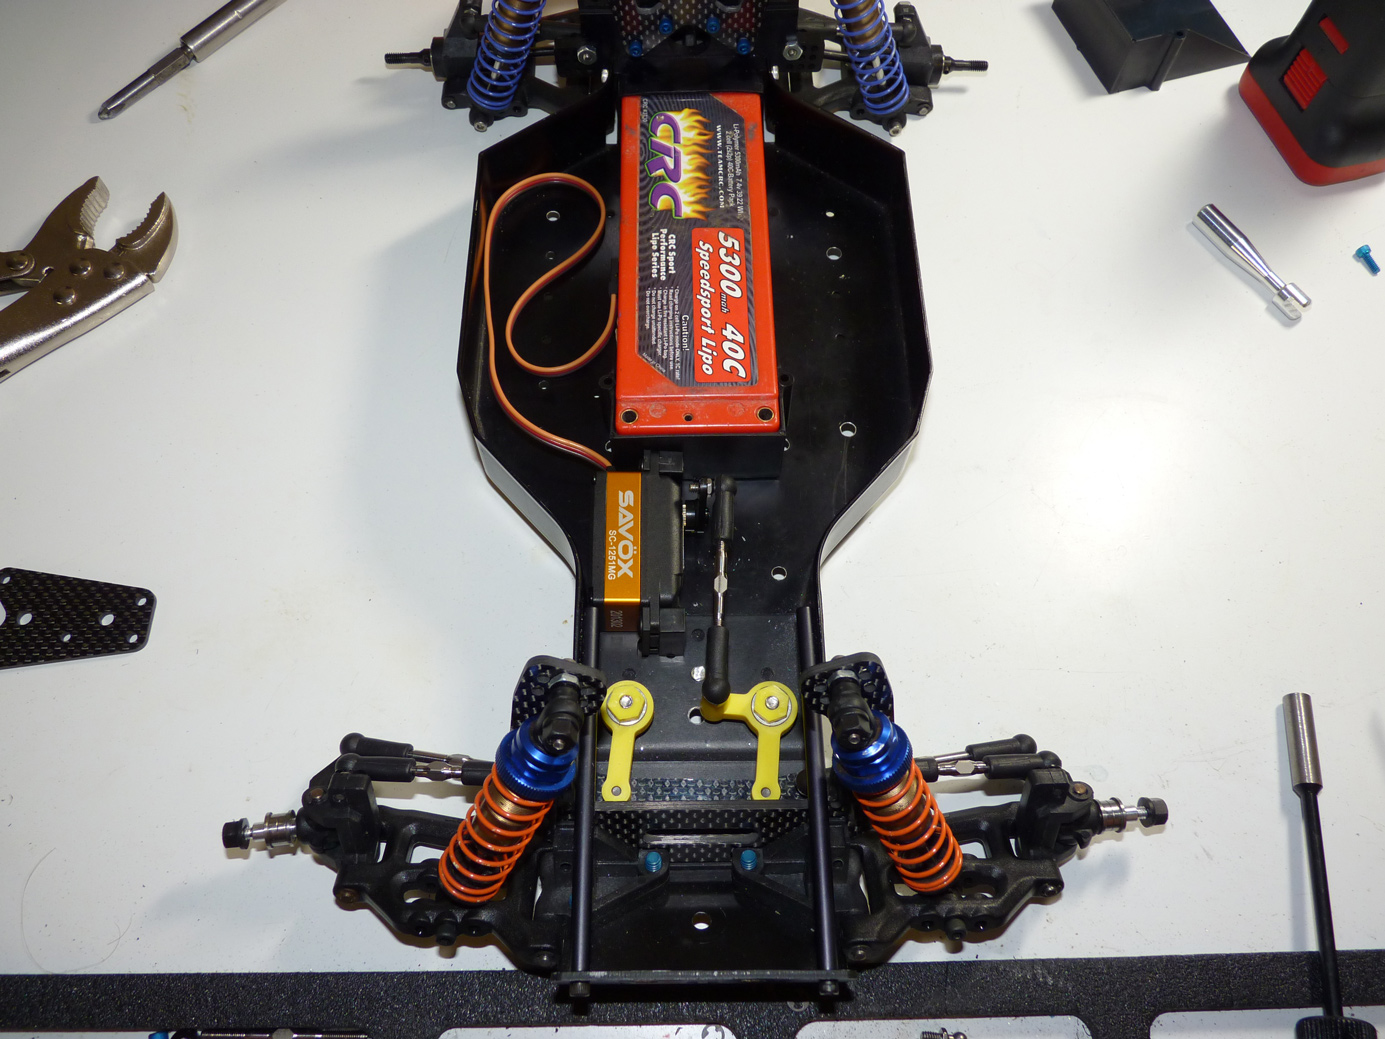
I marked my holes and drilled them out.
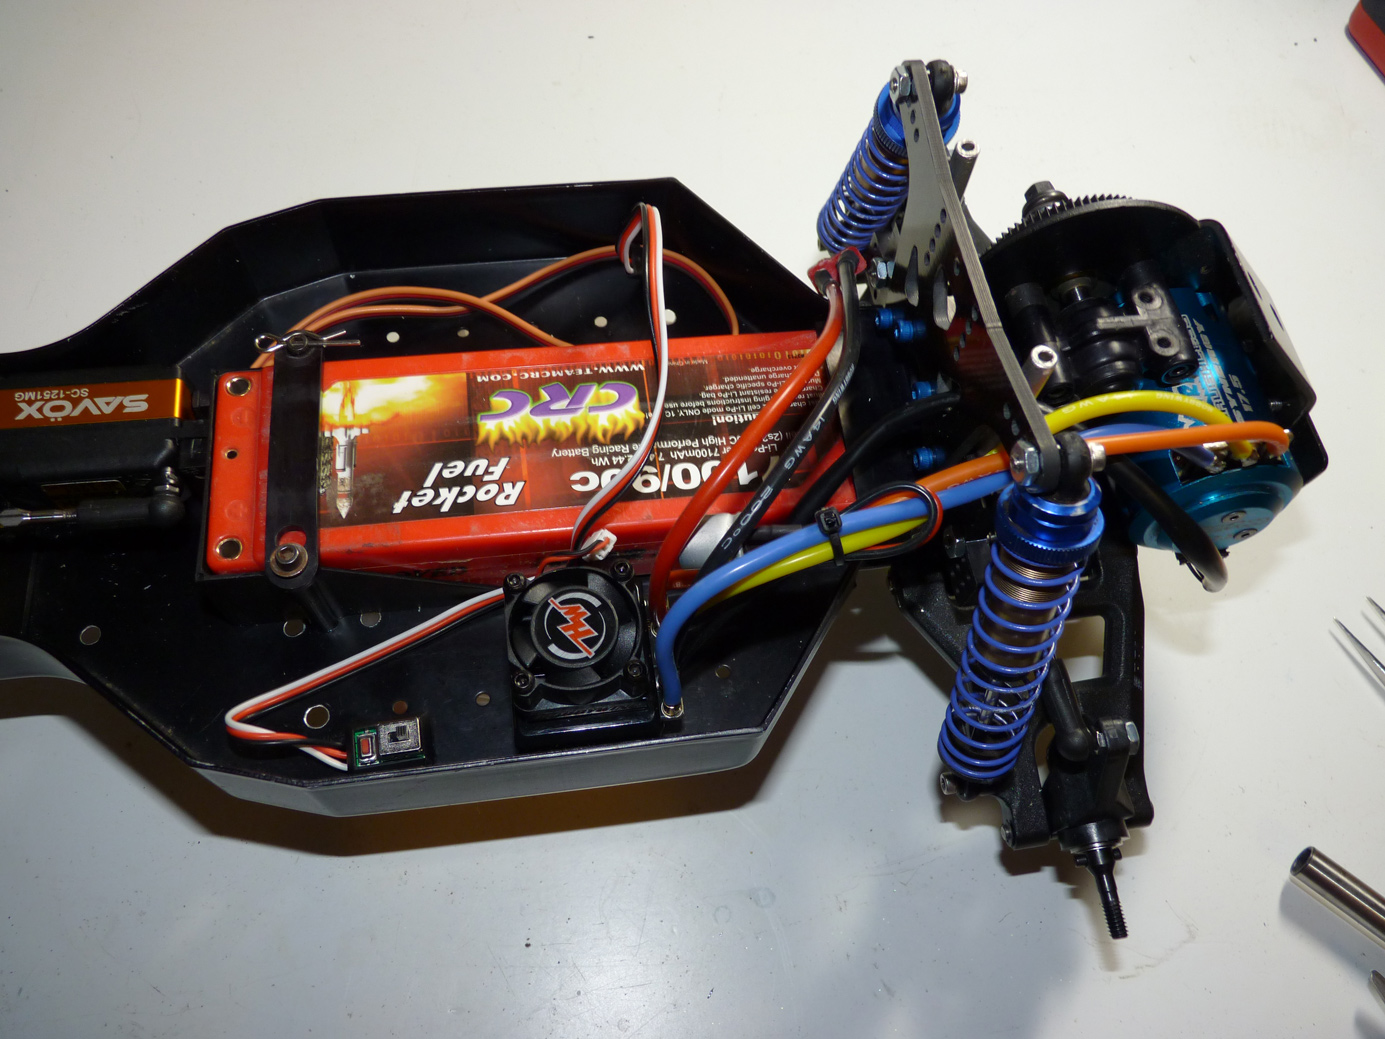
I also checked to make sure my crazy overkill 7100mah 90C CRC pack fits. I bet I could race the entire weekend at VONats and not have to charge with this pack haha.
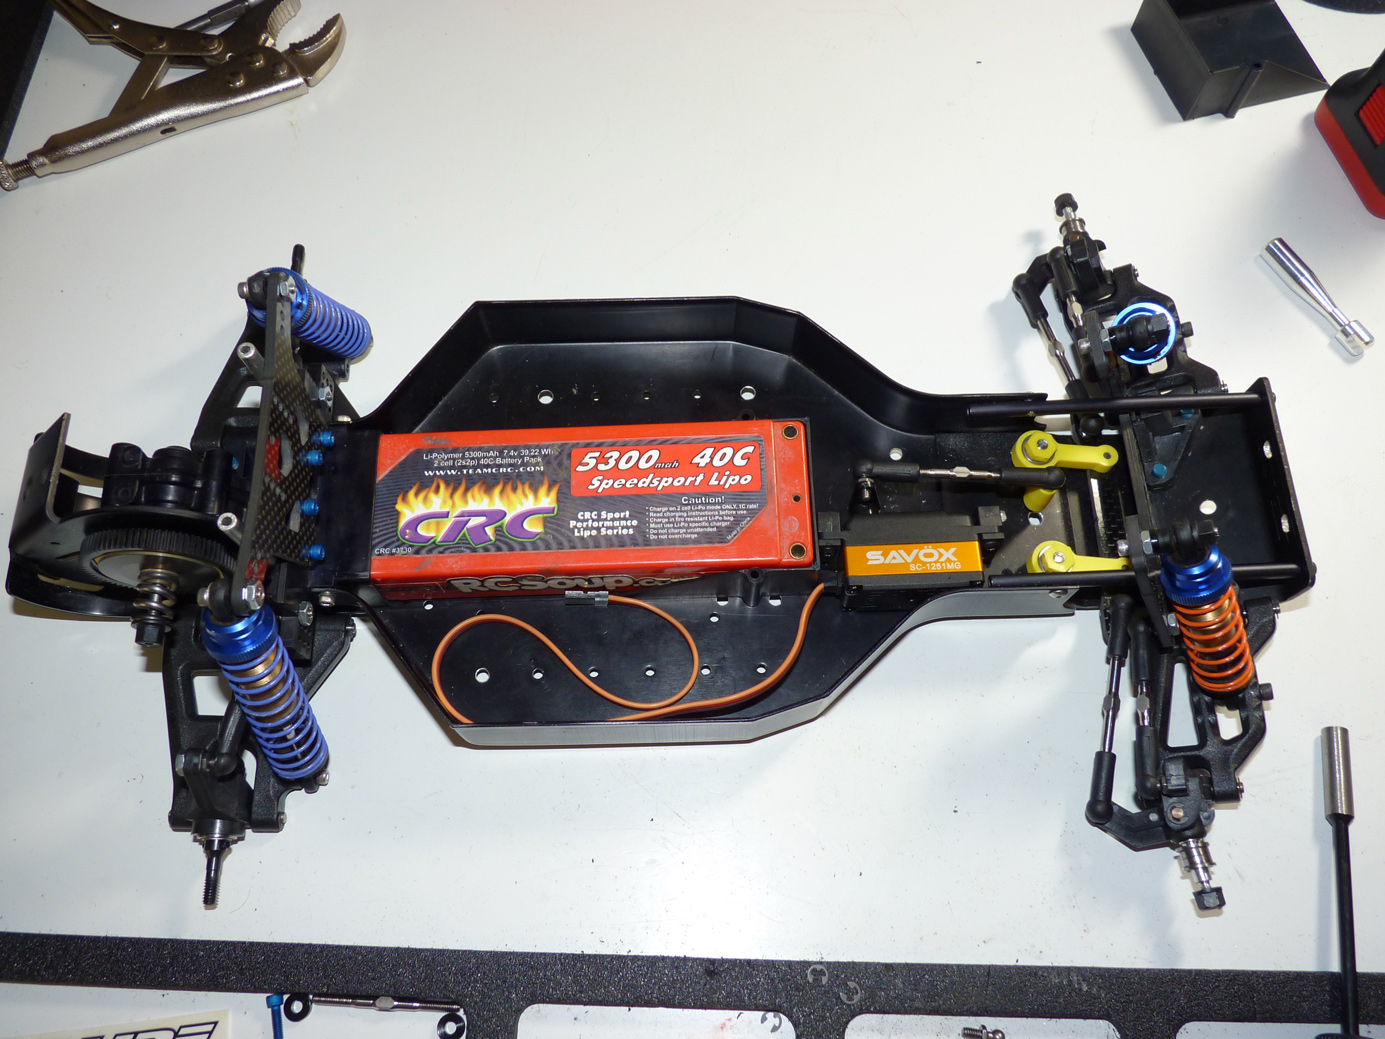
Battery is now 100% mounted and secure. 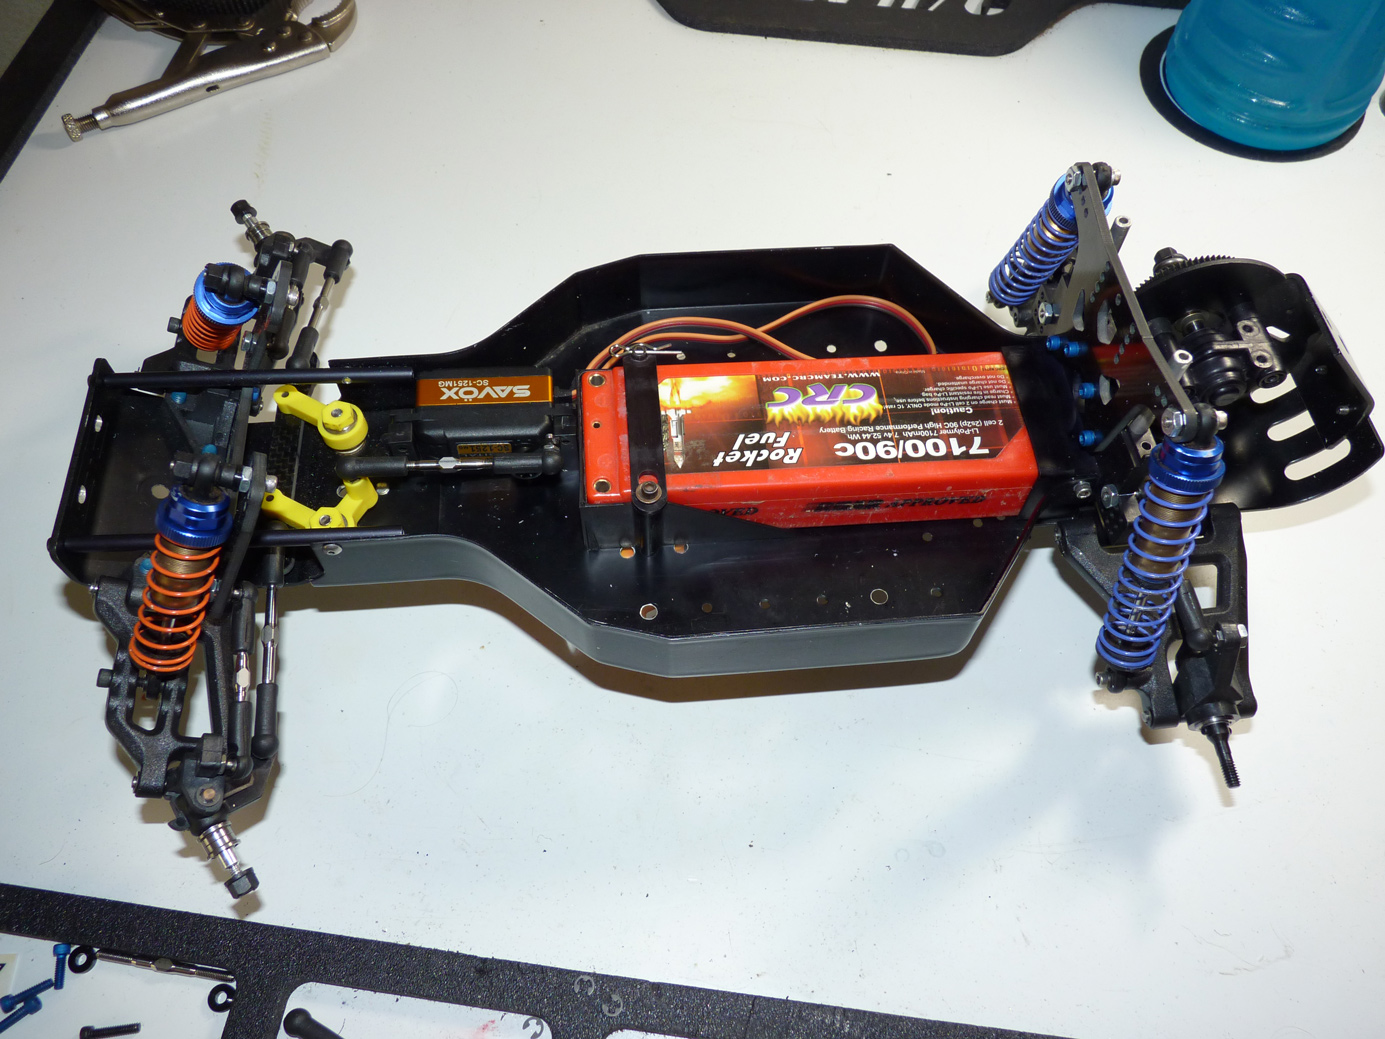
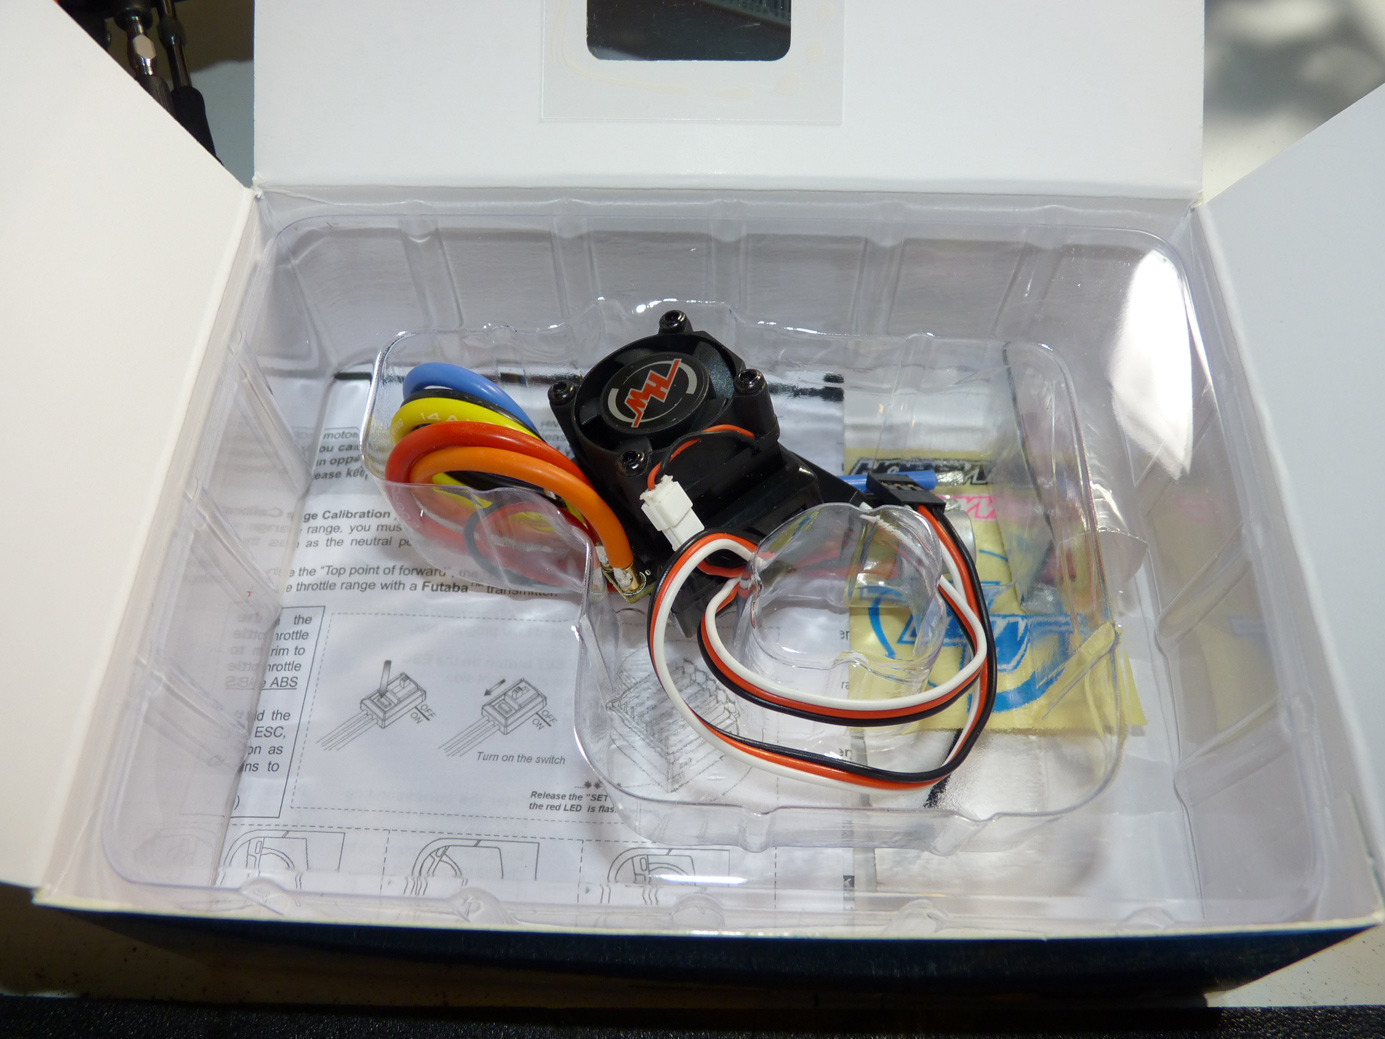
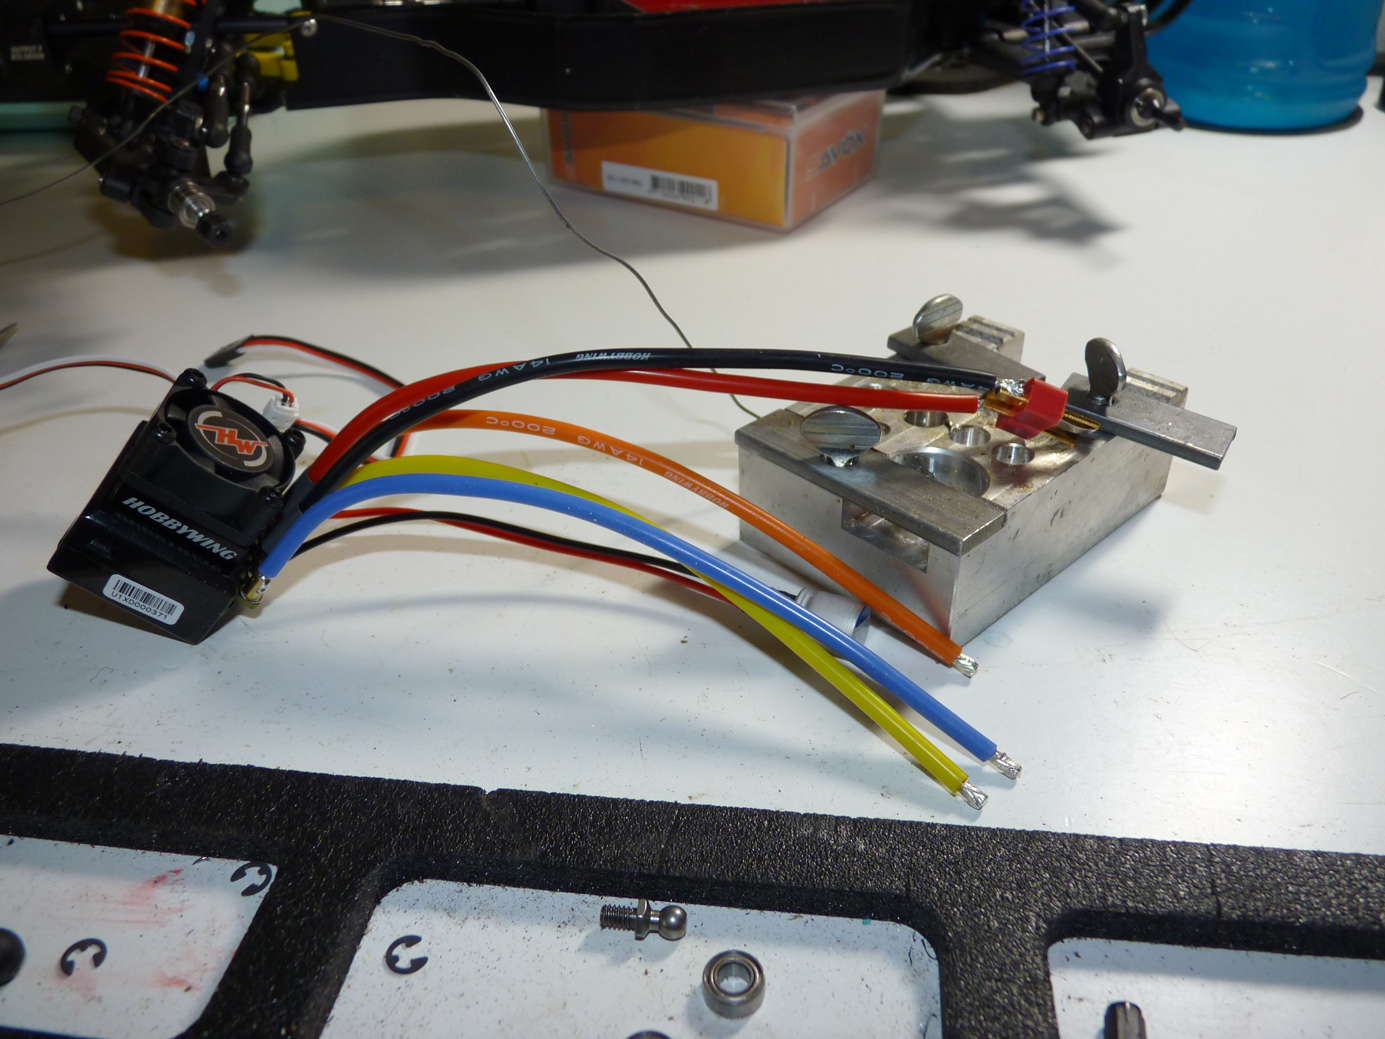
Time to install the esc. I went for the cheapest thing I could find, since I plan to leave this car together for whenever there might be another Vintage race. I chose the Hobbywing Justock Club Spec esc. It’s sensored and non-adjustable boost, so it’s perfect for blinky/spec classes. It sells for less than $60. Hard to beat.

Not too much in the box. Would be nice if it included a sensor wire. Luckily I had one.
I mocked it up, figuring where the best location would be to reach the motor.
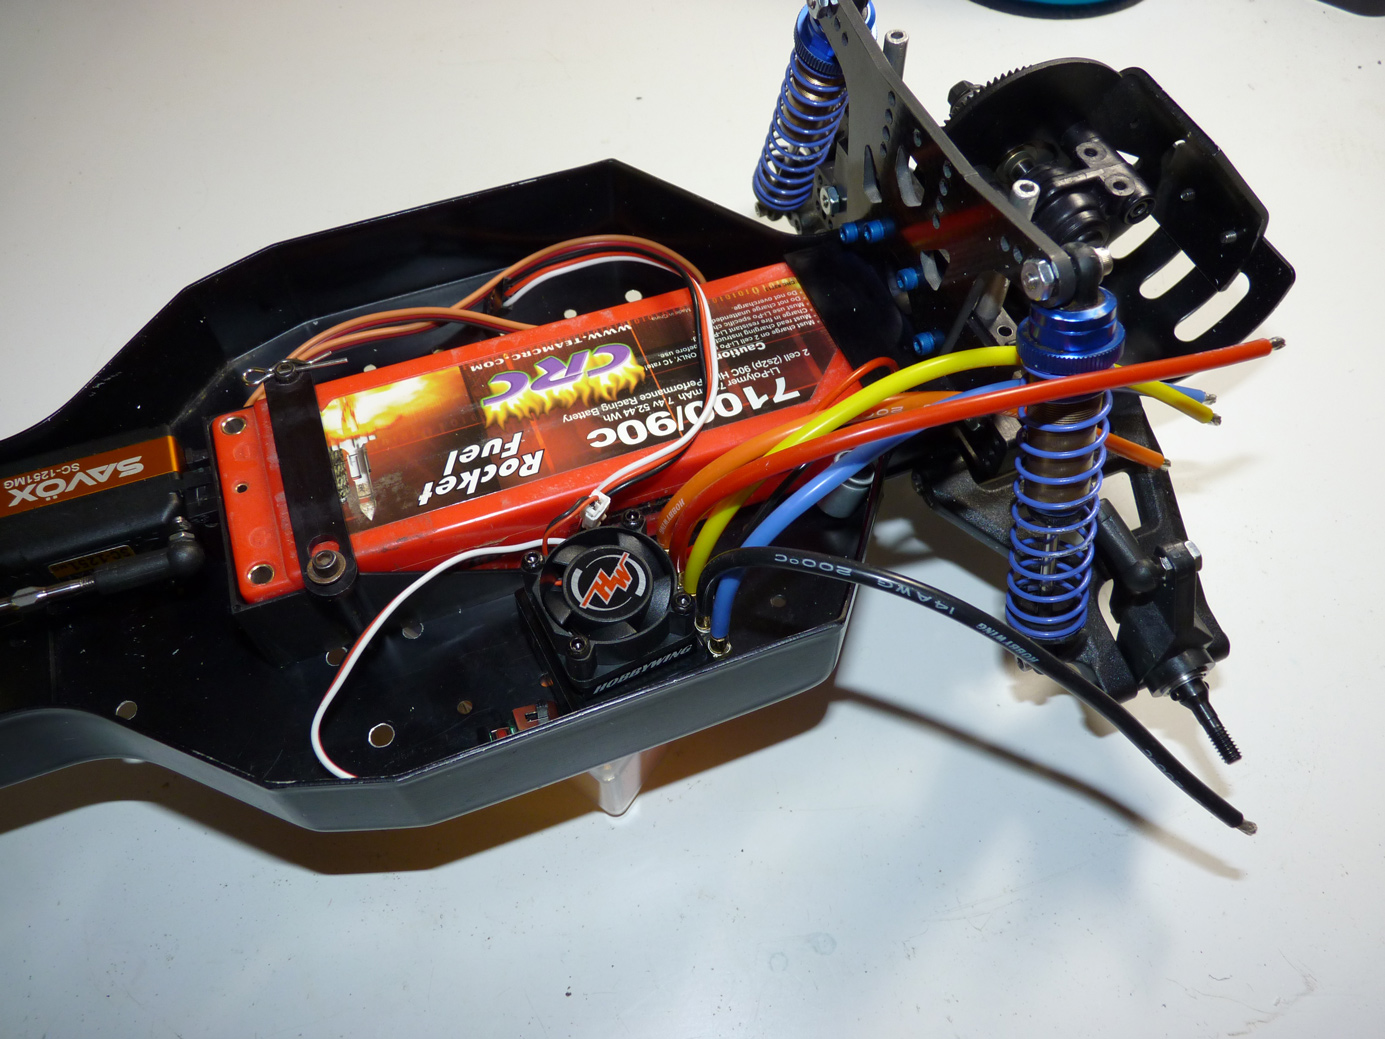
I then soldered on the battery connector, Deans of course.
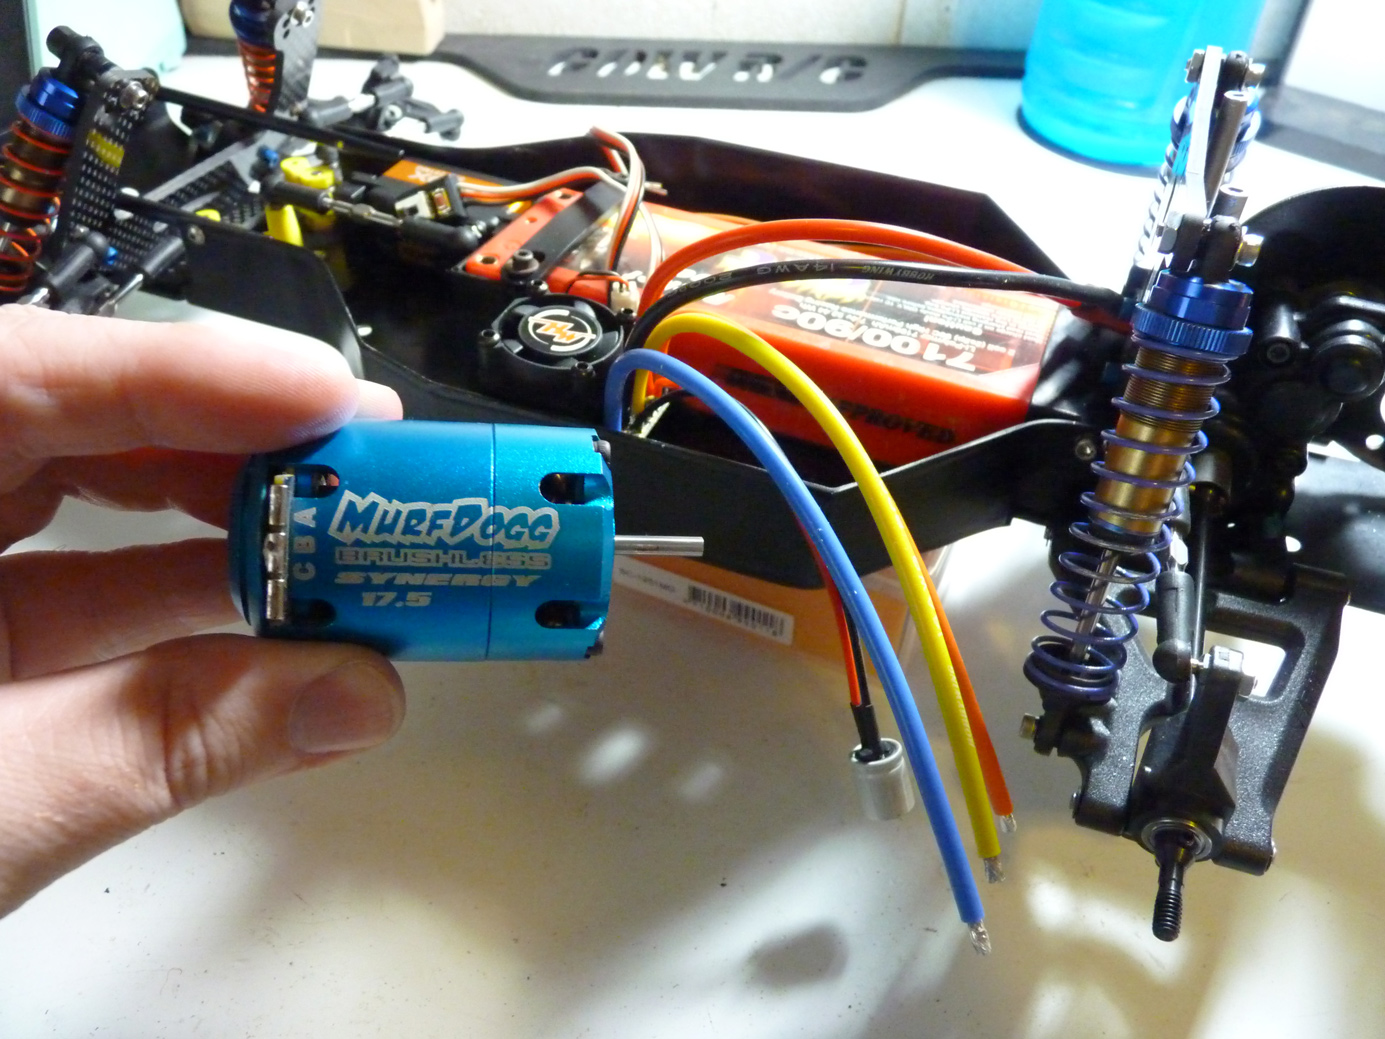
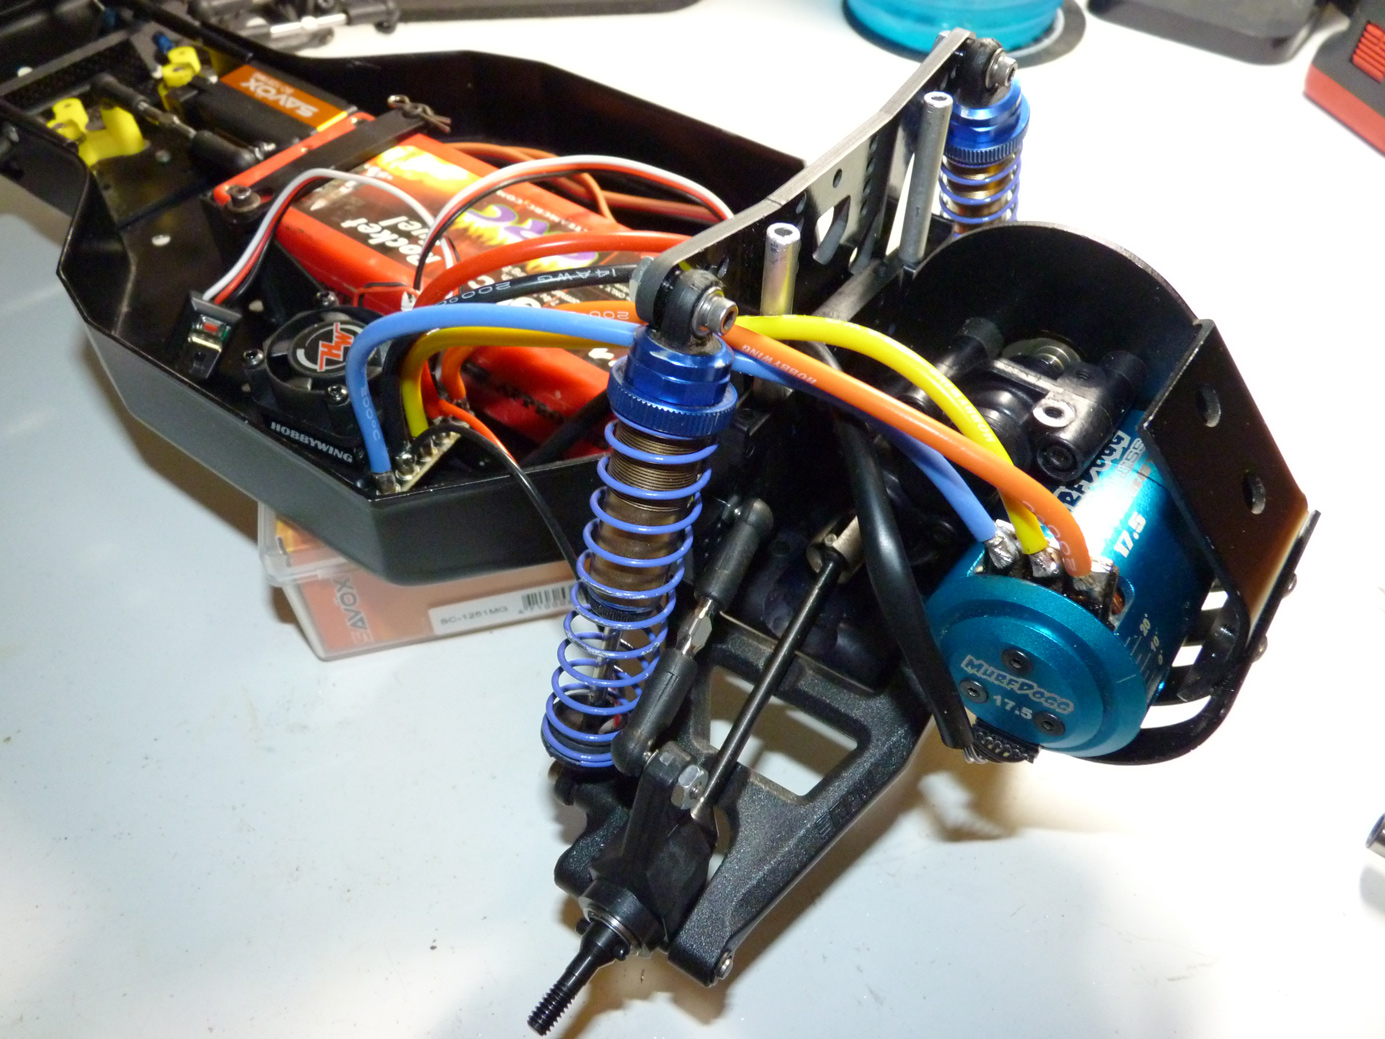
For a motor, I’m running my old and reliable Murfdogg Synergy 17.5 motor. This has a couple seasons on it and has been my backup motor, but will find a new home in this build.
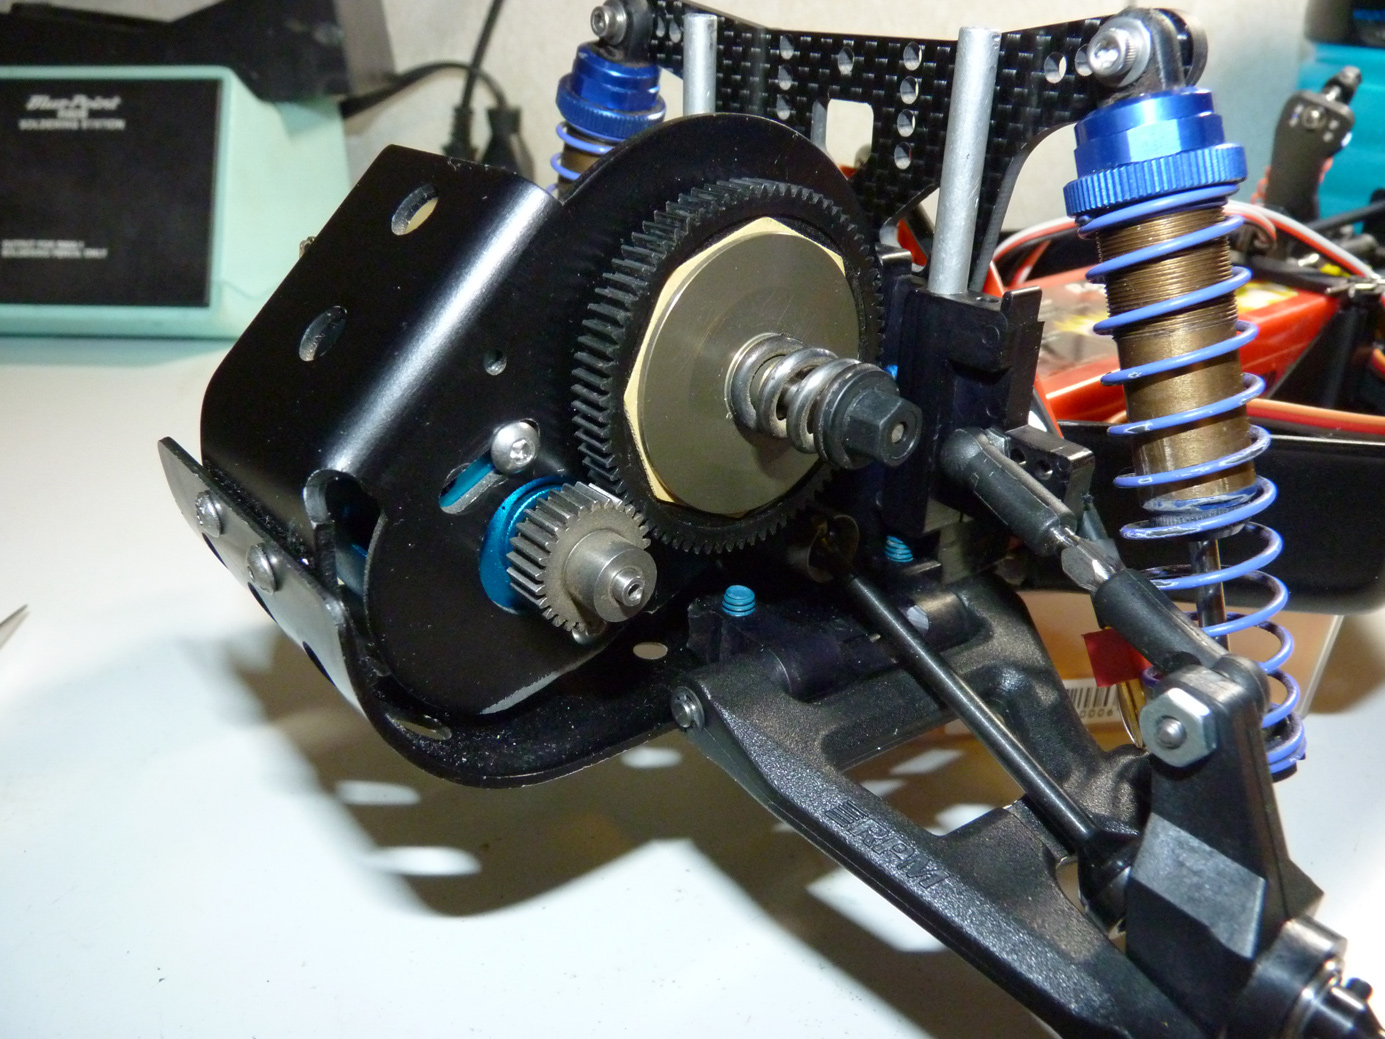
I mounted it up. I have no clue on gear for this, so I stuck the smallest pinion I could on there that meshed with the spur I put on for now.
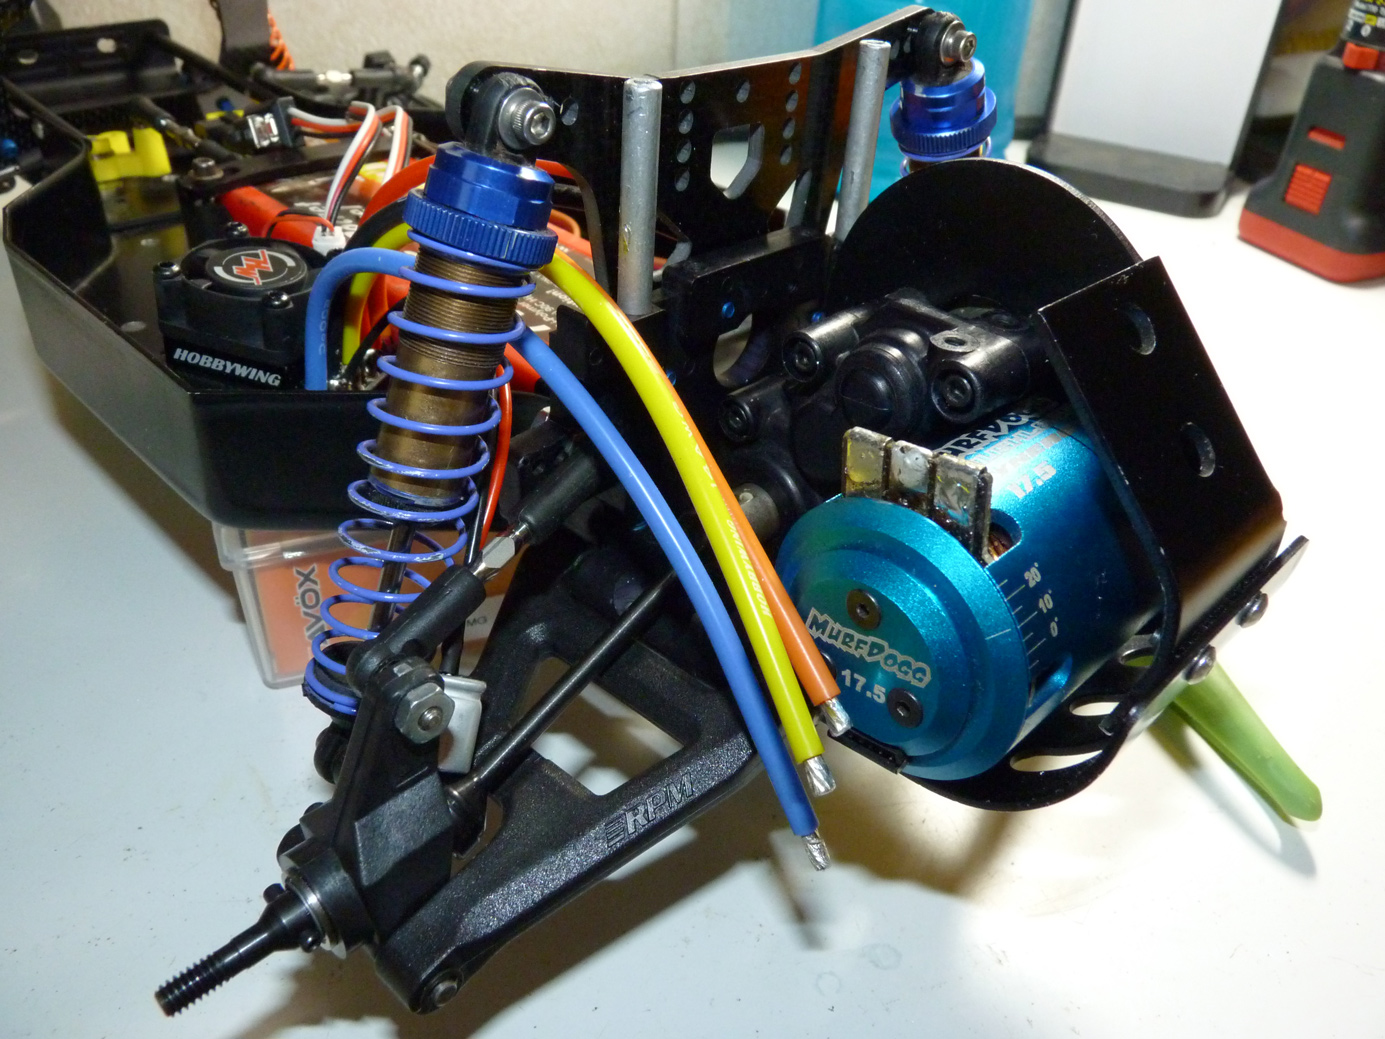
Next I soldered up the motor leads.
Cleaned up the wires with a wire tie.
 Final build steps up next!
 Posted in
  Tags:
Tags:
Nice build up! Good luck at VNats. Gotta say that its kinda like sacrilege to see K shocks on an old AE!